1 2 3
Gimp
Gimp SuperDork
1/21/13 6:19 p.m.

So I started a thread on another forum about five years ago about this project. Hopefully it will run in another five years. Original thread here: http://www.nastyz28.com/forum/showthread.php?t=131539

Some of you might remember me, some of you have forgotten me, most of you have probably never met me, but I've been here for a while.

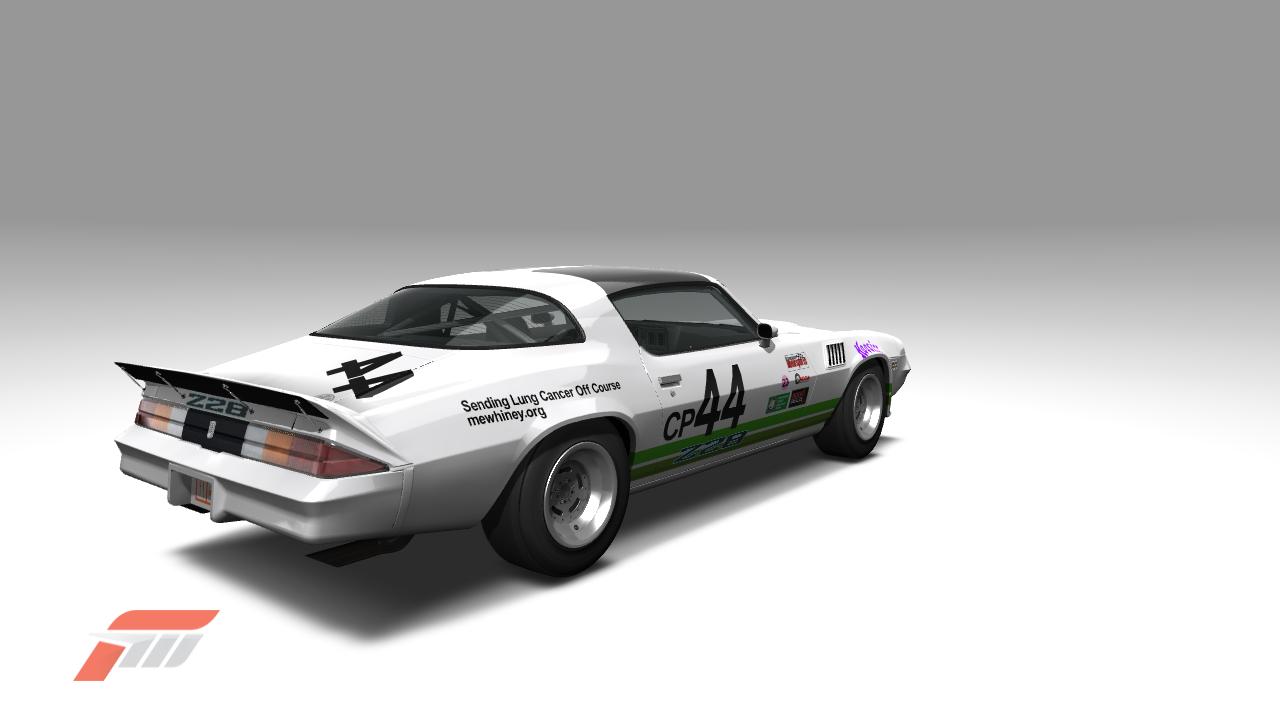
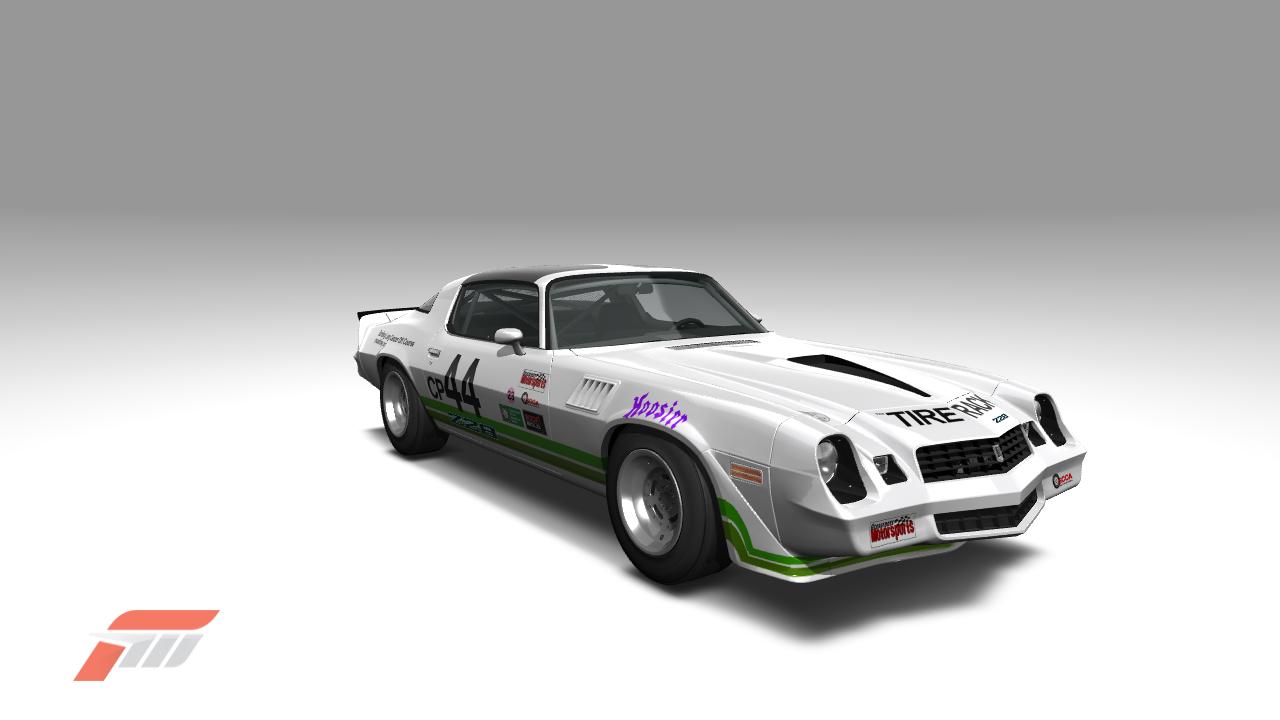
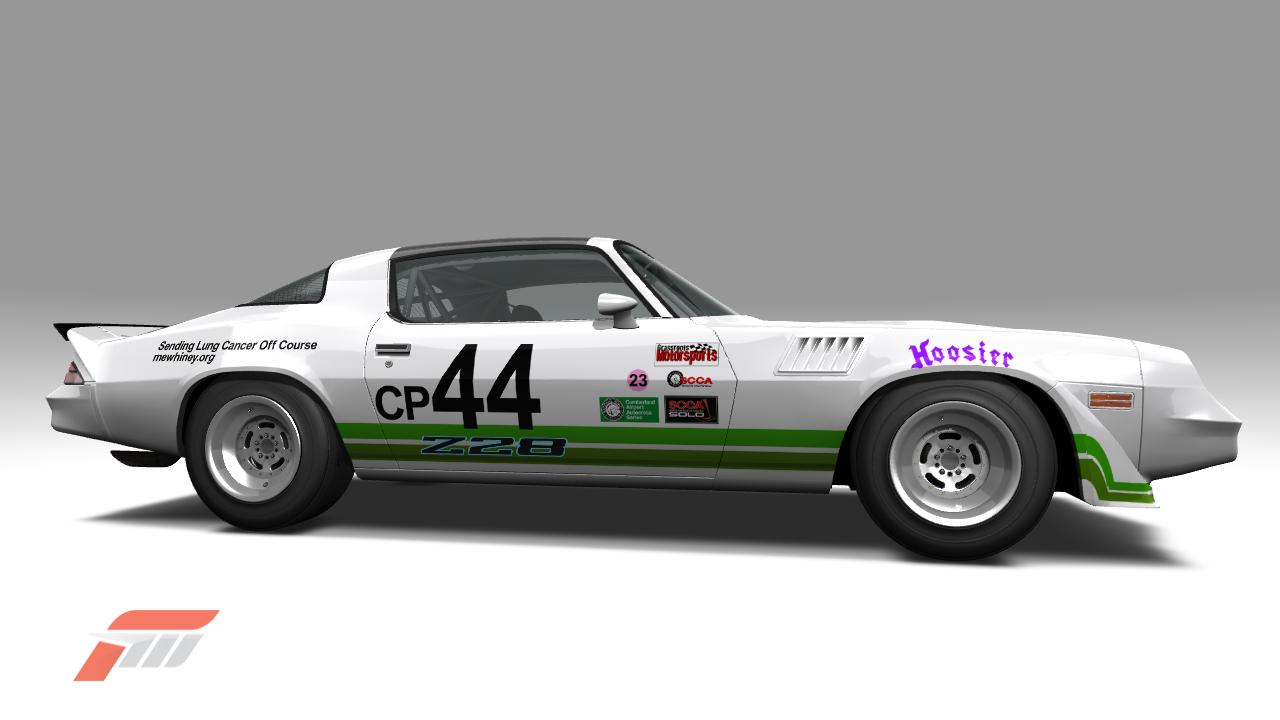
I'm taking my former college ride/daily driver, and building it for SCCA autocross competition in C-Prepared.

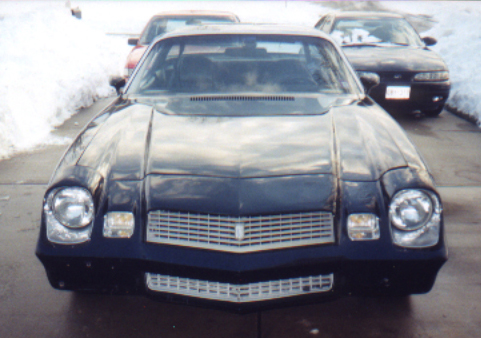
A little history first. I bought the car back in 2000. Then it was a well option V6 car. Slower than dirt, but it had cool t-tops. I drove it like this for a while, making minor improvements. Eventually, I build a Vortec headed 350 for it and had some fun running around in it. After a few failed emissions tests it got parked and I kinda forgot about it. I started autocrossing (then my daily driver) and always wished I had a faster car to make a project out of. A good friend of mine then reminded me of that Camaro in my garage...

Here is a quick list of what I have and what is to come:

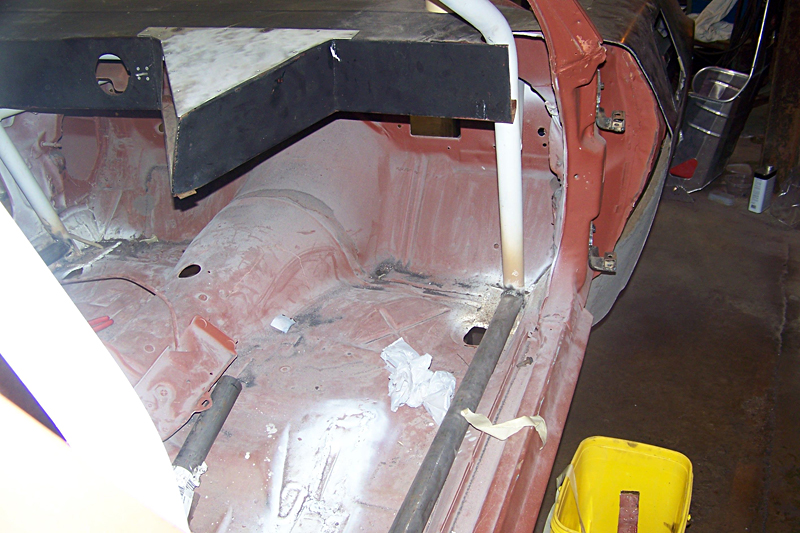
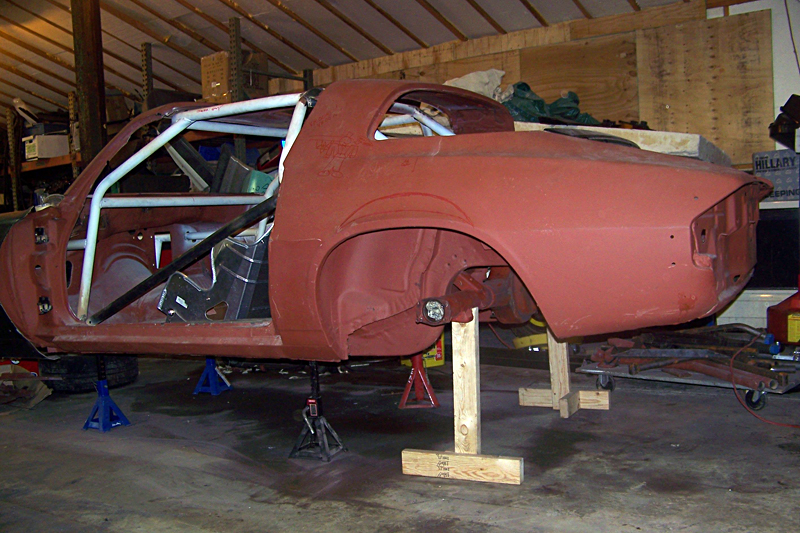
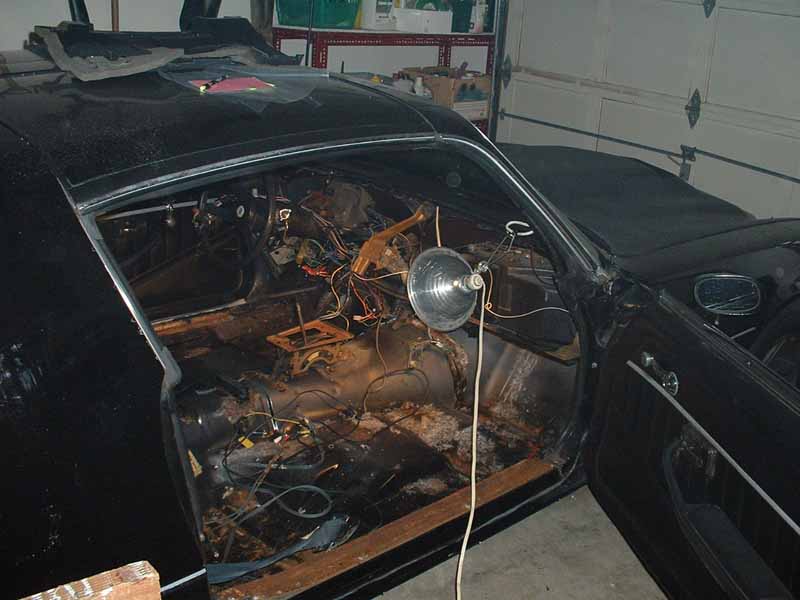
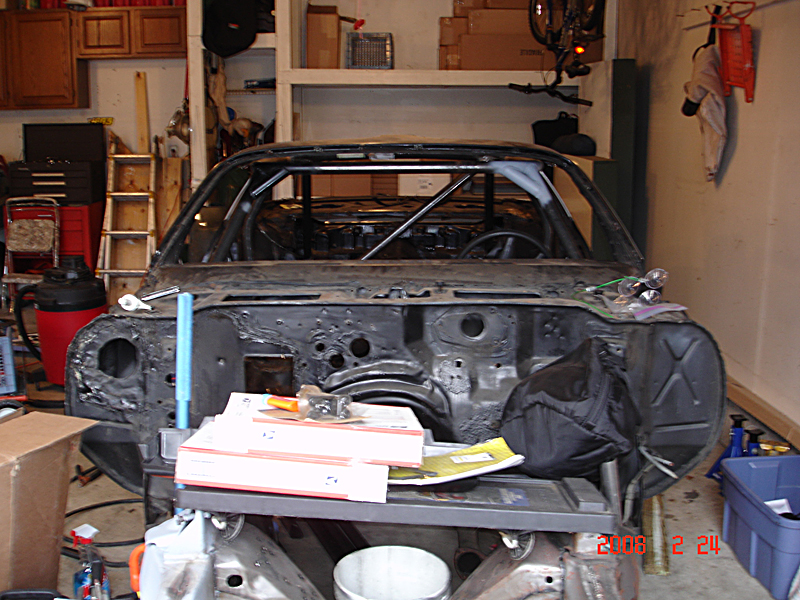
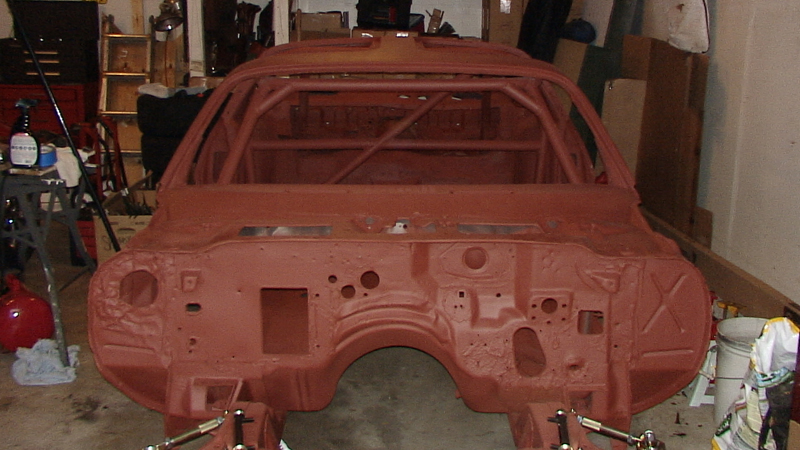
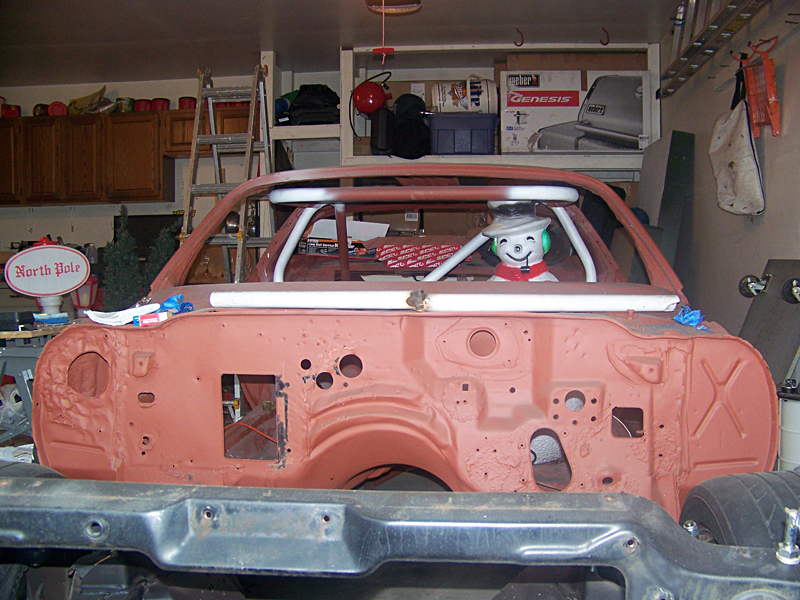
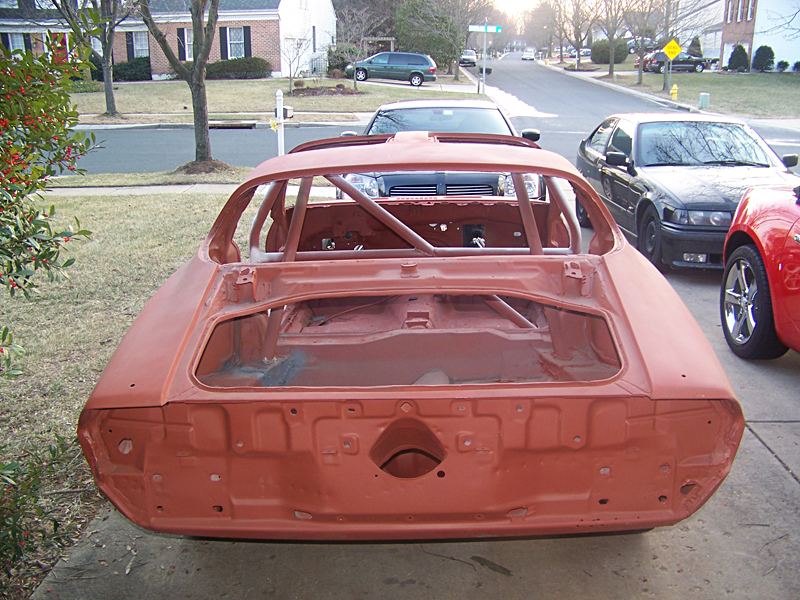
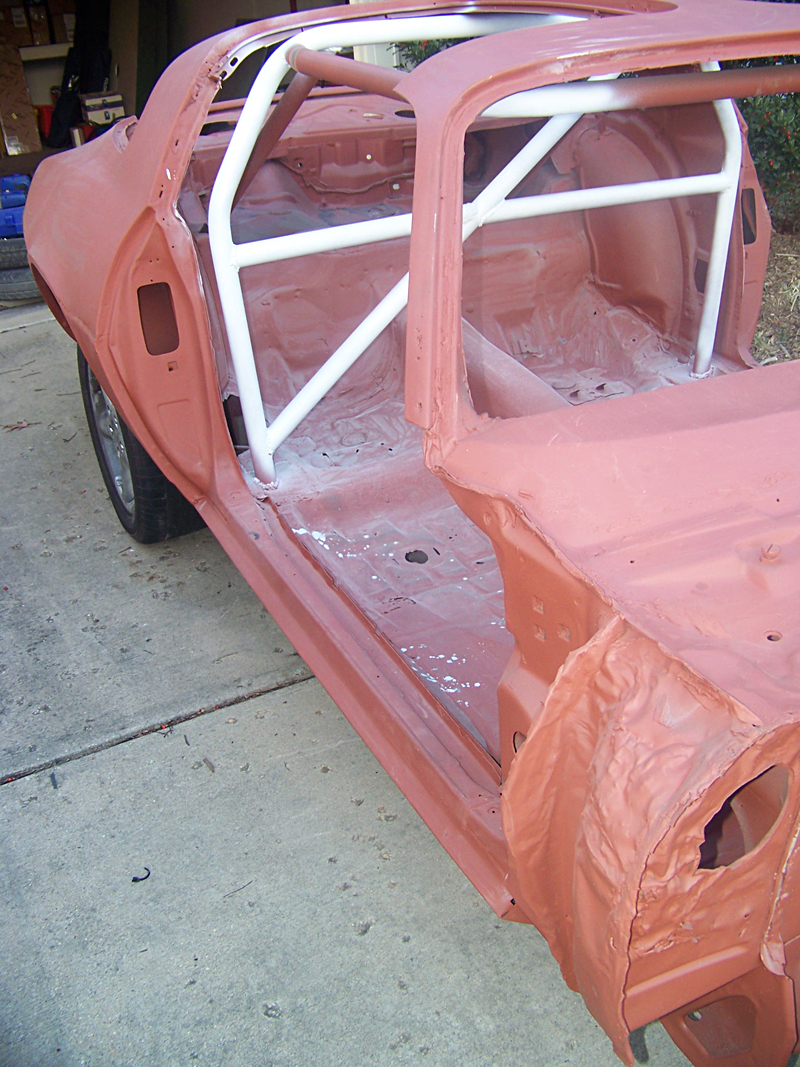
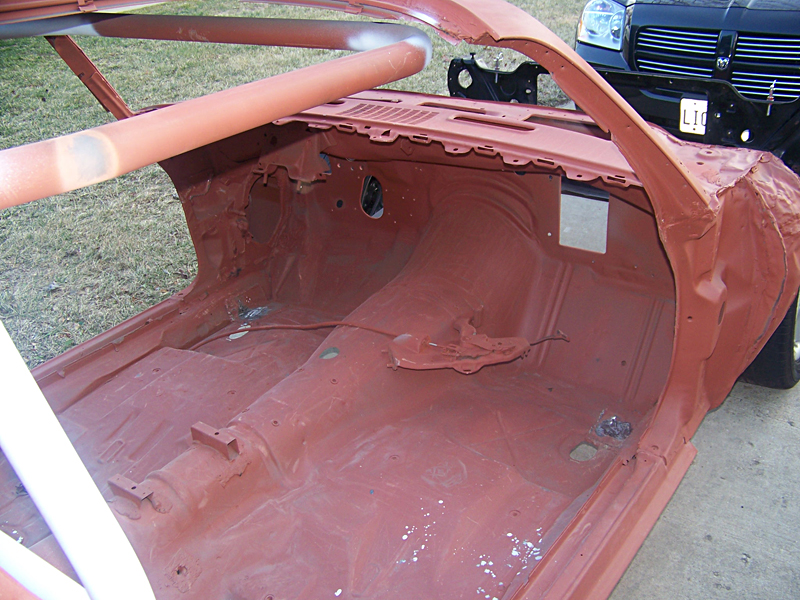
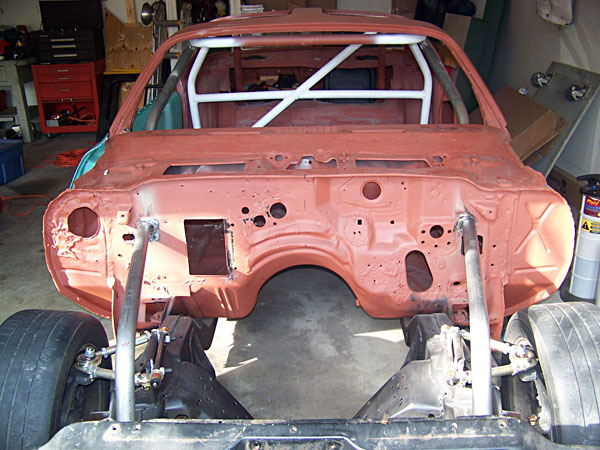
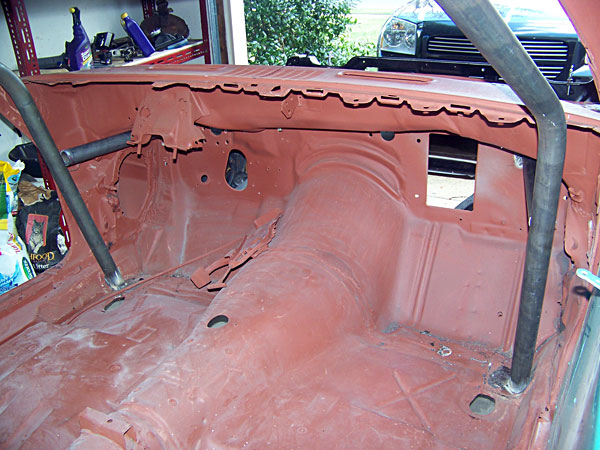
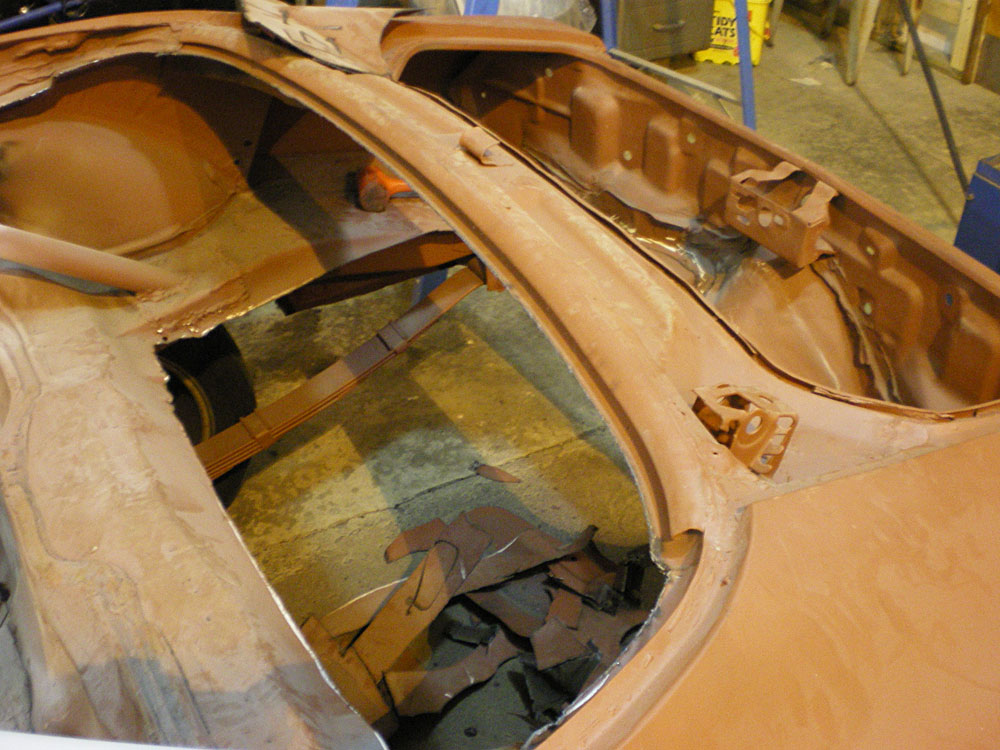
1981 Camaro, stripped down to bare shell
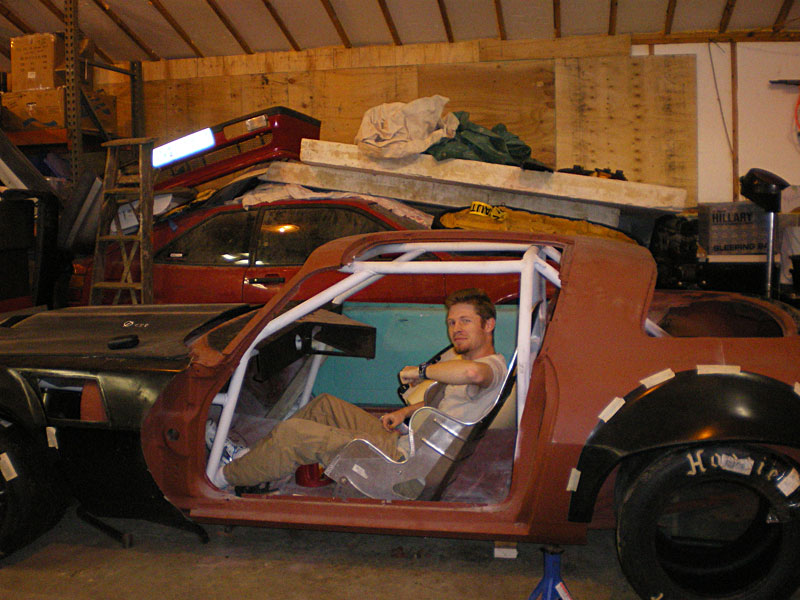
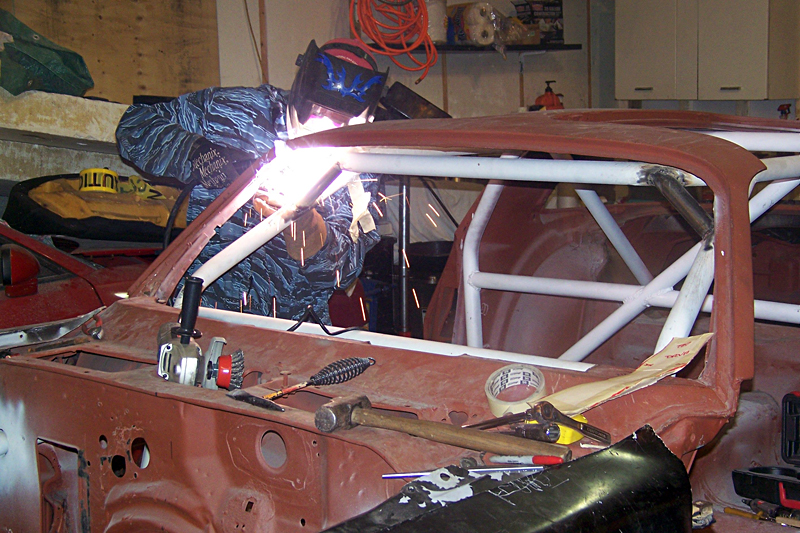
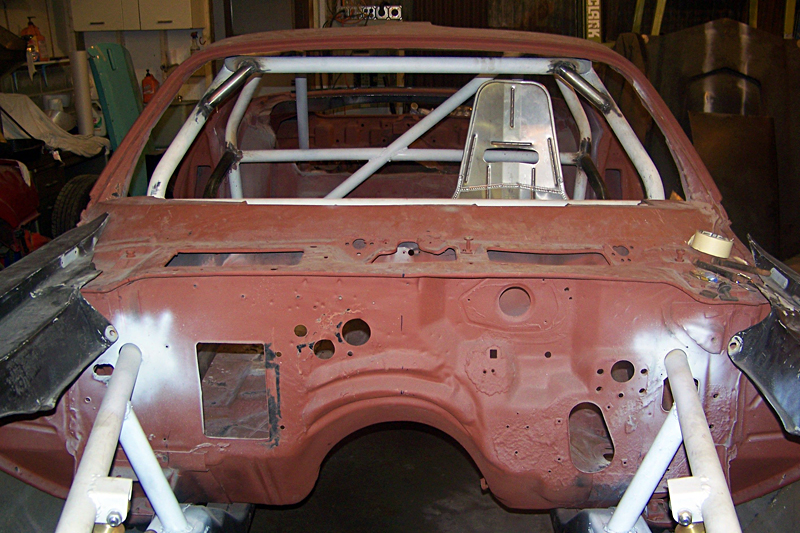
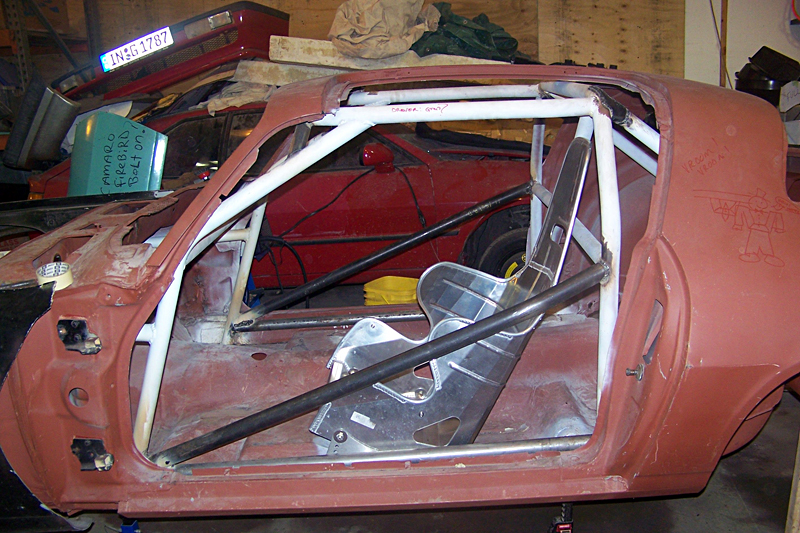
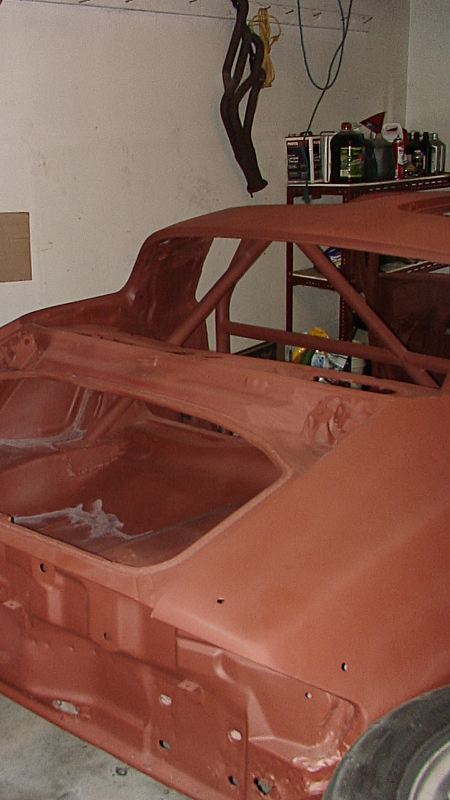
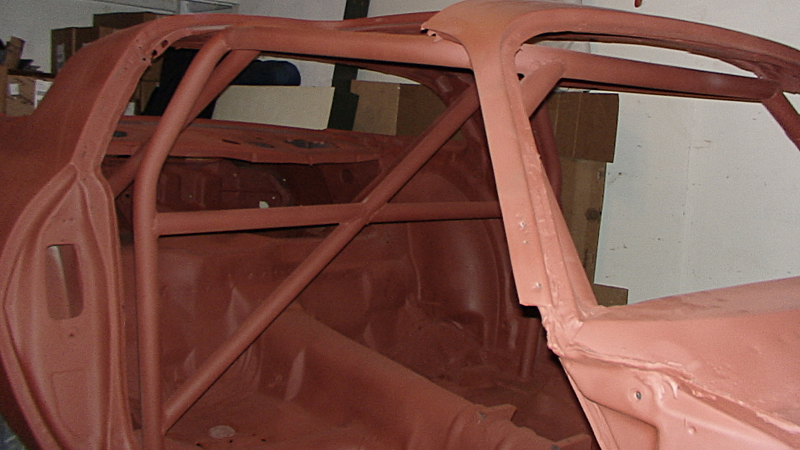
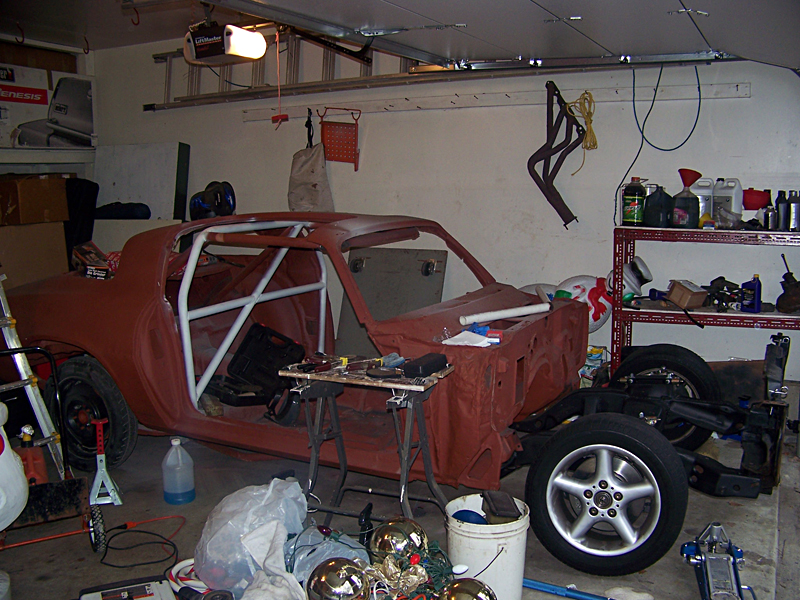
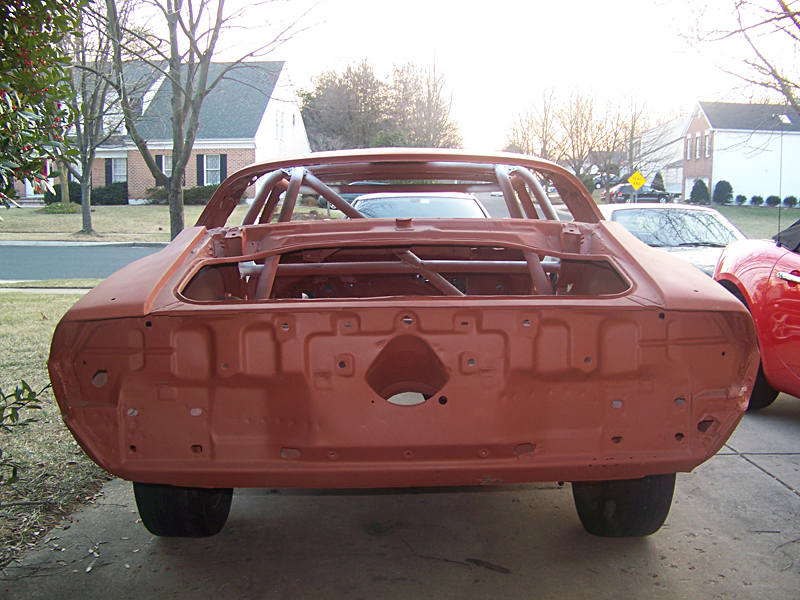
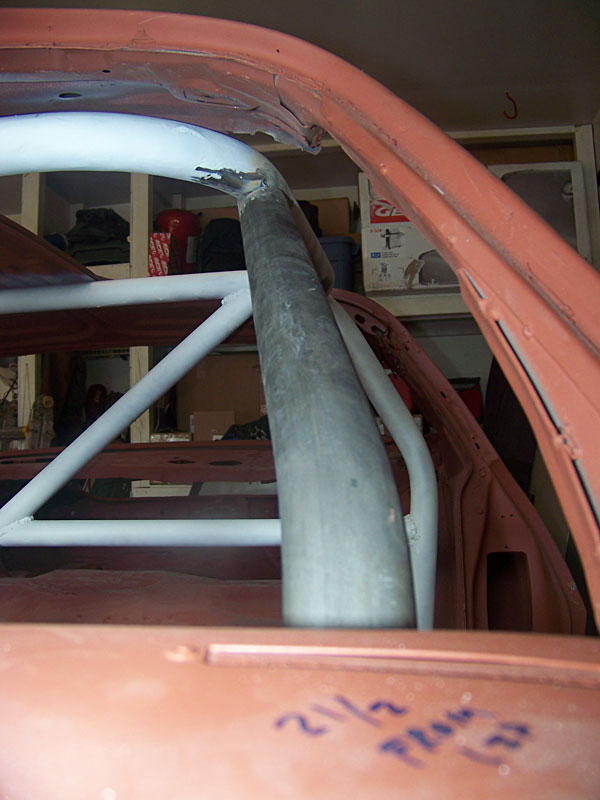
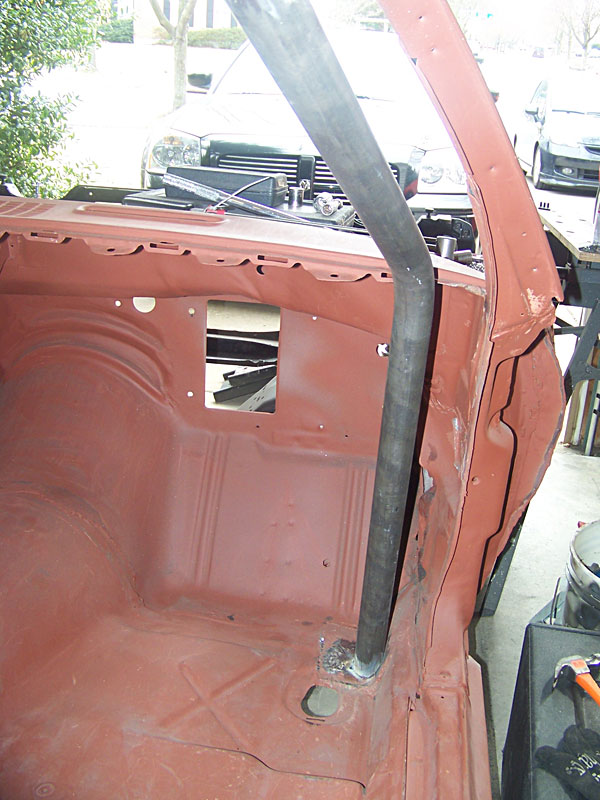
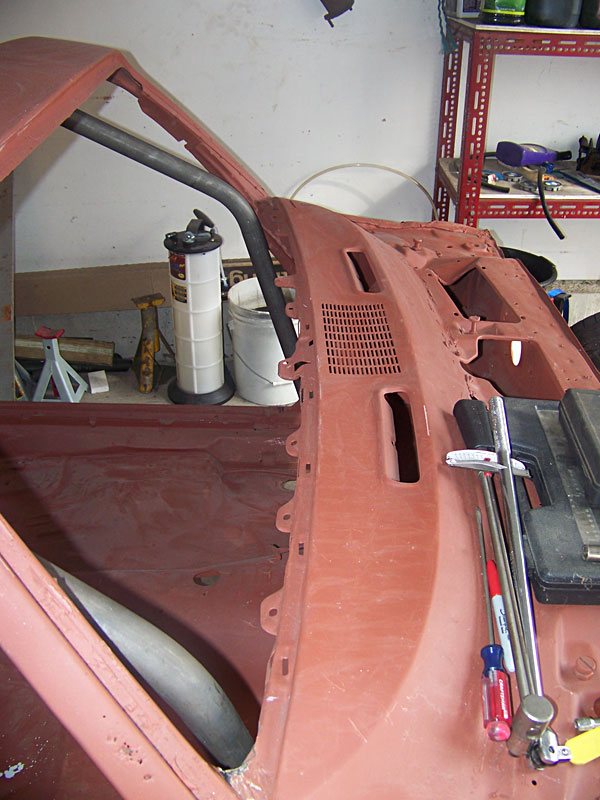
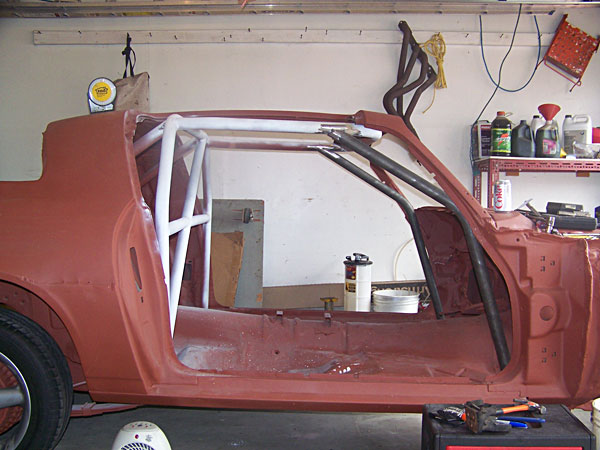
14pt S&W cage

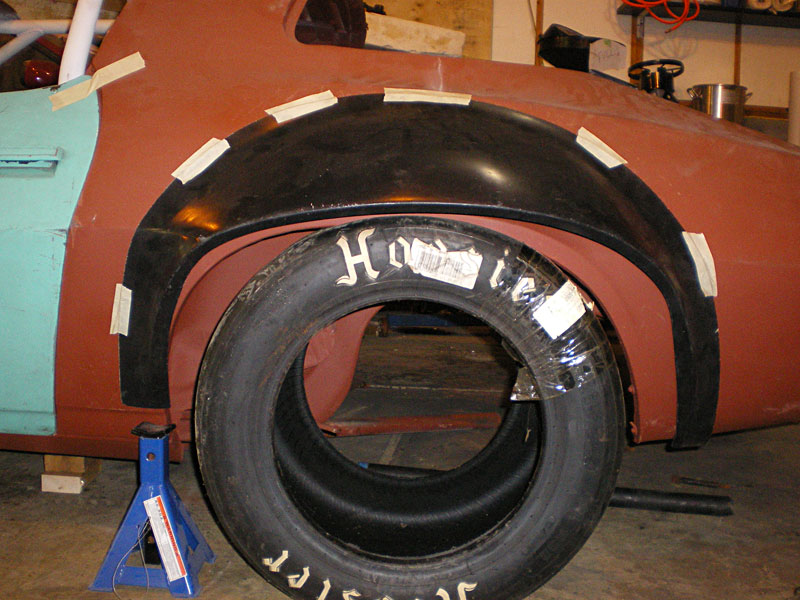
16x13 and 16x12 wheels (14" wide rear radial slick, 12" wide front)
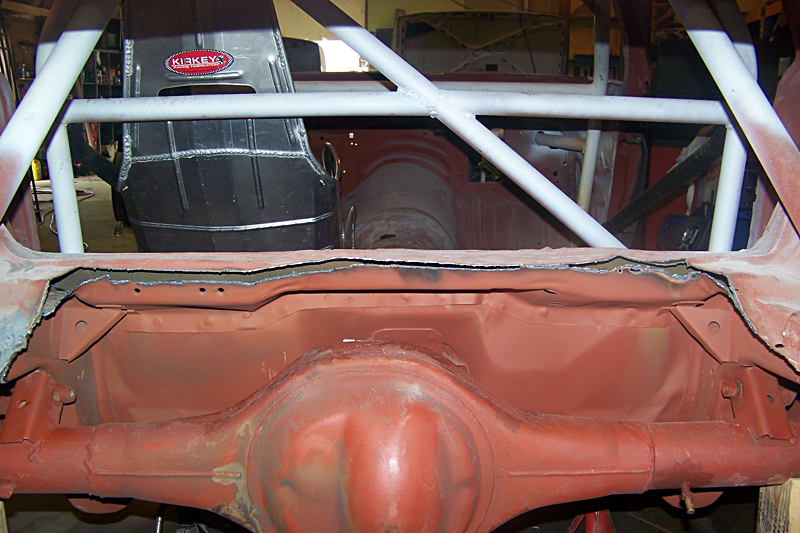
Kirkey Seats

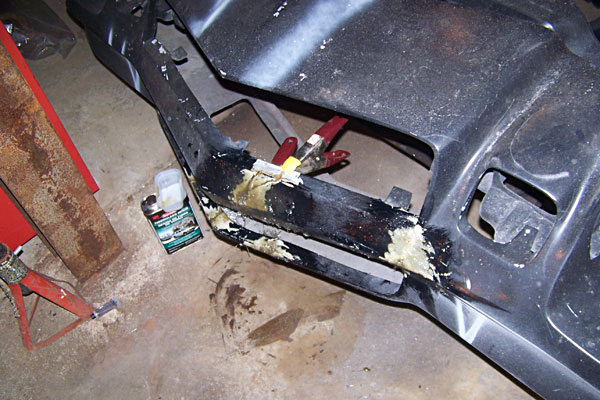
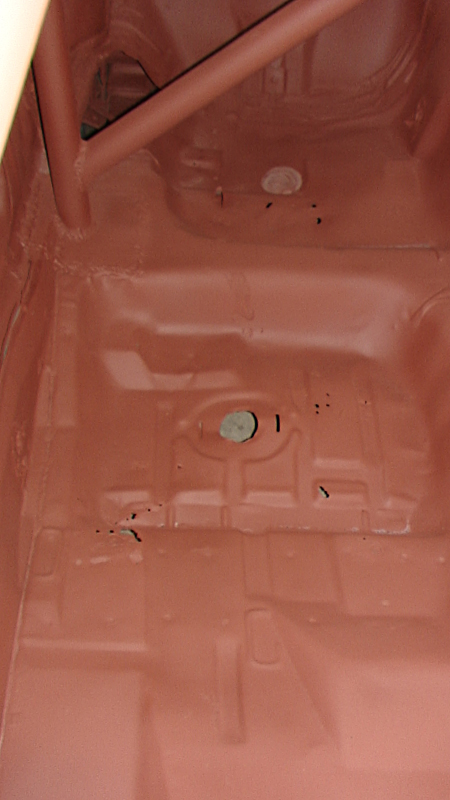
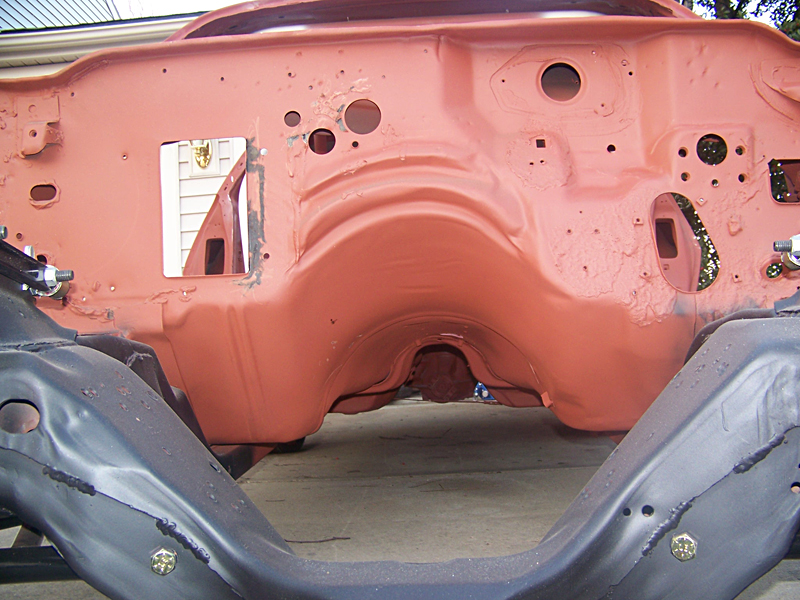
Home-made subframe connectors

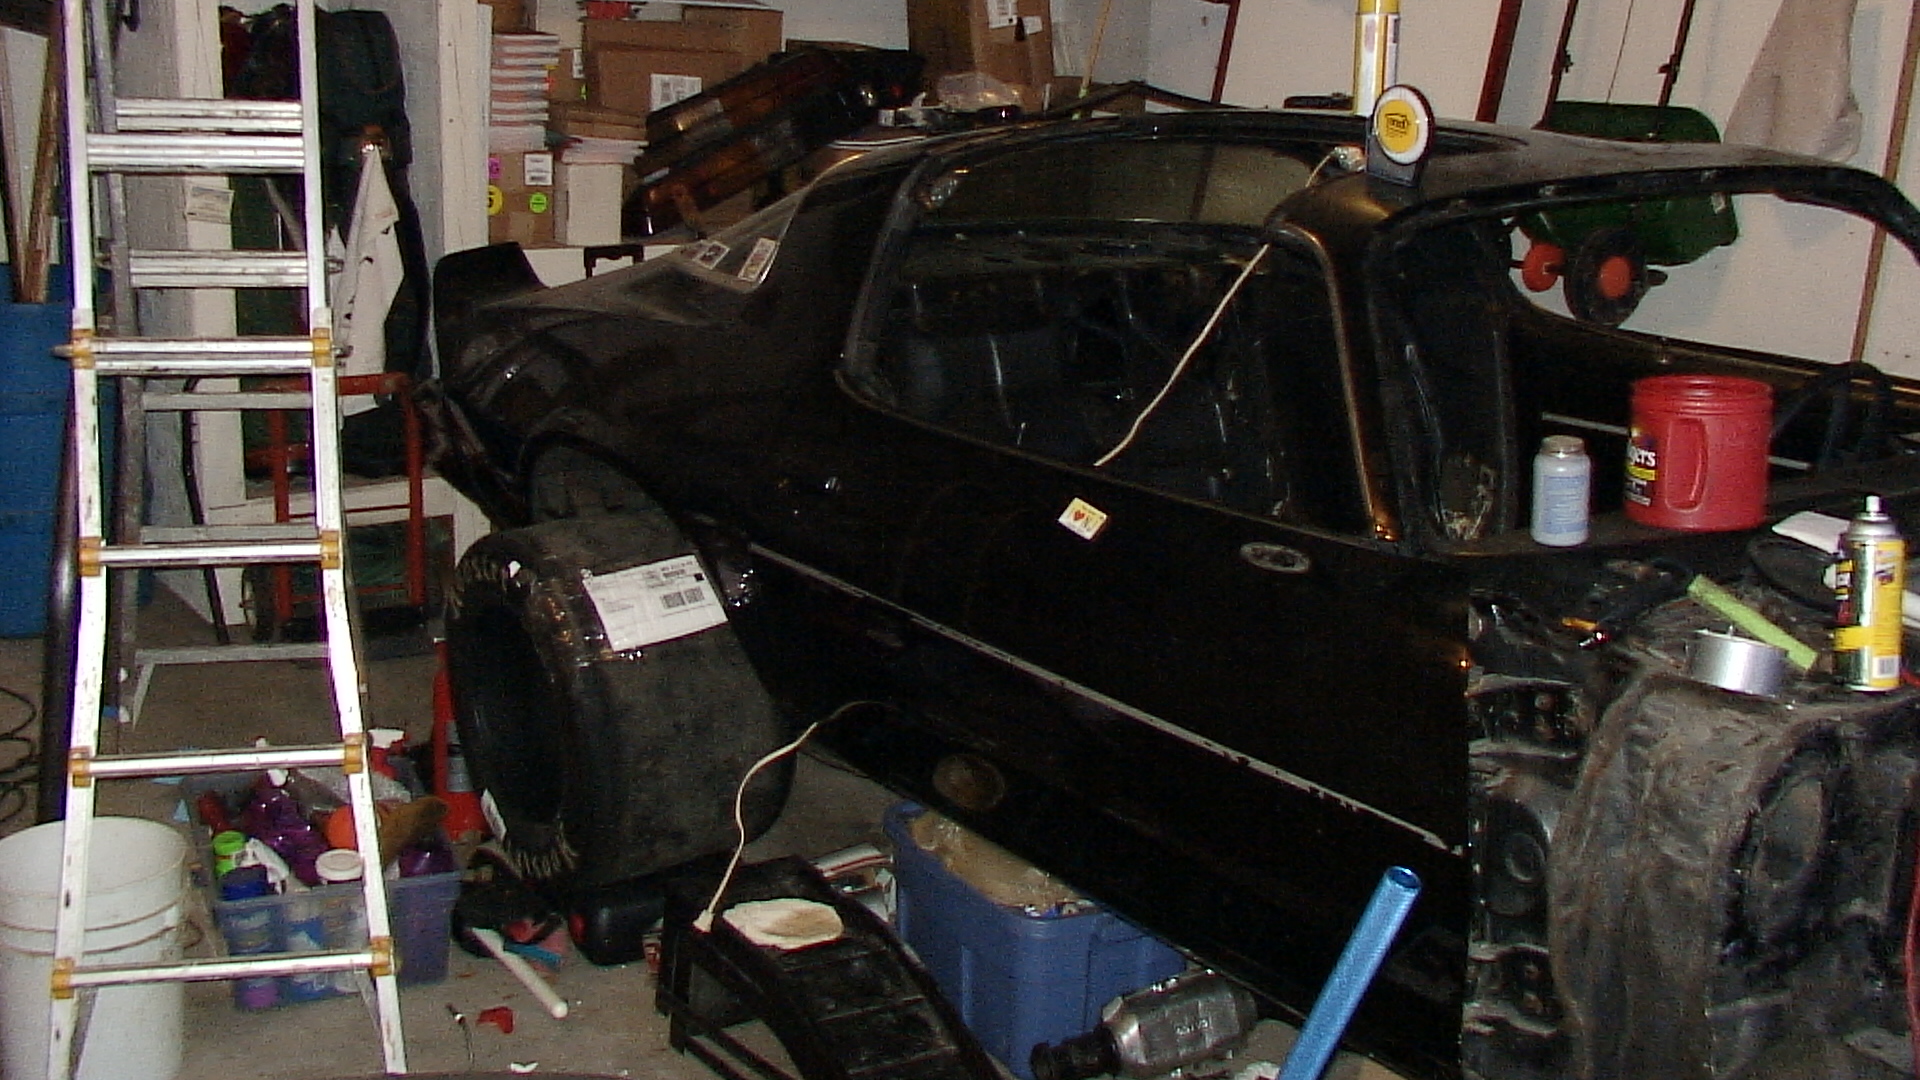
Fiberglass front clip, flares, hood, doors, and decklid

Lexan front and rear glass (no side glass)

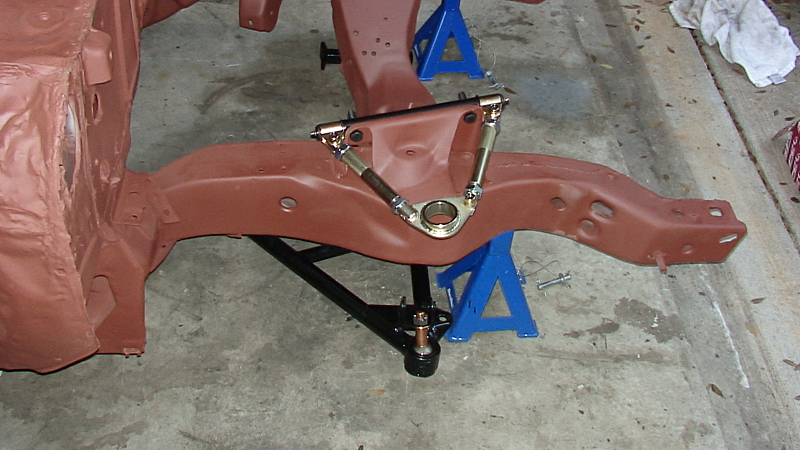
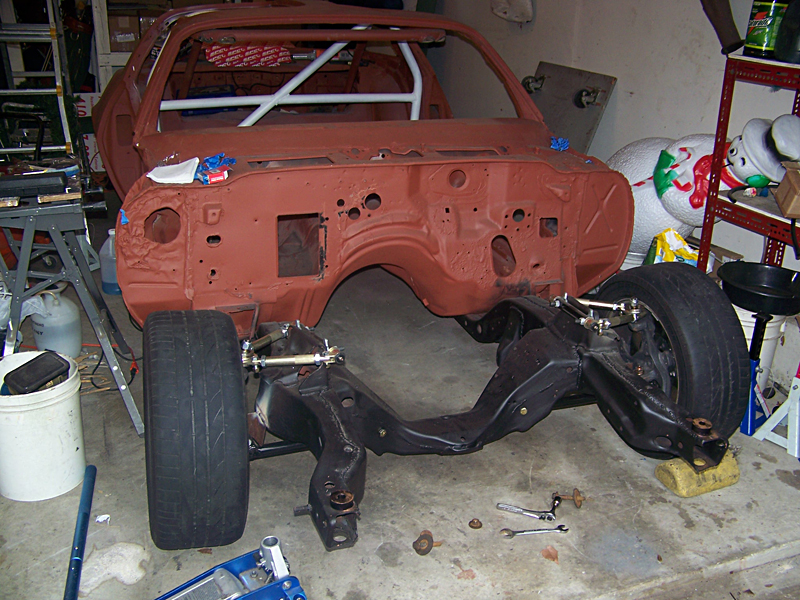
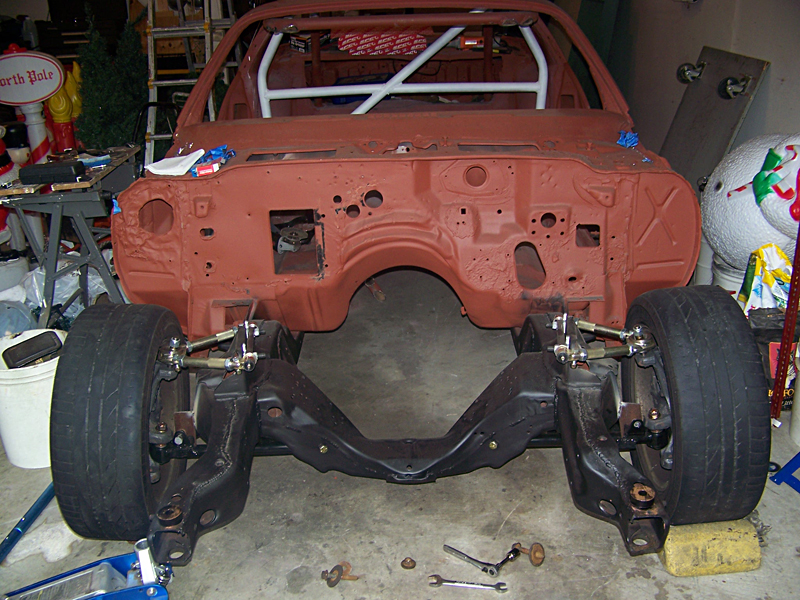
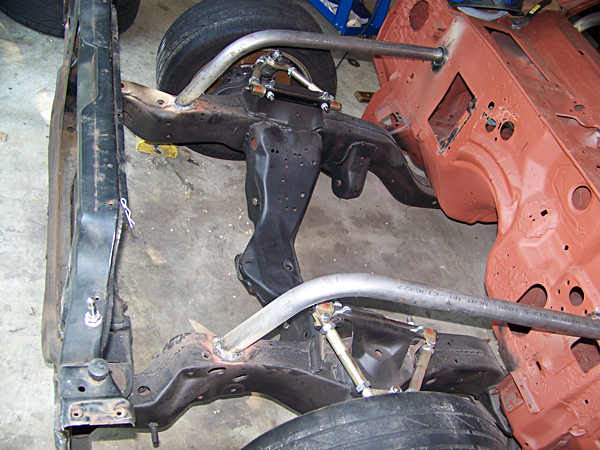
SPC upper control arms

Howe lower control arms

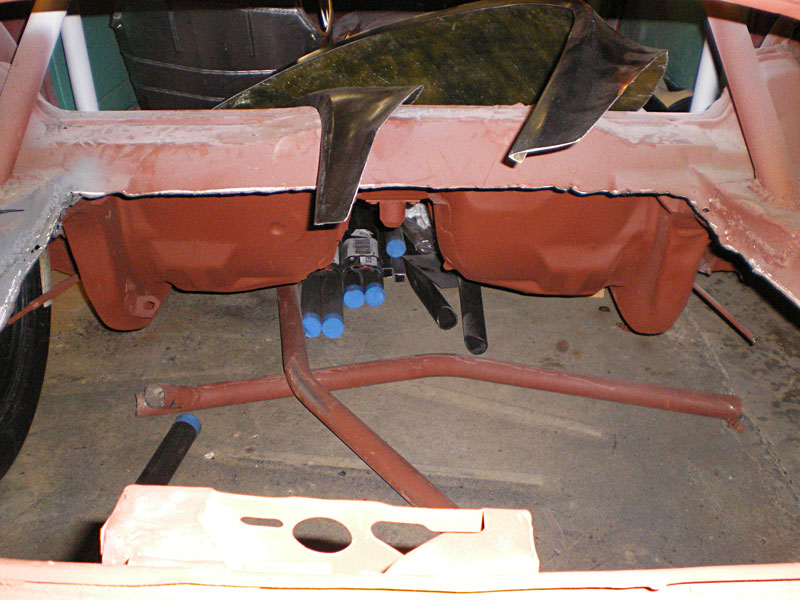
Custom 3-Link rear suspension

Koni coilovers

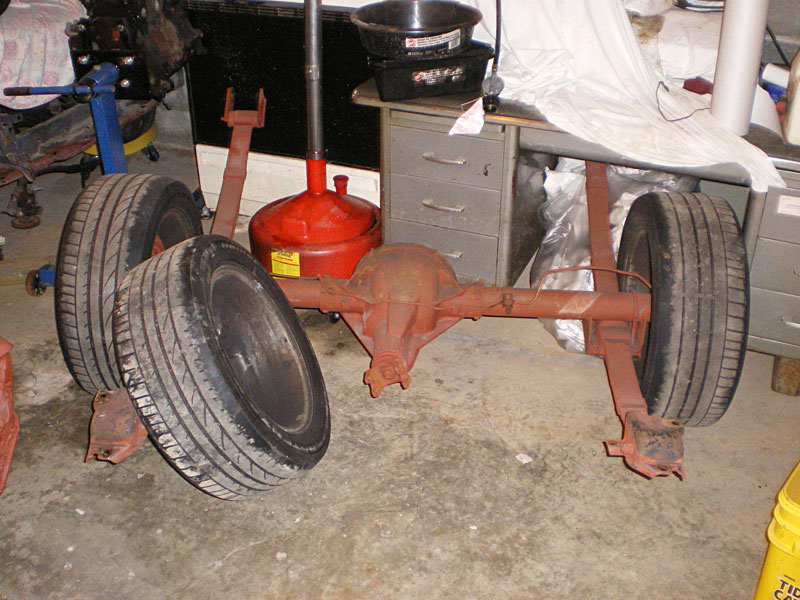
Ford 9" Rear (upper 4.86 gears)

Custom front and rear (blade) sway bars

377ci SBC

Jerico WC4 4-speed

Plus probably a few other things I'm forgetting...

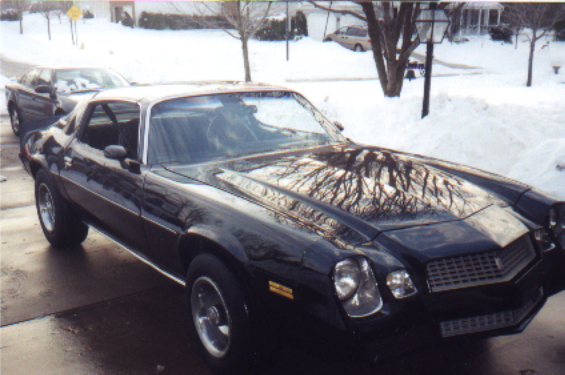
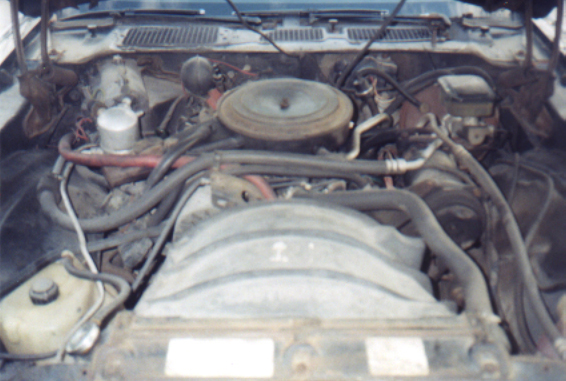
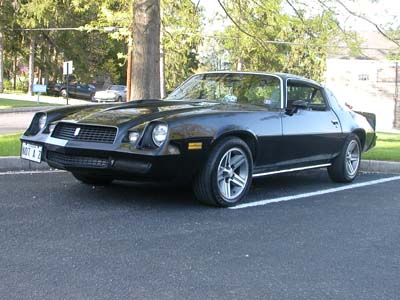
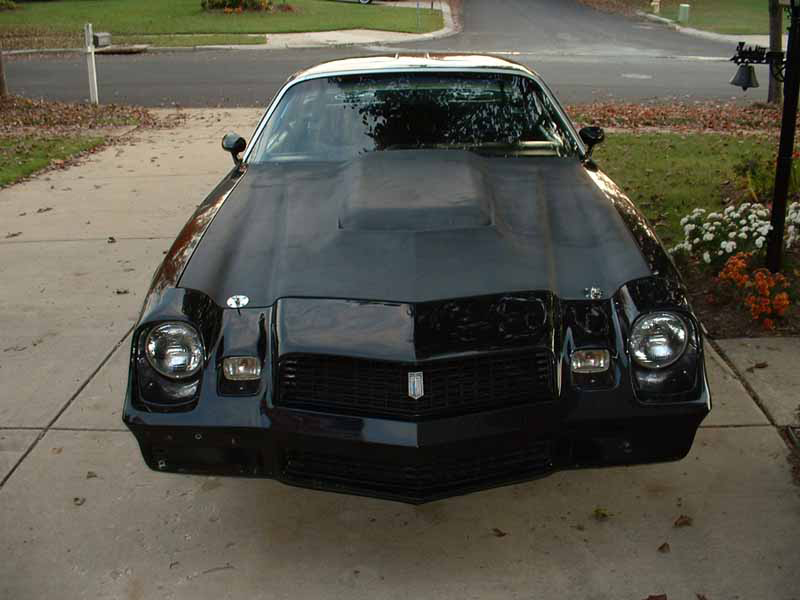
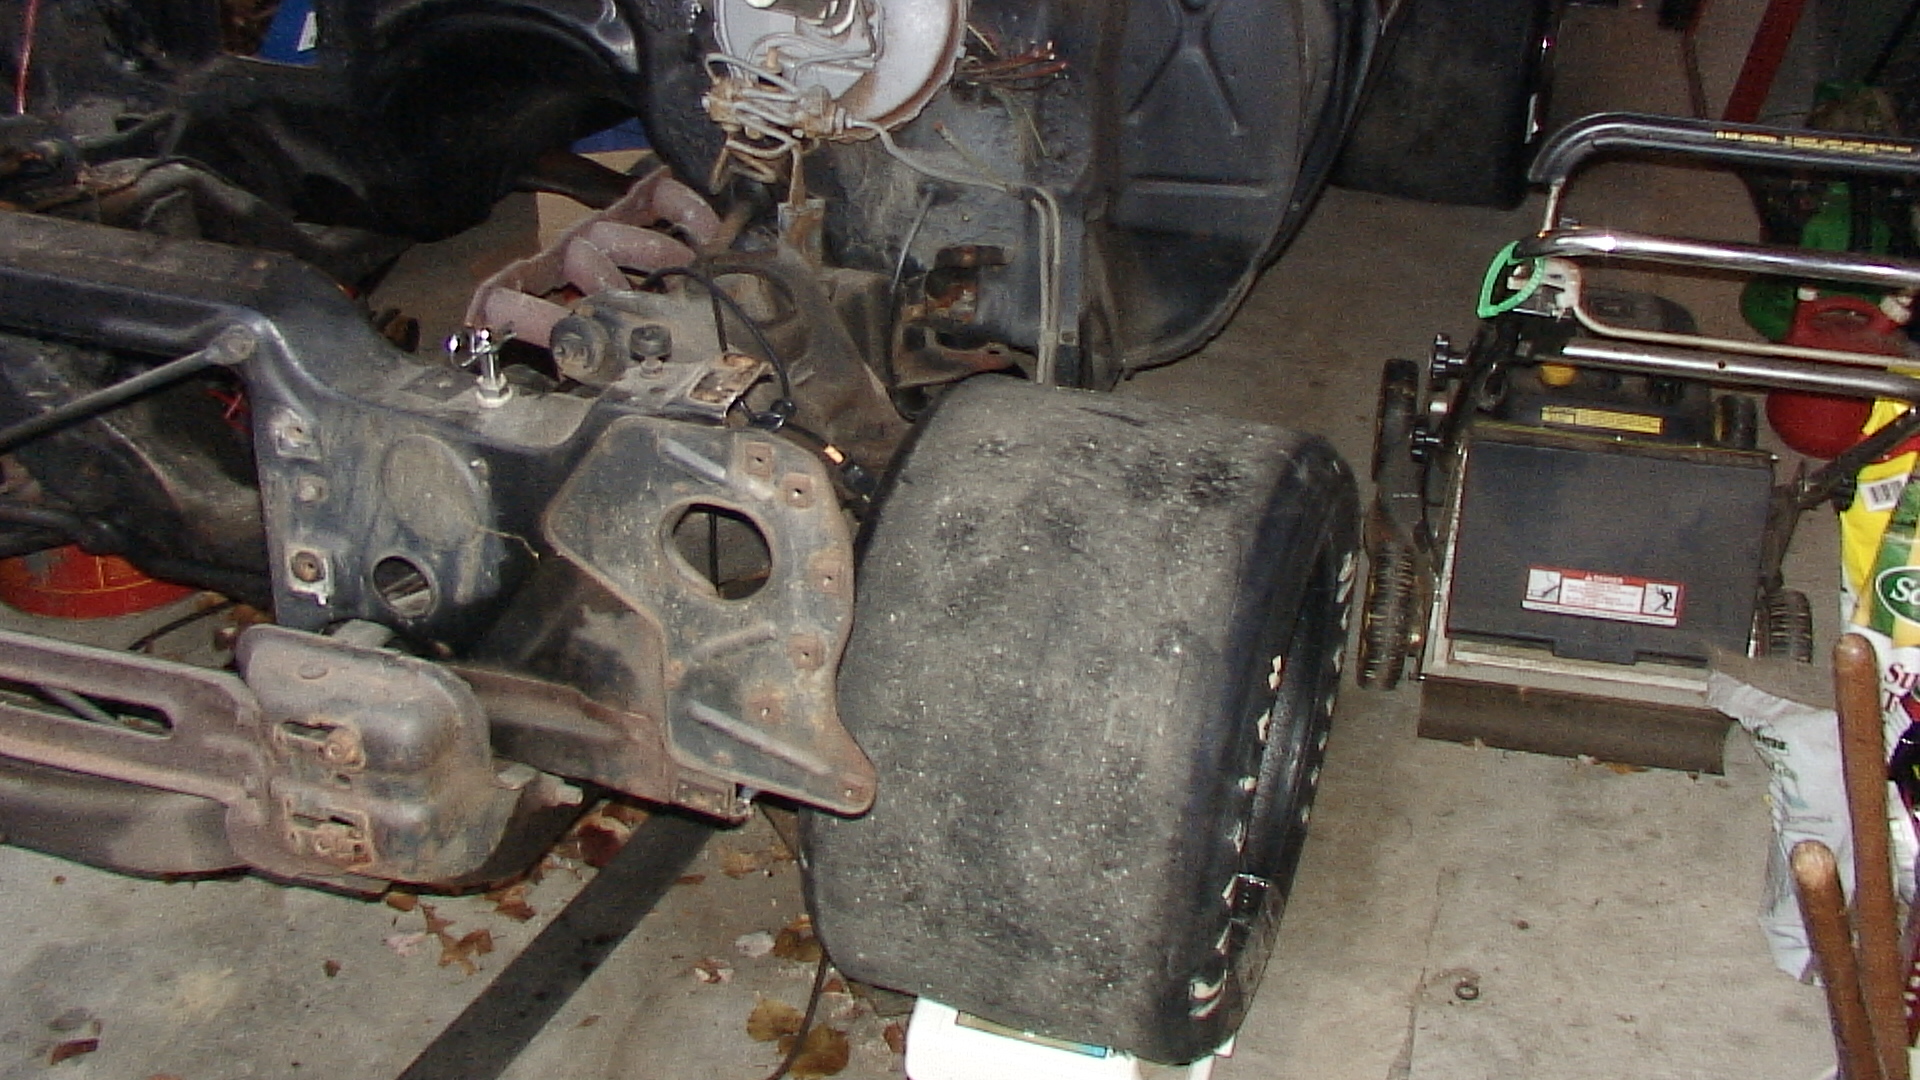
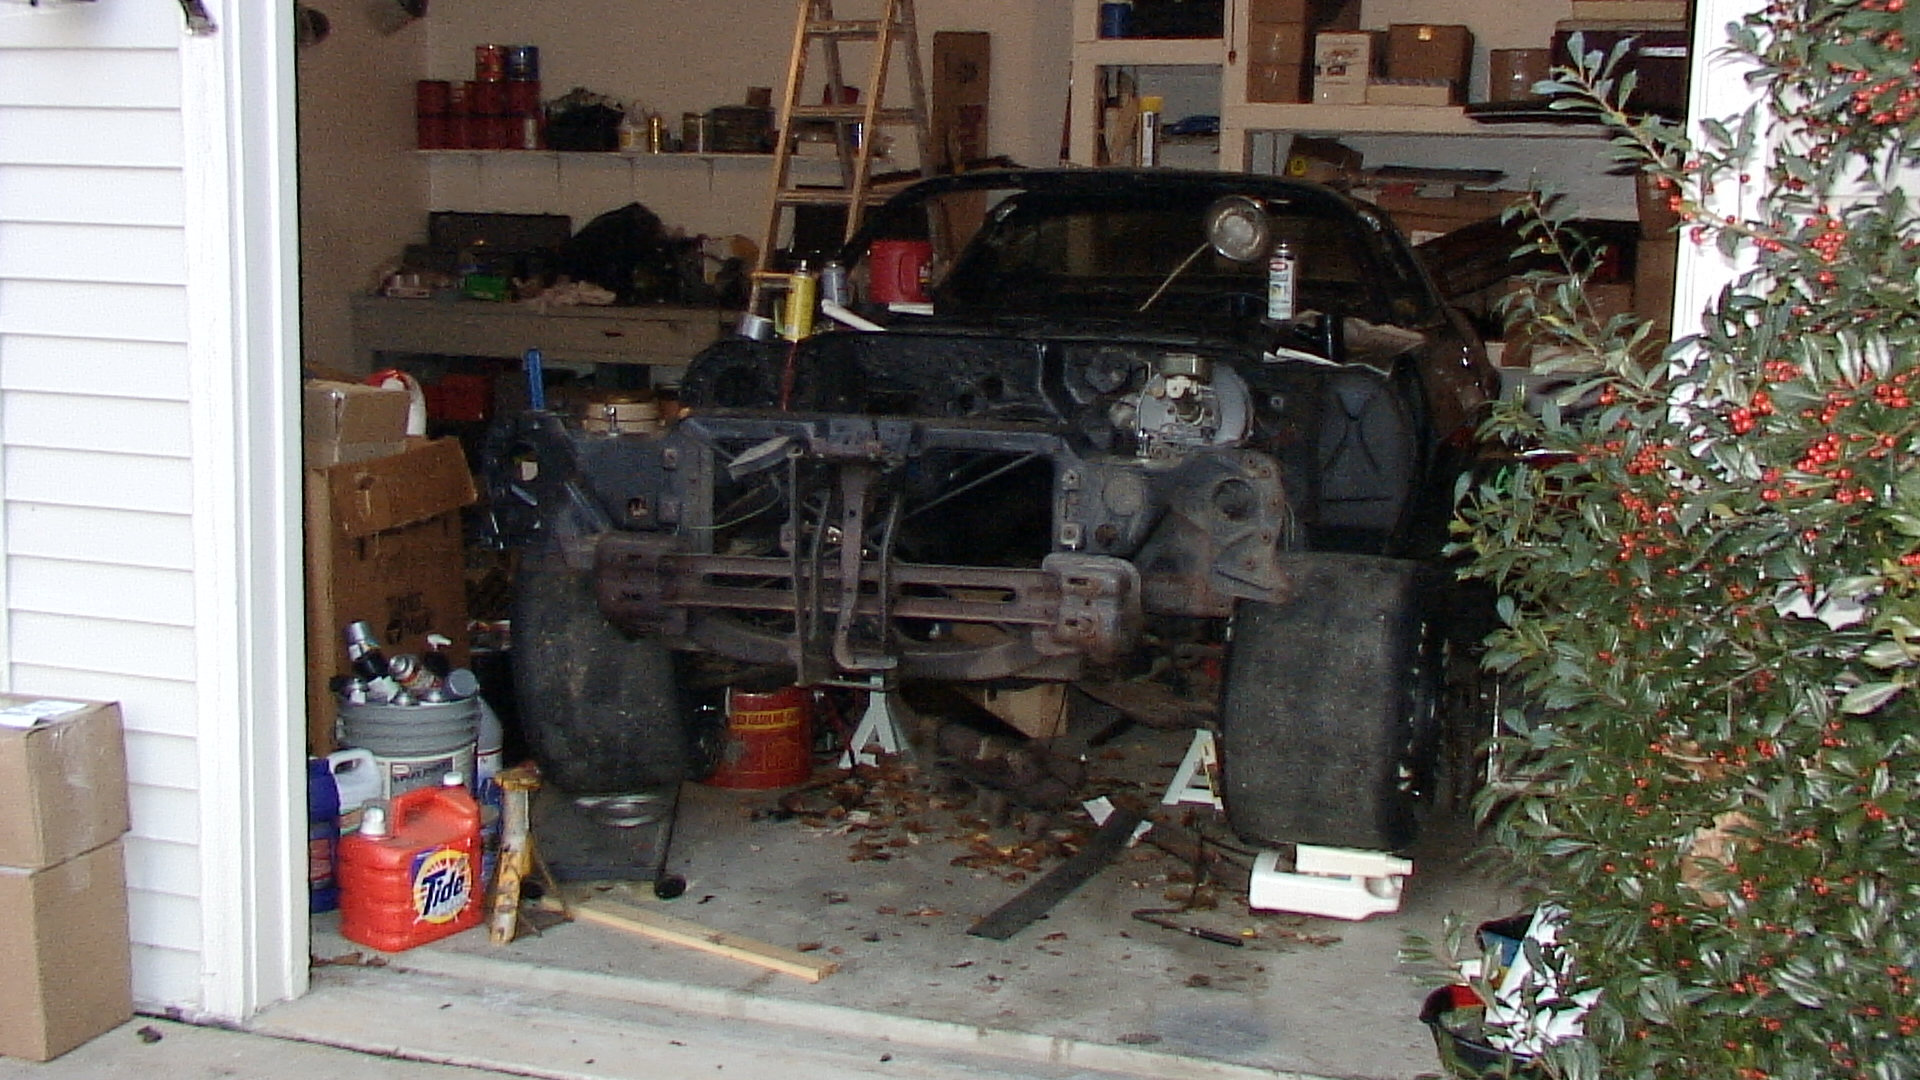
Back when I brought her home for the first time...

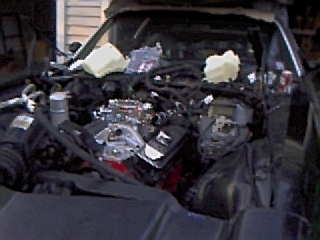
Then Pat and I put a new motor in...

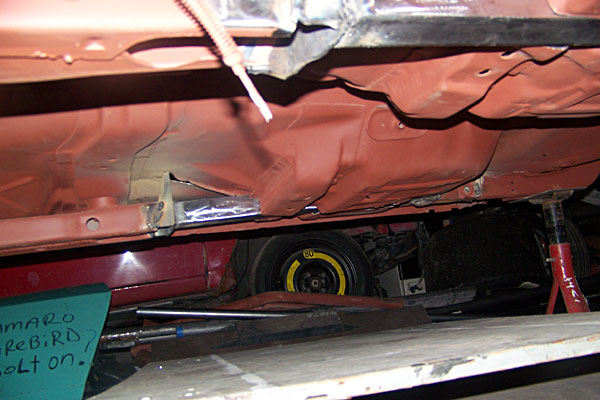
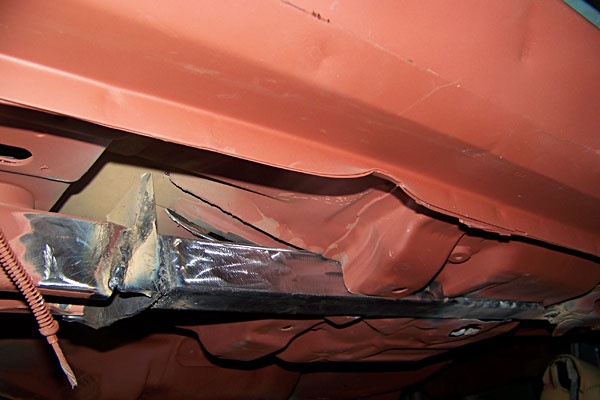
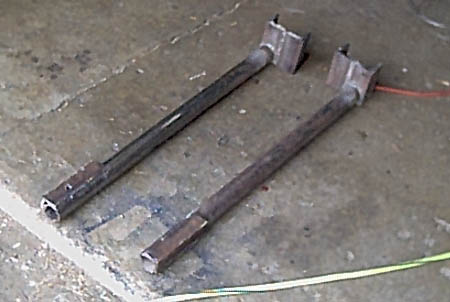
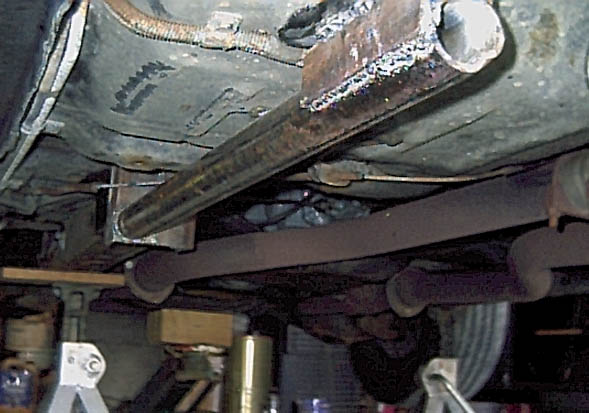
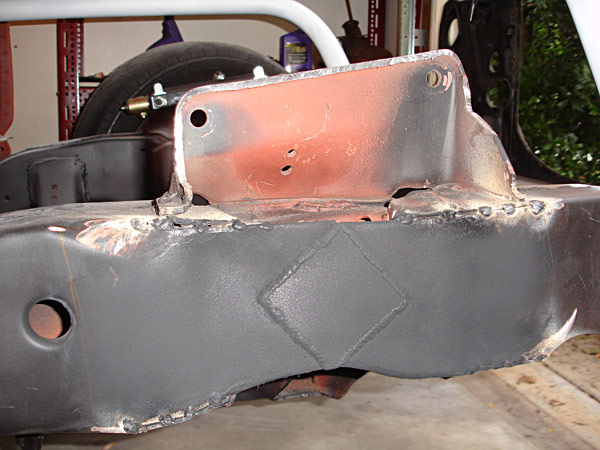
Then Pat made some subframe connectors...

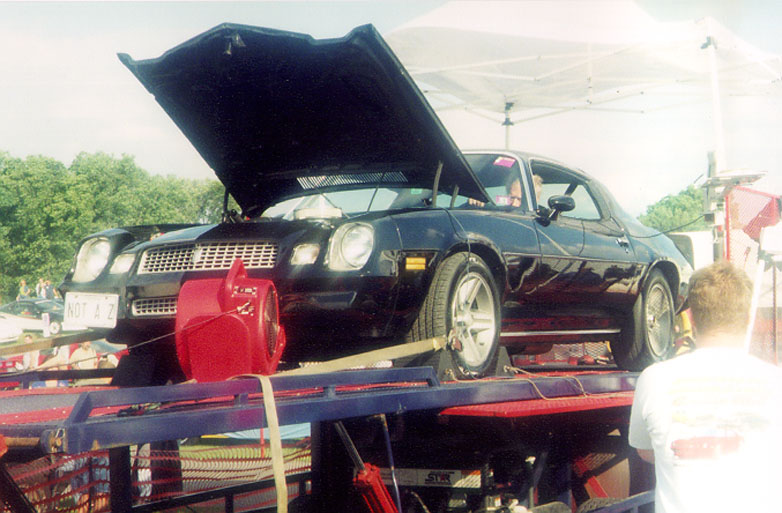
I dyno'd the motor...

Gimp
Gimp SuperDork
1/21/13 6:21 p.m.

Made some other changes...

Then I ripped the perfectly good motor out, and started the teardown... 
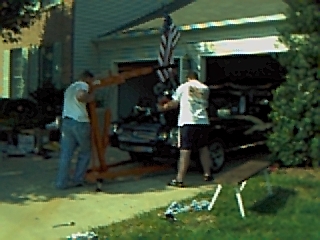
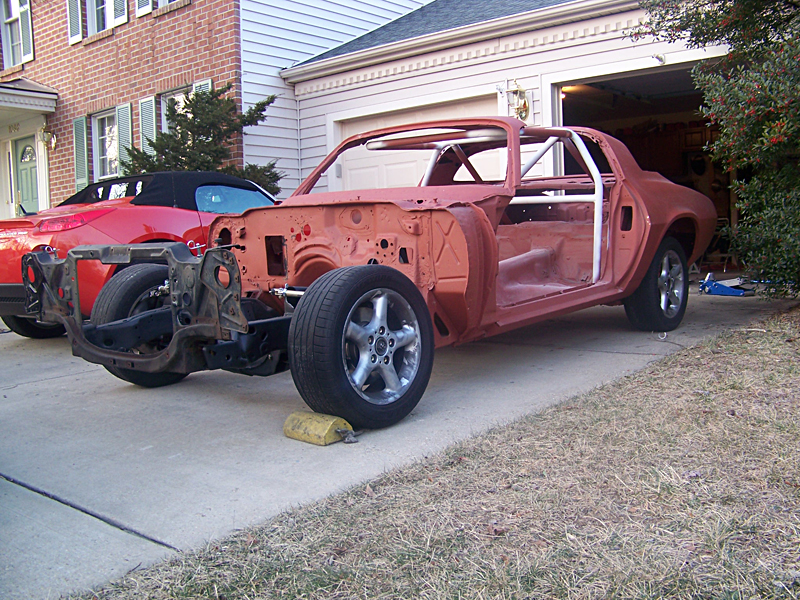
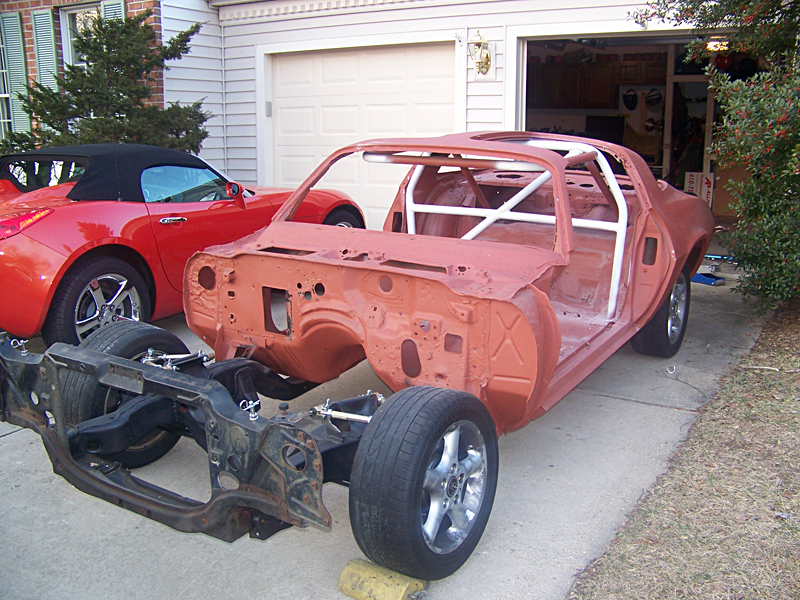
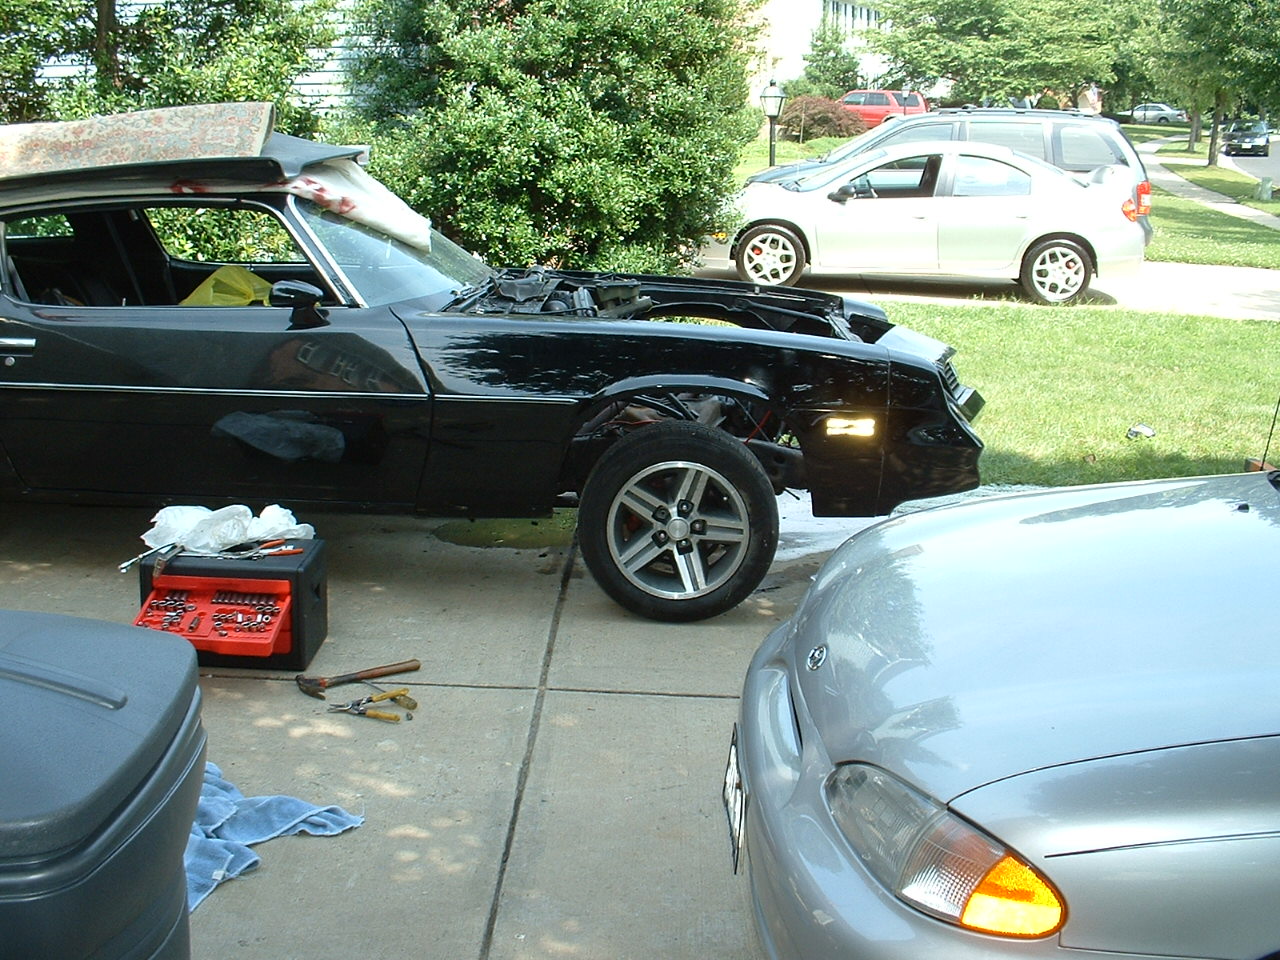
Funny thing about this photo ^^^ The Camaro is mine, the Hyundai in the lower right is my first autocross car, and later on I sold the Hyundai and bought the SRT-4 in the driveway next door.

Gimp
Gimp SuperDork
1/21/13 6:22 p.m.

Playing with tire mockup...

Guess I'll need something to cover those....

Just some more work (a-pillar bars are getting cut out and custom ones will be bent)...

And just today, the car came back from blasting and priming...

Gimp
Gimp SuperDork
1/21/13 6:23 p.m.

And how could I resist throwing on some shiny bits...

What will it look like when I'm done? Hopefully like this photoshop...

Thanks for looking! I'll have more pics as progress continues.

Gimp
Gimp SuperDork
1/21/13 6:24 p.m.

Minor update - I'm house sitting this week, meaning I can be close to the car. The majority of my work has been cleaning up from where I cut out the a-pillar bars (to make room for the new ones), but for the first time in probably 4 years, the car has 4 wheels and tires, and rolls.

1LE brakes on the front. I haven't mounted the calipers yet.

It's too cold to paint things, so the core support has to stay ugly for now. It's alright, considering I still have to cut a bunch of stuff off of it (no headlights for this car).

Gimp
Gimp SuperDork
1/21/13 6:26 p.m.
I only request that you take Frosty there for a ride when its done... he looks neglected in the corner. :shy:

There, you happy?

Just a few more pictures... rolled it out today to clean the floor.

Gimp
Gimp SuperDork
1/21/13 6:27 p.m.

And some of the damage on the car...

And the inside...

And underneath...

Gimp
Gimp SuperDork
1/21/13 6:28 p.m.

Tiny Update:

Got over to the car today and started working on the new a-pillar bars. The old ones would have worked well in a drag car, but I was never happy with them in my application. So I tore them out, had a new set bent up to my specs, and started on them today.

Here's the old (for reference):

They were too close to the steering wheel when installed, too far from the a-pillar to tie them in, kinda in the way when you were trying to look out the front, and I had kept the front of the halo lower so that I could pop the t-tops back in place.

Well, screw the t-tops. I cut some metal, got the halo higher in the front, and started the fit-up. Sorry for the cell phone pictures - I'll get better ones once the other one is made and everything is welded (this one is just tacked for now).

Gimp
Gimp SuperDork
1/21/13 6:29 p.m.

Expansion on that last update:

Again, for reference:

The old a-pillars.

Did some work today, got both the new a-pillars tacked in and started work on hanging the doors.

Gimp
Gimp SuperDork
1/21/13 6:30 p.m.

and the door...

Moding the stock hinge:

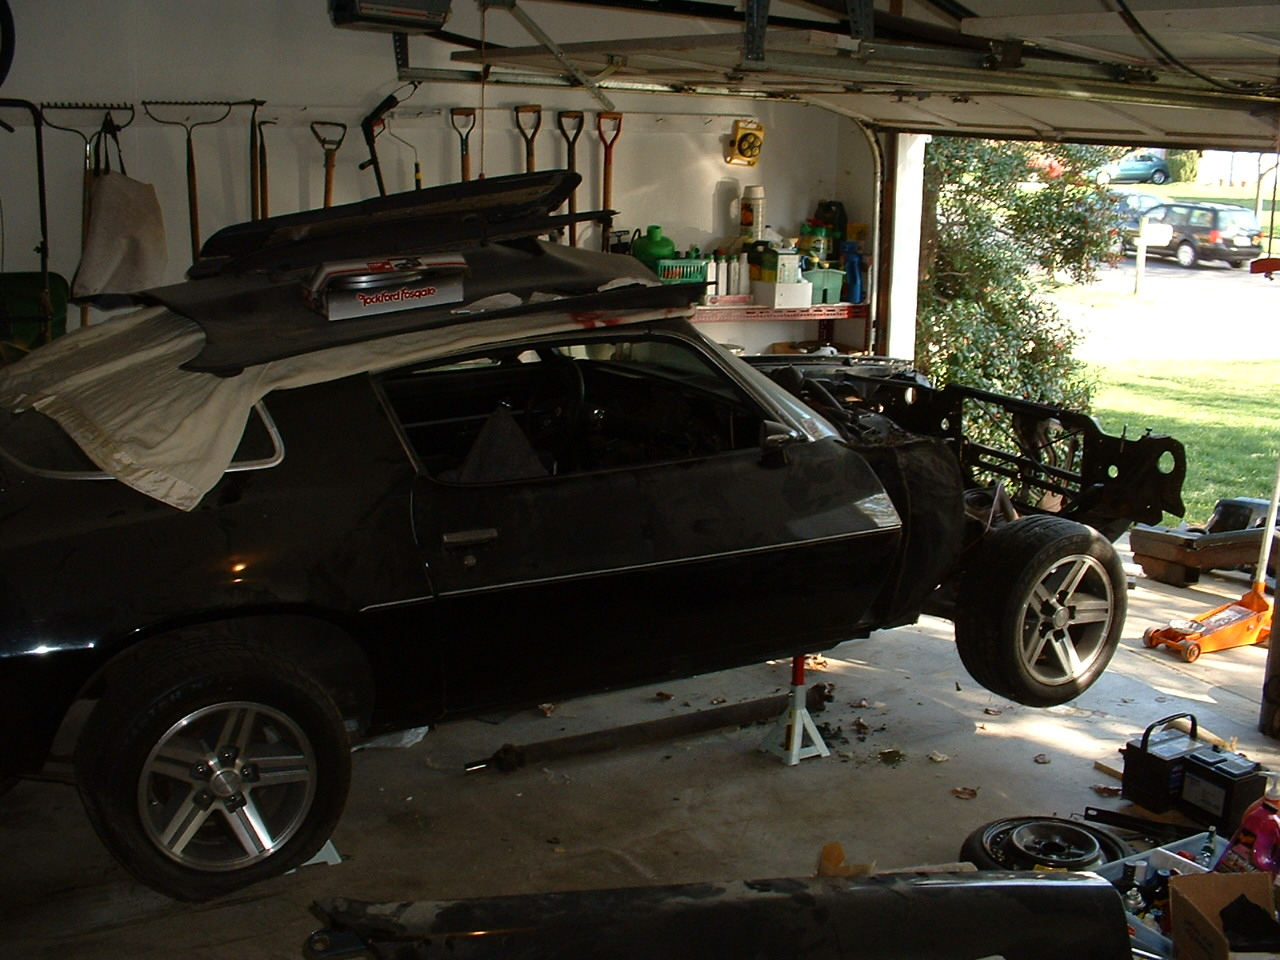
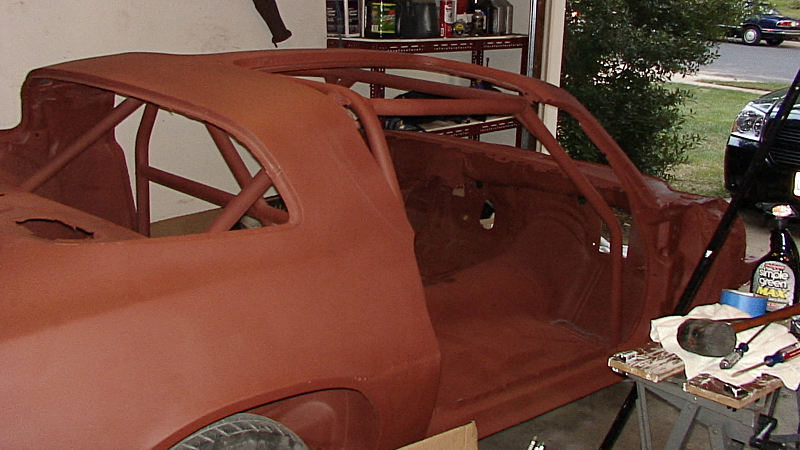
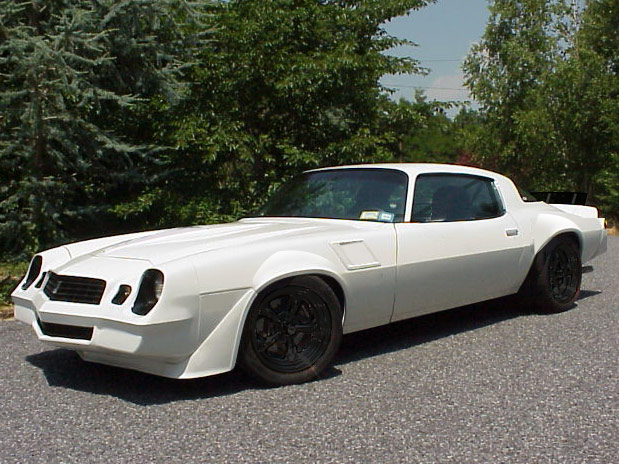
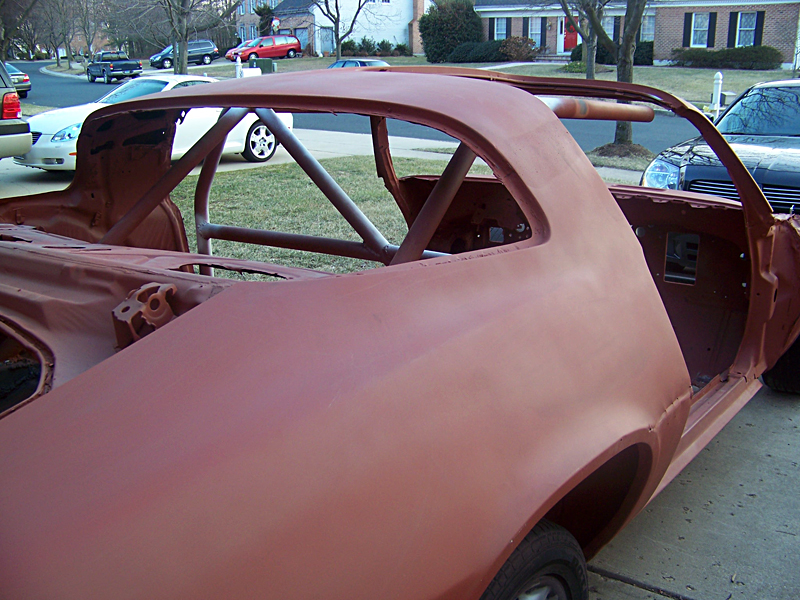
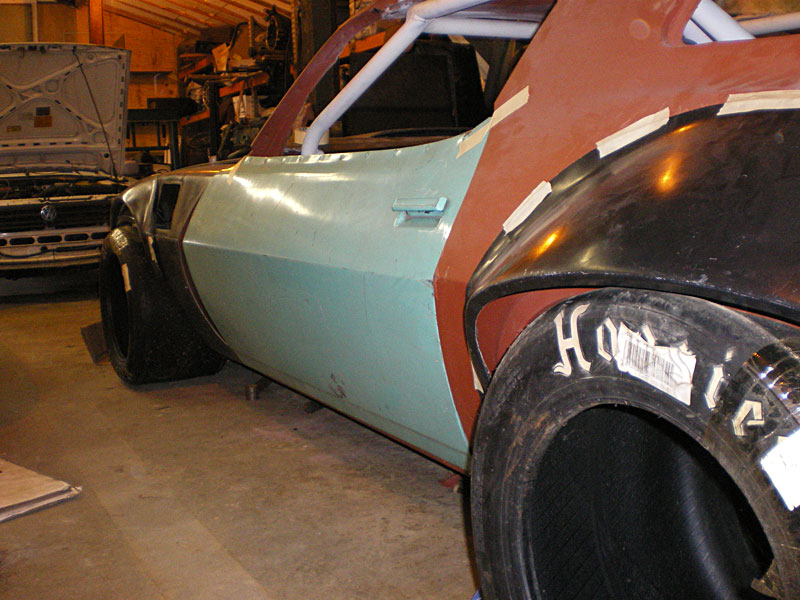
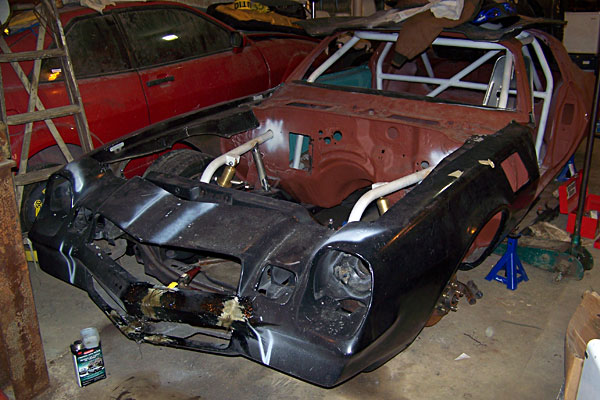
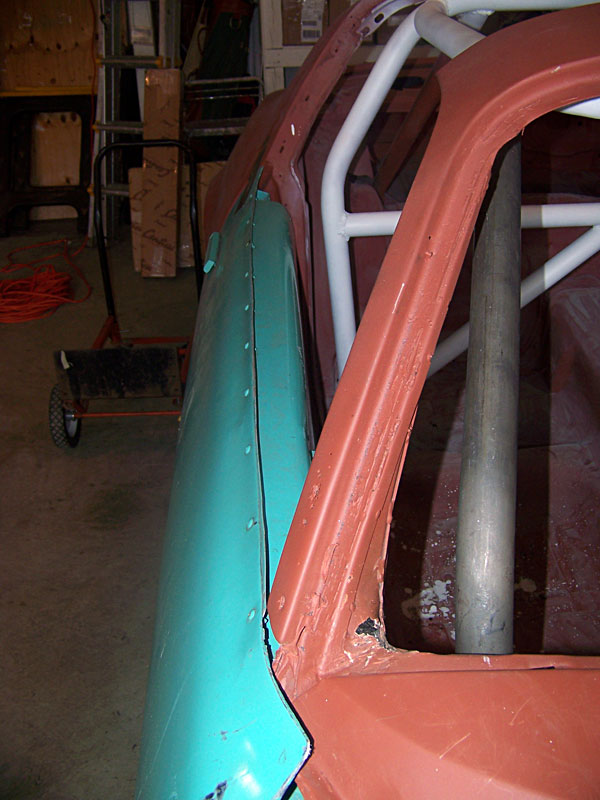
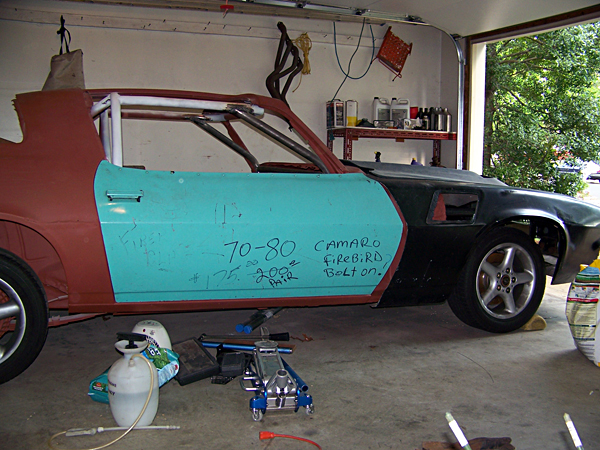
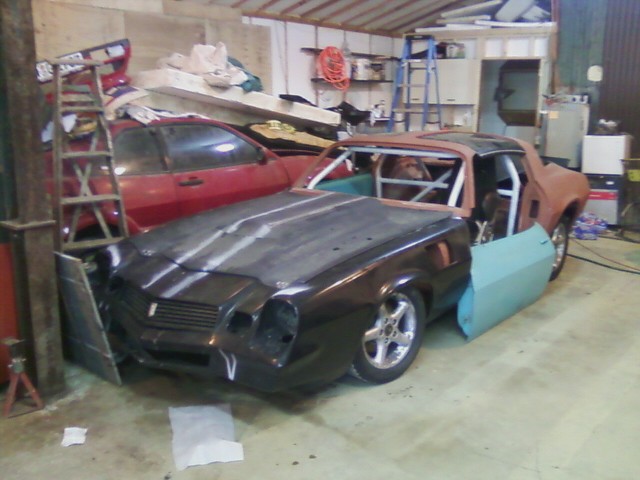
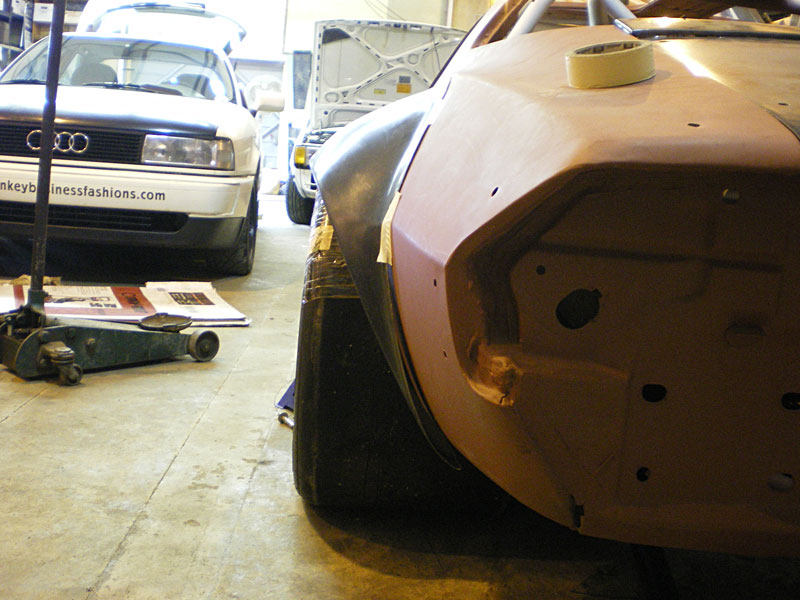
Not bad panel alignment for the first shot...

Gimp
Gimp SuperDork
1/21/13 6:31 p.m.

Rest of the cage came in, so I started on the front bars:

Just have to notch and weld, then I can work on hanging the front coilovers and bodywork.

Gimp
Gimp SuperDork
1/21/13 6:32 p.m.

Got a little more work done today, and at the end, it finally looked like a car.

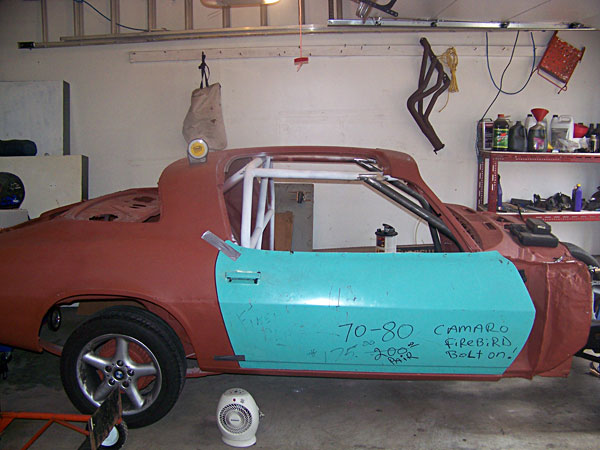
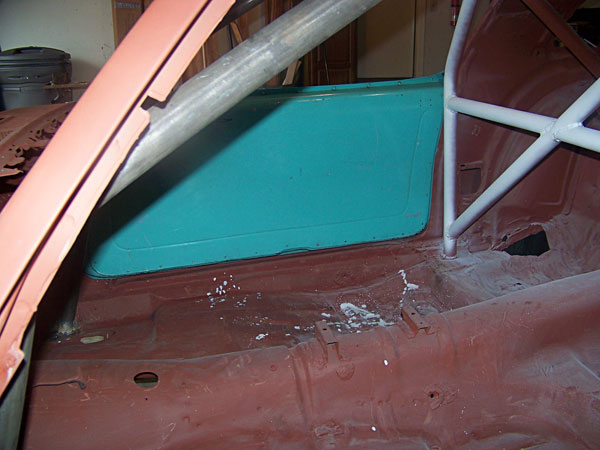
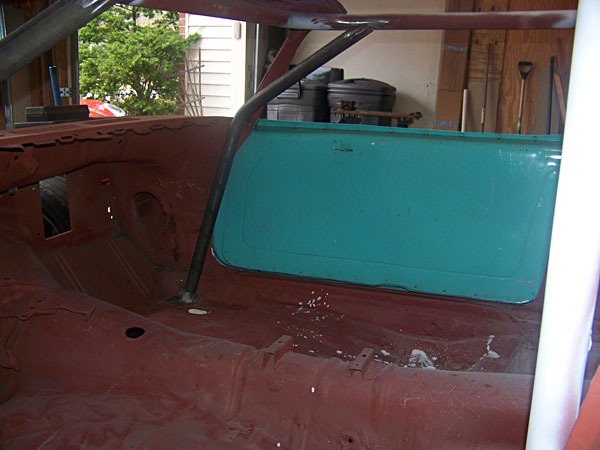
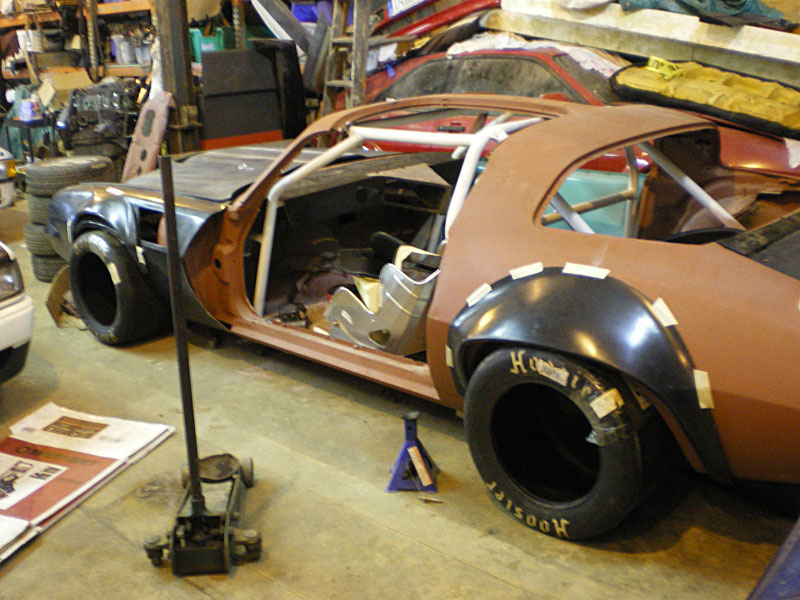
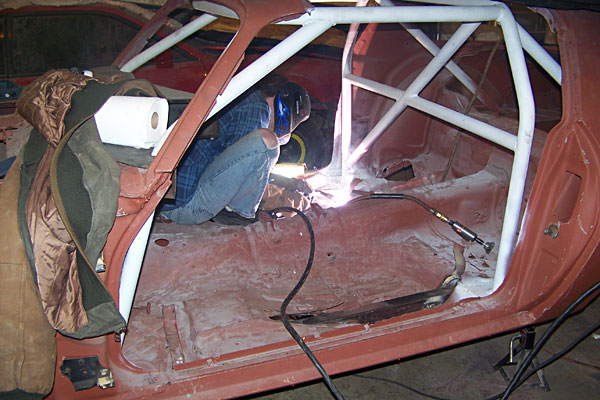
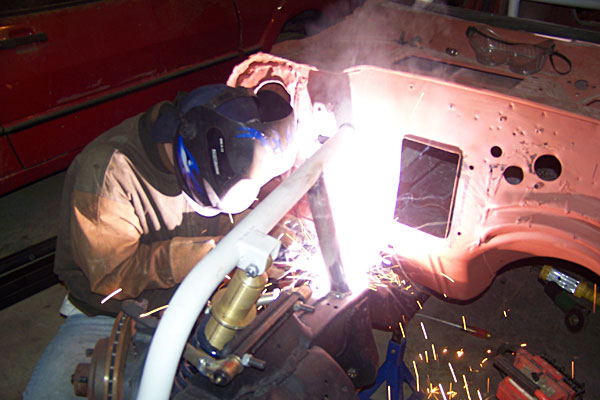
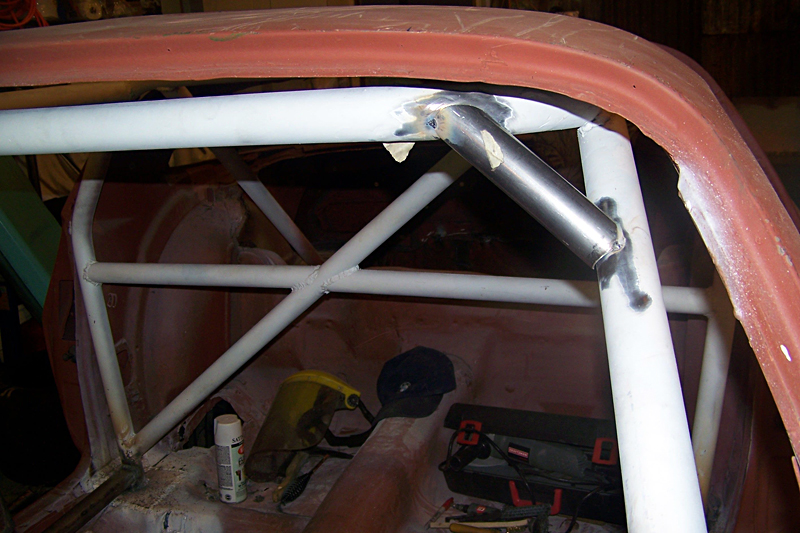
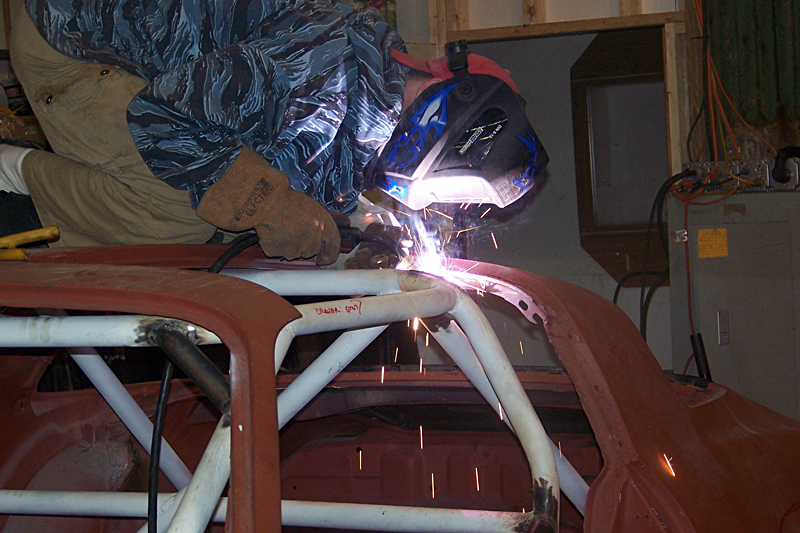
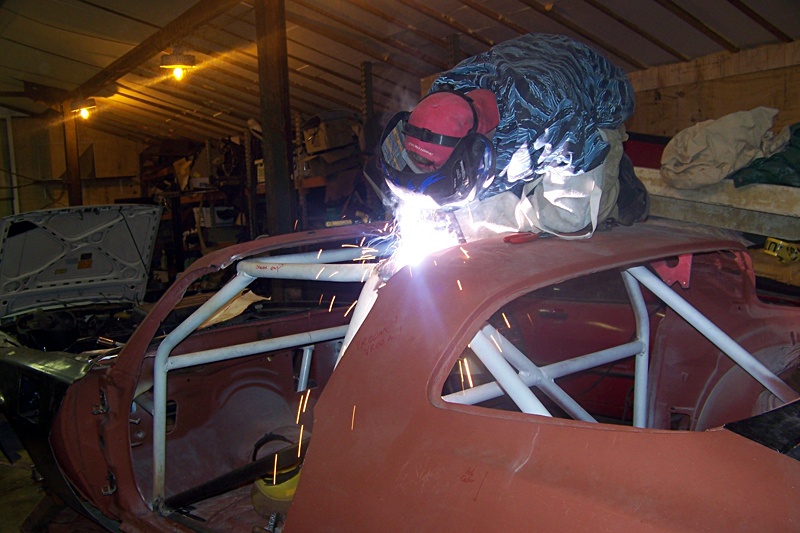
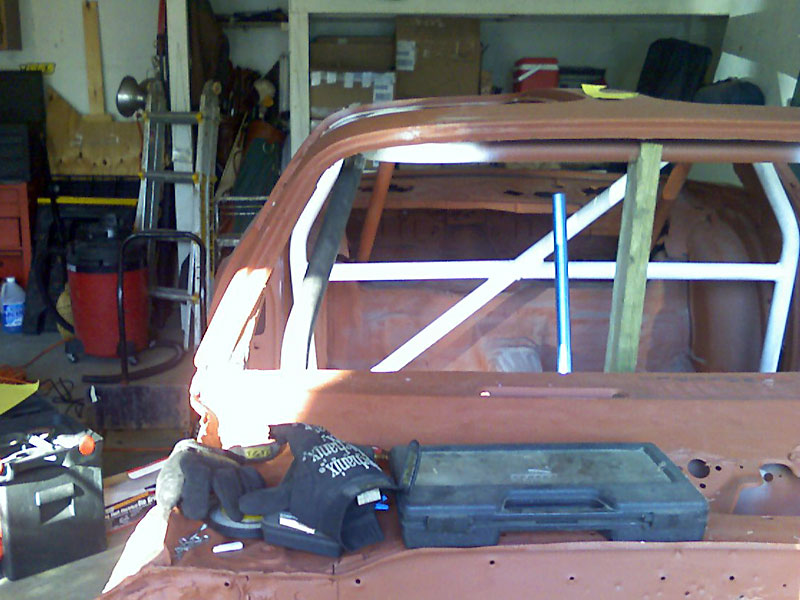
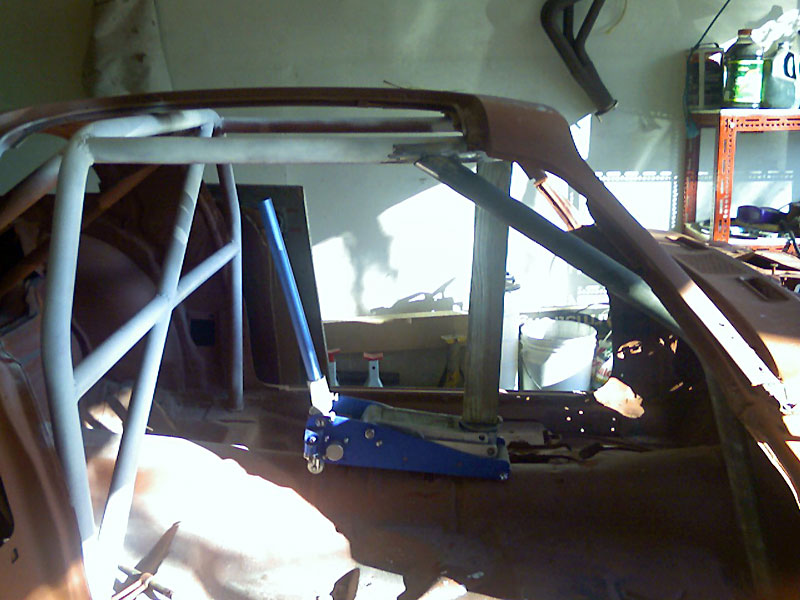
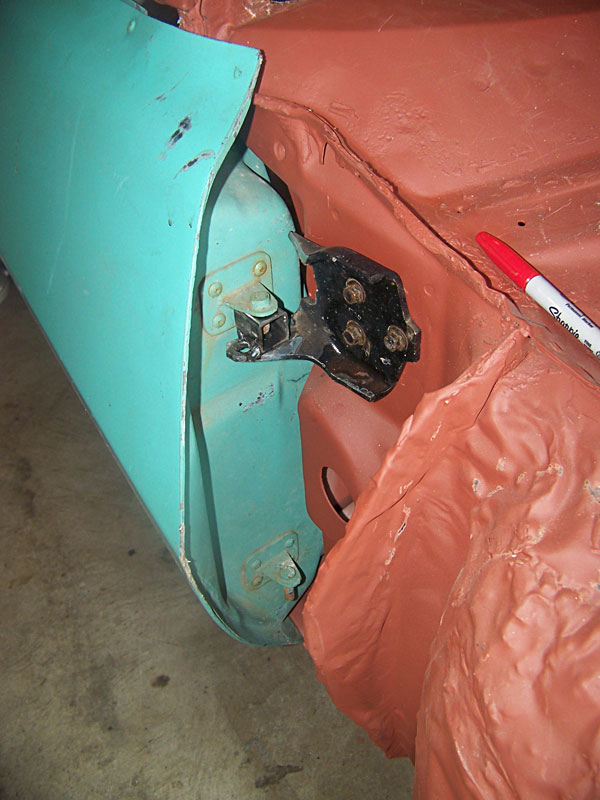
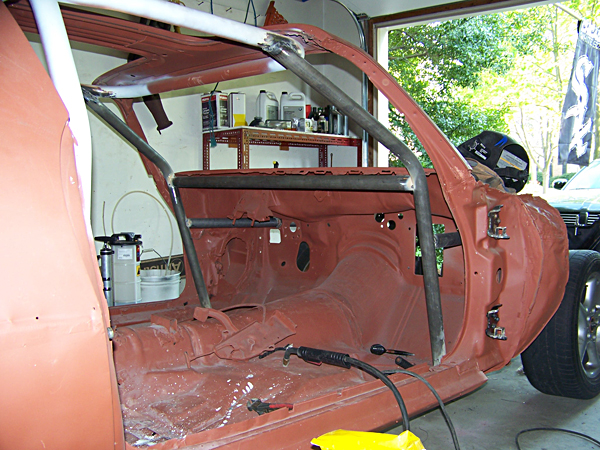
Dash bar in, engine bars welded in place.

Gimp
Gimp SuperDork
1/21/13 6:33 p.m.

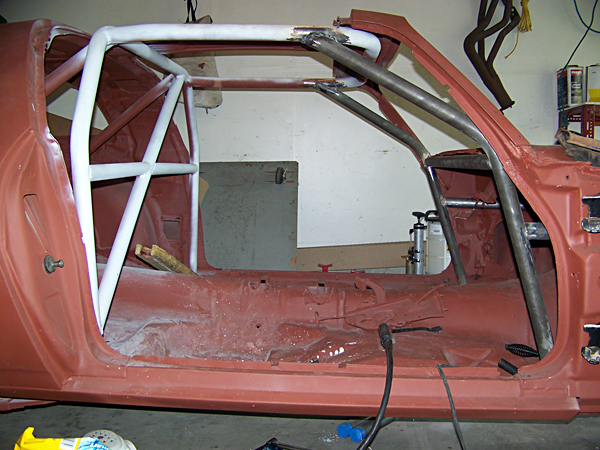
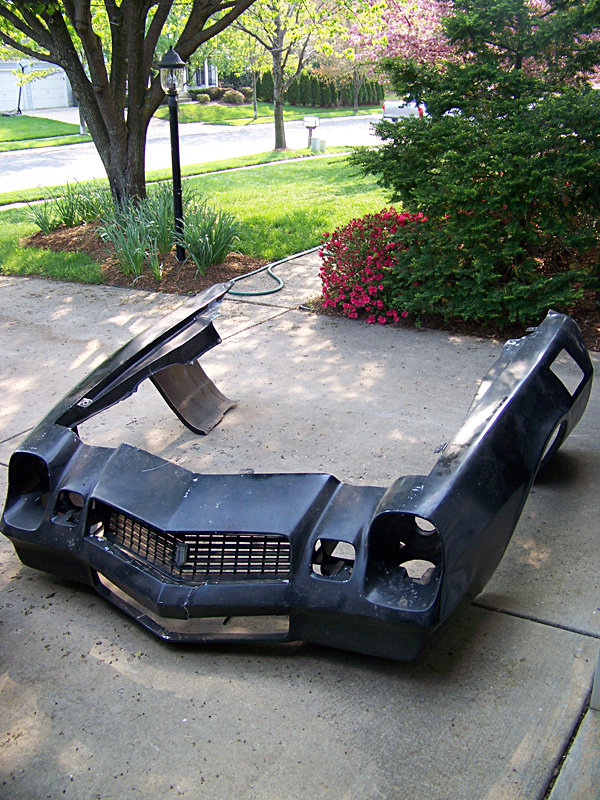
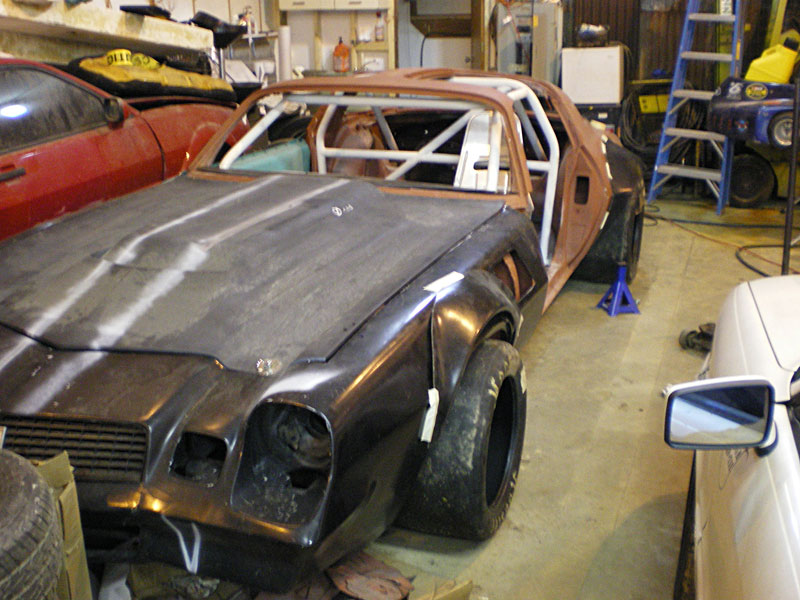
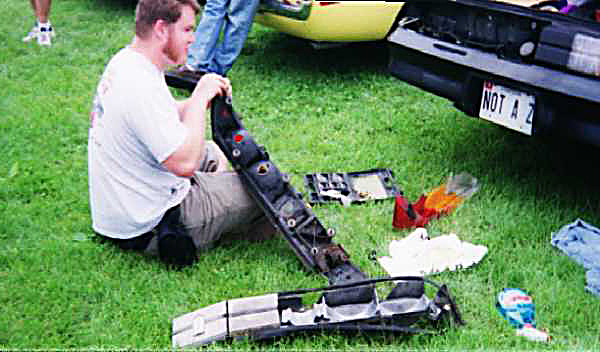
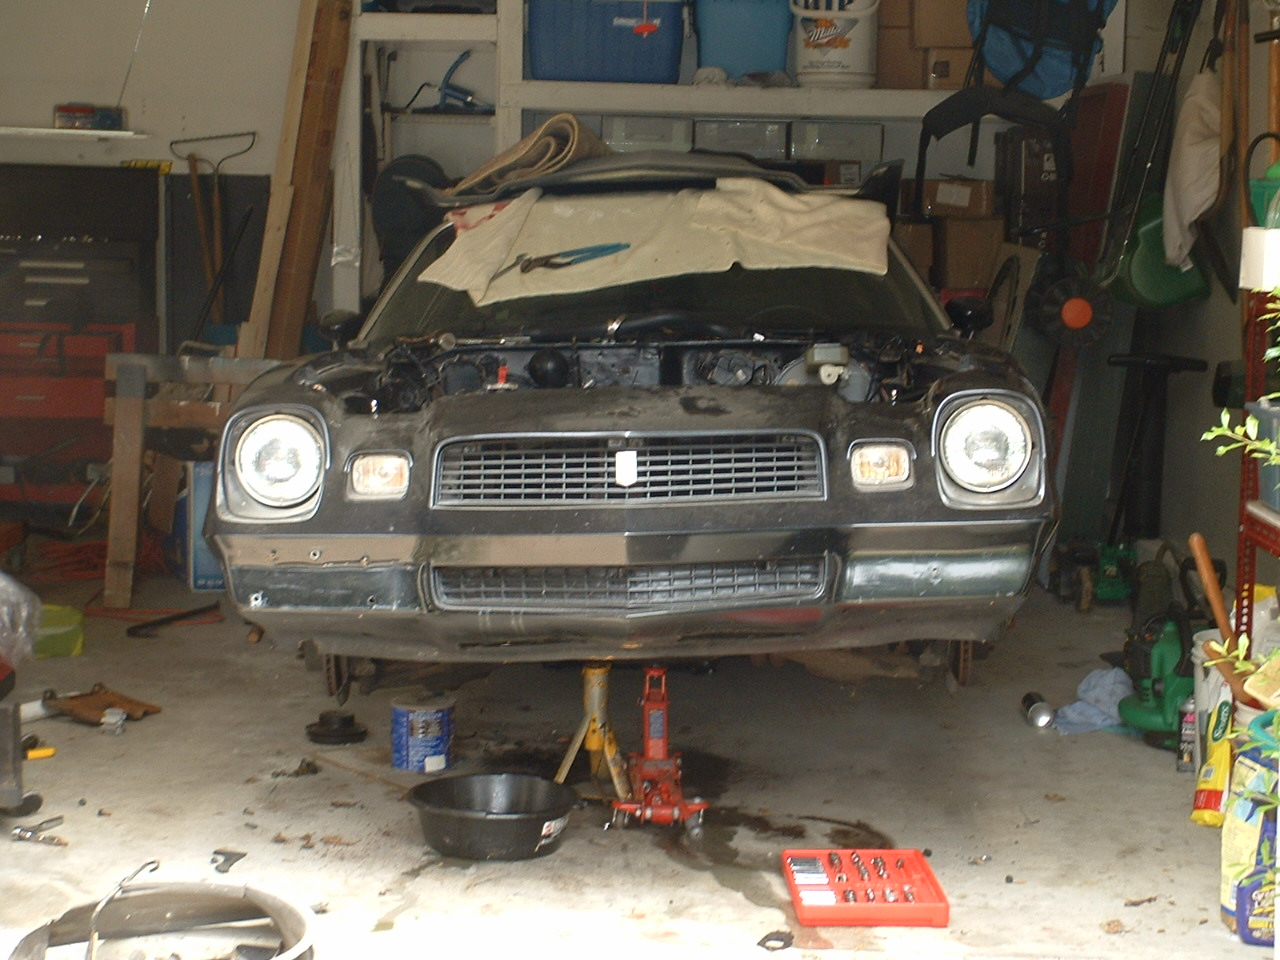
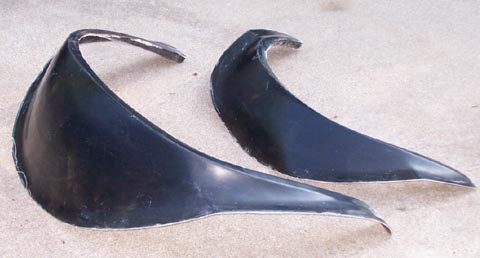
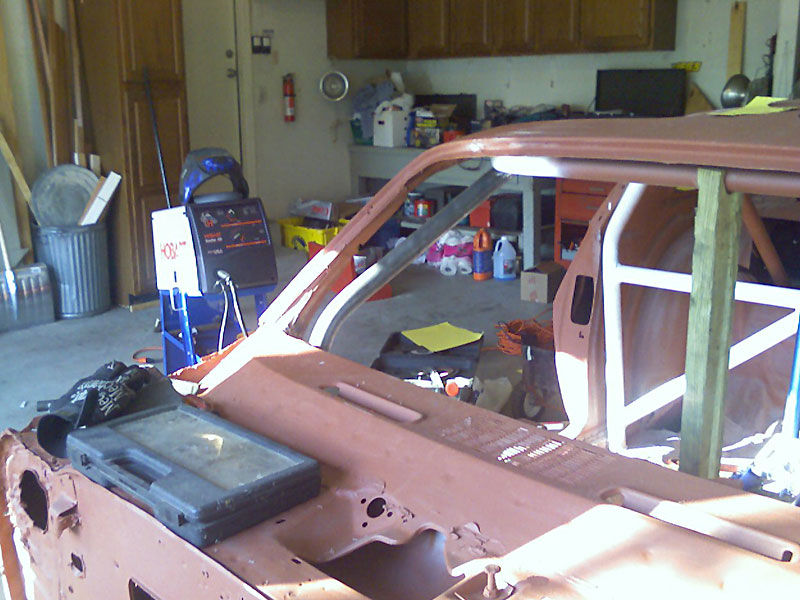
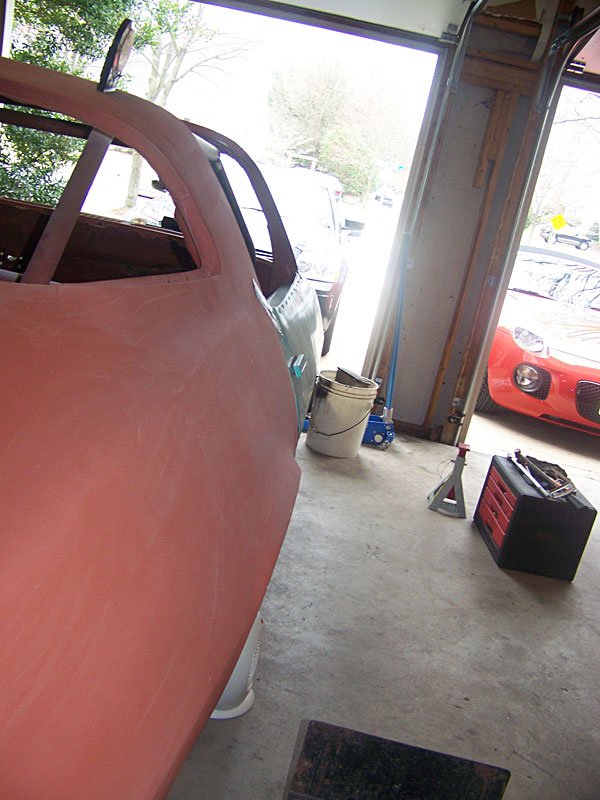
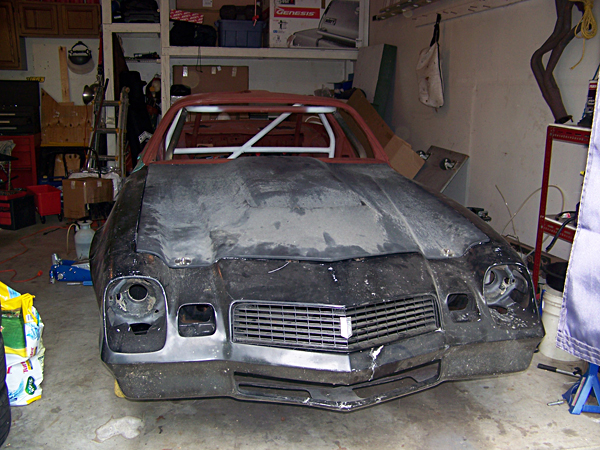
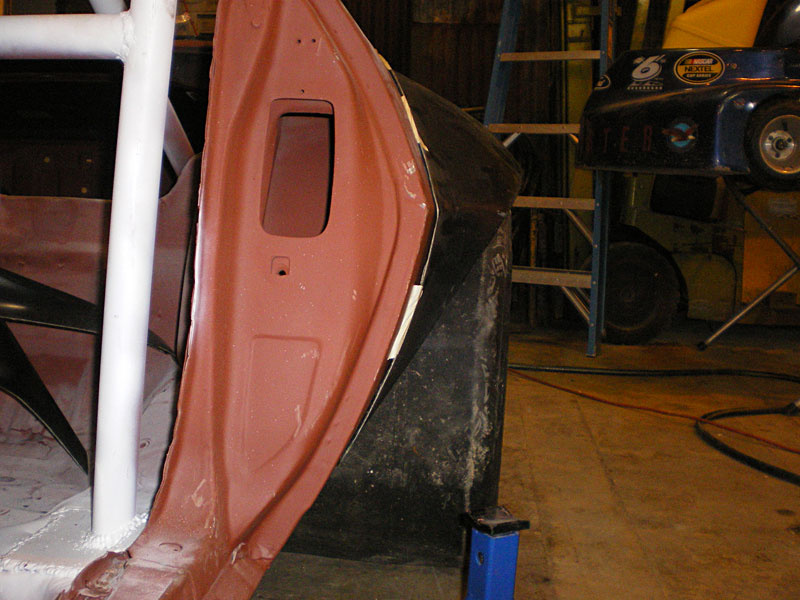
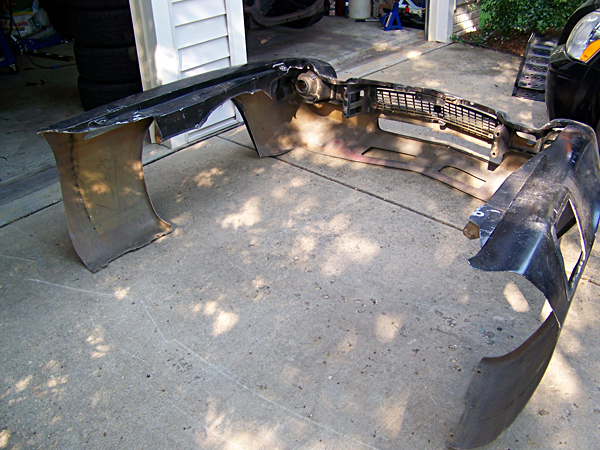
The broken and beaten glass front clip. I'll get to repairing it soon, but at least it was cheap.

It's a car! Well, kinda. The front clip isn't bolted on, but it's something.

bearmtnmartin
bearmtnmartin Reader
1/21/13 6:33 p.m.

Go ahead and paint. I just painted my roll cage and interior at 28 degrees. It did take 2 days to cure though.....

Gimp
Gimp SuperDork
1/21/13 6:35 p.m.

Started hacking on the frame again today to clearance for the front AFCO coilovers:

Before(ish)

During

After

I still need to plate the top and bottom, finish weld, support the a-arm attachment point, and do the other side, but progress is progress.

Gimp
Gimp SuperDork
1/21/13 6:35 p.m.

So a lot has happened, but not a ton of pictures to show for it. My parents (I'm 30) are getting divorced, so I no longer can use their garage, as the house has been sold. Because of this, the car had to move over two hours away, but luck would have it that it is staying with a friend who doesn't mind getting his hands dirty.

So here it is on move-in day:

On the trailer on they way up the car it 80mph. It hasn't done that in over 5 years. I added racing stripes to make it look faster. More importantly, I buttoned up the front suspension so it was ready to roll. I'll get pictures of it next time I'm out there, but it's all boxed in, hung, and ready(ish) to roll.

moparman76_69
moparman76_69 HalfDork
1/21/13 6:35 p.m.

Am I the only one refreshing the page hoping for another post?

Gimp
Gimp SuperDork
1/21/13 6:36 p.m.

So about that guy I left it with... We call him "Mustang Boy". He's a fellow autocrosser and a good friend of mine. Being a college student, he needs to blow off steam, so I let him have at the car.

He was a little nervous when I told him to cut the car up, so I drew some lines for him to follow:

He tagged the car with the team logo...

A cut above the rest... (he looks like a skinny terminator)

Way to follow the line

After

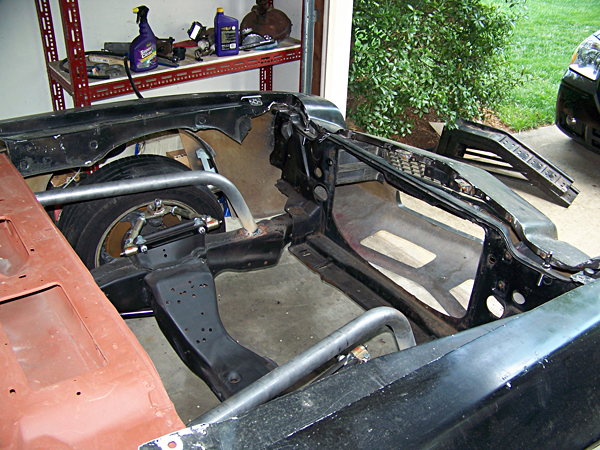
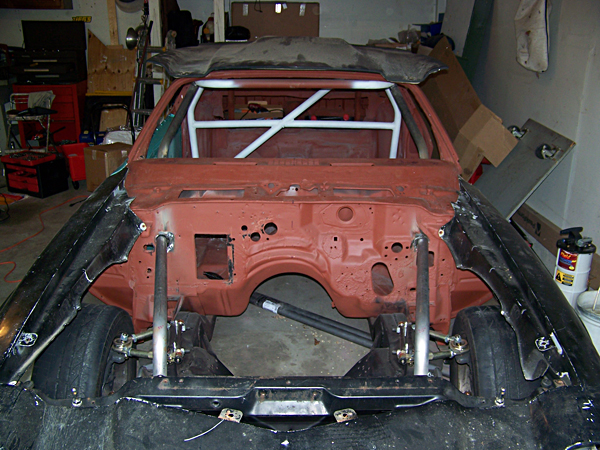
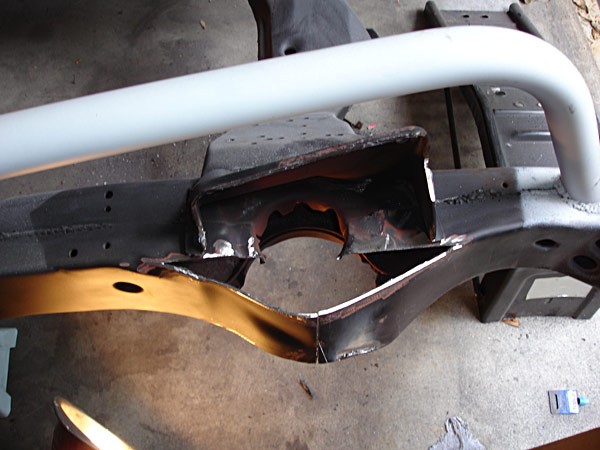
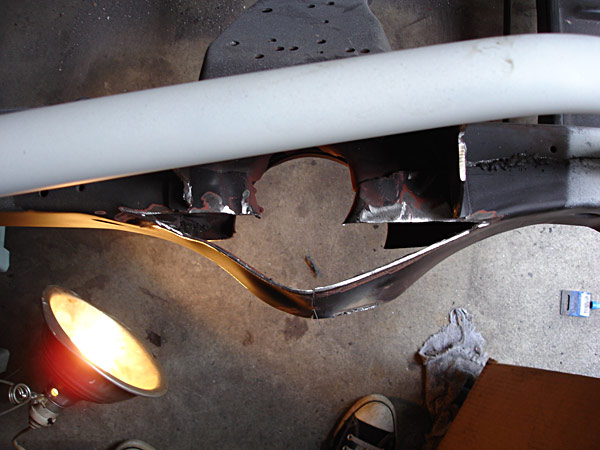
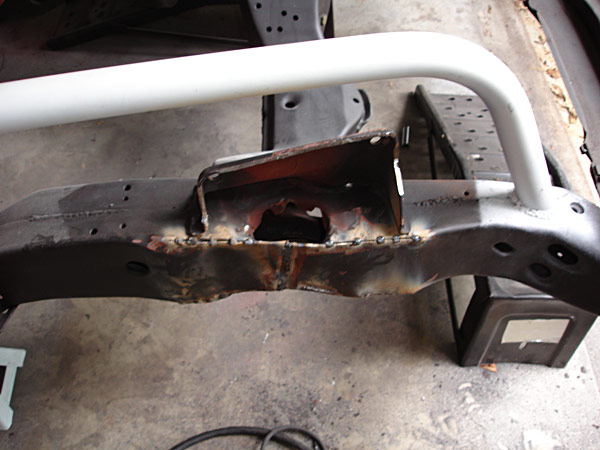
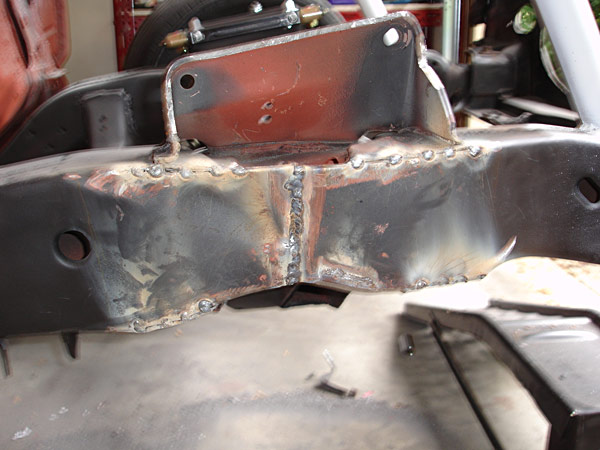
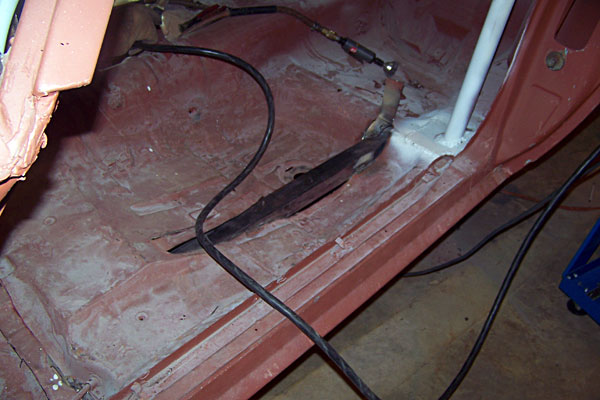
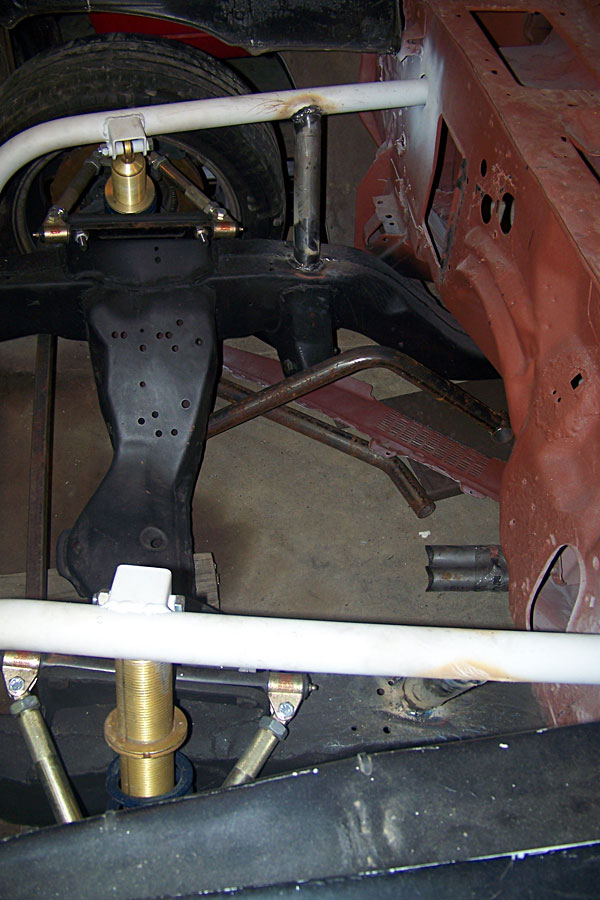
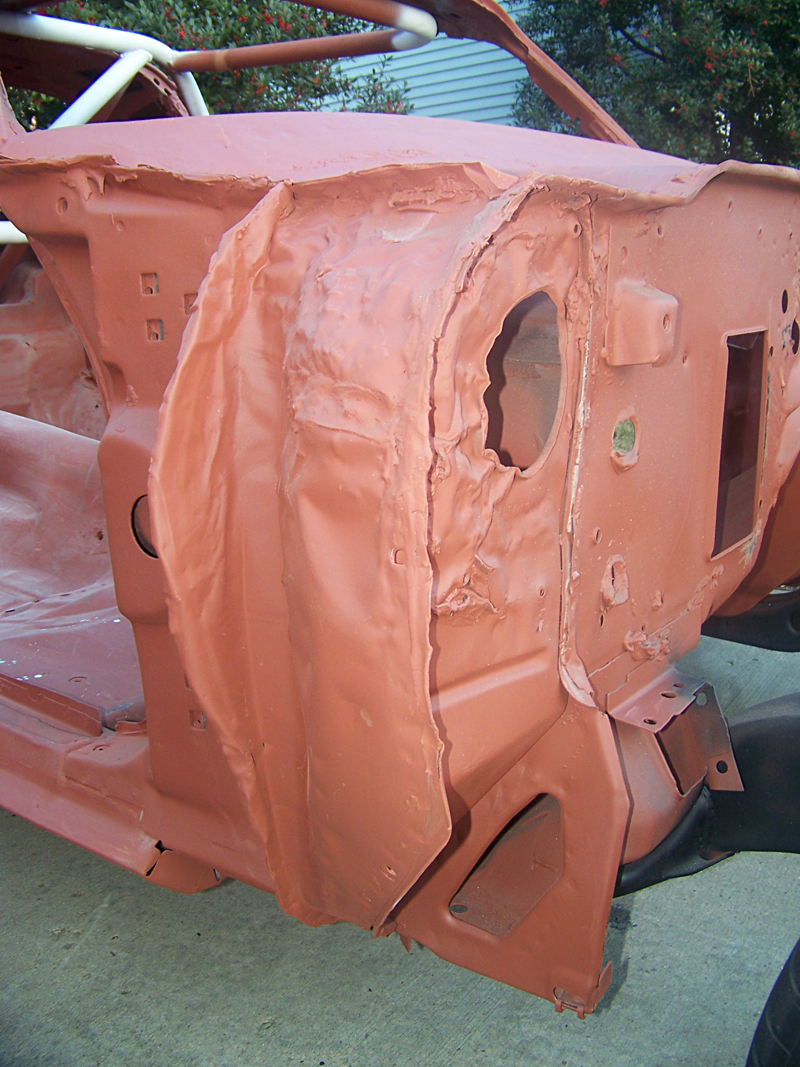
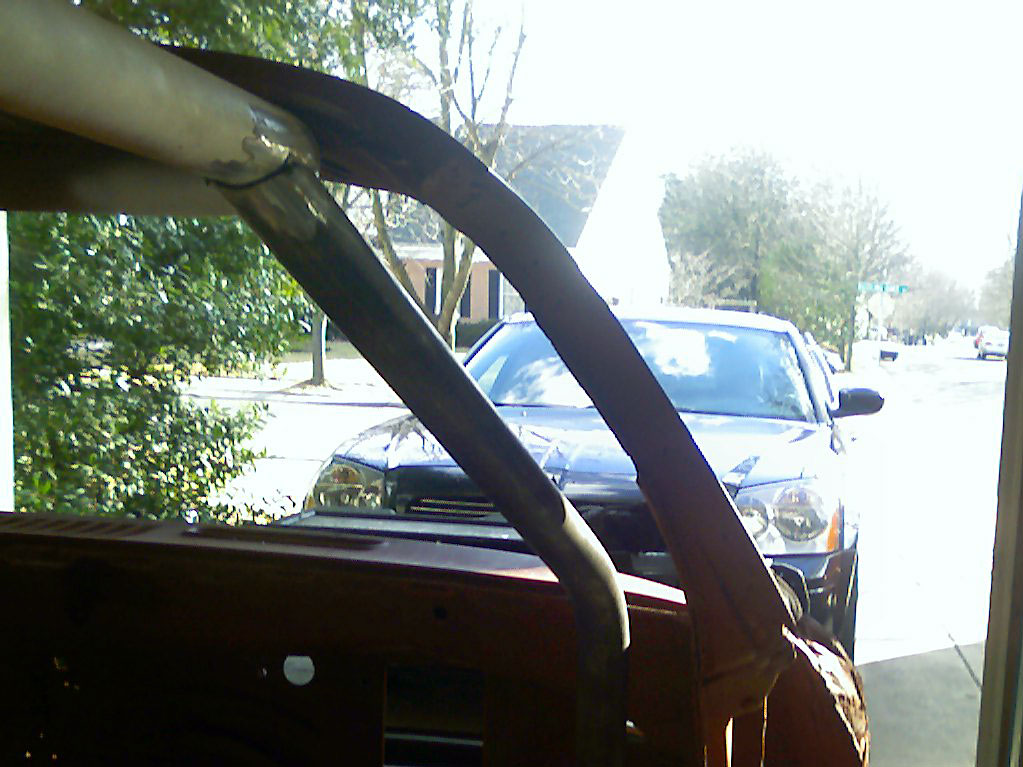
(Please ignore the bird-E36 M3 welds.... they are getting redone)

Gimp
Gimp SuperDork
1/21/13 6:37 p.m.

So more updates, and I may as well start with my new favorite picture:

So much my favorite that it gets its own post. More to come.

Gimp
Gimp SuperDork
1/21/13 6:38 p.m.

And the other side: 
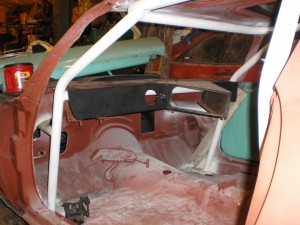
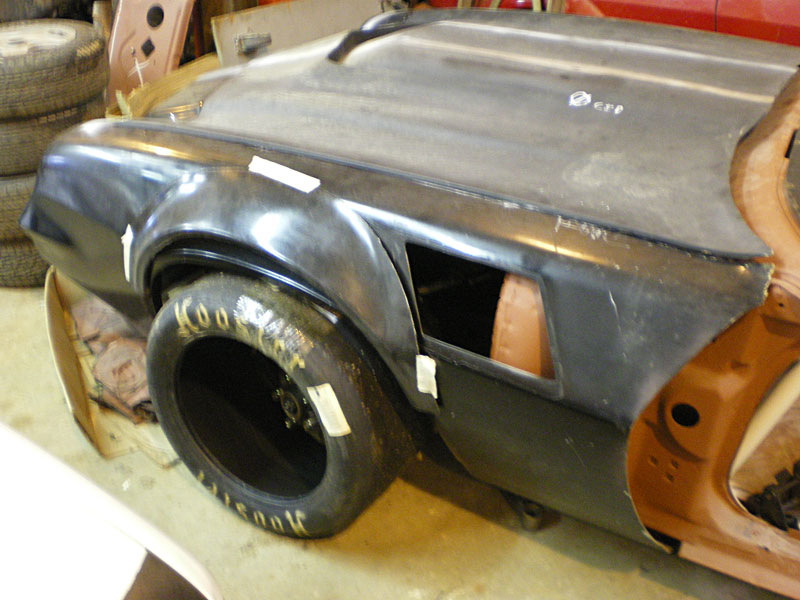
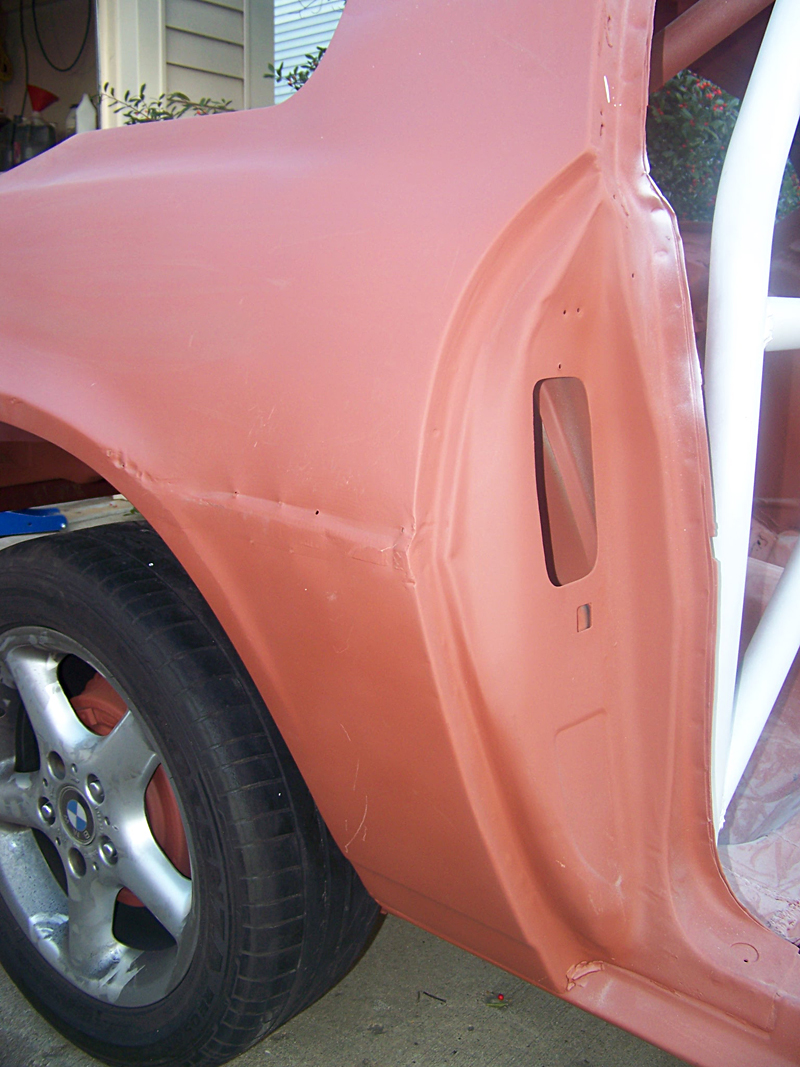
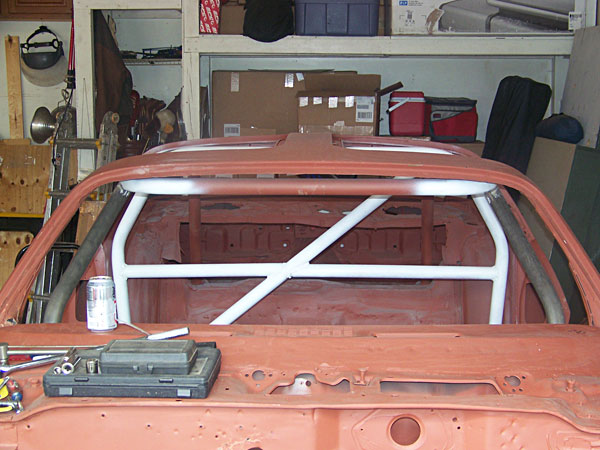
That might catch a cone or two.

Good side shot:

You can see the old fender underneath, waiting to be cut away. Not at ride height.

Front flair doesn't cover as much:

Some more cutting to do...

Some stuff missing:

Oh, there it is:

And finally, the baby-sitter taking a break after a hard days work:

Gimp
Gimp SuperDork
1/21/13 6:39 p.m.

Going up to Cumberland to work on the car this weekend, but I got bored at home not having it near and decided to think about what it will end up looking like.

A shame there are no flairs, L88 hoods, or side dump exhausts in the game.

Gimp
Gimp SuperDork
1/21/13 6:40 p.m.

Update time. Not too much to show from the weekend, which is disappointing considering how much work we really did and how tired I was.

Because it was just after Turkey Day, I had to work alone for the first bit of the day on Saturday, so I did things like finish the door hinges and repair part of the front clip, since we would be taking it off later that day.

So the plan was to remove the old subframe connectors and replace them with Art Rasmussen style connectors, as ground clearance is at a premium (front crossmember is 2.5 inches off the ground, and rear frame rails are 3 inches off the ground at ride height)

Old:

Mustang Boy making cutting the channel for the new ones:

And MustangBoy burning them in (I got to do the welding under the car):

As seen from the top:

And from the bottom:

Gimp
Gimp SuperDork
1/21/13 6:41 p.m.

Also, while I was away, MustangBoy worked to add some bars to the front of the cage (this was actually before the connector install to help keep things in line when we cut them off). This is also a decent shot of the front suspension setup.

Gimp
Gimp SuperDork
1/21/13 6:42 p.m.

Update Time!

It blows my mind that at this stage we can do so much work, but it never looks like all that much.

I took another trip up to visit the car, and Mustang Boy had been working on it while I was away. Game plan for the weekend was to do some cage work and get the rear axle in place so Mustang Boy can do the math on the three-link.

He worked on the sill bars while I was away

But when I arrived, he wanted to show off his notching ability

Burning them in

Both sides in

Best part about a t-top car

And finally, on the cage stuff, we got the first part of the door bars in... all be it a bit early... I think he just wanted to weld more

Gimp
Gimp SuperDork
1/21/13 6:42 p.m.

So next was the rear suspension.

For background, Ron Ver Mulm (super talented fabricator and autocrosser, and builder of the CP second gen that got me started on this thing - check this site for pictures) was kind enough to provide me his measurements for ride height. Based on that information (3 1/4" from the rear frame rail to the ground), I made a set of axle stands to hold the mock-up 9" housing in place to allow us to lay out the suspension.

Upon further inspection, it didn't appear that ride height would work.

So we lowered the stands by 2 inches, to give about 2 1/4" total space for bump travel. Plenty for our application. Even with this adjustment, the rake on the car should be very reasonable.

and a shot from the trunk, showing how high up the rear now sits

Now the fun work (math) begins. Hopefully some pictures of the rear links getting mocked up will be here soon. Thanks for looking!

1 2 3

You'll need to log in to post.

Our Preferred Partners
3ONZCpZmvytgpADwiZRFnYB4GoEt0TGNMcg27tQ6LnD9n1V4icEeEg8lpWlbFTIJ