I bolt some Made In USA, Italy and Germany Stuff On my GTI
The UPS man, God bless him, showed up at the house again today. He brought some grips...
[URL=http://s7.photobucket.com/user/smokindav/media/gti/18F19C04-970E-47F4-ABA7-D305B95DF078_zpsr2mxa6zs.jpg.html]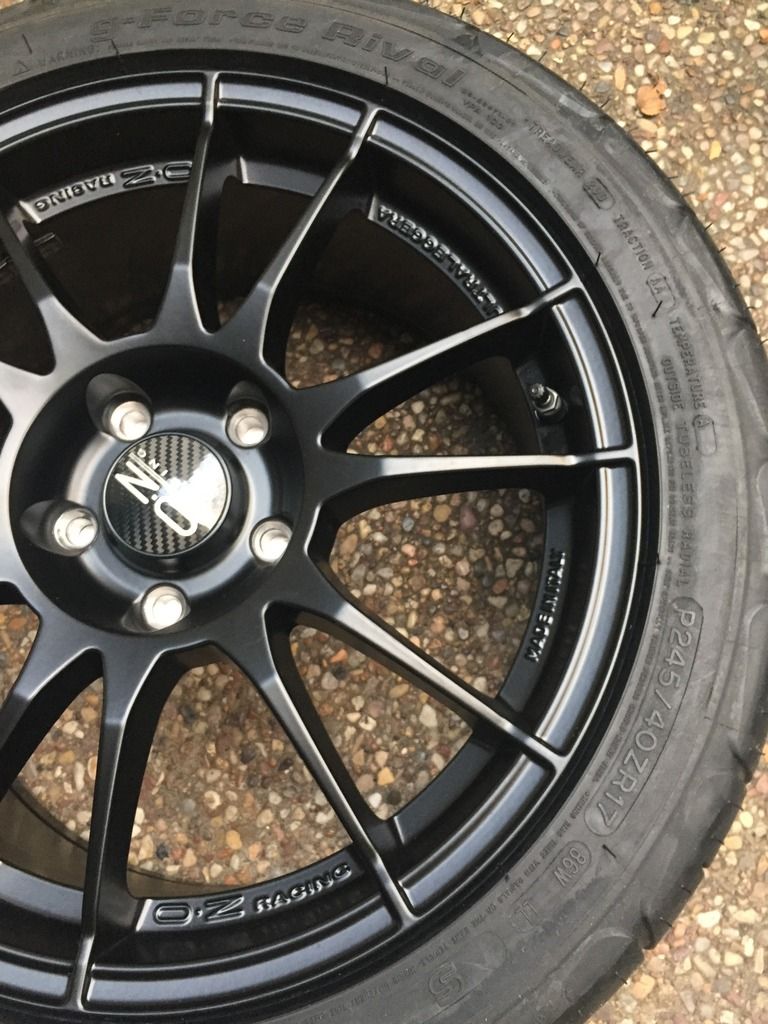 [/URL]
17x8 OZ Ultraleggera wheels, offset 48mm, made in Italy. BF Goodrich g-force Rival S tires in 245/40/17, made in USA. These replace the stock 18" wheels with 225/40/18 tires.
The new stuff weighs in at 41.8 pounds.
[URL=http://s7.photobucket.com/user/smokindav/media/gti/3B9365E8-55CF-40C0-8DAF-A1E384E33FBB_zpsiaq4kc2h.jpg.html] [/URL]
The stock stuff weighs in at 48 pounds even.
[URL=http://s7.photobucket.com/user/smokindav/media/gti/6EE4FA16-EB34-46C2-8208-24385A9F8167_zpspdjj4uw6.jpg.html]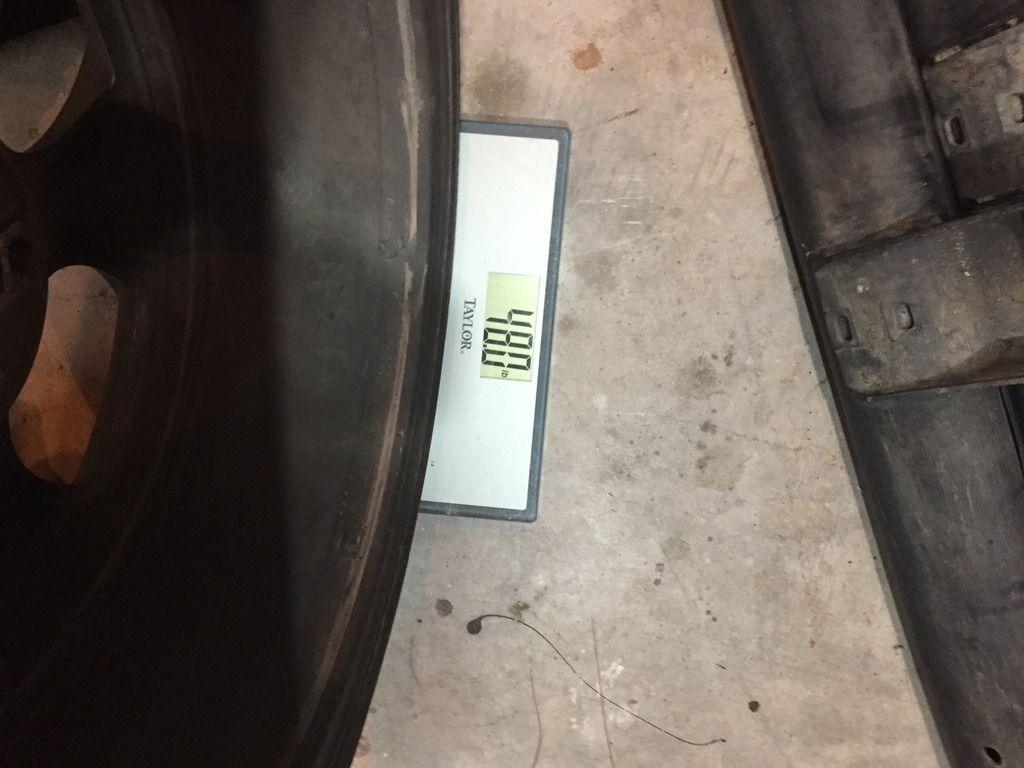 [/URL]
While I had the back wheels off I bolted on some made in Germany stuff. Out with the old:
[URL=http://s7.photobucket.com/user/smokindav/media/gti/29135FE2-0CB8-4C20-92E4-7815D585E83B_zpsqb78lnep.jpg.html]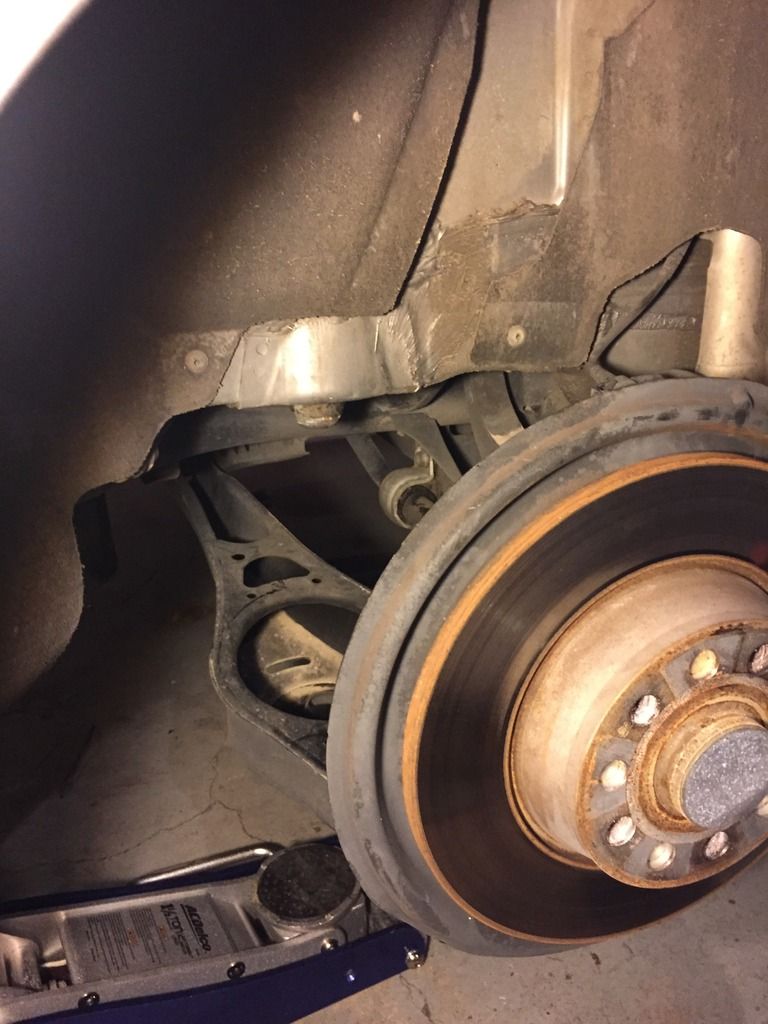 [/URL]
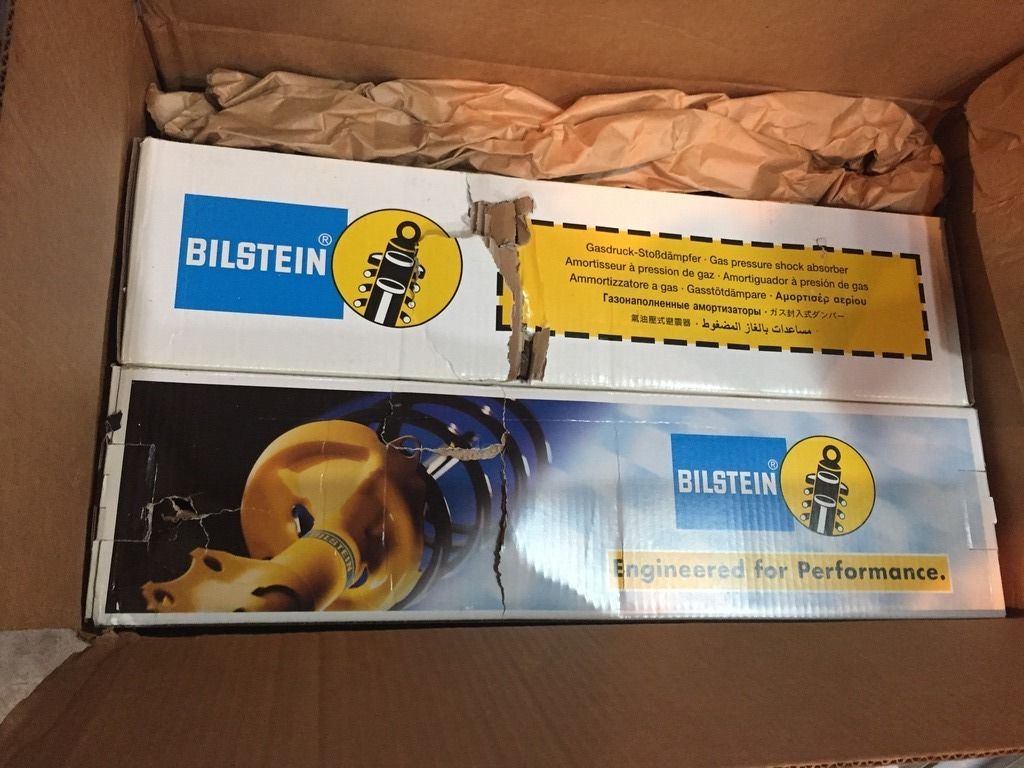
In with the new Bilstein B8 sport shocks and H&R sport springs.
[URL=http://s7.photobucket.com/user/smokindav/media/gti/56503759-4C9B-44A0-B739-06B6644C0B44_zpsbwovb0vk.jpg.html]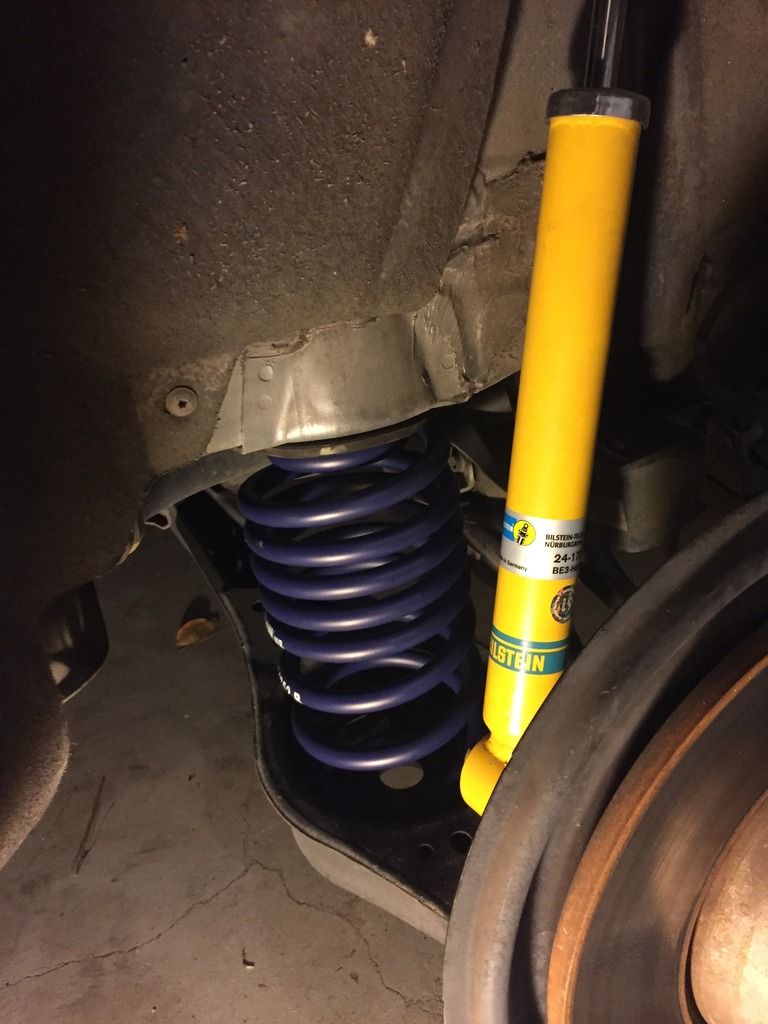 [/URL]
[URL=http://s7.photobucket.com/user/smokindav/media/gti/47BCFA11-E5D1-42B9-95D0-7AC07D46F76C_zps8tc1lrta.jpg.html]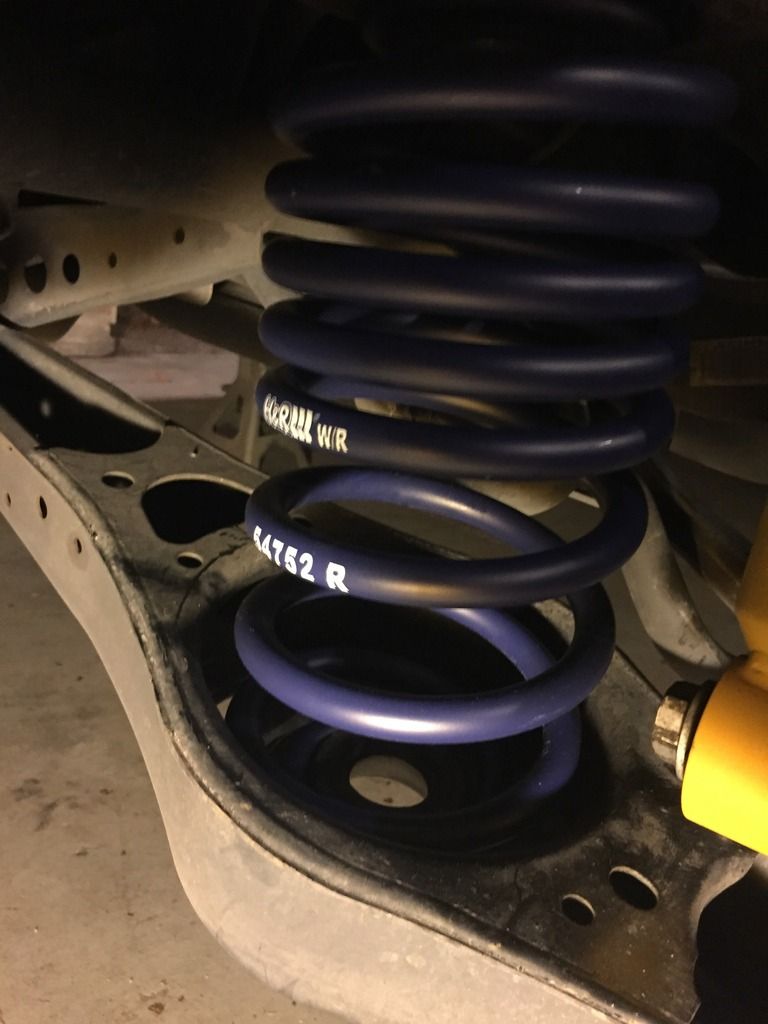 [/URL]
The wheels studs and lug nuts that I installed earlier in the thread didn't work with the new wheels as the studs were too short and the lug nuts couldn't get enough thread engagement for safety. Tirerack was kind enough to send a set of new, longer lug bolts.
[URL=http://s7.photobucket.com/user/smokindav/media/gti/C8201044-7D47-4D7E-BE17-45819A6A9159_zpsbzfyj8va.jpg.html]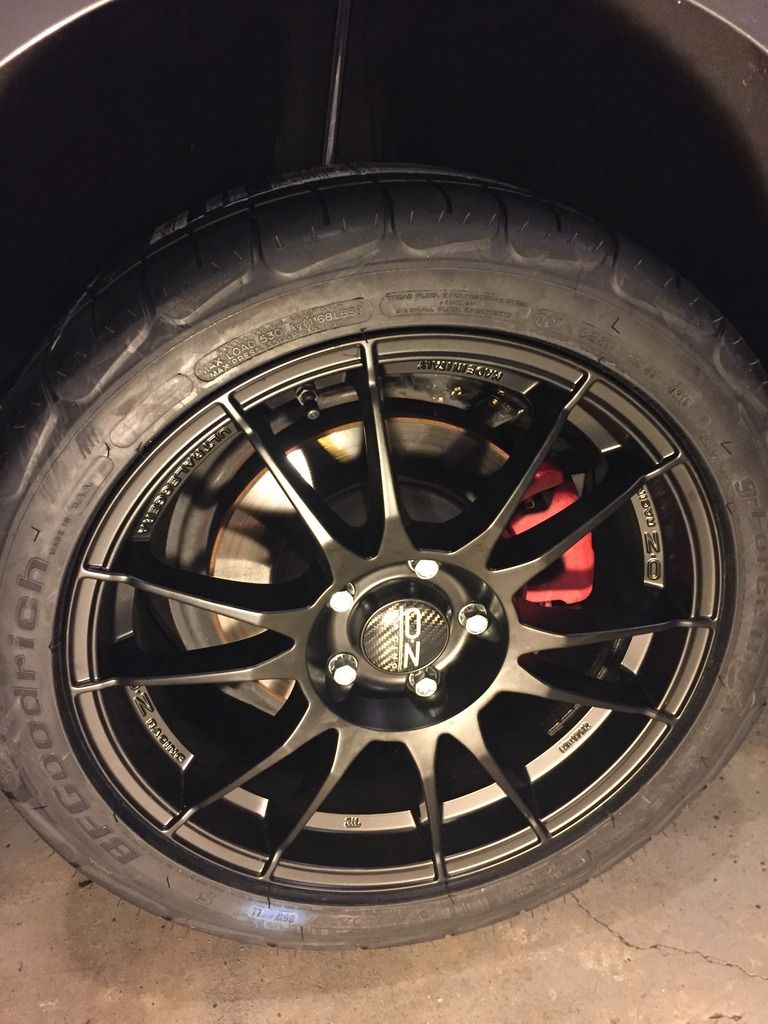 [/URL]
Dirty car, clean wheels.
[URL=http://s7.photobucket.com/user/smokindav/media/gti/BEDD9406-6C09-4562-B00E-53AD7B69D1DE_zpsz2hh0cye.jpg.html] [/URL]
[URL=http://s7.photobucket.com/user/smokindav/media/gti/D67C4A11-9CEA-4EC8-97F8-16E6553789C9_zpsvbdg3jt4.jpg.html]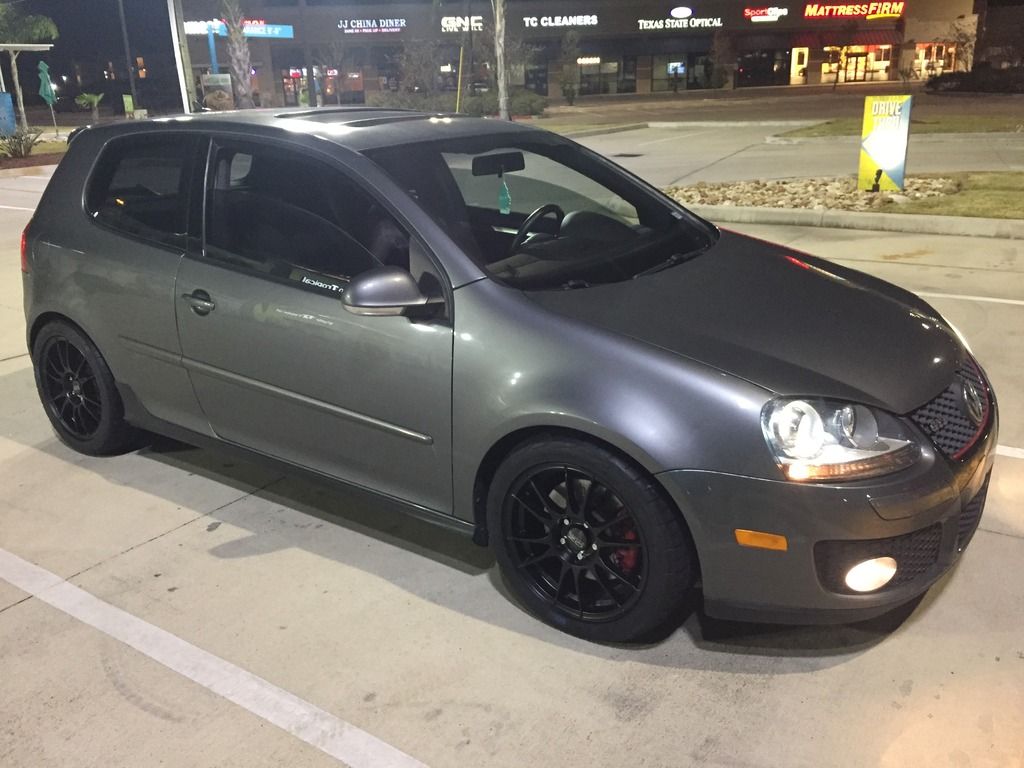 [/URL]
[URL=http://s7.photobucket.com/user/smokindav/media/gti/E722C37A-FCDD-4B80-9391-10E7A46B6570_zpspxq62m76.jpg.html]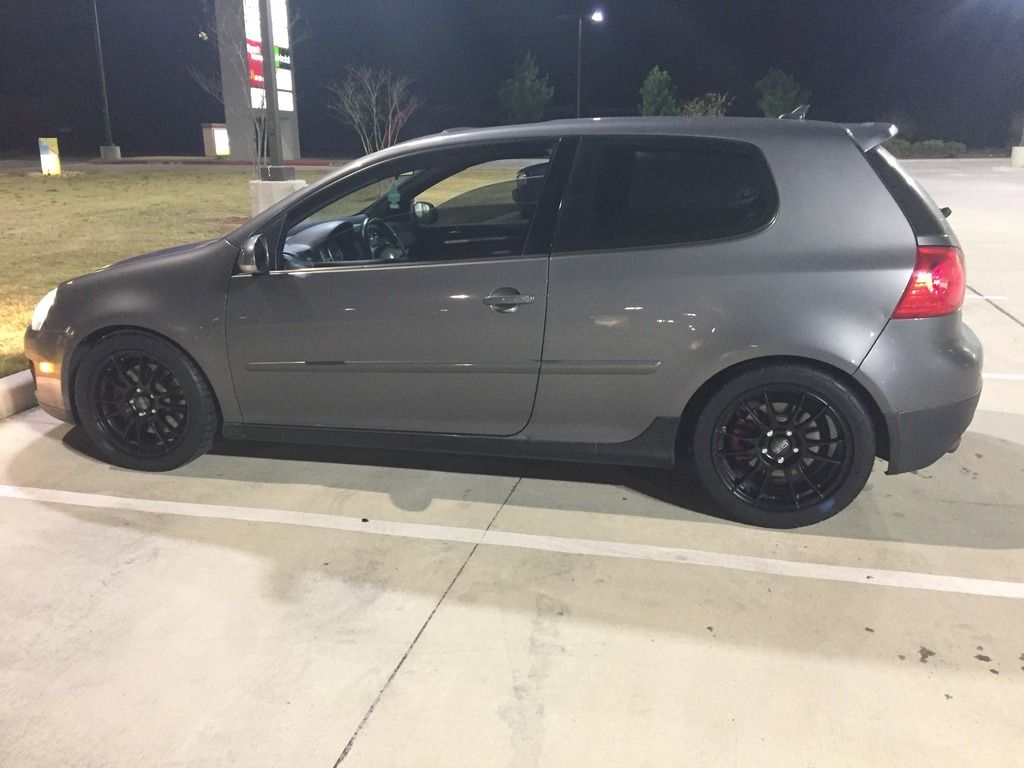 [/URL]
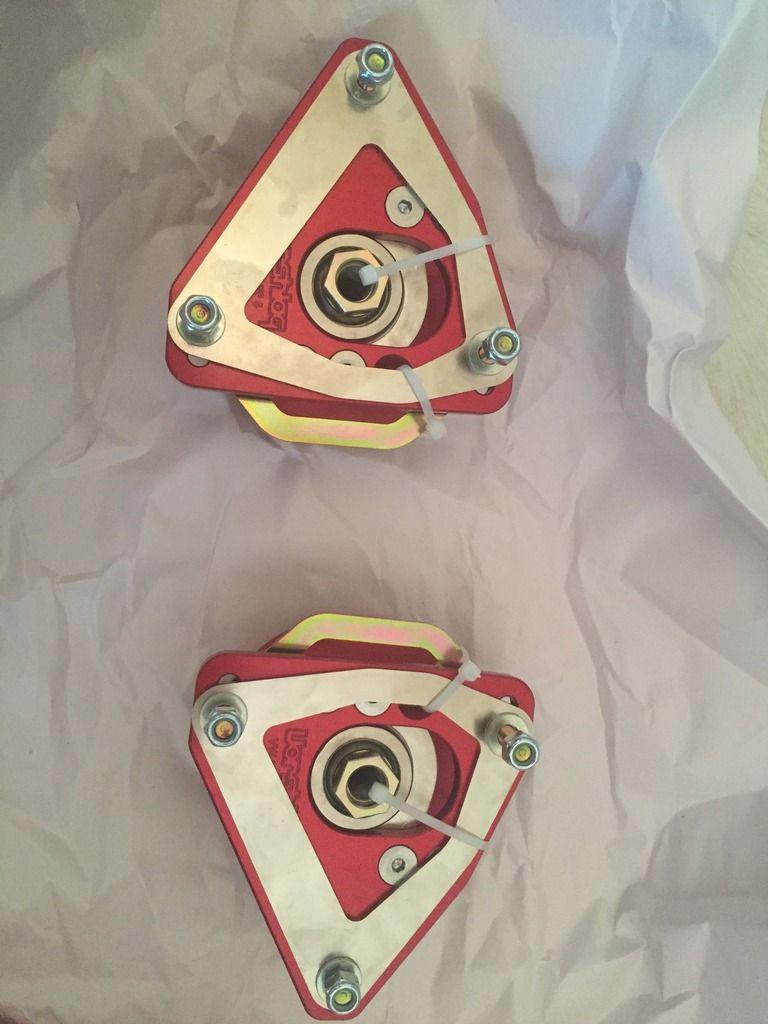
I have the front struts and springs but I'm still waiting for Vorshlag to ship me the caster/camber plates then I can install the fronts.


 [/URL]
 [/URL]
 [/URL]
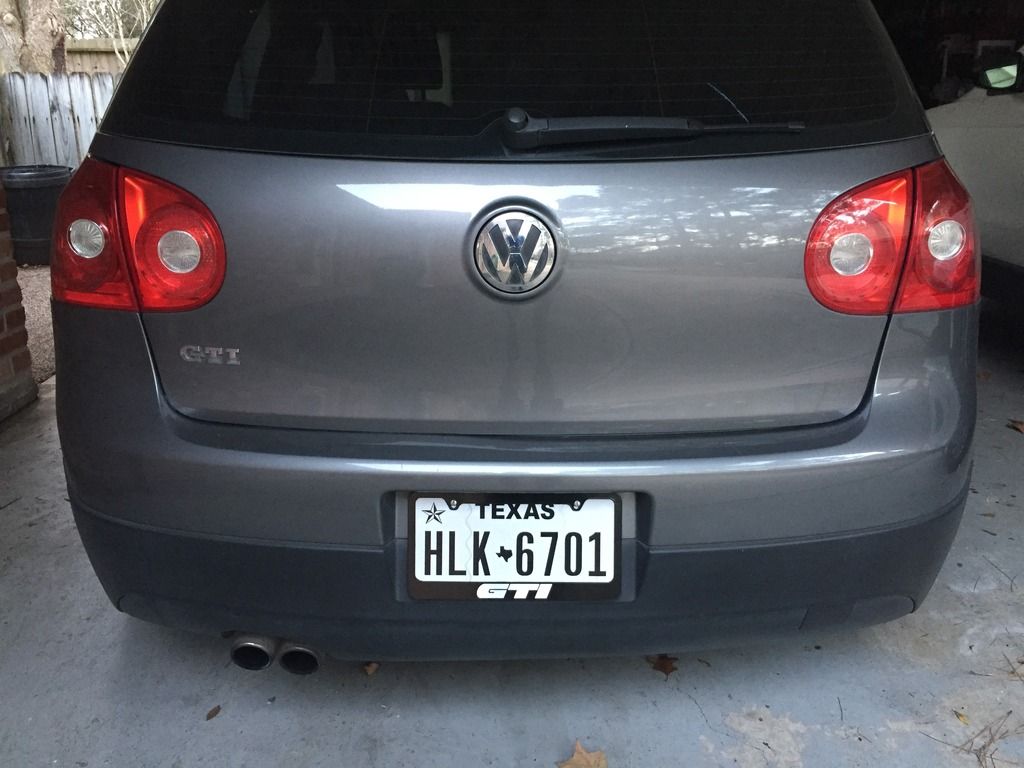 [/URL]
 [/URL]
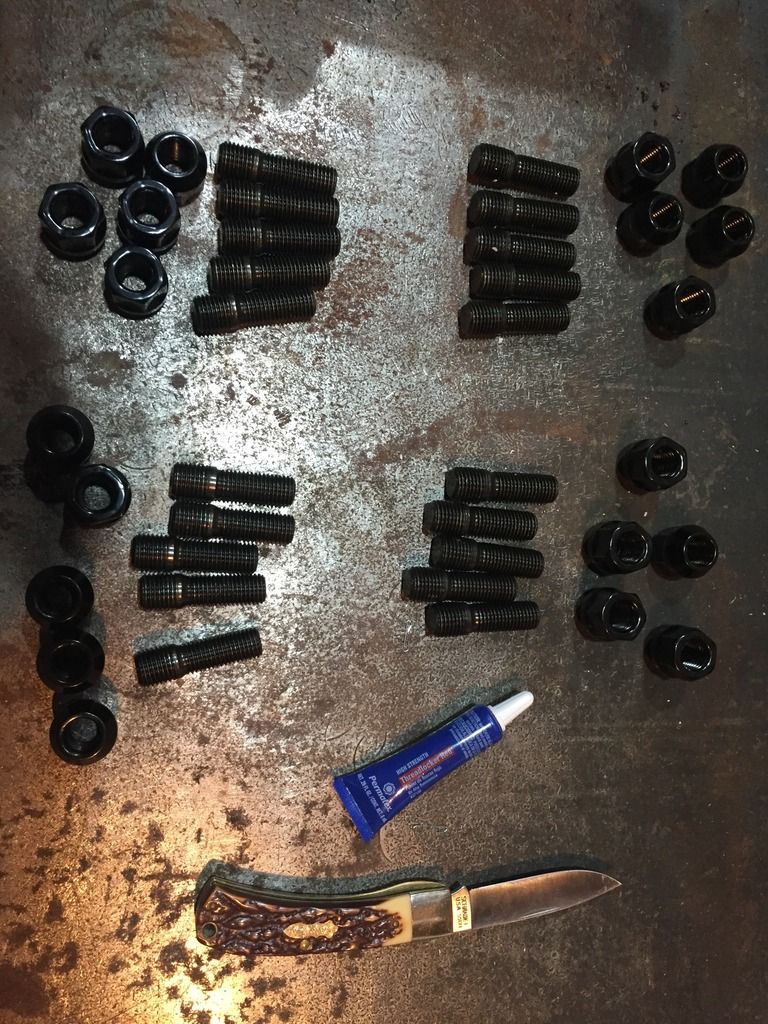 [/URL]
 [/URL]
 [/URL]
 [/URL]
 [/URL]
 [/URL]
 [/URL]
 [/URL]
 [/URL]
 [/URL]
 [/URL]
 [/URL]
 [/URL]
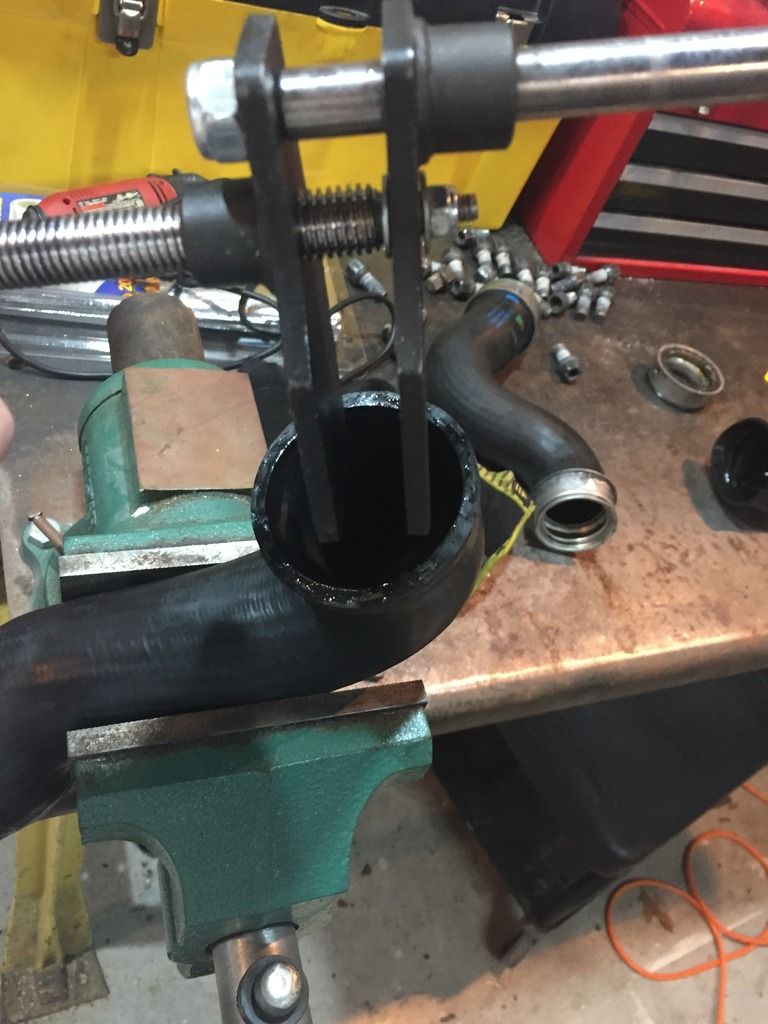 [/URL]
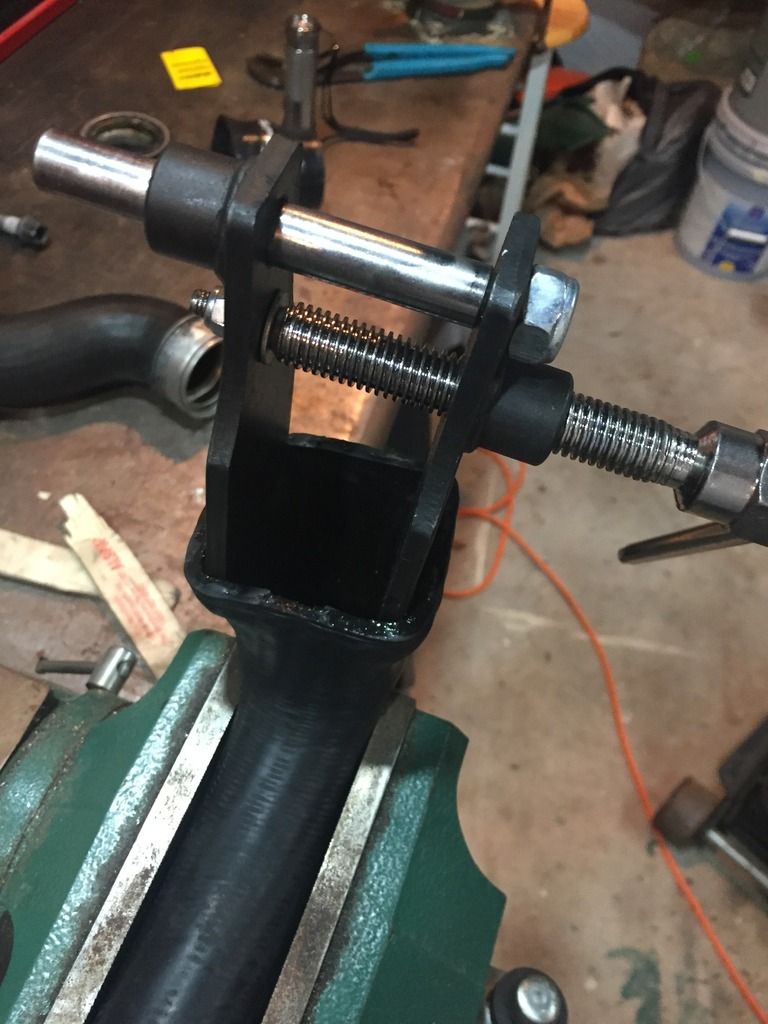 [/URL]
 [/URL]
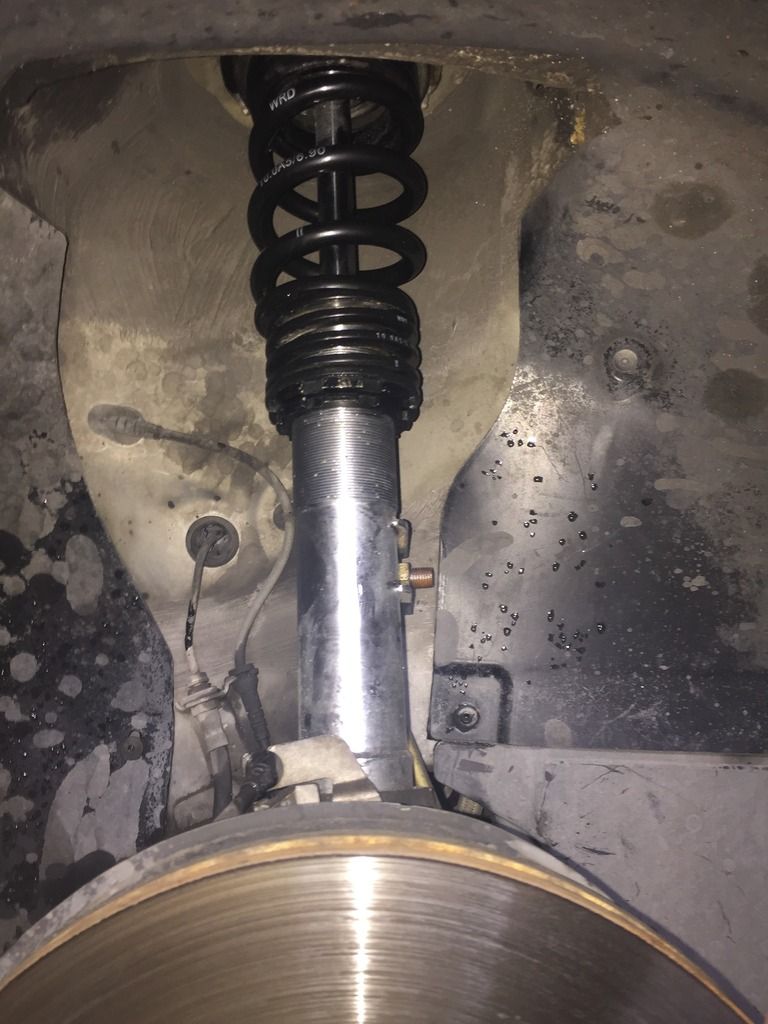 [/URL]
 [/URL]
 [/URL]
 [/URL]
 [/URL]
 [/URL]

 [/URL]
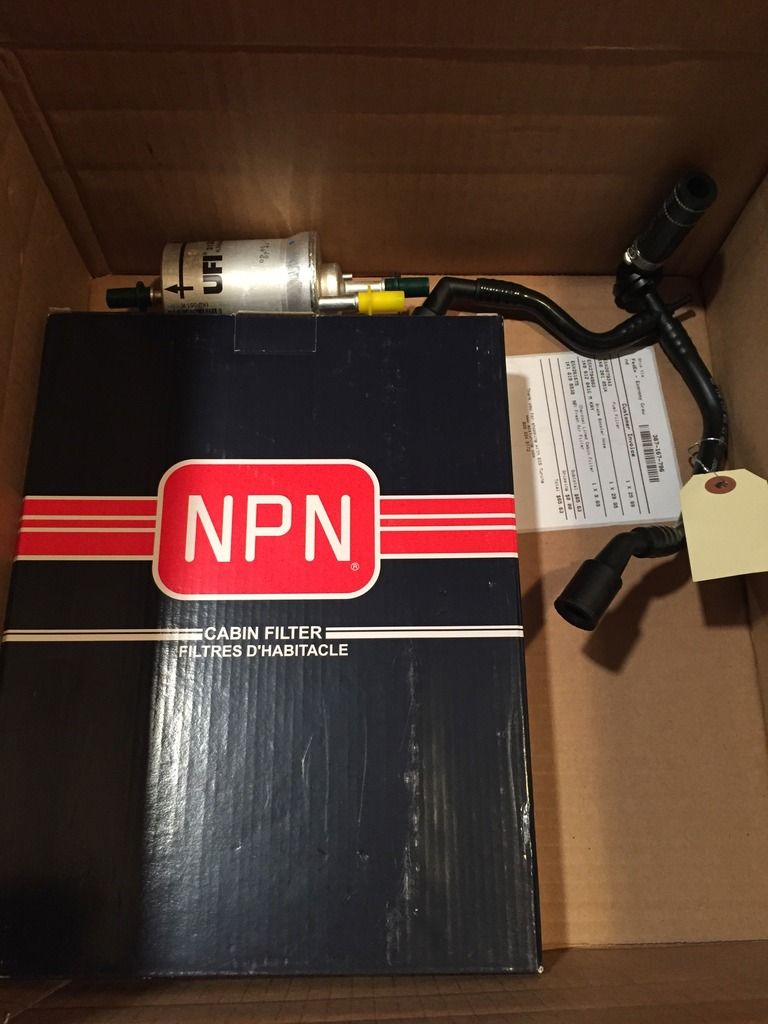 [/URL]
 [/URL]
 [/URL]
 [/URL]
 [/URL]
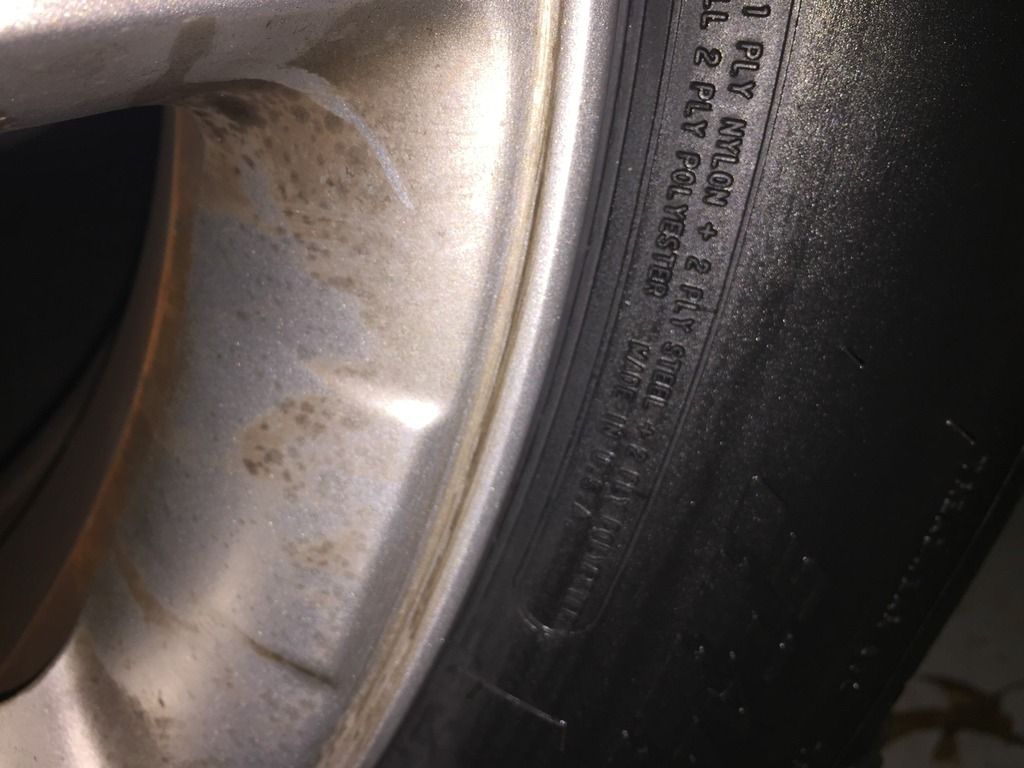 [/URL]
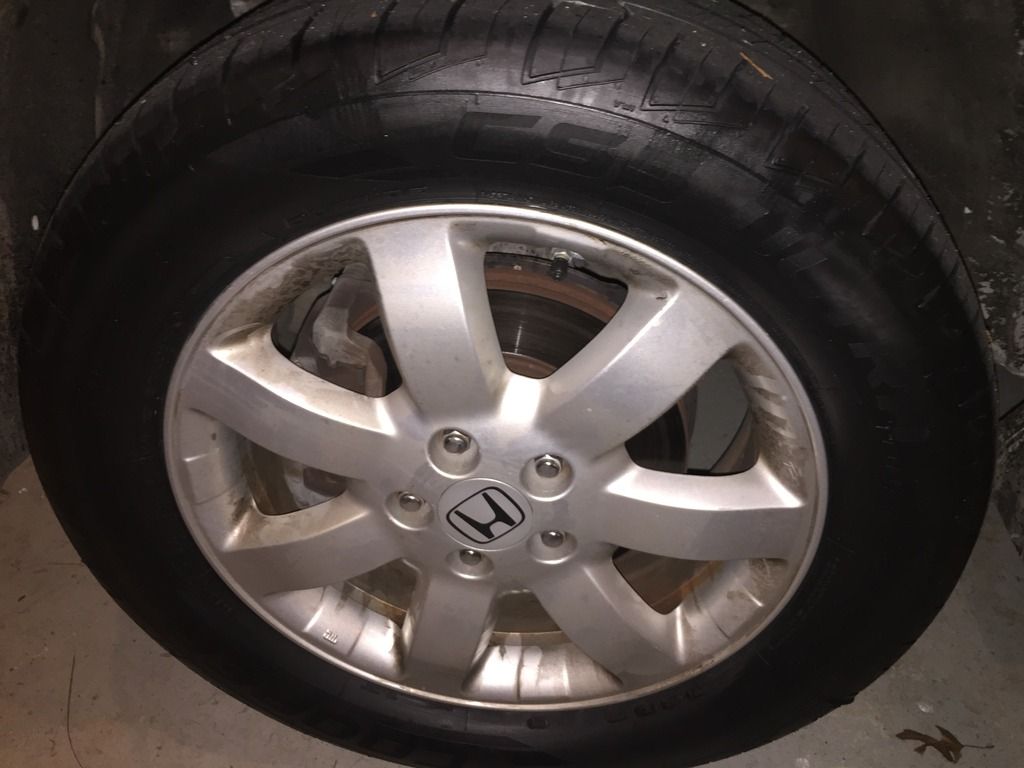 [/URL]
 [/URL]
 [/URL]
 [/URL]
 [/URL]


