You people had better appreciate this.![]()
Last week, I added a couple of posts to this thread, regarding comfortable race seats in a Miata: http://grassrootsmotorsports.com/forum/grm/daily-drivable-racing-seats/35229/page1/
I had a few photos of various rail options and mentioned that I had heard about people modifying the floors and stock seat rails to sit lower in the car. Since I'm in the middle of installing a Hard Dog cage and race seat in my own car, I happened to have at my disposal:
- a '96 Miata who's factory rear seat mounting bumps have been removed
- a bunch of extra stock sliders
- and a couple of spare '95 M Edition seats (currently for sale)
I decided to see what I could gain by lowering the rails.
As you can see, I drilled out the spot welds on the factory mounts (using an Eastwood Spot Weld Cutter) and removed them. Be careful not to drill straight through the floorpans. These are what I removed (these two photos are of my old car; eventually, I welded these back into that car):
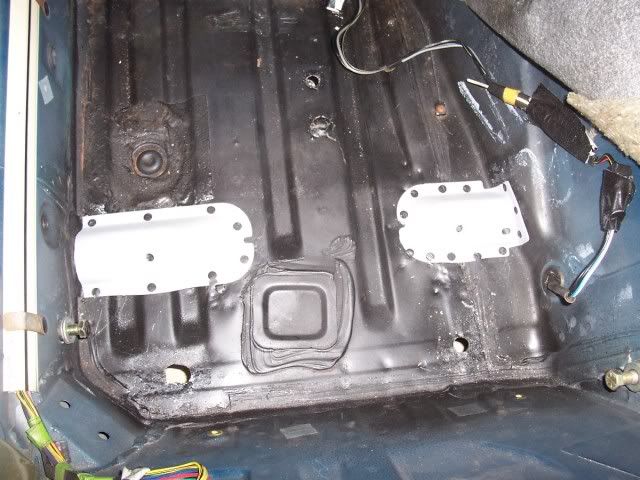
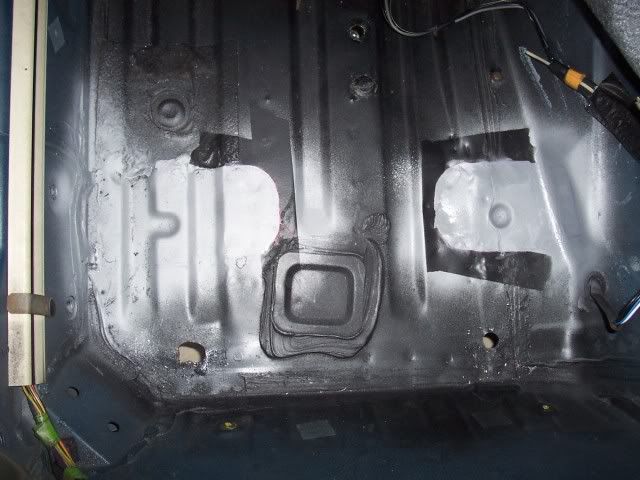
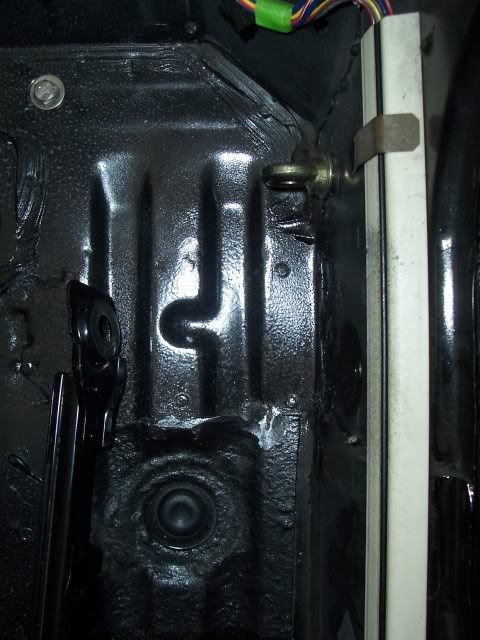
Here's what you're left with, after grinding the rest of the welds off and adding a little primer (ignore the extra holes in the floor):
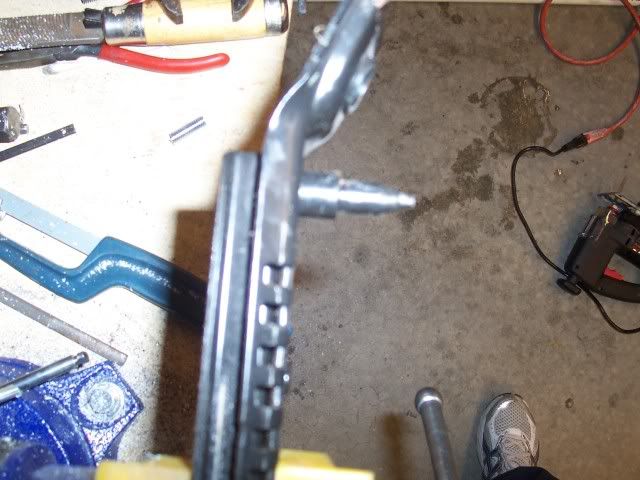
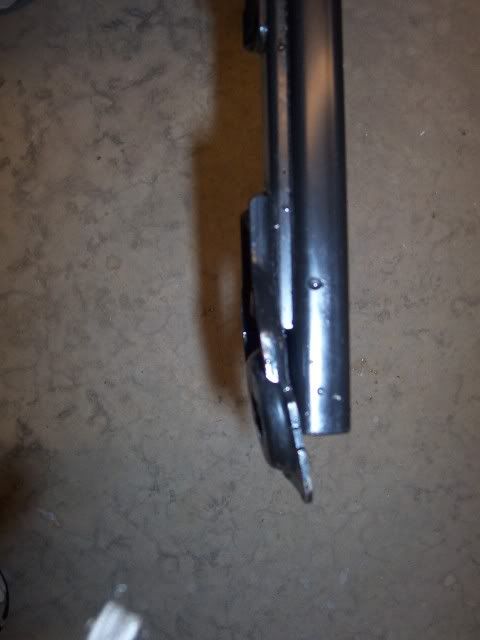
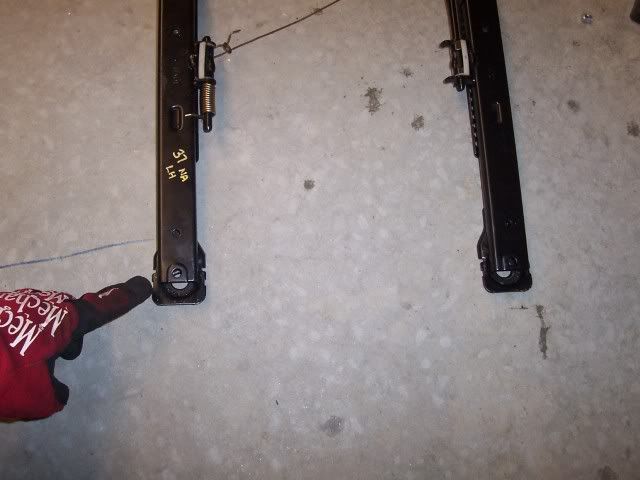
I had a stripped down stock seat rail that I used to mock up the proper angles. It was easier to work with and you can see the angles better. First, I cut off the locating pin, since the new angle of the rail tabs create an alignment problem with the original pin hole. (As an alternative, I could have enlarged the locating pin hole in the floor.) I cut the pin off with a reciprocating saw, leaving about an eighth inch of material on there, as it doubles as a rivet, holding two parts of the rail together.
Then I heated and bent the front mounting tab down a little and the rear tab up a lot. I also used an angle grinder with a flapdisc to smooth out the bottom side of the tabs, removing the lip that's leftover when the original holes were stamped. Here's what it looked like when I was done (the magnet in the middle is just holding it in position to show the new angles):
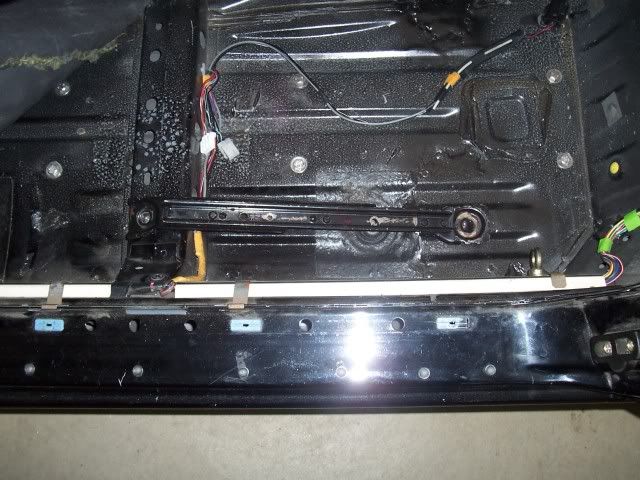
Here's how my prototype rail sits in the car:
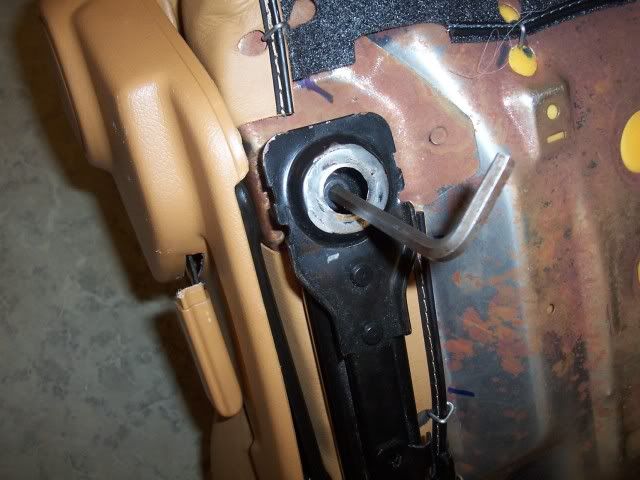
Note that the rear bolts would pass through the two dimples in the floor pan. Those were put there to allow clearance for the ends of the original rail mounting bolts, after they pass through the threaded floor mounting bumps. It would be wise to flatten these with a hammer and dolly before bolting down the modified rails. Later, you'll need to drill a hole through the floor and bolt down the back of the rails. Don't drill until you have the seat mounted to the rails and the front rail bolts in place, so you know exactly where to drill the holes. You would need to add a large (2"x2") steel backing plate or large heavy washer under the floor to prevent the bolt from pulling through under load.
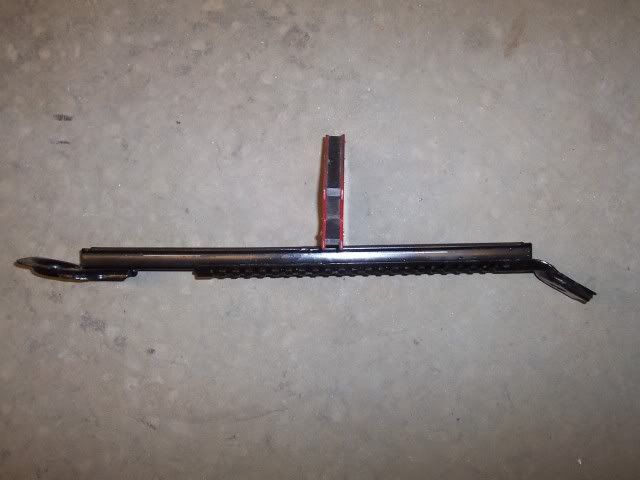
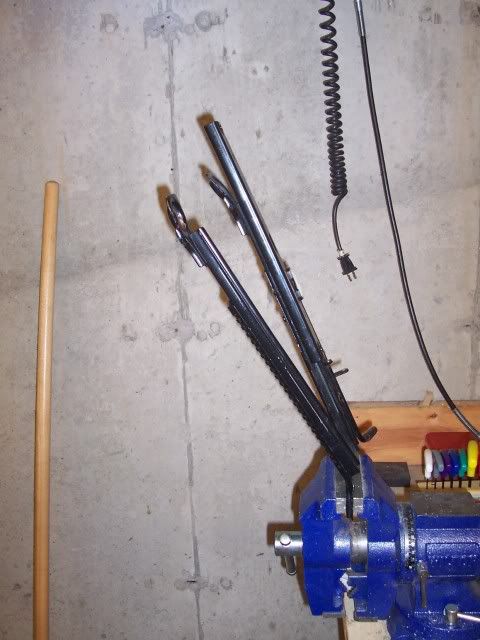
Then, using my prototype rail for reference, I removed the pins and transferred the new angles to a set of complete rails. The prototype is nearest to the camera and the unmodified original is behind it. This should give you a good idea of the new angles.
It is important to note that the new angle of the rear tabs will no longer allow the slider to travel through it's full range of rearward movement, as they now bottom out. You gain a little legroom from the new angle, so this may or may not matter to you.
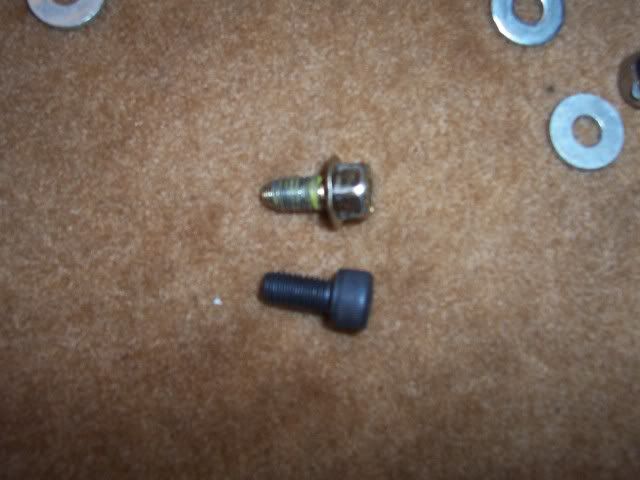
That same issue creates a little bit of a problem when you go to mount the seat to the rail, as a 12 mm socket is too big to pass through the lower mounting hole. I resolved this by swapping the rear seat-to-rail bolts with a pair of socket head bolts (Home Depot).
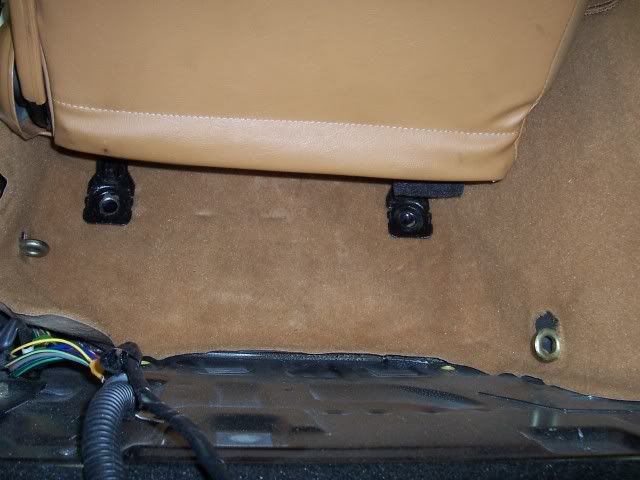
This shows that the rear mounting holes fall roughly in the same position as the originals. Note the factory holes in the carpet.
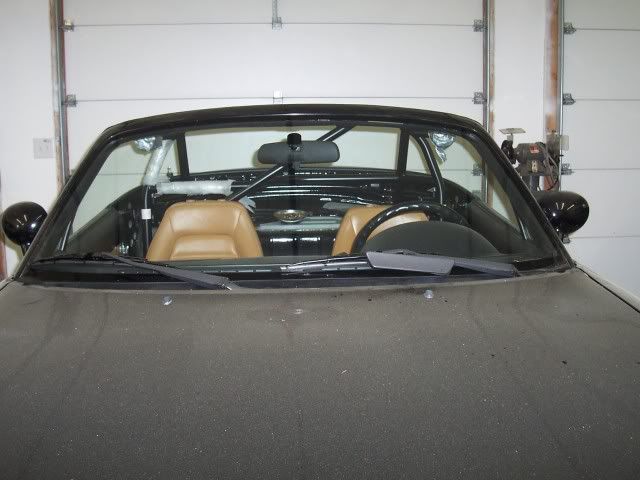
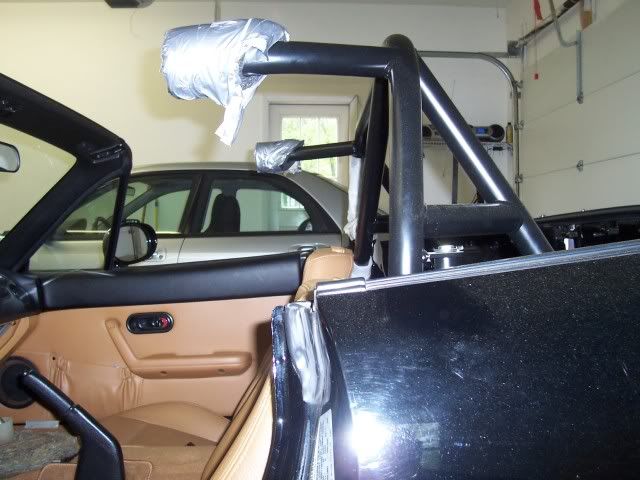
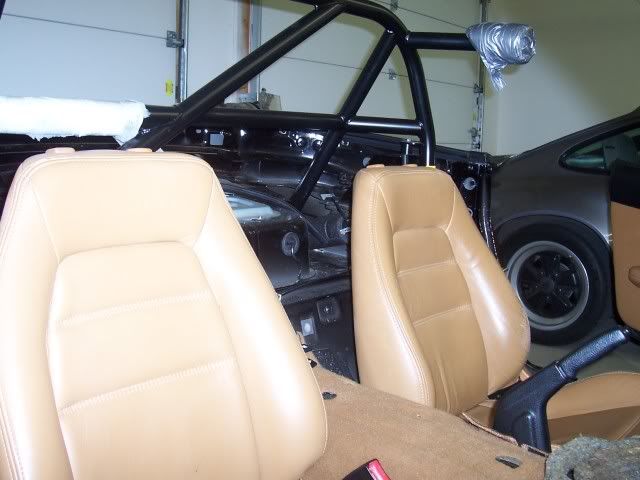
With the seats mounted in the car, you can see that the modification gained about two inches of headroom. The fact that I did this with '95 M seats makes it a little easier to see the difference.
You can just barely see the top of the driver's seat in this photo.
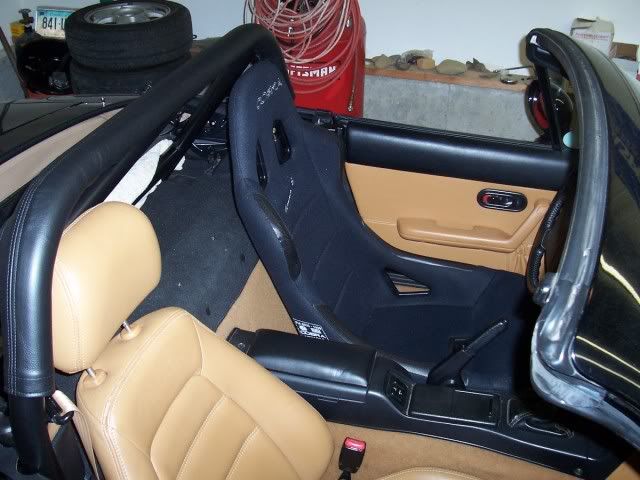
So, after all that, I removed everything and then installed the Cobra race seat that I was working on in the first place.
I hope that someone finds this helpful. It's a reasonable solution that can gain you a couple of inches of headroom. If you combine it with a foamectomy, you can gain even more. (You can see from the photos that I've used two different cars and that there were two different roll bars involved.)
And, on a side note, the '95 M seats are still for sale if you know anyone who's looking for a set. ![]()


