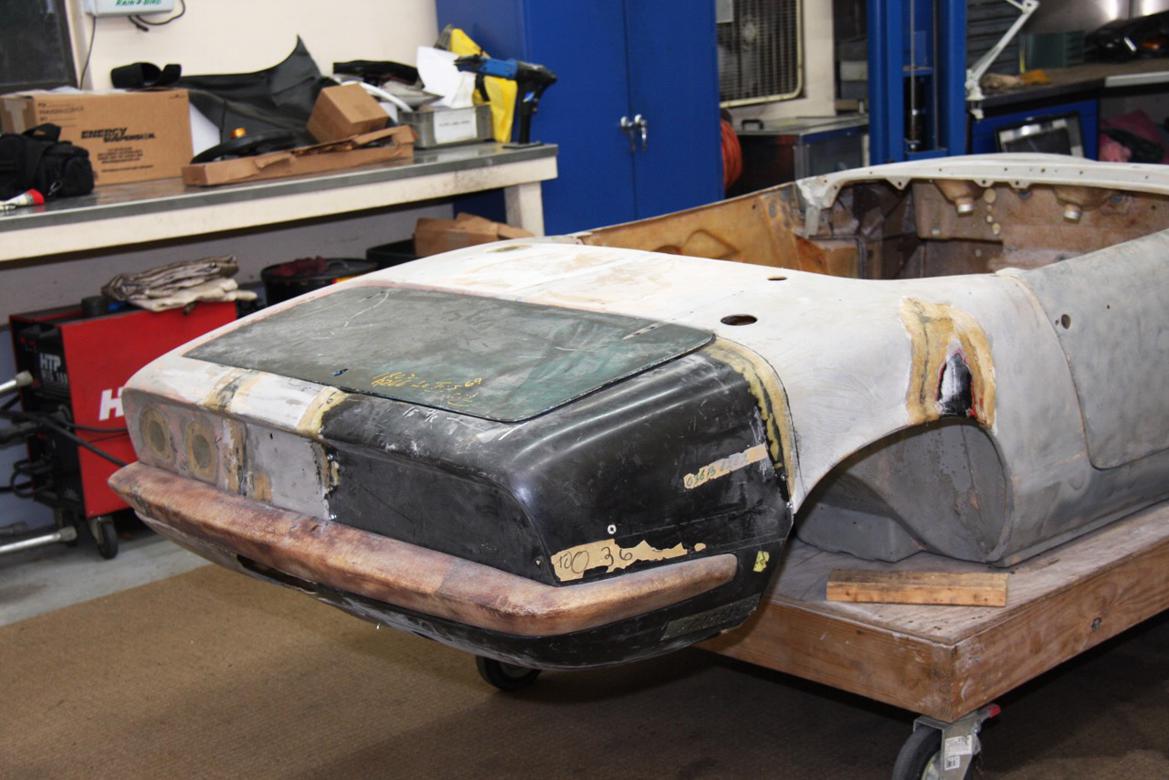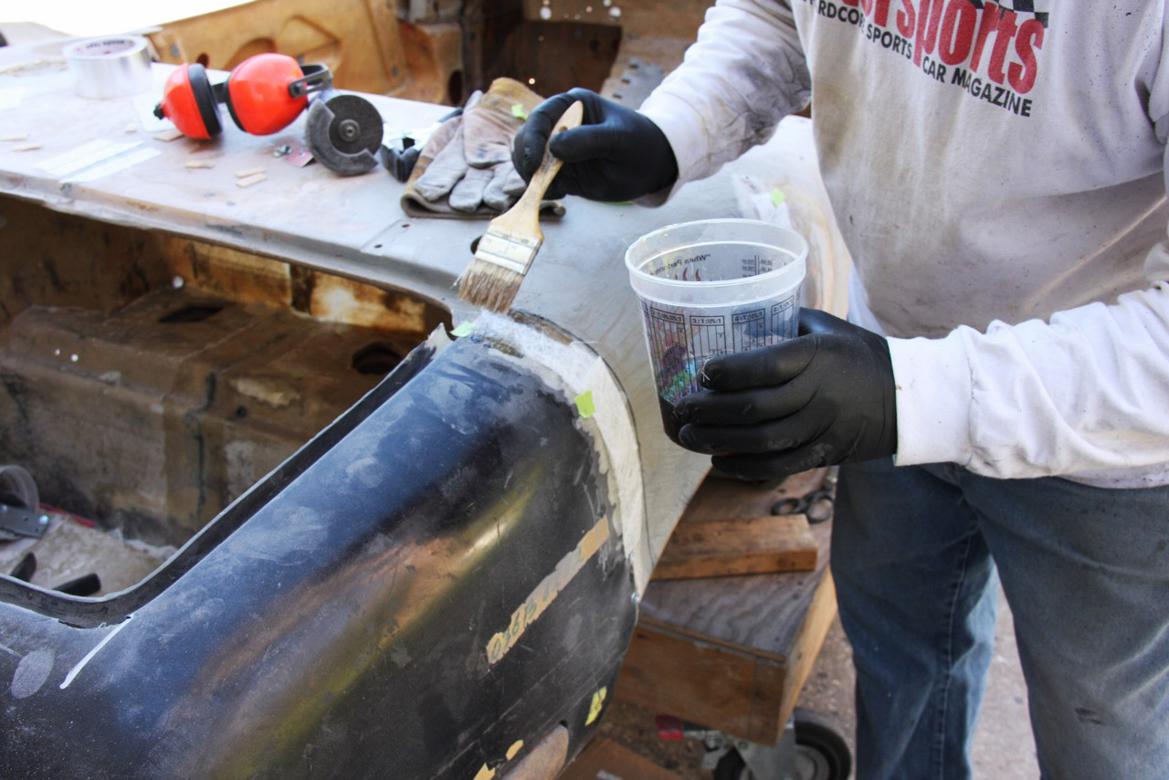

With our left quarter panel screwed and glued in place, it was time to start the actual fiberglass work. We waited 24 hours until the adhesive had fully hardened and then went back over our repaired area with a grinder to make sure the fiberglass mat and resin would sit in the joined area—rather than on top of the joined area. The idea here is to feather down the edges of the original material and then build them back up with new fiberglass mat and resin.
We used two thicknesses of mat—.75-ounce and 1.5-ounce—to repair different types of areas. The .75-ounce is so thin it comes apart in your hands, but it does a great job of bending around curved areas. It is slowly layered to make a very strong repair.
The 1.5-ounce mat is great to fill larger areas and make actual pieces of fiberglass where you are missing parts of the car.
These two types of mat helped us make sure we could fill in and work different kinds of areas and repairs. When we were building thickness or filling a void, we could use the thicker mat and when we wanted to fill shallower areas, we used the thinner mat.
We mixed about 6 ounces of resin at a time with just a few drops of hardener, per the instructions. You have to vary the amount of hardener you mix based on your ambient temperature and how much working time you want. You want the fiberglass to “kick” within 20-30 minutes or so under most conditions.
Once cured, we went back over the repaired area with a combination of grinders and then touched up where we either needed to build thickness or where we had missed spots.
Fiberglass work is not difficult, but like a lot of restoration work takes trial and error. It is also messy. You need to try and do this work outside, wear a respirator, and wear latex gloves when working with fiberglass.
The procedure is relatively simple: First you grind areas that you want to glass. Again, feather your areas to keep your fiberglass uniformly thick. You then cut your mat in various sizes. Strips about an inch or two wide and 6-10 inches in length are easy to work with for most repairs.
Then—and only then—you mix your resin and hardener. From there you brush a base coat of resin onto the area to be repaired, lay your mat down in the area that you coated and then dab more resin onto the mat until it is completely soaked. From here you can add additional pieces of mat to build thickness or make a repair stronger.
Once the fiberglass kicks and you let it dry for a bit, you can grind it down and either proceed with normal bodywork or add more layers of fiberglass if needed.
Fiberglass does not stick to plastic, metallic tape or metal very well. It also does not stick to painted or gel-coated areas. You must first grind down any area you wish to stick fiberglass to.
You can use any of the aforementioned materials to make backing areas to glass over.
You can lay mat over a hole an inch or two wide, but if you lay the mat over anything larger it begins to sag. That is why you need backing materials when making fiberglass repairs.
View all comments on the CMS forums
You'll need to log in to post.