MAG1953
Feb. 20, 2011, 3 a.m.
MAG1953
Feb. 20, 2011, 3 a.m.
When I replaced the new clutch all the motor mounts were treated with a 3M product that will fill in all the voids found in the stock mounts. (urethane in a tube) Remove the mount, then use duct tape to incase the mount. You should not be able to see any part of the mount due to the duct tape incaseing it. Punch one small hole in the side of the mount (only go through one side & only the one side of duct tape) Inject the 3M product using a caulking gun, keep injecting the urethane until all the voids are full. Keep the duct tape on for at least 24 hours. (longer is better) After the cure time remove the duct tape. It may look strange & you may feel a little more vib but the motor will stay put & not rock as it did before!
 MarkAG
March 15, 2011, 5:43 p.m.
MarkAG
March 15, 2011, 5:43 p.m.
I now have the paint color sanded!!! I'm now at the mercy of the weather. I need a warm (at least 55 to 6o deg.) to shoot the clear coat.
 lasttr
March 17, 2011, 7:01 p.m.
lasttr
March 17, 2011, 7:01 p.m.
Cool; be sure to post some new pictures when you're done.
MarkAG
March 23, 2011, 12:49 a.m.
Well the BRG was to slow to harden & the paint went south. I'm changing the color to..... Pictures will be real soon.
MarkAG
March 23, 2011, 12:58 a.m.
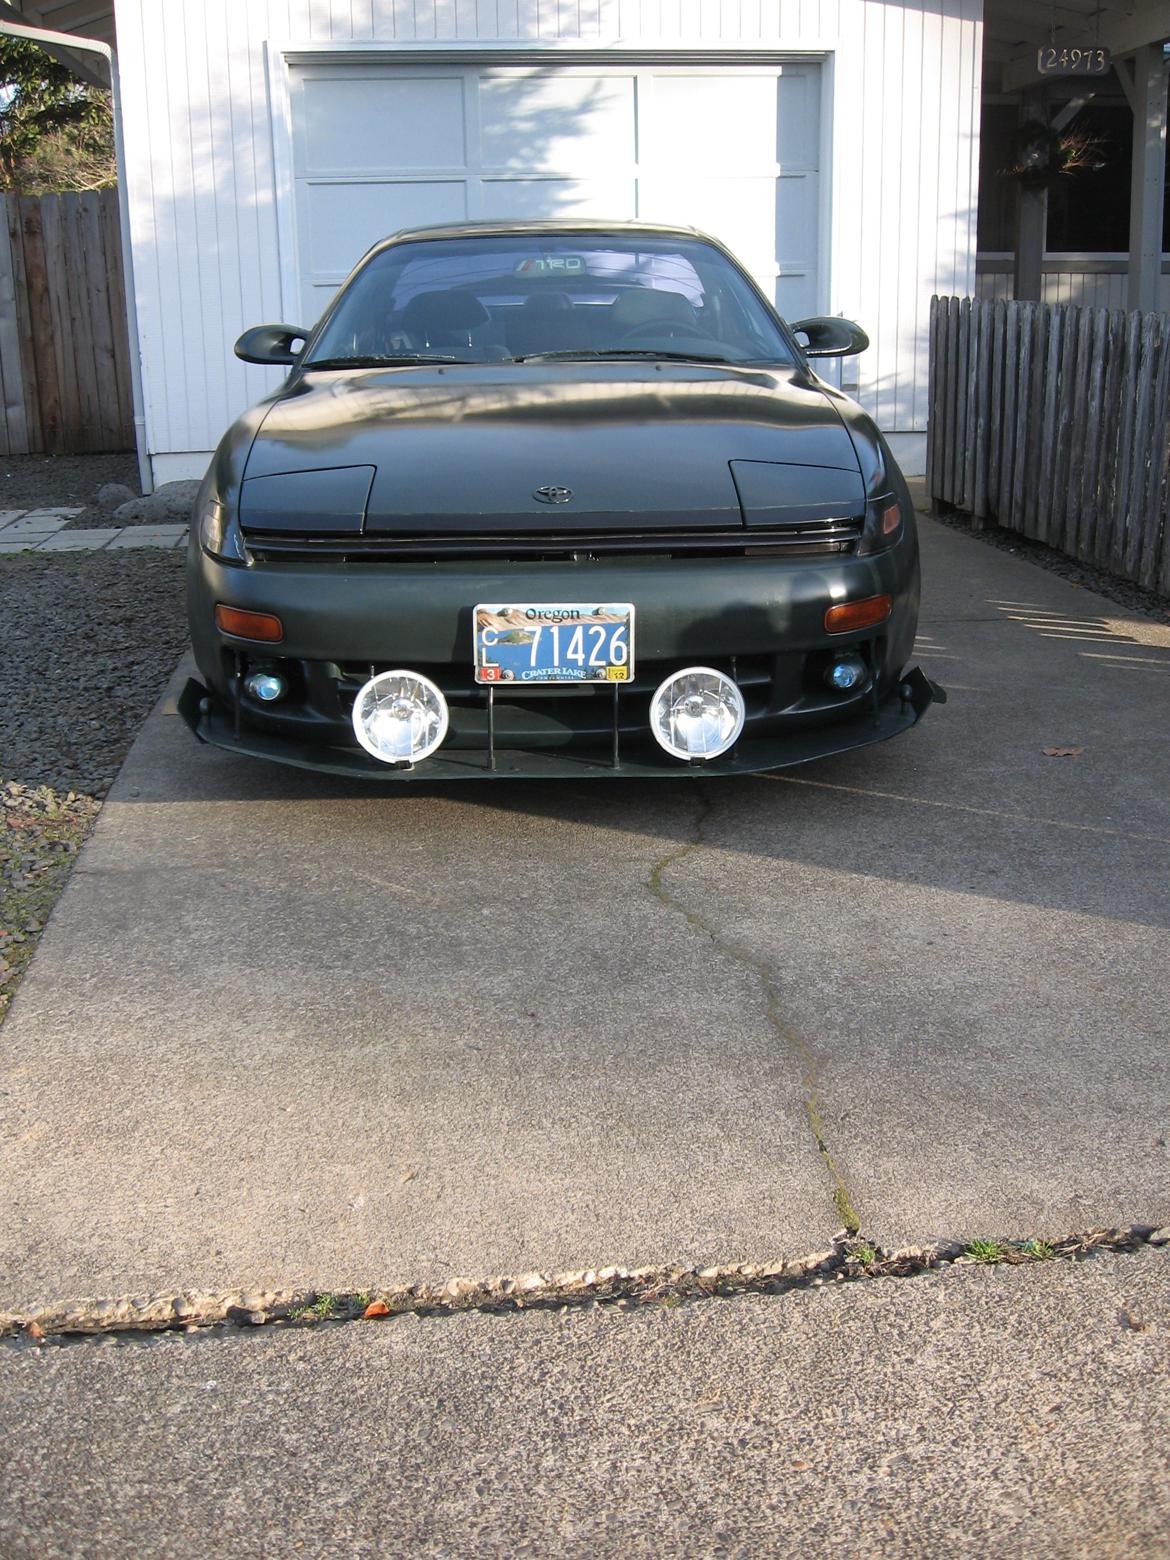
By the way the two lights (HELLAS!!!) were on the discount table at a local parts store, they were being discontinued!!! Reg. $129.99 payed $24.00!!! Wired to high beams via a relay. Real good at finding deer at night. The two Piaas are pointed to the sides to find those deer with a real death wish.