My last update was 9/5/13!!!
Holy cow. Two years, three months, ten days.
I should probably account for that amount of time. Most of you guys have seen other stuff I’ve been working on, but for those of you that didn’t, ill provide links.
Short version: medical, house, life, automotive ADD.
Long version:
I’m a mental health clinician for my day job, ran the local hot rod shop for years for a side business, father, husband, son, and I think part magpie (ooh!! Shiny!!!). my day job has become more and more involved since moving into residential services, often requiring 80 hour weeks, no sleep, high stress, etc. very consuming job. Which means less time for other things. Also, my daughter has been becoming more and more involved in various activities, which I also like to be involved in to support her. So when I’m not at work, I’m there. And when I’m not doing that, I build cars for others. And when I’m not doing THAT, I’m fixing my own stuff, and renovating the house. Obviously, not a lot of hours left over there. Well, couple of years ago, it became apparent that I needed to become more involved in the bodywork on my El Camino. As seen here: https://grassrootsmotorsports.com/forum/build-projects-and-project-cars/project-drivabeater-20-64-el-camino-this-time/60101/page1/ so that sidetracked me considerably from the duster.
Spent a lot of hours at the body shop, and a LOT of money. During that period, driveline specialties rebuilt the rear end again, making it quiet. Apparently their previous supplier had some troubles with the gears, and then went out of business. They honored it anyway. Very great guys. I also realigned the car, and daily drove it through that January and February when my daily was down. I also broke a lowering block while dialing the car, and wound up doing the hanger flip instead. Lowered the rear too much, but never got around to a solution.
In April of 2014, I was helping brother Dustin build his woodshop. It had started raining, and we were almost finished. So I decided to be superman. Carrying a couple of sheets of¾ ply above my head in the wet grass, I slipped. Hurt my left knee and ankle pretty bad. Couldn’t push in the clutch anymore, so the car got parked. I limped along for a few months, and finally went to the doctor. Turned out that I had shattered my left ankle, and that my knee would mostly heal once it was rebuilt. So September of 2014, I had reconstructive/repair surgery. I was able to try to drive the car again in January 15. I managed to make it to Indian trail (about 60mi) before the interior filled with smoke. Dash fire. Crap. So had it towed home, and put it in time out to think about what it had done. After fighting, and losing, with the comp claim through insurance, I was pretty disgusted. I also had to rebuild my deck, and the shop needed a major overhaul before I could really work down there. So we jerry rigged the car back together to run long enough to drive it down to dads. That was in April or so of this year, at the same time that I decided to close down the shop. It was no longer worth the time/money that it was taking/making. No longer made me happy like it once did, either. The duster has been living in the corner down there since.
While it was out of the way, I did this: https://grassrootsmotorsports.com/forum/build-projects-and-project-cars/dusterbd-does-a-low-budget-shop-rebuild-not-the-grosh-caliber-but-still/103346/page1/
So, with those small projects finished up, and a status update on my life out of the way, I guess we get back to the intent of this thread: converting a duster to a pro-touring car, on a budget.
Where the car left of:
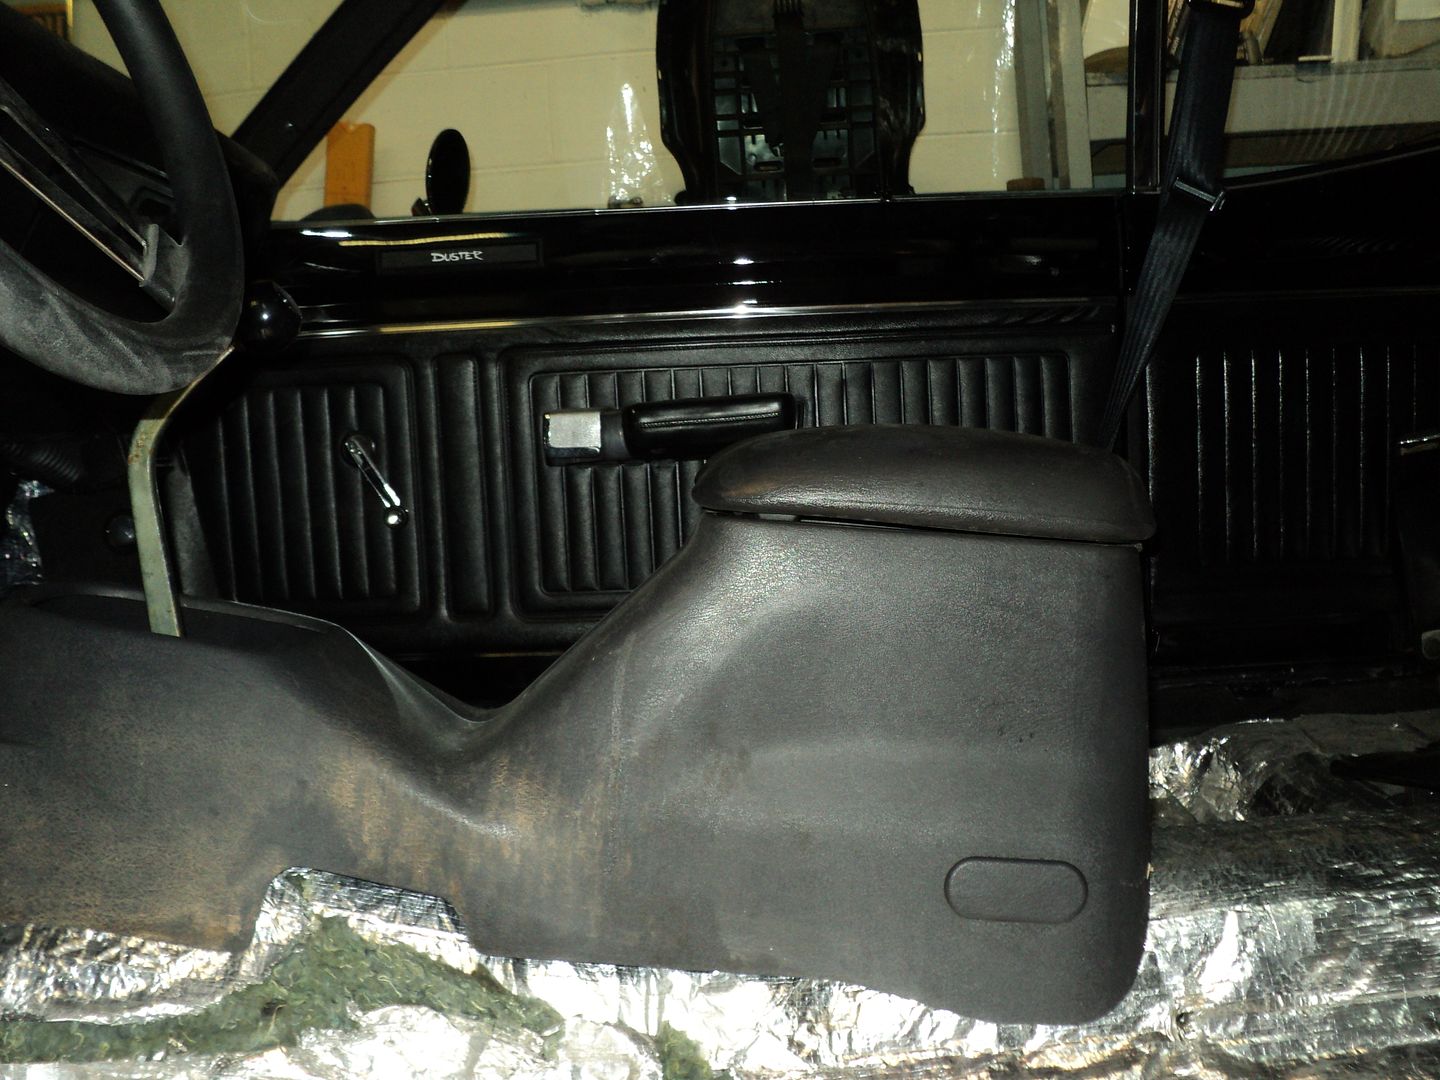
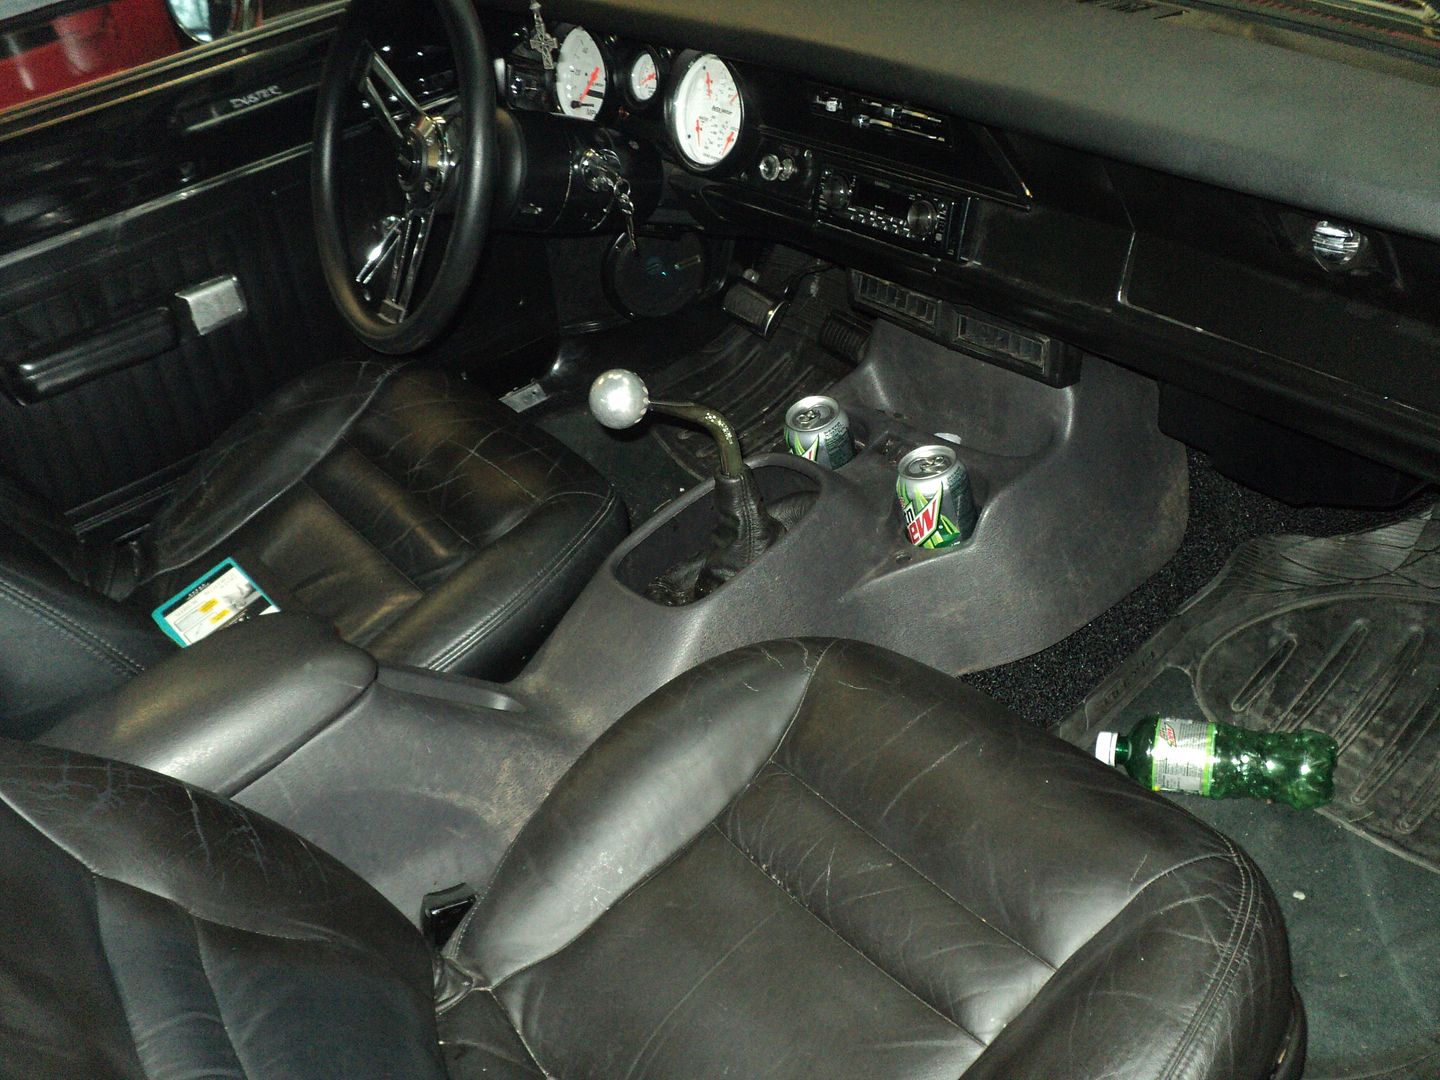
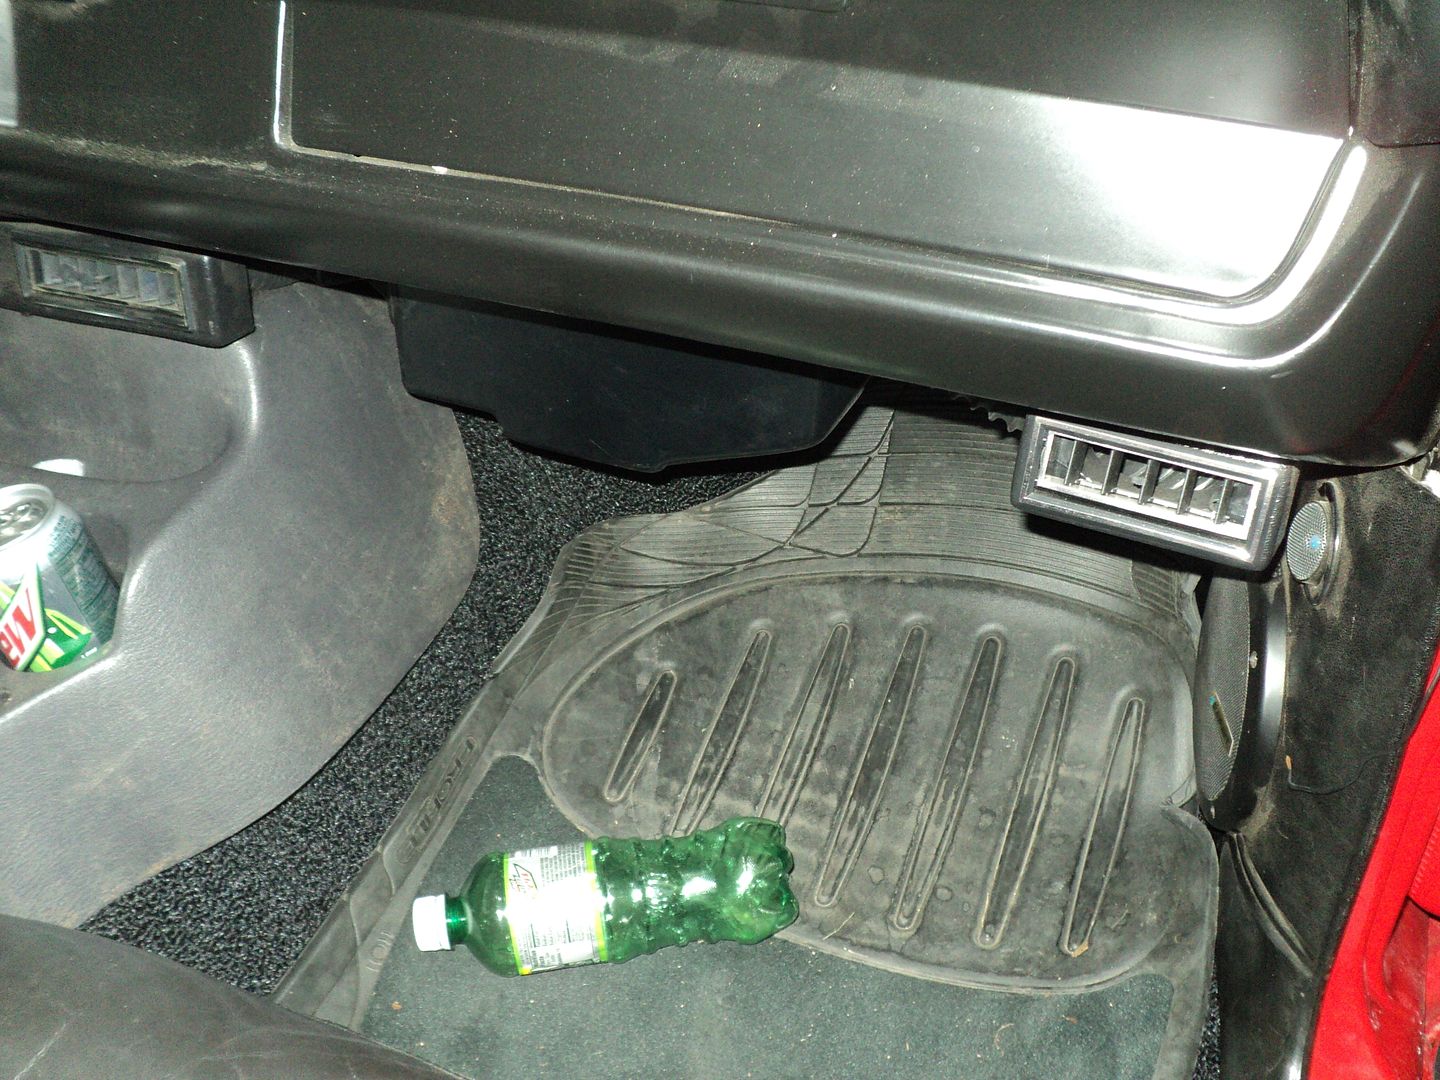
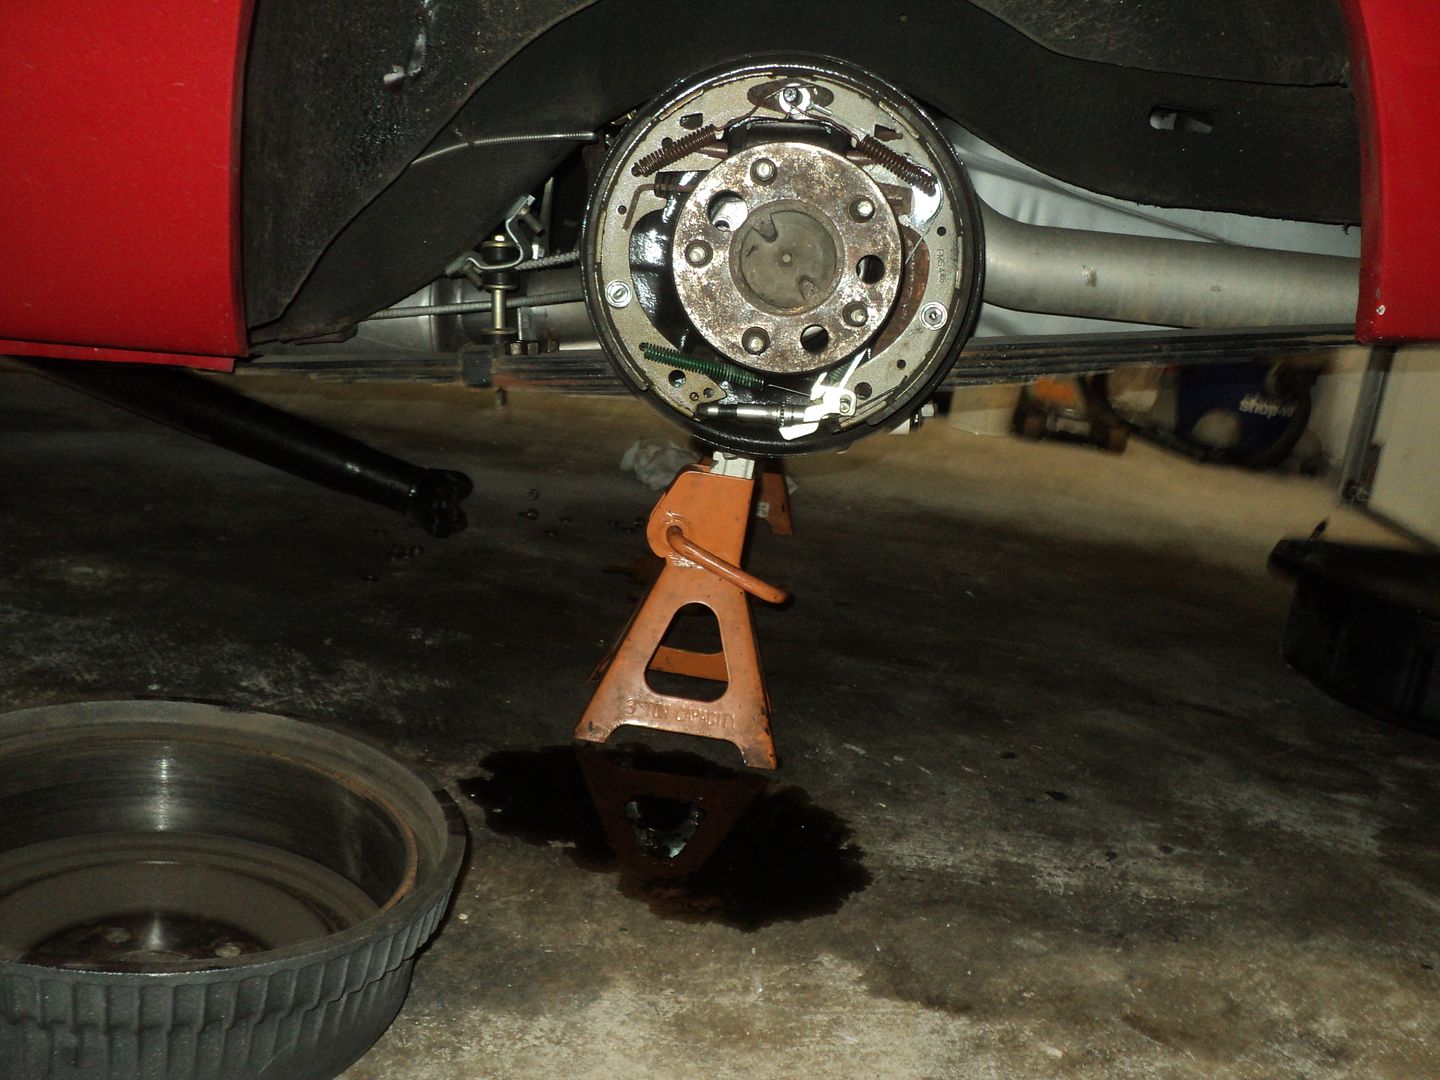
Burned up wiring harness. Bad vibrations in the driveline. Stiff clutch. Piss poor running. Dead spot in steering. Back end too low. Various creaks/bangs/pops from the suspension. Ac intermittent. Electric fans making noise. Brakes making noise. Parking brake inoperable. Various leaks. Drivers side window tracks need work. Console needs dyed. Needs cleaned everywhere.
The previous budget: 7996.27
Money spent (the best I can remember)
Edelbrock fuel rails: 110
Tanks inc in tank pump: 235, summit racing
Roll of steel fuel line: 21 (oreilleys)
91 corvette ECM with MEMCAL 45 (carguts in south carolina)
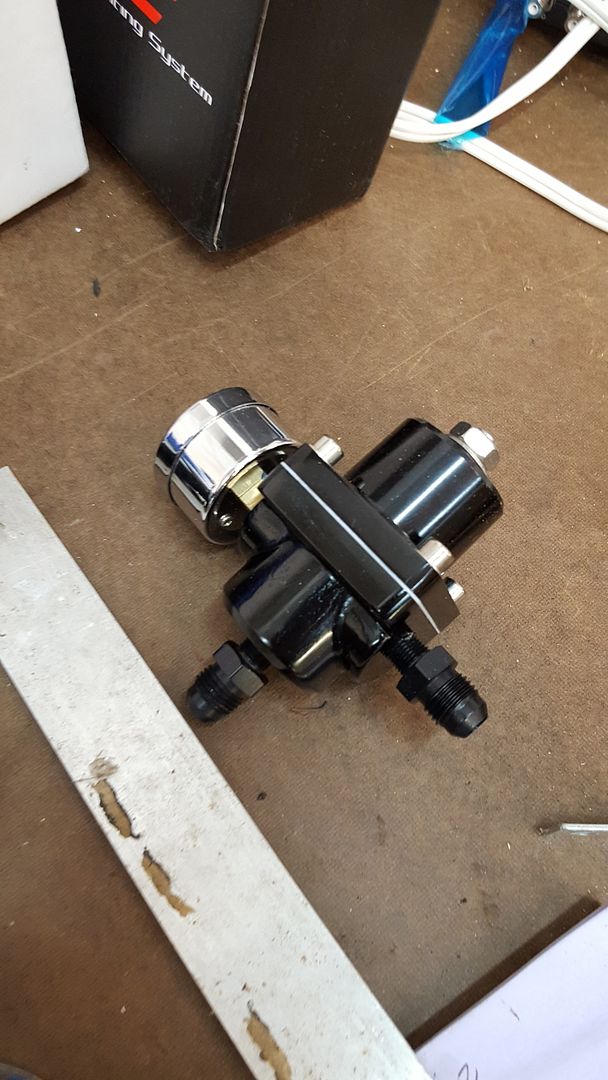
Adjustable fuel pressure regulator, ebay 21
Ez mini 21 circuit harness, ebay 135
Kenwood 3 channel amp, swap meet, 20
Polk dash speakers, pull a part 12
Memphis belle 6x9 speakers, free
4 gauge amp wiring and terminals, free
Battery jump terminals, 17 ebay
New total: 8612.27
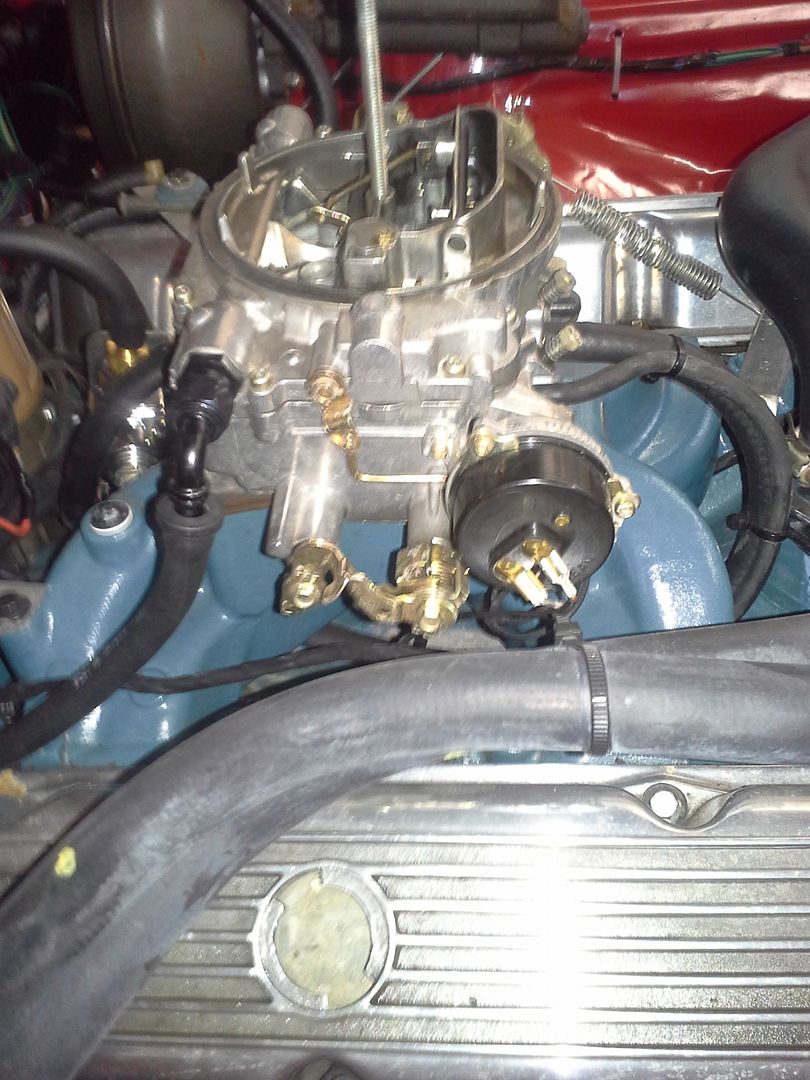
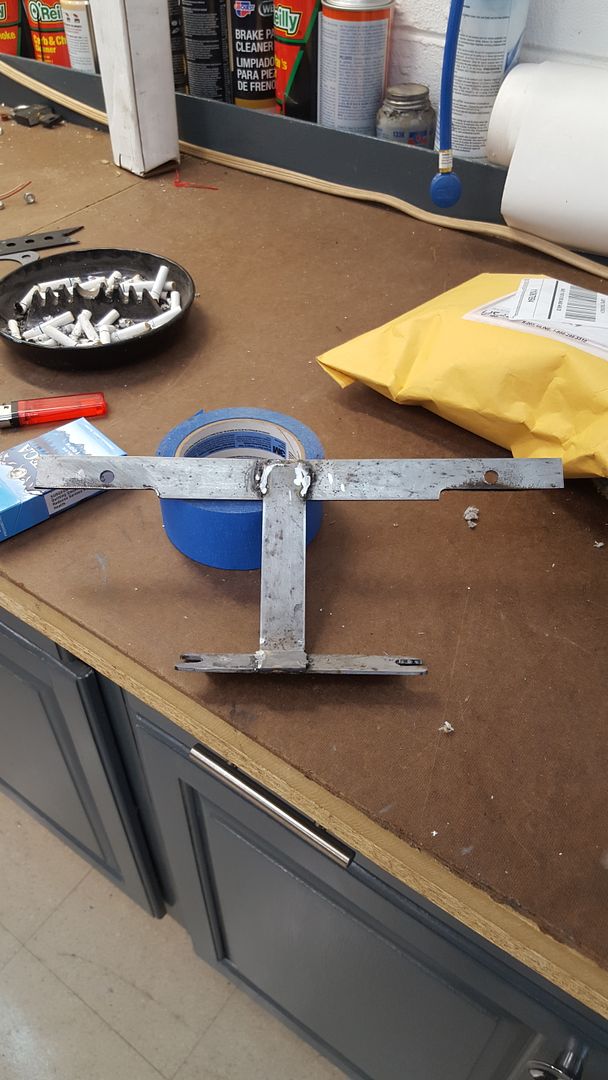
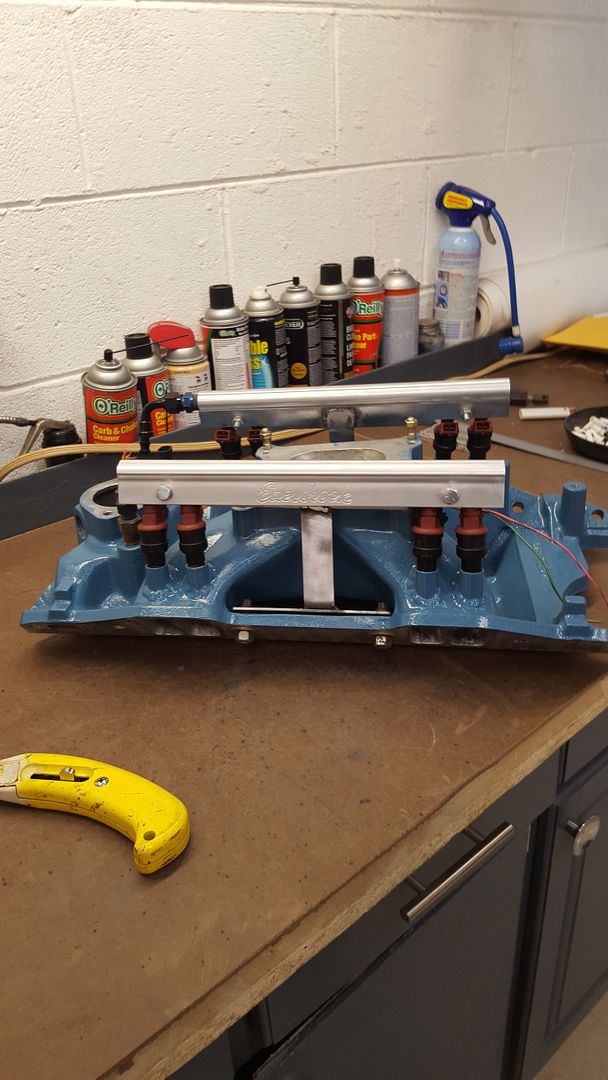
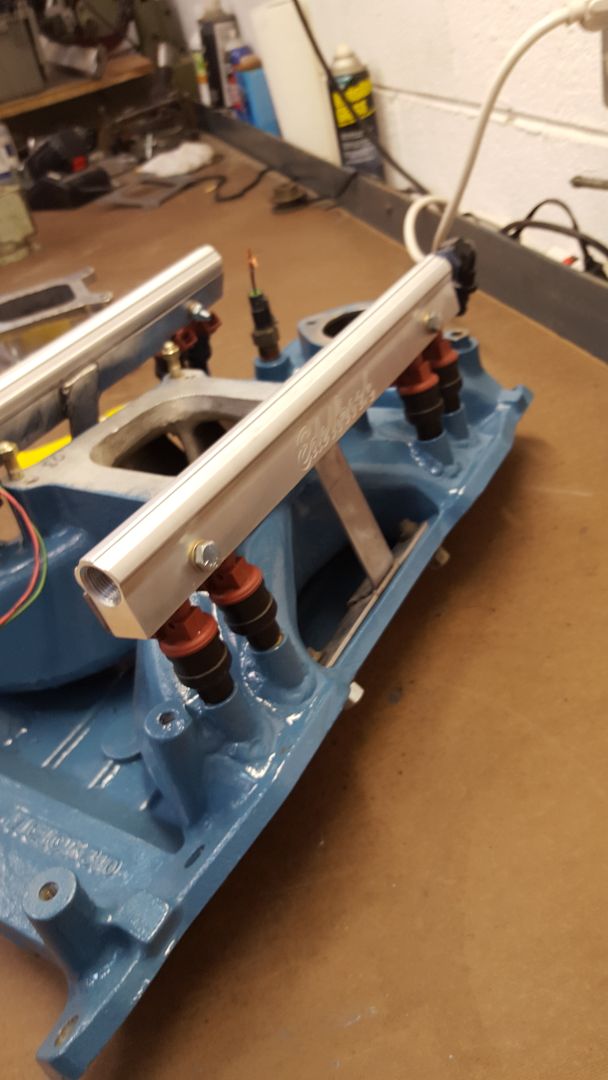
So this past month, I decided it was time to bring the old girl back out of the time out corner. I started in on finally finishing the intake that I began to convers for port efi. It needed lots and lots of work to finish. So I pulled it, my magnum fuel rails, etc. off the shelf. I also learned, somewhere in the last couple of years, that the GM ECM I plan on using does not like a fixed fuel pressure. The ecm works better with a vacuum referenced regulator. This meant that the single inlet, return less, magnum rails would need to be modified to work. Instead, I spent the good money on a set of edelbrock aluminum fuel rails. Easier to set up as a return style, easier to mount, and look better.
Anyway, I pulled the parts out of storage, and this is what met me:
Half finished, mostly butchered intake.
[URL=http://s54.photobucket.com/user/dusterbd13/media/duster/20151203_145157_zpsg9qhjlji.jpg.html]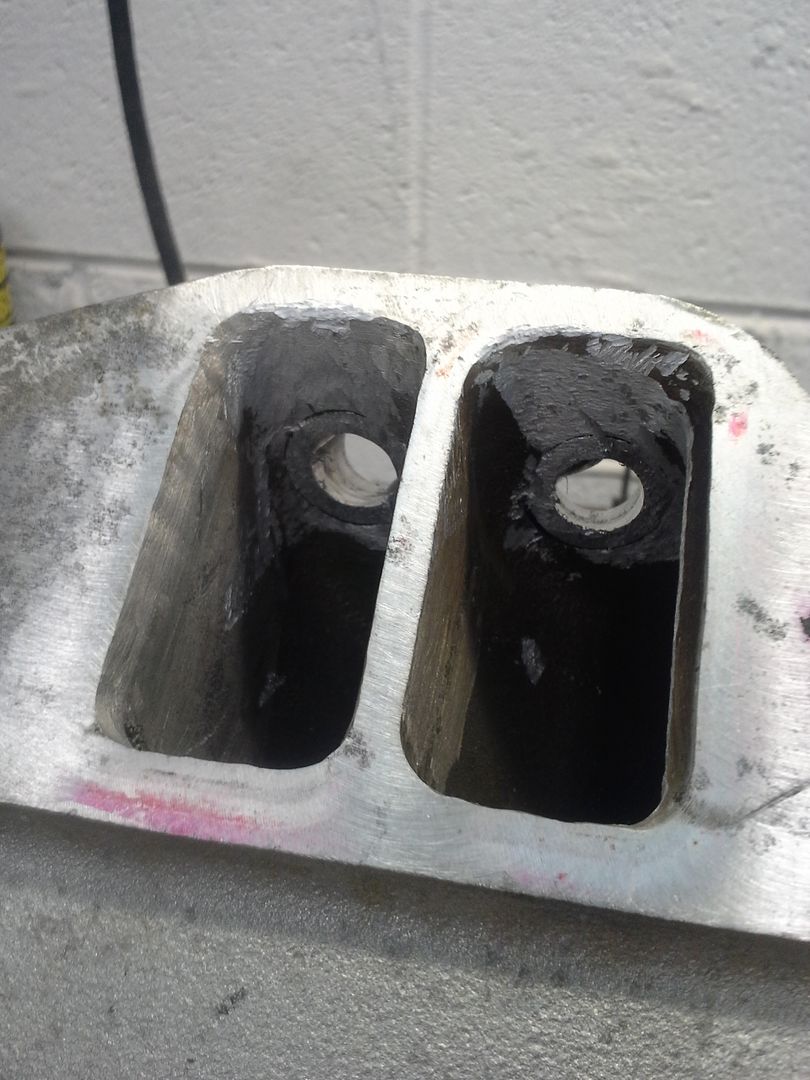 [/URL]
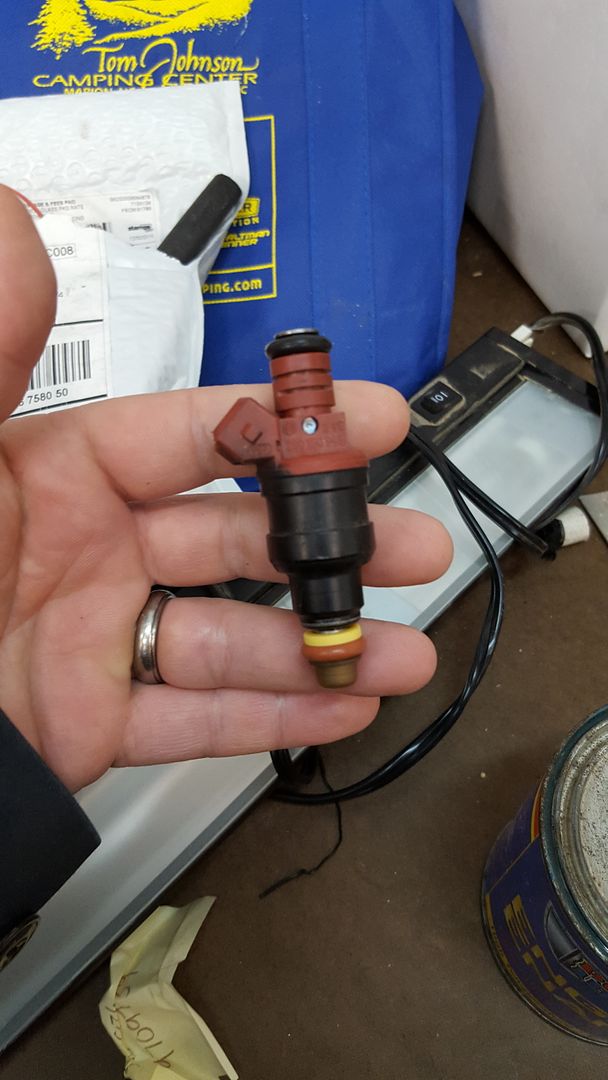
Melted injector pintles on my 30lb injectors:
[URL=http://s54.photobucket.com/user/dusterbd13/media/duster/20151203_141840_zps9w04nbdm.jpg.html]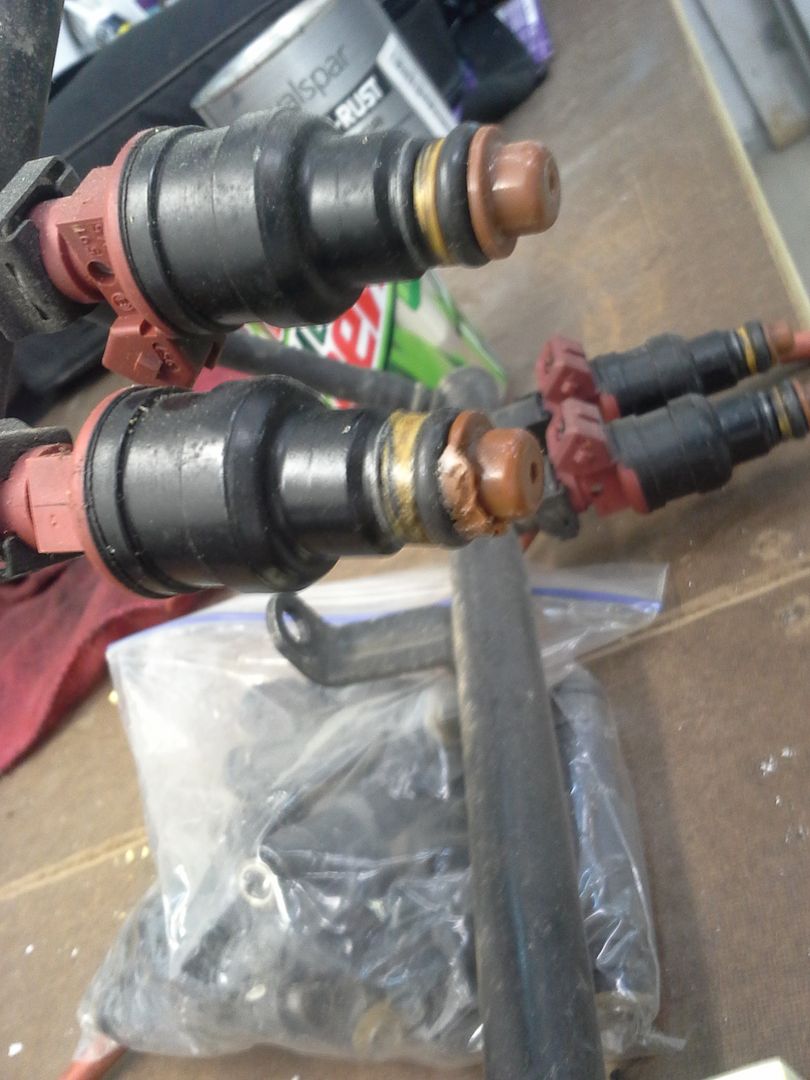 [/URL]
Shiny box of fuel rails:
[URL=http://s54.photobucket.com/user/dusterbd13/media/duster/20151211_210010_zpsw8s7mthx.jpg.html]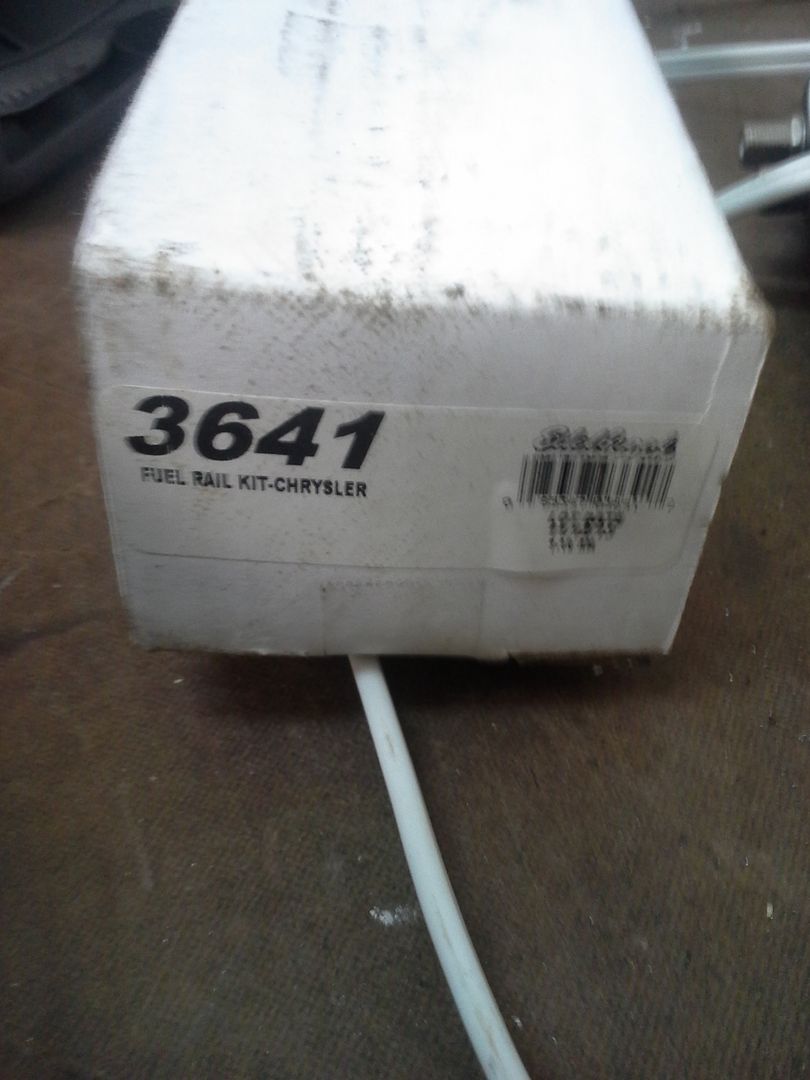 [/URL]
Ebay sourced vacuum referenced fuel pressure regulator:
[URL=http://s54.photobucket.com/user/dusterbd13/media/duster/20151211_210002_zpsmhwlqheq.jpg.html]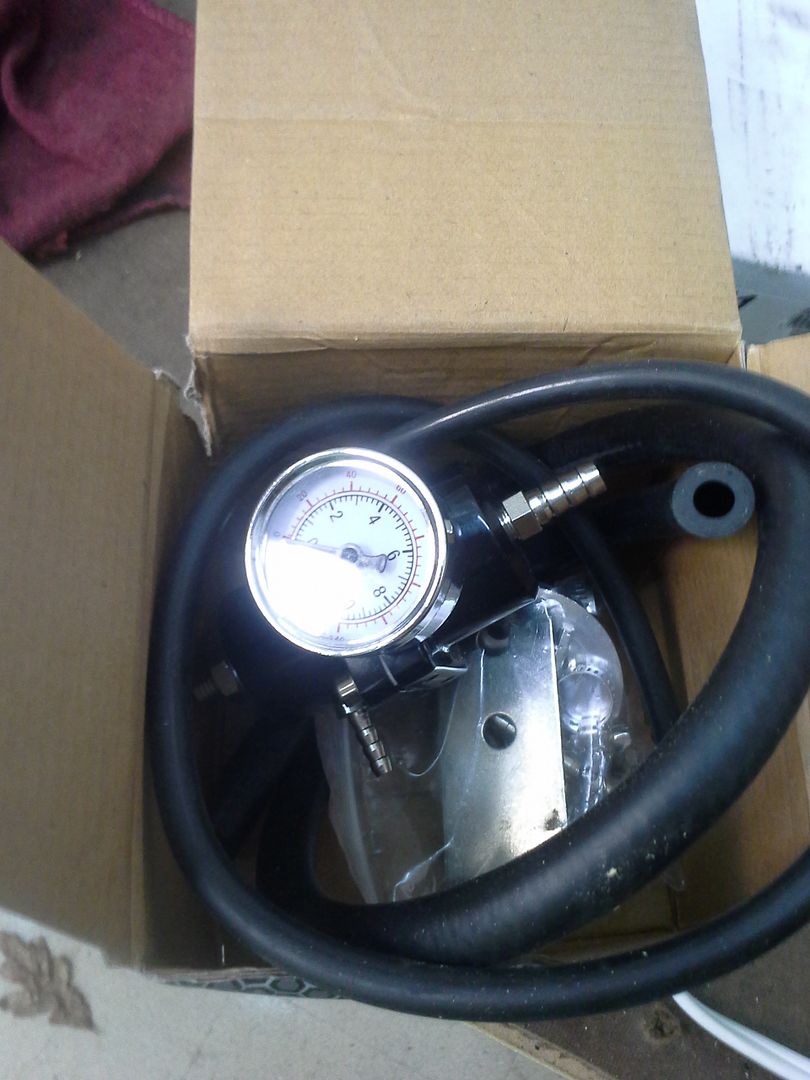 [/URL]
So I got to porting. Took more than a couple of hours, but the intake runners/bungs are done. Still need to decide what to do about the plenum, if anything.
[URL=http://s54.photobucket.com/user/dusterbd13/media/duster/20151212_210750_zpsv98aml37.jpg.html]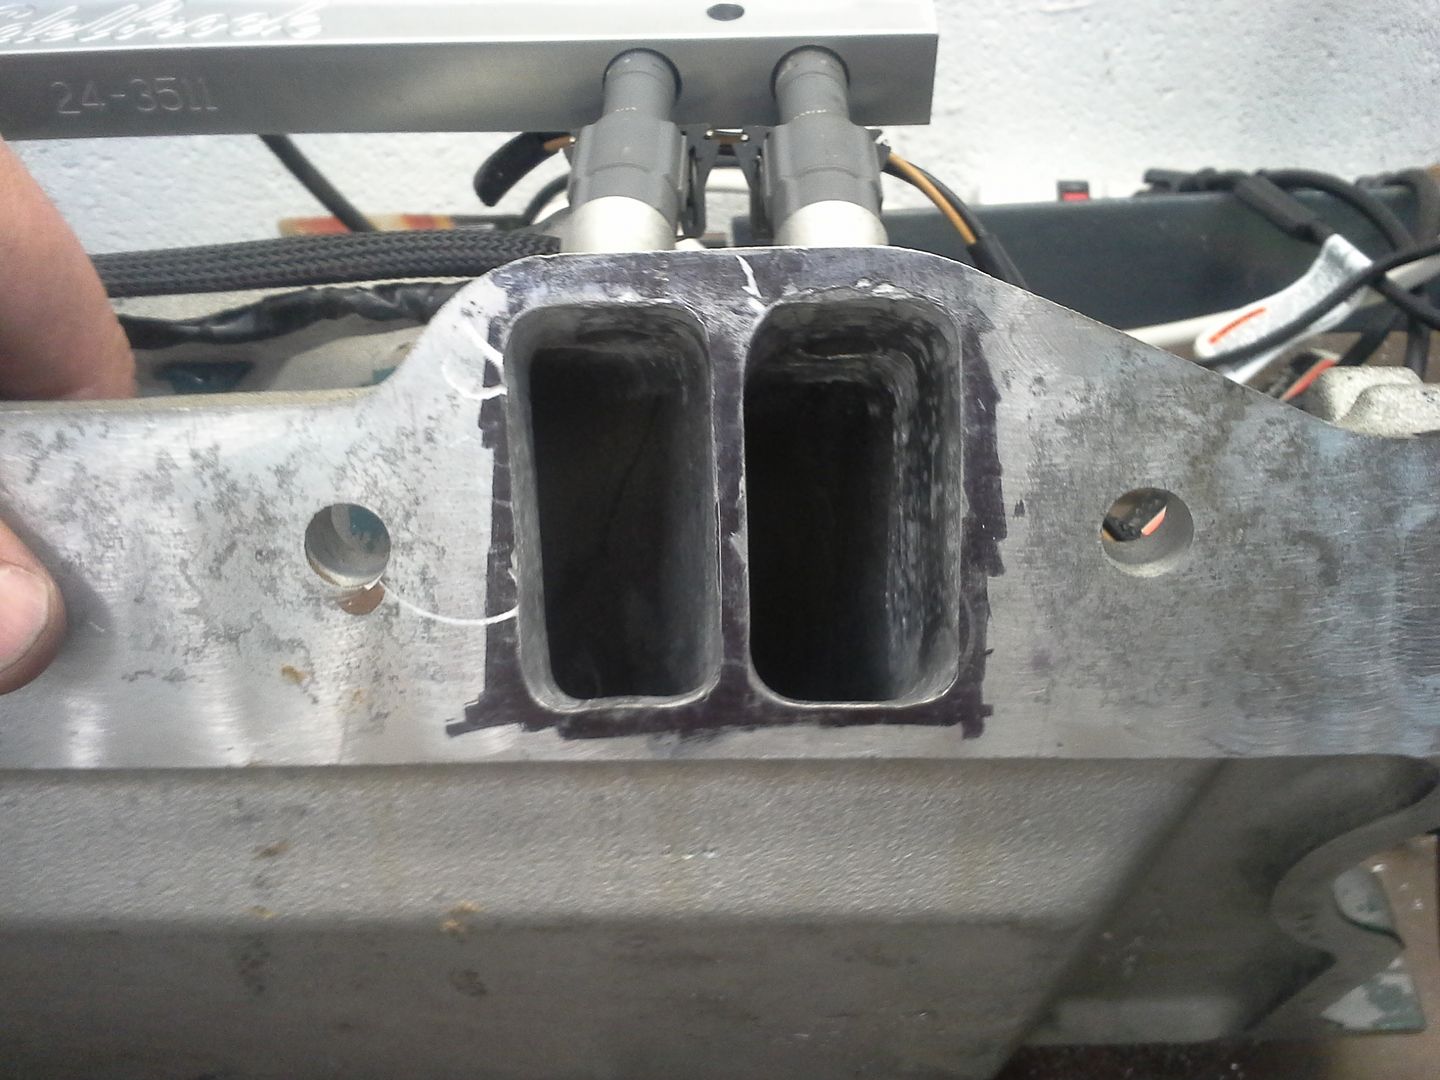 [/URL]
Mock up with a spare set of ls1 injectors (26lb), edelbrock fuel rails. The 30lb test out fine, and will be rebuilt with new o-rings and pintle caps. What happened was that when we welded the bungs in, we used the rails and injectors as a jig. Too much heat. Only a few got melted, and those seem to be fine.
[URL=http://s54.photobucket.com/user/dusterbd13/media/duster/20151212_210742_zpsaxql987v.jpg.html]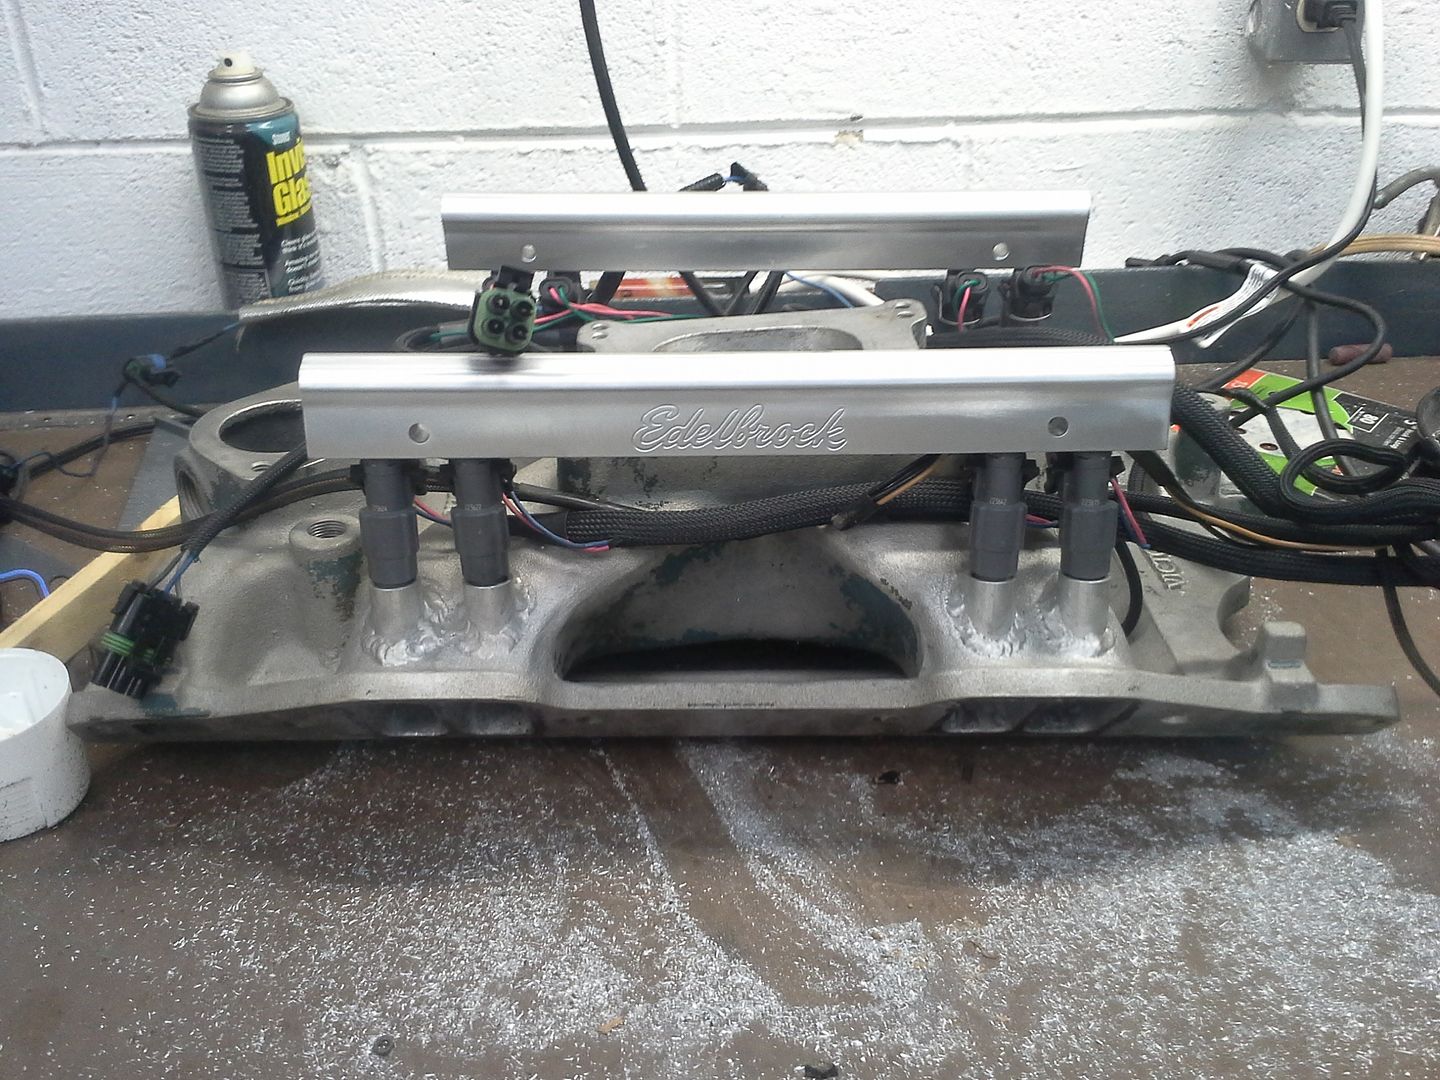 [/URL]
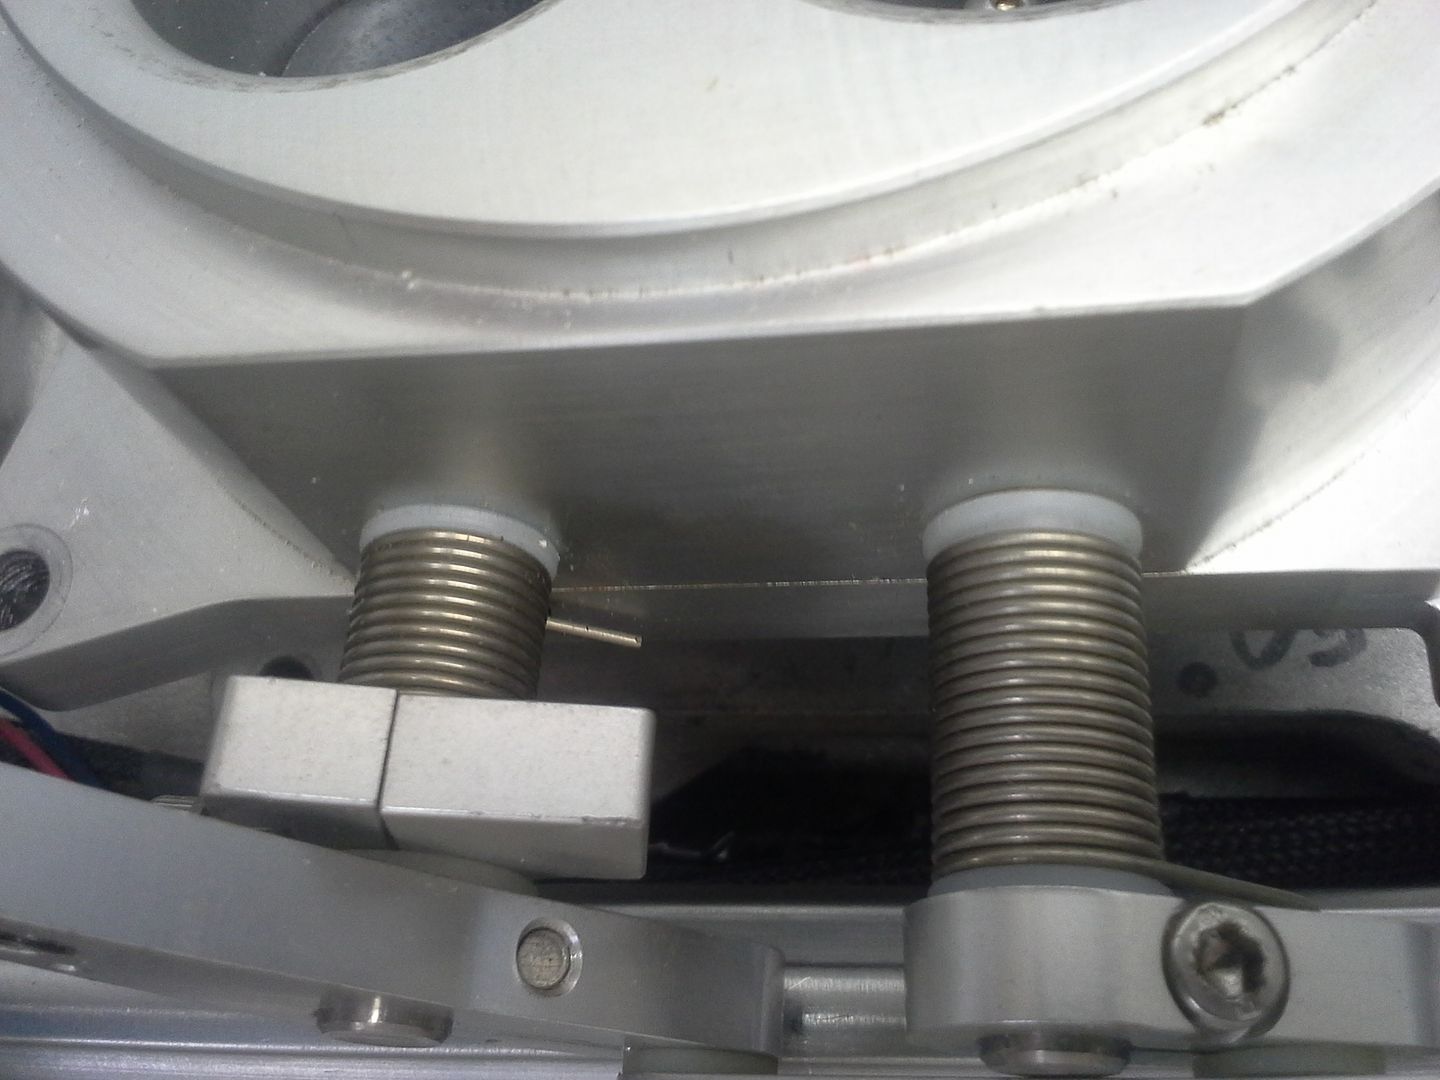
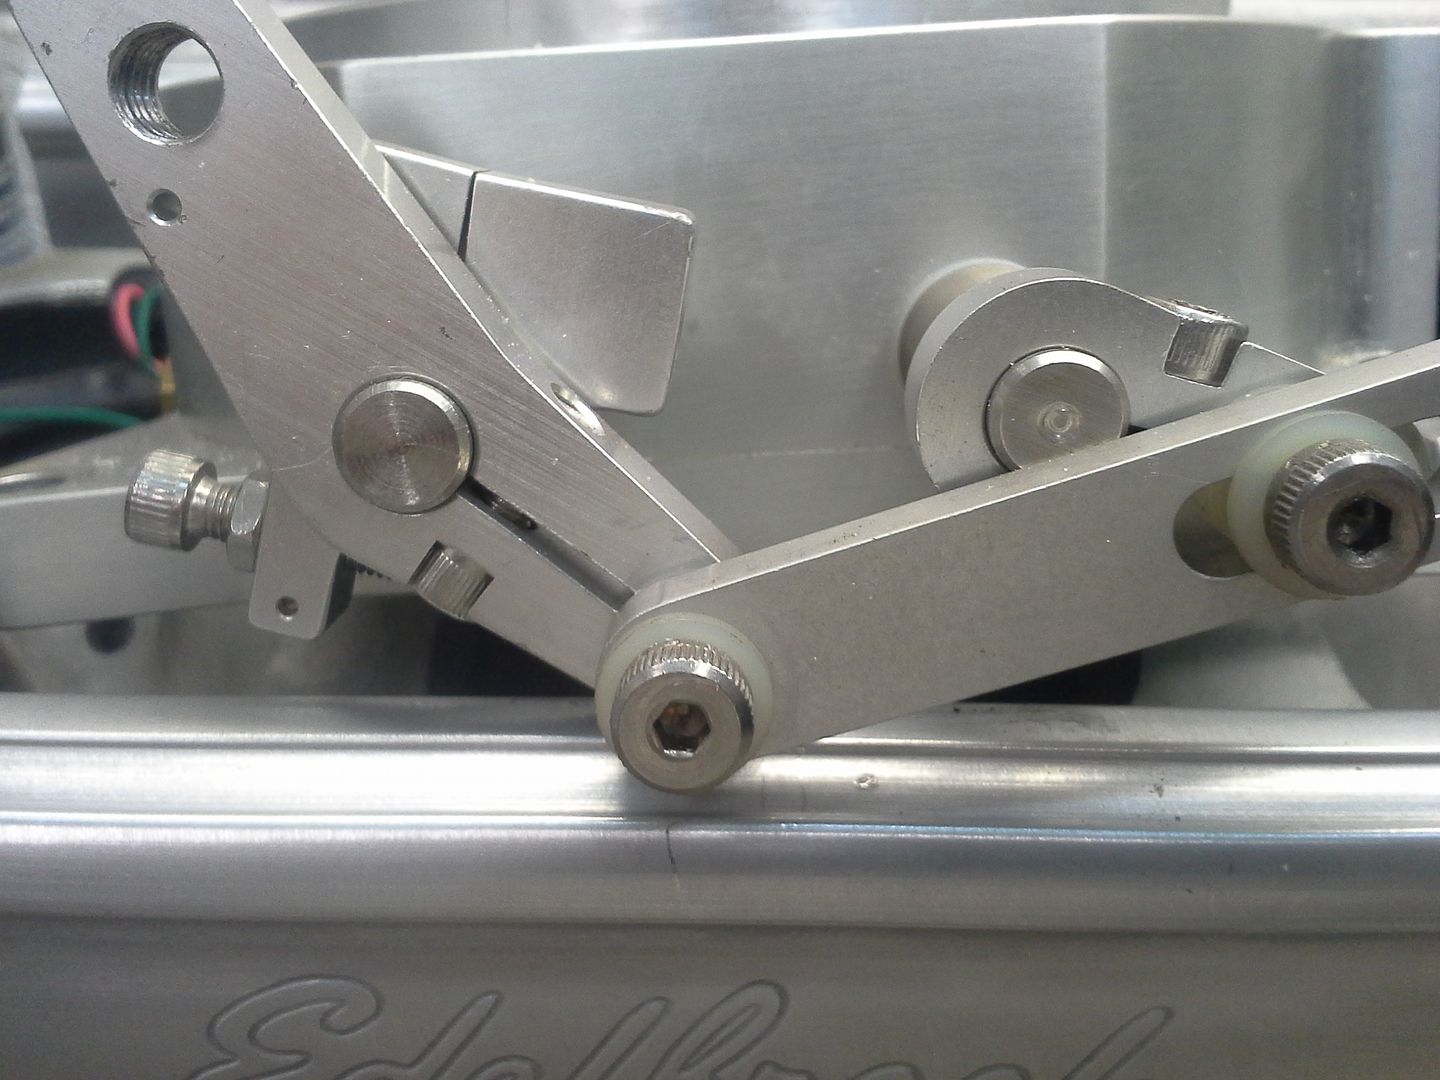
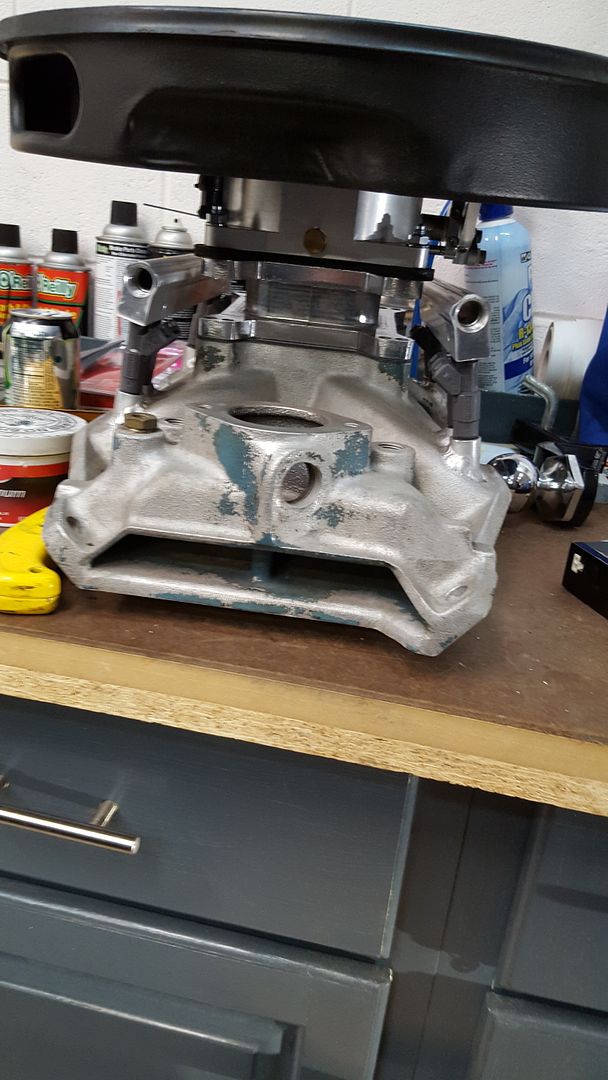
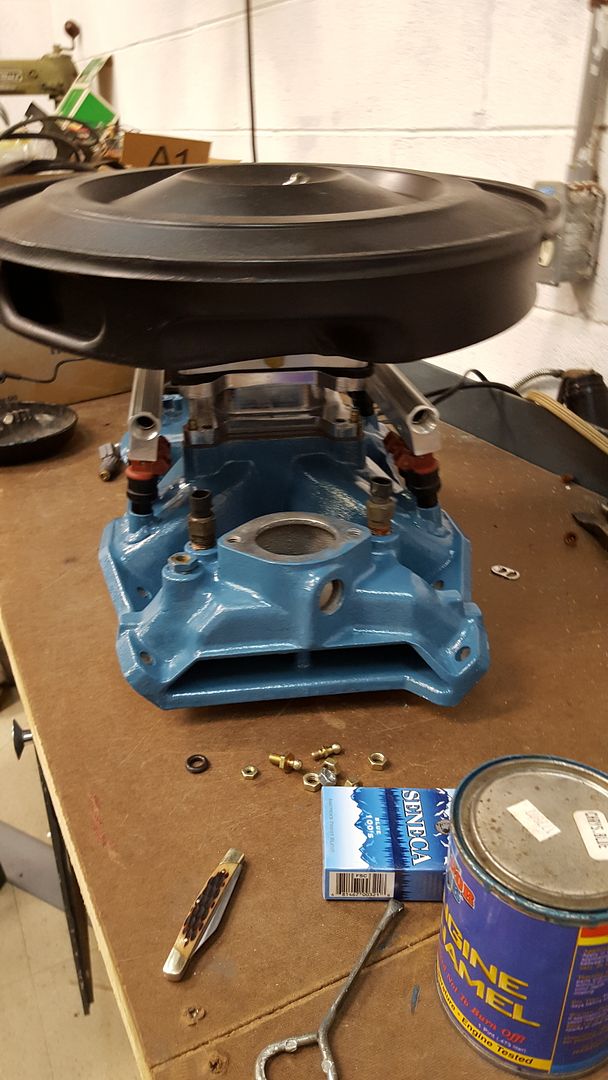
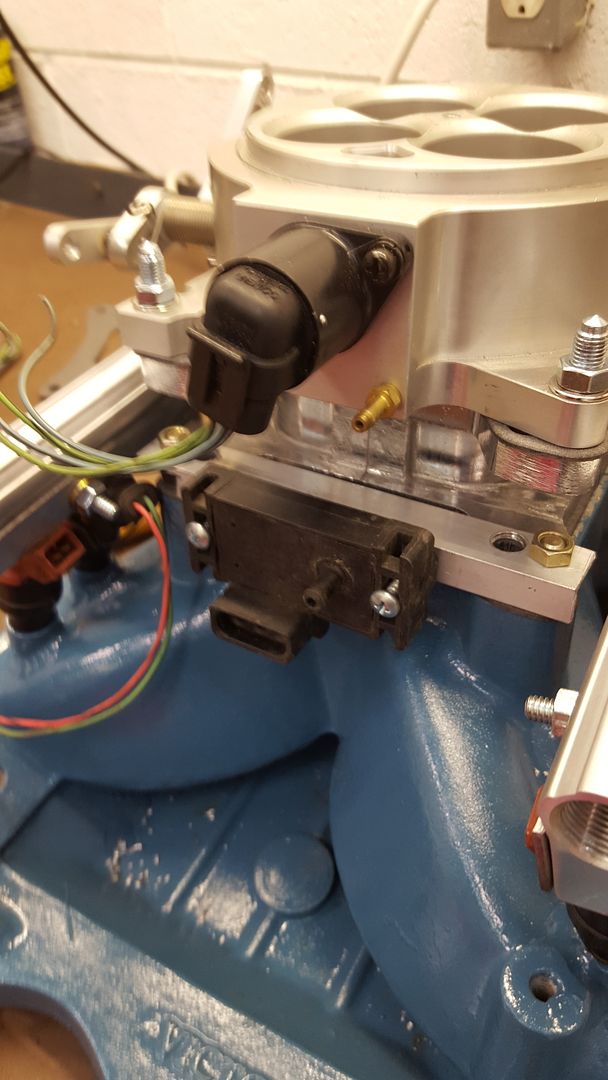
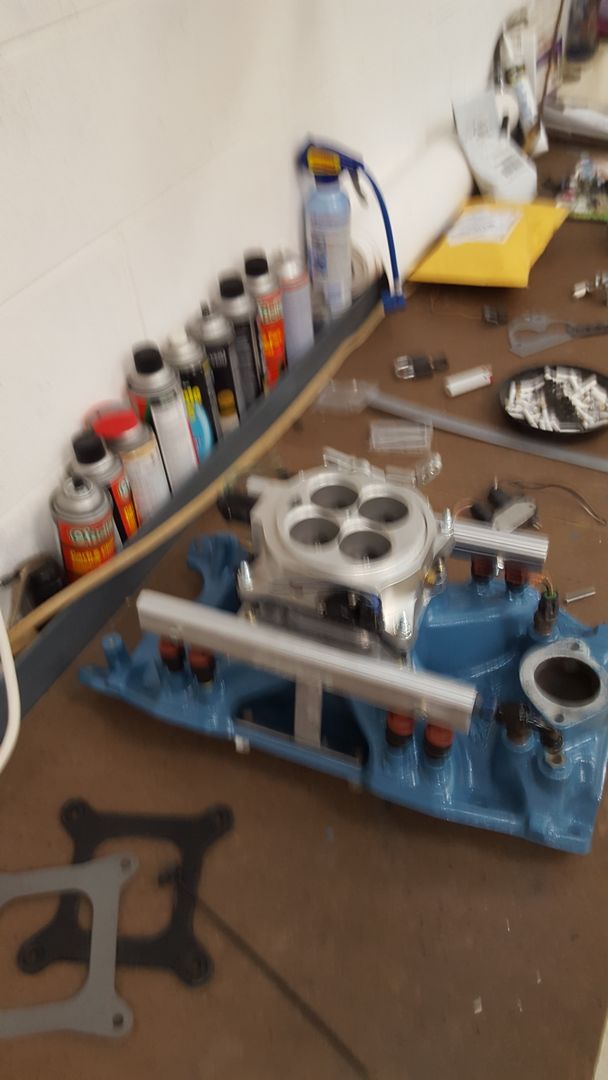
I got excited to see this setup this close. So I grabbed the 4bbl throttle body and the used 7727 ecm harness off the shelf and started a further mock up. The throttle body hits the fuel rails pretty badly. The harness needs altered significantly from its time powering a tuned port corvette. But it all will work together. A 2 inch open spacer will be used under the throttle body, which will allow it to clear the rails. Additionally, with the shorter throttle body and taller spacer, its still ½ inch shorter than the 950/1 inch spacer I ran on this manifold before. I can also drill and tap the spacer for my power brake/pcv ports, and my intake air temp sensor, thereby cleaning up the engine visually.
[URL=http://s54.photobucket.com/user/dusterbd13/media/duster/20151212_210707_zpsaqszpxzn.jpg.html]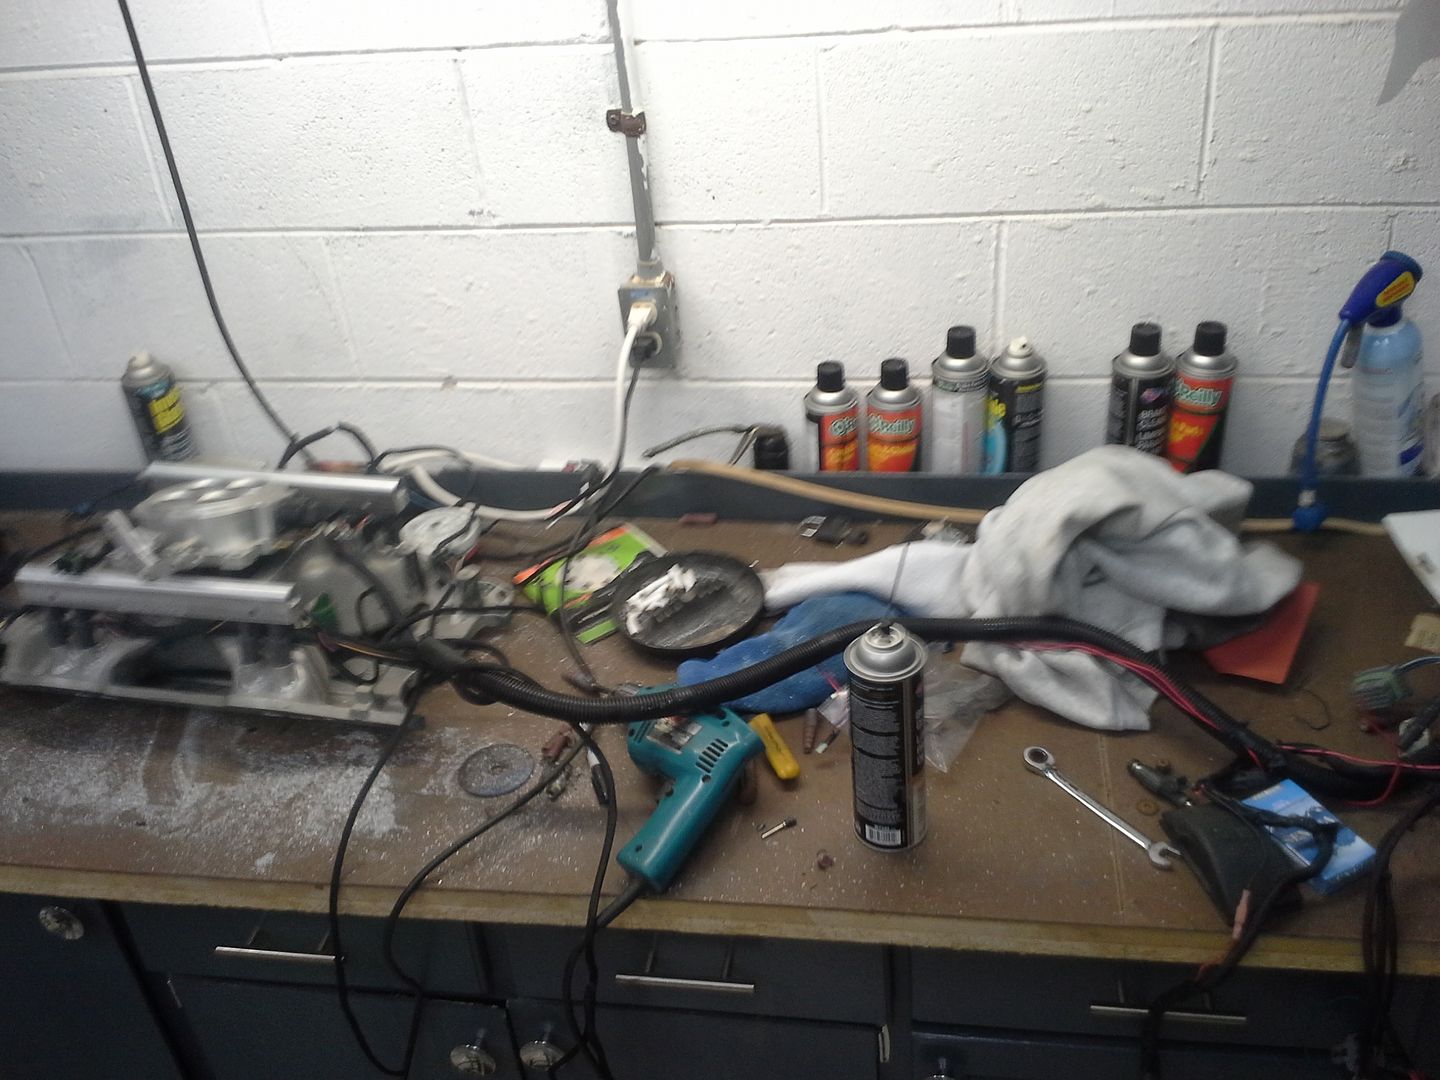 [/URL]
[URL=http://s54.photobucket.com/user/dusterbd13/media/duster/20151212_210715_zpsfdf0bsk3.jpg.html]
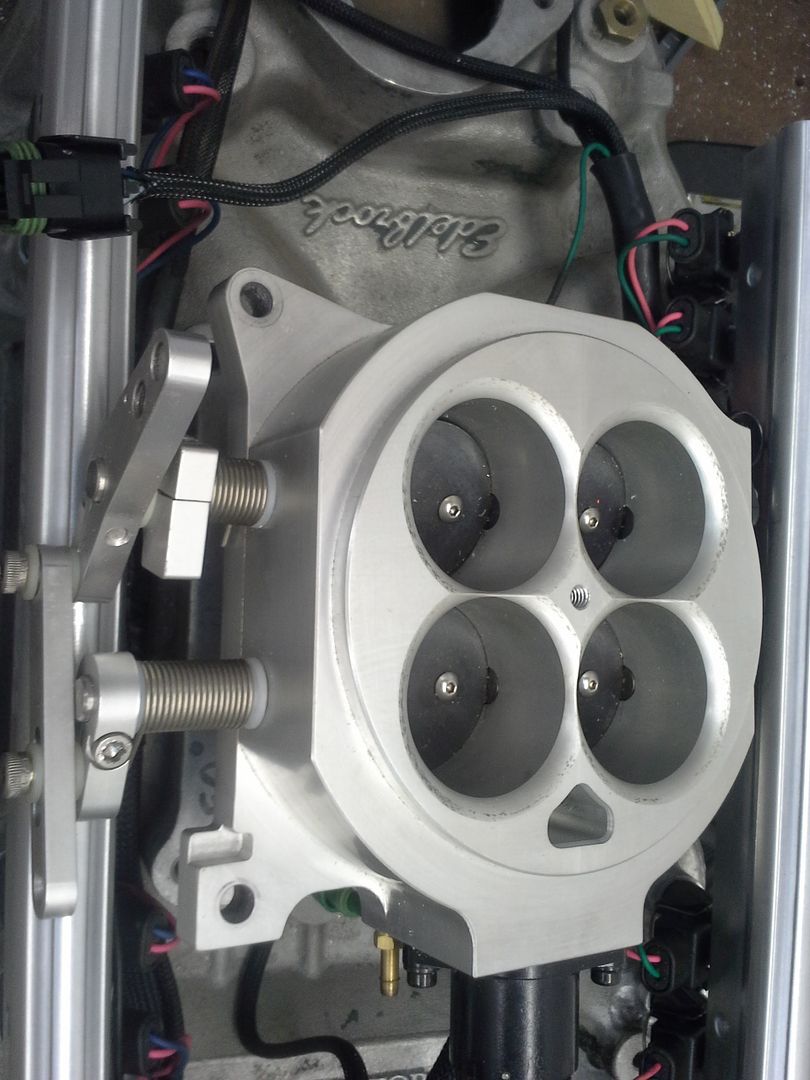 [/URL]
[URL=http://s54.photobucket.com/user/dusterbd13/media/duster/20151212_210721_zpsxbzwbhlo.jpg.html]
 [/URL]
[URL=http://s54.photobucket.com/user/dusterbd13/media/duster/20151212_210726_zpsvo0ayzpc.jpg.html]
 [/URL]
Nest up, I moved onto the fuel system for the efi conversion. Initially I had planned to use an in tank module from a late model gm product based on some write ups I found on the internet. Unfortunately, I couldn’t find a pump that would fit that would feed the small block in the duster. Rather than being faced with finishing another module and section of fuel tank to section in, I hit the easy button. I ordered the tanks inc pa-4 module with a walbro 255. 235 from summit, free shipping. I had debated between this and a surge tank/dual pump setup. I’m running that version on my elky, and have been impressed with its performance. However, I didn’t want to have fuel components inside the trunk of the car, and the pa-4 should clear the trunk floor with a couple of hammer whacks. So I went with the pa-4.
[URL=http://s54.photobucket.com/user/dusterbd13/media/duster/20151208_183452_zpsoc6nylmp.jpg.html]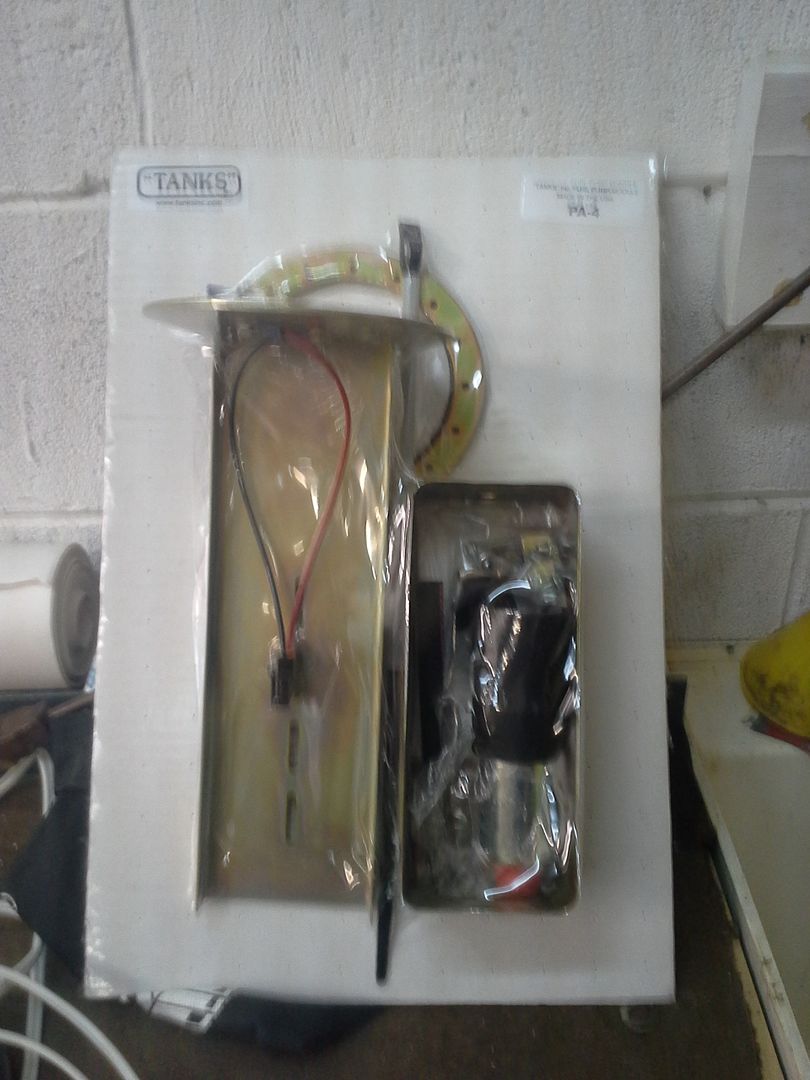 [/URL]
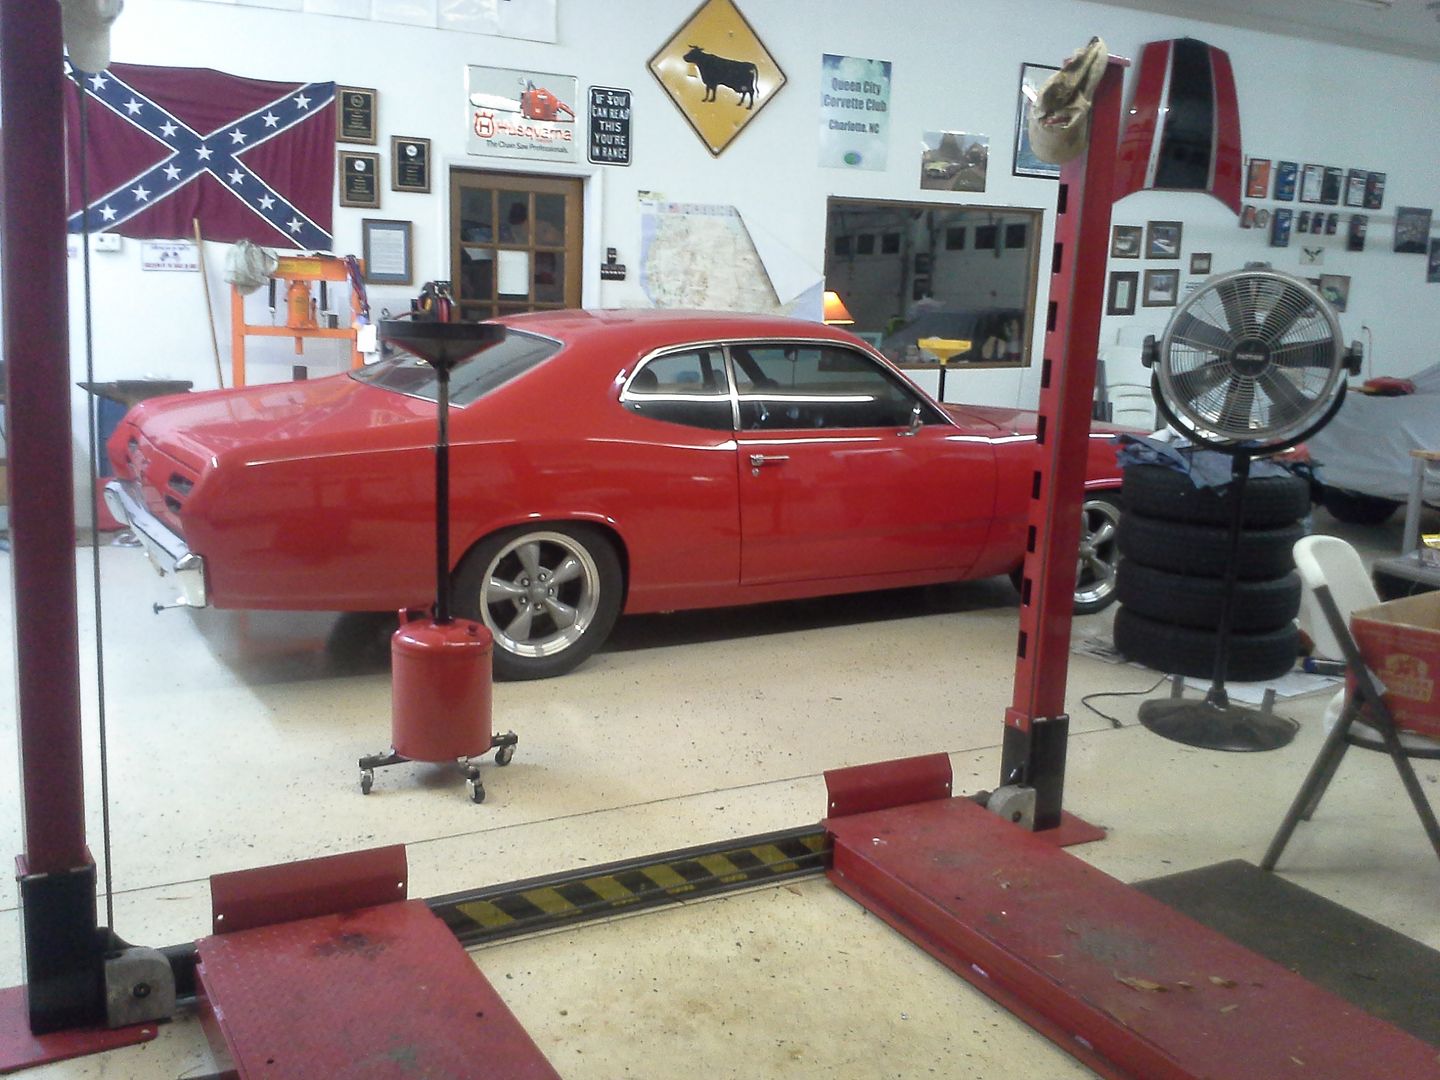
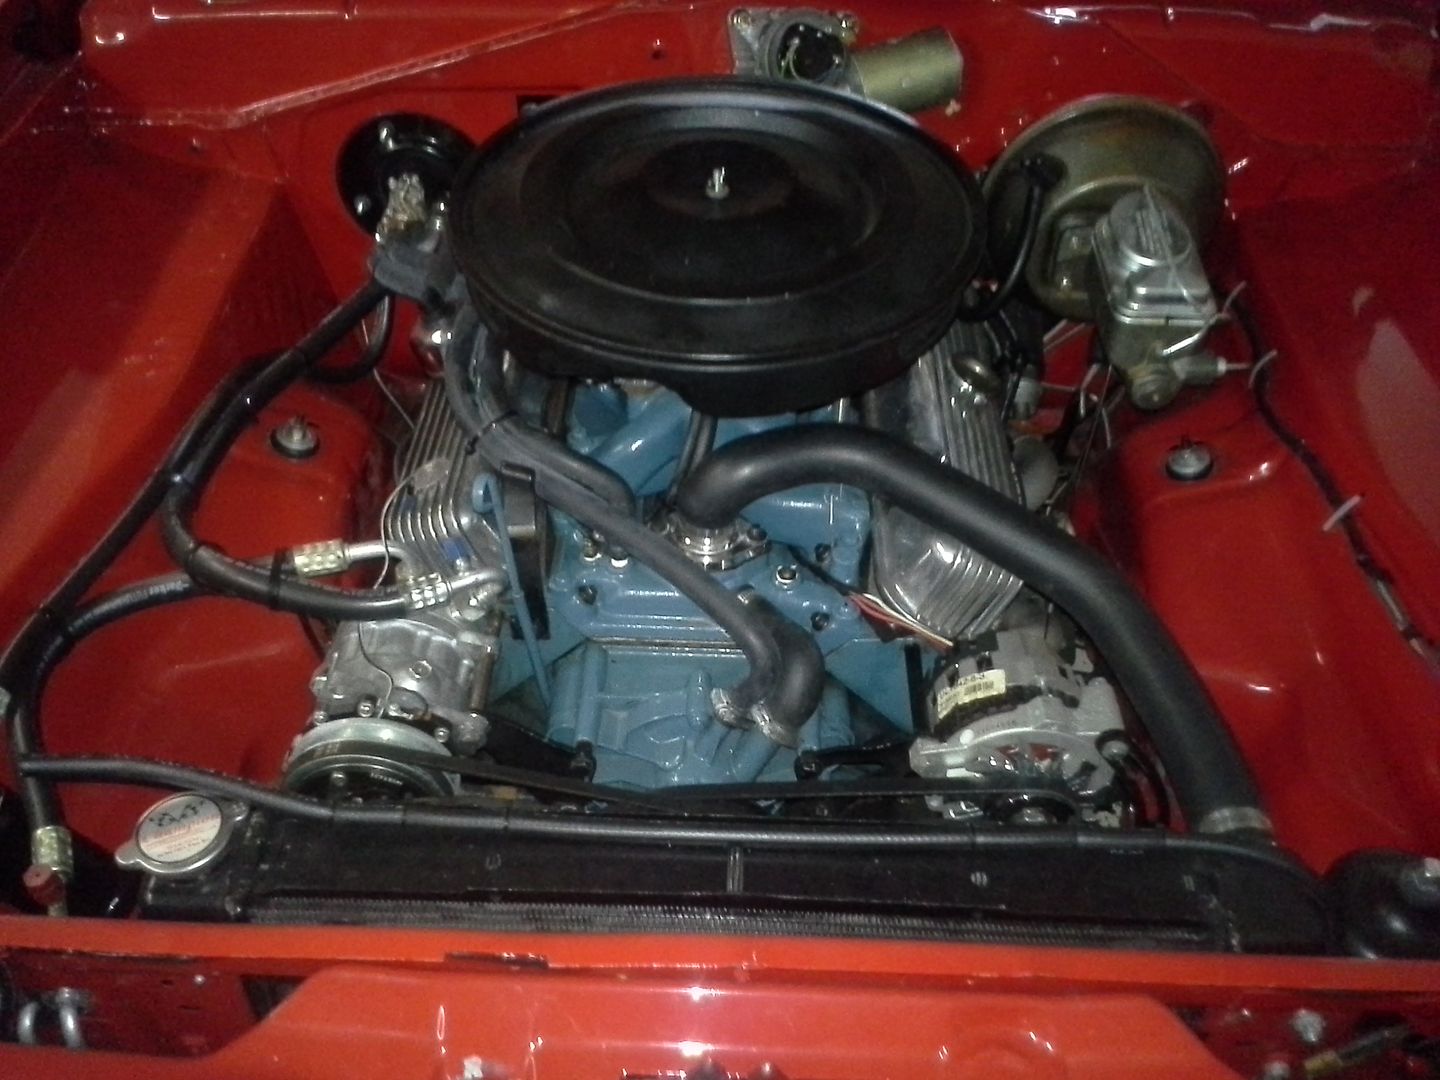
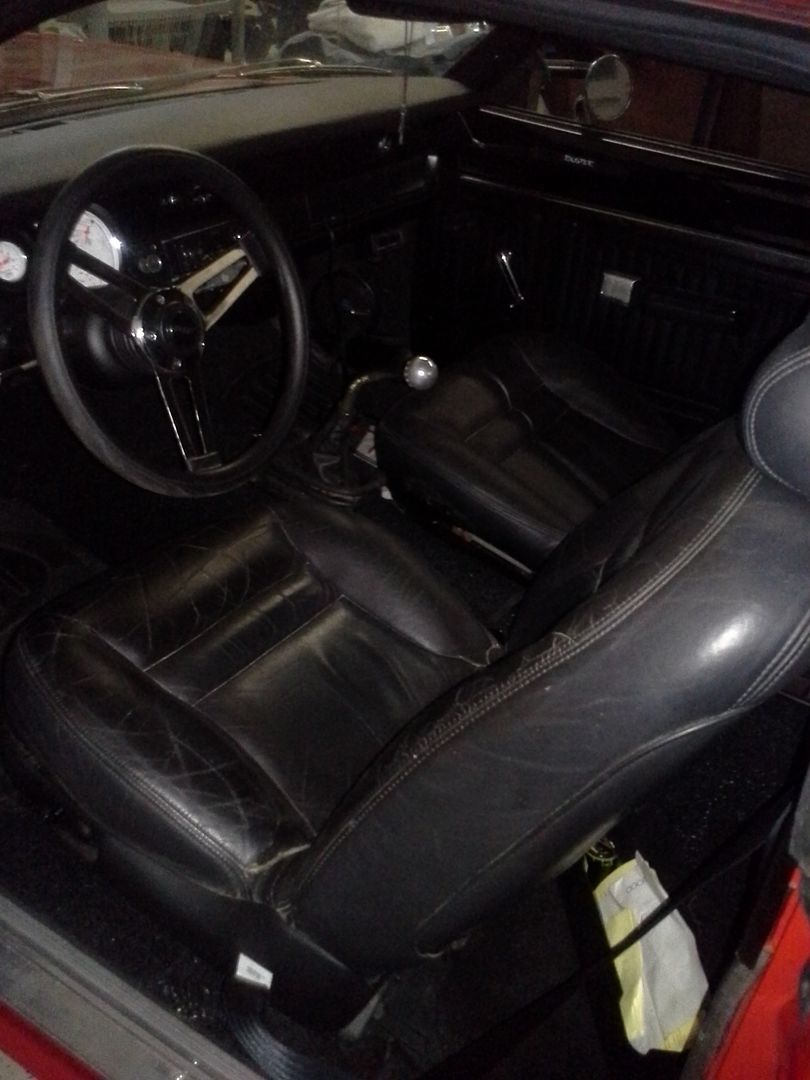
So this past weekend was the install time. I went down, and took some time out pictures. Here is where we started at. Car has not been moved, or touched, since april.
Parts I started acquiring are in the trunk where they landed when they came in. new harness to replace the burned up one. New amp to replace the dead ones. Jump terminals. Etc. misc duster parts in a duster shaped storage box.
[URL=http://s54.photobucket.com/user/dusterbd13/media/duster/20151202_185243_zpsjv9voddg.jpg.html]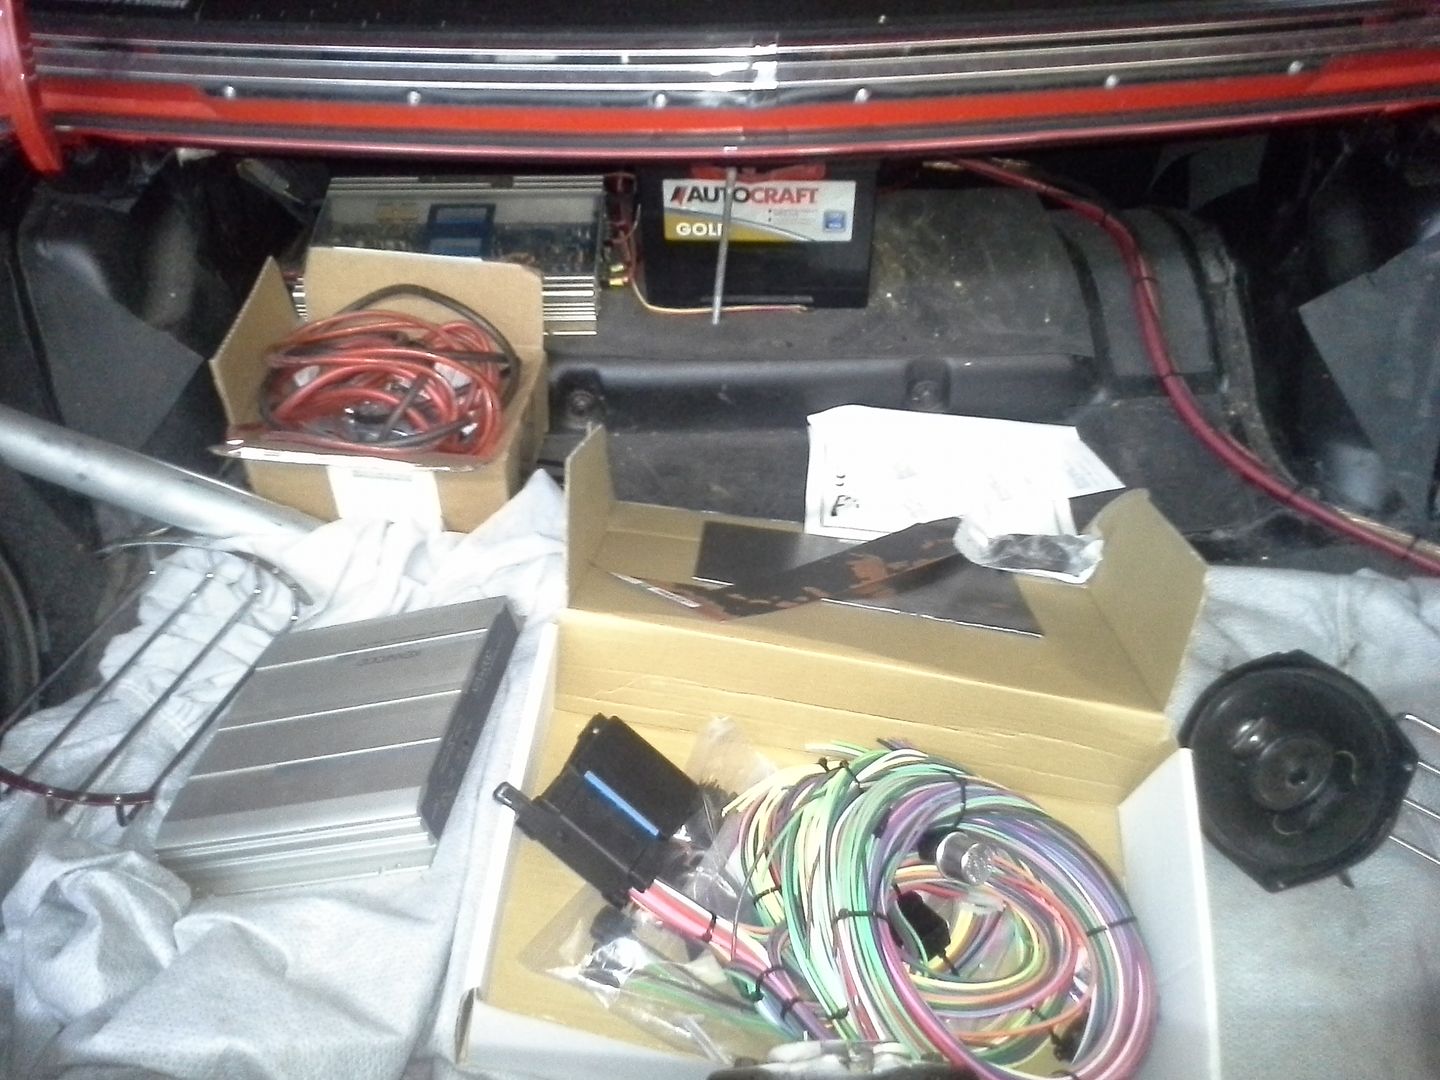 [/URL]
[URL=http://s54.photobucket.com/user/dusterbd13/media/duster/20151202_185255_zpsnki6c45p.jpg.html]
 [/URL]
[URL=http://s54.photobucket.com/user/dusterbd13/media/duster/20151202_185213_zpsoxjtaqd6.jpg.html]
 [/URL]
[URL=http://s54.photobucket.com/user/dusterbd13/media/duster/20151202_185127_zpsksijdzfq.jpg.html]
 [/URL]
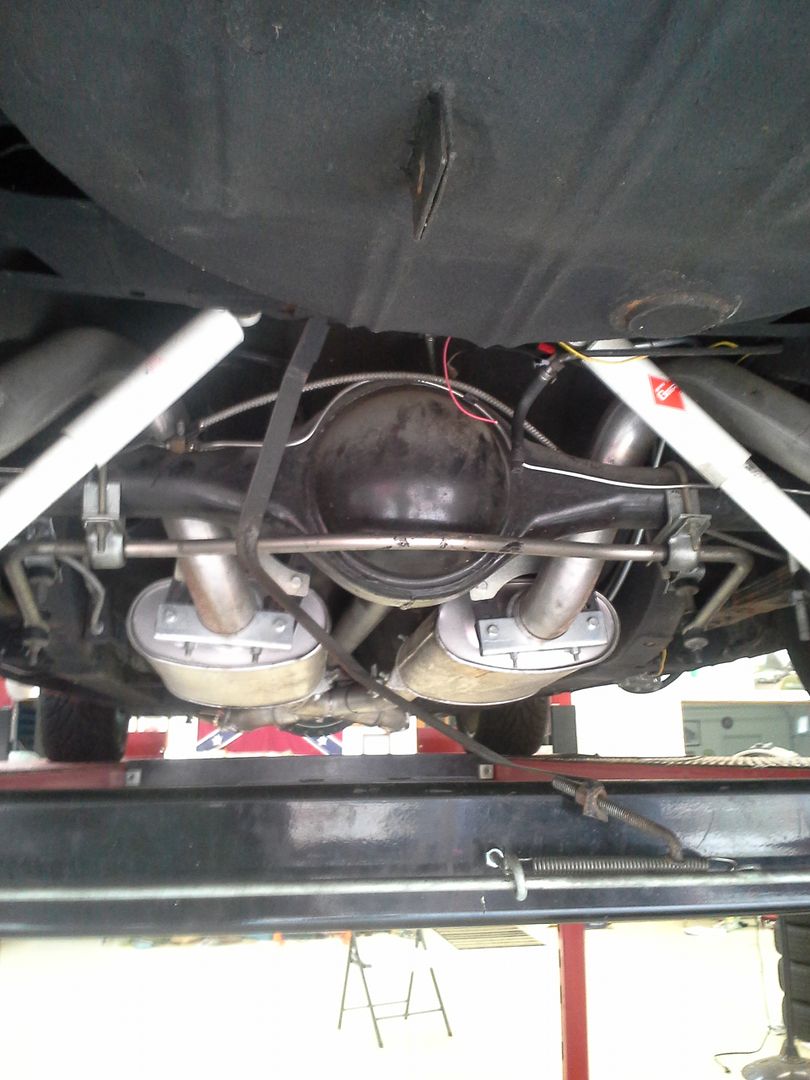
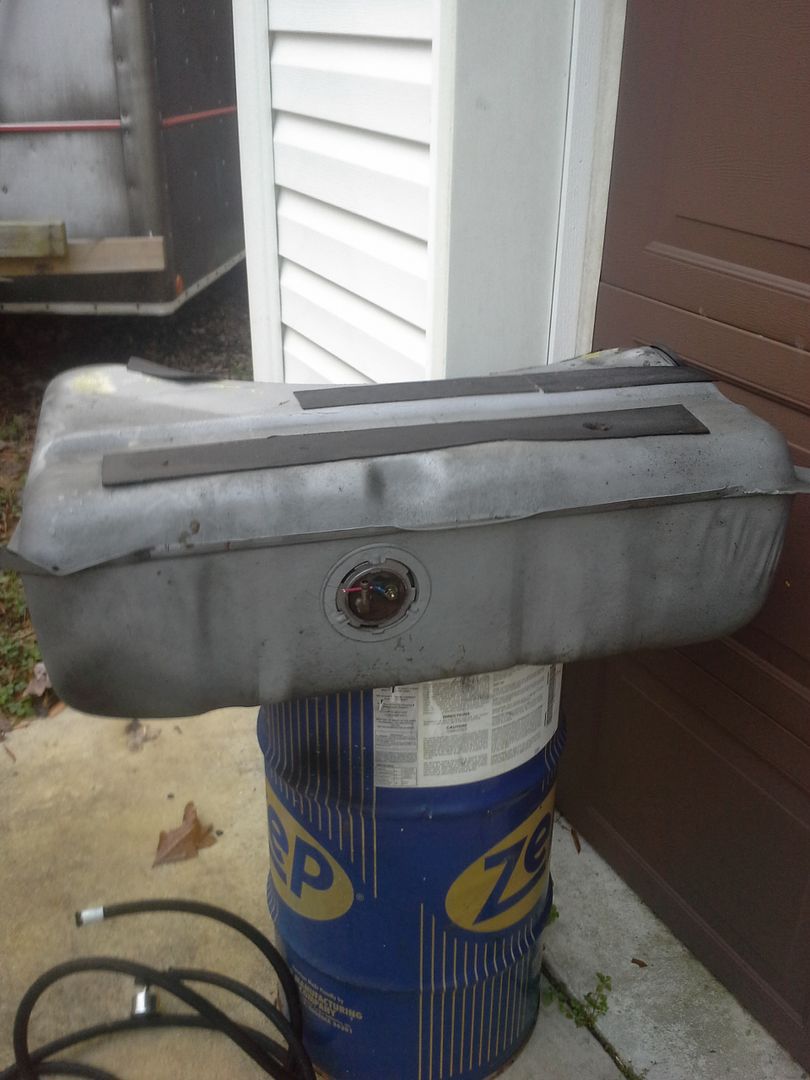
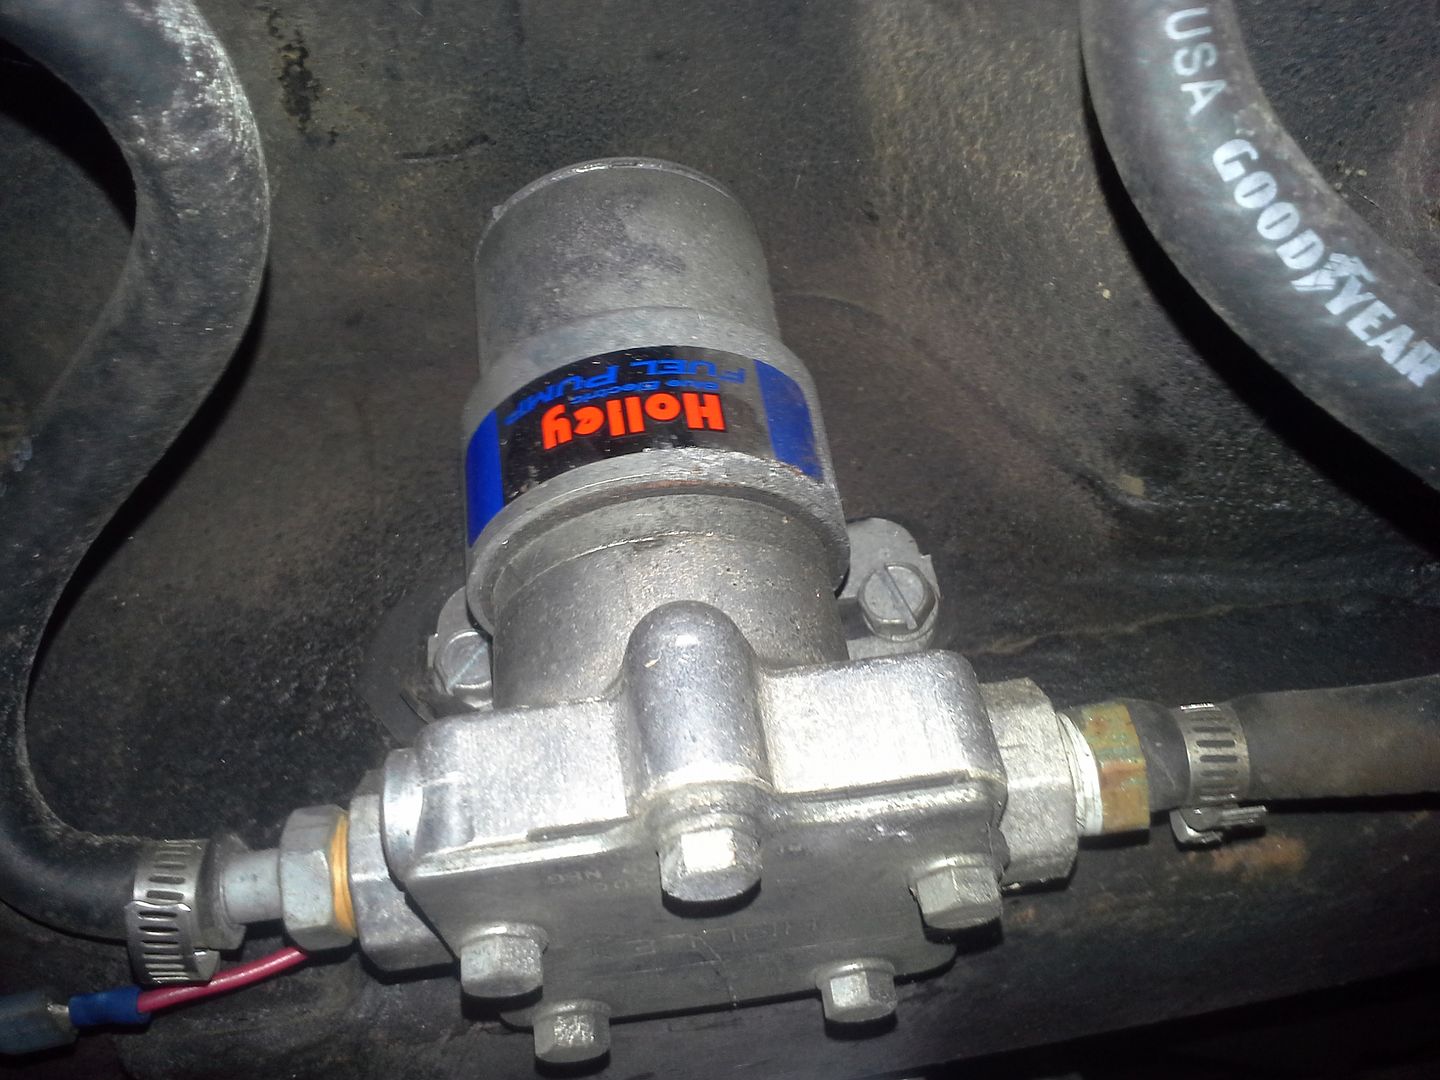
So Friday after work, I went down and got the car started. Fired up easier than it had any right to, but ran like crap. Eh. Don’t care. Its going efi. Drained the tank using the Holley pump (which I will NOT miss the noise of) and dropped the tank. Sat it outside to air out for a while.
[URL=http://s54.photobucket.com/user/dusterbd13/media/duster/20151212_095839_zpswee3pfis.jpg.html]
 [/URL]
[URL=http://s54.photobucket.com/user/dusterbd13/media/duster/20151212_082250_zps8tluzgwz.jpg.html]
 [/URL]
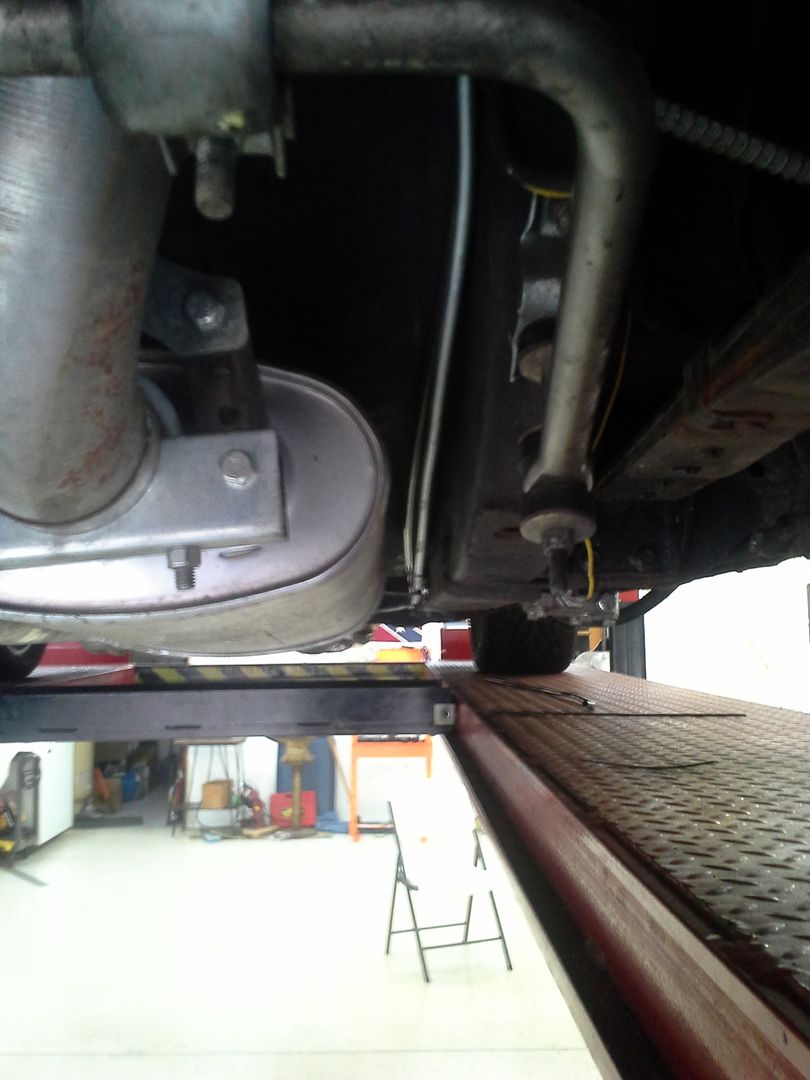
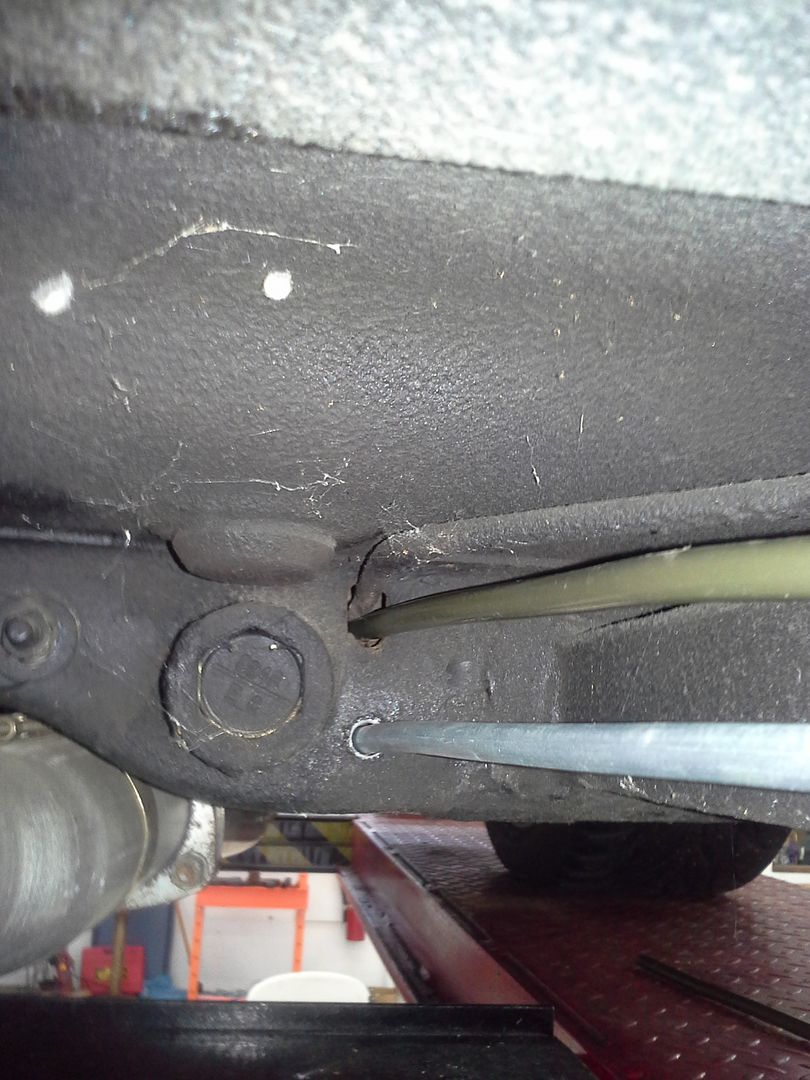
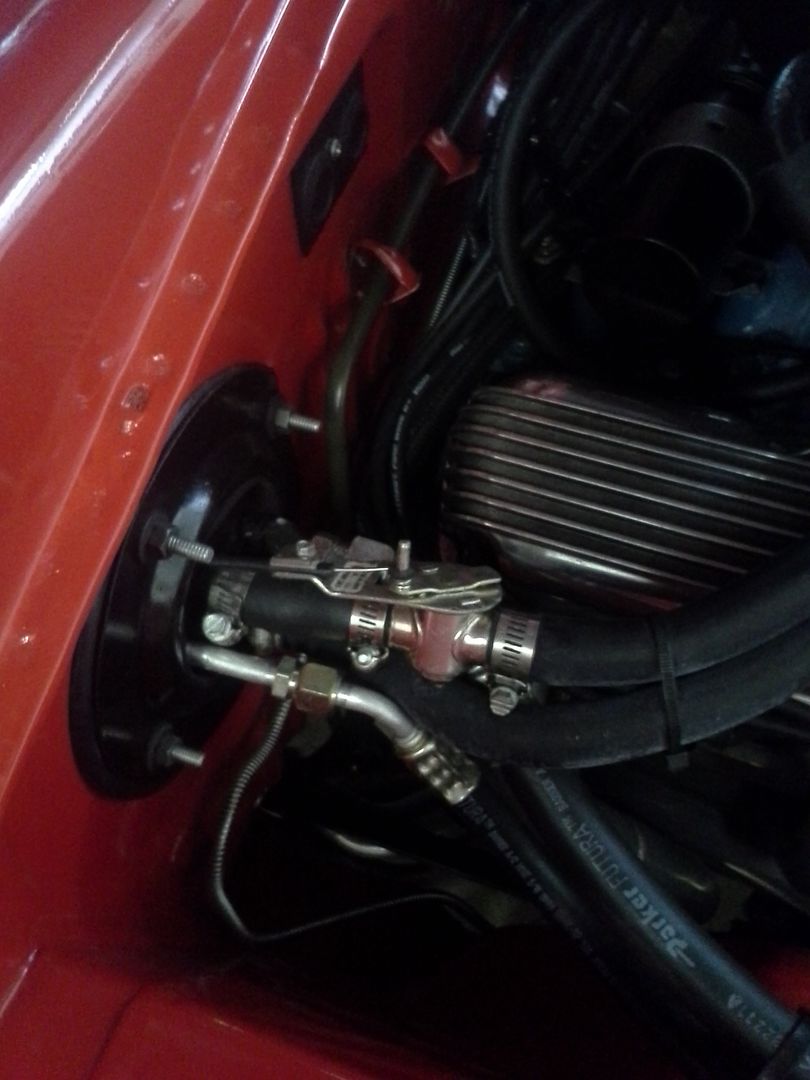
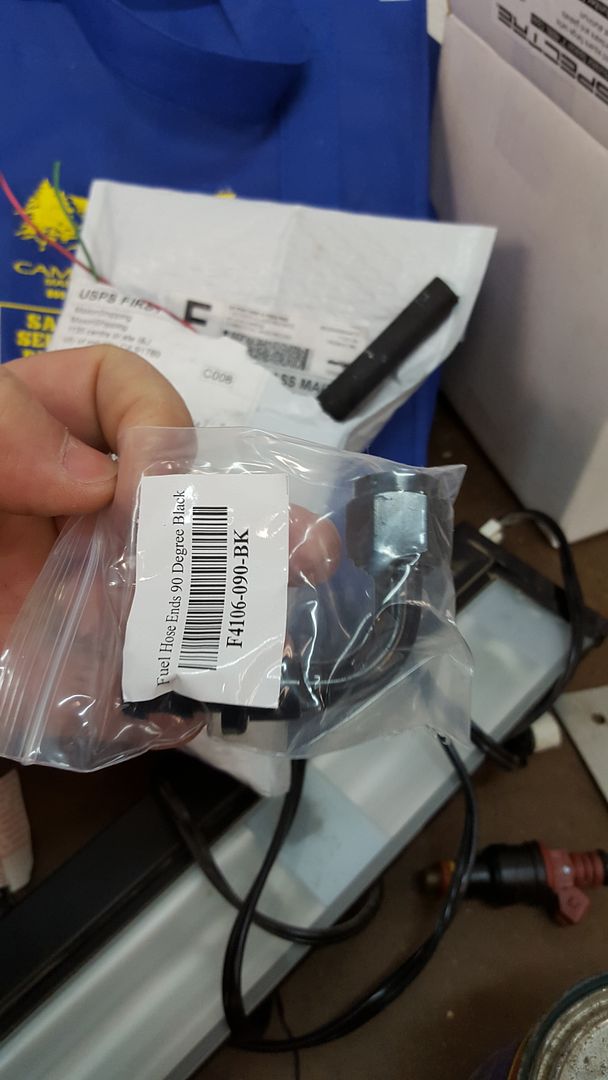
Proceeded to run the new feed and return lines. Decided on 3/8 for both to ensure an adequate safety margin for whatever I decide to do to the car later. Ran it along the sub frame connectors, through the t-bar cross member, and up the firewall, as well as into the trunk. Cut and flared the ends for AN flare nuts (had them). Green is pressure, and runs along the firewall to drivers side of the engine. Silver is return, and stops on the firewall near where the HVAC lines come out, as that is where I will mount the regulator. I made sure to route them in a way that in the event of a hard front end impact, they should not get severed. Fire bad.
[URL=http://s54.photobucket.com/user/dusterbd13/media/duster/20151212_095855_zpsgyywge27.jpg.html]
 [/URL]
[URL=http://s54.photobucket.com/user/dusterbd13/media/duster/20151212_095905_zpsaefew0zx.jpg.html]
 [/URL]
[URL=http://s54.photobucket.com/user/dusterbd13/media/duster/20151213_141033_zpsdiimhk4j.jpg.html]
 [/URL]
I then moved on to the pa-4 install. This is where things get interesting.
I had to modify a gas tank full of extremely explosive gas fumes. Effectively, I’m adding heat and possible sparks to a giant bomb. Oh my.
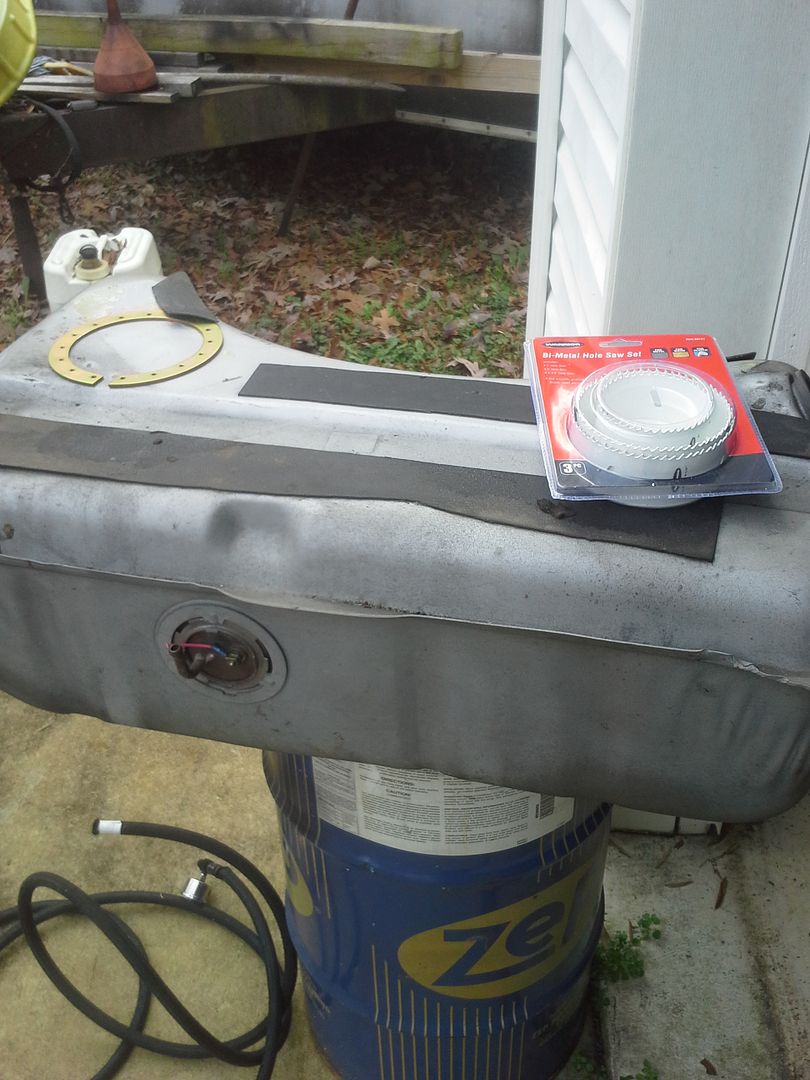
The safest way I could think of to do this was fill the tank with water. I put the fill tube in to make the water level higher, and proceeded to use a harbor freight 4.25 hole saw to cut into the tank. Worked well. Water came pouring out.
[URL=http://s54.photobucket.com/user/dusterbd13/media/duster/20151212_095917_zps9wlfbtkr.jpg.html]
 [/URL]
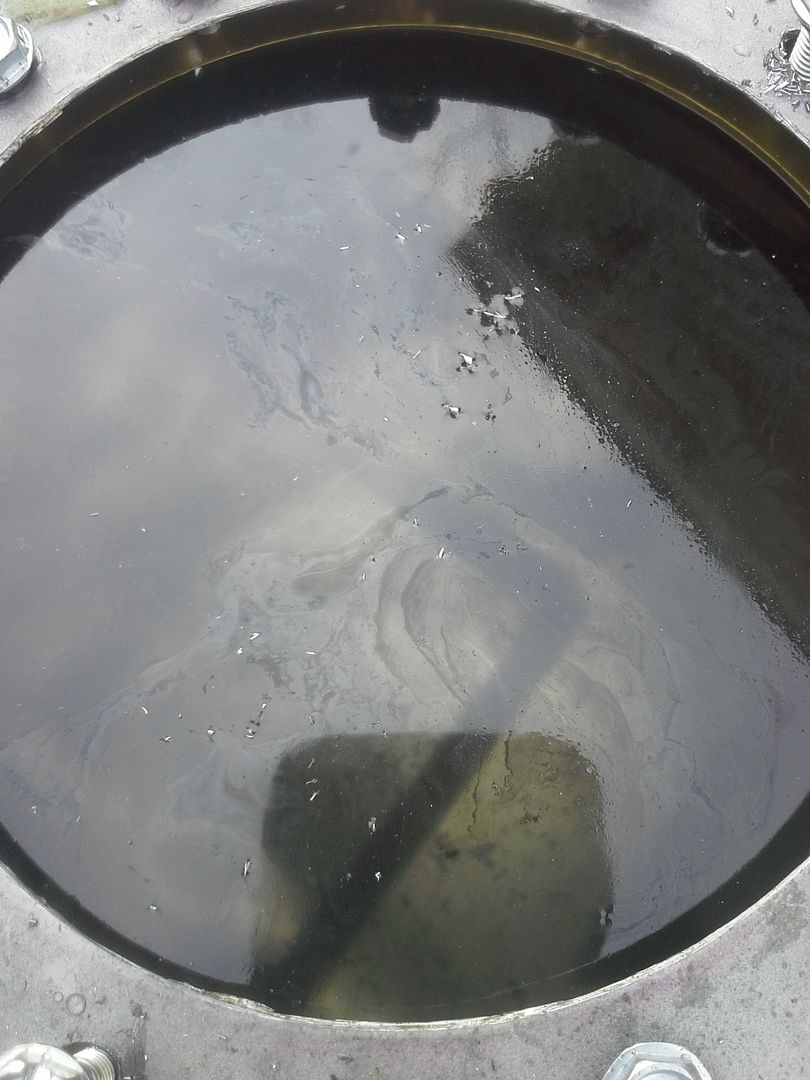
But at least the inside of my tank is squeaky clean. That makes me happy.
[URL=http://s54.photobucket.com/user/dusterbd13/media/duster/20151212_111633_zps78zzjv7y.jpg.html]
 [/URL]
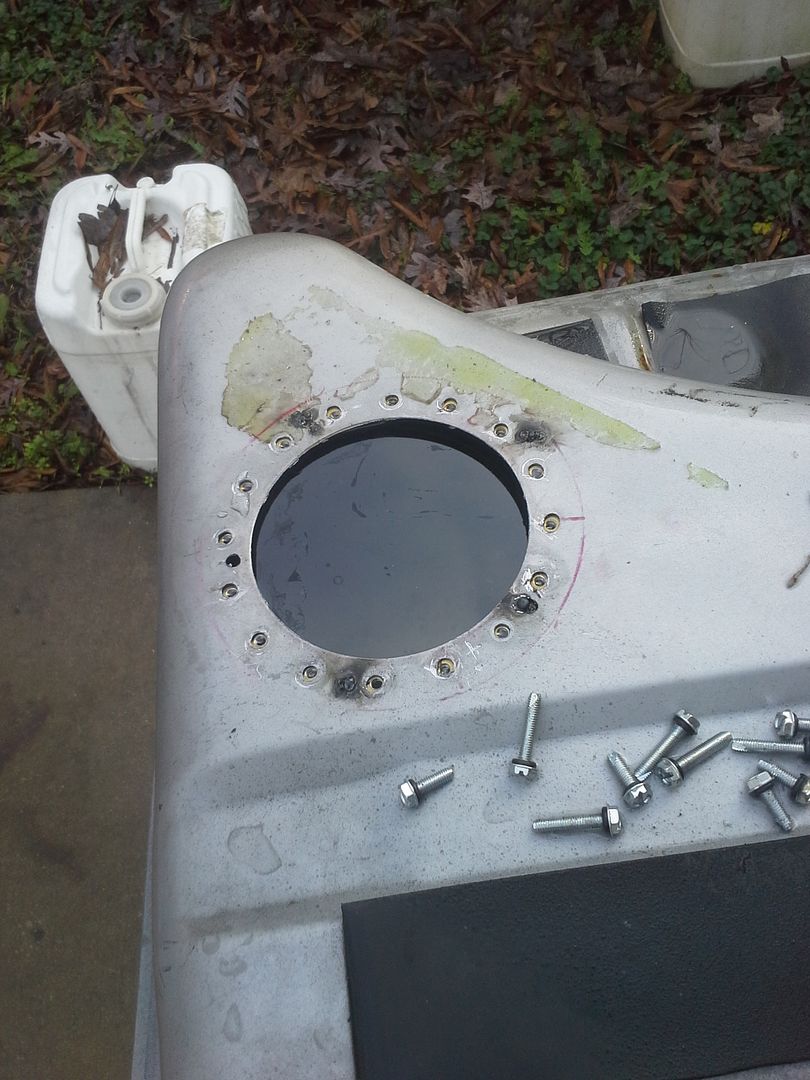
Got the mounting ring all set up, and decided that if I ever had to service the pump on the side of the road, life would be much better if the ring didn’t fall to the bottom of the tank. So best way to solve that would be to tack weld it in place.
It blew up. But only a little.
[URL=http://s54.photobucket.com/user/dusterbd13/media/duster/20151212_120249_zpsrfwoli3q.jpg.html]
 [/URL]
[URL=http://s54.photobucket.com/user/dusterbd13/media/duster/20151212_111622_zpsbpf4xq07.jpg.html]
 [/URL]
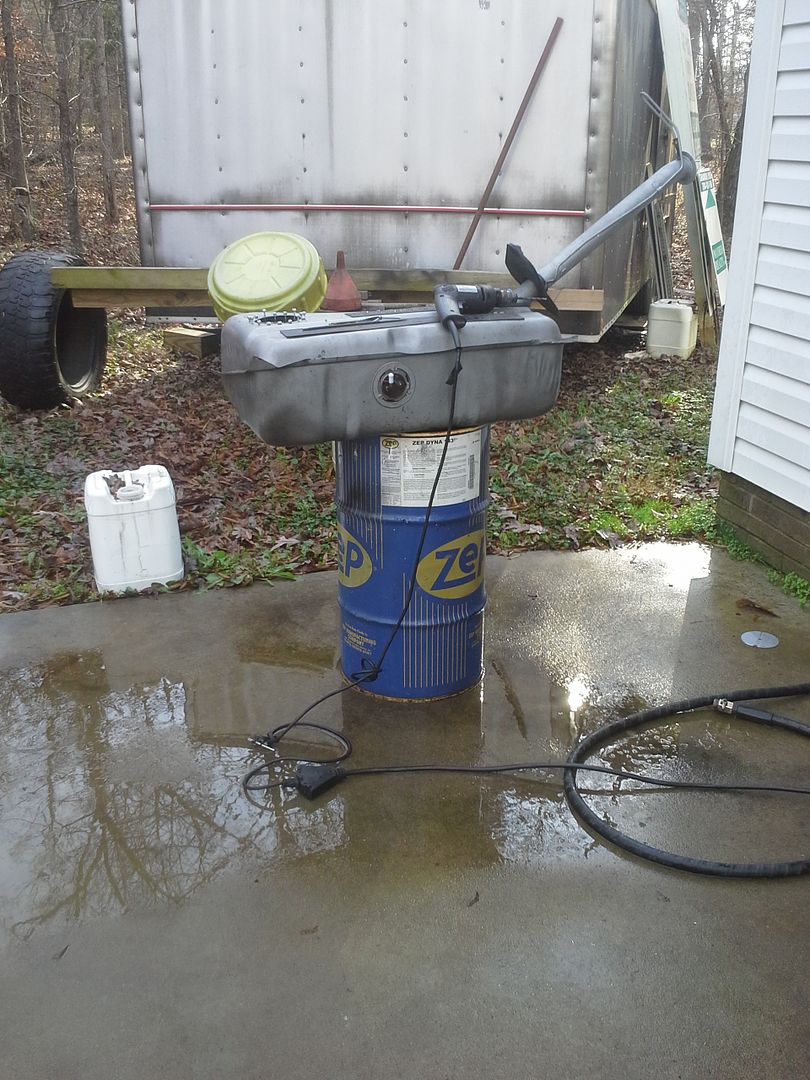
Apparently what had happened was there was an air pocket in the tank that wasn’t filled with water. It was filled with explosive gas fumes. When it went off, it blew half the tank of water out through the hole for the pump. Shot it high enough it was dripping off the roof of the garage. It scared me. A lot.
Anyway, I finished up the pump assembly.
[URL=http://s54.photobucket.com/user/dusterbd13/media/duster/20151212_133417_zpstxxawntf.jpg.html]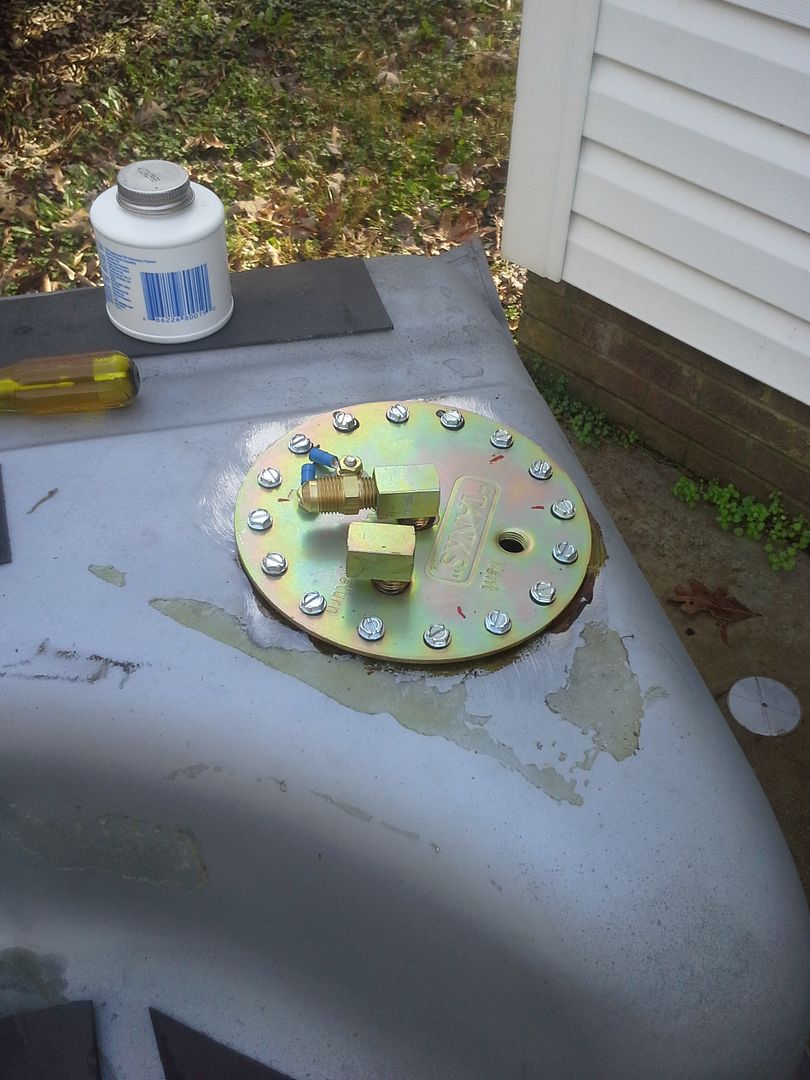 [/URL]
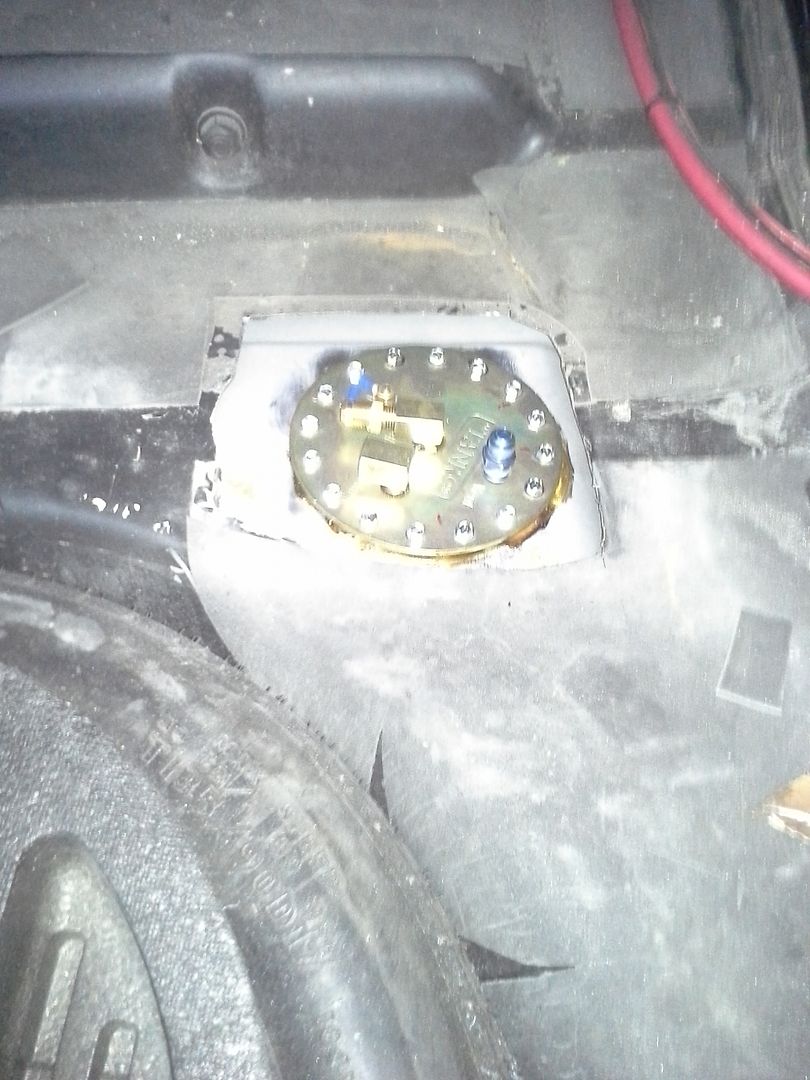
I then proceeded to go to mount it in the car. I thought I would have enough clearance to snake the lines out between the trunk floor and tank. Big old hairy no.
What I wound up with:
[URL=http://s54.photobucket.com/user/dusterbd13/media/duster/20151212_145942_zps09jr3i6u.jpg.html]
 [/URL]
Ill make a cover that covers the pump assembly and seals it outside, as well as protects the lines. But the cover will be easily removable for side of the road service if ever necessary. The lines were rerouted to come into the trunk to hook up, and ill also mount a fuel filter in here. Guess I didn’t succeed in keeping fuel components out of the trunk after all…..
Anyway, filled back up with gas and hooked the carb system back up so I could drive it home. The gasket on the module is leaking, so I need to address that, and I also need to learn about tank venting and get that sorted out before hooking the whole efi system up.
But she’s home. And on the road to recovery. Still have a few other projects to finish before I blow her apart to address the long list of issues, as well as go efi, but it’s near the top of the list.
[URL=http://s54.photobucket.com/user/dusterbd13/media/duster/20151213_155153_zpsh1cuyjh0.jpg.html]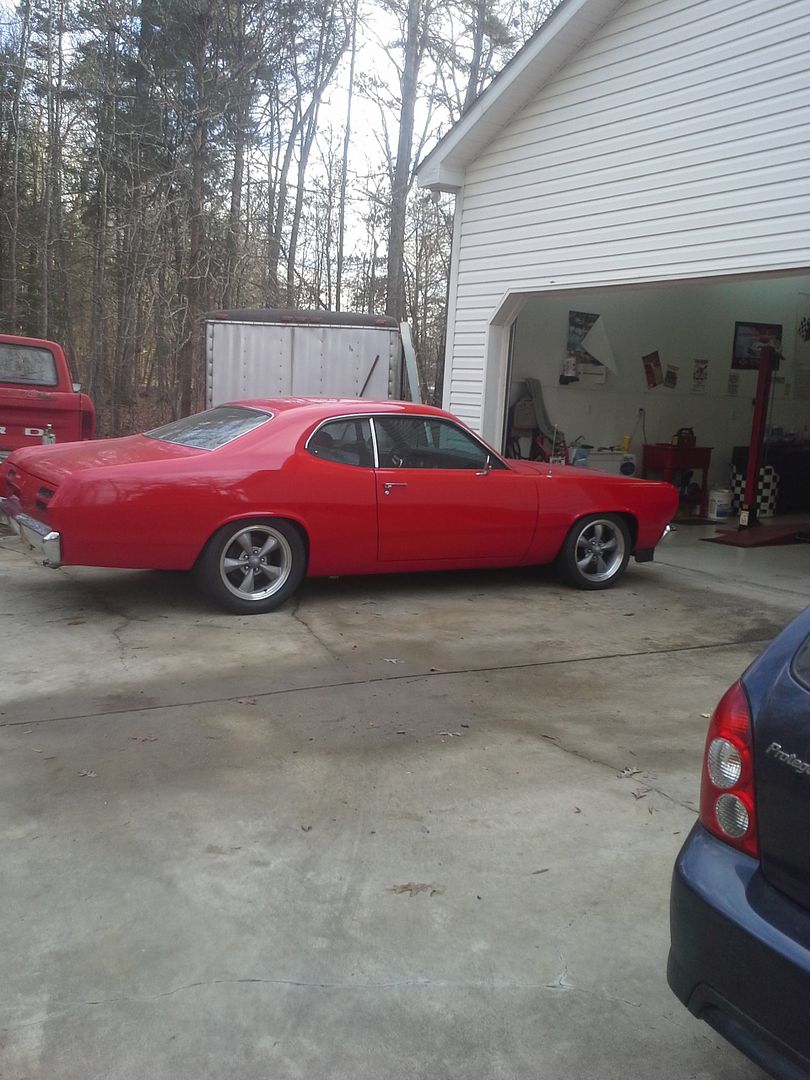 [/URL]
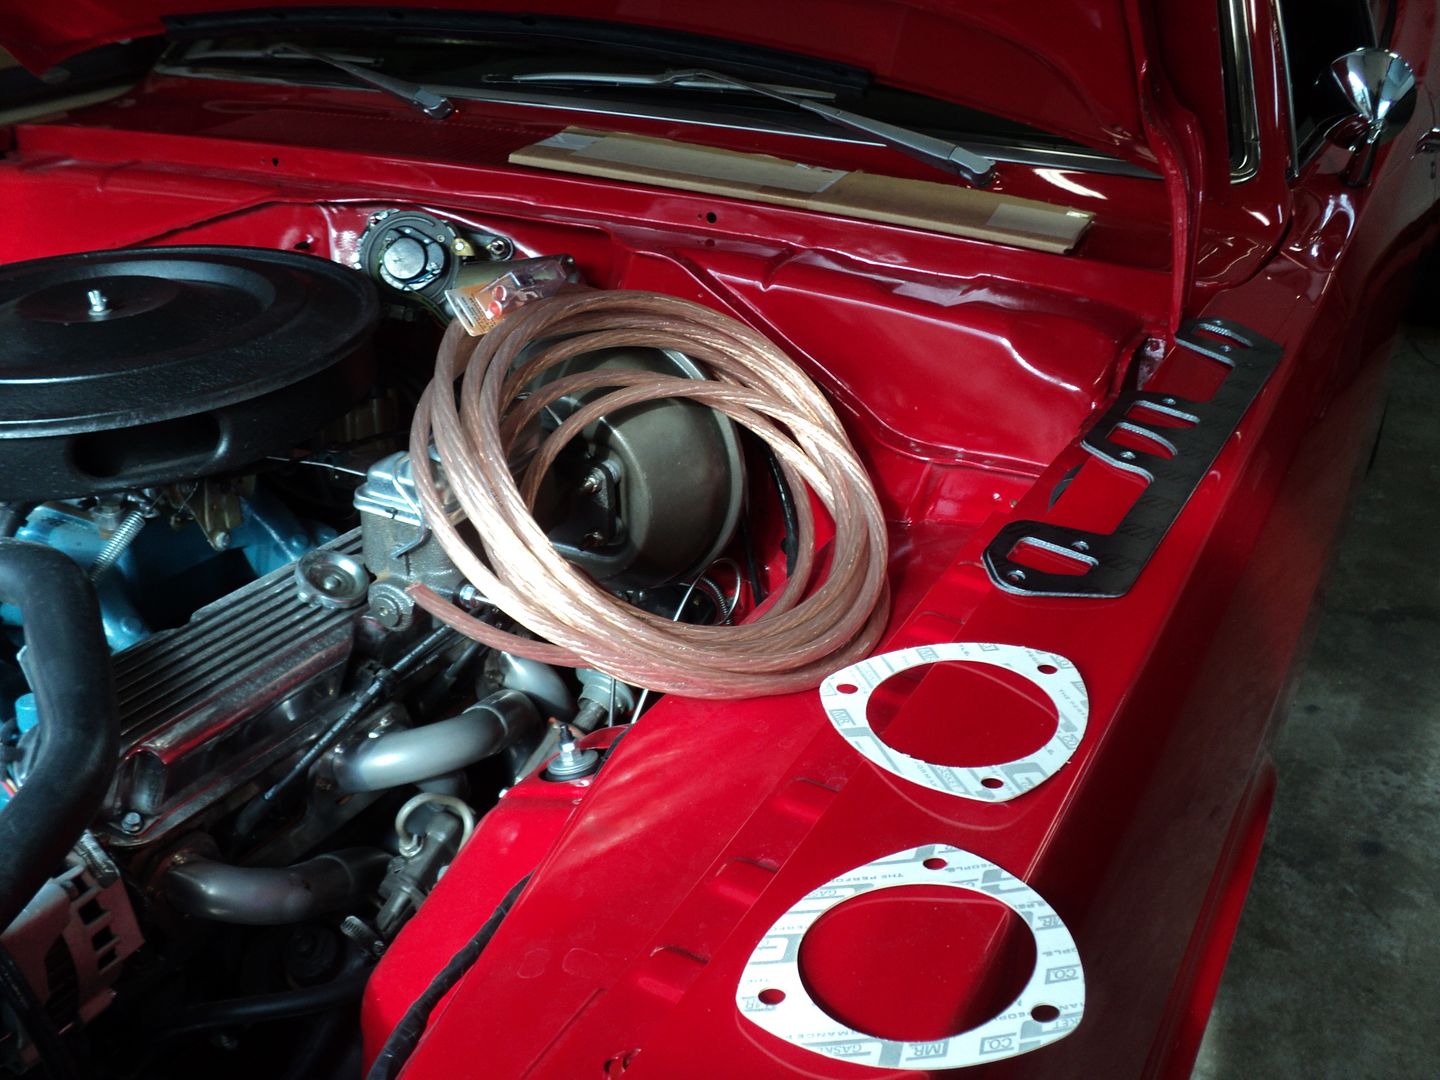
Side note about budget line items: ecm is for the factory memcal so knock sensor and limp home will work. I lost mine. Polk and Memphis belle speakers, as well as amp, are for stereo upgrade. Jump terminals because I have a hard time reaching the battery being as fat and short as I am.




 [/URL]
  [/URL]
  [/URL]
  [/URL]
  [/URL]
  [/URL]
  [/URL]
 [/URL]
 [/URL]
 [/URL]
 [/URL]
 [/URL]
 [/URL]
[URL=http://s54.photobucket.com/user/dusterbd13/media/duster/20151212_210715_zpsfdf0bsk3.jpg.html]
 [/URL]
[URL=http://s54.photobucket.com/user/dusterbd13/media/duster/20151212_210721_zpsxbzwbhlo.jpg.html]
 [/URL]
[URL=http://s54.photobucket.com/user/dusterbd13/media/duster/20151212_210726_zpsvo0ayzpc.jpg.html]
 [/URL]
 [/URL]
 [/URL]
[URL=http://s54.photobucket.com/user/dusterbd13/media/duster/20151202_185255_zpsnki6c45p.jpg.html]
 [/URL]
[URL=http://s54.photobucket.com/user/dusterbd13/media/duster/20151202_185213_zpsoxjtaqd6.jpg.html]
 [/URL]
[URL=http://s54.photobucket.com/user/dusterbd13/media/duster/20151202_185127_zpsksijdzfq.jpg.html]
 [/URL]
So Friday after work, I went down and got the car started. Fired up easier than it had any right to, but ran like crap. Eh. Don’t care. Its going efi. Drained the tank using the Holley pump (which I will NOT miss the noise of) and dropped the tank. Sat it outside to air out for a while.
[URL=http://s54.photobucket.com/user/dusterbd13/media/duster/20151212_095839_zpswee3pfis.jpg.html]
 [/URL]
[URL=http://s54.photobucket.com/user/dusterbd13/media/duster/20151212_082250_zps8tluzgwz.jpg.html]
 [/URL]
Proceeded to run the new feed and return lines. Decided on 3/8 for both to ensure an adequate safety margin for whatever I decide to do to the car later. Ran it along the sub frame connectors, through the t-bar cross member, and up the firewall, as well as into the trunk. Cut and flared the ends for AN flare nuts (had them). Green is pressure, and runs along the firewall to drivers side of the engine. Silver is return, and stops on the firewall near where the HVAC lines come out, as that is where I will mount the regulator. I made sure to route them in a way that in the event of a hard front end impact, they should not get severed. Fire bad.
[URL=http://s54.photobucket.com/user/dusterbd13/media/duster/20151212_095855_zpsgyywge27.jpg.html]
 [/URL]
[URL=http://s54.photobucket.com/user/dusterbd13/media/duster/20151212_095905_zpsaefew0zx.jpg.html]
 [/URL]
[URL=http://s54.photobucket.com/user/dusterbd13/media/duster/20151213_141033_zpsdiimhk4j.jpg.html]
 [/URL]
I then moved on to the pa-4 install. This is where things get interesting.
I had to modify a gas tank full of extremely explosive gas fumes. Effectively, I’m adding heat and possible sparks to a giant bomb. Oh my.
The safest way I could think of to do this was fill the tank with water. I put the fill tube in to make the water level higher, and proceeded to use a harbor freight 4.25 hole saw to cut into the tank. Worked well. Water came pouring out.
[URL=http://s54.photobucket.com/user/dusterbd13/media/duster/20151212_095917_zps9wlfbtkr.jpg.html]
 [/URL]
But at least the inside of my tank is squeaky clean. That makes me happy.
[URL=http://s54.photobucket.com/user/dusterbd13/media/duster/20151212_111633_zps78zzjv7y.jpg.html]
 [/URL]
Got the mounting ring all set up, and decided that if I ever had to service the pump on the side of the road, life would be much better if the ring didn’t fall to the bottom of the tank. So best way to solve that would be to tack weld it in place.
It blew up. But only a little.
[URL=http://s54.photobucket.com/user/dusterbd13/media/duster/20151212_120249_zpsrfwoli3q.jpg.html]
 [/URL]
[URL=http://s54.photobucket.com/user/dusterbd13/media/duster/20151212_111622_zpsbpf4xq07.jpg.html]
 [/URL]
Apparently what had happened was there was an air pocket in the tank that wasn’t filled with water. It was filled with explosive gas fumes. When it went off, it blew half the tank of water out through the hole for the pump. Shot it high enough it was dripping off the roof of the garage. It scared me. A lot.
  [/URL]
I then proceeded to go to mount it in the car. I thought I would have enough clearance to snake the lines out between the trunk floor and tank. Big old hairy no.
What I wound up with:
[URL=http://s54.photobucket.com/user/dusterbd13/media/duster/20151212_145942_zps09jr3i6u.jpg.html]
 [/URL]
Ill make a cover that covers the pump assembly and seals it outside, as well as protects the lines. But the cover will be easily removable for side of the road service if ever necessary. The lines were rerouted to come into the trunk to hook up, and ill also mount a fuel filter in here. Guess I didn’t succeed in keeping fuel components out of the trunk after all…..
 [/URL]
Side note about budget line items: ecm is for the factory memcal so knock sensor and limp home will work. I lost mine. Polk and Memphis belle speakers, as well as amp, are for stereo upgrade. Jump terminals because I have a hard time reaching the battery being as fat and short as I am.

 [/URL]
 [/URL]
[URL=http://s54.photobucket.com/user/dusterbd13/media/duster/20160105_073508_zpsfdroizsw.jpg.html]
 [/URL]
 [/URL]
 [/URL]
[URL=http://s54.photobucket.com/user/dusterbd13/media/duster/20151211_200111_zpscwqshlik.jpg.html]
 [/URL]
[URL=http://s54.photobucket.com/user/dusterbd13/media/duster/20151211_200049_zpsxoanz66m.jpg.html]
 [/URL]
[URL=http://s54.photobucket.com/user/dusterbd13/media/duster/20151211_200032_zpspyhdwmqx.jpg.html]
 [/URL]


 [/URL]
 [/URL]
[URL=http://s54.photobucket.com/user/dusterbd13/media/duster/20160123_141944_zpsuafnf0hs.jpg.html]
 [/URL]
[URL=http://s54.photobucket.com/user/dusterbd13/media/duster/20160123_141958_zpslfn21jsj.jpg.html]
 [/URL]
[URL=http://s54.photobucket.com/user/dusterbd13/media/duster/20160123_150942_zpszhnpfxii.jpg.html]
 [/URL]
[URL=http://s54.photobucket.com/user/dusterbd13/media/duster/20160123_151339_zpszou8nt0i.jpg.html]
 [/URL]


