
JoeTR6
Dork
8/10/19 10:07 a.m.
The TR6 made it to Colorado after two long days of driving and an overnight stop in eastern Kansas.

Things weren't looking good after crossing into Colorado.
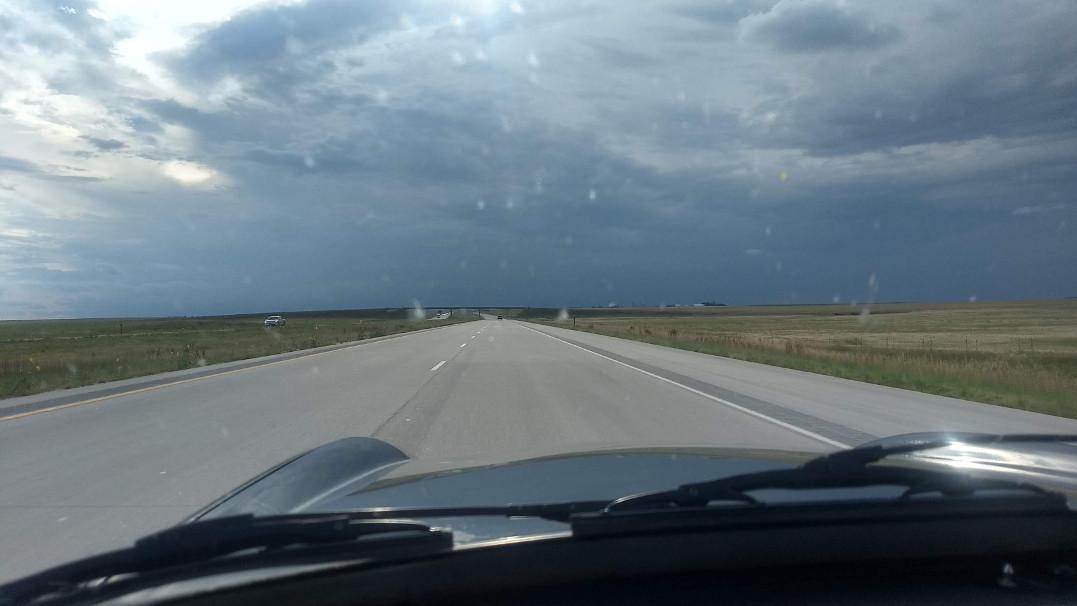
A severe thunderstorm producing hail and an EF-0 tornado was near our house. We just made it to a dinner stop one hour from home and waited it out. The carpets got a little wet, but no harm done. A flaky fuel gauge "fixed" itself near the end of the trip. Time for a new sender to replace the 44 year old original. Not bad service for a British electrical part.
The car ran great for 2000 miles. I leaned out the mixture 1/2 turn in Roanoke and adjusted the temperature compensators to make driving in traffic easier. Nothing else but 1/2 quart of oil and fuel stops needed. Cruising at 75 MPH through Kansas was great.
Now I need to decide whether to sell this car or my aging MSM. The TR6 is a little sluggish with carbs at altitude, and the project TR6 is nearing drivable condition. Plus, I'll get more money for the TR6 that will fund finishing the project car. And when the MSM succumbs to rust, there's the Exocet option. So I'm leaning towards selling the TR6.
I've been working on finishing the fuel lines. All of the lines are bent, connected, and clamped down. The final fitting of the throttle bodies and fuel rail are all that's left before I can test for fuel leaks.
Since I'm done crawling underneath the car (for now), I put the autocross wheels on and dropped it off the jack stands. The car wanted to see some sunlight, so I rolled it out to settle the suspension and see how things looked.

It sits a little high, but these are lower profile tires. They're the same tire that I use on the MSM (Bridgestone RE-71). There shouldn't be any issues with rubbing unless the suspension settles quite a lot more. Eyeballing the alignment, it looks pretty close. I somehow got the camber angle just about right on all corners.


Trying to remember what you are doing for shocks on this.
I got the bugeye running and drove it around the block and almost got seasick on the old suspension. I know a source for fully adjustable lever shocks that are used in roadracing. (they do them for spridgets, but also for TR6) Most of the roadrace guys say they work pretty well for about 20-30min of track time (then the fluid gets hot and they dont damp as well till they cool off). Should work pretty well for autocross I'd think.
Sorry I misssed you when you were in town, dad-life keeps me close to home.
In reply to Apexcarver :
I'm using a similar setup as Ed's car but with adjustable Konis in the front instead of Spax. The rear lever shocks had the valving adjusted as recommended by JK Jackson. I can see how replacing that valve with something adjustable would be nice. I can also change the oil weight, but that is neither quick nor easy. It's very doubtful I'll take this car to a track, but it does need to withstand curvy Colorado roads and autocross.
I was only in town for one evening. Maybe we should have planned a cookout at Ed's shop. We also couldn't coordinate arriving on the same day as an autocross. Too many variables. I understand the family-life thing. Time and money are like water running through your hands.
JoeTR6
Dork
9/19/19 12:44 p.m.
I've been doing wiring in small doses. The fuel tank is wired, and I've split the Megasquirt harness up into bundles and routed it to near where it needs to go. It's not nearly as much fun laying under a dash as it used to be.

There are a few small decisions left to make. Since I'm using a 0-5v oil pressure sensor wired into the MS, I could just run an MS output wire to where the stock oil pressure switch once lived and tie into the stock harness to turn on the low oil pressure light. Also, the stock coil power wire can reach the new coil pack, but needs an inline fuse. Most of the MS wires will run up the right side inner fender to the front of the engine. This should make things tidy and keep sensor wires away from electrical noise under hood.

The fuse/relay panel will live under the dash next to the Megasquirt. I have all of the components but still need to assemble it.
The wiring is almost done under the hood, er, bonnet. I only have the crank/cam sensors and oil pressure sensor left.

On Friday I picked up the two biggest pieces of the heater box that weren't powder coated before leaving Virginia. Nice turn-around and decent enough price, but I still miss having a large blast cabinet and old kitchen oven to do this in. Having these pieces will allow me to get the heater box in so that I can attempt a coolant fill.
This weekend was spent wiring up the fuse/relay panel. It's done except for the main fuse holder. That individual fuse block will probably melt if I try to pass 40 amps through it.

The under hood wiring is done except for a fast idle valve (which doesn't exist yet). I'm ready to put in the relay/fuse panel and wire it into the car. The heater box is back together after pressure testing the heater core. So it's coming down to a few things before loading a tune onto the Megasquirt and prepping for first start. While not really necessary, I'd like to hook up the oil catch can first. This shows the places left for it to go.

One location is on the passenger side inner fender panel. The drain hose would need to cross behind the engine and into the fitting under the #5/#6 spark plug. That makes for some long hose runs and the drain hose may not be sloped very well. Alternately, I was thinking about making a bracket to hold the can above the fitting and put it right on the side of the block. The drain hose would just couple the fittings together and the vent hoses could come over/around the valve cover.
JoeTR6
Dork
10/15/19 9:25 p.m.
It's been slow going for the past week. I got an order from TRF that should get me through first start except for a few items. One of those is the scuttle vent lid that 1972 and earlier TR6s had. It looks hard enough to fit without the heater in place, so I want that done before installing the heater box. I had one that fit well before sending the shell off for paint, but the paint guy lost it. It was only $23, but a replacement one has been back-ordered since then. So tonight, I dug a used one up on Ebay and bought it. Hopefully it won't be from a Hamilton Beach toaster oven.
In the mean time, I've been finishing the wiring. Once I come up with a negative battery cable and connect a few wires, it will be time to initialize and test the Megasquirt. Getting close to making loud noises.
JoeTR6
Dork
11/20/19 8:40 p.m.
It's crazy how much time I've put into painting the scuttle vent lid. First was stripping without a blast cabinet. Then it needed a skim coat of filler. The first attempt at painting went well through primer stage. I had a nice, smooth surface, but needed a coat of gray primer to match what was used on the body. Unfortunately, I grabbed a can of Krylon instead of Rustoleum that was chemically incompatible. The underlying primer got soft and cracked. That got scrapped off and the filler sanded smooth again, then another build up of primer. I used a base coat/clear coat from Automotive Touchup, and it worked very well. It just needs a little wet sanding and polish to remove some blemishes. Doing this reminded me of how much I don't like spraying paint.

Once this goes on, I can install the heater box, finish the wiring, and attempt a start. My goal is before next year.
Looks good, Joe!
Frustrating sometimes how little jobs can balloon and take way more time than expected. I've definitely been there.
JoeTR6
Dork
12/16/19 9:54 a.m.
Slow progress continues. I've been working on finishing the scuttle/firewall area and have just a few wires to run before the heater box goes in. Putting the scuttle vent lid on was a little frustrating because I didn't know the older cars welded captive nuts inside the scuttle. I managed to get the loose washers and nuts in there and tightened. Hopefully the lid will never need to come back off.

For safety, I'm putting an inertial fuel pump cutoff under the dash. The best location is right next to the relay board on the firewall. This is a Motorcraft part that will trigger at around 10Gs, so hopefully the scuttle shake doesn't exceed that.

There's a baro sensor and wideband O2 controller that will go in there somewhere.
In reply to JoeTR6 :
fun fact about those shutoffs, they are in the trunk on SN95 Mustangs; If you give it a good wack by hand you can trigger them.
Mean prank to pull on someone...
JoeTR6
Dork
12/19/19 8:07 p.m.
Correction on the fuel pump cutoff location. It's under the steering column where I can reach it while driving and doesn't coincide with a heat duct. I got lots of other wires connected today, so it's getting closer to running.

JoeTR6
Dork
12/23/19 6:05 p.m.
Things are getting real. After two days of lying on my back, the relay panel wiring is done.

A kick panel will eventually cover this area. All of the new wires are run, so I could finally bolt up the heater box.

I'm really tempted to hook up the battery and start setting up the Megasquirt. But first I need to check for original wiring harness connections grounding out for things not yet hooked up (e.g., taillights). I also need to put the dashboard/gauges in. Coolant is going in soon.
JoeTR6
Dork
12/30/19 10:54 a.m.
Coolant went in and came back out (slowly). At first I thought the water pump housing had a leak, but it was dry. Turns out the return pipe that connects to the bottom of the radiator had a slight pinhole leak and was pissing out fluid. I'm glad the powder coat didn't temporarily seal up the hole and let go during a drive. A brand new stainless pipe is on order from Moss for under $16. If it fits, that's cheaper than having another old rusty pipe cleaned up.
Another thing I'm waiting for is heat in the garage. The finish on my dashboard (which was reveneered 5 years ago) is cracking slightly, so I sanded it down to add some coats. Unfortunately, it's 35F in the garage right now and I haven't been able to get it above 50F for a week.
Looks like first start will be in 2020.
The new radiator return pipe is in and the cooling system full. It appears to be holding its water this time. The new stainless pipe was a good piece, but didn't have the raised bumps on the ends. The early TR6s used a 7lb radiator cap, so this shouldn't be a problem if I adjust the clamp tension every few years.
The other problem was recoating the dashboard. This is what it looked like before (the main dashboard is sanded smooth).

Now it looks like this. This is water-based polyurethane, which always seems to have some brush marks and small bubbles no matter how I apply it. Good enough, I think.

Dashboard goes in tomorrow and hopefully the Megasquirt will see power for the first time.
Putting the dashboard in was a pain as usual. I should train a small monkey to make connections and tighten thumb nuts to avoid tearing up my knuckles. Hooking up the battery resulted in no drama, so I pulled the spark plugs and did a few test cranks. Everything but the Megasquirt tune is done. The battery is on charge for a start attempt this weekend.

This weekend was spent tracking down a few issues with sensors and getting the Megasquirt tune set up. I was seeing zero volts from the TPS, and eventually traced it down to the brand new connector at the sensor that wasn't making contact. It took a lot of force to get the contacts seated properly. All of the checks passed, but I didn't have a gas cap installed and had to find it. Gas went in this morning, but the fuel rail sprang a leak. I must have torn an o-ring on one of the connector tubes. It's a weird size (1.6mm x 12.1mm), so I do not have a replacement and failed at finding one locally. Something I noticed while troubleshooting the leak is that not all of the o-rings are the same color. The damaged one is viton, which would be good for E85 fuel. I may as well order enough to replace all of them twice, so first start is delayed at least two days.
In other news, the horns came on by themselves just before 10pm last night. I had to disconnect the battery to stop it. At first I thought I had pinched the wire that runs along the steering column and it slowly crushed through the insulation. Pulling this wire from the relay made no difference. So the brand new (non-Lucas) horn relay is haunted or shorting out internally.
Some new o-rings came today, so I tried replacing the damaged one. Fuel still sprayed out of the joint. So instead of testing with gasoline, I decided to use 40psi air (which is much easier to clean up). I tried using one of the original o-rings in the joint and swapped ends of the connector tube. The new o-rings seal just fine in another joint. So I took a look inside the fuel rail.

The o-ring groove has some machining chatter marks in it. That may be causing fuel to leak around the outside of the o-ring. As it stands now, the thing will not seal even at just 40 psi. Air pressure just blows the lube out of the joint. Looks like I may be tracking down someone to smooth out these grooves.
In reply to JoeTR6 :
That indeed doesn't look very clean.
What's the fitting going in the end? Is it an AN fitting?
Do you have calipers where you can measure it?
If you want to make a trip to the big bad city, I might be able to help you clean that up.
In reply to TVR Scott :
It's an internal o-ring with a slip fit aluminum tube. There are two tubes connecting the outer fuel rails to the middle one. Only the outer fuel rails have AN fittings to connect to supply and return lines. The tube is 12mm OD and the o-ring is a little larger than 1.6mm thickness (0.065" measured by calipers).
I'd much rather have AN fittings for all connections or even better a solid rail. Jenvey does it this way for simple adaptability, I suppose.
Maybe it's time for a road trip.
In reply to JoeTR6 :
Can you shoot a couple pics of the assembly laid out, and then one of the pieces put together?
JoeTR6
Dork
1/23/20 11:48 a.m.
TVR Scott said:
In reply to JoeTR6 :
Can you shoot a couple pics of the assembly laid out, and then one of the pieces put together?
I had to order some AN couplers to close up the fuel line while the rail was out, so just got back to this. After tearing the fuel rail apart again, I think I see the problem. Here's the whole rail.

And here's how it comes apart.

Now look inside the joint that's leaking from another angle than before.

Notice that little tab inside the groove that didn't get milled down? It's quite a lot higher than the chatter marks are deep, I'd guess 10 mils at least. So that's lifting the o-ring. This would explain why the other joints with similar machining chatter do not leak.
The fuel rail ID is 0.475" (12mm) and the o-ring groove is 0.066" wide (assuming it's the same as the o-ring thickness). I'm not a machinist, but shaving down that tab looks to be much easier than cleaning up the entire groove.
Hard to see exactly what you're talking about, but I think I know what you're saying. Maybe a little careful Dremel time would take that machining flaw off?
In reply to TVR Scott :
I dropped the piece off at a local machine shop. I've got enough other stuff to finish up, and should have it by the end of next week. Going to give Jenvey some feedback in the mean time. This is pretty crummy work for what they charge.


