I'm using my weekends to get some car projects done - good progress being made. Not as much as some that were quarantining but still.
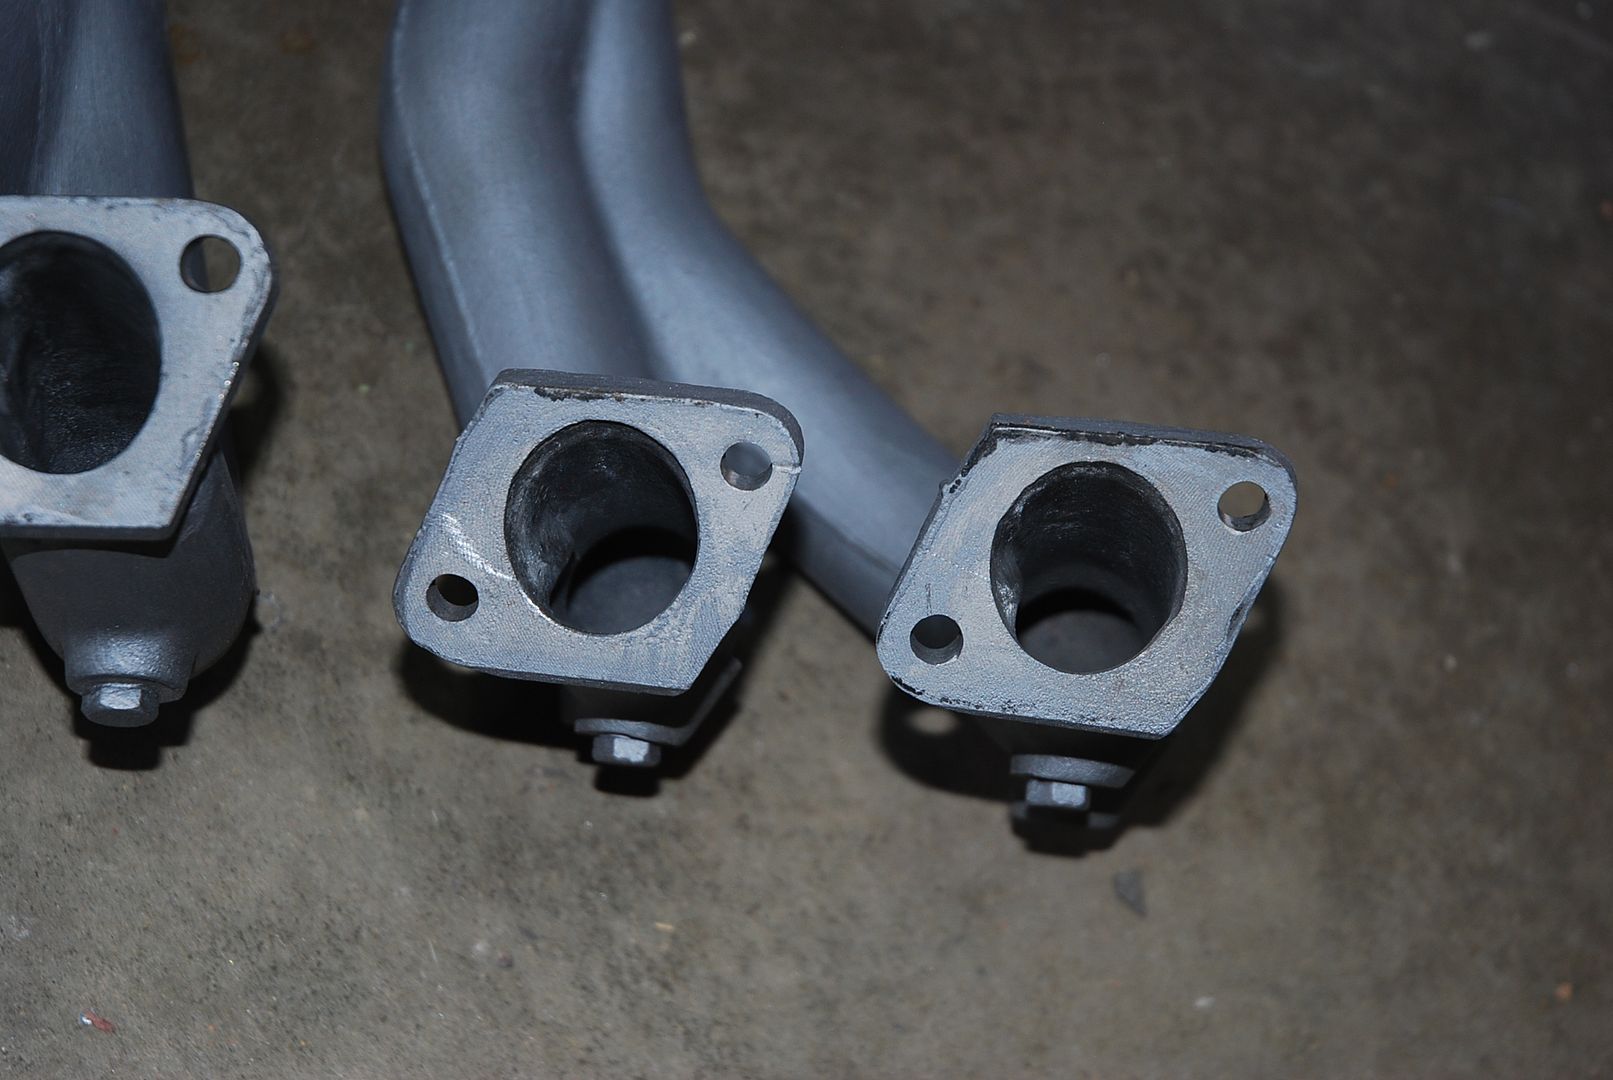
The Alfa Romeo Alfetta GTV Sprint Veloce Mille Miglia project (any wonder as to why their marketing department helped in the demise of the company from the USA?) got a little progress.
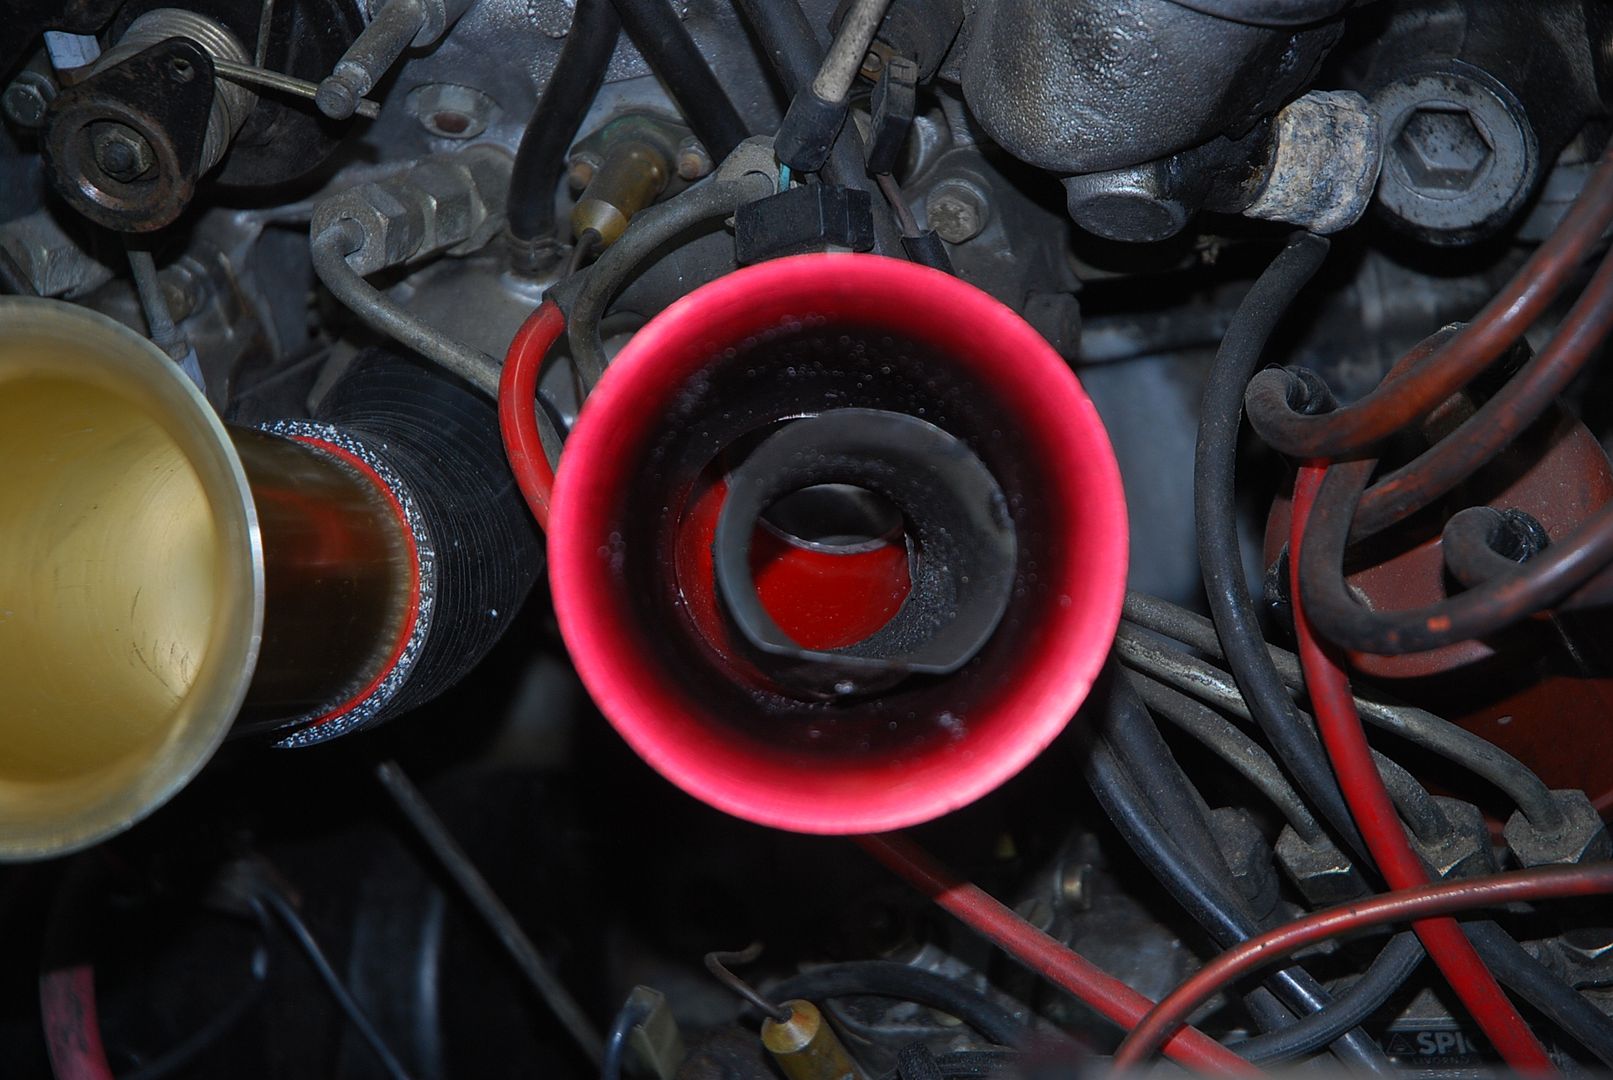
I have had a constant brake fluid leak from my custom front brake setup, and finally cinched up the connections as much as I dare. If it leaks after this, I'm pulling the calipers and doing something different.
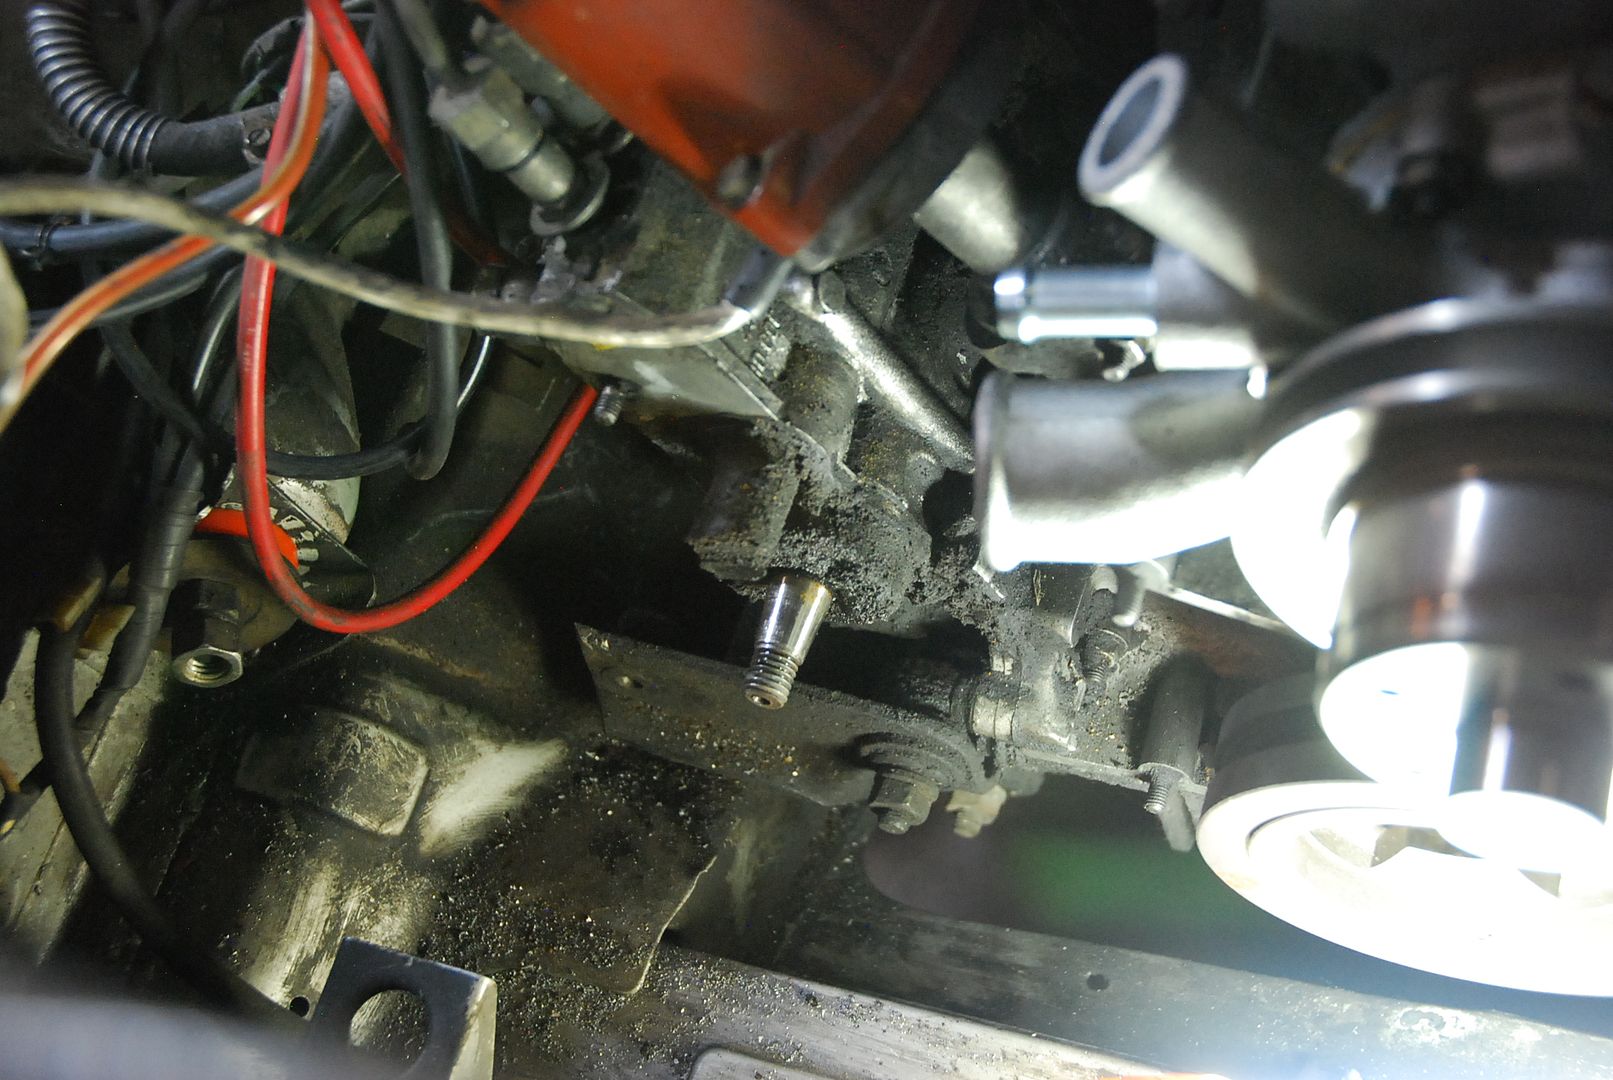
I installed my freshly made alternator bracket, and had to tweak a few things on it to make sure everything was square and lined up. I ended up modifying a different (VW sourced from my old stash) tensioner bracket. The mounting point for the tensioner bracket is a stud mounted in the new water pump. It is very short, and very close to the water pump pulley. Not a smart location for many, many reasons. It could be made better by moving it as little as 1/2" with no negatives anywhere else. The VW tensioner bracket is BEEFY - around 3/8" thick steel. As-is, it wouldn't even fit on the stud between it and the pulley. If it did, the stud was so short, that no threads would be showing anyway
So, not having a mill (which I am quickly realizing I should think about - and a lathe) I simply started using the bench grinder to shave it down. This was necessary to show enough threads for safe engagement of a nut as well as to move that bracket a smidge closer to the alternator. My 'hand machining' technique is pretty good, but I wish it didn't need to be. Lots of testing and trial fitting before painting.
Anyway, end of day, the alternator is mounted, and I can't find the new SPICA fuel pump belt, or that would be mounted and timed as well.
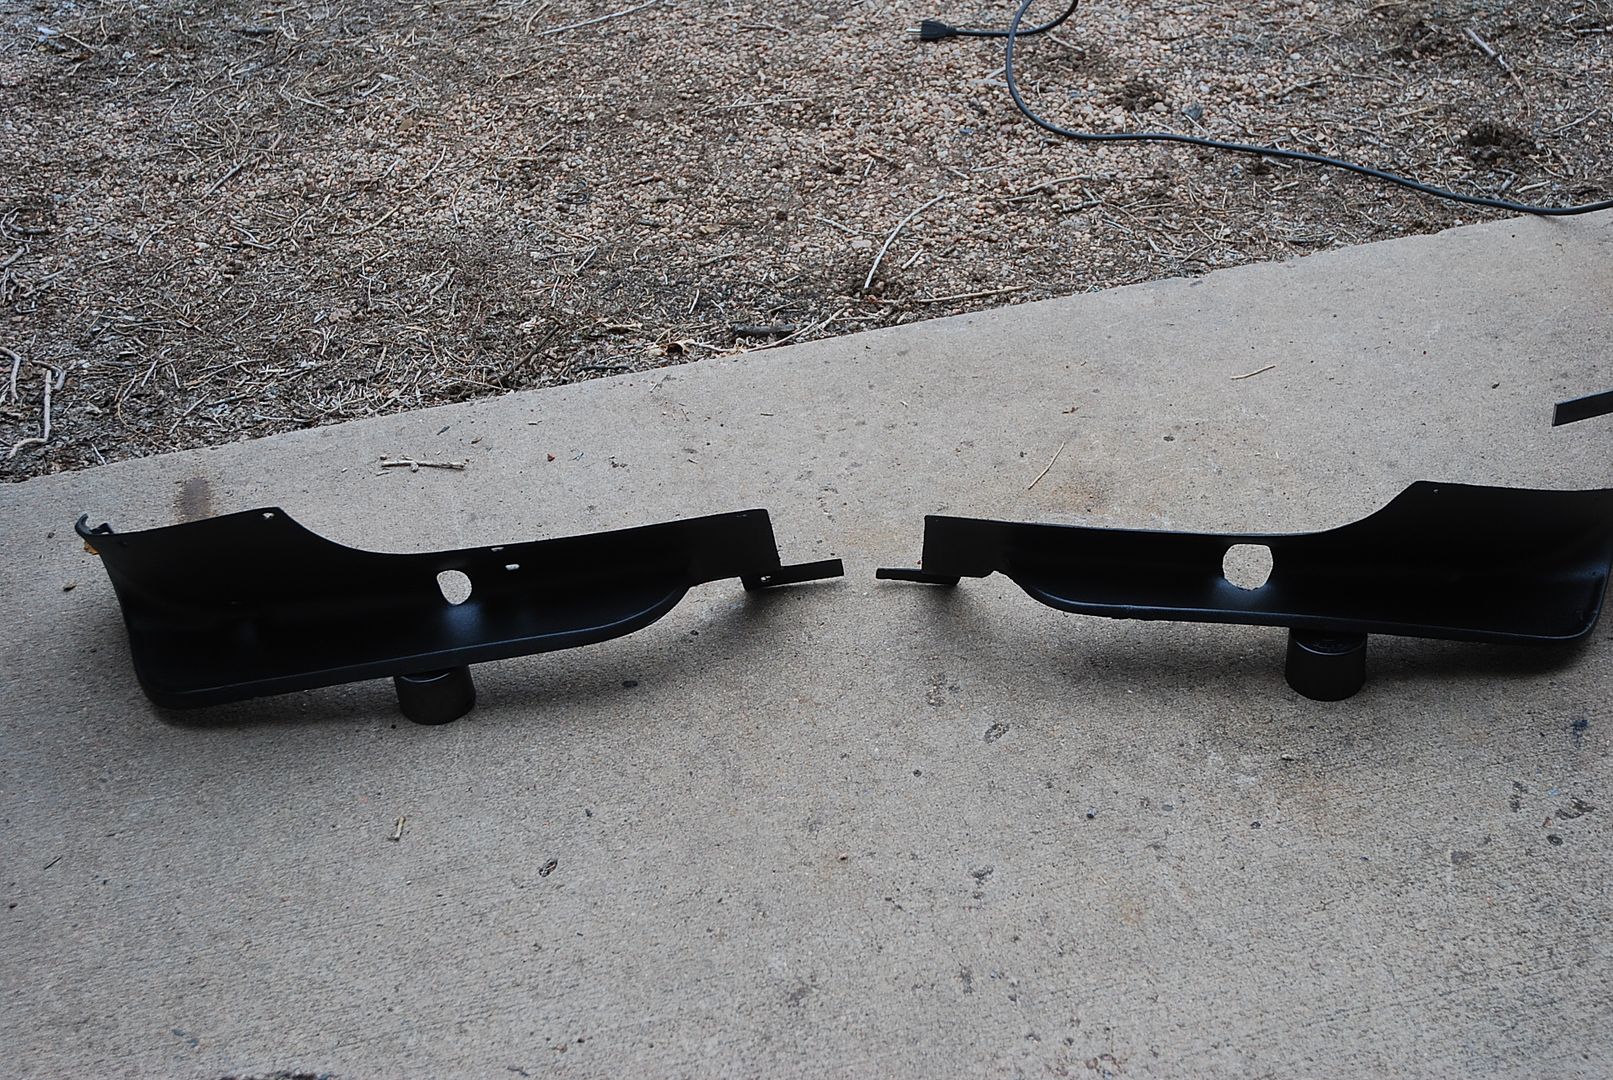
Since I had some more time, I decided to finish bolting the Recaro seats into the 73.5 911T. After getting all the sliders on the seats last week, it was time to bolt the sliders to the mounts on the 911. A few of the bolt holes were iffy. There were welds on the brackets near the threaded holes, so I suspected they were threaded before welding and then the threads were 'warped' by the heat from welding. I ran a tap down a couple and it really helped. Then I was doing the last one that was 'sticky' and slipped and jammed my hand down on the tap.
Taps are really stiff, and brittle. It broke. Off. Inside the seat bracket. I almost lost it, but realized I should just let it go and see about fixing it.
There was a tiny bit sticking out. I started with a hammer and chisel very gently. Eventually, it started moving. Then a little more and a little more. Got it out. Sigh. Then bolted the bracket back in and set the sliders into them. Took a few tries, and things didn't want to fall together. Aftermarket parts.
Finally got them all in and adjusted to correct height. Tomorrow to pull the Zenith carbs for cleaning, and hopefully find the SPICA belt to mount that so I can install the radiator. We'll see.
EDIT - Oh, I didn't even mention! Because Alfa put the alternator so close to the exhaust manifold, it needs cool air ducted to the back of it to draw through and cool it, or it will overheat. Again, not the best design.
However, with the newer Bosch internal regulator alternator, the older version didn't have the same mounting studs on the back so the cooling duct didn't fit. Color me NOT surprised. So, I had to dimple the duct, and weld a washer on so it would bolt to the back of the new alternator. Sigh. This car. I hope it rocks when it's done.
[URL=https://s61.photobucket.com/user/greggearhead/media/Alfetta%20GTV/DSC_0437_zpshakqajbi.jpg.html]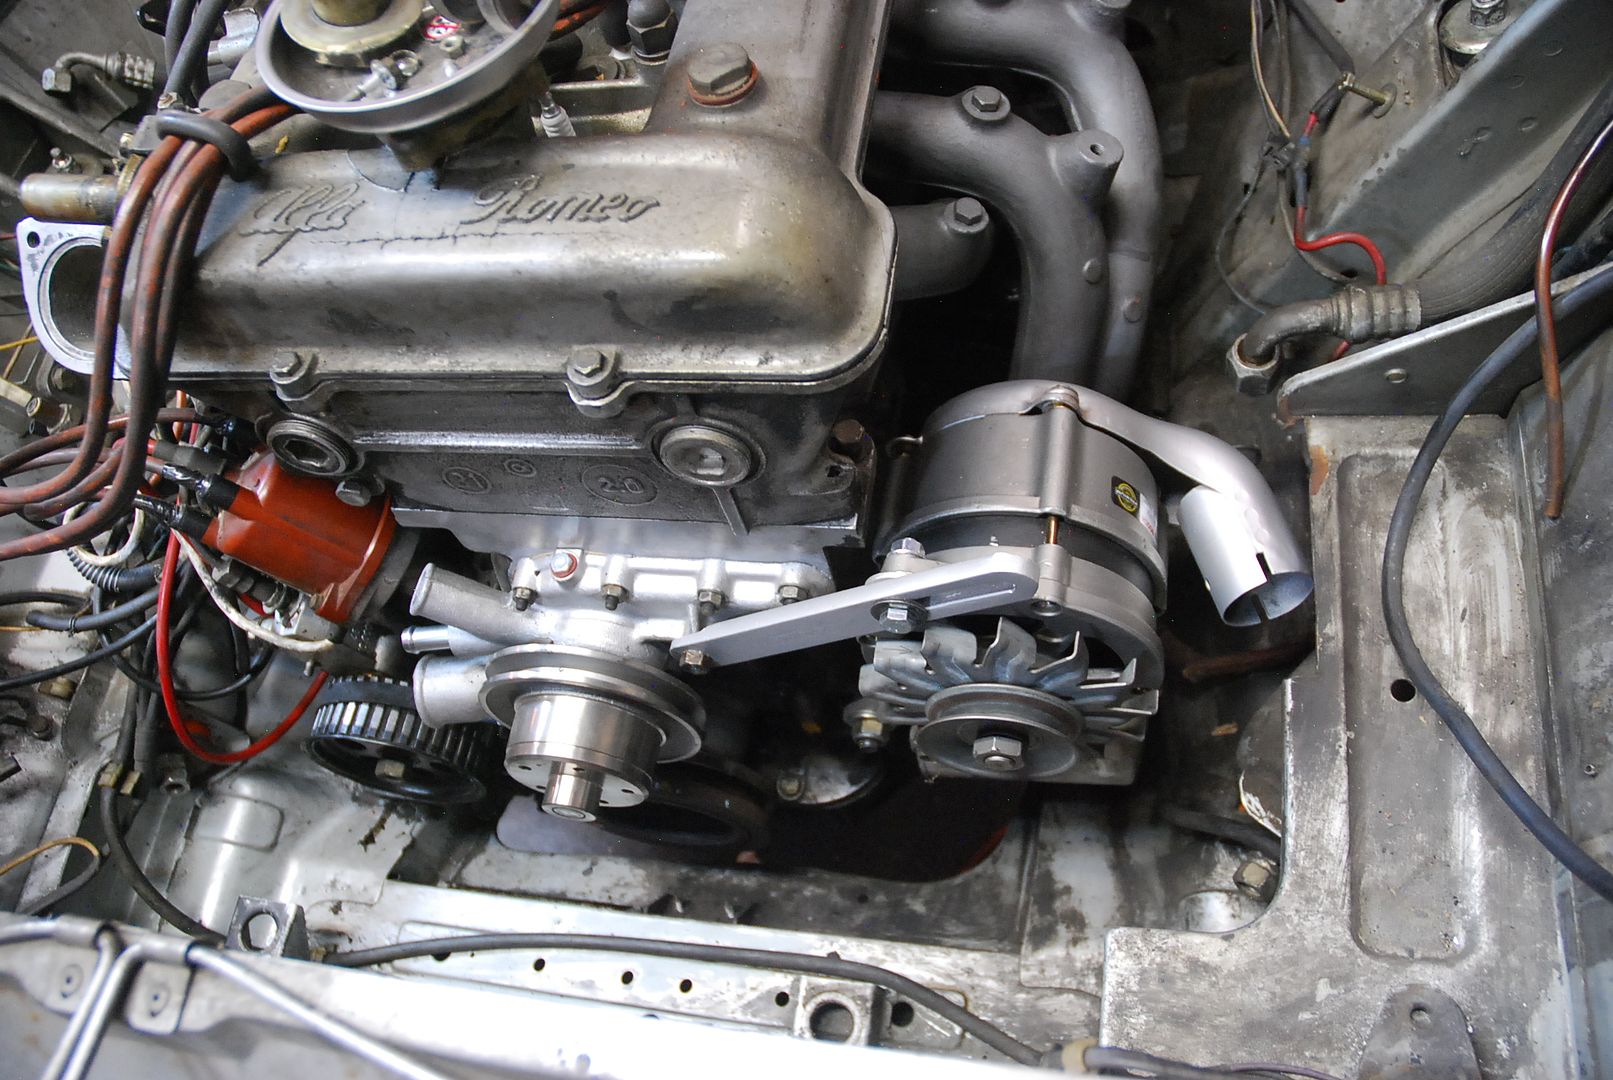 [/URL]
[URL=https://s61.photobucket.com/user/greggearhead/media/Alfetta%20GTV/DSC_0438_zps7e9flkcv.jpg.html]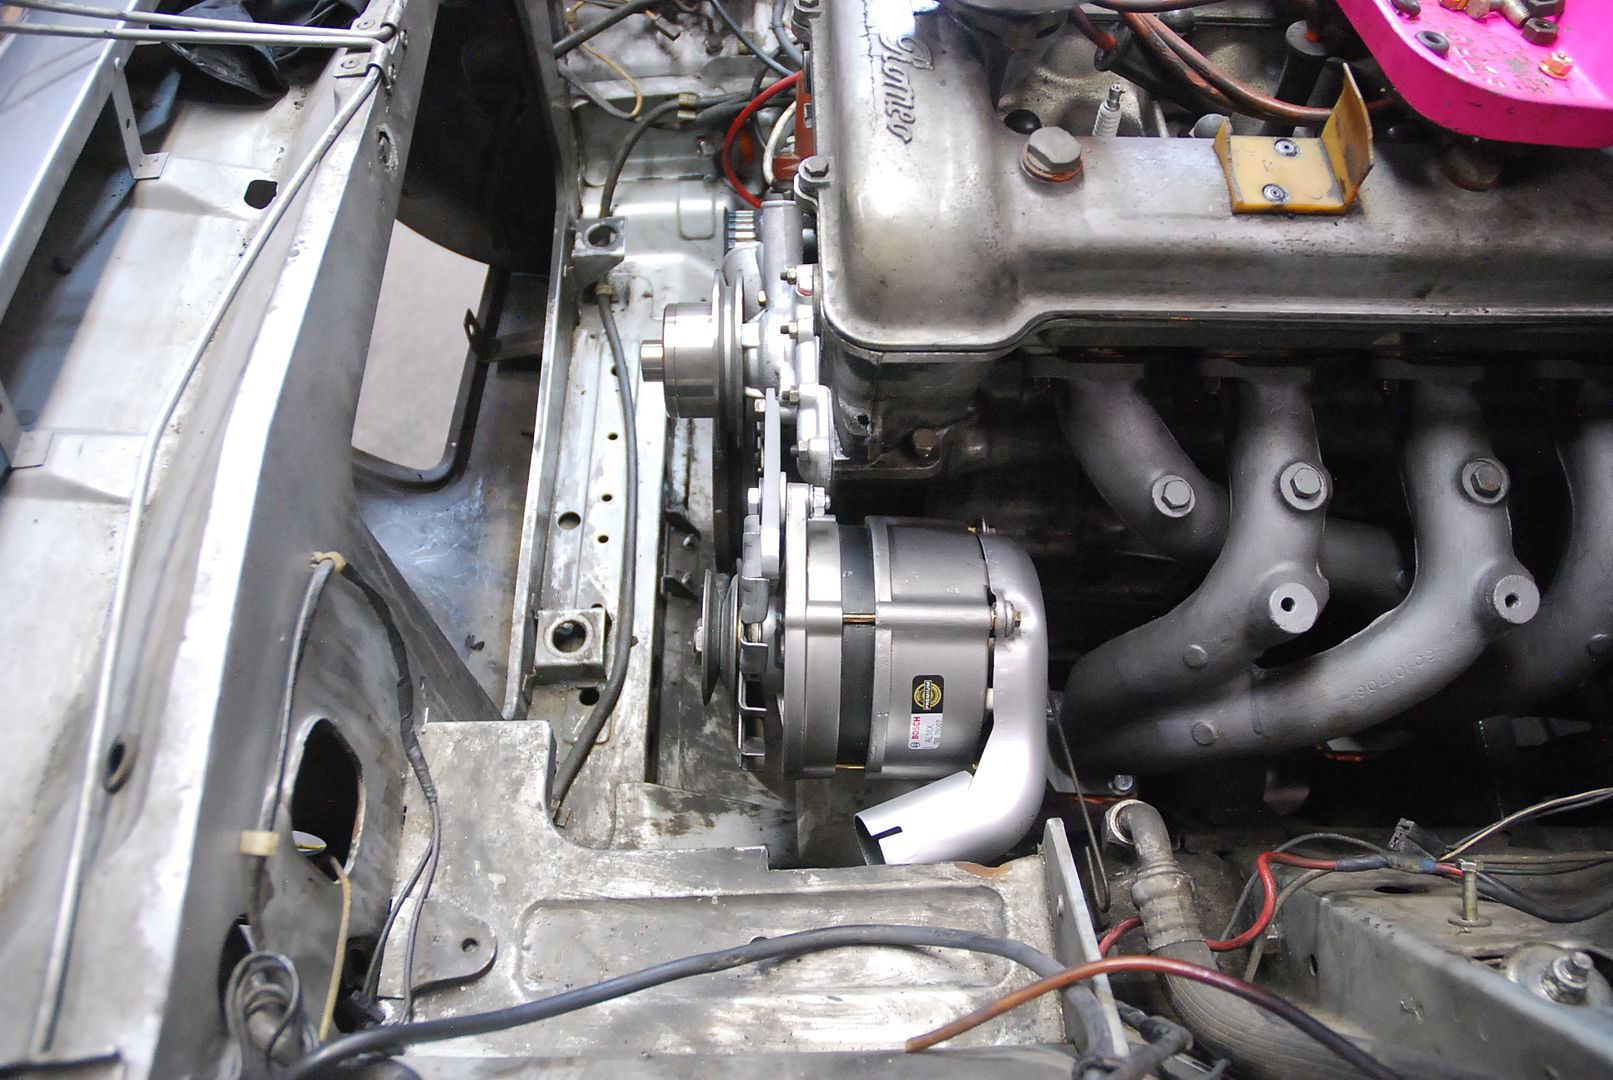 [/URL]
[URL=https://s61.photobucket.com/user/greggearhead/media/911/DSC_0439_zps7f1pu0h2.jpg.html]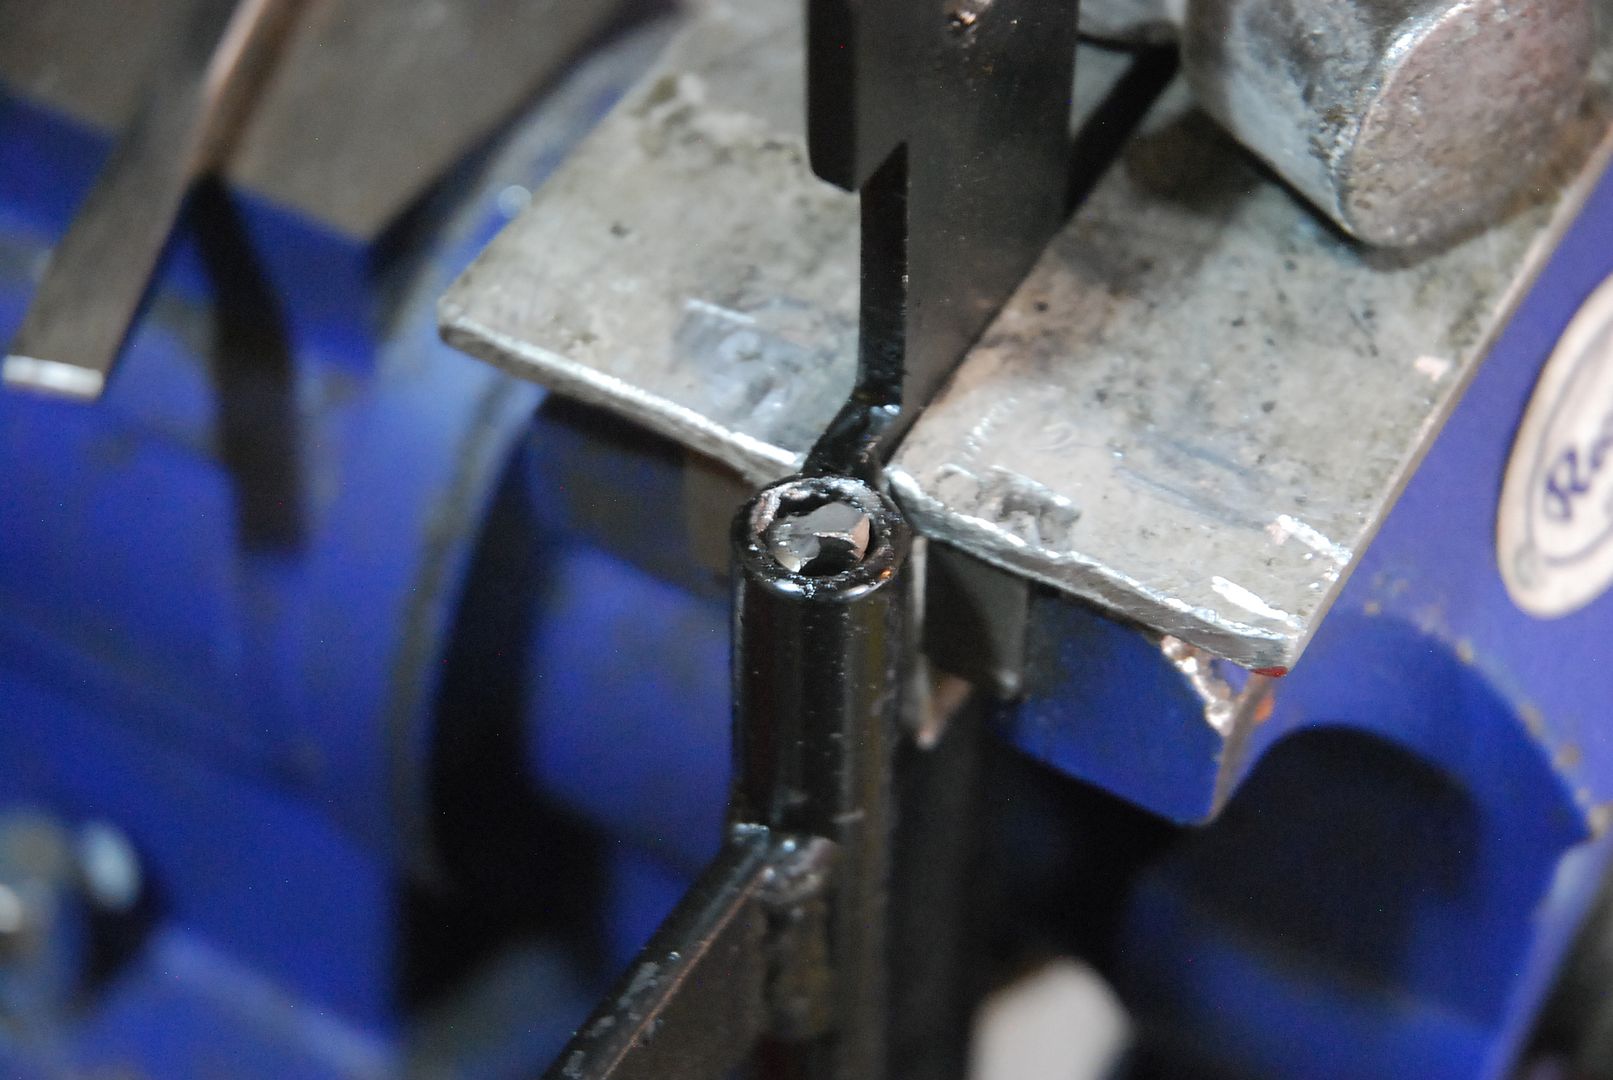 [/URL]
[URL=https://s61.photobucket.com/user/greggearhead/media/911/DSC_0440_zps8jeaqtnb.jpg.html]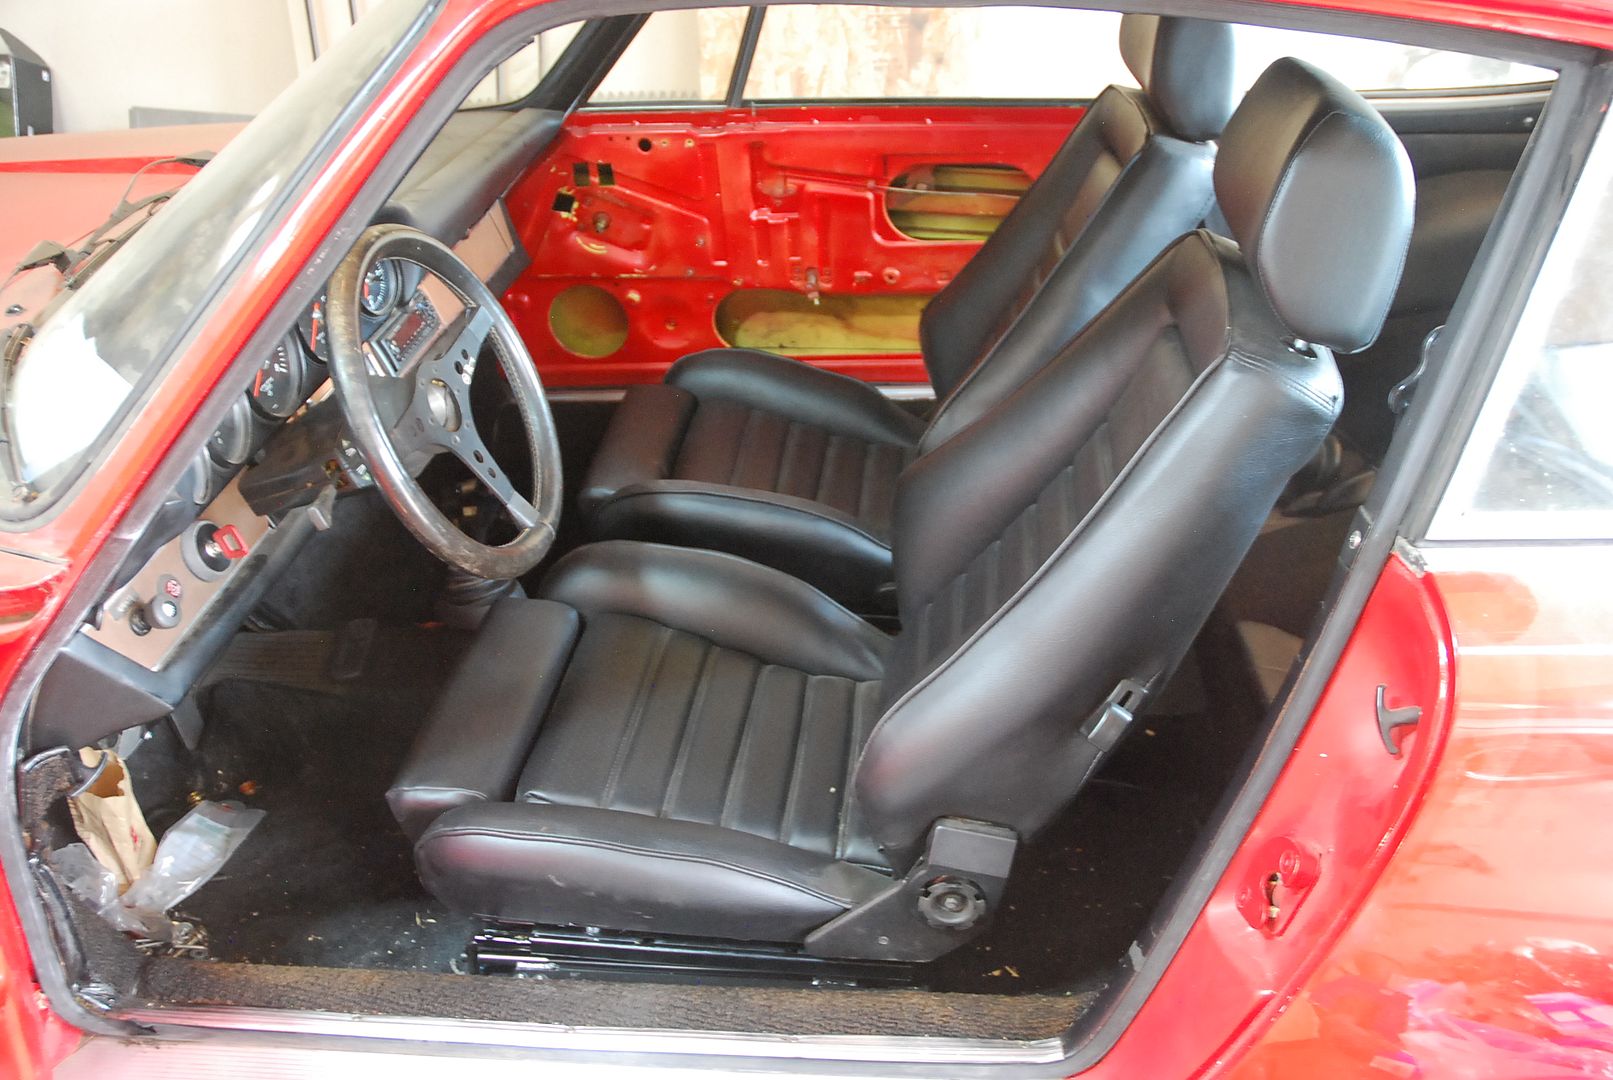 [/URL]


 [/URL]
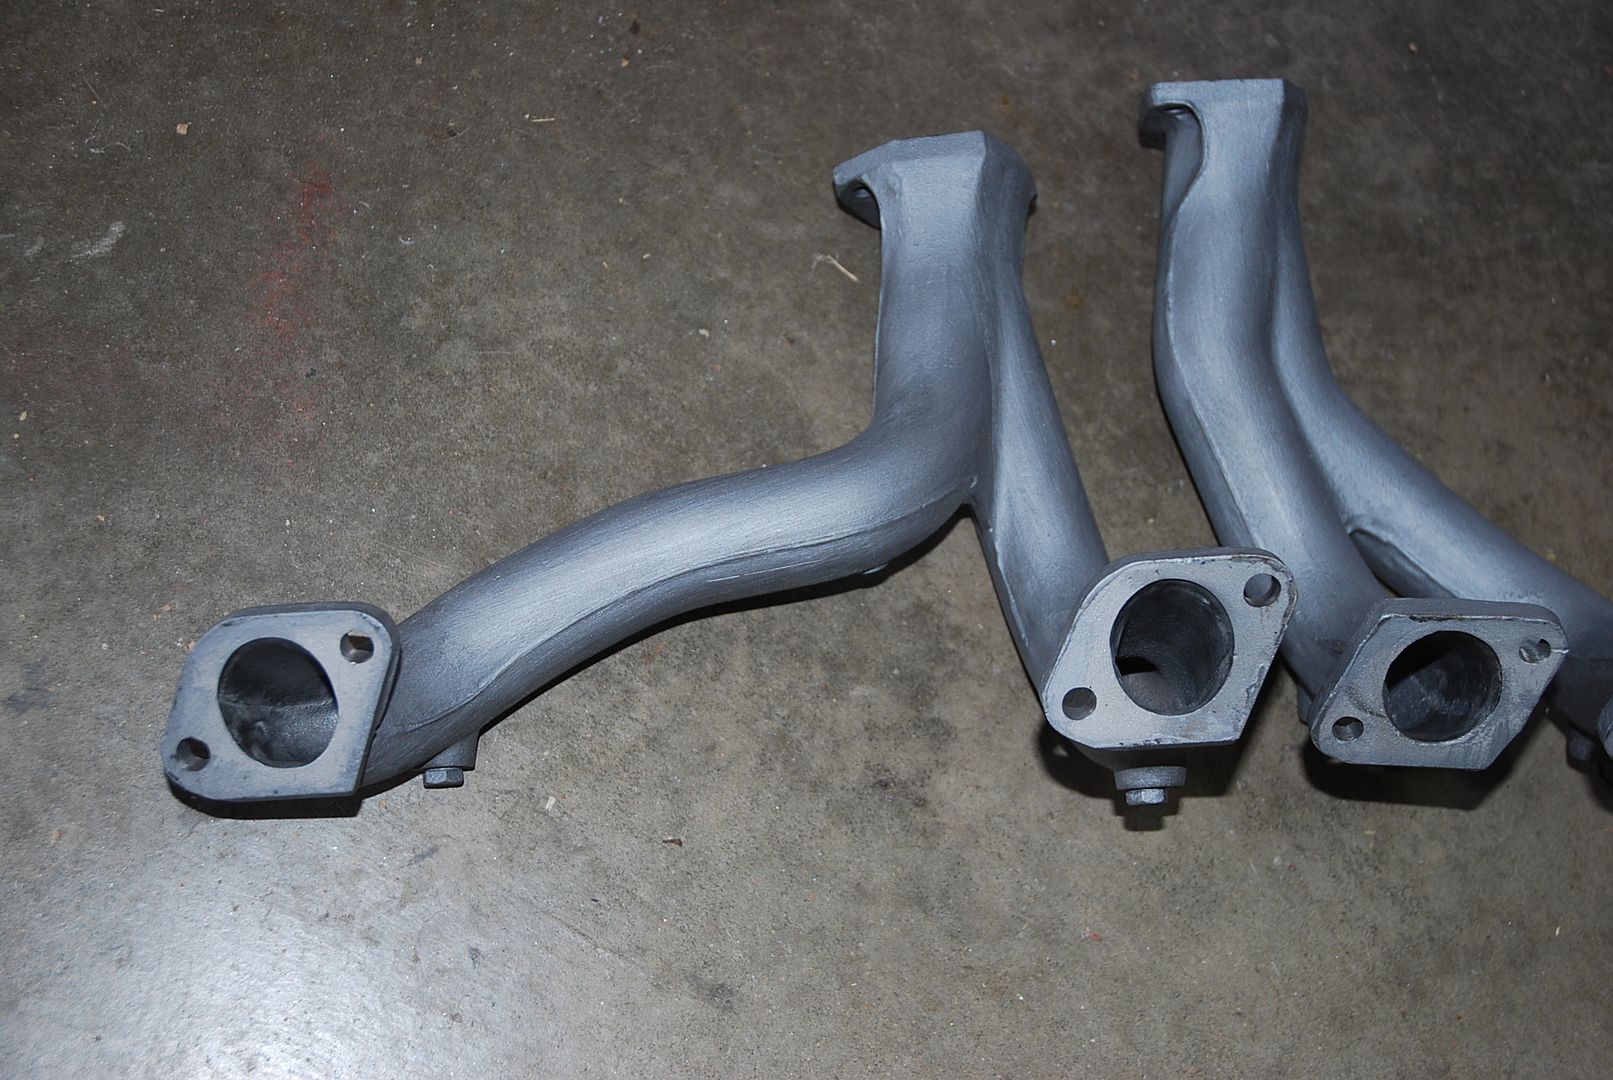 [/URL]
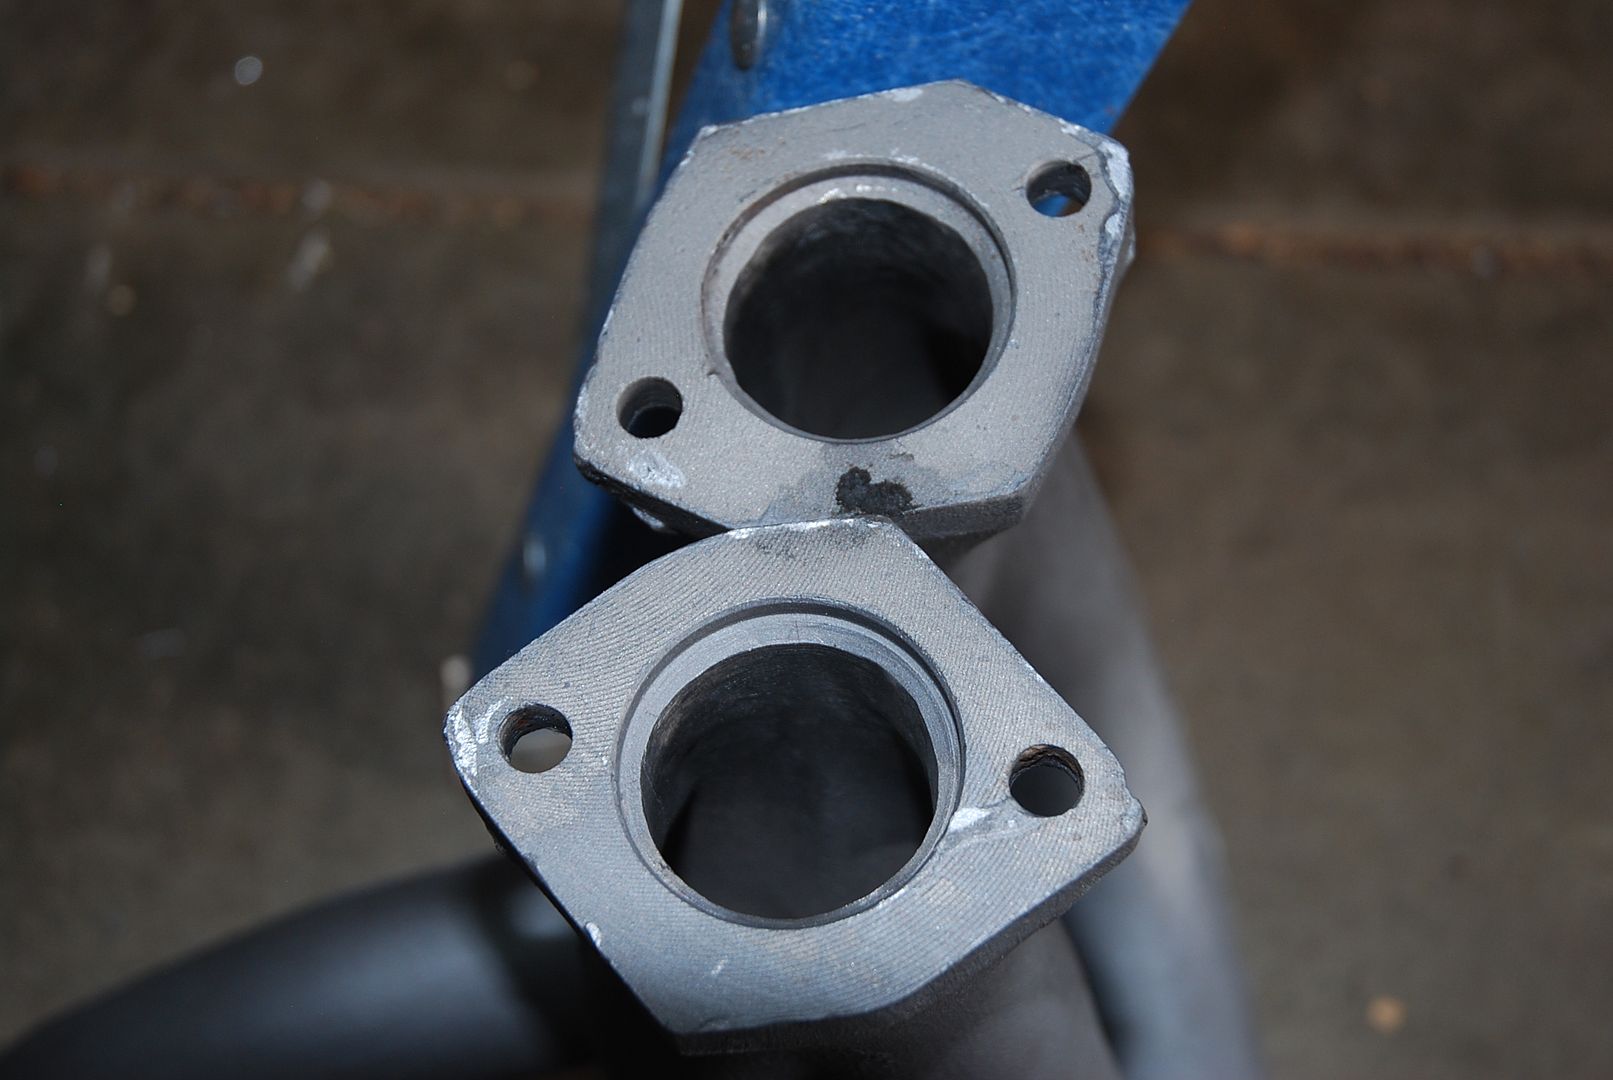 [/URL]
 [/URL]
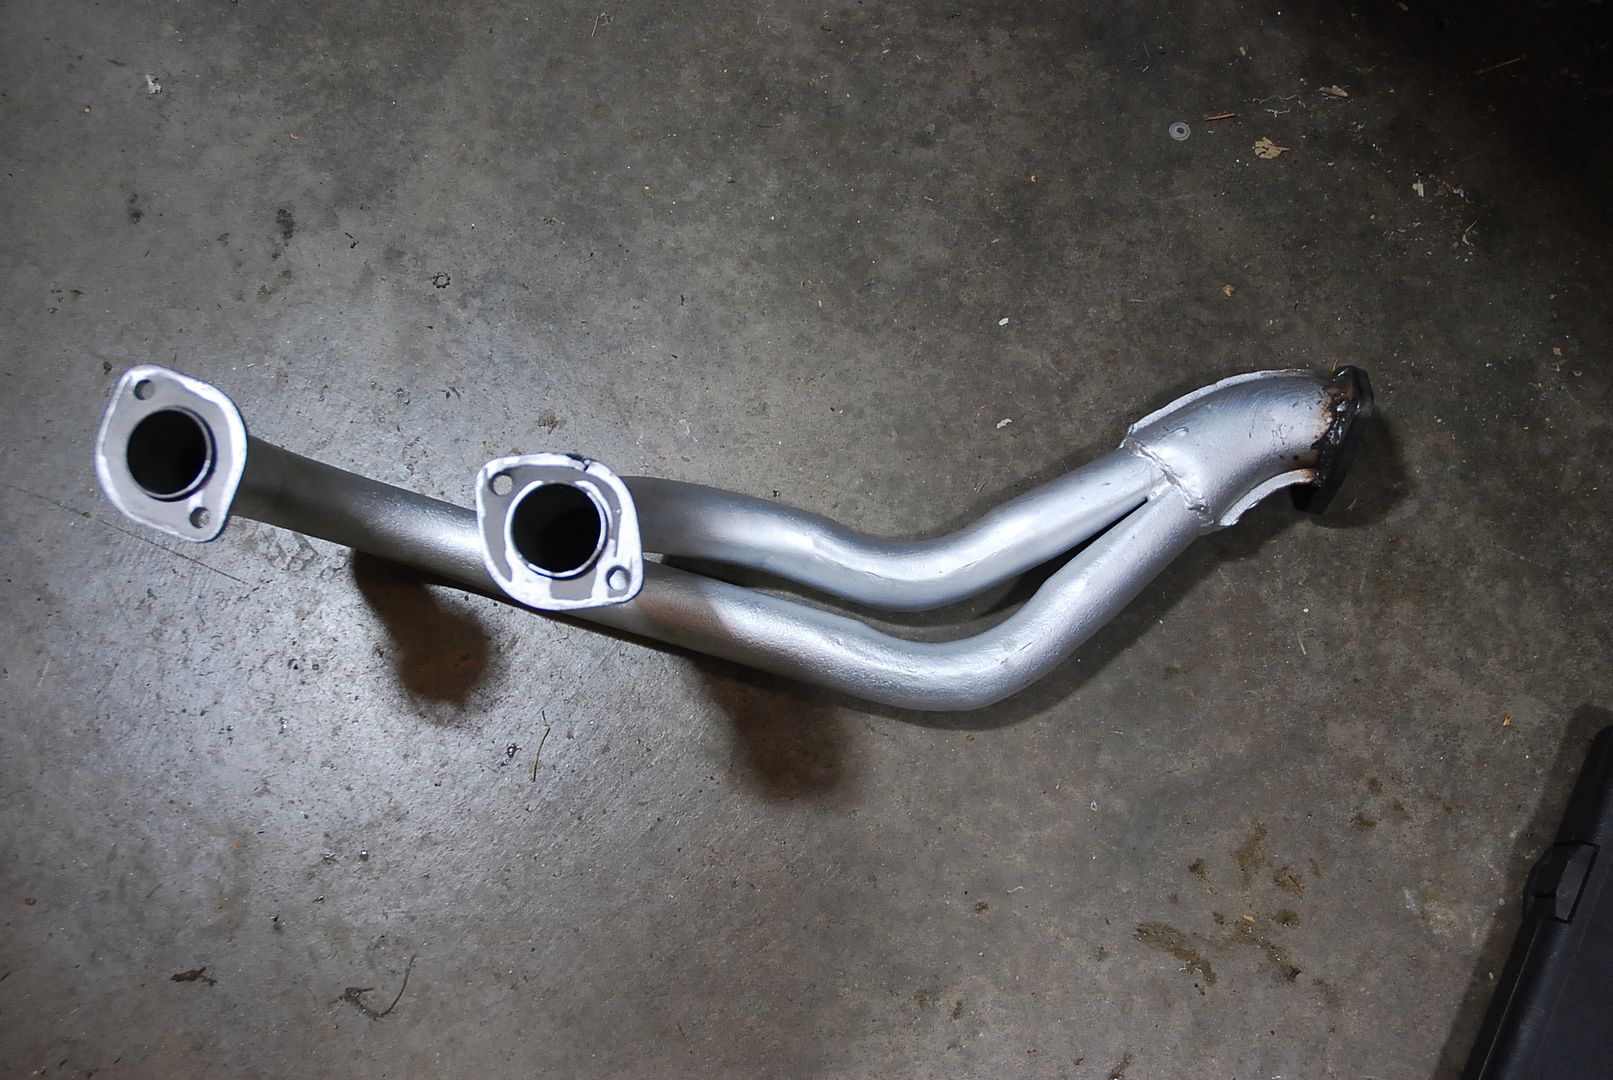 [/URL]
 [/URL]
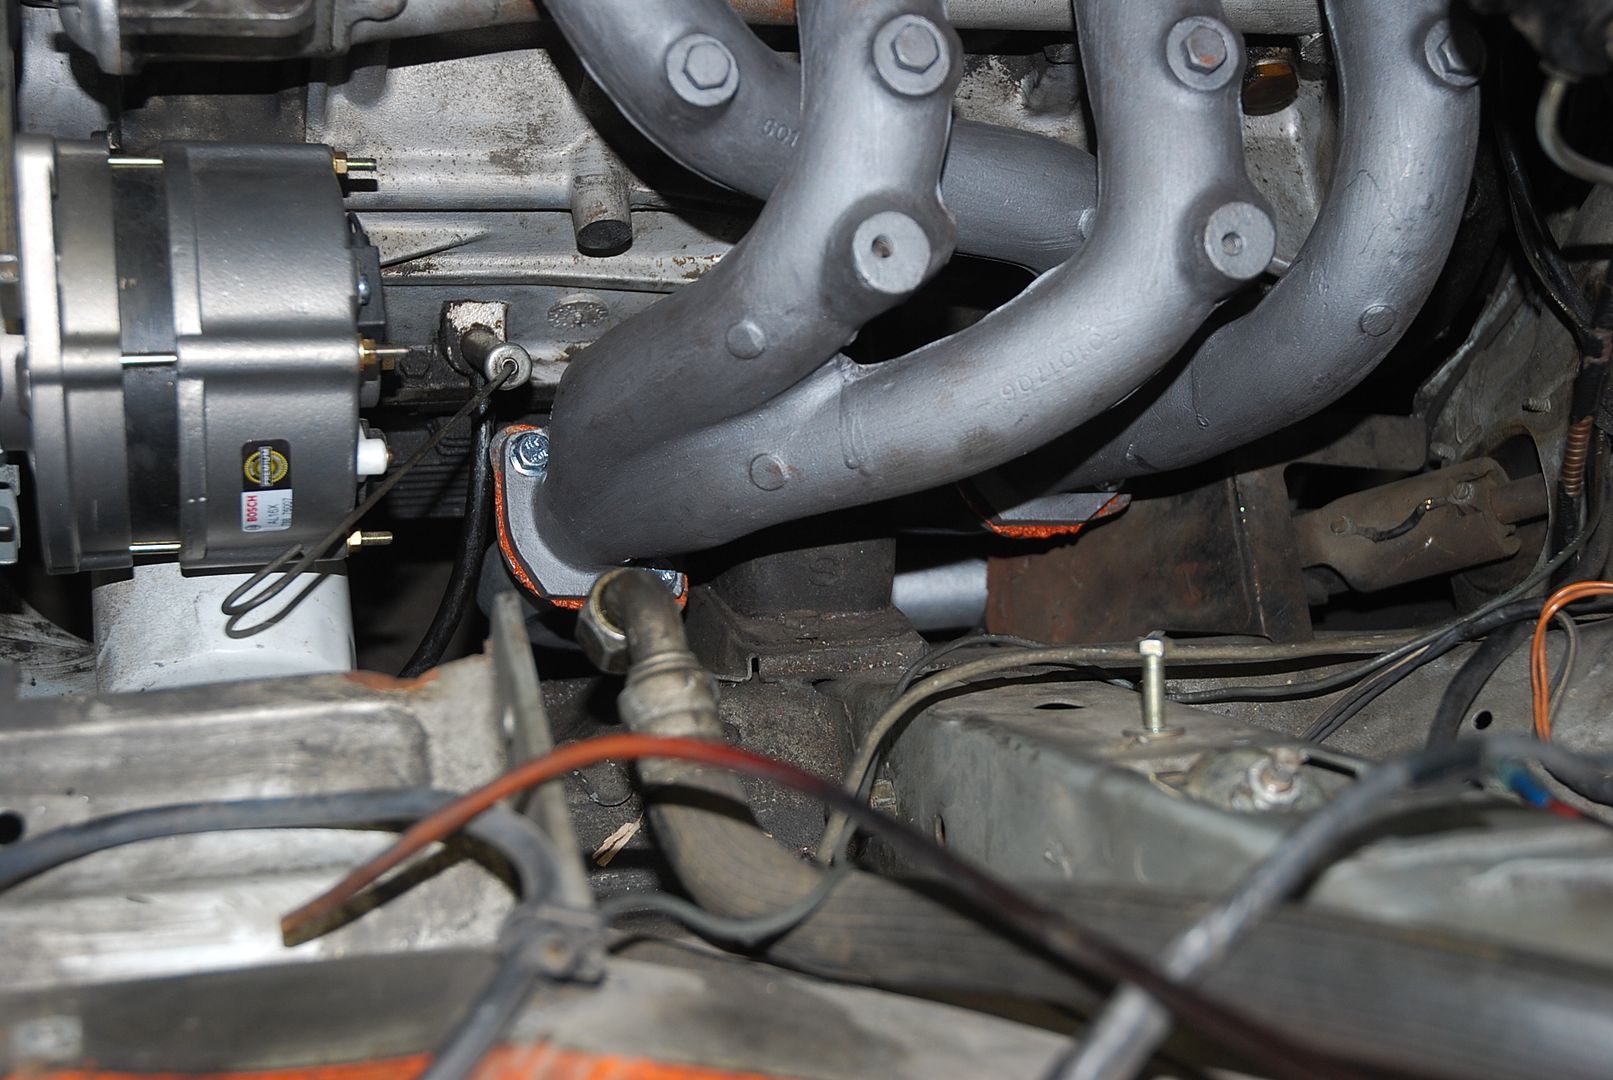 [/URL]
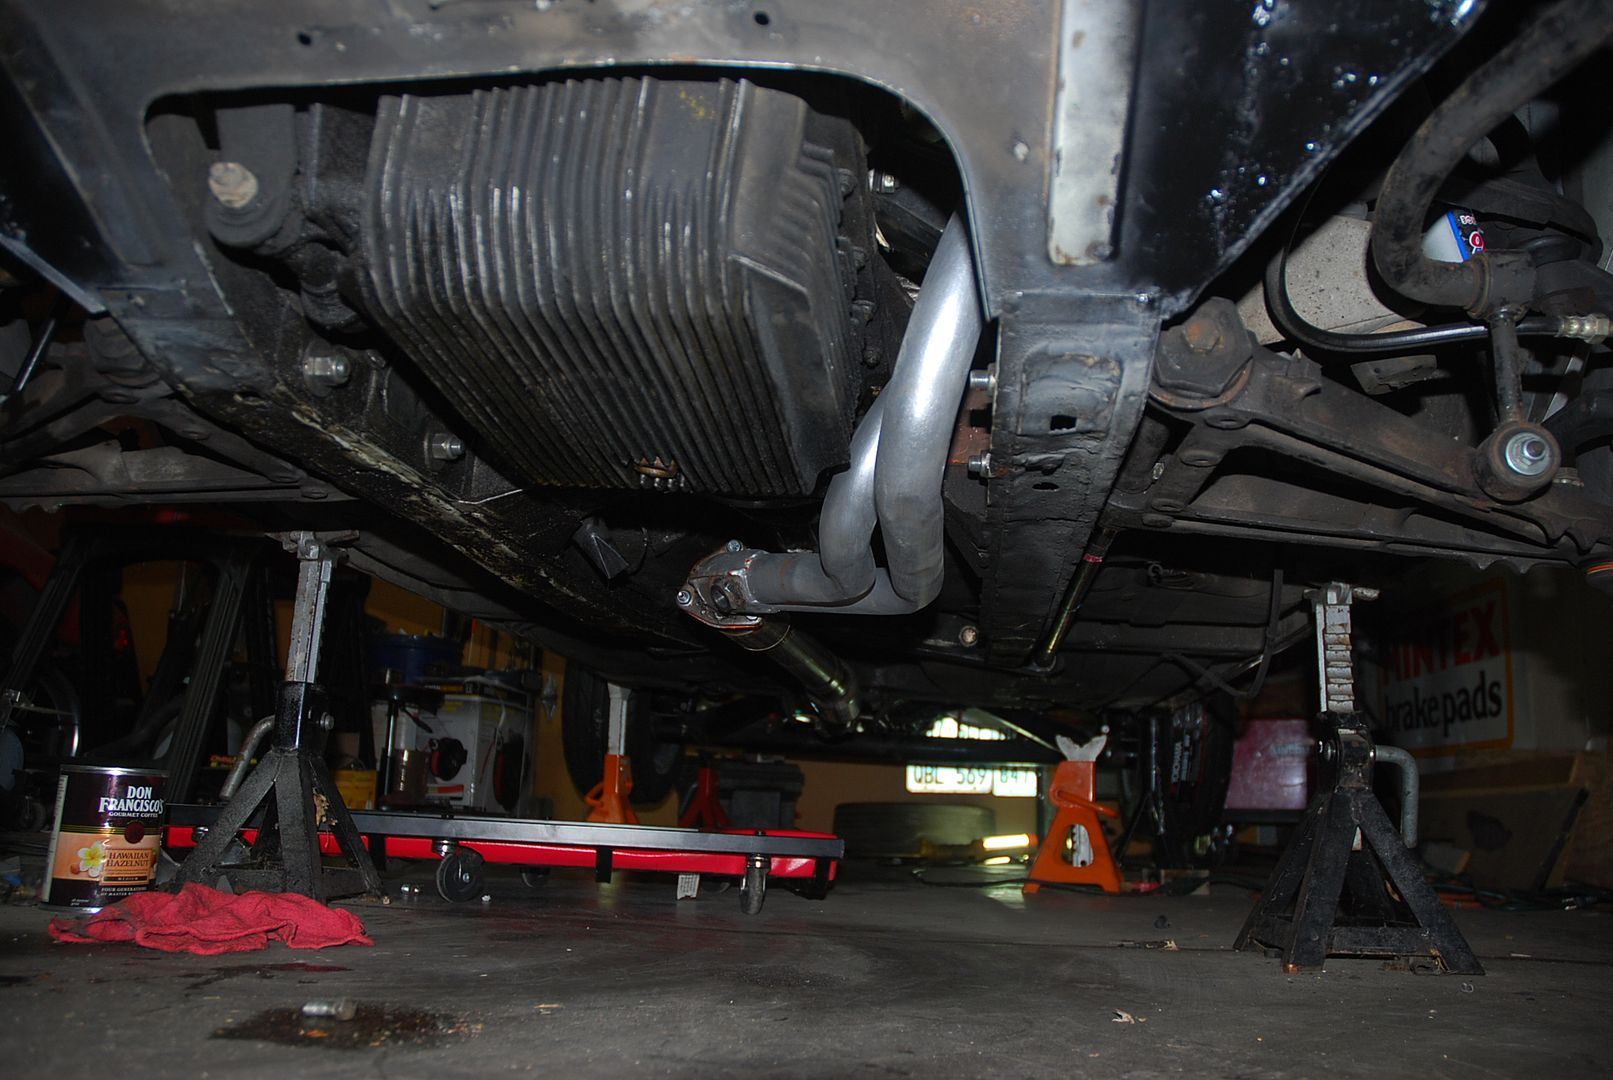 [/URL]
 [/URL]
 [/URL]
 [/URL]
 [/URL]
 [/URL]
 [/URL]
 [/URL]
 [/URL]

 [/URL]
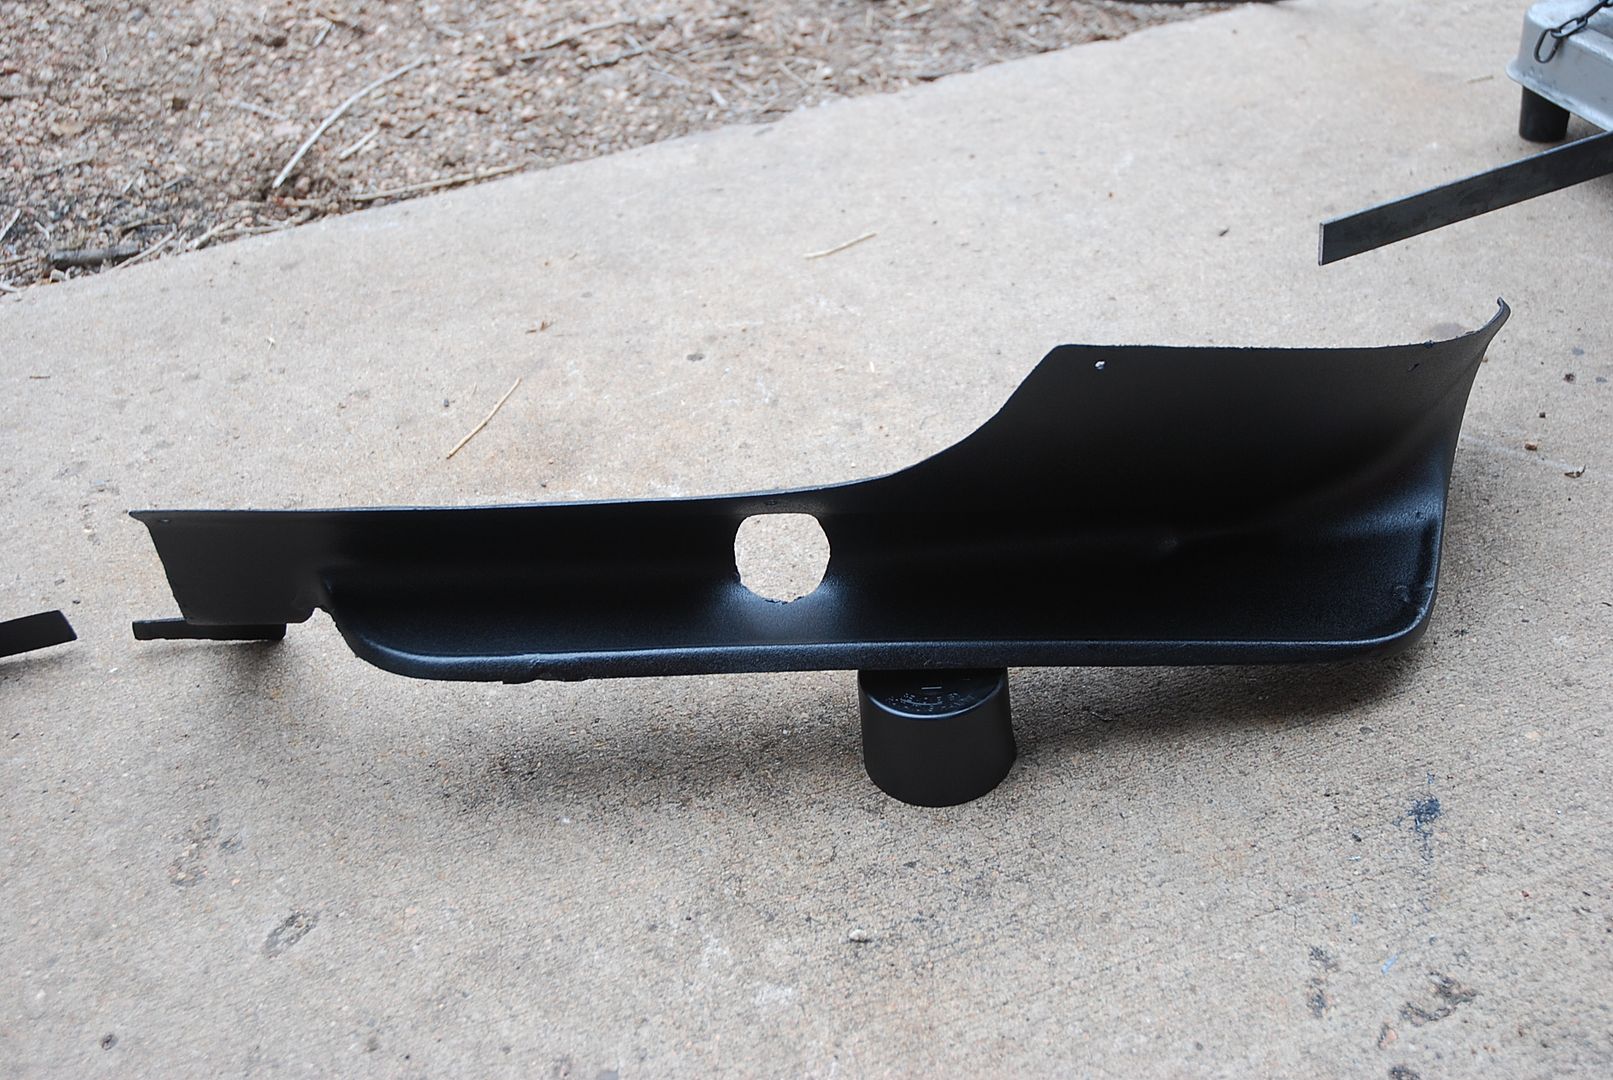 [/URL]
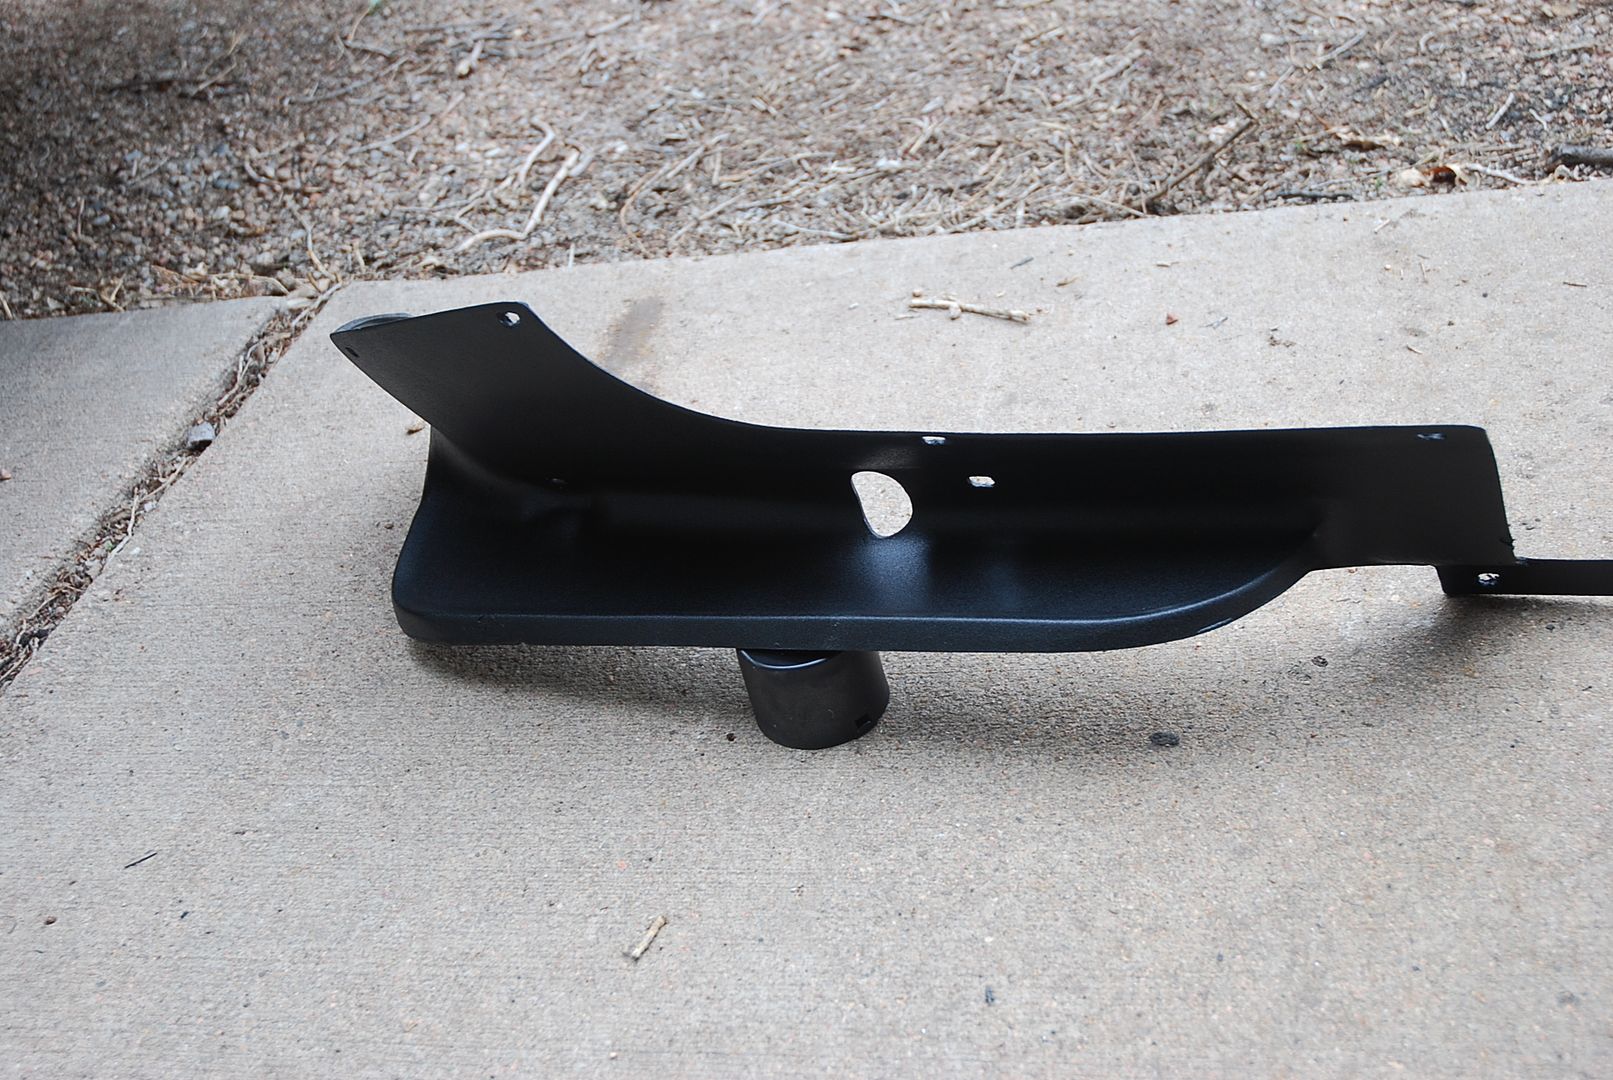 [/URL]


 [/URL]
 [/URL]
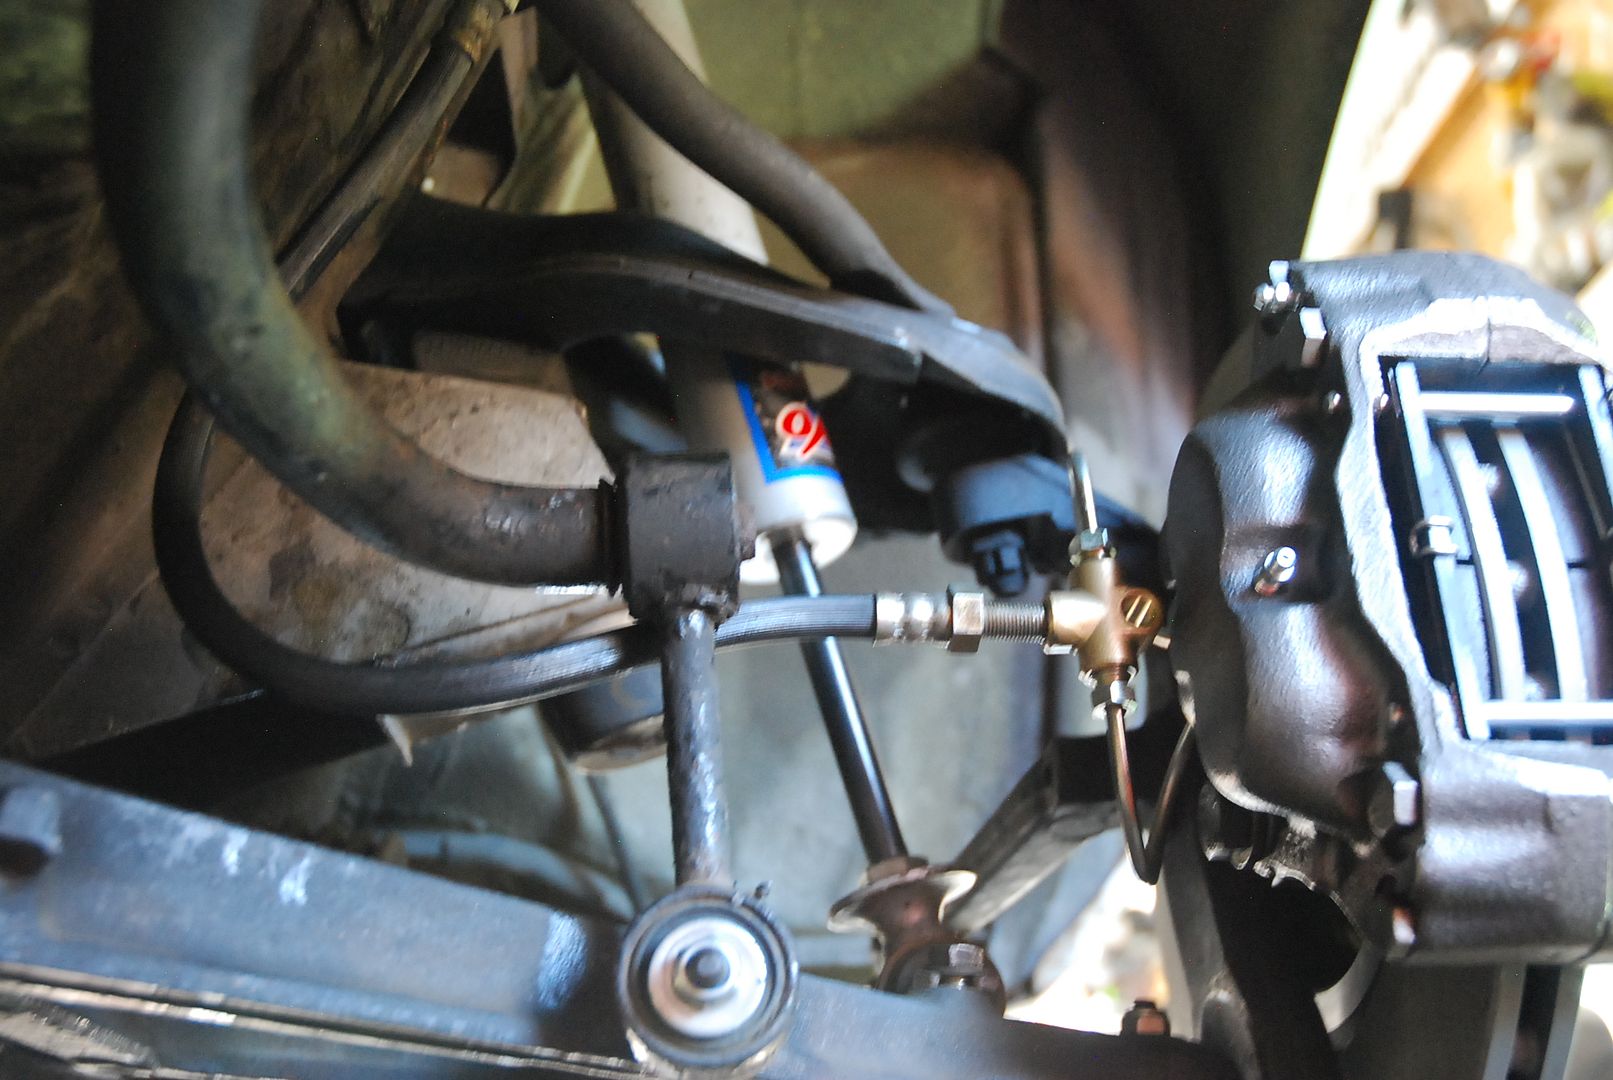 [/URL]
 [/URL]
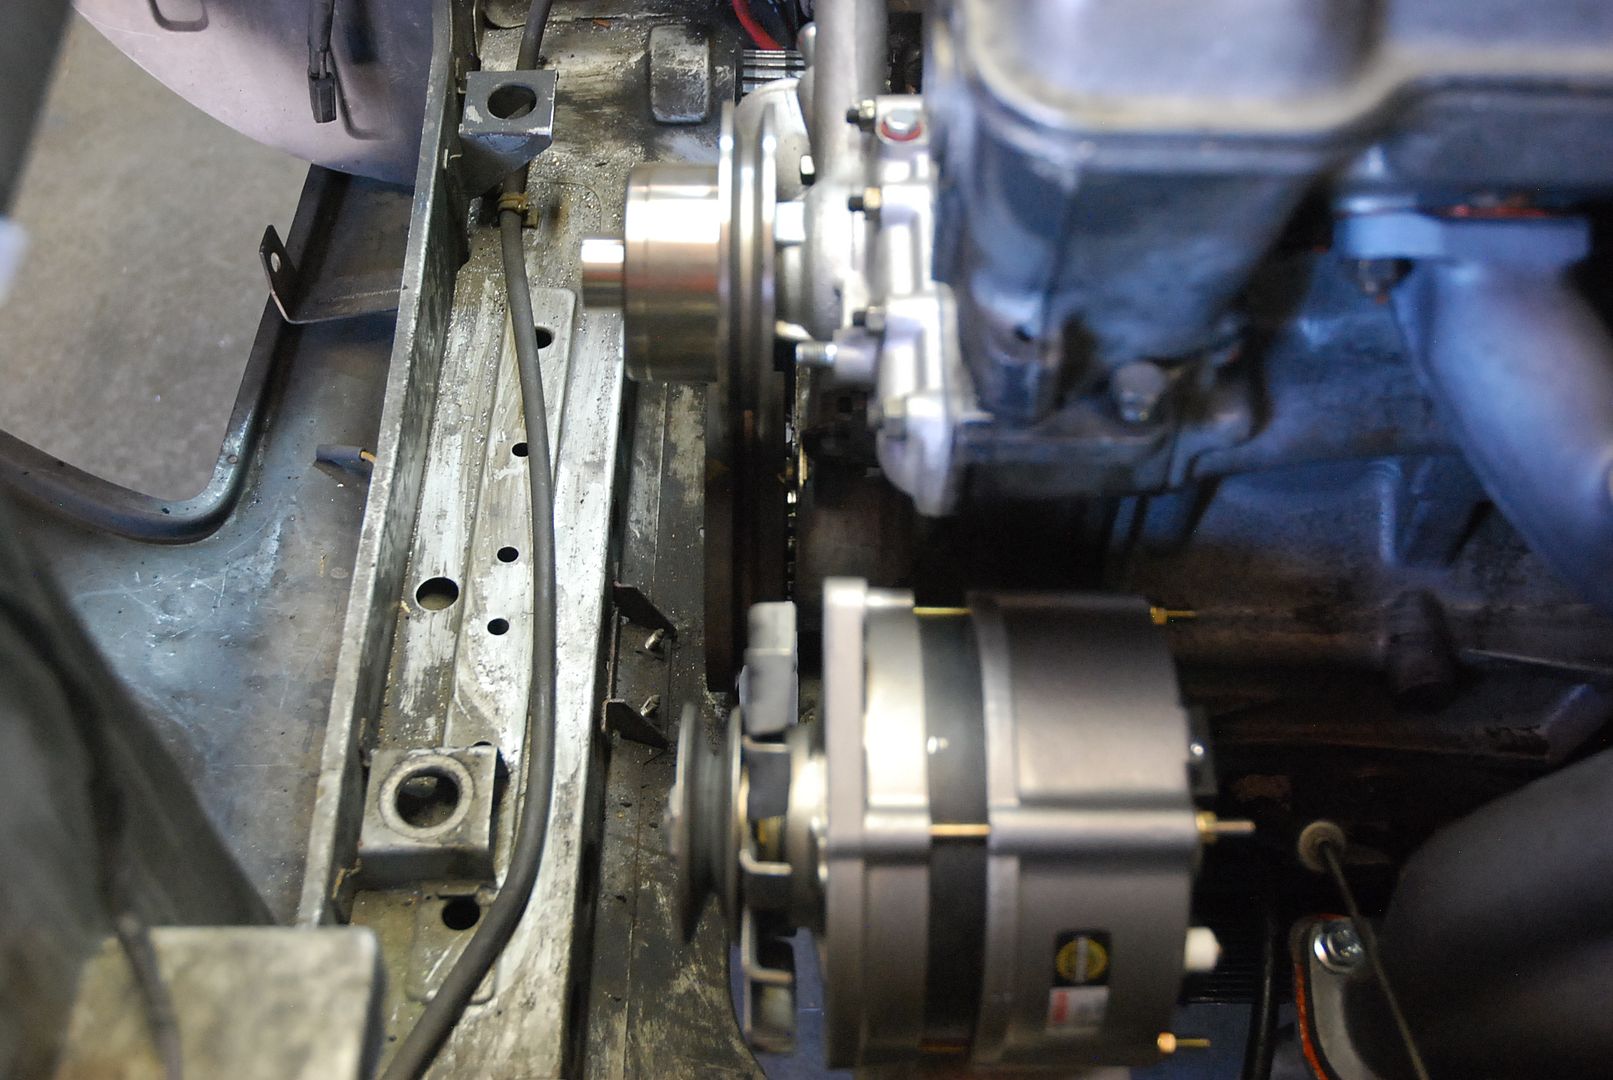 [/URL]
 [/URL]
 [/URL]
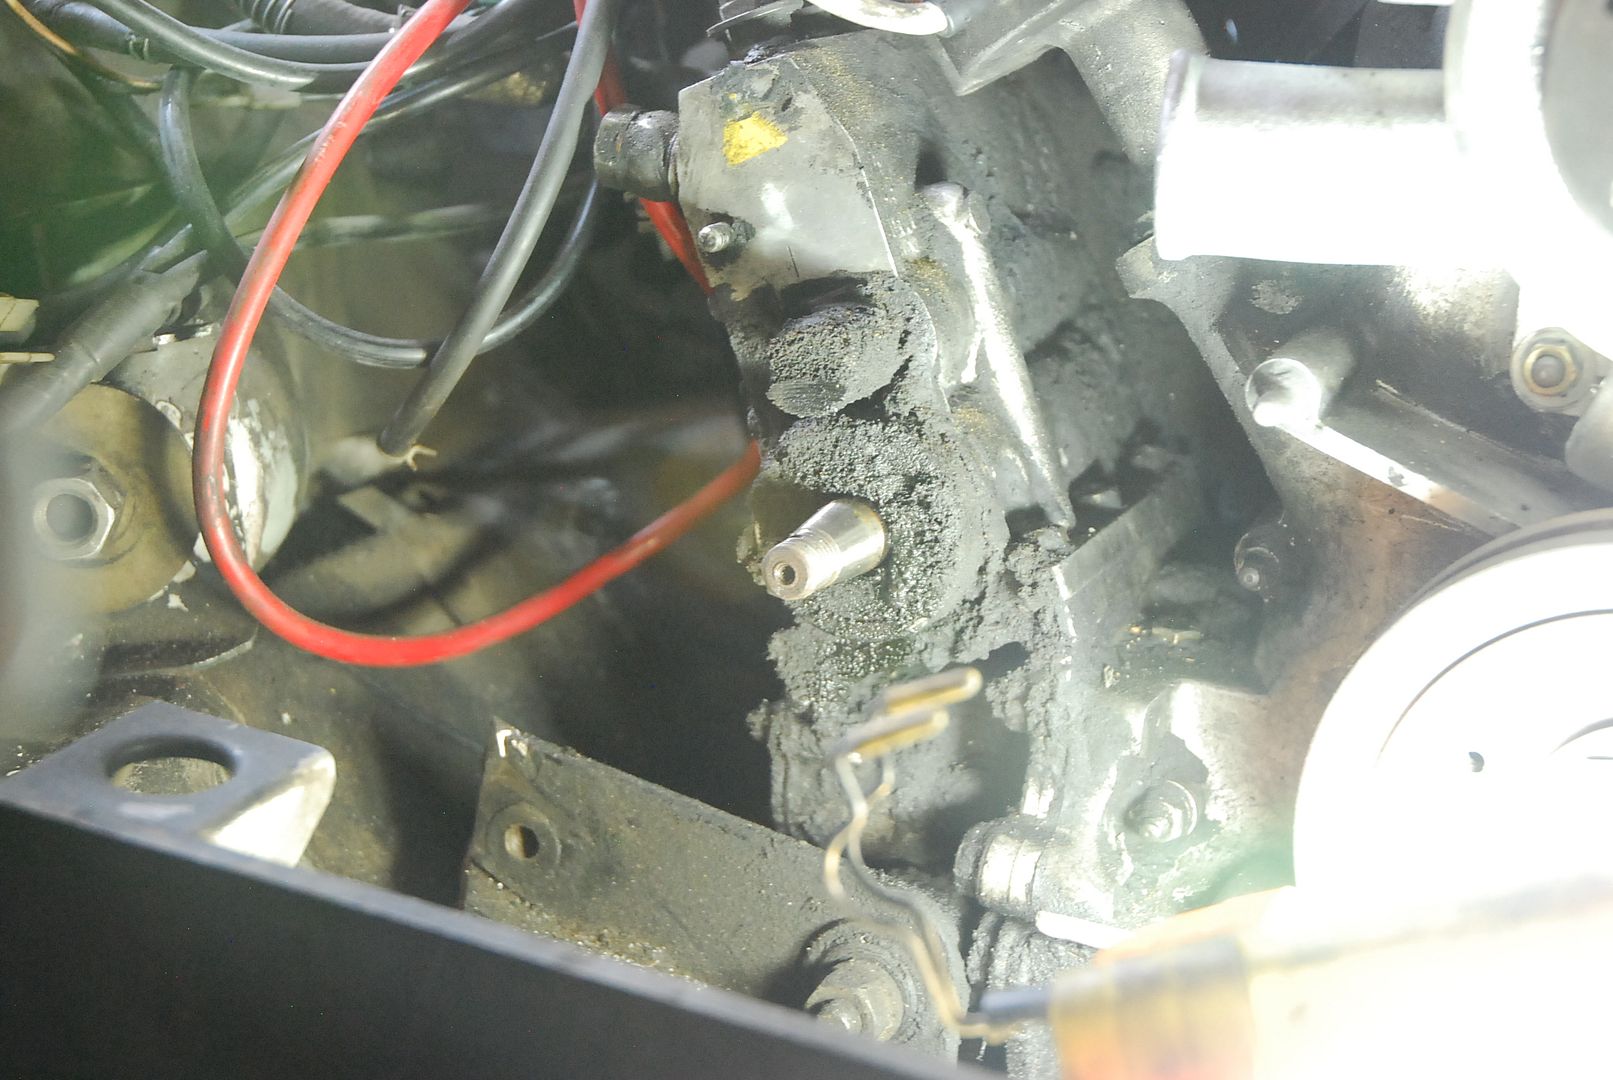 [/URL]
 [/URL]
 [/URL]
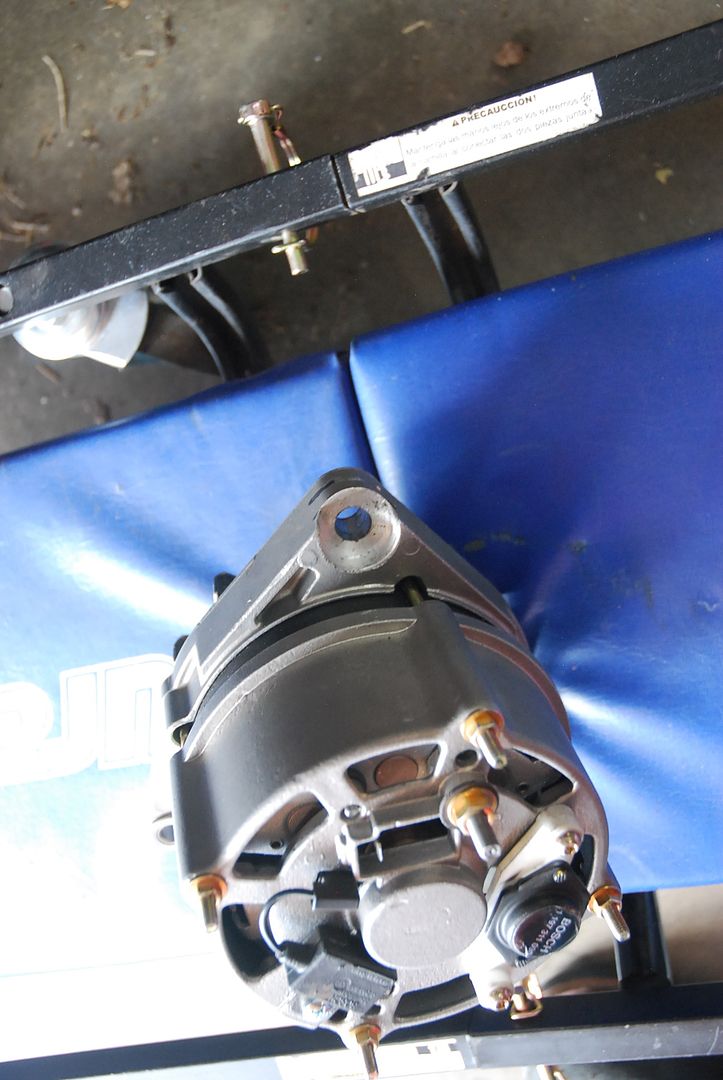 [/URL]
 [/URL]
 [/URL]
 [/URL]


