An aside, you putting anything in to fill the gap between inner and outer metal panels on the cut rear fenders? Just thinking you might want to do something (even spray foam for an easy button) to prevent gravel/other debris buildup in that tight space prior to laying down paint.
Agreed. It was amazing the amount of debris thrown into the interior through the gap between body and wheeltub on the amc.

Gimp
SuperDork
2/5/18 10:49 a.m.
I will probably be doing some sort of foam between the panels, and making an inner wheel well out of plastic. I've cleaned enough sand and debris out of this car.
Gimp
SuperDork
2/6/18 7:26 a.m.
I couldn't resist a little more progress on the dash. At the 2014 Nationals I saw a car with this same switch panel and became obsessed, so I had to get one for myself.
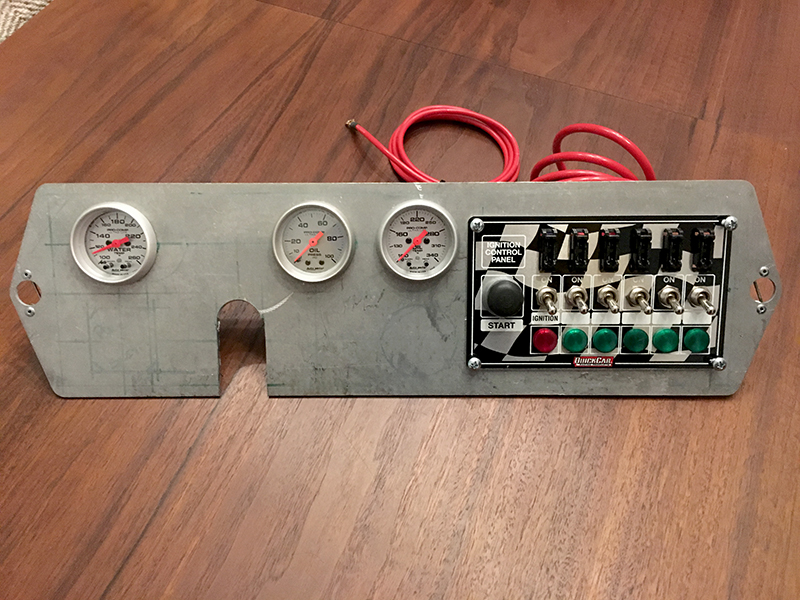
I will be adding a few more bits (cut off switch, idiot light for oil pressure, reinforcement bar) to the panel, and adding a tach off the roll car down tube, but it's coming together.
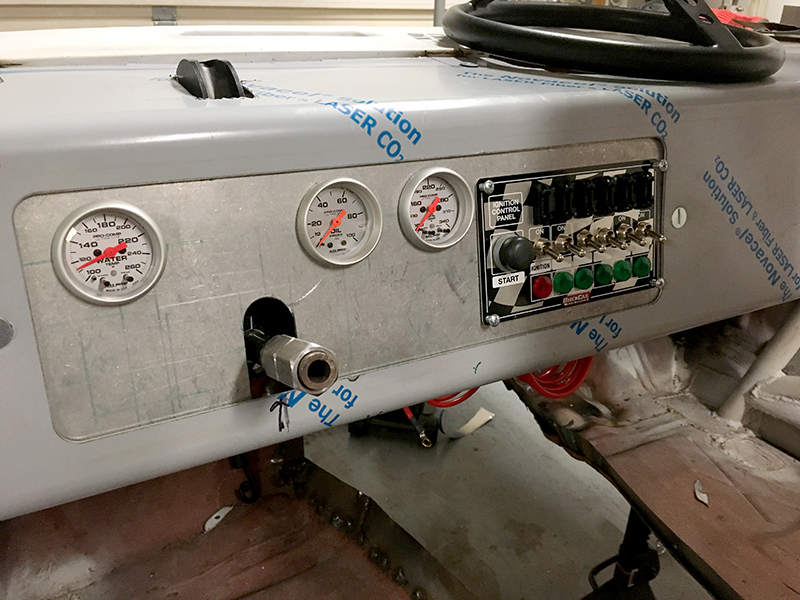

And the view from the pilot's seat:
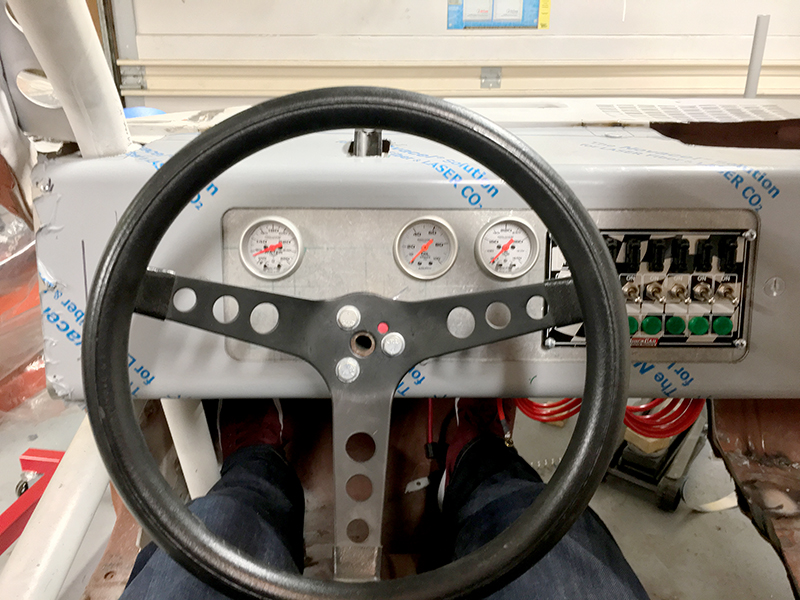
For some reason, putting this in, even for mockup, made it really start to feel like a car.
In reply to Gimp :
Dont you love it when a plan comes together?
Gimp
SuperDork
2/6/18 1:36 p.m.
In reply to Ovid_and_Flem :

Gimp
SuperDork
2/12/18 7:55 a.m.
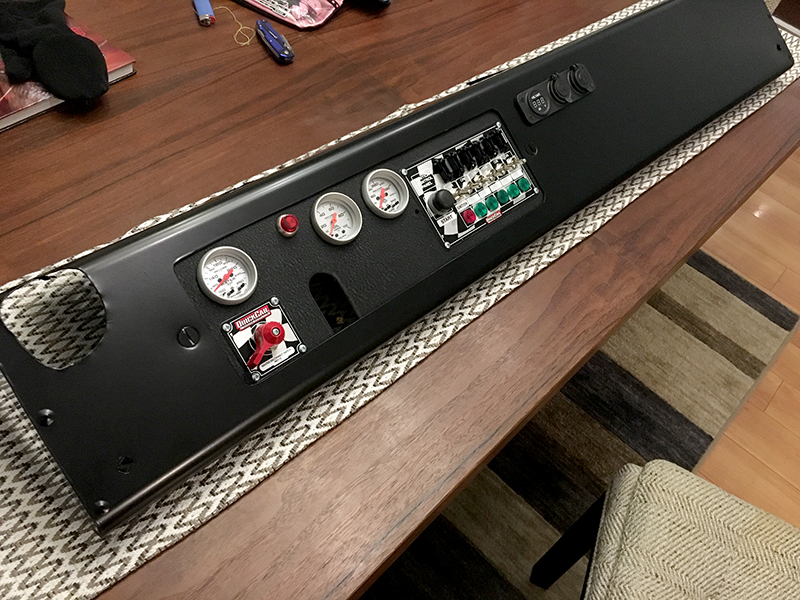
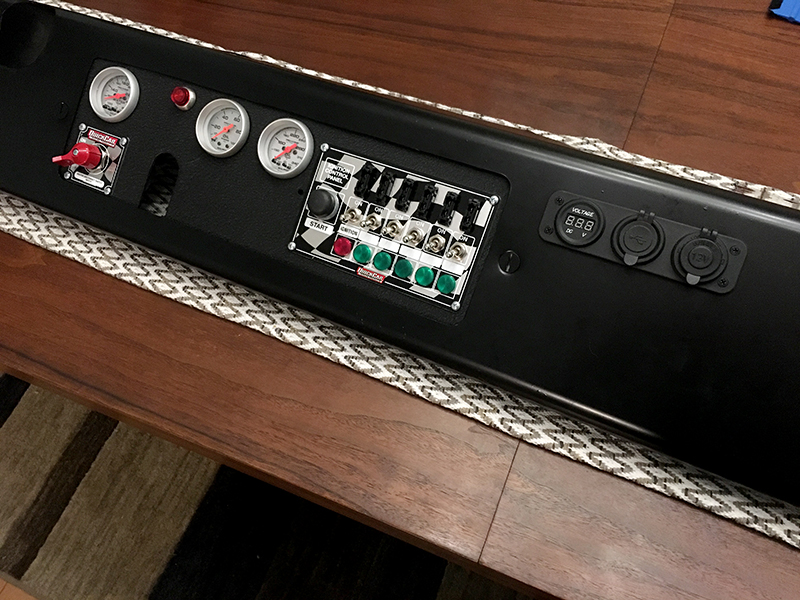
Just a little bit more of dash work. I needed to get the last few bits in there. I plan on getting the entire dash finished and wired, so when it's time to go in the car it's just a couple fasteners and plugs and it's in.
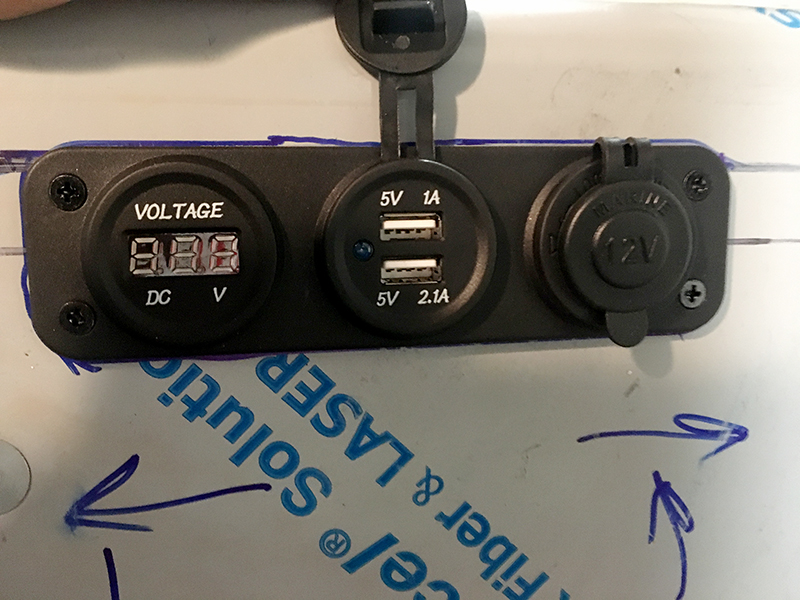
First up was adding the volt gauge/USB/12v power port combo I got off Amazon for something like 4 bucks. It's marine grade, so it should hold up in the car. This way I can supply power for a tablet to run data acquisition.
Next was the thing ever race car needs - an overly big tach. This unit is pretty cool because it has a memory recall, so I can see how big of a wuss I was on the last run.
After I had things trimmed out and test fit, it was time to start finishing things. I drilled a few more holes in the gauge panel, hit it with some VHT wrinkle paint, and put it together.
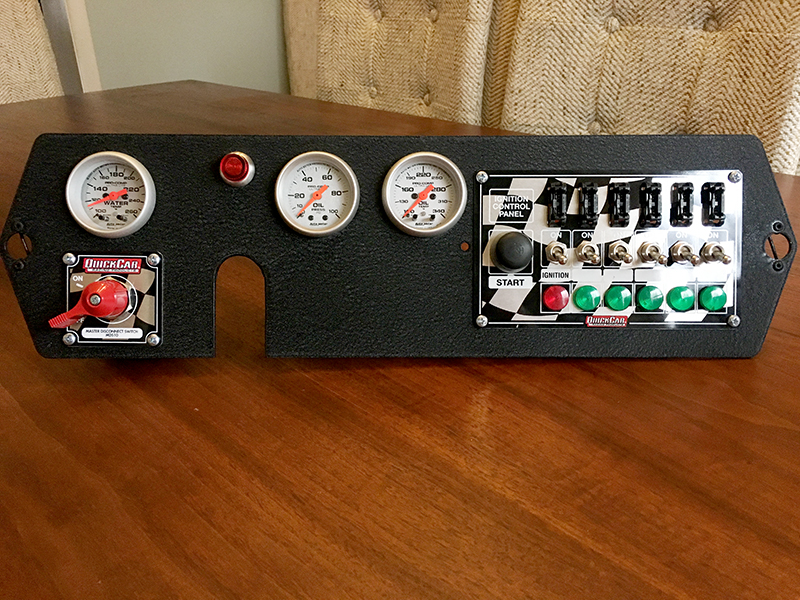
Left to right - water temp (top), battery cut off (bottom), oil pressure warning light, oil pressure gauge, oil temp gauge, ignition control panel
I have a roll of semi-gloss black vinyl on the way to wrap the main dash, and then I can finish wiring it.

Patrick
MegaDork
2/12/18 12:00 p.m.
Link that volt/usb thing when you get time, i feel like everything I own needs that
Gimp
SuperDork
2/12/18 12:32 p.m.
The price has gone up a little since I bought it, but I've seen it in other cars and it's still work the ten bucks.
https://www.amazon.com/dp/B00WLFU7QY/ref=cm_sw_r_cp_ep_dp_12DGAb910QBCM
Gimp
SuperDork
2/14/18 7:44 a.m.
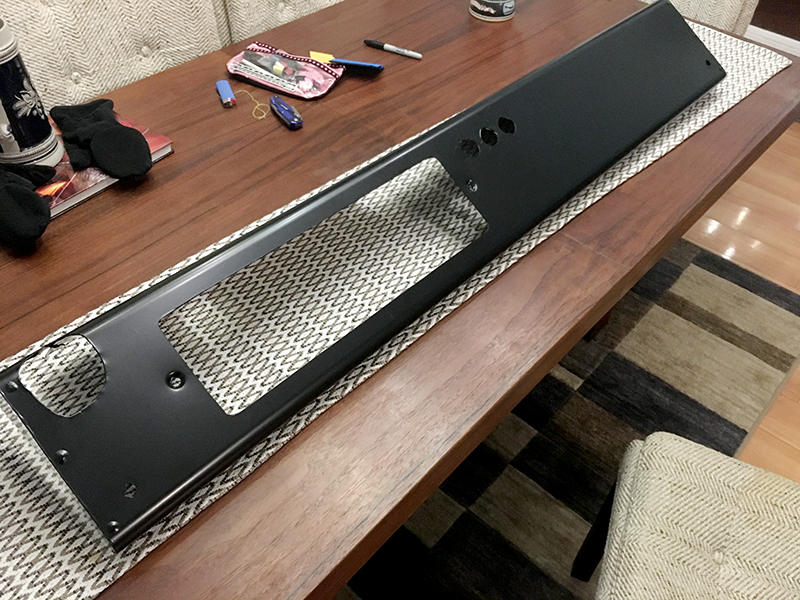
Working on completing the dash as a sub-assembly, so when the time comes I can just bolt it in, connect a few wires, and it's done. This means I have to finish off the dash panel.
It comes from S&W in a nice, bare aluminum, but I wanted to cut down on some glare and put a semi-gloss coating on it. I wanted a little more scratch resistance than paint, so I went with some 3M vinyl. People who like wrapping things in vinyl are masochists.
So, of course, then I had to put it together.
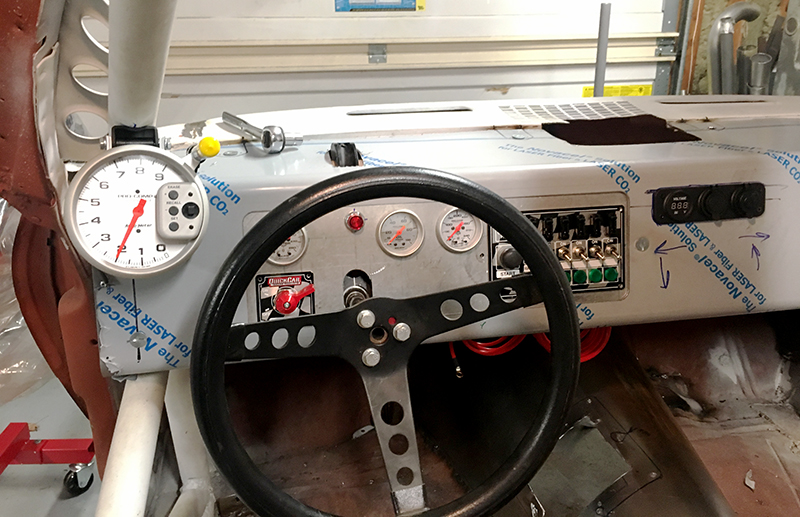
And, why not see what it looks like in the car?
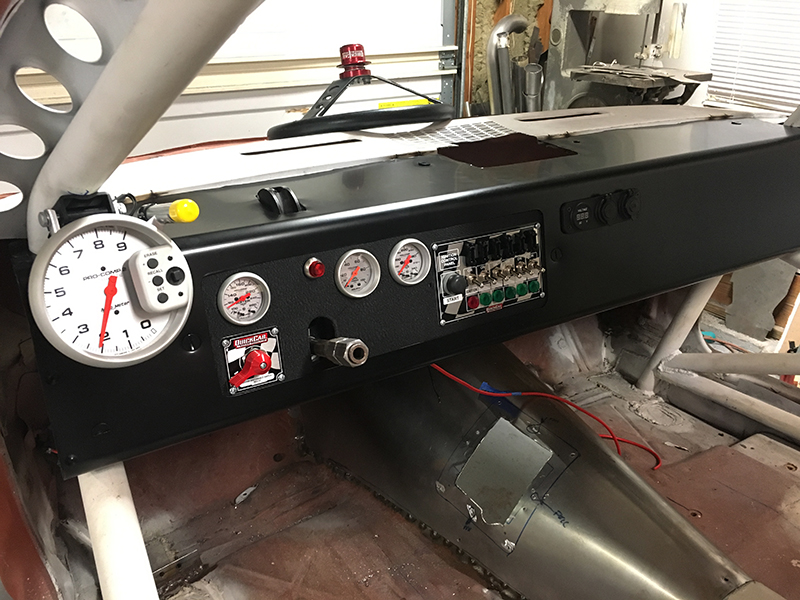
Last bit of wiring show up this week, so I can get this wrapped up and put away for now. Little bit of welding left to do over the weekend, and then it's paint prep time, I swear.
Yeah I ordered 4 of those things
Gimp
SuperDork
2/26/18 8:22 a.m.
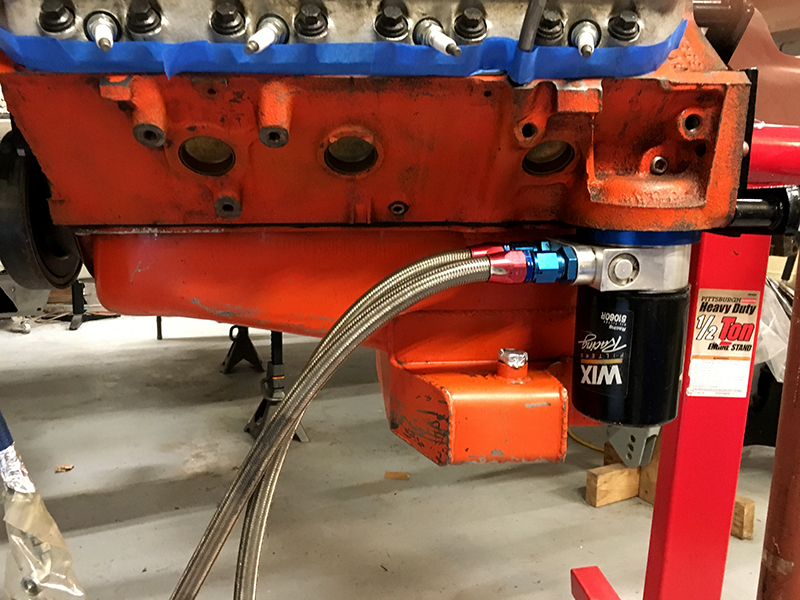
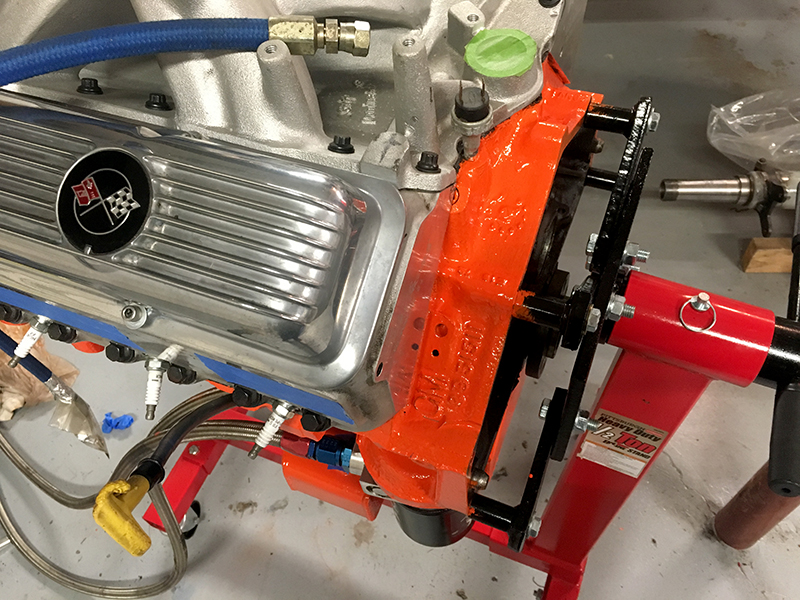
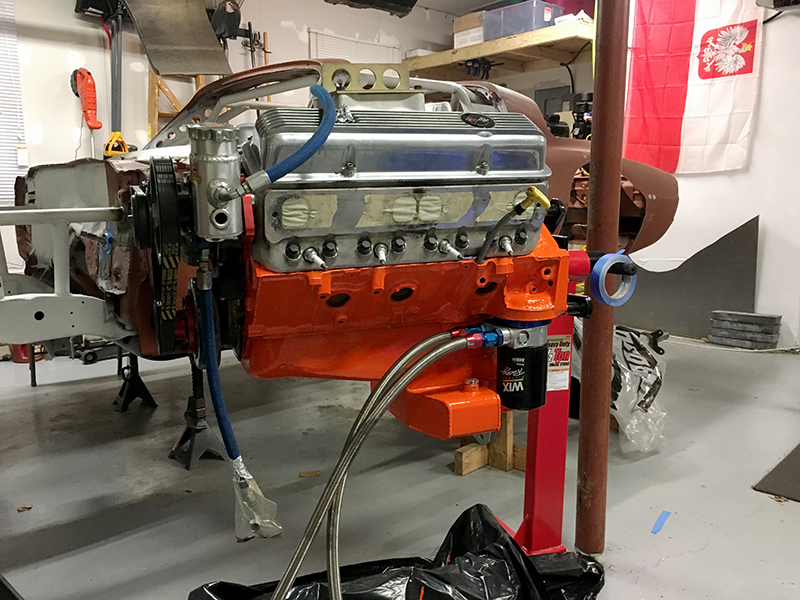
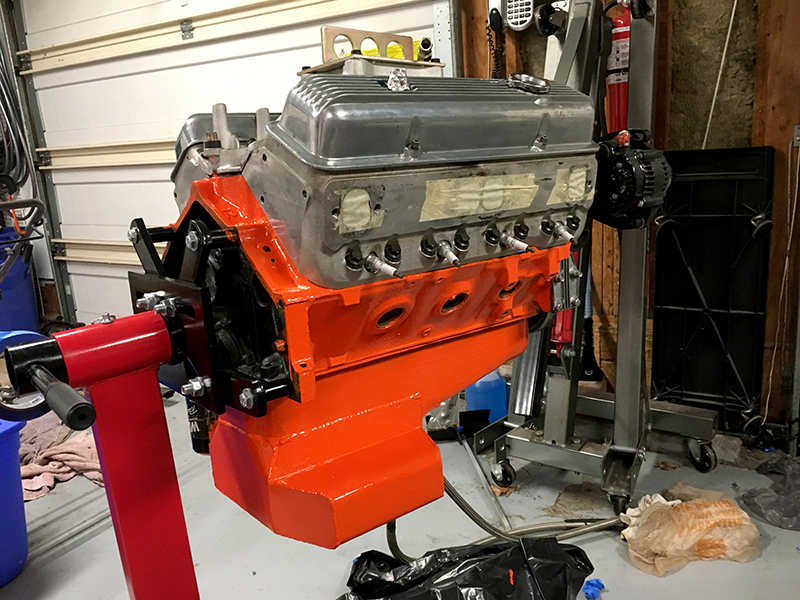
Paint prep is not that exciting to photograph, so I've also been nibbling away at little projects. One of those was giving the motor a little makeover.
Randy built one hell of a motor, but all the beauty was on the inside. Since the motor was out of the car, I decided to help the outside. I used the POR-15 engine kit, and I hope it lasts considering the effort that went into it.
Before:

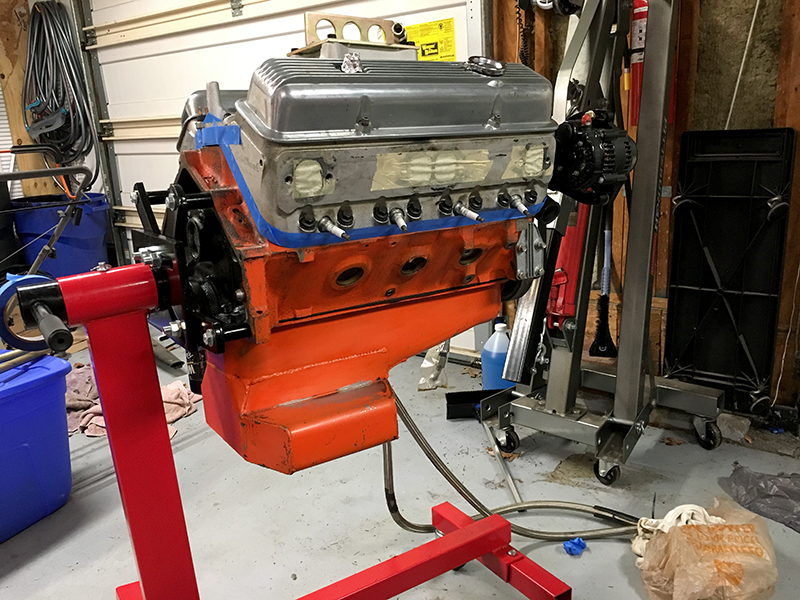

After:
While watching paint dry is fun, I decided to do something even more fun - electrical! I've slowly been wiring the gauge cluster. My intent is to get this all done so it can just be installed as a unit later on down the road.
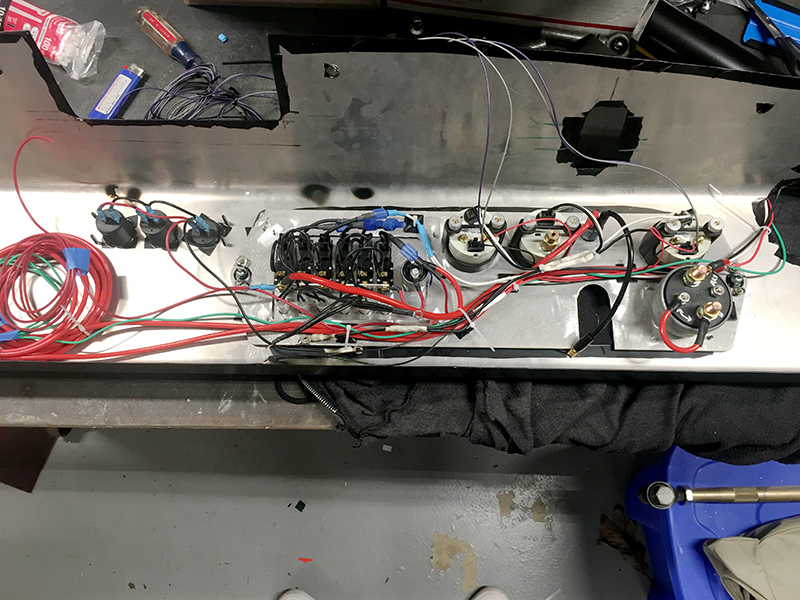
I have been using the aircraft mentality of no solder - only butt connectors and shrink wrap. Hopefully that works out.
I can assure you that it will. I have set it on fire, daily driven for 60k, and hot tanked this stuff. It sticks no matter what, and stays glossy.
(Well, fire and hot tank killed gloss, but you get the idea)
Only thing I would add, if you arent already, is some dielectric grease to prevent corrosion from moisture.
Gimp
SuperDork
3/5/18 8:41 a.m.
Had a busy weekend that didn't leave a whole lot of time for the car, but I did manage to knock out a few small projects that needed to be done before paint.
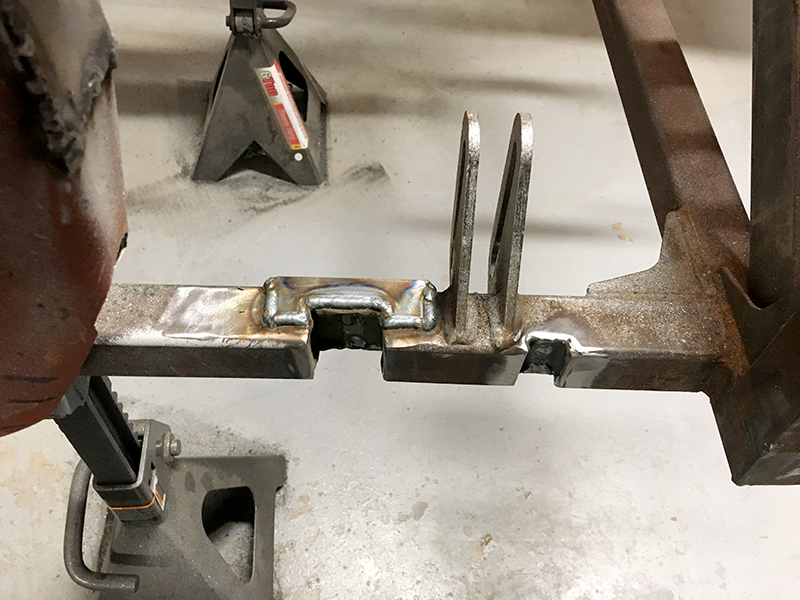
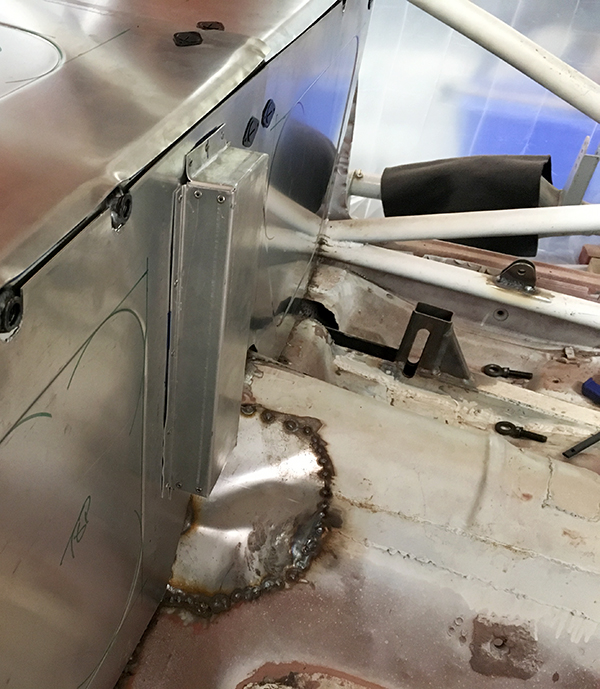
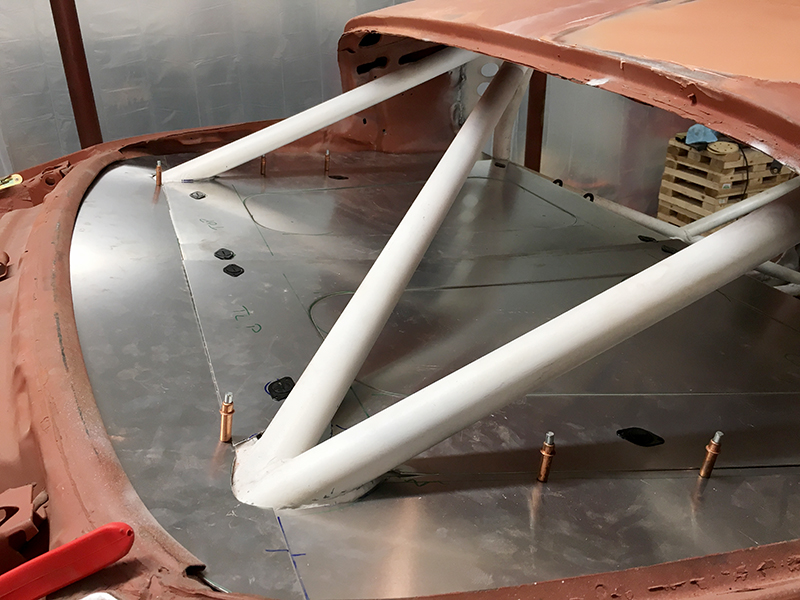
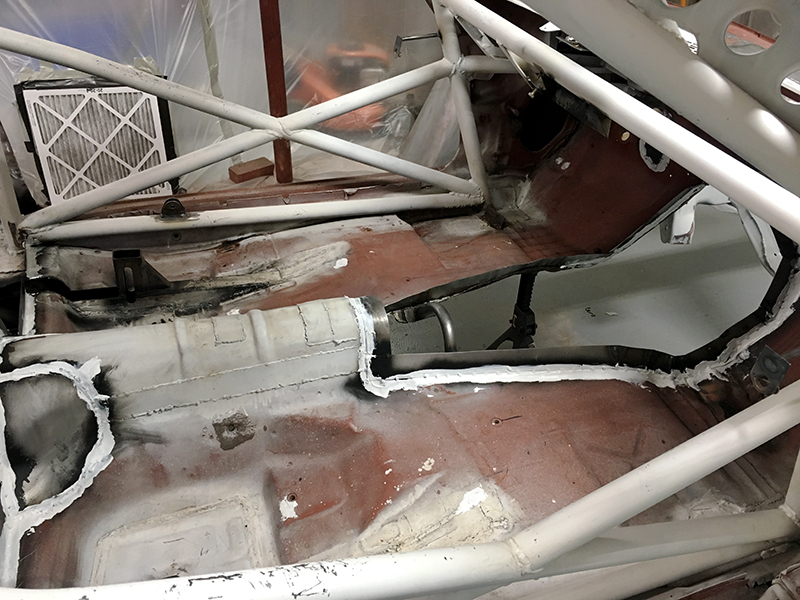
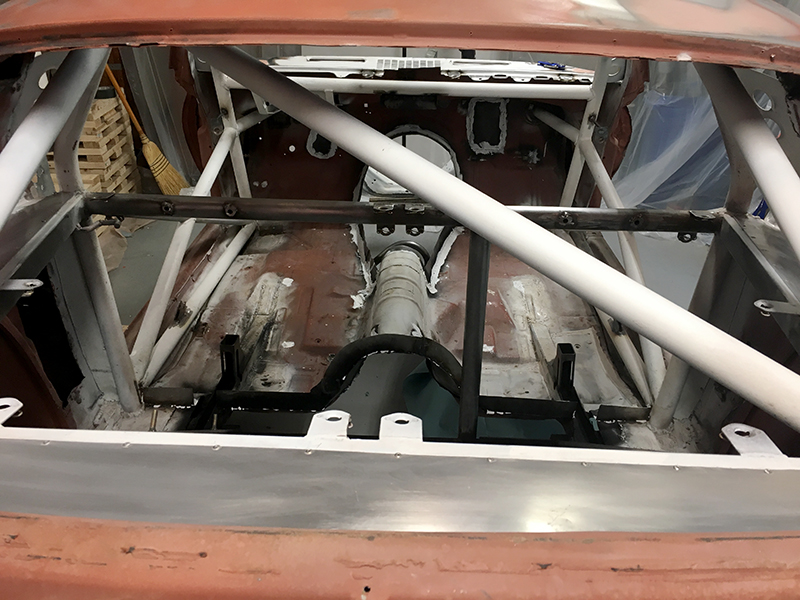
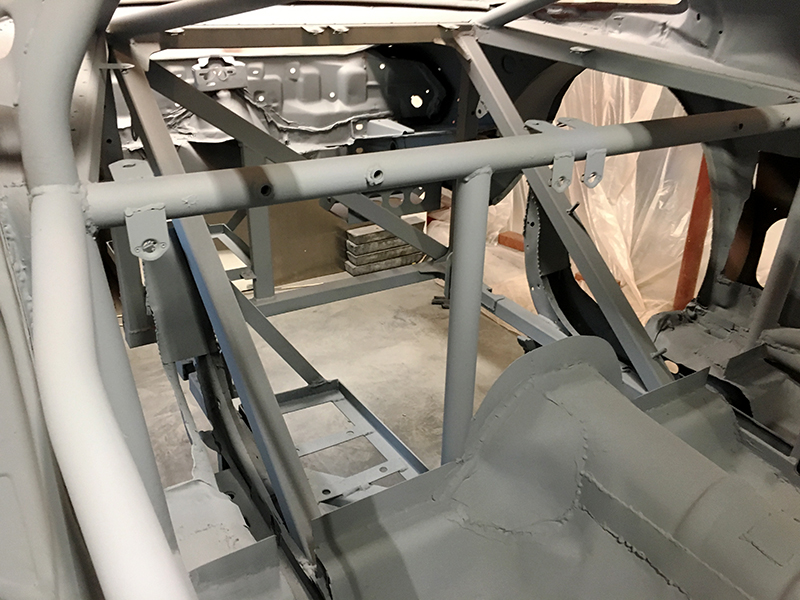
First was finishing the clearance notches in the rear frame section. These are necessary to allow the bolts that hold the lower links and shocks on the rear axle to move freely through suspension travel. Because such a big chunk was coming out of the framework, I also took a piece of angle and tried to stiffen up the bit with the deeper cut.
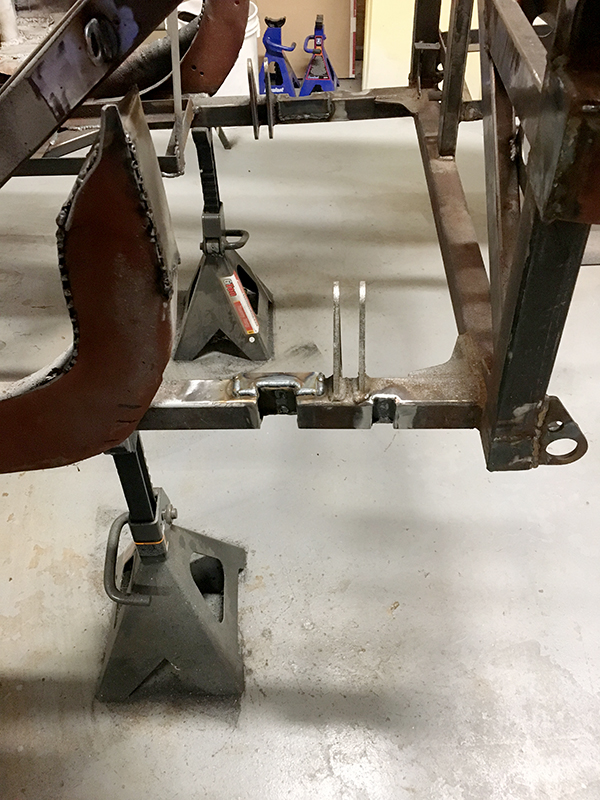
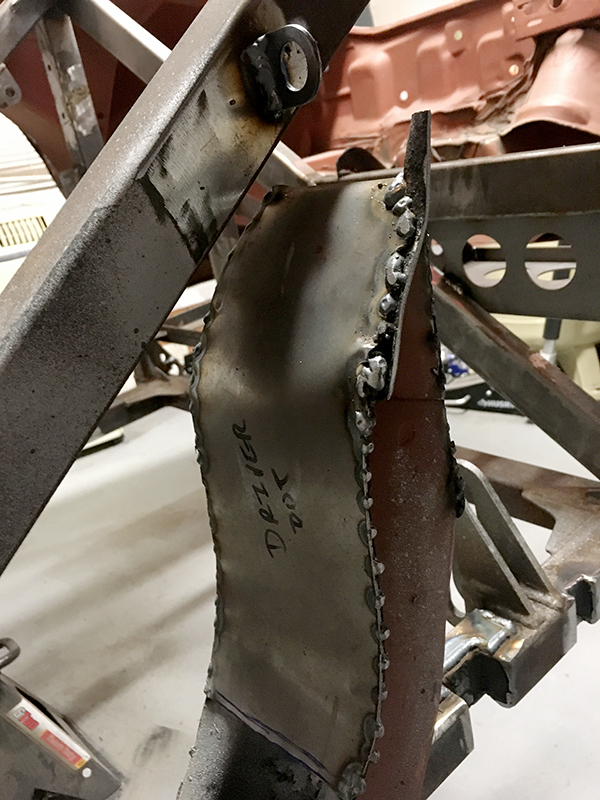
I also made caps for the original frame bits. This is mainly to clean things up, but it also gives me a nice surface to mount things, like brake lines (and you can see the tab I added for one of those). Because some of this would be hard to reach with a paint gun later, I hit the inside with Rustoleum "cold galvanizing" paint because the internet said it was as good as weld-through primer: sometimes the internet is wrong. The paint conducted just fine, but each tack was a shower of sparks (with some finding their way to places you don't want sparks). The welds are strong enough for what it needs to do, but they aren't pretty.
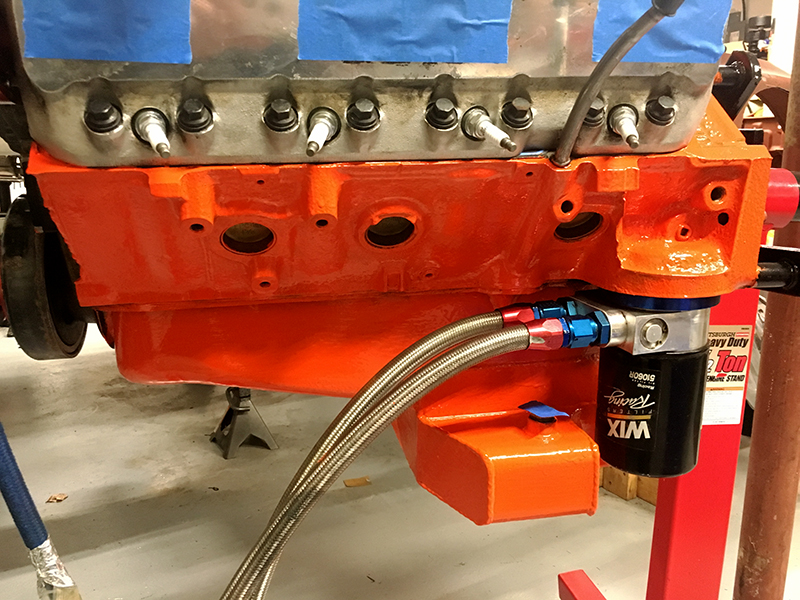
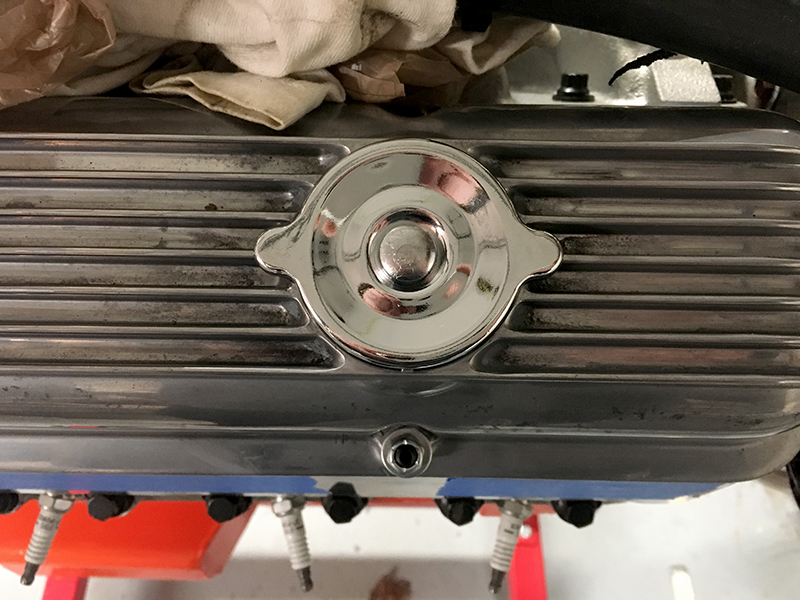
I've also been chipping away on little things for the motor so it's ready to drop in. A few brass plugs for the intake and thermostat housing arrived, as did a shiny new oil cap.
That's all for now!
Gimp
SuperDork
3/14/18 8:47 a.m.
No great photos of the out of position welding I had to do, but it was mostly finishing up the flanges for the trans tunnel, etc.
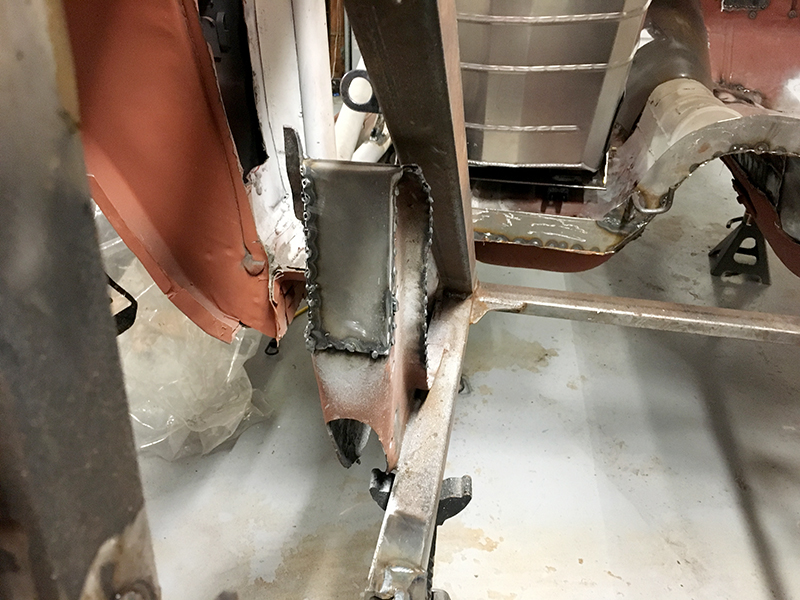
I did build this panel and welded the mounts to the firewall. This will go under the dash, where the heater box used to be. Should keep things dry and away from heat.
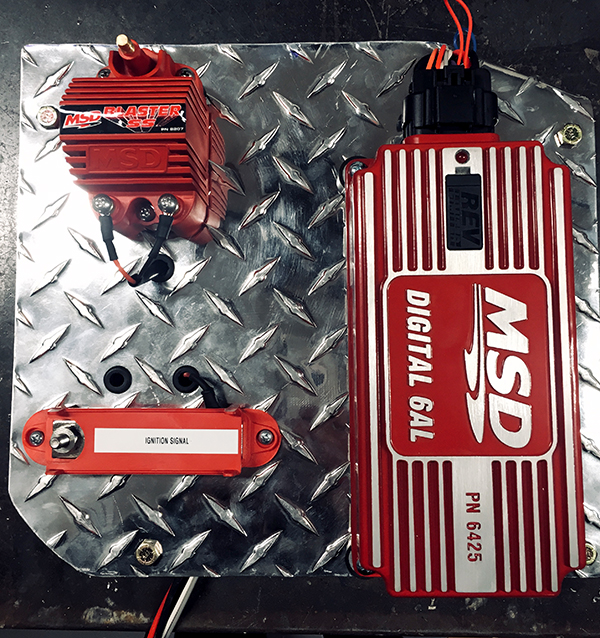
The quick connects will make it easy to service, and the power distribution block there will be used to trigger anything that needs an ignition signal from the dash.

759NRNG
SuperDork
3/14/18 10:00 a.m.
Do the rear frame kick ups have to remain per class rules?
Gimp
SuperDork
3/14/18 11:13 a.m.
759NRNG said:
Do the rear frame kick ups have to remain per class rules?
They do. I'm only allowed to remove the bits of the factory frame rail that interfere with suspension travel.
Gimp
SuperDork
3/21/18 8:10 a.m.
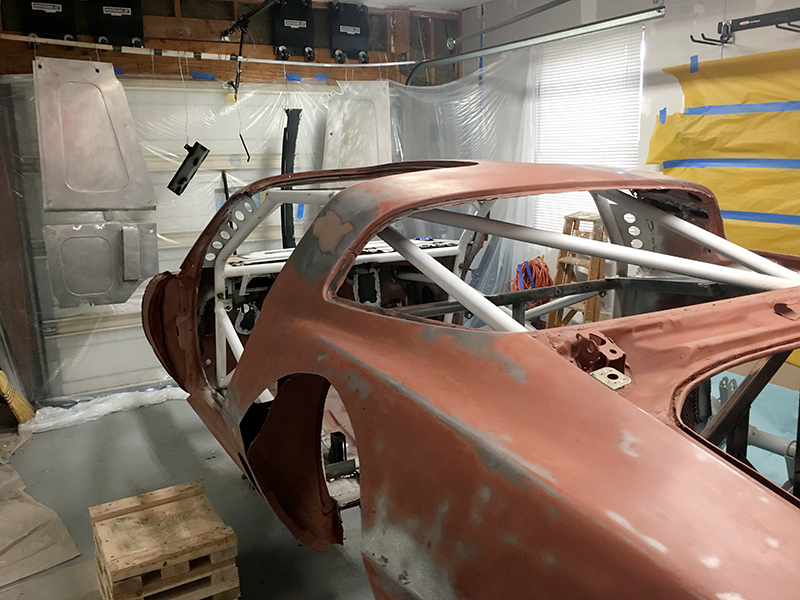
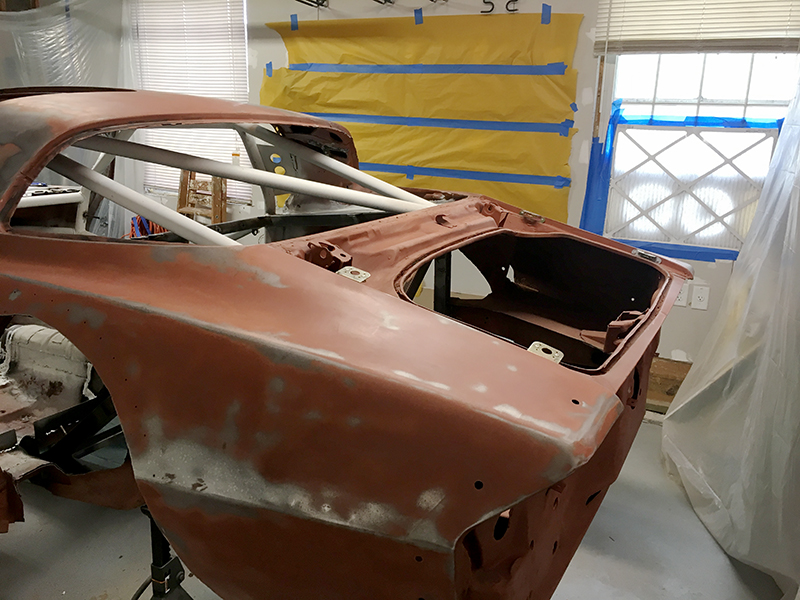
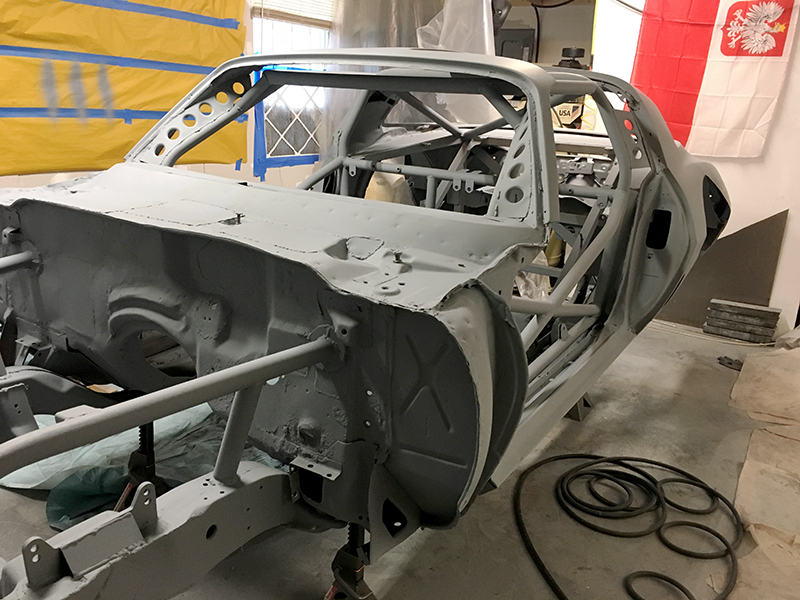
Status update - dusty.
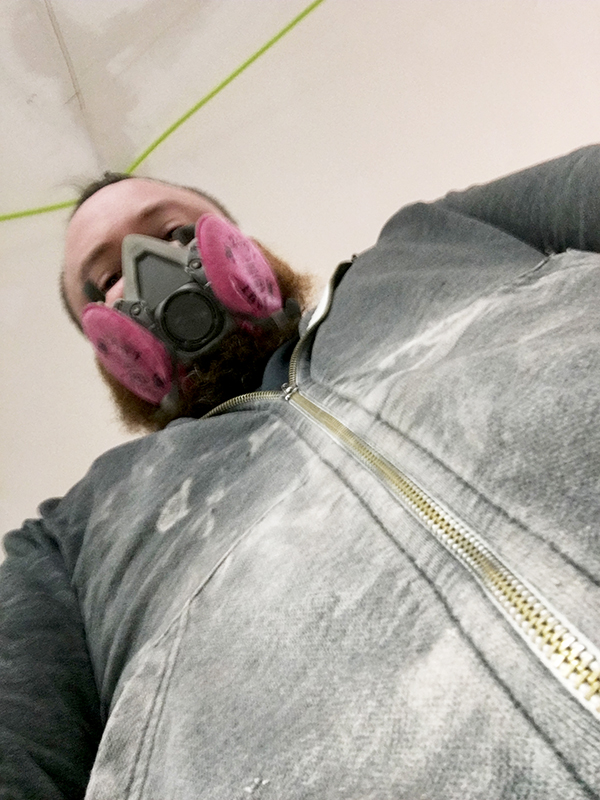
Had to build me a murder room to keep the dust from taking over the entire garage.
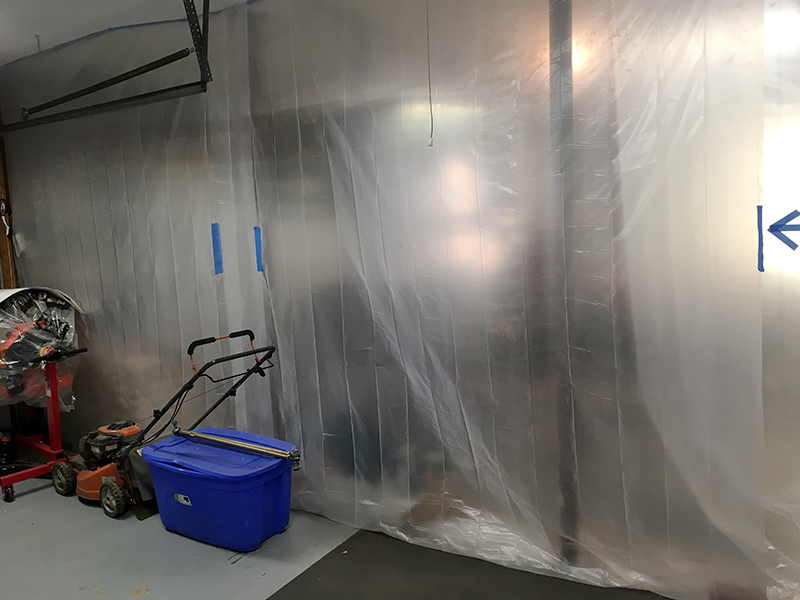
All so I can "build" to this (get it? It's a primer joke).
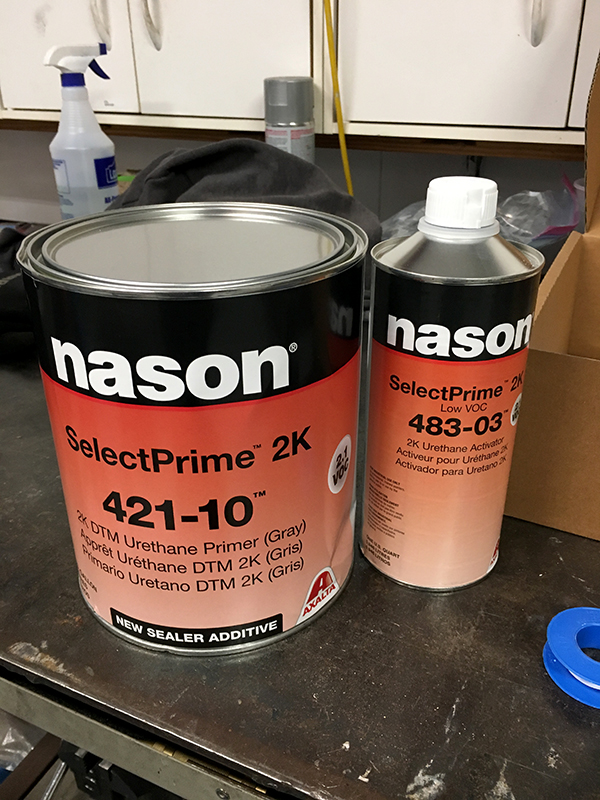
I have some more paint materials on the way, but that's okay... I have plenty of sanding to do.
Gimp
SuperDork
3/26/18 7:33 a.m.
I wasn't looking forward to this whole sanding thing, so I delegated:
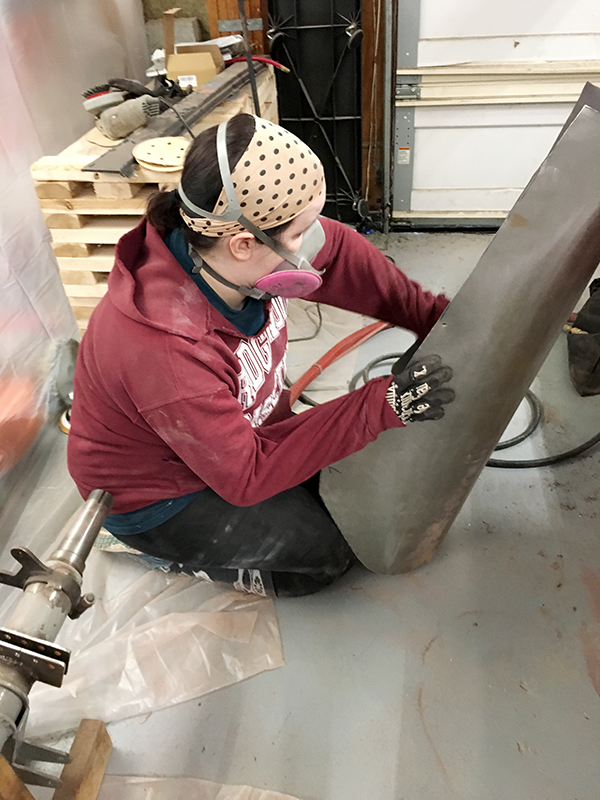
While she worked on that, Larry and I transferred the paper templates for the rear firewall to some 16 gauge aluminum. After a little hand trimming back at my garage, they fit great.
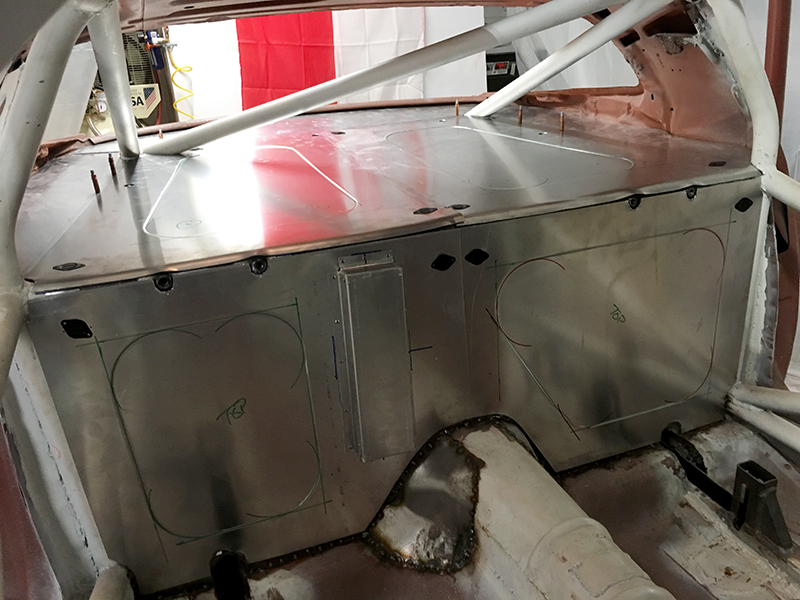
I needed to get these done as they will be painted as well.
We are inching closer and closer to paint. Should be in the next few weeks.
With you needing ballast.. can we put a small slot car setup on the back shelf?
You need something fun back there.
Took a bit to get through this, but, great build!
Can't wait to see this running!
Gimp
SuperDork
4/30/18 9:06 a.m.
First off, if anyone here does bodywork for a living, I have a whole new respect for you. I never realized how easy the TV shows make it look until I got into it myself.
So for the past few weeks we have been sanding, filling, shaping, sanding, sanding, cleaning, sanding, cleaning, sweating, sanding, swearing, sanding, and cleaning to get the tub ready for paint. It almost felt like the work wasn't going to end.
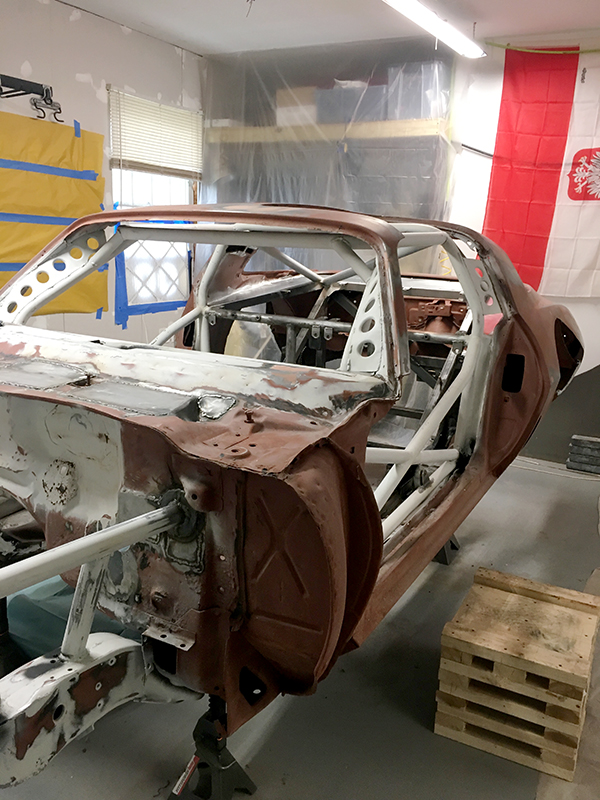
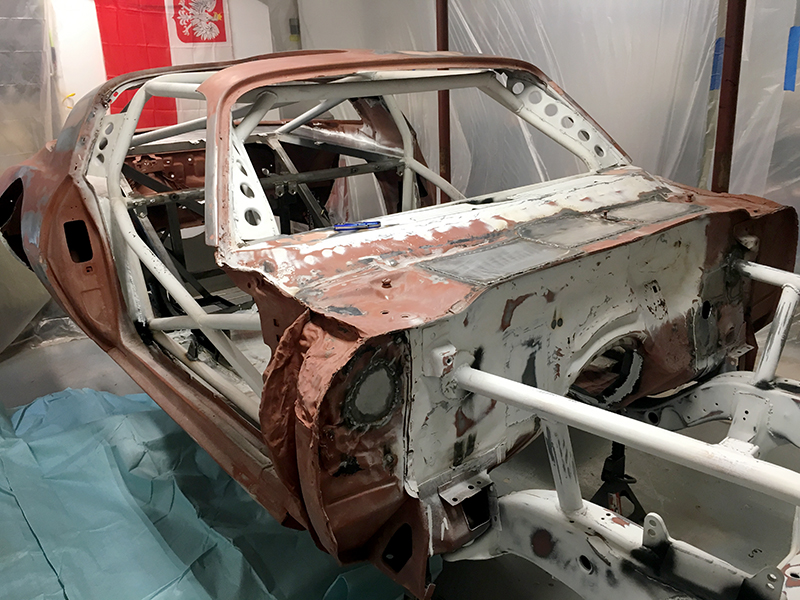
I seam sealed all of the areas where we modified the floor.

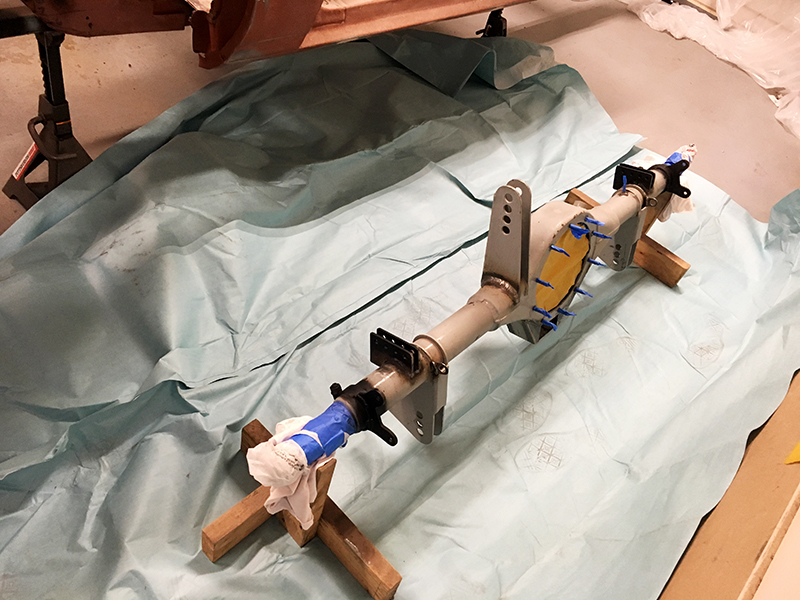
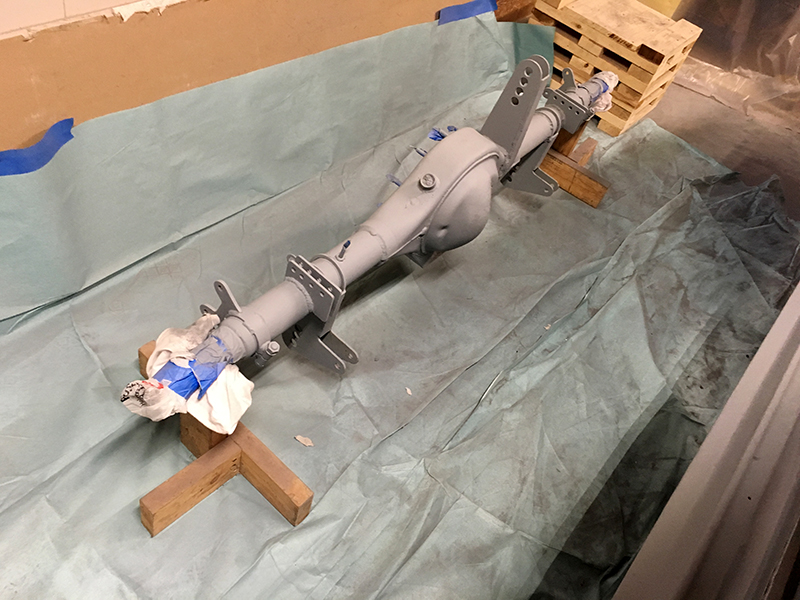
And prepped the rear end housing.
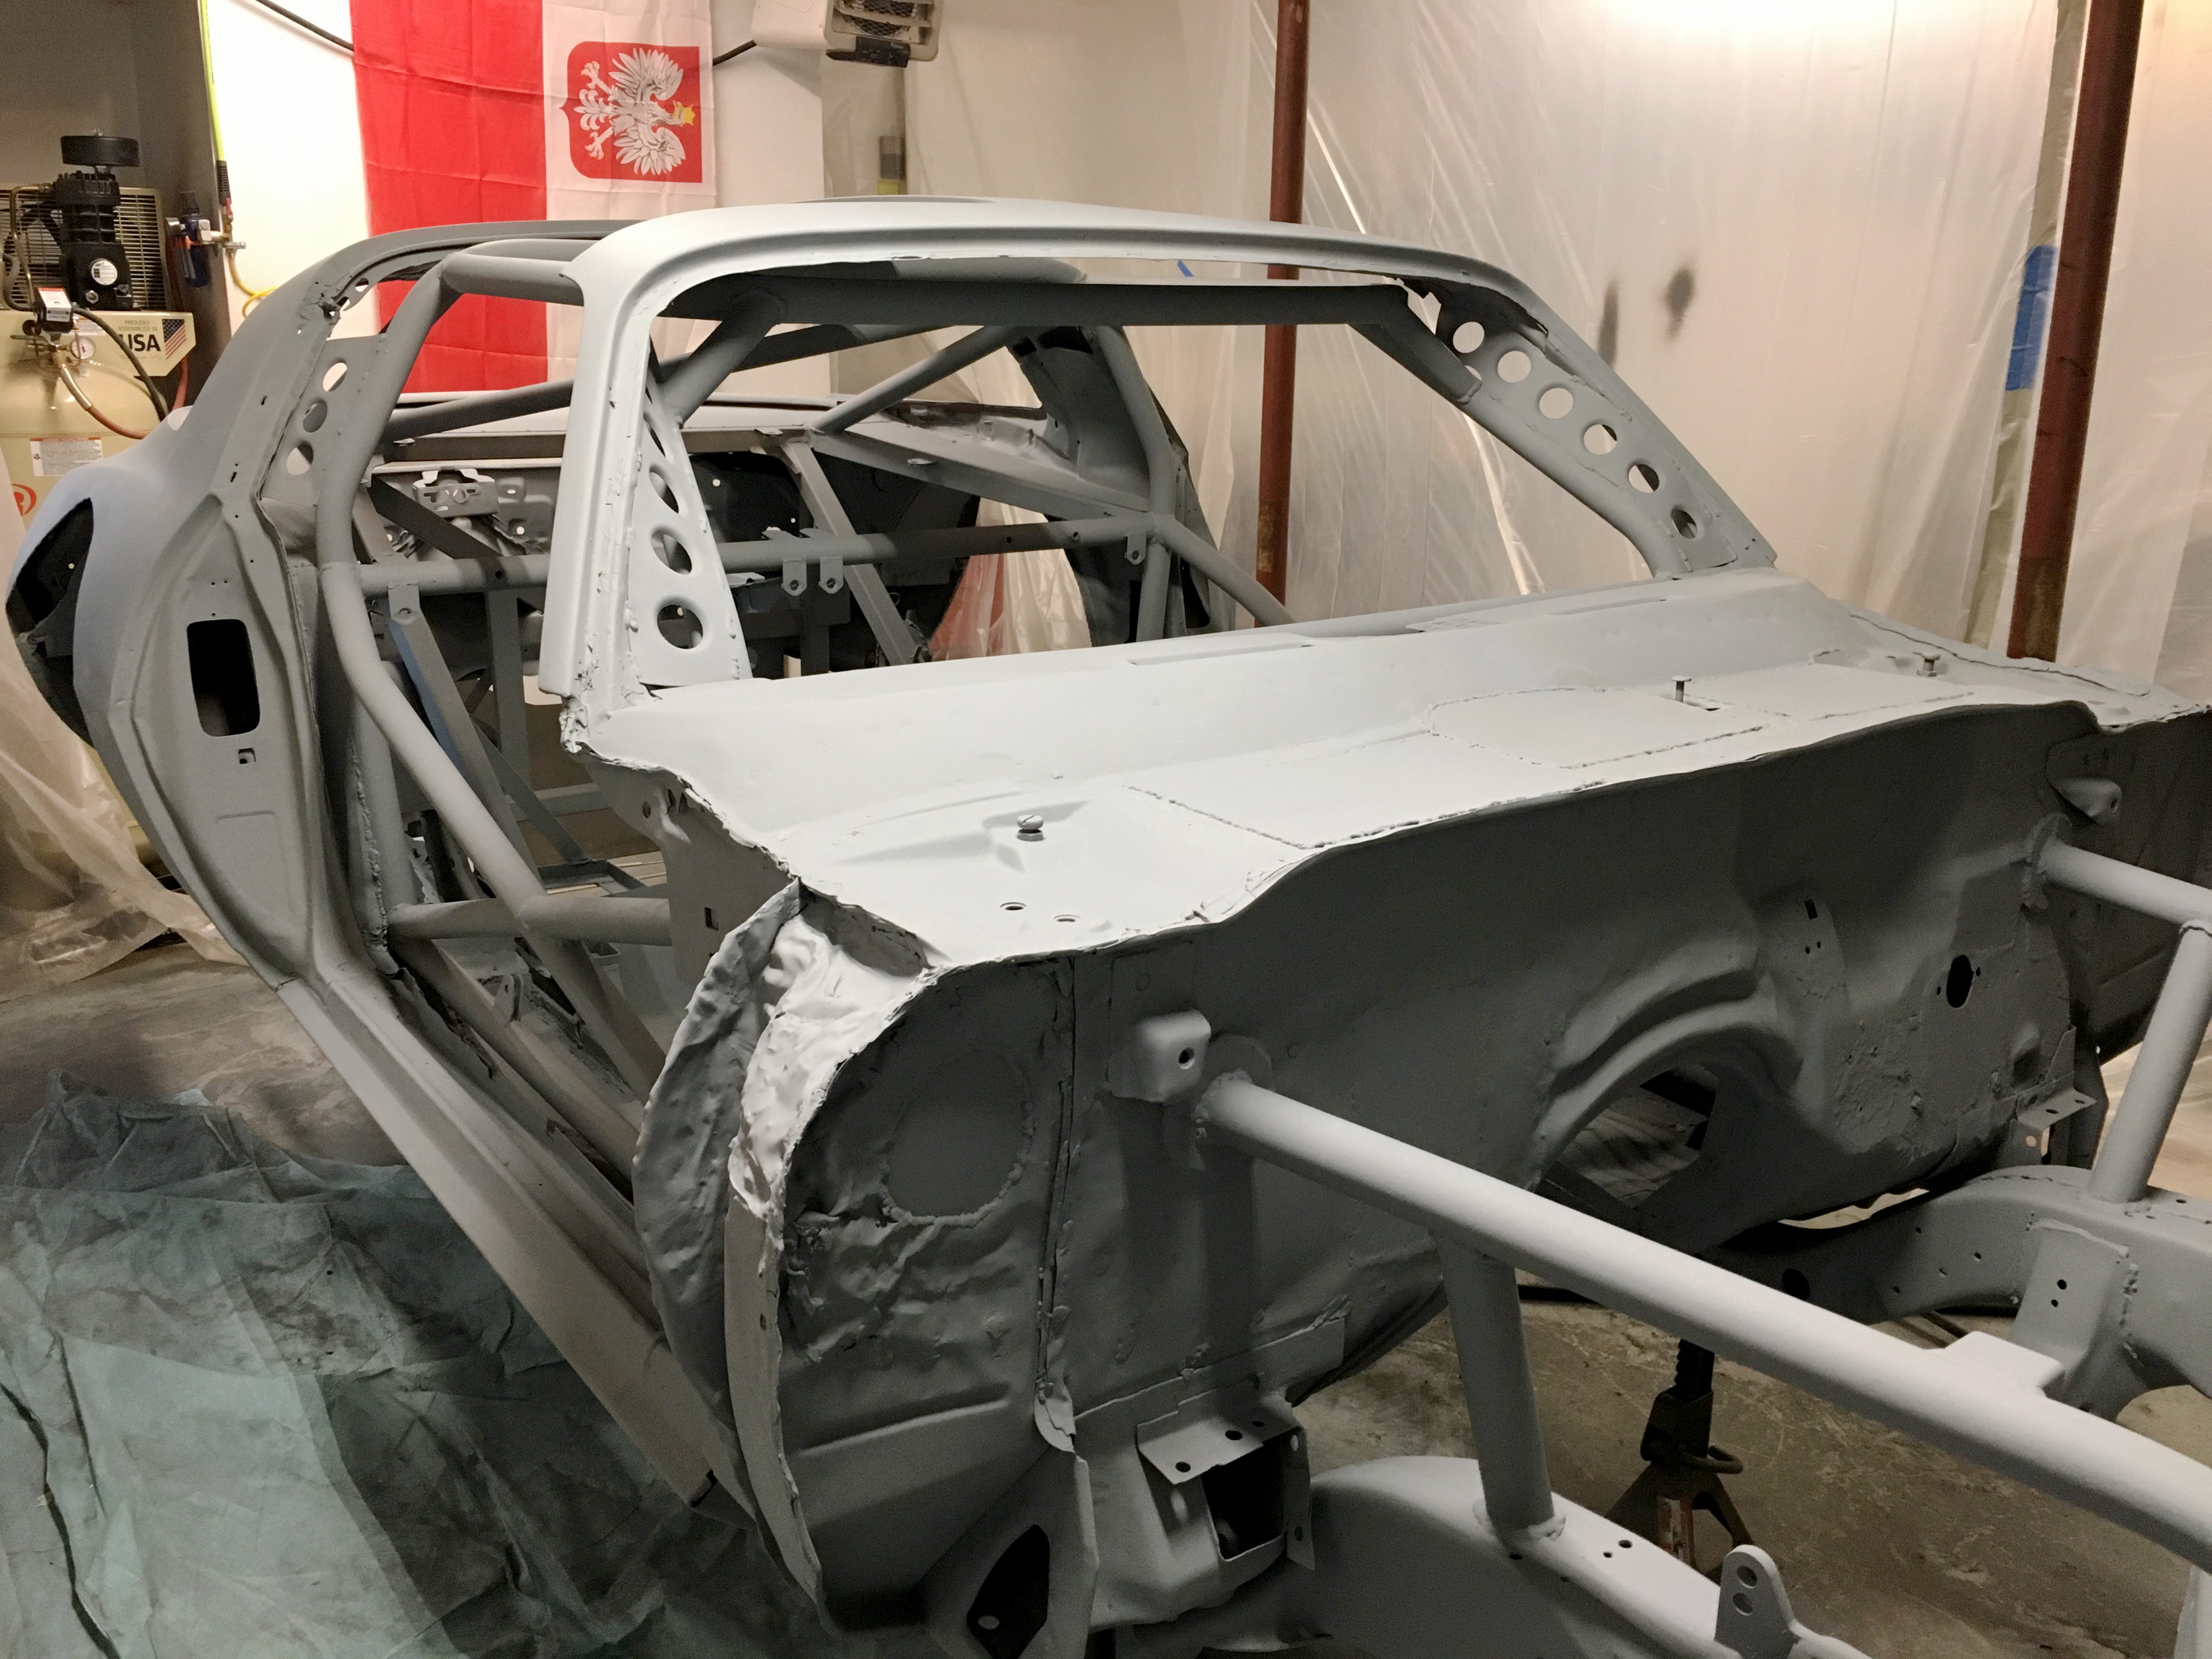
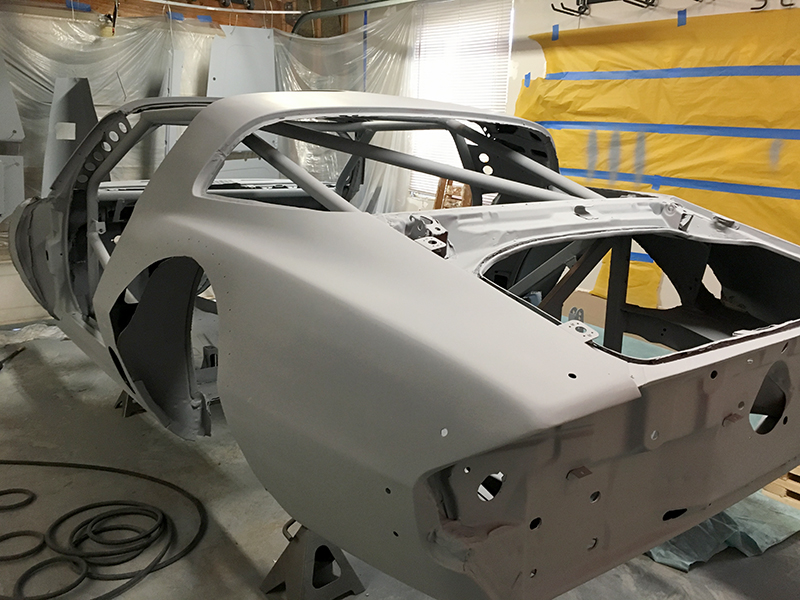
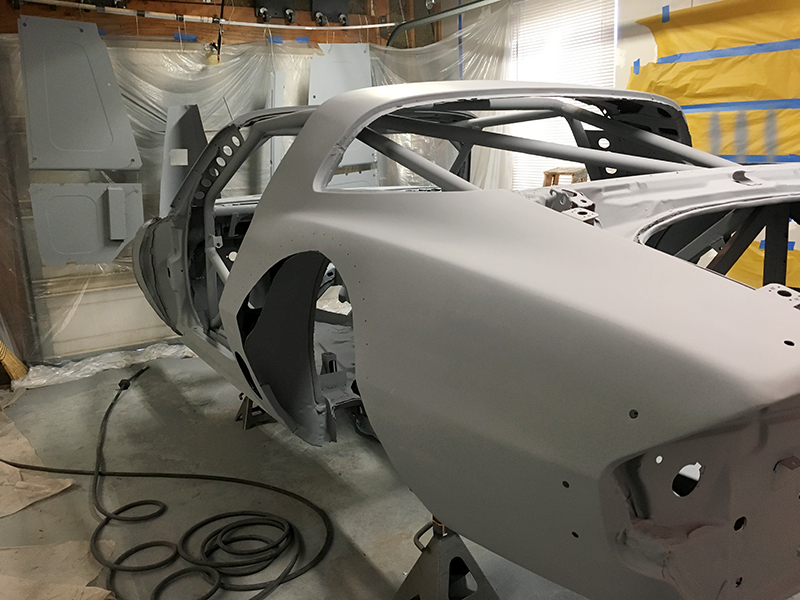
I built a "booth" in the garage to keep the dust down, and that seems to have worked pretty well.
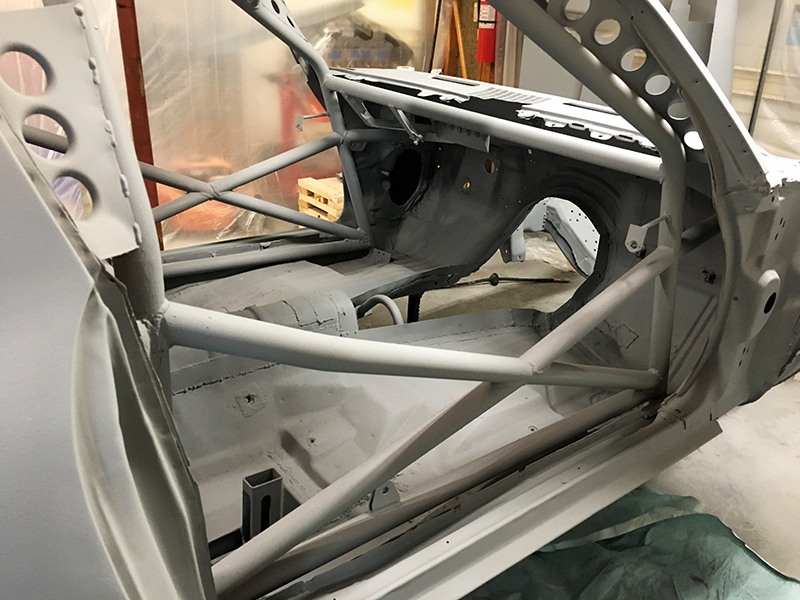
So finally the time came to lay down the primer. Almost four hours straight priming every square inch of the car, including the underside. I am incredibly sore today.

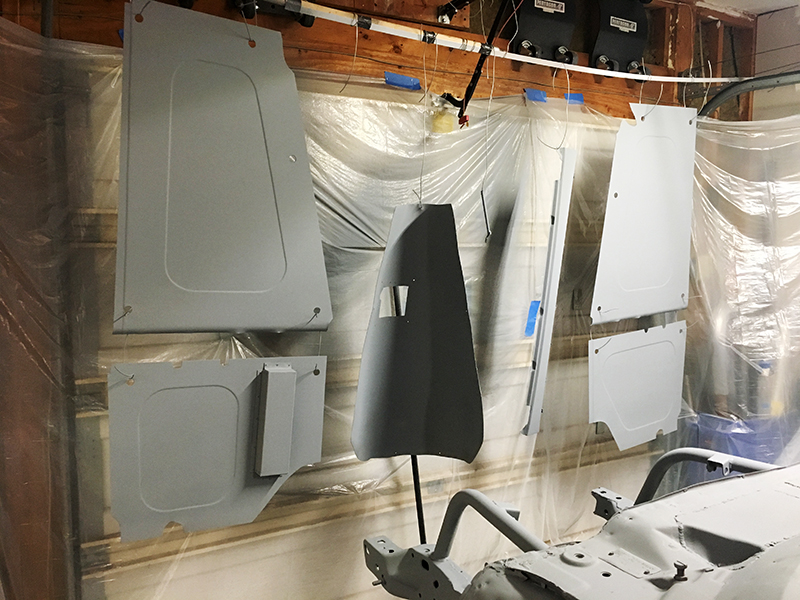
Here are the firewall panels and the trans tunnel
And the rear end housing
My work is (obviously) not done yet. Hoping to LizardSkin the floors during the week and get the interior/chassis top coated this coming weekend.
Gimp
SuperDork
4/30/18 12:51 p.m.
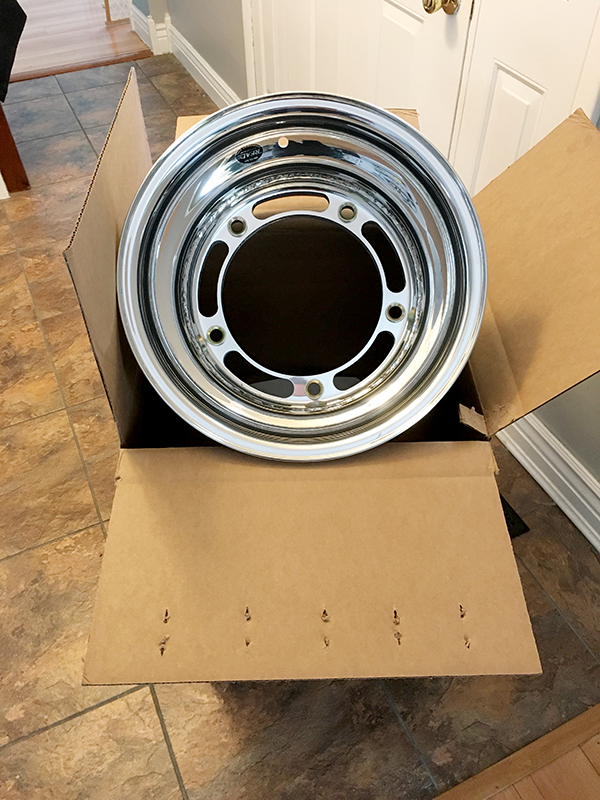
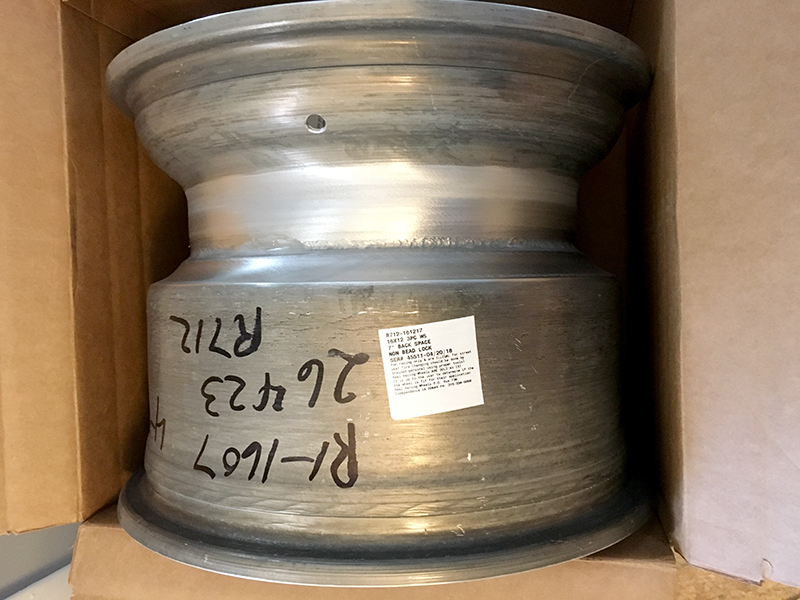
Doorbell rings... new friends arrive (new 16x12s for the front).