jere
HalfDork
2/7/16 8:44 p.m.
Great motor choice and project (I really want to build a rear engine locust/atom thing with one). Didn't know that j2j company was so sketchy. I really liked their in car racing vids tho. I'll make sure to shy away from them too.
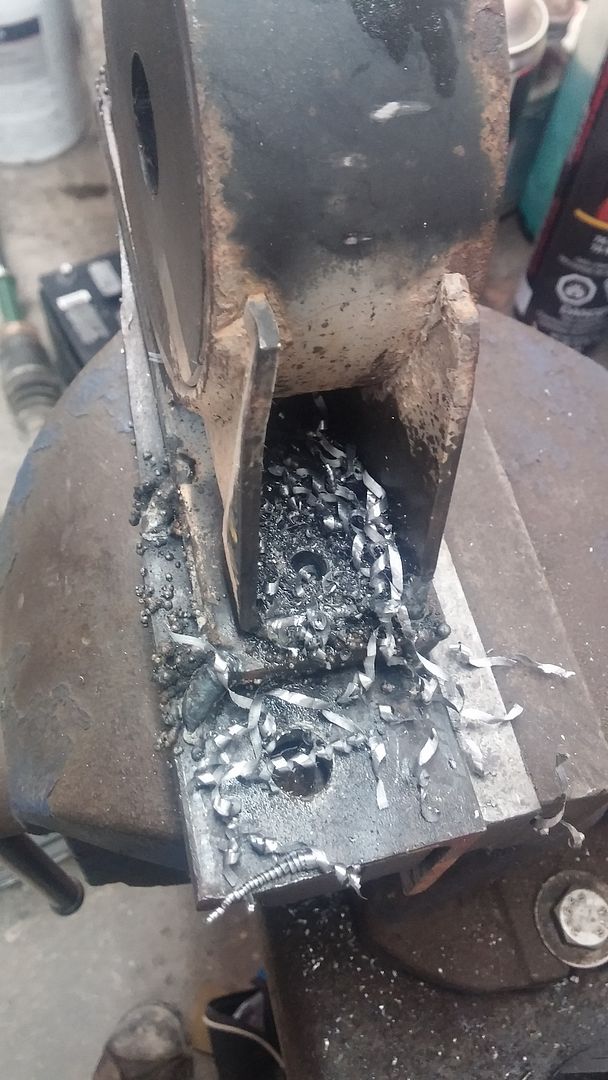
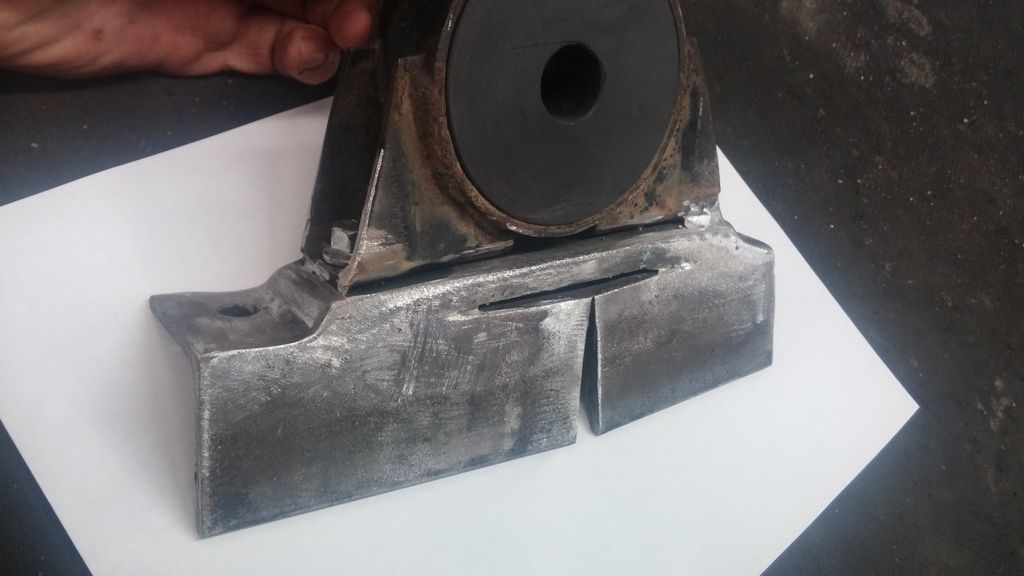
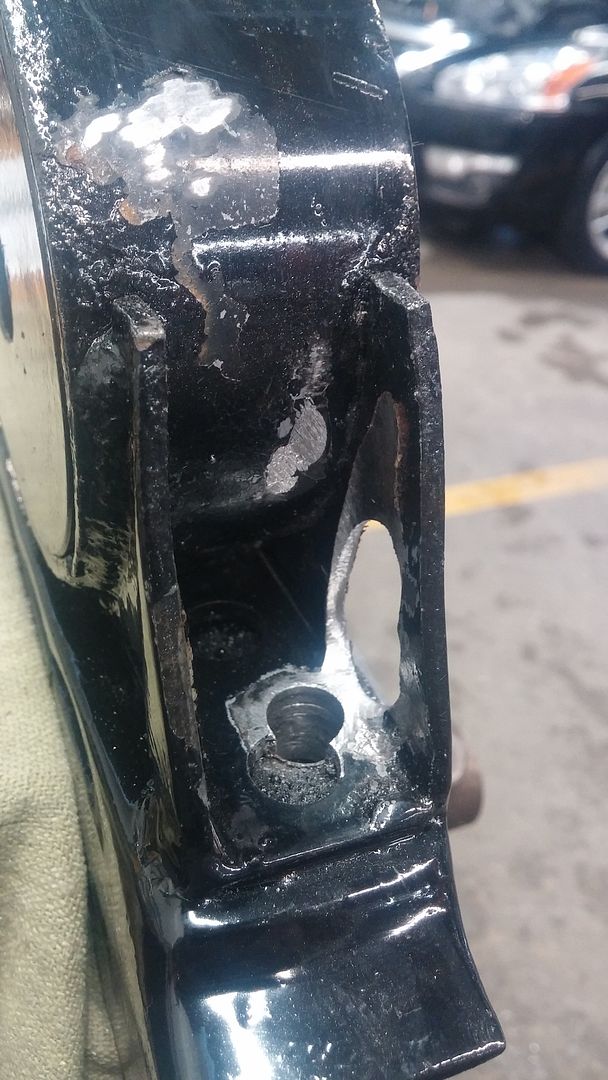
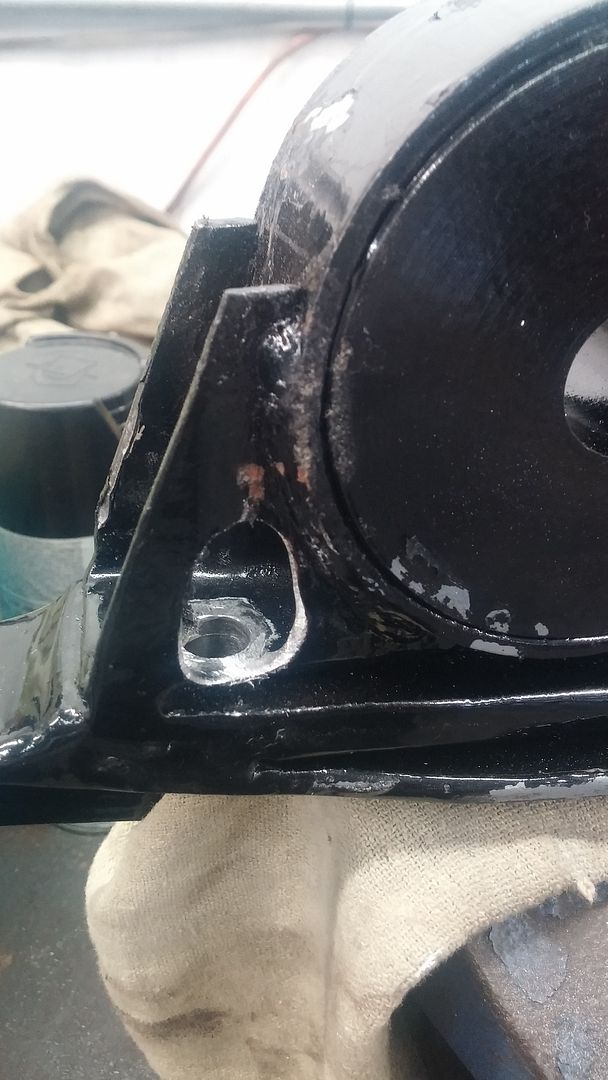
If you have anymore welding to do, go over all that metal with a flap disc before welding. Looks like you have some galvanizing on there still (or maybe it's mill scale and flux?). It's hard to notice sometimes a thin coat of galvanizing but it will mess up your work and make you sick . I use oxyacetylene so not sure how this translates to the fancy electric thingamajig you are using, but more heat and check for penetration on some scrap. You can weld a couple pieces together and cut into them or try bending them to see the weak spots.
Otherwise carry on should be lots of fun when it's finished!
Thanks, yeah I was surprised by how 2J handled my issue and the quality of their kit compared to others experience. I guess they're really the only company supporting these vehicles still so people are quick to defend them so they'll stick around.
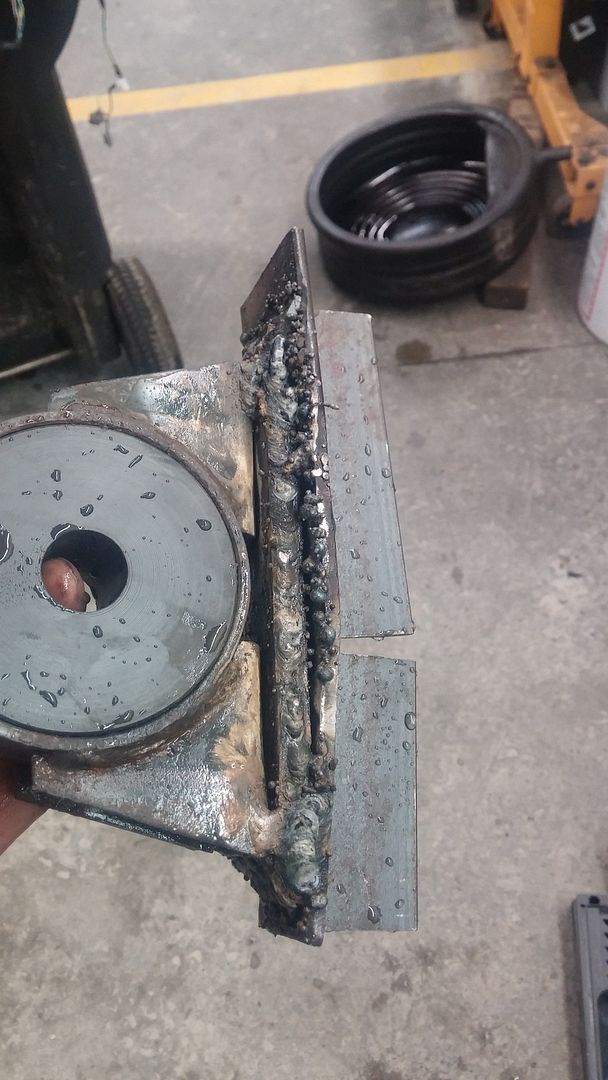
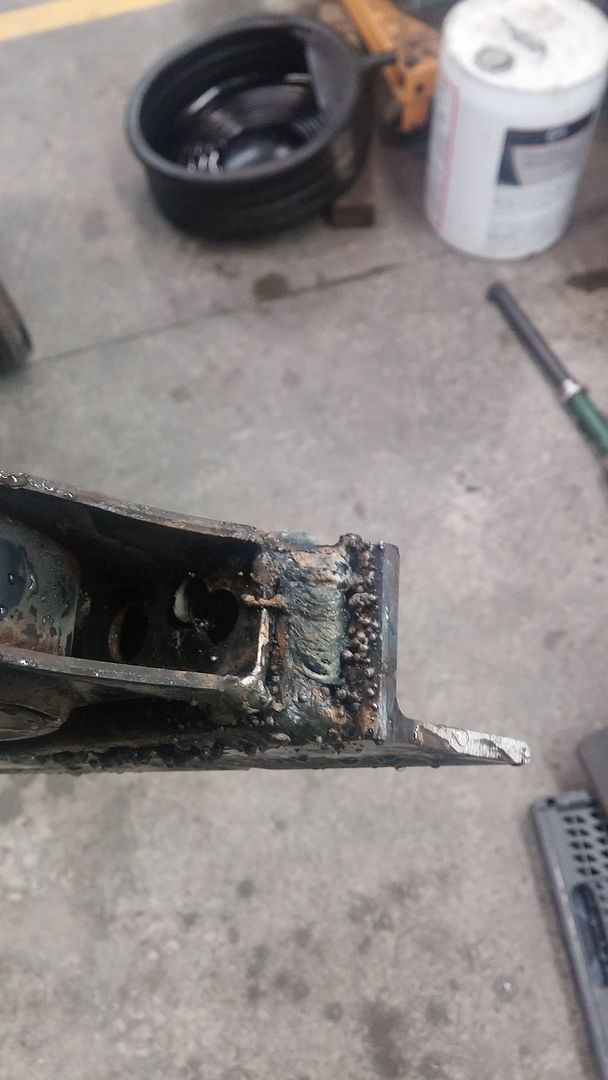
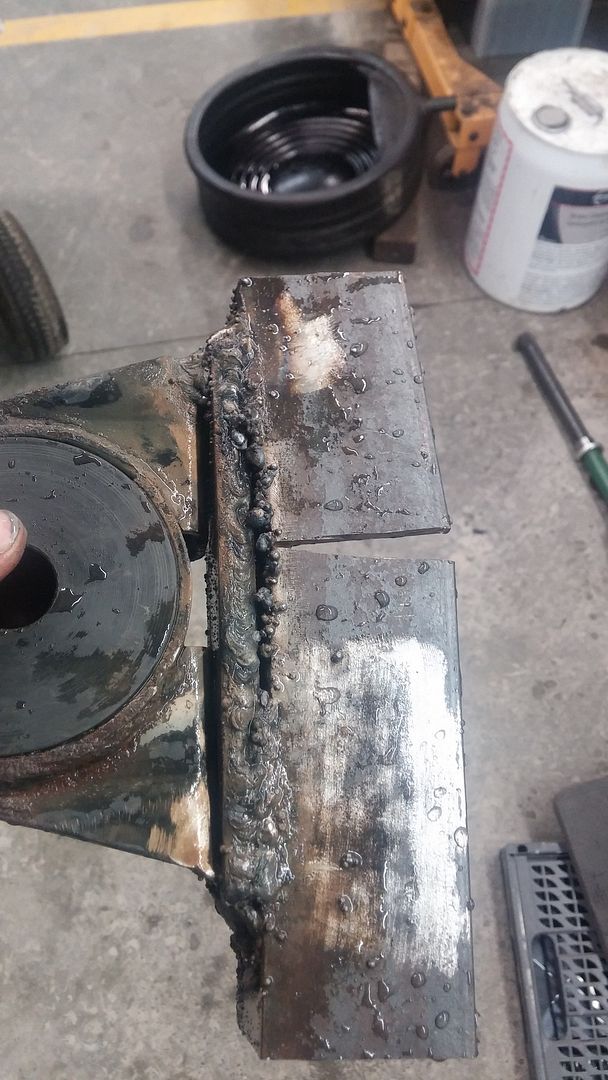
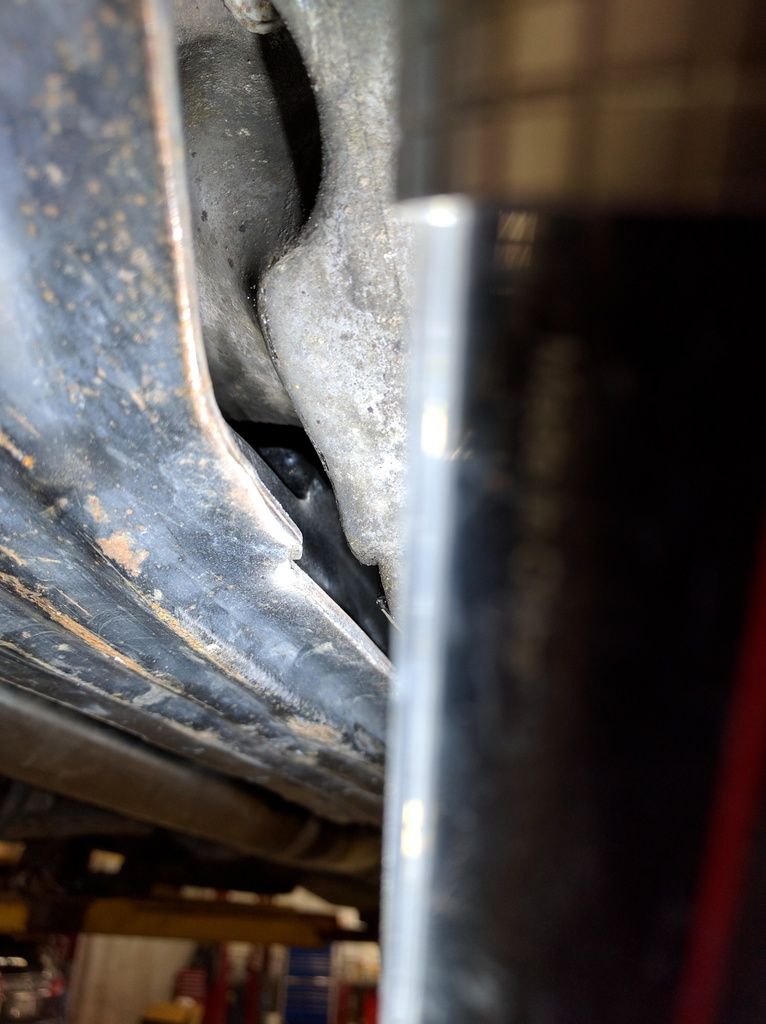
I didn't have the forethought to grind off all the parts before stacking them. I tried to get them after they were tacked into place but getting into all the nooks and crannies is difficult. There's definite lots of flux spatter from the welds. I think part of the issue is the thickness of the metal I'm trying to stick together, it's just a 110V flux cure welder. My welds on the thinner stuff making brackets looked much nicer. But I fully realize I'm the main issue here. 
It runs! 
https://www.youtube.com/embed/OptgTfyEbZM
(I also wanted to see if I can embed video)

Pushrod
New Reader
2/12/16 9:10 a.m.
Jeez ! Sounds great! That has to be satisfying to get all that together. Good job.
Updates on Tuesdays attempts to install the mounts?
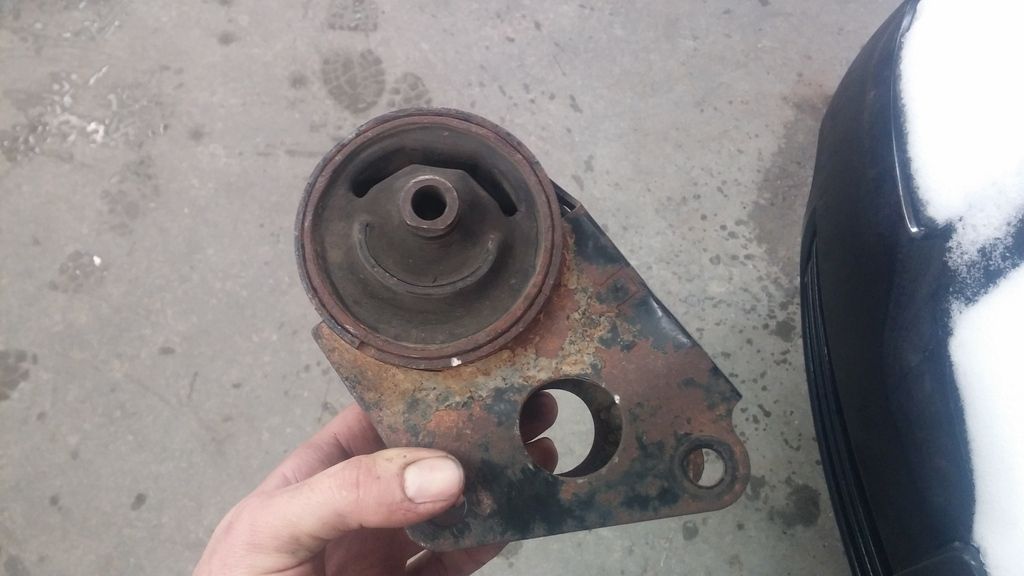
Also, just something I noticed (not sure if it will help in any way), but the lower brace and one (rear?) of the lower mounts you showed several posts back appear to be VERY similar (if not identical) to P11 Infiniti G20 hardware.
GSpec racing is an aftermarket manufacturer of SR20 mounts and whatnot that I bought when I was in that game a few years back...might be someone to look at if it comes to it. FWIW, their wares were very high quality.

So the next step is install the cooling system, then it's time for an exhaust.
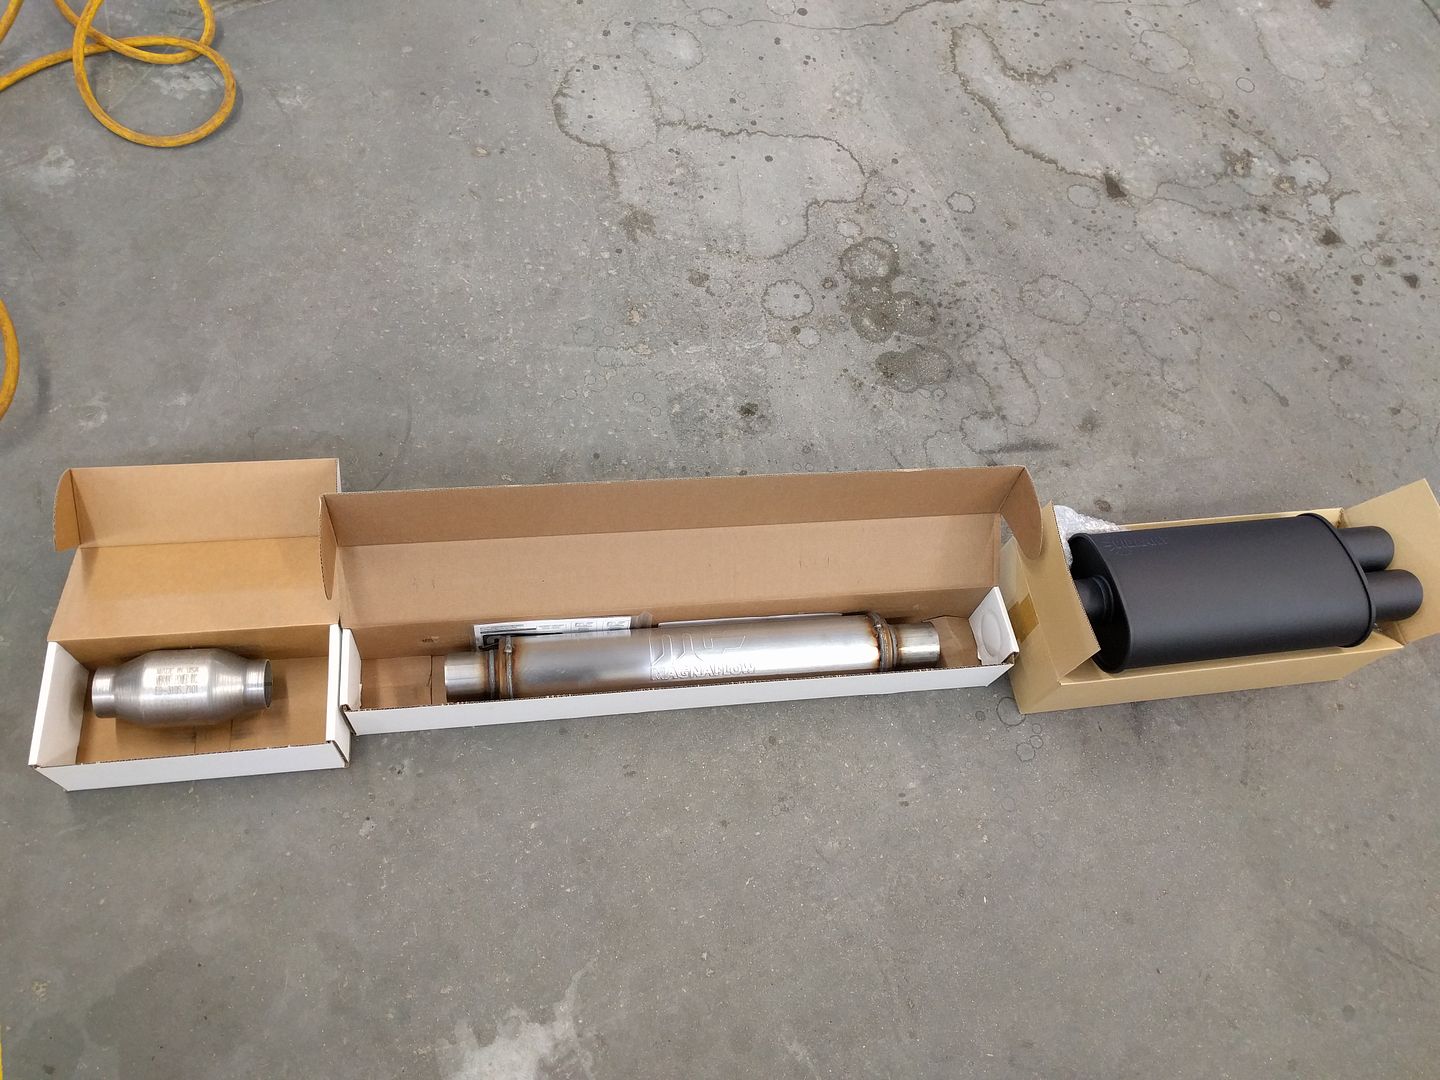
I've been spending way too much time mulling over exhaust purchases, but I've narrowed it down some.
Goals: Not too spendy, no rasp/buzz, no drone, and hopefully fairly quiet. I don't want to be able to hear it cruising. It's going to be a 2.5" crush bent system. I'm going to run a cat for noise, smell, legality, and engine light purposes. I'm likely going to put a resonator in as well to help.
This is where I'm stuck. I can't decide on which muffler I want, or which resonator. Probably sticking to Vibrant, Magnaflow, or Borla products for availability. I get decent pricing locally through my work, better than ordering online or shipping up from the states after dollar conversion and duty.
So far #1 on my list is a Magnaflow chambered muffler.
It wins in cost, and it's probably the quiestest.
This Borla Turbo XL and this Magnaflow straight through are also contenders though.
I'm not sure if a big fancy resonator like this fancy Vibrant would quiet a straight through muffler down enough to my liking.
The other option is a long 4" muffler. I can't figure out if there is a difference in design/construction between a muffler and a resonator, or if it's just placement. I may start a new thread...
Is that a flux core welder you're working with? If not it looks like you need to turn on your gas.
Yup, it's flux core. I'm also a welding noob...
Good progress man. This Sentra will be a monster.
Update time!
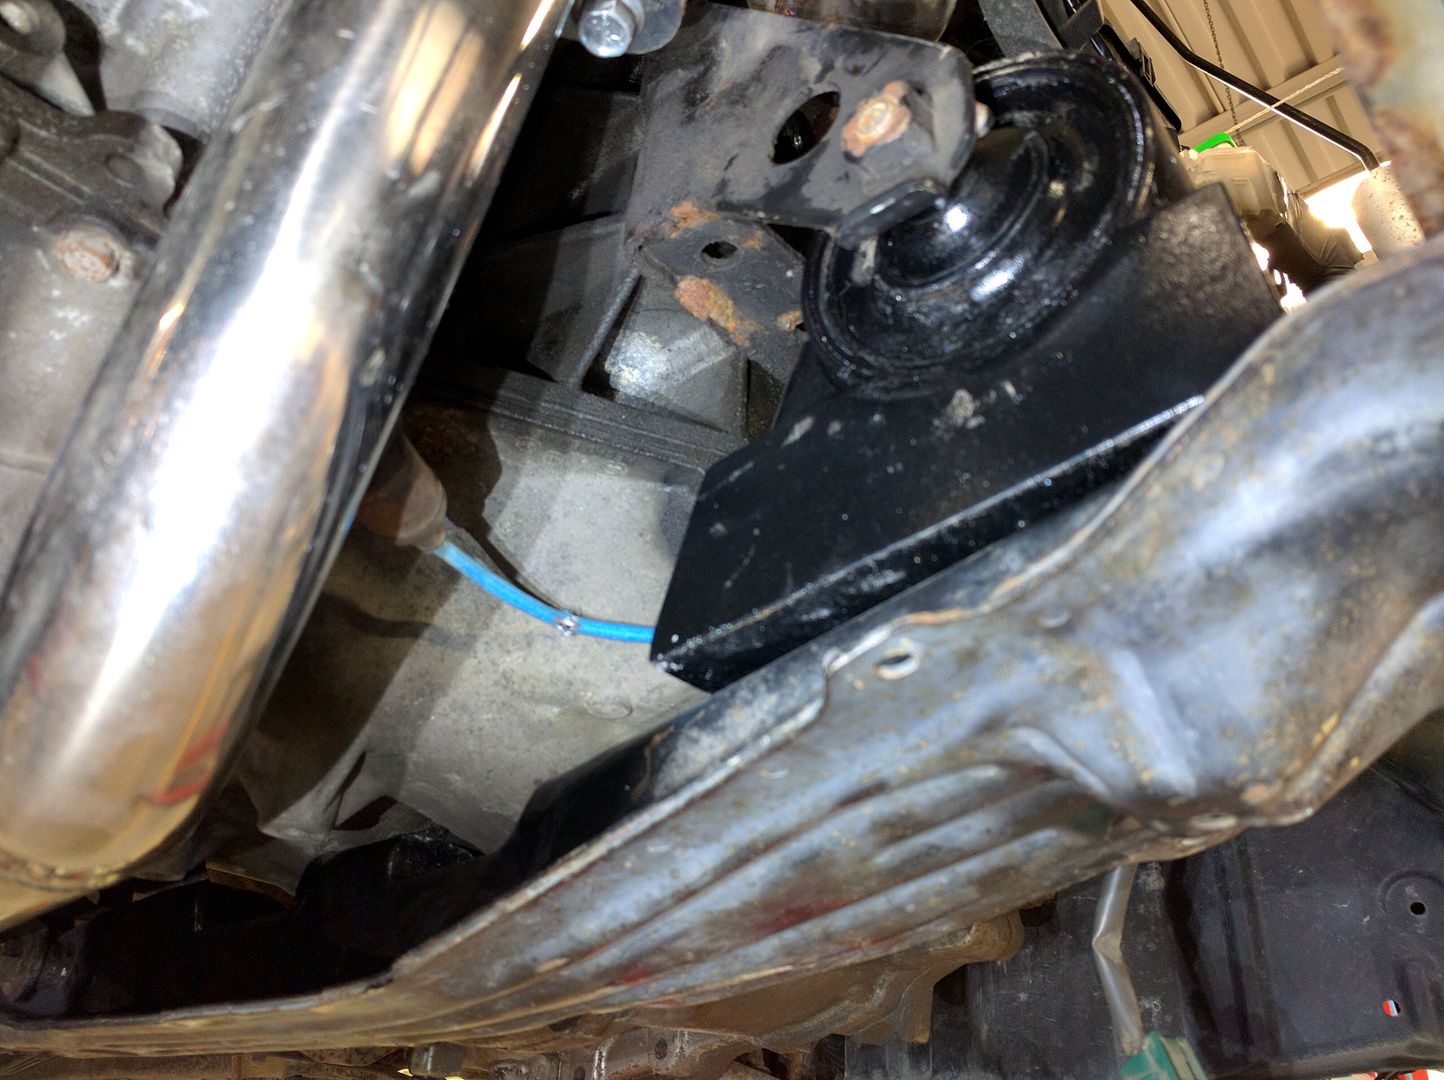
So with the engine mounted it was time to focus on things it needs to drive.
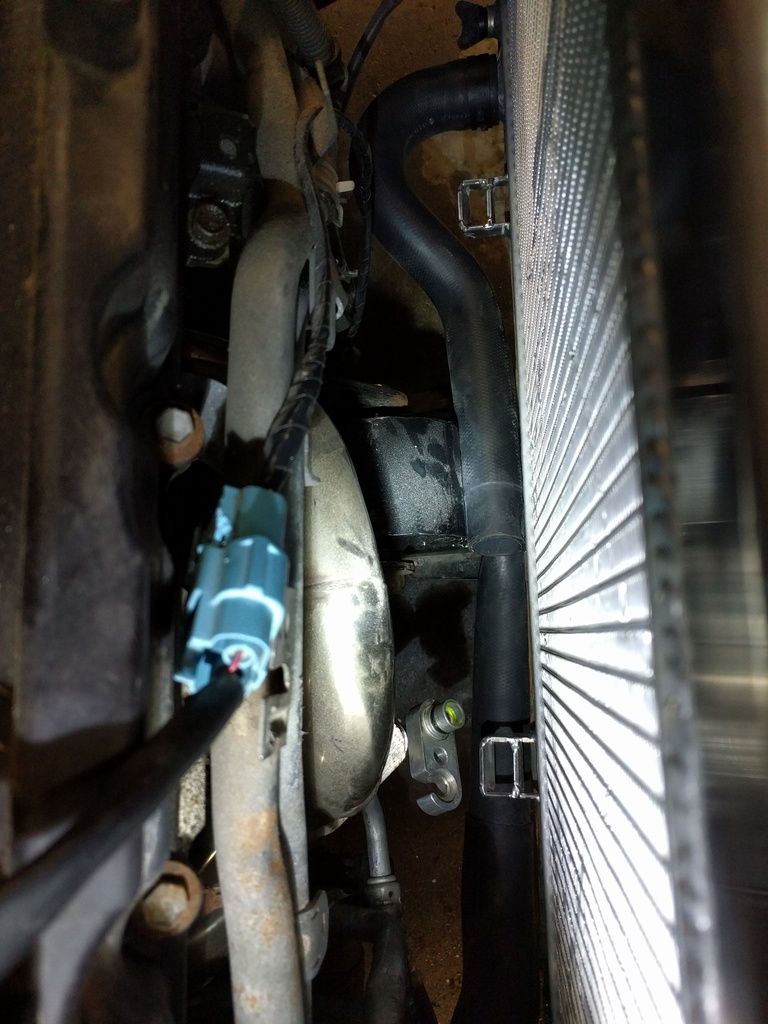
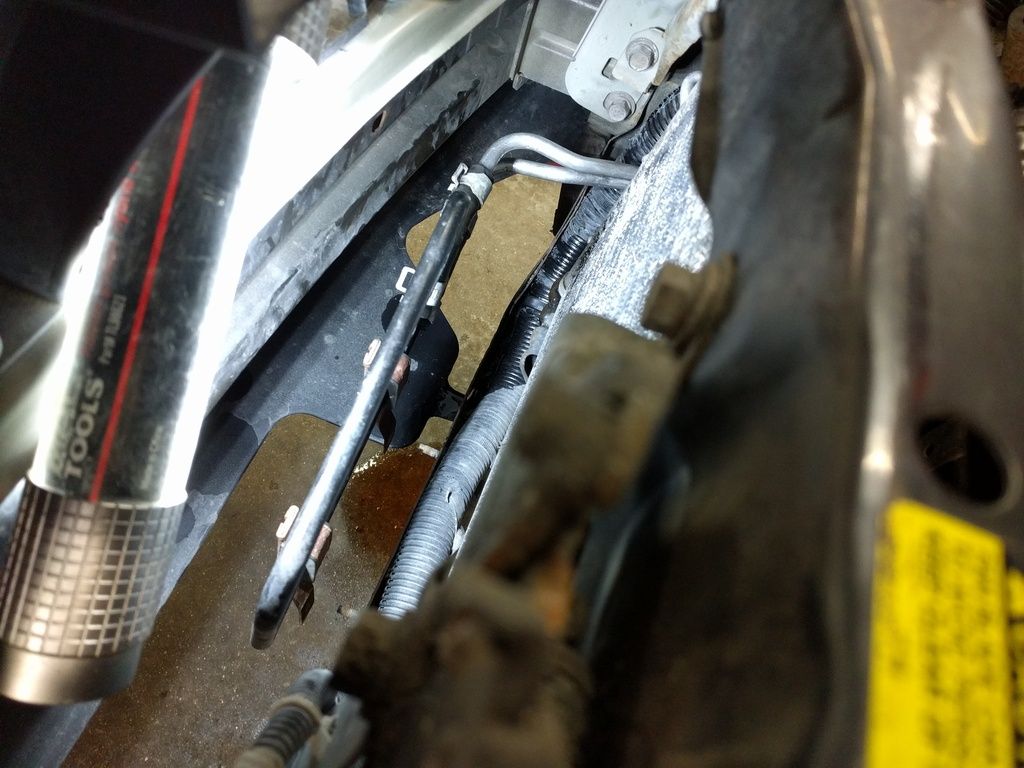
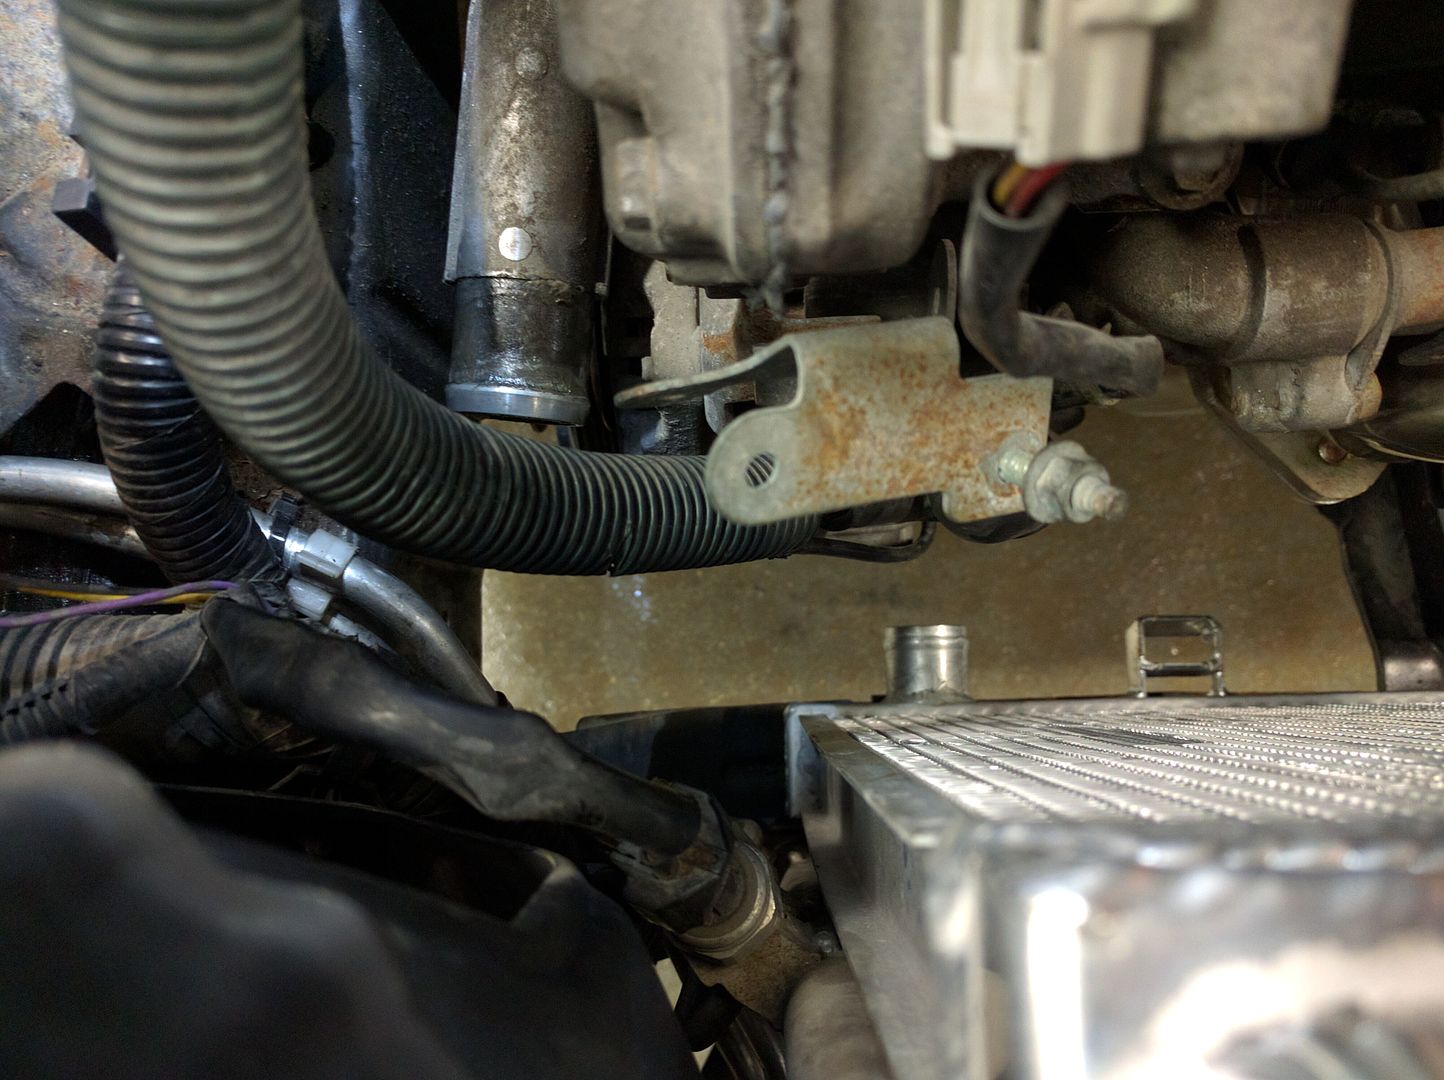
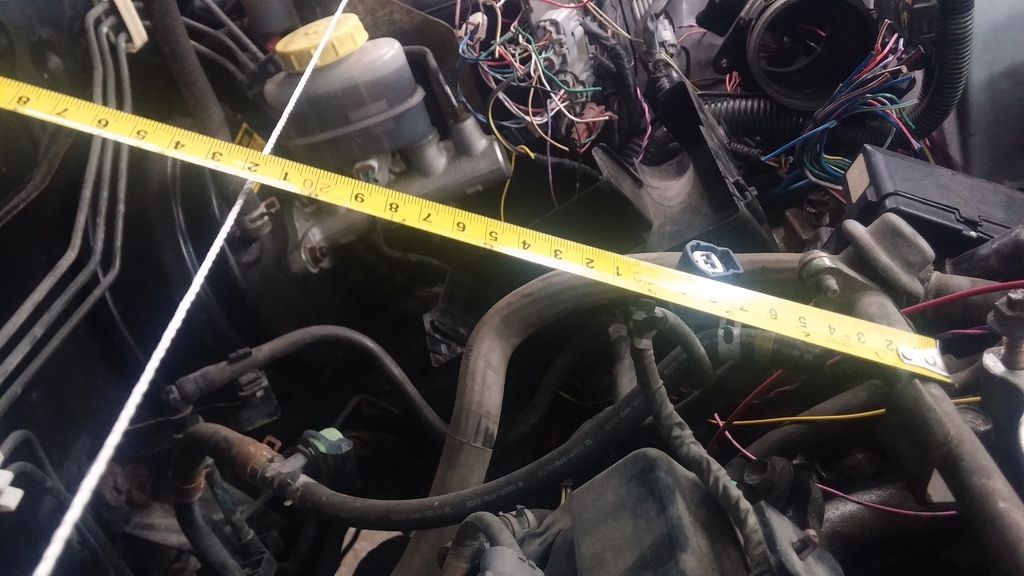
First up is the cooling system. I have a $99 shipped eBay Sentra radiator in the car. The upper hose is a stock hose (actually not even sure if it's the Altima or Sentra hose, I found it in the trunk) cut down a little. The lower hose is a bit of an issue.
The VQ engine lower hose outlet is about halfway up the engine on the very front by the timing cover. The Sentra radiator lower outlet is all the way on the opposite side of the car on the drivers side. There is one Nissan with a VQ and drivers side lower rad outlet, and that's the 2009-2014 Murano. It uses a two piece lower rad hose with a plastic joining tube in the middle. Here's how they fit:
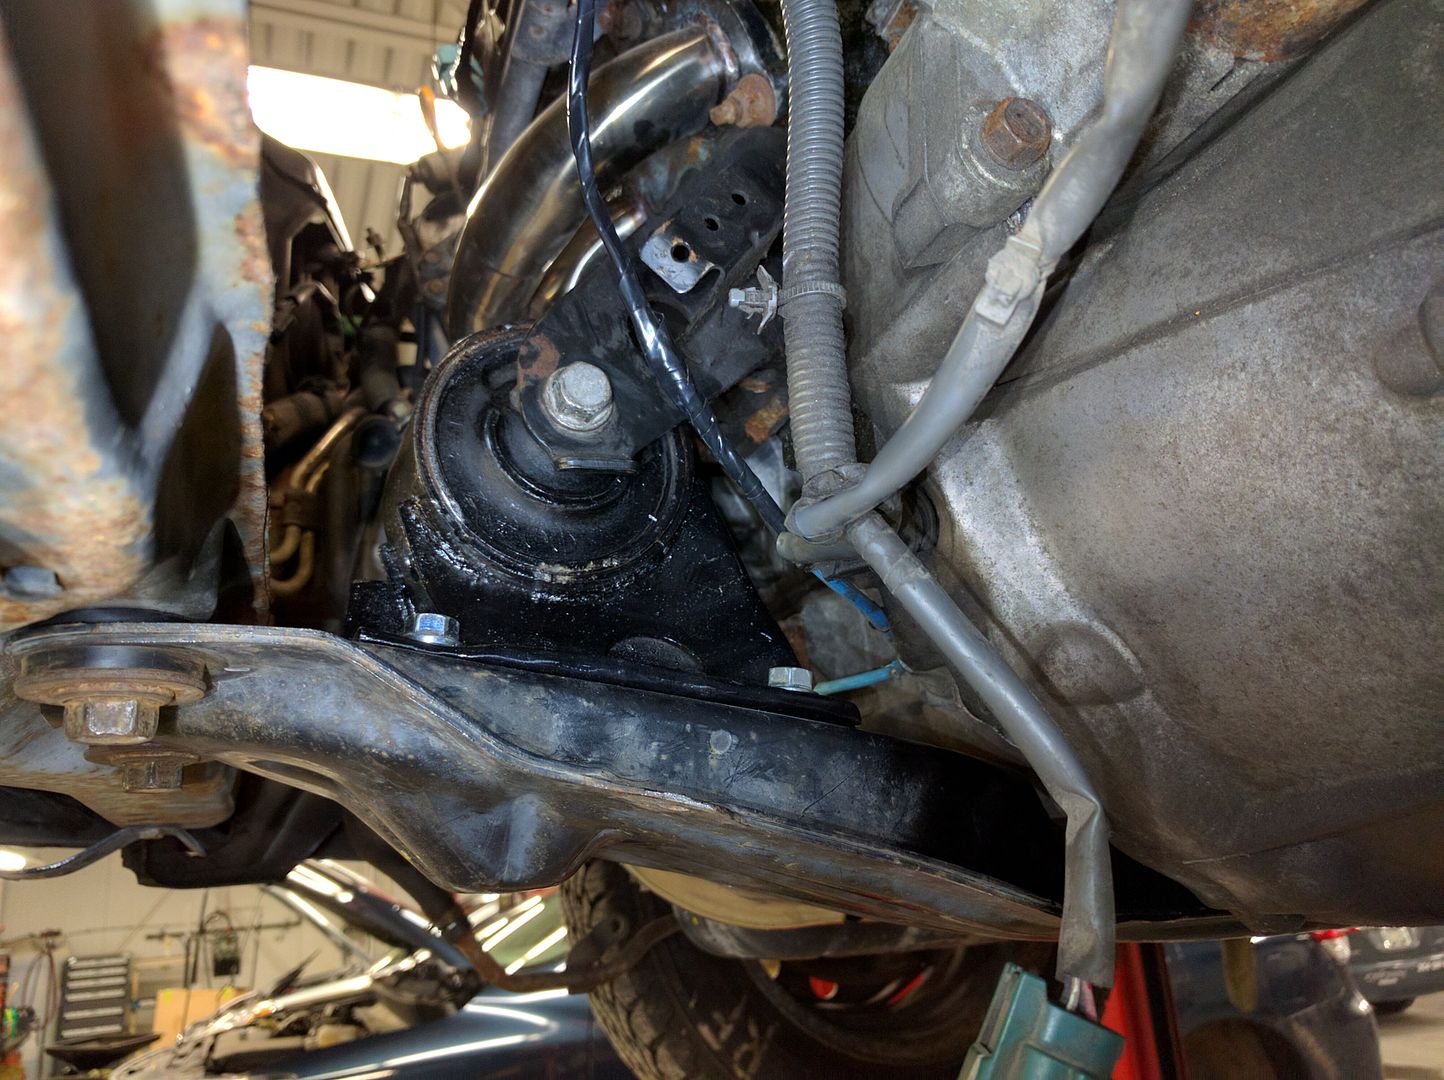
There was also the issue of how tight a fit the hose was. The power steering lines are contacting the hose. It's very tight to the frame rail as well, but shouldn't move in that direction.
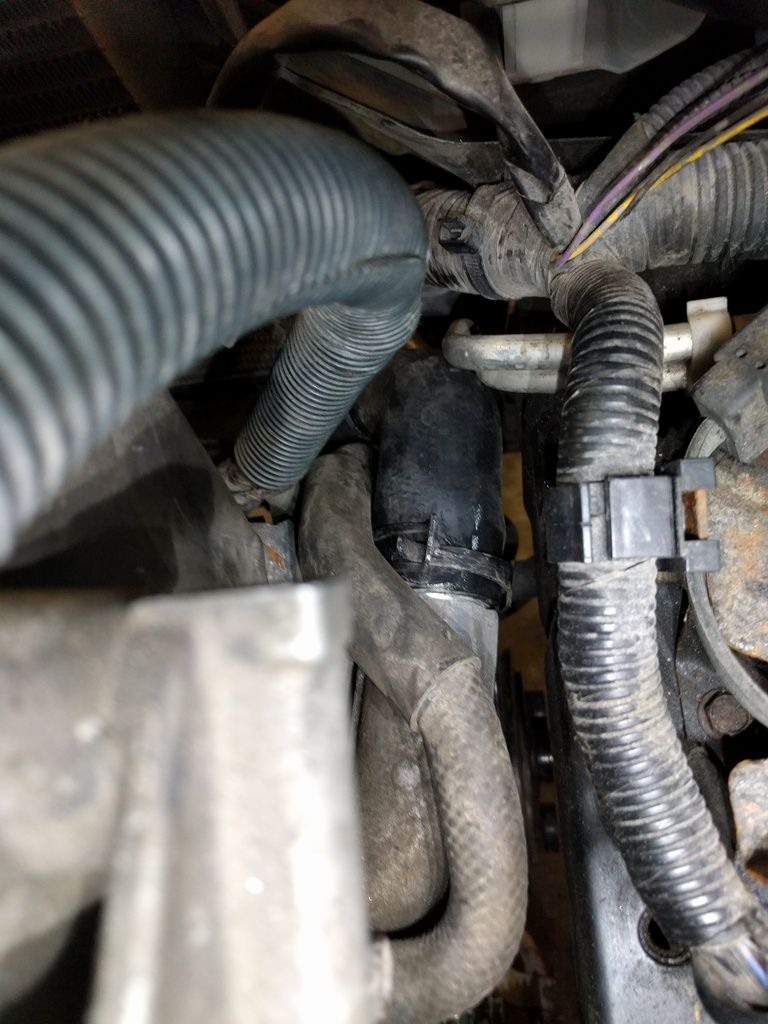
I ended removing and installing those power steering cooler lines what must have been at least 20 times and bending them bit by bit. Here's the final result
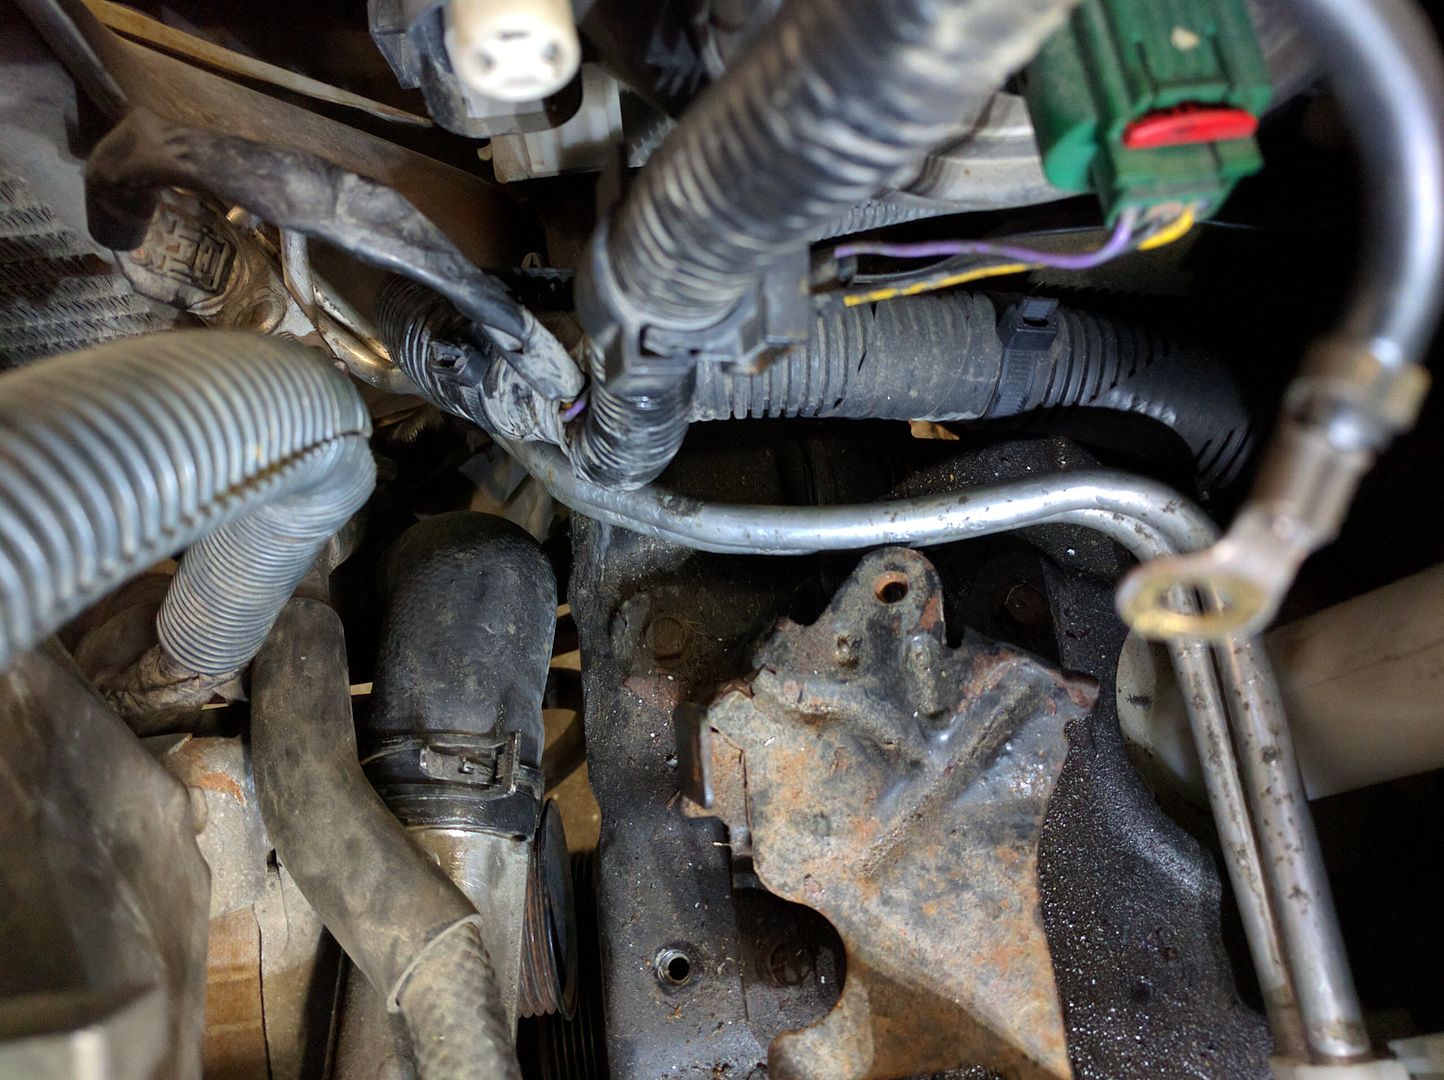
As a result the cooler no longer quite fits on it's stock bracket, but that's okay as I'll be mounting pusher fans in front of the A/C condenser. No space between the engine and radiator.
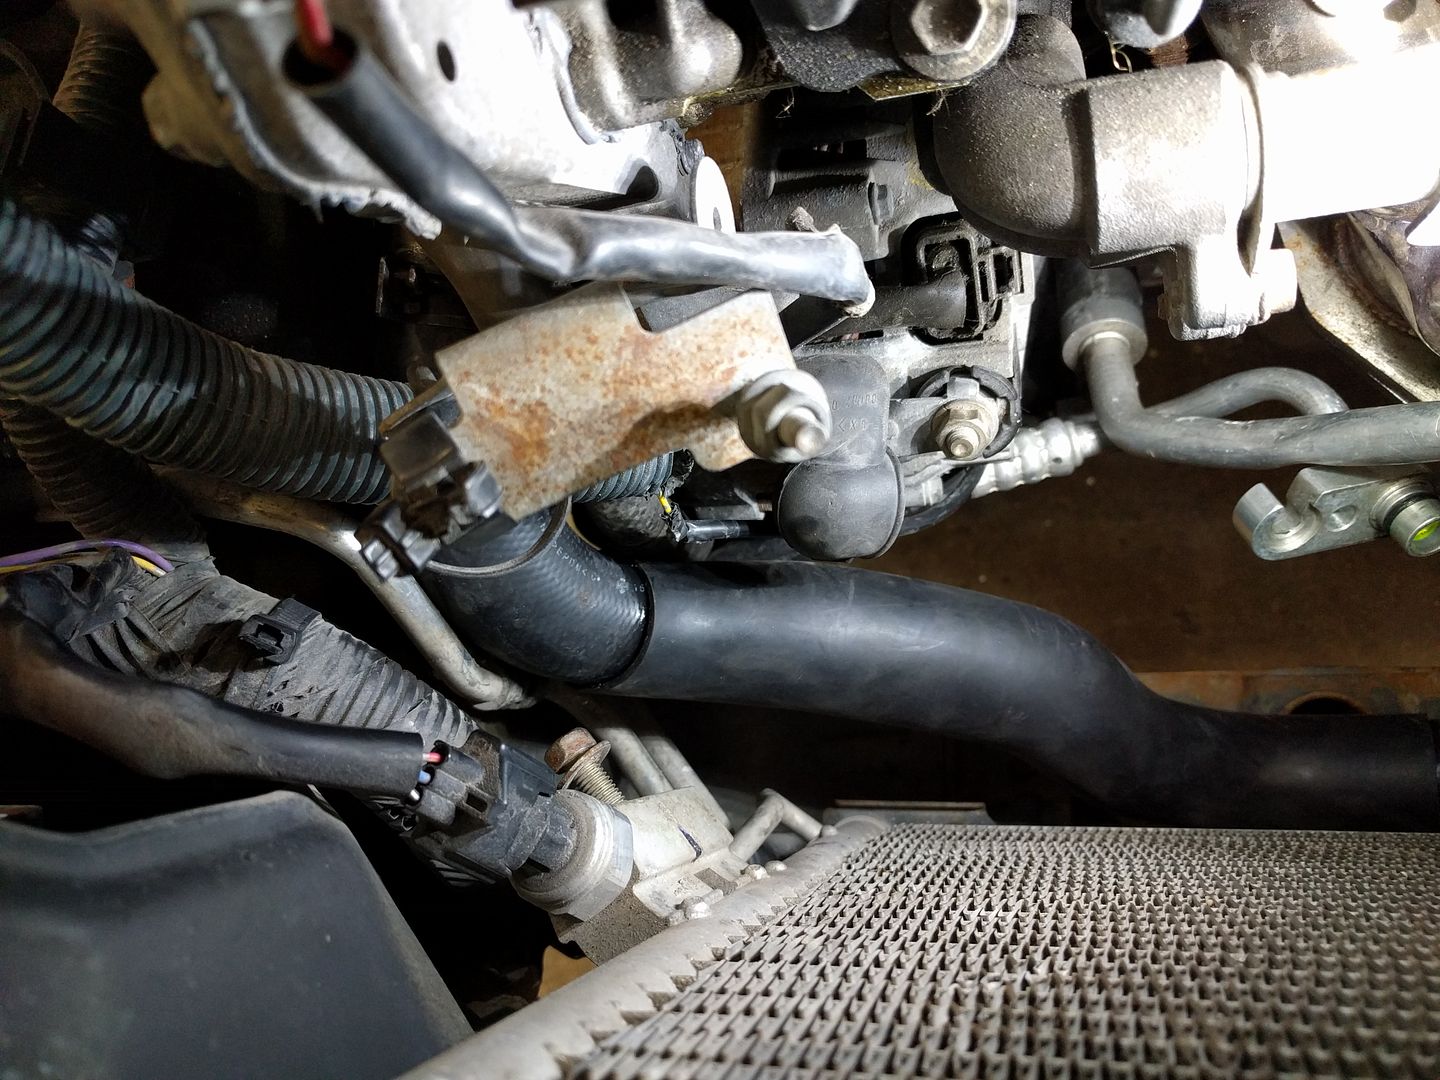
I also hooked up the heater hoses. For the one side I was able to cram the smaller diameter Sentra hose onto the V6 pipe, but for the other the Sentra hose would not reach. I didn't want to put the larger diameter V6 heater hose onto the smaller Sentra heater core pipe and try to seal it with clamps so I put an adapter. Dayco 80662, it's a 3/4" to 5/8" reducer.
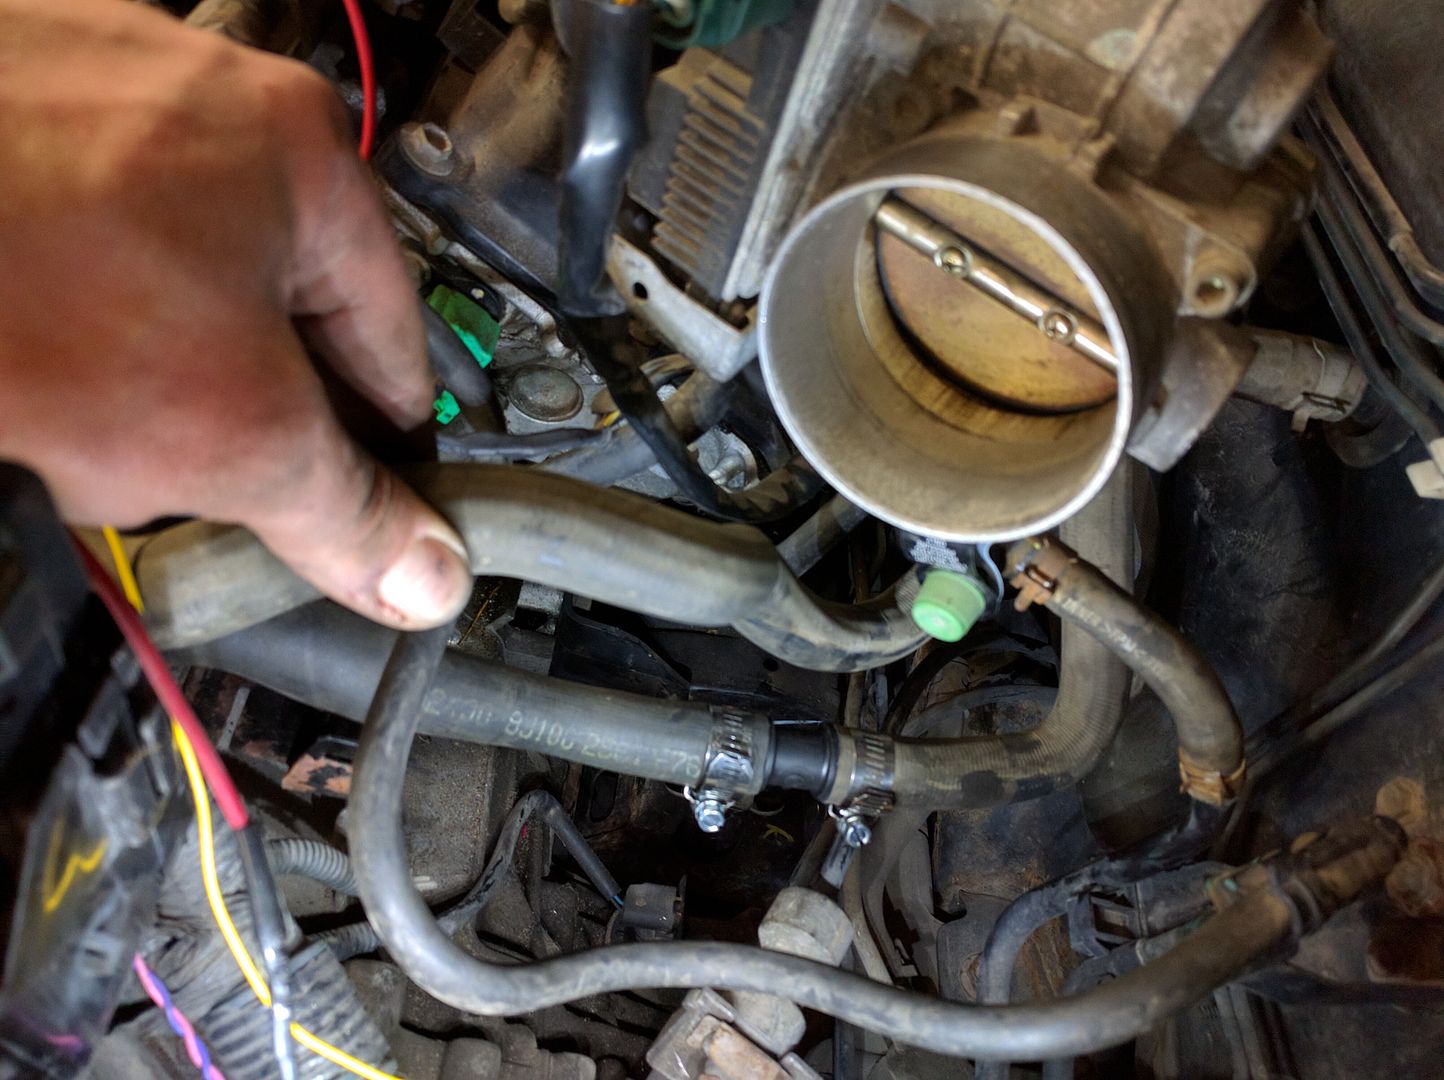
So the heater hoses are connected, the power steering lines clear, but there still isn't room for the hose to make it past my front engine mount. Here's my solution:
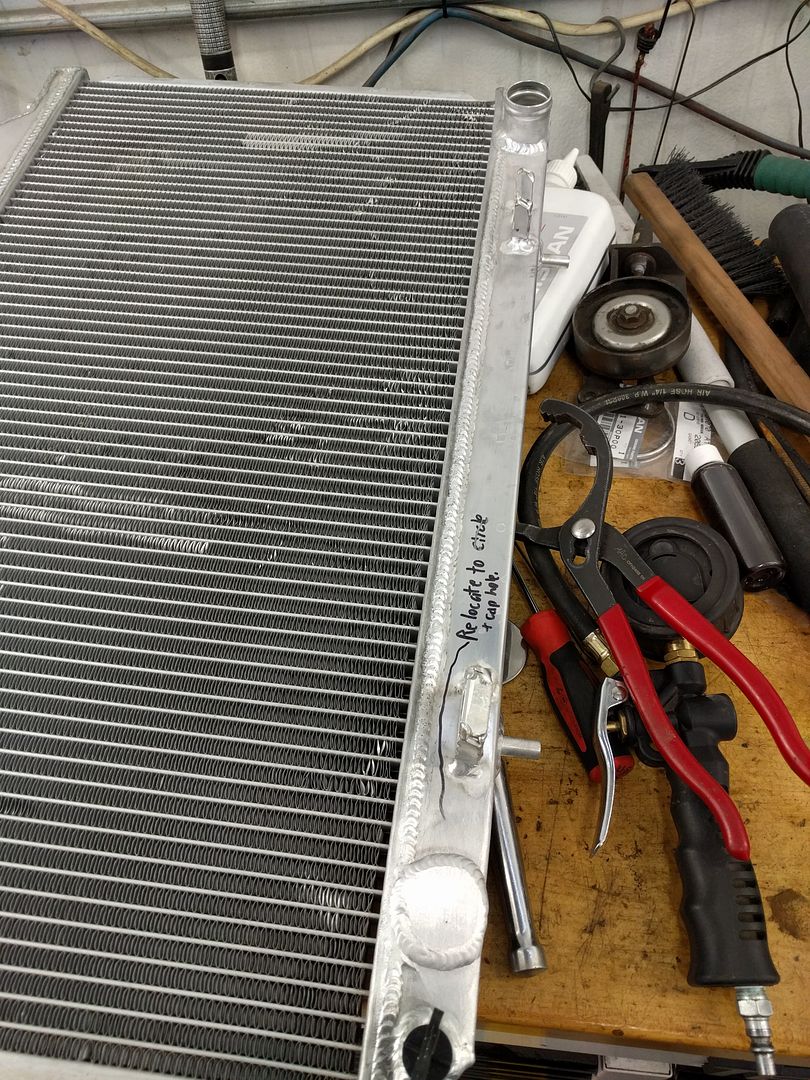
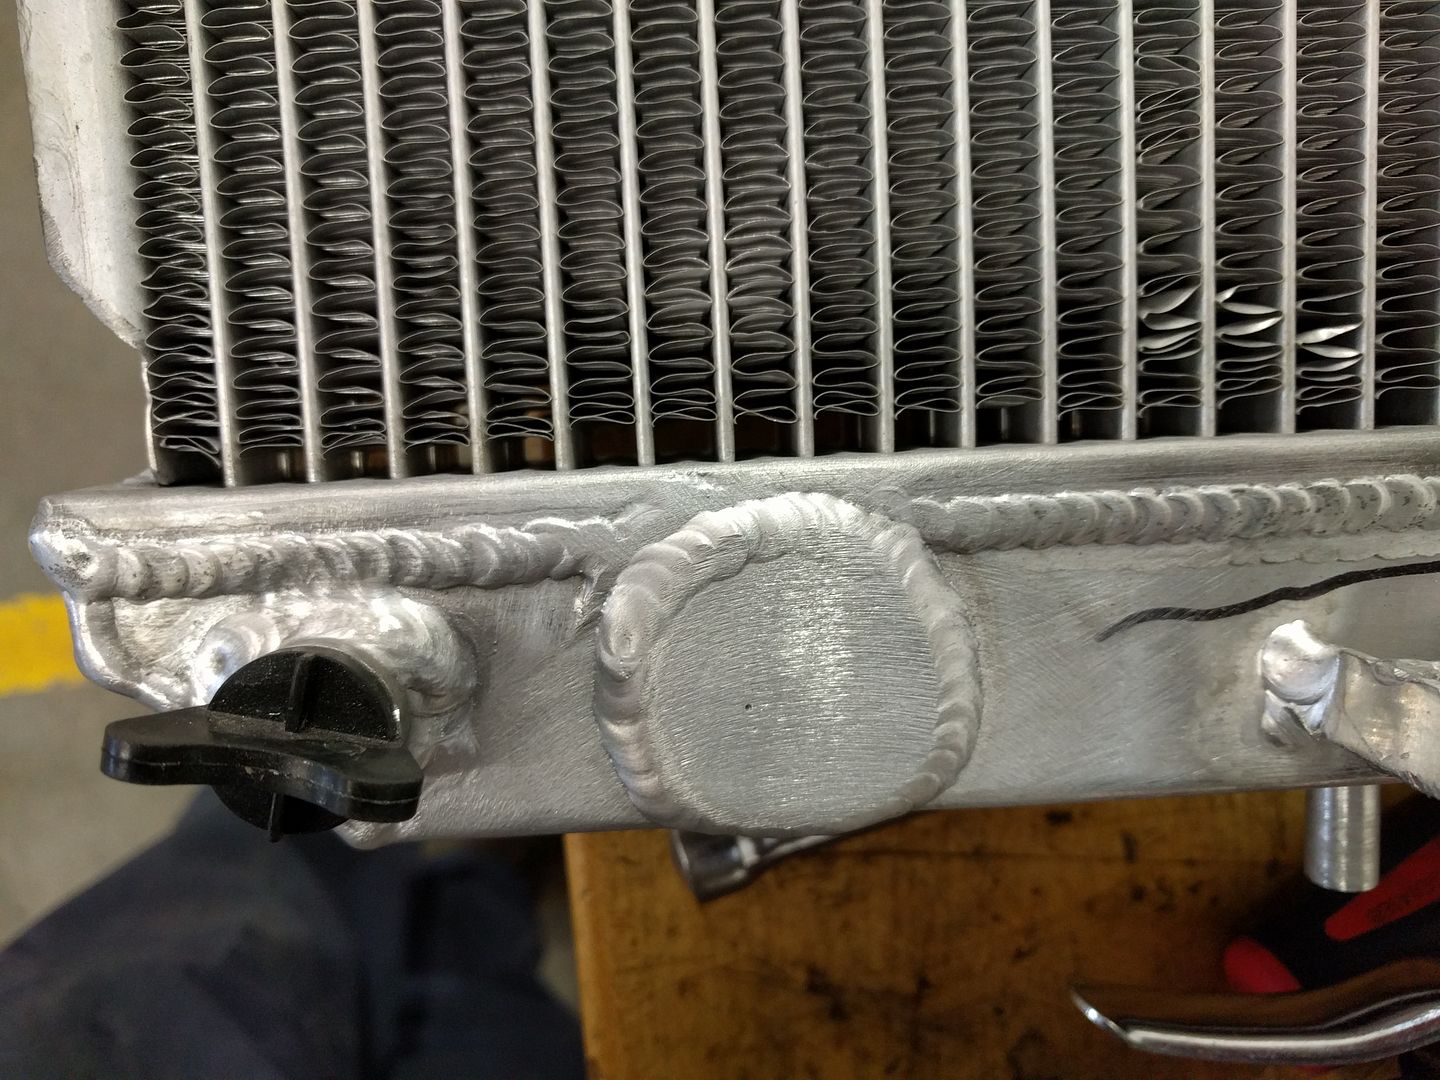
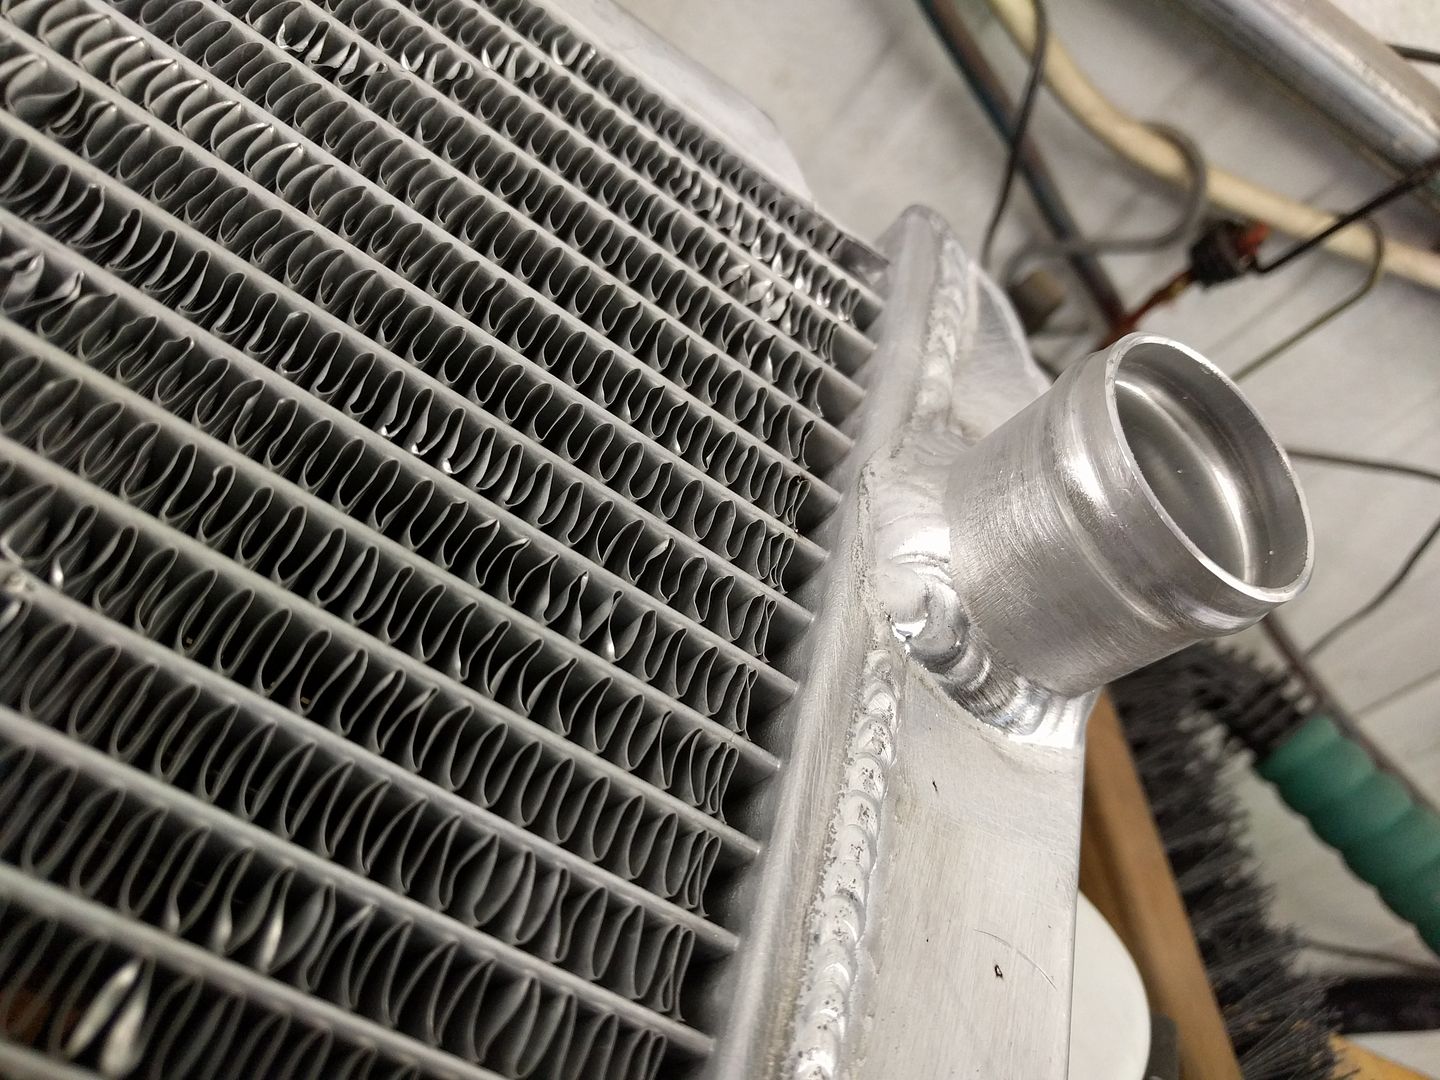 The fab shop that made some of my mounts relocated the lower outlet on the radiator from one side to the other for $50! Very pleased with that.
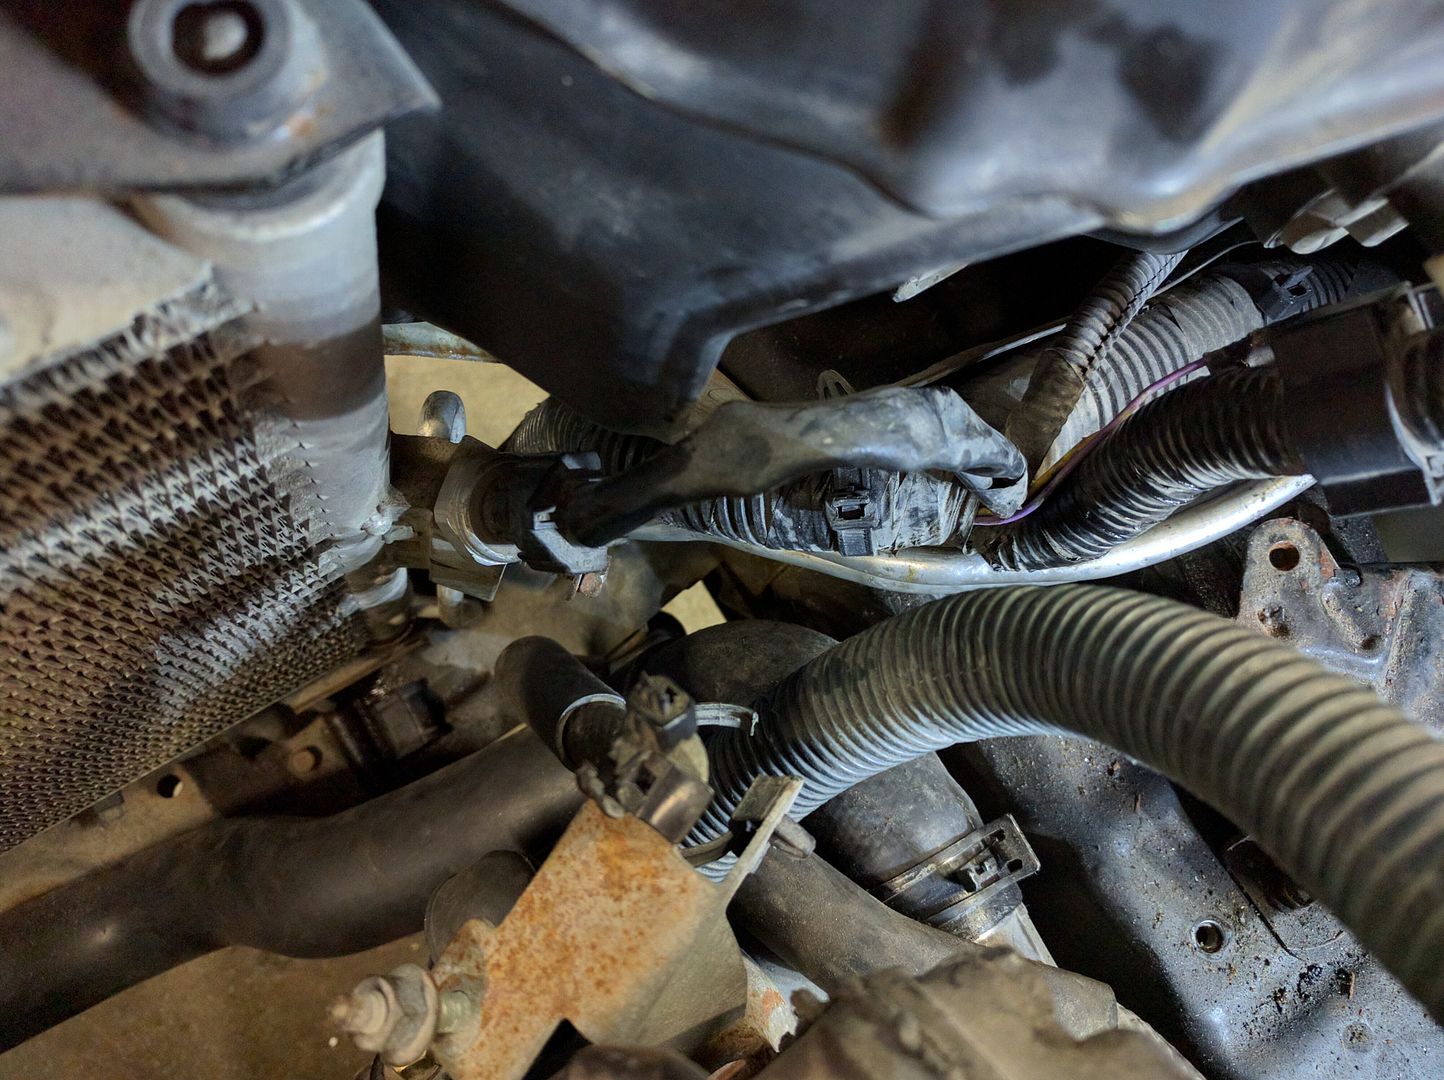
So here's the new setup, just have to find a hose that fits.
I assembled 5-6 possible hose, unfortunately none fit. Closest off the shelf fit is a tie between NAPA part 9006 and a cut down lower rad hose from a VQ30 Maxima.
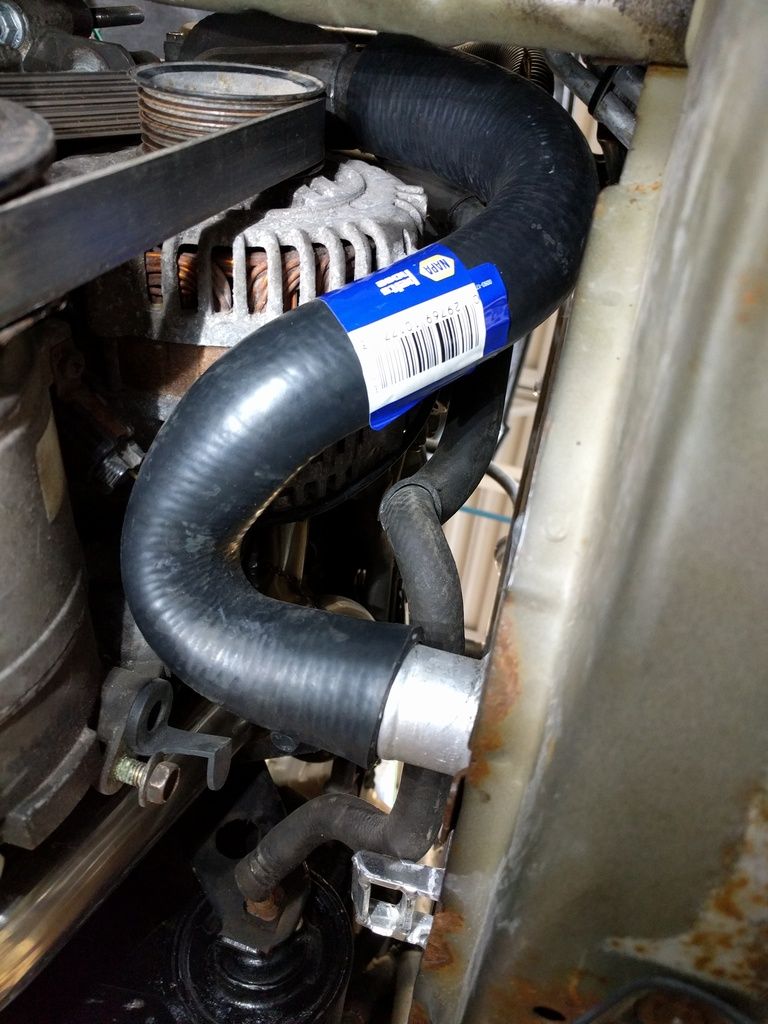
Unfortunately both are slightly kinked so I ended up cutting the Maxima hose in half and using a plastic plumbing fitting to join it back together. This is a temporary solution, I've got another Maxima hose from the junkyard and plan to splice it together with this coolant pipe from the front of a 2014 Rogue engine.
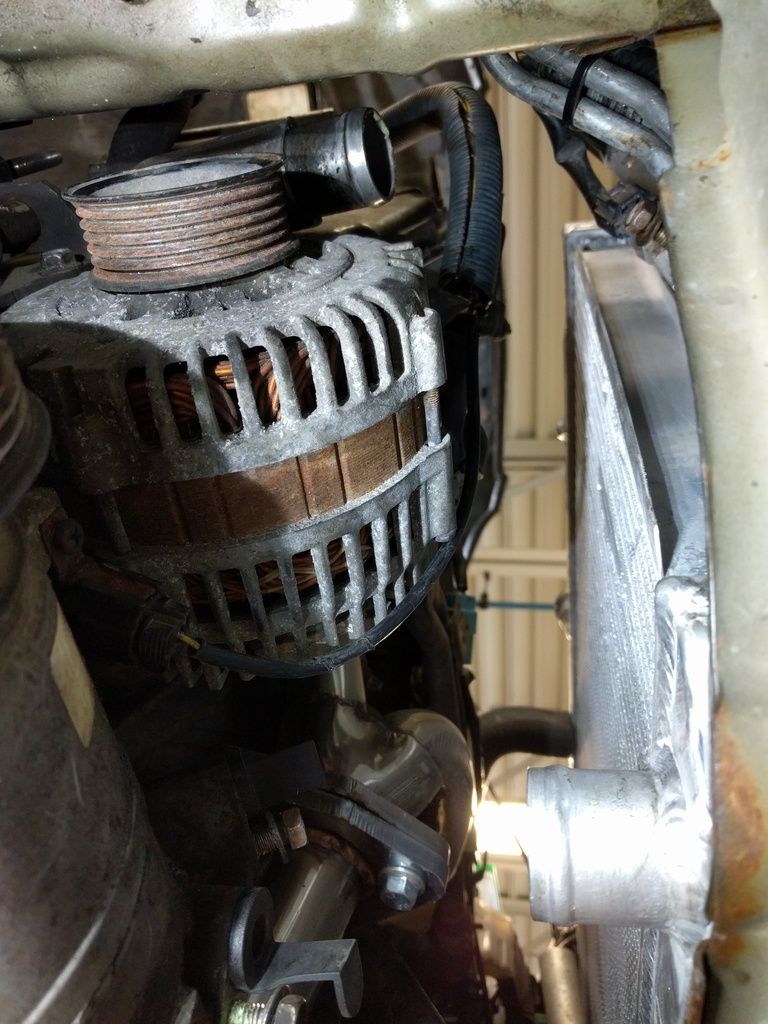
The slight curve should help clear the alternator too I think. I'll either run a bead of weld around the ends or double clamp it to prevent the hoses from slipping off.
If that doesn't work, I'll either get one of those coolant temp sensor adaptors to splice the two hoses together, or the factory plastic tube found on the lower rad hose of a Juke.
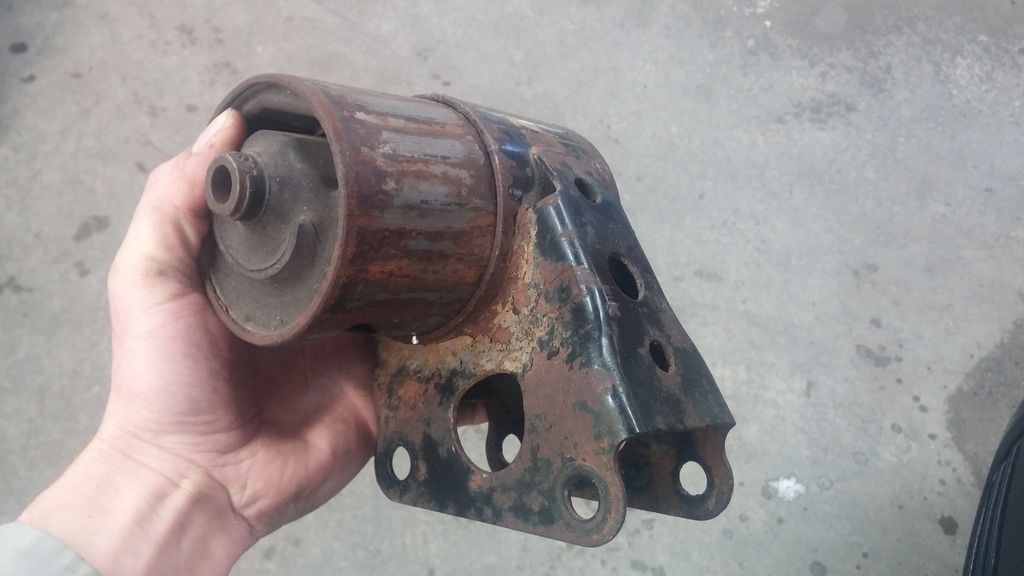
I also scavenged a pair of radiator bushings from a Maxima as mine were ruined.
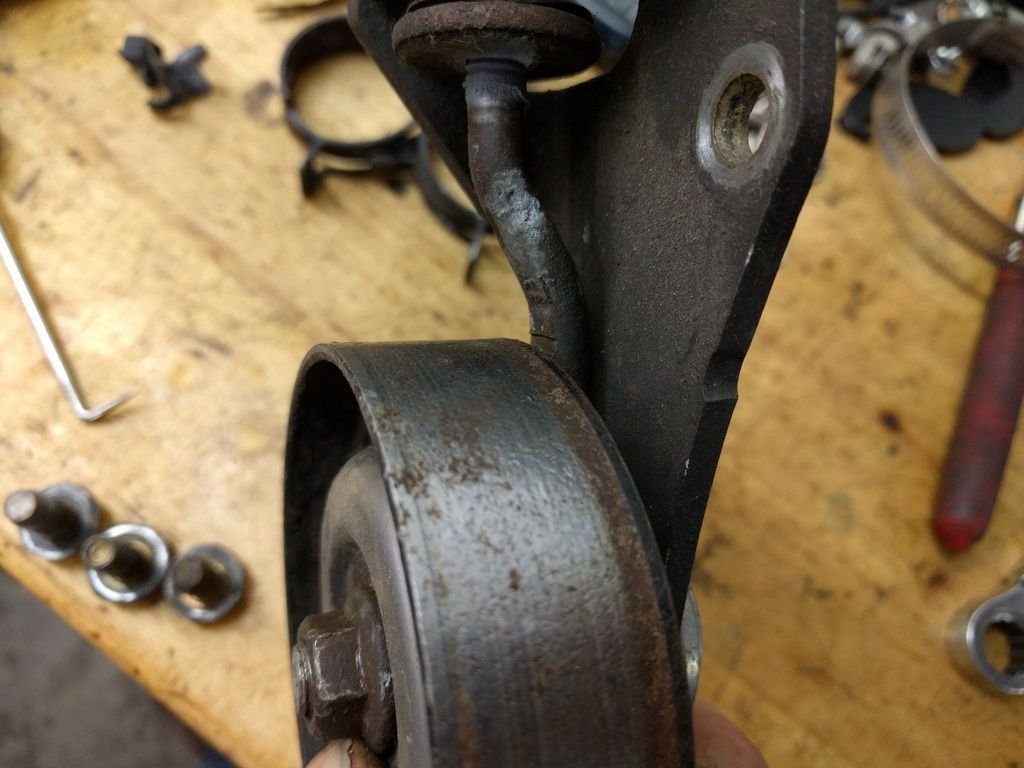
Another thing it needs to run is a charging system, which means installing the belt.
Found two little surprises when I went to bolt on the tensioner, the first being one of the mounting points on my replacement timing cover is stripped.

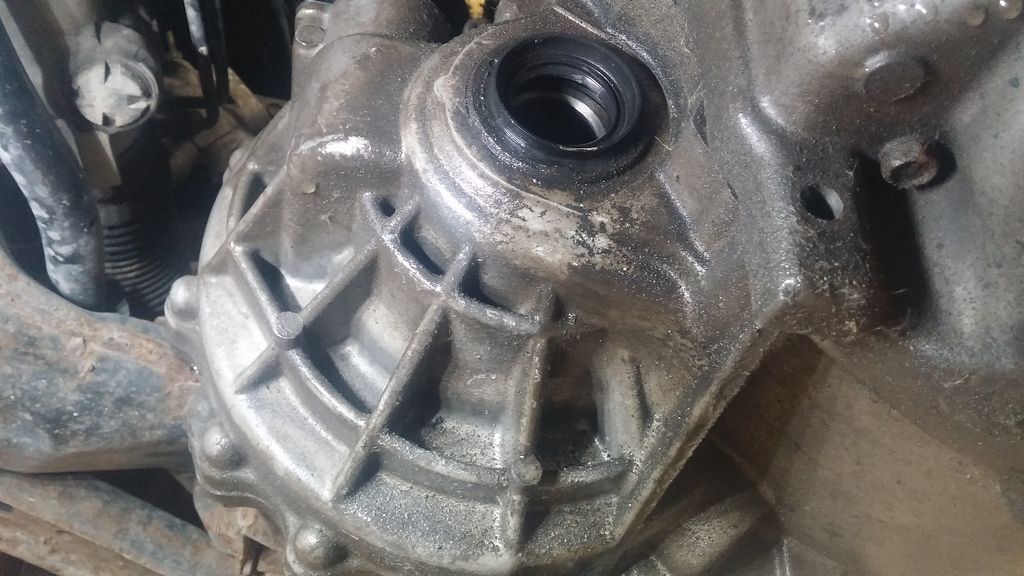
Drilled out and helicoil installed. Note the new crank seal and timing chain. :)
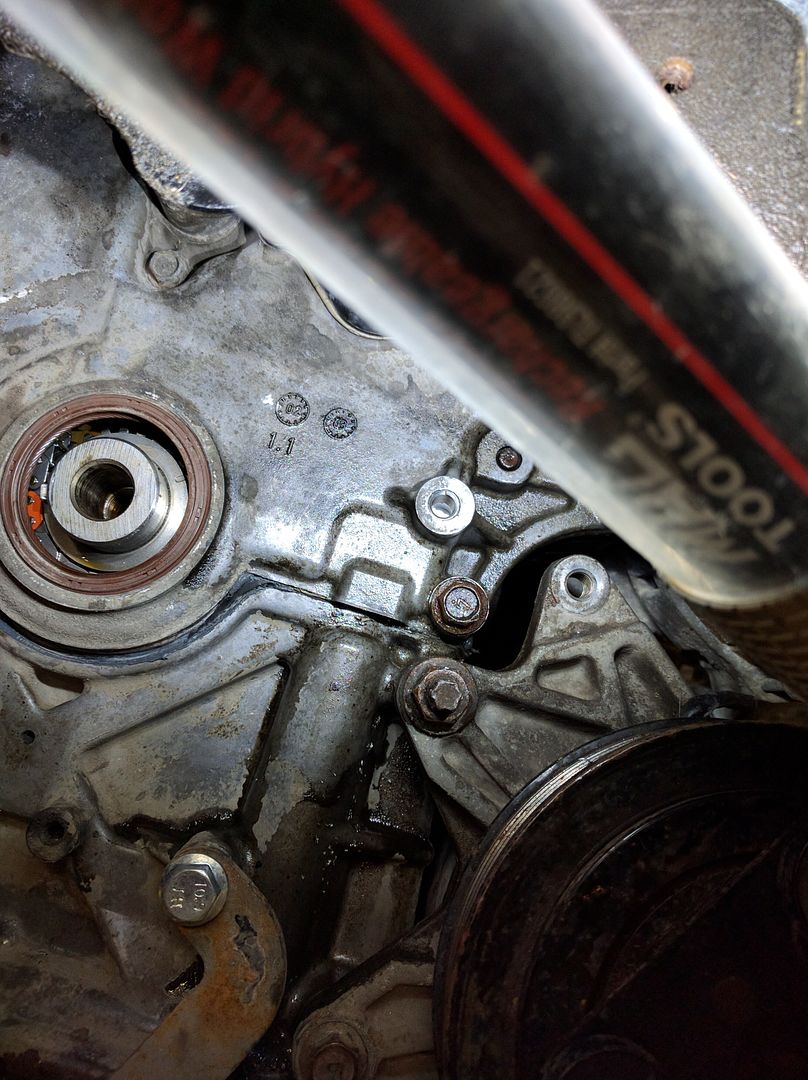
The second surprise was I couldn't lock the tensioner in place, on closer inspection I found the tensioner was missing a washer. One of the previous hacks who worked on this engine must have left it out, you can see it was running like that for a while
Dissasemble new tensioner next to old to figure out what spacer I'm missing, luckily it was just a washer.
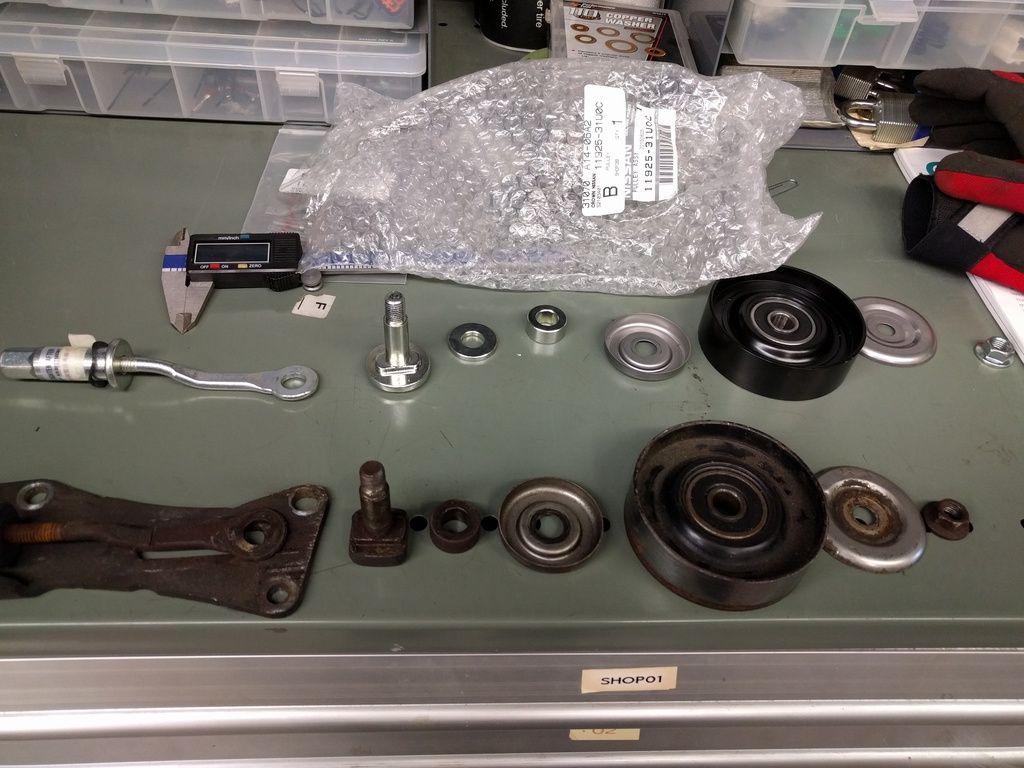
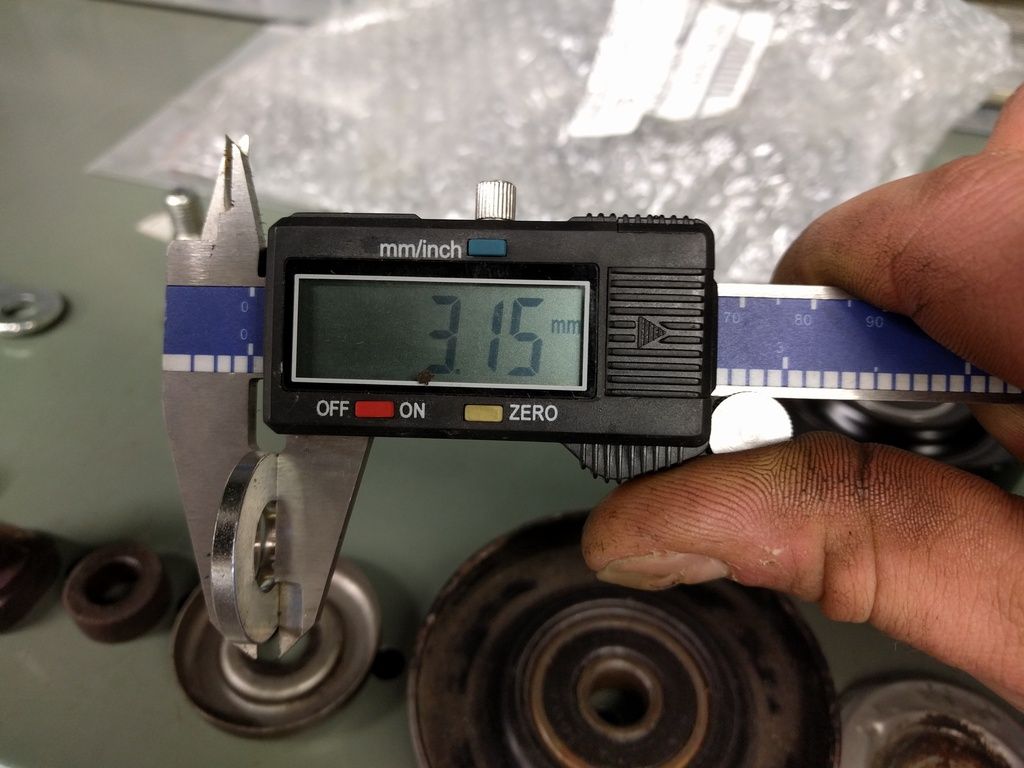
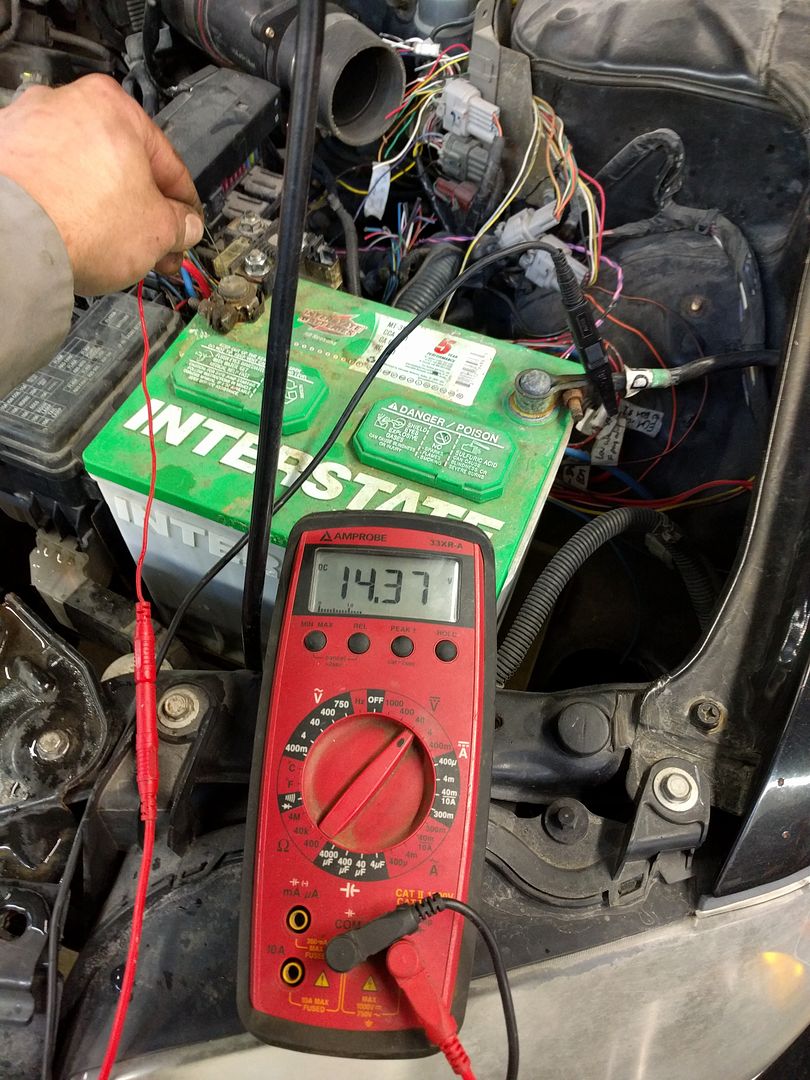
Scrounged around and found a washer that worked. Put it all together and it wasn't charging. Realized I never wired up the Altima harness for the charging system. After looking at both wiring diagrams, I realized it was much easier and simpler to simply unplug the Altima harness from the alternator and plug the Sentra harness in.
Ta-da!
Next is exhaust as it's still open header. I ground down a little filler piece for the Y-pipe where I cut it to fit.
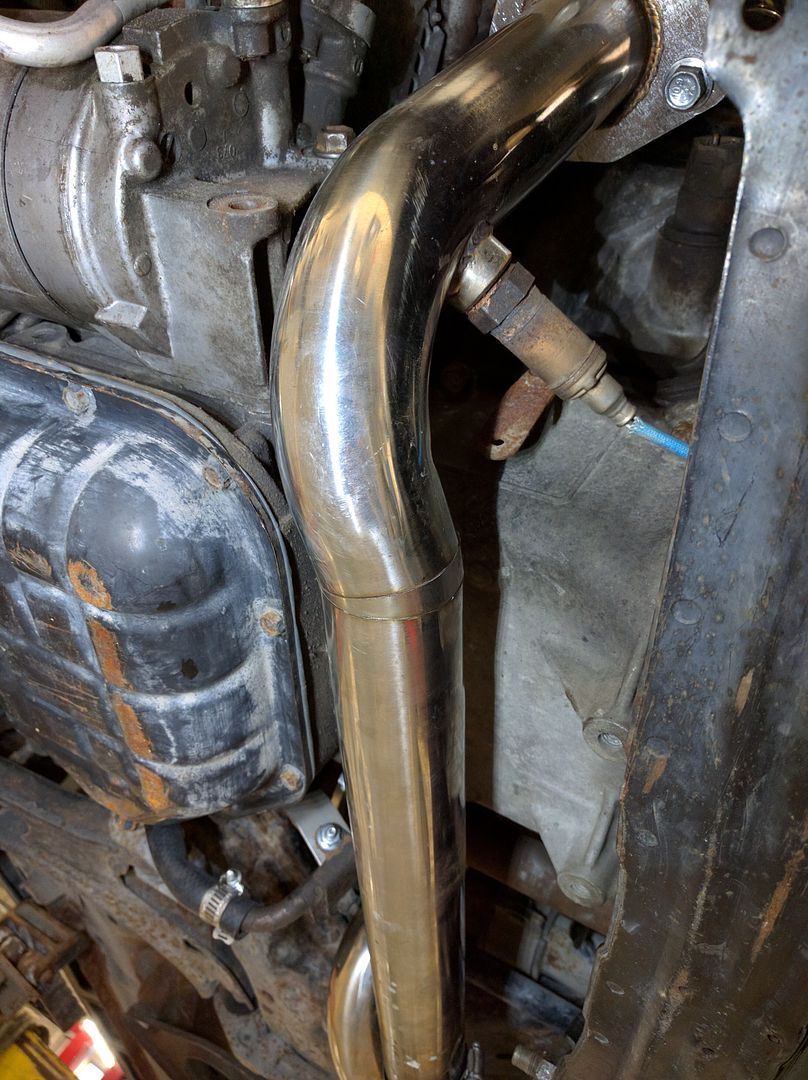
And bought some mufflers and a cat
The car is supposed to go to the exhaust shop tomorrow.
Once exhaust is done I'll be building an intake, and installing power steering.

Installed the strut tower bar!

Vigo
PowerDork
4/20/16 10:16 a.m.
This is getting exciting. I have a friend with a boring k24 Altima i've always joked he should put a vq35 in. Should be 13-second 1/4 right out of the box.
If you want to try welding the header with your flux core welder, you should be able to get stainless weld wire. But you will find welding with the stainless will be even more difficult, it will work on the thinner tubing, but not so much on the thicker flanges. McMaster carr has the stainless flux core weld wire.
I'm not welding the exhaust myself, I don't have the skill for that yet!
Buddy of a co worker is doing it all including putting together the y pipe for $200, I supply what you see in the picture.
It made it to the exhaust shop the other day, first real drive. Runs rough once it's warmed up, so I'll have to look into that when I get it back. Should be by the end of the week
This is still such a cool car. It's fun and informative to see how Nissan almost-partsbinned these cars together, thanks for putting part numbers in as well for future reference.

NOHOME
PowerDork
4/20/16 8:43 p.m.
That is a boatload of work!
No time for a proper update, but I got the car back from exhaust a couple days ago (Monday).
Reminds me of a E36 325i with exhaust at our local autox.https://www.youtube.com/embed/aygsZJA9fUM
Okay, so I have a bit of time to update.
Exhaust:
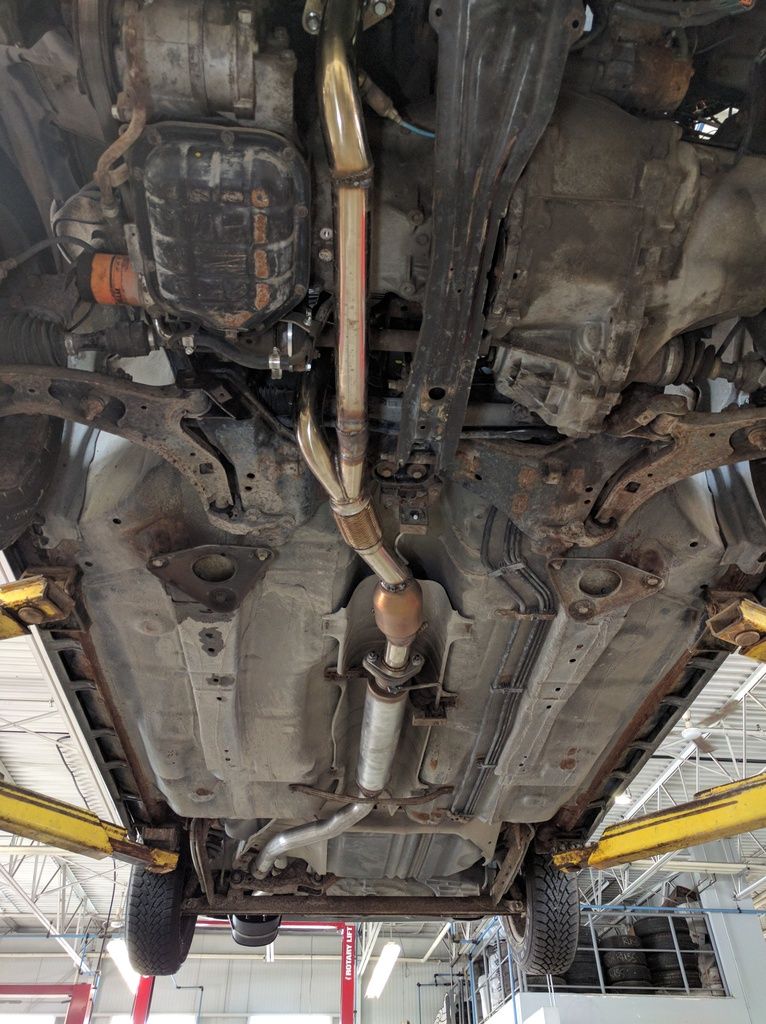
The car was running poorly once it got warm on the way to and from the exhaust shop. Missfiring at idle and running rough, although once going it seemed okay.
What I found once I got the car back to work was the bank 2 intake cam (front bank) was stuck on 40 deg advanced. Unplugging the solenoid controlling oil flow to the cam sprocket had no effect, so I quickly swapped solenoids with one off a blown engine. Success! I suspect possibly the solenoid got tweaked in the collision just enough to work okay when cold and seize up when it got hot. Really glad I'm not pulling the timing covers off again.
Runs much much better now, but still not 100%. The front bank O2 readings are a bit off, so I replaced it with a junkyard part from an Altima. I was using one from an older Maxima (the one from the donor car got smushed in the wreck), not sure if they're the same part number or just use the same connector so I grabbed one from the proper car to eliminate that variable.
The MAF readings are also on the low side of spec, so I popped in my spare test unit but it has pretty much the same readings. Going to check for vacuum leaks next.
I do have an exhaust leak on the front bank, goes tiff tiff tiff on startup and when you blip the throttle so I'll have to dig into that. Either the cheapo header has cracked already or the OEM gasket didn't seal somehow (warped flange?).
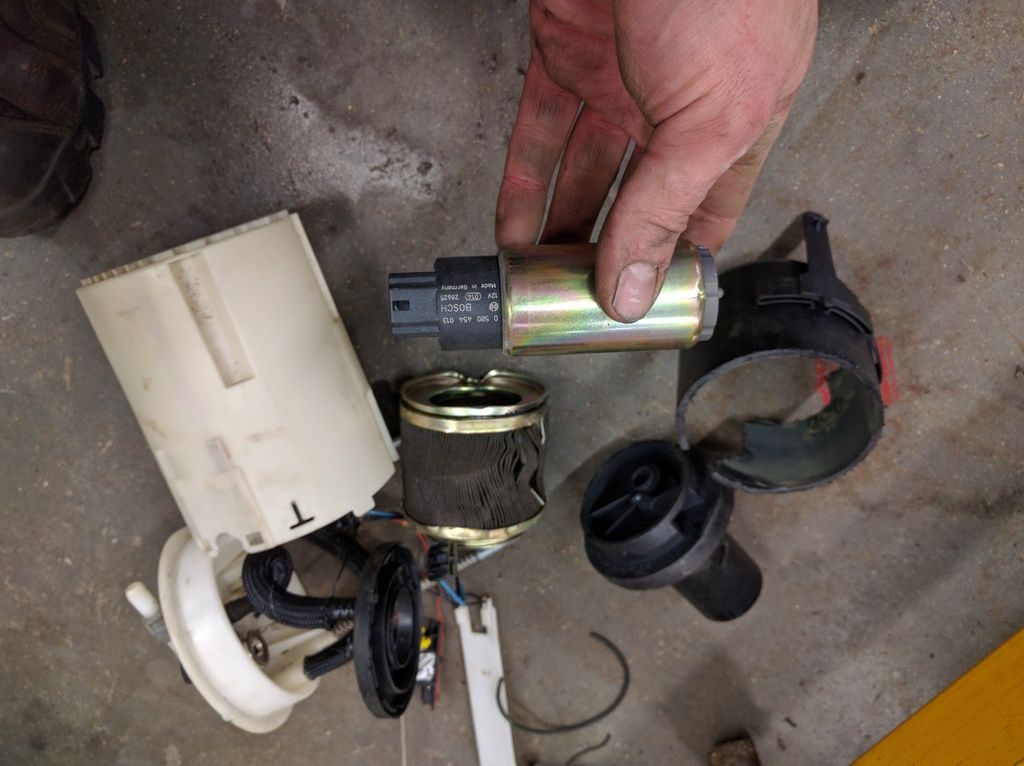
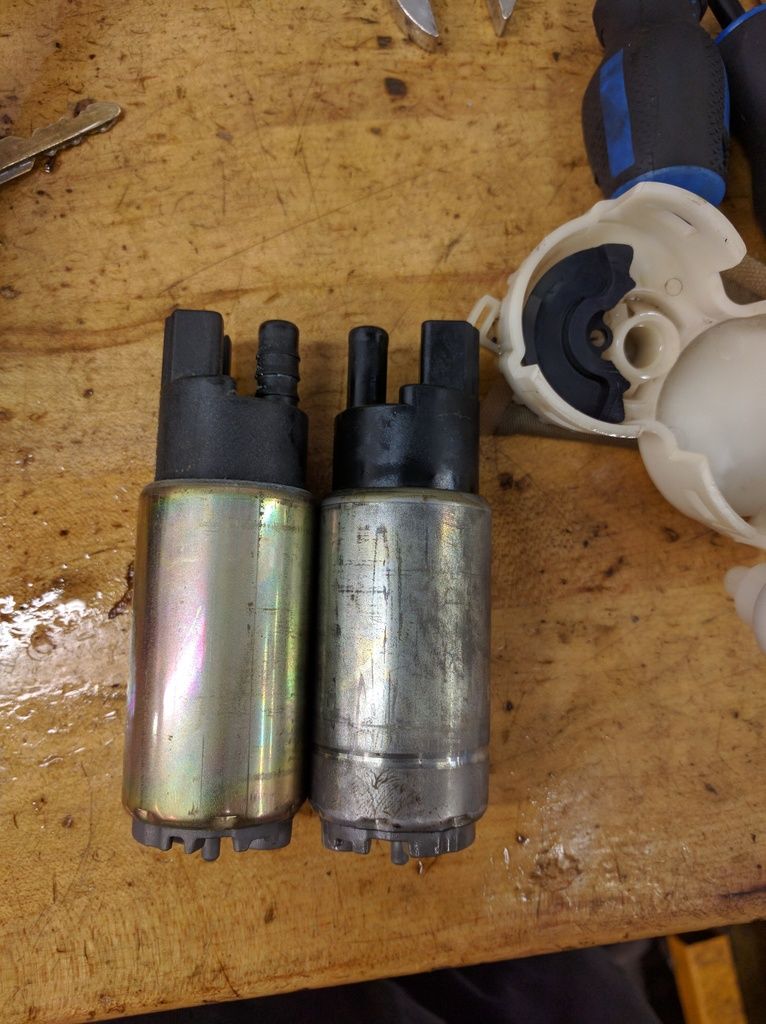
The gas in the tank is about 3 years old now so that's another variable I have to consider. I ran the car on one of those 3M injector cleaner thingers, not sure it ran much better on the alternate fuel source. It was quicker to pull the backseat and unplug the fuel pump than try to figure out which relay is the fuel pump relay (stupid setup on these cars, it's under the drivers side dash somewhere and unmarked). While I was there I decided to swap the Sentra fuel pump with the Altima unit. Not sure if the Sentra pump is up to the task and I saved the pump from the Altima so why not.
Freed from the Altima canister, compared to the Sentra pump, and back into the Sentra canister.

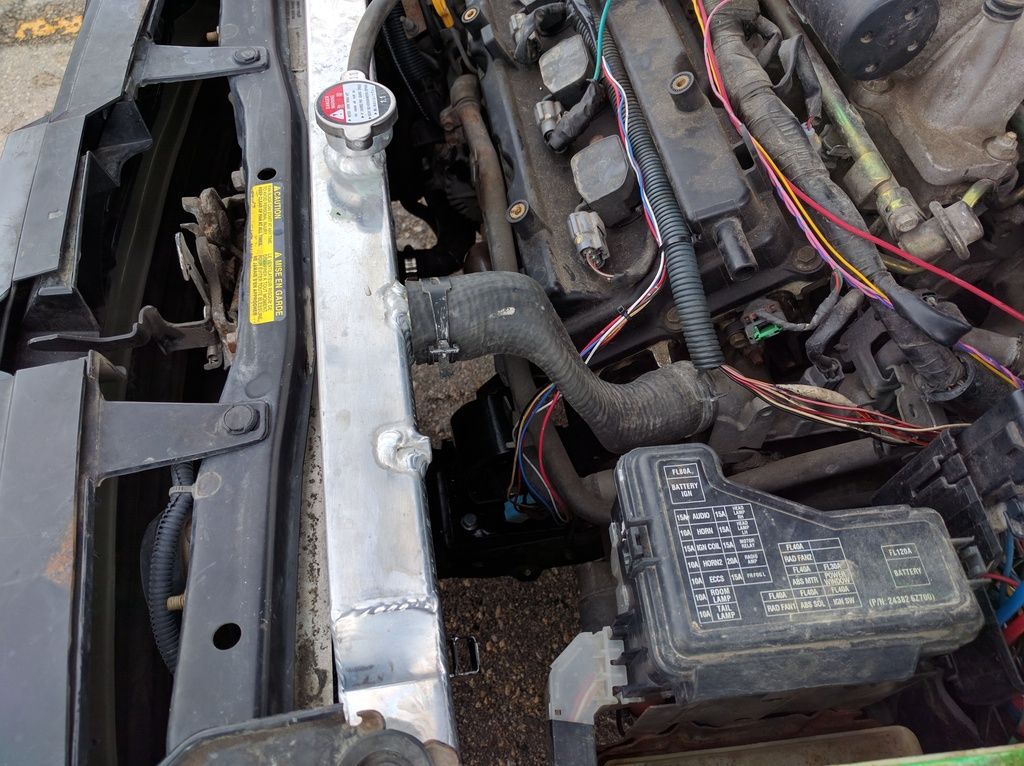
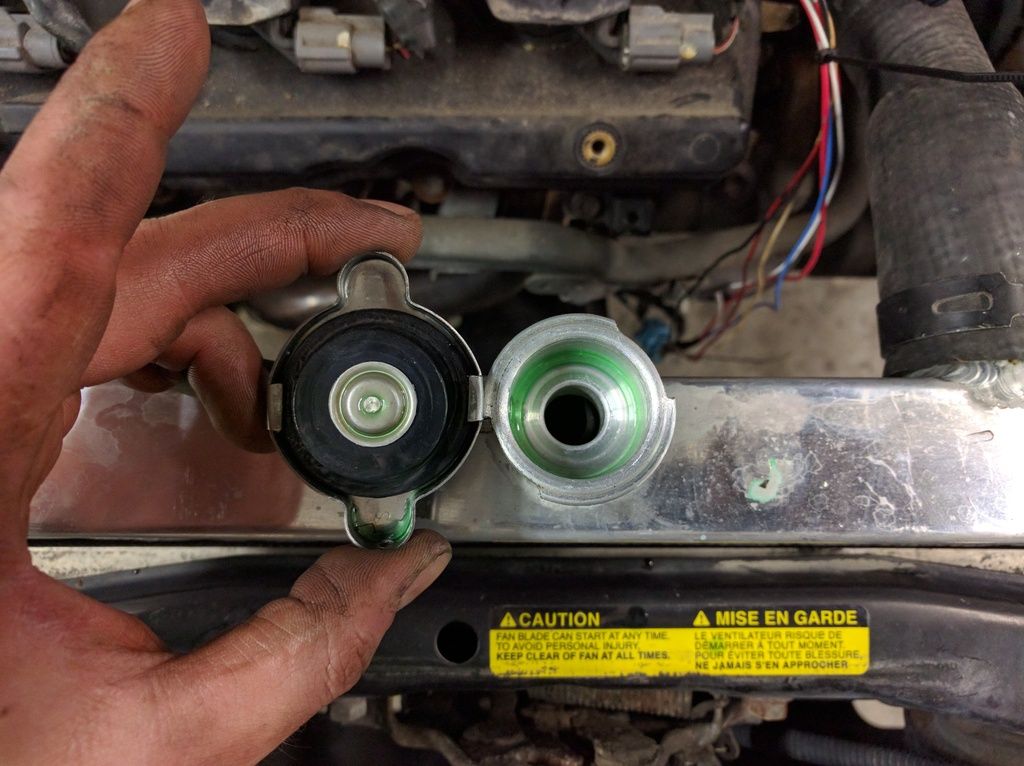
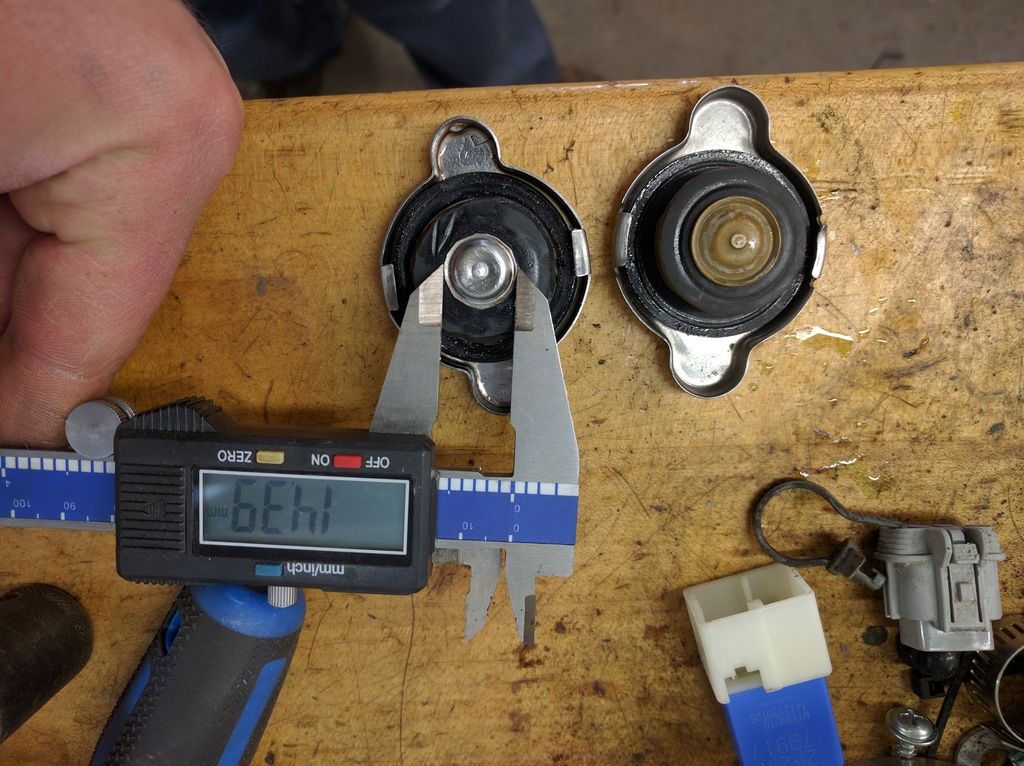
And the last new issue I'm fixing is the cooling system again. The car was collapsing the rad hoses when it cooled down. Looks like the issue is the el-cheapo eBay rad. The filler neck is tiny, smaller than the vacuum valve in the cap. So the vacuum valve isn't capable of opening to let coolant from the overflow back into the rad. I've been looking for a cap with a smaller vacuum valve that will fit but no luck so far. I've ordered a Vibrant weld on filler neck with matching cap, so if I don't find a cap that works I'll get the fab shop to weld that on for me.
I tried to cut down the valve on the ebay cap but can't get it small enough, plus I nicked the primary seal so it's garbage....


 But that doesn't matter, I just have to make the numbers match.
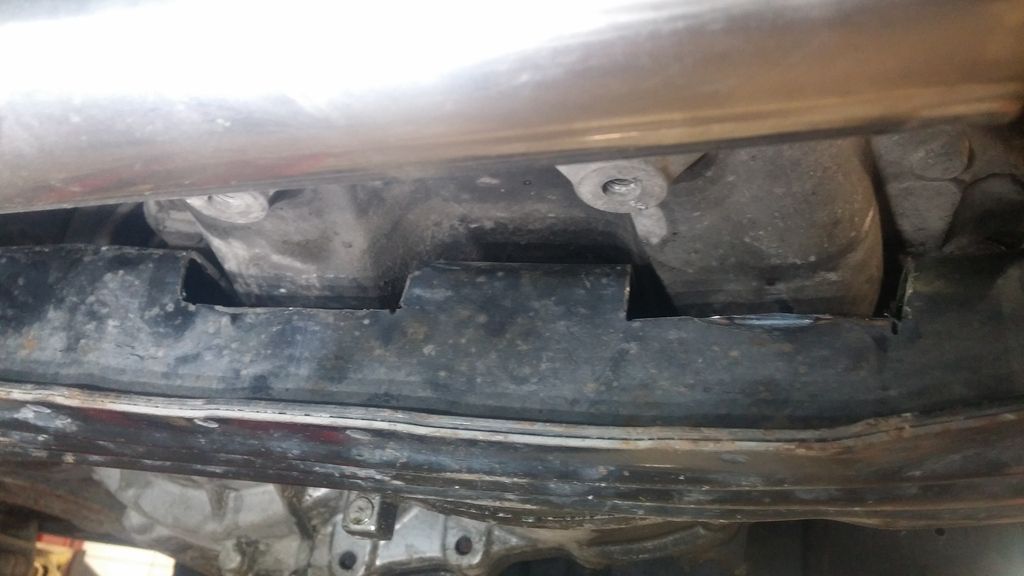
 Drill and tap a hole for the mount:

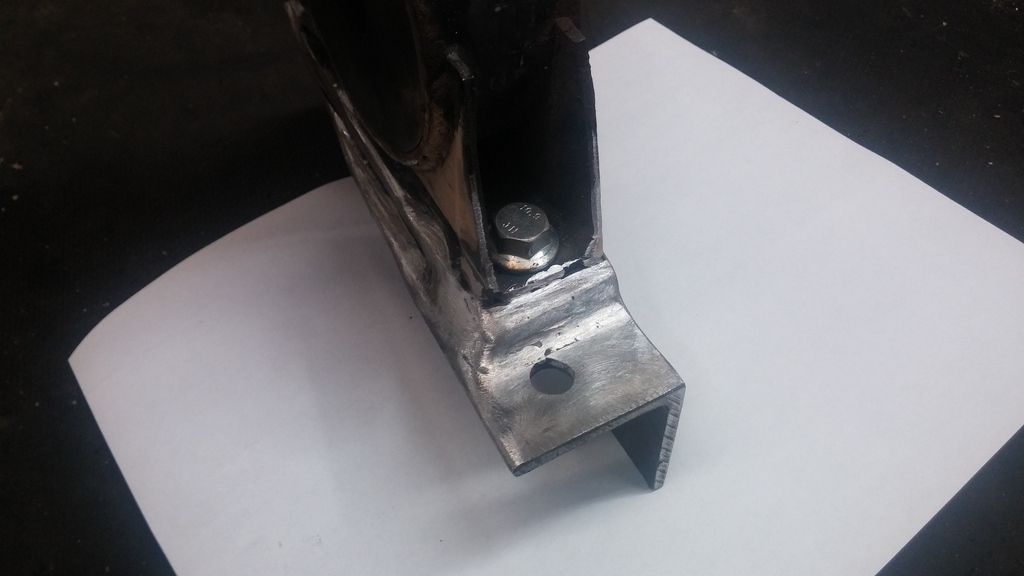
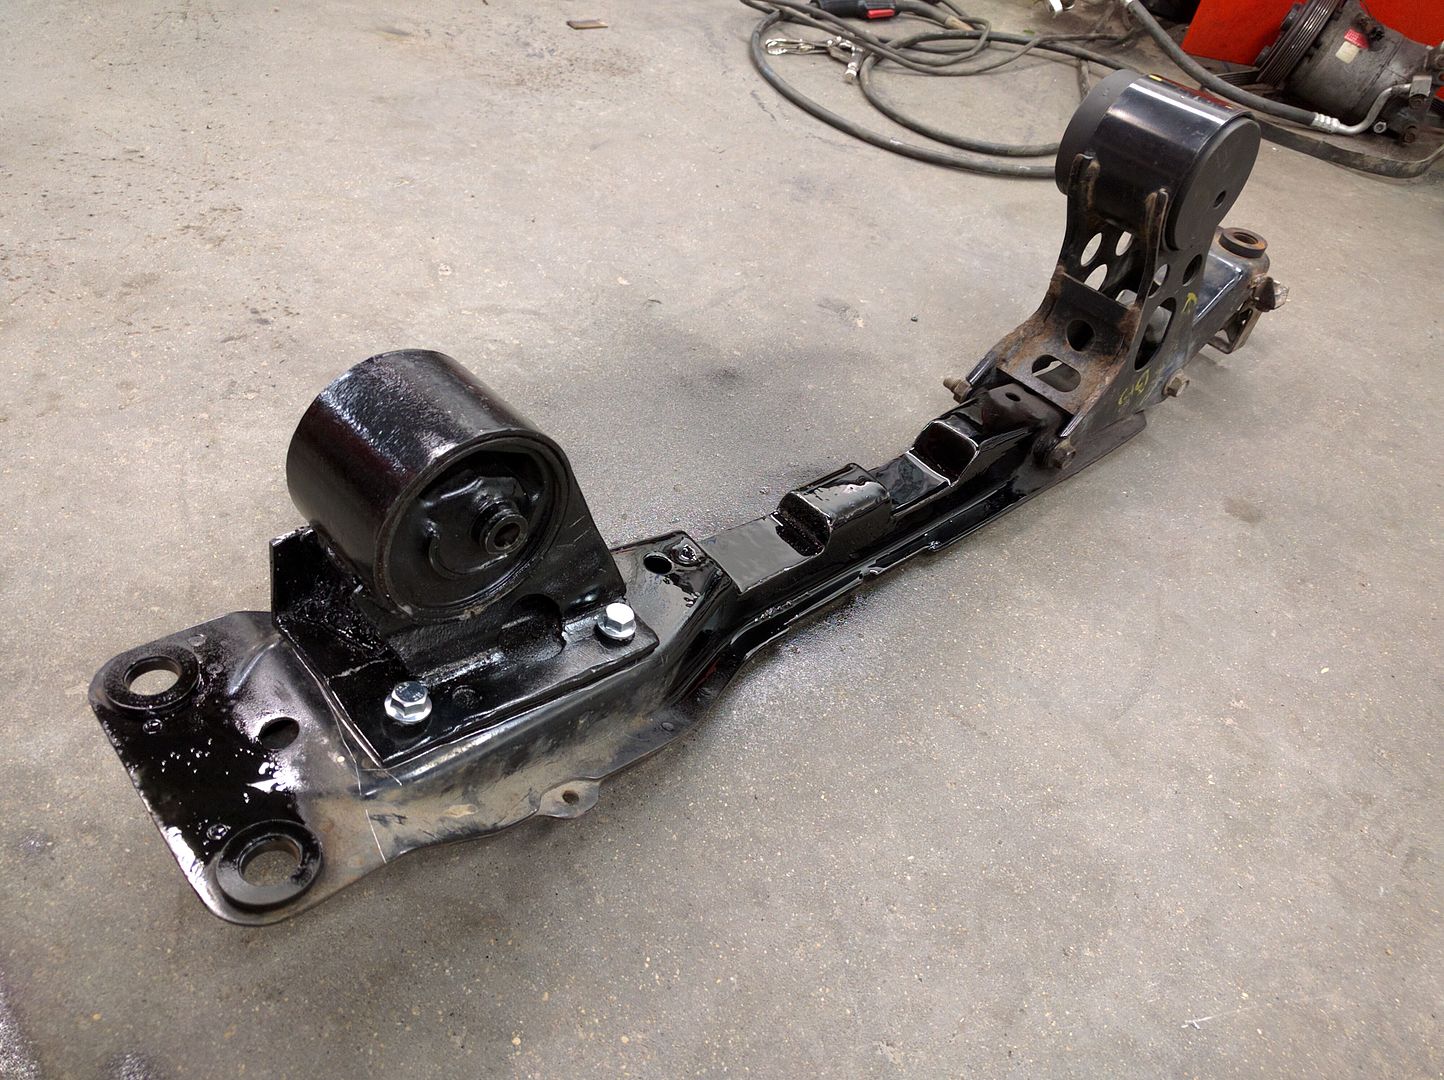
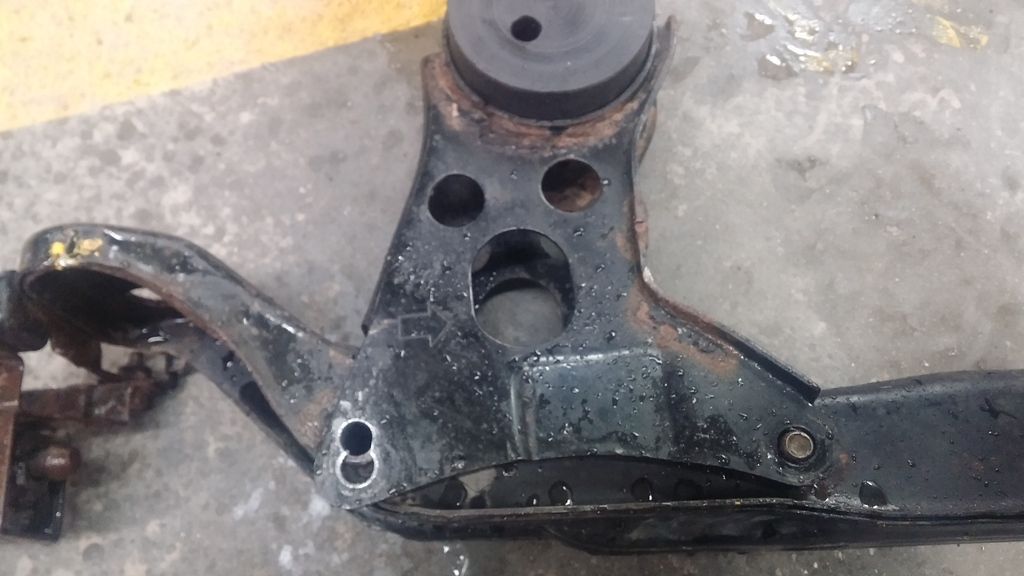
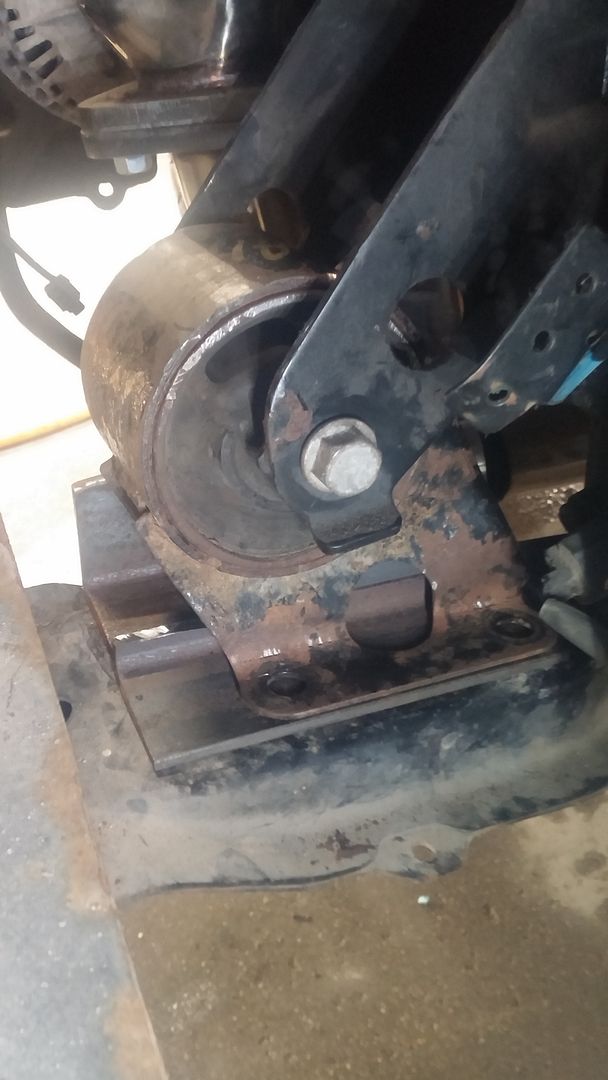
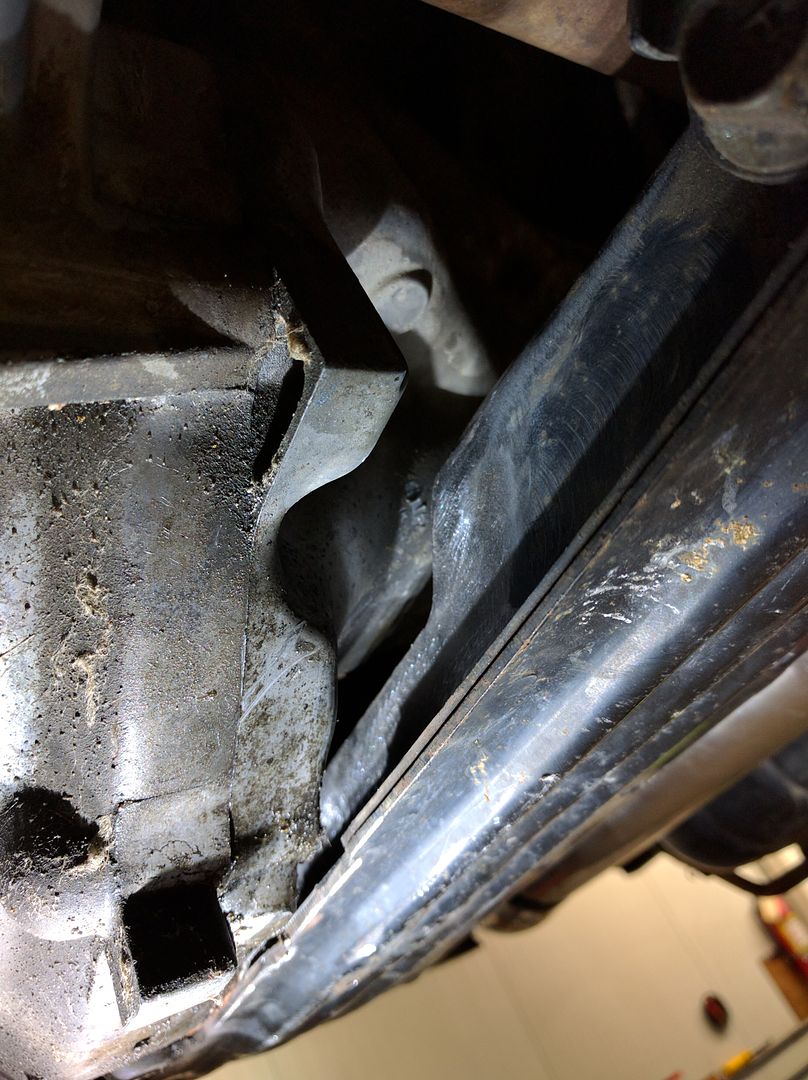
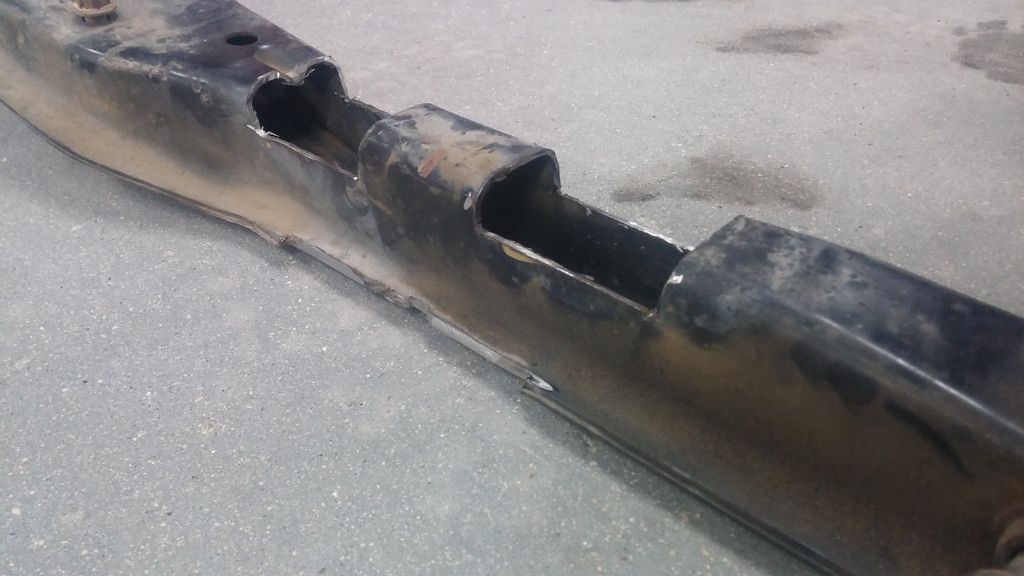 Most people shim the crossmember down a bunch, but I like ground clearance. It's still very tight, I'll do final trimming and box it in once I have the front and rear engine mounts made. Note the missing engine-to trans bolts...that wasn't me. More evidence supporting my beleif that the engine was replaced at some point when it lived in the Altima.


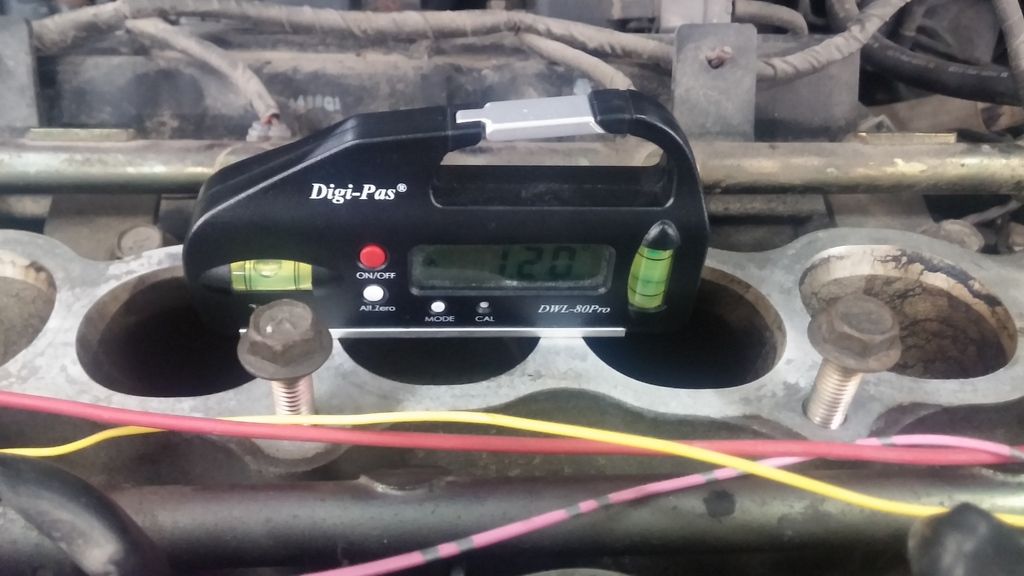
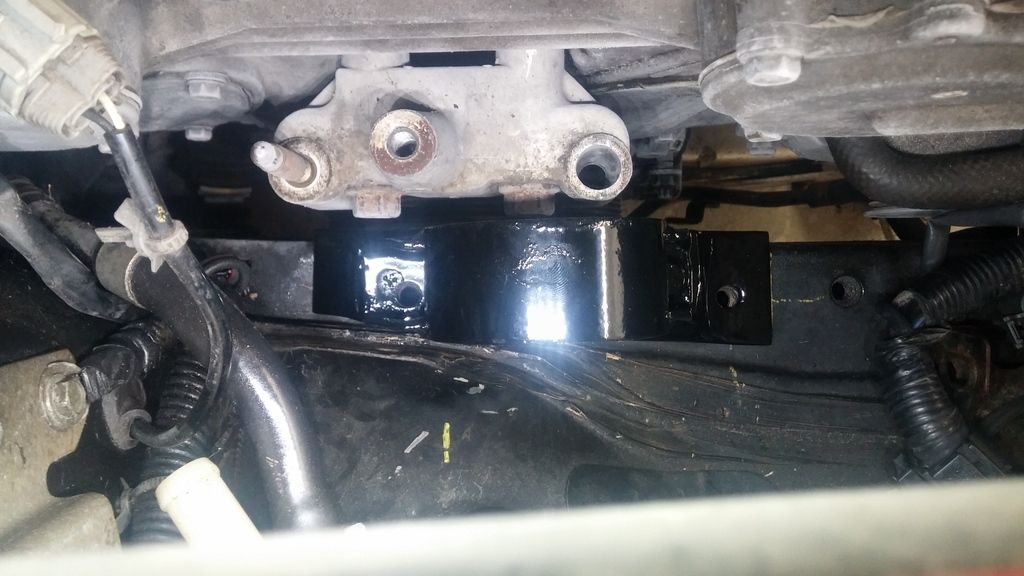 One last check for squareness
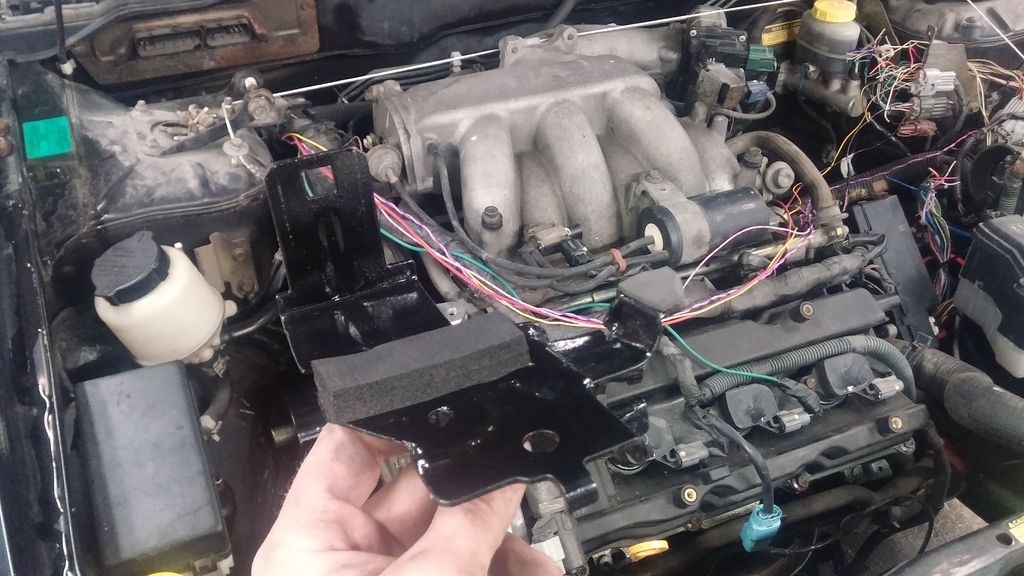
 Intake back on and finished the bracket for the altima IPDM (fusebox)
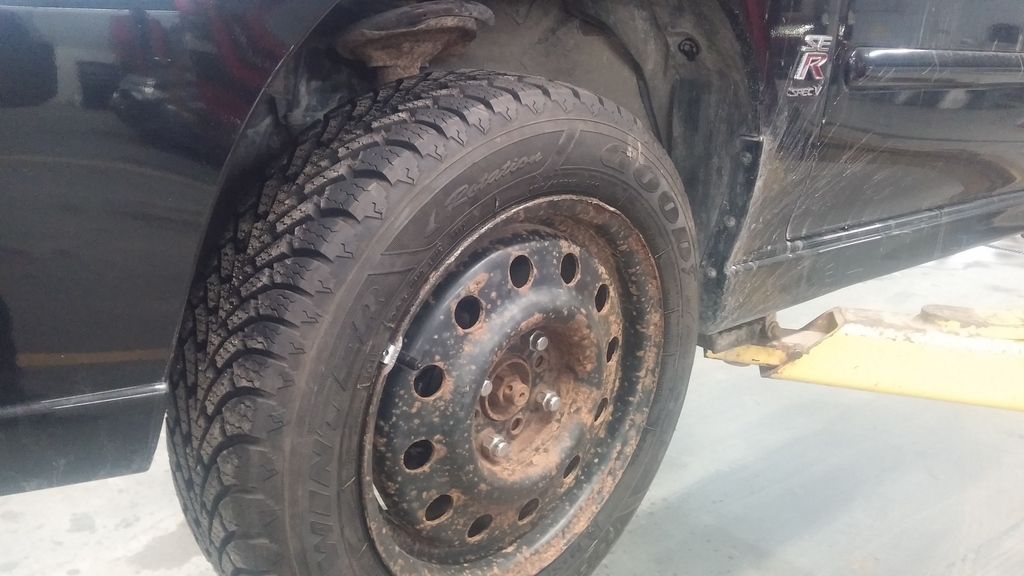 Old tires. Concerned I was going to wreck the car being overzealous on the first drive...

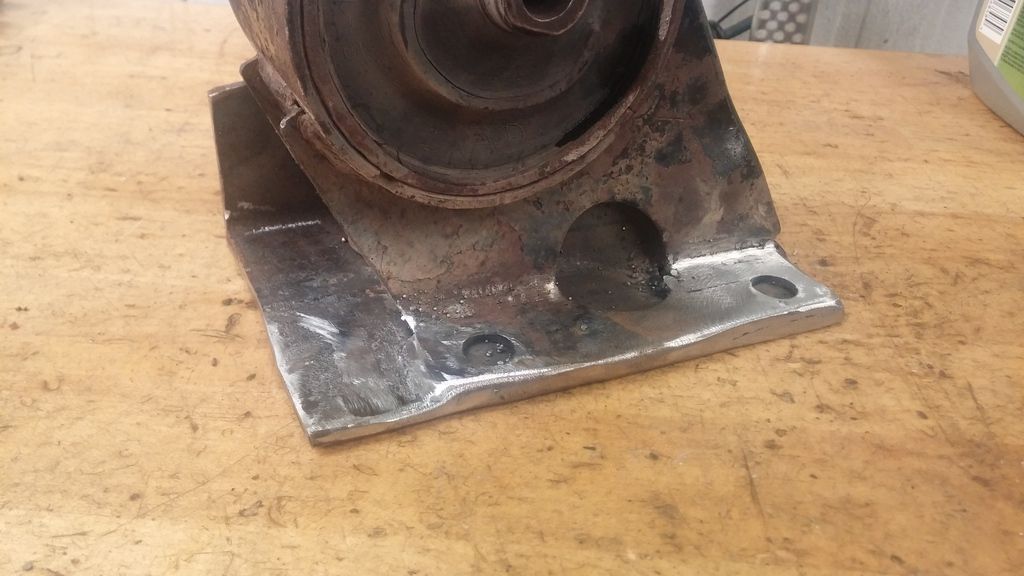
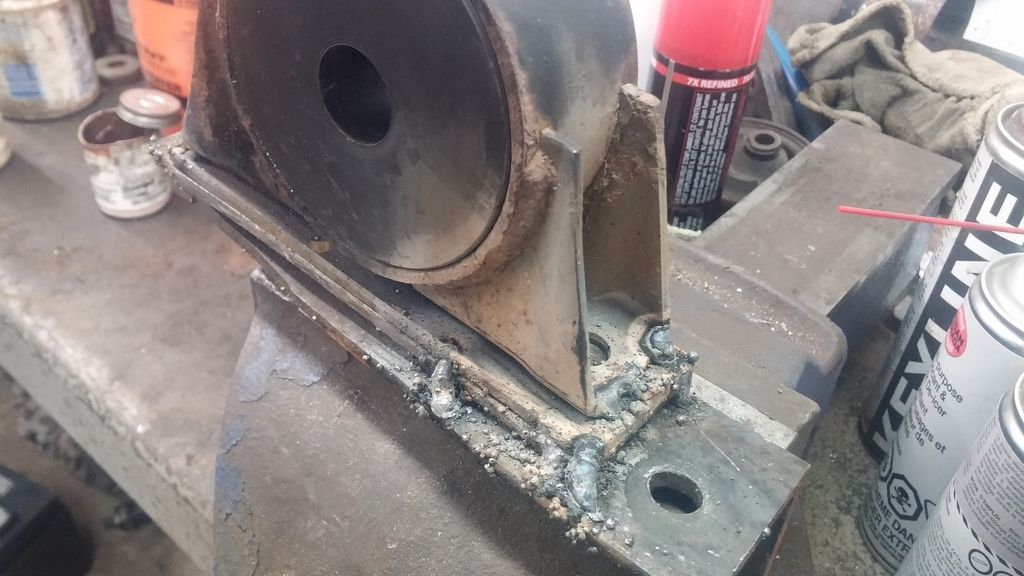
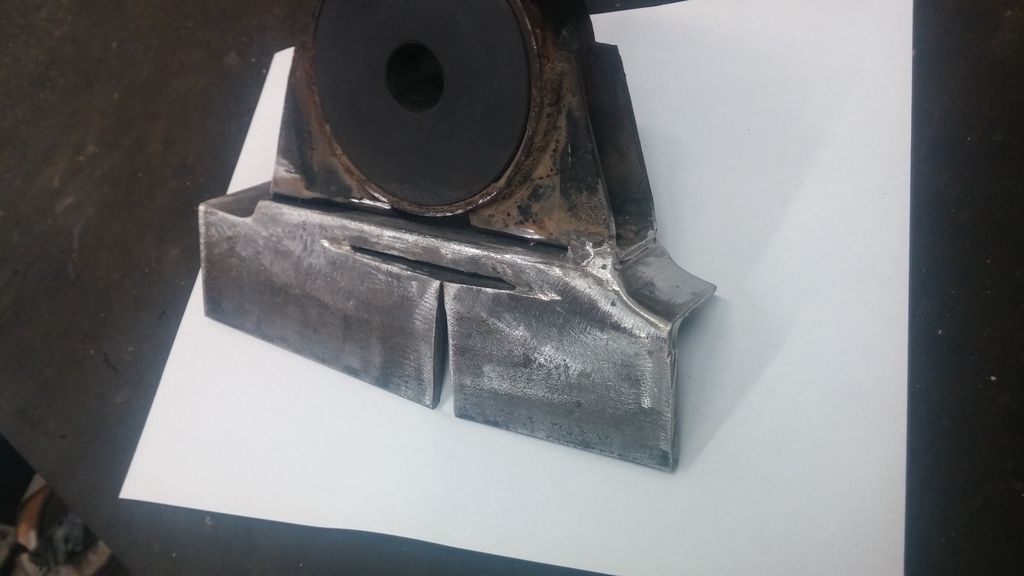
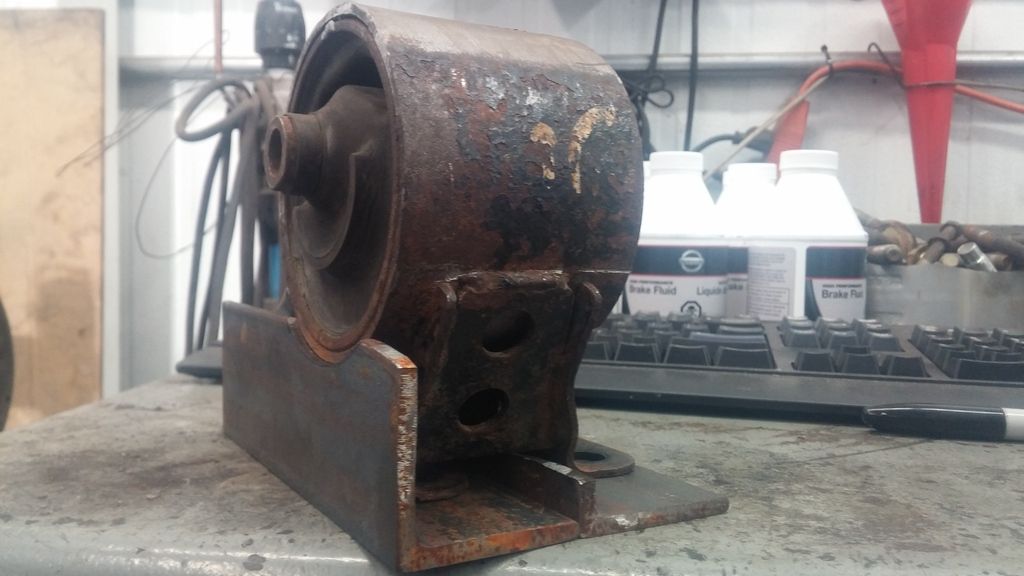
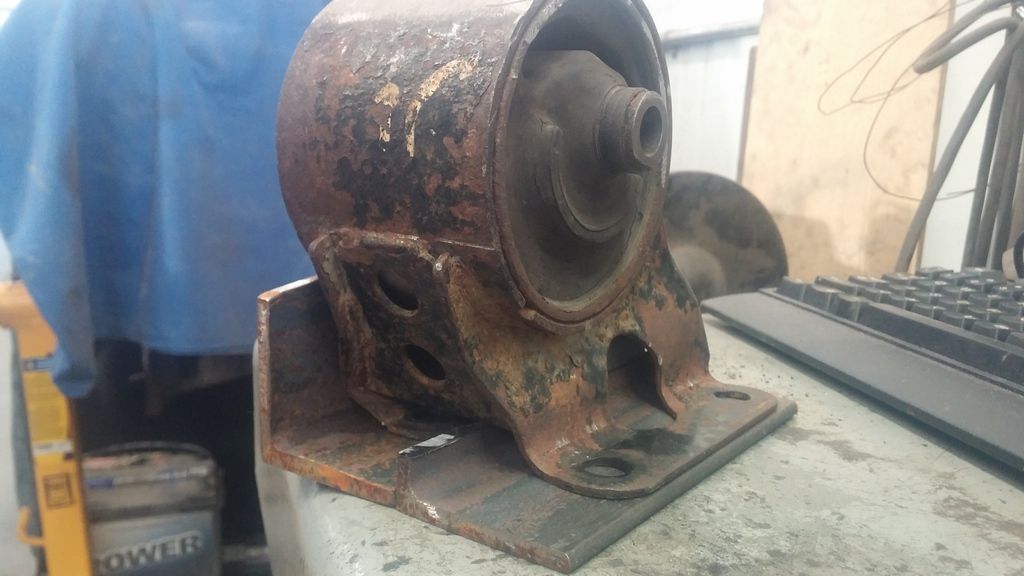
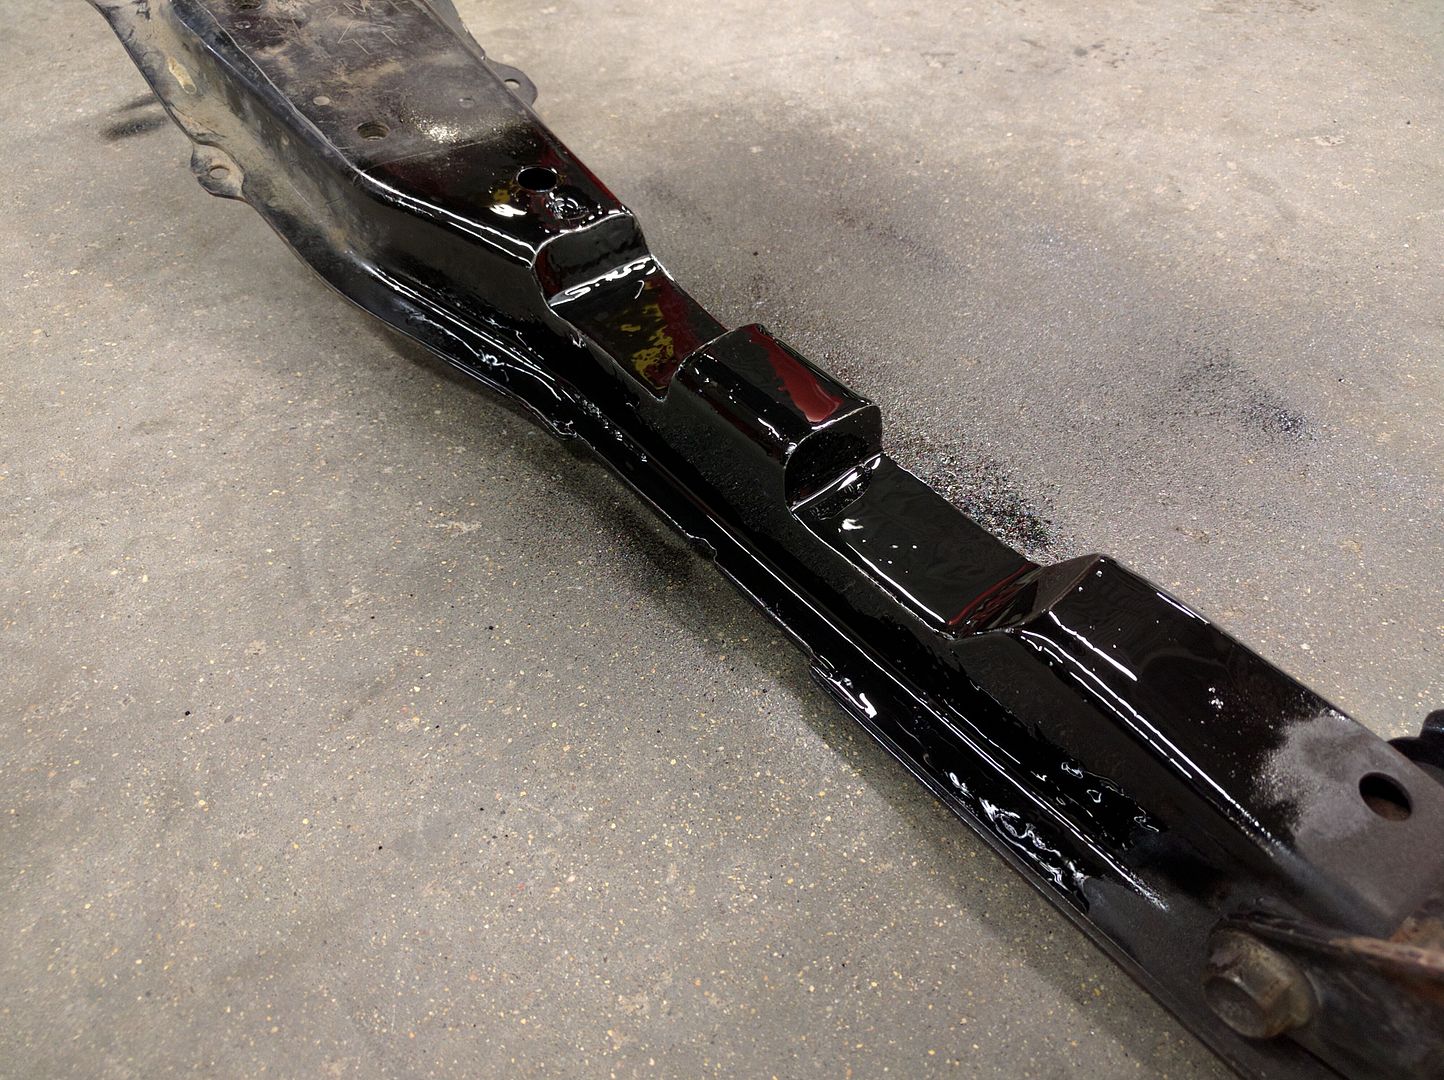
 This was really frustrating and I wasted a lot of time trying to make things better and only making it worse. I finally said "good enough" and just gave it a coat of paint. It'll work fine, and I can make a nicer one at a later date. I think part of the problem was my little welder couldn't handle the thickness of the metal. I was tripping the breaker and still not getting what I wanted out of it.
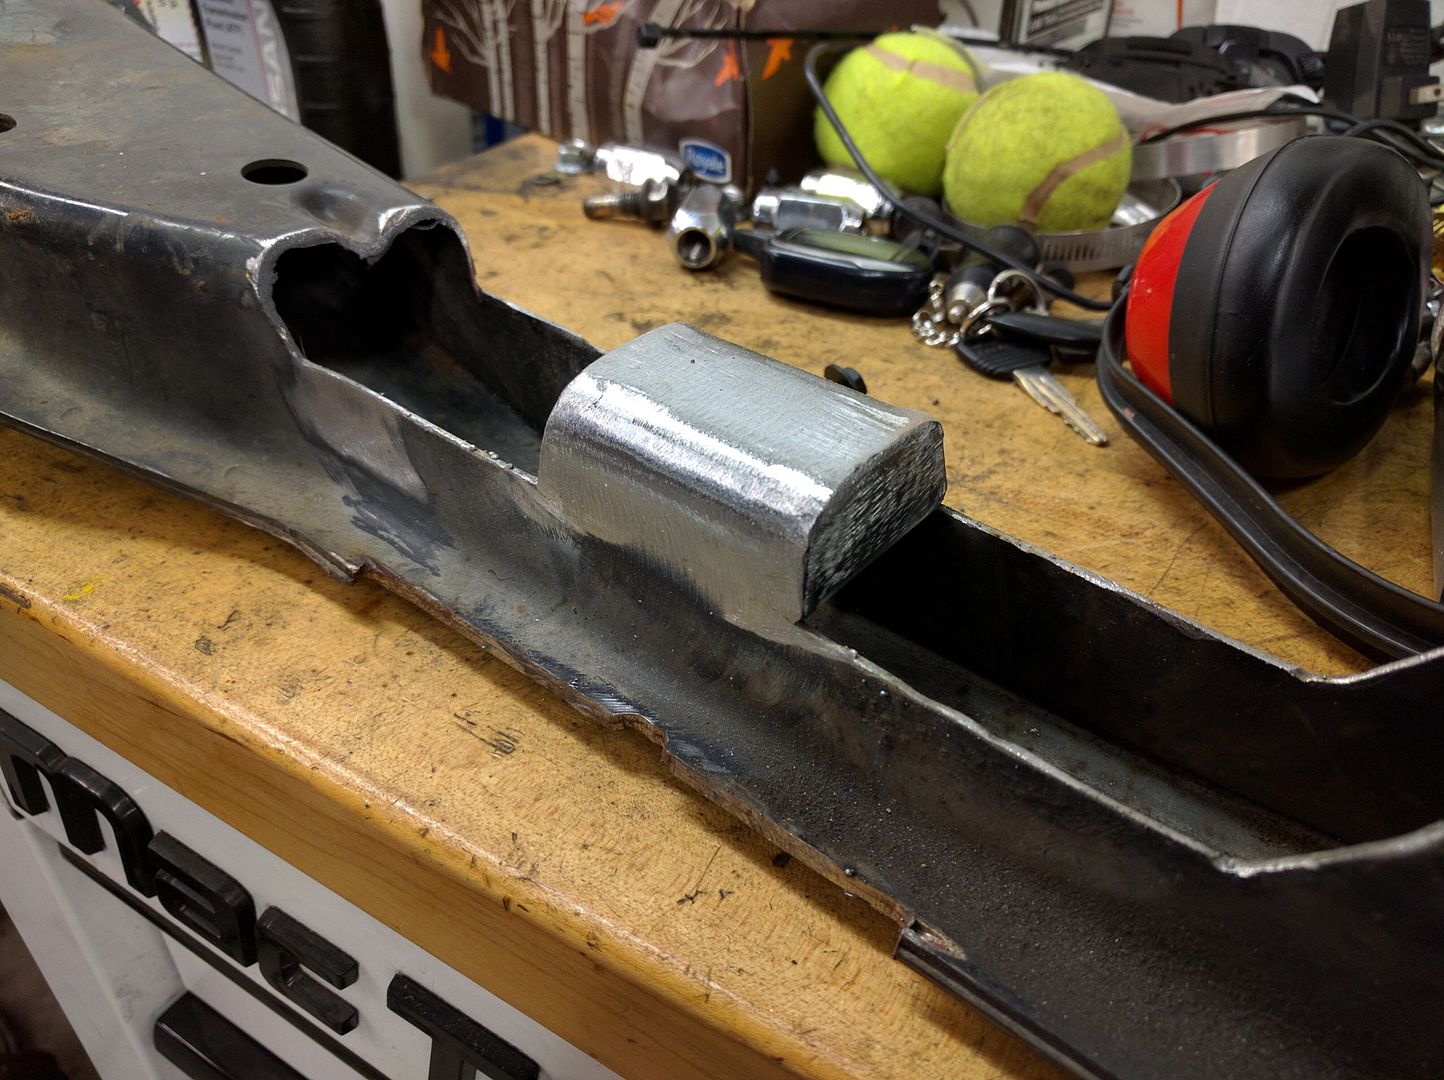
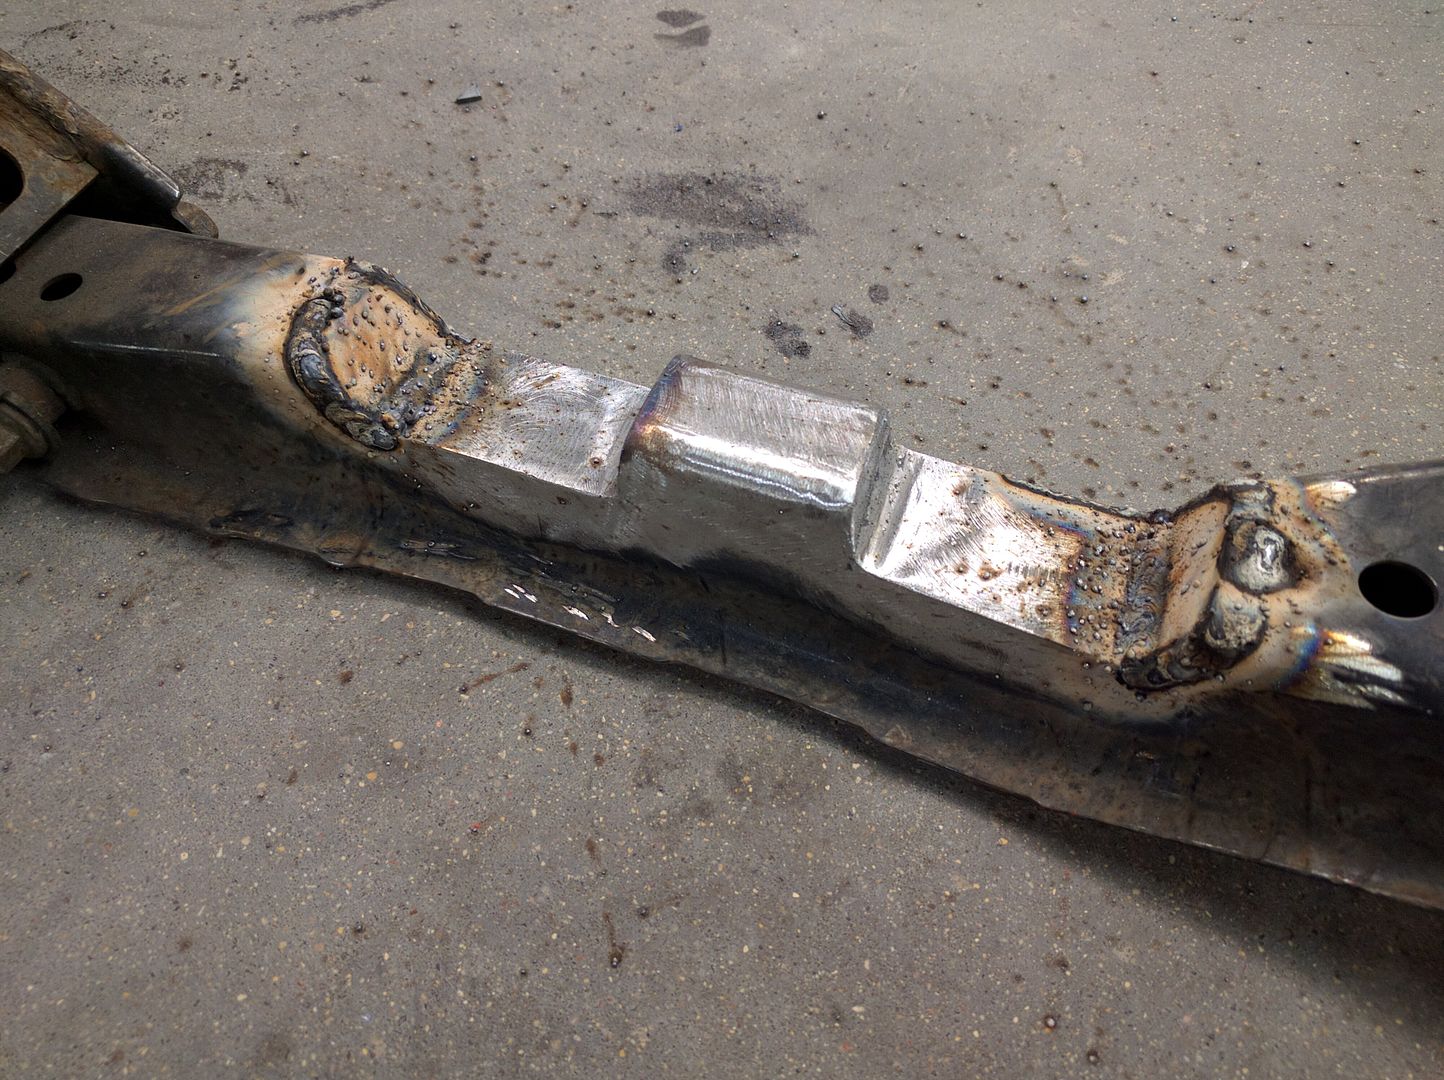
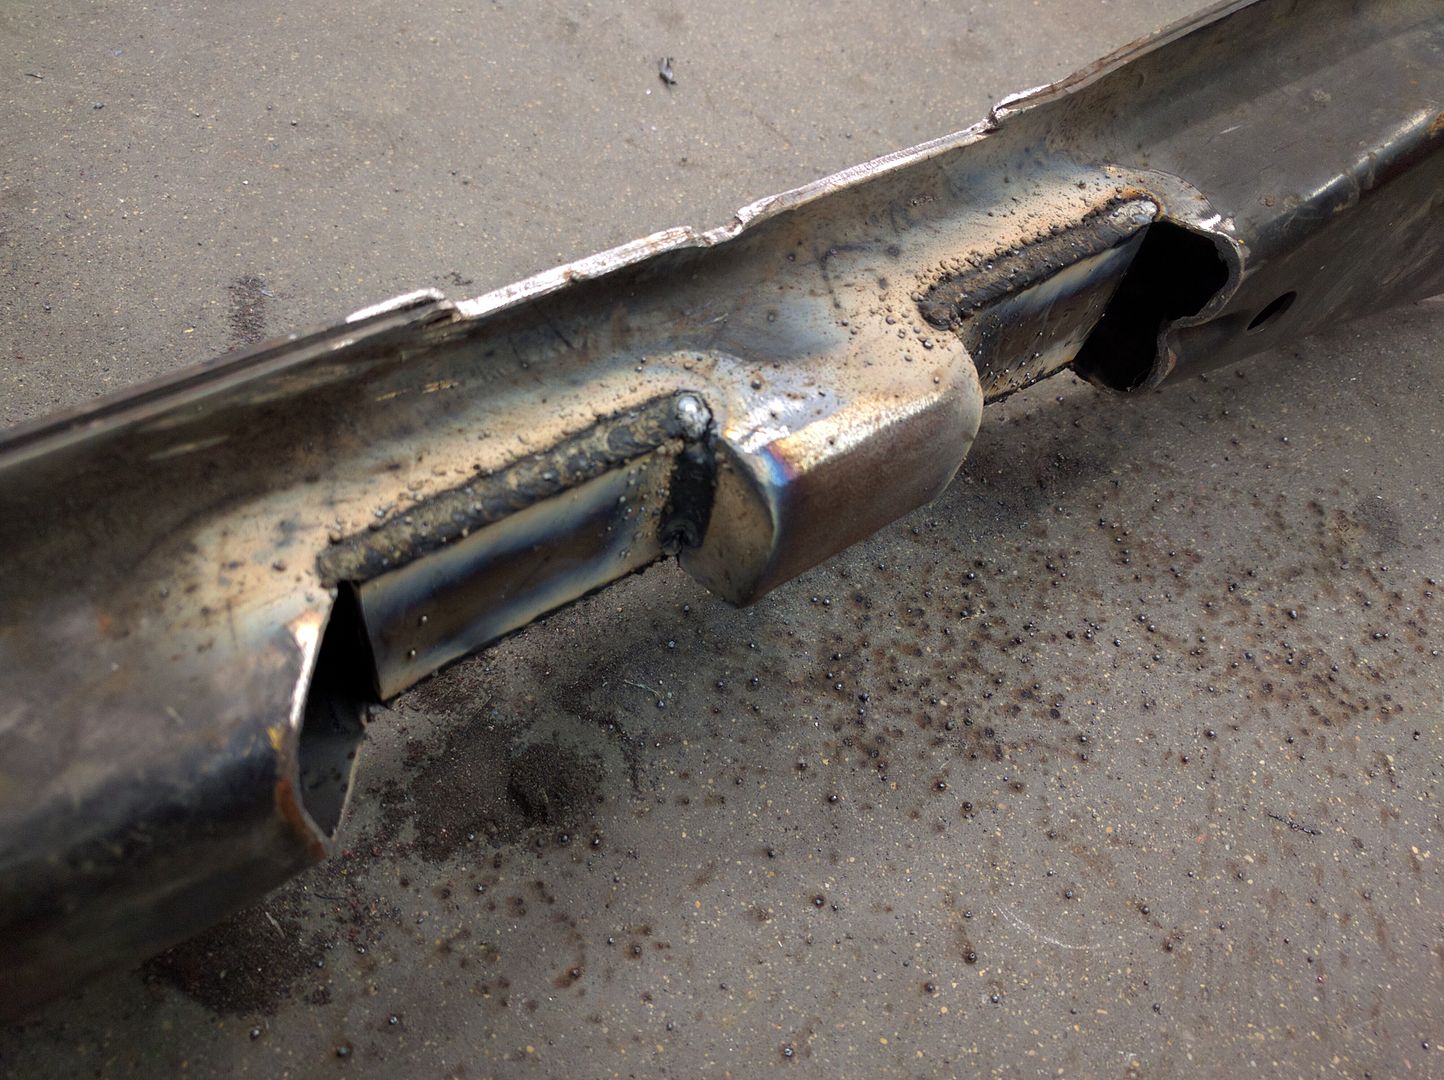
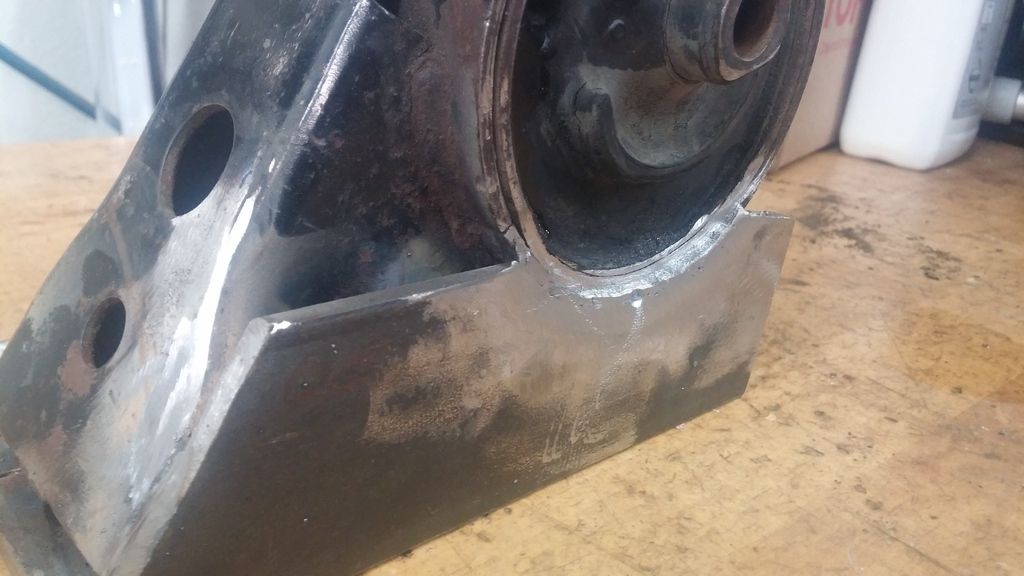
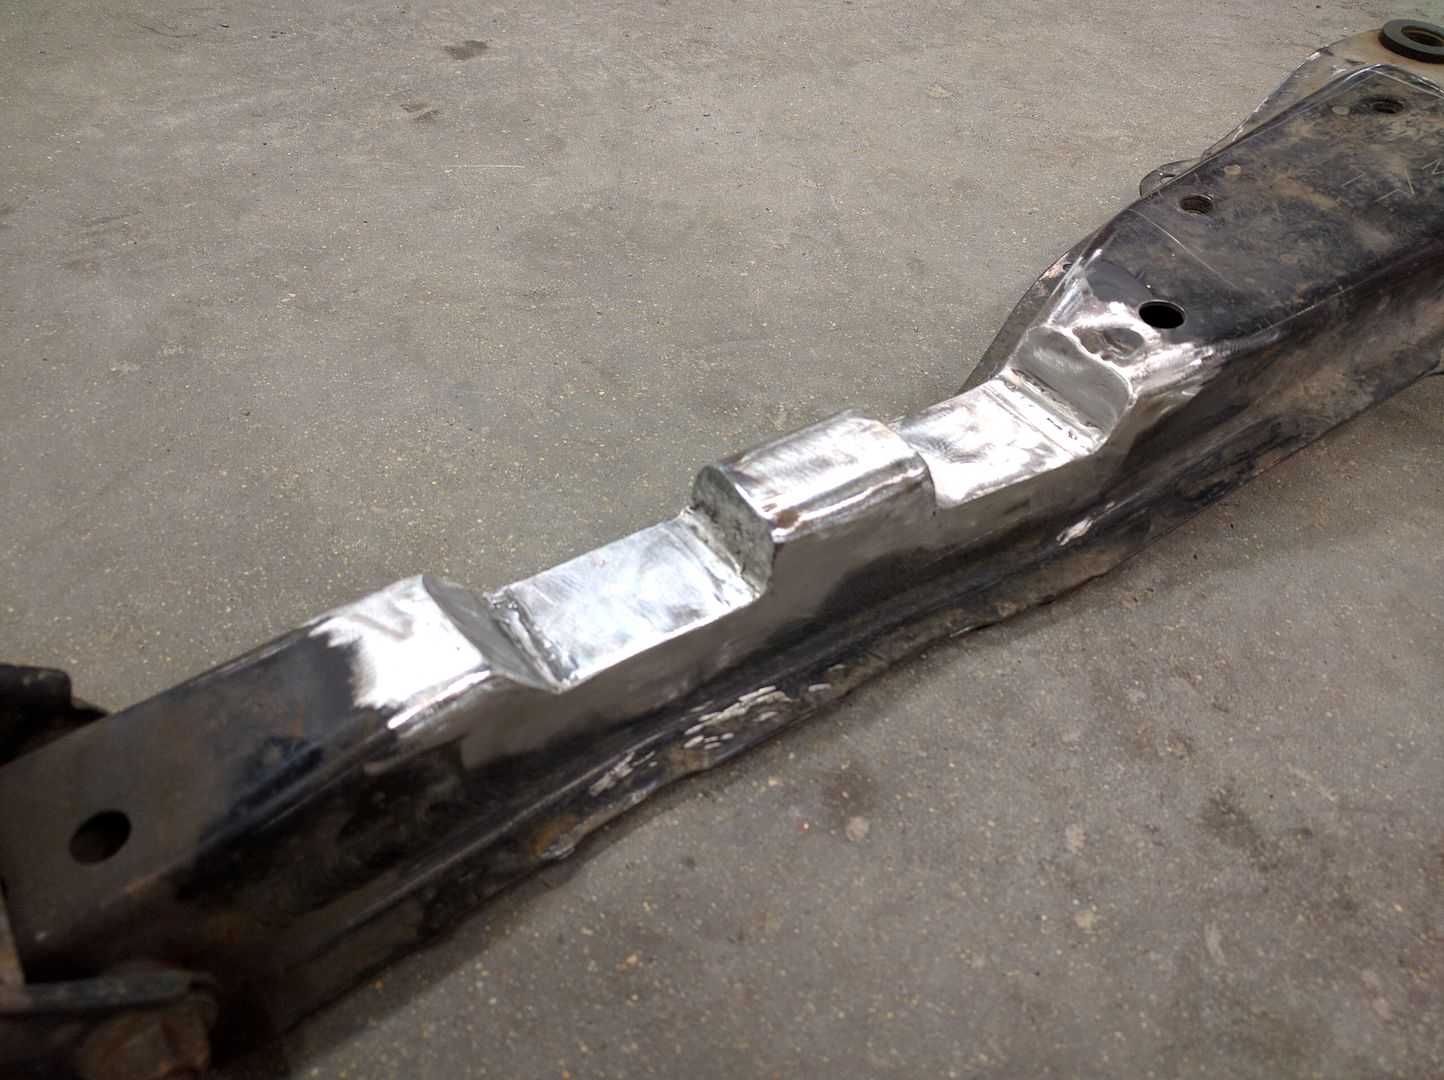 This was fantastic to weld on, much nicer to get solid welds.
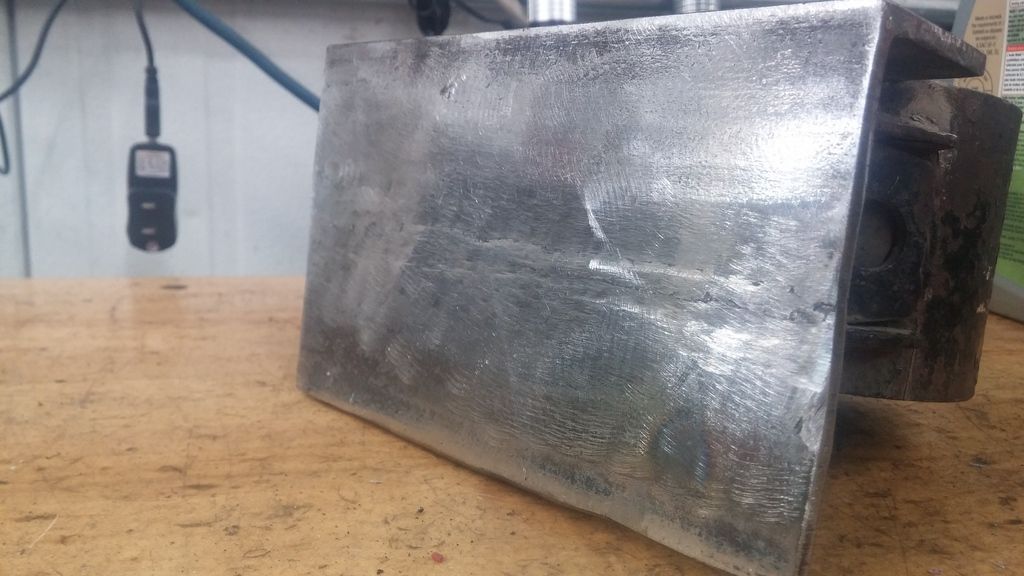
 With the mounts