2 3 4 5 6
Run_Away
Run_Away HalfDork
8/28/16 11:12 a.m.

Here's the vid

https://www.youtube.com/embed/oHlzVMx5MyA

and the chart Quite pleased with the results, it's a good bit higher than I was expecting.

Mods are

-homebrew 3" CAI

-ebay headers, high flow cat, 2.5" crush bent exhaust with two straight through mufflers

-2 degree timing bump

Not bad for something rated at 245hp crank!

Run_Away
Run_Away HalfDork
8/28/16 12:05 p.m.

Just as a note, I really think this car would be a great contender for the challenge.

Going over my receipts, here's what I have into the car

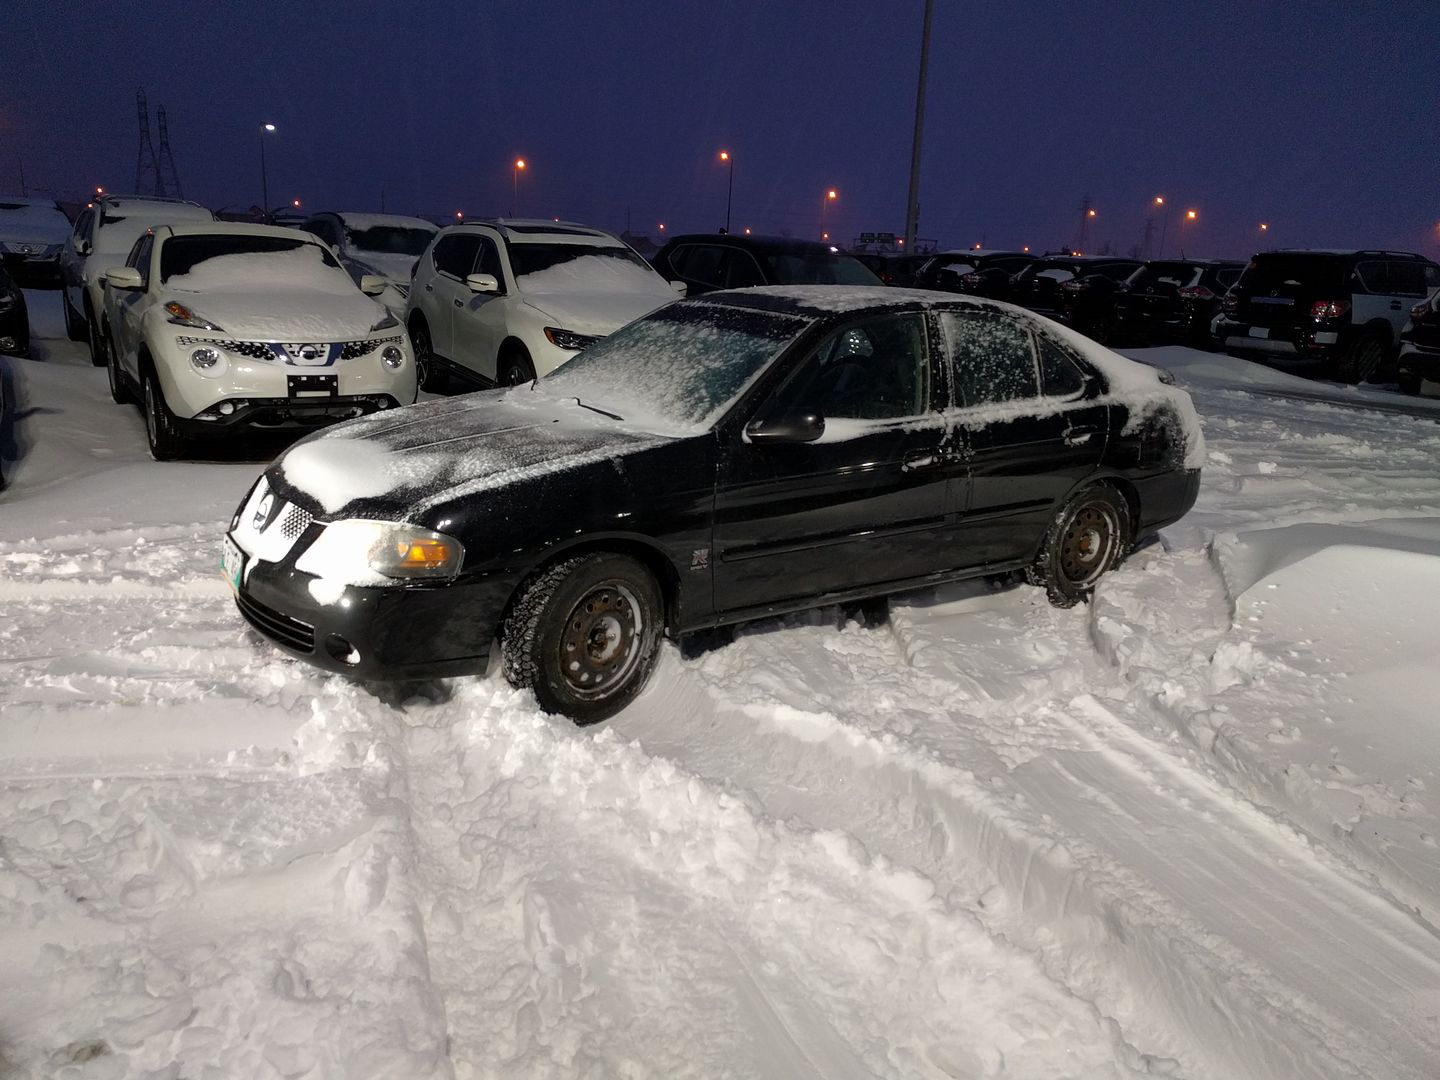
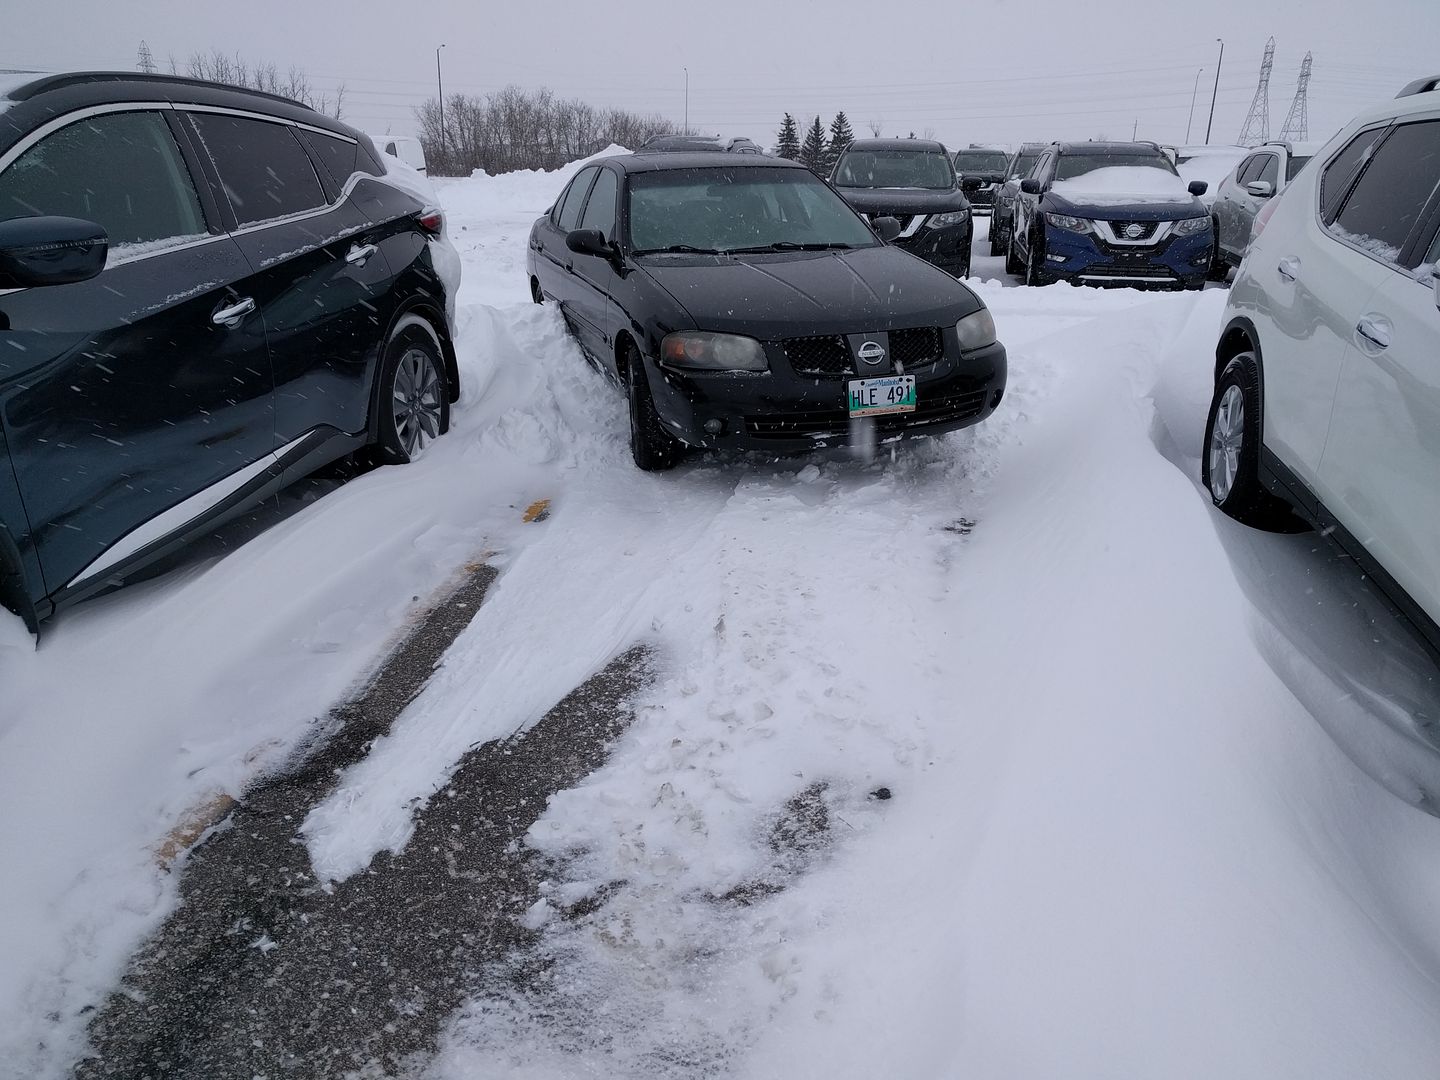
-$600 purchase of car with blown engine, bone stock on bald winter tires. Lots of blown engine Spec Vs around. I have not sold any parts from the original engine, plenty of room for recoup there.

-$200 purchase of factory 17" alloys with 2 bald tires, 2 near bald tires, 4 15" steel wheels, and lowering springs. Sold lowering springs for $100

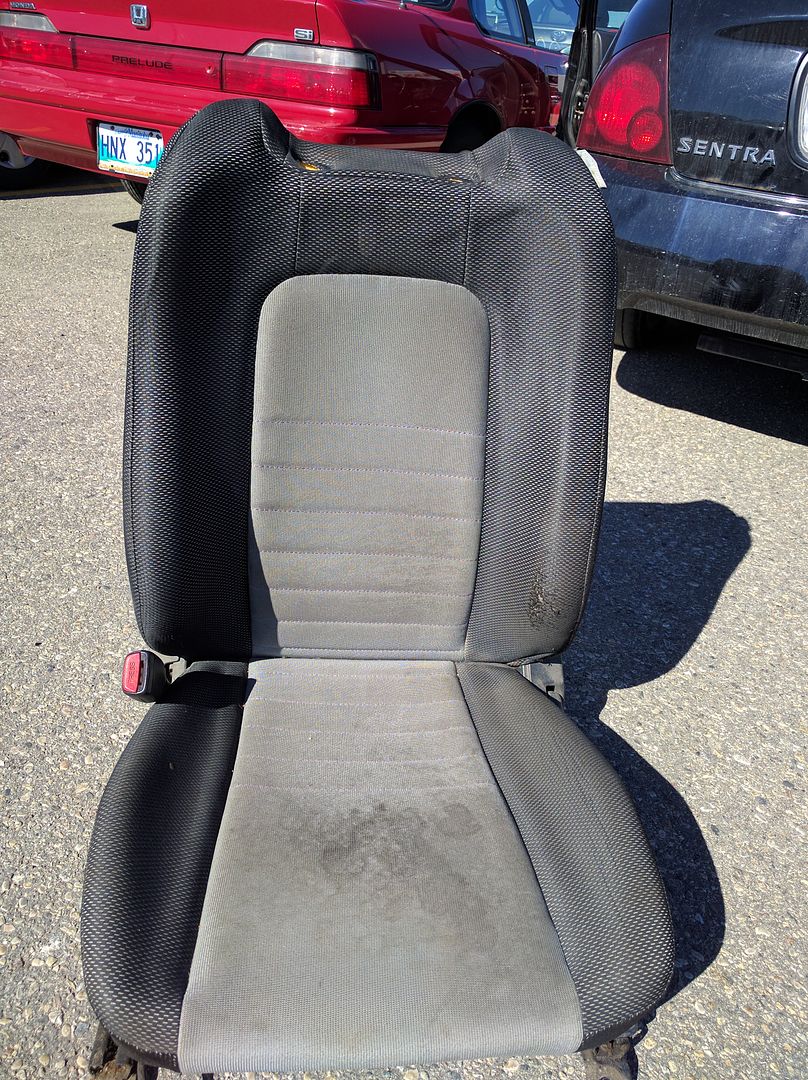
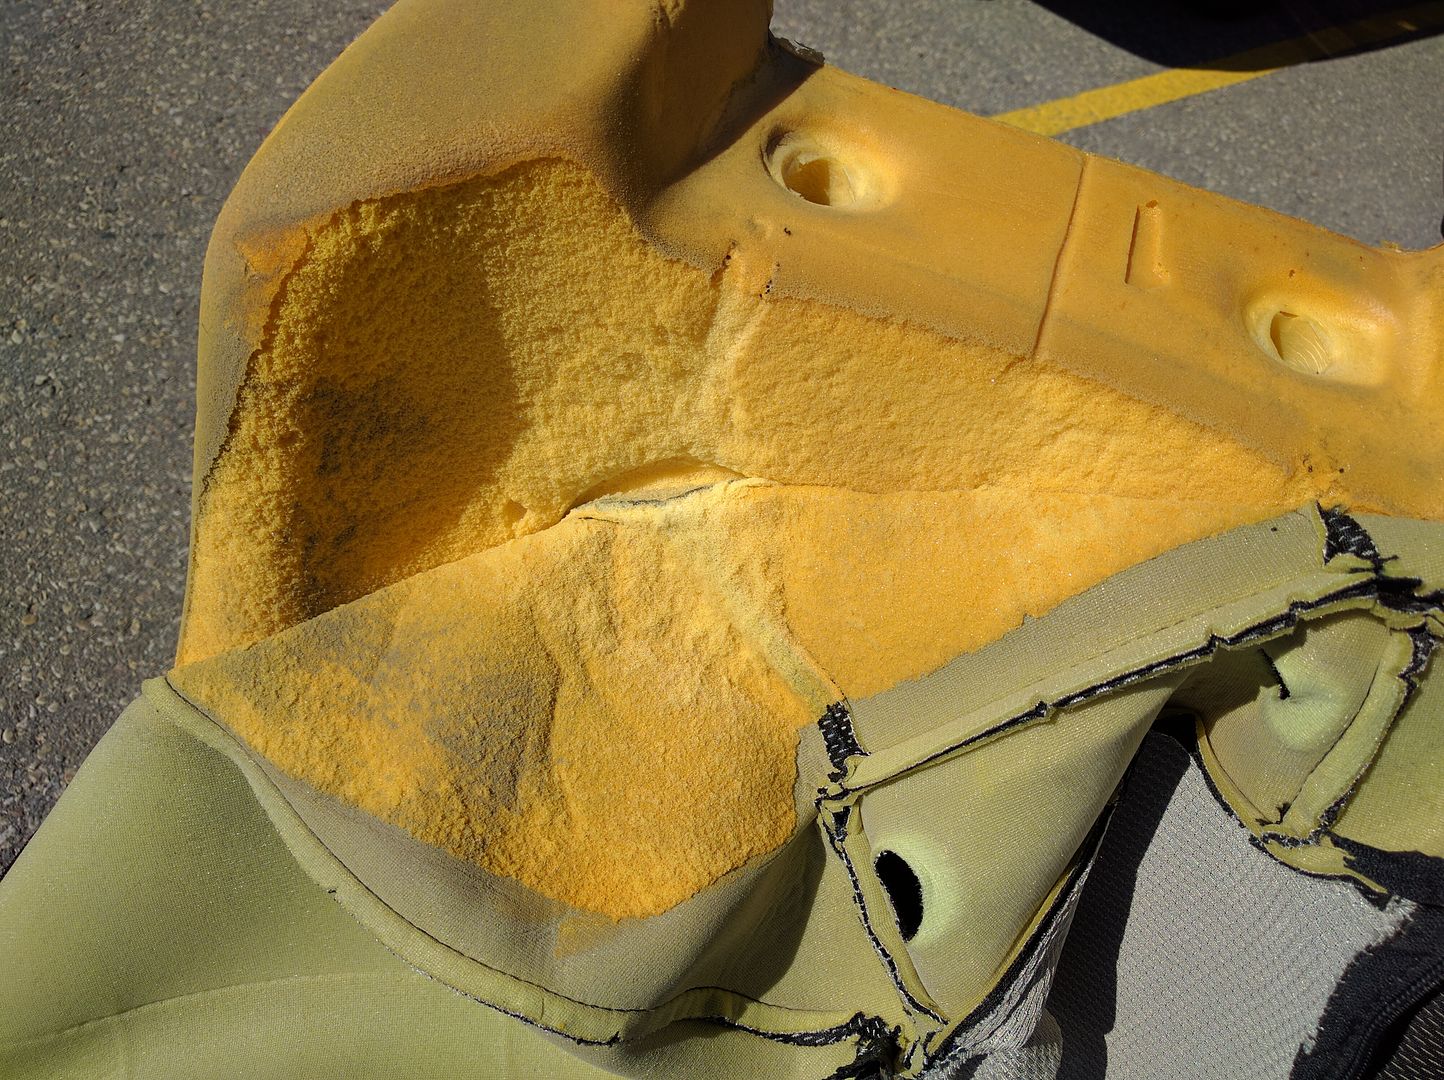
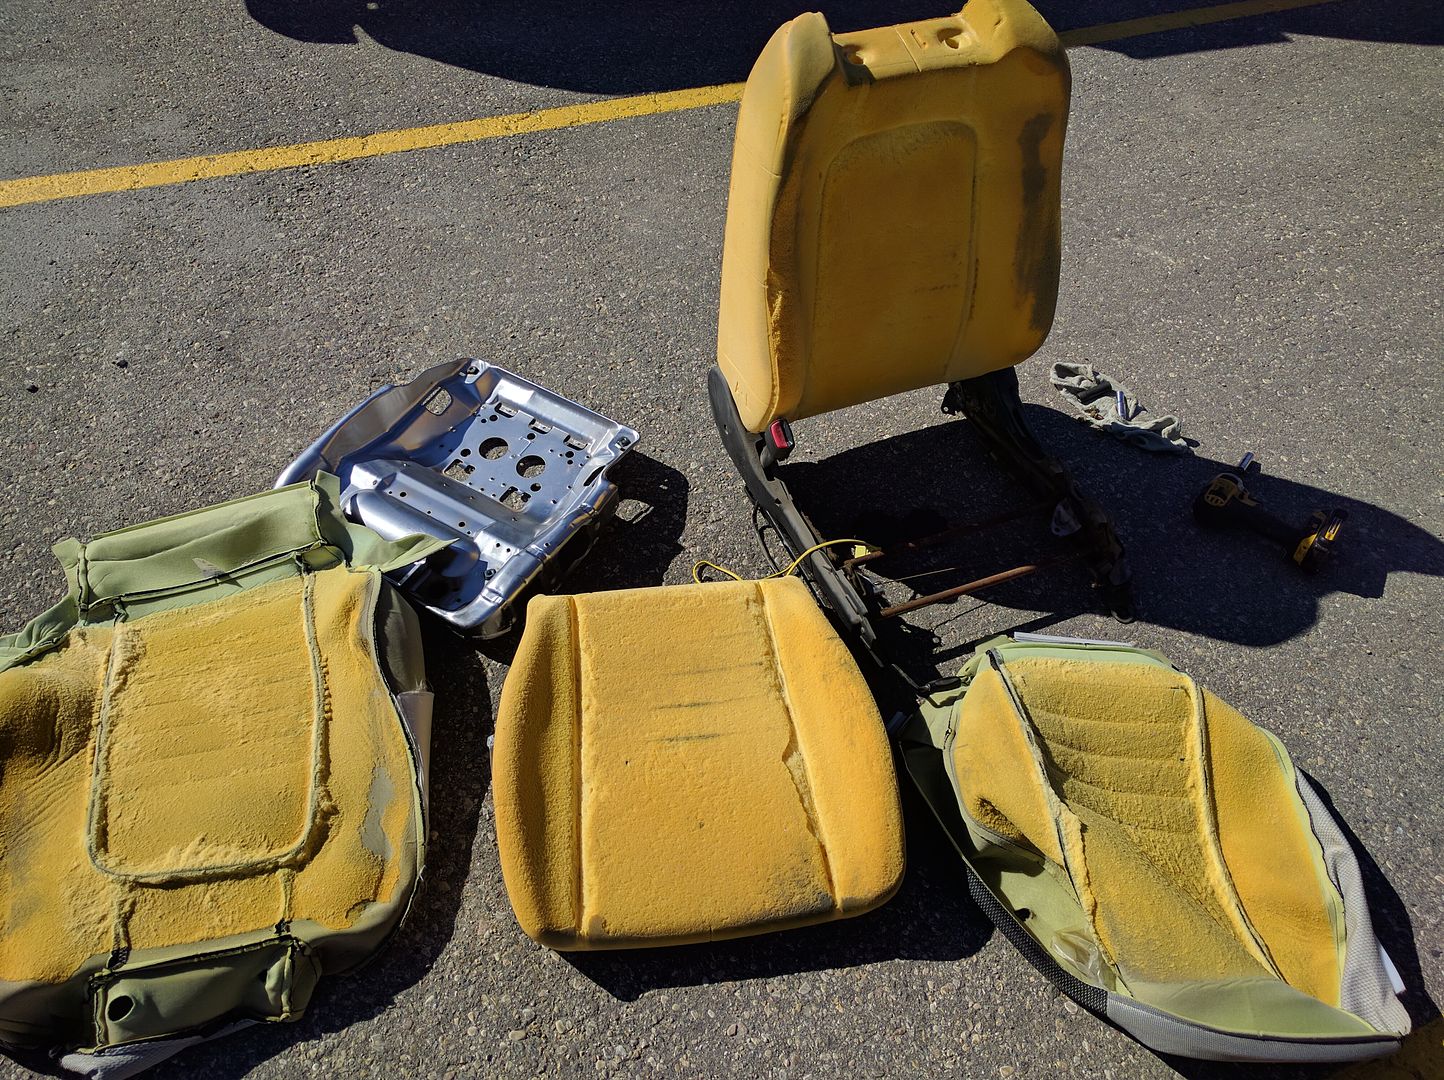
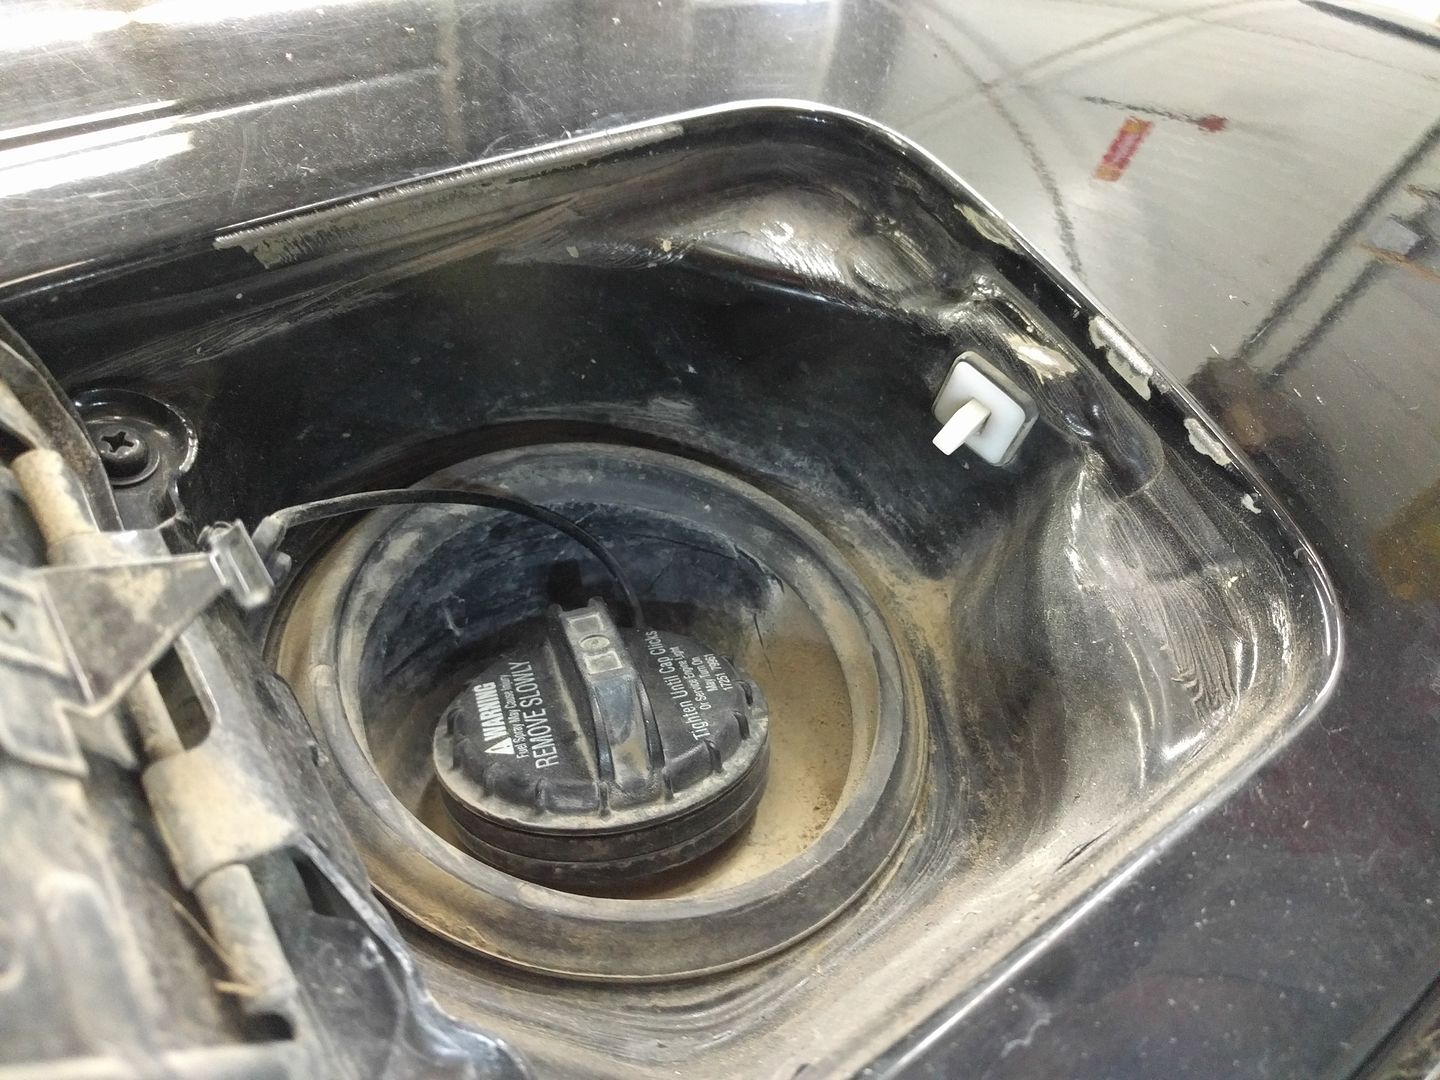
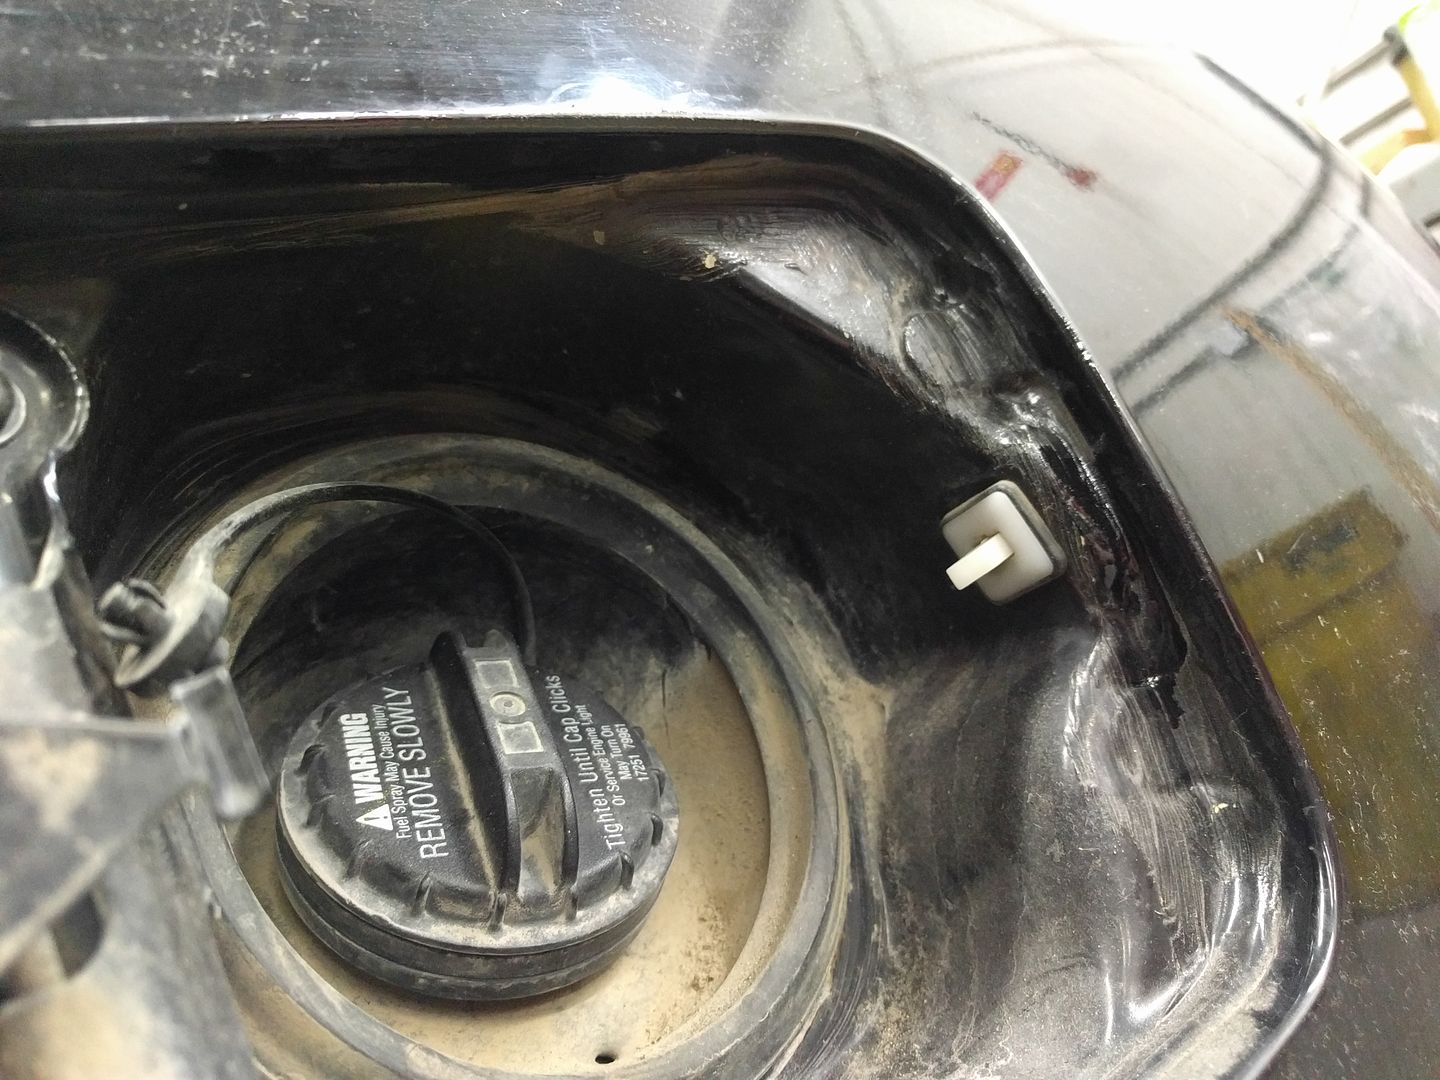
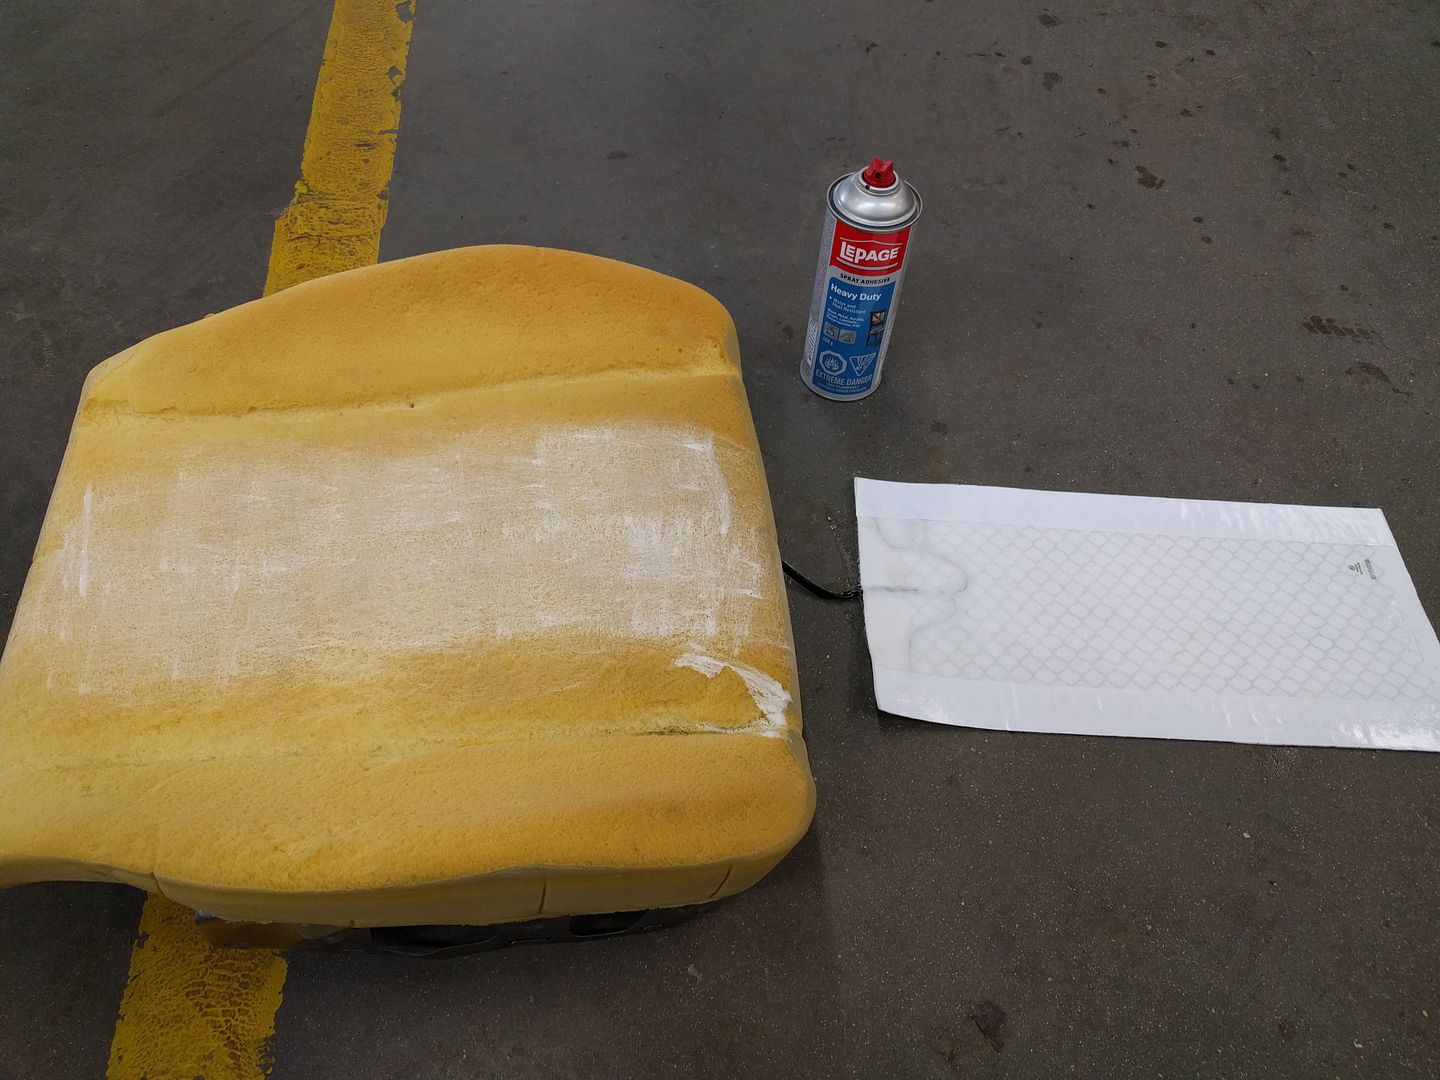
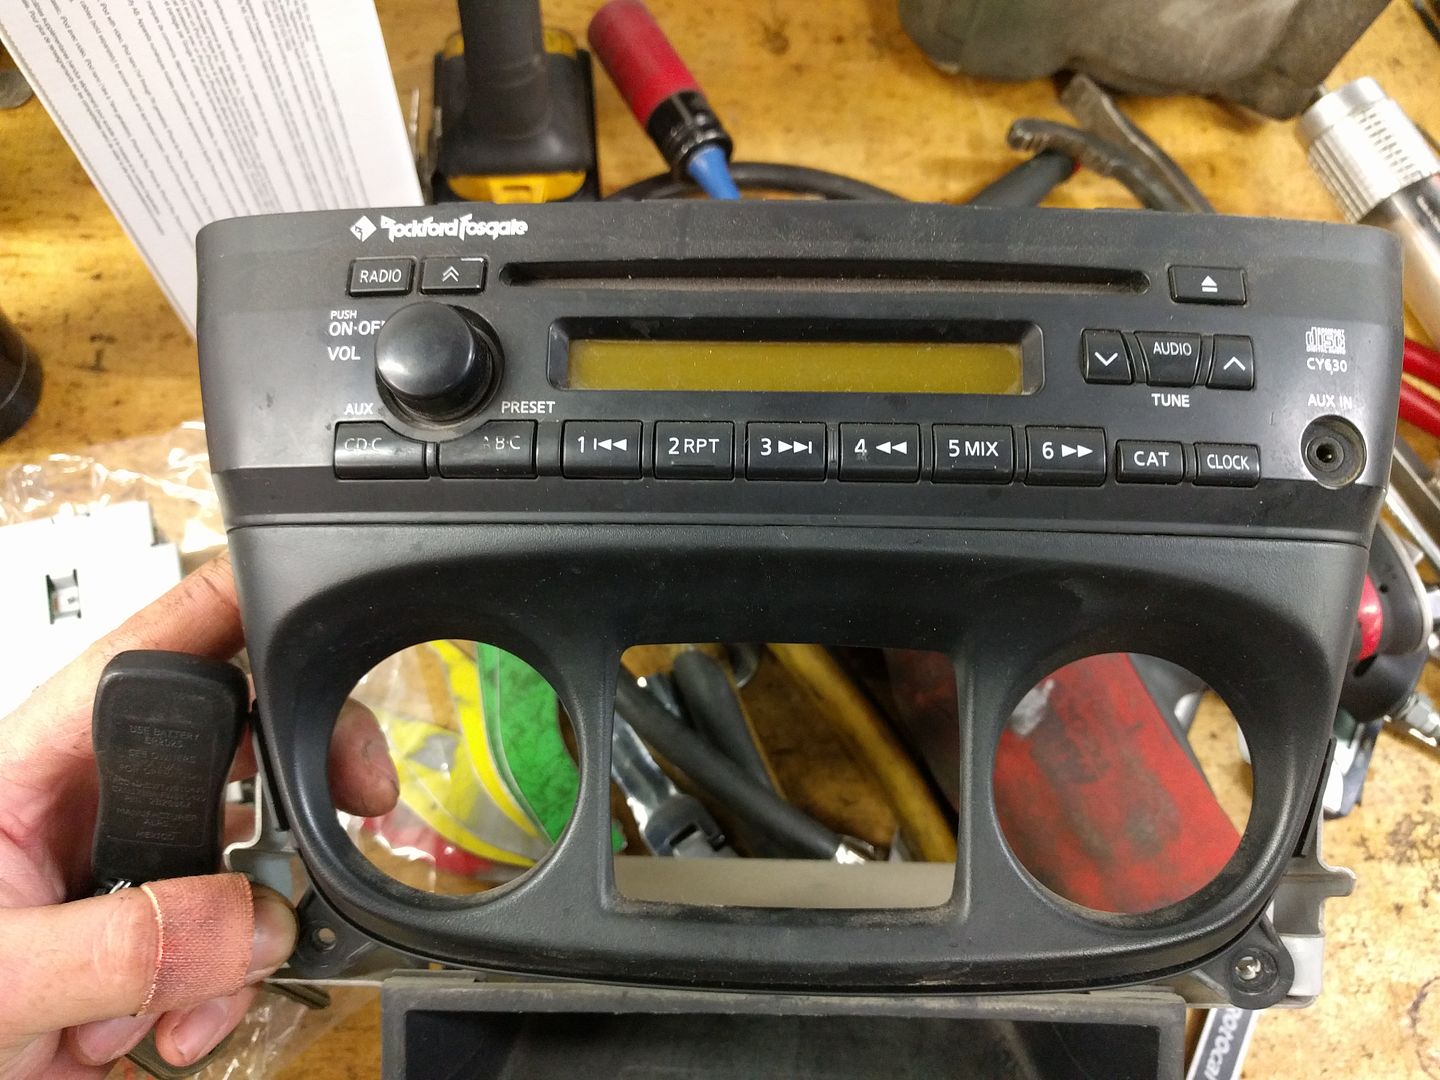
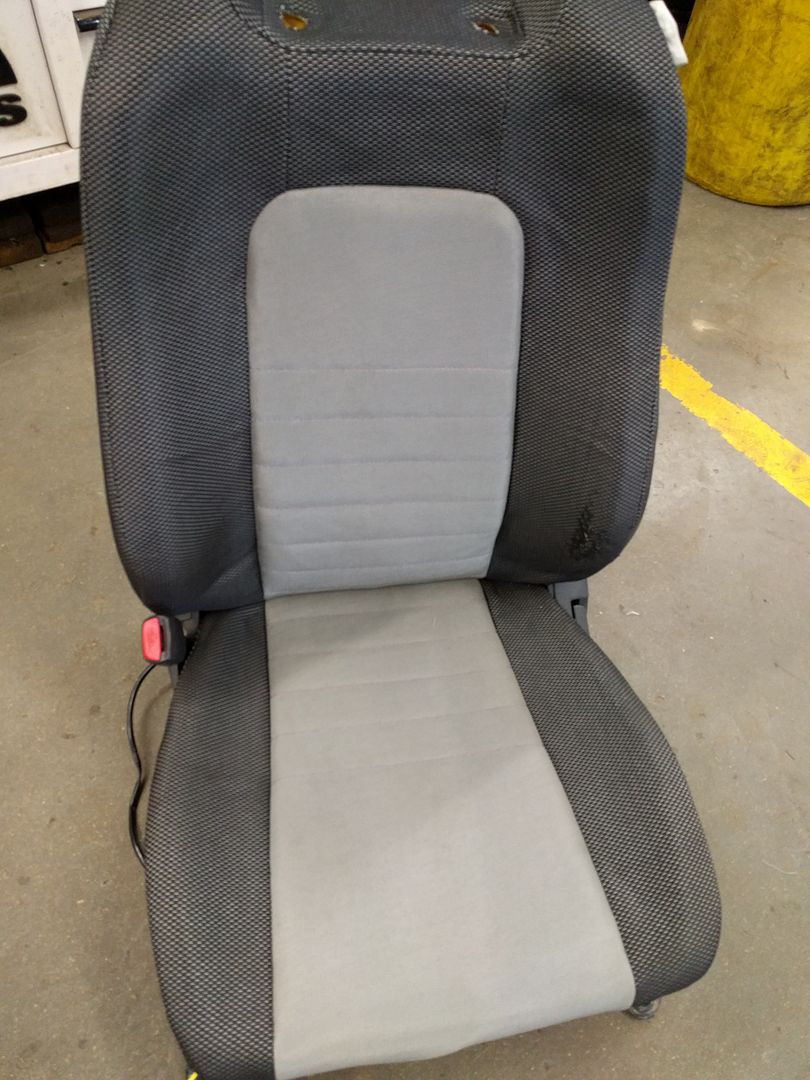
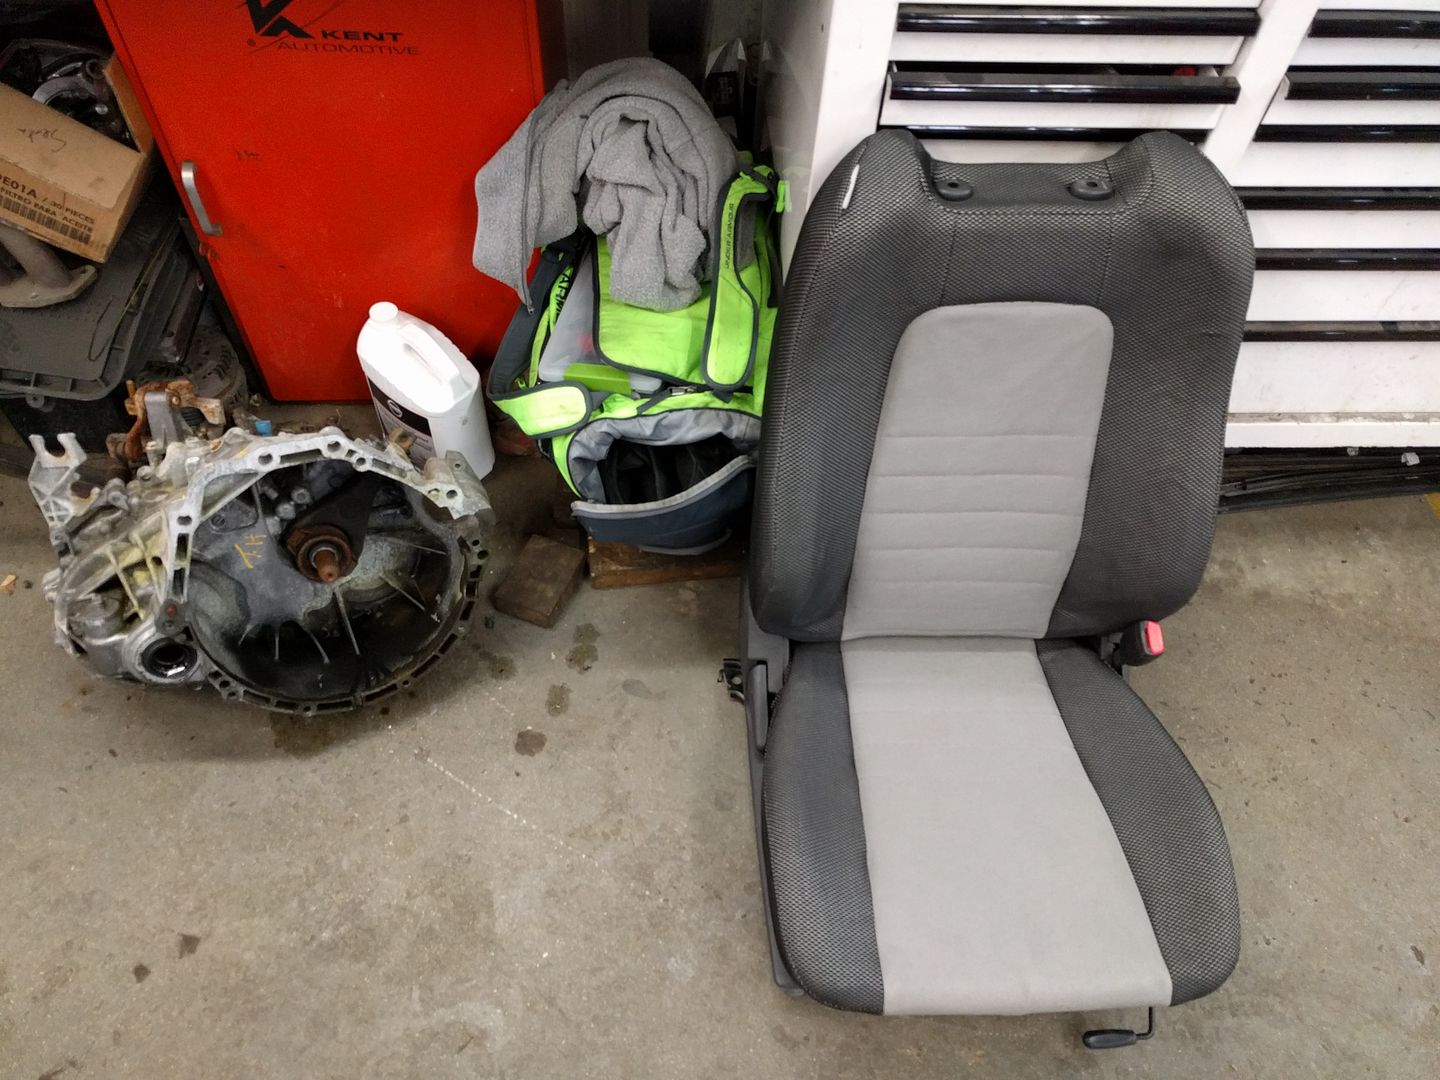
-$475 purchase of VQ35 5 speed Altima. Harvested everything I needed off it, kept the factory stereo system, and mint two front leather heater power seats. Sold the fuel filler door and a door lock actuator for $20, scrapped the rest for $220

-$312 into purchase of radiator, purchase of replacement cap and filler neck, labour x2 to relocate outlet and replace filler neck. I think the OEM rad would be sufficient for challenge duties, others only report issues in stop and go traffic with the OEM rad

-$77 set of 6 spark plugs. If you were to go regular coppers it would be much cheaper...

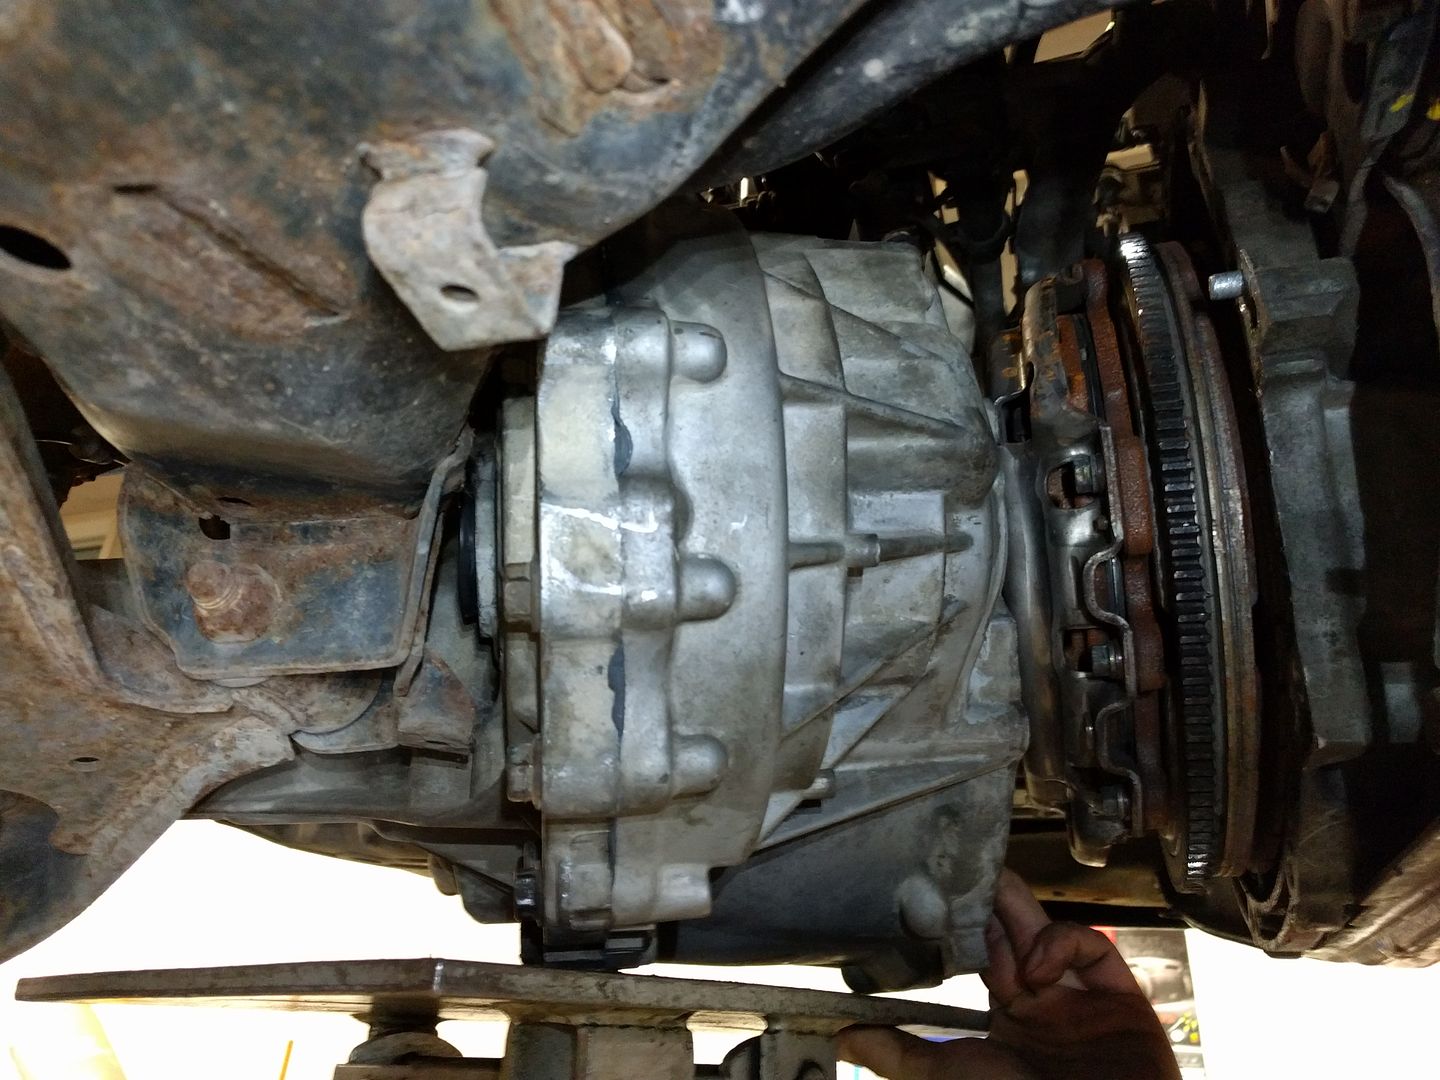
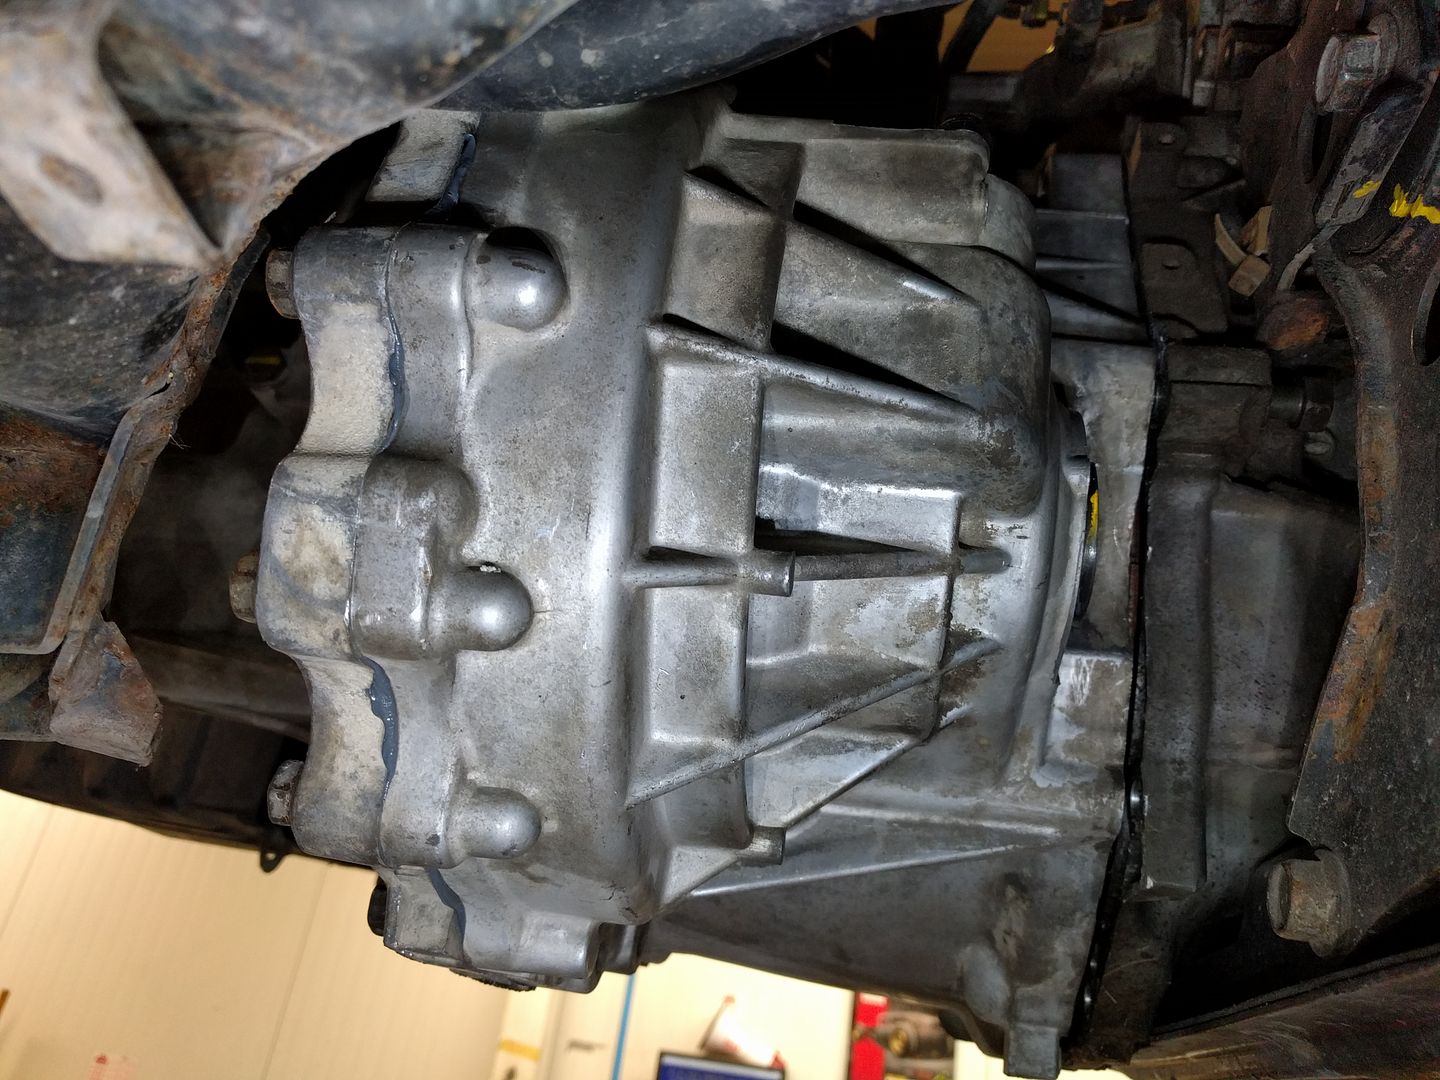
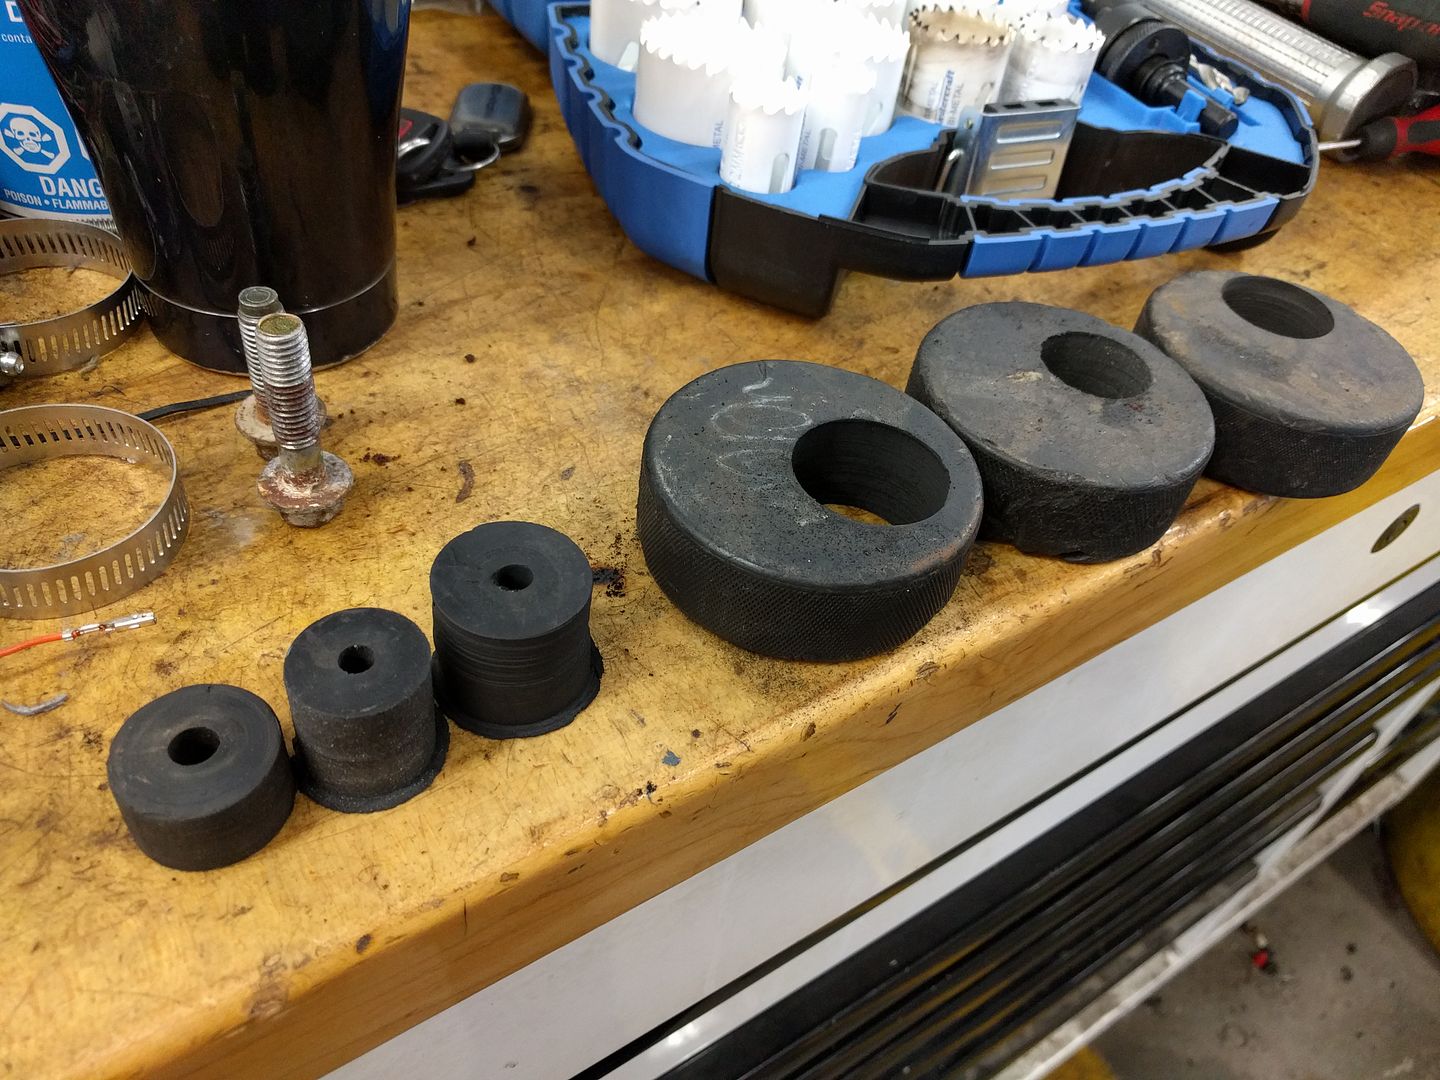
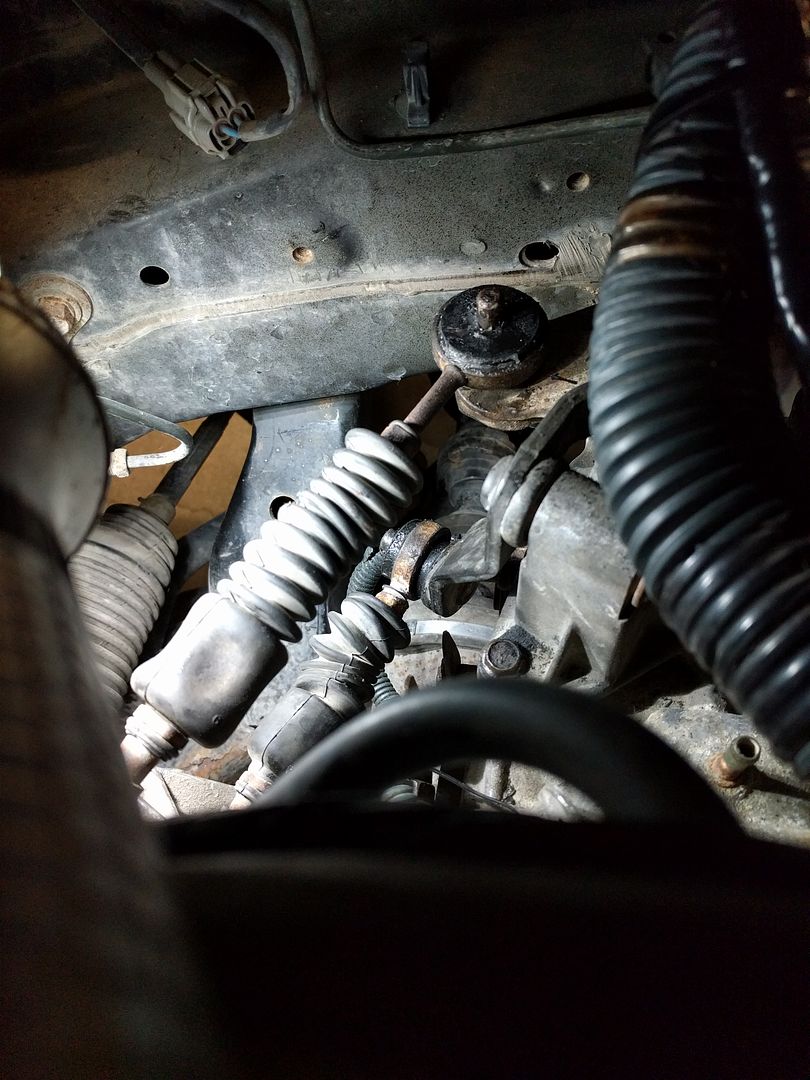
-$430 motor mounts. I paid $408 for the machine work and delrin, added $20 for some scrap steel. If you have a lathe, this becomes much cheaper

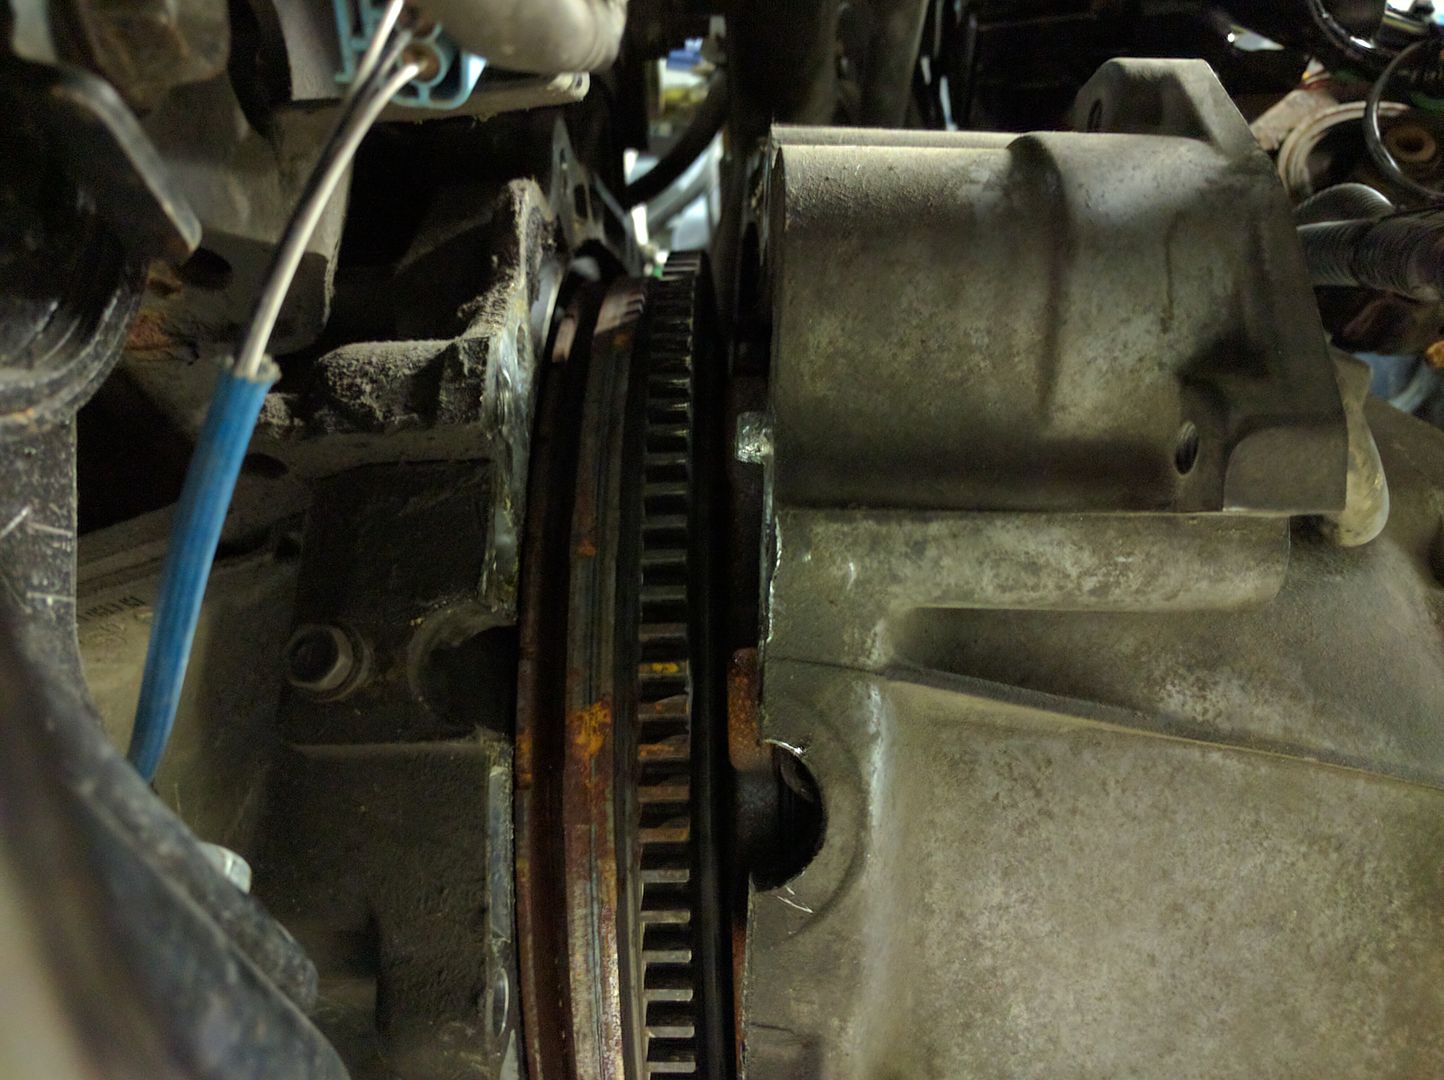
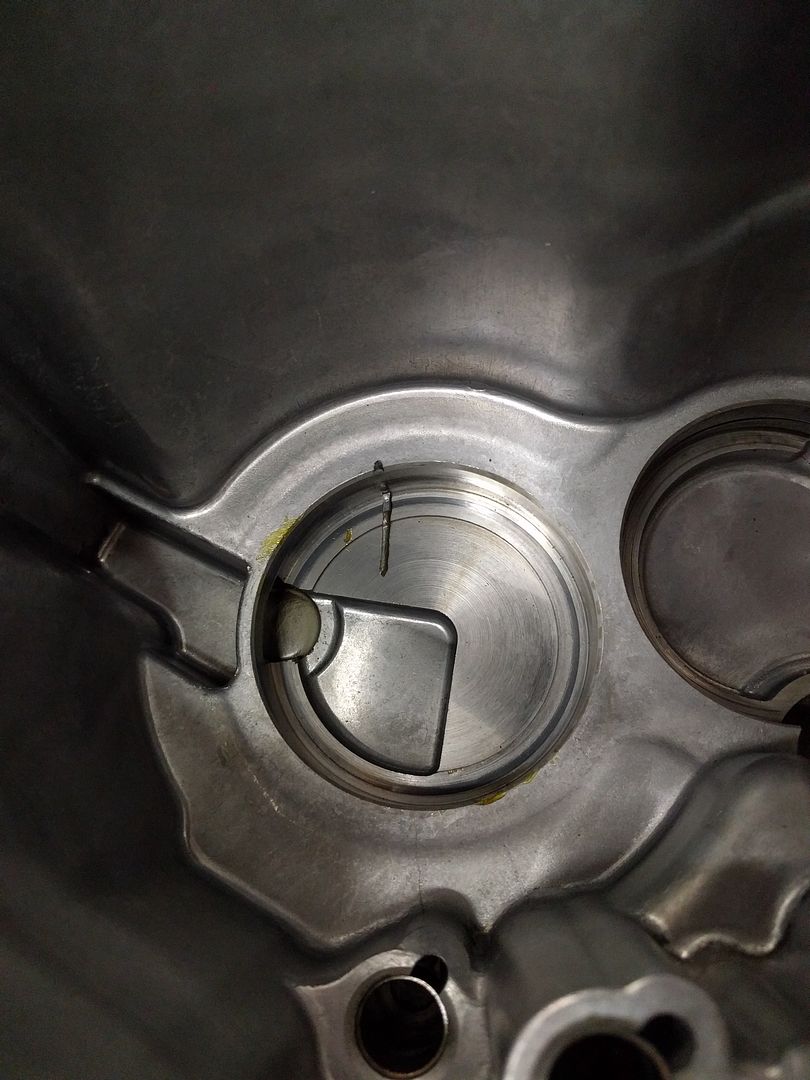
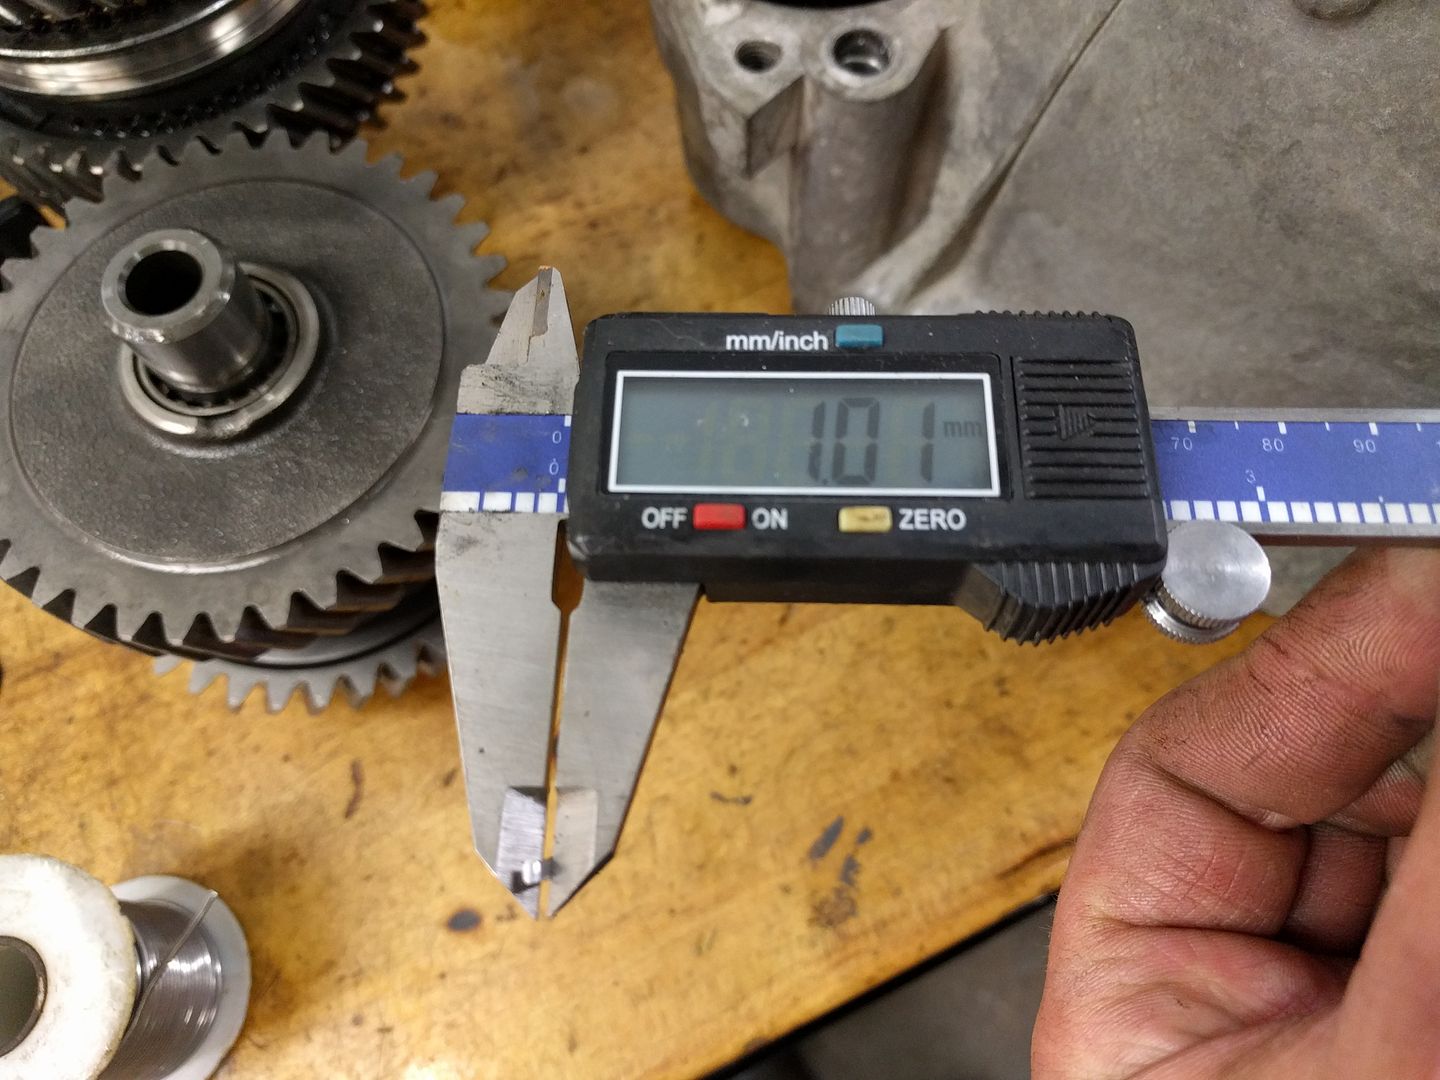
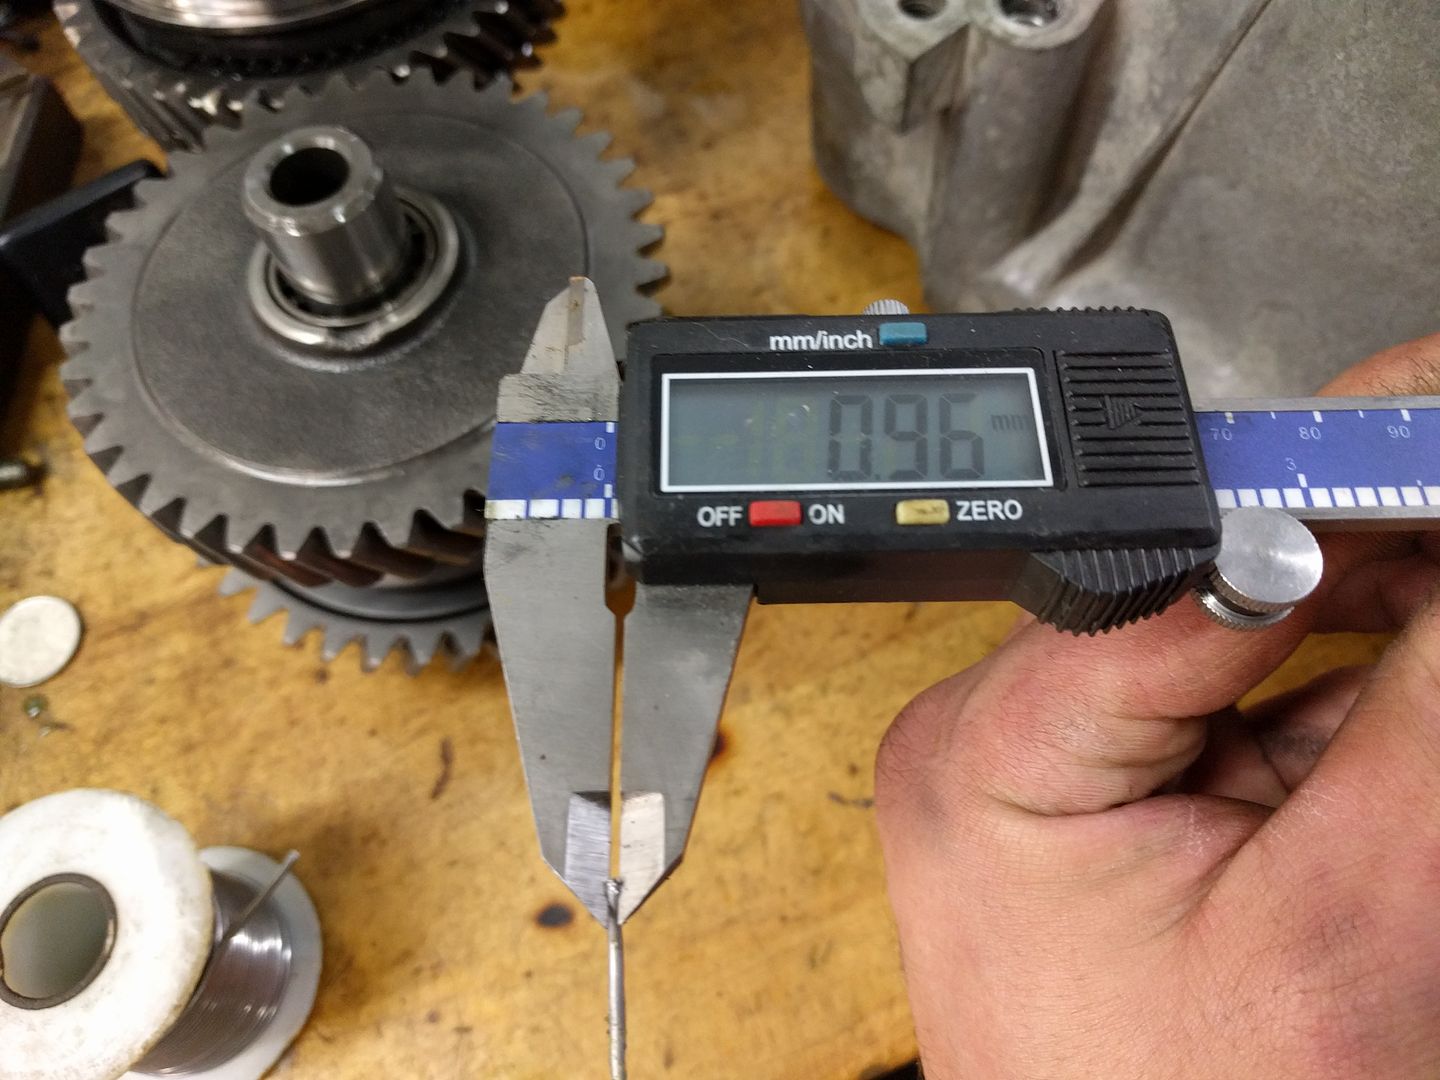
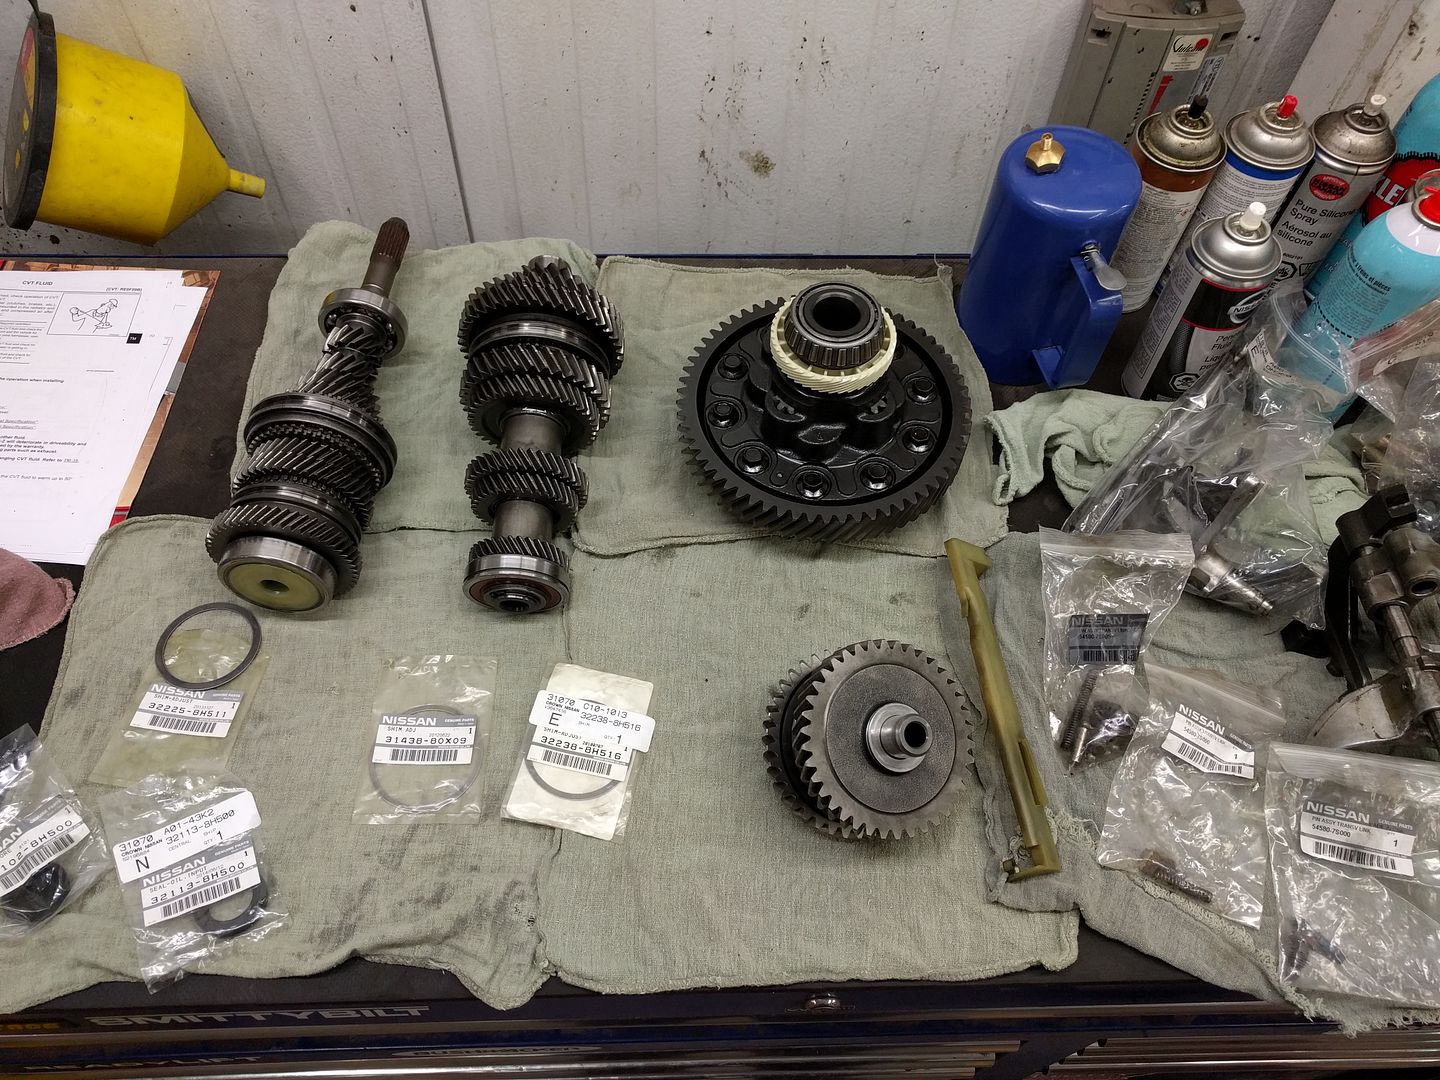
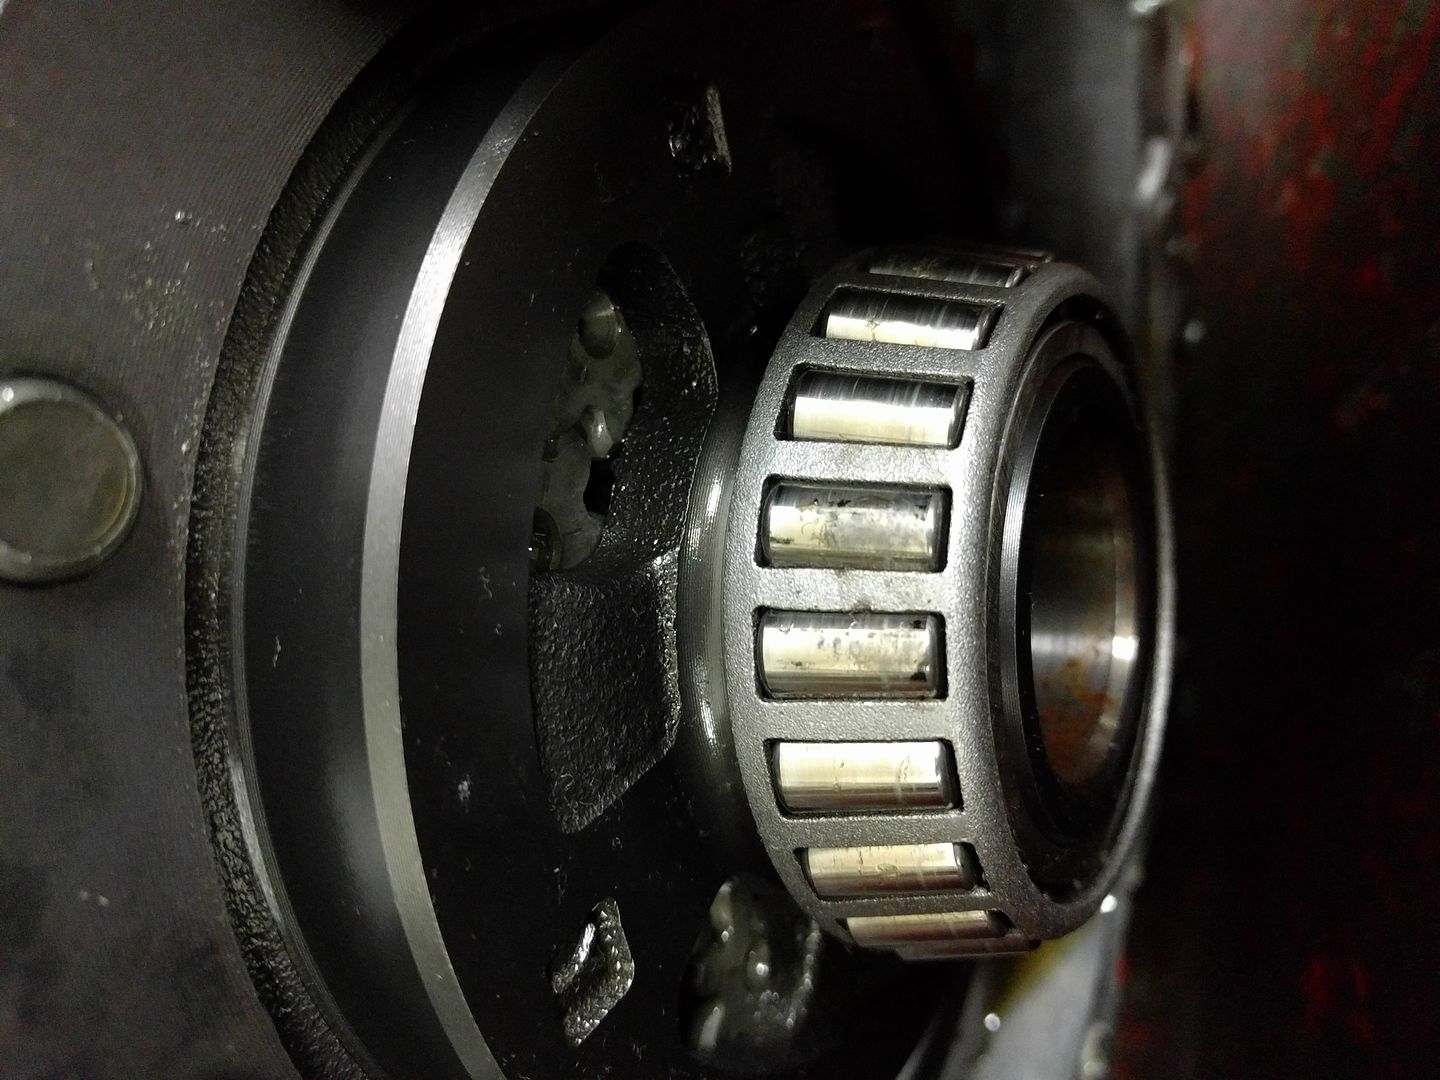
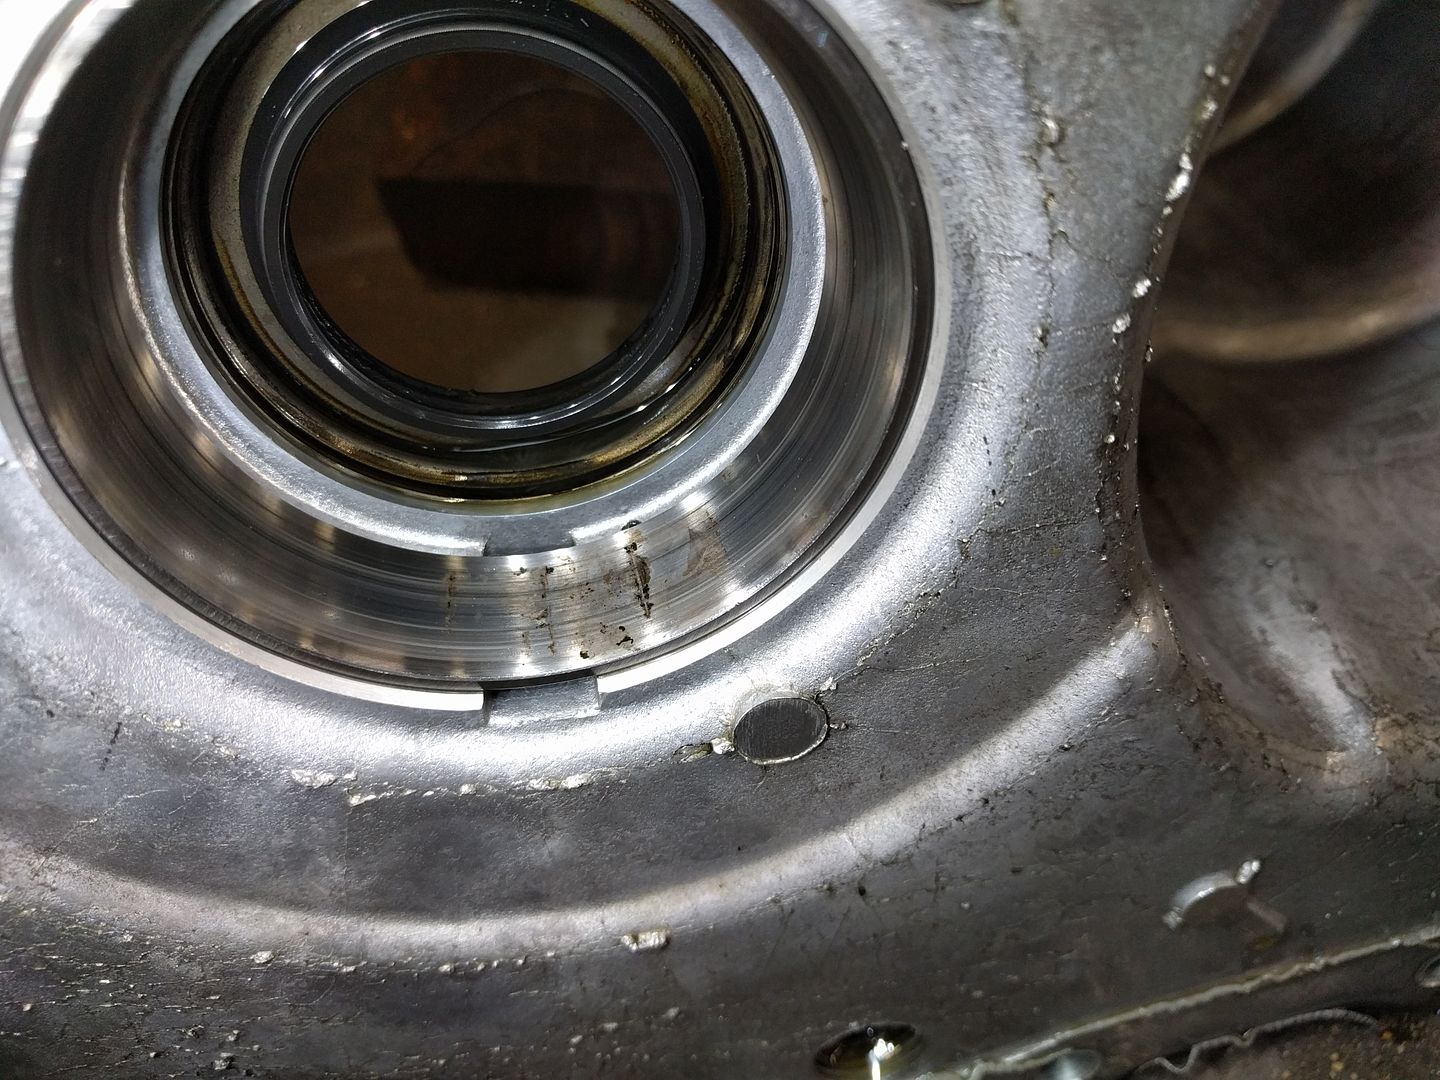
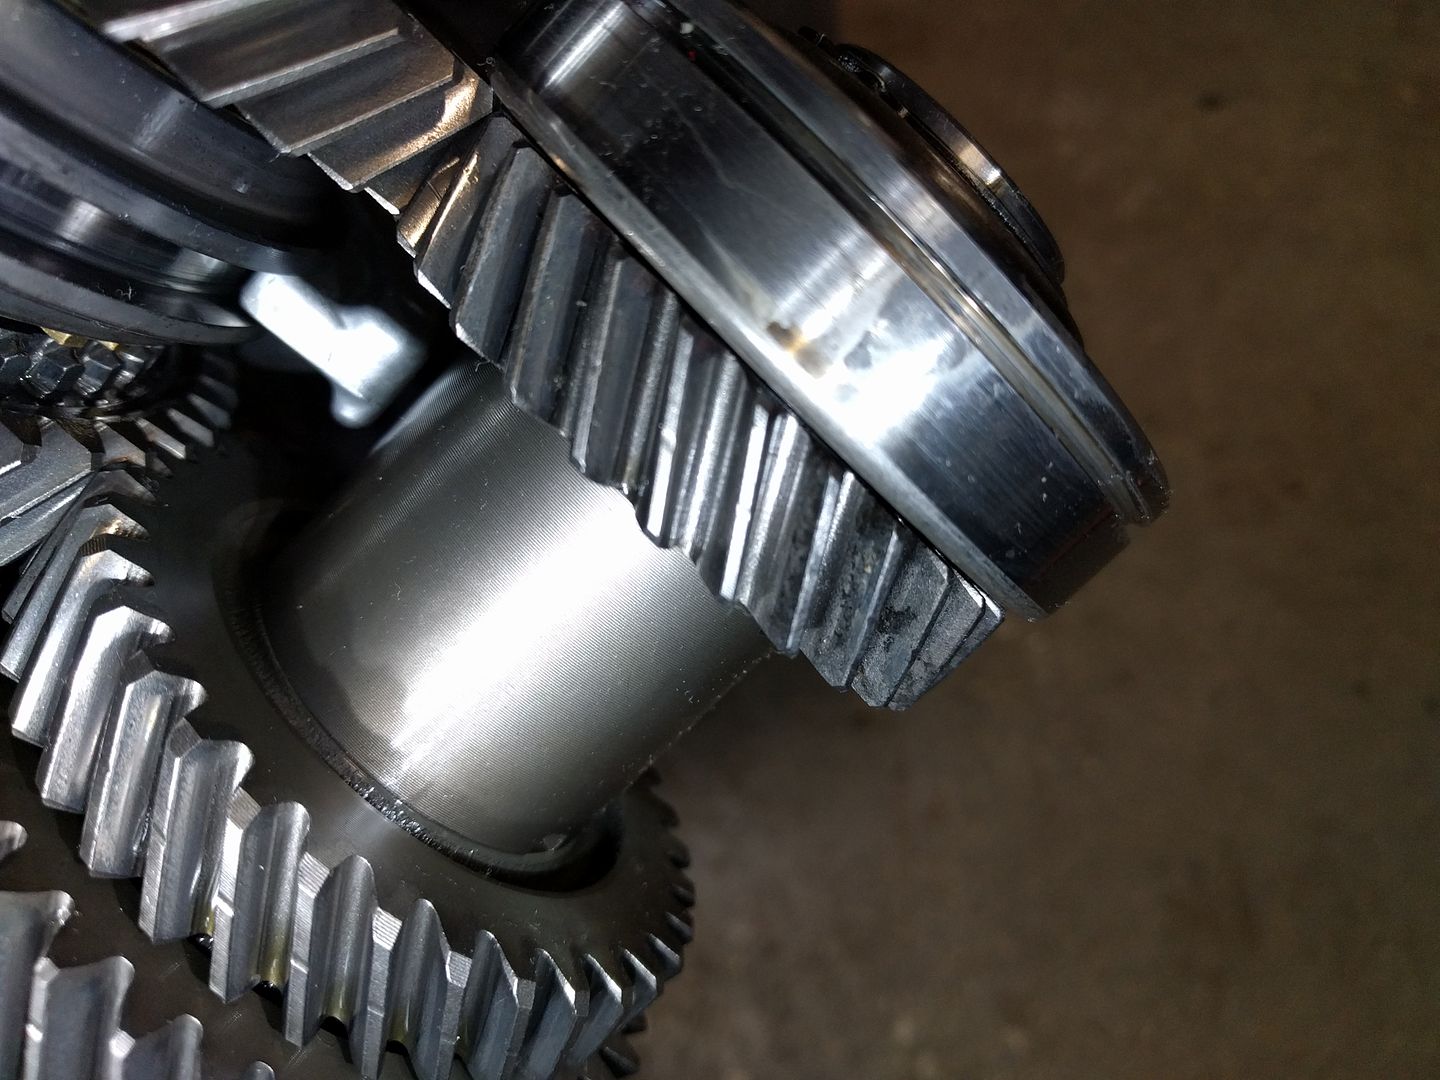
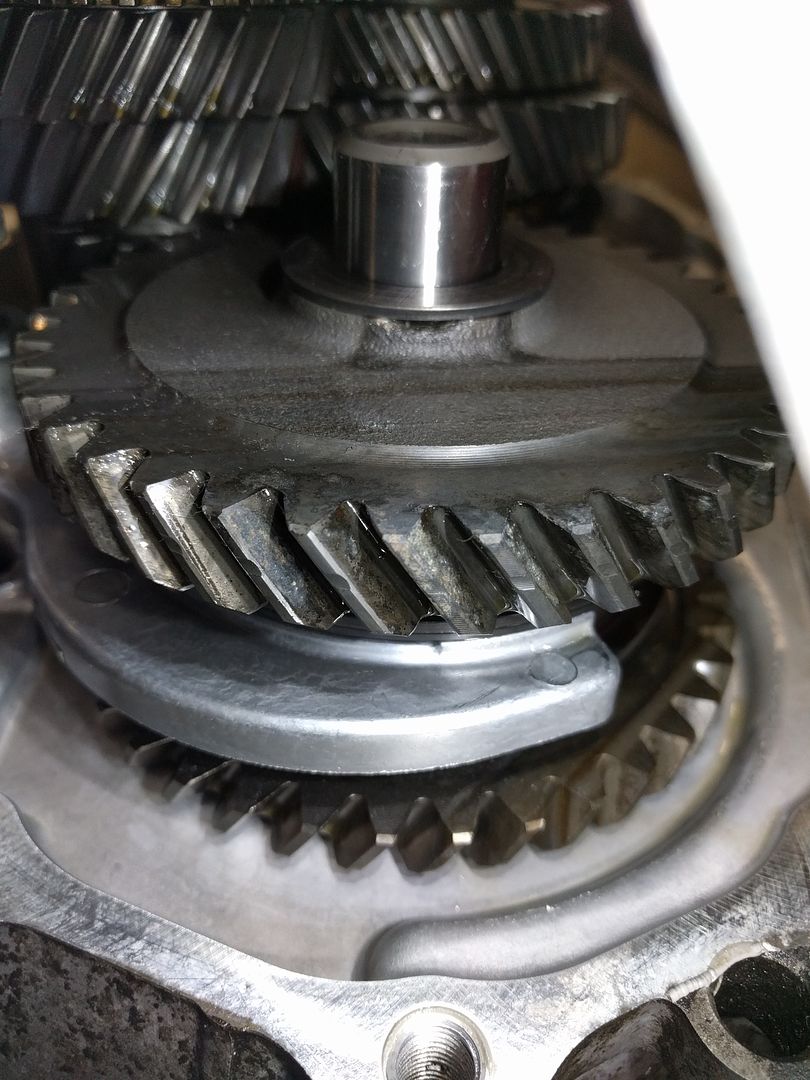
-$369 into all new timing chain, gear, guides, and tensioner. Preventative maintenance, the stuff I took out was still fine and quiet.

-$100 approx guess for the intake, a few silicone couplers, a 60deg 3" bend, and a 3" straight section of pipe with a K&N air filter I had lying around.

-$850 approximate into the exhaust system, I can't find receipts but I mentally totalled it all up when I was getting it done. Includes a $165 shipped set of headers (use VQ30 maxima manifolds for much less) a couple of expensive mufflers, a new cat, and $230 labour.

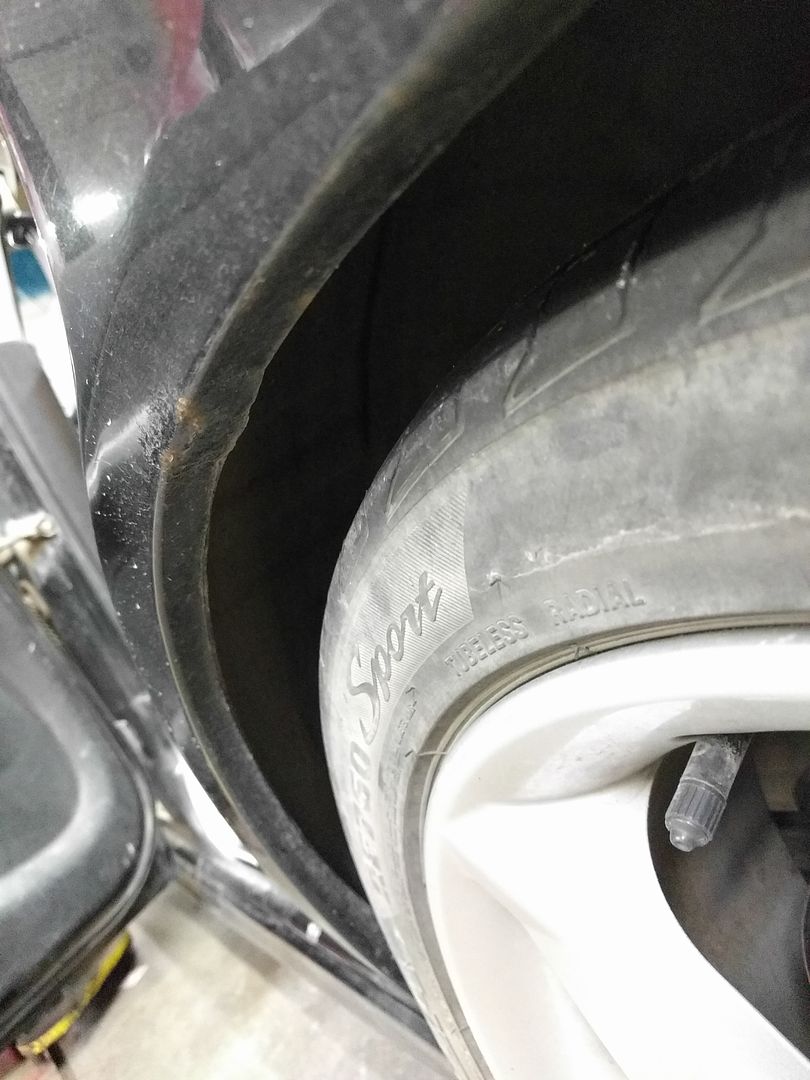
-$300 misc. Lets say this covers the replacment inner timing cover (scrap value), a junkyard alternator, junkyard front valve cover, a couple gaskets, a couple junkyard O2 sensors, new drive belt. I had the two slim fans lying around, same with the two 215/40/17 30% remaining Azenis I'm using on the front

All prices are not counting shipping/towing in most cases, and the 13% sales tax bought on new items.

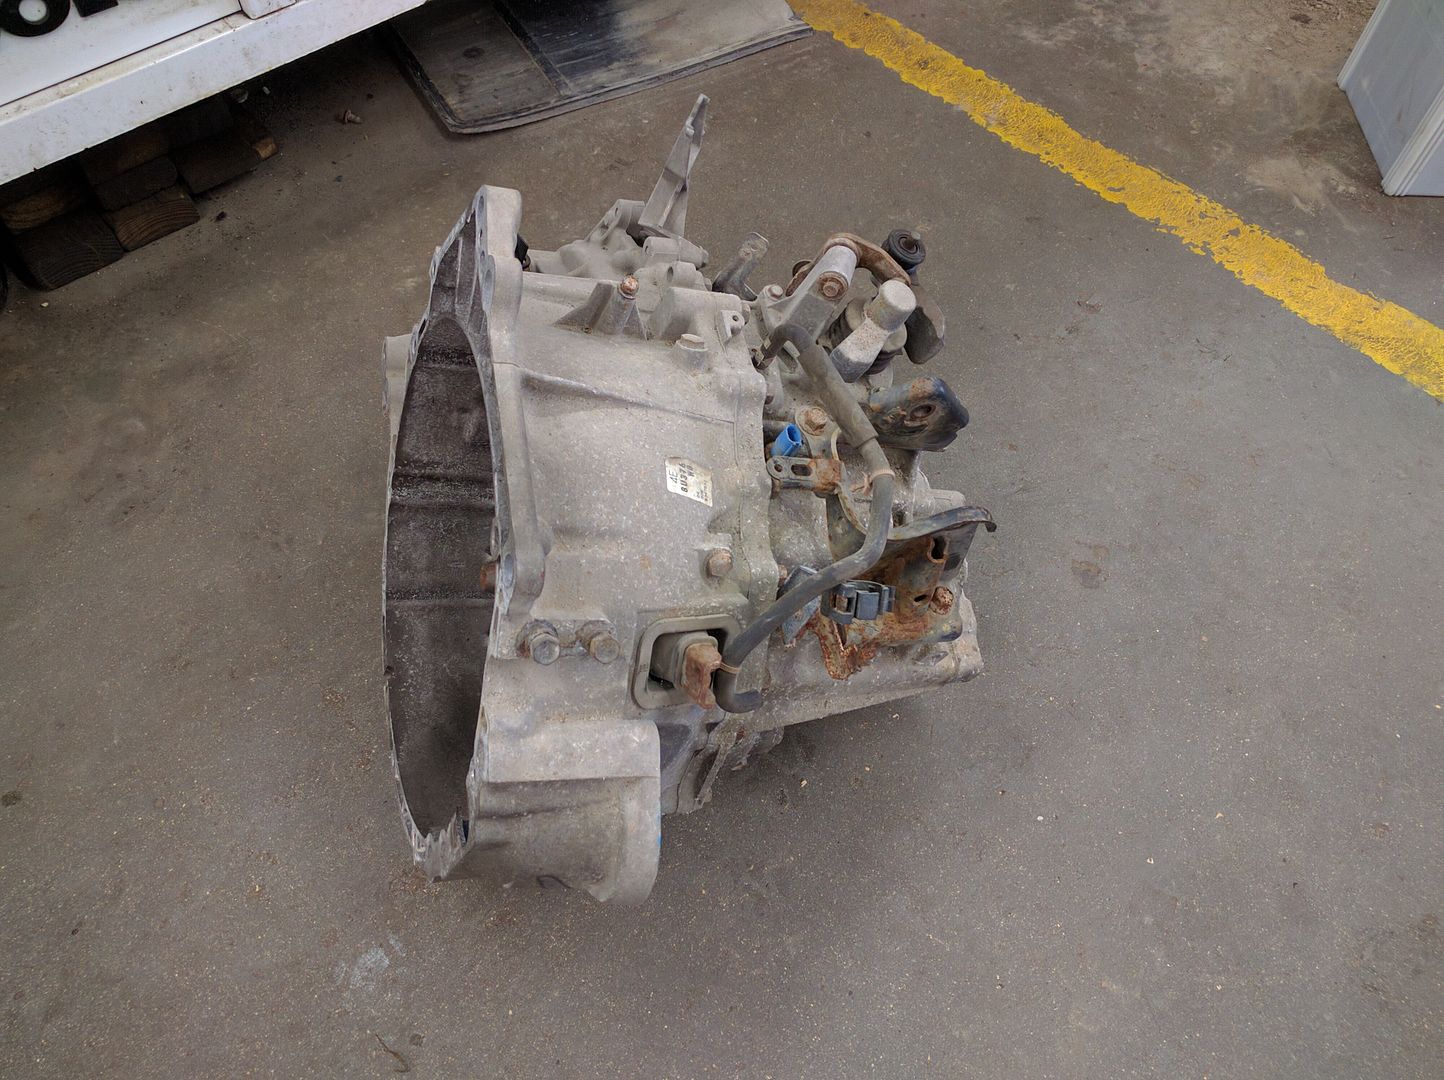
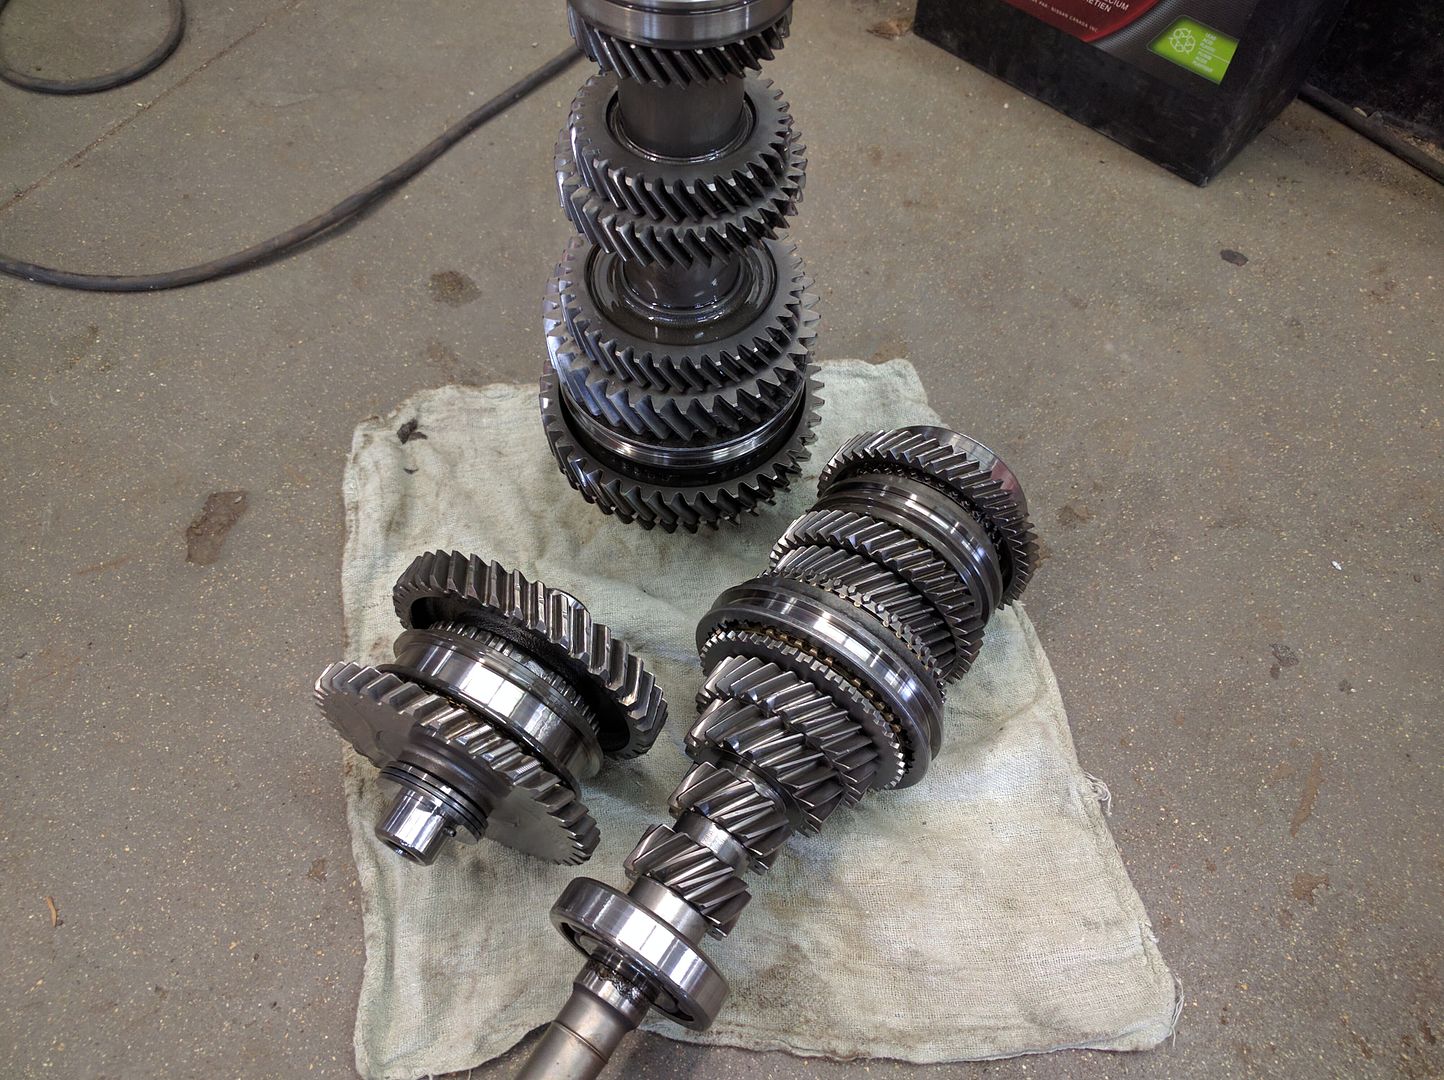
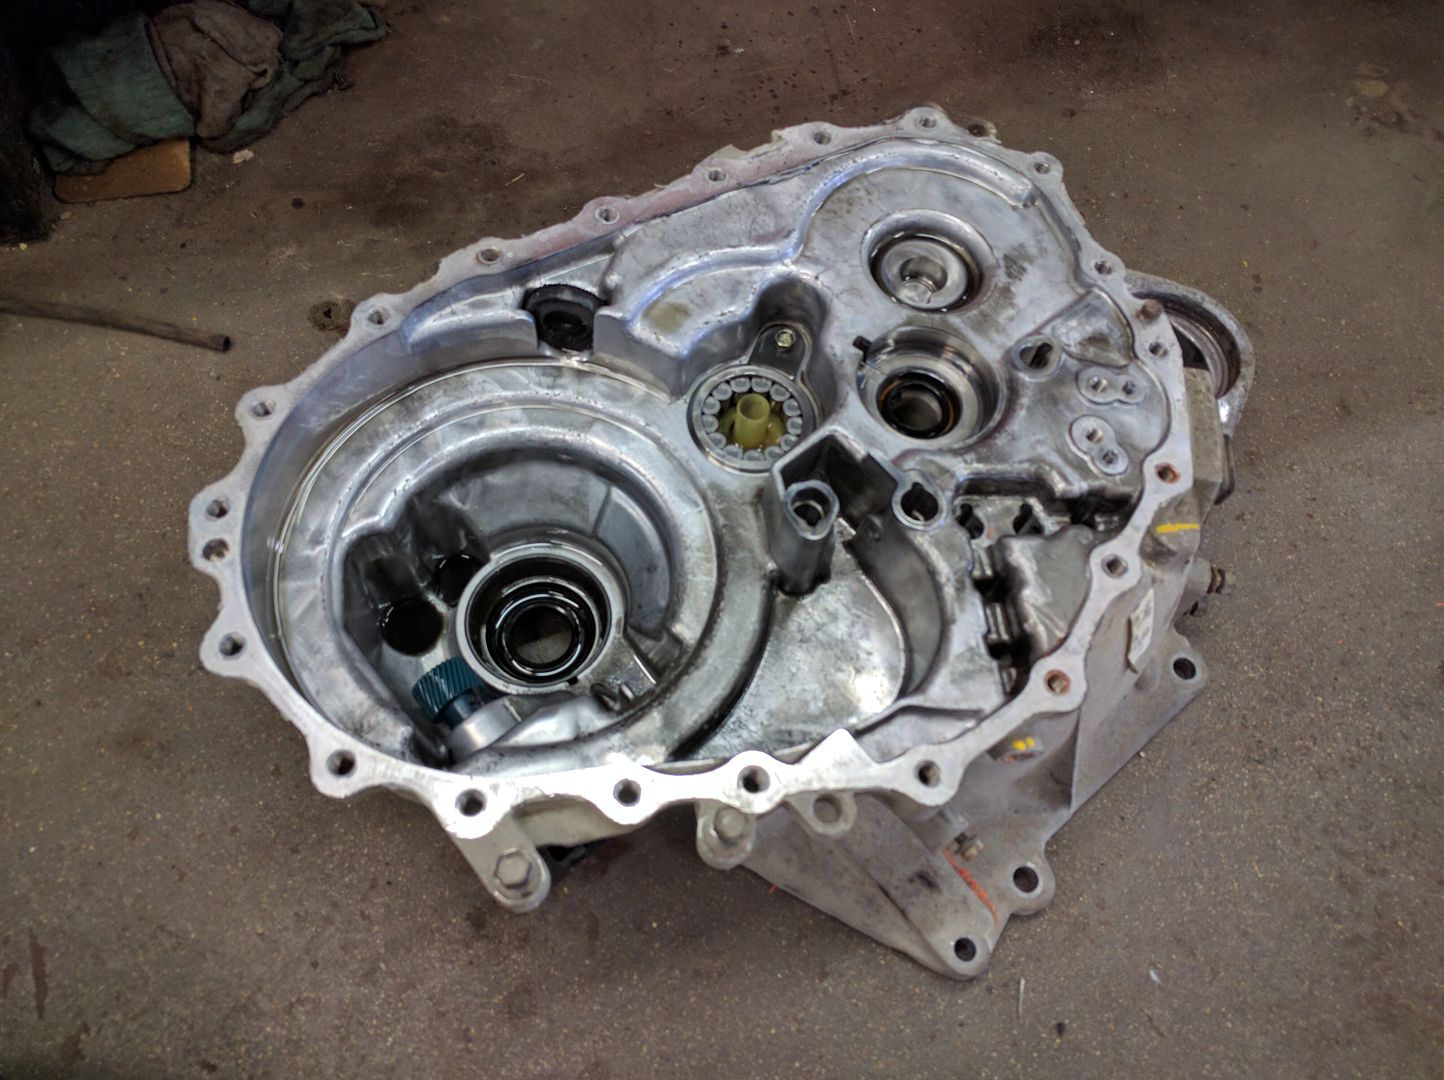
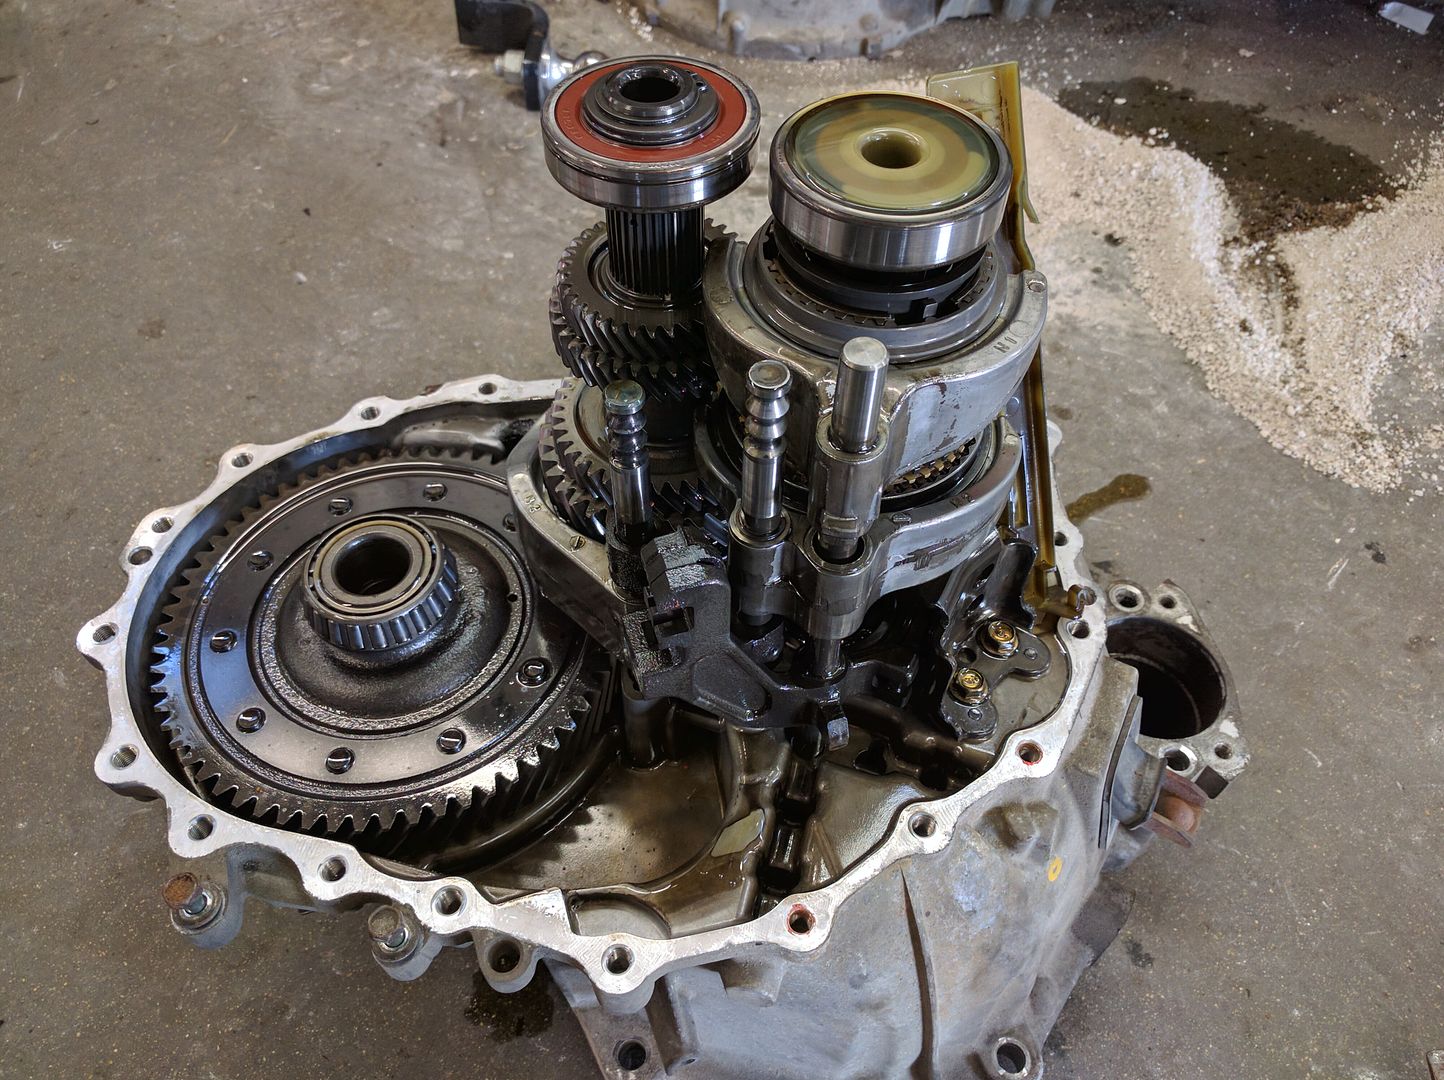
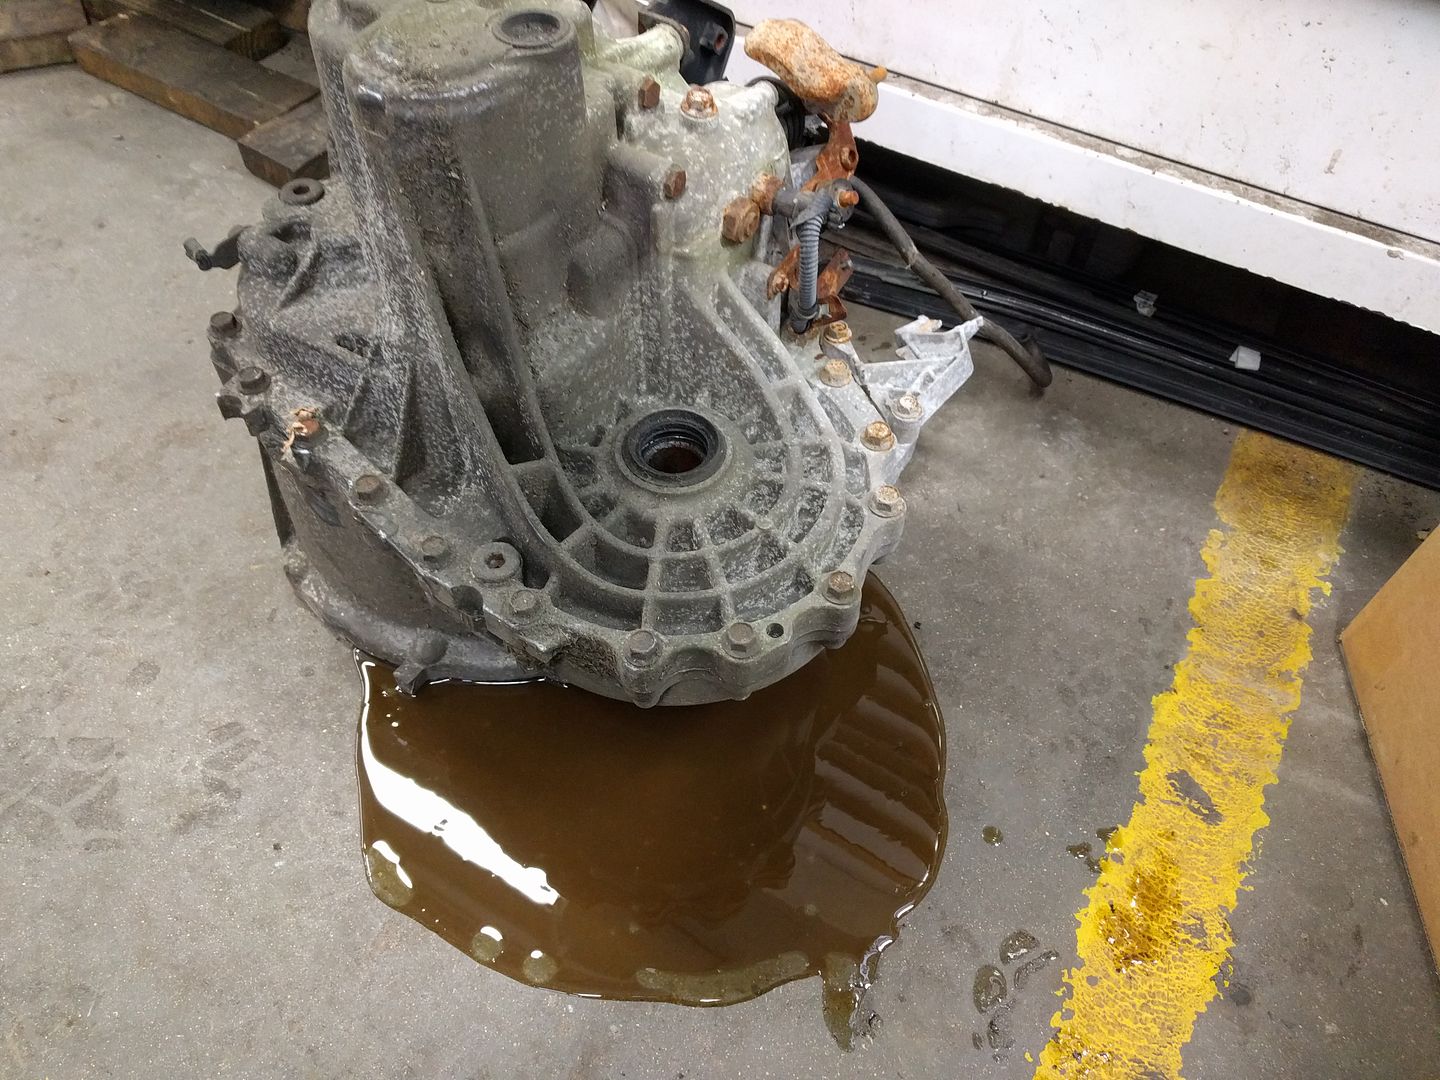
I'm calculating $1565 CAD not counting the factory wheels, intake, exhaust, radiator, spark plugs, and timing components. That's $1203 USD at todays exchange with only $240 recouped. There's a good shape 6 speed LSD transmission to sell if you wanted to stick with the 5 speed open diff.

I think a GRM'er could build an exhaust, come up with a set of sticky tires (wheels too if steelies don't cut it) and build an intake with the remaining $815 no problem.

Why don't I bring this car to the challenge?
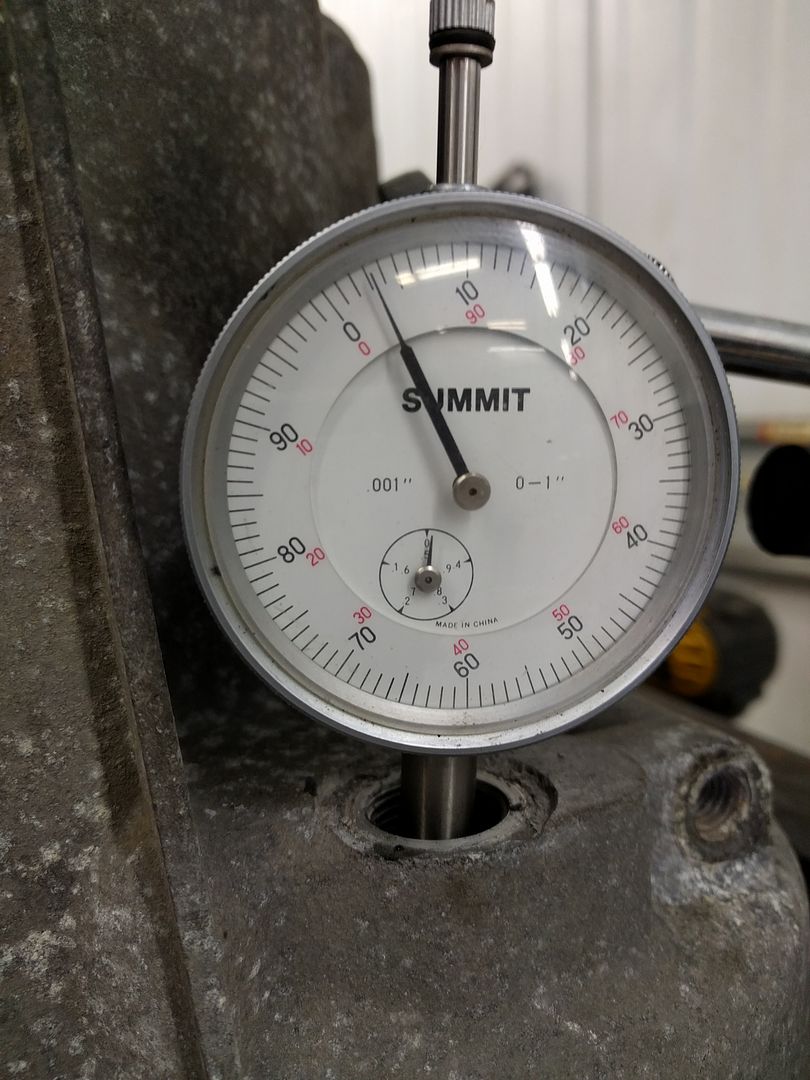
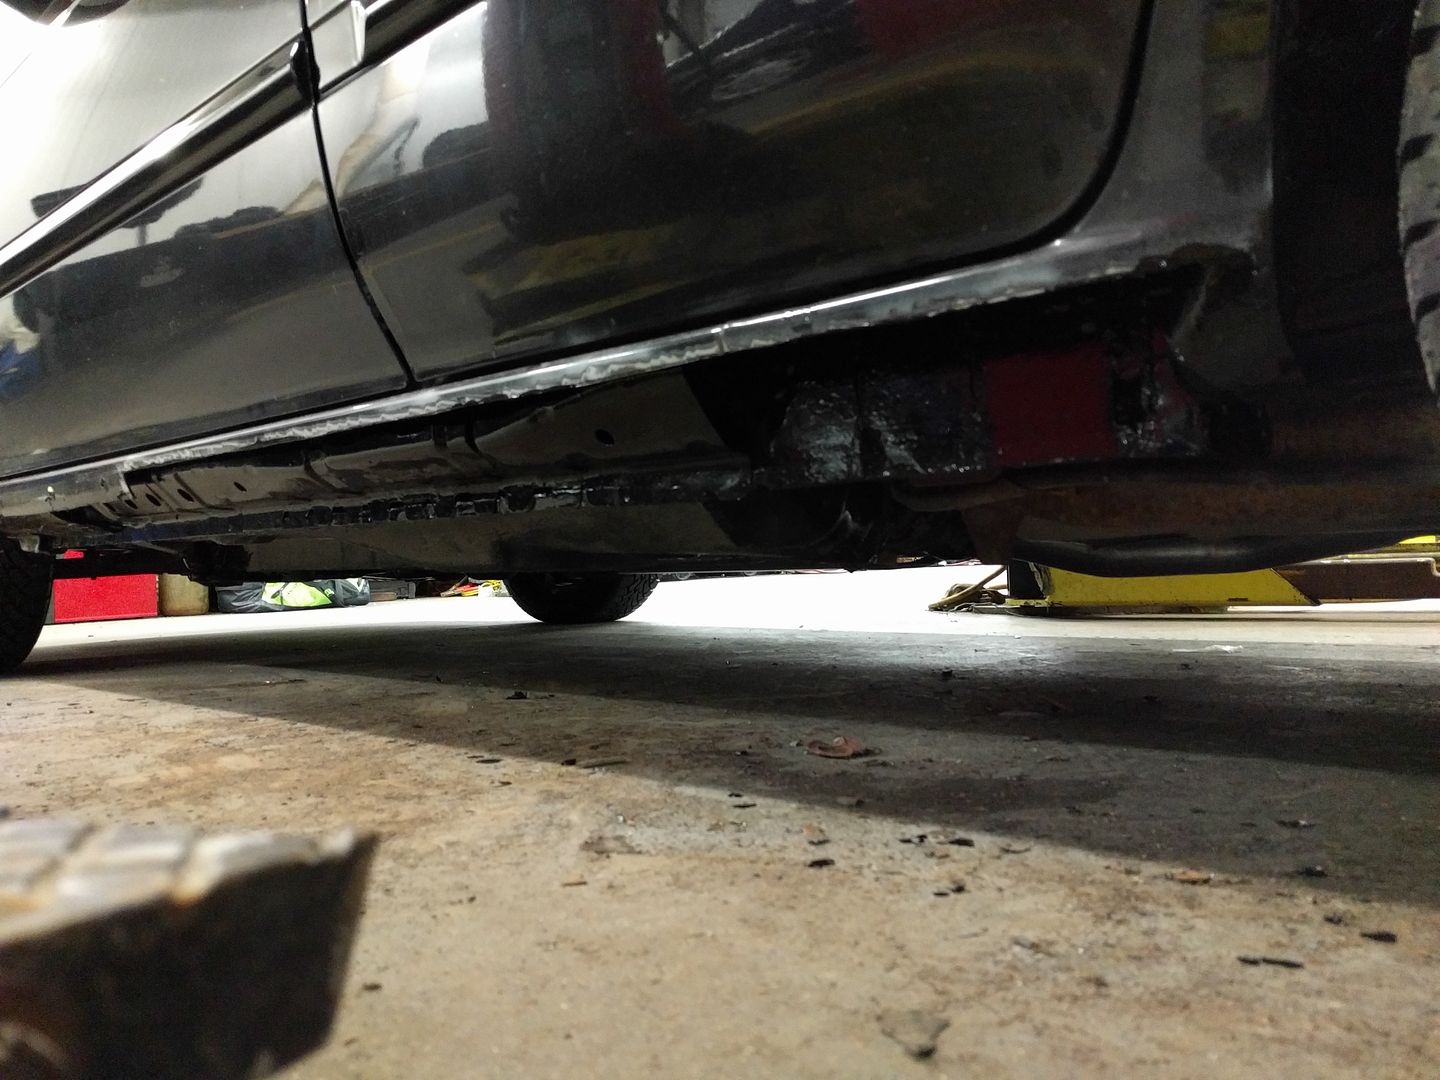
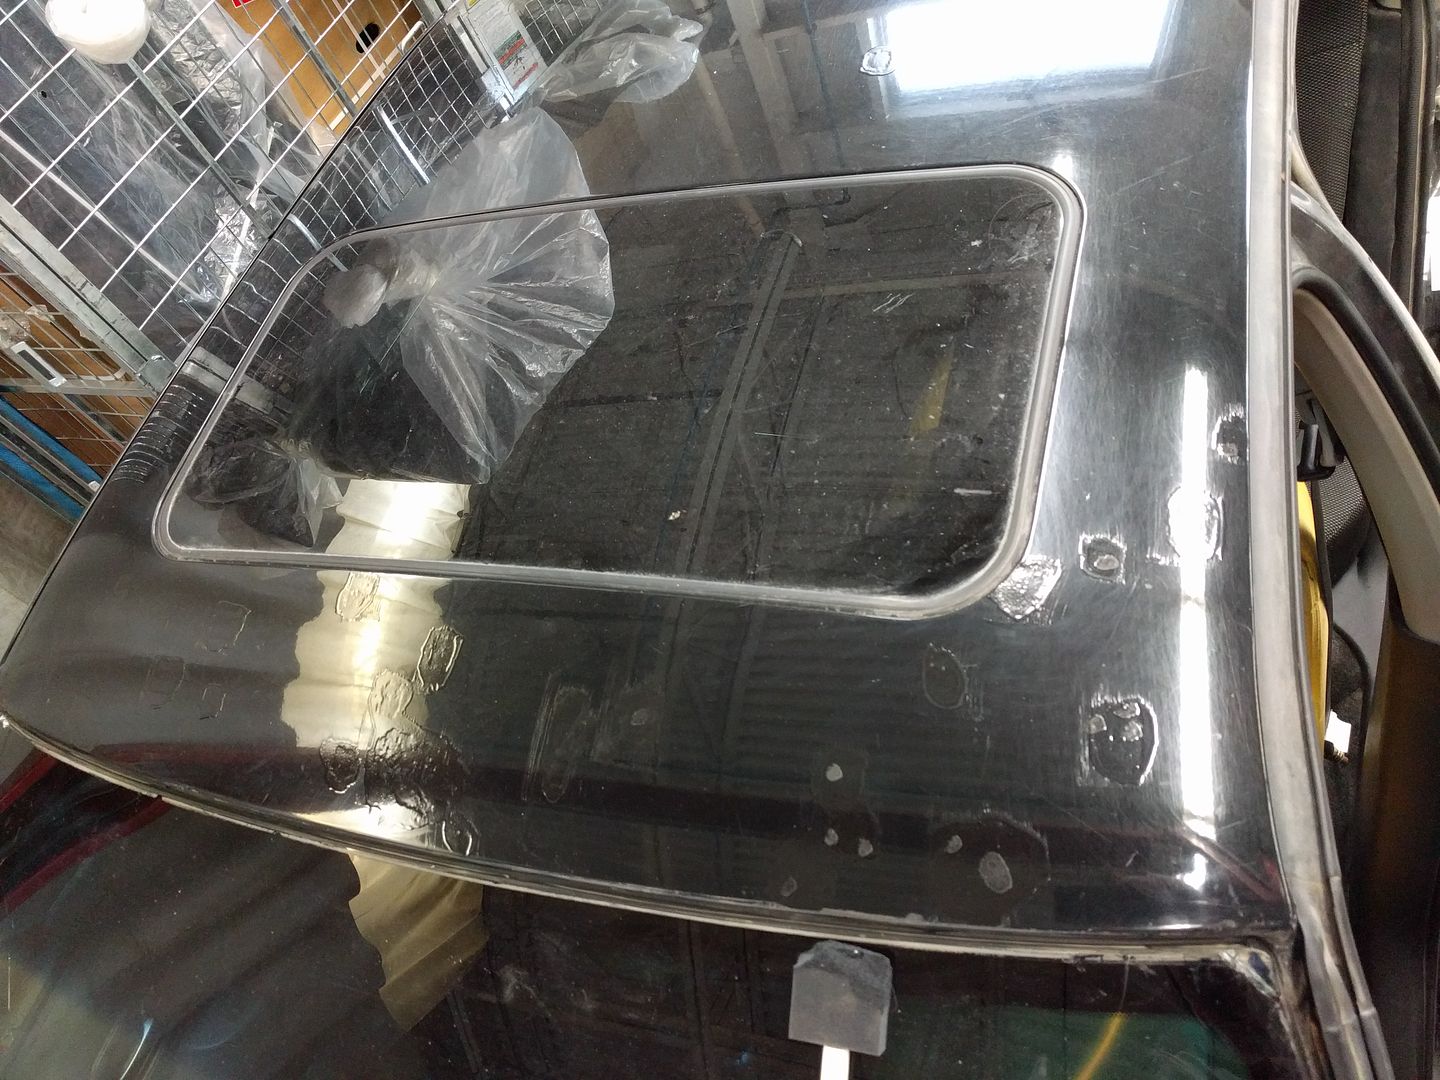
Run_Away
Run_Away HalfDork
9/25/16 10:56 a.m.

The windshield on the Sentra is cracked, and rather than spend hundreds paying someone to replace it I thought I would give it a try myself. Armed with some guitar strings and box cutter, my father and I hit the junkyard. We broke 2 before removing one successfully.

I also pulled the insurance on the car as I'm going to tackle a few things on the car to prepare it for winter. The biggest item on the list is swapping in the original Spec V gearset and helical LSD. QR25 6 speed.

Goodies inside!

Liberated

I won't be using this half. The Altima 5 speed will donate it's bellhousing to make a 6 speed with LSD that bolts onto the V6.

Also doing a major clean on the interior. The front seats are disgusting, and I want heated seats.

Much to my dismay, I found the covers are glued on from the factory. No hog-rings or velcro strips.

This makes the install much more difficult and it probably won't end up looking as good. Apparently some Dodge Caravans and Honda Fits use this as well. I'm hoping I can sew some straps to the cover and pass them through the foam to secure the covers along the seams.

Run_Away
Run_Away HalfDork
10/9/16 12:42 a.m.

Yoinked the carpet. It's nasty. The drivers front is pure mud and there are coffee? stains everywhere.

Washed it

Minty

Dirty and dusty interior

Lysol and rag over all the surfaces

Carpet back in

Floor mats were in the same shape

Run_Away
Run_Away HalfDork
10/9/16 12:43 a.m.

Yoinked the transmission from the car too. Almost didn't happen, the clutch assembly on the VQ is so large I almost wasn't able to slide the trans off. Got stuck here

The trick is to remove both halves of the transmission mount, the switch on top of the transmission (forget if it's the neutral or reverse switch) and the shift tower. That gives you juuuust enough room to twist and rotated the trans back and out.

See how huge this all is!?

RF inner CV boot was spitting a bit.

Fixed with a new boot

Inside the 5 speed

The fluid level mark is interesting.

Run_Away
Run_Away HalfDork
10/9/16 12:45 a.m.

Time to swap the guts!

Probably not necessary, but I swapped all bearings and races to keep them with their matching half.

Shimming time

The factory method of measuring for the proper shim size is ridiculous. They expect you to measure the total length of each gear stack, and the depth of the cases. Spec for the input, mainshaft, and reverse are all 0-0.002" (0-0.06mm). Yeah, they expect you to measure 12+" of spinny gears accurate to 2 thou....

I found this trick which I thought was clever, use pieces of solder as a crush gauge.

However when I measured the two pieces on each side I got readings 0.06mm from each other, which is the total range of allowable variance..

Dial indicator to the rescue! Remove the shim, install input shaft, bolt on case. Measure play, order shim to fit.

Run_Away
Run_Away HalfDork
10/9/16 12:47 a.m.

Now to the mainshaft. Had to make a platform for the dial indicator to stick to.

Now the diff. This one is more tricky since it's got tapered roller bearings and wants preload. This is how the manual wants me to measure it, distance from the straight edge to the case flange. Again, I couldn't get repeatable or accurate measurements with the tools I have.

Dial indicator again

Spin the diff round so it settles in the race, set the indicator to zero.

Lift and spin the diff with the handle of a hammer from the other side. Note the indicator doesn't go down to zero, because tapered roller bearings. It settles back down to zero when you spin the diff again.

And now I play the waiting game. Shims are all on backorder, will be probably at least 3 weeks until they're in.

Run_Away
Run_Away HalfDork
11/11/16 12:00 p.m.

I pulled the windshield trim off in prep of replacing it, and got distracted by all the rust on the roof. Especially under the magnetic SiriusXM antenna that had been there who knows how long.

So I took my grinder to the roof

Kept finding other spots on the car too

They all got the grinder as well

Run_Away
Run_Away HalfDork
11/11/16 12:00 p.m.

POR15 overtop everywhere I grinded. Really excellent match for the beat up factory paint, you can't tell unless you're looking for it. Not UV resistant though so I'll have to do something about it....

The roof is the most noticeable part, I layed it on thick. I'll probably do the whole roof at some point.

Run_Away
Run_Away HalfDork
11/11/16 12:01 p.m.

Stuck my heated seat pads on

Out with the stock radio

Now with bluetooth, and USB input. Also replaced all the burnt out heater control bulbs.

All my shims came in

Assembled to this point when I realized....

The 5 speed VQ bellhousing isn't drilled for the additional shift rod (5 speed has 3, 6 speed has 4) and detent passageway that the 6 speed transmission requires. The hole for the 4th shift rod is there, but not a nice machined finish and 14mm diameter required.

More importantly, it's missing this passage for the additional detent balls.

I took the two bellhousings to a machine shop I trust locally, they told me they didn't have the equipment to accurately bore that detent passage. They only had a vertical mill, and there's no good way to properly orient the bellhousing to get an accurate bore. If that passageway is off just a bit, the trans would want to pop out of gear.

Run_Away
Run_Away HalfDork
11/11/16 12:01 p.m.

So I just grabbed all the 5 speed stuff and threw that back together. Good thing I labelled and tagged the parts from each trans...

Stuffed the trans back in. Such a tight squeeze...

But if you rotate it just right and leave off the shifter mechanism, it will slip in

Made another set of hockey puck shifter bushings

And replaced the LF wheel bearing

So basically I haven't accomplished anything other than replacing the input shaft seal, cleaning the guts of the trans, replacing a wheel bearing, and a CV boot. The car is driveable again though.

I'm on the hunt for a VQ 6 speed trans now, torn between shipping up the cheapest 6 speed I can find from the states for around $500 CDN and swapping all the guts or buying an 04 Maxima trans with the optional LSD for about $700 CDN shipped and selling off the Spec V trans. The bellhousing alone from Nissan is just under $500 CDN my cost, but is on backorder with some websites listing it as discontinued. Could be a long wait.

4cylndrfury
4cylndrfury MegaDork
11/14/16 12:01 p.m.

Booo...sad to hear that you got all that way, just to find out that you went all that way for nothing.

This is a very cool thread though. Like I said - I really have a soft spot for Nissan goodness from the late 90s/early 00s. This is basically creating the Nismo Sentra SER that shouldve been made at the factory!

Run_Away
Run_Away HalfDork
11/15/16 4:20 p.m.

Thanks! Yeah, I like to think of it as a Nissan SRT-4. Both cars are very similar in all the specs. Nissan could have made it happen with minimal new parts. Oh well.

In other news, I hit the easy button yesterday and payed way too much for an 04 Maxima 6 speed with optional factory LSD. Hopefully it's in good shape when it shows up.

Run_Away
Run_Away HalfDork
11/20/16 2:22 p.m.

Update time. Seats are back together. Spent way too long hand stitching 24 strips of air bag fabric onto the back of the seat covers. Used my mom's sewing machine to make a loop at the end of the strips, sliced slits in the seat foam and fed them through. Zip ties hold them together.

Drivers side, clean and assembled. I almost grabbed a passenger side seat cover from the junkyard to replace this one, see there's a little bit of wear on the bolster? But realized it was a non-airbag seat and didn't have the zippers on the back like mine do. Wasn't willing to do that much sewing.

Cut the old windshield out. Found rust on both sides down here.

Ground to bare metal, primed, and coated with POR15. Love that stuff.

It extended below the weatherstrip rail on both sides as well. This part just got all the loose rust scraped off and coated with POR15.

Run_Away
Run_Away HalfDork
11/20/16 2:23 p.m.

Holy crap, this board supports BB code now!?

Run_Away
Run_Away HalfDork
11/20/16 2:28 p.m.

Windshield opening prepped and drivers seat installed. I should have taken a better before pic so you could see how dirty the seat was.

Nice un-cracked glass installed. No pictures of the process as thing happen fast, I was pressed for time and pretty stressed out. First time doing a windshield, not sure I'll be doing one again. All said I've got about $135 CAD into this. $50 glass, $30 upper trim from Nissan, $20 glass removal tool, and $35 into urethane and primers.

So, I bought a trans from a 04 Maxima 6 speed with the optional LSD from a junkyard in Ontario. Here it is beside the completed passenger seat.

It was in pretty rough shape. I flipped if over and a bunch of water mixed with oil came out. Uh-oh...

So I opened it up and after a good cleaning still had this

So I'm talking to the junkyard that sold me the trans, hoping I'll get some money back. I find out on Monday if they're going to follow through with it.

Run_Away
Run_Away HalfDork
11/20/16 2:28 p.m.

I knew there was a bit of rust on the rockers, and I wanted to take care of it before the snow flies. Pulled off the side skirts and it was much worse than I had thought.

After lots of grinding and wire wheeling I had made a bunch of holes. :(

The driver's side was a bit better

Nothing showing on the rear arches yet. I pressure washed it all, sprayed with paint prep, wiped down and layed a thick coat of POR15 on the inside wheel lip. Rubberized undercoated the rest.

Front got the same treatment. Rockers got POR15 as I didn't have the stuff needed to patch them right then. Also swapped on the winter wheels and tires

Debating whether to just weld in new sheetmetal or box the rockers in with like 2x2 square tube. If I go with the factory style sheetmetal rockers I'll have to figure out a new way to secure the side skirts or punch in a bunch of square holes for the factory clips. What do you think?

Run_Away
Run_Away HalfDork
11/22/16 8:12 p.m.

So Monday morning after letting the paint dry on the car I went to drive it out and got nothing but click from the starter. Solenoid engages but nothing turns.

Pulled it off on my lunch and opened it up, found one of the brushes was either worn way down or stuck. A co-worker had another starter with a broken solenoid from some QR25 car, he let me use it for parts. Swapped the end cap and brushes as they fit. Bad angle of the photo, but the bad one is on the left assembly in about the 2 o'clock position. The good used one isn't quite the same, but works.

Wanted to swap the armature, but the size of the gear at the other end was smaller. Gave my armature a quick sand and scrapped out the grooves between the segments. Cleaned all contacts. Ta-da!

And holy crap! What a difference. The car now turns over so much faster. I didn't even realize there was an issue before, but the car fires up instantly now. Very happy, another free fix and improvement.

I ended up ordering a pair of stock rockers from RockAuto for $67 USD shipped. It's the easier solution, and possibly cheaper.

Finally, I also spoke with the junkyard today and they're agreed to refund me $300 for the Maxima trans. Quite pleased with that, just waiting for it to show on my Visa.

Ironsides
Ironsides New Reader
11/23/16 7:47 a.m.

Sucks about the poor shape trans, very cool project!

Run_Away
Run_Away HalfDork
11/26/16 10:07 p.m.

Thanks! The $300 I wanted back from the junkyard showed up on my Visa, so I'm happy with the deal I got.

Put a bunch of work in today. New rockers arrived

Opened up

Ground off all the rust, made the holes bigger.

This rearward structure wasn't very solid

So I cut it out and cleaned up

Run_Away
Run_Away HalfDork
11/26/16 10:07 p.m.

Primer to protect

1/8" plate steel to re construct it. It was that or 22 gauge, had to run to the store to get metal. Wasn't planning on having to repair the inner bits...

Cut a bad section out further ahead

Tacked in more 1/8" plate. This is probably stronger than factory now, the B pillar is fully welded and tied into the lower rockers now instead of two spot welds.

And I had to stop here as I ran out of wire. Need more gas too .

wheelsmithy
wheelsmithy Dork
11/27/16 9:31 a.m.

I admire your fortitude and resourcefulness. Super cool car/swap.

Run_Away
Run_Away HalfDork
11/30/16 9:10 p.m.

Thanks! I can be pretty stubborn. I've decided I like the car, and I want it to last.

Okay, more updates. Made some little tabs to tie the section I welded in to the bottom of the rocker. Also painted it all with POR15

Weld through primer along the seam. Rocker is ready to go on.

Rocker doesn't fit for E36 M3!

That's okay, I slowly worked my way up and cut it to length. All tacked in. Kept blowing through the little bit at the back.

Fully welded along the top and front.

Decided to replace this bit too

It was all thin crap, I kept cutting it back until I had solid metal. Here's where I stopped.

Ground down the weld along the top and hit it with primer so it can wait outside until next week.

After pricing out new factory side skirt clips ($6 each!!!) and trying to figure out a cheaper solution I think what I'm going to end up doing is M6x1.0 rivnuts along the bottom of the rocker for where the screws were, and just double sided tape on the sides where the snap clips were.

Cut a hole in the driver's side to see how things were, looks like I have to plate it too.

Damnit.

Run_Away
Run_Away HalfDork
12/11/16 4:04 p.m.

More progress.

Filler piece for the passenger side rear wheel well. 1/8" plate. Just a straight vertical piece, not a curved cup like factory.

Rocker patch on. Didn't end up very nice, but it'll be covered by the side skirt anyways. 
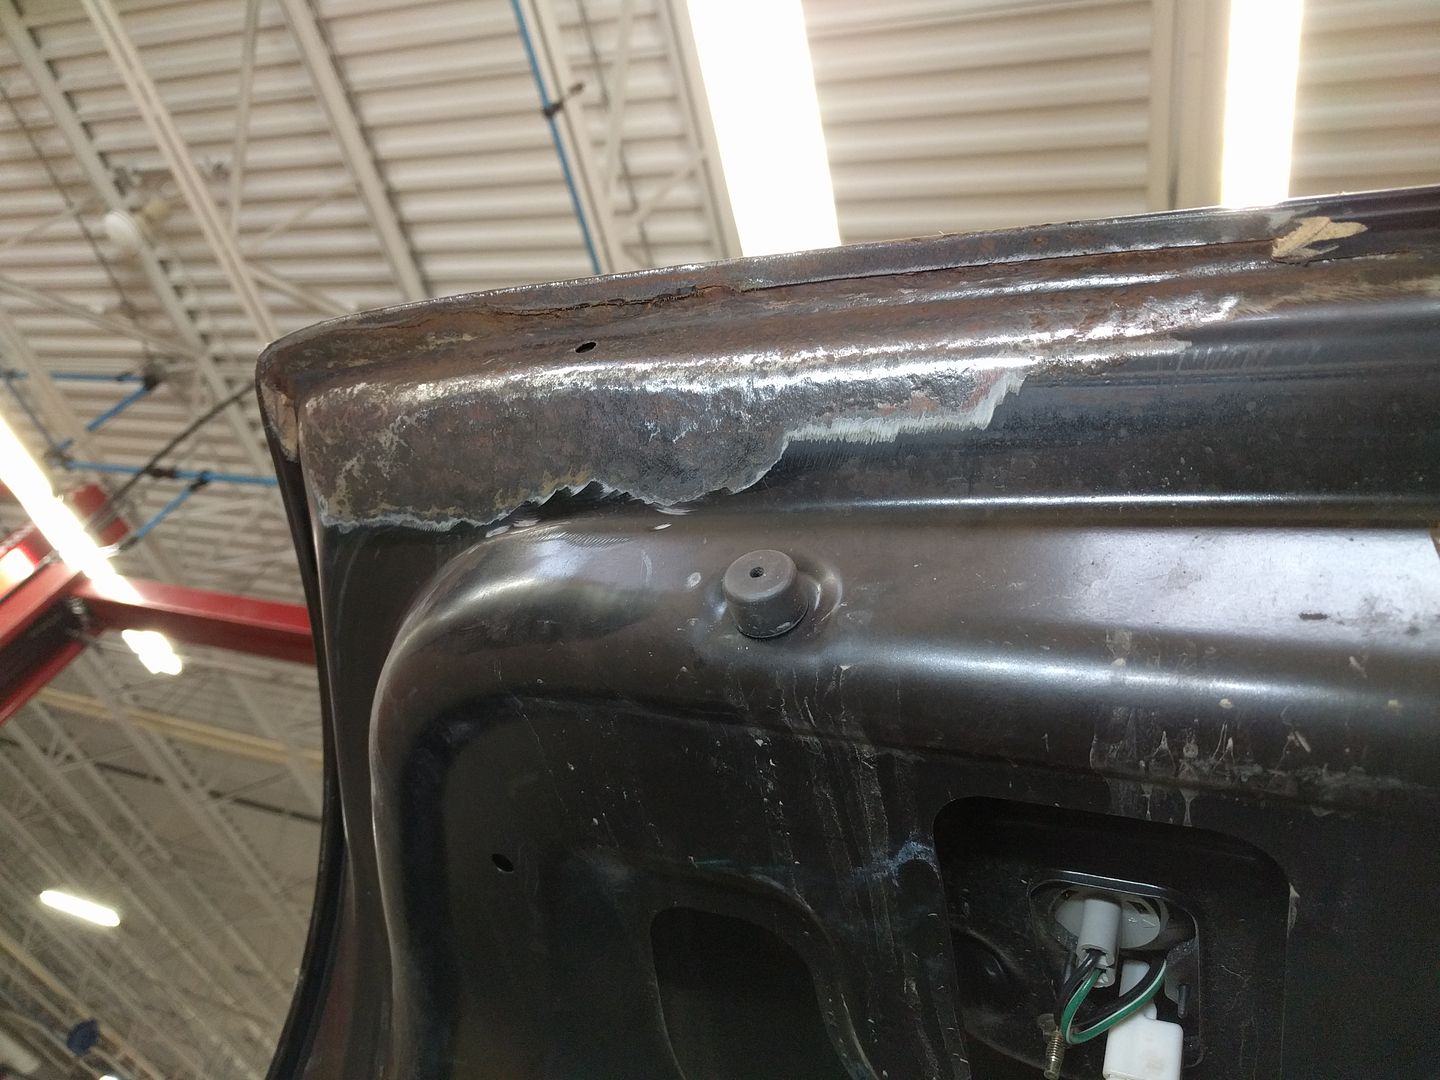
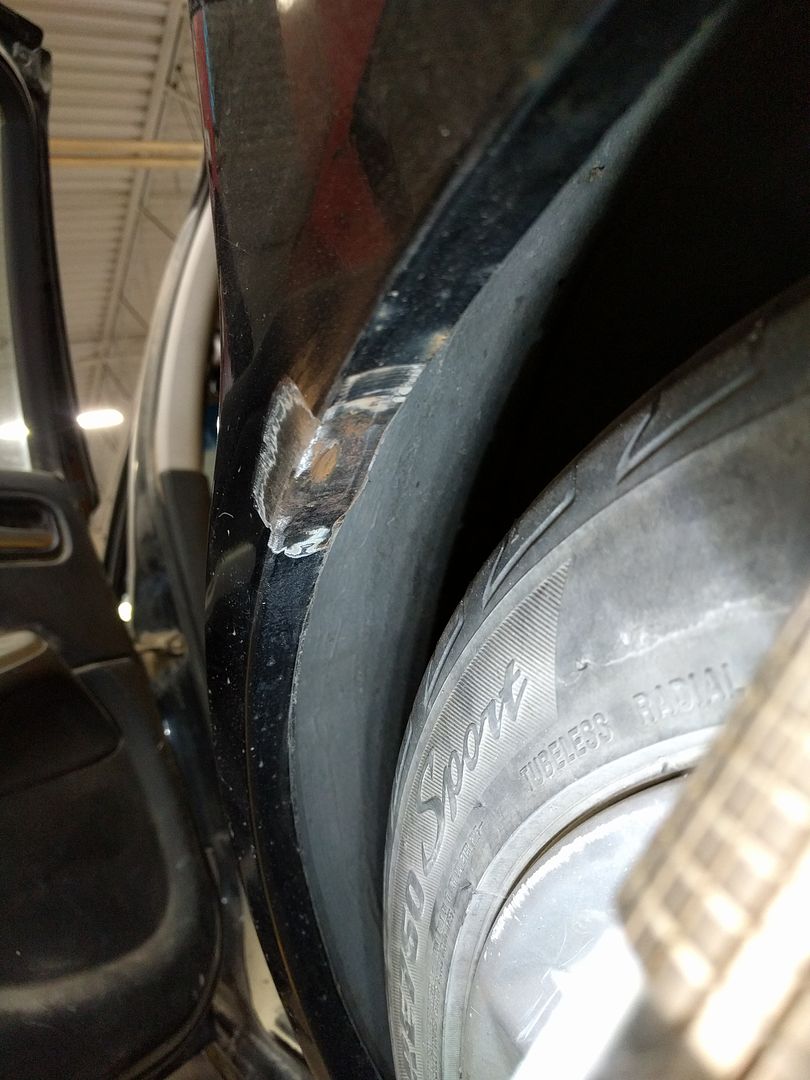
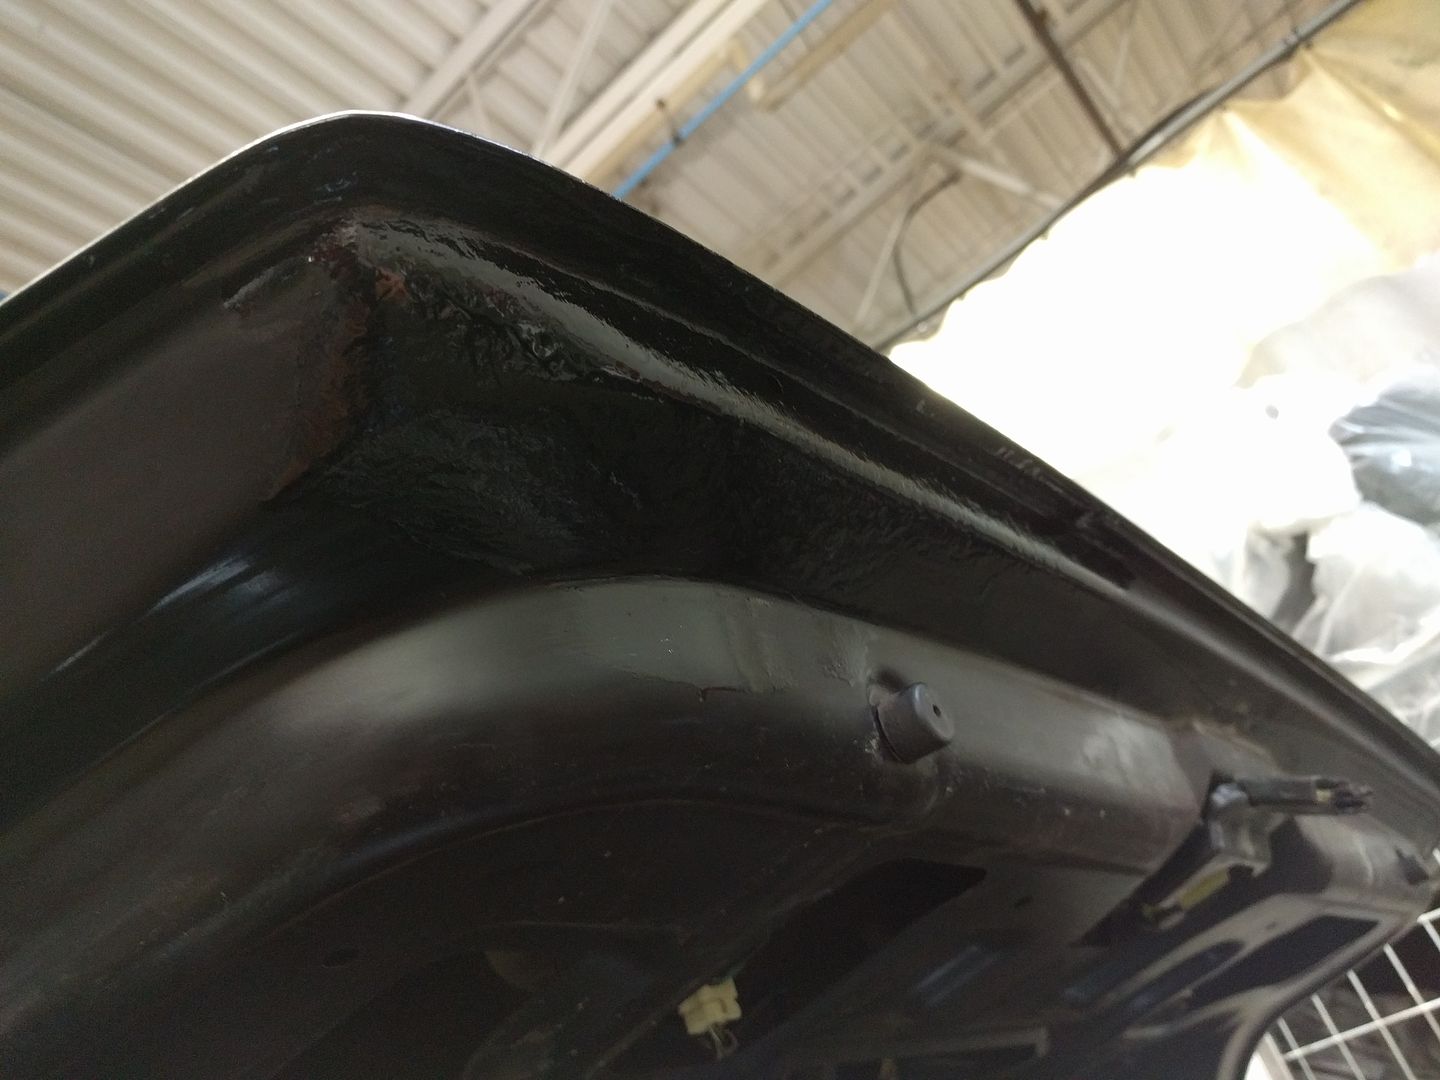
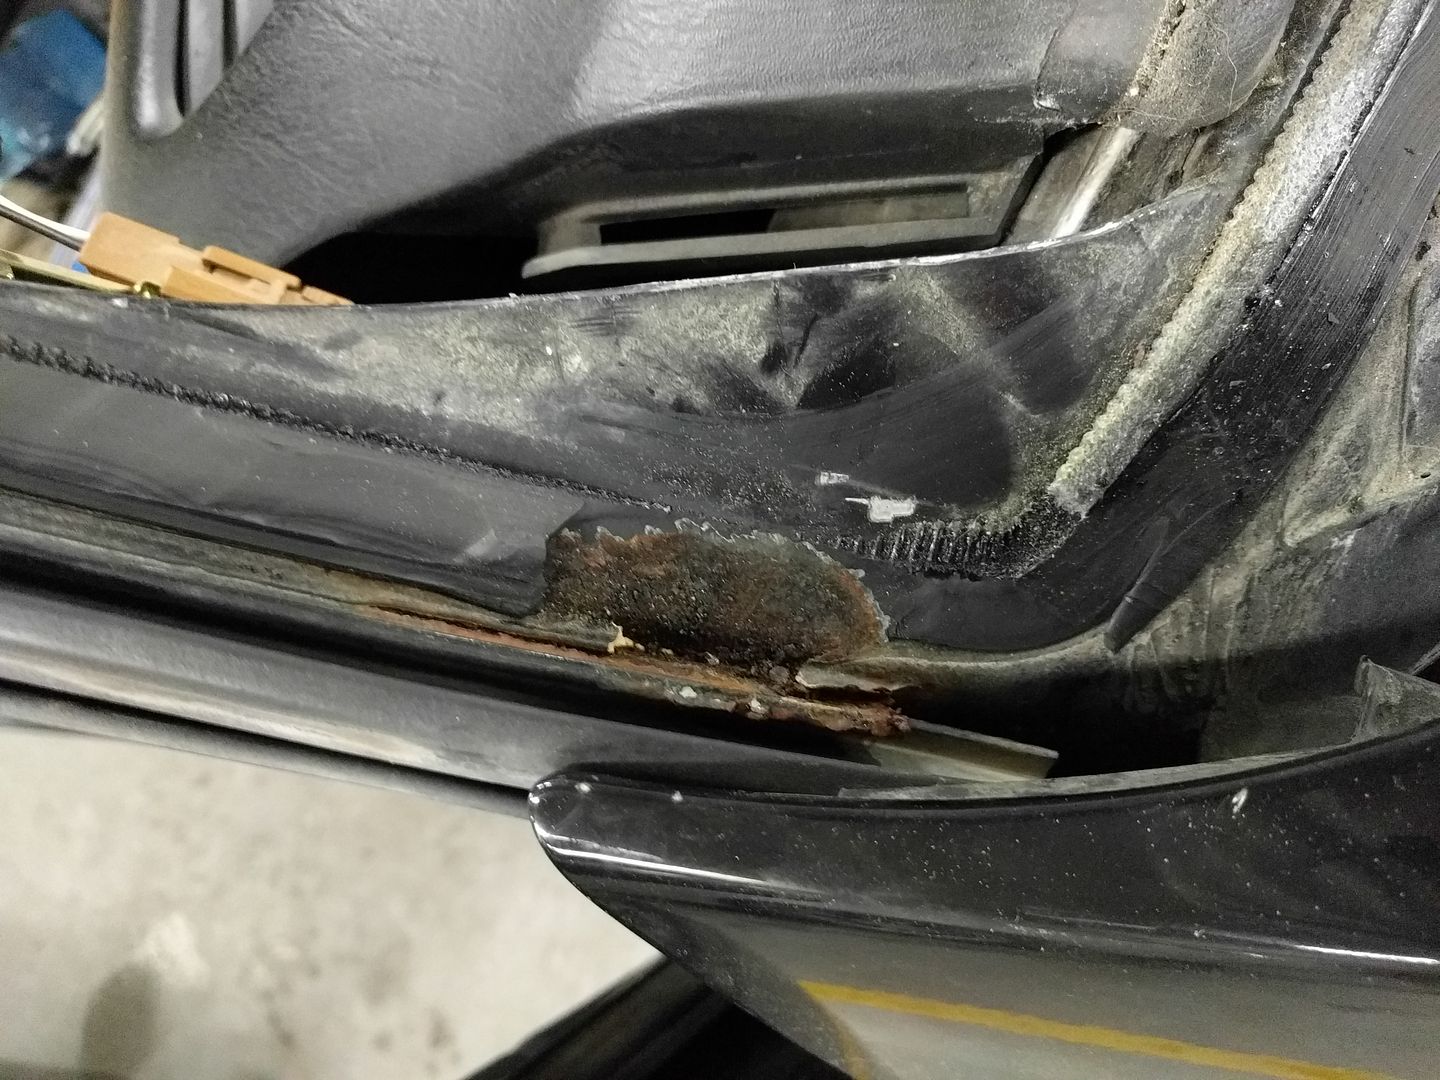
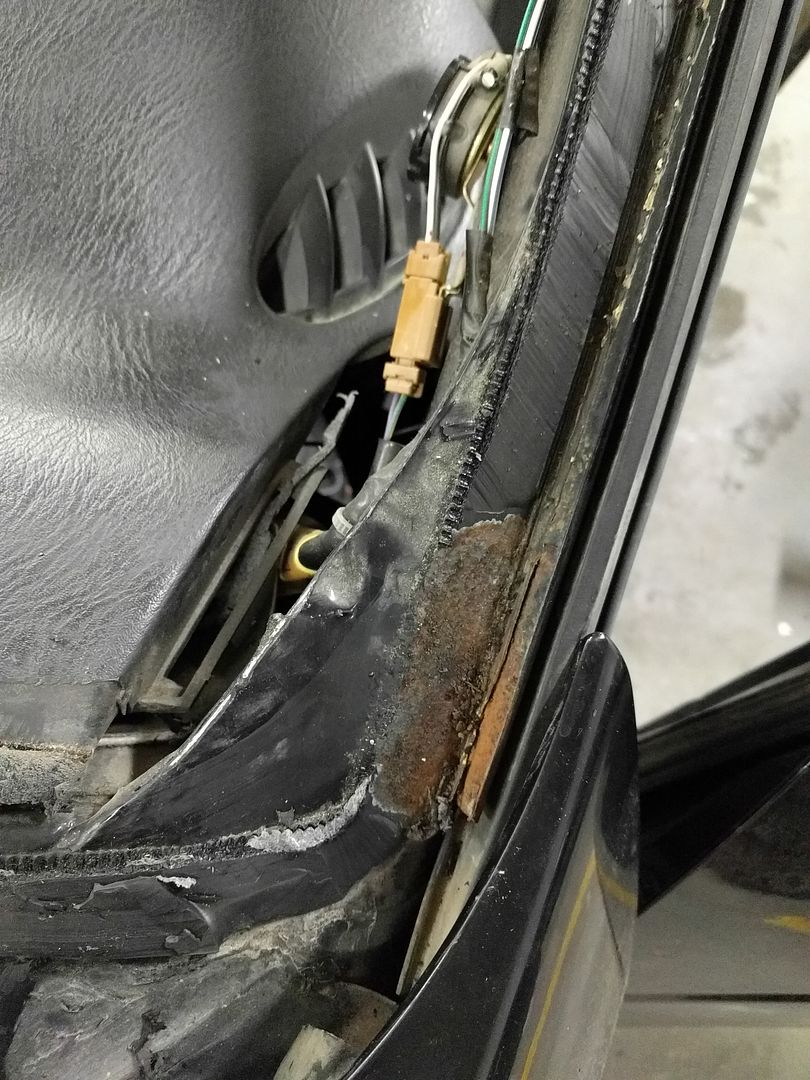
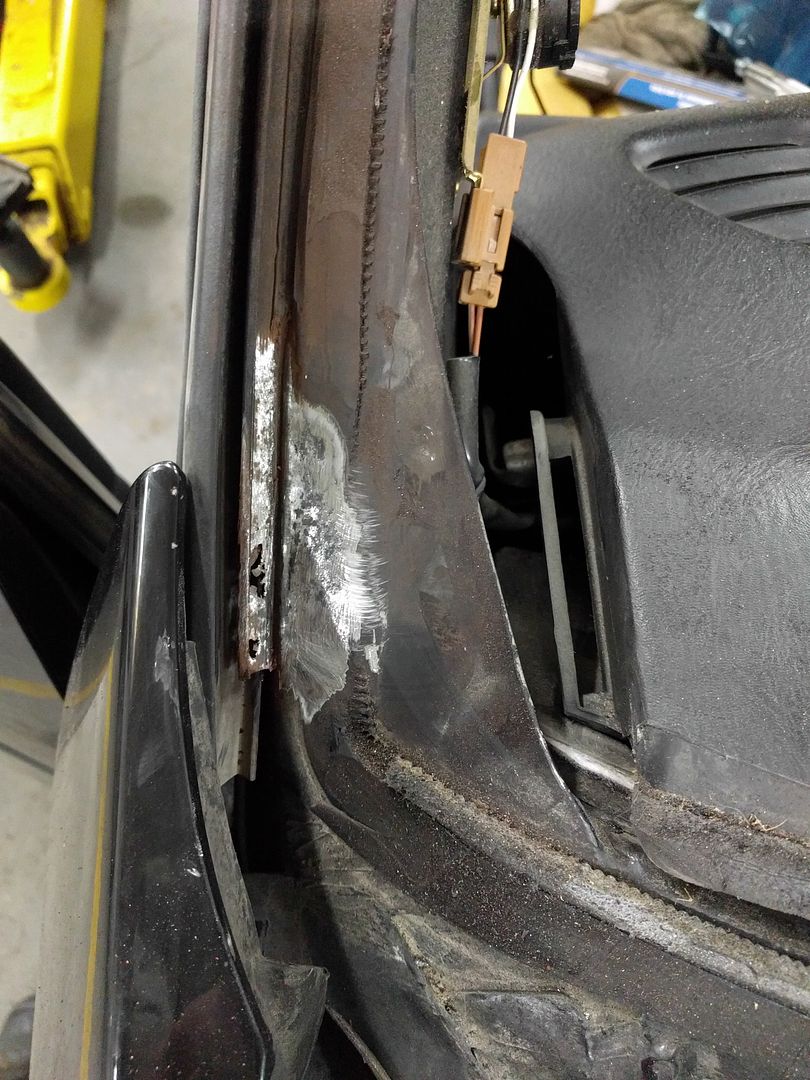
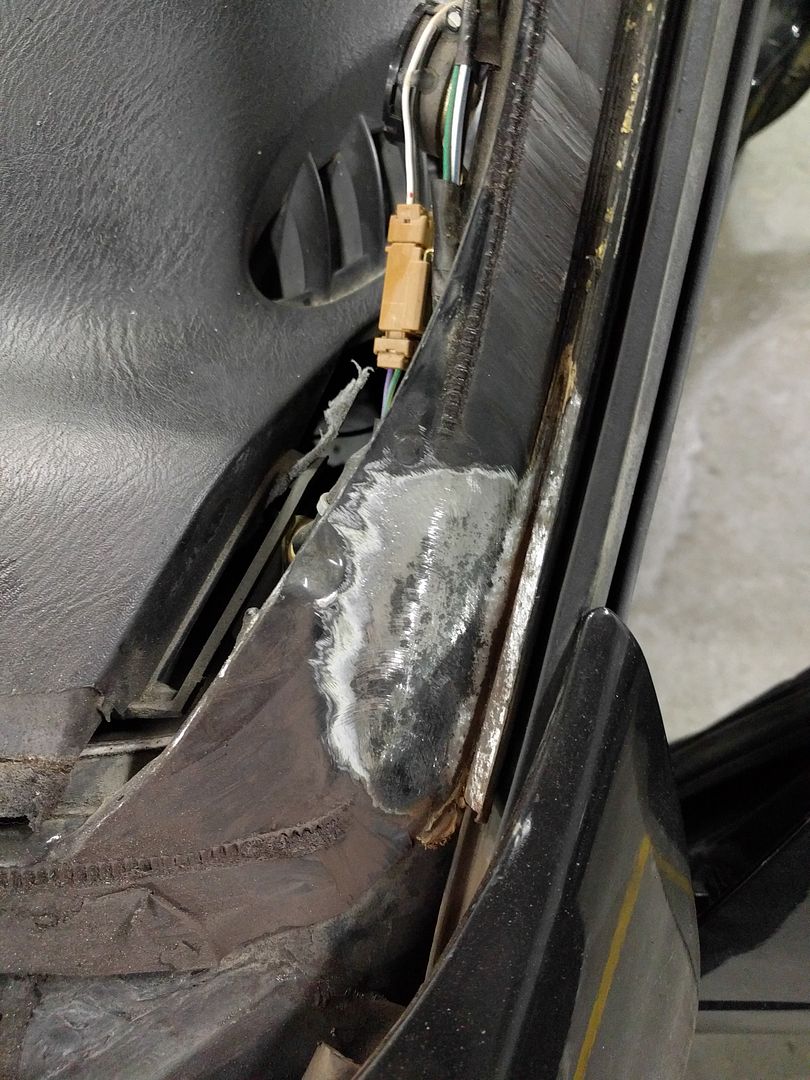
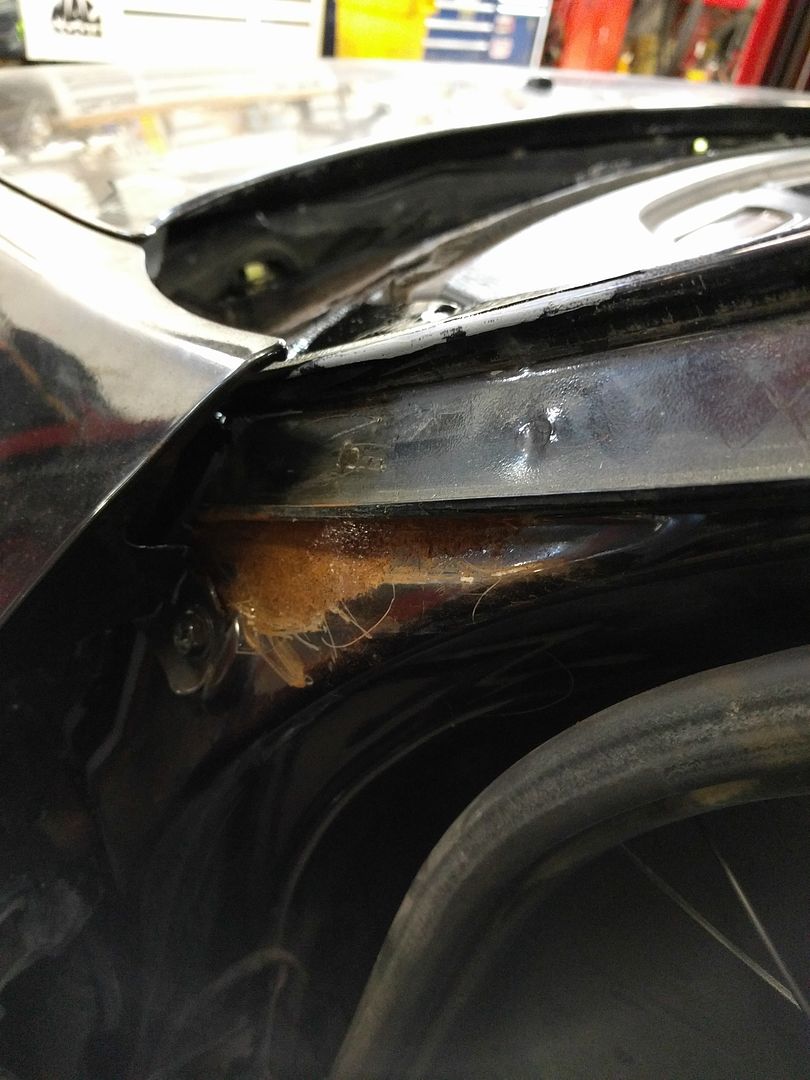
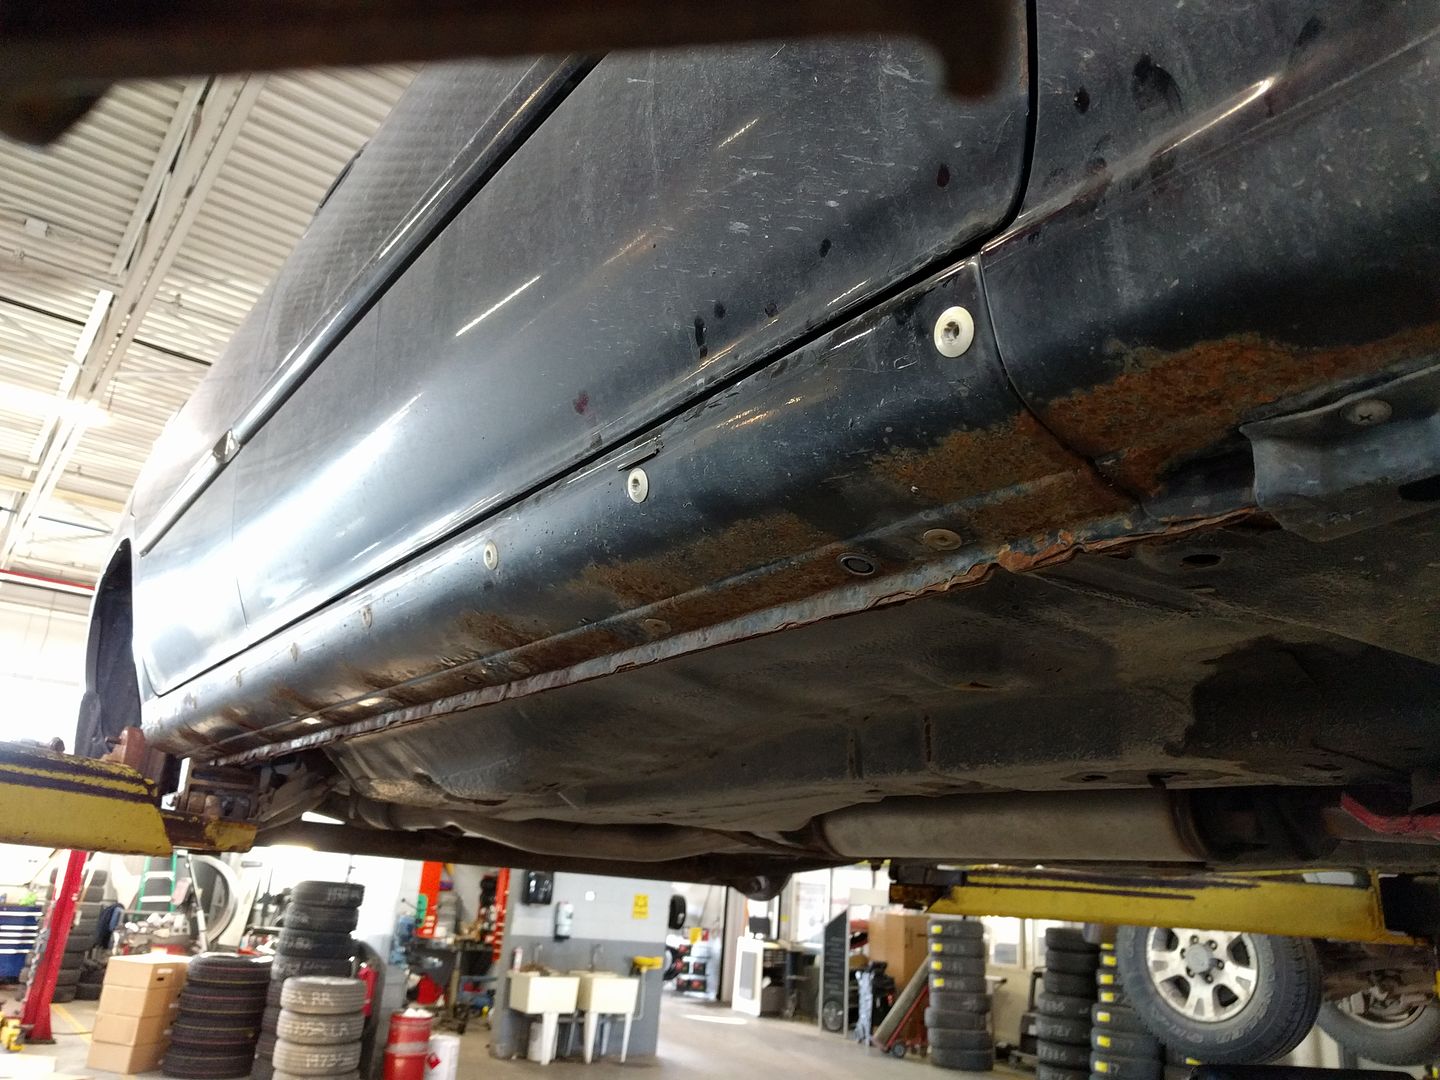
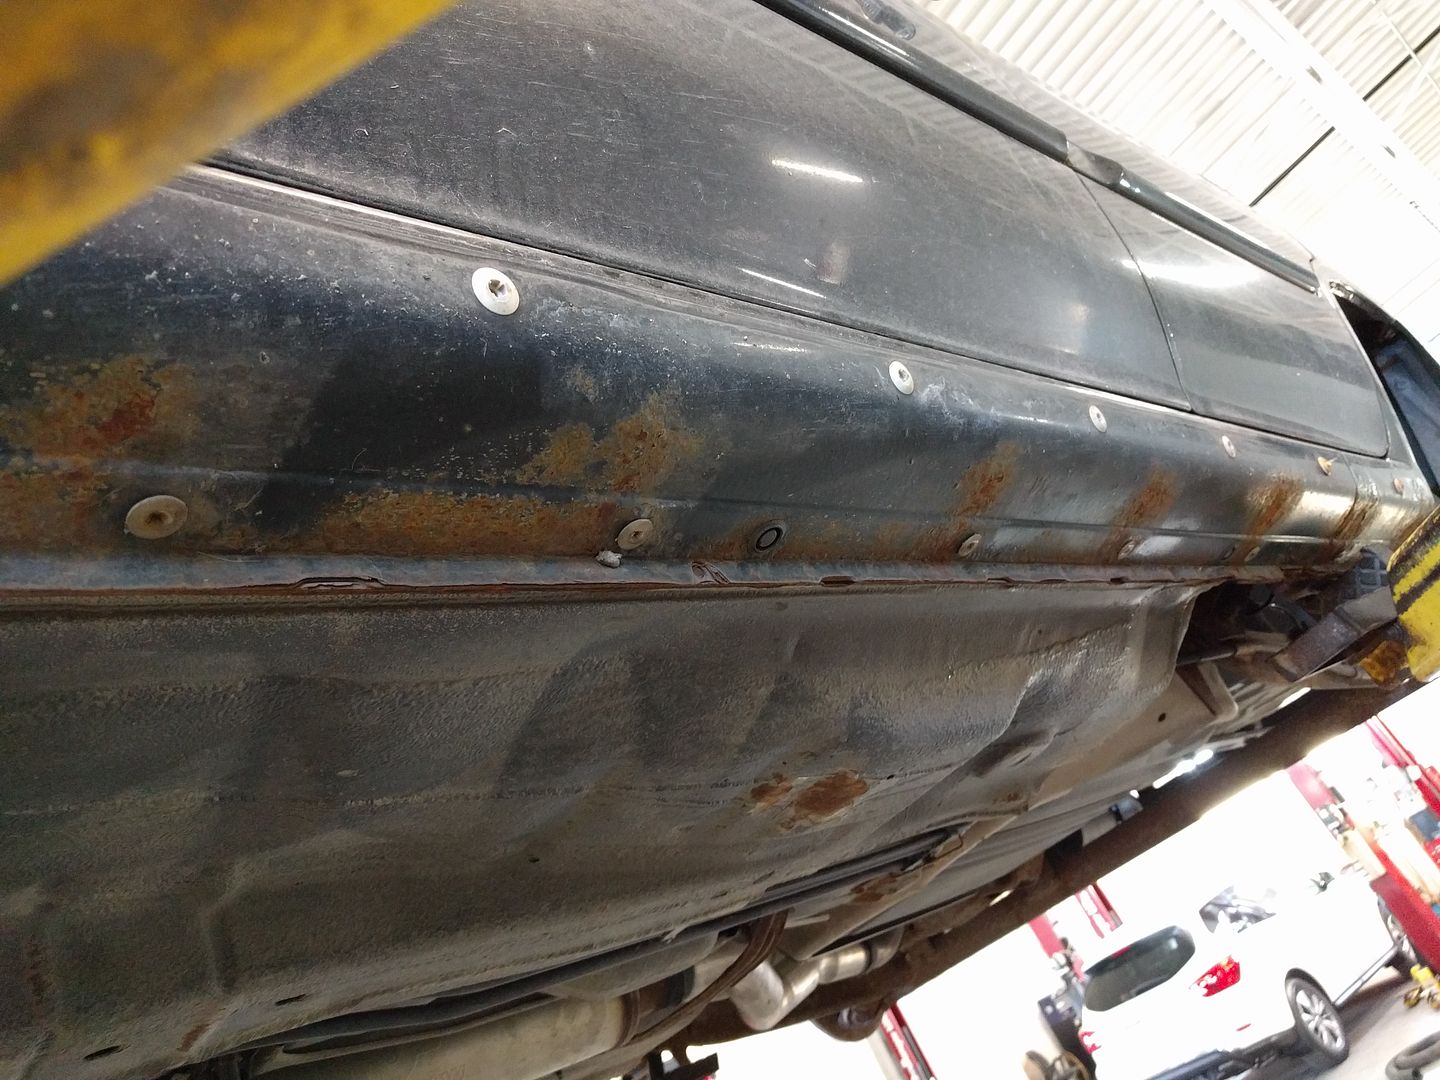
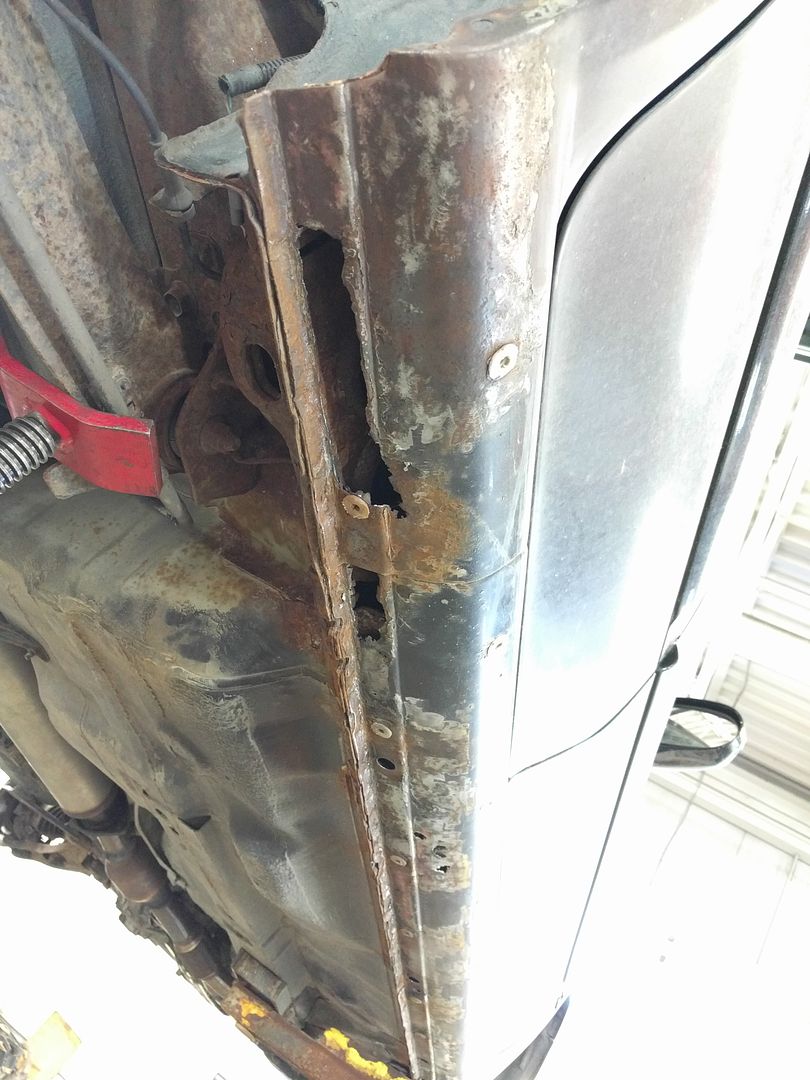
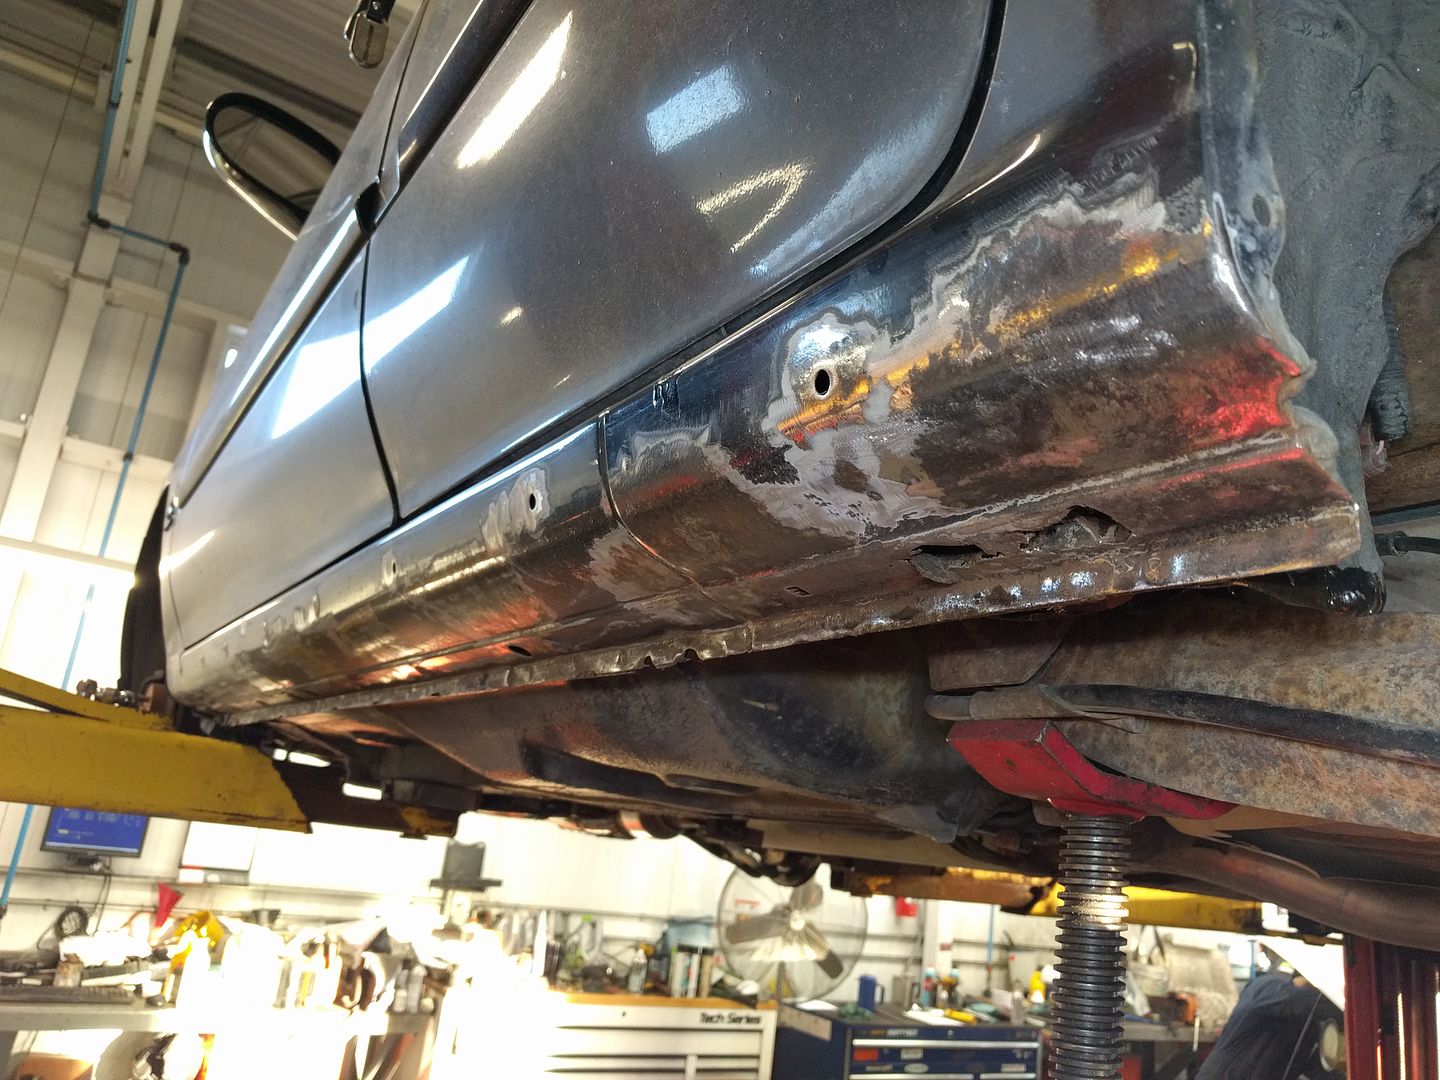
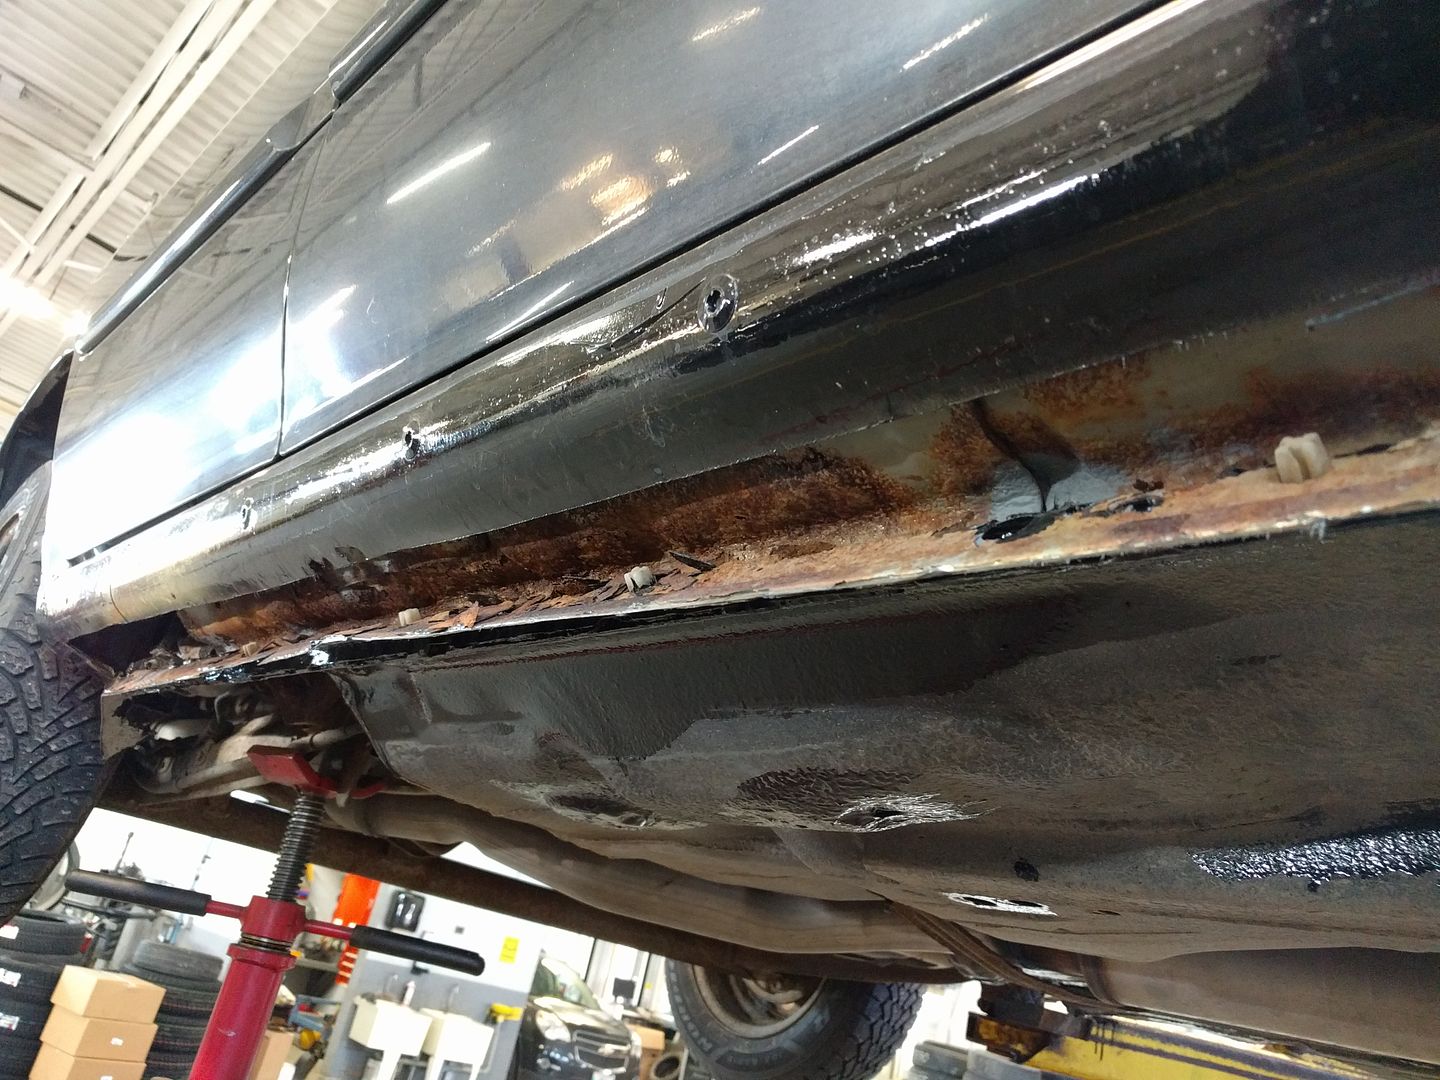
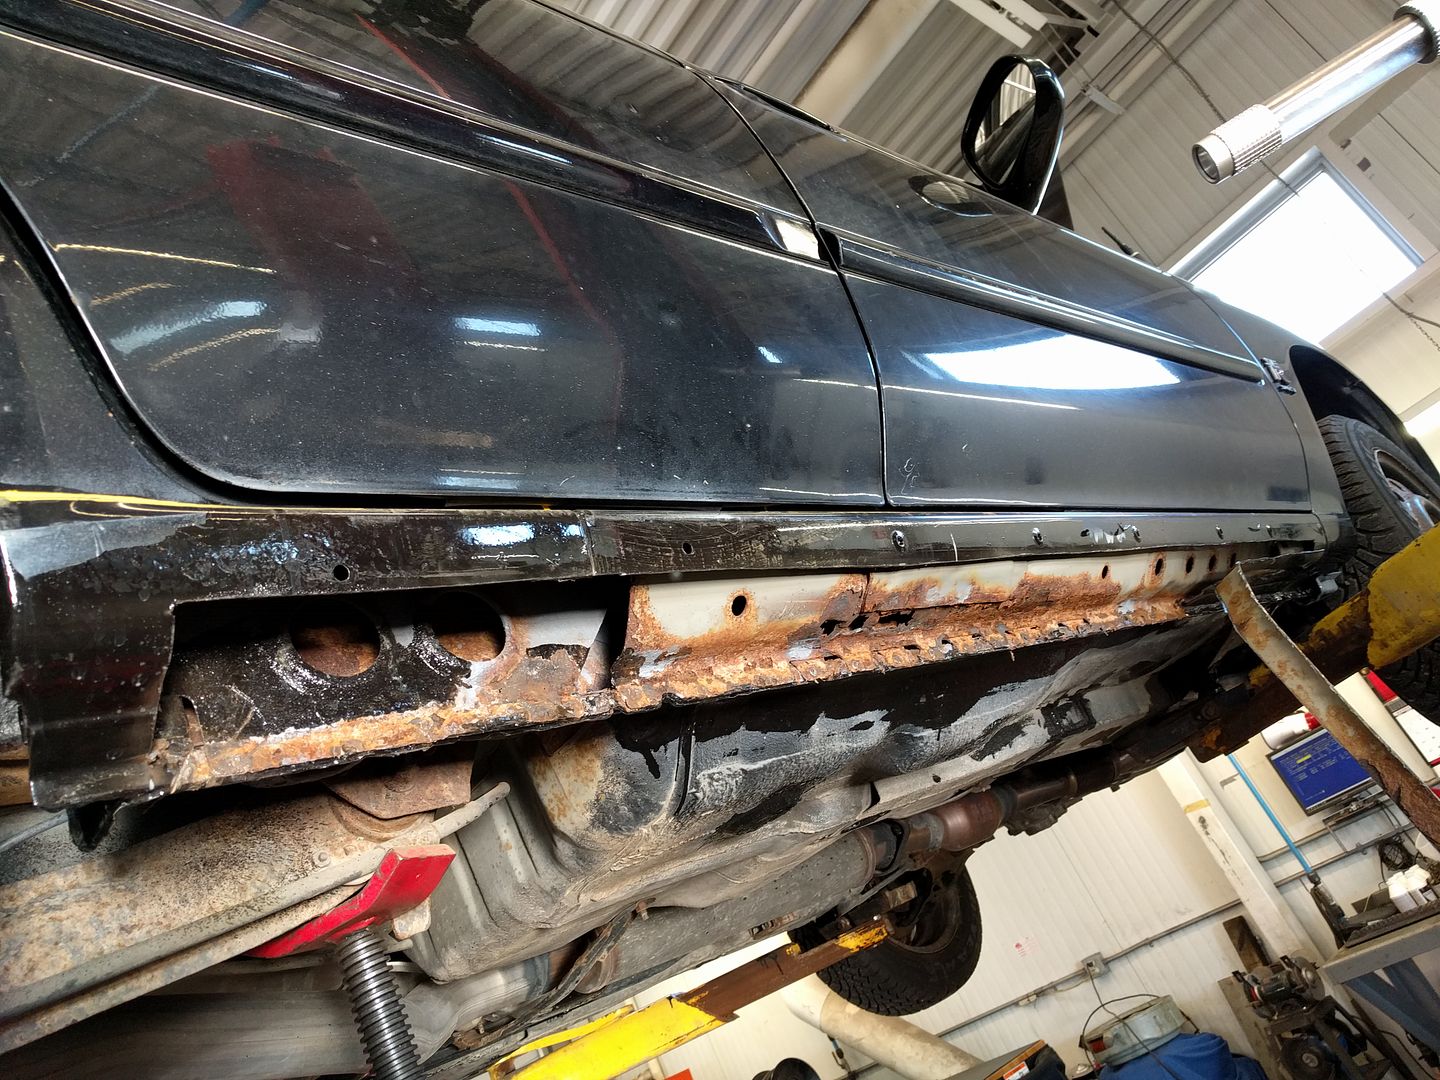
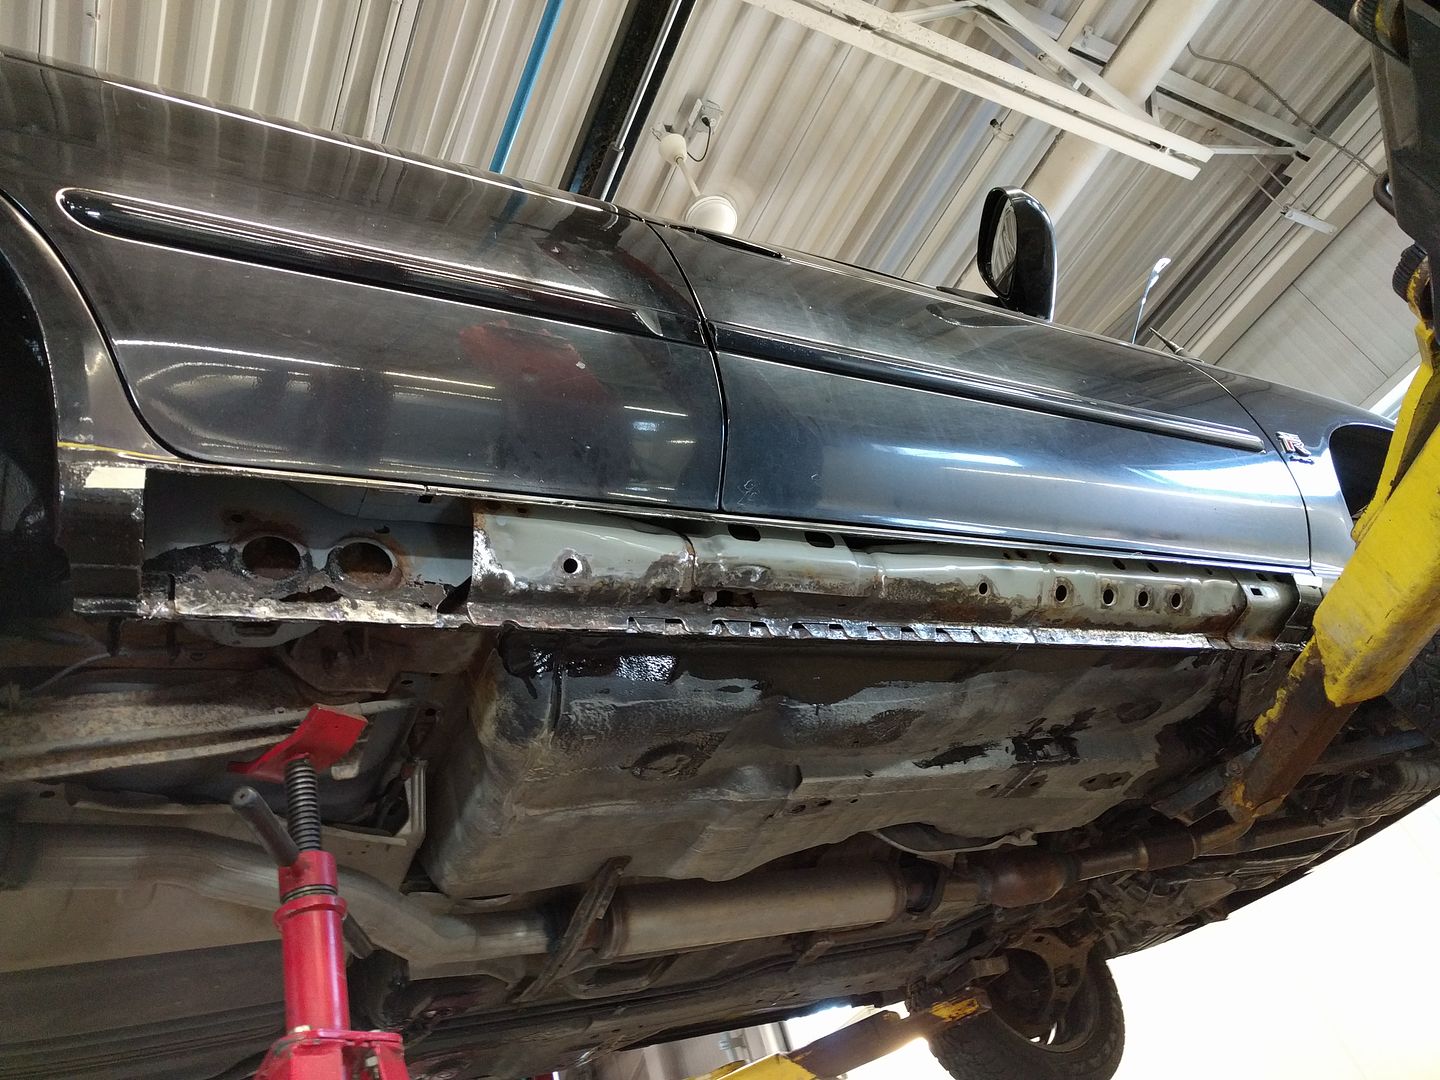
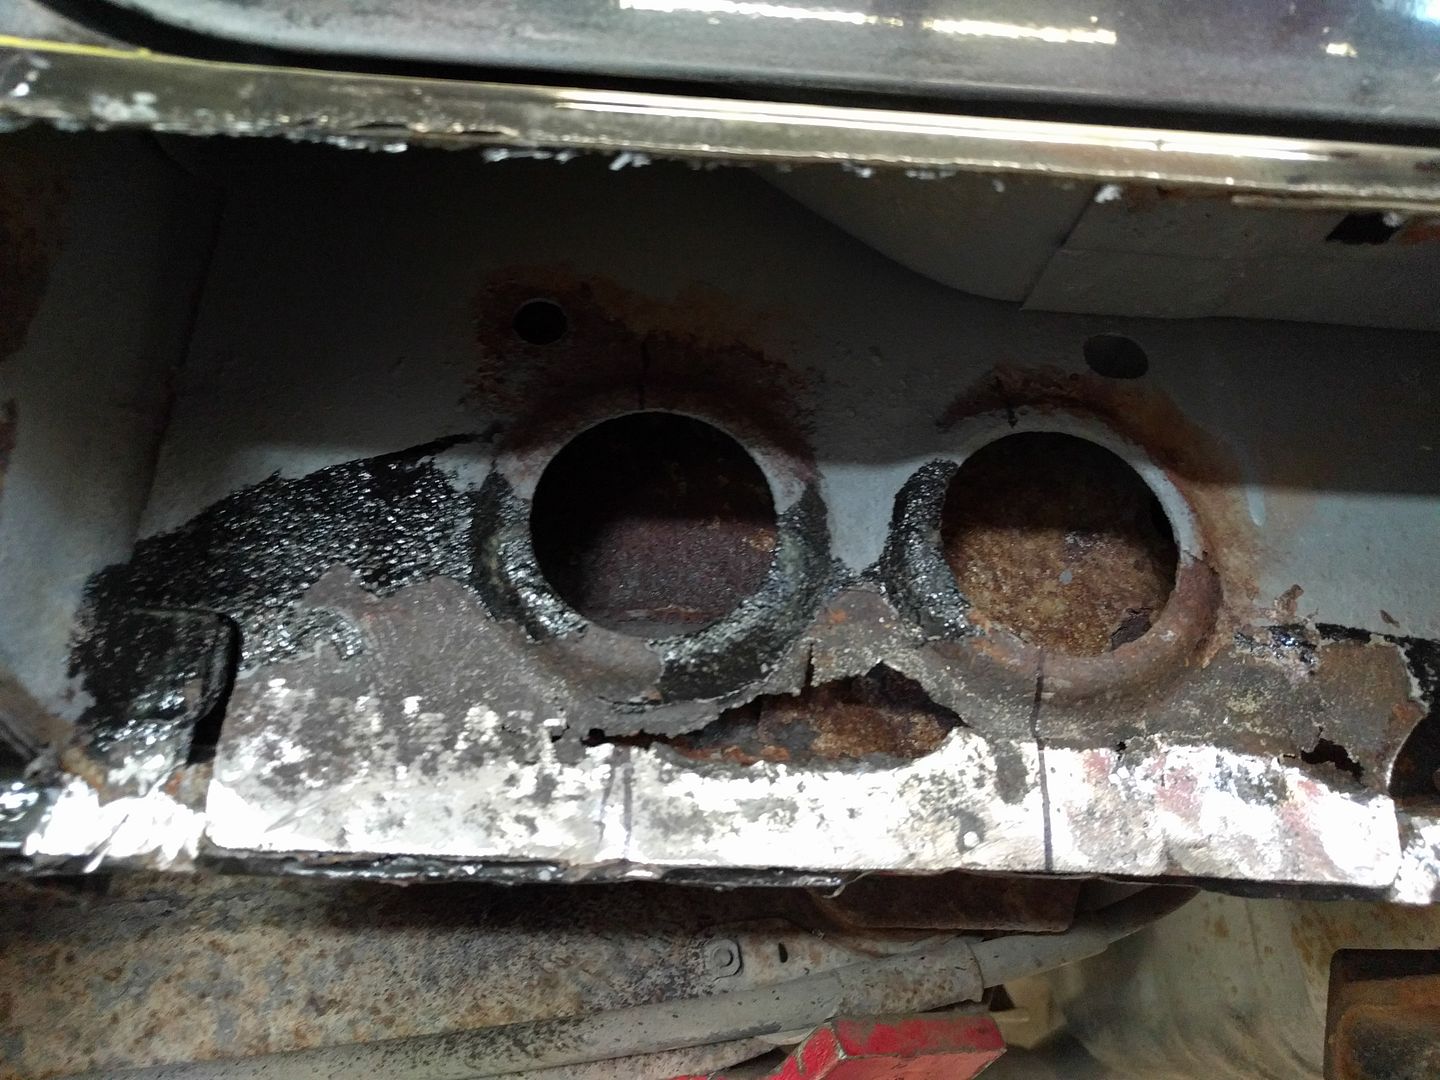
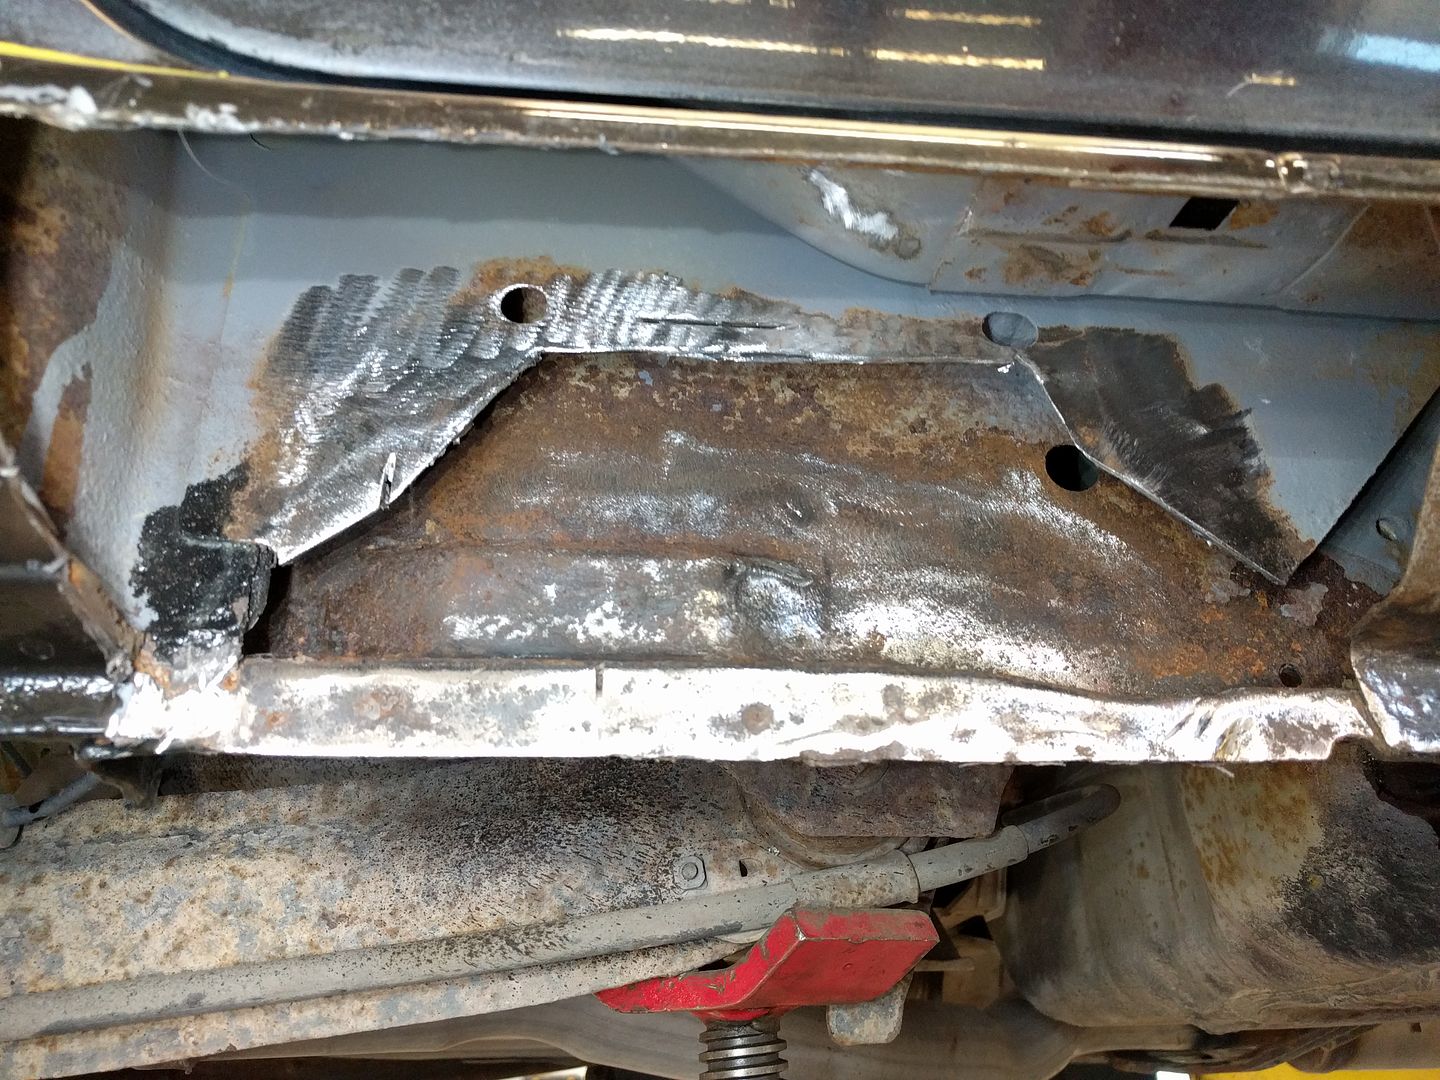
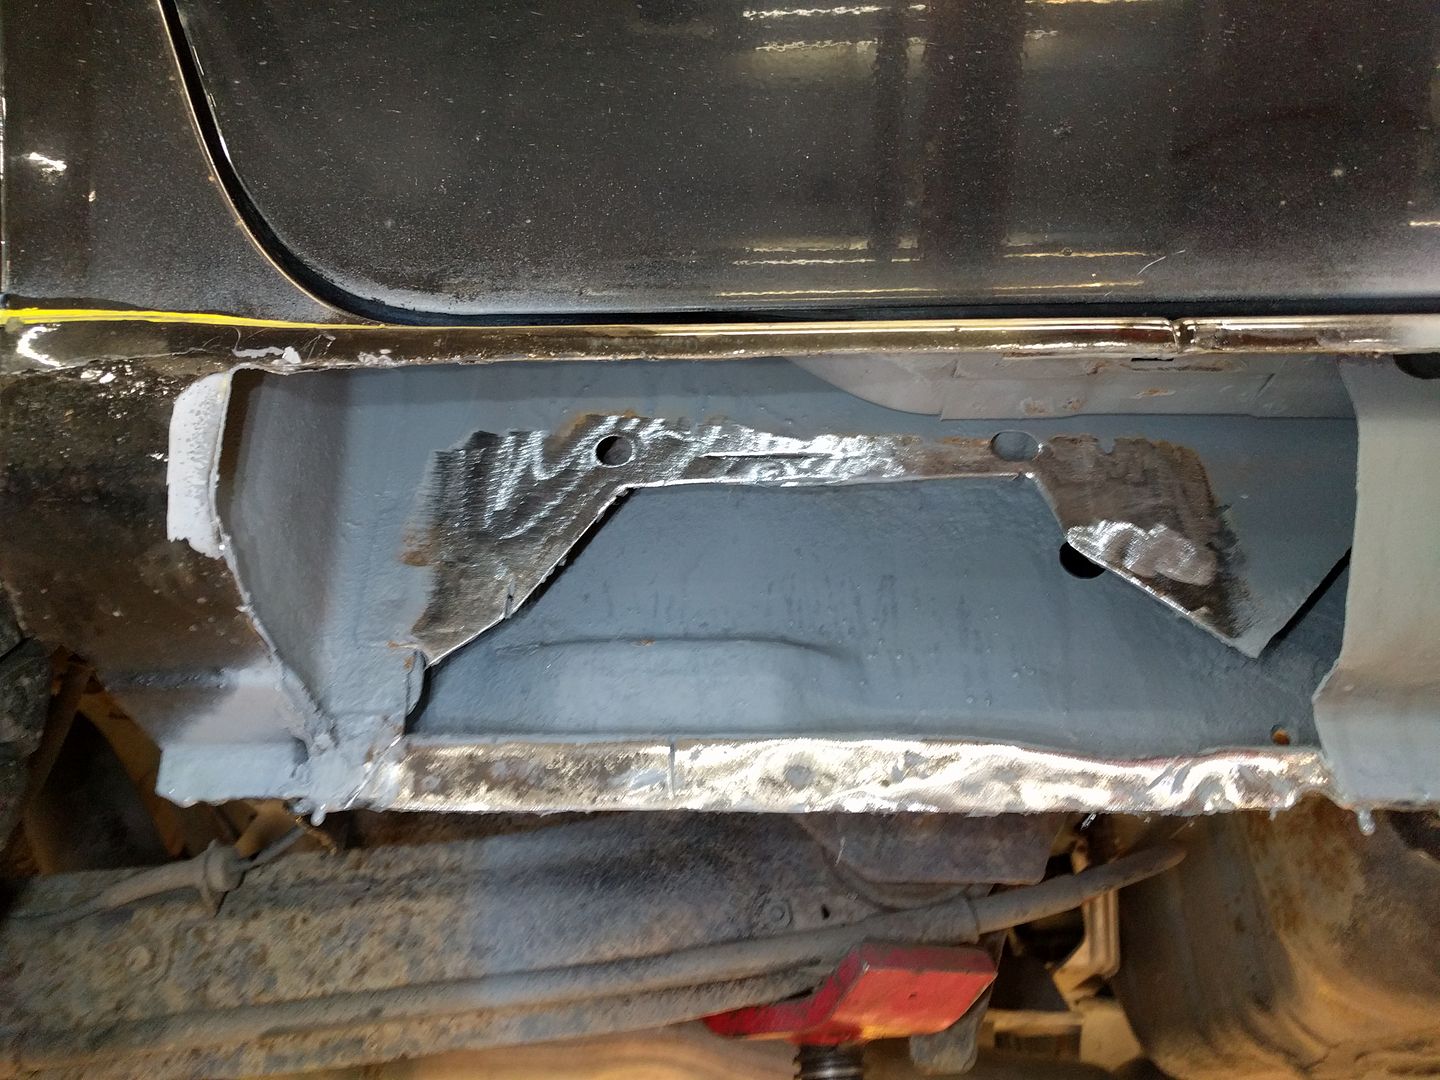
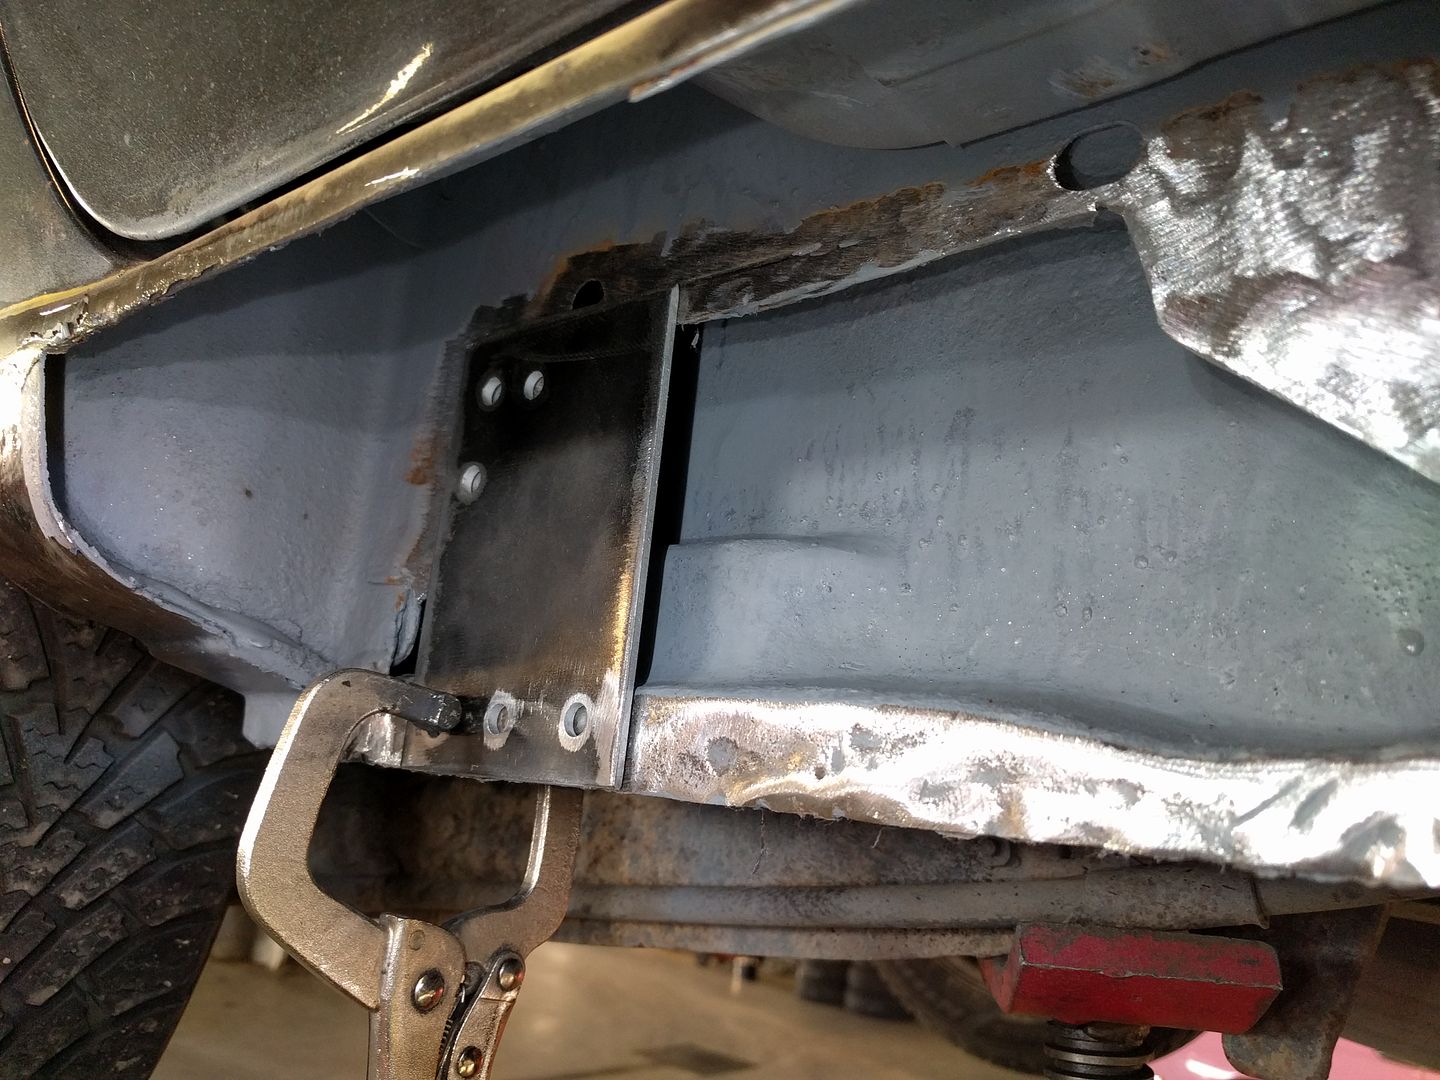
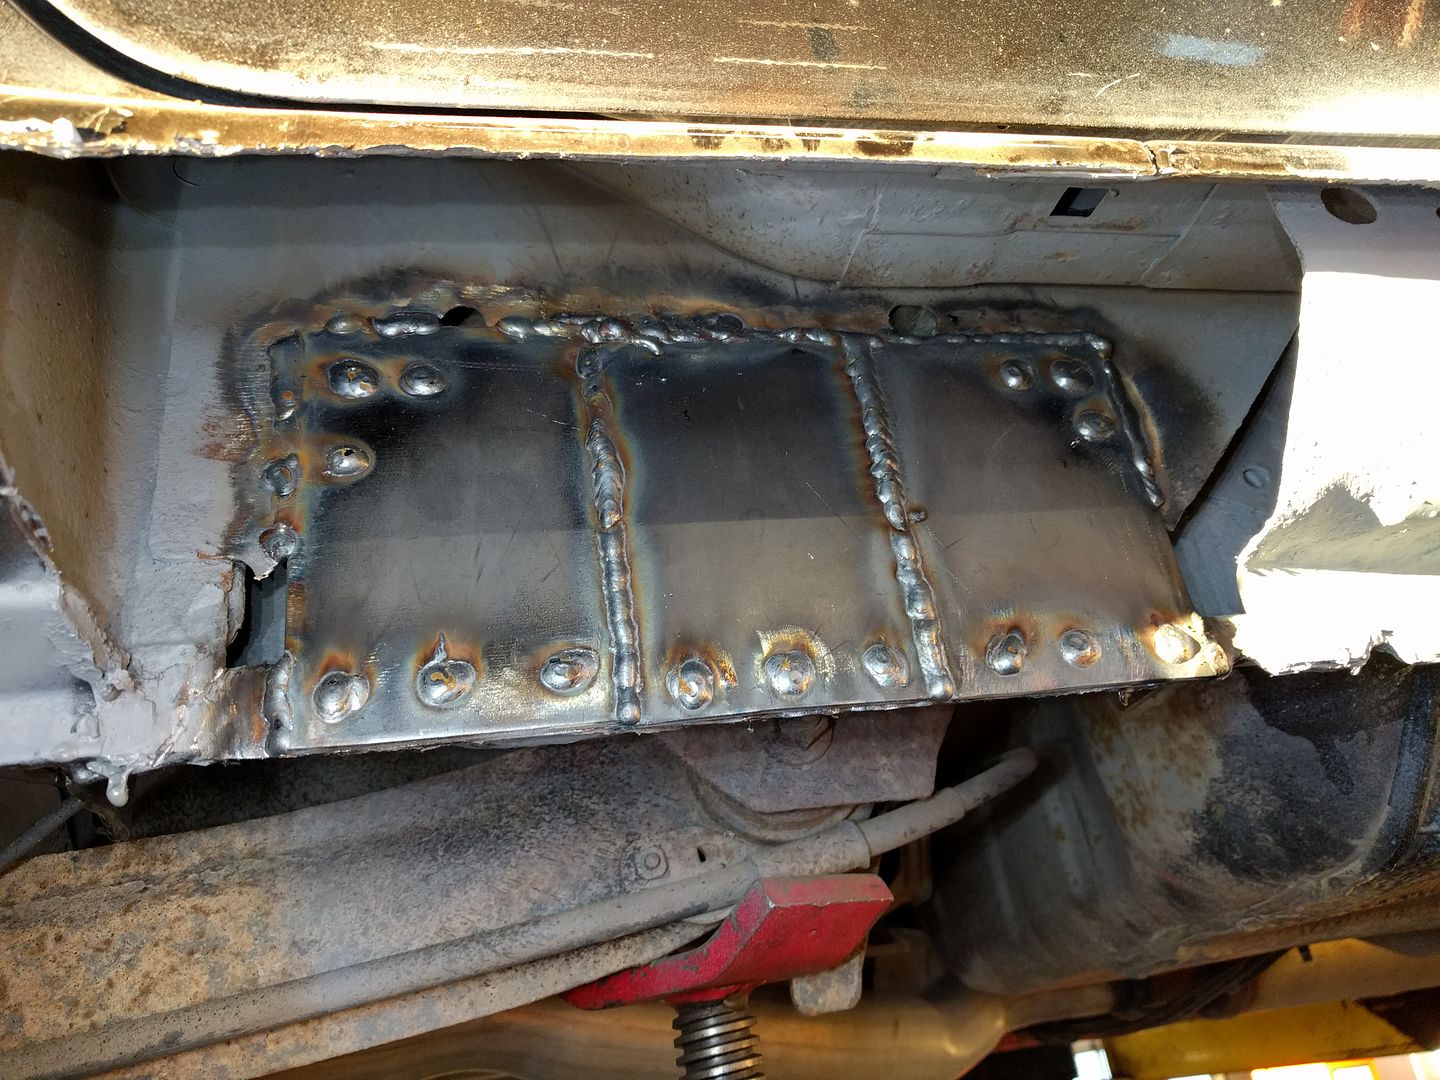
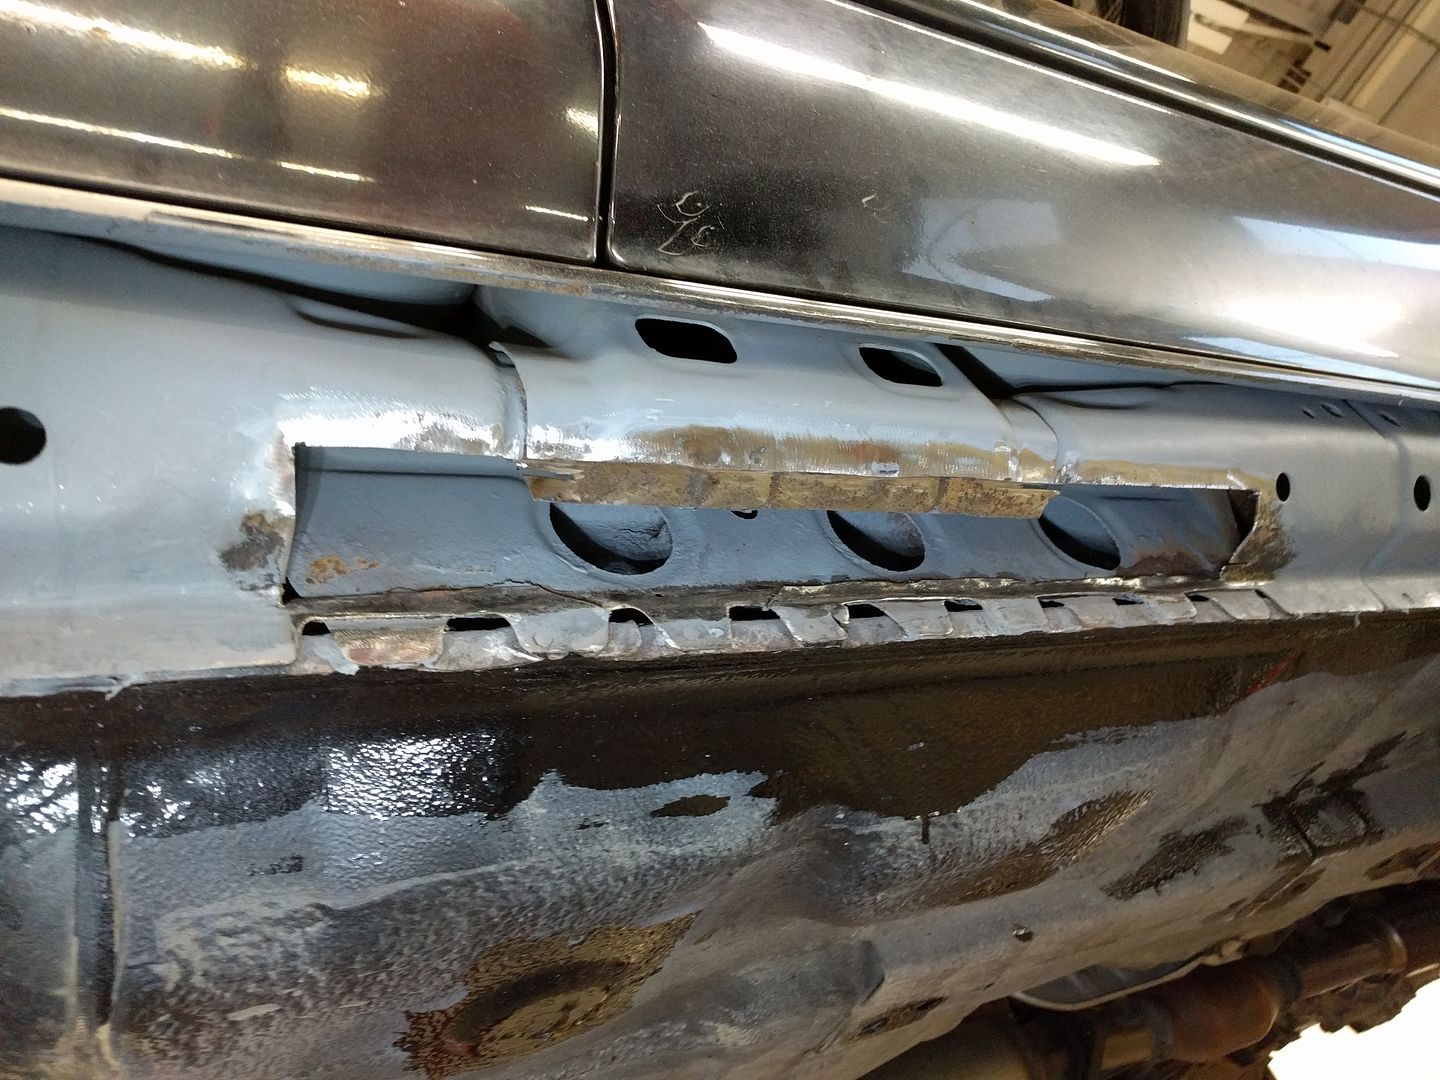
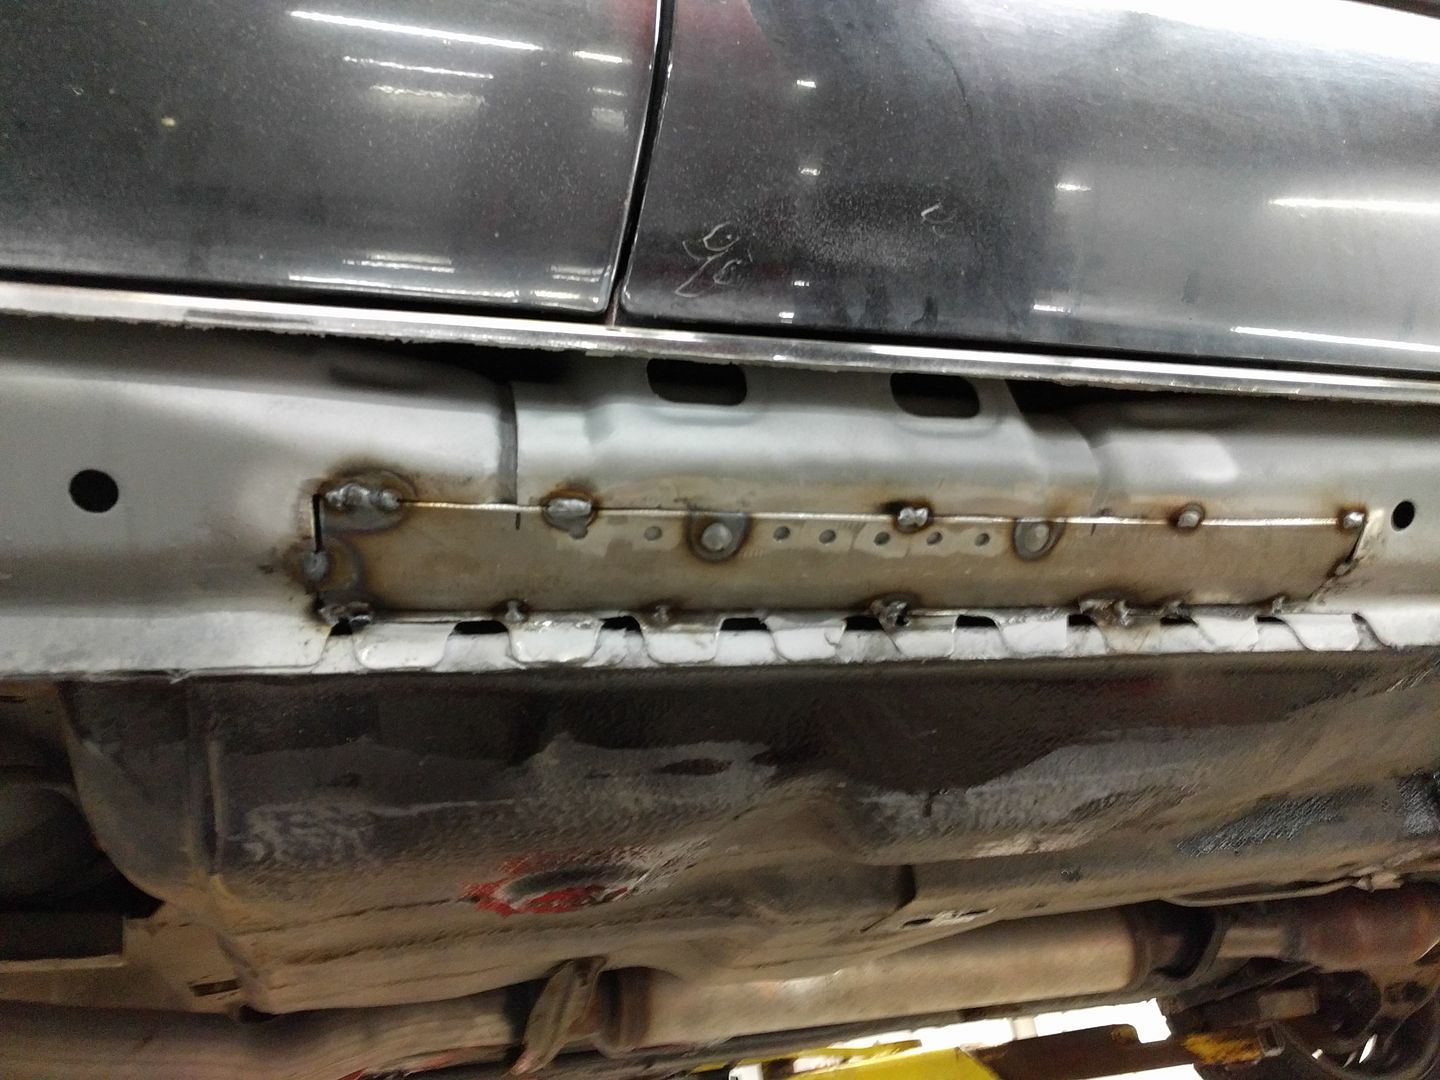
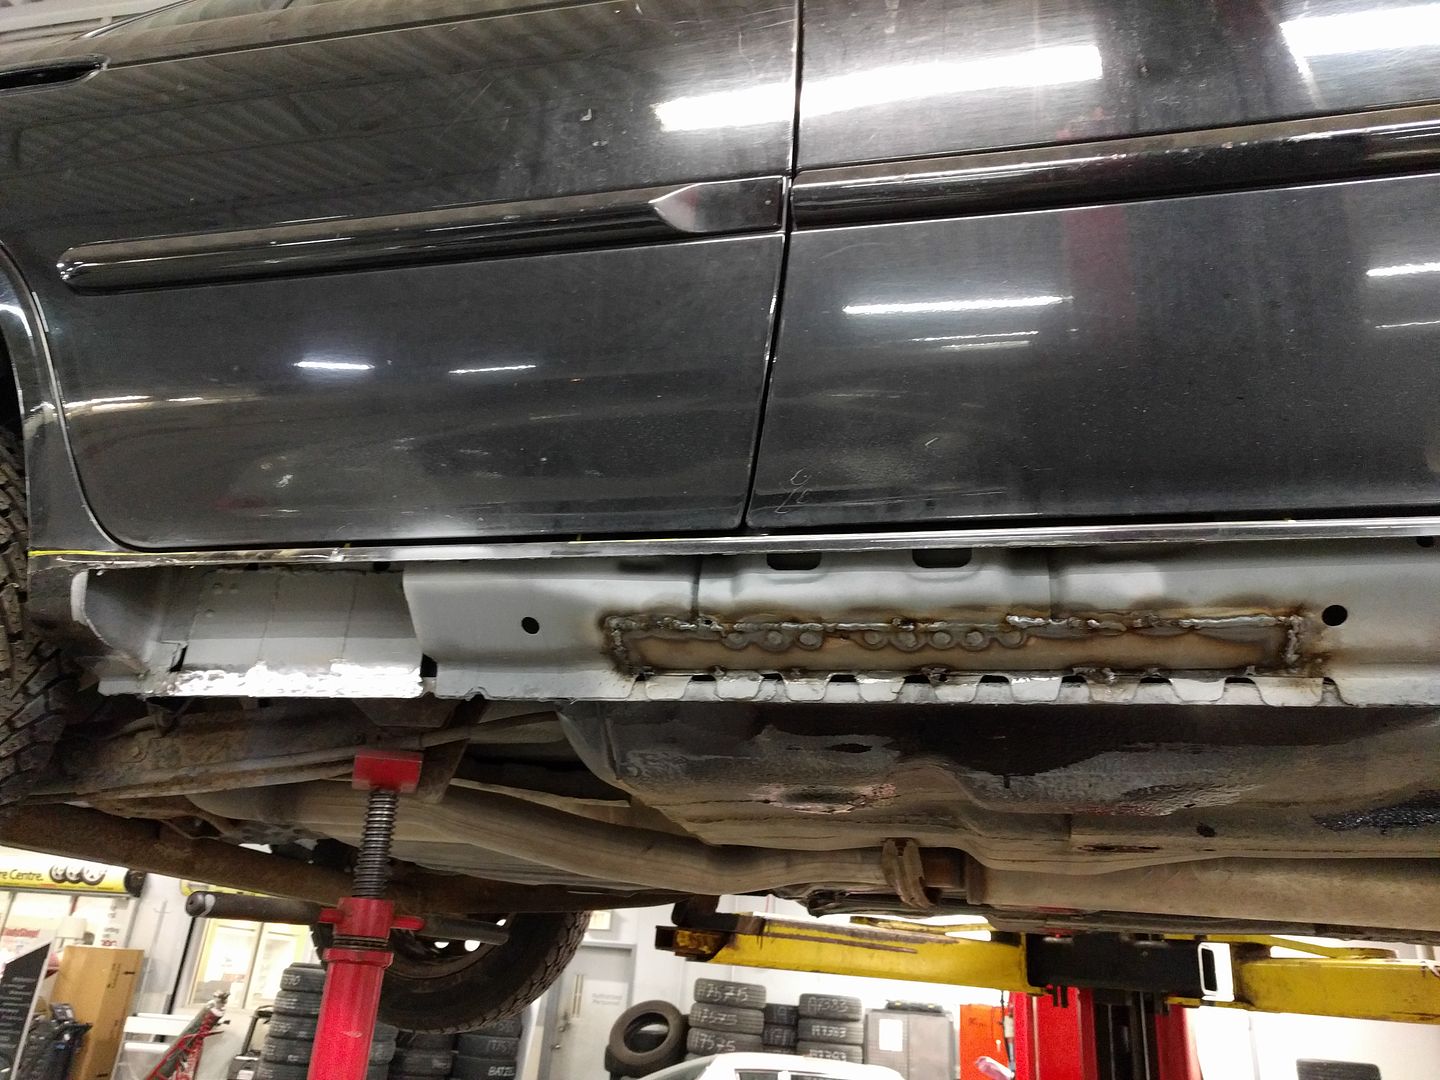
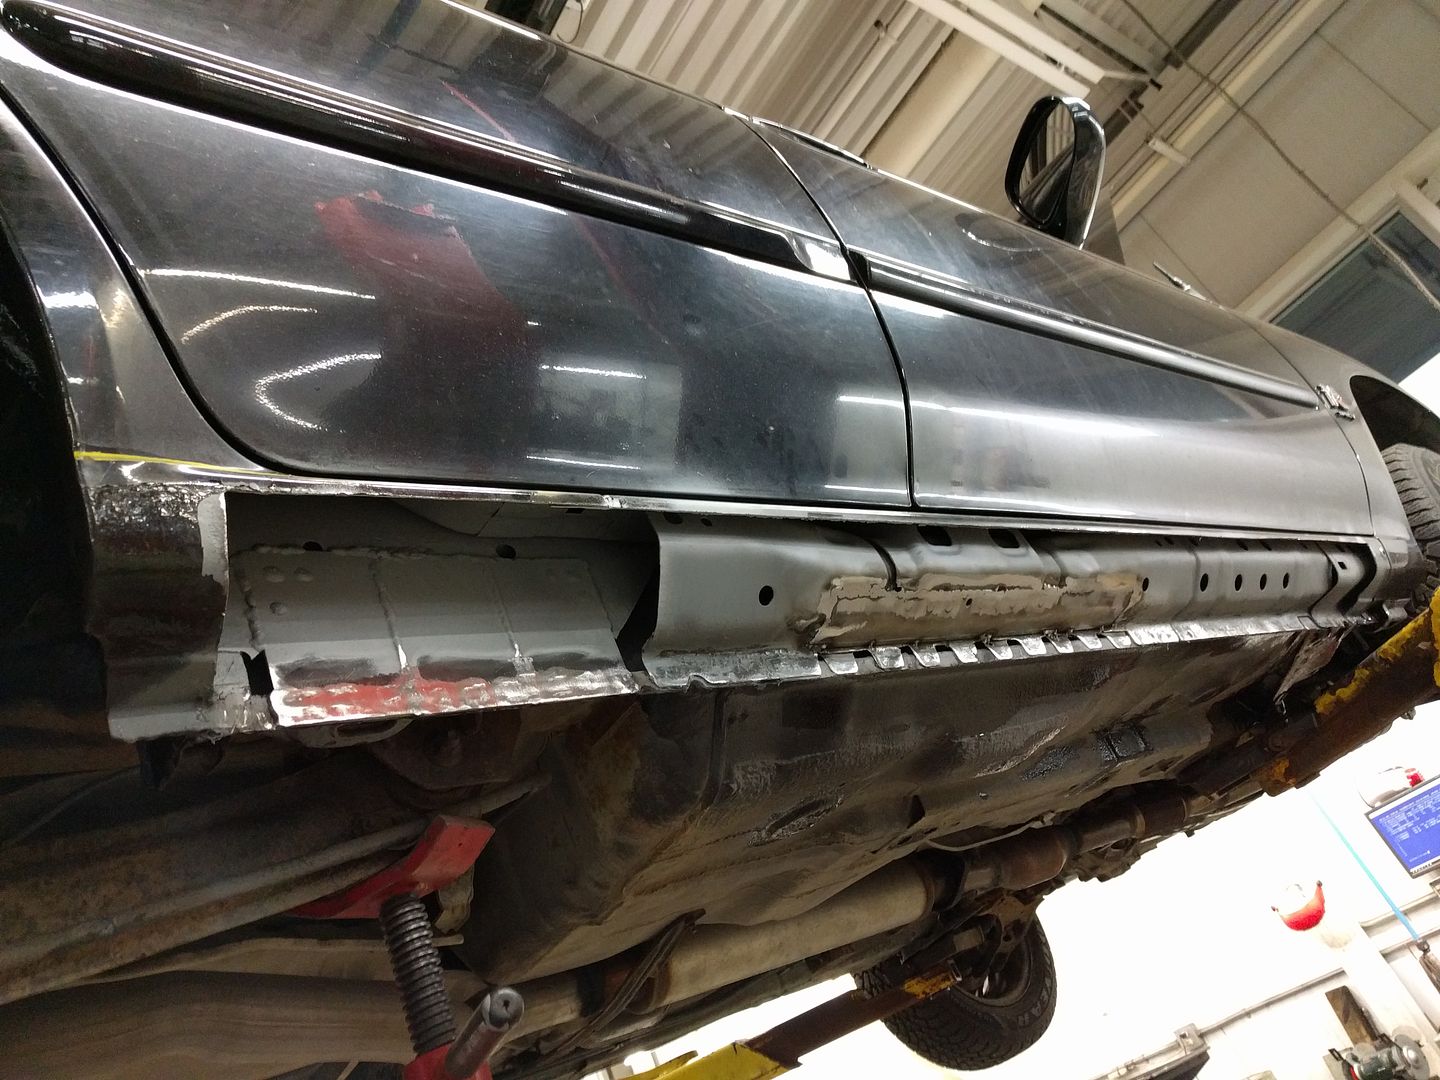
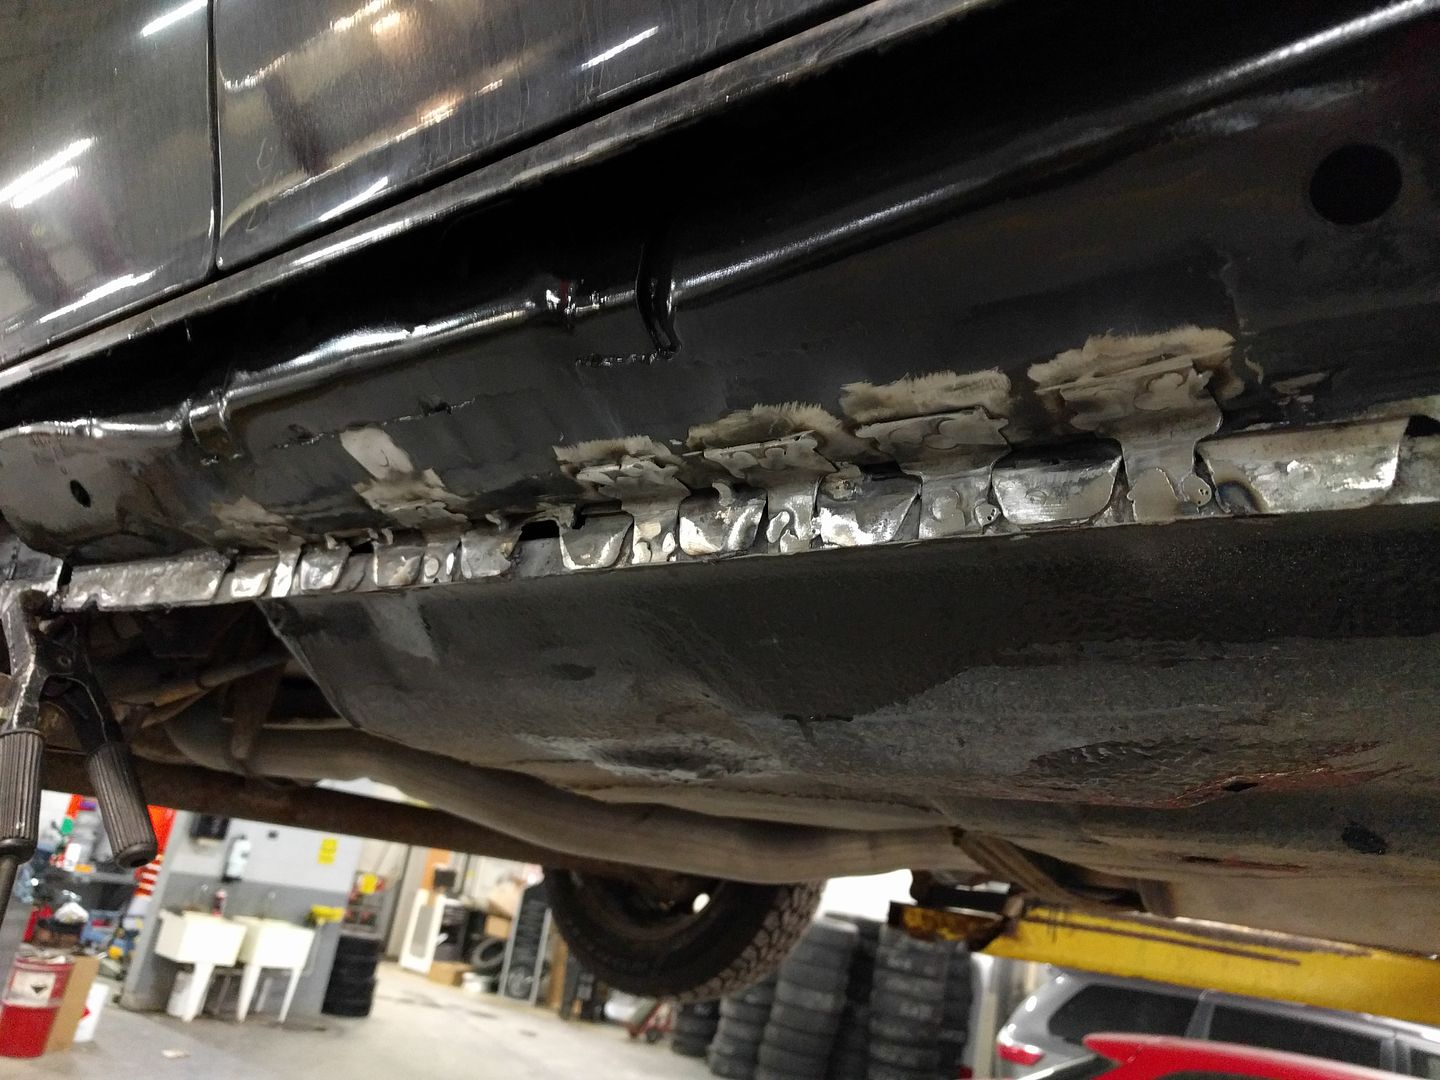
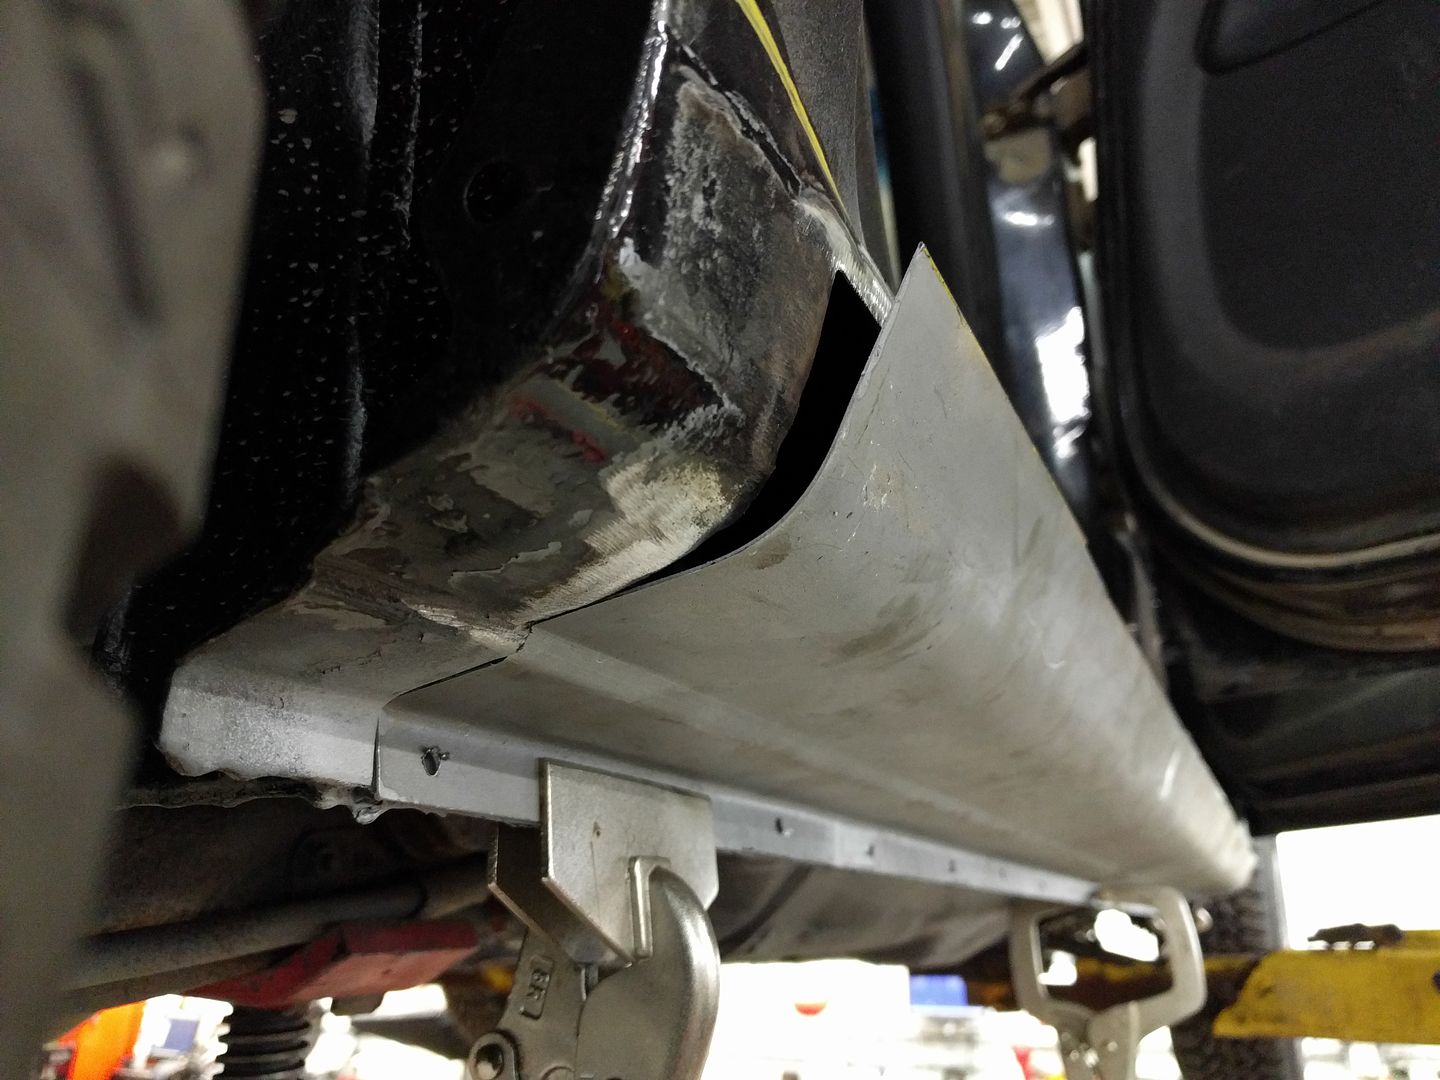
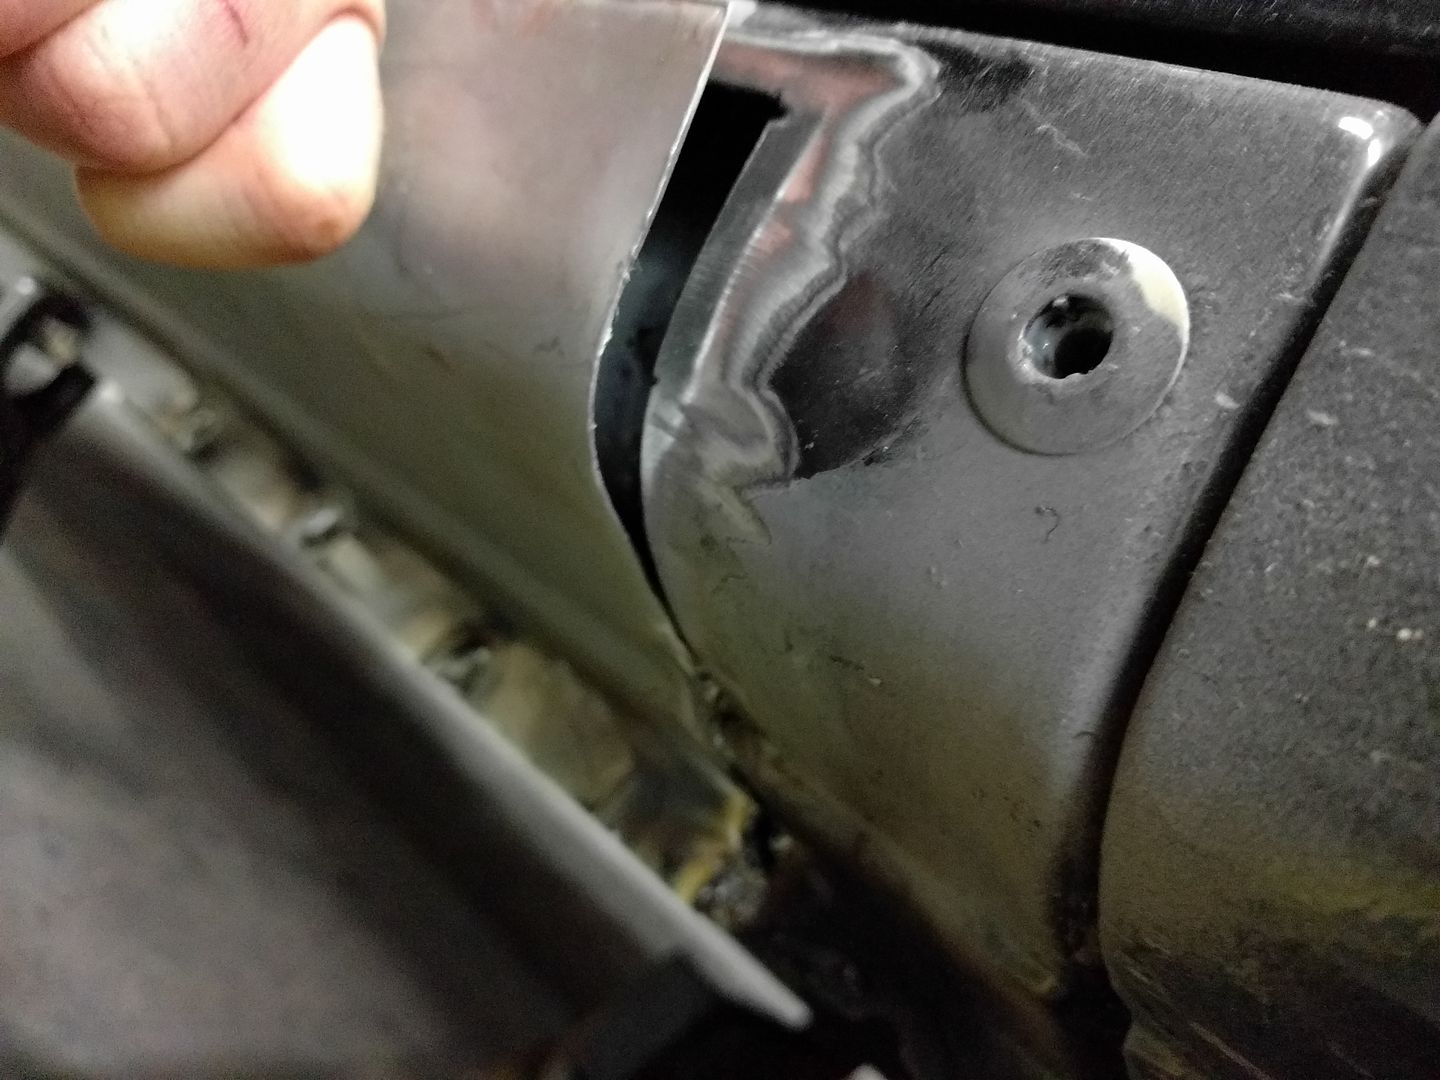
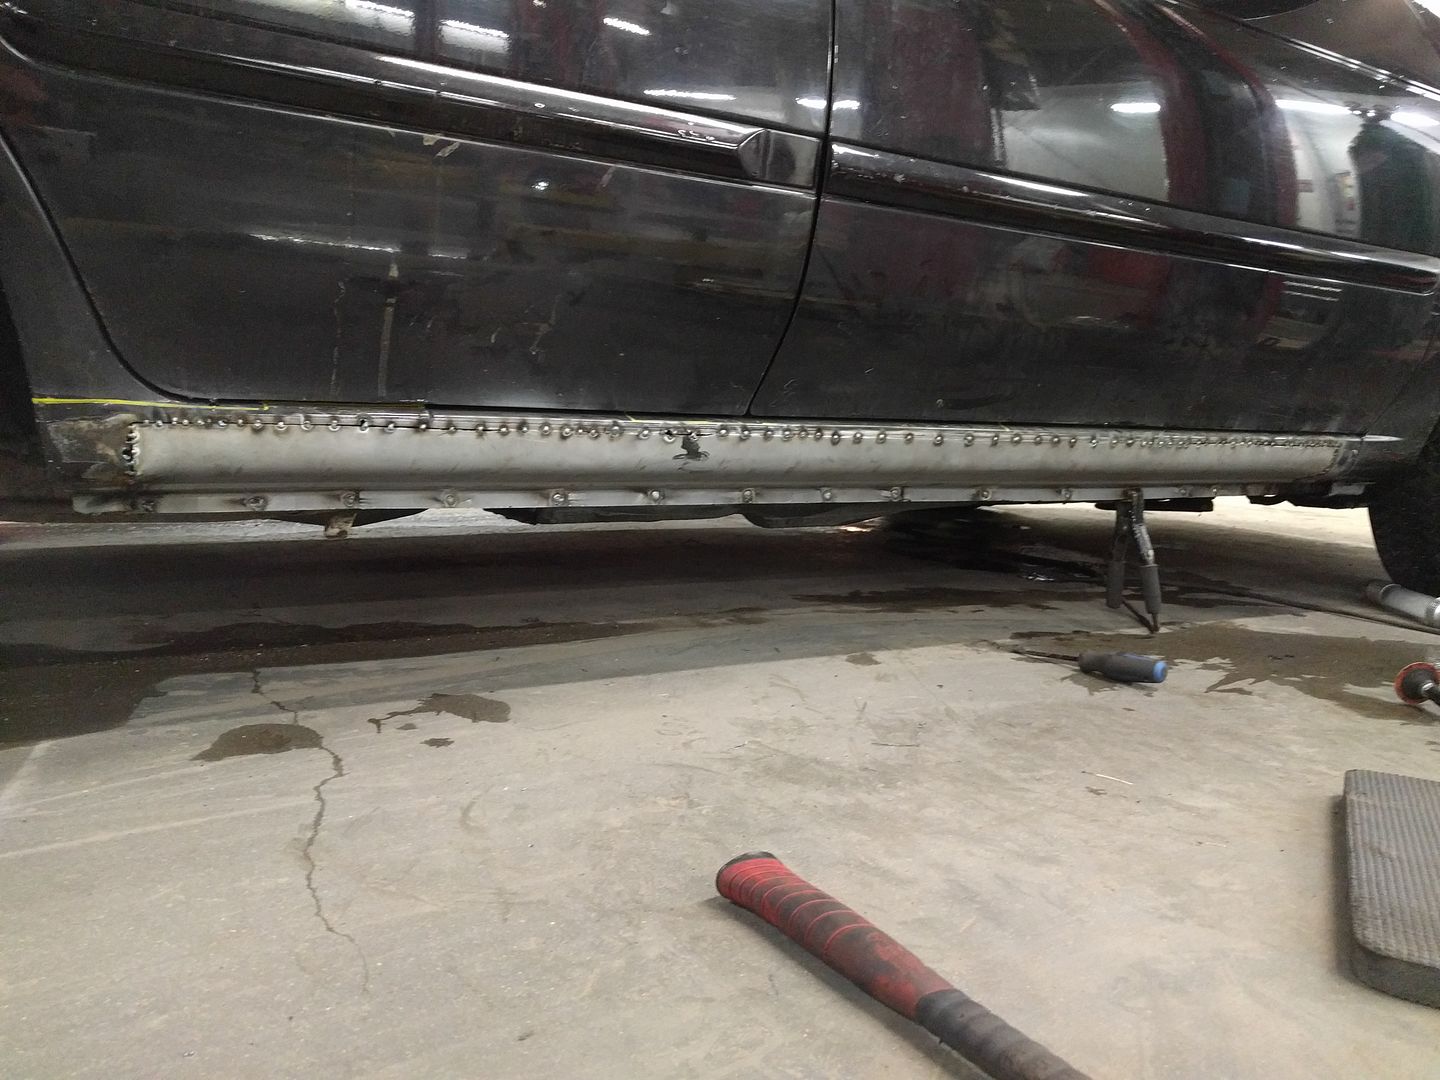
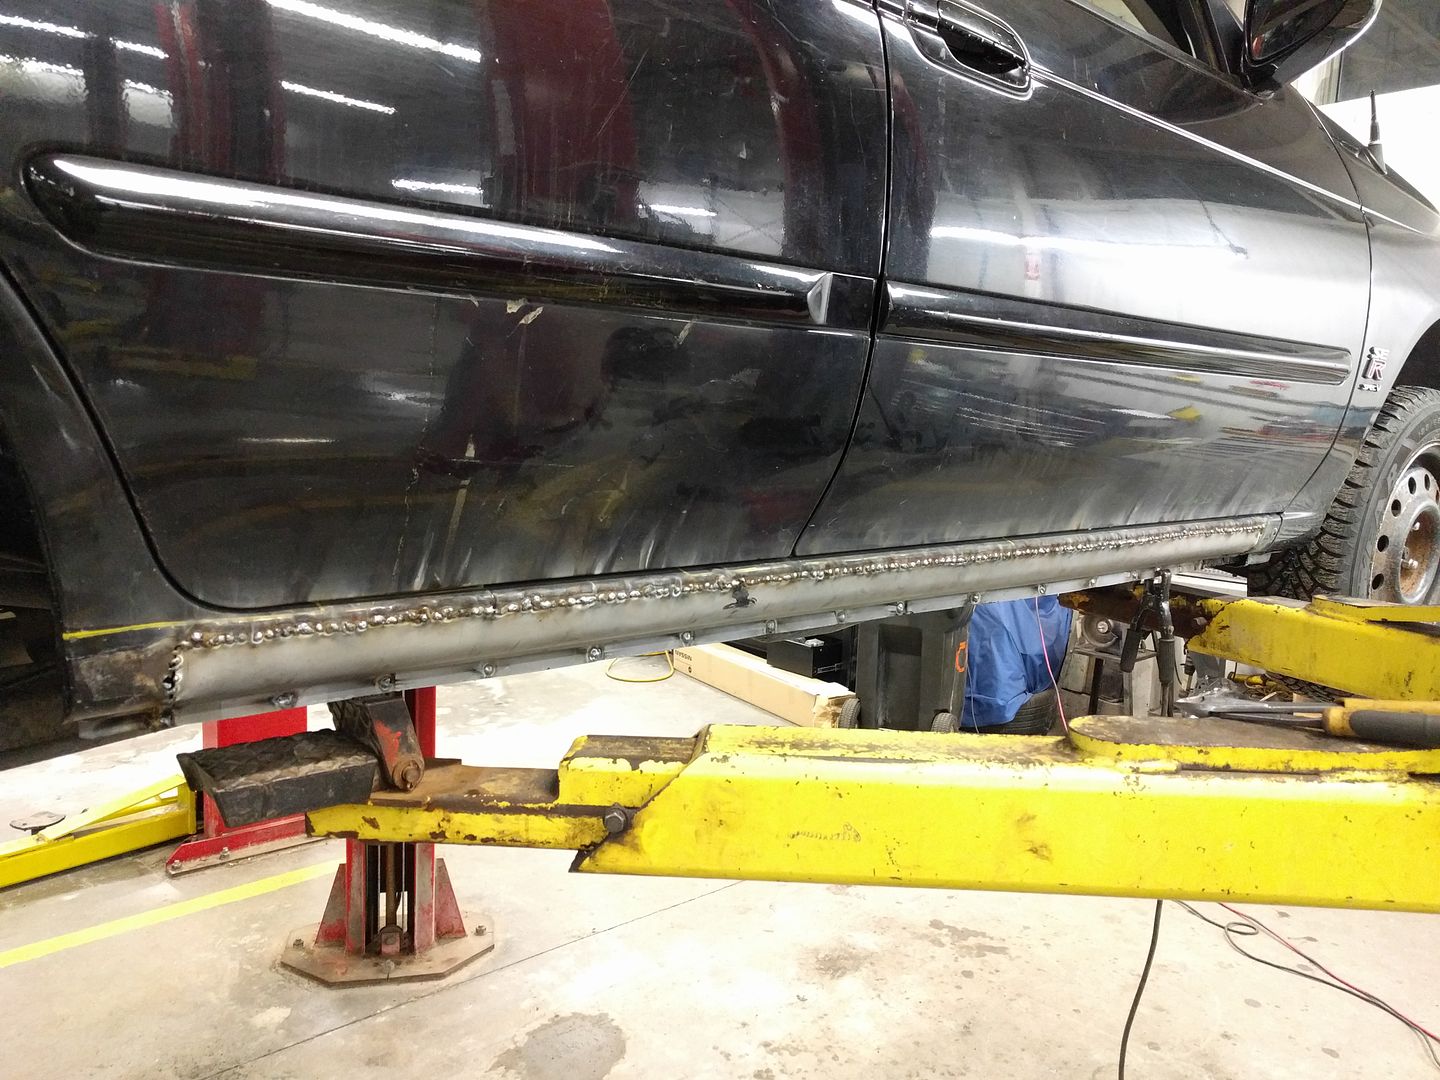
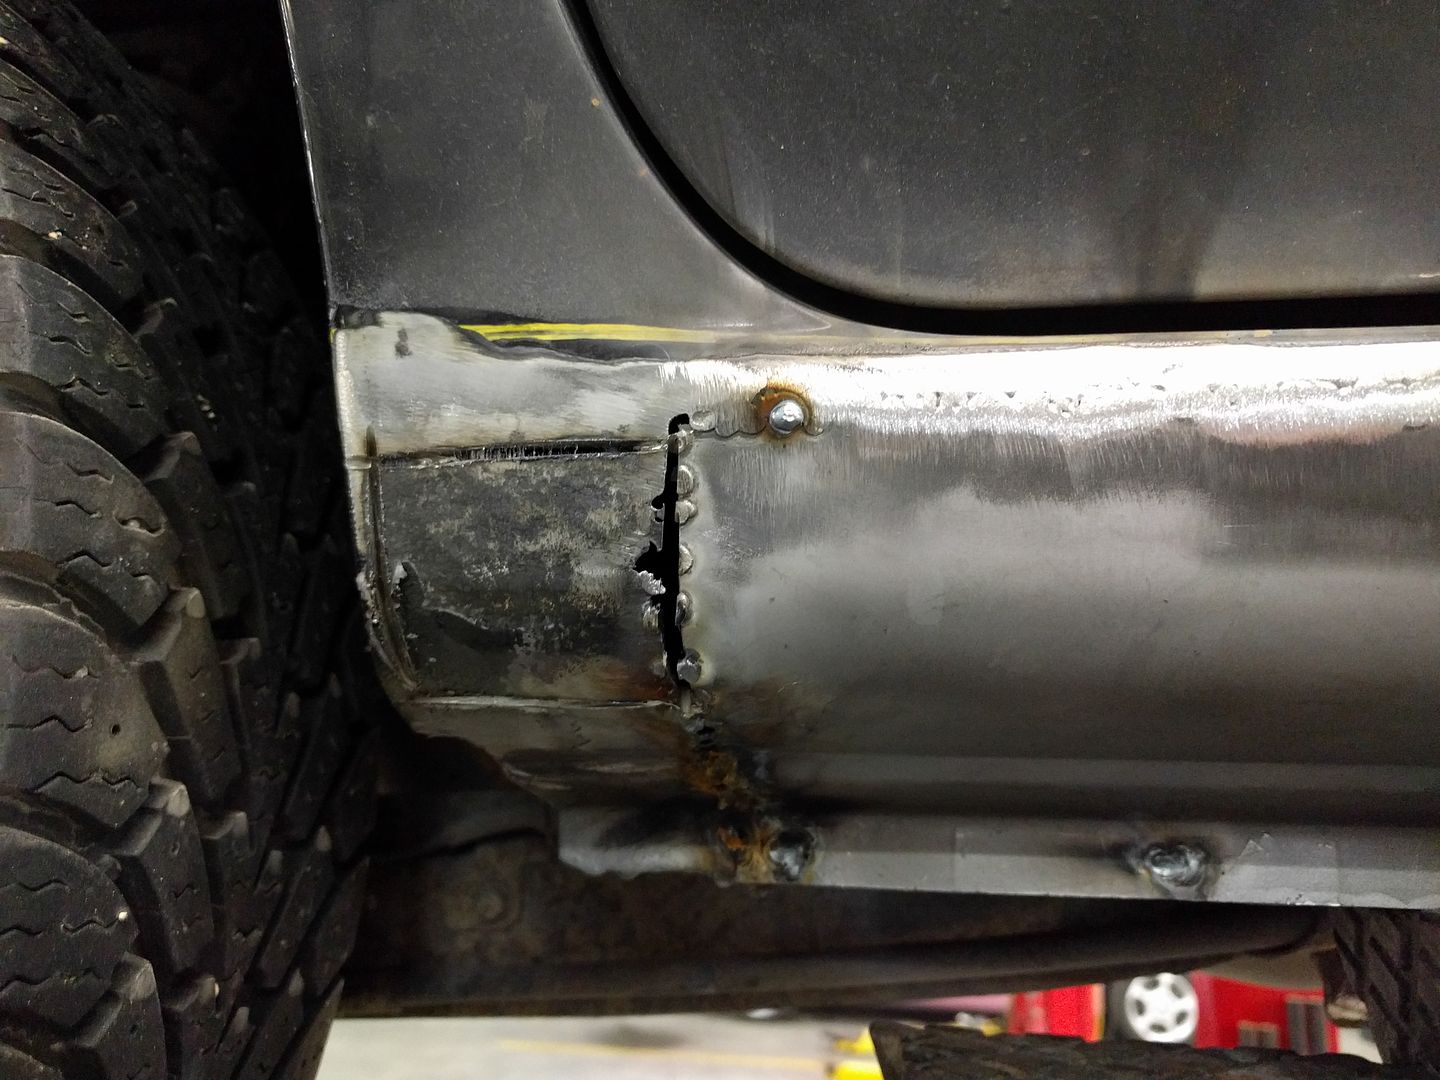
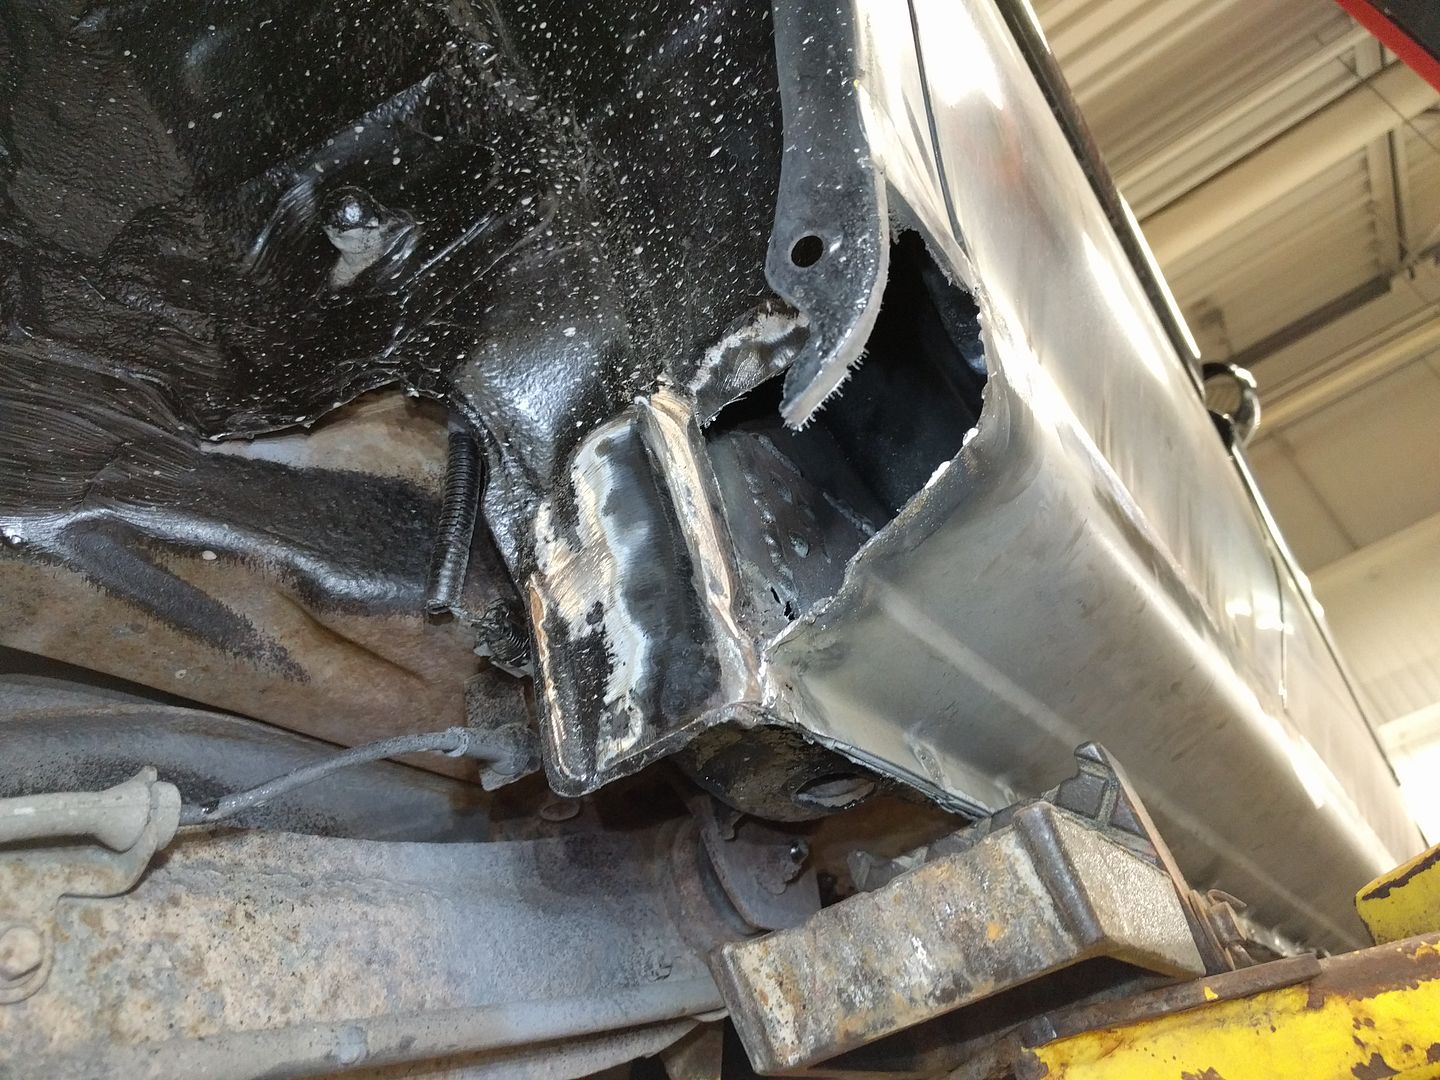
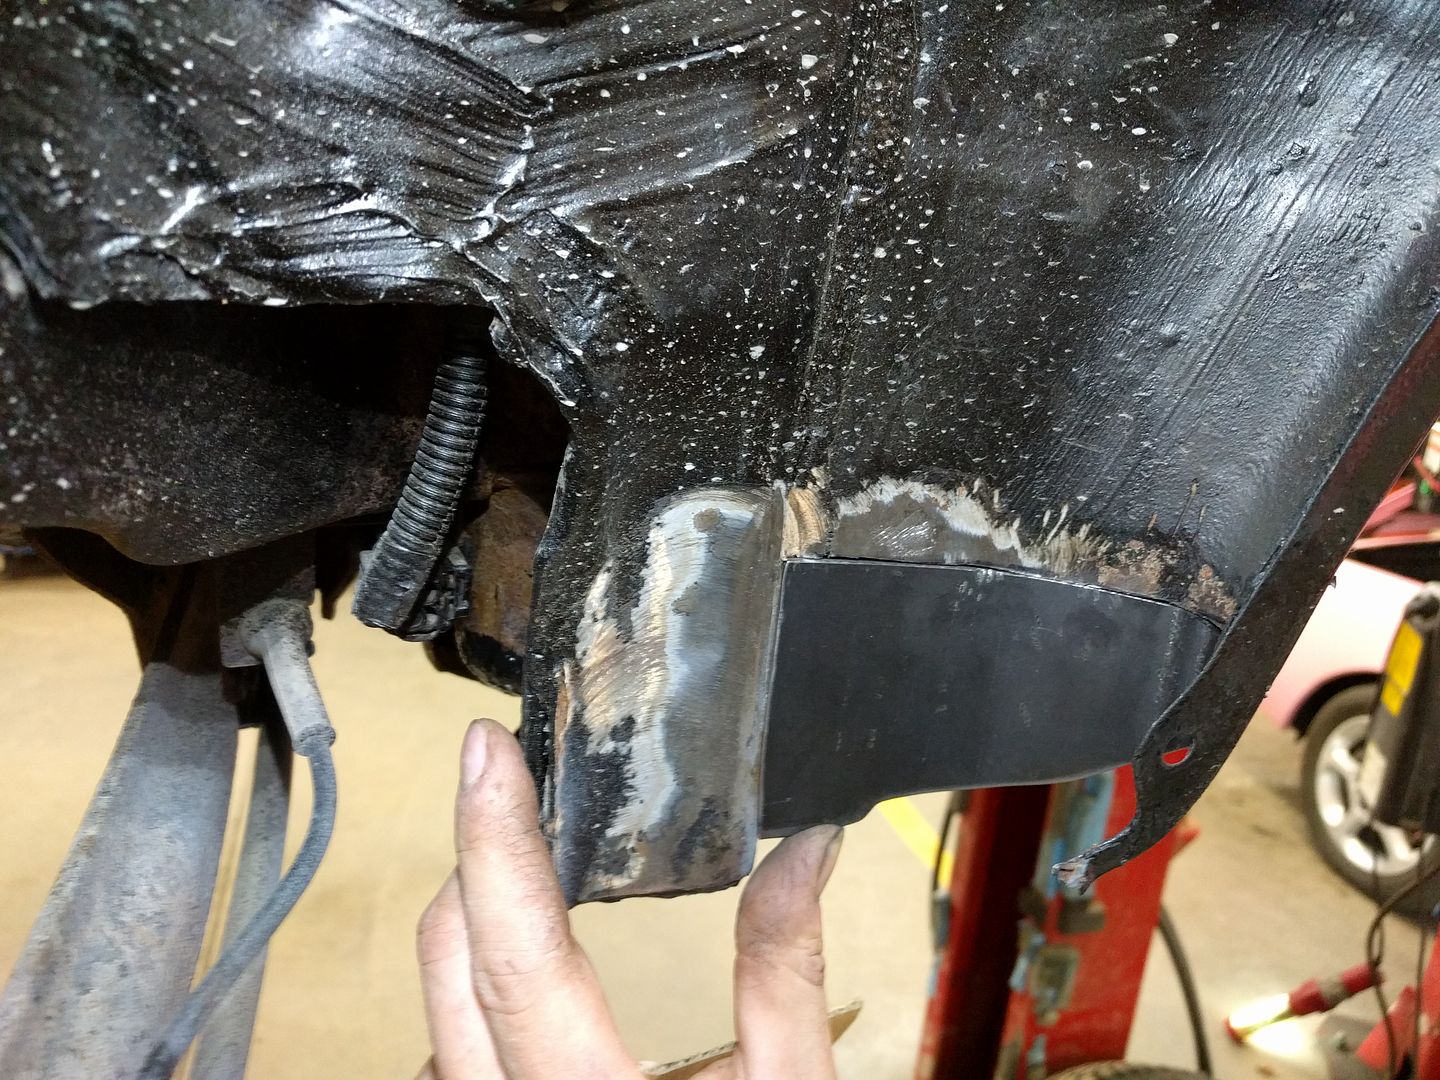
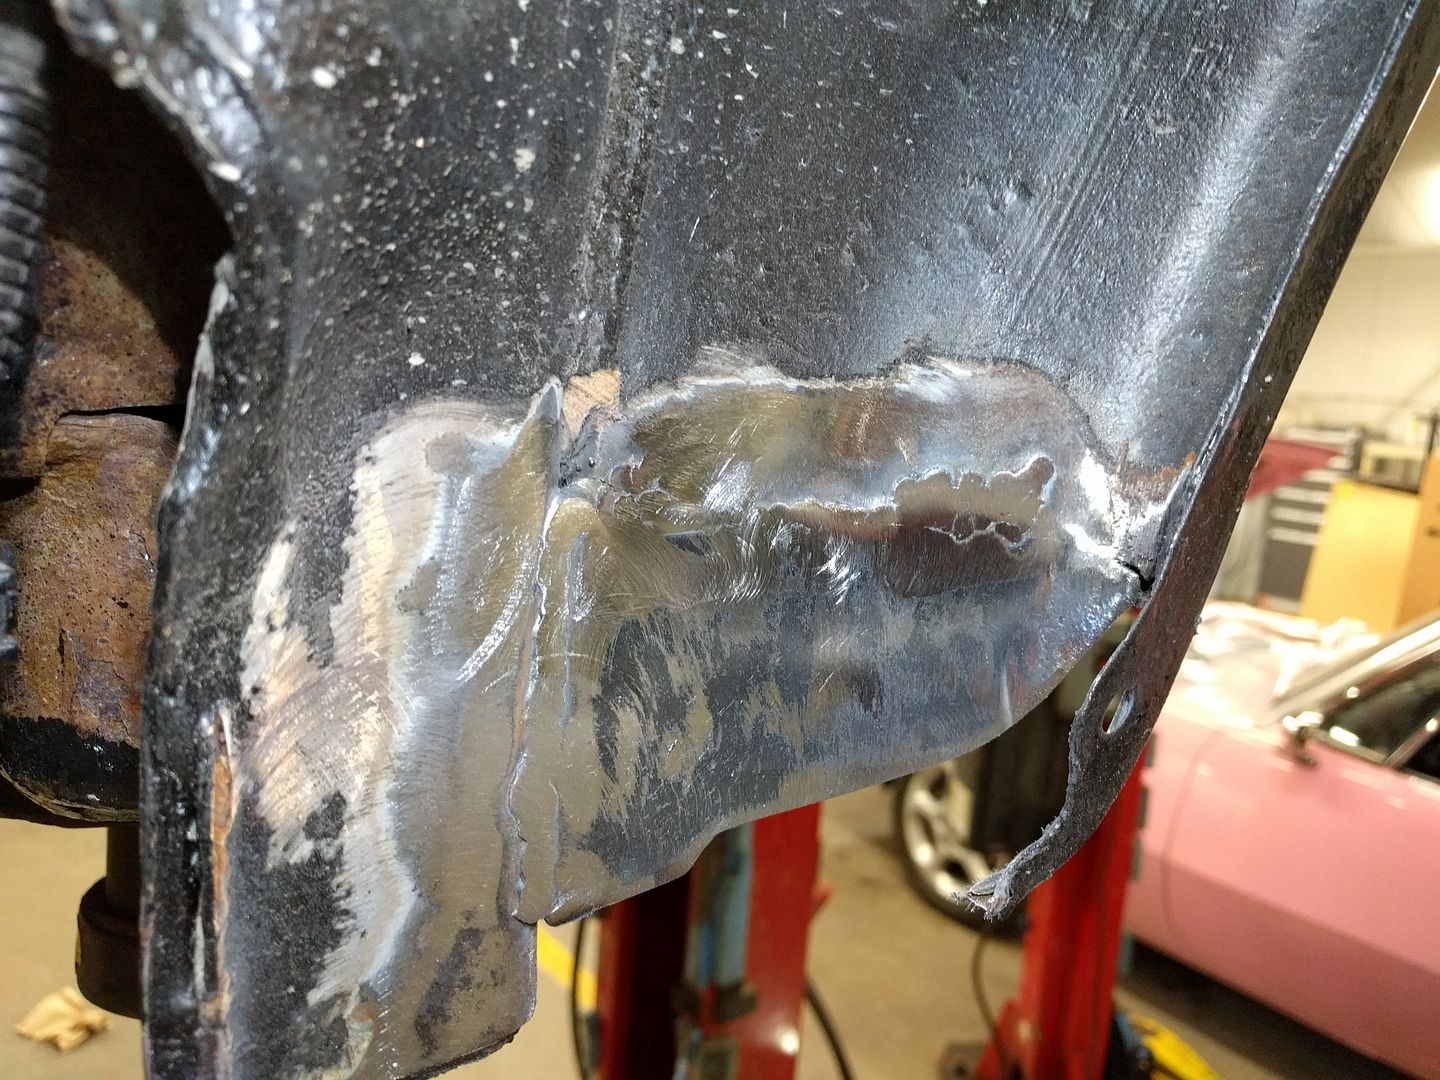
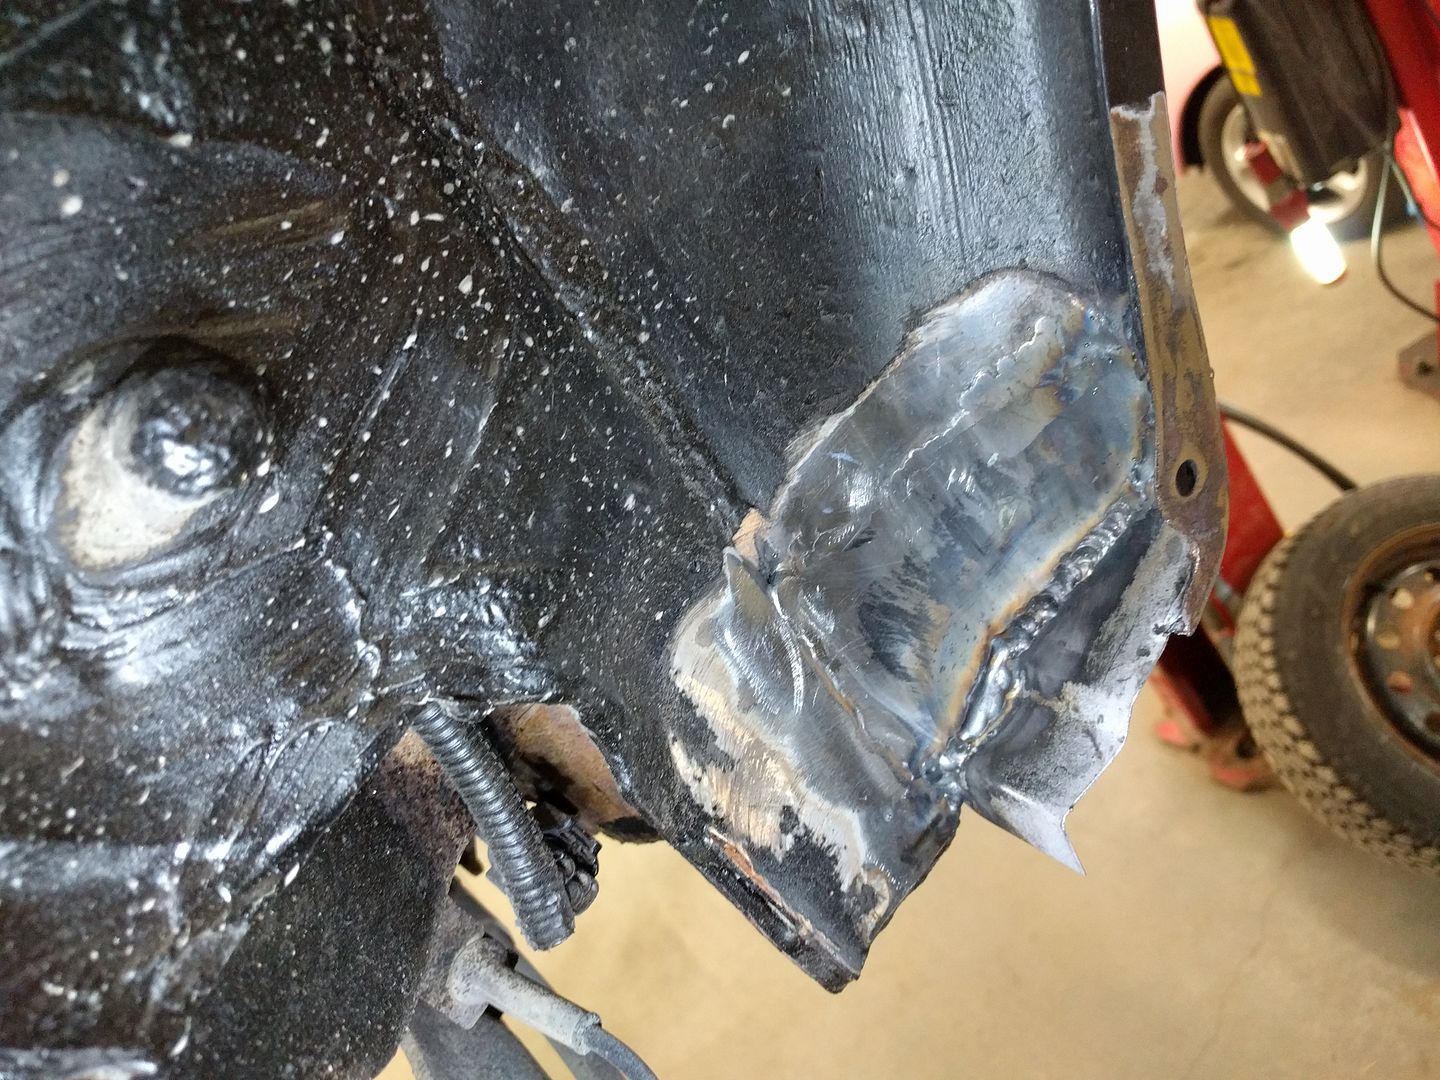
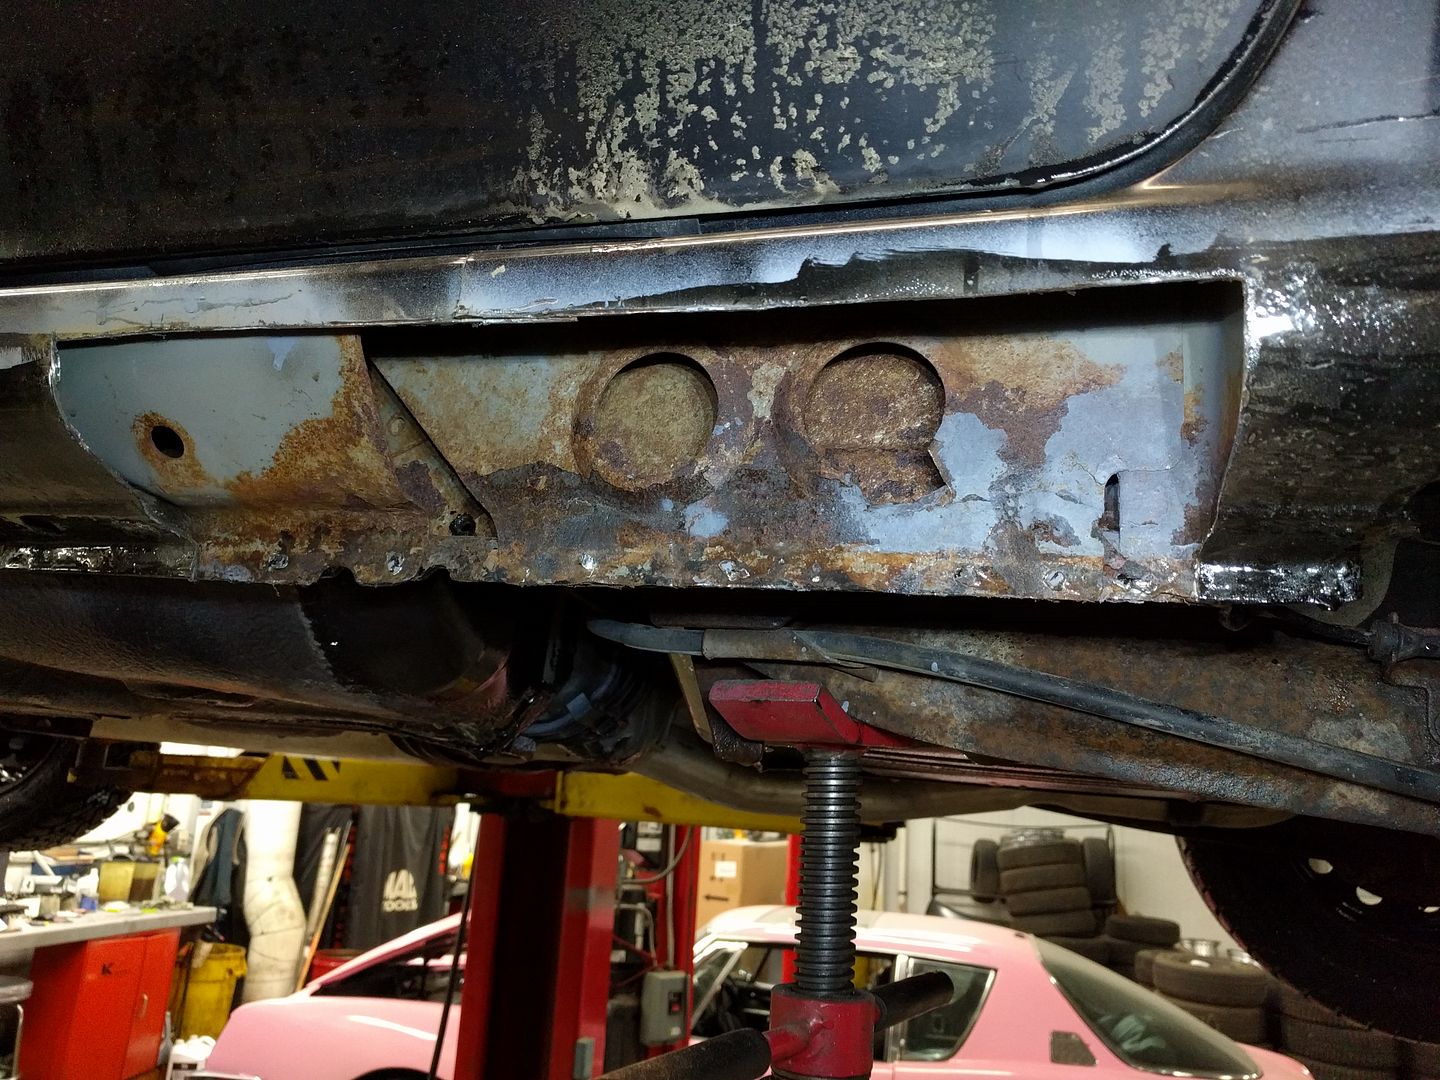
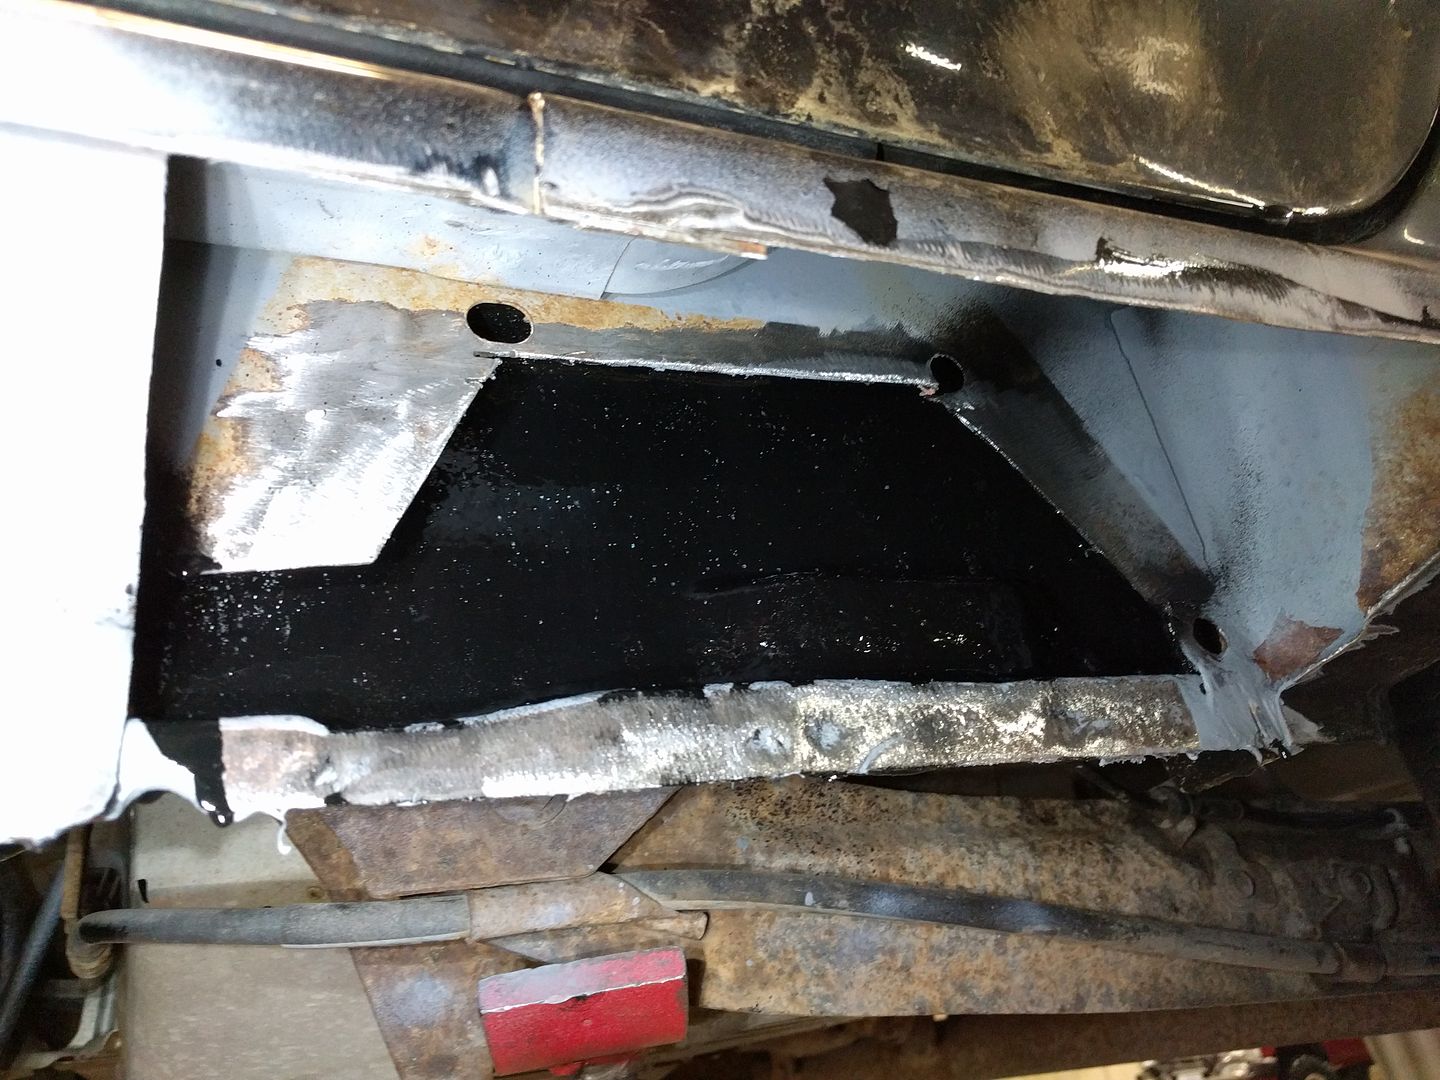
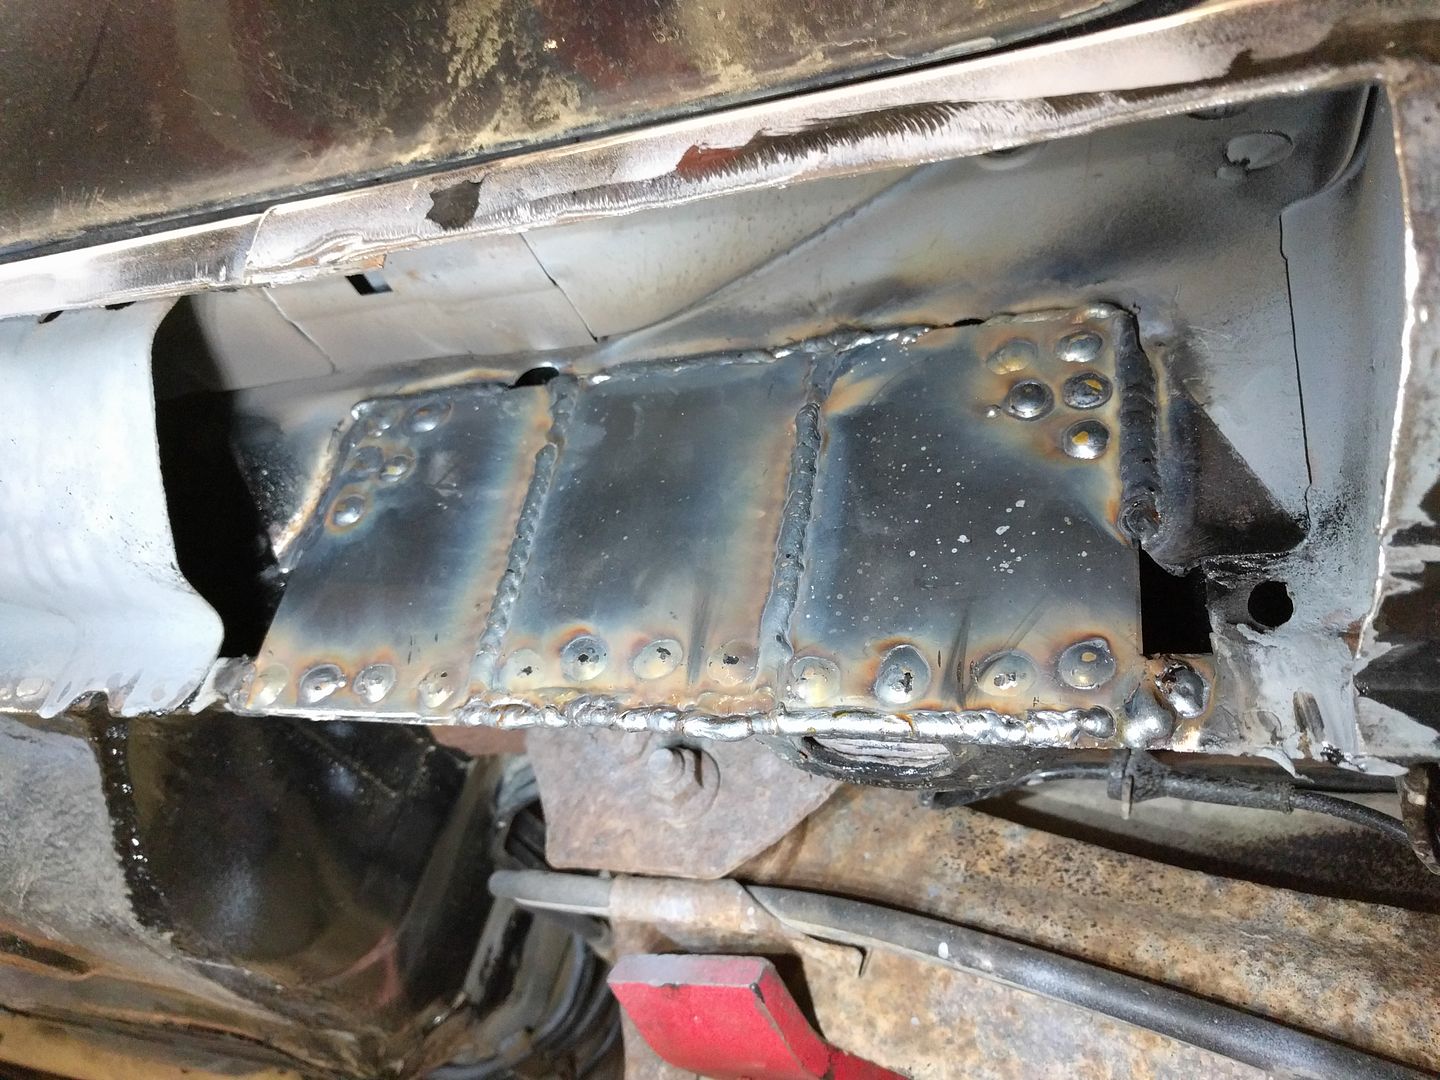
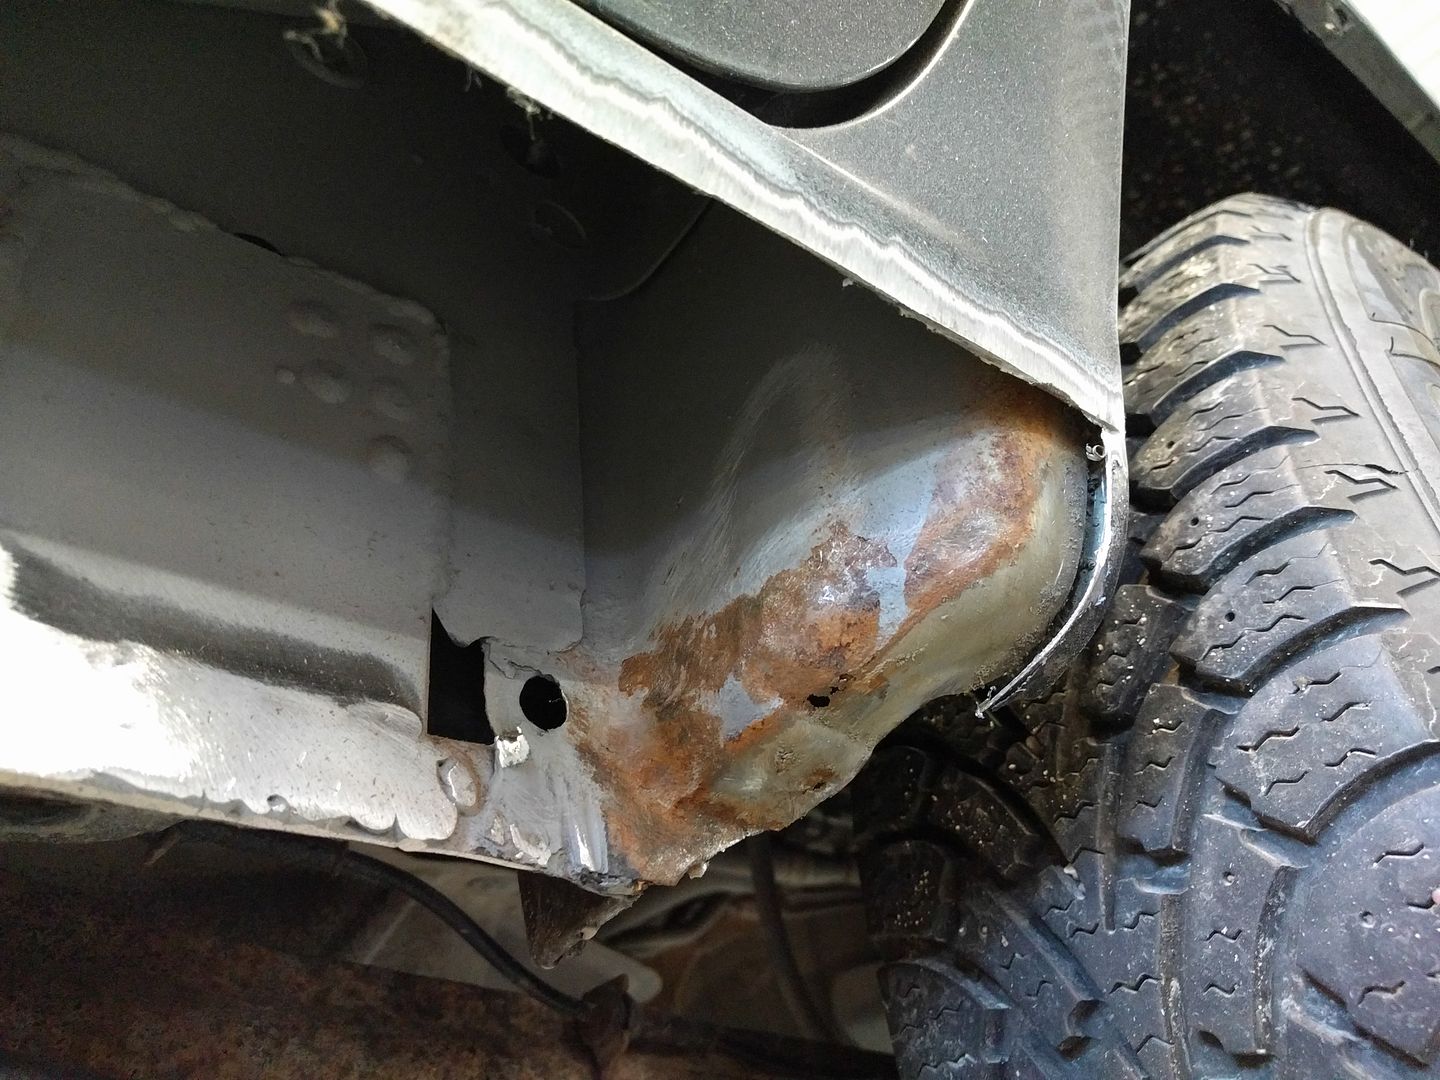
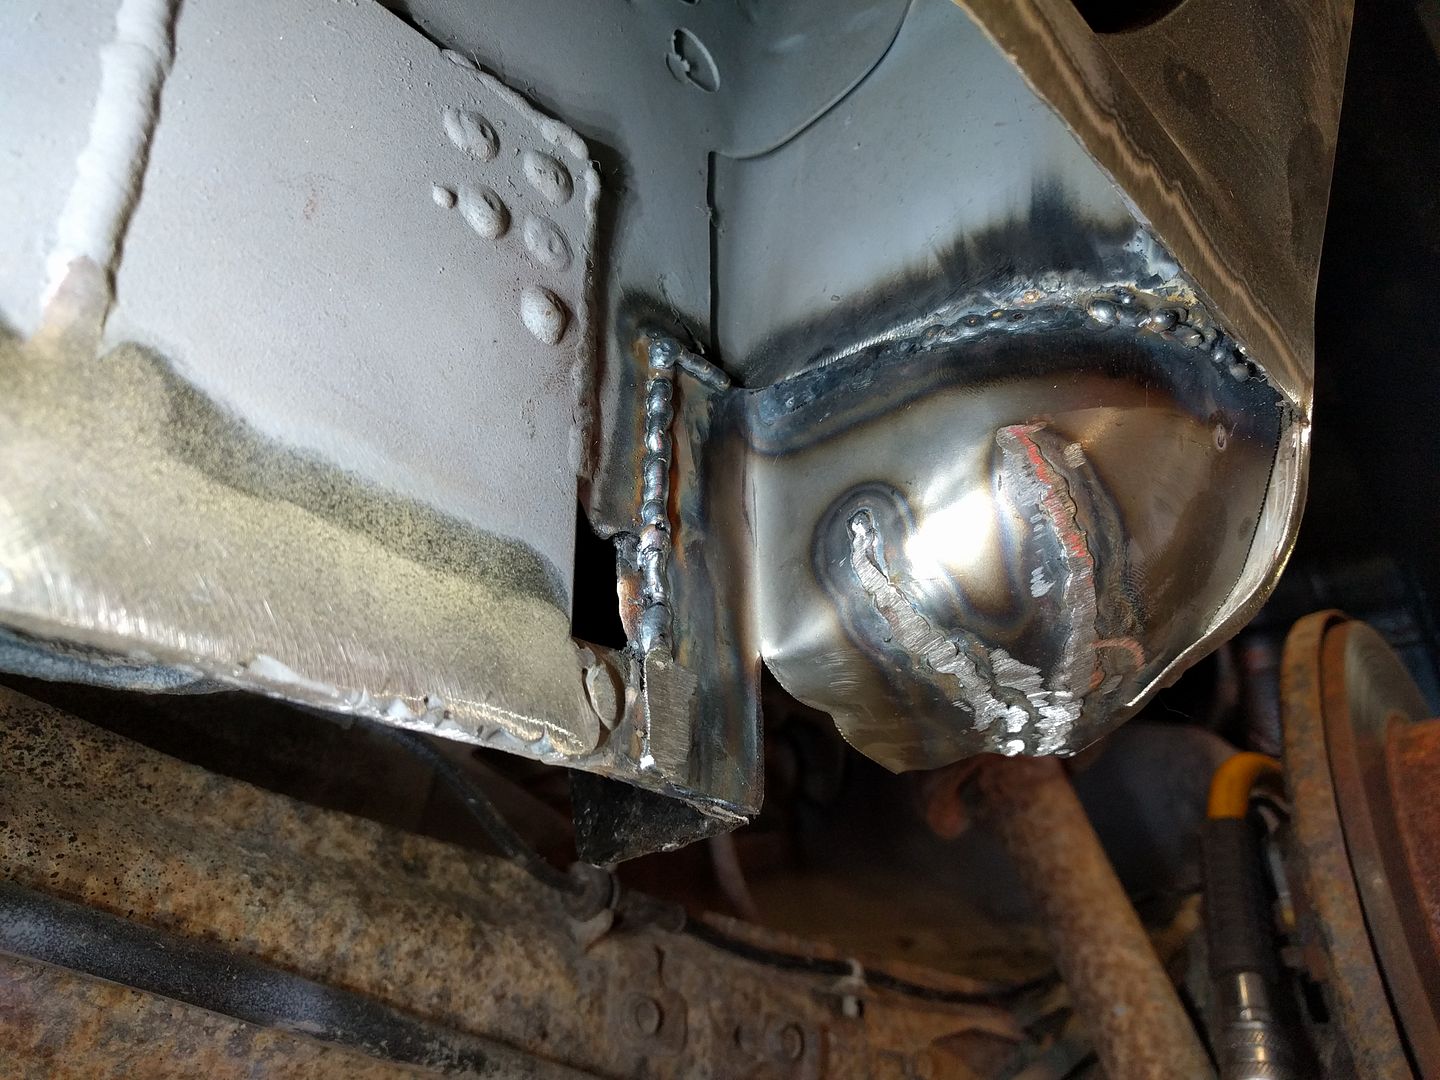
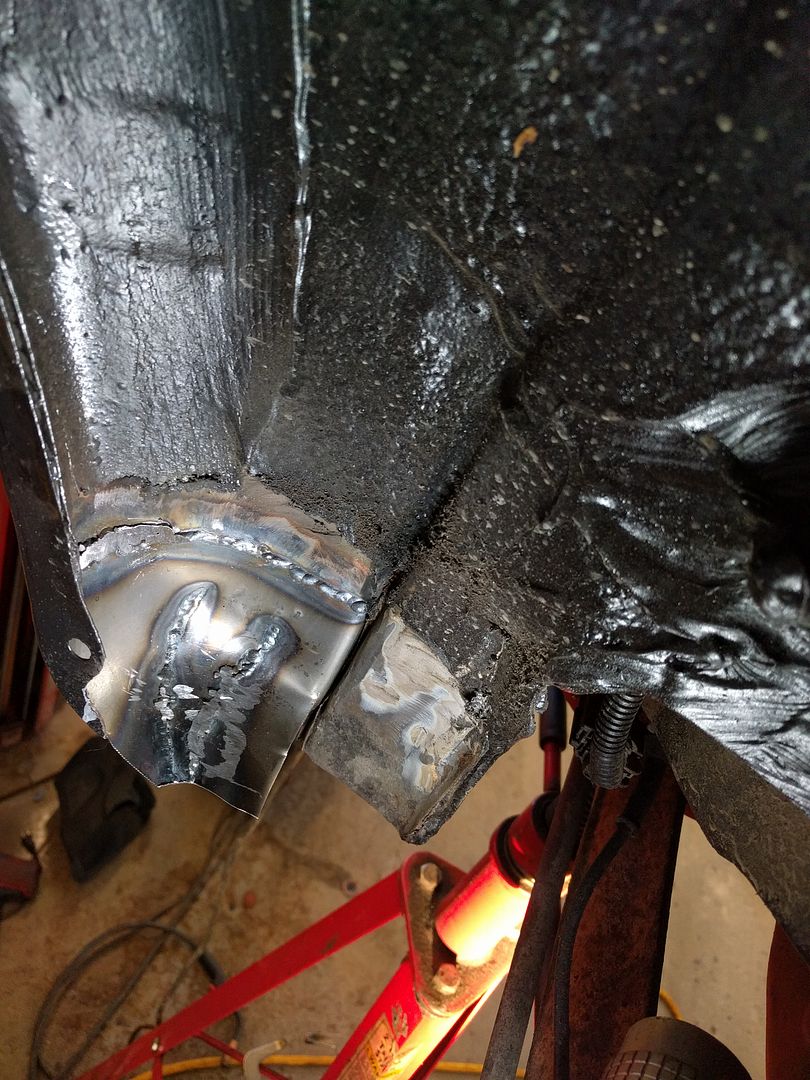
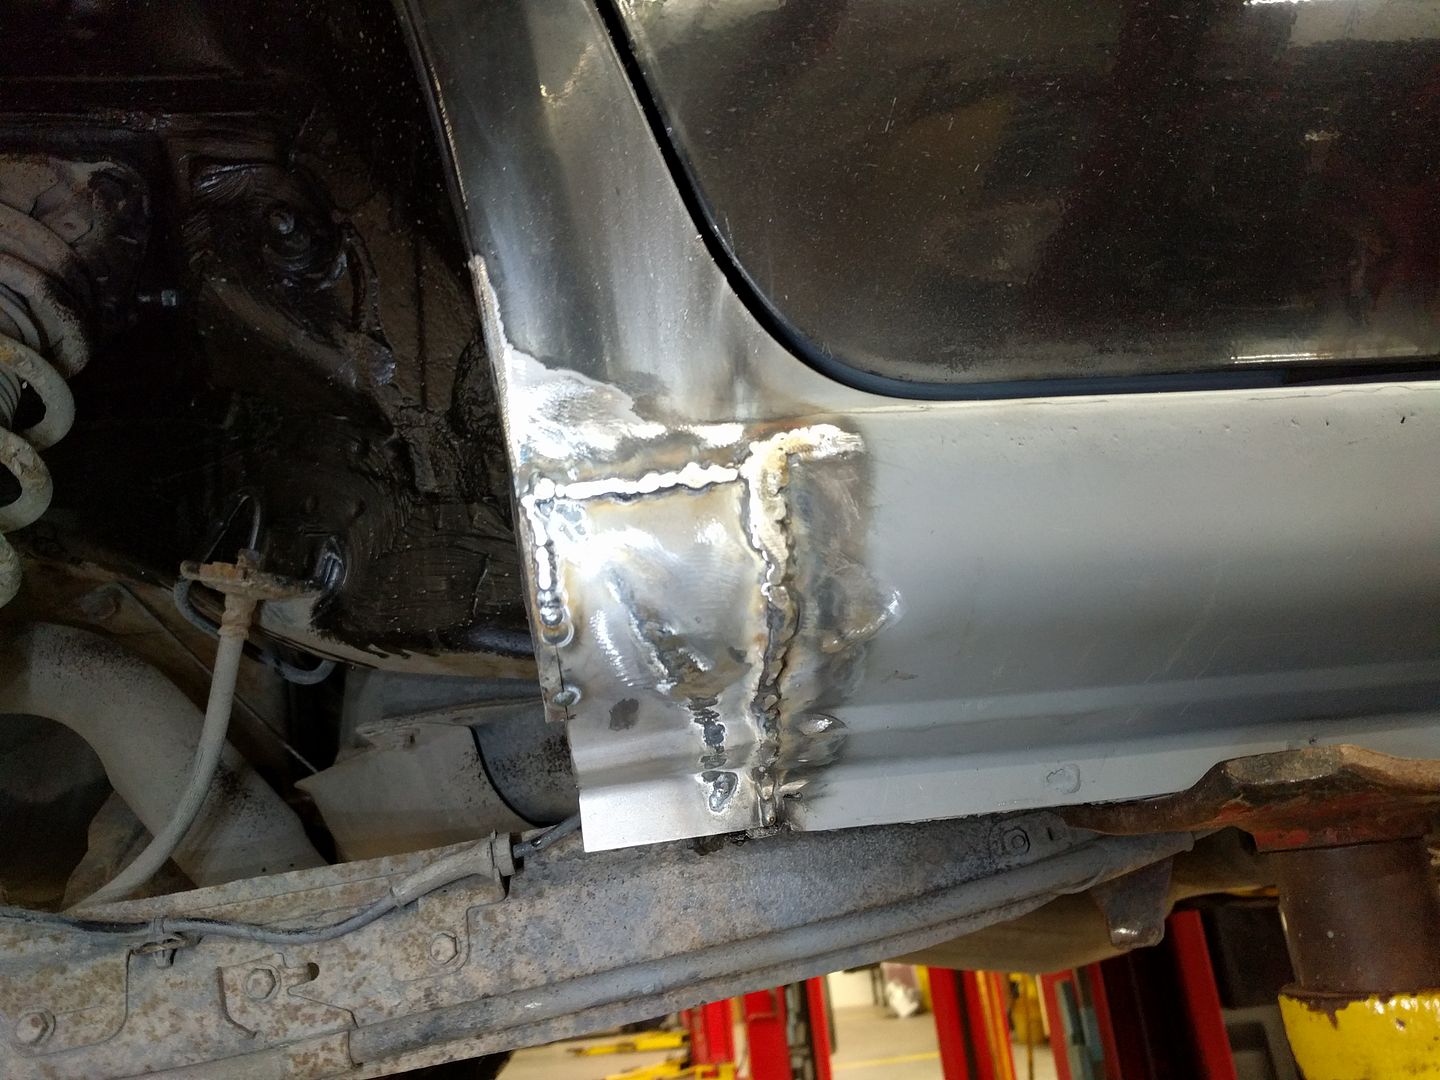
A grinder and paint make me the welder I ain't....

It dumped snow here and I got the car stuck a couple times trying to park it. Can't wait for the LSD trans.

Measured all my shims for the maxima trans. I'm just going to put all the Spec V gears into the Maxima case. Synchros all look pretty good on it. Input shaft.

Main shaft.

Diff.

And reverse. Was able to re-use the Sentra shim here, it was within spec. The other three were ordered.

Run_Away
Run_Away HalfDork
12/11/16 4:05 p.m.

Started on the driver's side. Here's the before.

During

After

Opening up the driver's side some more

Thankfully after cleaning it up, all is solid. No patching needed.

The cup at the back here was very thin and rusted through too, just like the passenger side.

Gave it a try replicating it with some 22 gauge sheet metal. Turned out okay. Had to turn the welder all the way down, so the welds piled up a bit.

The last of my POR15 to cover it all up. Next is just welding on the rocker, drilling holes for the side skirts, paint, and then installing the skirts.

2 3 4 5 6

You'll need to log in to post.

Our Preferred Partners
2djINXPzcVFsY5hwOtrpqwyx7GHaHurTnnABtPYBLIzcBplqp2rZtX3zHFaB1gbd