SilverFleet wrote:
I can't wait to see the install on the PTFB stuff. I've been eyeing a few of their products over the years.
Before PTFB decided to sponsor my car I'd already started buying their parts. As a frugal GRM kinda guy I liked the products because they're designed well (updated geometry etc.), Made in the USA, and sell for reasonable prices. In my opinion, A lot of companies making suspension parts for 2nd gen F bodies have gotten carried away trying to outdo each other with the latest suspension technology. This has led to very expensive suspensions where the bang for the buck gets less and less while the installations and adjustments necessary to make them perform well has gotten more and more complicated.
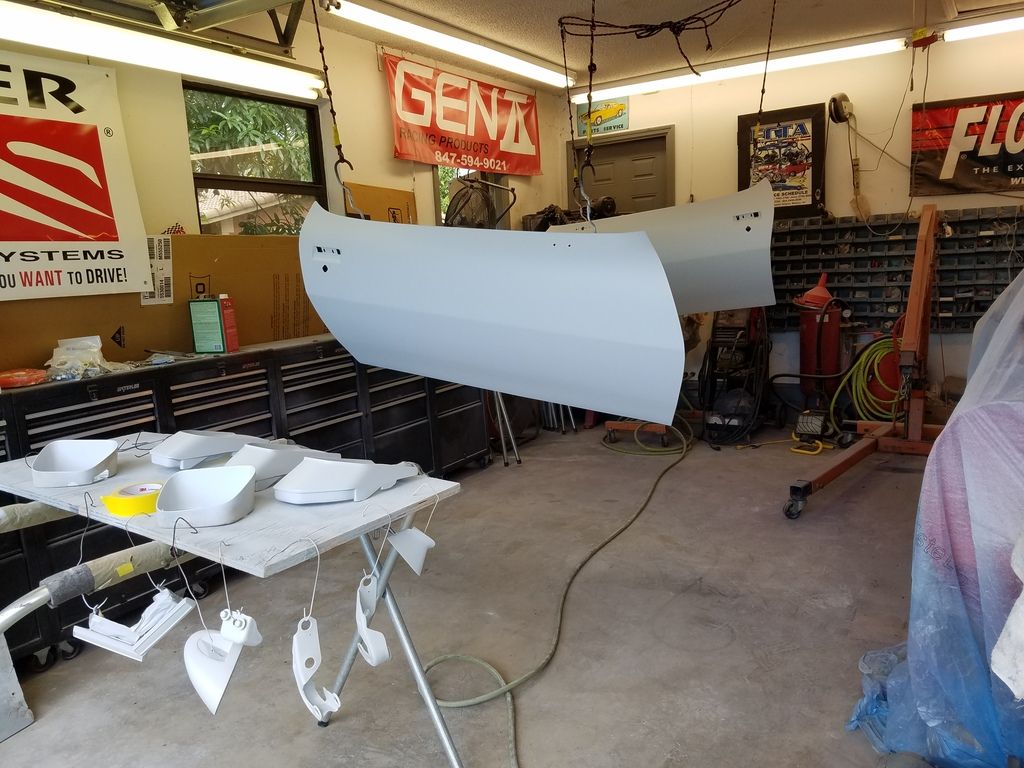
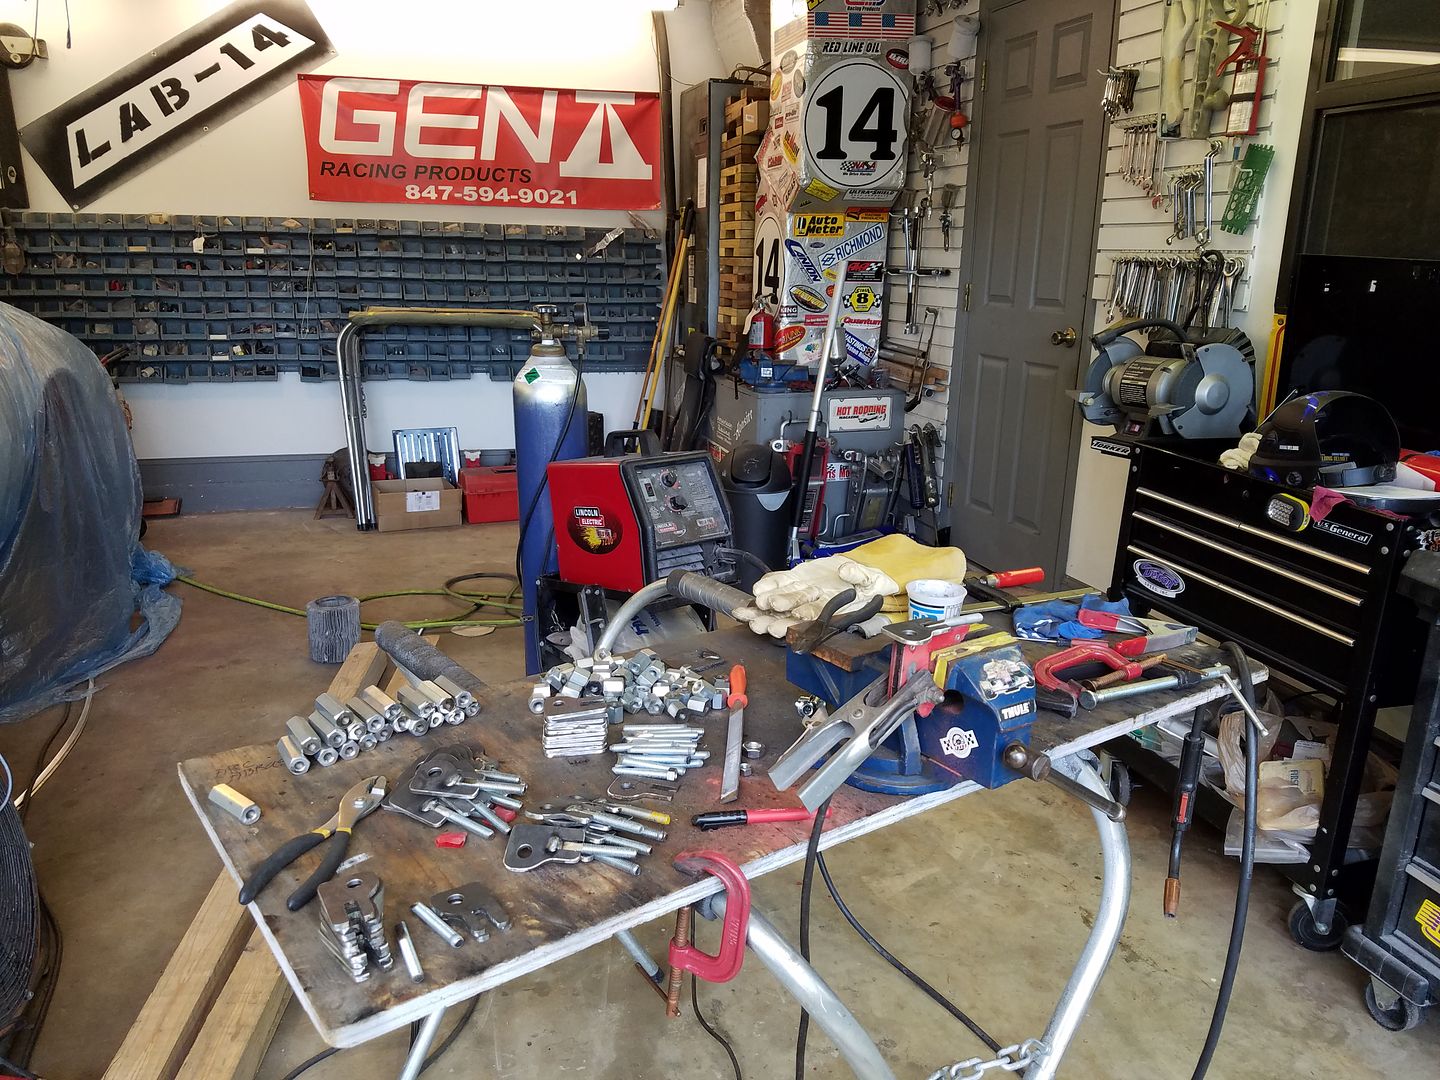
One thing that PTFB products lack is good instructions. So I'm writing some for several of the components I'm installing that are aimed at the DIY guy who probably never installed similar pieces before. Hopefully they'll make it a lot easier for the novice DIY guy by noting tools they'll need and procedures while also giving tips to more advanced DIY guys and regular installers in shops that might save them a little time.
Since I installed a set of PTFB GEN II frame connectors on the blue car I wrote instructions. They can be bolted or welded on. Bolting is more difficult and time consuming and since the customer with the blue car needs them bolted for now to allow easy removal for under side restoration at a future date it was a good opportunity to write some instructions. I'll copy and paste them here so if you ever need them they'll be easy to find.
........................................................................................................
PTFB GEN II frame connector install, bolt in installation on 2nd gen F body.
Unless you're welding in the connectors they're more time consuming to install than say installing body mount bushings (as long as the body mount job goes smoothly). The average DIY guy can do this job over a weekend and the more advanced DIY guys can get it done in a day. Of course the amount of time necessary depends on several factors like whether you're using a lift of some type, floor jacks, wheel cribs, etc. and what tools you have available. There's more than one acceptable way of doing most jobs, and this is just my way of installing the PTFB GEN II connectors on this particular car as a bolt on application.
Before getting into the actual project let me review a few things concerning sub frame connectors.
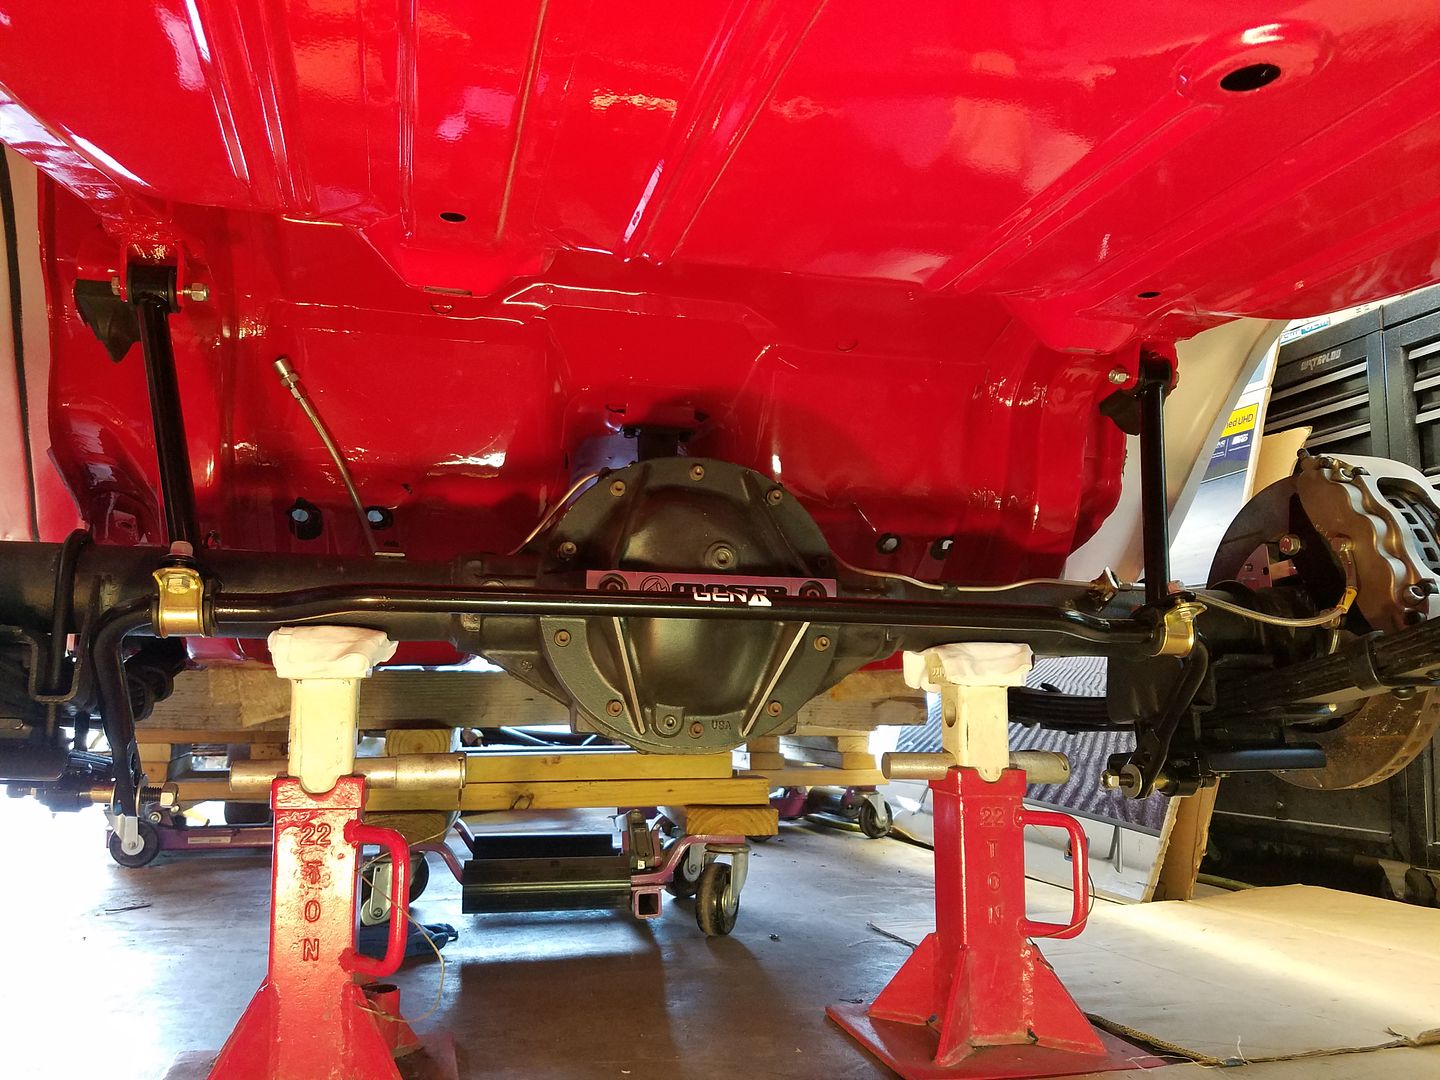
First is the misconception that frame connectors eliminate flex. They do not, eliminate is a finite word, however they do greatly reduce the overall flex of the F body platform allowing the steering and suspension to act more precisely for better ride and handling. Also, by stiffening up the platform they can help reduce creaking, groaning, and other weird noises by more solidly connecting the front and rear of the car and reducing flex of the unibody, particularly the floor pan and the roof of T-top cars. Connectors also help provide better weight transfer to the rear wheels for those cars used at the drag strips.
When installing frame connectors, solid body mount bushings (preferred) or Urethane bushings should be used for bolt in applications and stock style rubber should not be used at all. If welding in the connectors (even if only on one end) only solid body mount bushings should be used.
Most sub frame connectors reduce ground clearance from a stock vehicle. The PTFB ones shown here are 1/2" lower than the engine cross member when measured from the floor without driver etc. The springs, tire diameters, payload etc. will vary the ground clearance also so every car will be different. The connector is approximately 1-1/2" lower than the sub frame, so with that info you can figure out if the connectors will be lower than whatever exhaust or other low hanging things you may already have to determine if you'll loose clearance for speed bumps.
So on to the install!
The first thing I do (when installing on an assembled car) is get the car up high enough to work on with the car in it's natural state. While the installation can be accomplished with the car up on several sets of jack stands, I like to have the car sitting as it would on the ground so I use wheel cribs. This keeps hanging weight of wheels, suspension, rear axle, etc. from distorting the sub frame or unibody which could cause preload when the car is returned to the ground. There's no need to compensate for the pitch of a normal garage floor. If you're working on a really uneven floor surface try to get the car level before installation. I'm not a big guy so some of you might want to raise the car a little higher than I have shown, just count the wheel cribs.
[URL=http://s240.photobucket.com/user/NOTATA/media/pauls%20TA/20160727_134654_zpsn6uksti4.jpg.html]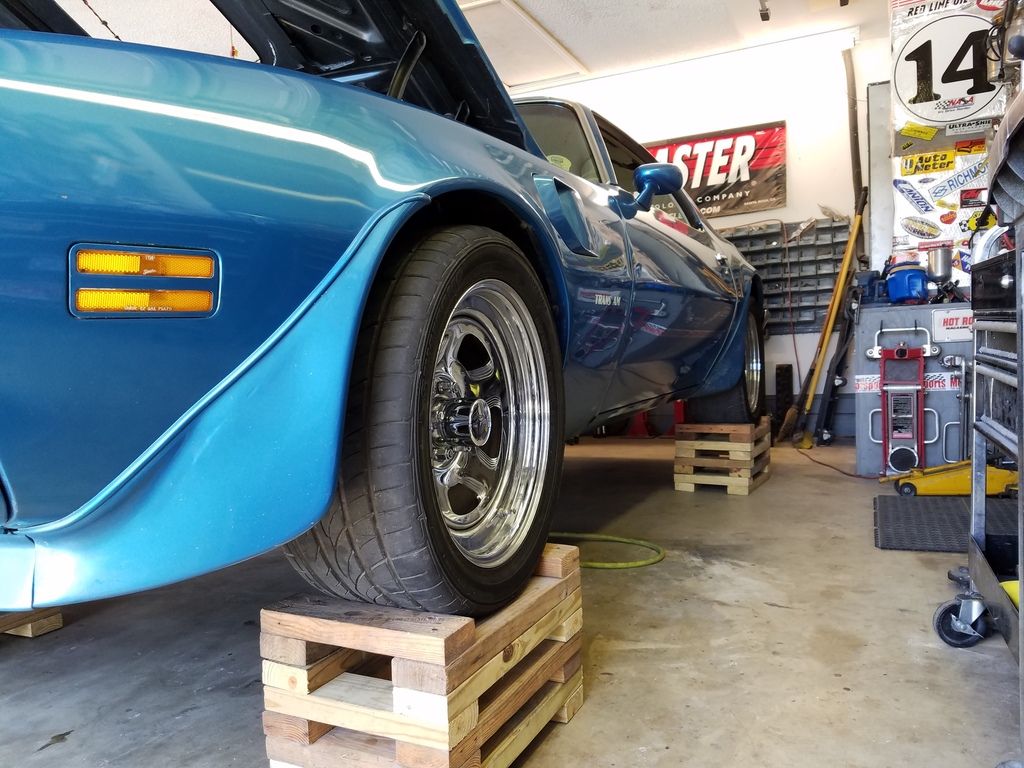 [/URL]
To prevent making any marks or scratches on the connectors during installation I use masking tape where they'll be held up to the car, then a block of wood on a floor jack to lift it up into place. Some persuasion with a rubber hammer and/or tape covered pry bars coaxes the connector into position without marking it up. On the drivers side you'll want to be careful of the parking brake cable to avoid pinching it against the floor or causing something that can rattle later on. On the passengers side you'll need to remove some brackets to get the fuel lines out of your way. Raise the connector but do not push the connector up until it hits the floor pan trying to maximize ground clearance or you'll create a place where the floor might creak or squeak by rubbing on the connector. Leave 1/8"-1/4" clearance to the floor pan. Keep in mind the front of the connector mounts using 4 short 3/8" bolts and 2 long 3/8" bolts are used through the rear frame rail. All bolt heads and nuts will have a washer under them.
[URL=http://s240.photobucket.com/user/NOTATA/media/pauls%20TA/20160727_141108_zpsauxlrbyx.jpg.html]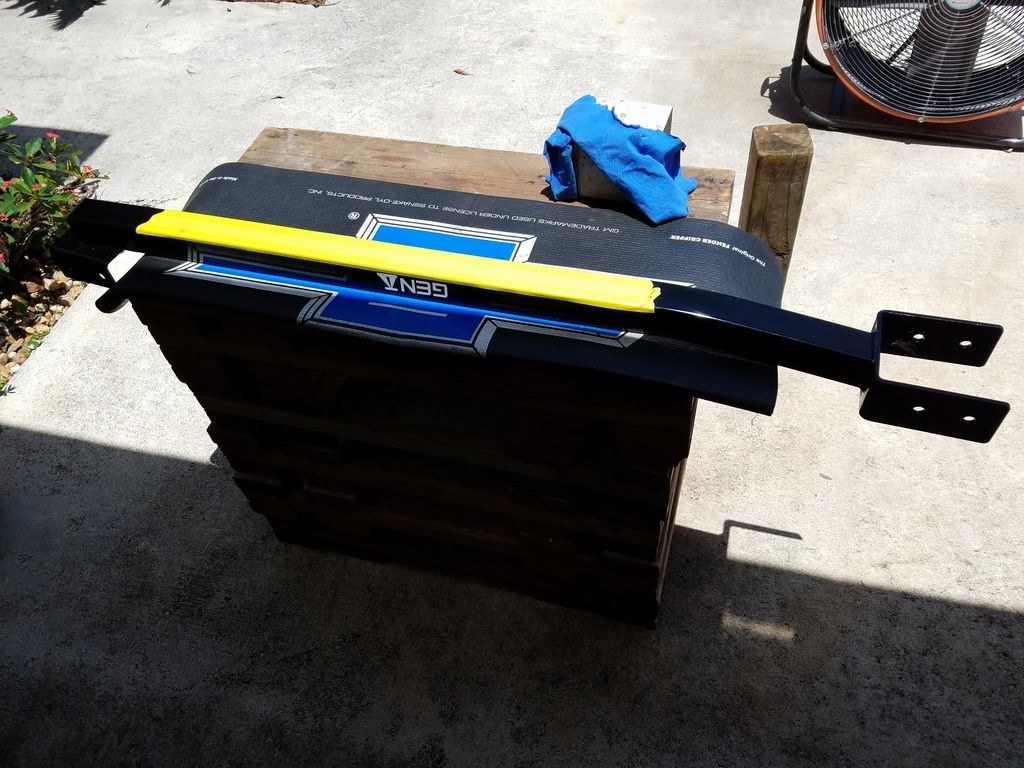 [/URL]
[URL=http://s240.photobucket.com/user/NOTATA/media/pauls%20TA/20160727_142214_zpsr28yusep.jpg.html]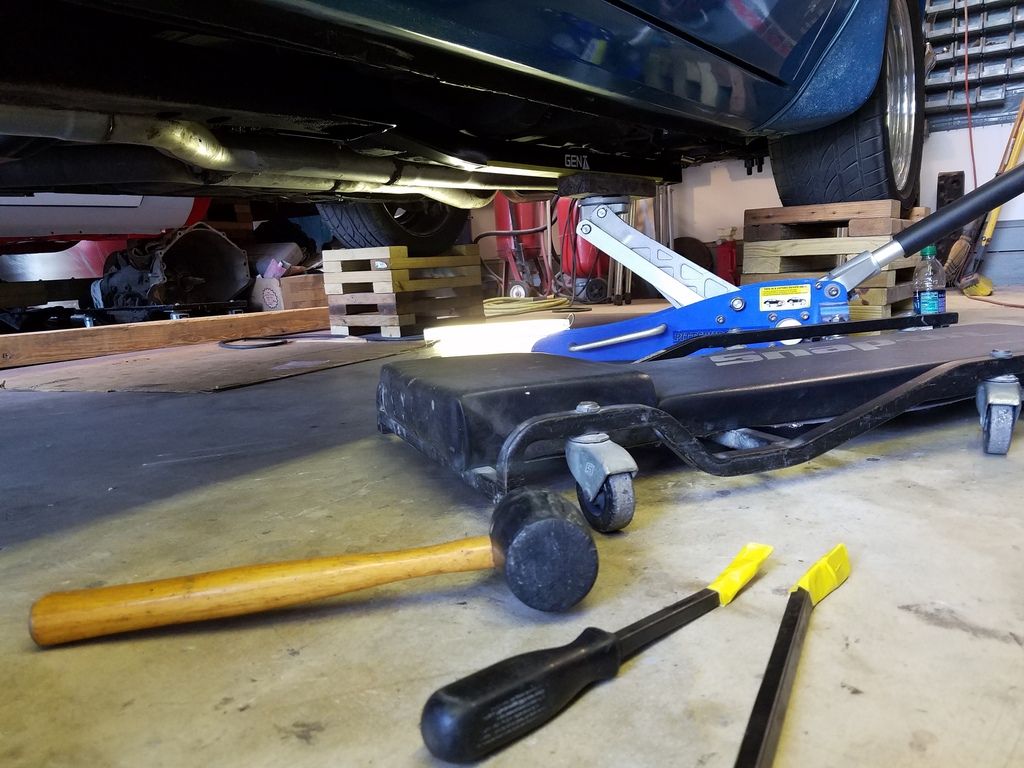 [/URL]
Once you have a connector in position use a grease pencil or piece of chalk to mark all of the holes on the inside and outside of the sub frame and rear frame rail where bolt holes need to be drilled. Lower the frame connector and set aside. I keep a piece of cardboard under the car to put them on so I don't chip, scratch, etc. Next center punch each of the bolt hole marks so you can get a drill bit started without it walking sideways on you. I drill all the holes out with an 1/8" bit before drilling out to a larger size then open them all up to 3/8". You can NOT drill through the rear frame rail to drill the outside holes because the holes in the bracket on the connector don't line up inside/outside exactly. You must drill 4 different holes in the rear frame. Yes, drilling the outside holes is a pain because of limited access in the fender well and spring interference where you need to place the drill. You may have to support the unibody and lower the rear axle to get clearance for a drill by the rear spring as seen in pics below. Once you've got the 4 holes in the rear frame rail put a long 3/8" bit in the drill and run the drill bit all the way through to the corresponding outside hole by the spring. This will make life a lot easier when trying to get the long bolts through later on.
[URL=http://s240.photobucket.com/user/NOTATA/media/pauls%20TA/20160727_153348_zpspeoccsbh.jpg.html]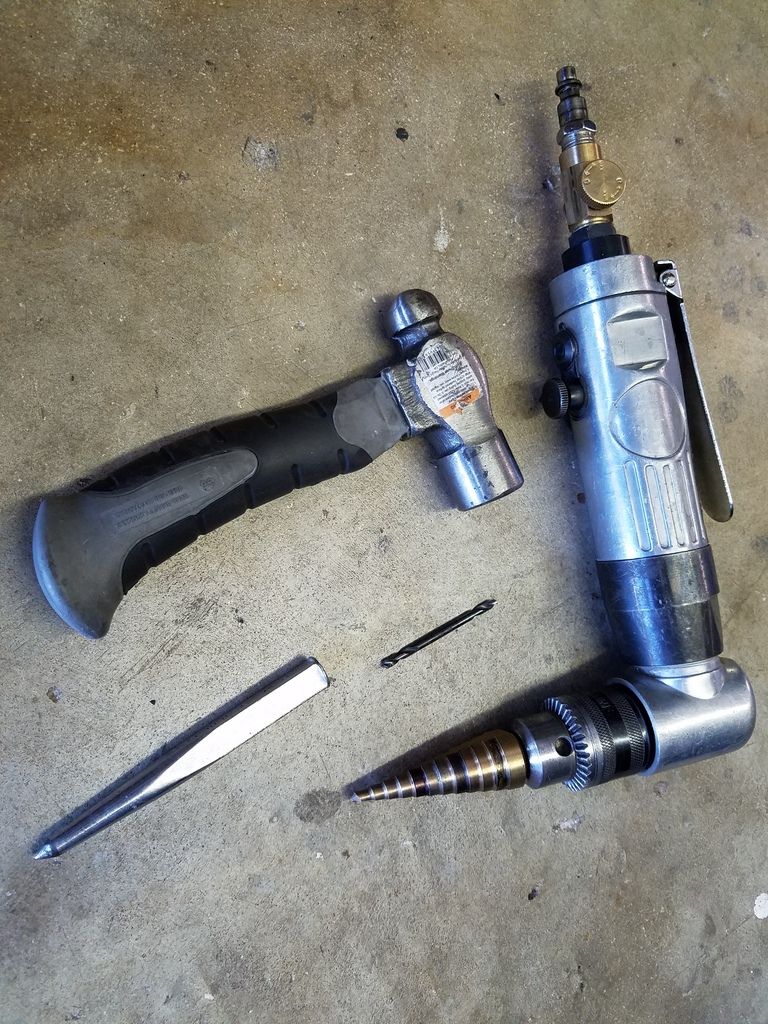 [/URL]
[URL=http://s240.photobucket.com/user/NOTATA/media/pauls%20TA/20160727_153118_zpsq4wpevtg.jpg.html]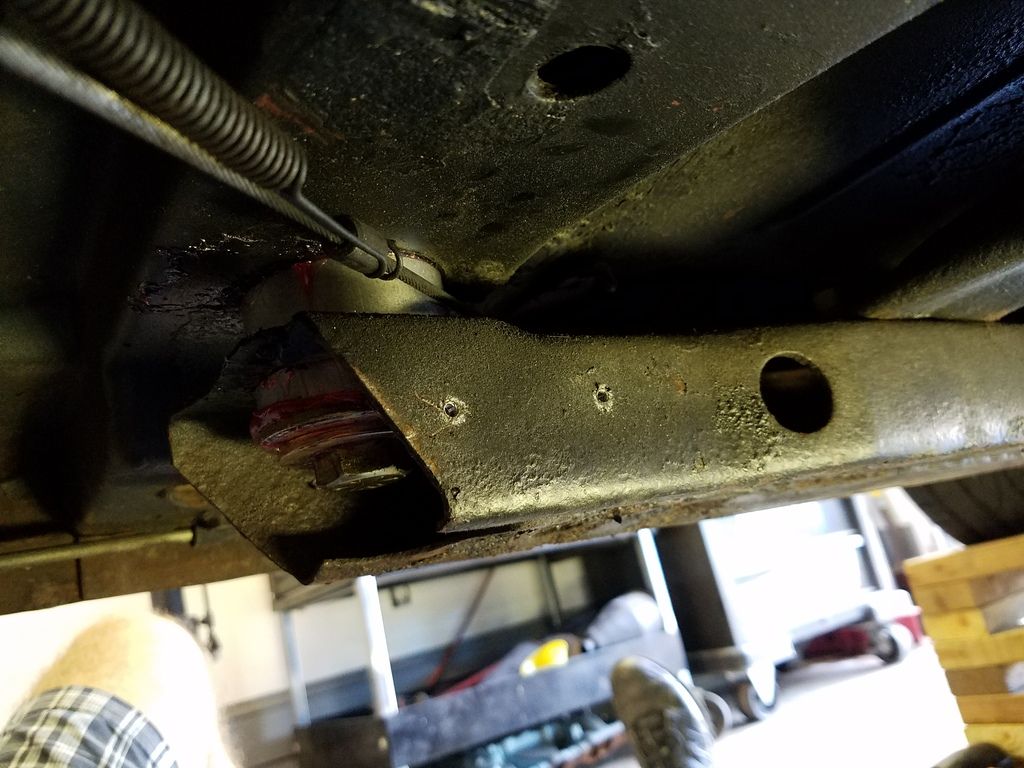 [/URL]
[URL=http://s240.photobucket.com/user/NOTATA/media/pauls%20TA/20160727_190829_zpsuqdfh6rf.jpg.html]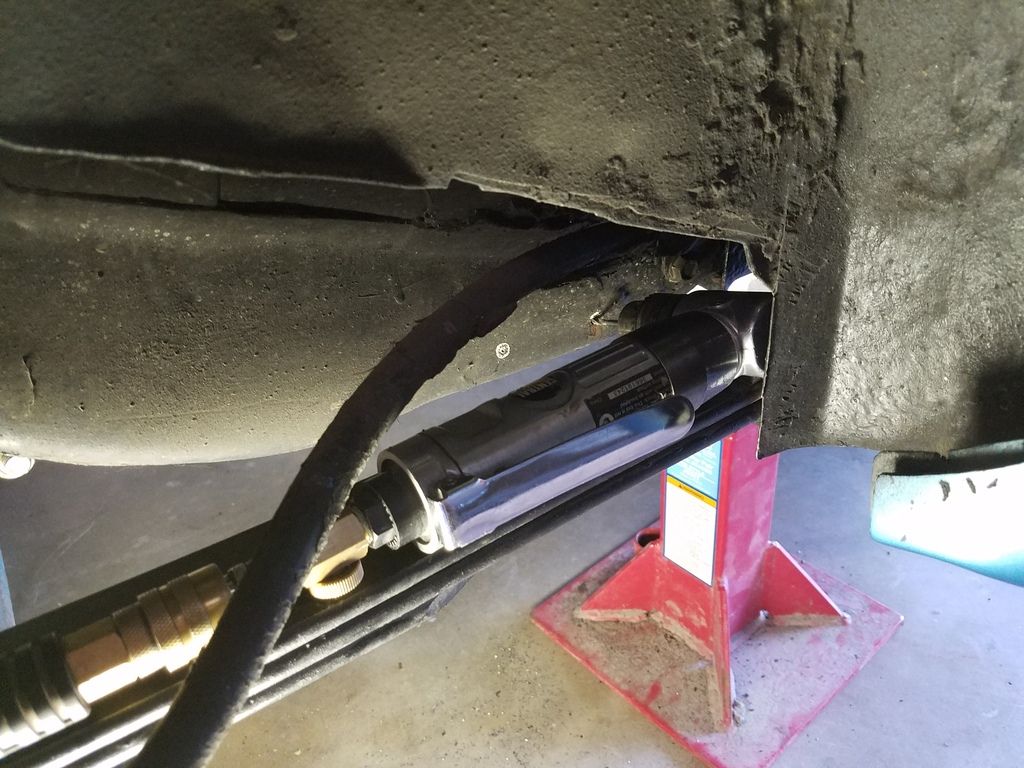 [/URL]
Once all the holes are drilled, grease the inside of the frame connector brackets where they will contact the sub frame and rear frame rail. This helps prevent creaking or squeaking later on. Lift the frame connector into position (without a jack) and just stick one bolt in the front and rear to hold it up. Then, one by one, loosely install each of the bolts with grease on the washers where the washers will contact the connector, inside of sub frame or rear frame rail. You may need to use a round file or your drill to open up some of the holes a little bit depending on how well you marked and drilled your holes. On an early 2nd gen the body mount bushing is in the way installing the front bolts. To make things easier install the farthest forward bolts from the inside of the frame with a pair of needle nose pliers as seen in pic and the ones right next to the body mount pointing inward. Later framed cars have more bolt access so your choice.Once you have all the bolts in place snug them all up before torquing. Dave at PTFB says you can go up to 30 lbs on the front since it's grade 5 hardware. I'm not going to recommend a particular torque for the long rear bolts which are also grade 5 hardware just be careful not to crush your rear frame rail.
[URL=http://s240.photobucket.com/user/NOTATA/media/pauls%20TA/20160728_131019_zpsedzondyw.jpg.html]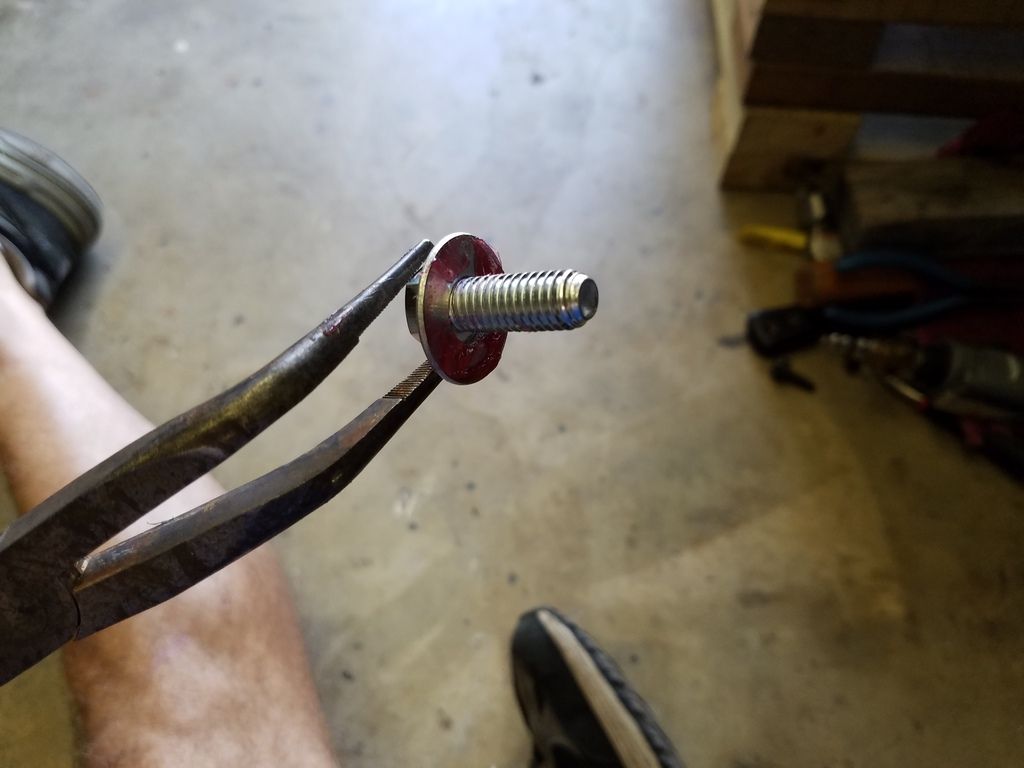 [/URL]
[URL=http://s240.photobucket.com/user/NOTATA/media/pauls%20TA/20160728_193435_zpsdxni52nv.jpg.html]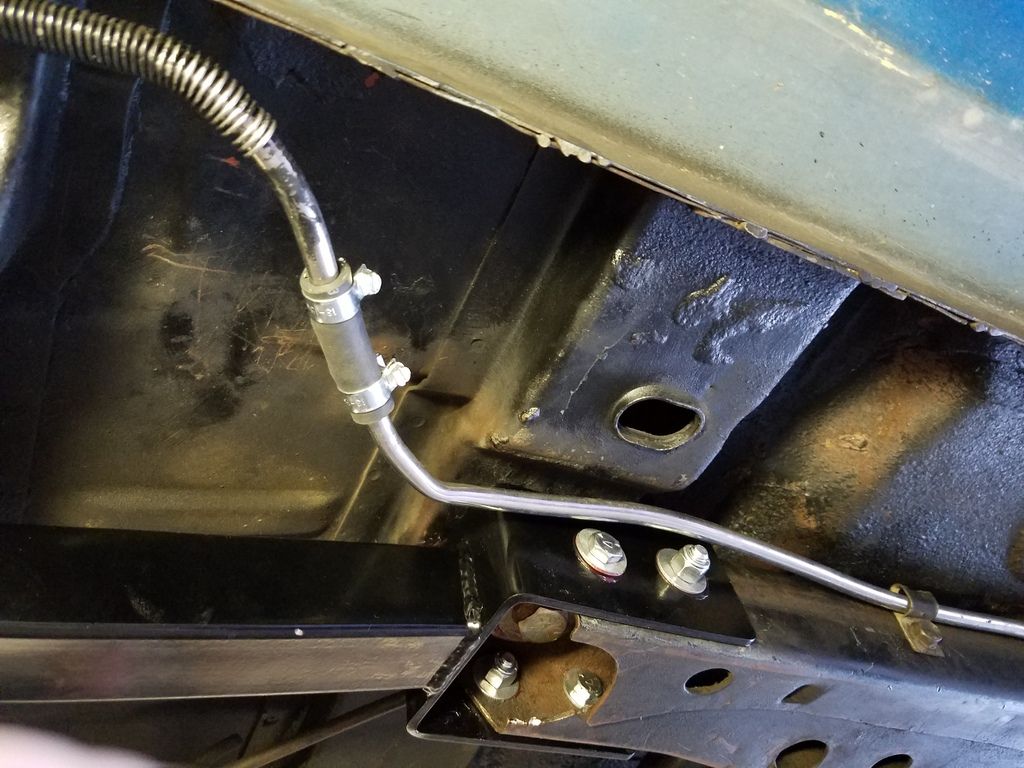 [/URL]
[URL=http://s240.photobucket.com/user/NOTATA/media/pauls%20TA/20160728_203157_zpsyqjwhrt9.jpg.html] [/URL]
Once your connectors are mounted you'll need to make some minor alterations to the fuel lines and move a bracket on the outside of the passenger side sub frame to a location a little forward by drilling a couple new holes. Be sure the fuel line is not going to rub on a bolt head or sharp corner of the connectors. Here's a few misc. pics for those who might want to see certain things.
[URL=http://s240.photobucket.com/user/NOTATA/media/pauls%20TA/20160728_203512_zps4fl51sqg.jpg.html]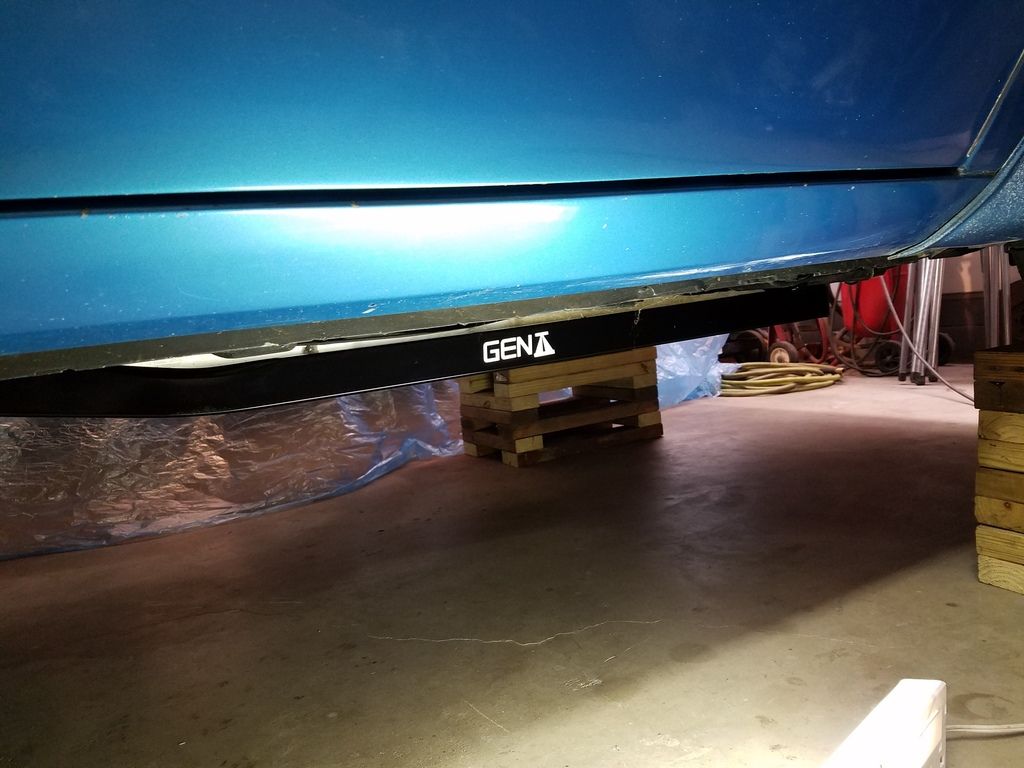 [/URL]
[URL=http://s240.photobucket.com/user/NOTATA/media/pauls%20TA/20160728_203256_zpspqrqu9t3.jpg.html]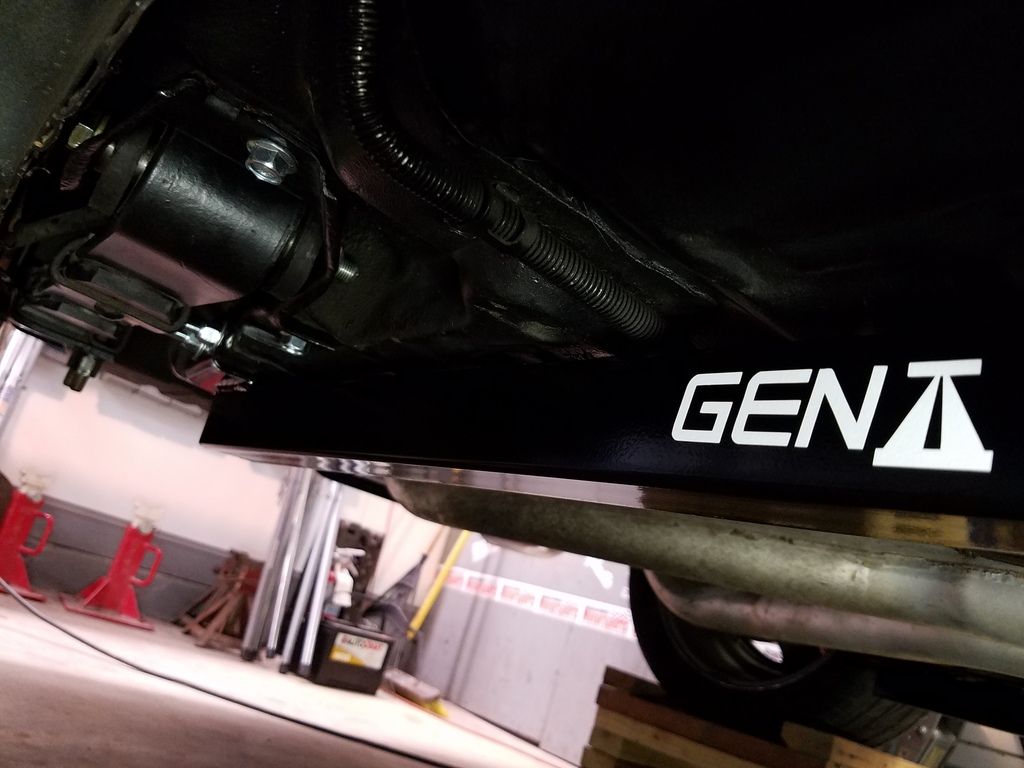 [/URL]
[URL=http://s240.photobucket.com/user/NOTATA/media/pauls%20TA/20160728_203411_zpskvg1qsnu.jpg.html]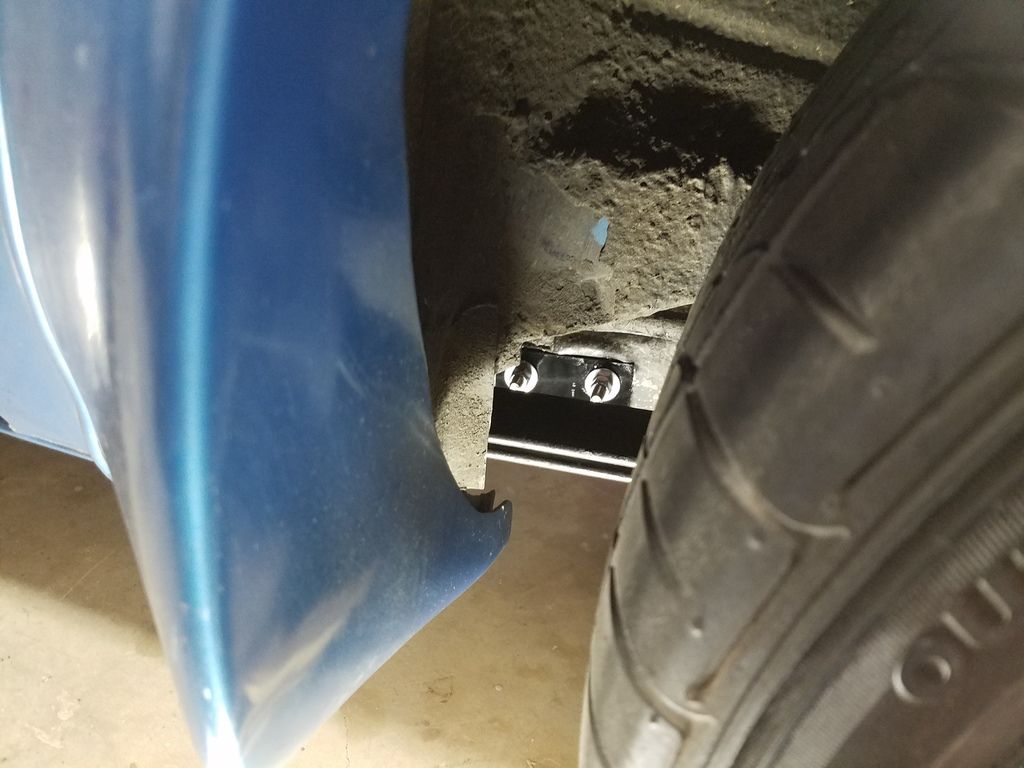 [/URL]
[URL=http://s240.photobucket.com/user/NOTATA/media/pauls%20TA/20160728_203525_zpschwxy3hk.jpg.html]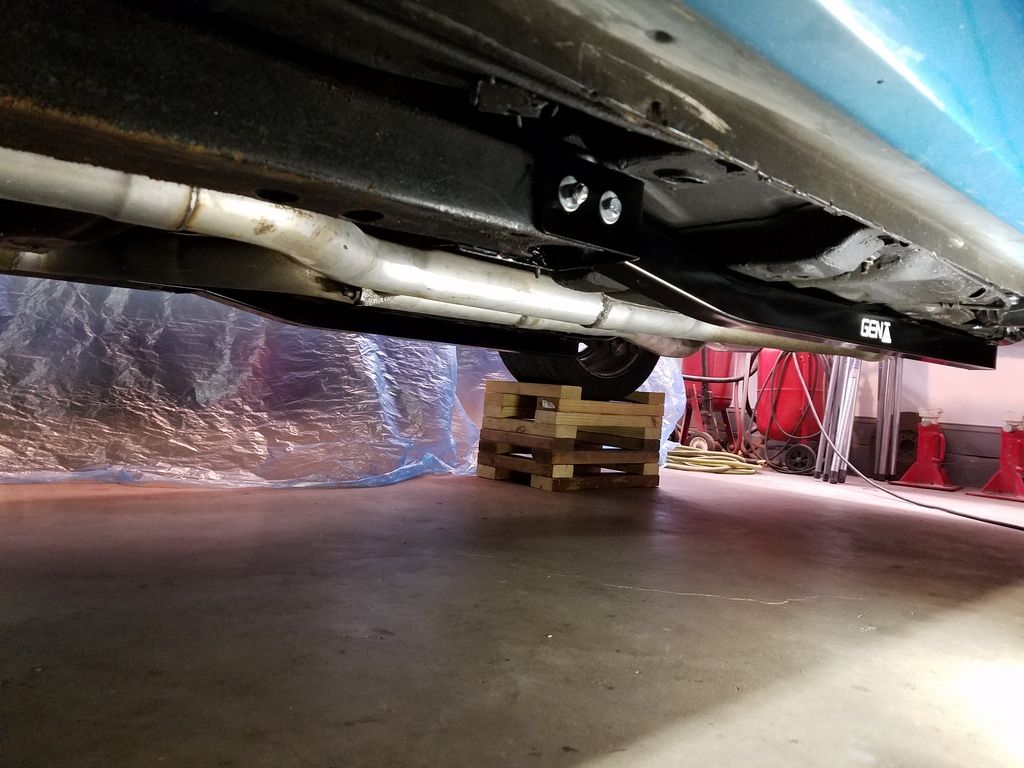 [/URL]


 [/URL]
 [/URL]
 [/URL]

 [/URL]
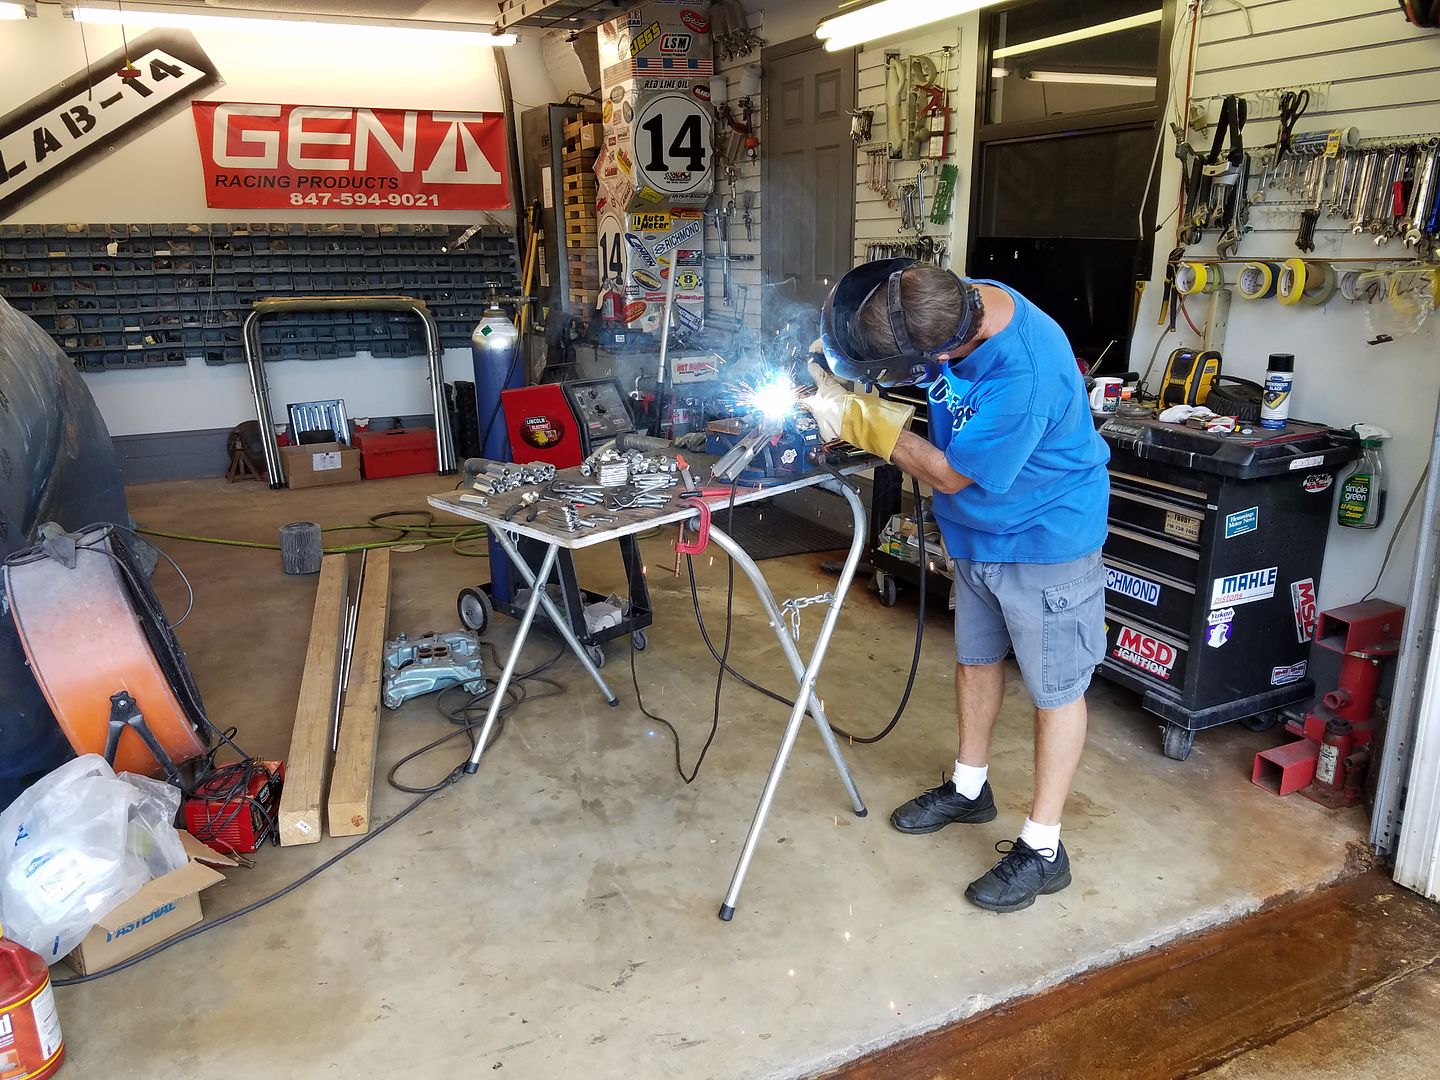 [/URL]
 [/URL]
 [/URL]
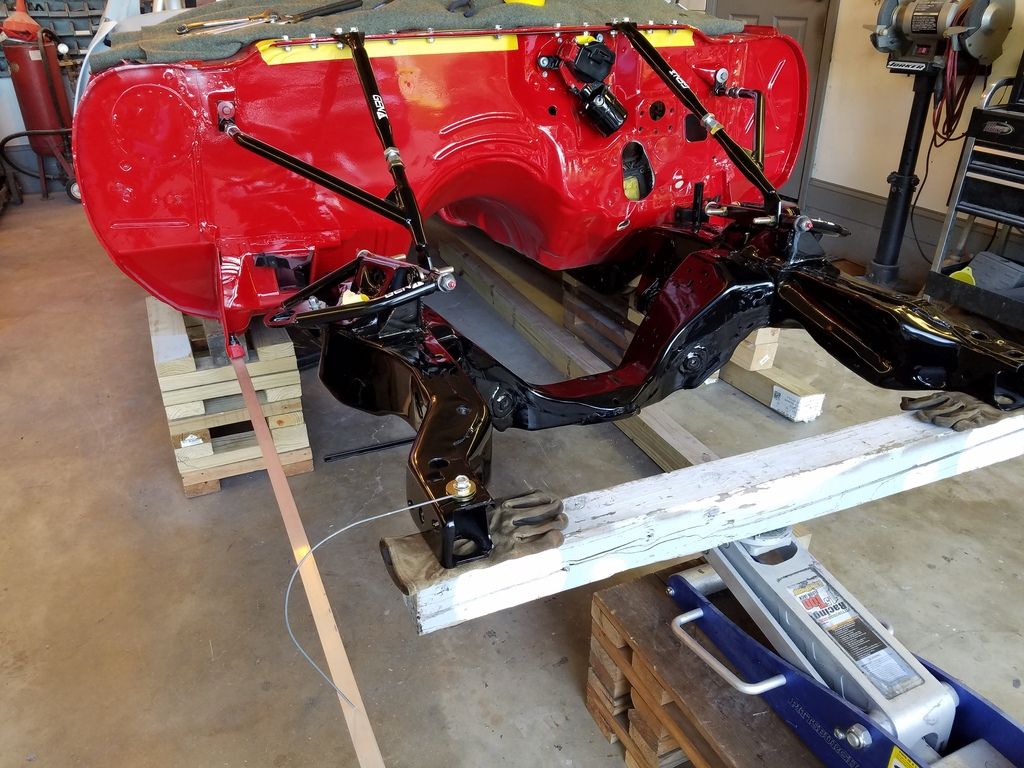 [/URL]
 [/URL]
 [/URL]
 [/URL]
 [/URL]
 [/URL]
 [/URL]
 [/URL]


 [/URL]
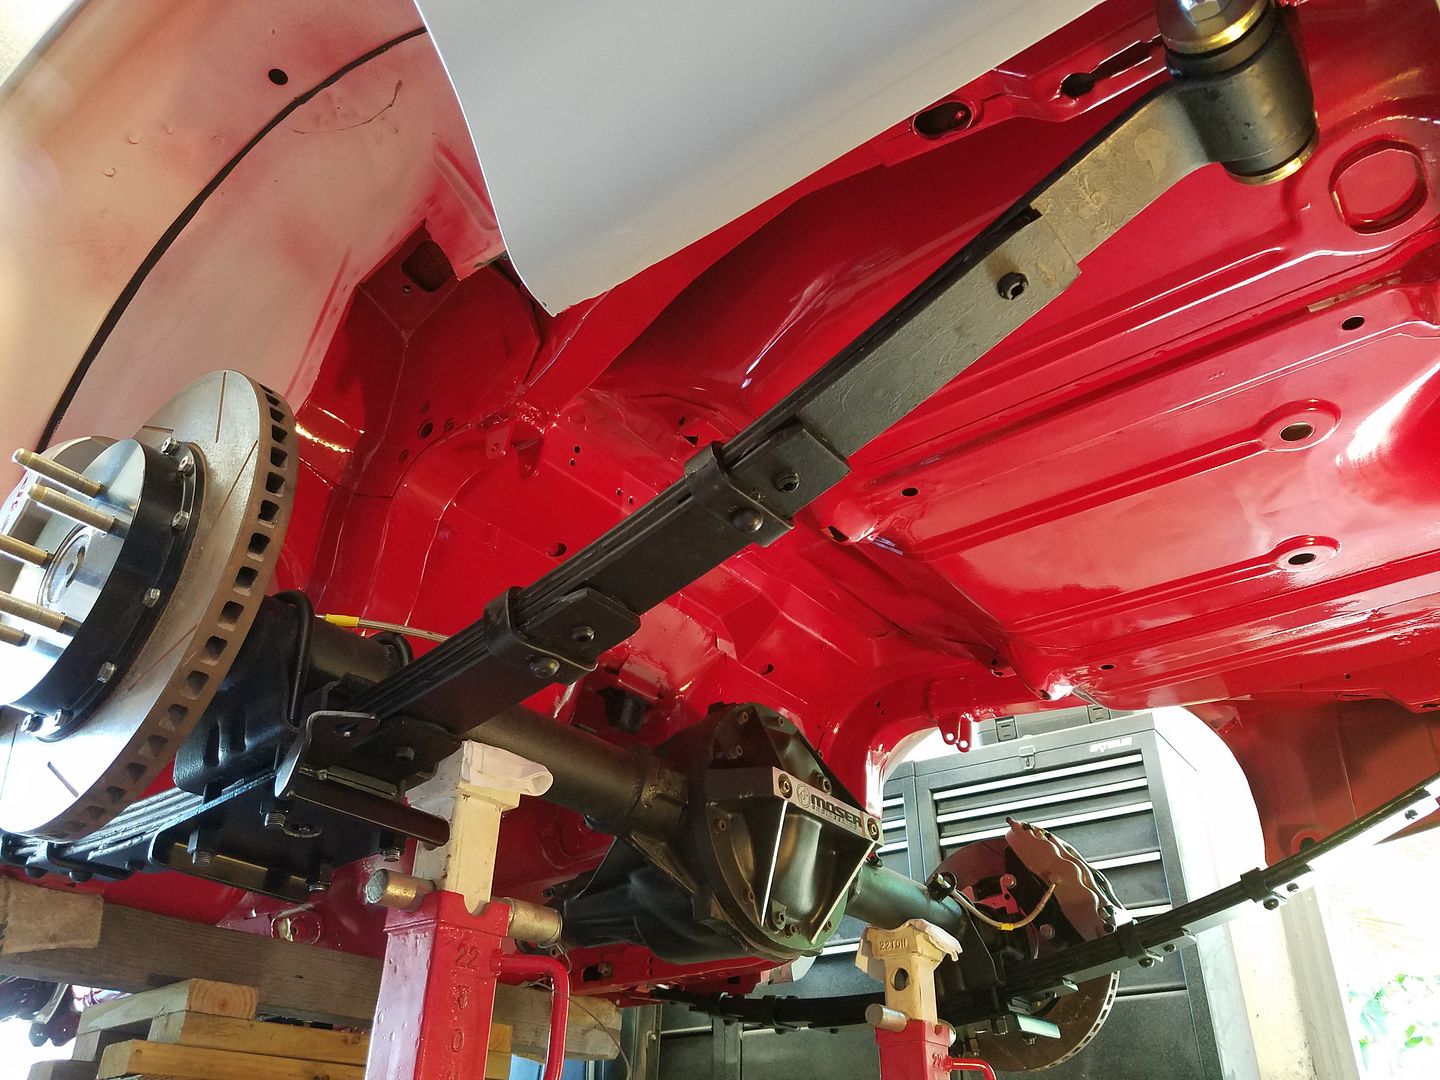 [/URL]


 [/URL]
 [/URL]
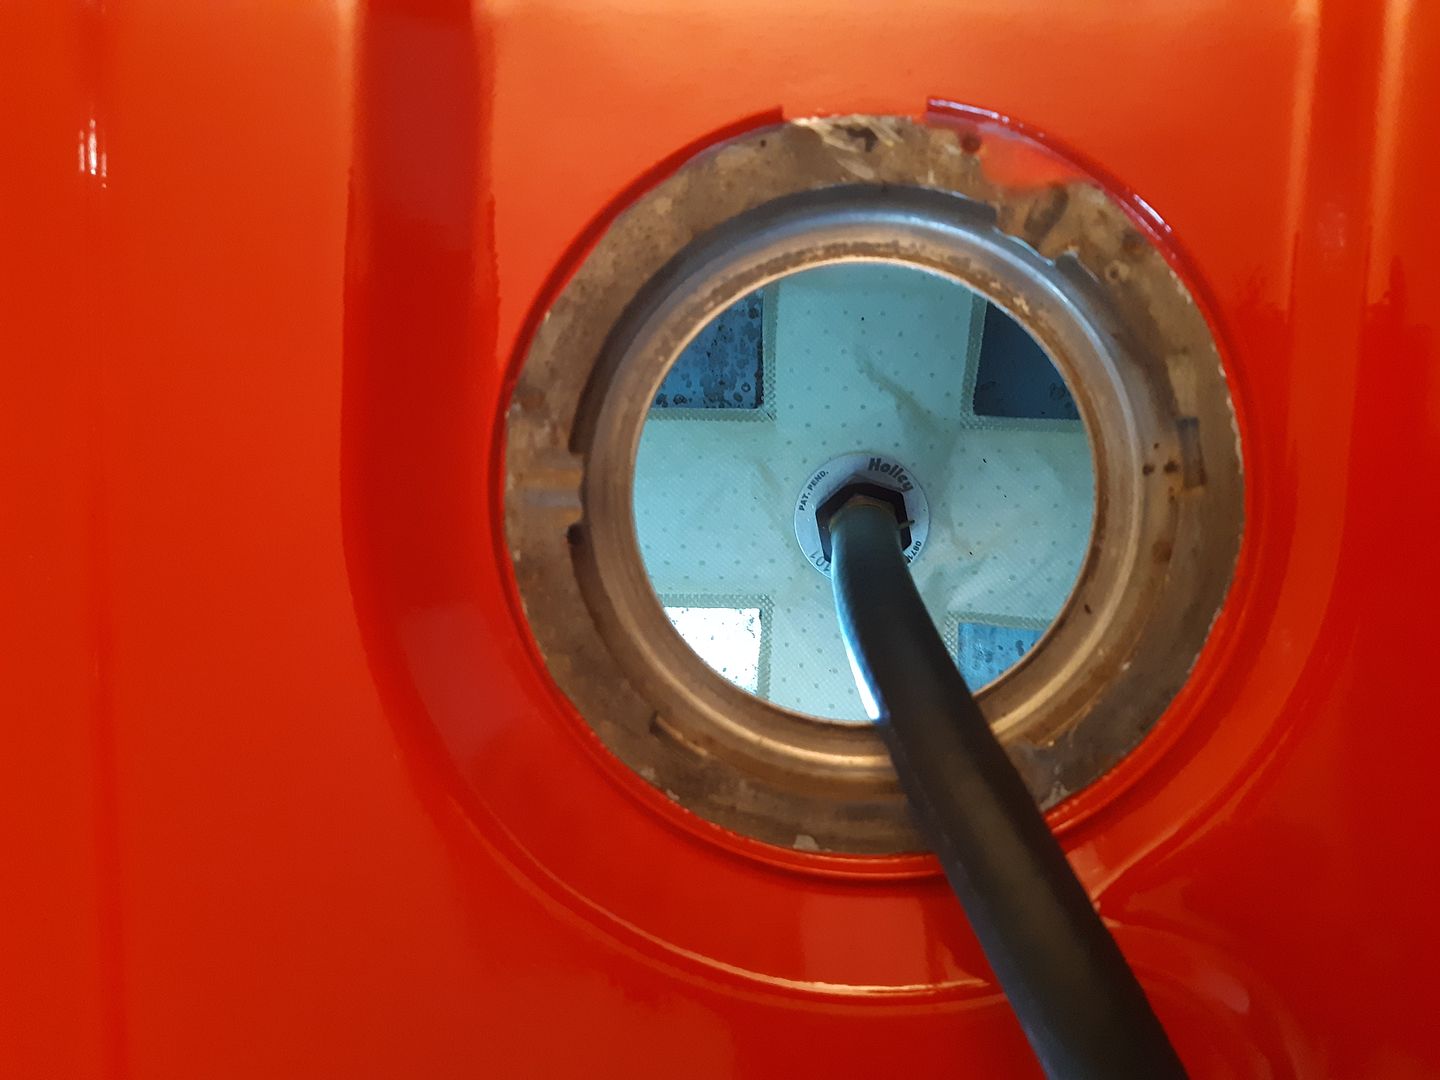 [/URL]
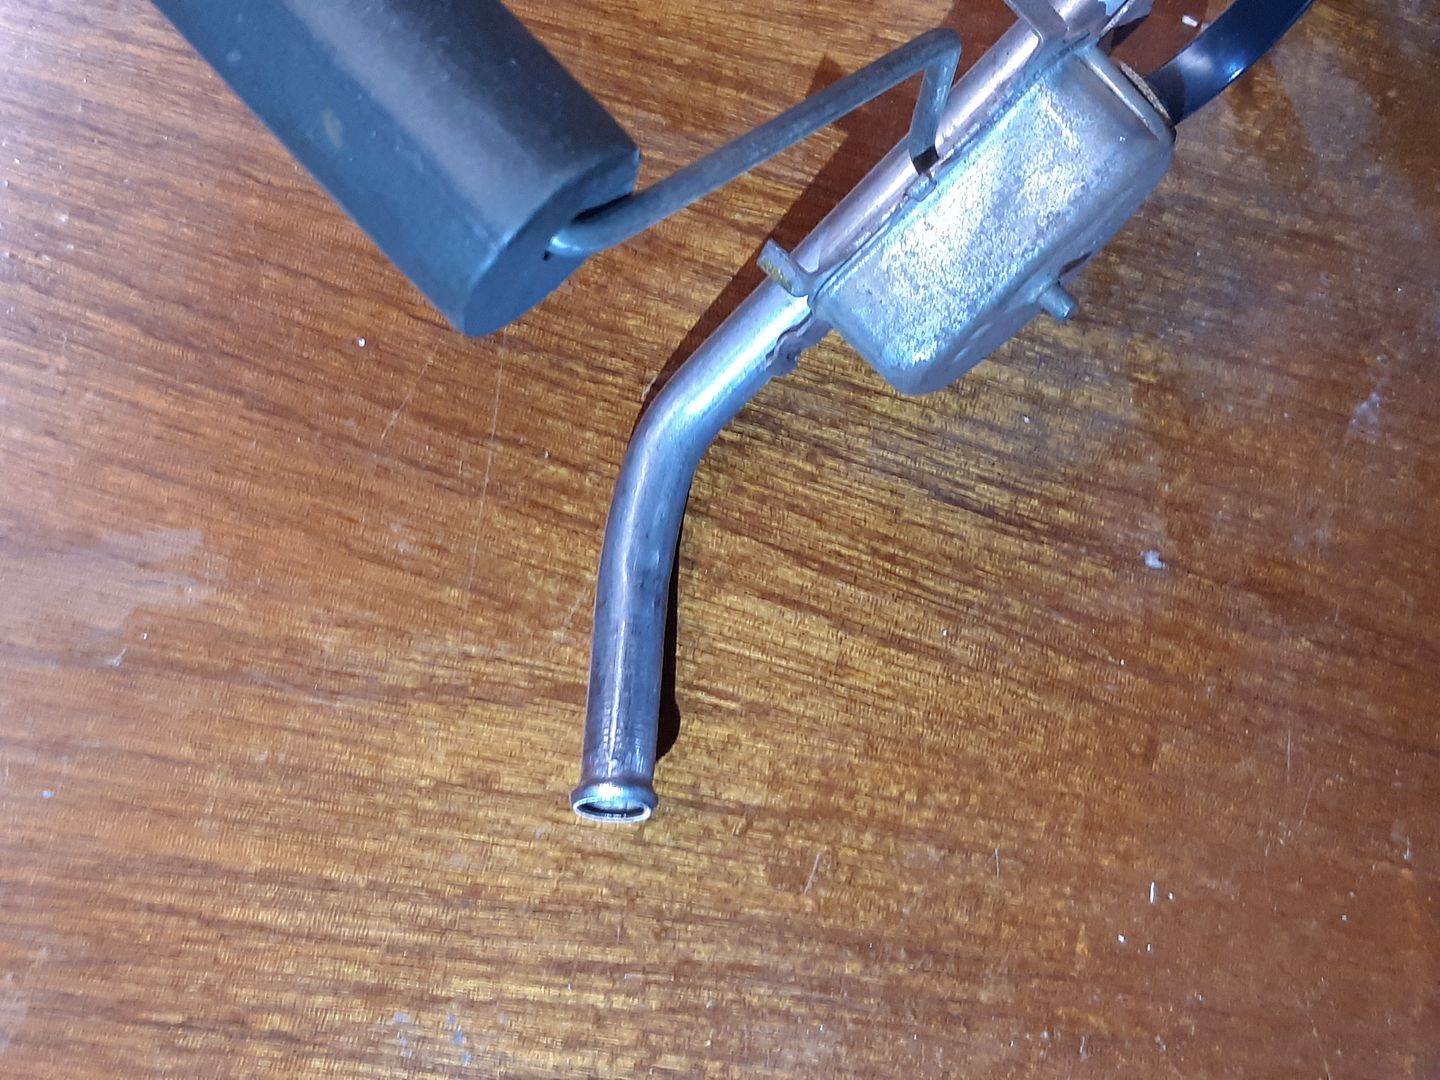 [/URL]
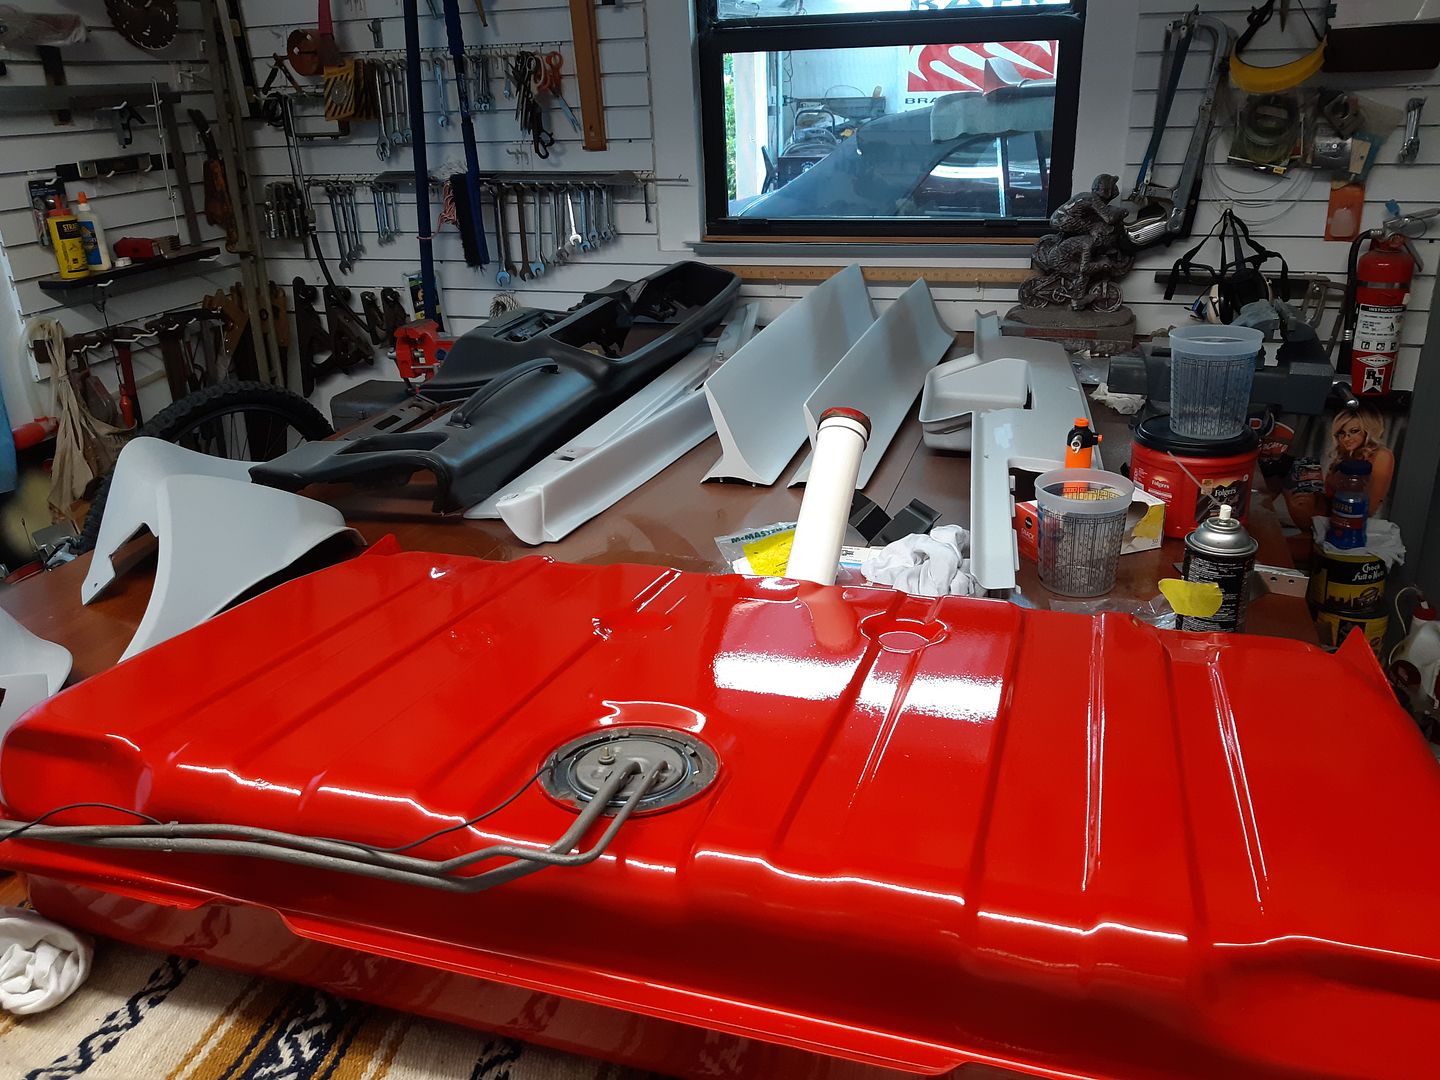 [/URL]
 [/URL]
 [/URL]


