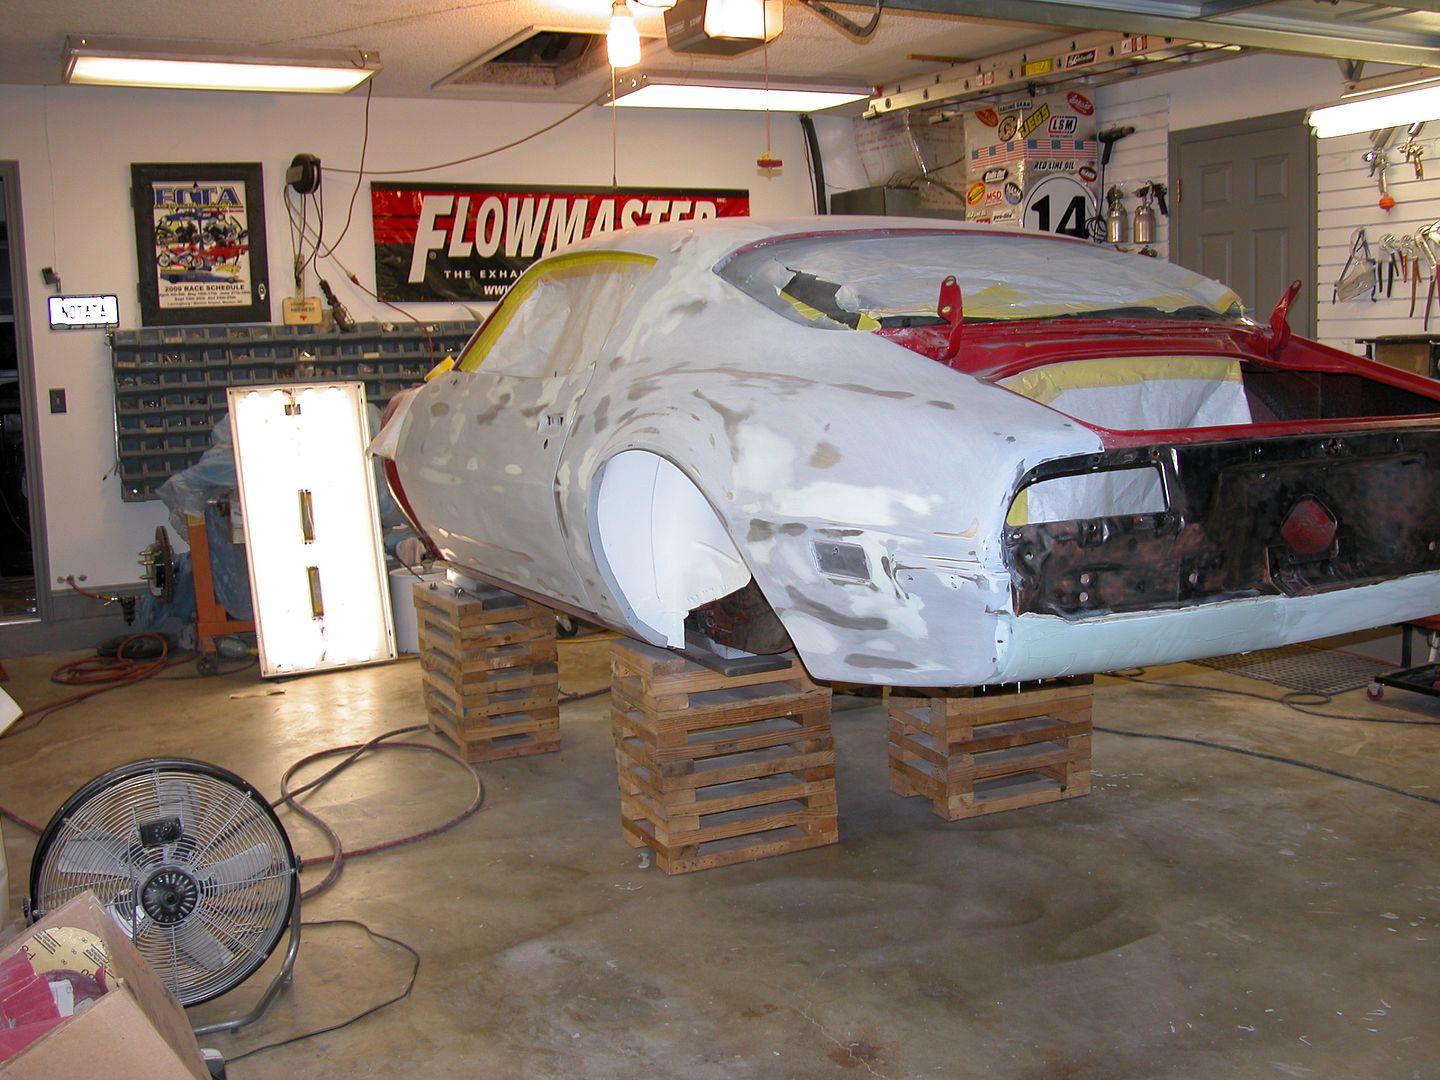
The body & door exterior is in primer ready for final blocking. I moved on to stripping the trunk channel area and found an old rust repair the PO had done with fiberglass at the base of the rear window (never leaked) which will require removing the window to repair with metal. I'm having a glass guy who showed up at a couple jobs I've been on come by & pop it out then return for install when I'm ready. Not too expensive and I don't want to risk the piece.
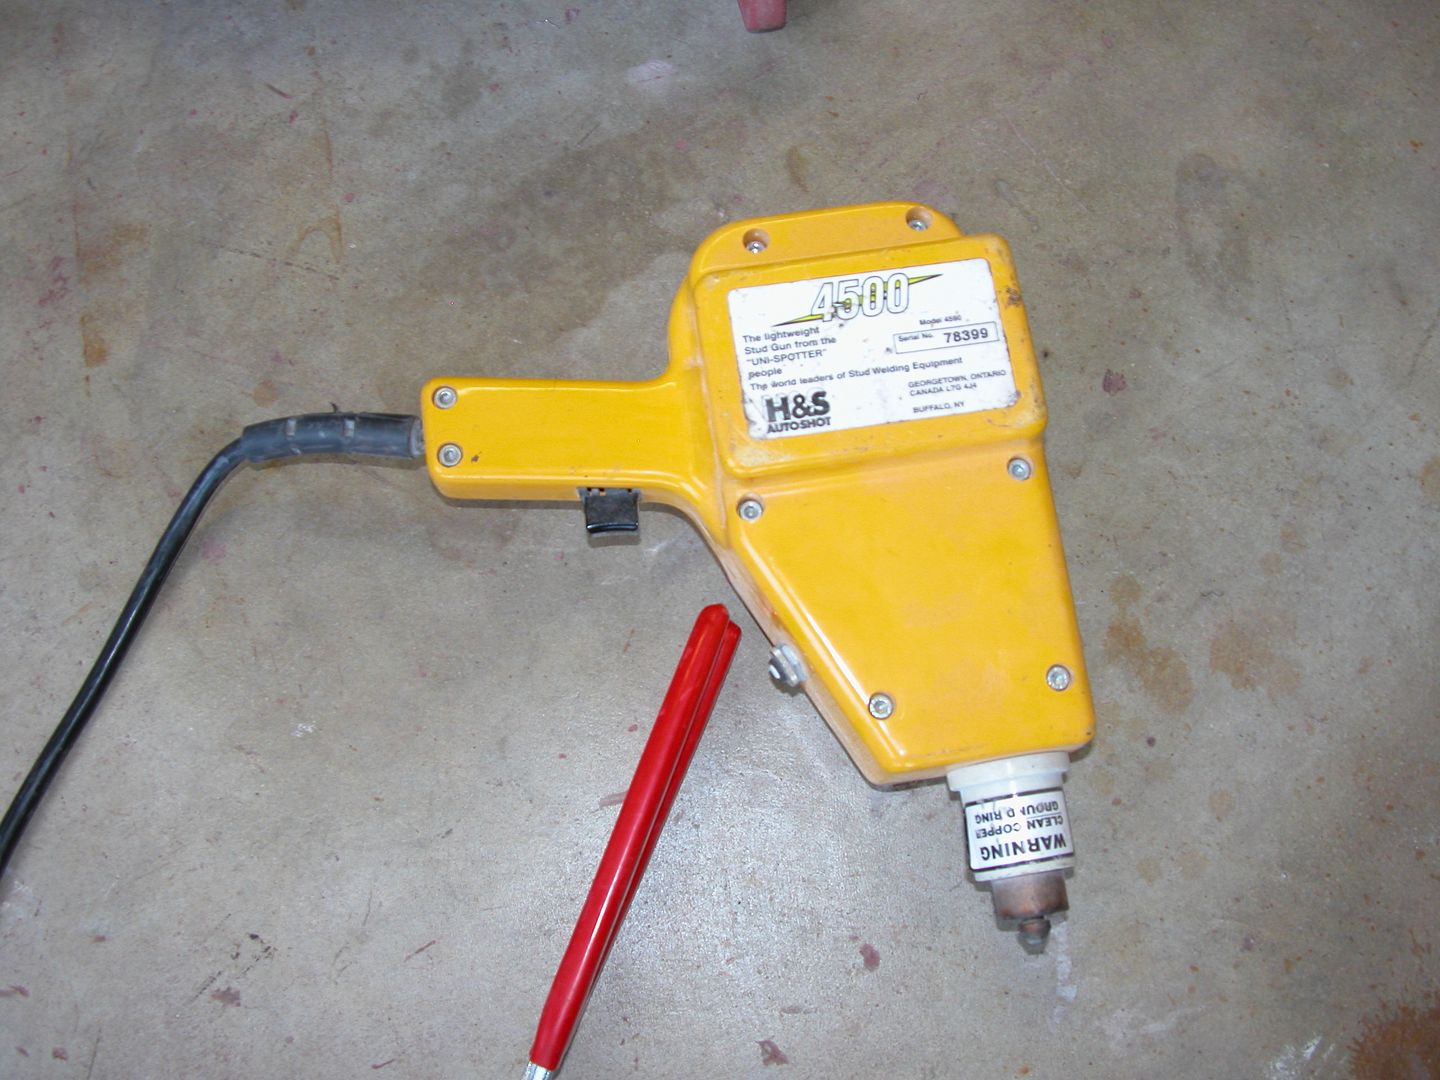
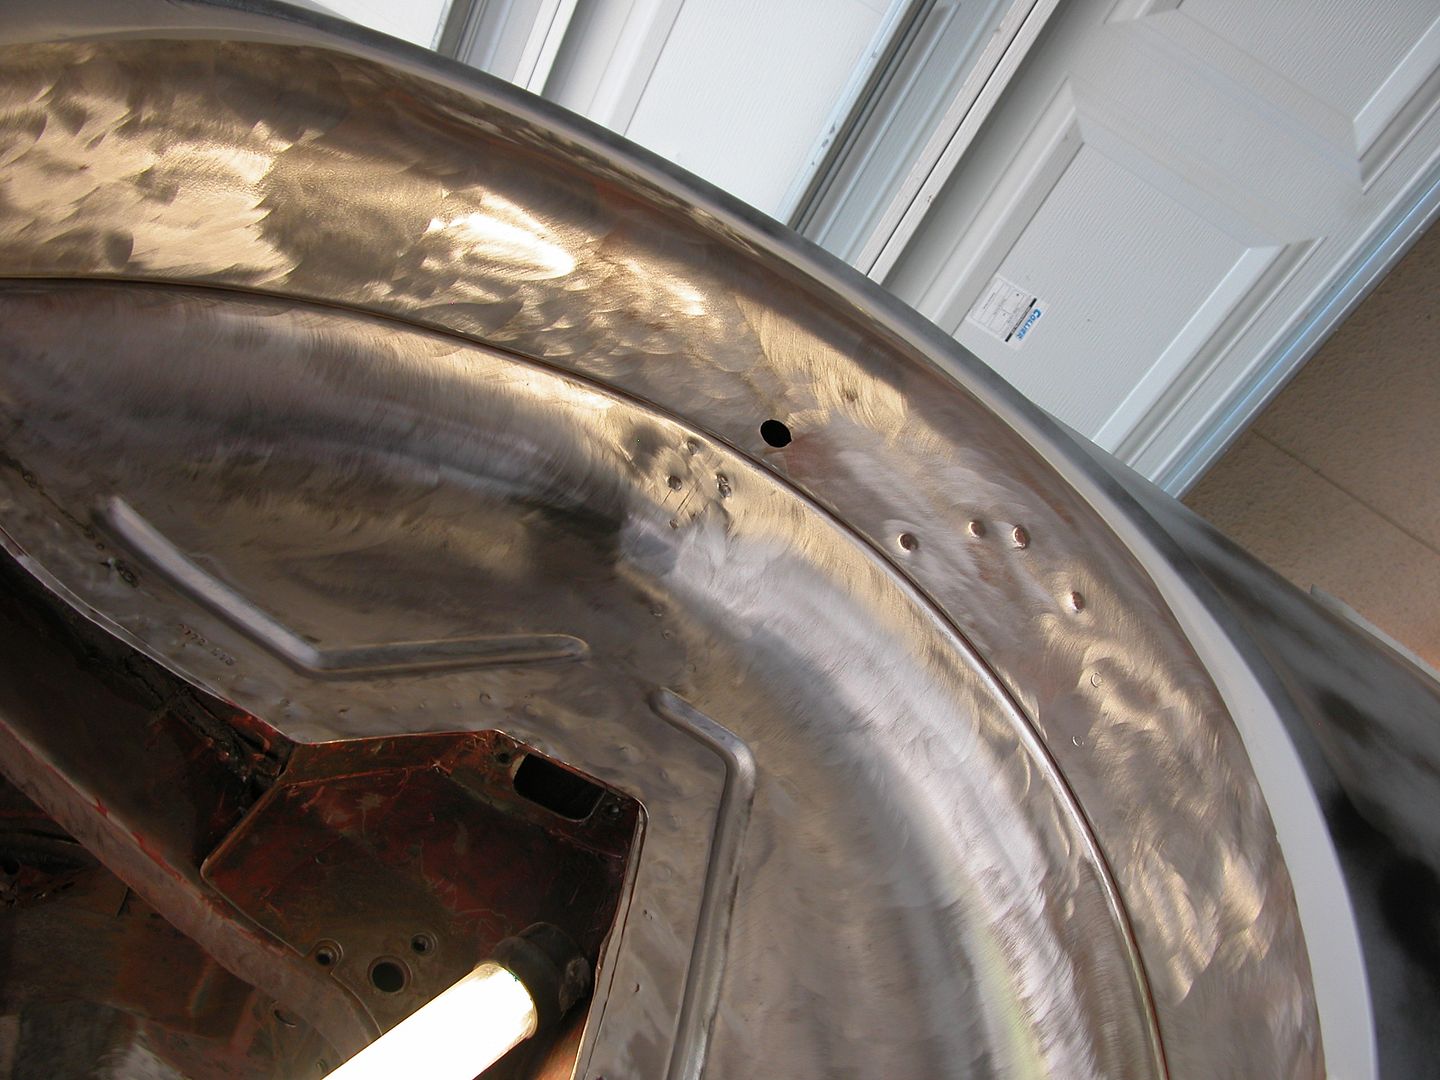
Since Jeff had the body in primer and I was waiting on glass removal we pushed the car out of the way to work on other things. I moved to the gas tank. The inside of the tank is perfectly clean with not a speck of rust but like many northern cars this one had been backed into frozen snow mounds denting the tank. So the stud gun got called back into action and worked great to get the dents out. Then a skim coat of filler to smooth out the surface followed with prime & block and it'll look perfect when painted. Since I'm going to fabricate a diffuser that will allow the tank to be seen if someone peaks under there I wanted it nice.
You can see one of the dents in this old pic, others are more subtle and flat black hides them.
[URL=http://s240.photobucket.com/user/NOTATA/media/Firebird/MVC-015F.jpg.html]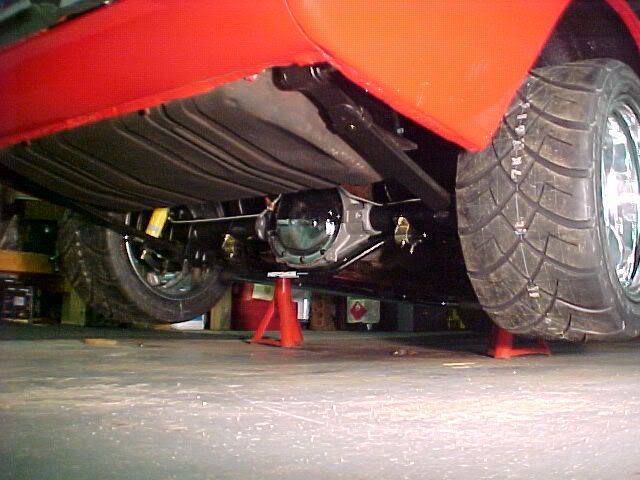 [/URL]
Cleaned enough to use the stud gun and pull the dents.
[URL=http://s240.photobucket.com/user/NOTATA/media/The%2014%20Car%20Performance%20Therapy/009_zps106a9234.jpg.html] [/URL]
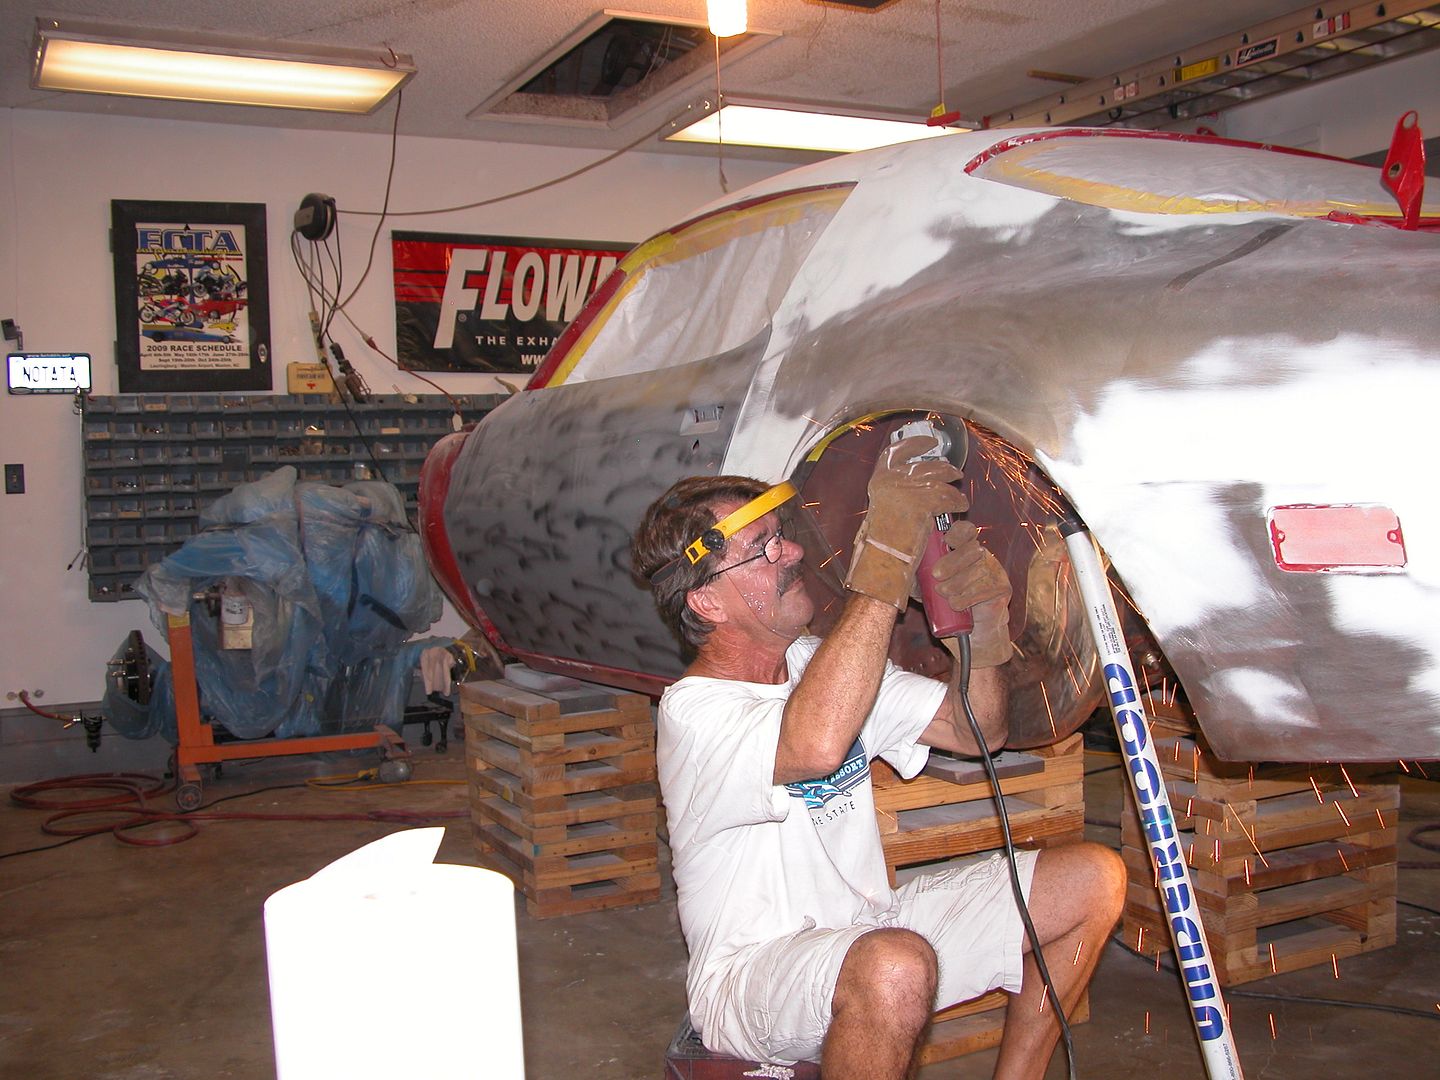
Studs ground off, high spots hammered and cleaned for filler.
[URL=http://s240.photobucket.com/user/NOTATA/media/The%2014%20Car%20Performance%20Therapy/010_zpsbada5bcc.jpg.html]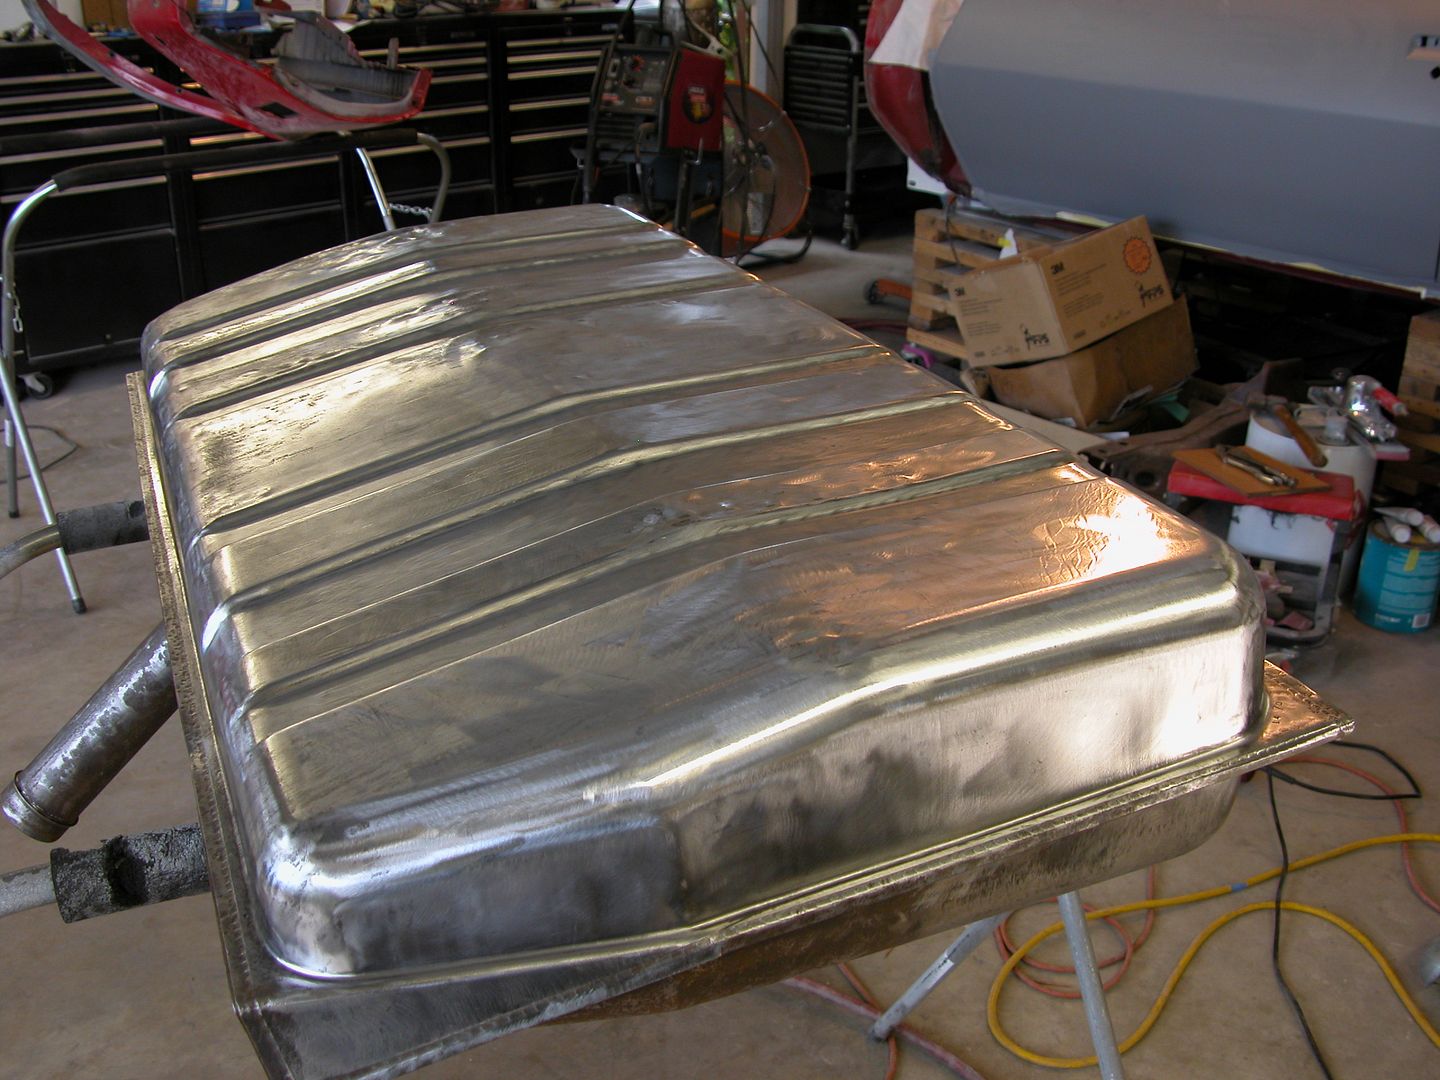 [/URL]
Starting skim coat.
[URL=http://s240.photobucket.com/user/NOTATA/media/The%2014%20Car%20Performance%20Therapy/012_zps01e4ddc8.jpg.html]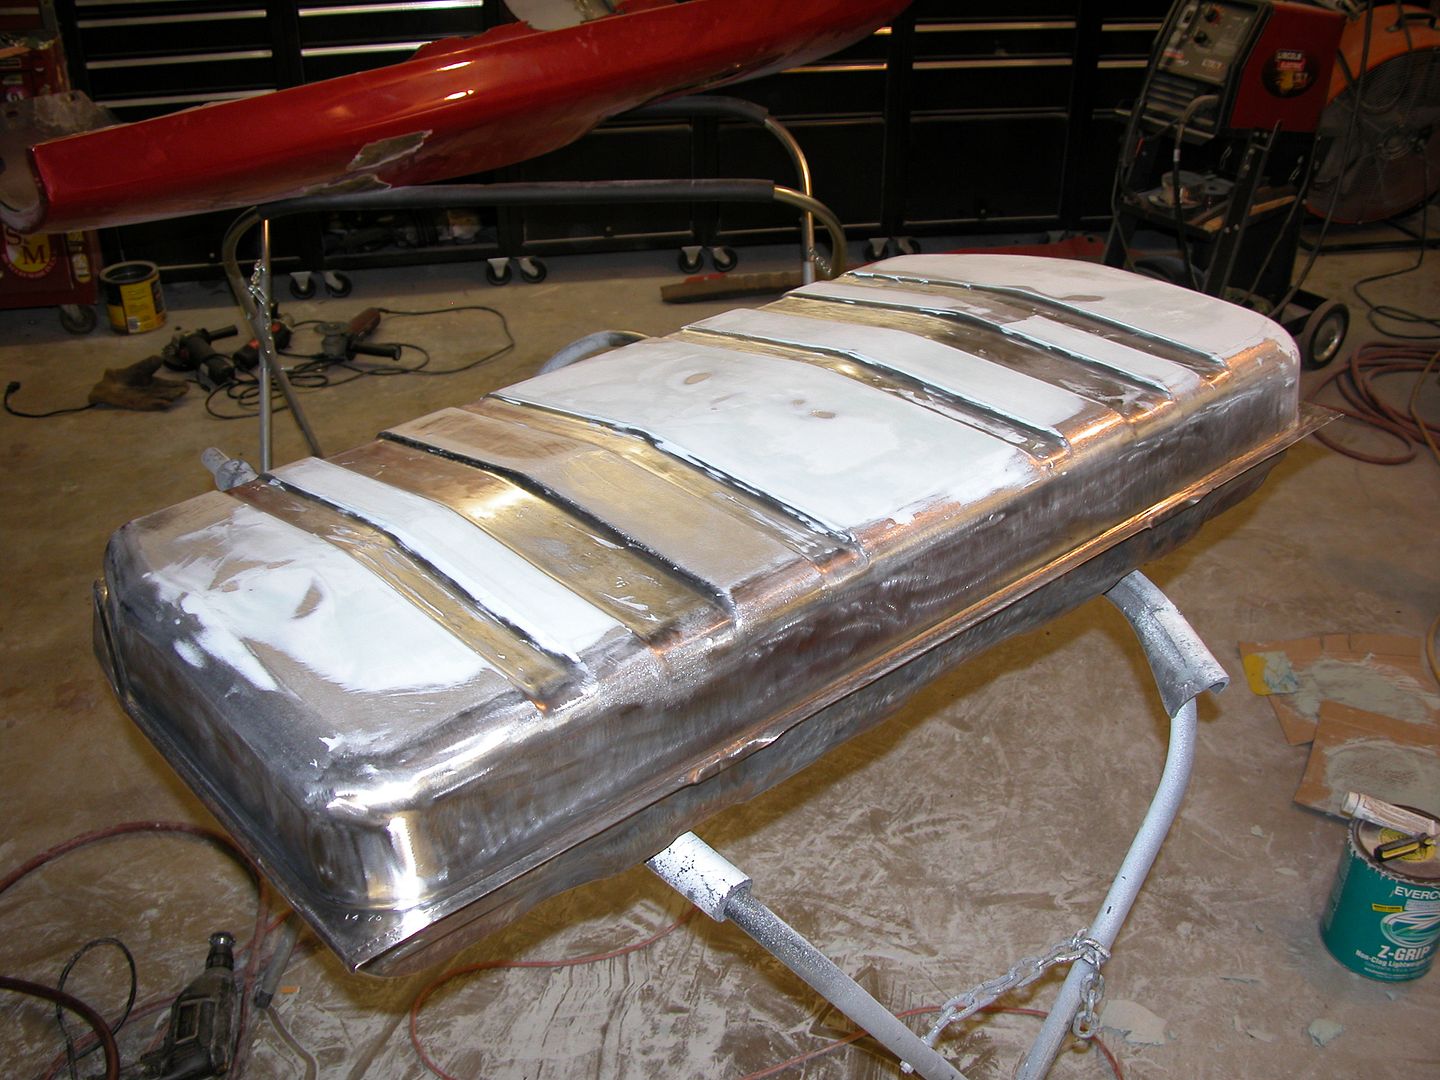 [/URL]
While I was messing with the tank Jeff started on the front fender we knew would need some work. I'd gotten the fenders from a bud back when I painted the car the first time 20+ years ago and one was an early fender without the core support brace provision that had some rust issues. I'd done some repairs but without a welder at the time I was limited. Fast forward to now and we decided to take the fender apart from the inner support to make repairs.
After getting started and thinking about the best thing to do I remembered a bud had a couple late 2nd gen bird fenders he didn't need and couldn't sell stored in his warehouse so I went to look for them (ya I have a key). I thought we could cut up the Formula fenders to get the metal sections needed to fix my fender. When I got there there were no regular fenders BUT there was a really nice rust free early 2nd gen left TA fender by itself and I just happened to need a left! I talked to my bud (OK,begged) and he gave me the fender. There's a little dent in it by the side marker light but we can fix that right up in a lot less time than doing metal work on my old fender.
[URL=http://s240.photobucket.com/user/NOTATA/media/The%2014%20Car%20Performance%20Therapy/013_zps62a92e60.jpg.html]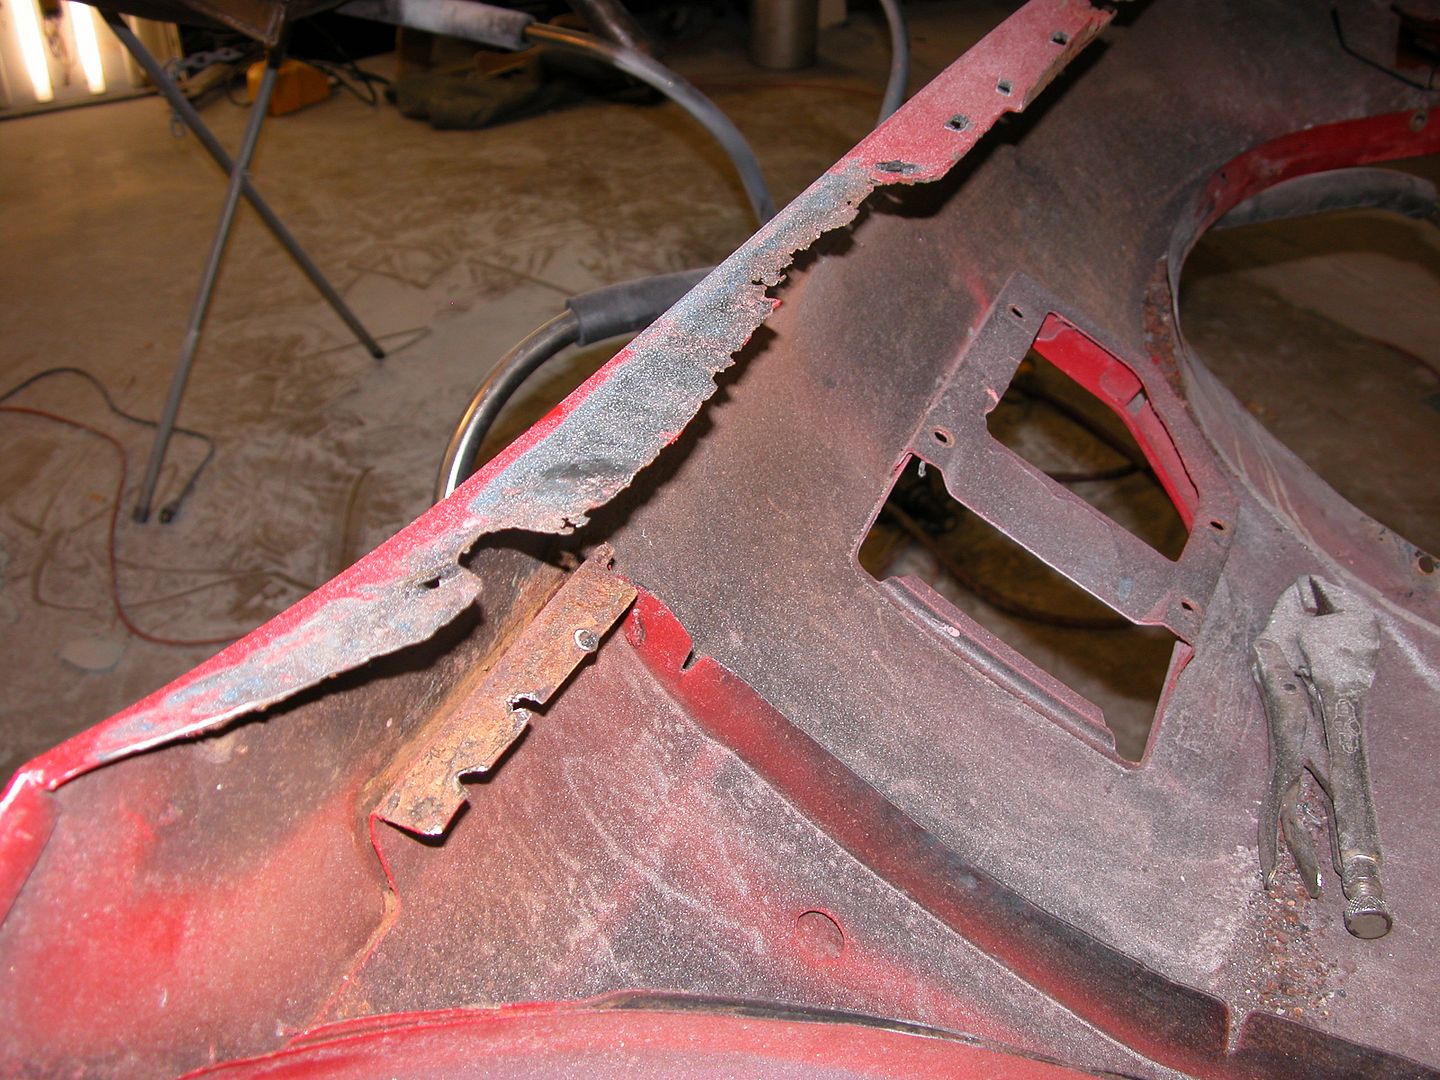 [/URL]
[URL=http://s240.photobucket.com/user/NOTATA/media/The%2014%20Car%20Performance%20Therapy/001_zps1047b9a1.jpg.html]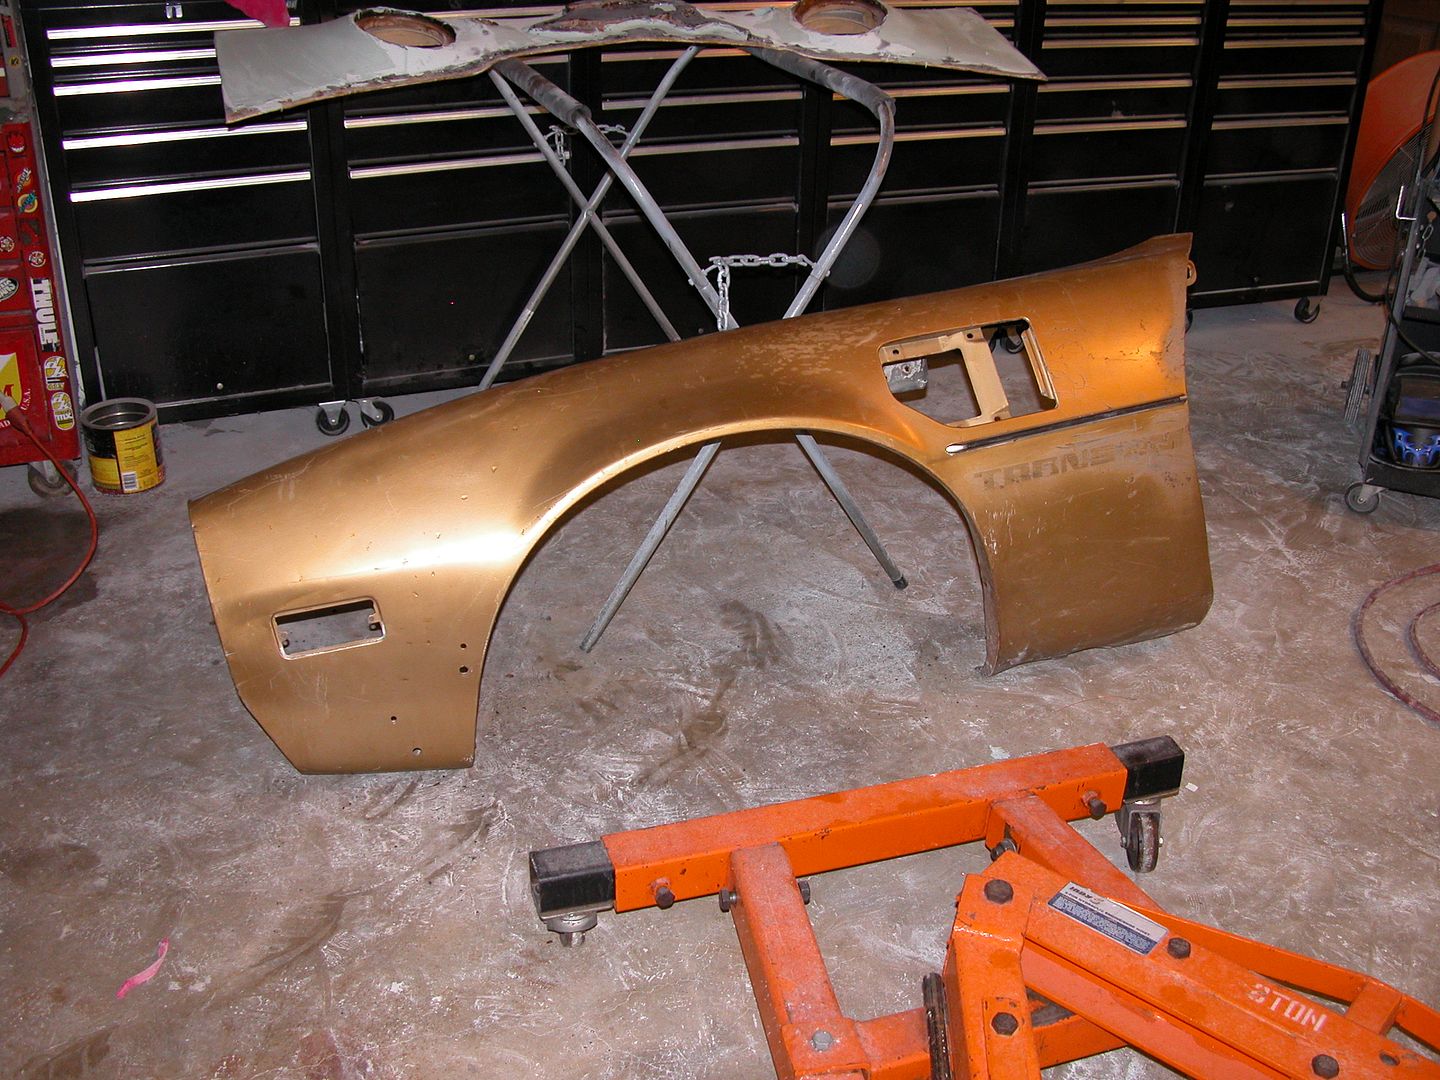 [/URL]
[URL=http://s240.photobucket.com/user/NOTATA/media/The%2014%20Car%20Performance%20Therapy/002_zps7fde2b1b.jpg.html]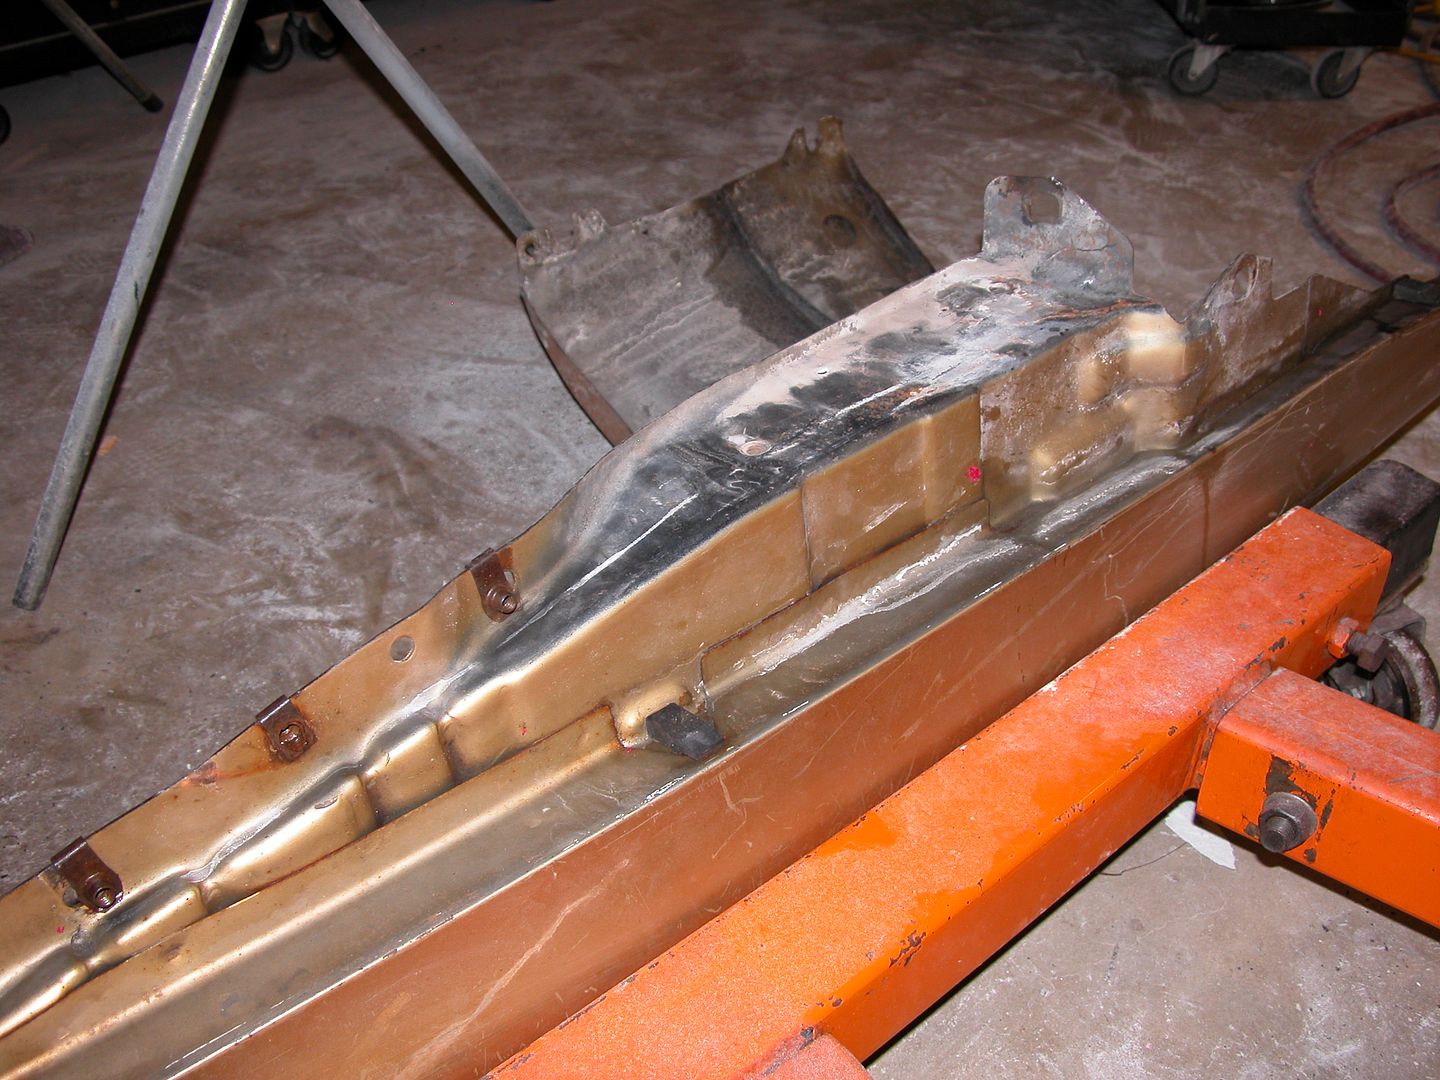 [/URL]


 [/URL]
 [/URL]


 [/URL]
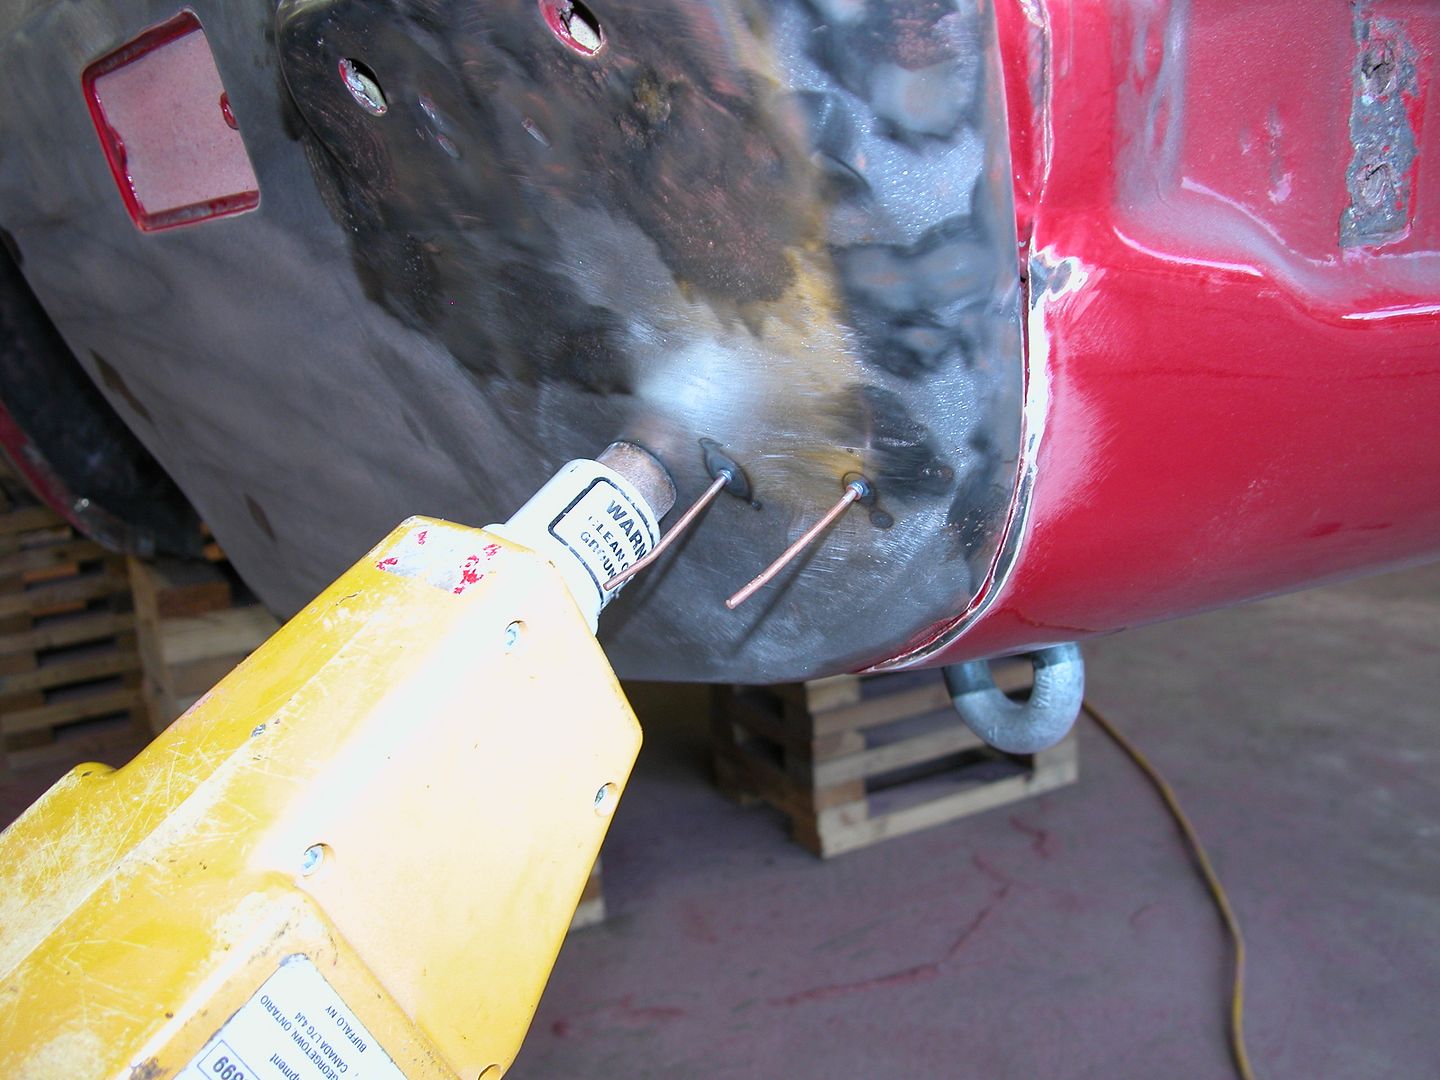 [/URL]
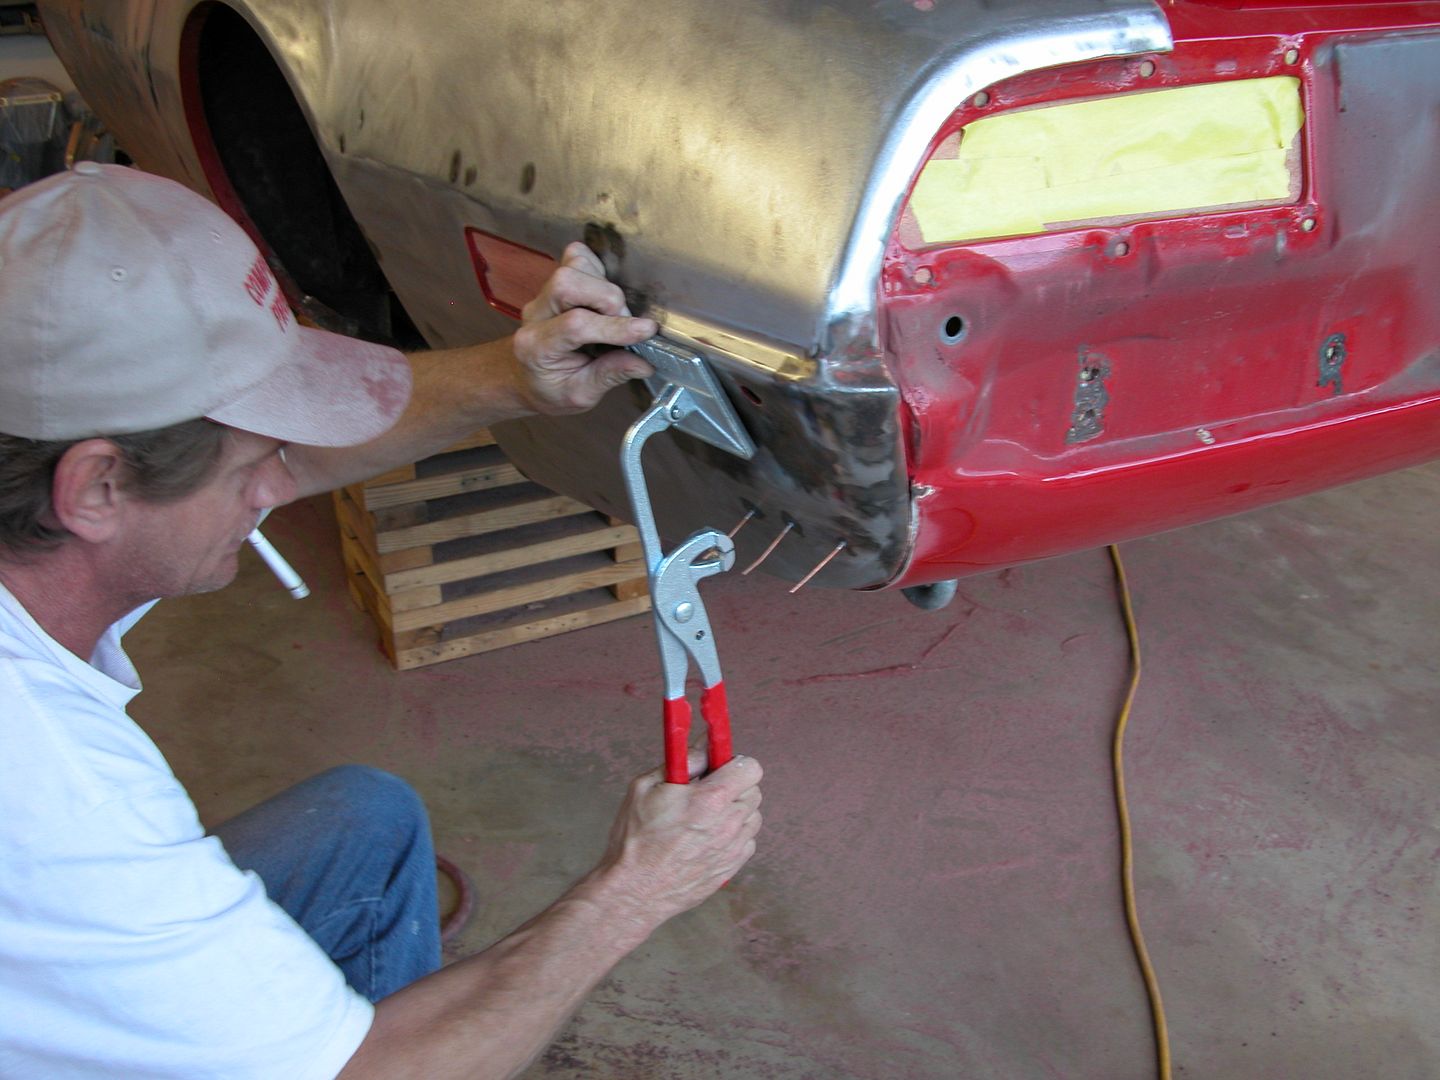 [/URL]
 [/URL]
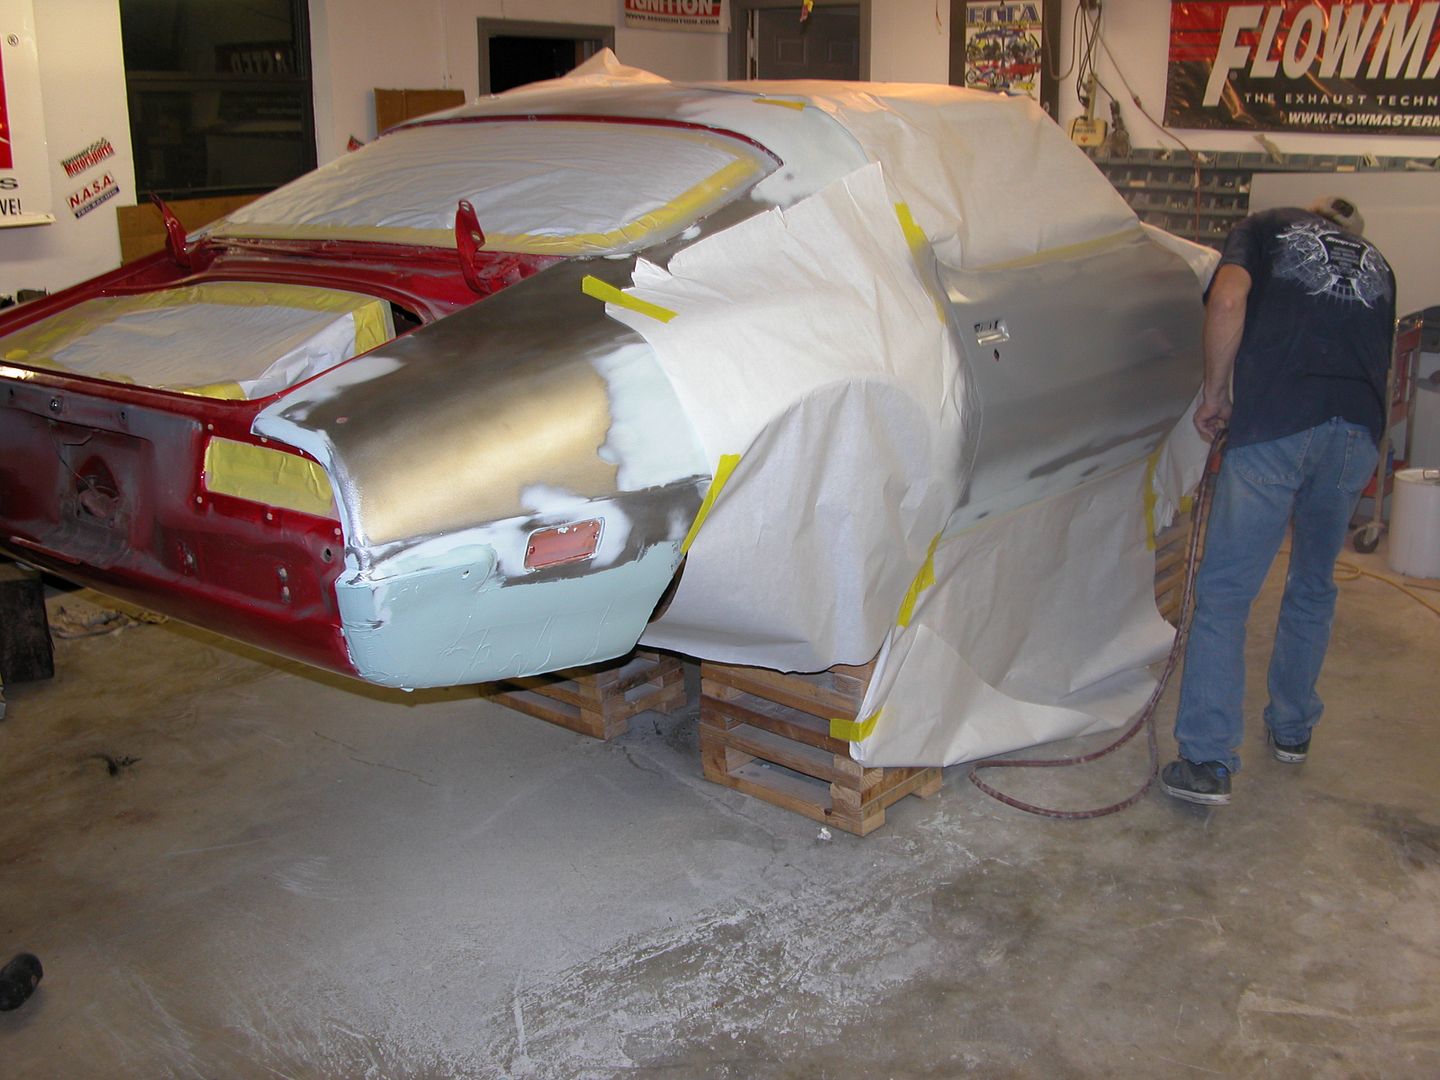 [/URL]
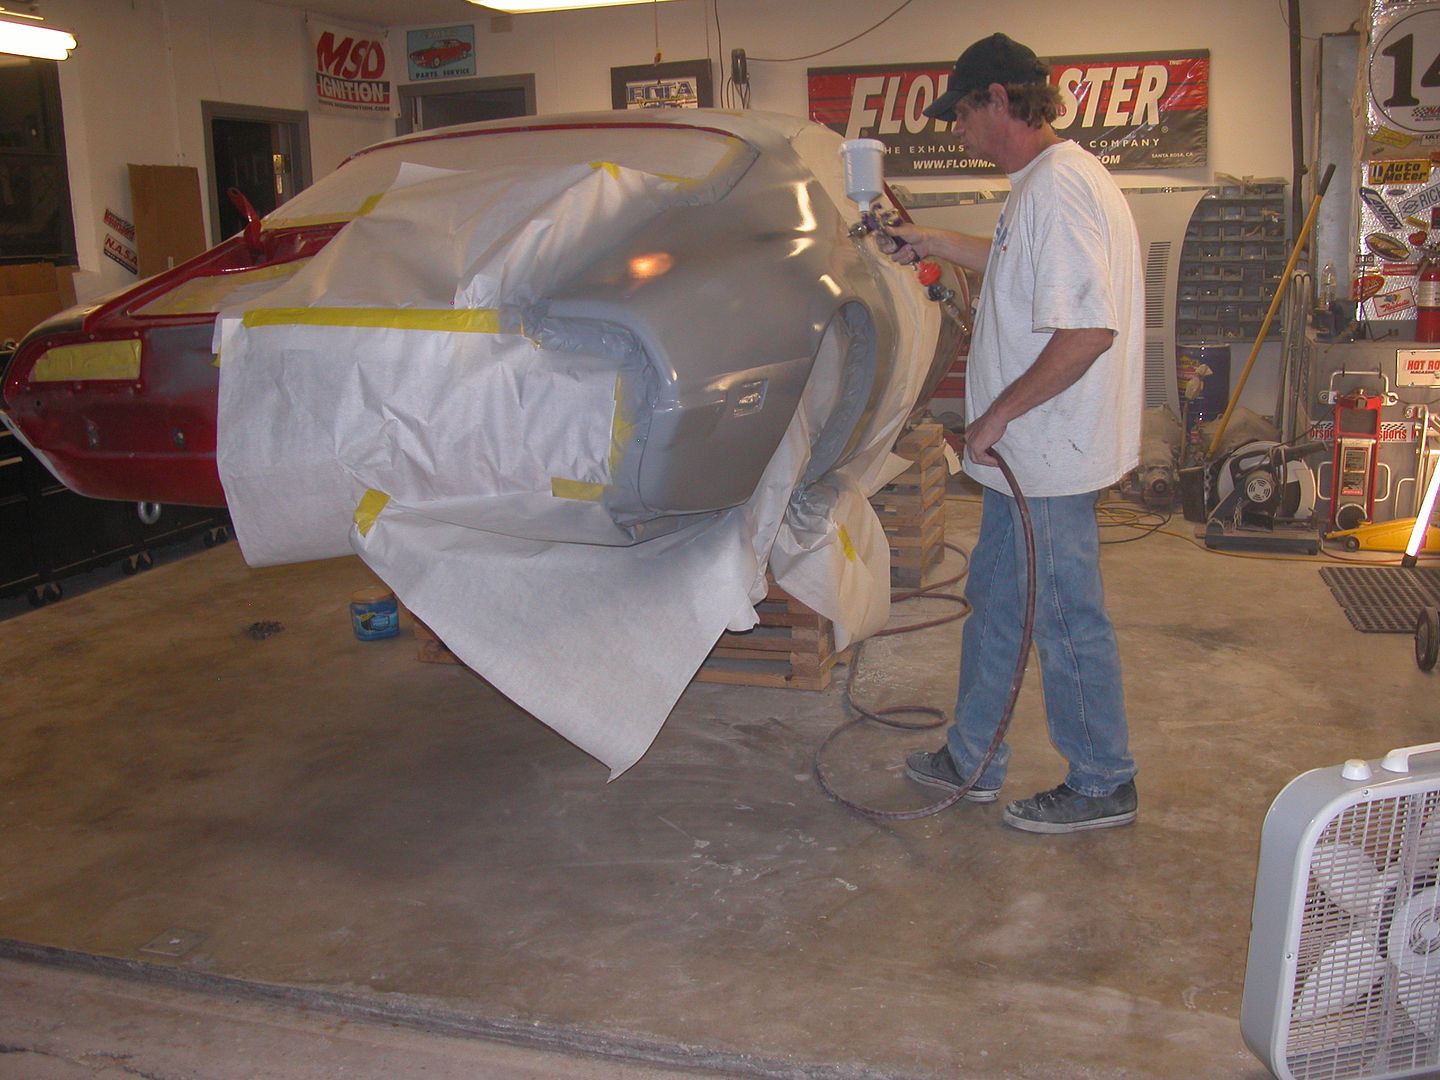 [/URL]
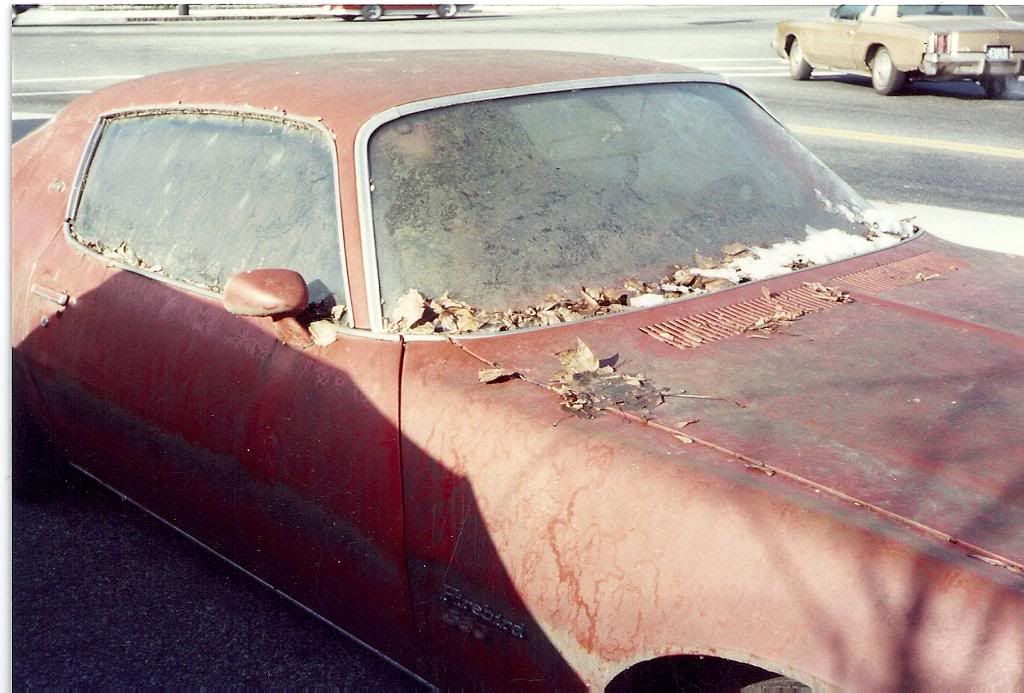 [/URL]
 [/URL]
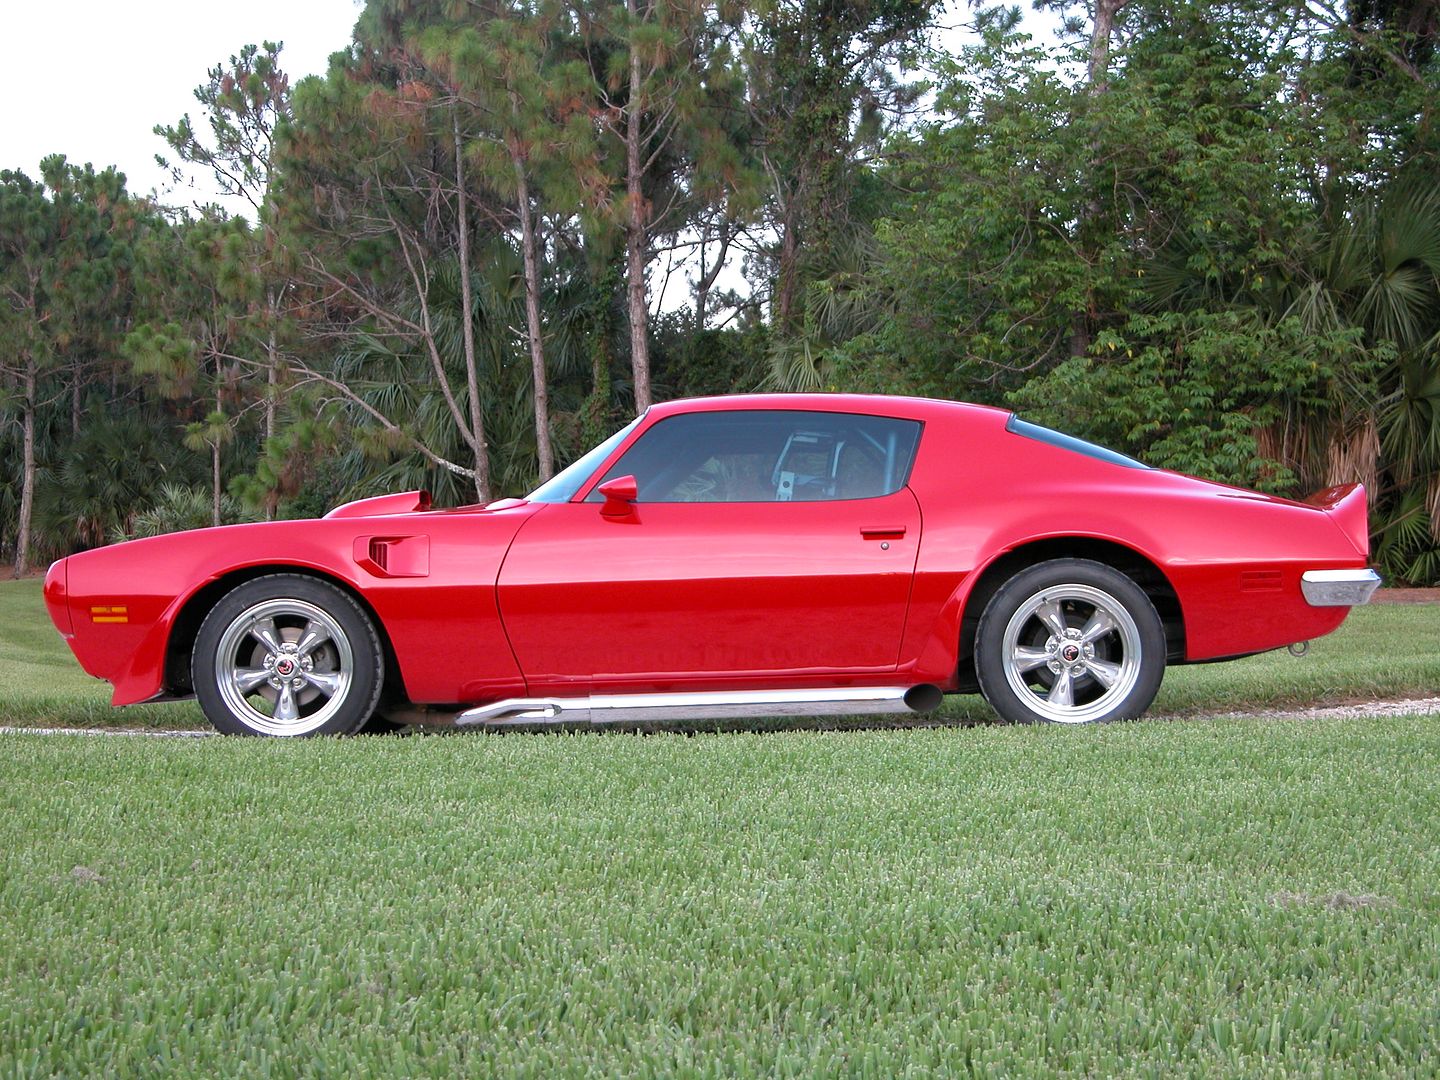 [/URL]
 [/URL]
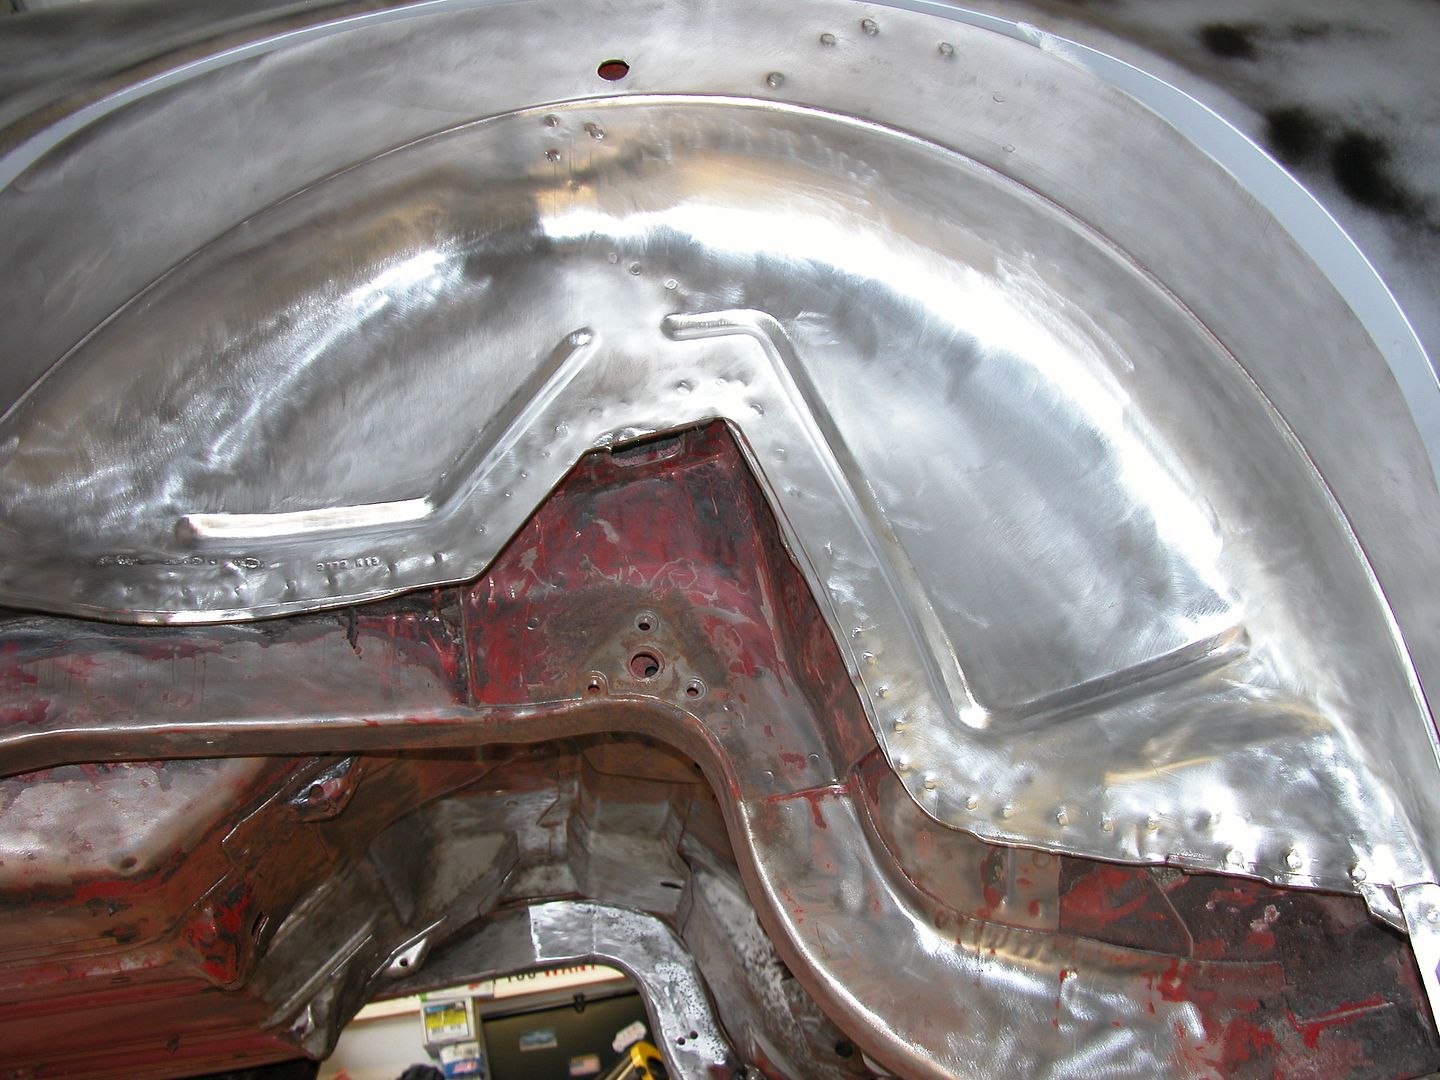 [/URL]
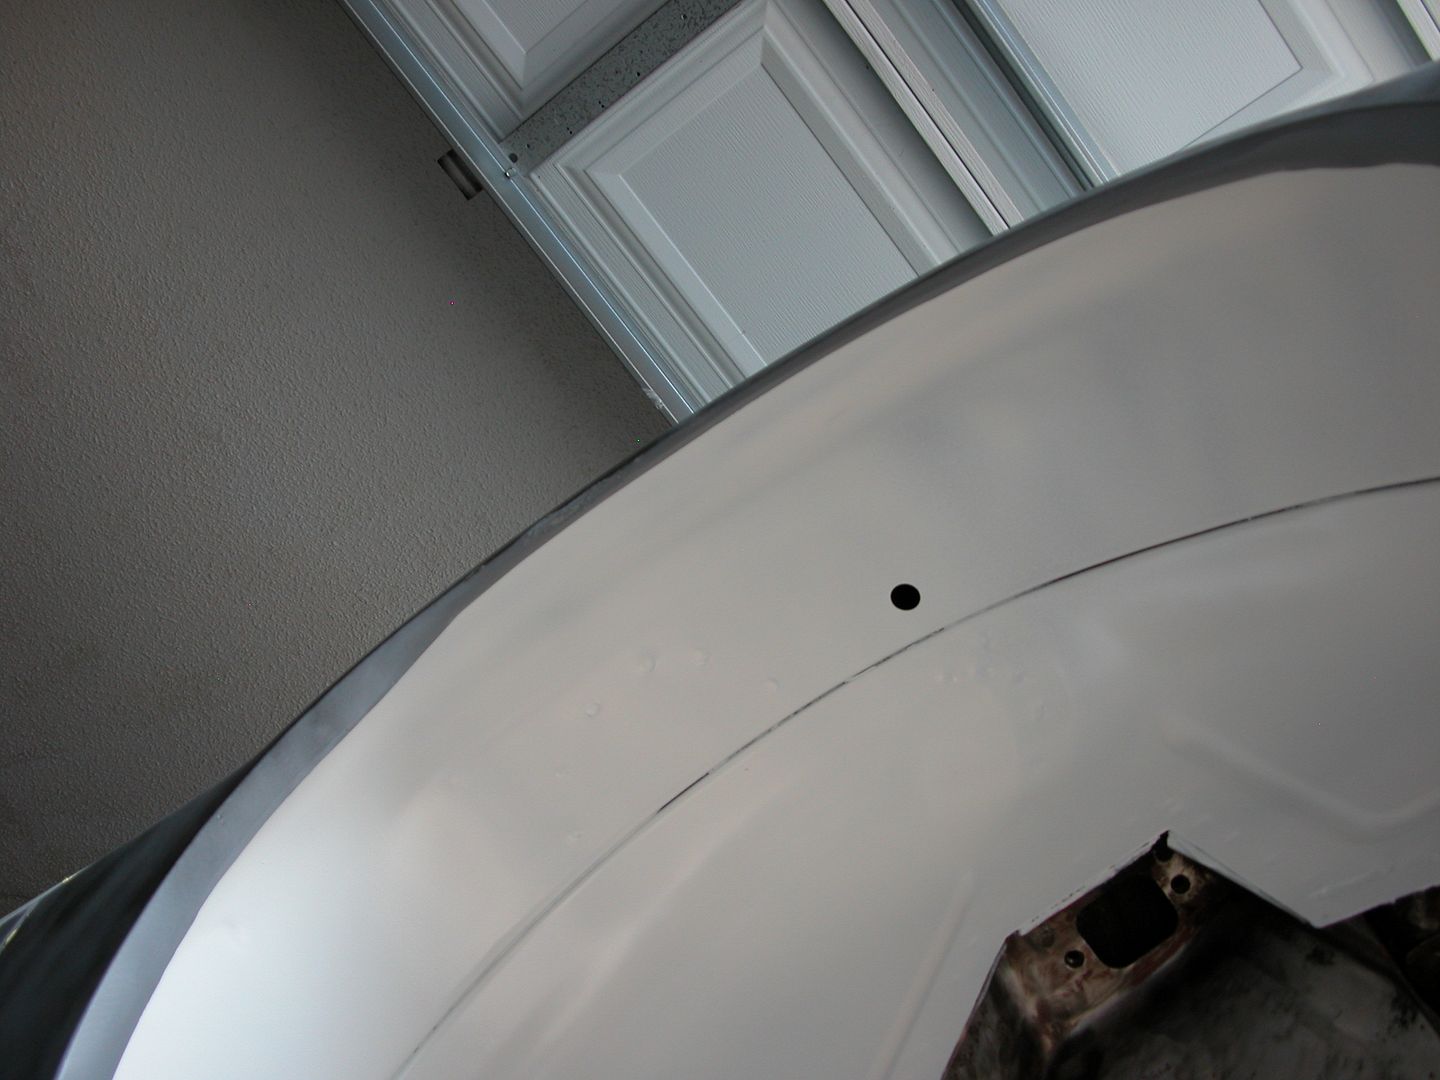 [/URL]
 [/URL]
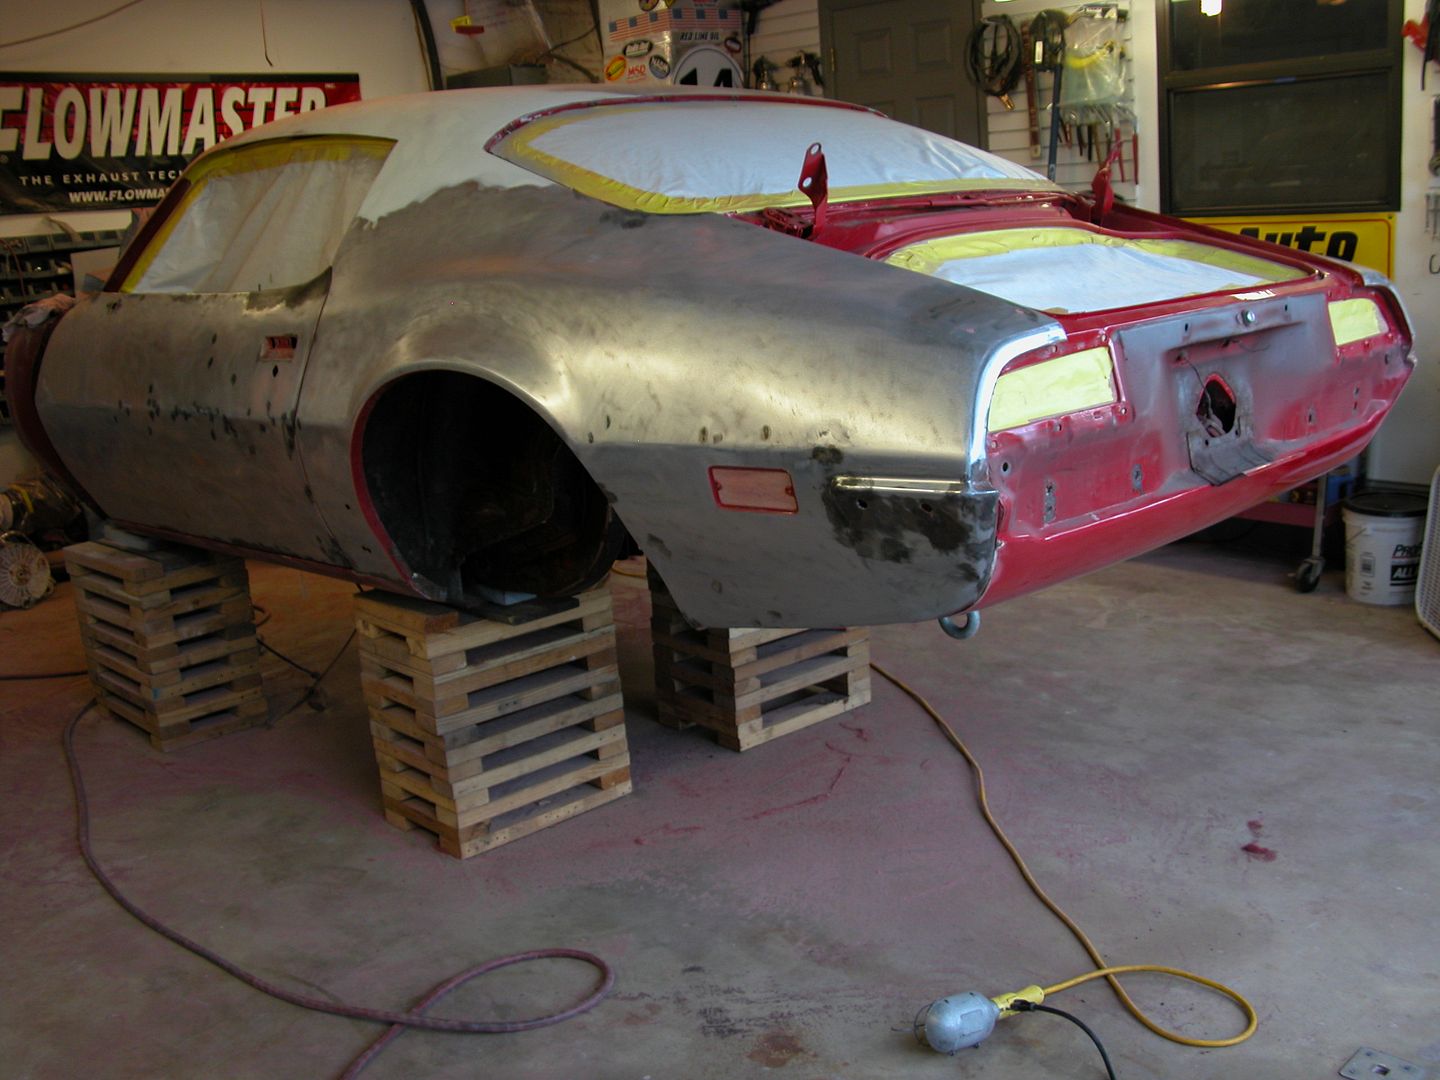 [/URL]
 [/URL]
 [/URL]
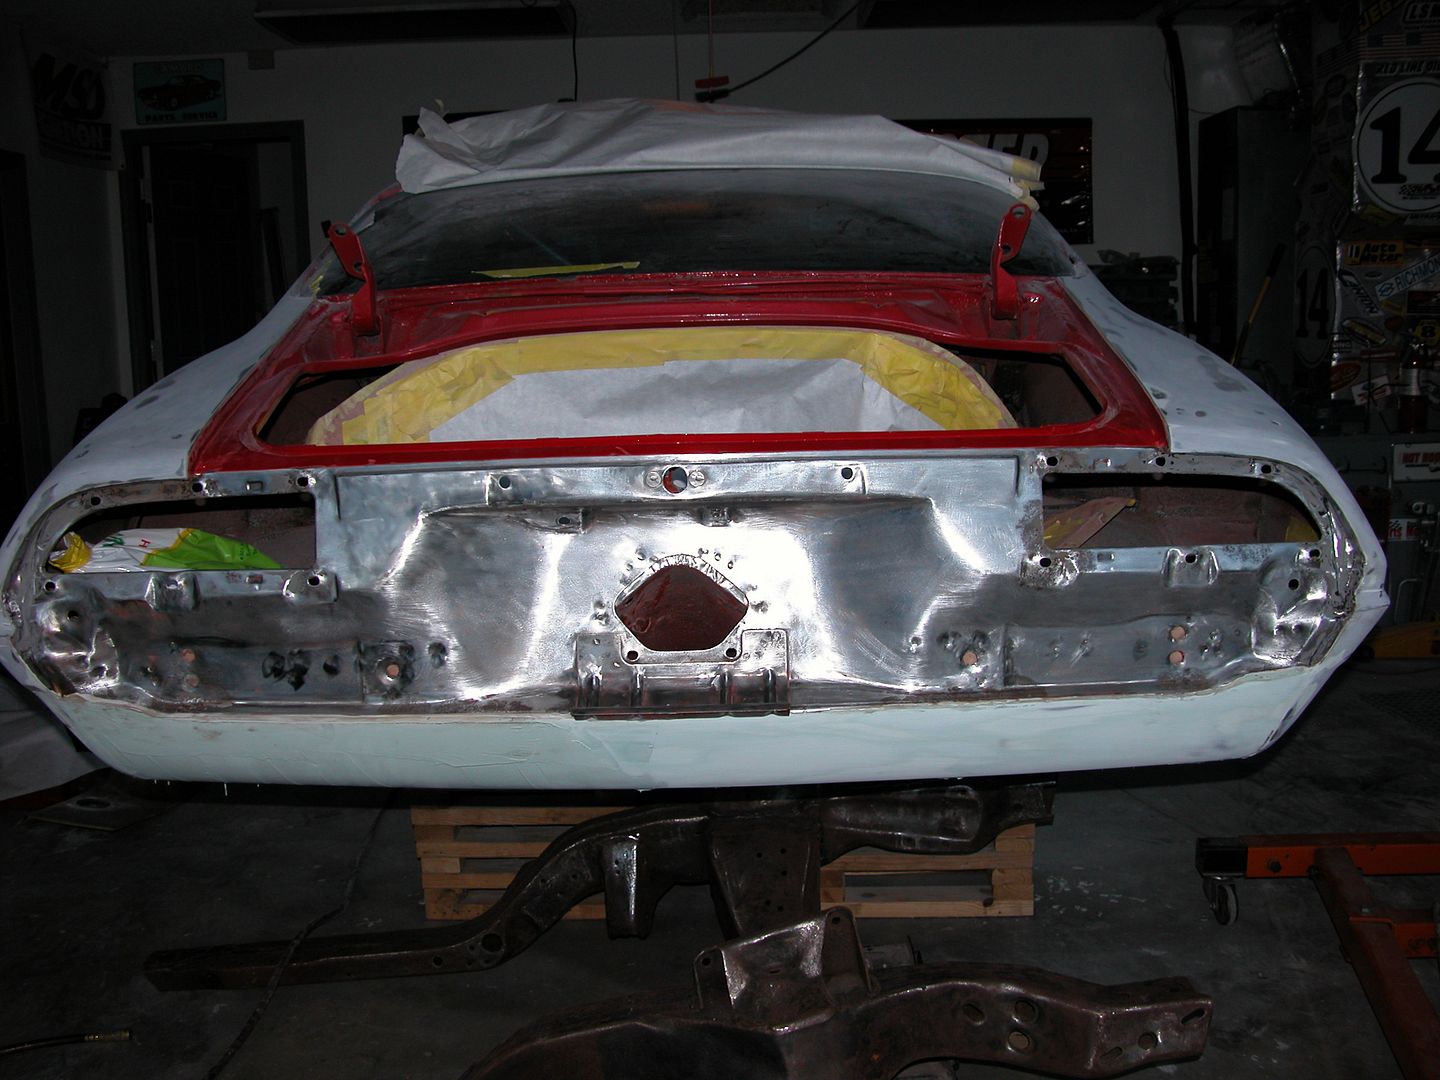 [/URL]
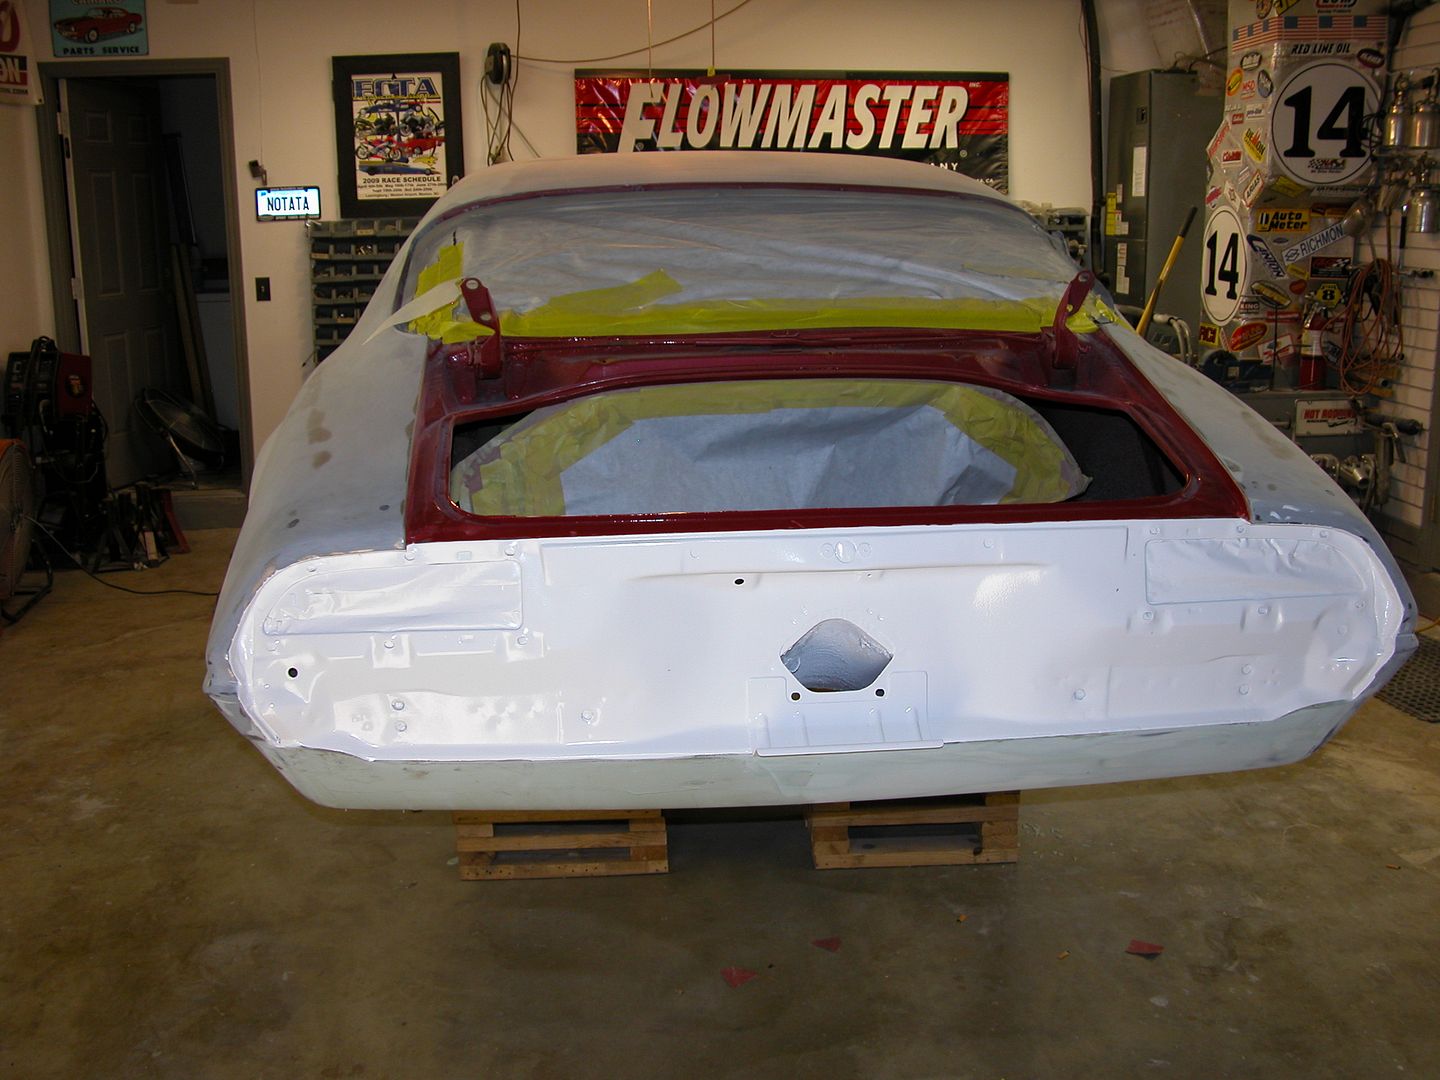 [/URL]
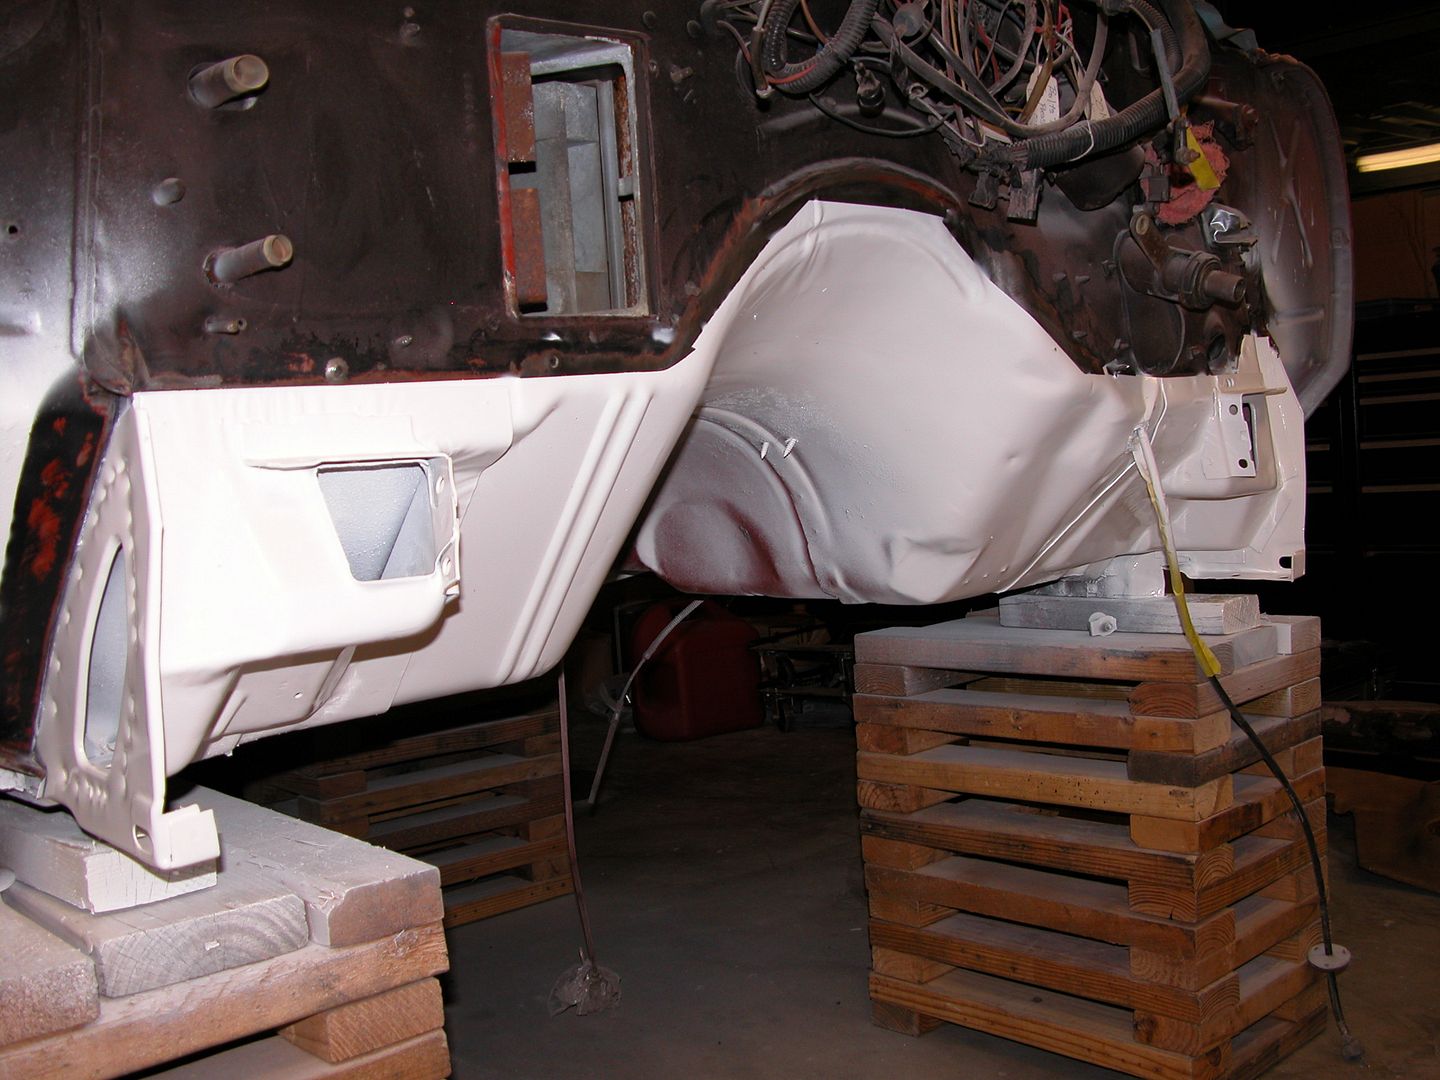 [/URL]


