


This....is.....awesome..
I have brainstorms about RWD conversions since cheap cars are usually FWD econoboxes. Suspension geometry is very interesting to me and I have a lot to learn. I'm following with interest.

This....is.....awesome..
I have brainstorms about RWD conversions since cheap cars are usually FWD econoboxes. Suspension geometry is very interesting to me and I have a lot to learn. I'm following with interest.

In reply to nocones:
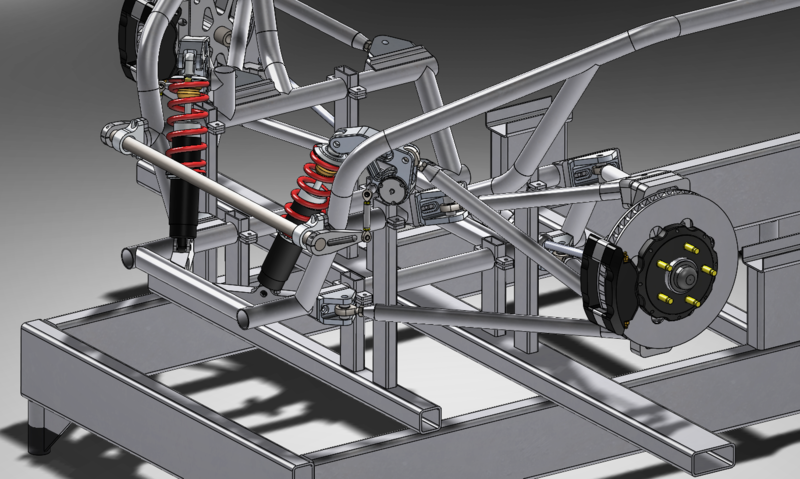
Thanks for the input. I'm married to a certain amount of mechanical trail with high caster as I can only offset the SAI so much due to the inner wheel geometry which for all intents and purposes is none when running 12 degrees and trying to keep spherical angles to a minimum at "zero state" adjustment. Ya, I made a compromise on the scrub radius with the wheel offset. The right compromise? I guess I'll find out but I don't think where things are at will make the car be an absolute bear to drive.
I don't have plans to formally compete with this car. It is for my learning and enjoyment while not having to satisfy sponsors. It will be turned and drag raced but won't hit it's true potential in either due to me wanting to do both. I don't live in an area where I feel a dedicated track car makes sense nor can I afford to road race competitively. I will have some fun at a lapping events and some autocrosses but the build puts it in a highly modified field where I'd need some deep pockets and serious skill to be competitive. All in all I'm fairly confident that it will be handling a decent amount better than my stock geometry McPherson strut Dodge Shadow was which was already fun to drive. ![]()
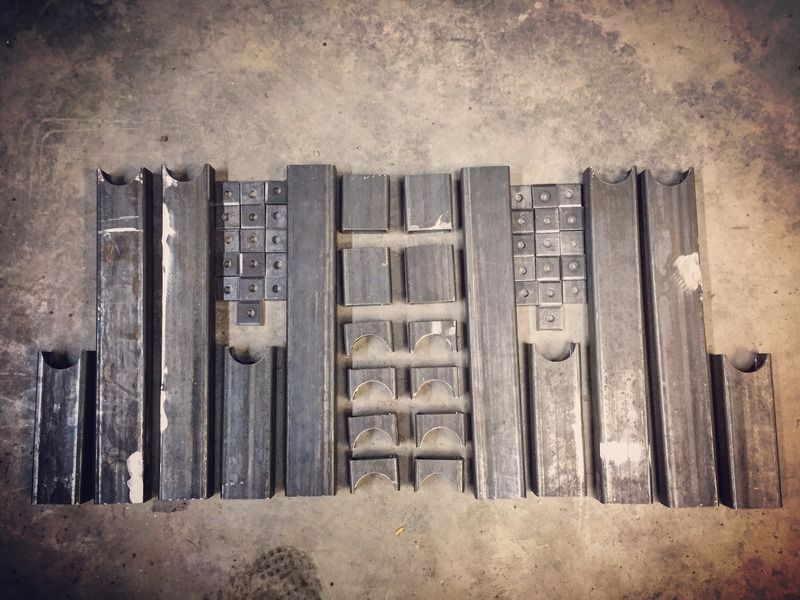
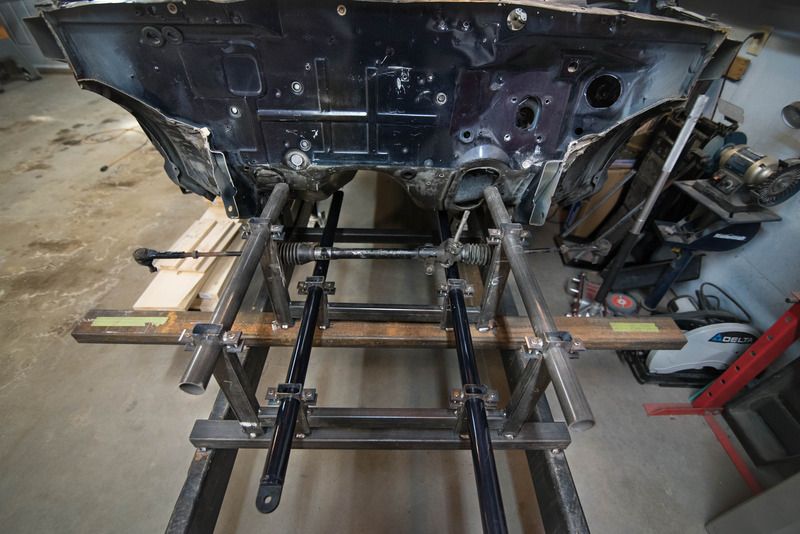
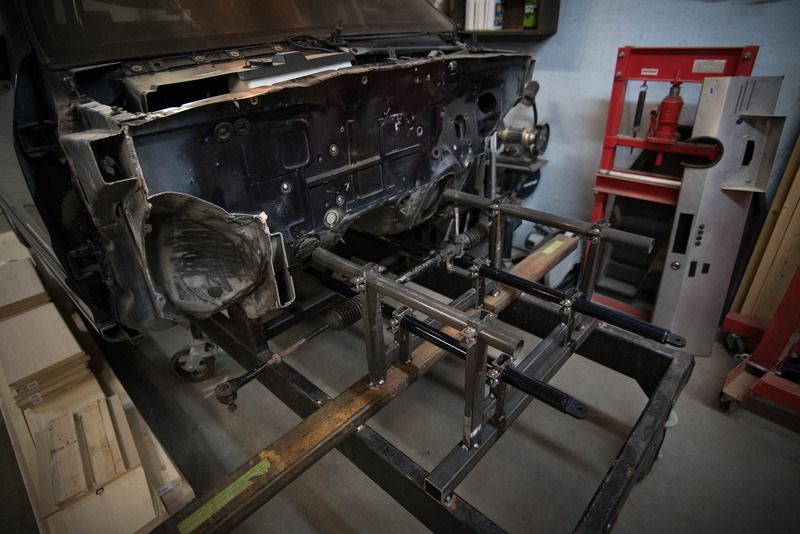
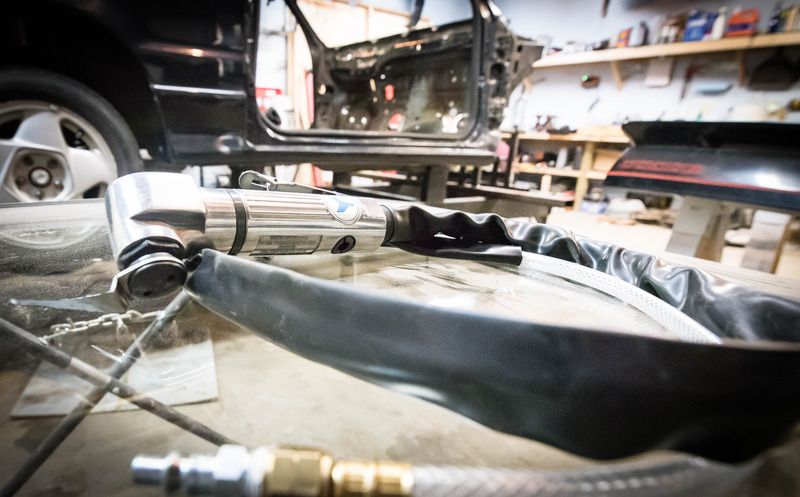
I got the fixtures machined and welded into place so I can start looking at the front tubing. This was kind of an exciting step as it is the first time I could see how the front structure would look in real life compared to the whole car. I found that I will most likely need to build a new firewall which isn't necessarily a bad thing. The original is full of holes I don't need and structural forming that will no longer be used. Making a new one will clean it up quite a bit while giving me good access to the inside during the build process. This also brought to light the inevitable challenge of attaching the front tube structure to the uni-body and roll cage in a structurally sound way. I think I've got this figured out after staring at if for a while and sleeping on it a few times. Originally I thought I would re-pad the firewall and butt the tubes to that but I don't think that will be sufficient so plan B it is. I also learned that when you run out of scrap 1 5/8" that swing outs work great for mock up. :D
For those that visit the Instagrams I am also documenting the process there. Updates are a little more frequent as I wait for more progress before posting on this log. Come give me a follow @turboshad.
I started some work on the rear suspension. It is very early stages but it will also be double A-arm pushrod IRS utilizing a Ford 8.8.
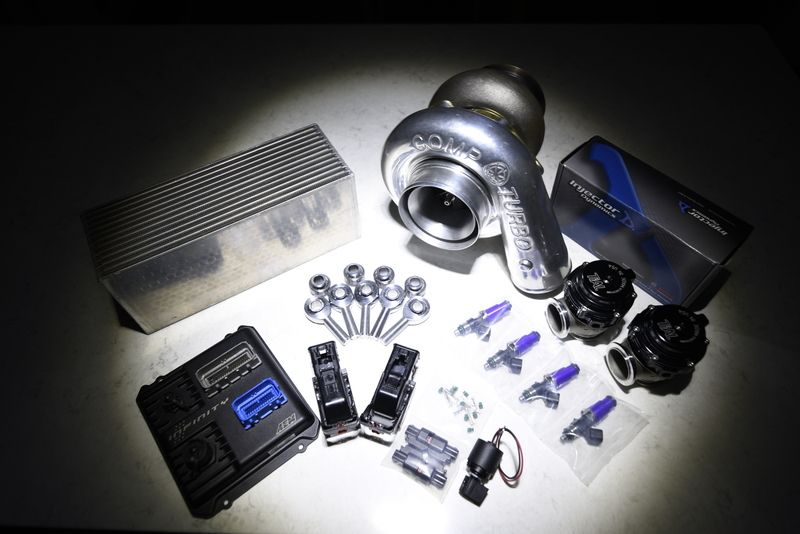
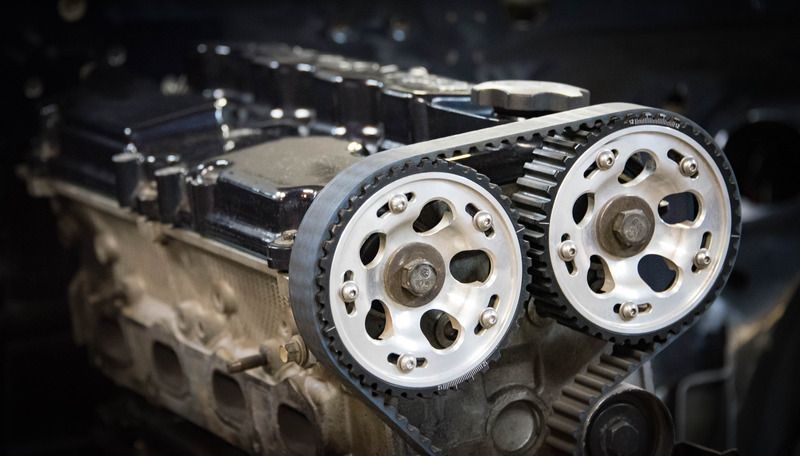
I'll just leave this here......if for no better reason than I like looking at it. ![]()

In reply to turboshad:
Oh...... Oh my..... I need a moment...
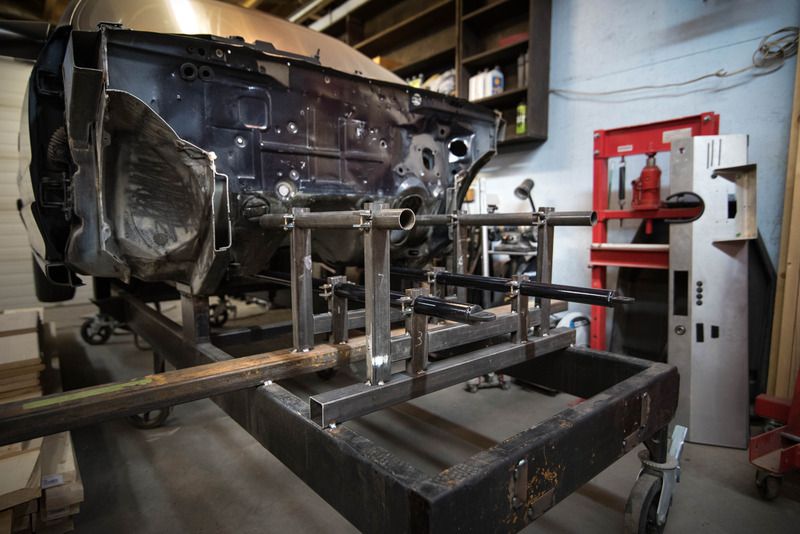
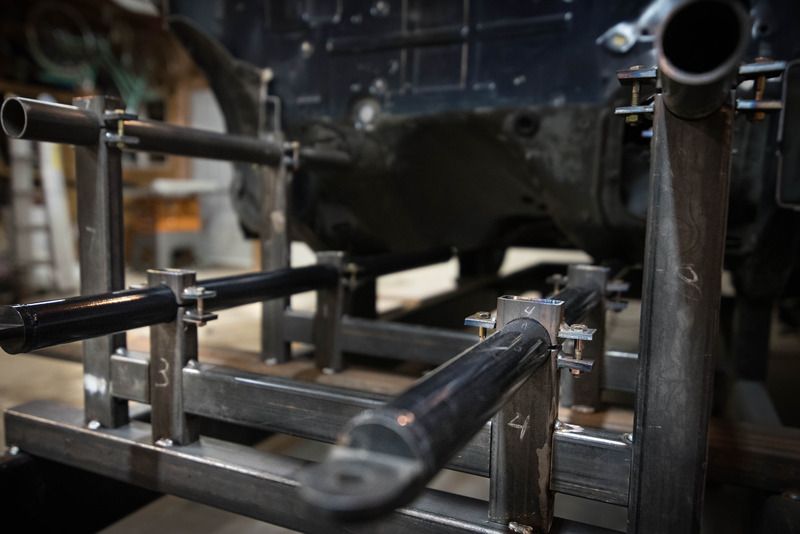
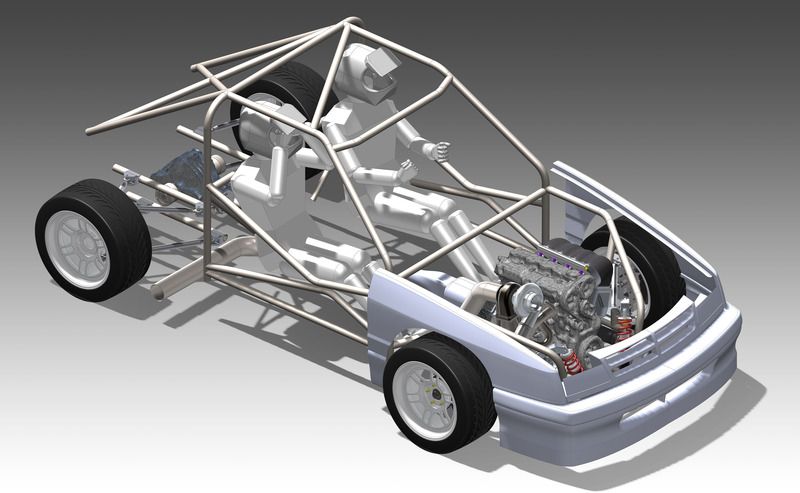
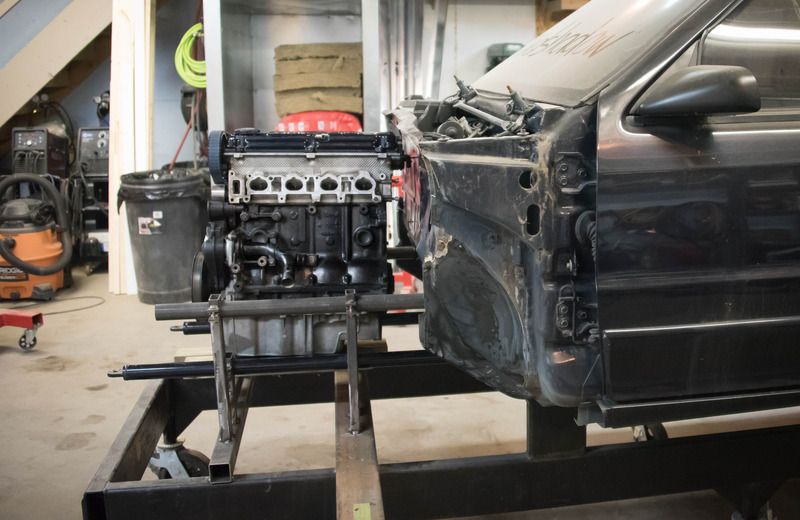
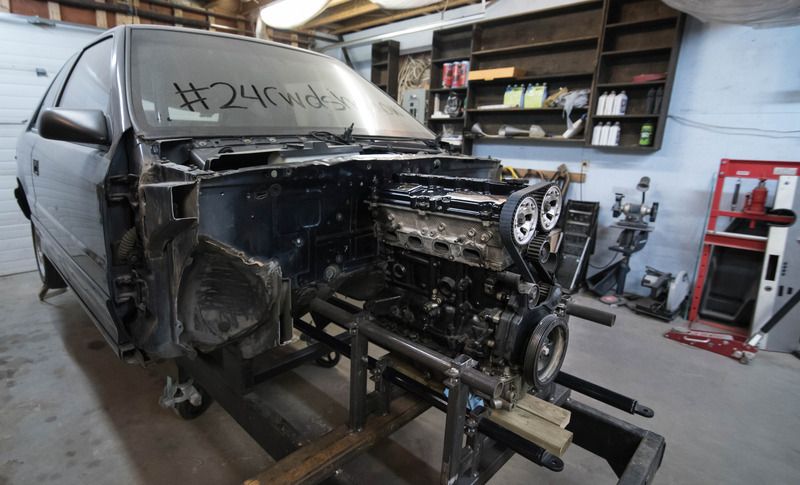
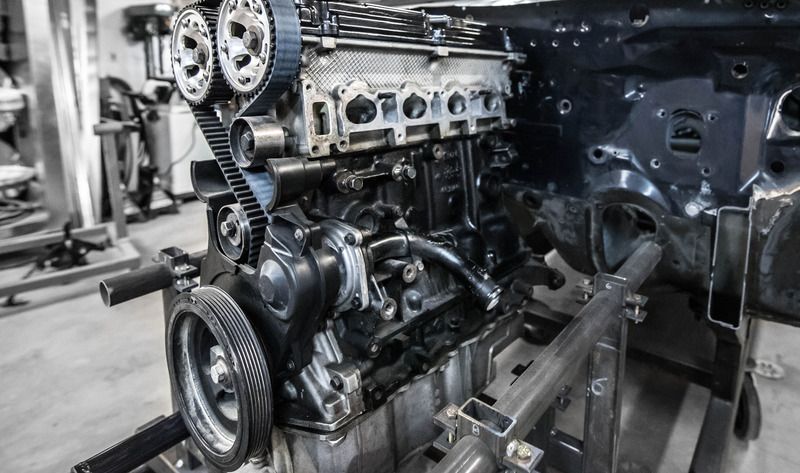
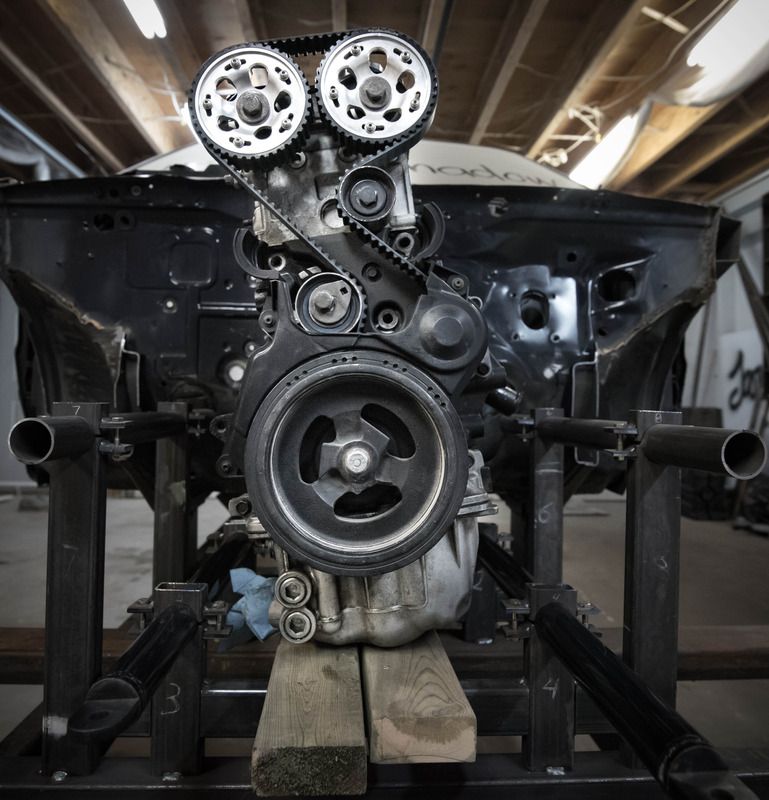
I think this was more exciting for me than it is on a build log for others but I placed the engine in the approximate location. Sometimes it feels like all I'm doing is not building but placing components and bars in jigs so you can stand back and stare at things helps solve current issues or reveal others that are hard to locate when working through a computer screen. Having the main tubes in place for the last few weeks has completely changed how I originally though I would get things done resulting in what I feel with be a stronger structure with better integration to the original uni-body. I'll stare at the engine while I prepare other areas and finish up the CAD models and let it ponder in my head for a while. I've found it's a great problem solving tool as it's amazing what time will unfold.


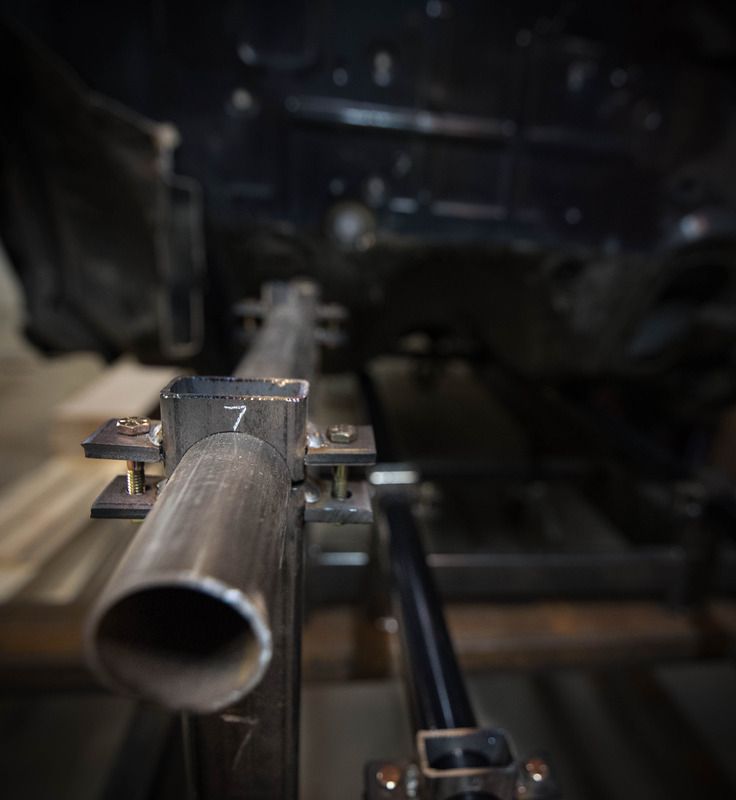
I like your creative use of depth of field.

Must be great to have drowning and designing skills like You have.
I need to catch up with modern techniques.
If You need some custom alloy or steel panels let me know ![]() we can make it happen
Freshly build body for 65 alfa zagato
we can make it happen
Freshly build body for 65 alfa zagato


I'm excited to see this project happen. A RWD K car has always been something I wanted to see done, although I was thinking an Aries and its cool to see someone putting a that engine in a RWD project. I had looked into doing something like this, but the cost of finding a transmission with good gear ratios steered me a different direction. Its going to be cool to see this build happen, and maybe if I ever blow up the 4.3 in my MGB I will have to follow in your shoes.
In reply to maciekb2002:
That looks like some great work! That is a skill I still like to pick up some day but for this car most (read all) of the modified panels will most likely end up in carbon fiber or fiberglass if funds start getting low.
In reply to MGS10:
Thanks. I think a 2.4 in a MGB would be sweet! In my experience they can put out quite a bit of power and still drive across the whole country reliably.
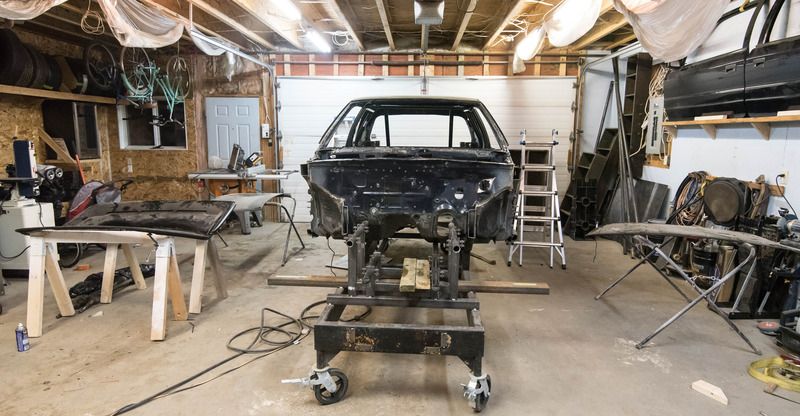
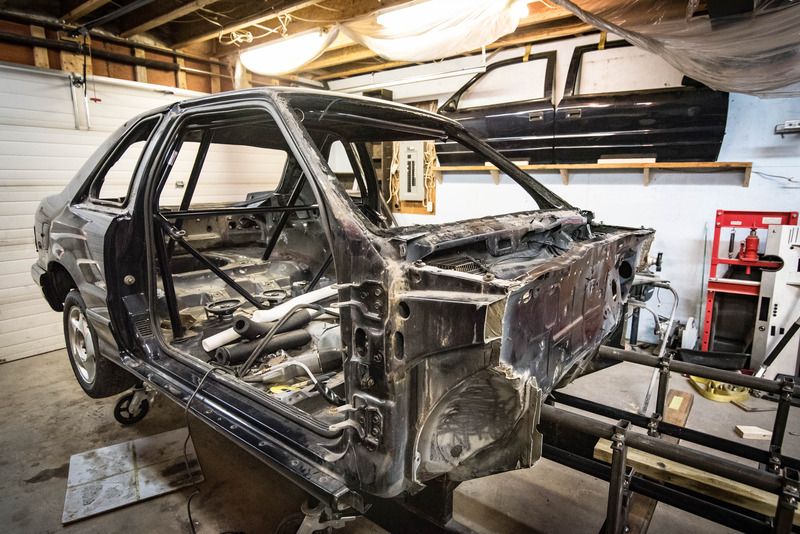
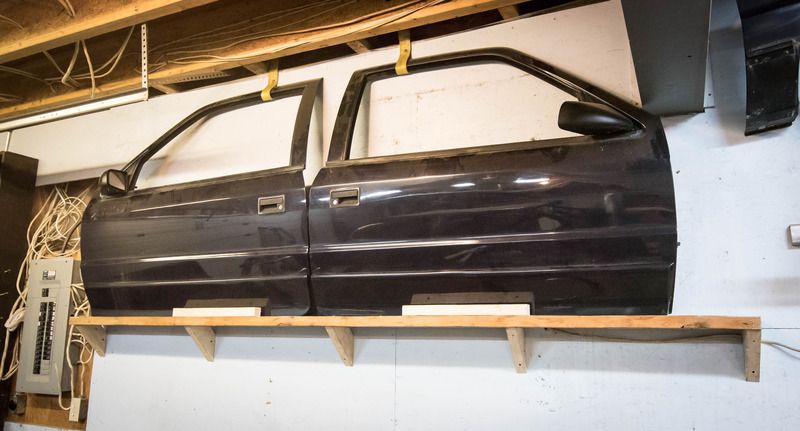
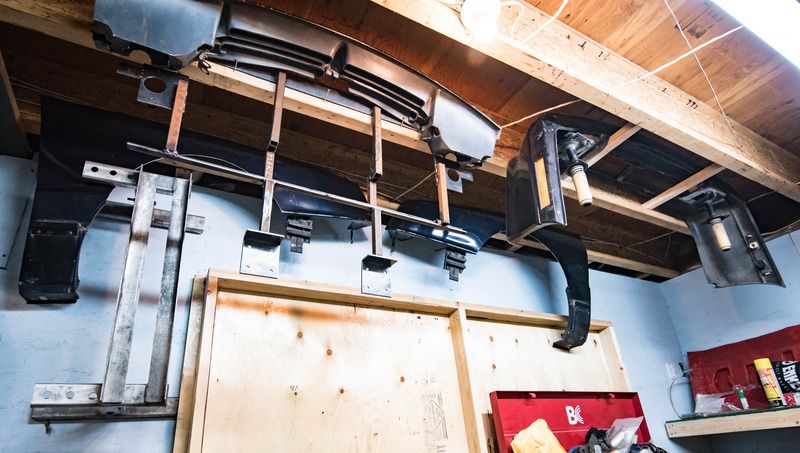
It's been mostly disassembly lately as I strip the interior to get things ready for fabrication. It's now down to the shell and I'm ready to cut out the old cage so I can start on the new one and then get the front main frame members in. I pretty much have half the car hanging on my walls and from the rafters lol. :D
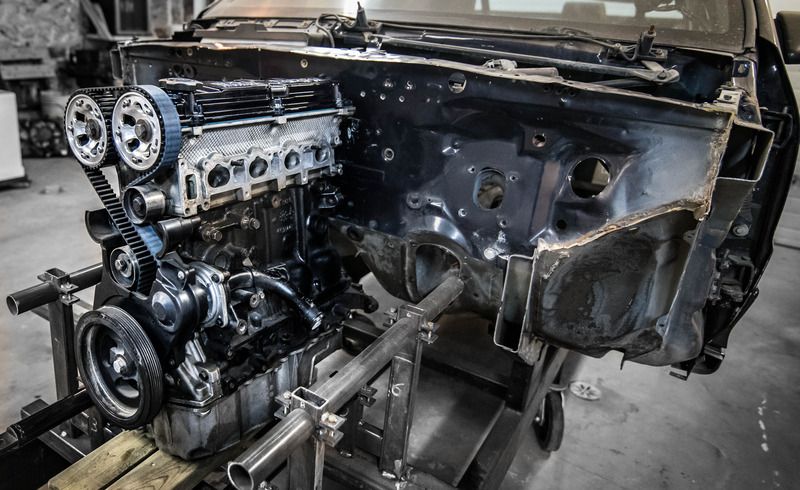
My original plan was to have the steering rack at the rear of the engine nestled into the space in front on the bellhousing where the stock SRT4 oil pan is notched up. It was turning into a needle threading competition when looking at where the steering linkage would go and not having the rack interfere with the engine. I decided it would be much better if I could make it work in front of the engine giving myself much more room. Where the engine sat it gave some really bad tie rod end angles so the only recourse was to move the engine back 5". This actually provide quite a few benefits but it was more of a snowman effect than a single snowball. By moving the engine I had to modify 7 different components, one of which was the header. That was one part that I was very glad I'd never have to do again.......or so I thought. That being said every modification resulted in a better product so despite the work I'm very glad I did it. ![]()
List of changes:


You'll need to log in to post.


