The motor came off today. I'm taking it to an electric motor repair shop in Richmond. Hopes are low that they can fix it, but we'll see. I think it's a problem with the plastic internal fan and it's so old I doubt the necessary parts are available. If they can't fix it I am sure they can sell me a replacement!
 I picked up the compressor motor and got it back on today. Everything is working great. The after cooler setup I made is definitely working though maybe not as well as I'd like. I'm seeing about 170 coming out of the pump and 120 going in to the tank after it runs for two cycles back to back. In two cycles I already got moisture out of the after-cooler drain so that's good. I'll compare the amount of water that comes out of the tank vs. out of the after cooler to see if it's worth expanding it.
Anyway, it's finally time to get back to work on the TVR.

Haven't done much that makes for good updates lately. It has mostly been rather boring and laborious work. But here's a boring and quick update anyway. With the compressor squared away finally I was able to finish getting the bonnet hinge frame off. Mine was held on with ridiculous amounts of some goopy type of epoxy. It actually has a consistency similar to Bondo but a little harder. There are actually a few different adhesives in different areas. There are pictures of this mess a few posts back I believe. None of them seem particularly strong or well adhered. So it has taken quite a bit of effort getting all that out so I can get down to actual fiberglass to adhere the new frame to, whenever that happens. I did most of the work with a burr on an angle grinder. Accidently went through the glass in a couple spots... For the most part I could see the color difference when I got through to glass but I missed it a couple times apparently. So I had to back down to something less agreesive toward the end. Ended up using one of the synthetic red bristled "wire wheels" for a lot of it, which went fairly well. Abrasive disks made of scotch Brite like material also worked for removing this adhesive without removing fiberglass toward the end, though they didn't last long. I figured while I was at it, I know there is no chance in the world I hook up a windshield washer system on this car so I removed the line running up the underside of the bonnet for that and ground down all the material that had enclosed that. So after making about 5 pounds of dust in the garage I was able to start reinforcing the areas I broke through more than enough to make up for what was lost. I cut out the plates that will mount in the front bonnet mounting points so that's a step toward actually starting to make a new hinge frame I guess. Additionally whenever I have some epoxy mixed up I am working on filling in any voids/flaws in the body side of the bonnet little by little. Those that I can access from this position anyway. Again, rather time consuming stuff that doesn't make for very exciting updates. It'll be a while before any more updates too because next week I go out of town for a two week school for work. I'll be home briefly here and there but I doubt I'll get any time to work on this any. That's all for now.
Side note, I type these posts out on my phone usually and after reading over them, sometimes I feel inclined to apologize for my poor sentence structure. The thumbs get tired and shortcuts look all too appealing!

A month and a half since my last update and I still don't have a whole lot to show for it. This fabrication business is new to me so I'm pretty slow moving at it. I've been fairing out the cups where the bonnet hinge frame mounts in the bonnet so that I can reinforce those areas cleanly with some glass. It's tricky working in that concave area. We're getting there though. I got a decent start on putting the new hinge frame together. I'm not sure if I'm going to leave that vertical post running all the way up to the bottom of the bonnet or not. That ended up making construction way easier and now I can't think of a reason to cut it off. I may just leave the additional contact point. My only concern is that the little stress put on that point might cause paint cracking. Probably not worth it. I'm hoping to get the frame put together and bedded in within the next month then I get to start working on the car side. 
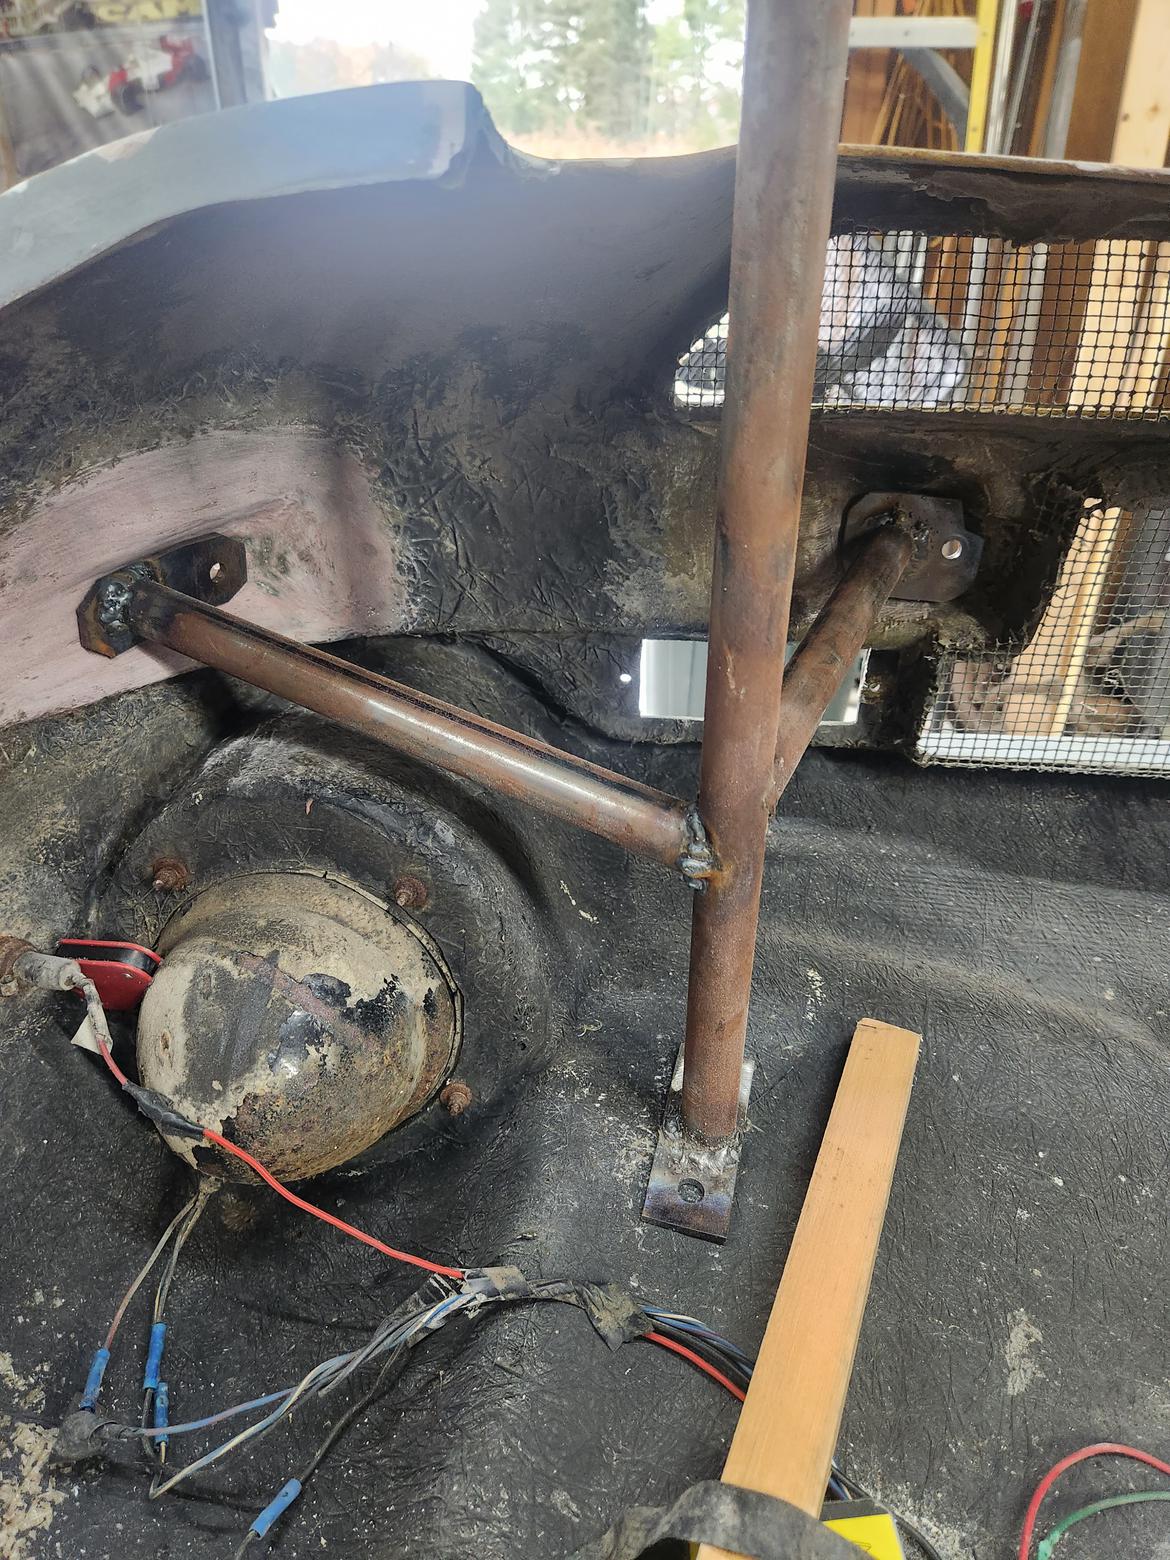
I am still far from proficient with a welder but I did manage to get this side of the hinge frame to bolt in cleanly finally. Shrinkage is always the worst, isn't it?
The rate at which surface rust develops is motivating me to get out here and work more.
Looking good.
I agree that the vertical connection looks like it adds some support.
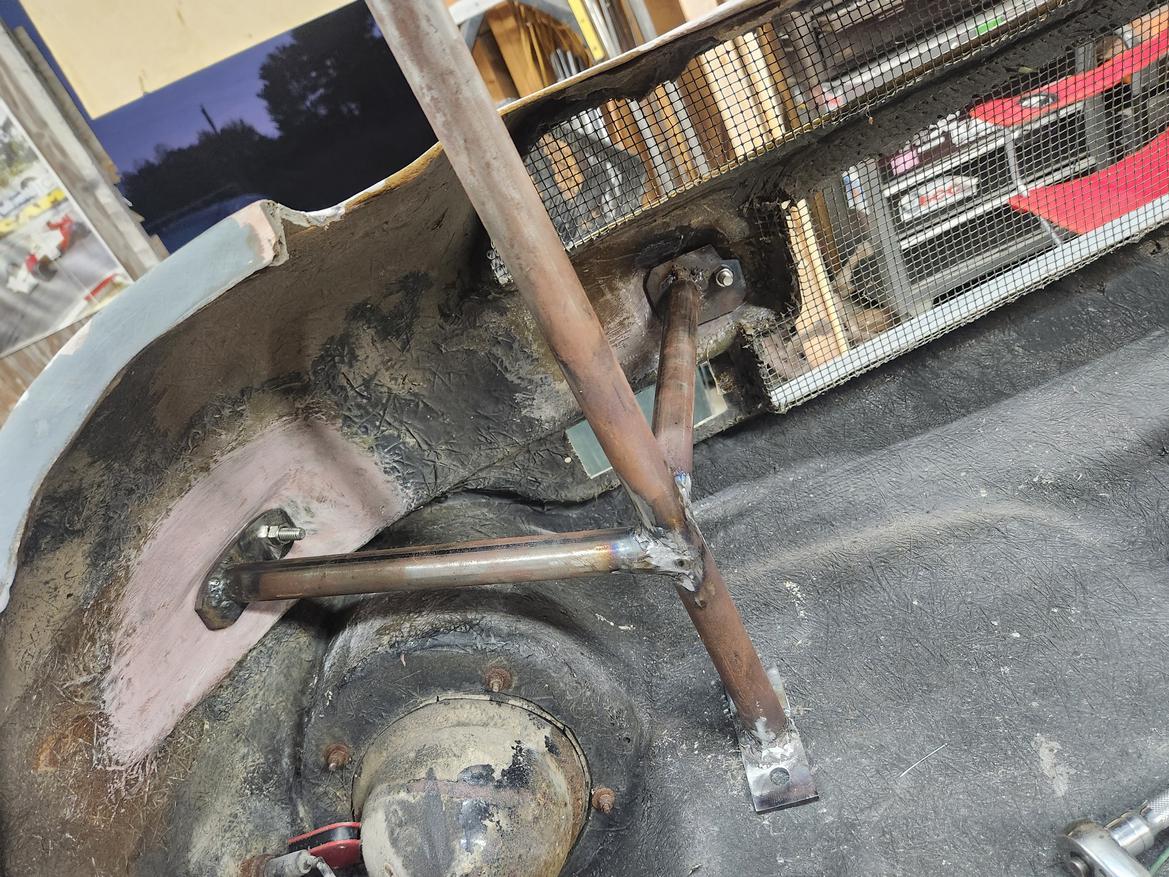
 Moving along. The other side is together now. I think I'm going to bed these in before connecting with the center section. Not attach them, but just bed them to get good contact before final installation. Then their relative positions will be firmly determined and I can attach the crossover.
Chipping along here and there but between work and family obligations I haven't had a whole lot of time in the garage lately. I did finally finish drawing up the parts I need to make the lower control arms and got those cut out by a local metal shop. I was pretty nervous about giving them paper drawings. I've taken a technical drawing class but it was a while ago and I'm no professional. But they got it spot on. The tolerance the water jet gets is amazing. Only complaint is that the edges are not perfectly square. Good enough for this though. got the parts themselves and some parts just to use for positioning while welding everything up. 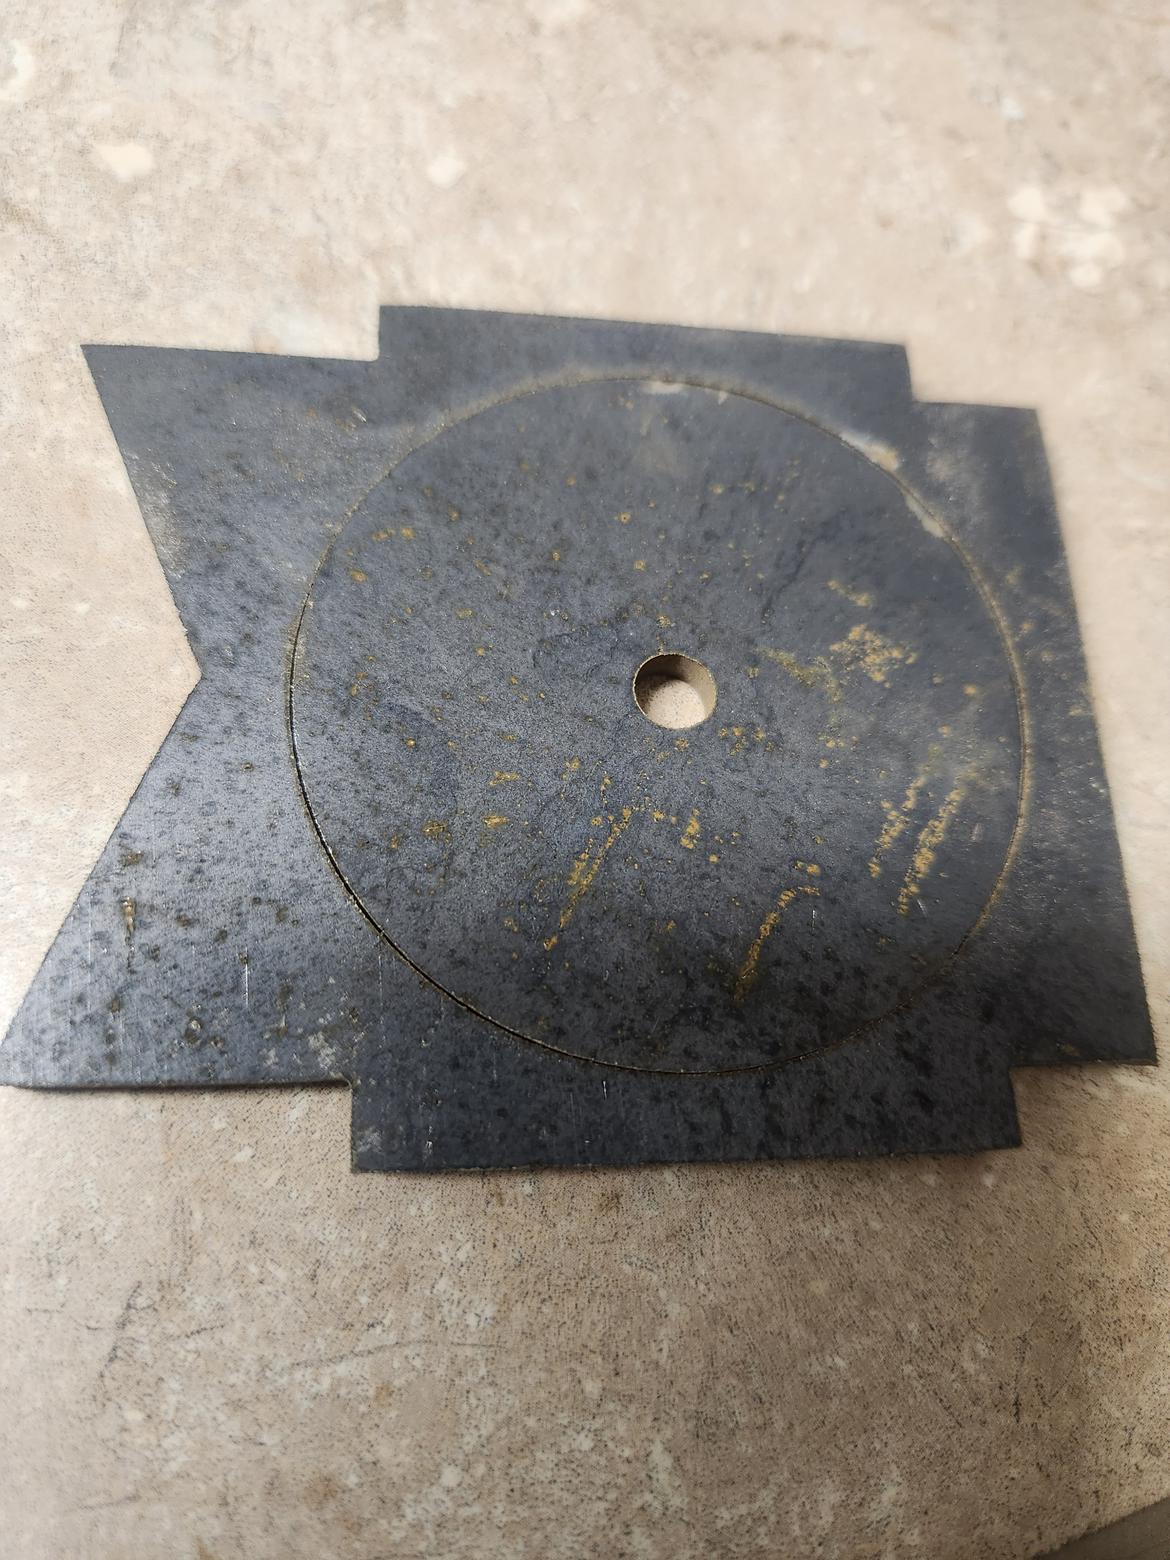
Very cool, what was the ballpark price on the water jetting?
The secretary was out when I picked them up so they are going to bill me. I am curious myself. Last time they cut me out the same amount of stuff it was 100 but they didn't have to draw those into cad. I'll post back once I get the bill on this one.
For stuff like that I can whip up a solid model really fast. Then making a dxf file for the water-jet people is one click.
Let me know in the future and I'd be happy to lend you a hand.
BTW, what is that? Motor mount?
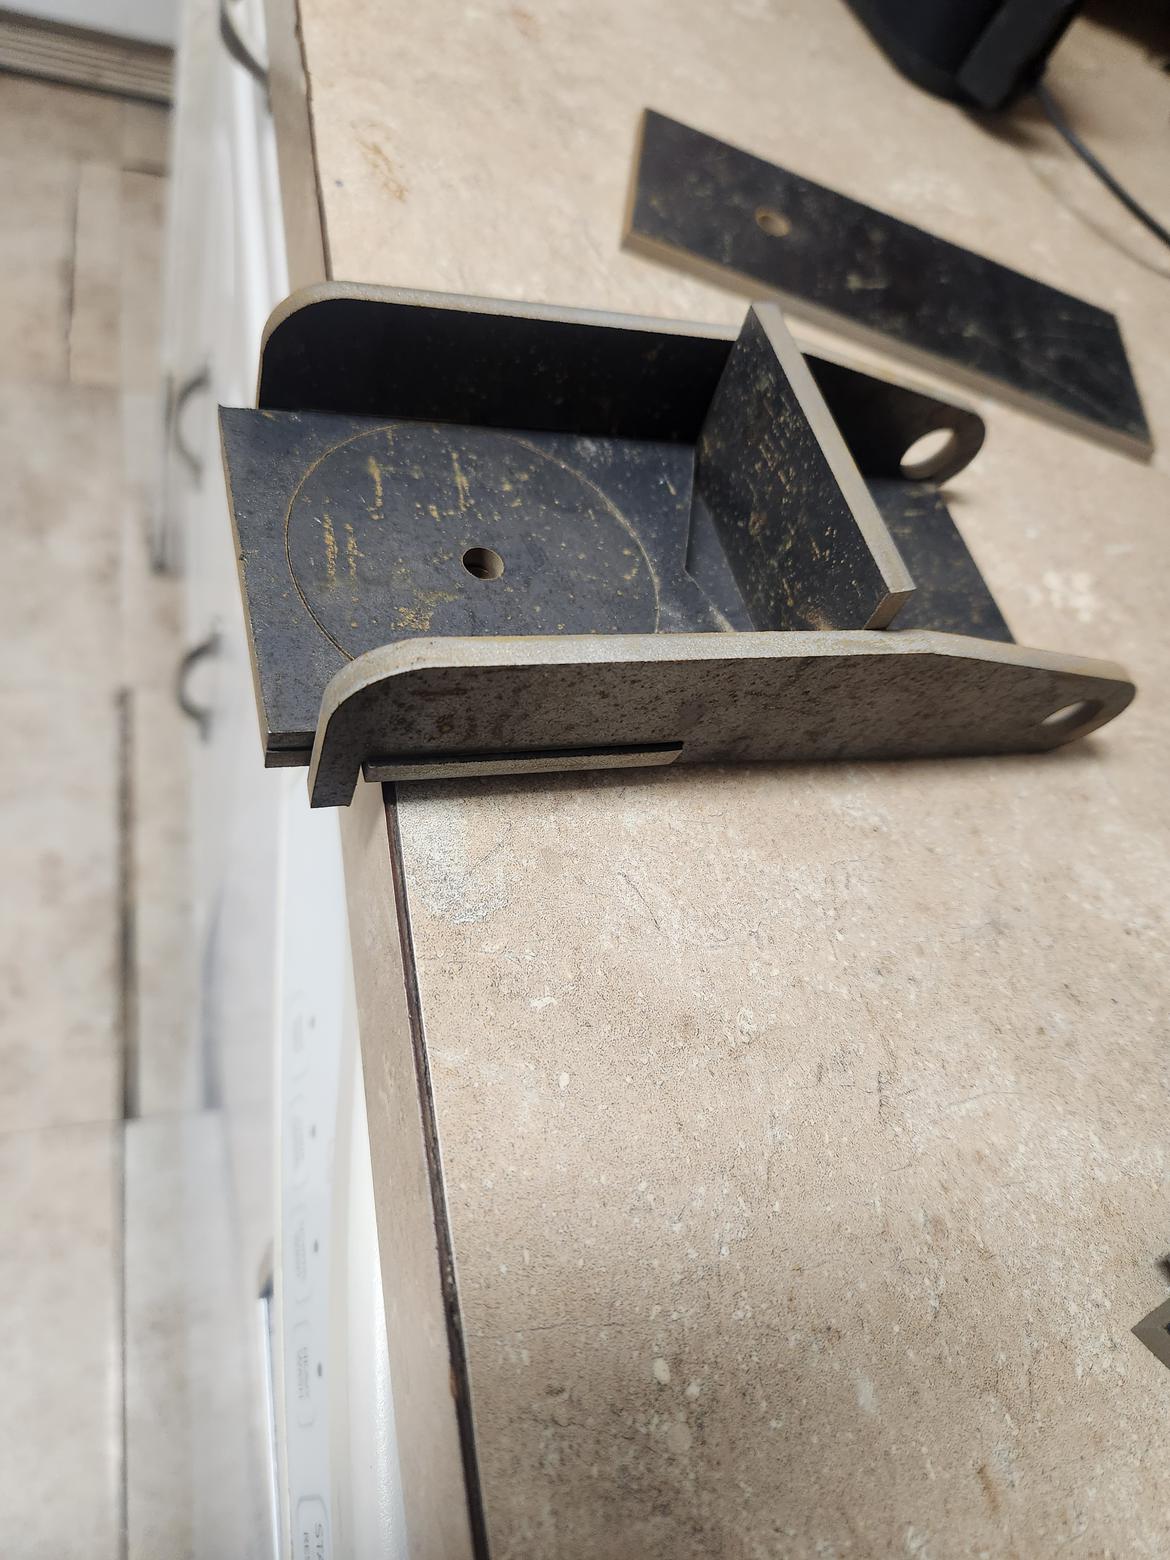
That's the outside end of the lower control arm. The threaded ball joint sleeve goes in there. It looks a little messy in the picture because all of the pieces that are just there for spacing are shown as well. I tried to stay as close to the design of the original as I could. Obviously it's pretty different in form but I think it will look natural there.
And I appreciate the offer. It'll be a bit before I need anything else like this cut out but I will take you up on that when I get there.
$93. Less than half what I expected. Hell I'm surprised the metal alone didn't cost more. I kind of know the guy that handled my order so that may have helped.
Well, that hiatus was entirely too long. Sometimes I need a break to juggle my other hobbies. Hopefully I can get back to work but I'm engaged now so that doesn't help with free time!
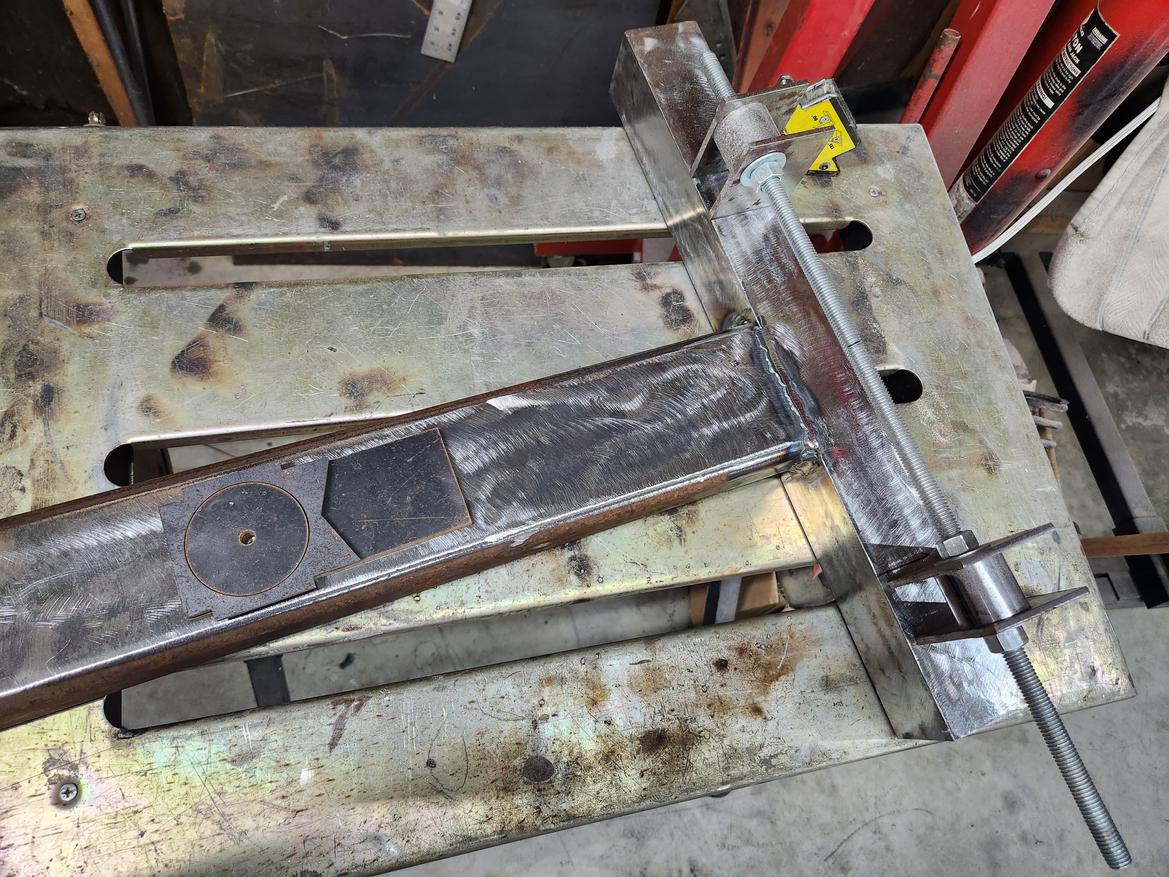
Anyway, I finally got back out there. After getting the garage cleaned up it was time to get back on to the front lower control arm project. I've been pretty intimidated by this which contributed to my long break but I finally decided to just go for it. If I mess up the first one I am out some materials but I gain a valuable lesson in how not to do it. This is the beginnings of my jig setup. The plan is that after the verticals are welded in place I'll cut the center of the all-thread out and remove the complete piece that way. Hopefully everything stays lined up for the second one. Luckily these control arms are symmetrical unlike the uppers so I can use the same jig if it holds up.
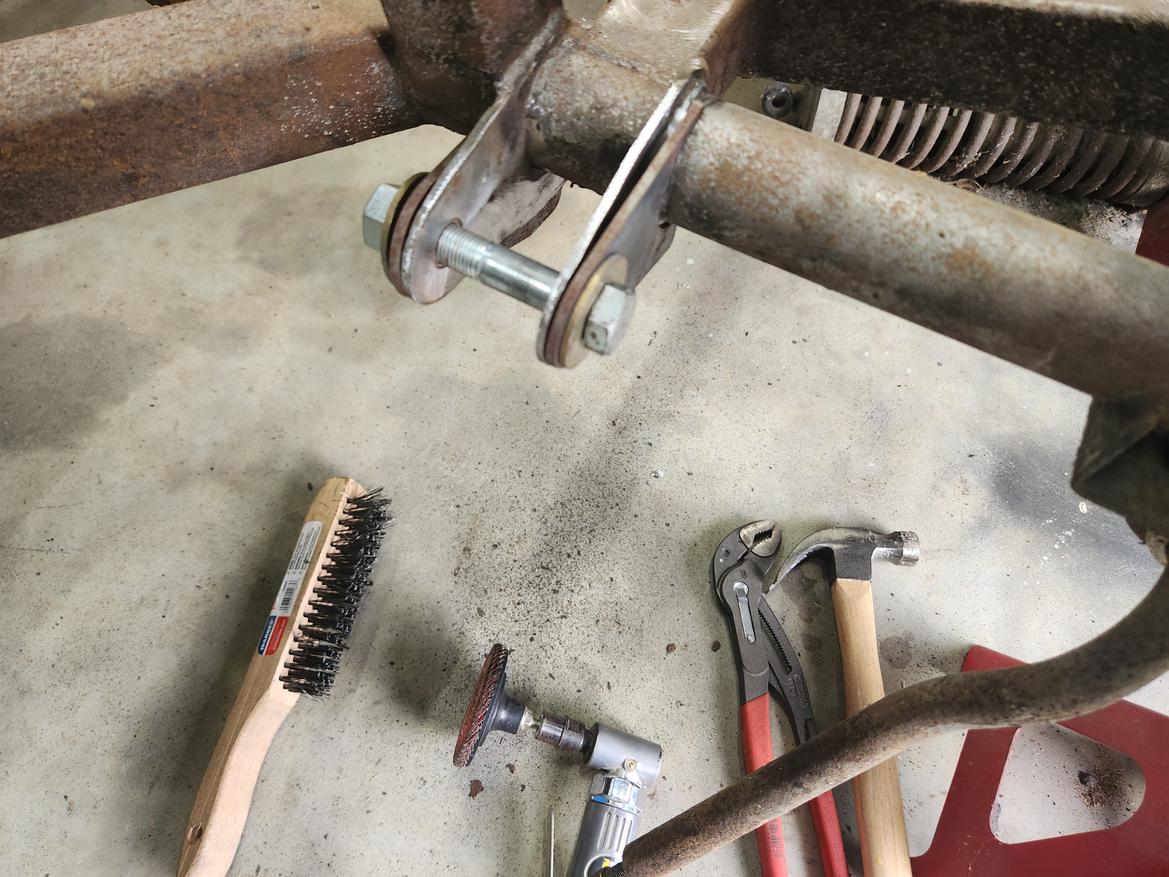
While taking breaks letting that cool I got working on fitting Scott's control arm mount doublers. The factory welds are a little messy in this area so the pieces need a little trimming. The originals are also pretty bent up and from the looks of it they weren't perfectly straight to begin with. It's as though they went on crooked and the assemblers bent them until the control arms fit. And then 40k miles of driving bent them even more... Not to mention, I'm sure I'll have to bend them at least a little to get the new control arms to fit. Here's a picture of test fit mid-process.
In reply to CoolHandMoss :
Looking good. Make sure you bolt in a spacer to hold your mounting-ear distance at the right dimension. Whatever you need for your bushings of choice.
I used an aluminum one that got all ratted-out from weld spatter and heat. Throw-away piece.
TVR Scott said:
In reply to CoolHandMoss :
Looking good. Make sure you bolt in a spacer to hold your mounting-ear distance at the right dimension. Whatever you need for your bushings of choice.
I used an aluminum one that got all ratted-out from weld spatter and heat. Throw-away piece.
What he said^^^. I'd be worried about reducing the dimension between the mounting ears. Would hate to get everything nice and painted and then relie your bushings don't fit. Unless you've already acounted for that, in which case never mind.
If it brings you any validation all of my mounts were bent as well. Glad you're back at the project!
Yeah I turned down a piece of tube to the right length that I'll be putting in there before welding. They're not ready to weld yet so I didn't have it in place at the moment. I think I'm likely going to wait until the control arms are done before welding these backers in in case I need to do some adjusting.
 Small update. It finally cooled off some so I got back to it. Planning a wedding has slowed me down as well.
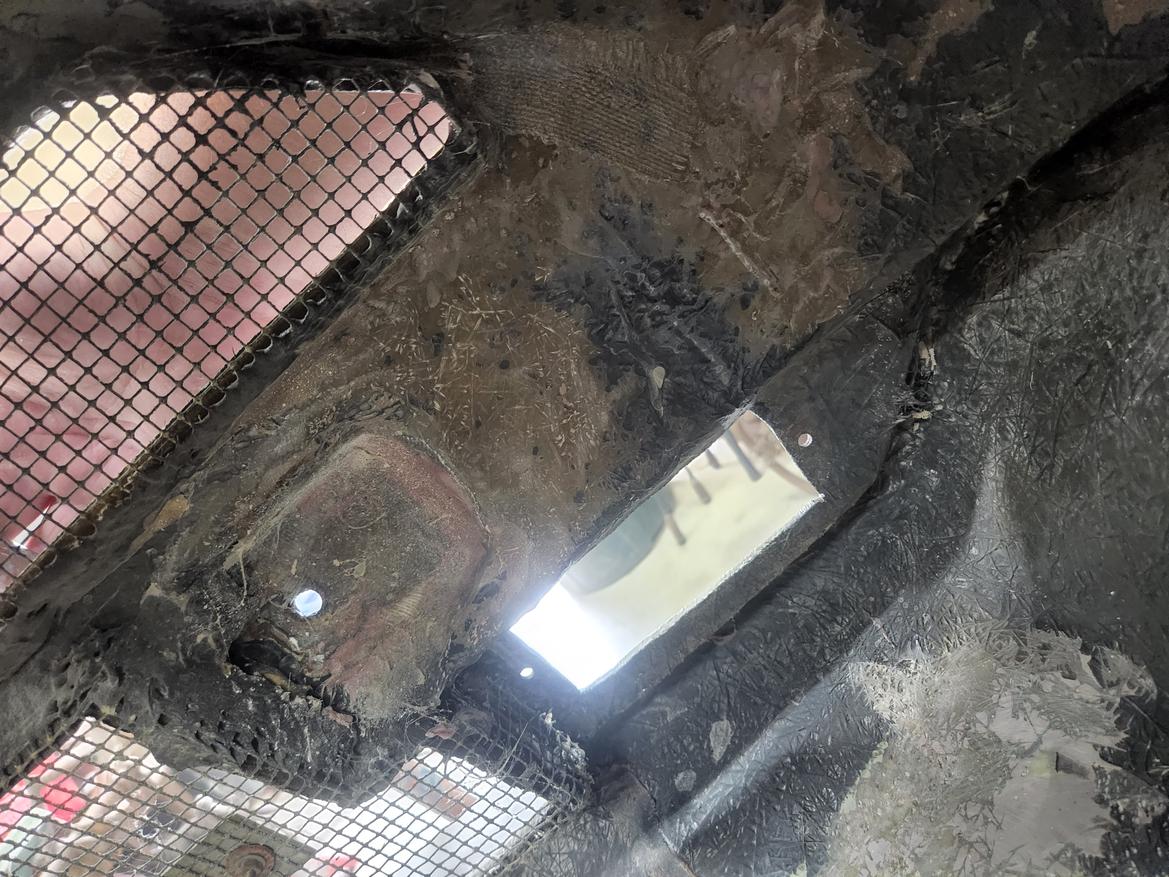
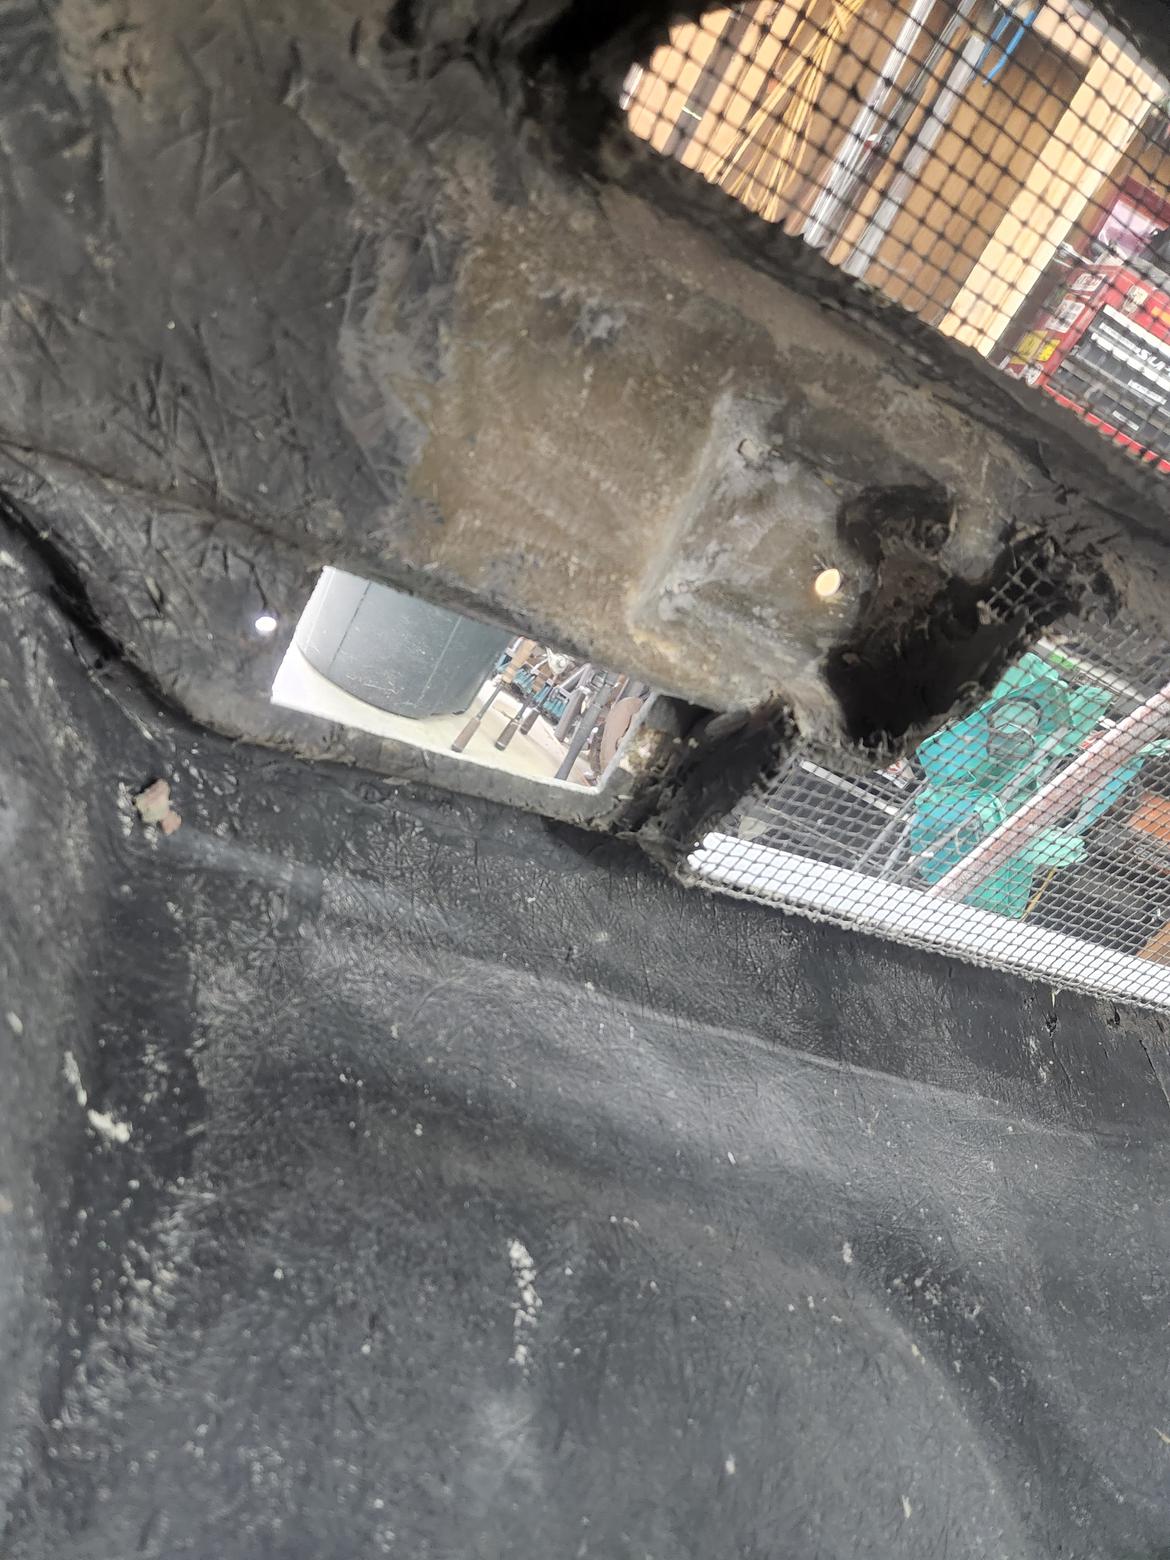
The bonnet hinge frame project is 'mostly' done you could say. I got the mounting points bedded into the bonnet. I'd been dreading this because if it went badly it would be really bad. Took a couple tries but it turned out alright. Hopefully that spreads the load out decently. Now it's just a bit of welding and and it's done short of the car side of it. Pictures are prior to cleaning up to make it look better. Baby steps! 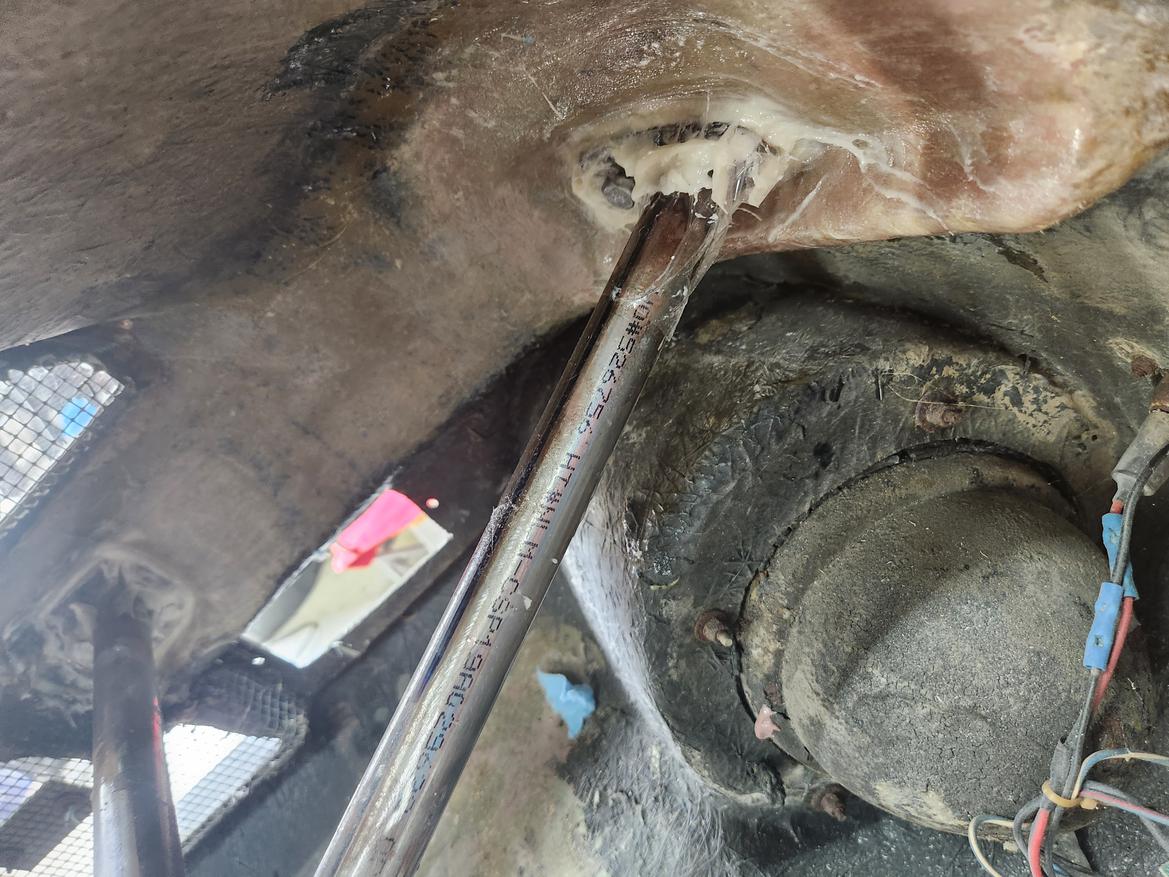
Mostly finished hinge frame. This is all I am doing for now until I get the engine in and put the bonnet back on the car. 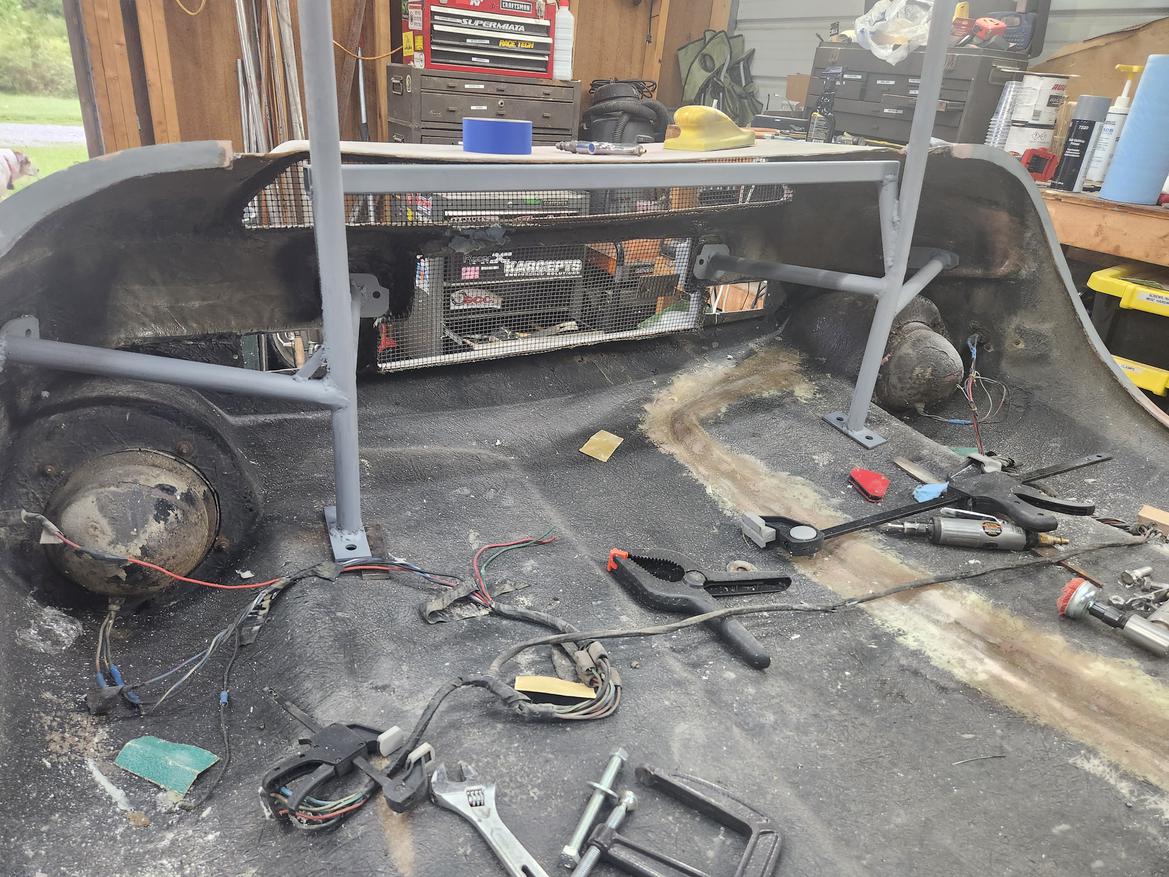
Now that I got the bonnet tucked away and opened up a ridiculous amount of floor space I was able to pull the engine out and start working on fitting that. I dropped it in place once to get oriented and verify a few initial things. Oil filter has to go. I have to either find a smaller one or relocate it. I'll decide which after seeing what alternative filters are available. Upper cross member definitely does need to get moved forward. I wanted to see for myself before starting to cut on that thing. Shifter is going to have to be relocated about 7" forward. Luckily that's not too difficult on the t5. Also, I have a tentative deal for a fresh t5 in the works for a very reasonable price. The fuel pump is probably going to be in the way so I will just end up going electric there. I am very impressed with how low the engine can sit. If I can find a lower profile oil pan I might go for that and sit it as low as possible. The stock oil pan comes down just below the lower cross member when the engine sits where it looks good. So the next week will be moving the upper cross member, cleaning the engine up for painting (who paints an sbf red...), and ordering exhaust manifolds so I can get serious about getting mounts welded in. 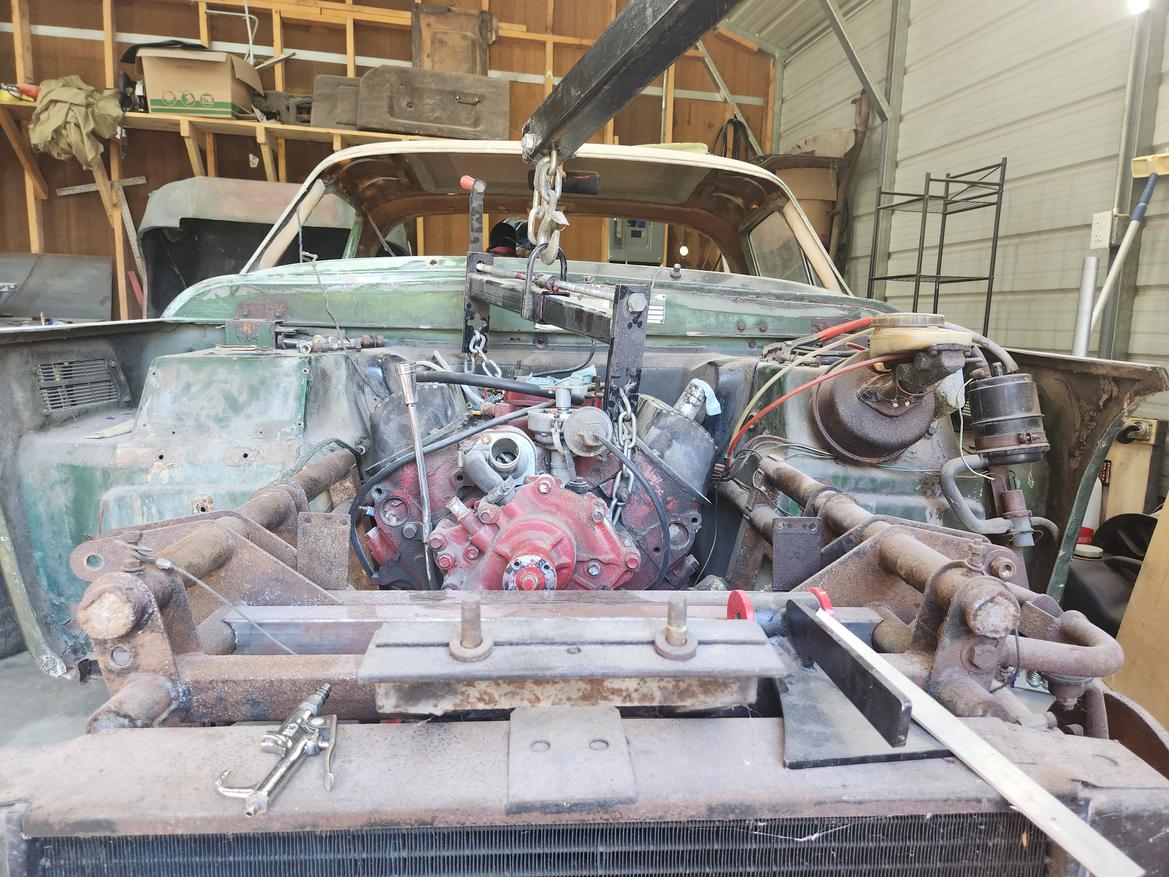
That hood frame looks vastly more solid than the original. Very nice.
 TVR Scott said:
That hood frame looks vastly more solid than the original. Very nice.
Thanks Scott. It certainly will do. I hope to give it a better try down the road eventually. I hope your recovery is going well. They let you out of the hospital so quickly because you are so resilient!
I have to vent a little here... Who the Triumph paints an sbf red? Getting this red paint off this 289 is every bit of a chore. Every minute I spend on it I get more angry that someone did it. It reminds me of Scott dealing with the holes that the previous owner of his car cut out for the roll bar...
That said, this cheap old harbor freight needle thing tool is a gem. Cannot believe I've gone my whole life without this until now.
The previous owner of my Europa painted the Ford based engine and complete transaxle Chevy orange which was a nightmare to get off everything! And I had to get it off because I am not a Chevy fan.....(not a hater either as there are 2 GM products in the driveway, they were both free....)
Seems like a needle-scaler would bring the right amount of rage and noise to the job. Probably a pretty satisfying way of removing all that baked-on WRONG paint.

JoeTR6
SuperDork
10/6/23 10:42 a.m.
At least the Triumph paint just falls off on its own.
That needle tool looks like some torture device. Maybe you should use it on whoever painted your engine red. Nice work on the hinge frame.
JoeTR6 said:
At least the Triumph paint just falls off on its own.
You need to use oil-based paint on a Triumph engine.


