Mr_Asa
UltraDork
3/12/21 12:47 p.m.
java230 said:
Mr_Asa said:
If it got stuck at a certain height and stopped feeding, its possible that the Z drive isn't allowing it to move up, then it gets clogged. Fairly common with new Ender 3s
Check your z-drive screw. Make sure it is loose enough and lubricated. I like a dry-film chain lube
It was still moving around like it was printing, just nothing coming out.
Was it raising up on the Z axis, though? The X and Y will still move around if you've got the problem I am talking about.
Do you hear any clicking, like the extruder is skipping?
In reply to Mr_Asa :
Yep, definitely clicking. It Berked right off again.....
https://youtu.be/tQ_9ikM2d3s
Mr_Asa
UltraDork
3/12/21 1:57 p.m.
Ok, clicking indicates the tensioner on the extruder is too loose, or that the nozzle is clogged
Mr_Asa
UltraDork
3/12/21 2:43 p.m.
In reply to Mr_Asa :
Maybe a bit higher extrude temp? Nozzle flows when starting a new print fine.
Mr_Asa
UltraDork
3/12/21 4:37 p.m.
In reply to java230 :
Very possible. What does the filament suggest (usually on the roll near the manufacturer name) and what are you printing at?
Mr_Asa
UltraDork
3/12/21 4:43 p.m.
Also, get it to temp through the built in menu, then squeeze the extruder so that tension is off the filament and with your other hand push at least half an inch of the filament through to ensure it isnt clogged. It also pushes past the skipped section which helps prevent another skip.
When mine was real bad I'd completely release the tension and use a wire brush to knock the built up filament out of the teeth of the gears.
In reply to Mr_Asa :
I'm at 200, it was 180-220 iirc. It's not in front of me.
I'm thinking I'll print a roller bearing feeder when I can babysit the printer.
It doesn't seem to be plugged, I can force it thru
Mr_Asa
UltraDork
3/12/21 5:21 p.m.
bgkast (Forum Supporter) said:
Bump up the temp to 210
What he said. If it works well there you can try to dial it back to 205 if you want.
First part: not a bad start. Basically right out of the box with a glass bed.

So I'm running into issues where mid print the extruder gear driving the filament into the bowden tube starts clicking because it's having trouble pushing more filament through I guess.
I just replaced the bowden tube because the old on got a bit clogged, so I just put on a new one with the Capricorn tube as recommended here.
Previously when it would be clicking like that if I pushed the filament in more myself that would help, but now that doesn't help. Any ideas?

Mr_Asa
UltraDork
3/15/21 9:43 a.m.
In reply to AWSX1686 (Forum Supporter) :
I posted this earlier for java230. Have you checked through it?
https://3dprinterly.com/8-ways-how-to-fix-a-clicking-slipping-extruder-on-a-3d-printer/

java230
UberDork
3/15/21 11:57 a.m.
Welp, I got 95% thru this print before I heard the clicking...... 210 seems to help a bit, but its like the roll is just too heavy and the extruder cant spin it. I have been manually spinning the roll a bit here and there, and I got distracted with work....
My experiments so far. The first prints worked out well, this one was printed face down without a raft.
Started playing with a different workflow (Octoprint on a Pi, Fusion360 exporting to Cura) and got a couple of failures.
Reverting to the old process didn't help, so I bumped the extruder temp by 10C because I figured that was probably some sort of layer separation. Success!
Specs: Ender 3 with Capricorn tubing and a glass bed plugged into a Pi 4 running Octopi. Everything is running on defaults other than the slightly hotter extruder. Material is Hatchbox PLA. The printer is in a garage that's somewhere in the mid-60s.
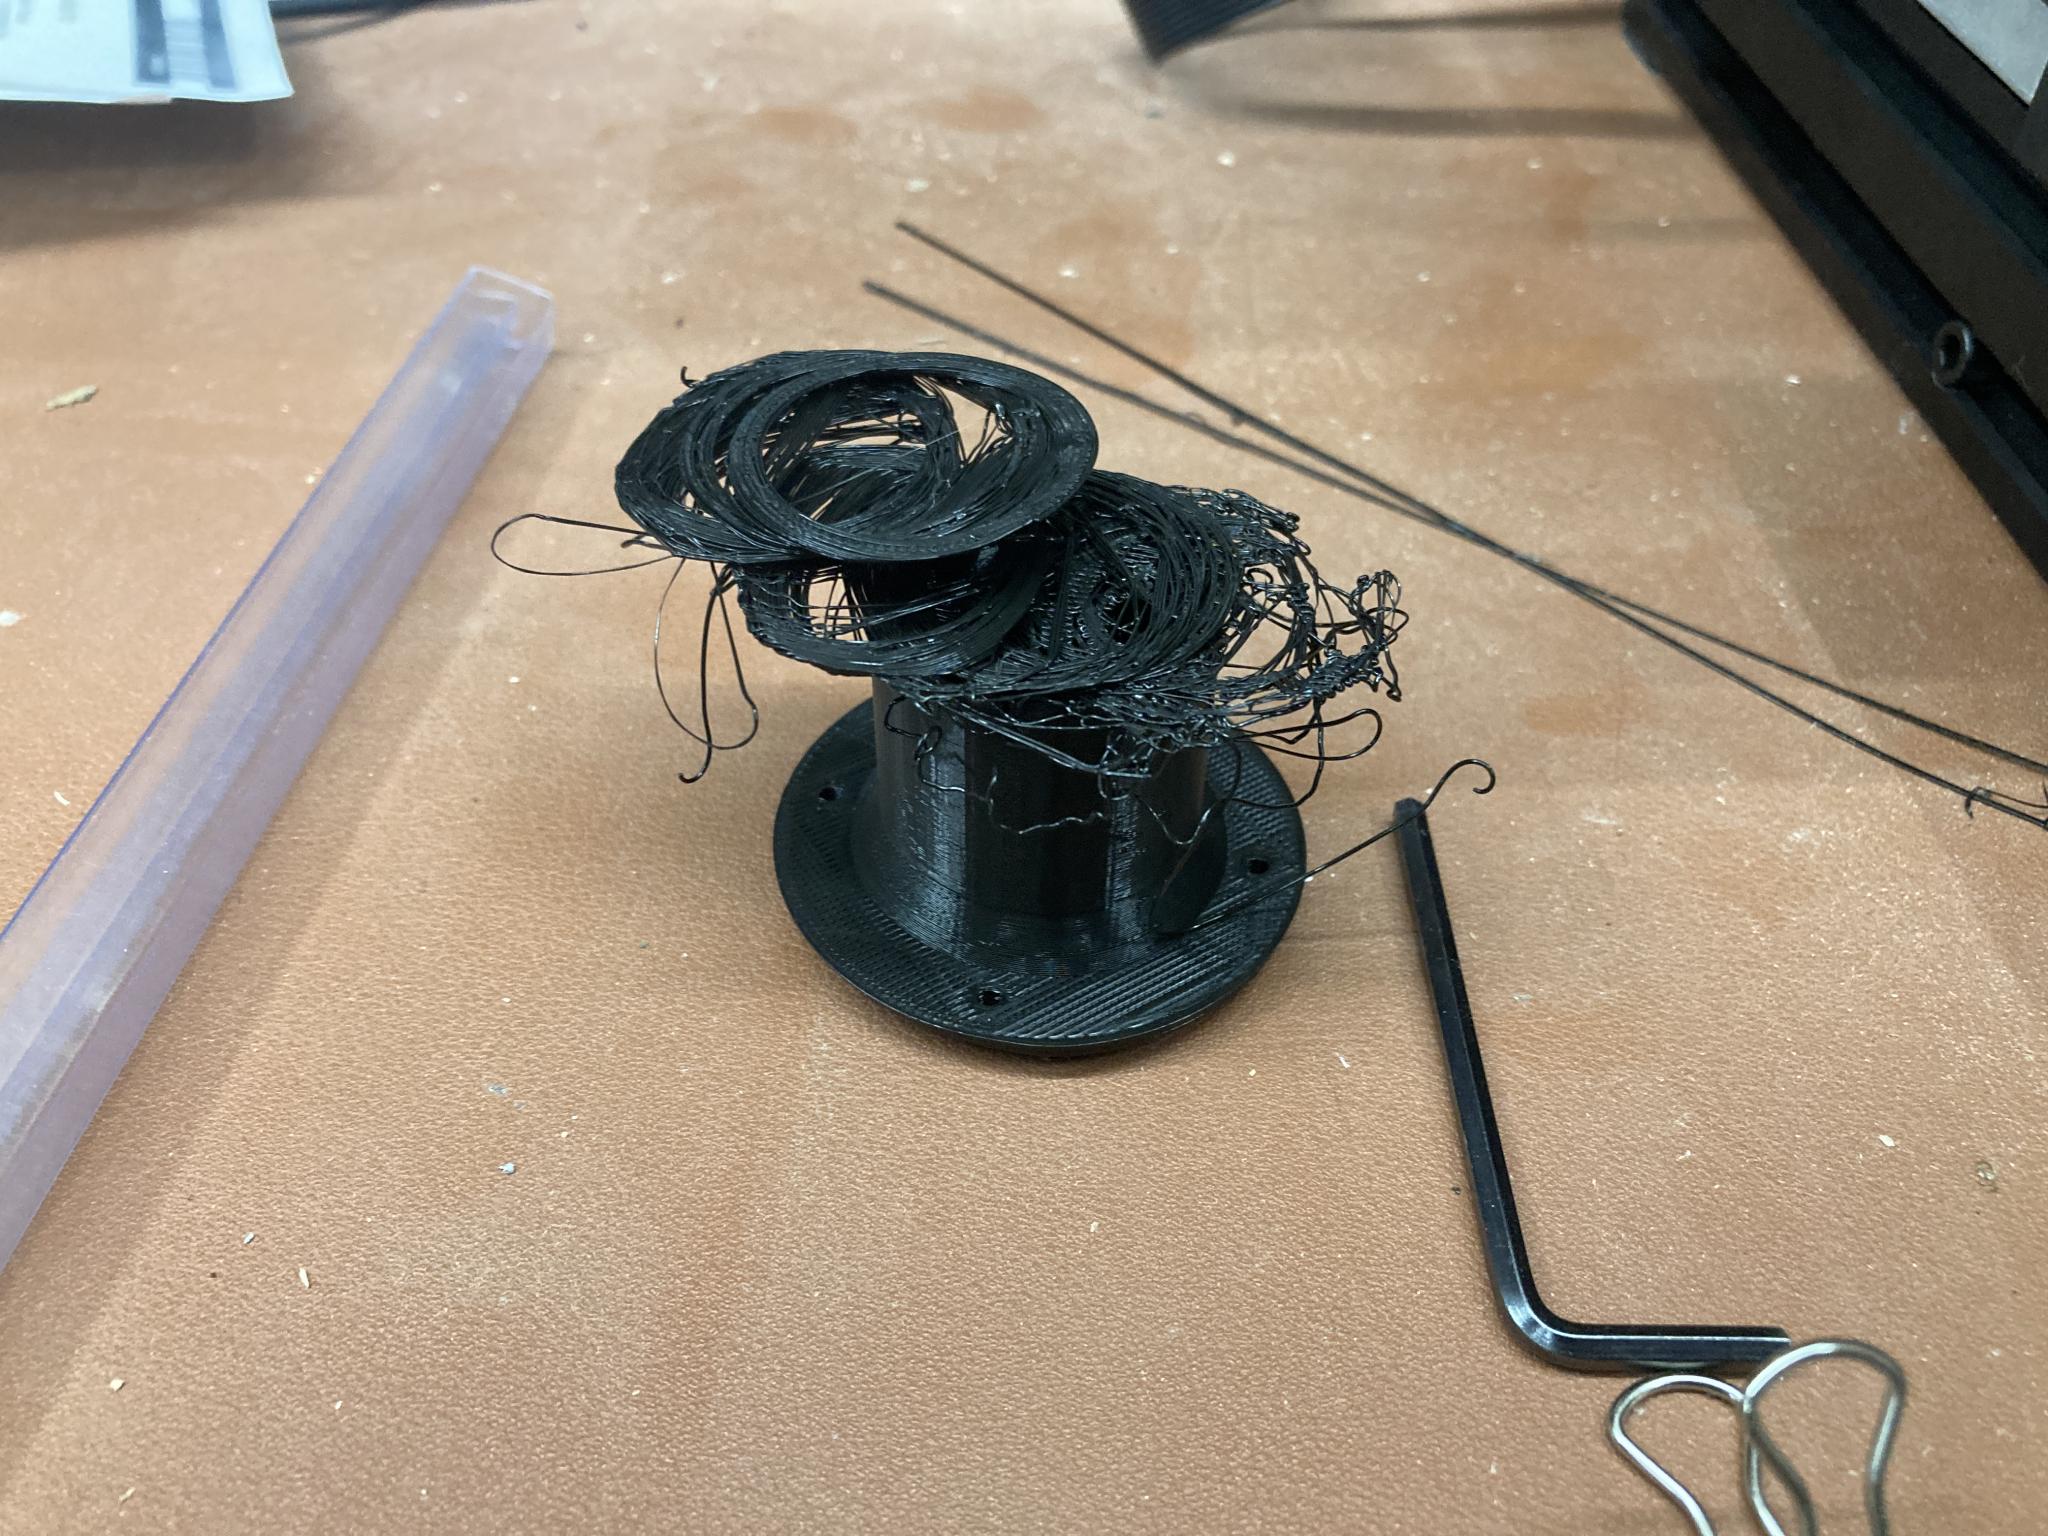
Hmm, next print with the Fusion/Cura workflow turned into a birds nest. Methinks I need to fine-tune that slicer past the Ender3 defaults. I'm doing a confirmation print using the Ender slicer first to make sure. I am also flirting with the minimum of adhesion necessary just to find out. No raft, no hairspray.
Update: yeah, that wasn't the slicer. Hairspray gave me a good part.
Kieth - If I'm having bed adhesion issues the first thing I do us clean the bed with alcohol however, I'd use a skirt on that part. I think you're right at the limit of what you can get away with as far as minimal contact area for bed adhesion is concerned. Does that have a heated bed? If so keep in mind that while higher extruder temps with PLA always improve layer to layer adhesion (at the expense of print quality past a certain point) a higher bed temperature can reduce bed adhesion. Cura has a feature that lets you start with one bed temperature for good adhesion on the first layer and then drop it for the rest of the print so it doesn't curl an release. On my Sidewinder X1 I start with 65 to 70 C and drop to 55 to 60 C depending on what filament I'm using.
I've found that it's worth the time to print calibration cubes when I try a new filament.
You're right, the design has minimal surface area. I guess I need to take that into account. The bed is heated but it's only running at 30 C. Maybe I'll try running that hotter. I've been leaving as many things as possible at default while I learn. Fun!
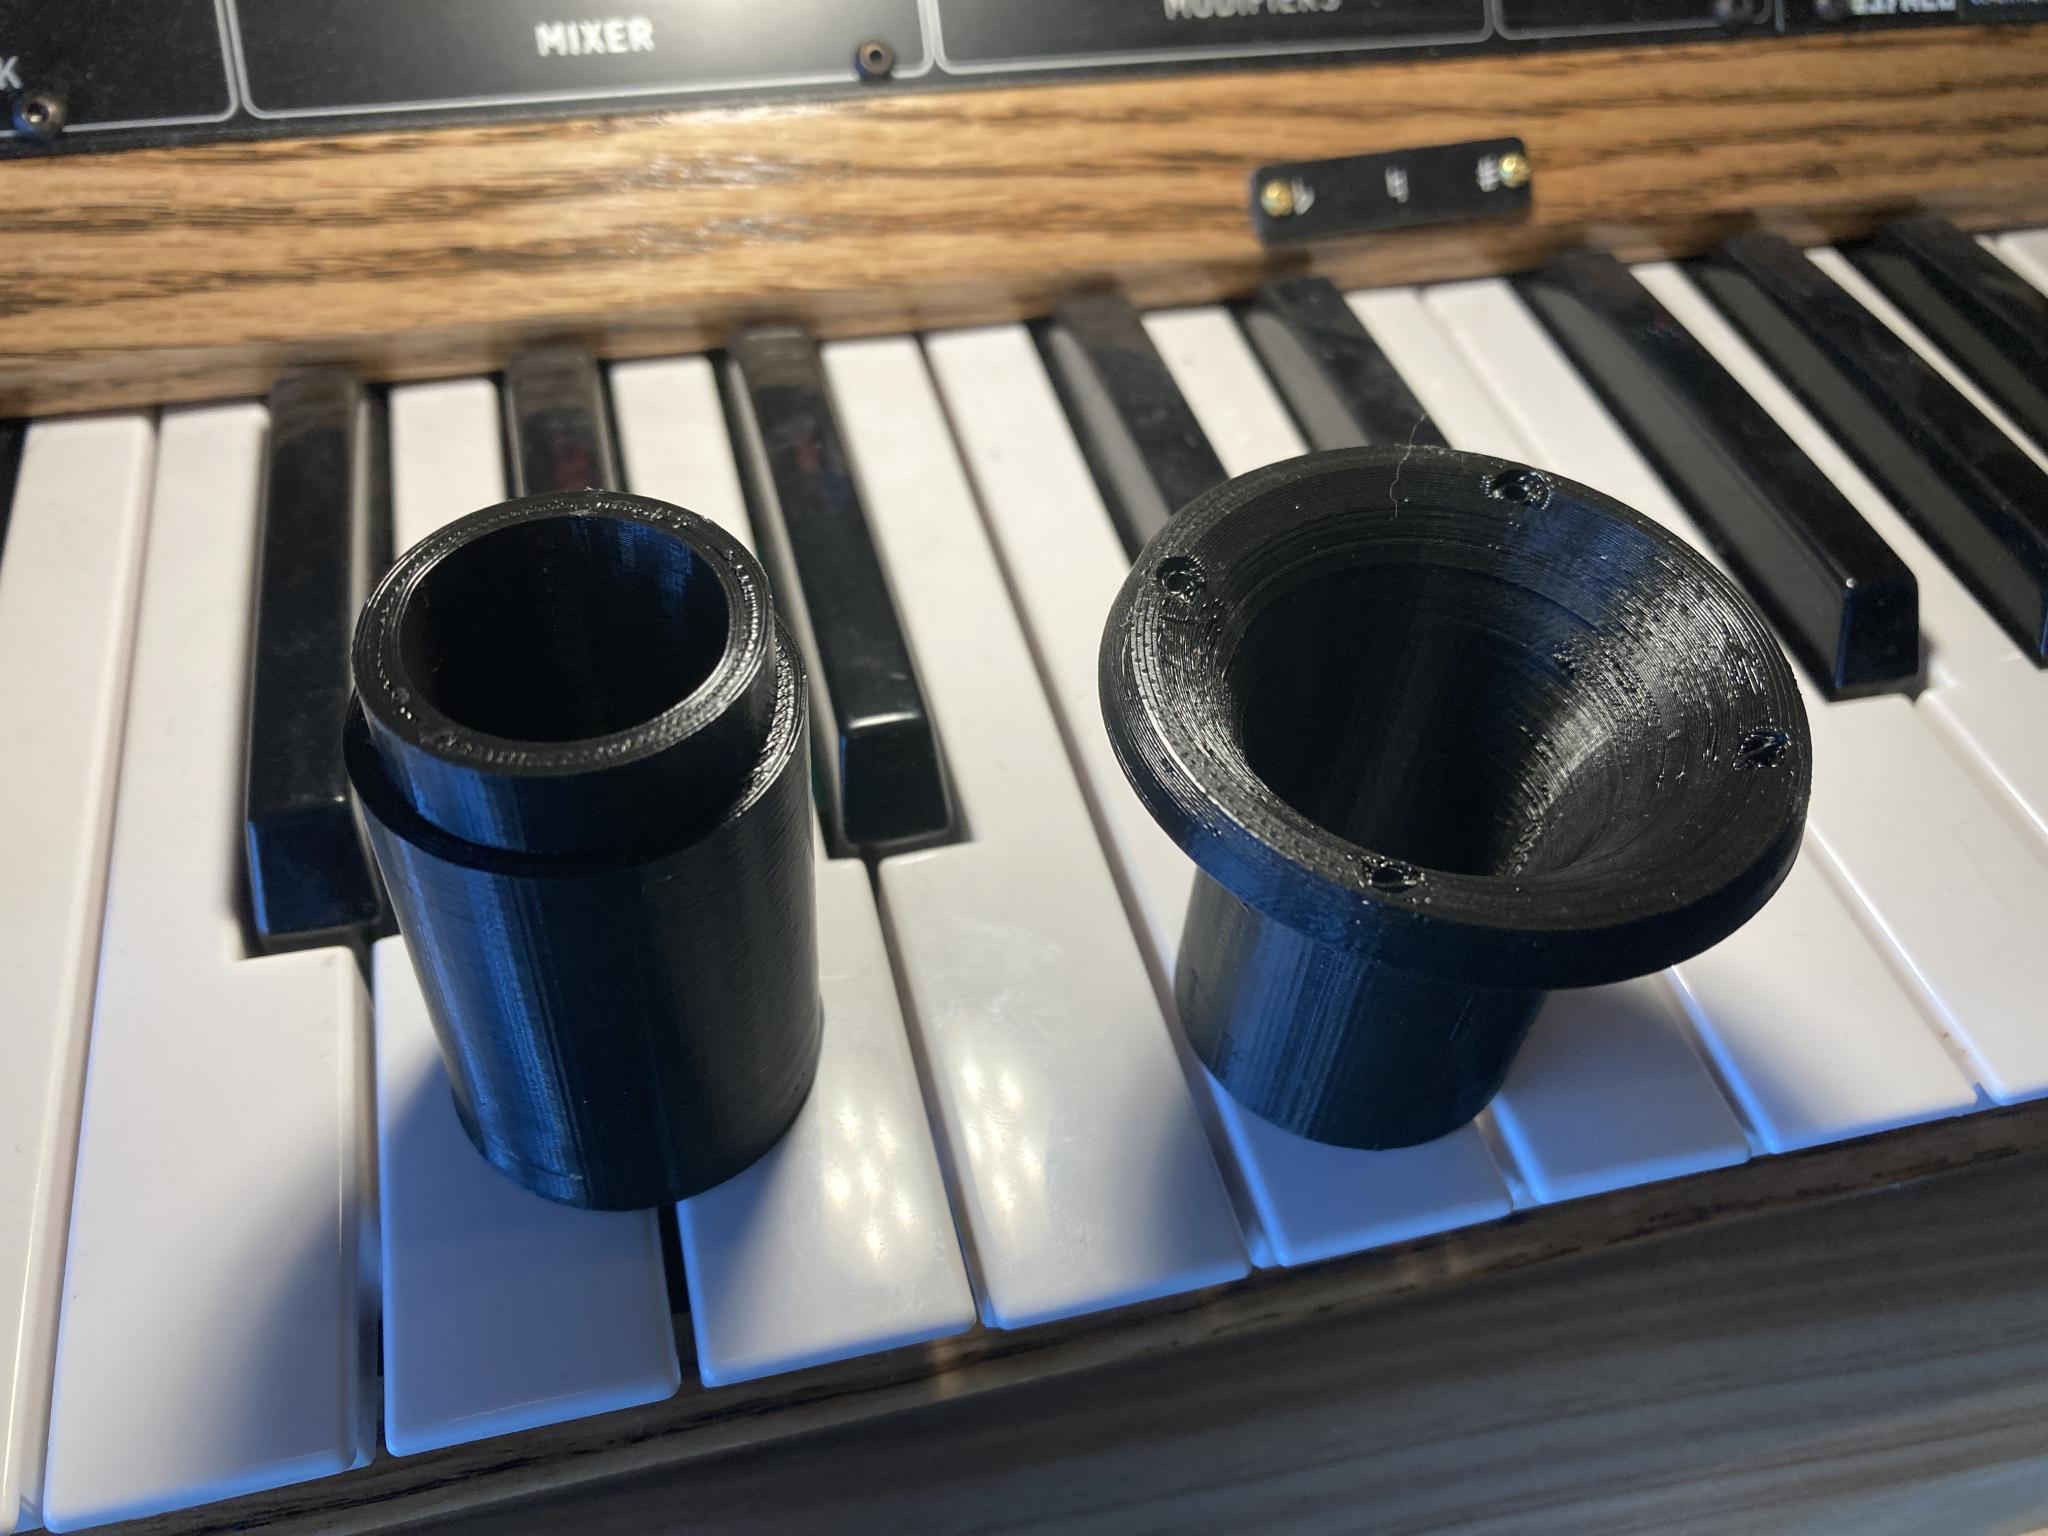
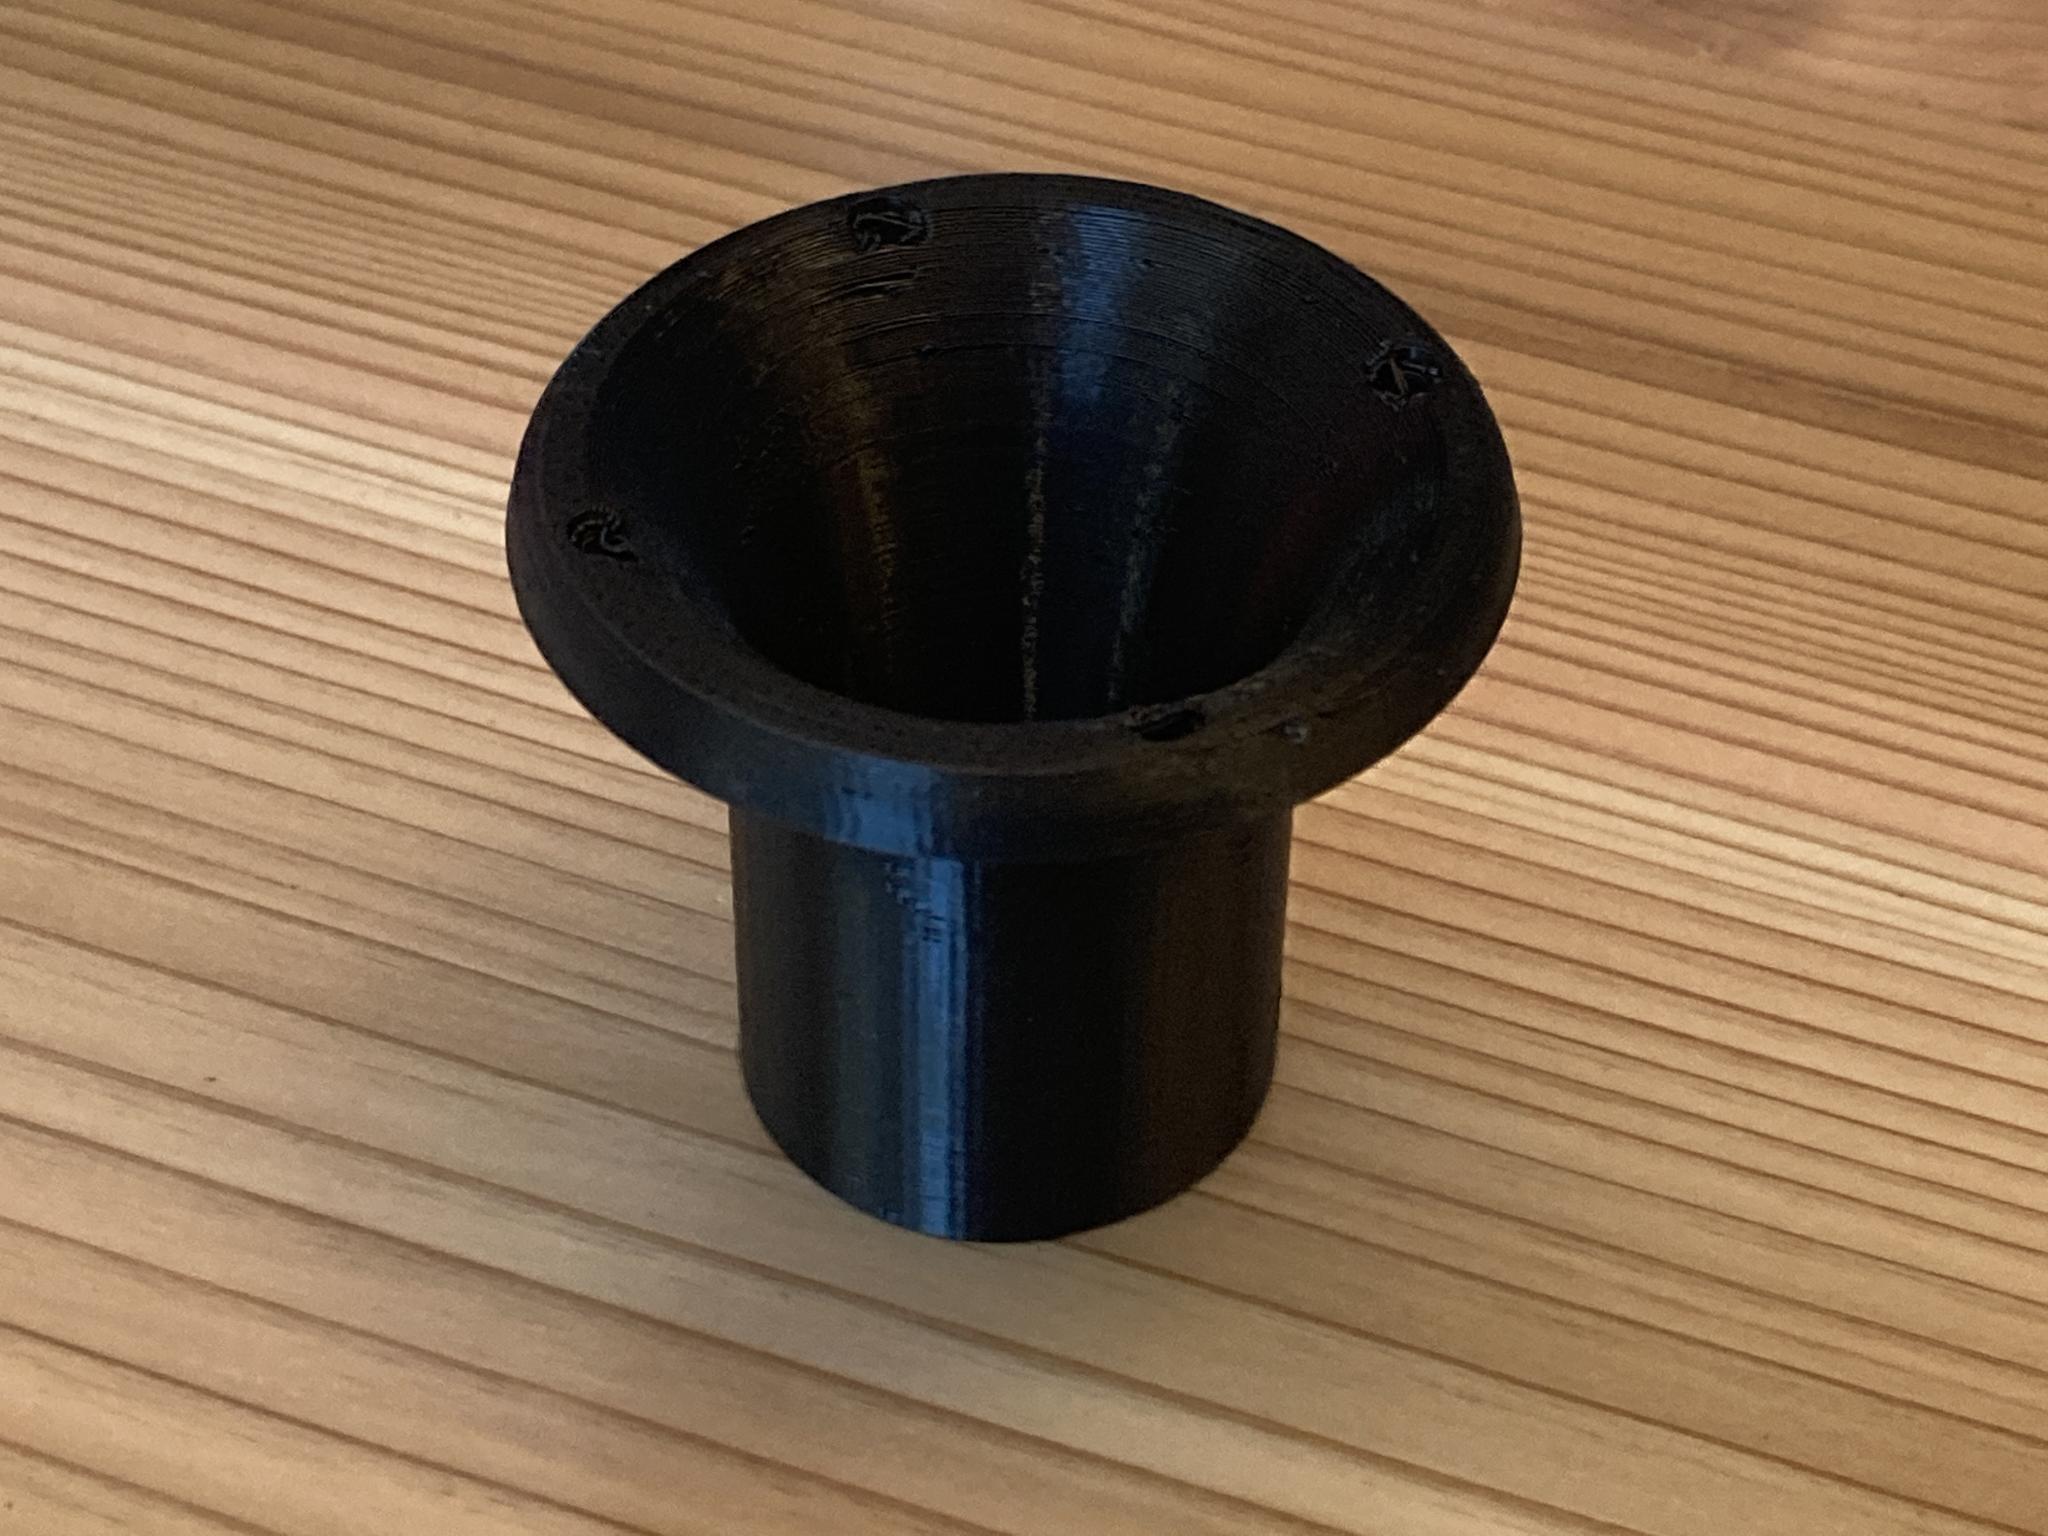
The bellmouth was printed the other way up. The more recent part is basically just a cylindrical extension.
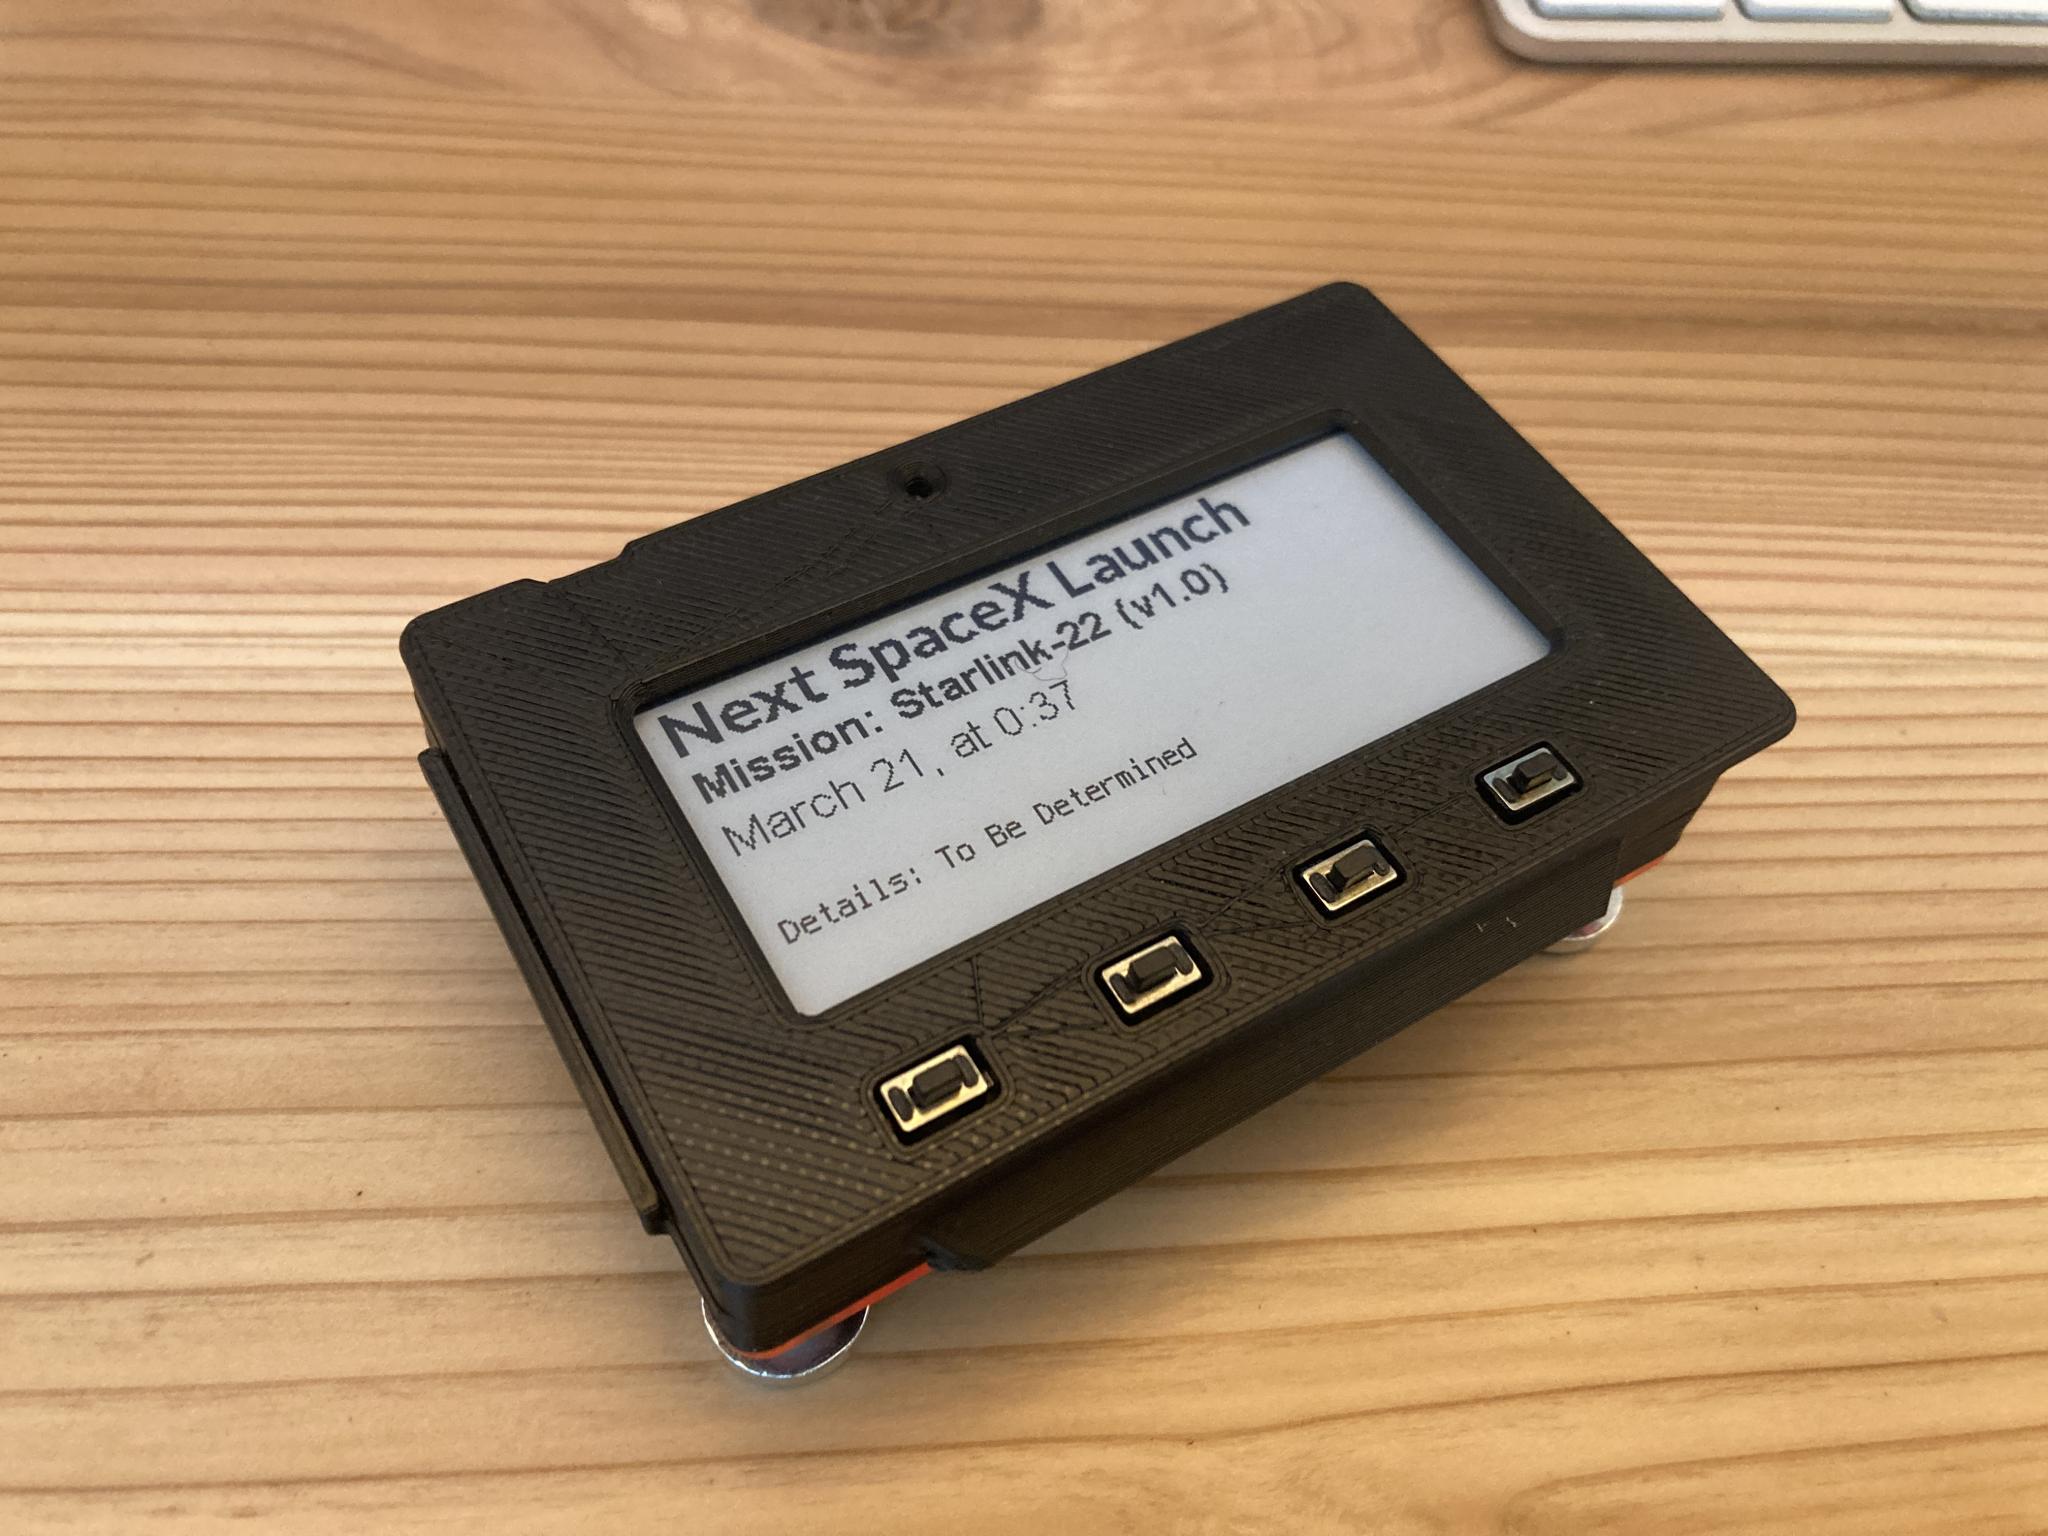
One of the parts for that little display device was originally supposed to be 3D printed, but since it was a 3mm thick 2D part I just stuck it in the laser cutter and zapped one out in about 20 seconds. But the laser couldn't do the other parts. It's all about the right tool for the job!

For me part of the fun of the 3D printer has been learning to design for a new manufacturing process. The whole additive manufacturing, print from the bottom up aspect has opened some options that aren't practical if you're removing material to manufacture while the need to have some relatively feature free, fairly large surface on the bottom is kind of limiting.
I think you're better off debugging the whole system using whatever tool chain you think you're going to want to use in the end. They're all capable of producing good prints but different slicers produce different G-Code so switching tools can add unexpected variables.
I really like the Cura/Octoprint combination. I can slice the file in Cura on my office PC and send it to Octoprint in the shop and if I've got the printer ready to go I can observe it over the Octoprint camera and never have to leave my desk.
I'd try a few calibration cubes before I attempted anything serious. They print in 15 to 20 min so you can run a bunch of them pretty quickly. They're not as rewarding as real parts but when they fail it's a lot less frustrating.
Keith Tanner said:
You're right, the design has minimal surface area. I guess I need to take that into account. The bed is heated but it's only running at 30 C. Maybe I'll try running that hotter. I've been leaving as many things as possible at default while I learn. Fun!
The bellmouth was printed the other way up. The more recent part is basically just a cylindrical extension.
One of the parts for that little display device was originally supposed to be 3D printed, but since it was a 3mm thick 2D part I just stuck it in the laser cutter and zapped one out in about 20 seconds. But the laser couldn't do the other parts. It's all about the right tool for the job!
A question , after the first X number of layers is there still a reason to heat the bed ,
or heat the bed at the same temp and not a lower temp.....
Mr_Asa said:
In reply to AWSX1686 (Forum Supporter) :
I posted this earlier for java230. Have you checked through it?
https://3dprinterly.com/8-ways-how-to-fix-a-clicking-slipping-extruder-on-a-3d-printer/
I missed that post, thanks for re-sharing! I'll have to dig into it with this info.

APEowner said:
For me part of the fun of the 3D printer has been learning to design for a new manufacturing process. The whole additive manufacturing, print from the bottom up aspect has opened some options that aren't practical if you're removing material to manufacture while the need to have some relatively feature free, fairly large surface on the bottom is kind of limiting.
We redesigned some of our billet tools to be produced on 3D printers and it was really interesting. With machining, it's removing material that's expensive. With additive, it's adding the material that costs time and money. So our print optimized tools look quite different even though they're designed to do the exact same job.
Right now I'm changing one thing at a time. I made the change to Cura/Octoprint and had a problem, so I switched back to make sure that wasn't the cause. I definitely want to end up with Cura/Octoprint but I have to make sure I'm not debugging the wrong thing. Calibration cubes wouldn't have necessarily spotted this adhesion limitation, I needed a tall object with a fairly small footprint to cause the failure. Once I know the Cura/Octoprint combo is working, I'll make it a constant and keep working on other things. That's why I'm also sticking close to the defaults until I learn that one needs to be different.
Mr_Asa
UltraDork
3/15/21 4:27 p.m.
californiamilleghia said:
Keith Tanner said:
You're right, the design has minimal surface area. I guess I need to take that into account. The bed is heated but it's only running at 30 C. Maybe I'll try running that hotter. I've been leaving as many things as possible at default while I learn. Fun!
The bellmouth was printed the other way up. The more recent part is basically just a cylindrical extension.
One of the parts for that little display device was originally supposed to be 3D printed, but since it was a 3mm thick 2D part I just stuck it in the laser cutter and zapped one out in about 20 seconds. But the laser couldn't do the other parts. It's all about the right tool for the job!
A question , after the first X number of layers is there still a reason to heat the bed ,
or heat the bed at the same temp and not a lower temp.....
Yup. Especially with a glass bed. The bed and the print cool at different rates, with smaller prints by the time the bed is down to ambient I can blow on them to move them off the bed. With a larger one I just need to flick it and they pop off.
A little work to do on the surface finish - the bellmouth was done with the Ender slicer, I'm going to retry it with Cura - but dimensionally these things are bang on. The cylinder slides into the back of the bellmouth and the fit is perfect, tight but smooth. I'd forgotten that the cylinder actually has a tapered exit so the footprint is absolutely minimal - it's maybe 0.5mm thick. Hairspray and it worked a treat.