
75280z
Reader
12/7/18 11:01 p.m.
Project Log (9 Oct 18): Start Time: Not Recorded End Time: Not Recorded
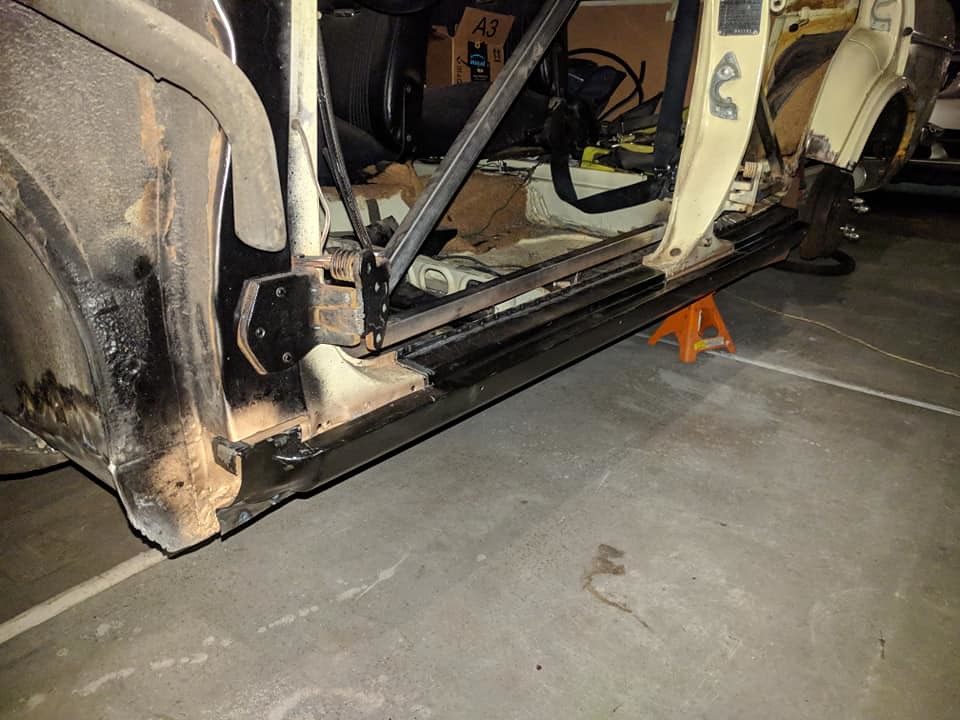
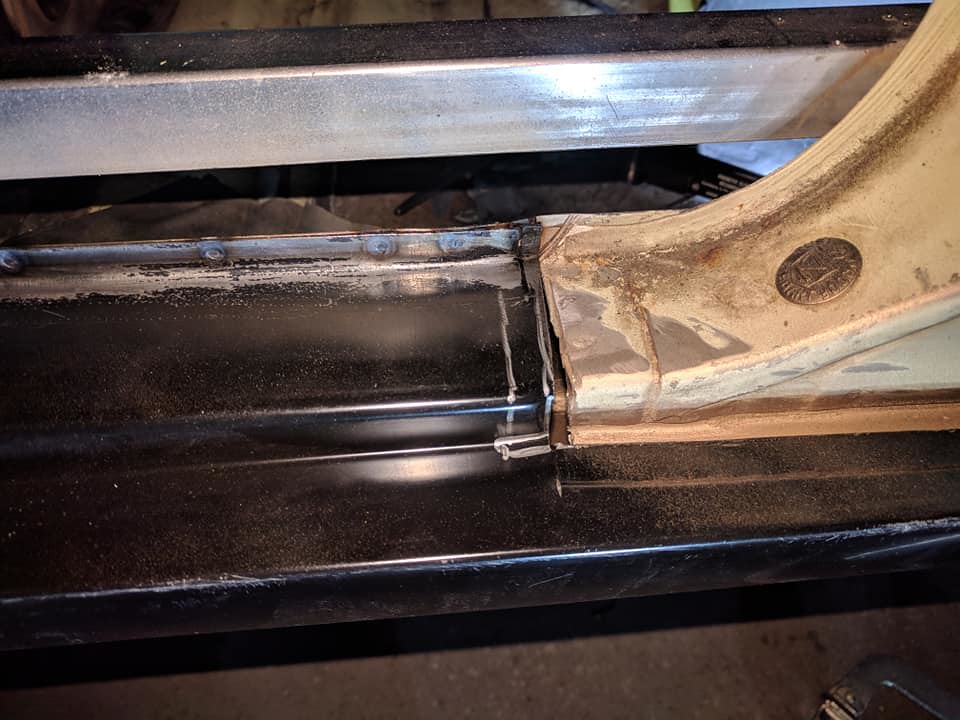
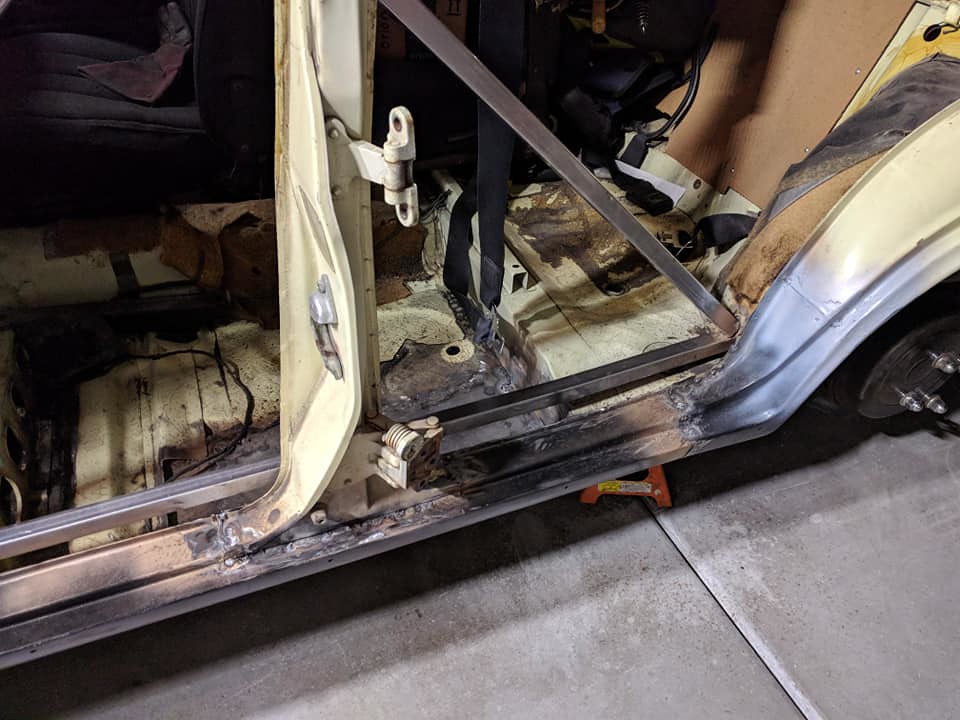
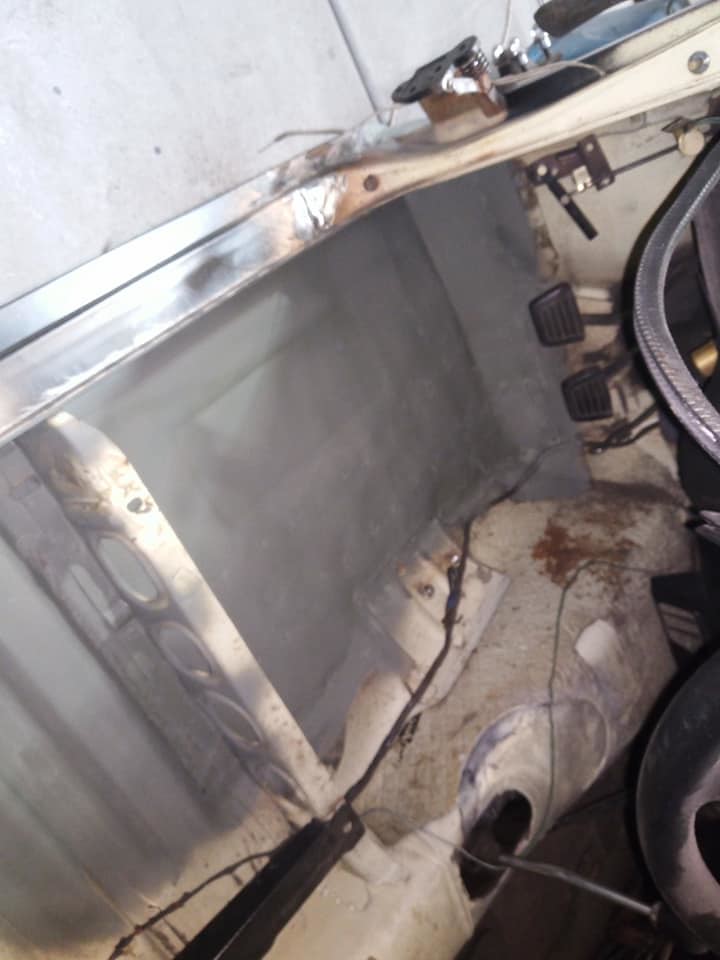
Welded in the driver’s side rocker panel. Yes I know that it has been almost two months since I have actually done work. It takes time to make these videos and I worked about 2-3 months worth of hours it seemed in October and November so no time for the car.
To Do (Daily):
-
☑ Continued welding in the rocker panel along the top
-
☑ Finished spot welding the rocker panel along the bottom
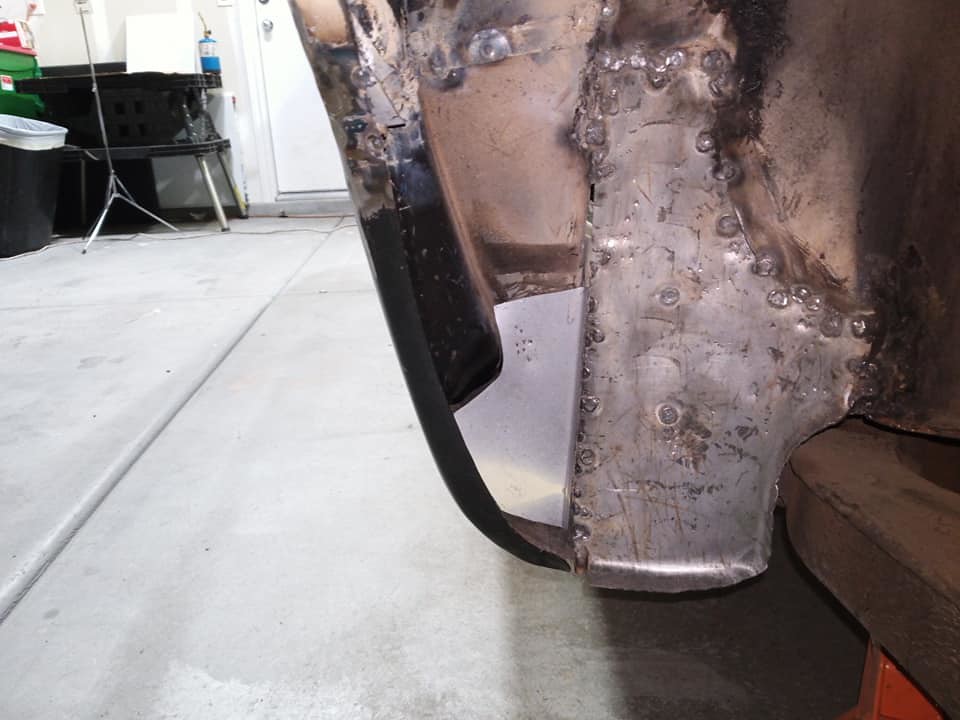
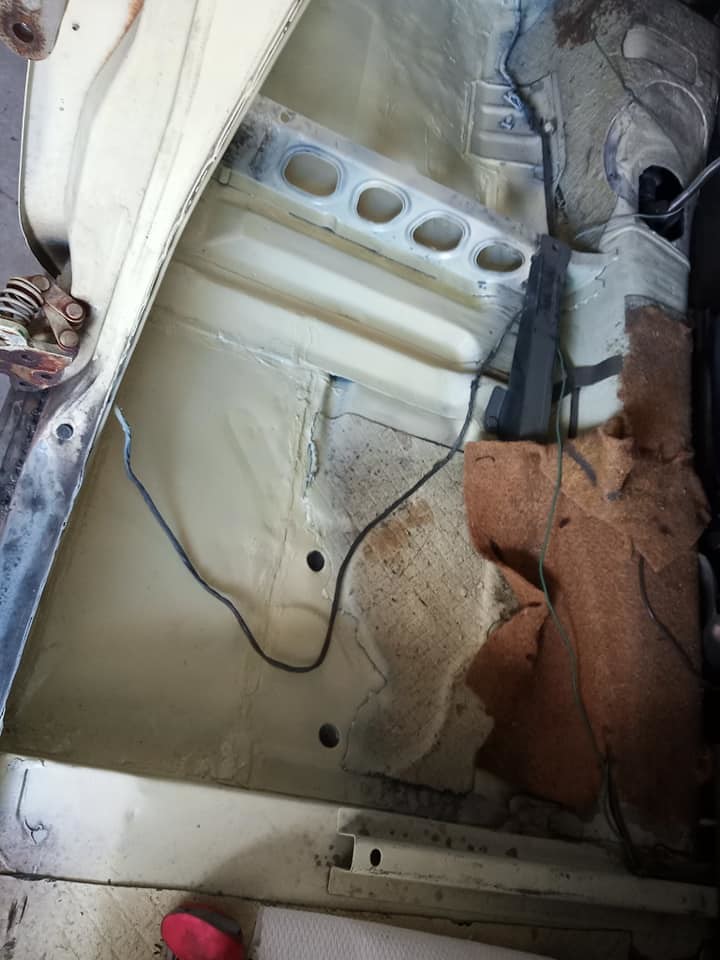
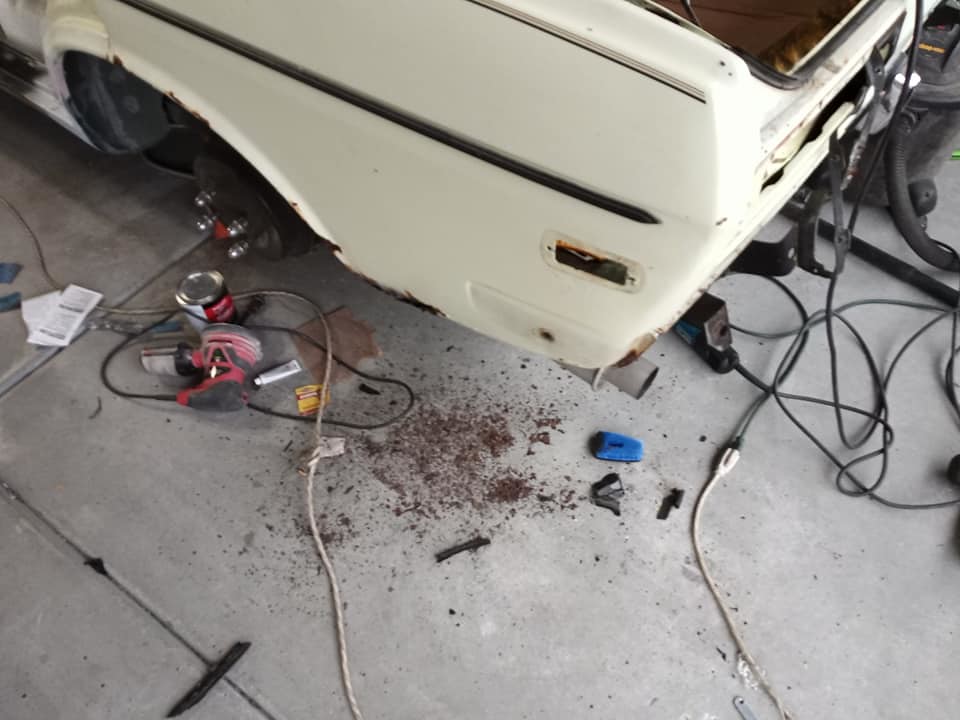
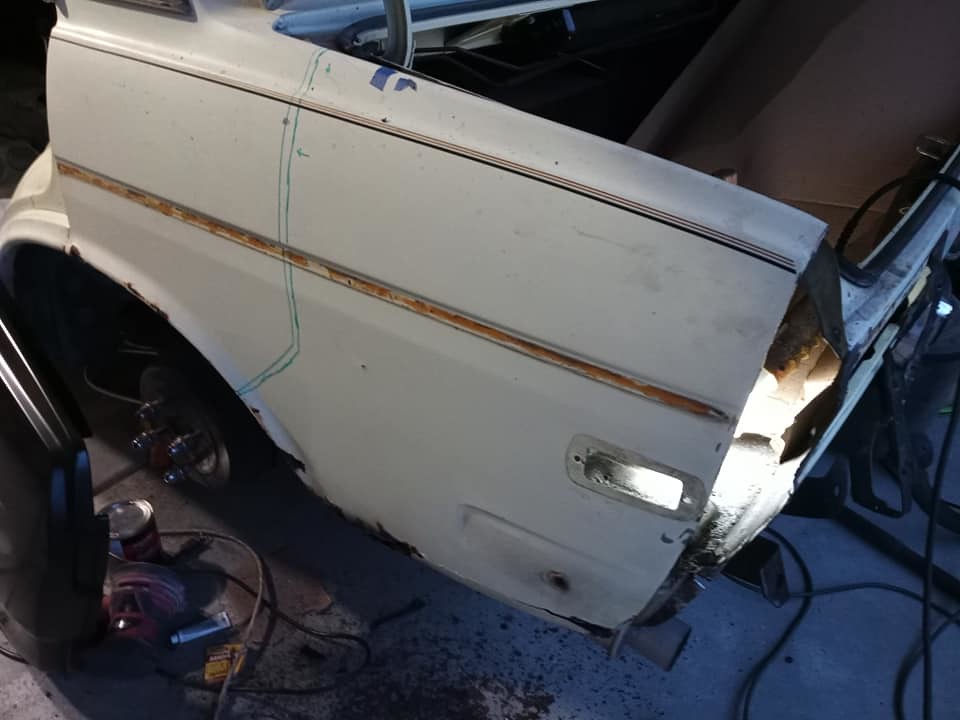
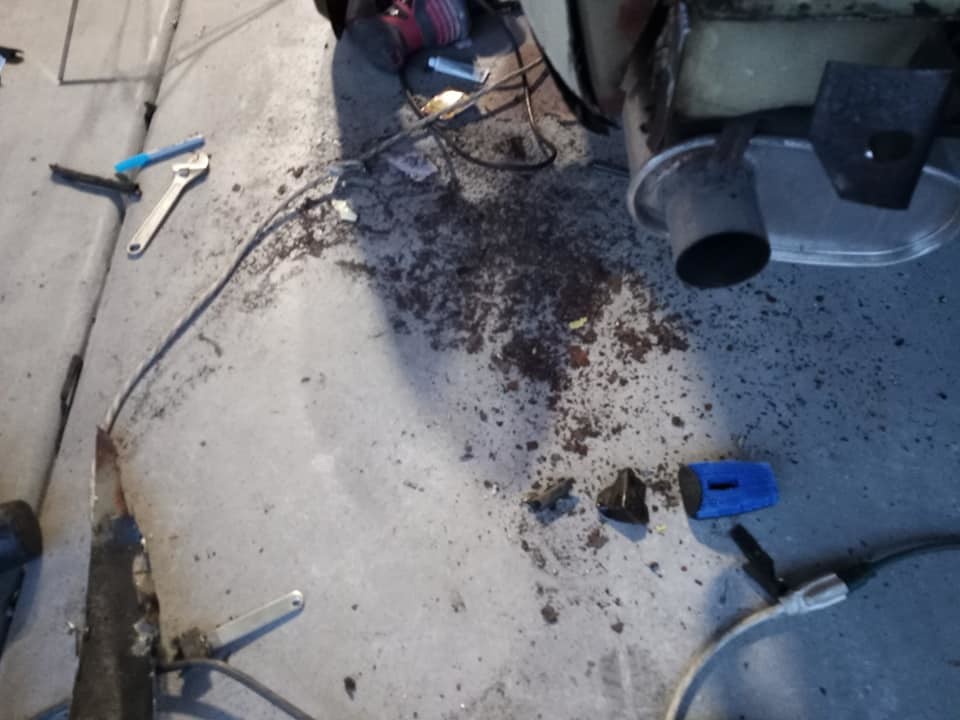
1. The surfaces were easy enough to clean with the wirewheel on the 4.5” angle grinder. I ended up having to drill a small pilot hole along the top to ensure that my plug weld actually attached to the three layers that were sandwhiched there. The front pillar have a weird angle that makes it more difficlt to weld. When I do the other side I will likely try to remove the entire rocker panel rather than cut out portions of it. I think in the long run saving myself time ended up really hurting the time required to do this project.
2. Using a set of vice grips I moved along the bottom of the car and clamped the pieces together, I would used my small hammer to ensure the pieces were very close before using the spot welder.
Photos:
Video
.
75280z
Reader
12/14/18 12:30 p.m.
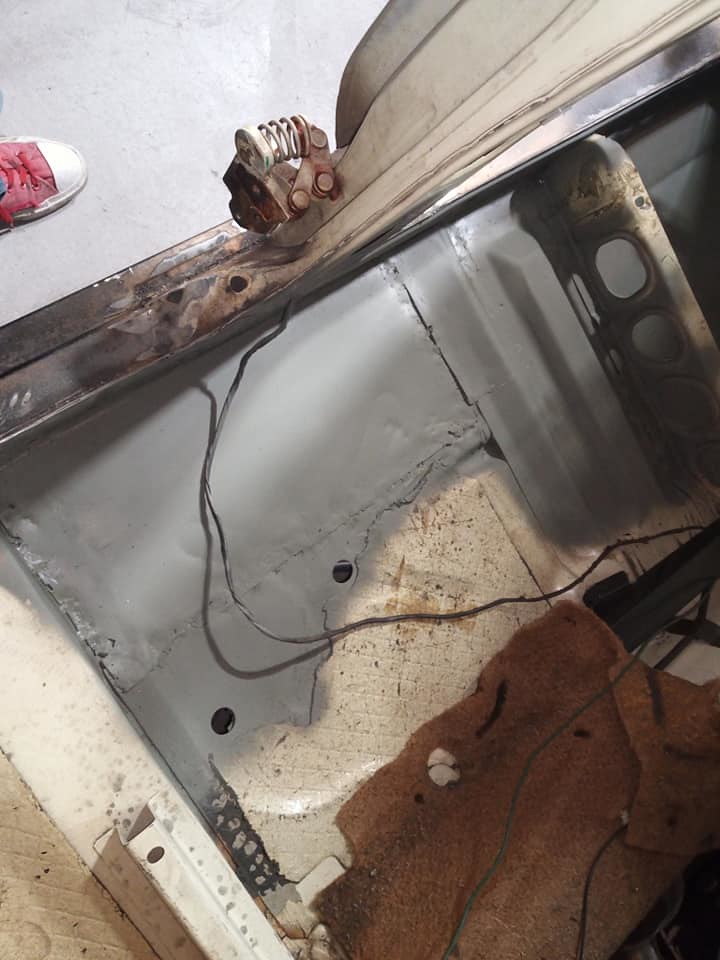
Project Log (13 Oct 18):
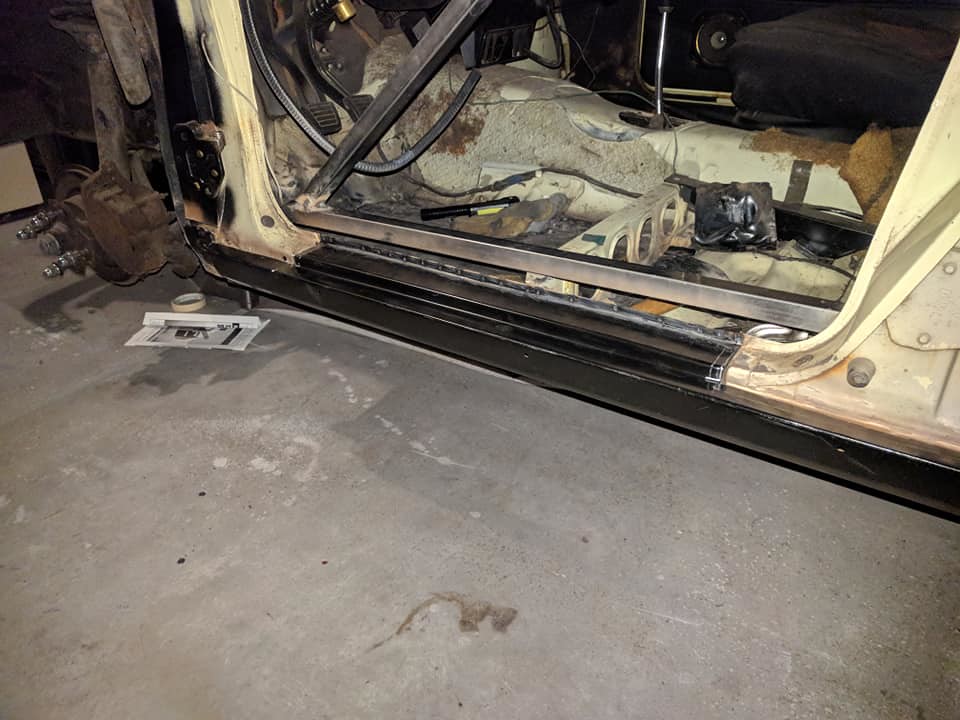
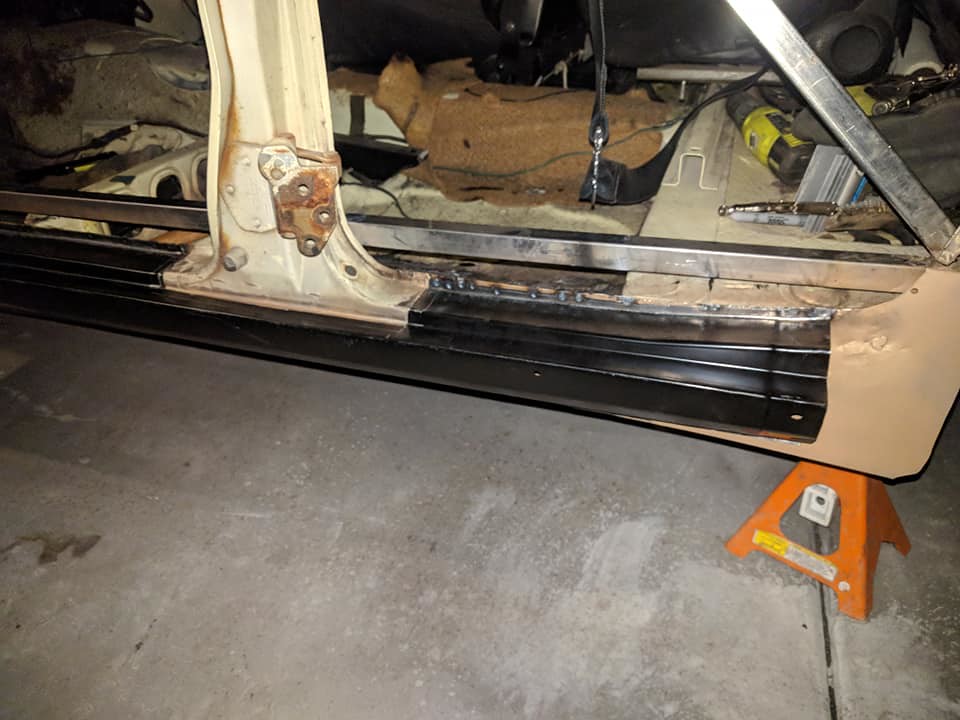
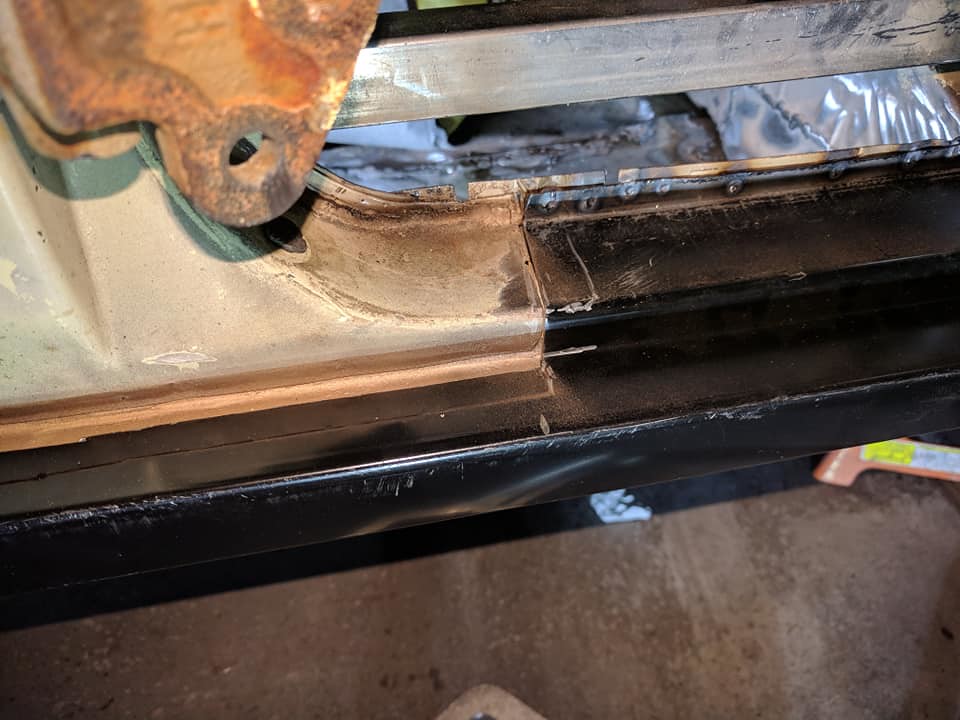
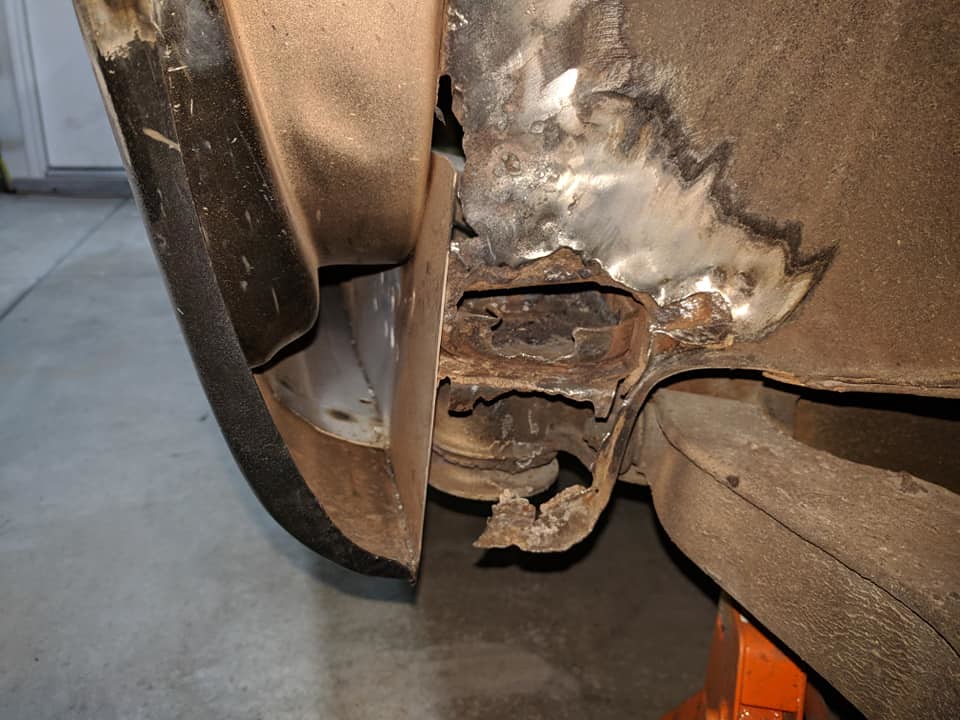
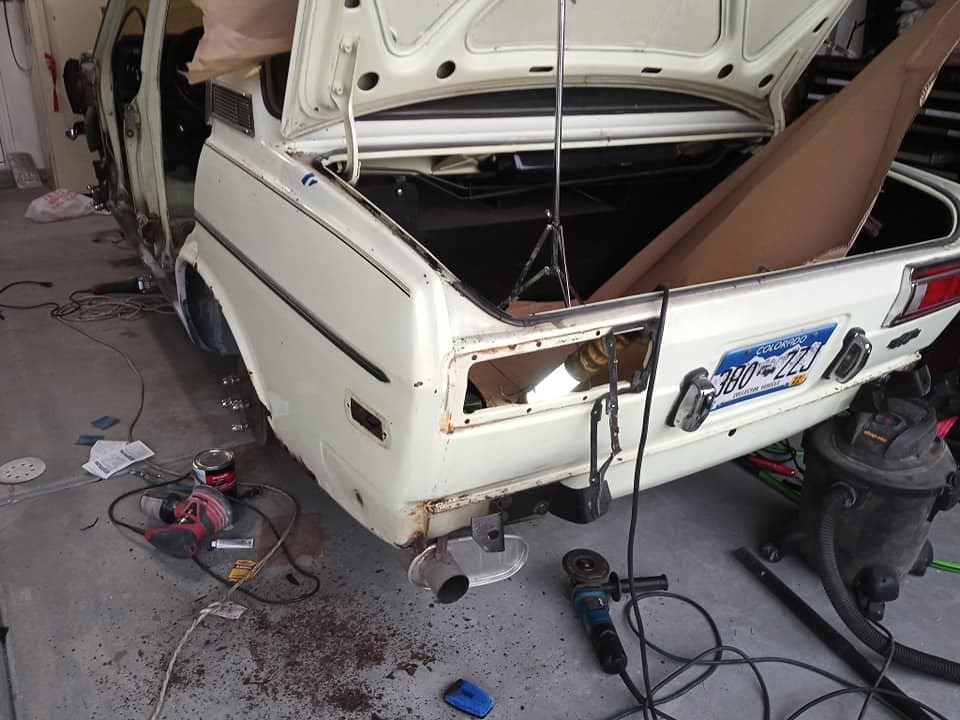
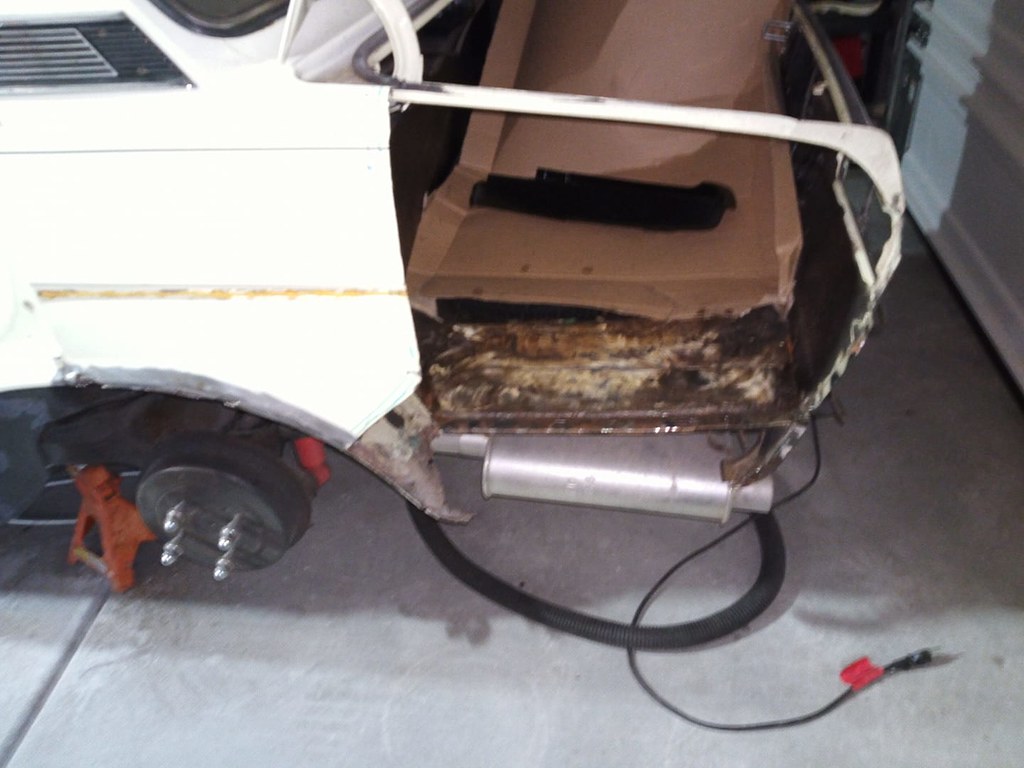
Welded in drivers rear wheel arch and did some other clean up work
To Do (Daily):
-
☑ Cut of the old wheel arch
-
☑ Weld in new wheel arch
-
☑ Sand down welds
-
☑Weld in the front rocker cover
-
☑ Lay some primer down on all the parts
1. To cut off the old wheel arch I first measured to where I wanted to add the new arch by using tape from a specifc point on both the new and rear arch. This I hoped would allow me to cut and weld in the new piece seamlessly, it didn’t work perfectly for sure
2. To weld in the new arch I first tac welded it to the inner surface and rocker panel, then I welded it to the arch itself. The metal was very thin and had surface rust that caused a TON of blow through when I was adding the new part so I ended up with a pretty crappy product that I am going to have to bodo to fix.
3. When I sanded it down it was clear I wasn’t going to get a smooth finish so I just decided then that bondo is going to be how I do it. I am continuing to use the 4.5” angle grinder with the flap disc to do the bulk of the sanding. It has trouble getting into a few of the tight spots, but it sands so quickly
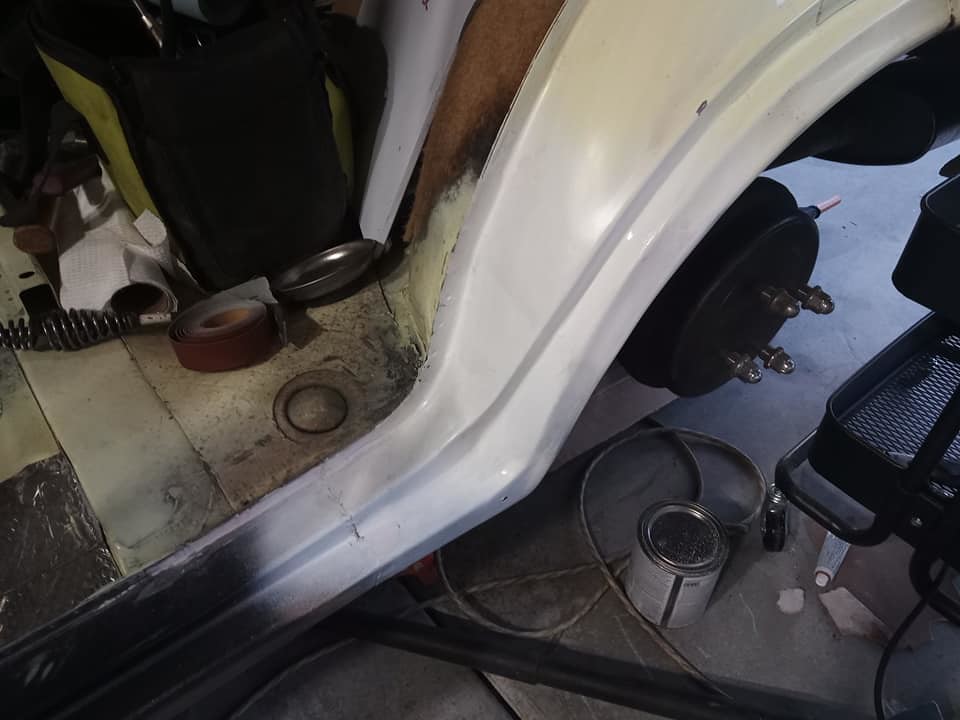
4. I made the front rocker cover a while back, but just finally welded it in place. This piece will be hidden away so I didn’t need it to be perfect, it is also where the captive nut will be for the fender I believe.
5. I just wanted to seal the parts a bit since I knew I wouldn’t be able to really work on the car at all over the next few months.
Future Work
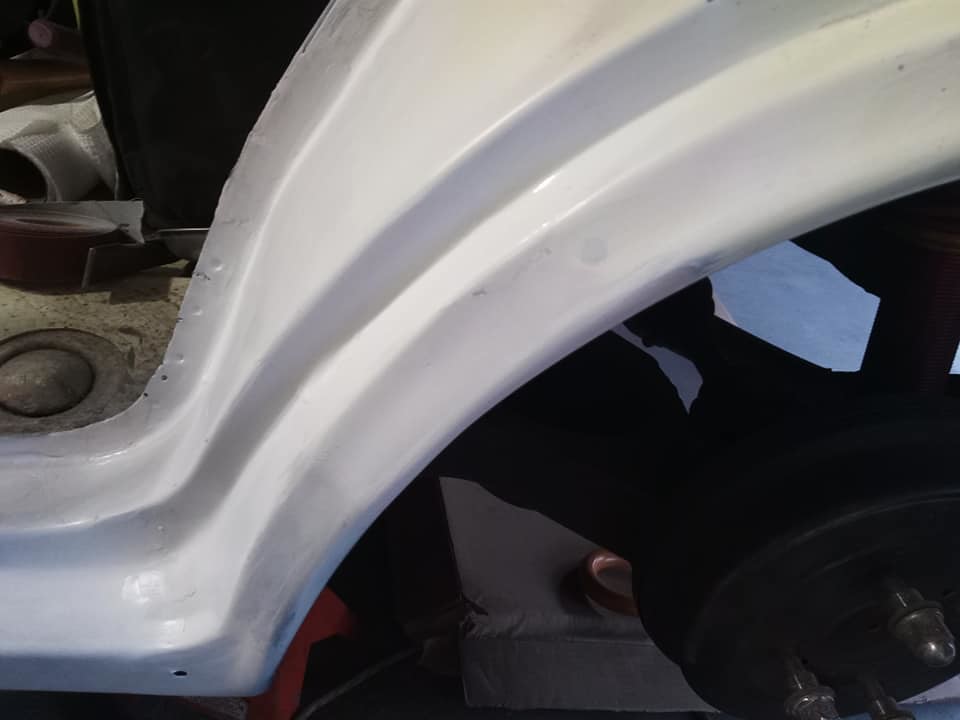
-
Fix the front fender
-
Make and Weld in the piece to mount the seats
-
Remove the braces clean and paint the new body parts
-
Clean the wheels (I started this foolishly a while back)
-
Replace the lower rear fender
Pictures:

Video
.
75280z
Reader
1/4/19 12:18 p.m.
The Piece was made very simply by creating a template piece from paper. Once the overall size was determined I was able to cut it out of metal and using a hammer I formed it into the shape it needed to be. I made this out of two separate pieces as I thought it would likely hold on the best that way.
I have moved away from keeping copious amounts of notes as I am videoing the entire build and that does a good job of highlighting all the work I have been doing.
The gross nasty!
Piece bent over and tack'd in!

New piece after being bent up and formed with a hammer and 2x4s
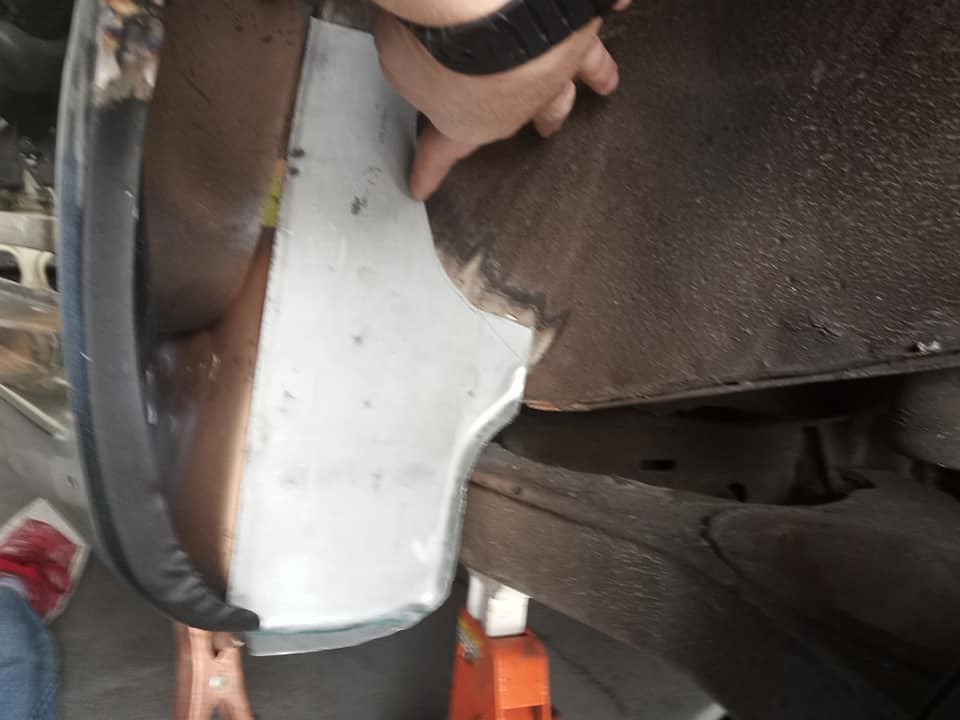
Tack'd in by a blind guy (sorry if that is not humorous to you)
Next piece cut and bent into shape. Sorry I didn't get a photo after welding
.
75280z
Reader
1/26/19 12:14 a.m.
Not exactly work on my car, but definitely car related, except that I will be using it to film my work in the garage.
I built an articulating arm that I can mount my camera onto in the garage I originally envisioned a camera track, but it didn't work very well. This one was my idea, it was not successful, so I reworked it into something usable. It is a long video, but it was very cheap to make, the final build cost much less than $50 and included ~$15 dollars worth of parts.
.
75280z
Reader
2/11/19 9:39 p.m.
I finished up the under seat metal reinforcement piece. I am moving forward. I have done some more work past this one, but haven't edited the footage yet. This work was done in January.
.
75280z
Reader
2/17/19 2:57 a.m.
This work was done on 8 Feb.
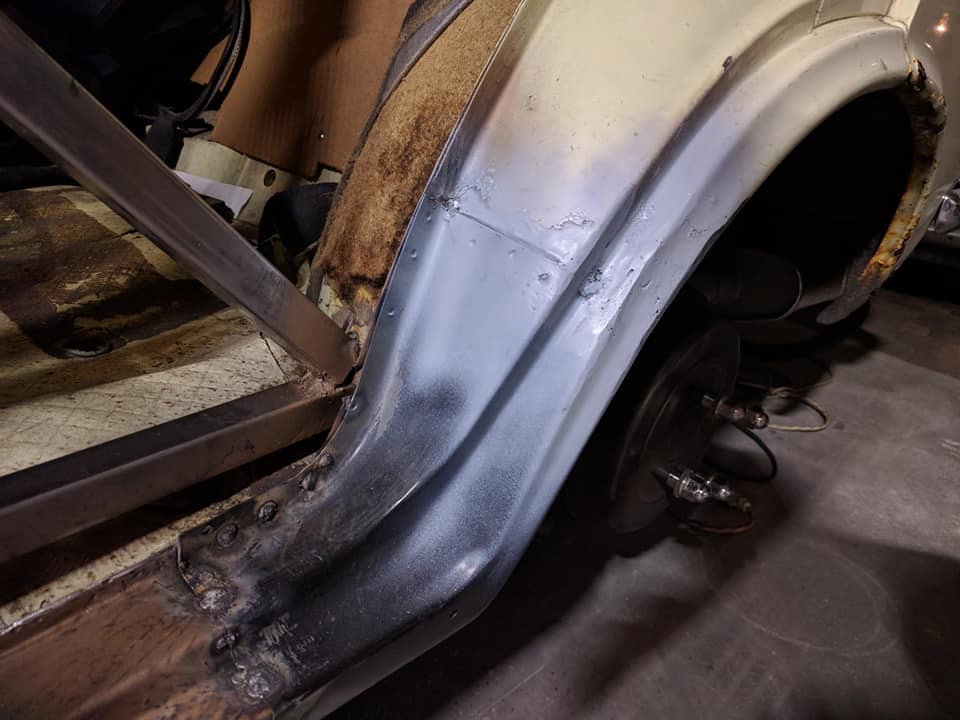
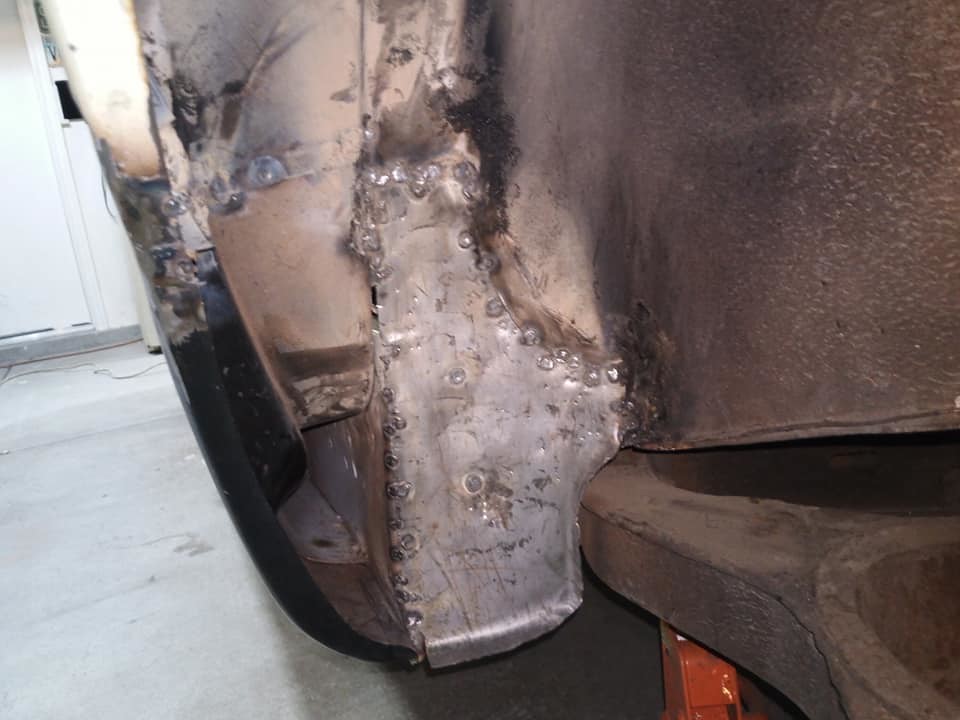
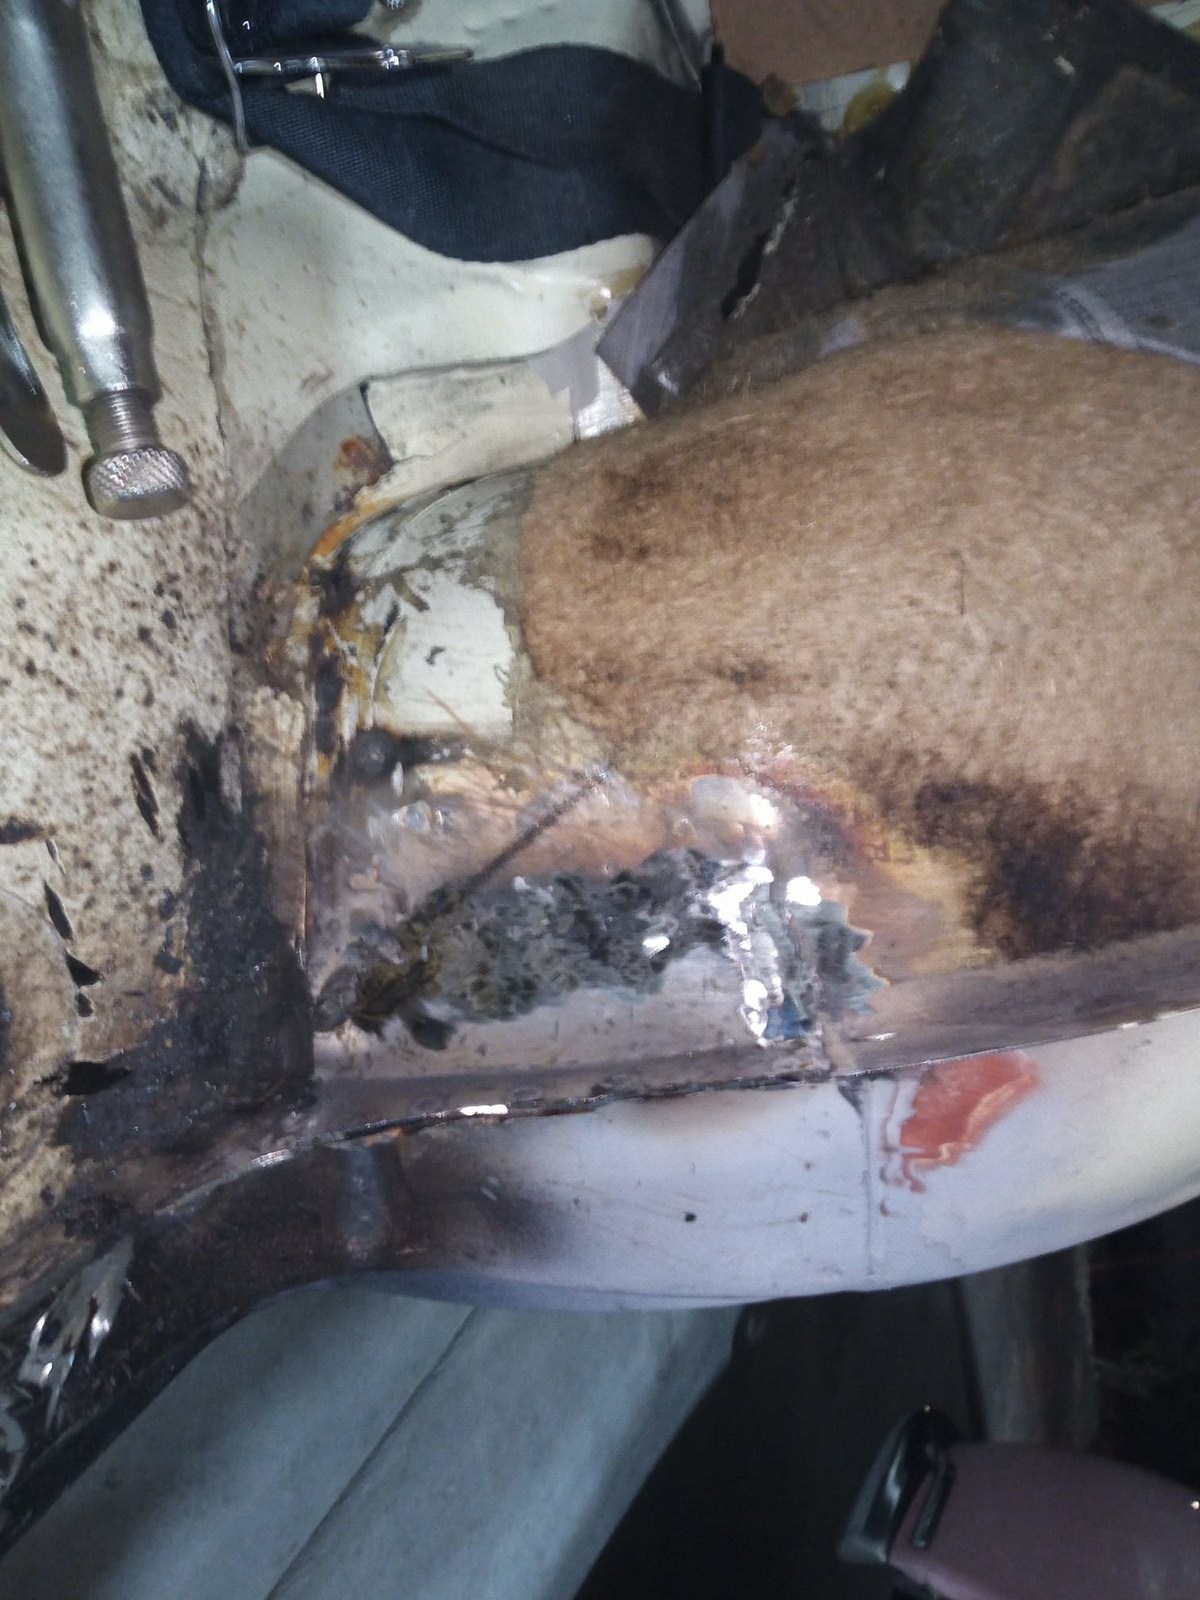
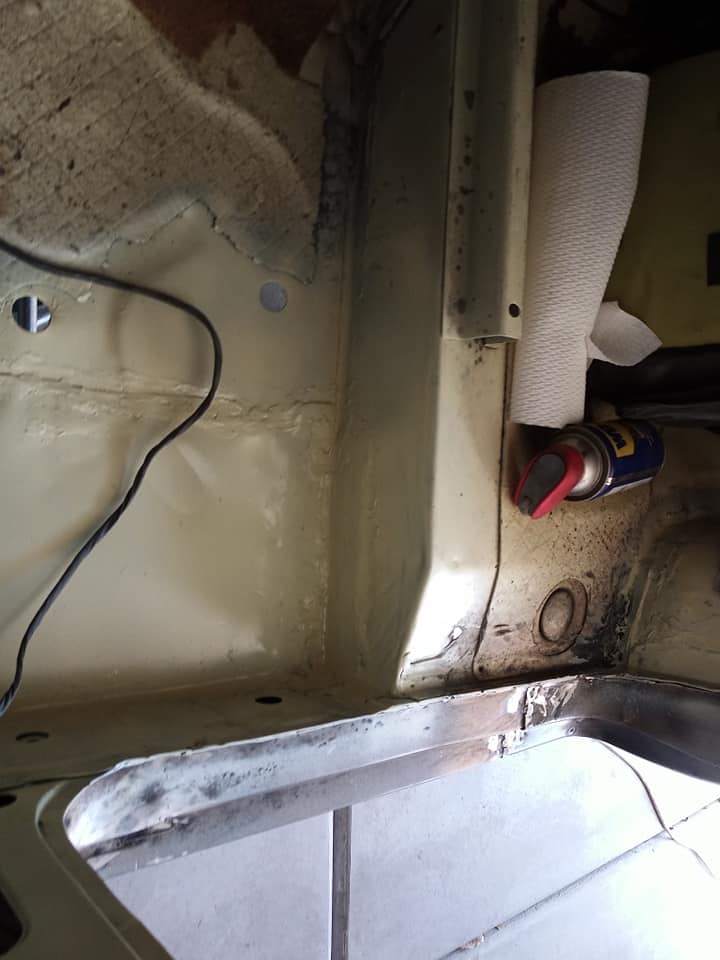
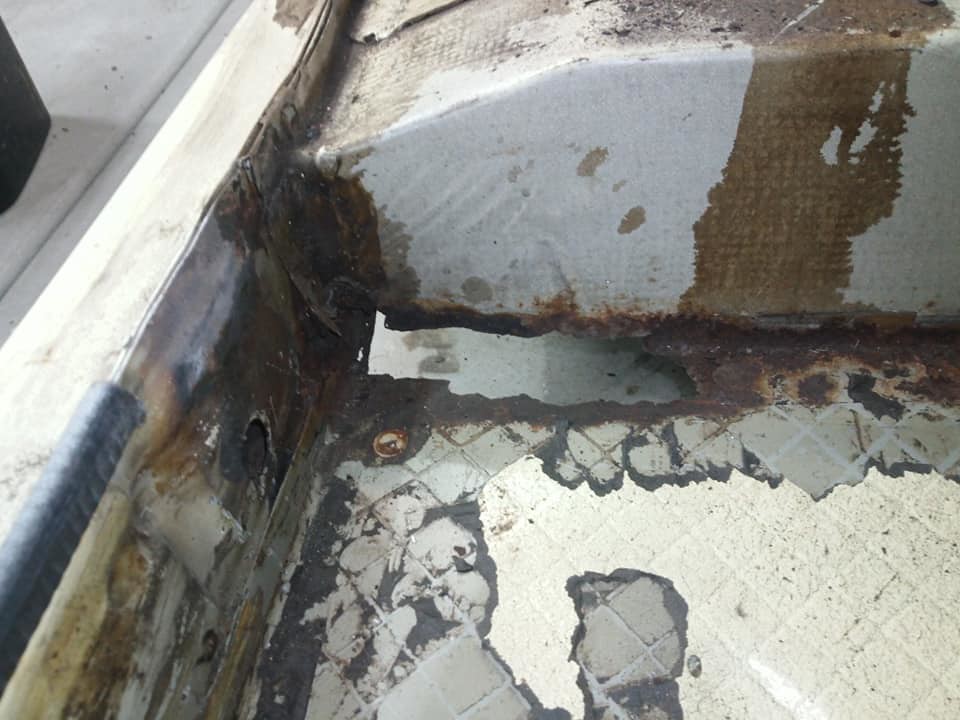
The last rusted panel came out of this section of the car. It was the inner wheel well. Since I had already rebuilt the inner skin on the wheel side it was easy to make.
Once again I was grateful to have a spot welder it made the whole process much easier. I used the copper weld to ensure that the welds penetrated well. The piece was a very simple right angle bend that tac'd right into place.
The welder is giving me a bit of issue it gets temperamental on the feed, it can get really frustrating because the wire isn't always consistent in its speed.
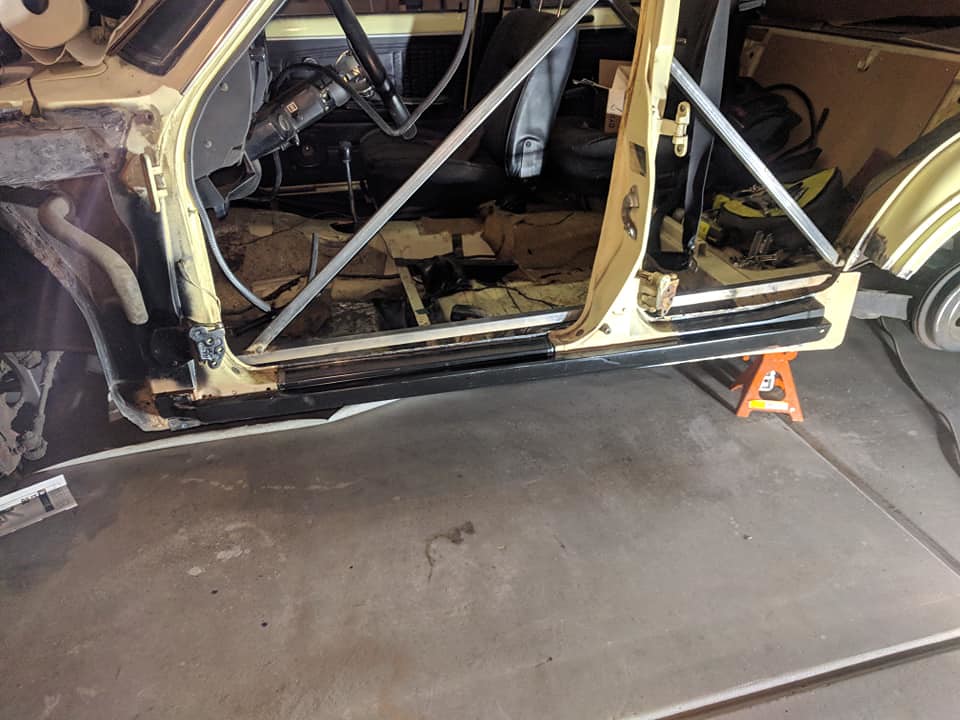
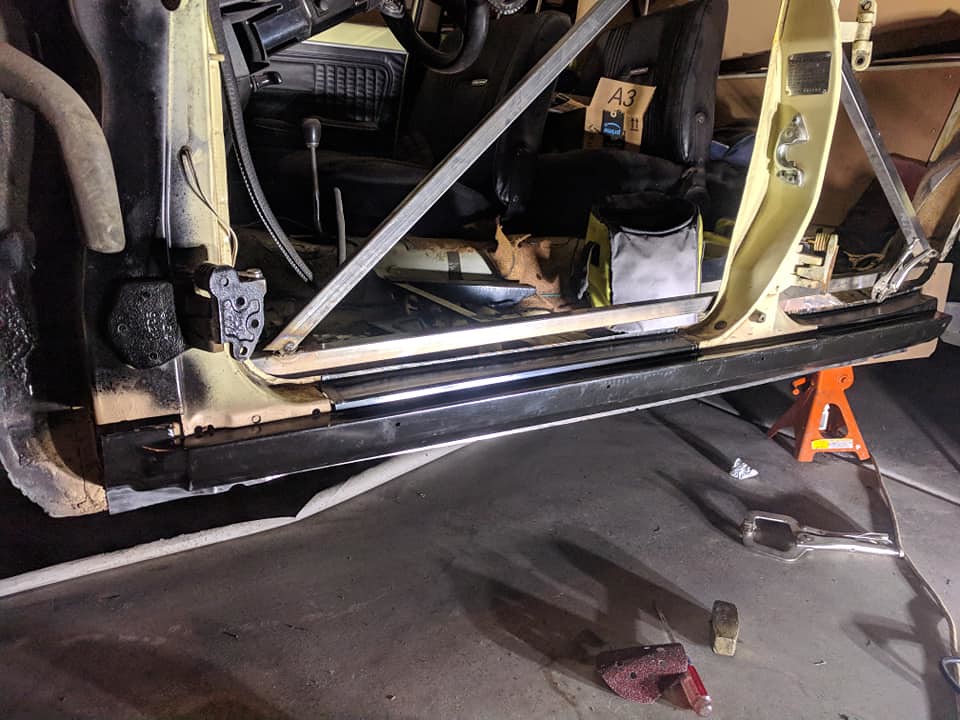
You can also see I removed the door braces.
Keeping the movement forward, though slower than I was when I first started this project.
Pictures
After I grinded it down.
.
75280z
Reader
3/1/19 7:13 p.m.
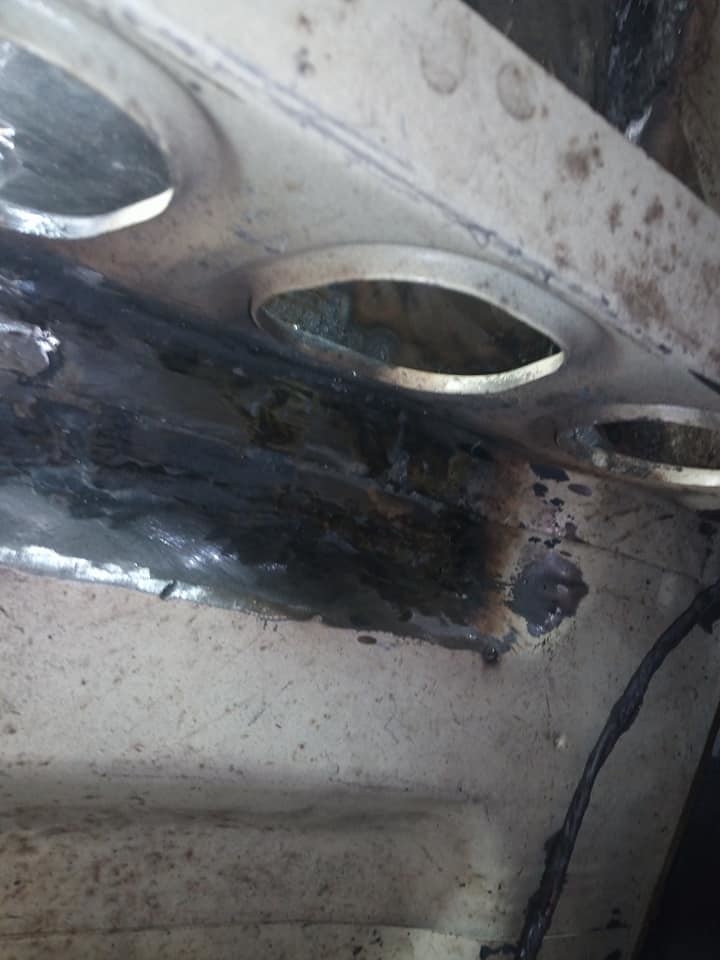
This work was done 11 Feb 2018
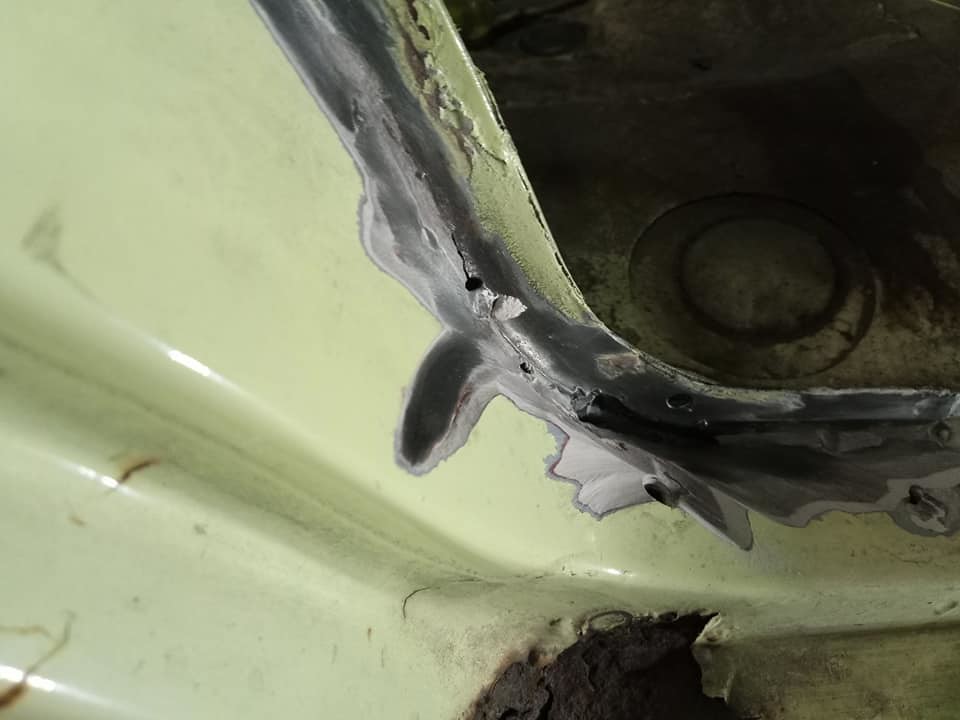
I started by cleaning out the car, then I recognized how terrible the welds looked so I ground them down and cleaned up the area.
There was only a couple pictures taken of this work.
Before
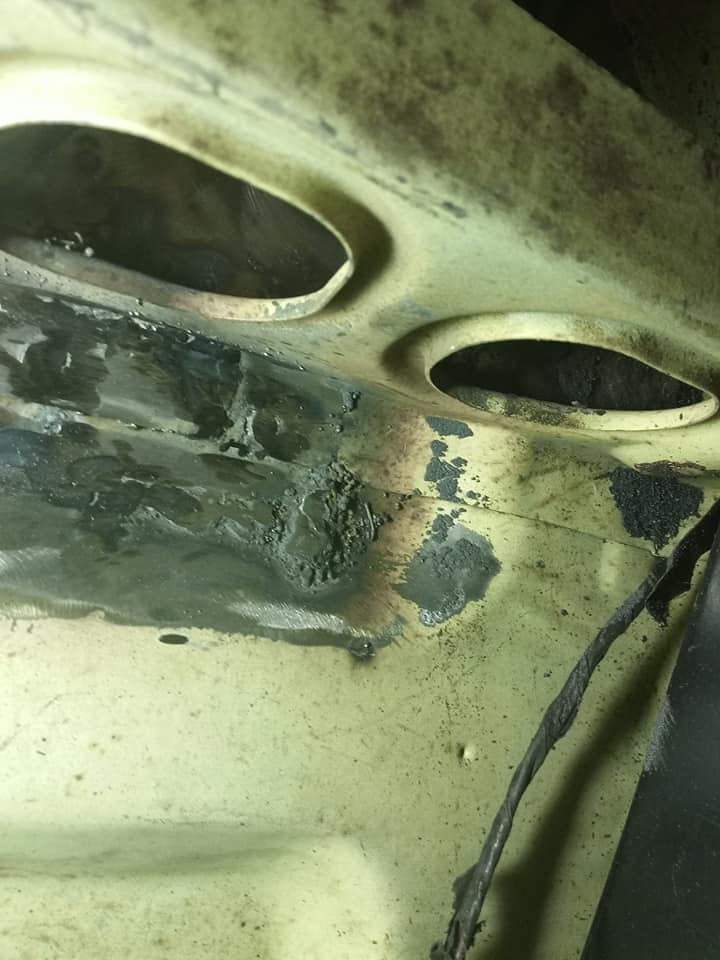
After
.
75280z
Reader
3/5/19 12:23 a.m.
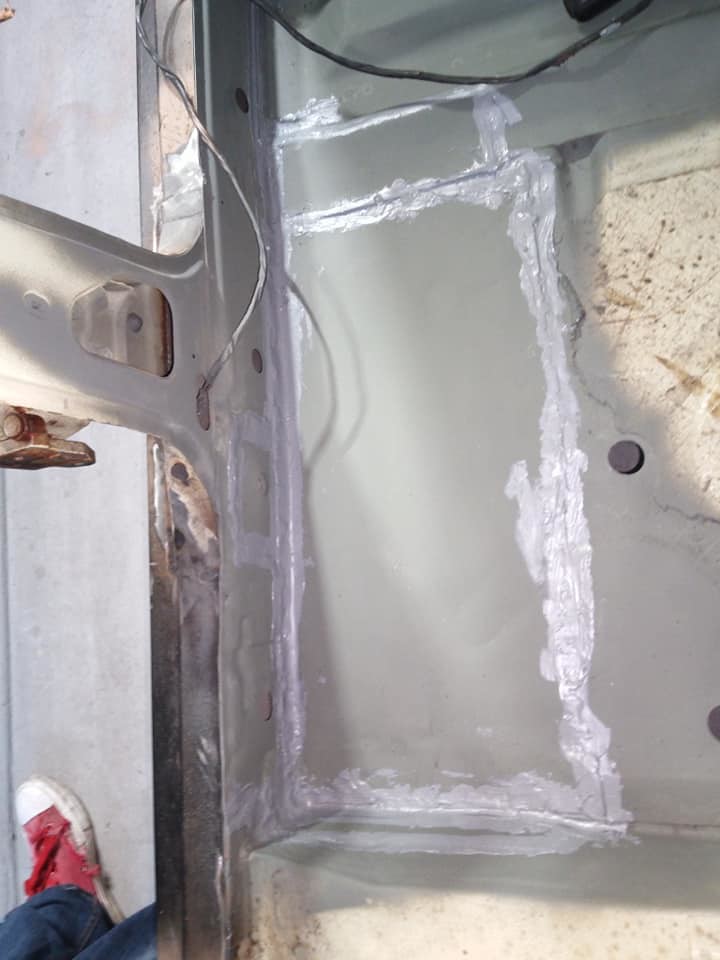
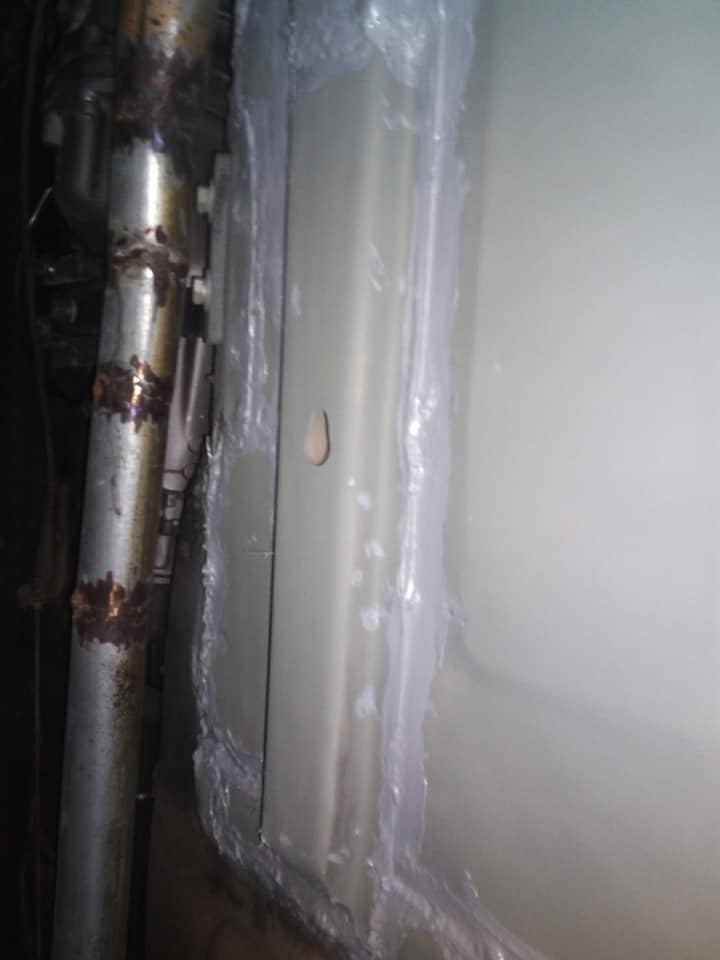
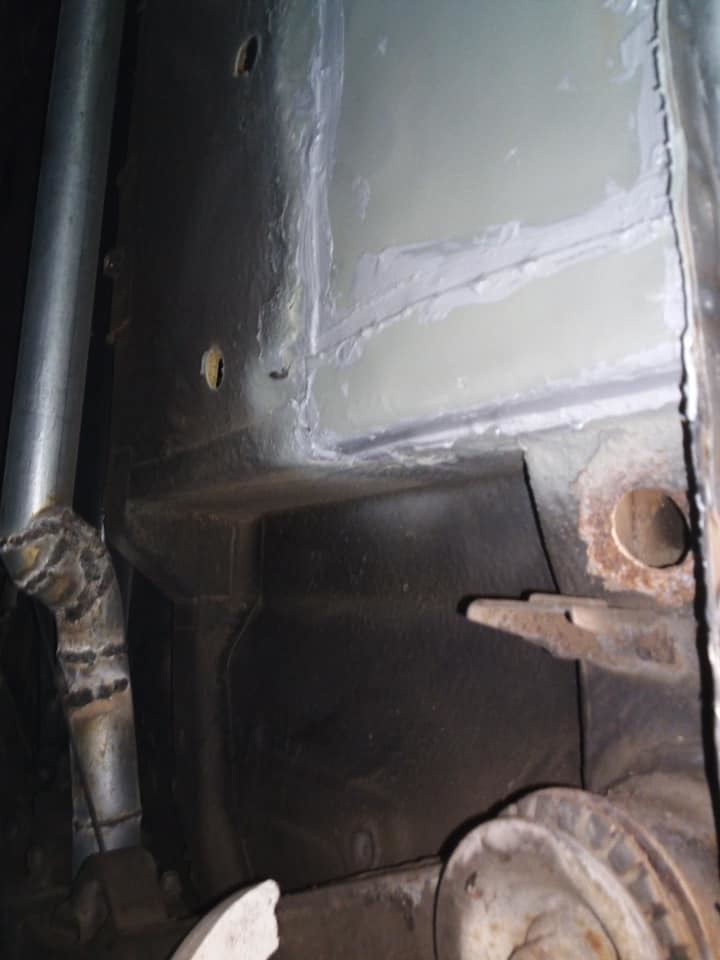
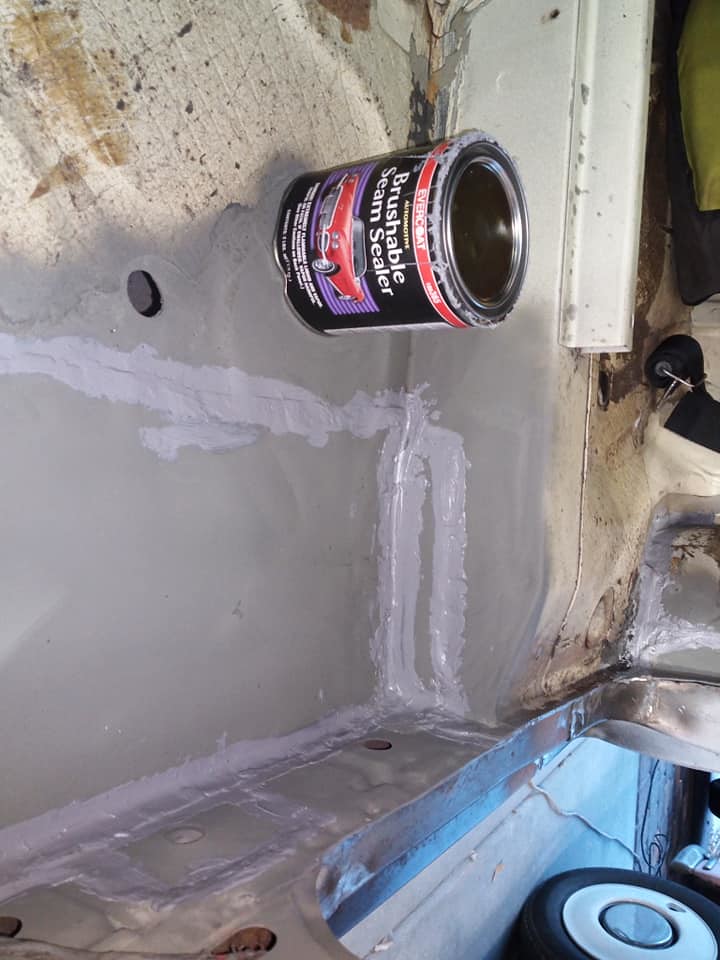
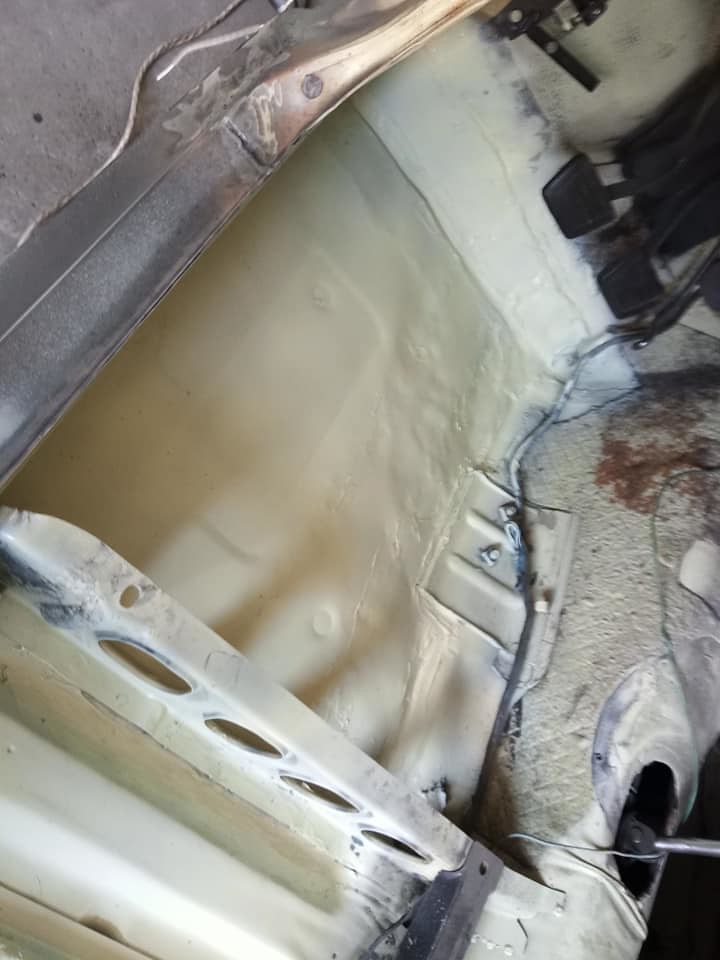
Alright next video made. A quick update again. I added seam sealer to the panels I put in the car. I also updated my PC, and the editing software isn't crashing every 10 minutes which has been really nice. Because of that I was able to do a bit more overlay graphics. Hope you like it.
Before:
After:
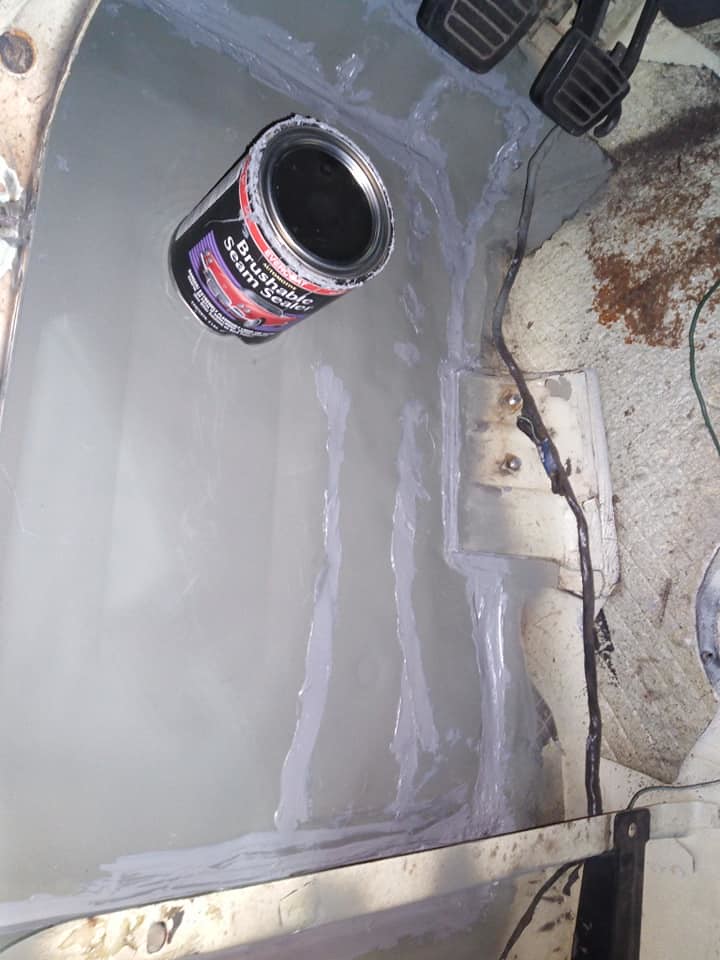
Then I painted real quick
.
75280z
Reader
3/11/19 2:18 a.m.
I started the bondo process on the wheel arch today after cleaning the last bits of the welds up.
.
75280z
Reader
3/17/19 10:05 p.m.
Update: I added photos to the past 4-5 posts, not a ton but it makes it better than just having to watch the videos. If you aren't watching the videos, I must say you are missing out that is where the detail is really happening
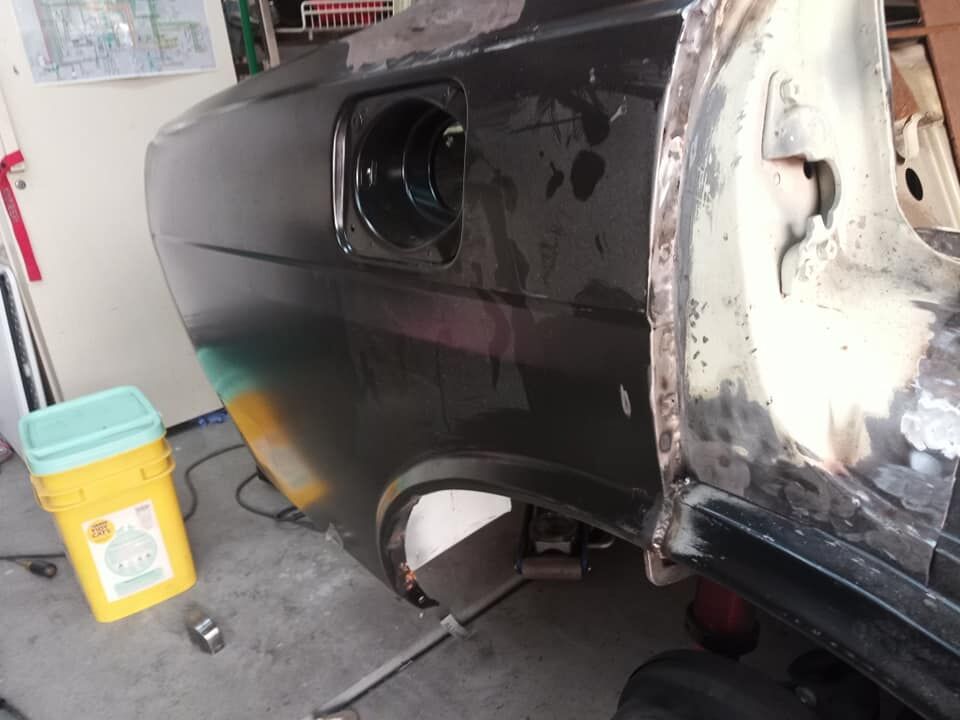
I sanded down the arch and got it looking good enough to be in a closed door ~99% of the time. I am waiting on some cleaning chemicals for painting. so I decided to move to the rear fender. The replacement fender that came with my car is not the complete fender so I will need to cut out some parts. There was lots of rust, so I wore a respirator the entire time.
Date: 10 March
1. Removed the bumper that was not even fully attached, the side marker light (2x screws), rear light (8mm bolts), and the side molding (just pull). I also had to remove the trunk seal as well (scraped it out)
2. Remove the spot welds in the trunk, the drop panel was pretty well rusted and I needed to remove the welds. I started by cleaning the trunk out, and then getting after it with a wire wheel (which is on its last leg). I tried to remove the spot welds with a spot weld drill it was not working, so I used the grinder to cut the welds as best i could and realized it would be better to just use a chisel to bust out the old spot welds as that panel is going to need some help anyway. Once those were done I kept moving around the trunk. Whatever the trunk is coated in I absolutely HATE.
3. Remove the spot welds along the top of the fender, I was very meticulous here as I wanted this whole area to come out very clean. There were at least 7 along the top, and two on the vertical surface as well. The rear panel I just decided to cut as I was not going to get those spot welds out at those weird angles.
4. I then used the angle grinder and removed the very back piece of the fender first, this was mainly to be able to slip the new fender on so I could get an accurate measurement for the front portion so I didn't accidently cut too much.
5. Removed the other portion of the fender, inner wheel well, and the drop panel (these will have to be replaced as well.

.
75280z
Reader
4/20/19 4:45 p.m.
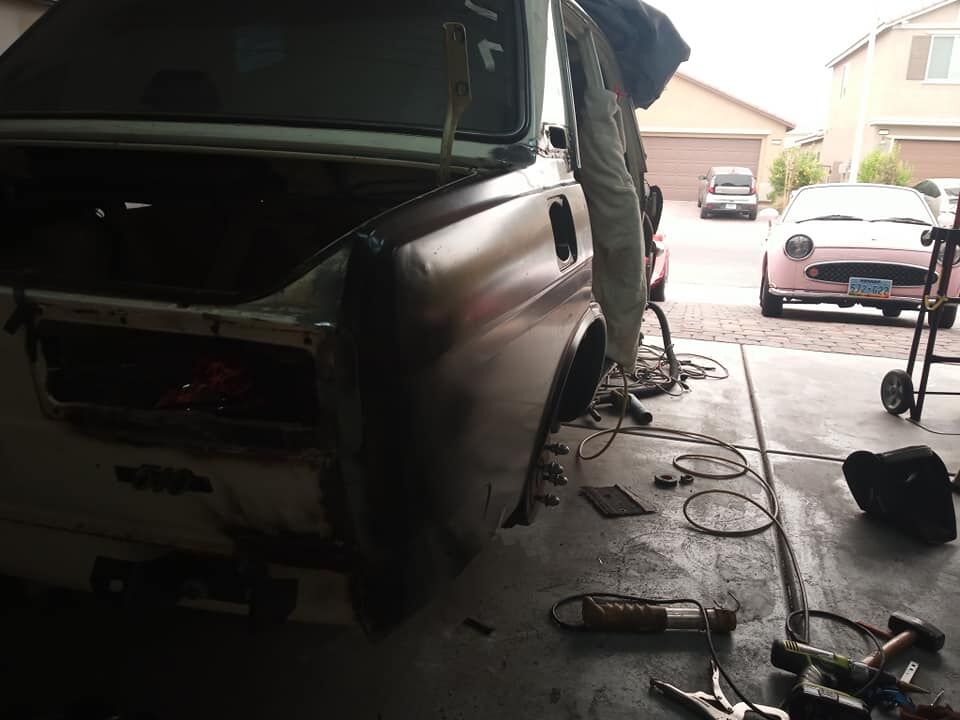
Finally got some more work done. I just got the video done as well. I removed the inner and outer fender arch from the car. I then fruitlessly tried to remake the arch several different times by different methods before giving up. As Thomas A. Edison is quoted as saying: 'I have not failed. I've just found 10000 ways that won't work."
75280z
Reader
4/25/19 11:05 p.m.
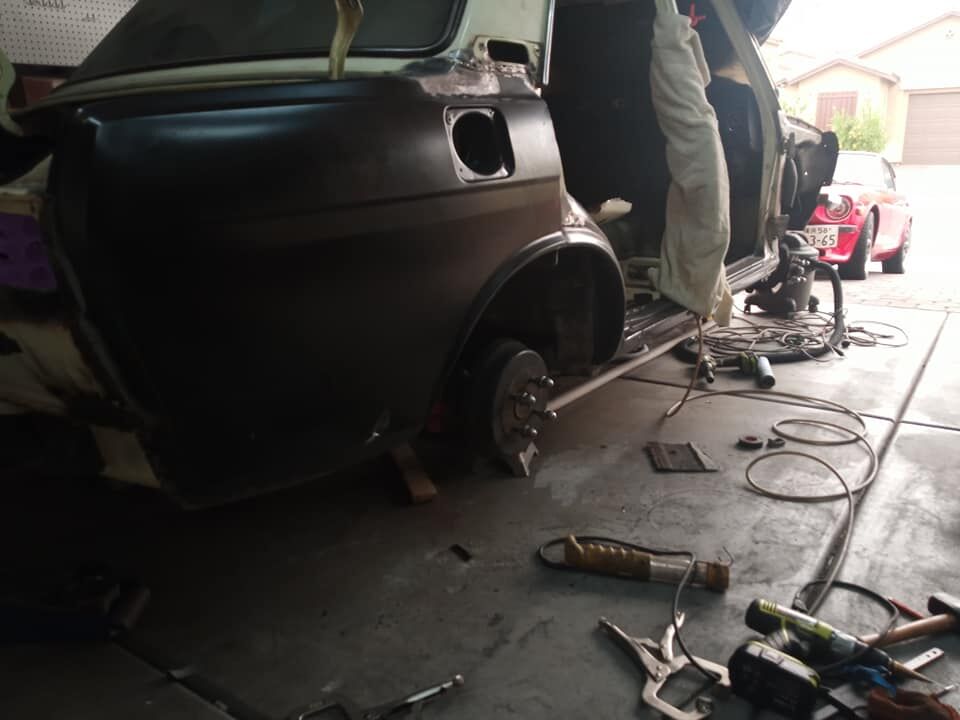
In the next part of my work on the 510 I replace the lower and outer portion of the inner rear wheel arch, replace some of the trunk floorboard, and weld in the trunk drop panel. Not a bad amount of work. I am still working through the settings on the welder, but it is going well. Let me know what you think.
.
75280z
Reader
10/17/19 12:58 a.m.
Blows the dust off of this thread. It isn't 110 degrees outside any more. Back to work!
While this project has largely sat for the past 4 months I have not given up hope. I should have another couple videos produced in the next few weeks to a month hopefully, work has started again.
Check out the passenger's side rust!
THe bondo was all from the passenger's foot well underneath a wicked awesome patch panel sealed with duct tape
That hole is after the bondo was removed, The back also had a good chunk of metal missing at the corner. Ohh and look at that bondo depth on the rear arch.


75280z
Reader
10/20/19 4:52 p.m.
Newest video is up. Getting the car prepped for more work as I move forward.
.
75280z
Reader
11/1/20 5:31 p.m.
Bumping this to the top to let everyone know I have started working on this again and have made some great progress over the past 3 months (13 more videos so far). The major body panels are all replaced and I am even working to out the car back together. I have weekly videos getting published on my YouTube Channel.
https://www.youtube.com/channel/UCwQDvd-3-xoIm43kkpGAS0w
75280z
Reader
11/28/20 12:40 a.m.
Latest Video drop here is a synopsis:
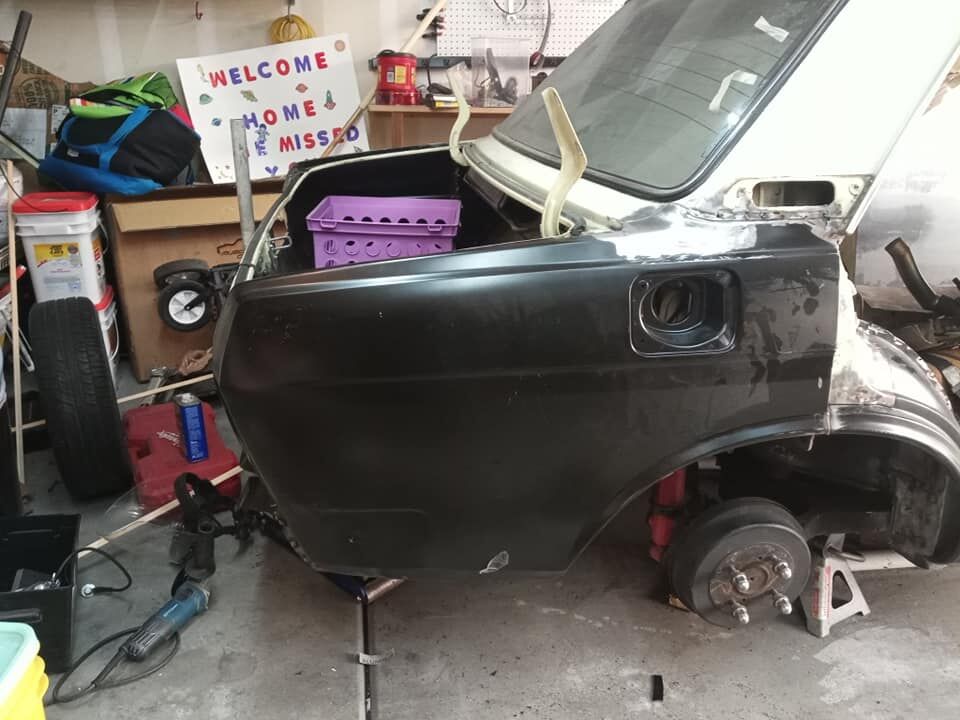
- Mounted the new rear passenger fender. This took a bit of cutting and massaging, but a straight forward work in the video.
Good to see You still at it!
Still love this build.
A 510 is on my bucket list of cars to own/drive.
75280z
Reader
11/28/20 3:24 p.m.
In reply to chandler :
Thank you. I am chugging along. I am definitely glad I have the opportunity to do something like this.
75280z
Reader
11/28/20 3:25 p.m.
In reply to Azryael :
Thanks for following along. As we get closer and closer to a "finished" project we can really see where I made all the mistakes :D
75280z
Reader
12/5/20 11:52 a.m.
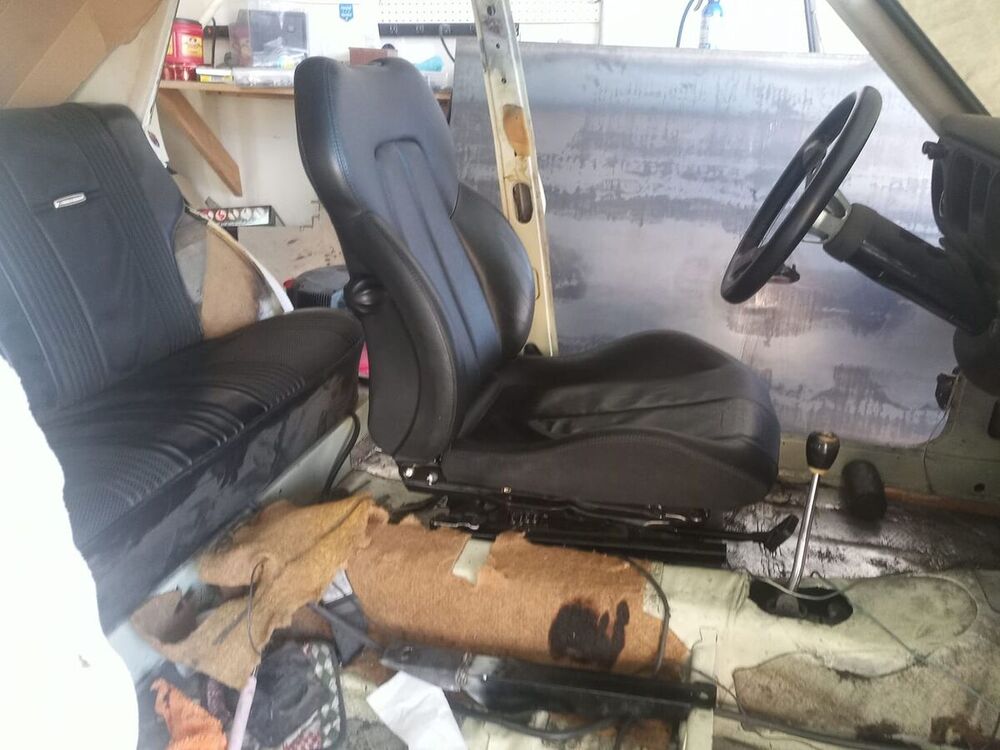
Next video is up in tis video I adjusted the seat mounts and the CLK seat rails to fit into the Datsun.
I started by thinking I was going to just put the seats on the old rails, but the mounts were much longer (They are the correct width), but that would have extended the back of the seat way past the back of the mount causing a large amount of leverage on the mount itself. so I devised a simple extension which allowed me to bring the excess forward on the seat, instead of backwards into the back seat. This wasn't a very hard project day, but was nice to see the new seats in the car. This is one of those little projects that I have been looking forward to figuring out. Sorry my camera always seems like it has a small sheen of vaseline on it.
75280z
Reader
12/18/20 9:45 p.m.
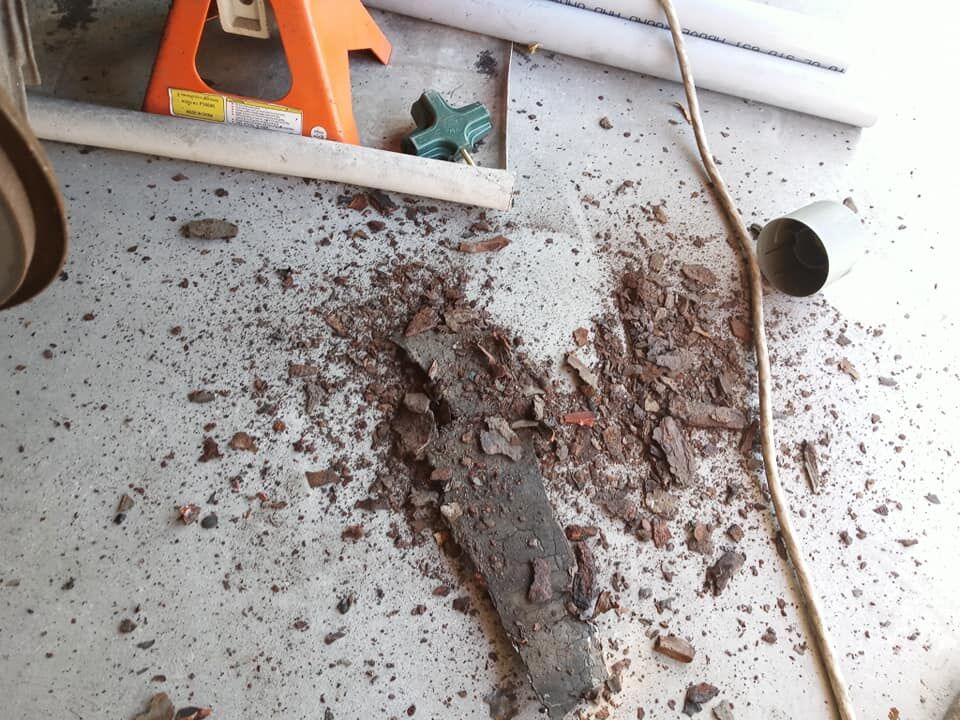
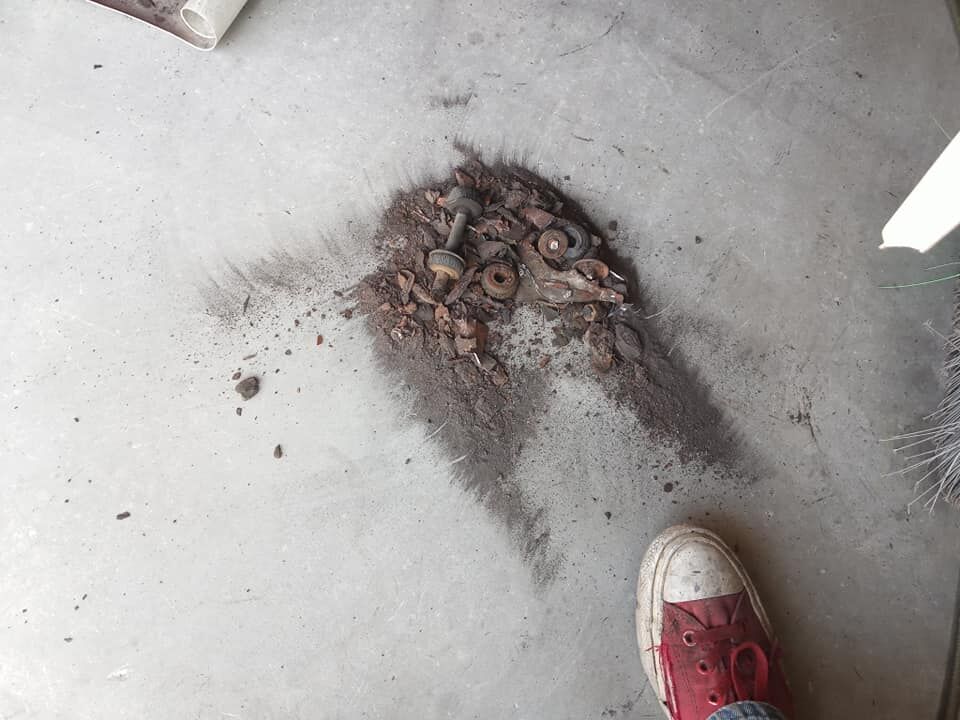
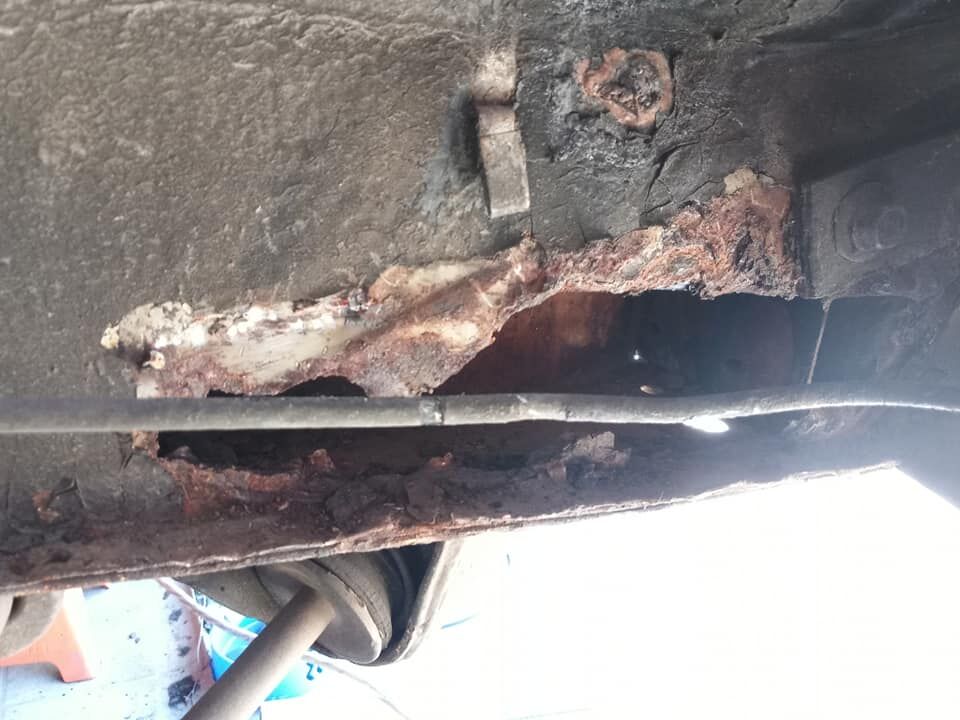
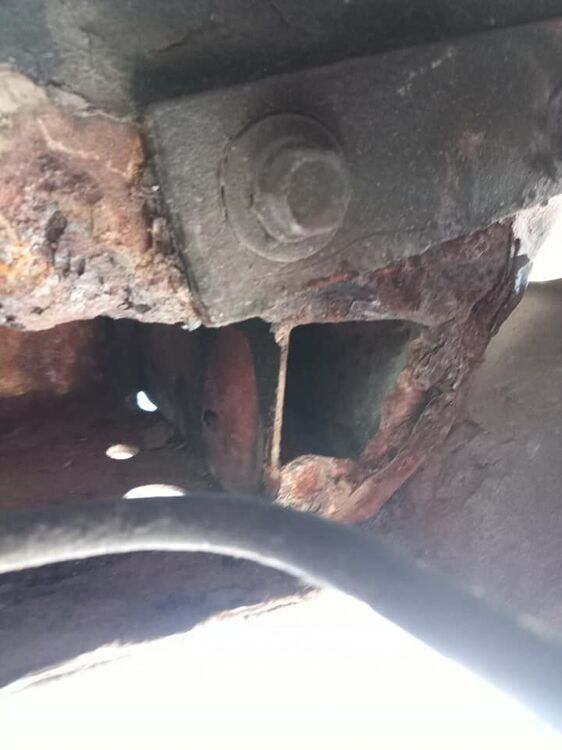
Well now we tackle this front rust! This frame will be fixed!

75280z
Reader
1/9/21 9:01 p.m.
Well Grassroots family. The rust repair continues unabated. Check out the videos below!
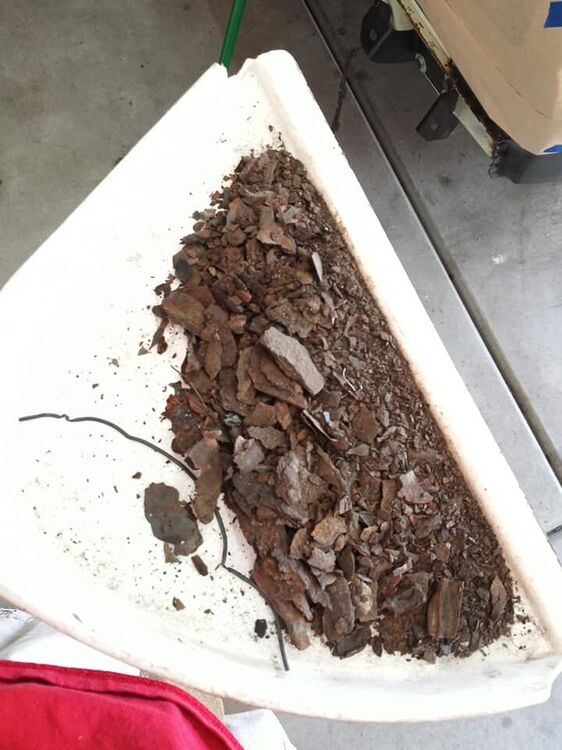
Got some good progress on the passenger's side front frame rust. Will be moving to the Driver's side next week.
Definitely making progress on this thing. I got quite a bit more cut out then my angle grinder died
75280z
Reader
1/9/21 9:02 p.m.
I am a couple weeks behind I have the passenger's side complete, and now I have moved on to the driver's side!
.
75280z
Reader
1/9/21 9:07 p.m.
The front piece is in now, and The car can literally fly in the air*! I cut the metal out, bent it into shape, cut out some plug weld holds and slapped it into place and fused two metal together using the hot stick better known as a MIG welder.
*Disclaimer: It cannot literally fly in the air.
.


