4 5 6 7 8
FooBag
FooBag New Reader
7/29/16 8:19 a.m.
jim5 wrote: As far as region I just moved to Illinois so I think my options are like 2 southern illinois events a decent amount of scca iowa events and some michigan here and there.

Welcome to the area! I run the Iowa Region program so if you have any questions about our events, let me know! This is our first full year, so events have been announced as I can land venues. Next year, I'm hoping to have a full schedule lined up from the start of the year now that I have established history with venues.

One other option for rallycross in IL is Stateline Rallycross They hold events in north central IL and also in Arkansas.

If you're anywhere near the Quad Cities (Moline, Rock Island), the Great River Region has been toying with starting a rallycross program but don't have enough dedicated people to get it up and running. /end thread jack

95maxrider, I've been lurking in your thread since the beginning and I am very glad you found a way to get this car going despite the frame damage. Keep up the good work!

95maxrider
95maxrider New Reader
7/29/16 1:54 p.m.
FooBag wrote:
jim5 wrote: As far as region I just moved to Illinois so I think my options are like 2 southern illinois events a decent amount of scca iowa events and some michigan here and there.
Welcome to the area! I run the Iowa Region program so if you have any questions about our events, let me know! This is our first full year, so events have been announced as I can land venues. Next year, I'm hoping to have a full schedule lined up from the start of the year now that I have established history with venues. One other option for rallycross in IL is Stateline Rallycross They hold events in north central IL and also in Arkansas. If you're anywhere near the Quad Cities (Moline, Rock Island), the Great River Region has been toying with starting a rallycross program but don't have enough dedicated people to get it up and running. /end thread jack 95maxrider, I've been lurking in your thread since the beginning and I am very glad you found a way to get this car going despite the frame damage. Keep up the good work!

Thanks for the support! And congrats on getting a new region up and running!

95maxrider
95maxrider New Reader
8/1/16 2:08 p.m.

Alright, time for a big update on the trailing arms and general state of the car!

You may remember that I bought a set of rear trailing arm brackets off a guy on Instagram who makes ones from scratch that allow for more toe-out adjustment than the stock brackets can provide. They are mainly for stance guys it seems, but I figured I might as well give them a shot. The guy quickly answered all my questions and I was impressed by his service, so I was happy to pay $150 for what I hoped would be a quick and easy fix.

Here they are:

Compared to stock:

Hmm, that could be stronger...

However, I ran into a problem when I went to install them over the Bimmerworld sealed bearing rear trailing arm bushings/bearings. Because the bearings are held together with three screws that stick out past the normal area of the OEM bushing, they were too wide to fit into the new brackets. After going back and forth with the guy who made them, we figured out that he wasn't aware these BW bearing existed, and thus only designed his brackets to work with OEM style poly or rubber bushings. Crap!

I tried a couple stupid things to get more clearance before realizing that no amount of grinding and spreading would fix the problem. It was the day before I was scheduled to take the car to the Rallycross National Championship event at our home venue in Frostburg, so I was desperate!

I tried spreading with my caliper tool...

I tried grinding...

But it was no use. Time to scramble and find a car to co-drive for the event! Fast forward a day or two and I'm talking with Brian at the event and he agreed to help modify the brackets to get them to work. It turns out Brian lives about 15 minutes from me and is quite handy with welding and fabricating, so I was relieved to find a potential solution so quickly! After the event I went and dropped off both the new brackets and the original ones. In the end, he decided to just extend the stock brackets to allow for longer adjustment slots instead of grafting the stock center portion onto the aftermarket ones. While he was at it he threw in some extra welds around the brackets to stiffen them up a bit. A few days later and I had brackets that were guaranteed to fit! The question was whether it would be enough to get the car back in spec.

A big thanks goes out to Brian for helping me out with these and getting them done so quickly!!!

Brian's on the left, aftermarket on the right:

Stronger!

More adjustable!

Painted!

Installed!

I spent some time grinding down some rough welds down there that Eric had done when welding on the reinforcement plates to make sure the brackets could adjust as far outward as possible. Then it was off to RRT again for another alignment. Their alignment machine was having trouble printing so I don't have a nice print out, but here's what I remember off the top of my head.

Front: About -0.8* camber

Rear -1.5* camber

0.35* toe in on the PS (was 1.1 toe in) and 0.15 toe in on the DS (for some reason that's as far as they could go in even though they had it at 1.0 toe in before....???)

So it's still out of spec, but at least it seems reasonable in comparison to what it was before. On the drive home I didn't feel the rear end doing anything stupid, and with my now butter-smooth steering thanks to lubing the u-joint in the steering column, the car was feeling great! With that, it was time to get the car through VA state inspection, as I was a few days overdue. With a little creative engineering that won't be posted online, I got through inspection just fine, and with that, it was time to really get busy! After two or three months of the project being paused, it was back to being crunch time so the car would be ready for the next race. Woo hoo!!

bluej
bluej UltraDork
8/1/16 3:06 p.m.

So what'd you guys do at Josh's yesterday?

irish44j
irish44j UltimaDork
8/1/16 3:31 p.m.
95maxrider wrote: In the end, he decided to just extend the stock brackets to allow for longer adjustment slots instead of grafting the stock center portion onto the aftermarket ones. . A big thanks goes out to Brian for helping me out with these and getting them done so quickly!!!

Oh it was Brian's idea, was it?

irish44j
irish44j UltimaDork
8/1/16 3:33 p.m.
bluej wrote: So what'd you guys do at Josh's yesterday?

I sweated ballz and modified his seat brackets to make his seats fit better and more centered (I really need to make a personal rule about doing any welding/grinding work when it's over 90 degrees!)

Nick, Justin, and Jeff went out and got lunch and smokes for me to keep me motivated, lol

bluej
bluej UltraDork
8/1/16 3:41 p.m.

hahhahah! Sounds about right. I was actually out in Herndon Sunday AM, but had to head straight back home at 11:30.

Nick, I'll probably be doing more of that in the future so stopping by on Sunday afternoons should be fairly easy.

95maxrider
95maxrider New Reader
8/2/16 7:47 a.m.
bluej wrote: hahhahah! Sounds about right. I was actually out in Herndon Sunday AM, but had to head straight back home at 11:30. Nick, I'll probably be doing more of that in the future so stopping by on Sunday afternoons should be fairly easy.

Damn, what you doing out my way? Stop by any time man, I'm usually home!

bluej
bluej UltraDork
8/2/16 8:35 a.m.

Parked in Herndon center, then went on a bike ride on the W&OD out to Purcellville and back. It's so much nicer to ride out there than in the city. I plan to do it more, so I'll be around, just sweaty :p

95maxrider
95maxrider New Reader
8/2/16 8:49 a.m.
bluej wrote: Parked in Herndon center, then went on a bike ride on the W&OD out to Purcellville and back. It's so much nicer to ride out there than in the city. I plan to do it more, so I'll be around, just sweaty :p

Shiiiit, that will give me a good excuse to give my bike a tune up and join you. I need to start riding again!

95maxrider
95maxrider New Reader
8/10/16 1:40 p.m.

I made some more progress on the M3, so it's time for an update!

The offset Recaro seat was really bugging me, so I went over to Josh's place to have him modify the seat brackets (I don't have a welder) to get the seat closer to being straight with the steering wheel. After taking some measurements, we decided we could move the seat inboard 1", so Josh got to work cutting and welding.

Off come the old brackets:

Josh cut out a section of metal, then welded it back on the side.

Gotta make room for the manual height adjustment and seat belt receptacle!

Another bracket completed:

Workin'....

More bracket!

A few hours later and BAM! Almost perfectly centered seats!

No more contact with the door or B pillar:

Mmmmmm, sexy....

Big thanks to Josh for spending another day helping me out with my car. I promise it will all be done soon!

95maxrider
95maxrider New Reader
8/10/16 2:12 p.m.

It's been a while since I posted up any info about the skid plate, but with a race fast approaching, it was time to get it sorted out. You see, the u-brace that came with the main skid plate was just too short, and as a result, the skid plate was pressed up against the front sway bar really hard, since it sits below the u-brace, which is in front of the FSB. My initial plan was to get a bunch of grade 10.9 washers and stack them, but I quickly realized that installing the skid plate with said washers was bound to lead to much frustration and cursing, as they would obviously not stay in place when I tried to do the install.

Sure, that could have been remedied by wrapping the stack with electrical tape or something, but even then it would have been a pain in the ass. So I needed something that would stay in place when I removed the skid plate. Hmm, I have a bunch of 3/4" PVC lying around that I use to make speaker adapters with my buddy Patrick (here's my obligatory plug: http://carstereoadapters.com/ ) so I figured I would cut some up and see how it would work as a spacer for the skid plate. Turns out it seems to work well! I cut up a piece and attached it with some high heat RTV:

I had to enlarge some of the holes on the plate that didn't line up, but after that was all sorted the skid plate bolted up without a hitch.

You can see the curvature of the skid plate here:

In an effort to keep dirt and mud from getting into places that I don't want, I'm trying to get as much plastic around the engine bay as possible. I was missing one piece on the passenger side, apparently referred to as a "pork chop" which I picked up used. All the mounting points on the car were pretty messed up, so zip ties to the rescue!

Next up was a piece of plastic that houses some O2 sensor wires around the cats. It was hanging down pretty low, and I wanted to make sure it didn't get ripped off too easily when racing.

After taking a closer look, I found the protective sheath was worn down from rubbing up against the cat, so aluminum ducting tape to the rescue!

I then zip tied the two O2 sensor wires together in a few places to keep them from rubbing against the cats, and then used a metal zip tie to secure the plastic housing to the heat shield:

Is this really the correct placement/orientation of this plastic piece? It still looks like it's the lowest part of the car, which doesn't seem quite right.

Anyways, that's it for now. There is a race this weekend and I think the M3 is finally going to be able to make this one! Wish me luck, I'm gonna need it!

irish44j
irish44j UltimaDork
8/10/16 5:13 p.m.

glad to see the PVC thing worked out

See you up there on Sunday, make sure to get your practice in Saturday!

bluej
bluej UltraDork
8/10/16 9:53 p.m.

My rookie co-drive had to back out due to unexpected knee surgery while on vaca this week (yikes!). Still in for Saturday, Nick.

95maxrider
95maxrider New Reader
8/16/16 2:10 p.m.

Before I get to the race "results" I'll fill everyone in on what happened just before the race.

First up, I wanted to seal off the engine bay from as much dirt and rocks as possible, so I cut up some old fender liners and zip tied them to whatever I could find. It's not perfect, but it's better than it was.

Before:

After:

Next up I wanted to install the non-M side mirrors I picked up months ago. The paint was peeling off the aluminum base, so I taped them up and repainted them. Unfortunately, I didn't use my 3M painters tape and used the cheap stuff and paid the price. It probably didn't help that I left the tape on for a few weeks after painting them. In the end, it didn't matter.

M mirrors suck at being mirrors:

And non-3M painters tape sucks at being painters tape:

None of this mattered because these are apparently coupe mirrors, and they don't fit my sedan. I figured the guy who sold them to me, who parts out these cars frequently, would have known better, but I guess he didn't. Oh, the same thing happened with the a pillars he sent me too. Awesome!

While shuffling cars around the driveway one morning, the M3 was looking good and the sun was just right, so I took some glamour shots!

Damn I love these wheels!

After months of waiting, Rally Road finally had some heavy duty transmission braces in stock, so I ordered one and got busy! I've read some stories about these cars destroying the aluminum trans brace, and with the beating the car was going to be subjected to with rally-x, I figured this is pretty cheap insurance. I was going to be in there anyway to install new trans bushings, so I might as well....

This thing is beefy, while the OEM piece is pretty fragile feeling. Rogue rubber trans mounts FTW!

To be able to get a floor jack to support the trans while I remove the brace, I had to back the car onto the lift for the first time.

As a result, I was able to see things under the car I hadn't previously seen, such as this fantastic piece of engineering that is holding my rear shifter bushing in place:

No wonder why my shifter still has play in it.....Does anyone know if the metal bracket can be bought or replaced? I couldn't find a part number on RealOEM.

It was a tight squeeze under the car since the floor jack could only go up so far, but I got it all installed without much trouble!

The only criticism I have with the Rally Road trans brace is that it lacks the nubs the OEM piece has. Hopefully this won't be an issue....

The last thing I had to do before the race was get the skid plates installed for the fuel lines. Unfortunately this required welding, but thankfully Brian (who fabbed up my rear trailing arm brackets) came through with more help! Here's his rig:

The skid plates for the fuel lines come in two pieces for some reason, so we started working on the front one. It bolts up to the back of the main skid plate. To make installation easier, Brian welded on two weld nuts on top of the fuel line plate:

Then he was somehow able to weld on two more weld nuts into the body, even though the car was only up on rhino ramps and he had like 1' of room to work with....go Brian!

It came as no surprise that the pre-drilled holes in the plates weren't even close to lining up with anything, so we made a new one, then enlarged both, and were finally able to bolt up the front plate.

This at least covered up the fuel filter, but there was still the matter of the rear plate. It too didn't really line up with anything, and since it was after 9 PM, I decided to call it a night and hope I didn't need the second plate at the race the next day. Once again, big thanks goes out to Brian for doing things that I can't do at very inconvenient times. Thanks Brian!! At this point, I'm pretty unhappy with just about everything related to these skid plates. Rally.Build has poor customer service, overpriced products, and very poor fitment. Think twice before dealing with these guys.

95maxrider
95maxrider New Reader
8/16/16 2:50 p.m.

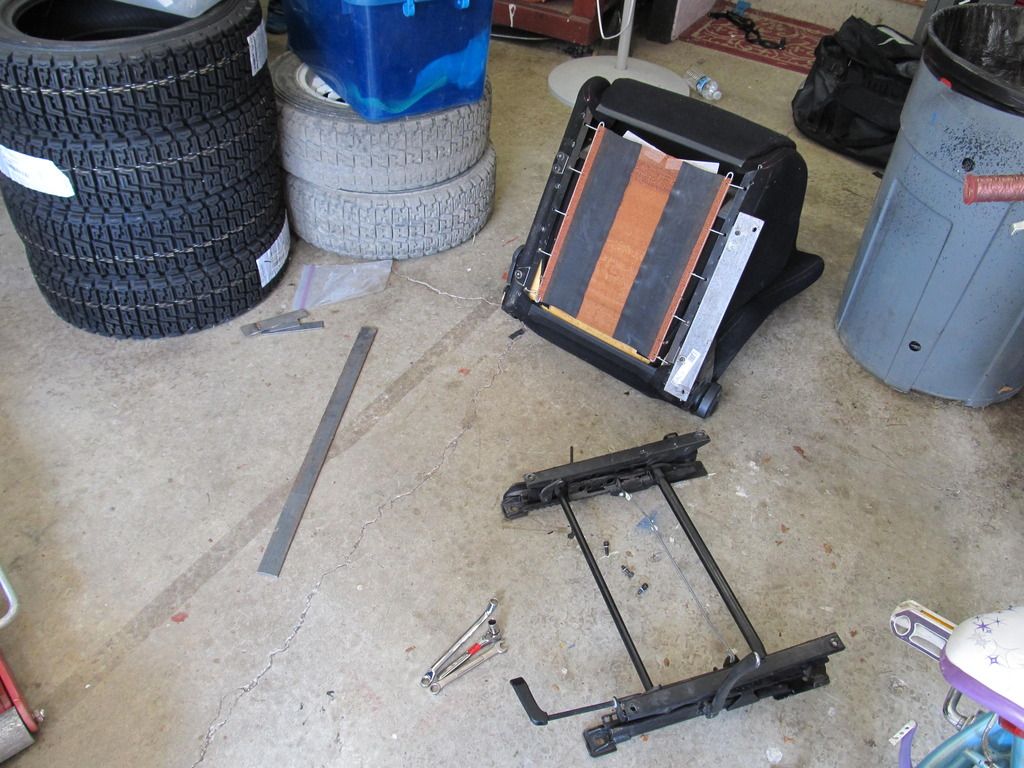
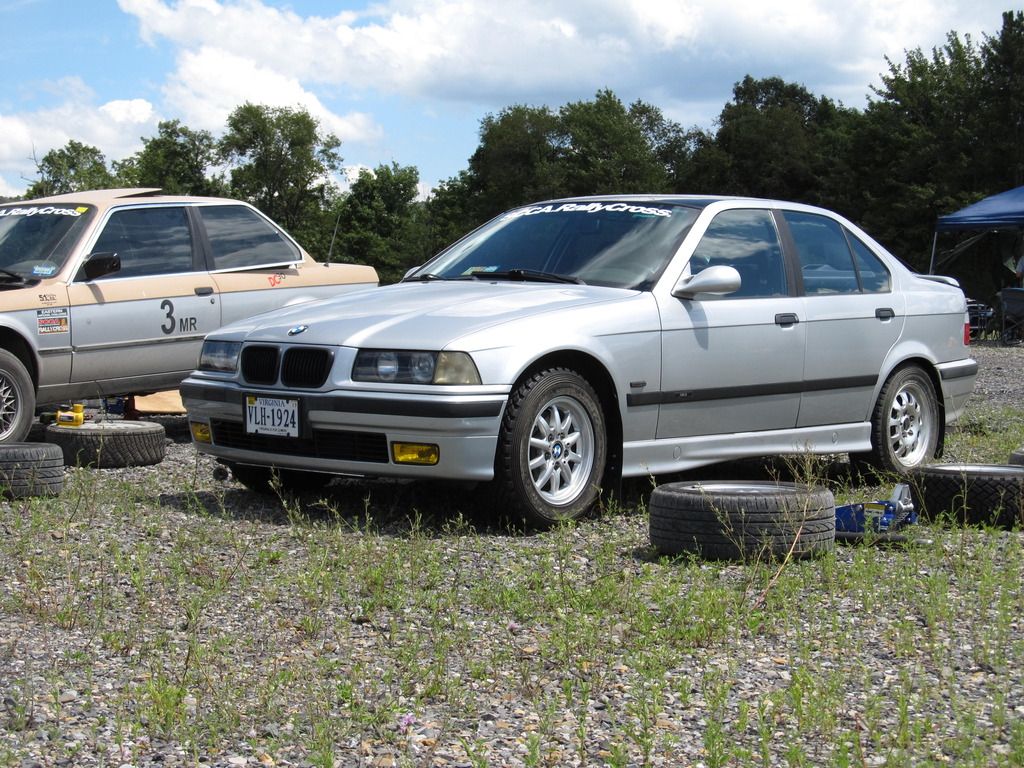
With all the work out of the way, it was finally time to race this freaking thing!! Saturday was a test and tune, and the race was on Sunday. Since I still have my old rally wheels and tires from the E28, I decided I would use them up for the TNT and save my newer, nicer tires for the race. Thankfully, I can somehow fit 6 wheel/tires in the back seat!

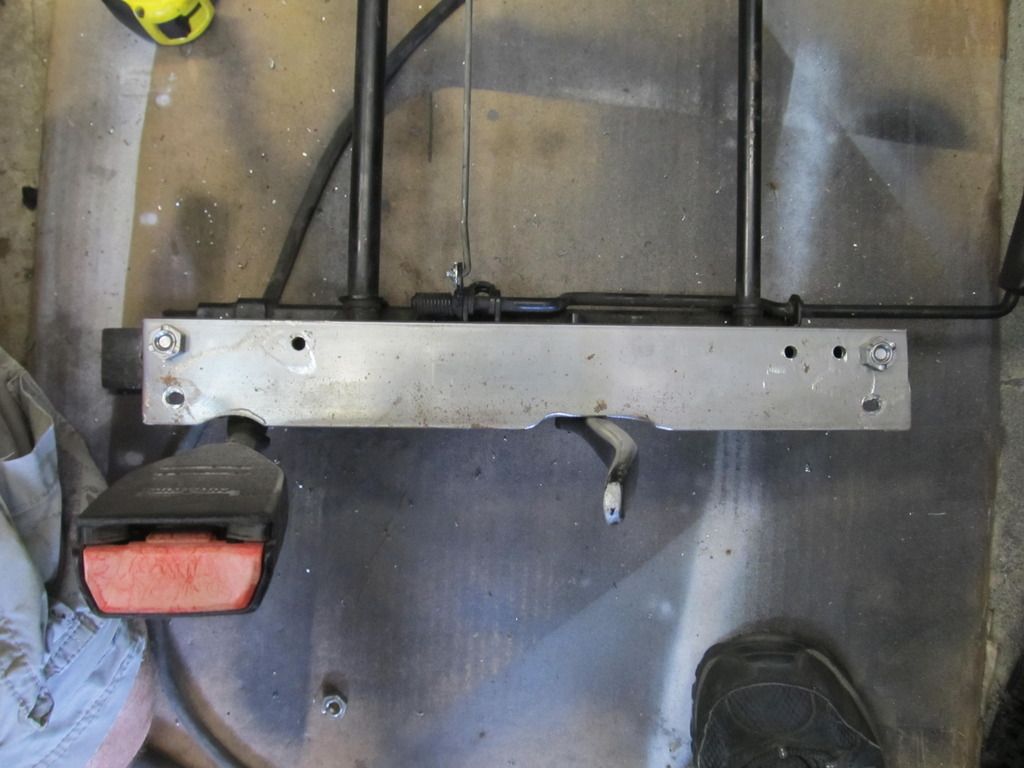
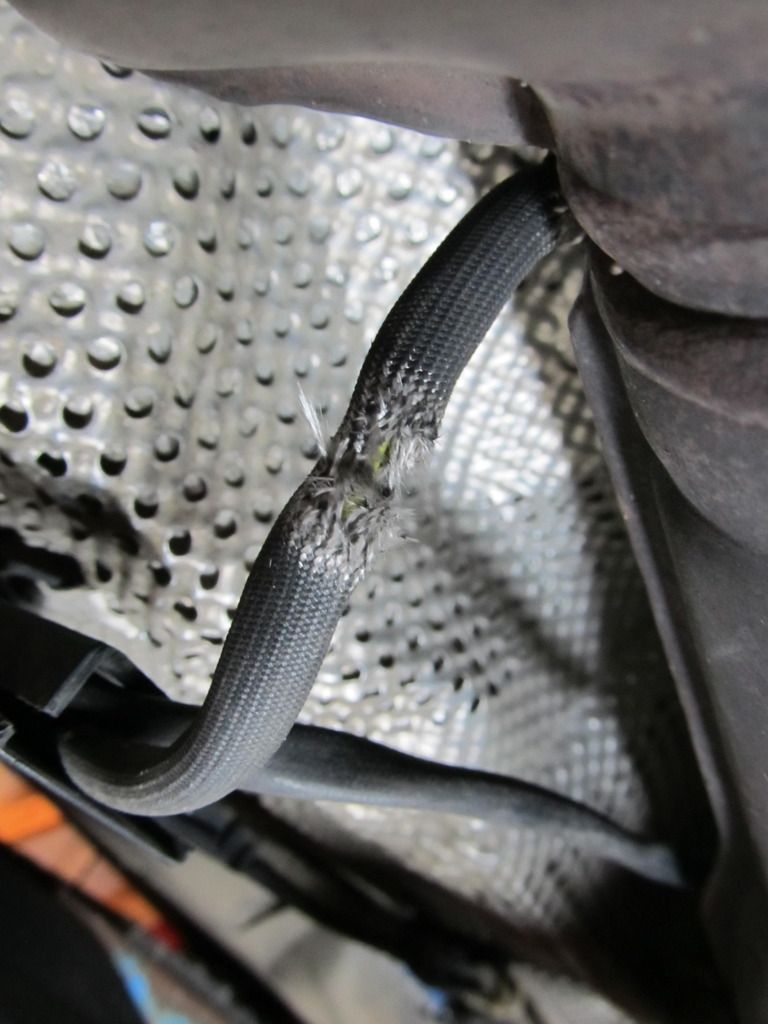
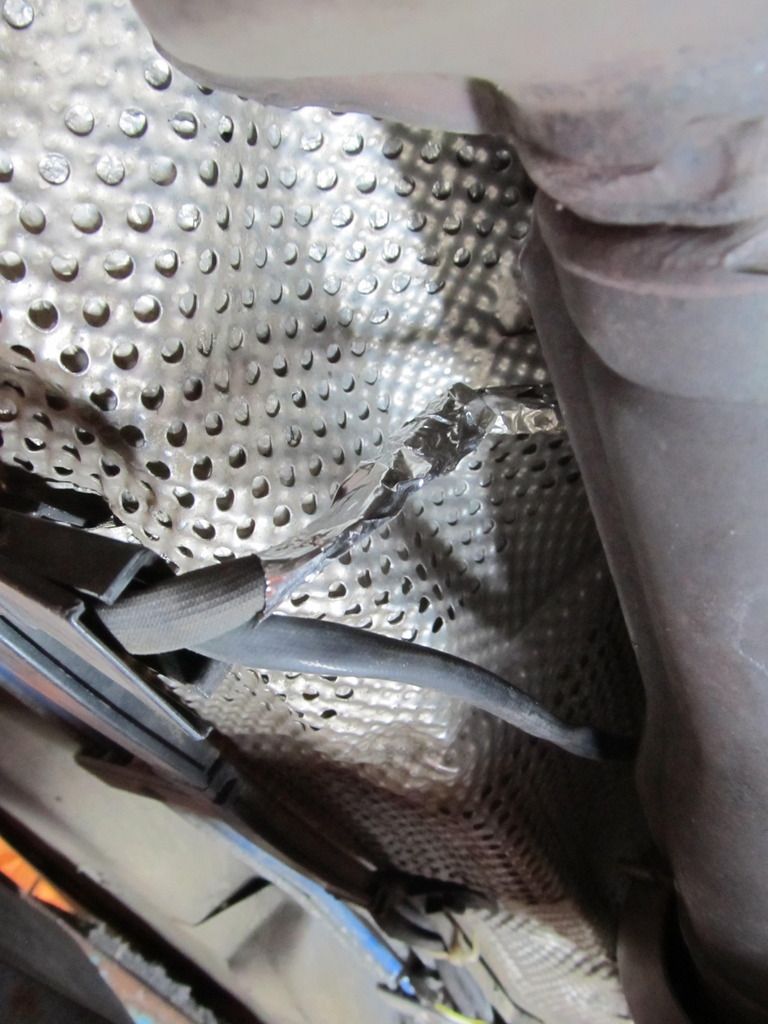
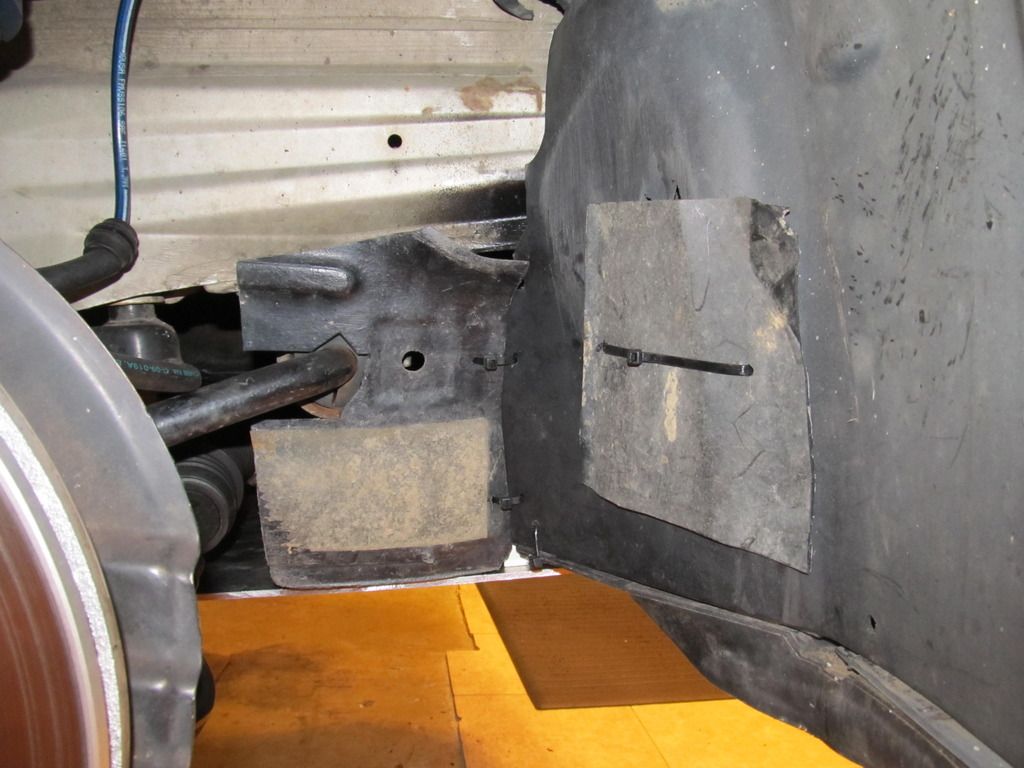
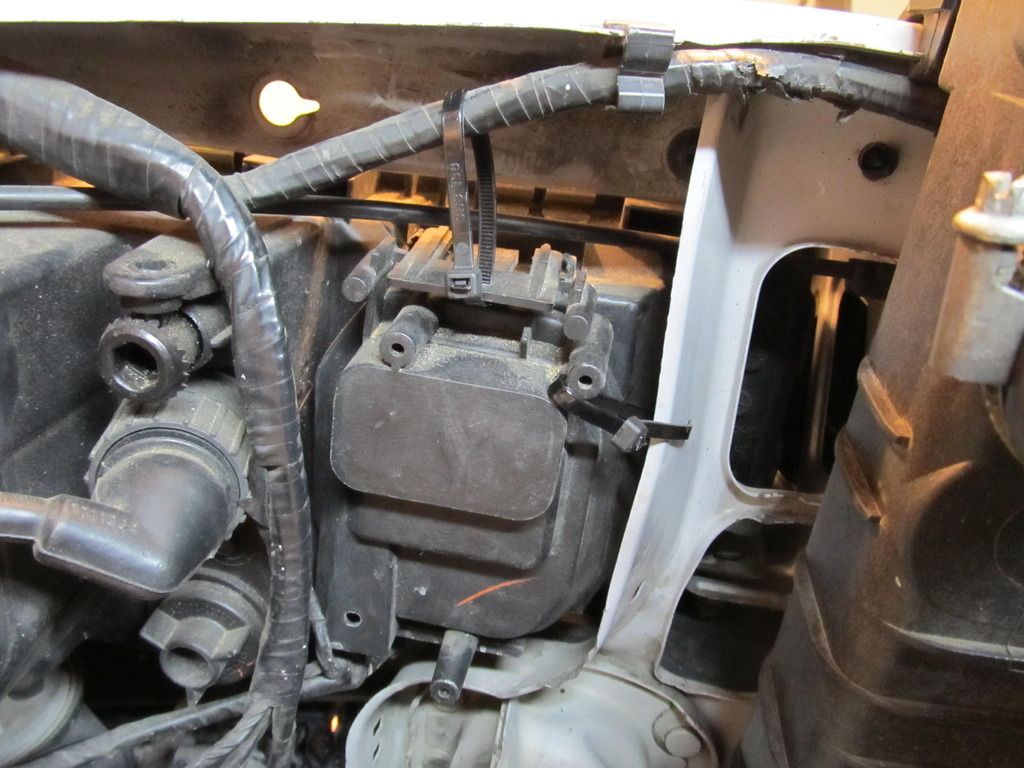
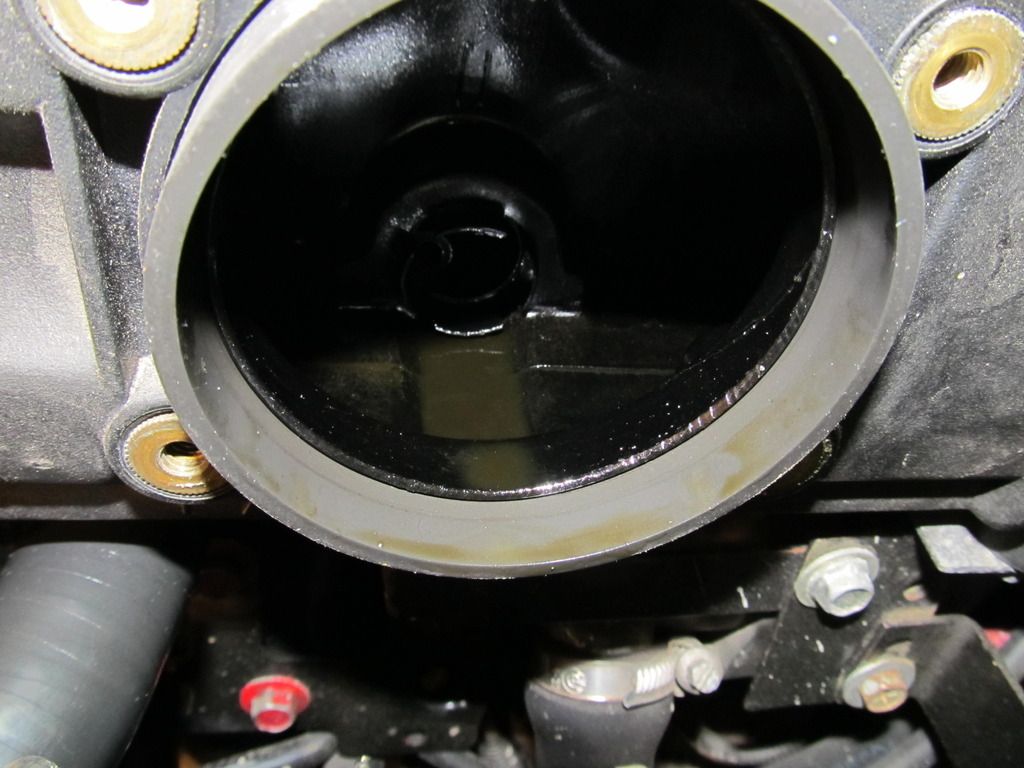
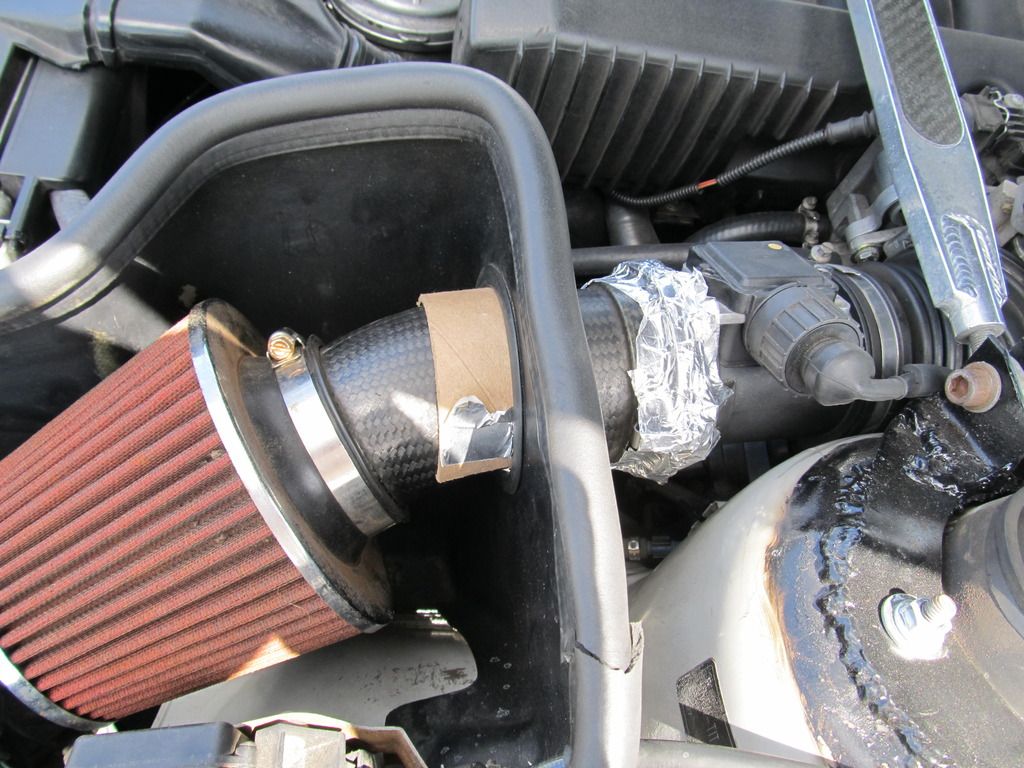
I had some time before it all started to fix two little issues in the most rally-x way possible. The crappy intake that came with the car doesn't seal very well, so someone whipped out some aluminum tape and we sealed it right up! The intake tube was also moving around a little too much in its heat shield, so half of the cardboard roll of aluminum tape came to the rescue. This is next level stuff right here people!

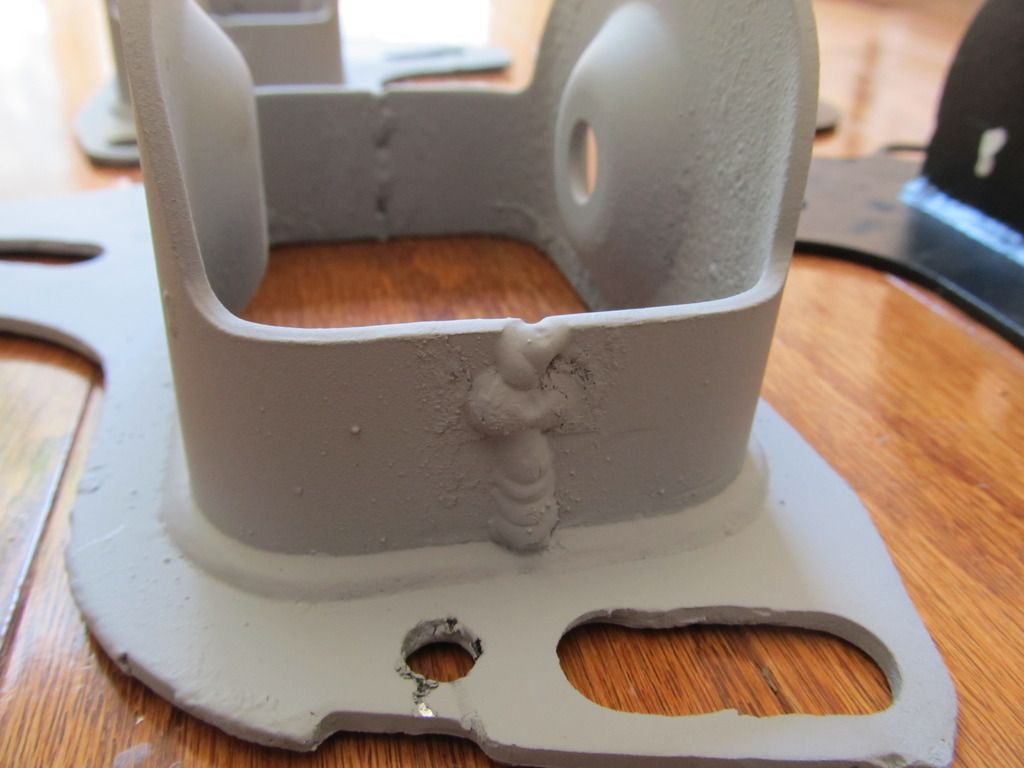
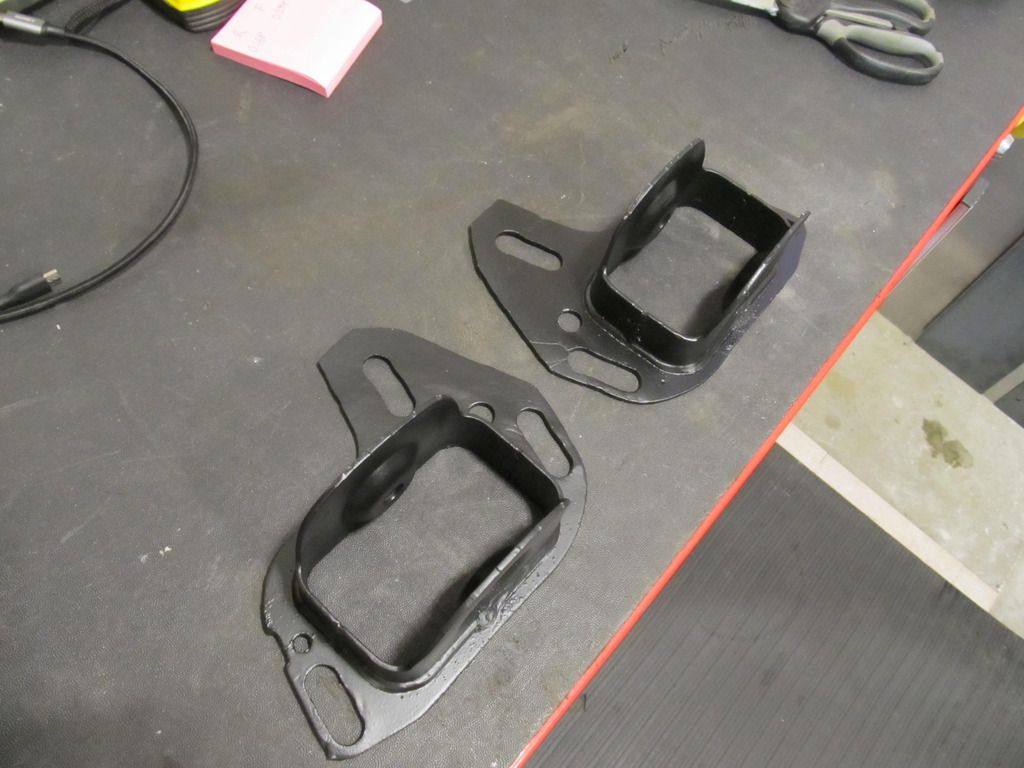
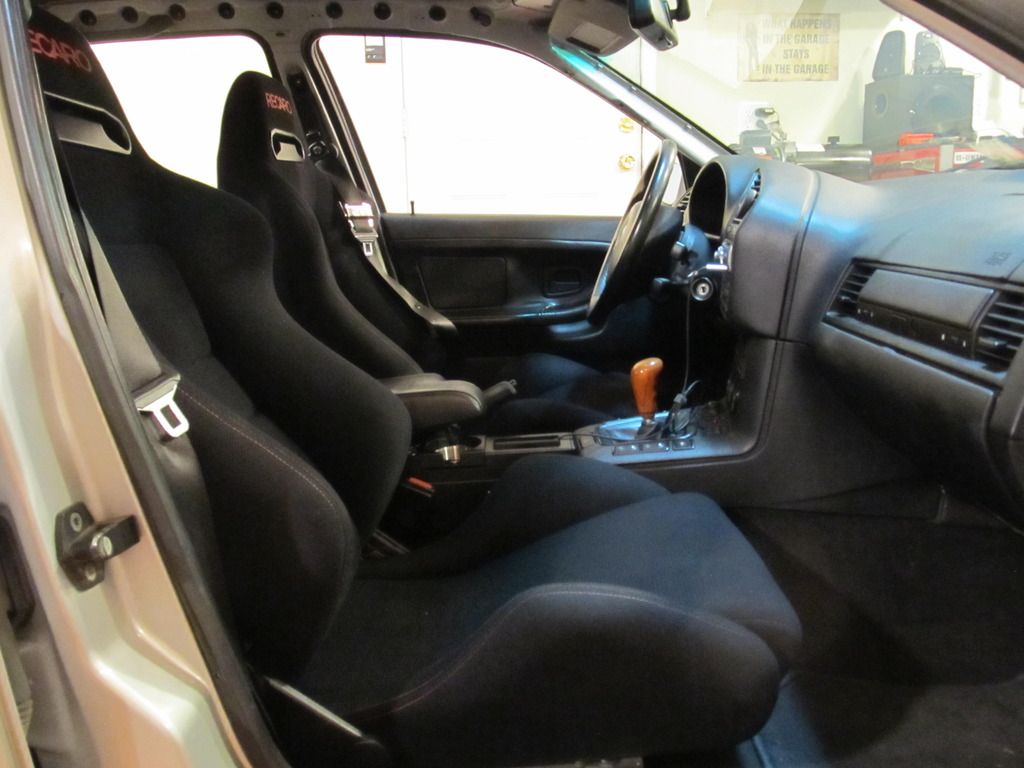
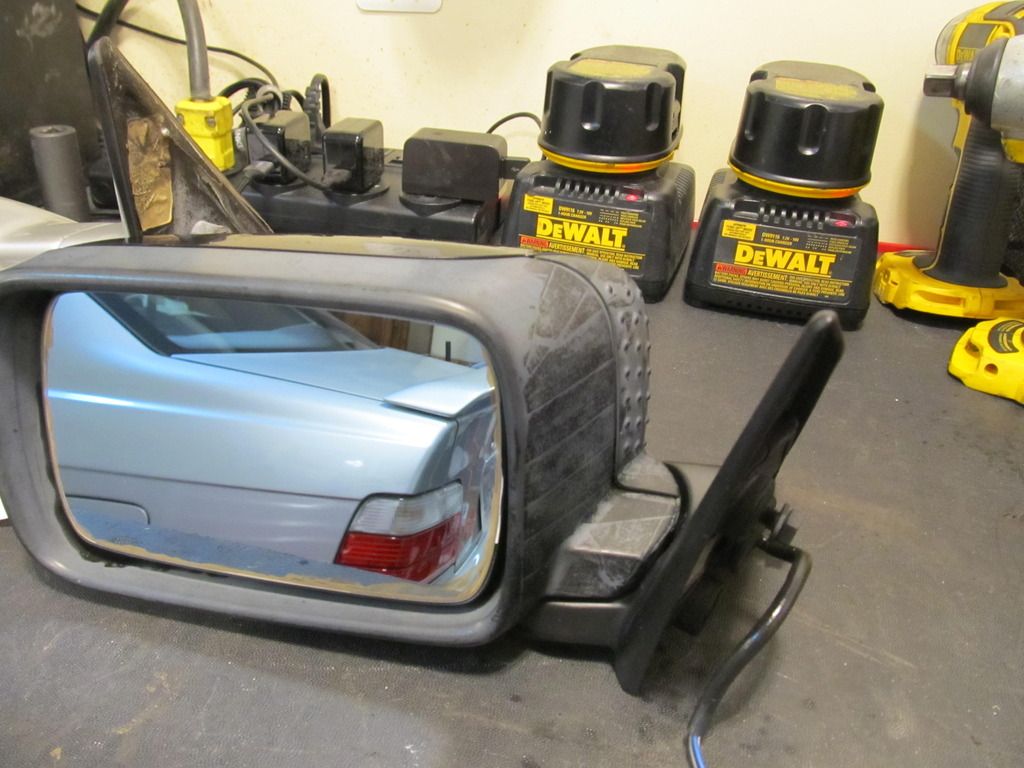
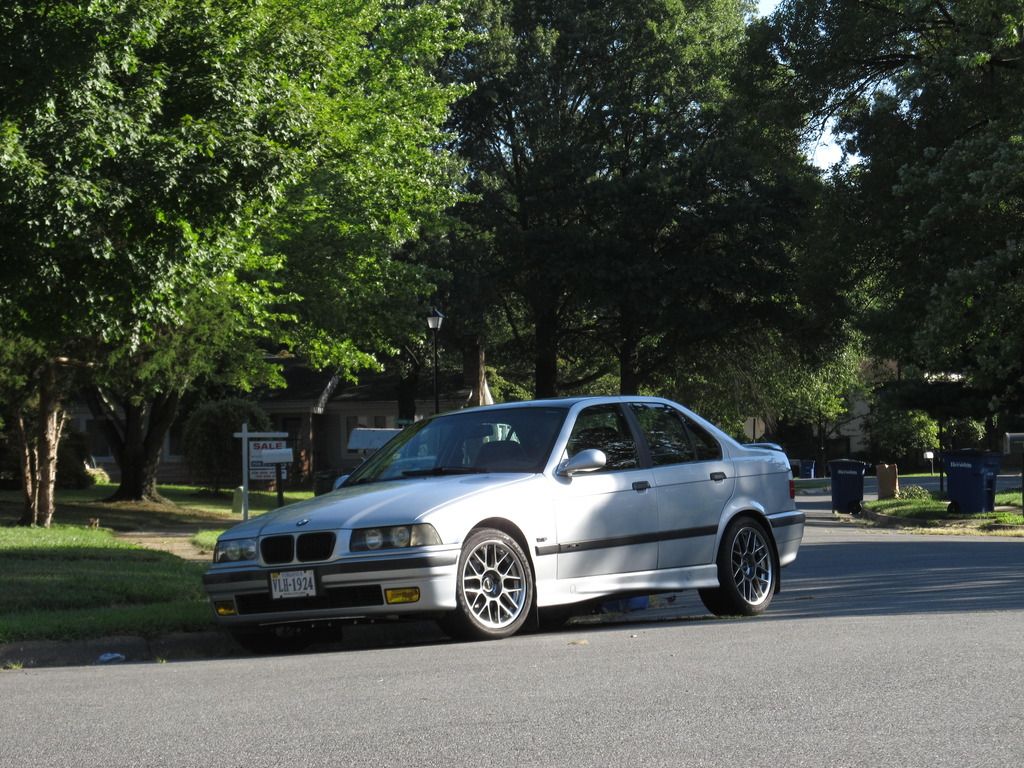
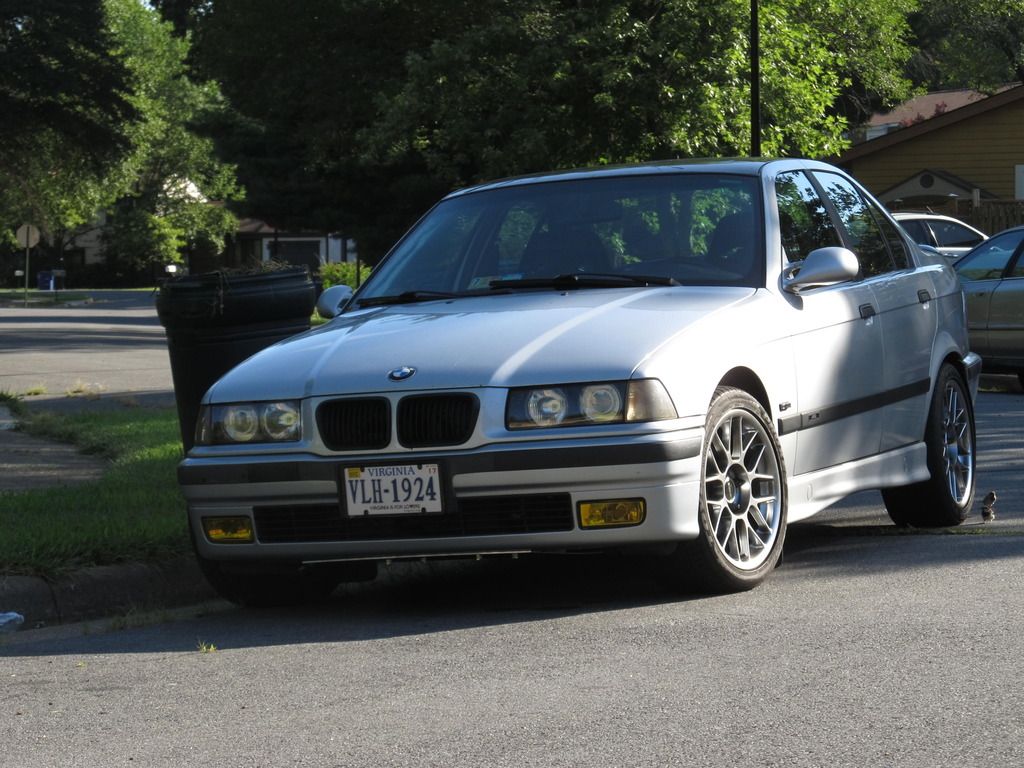
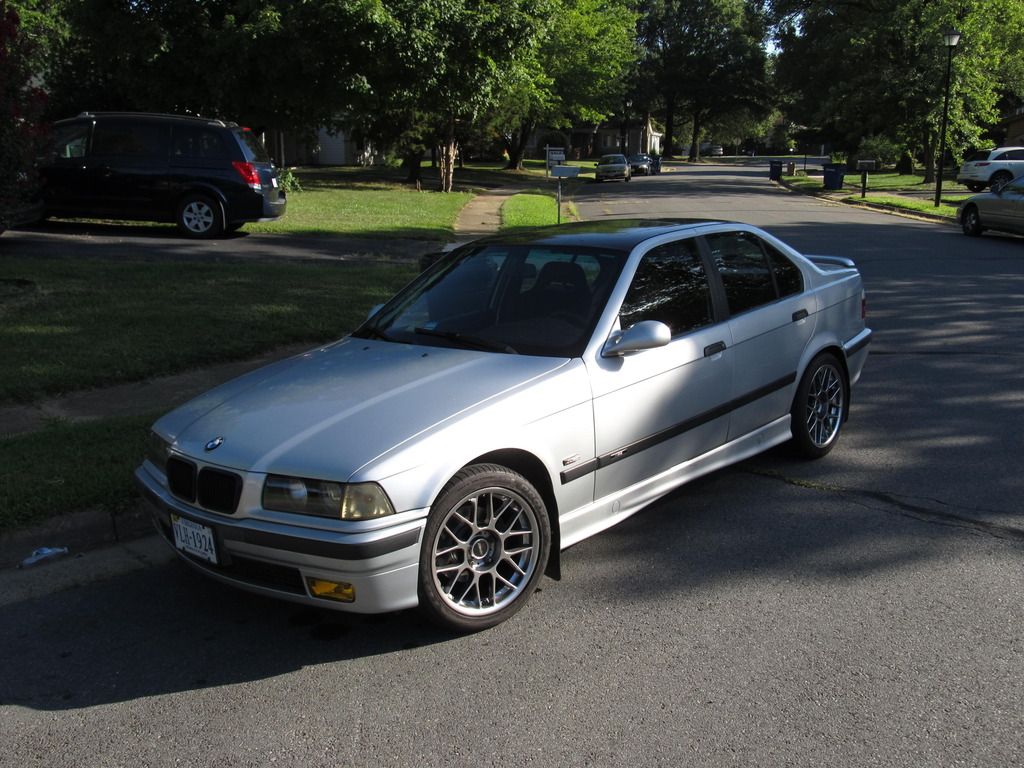
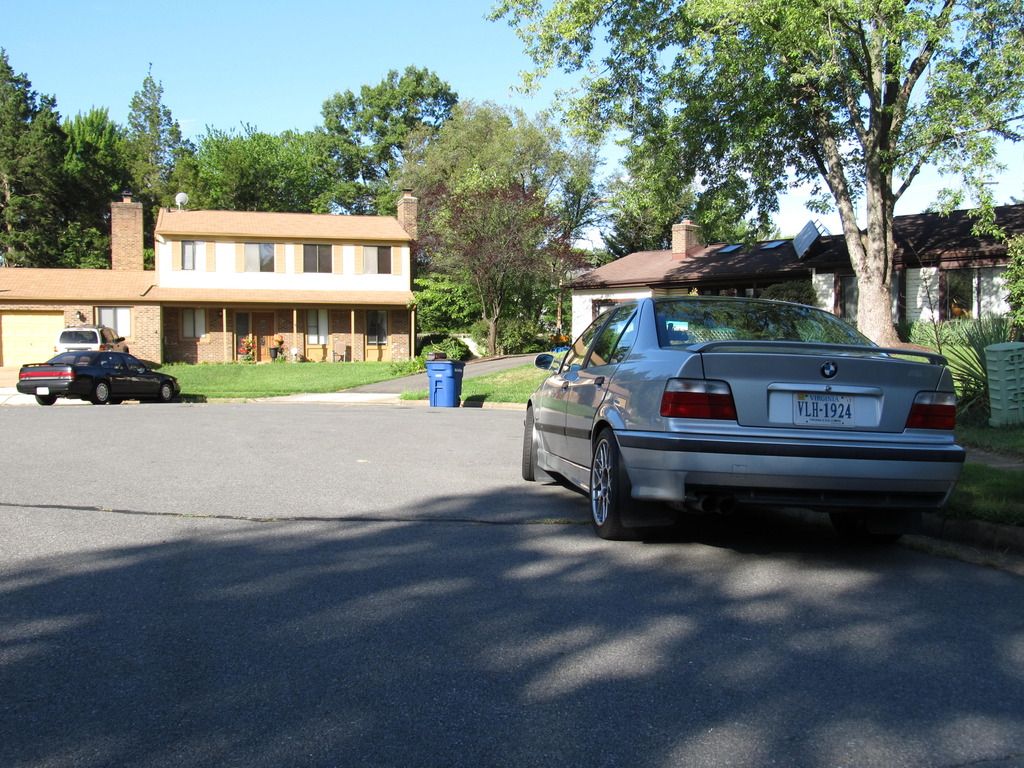
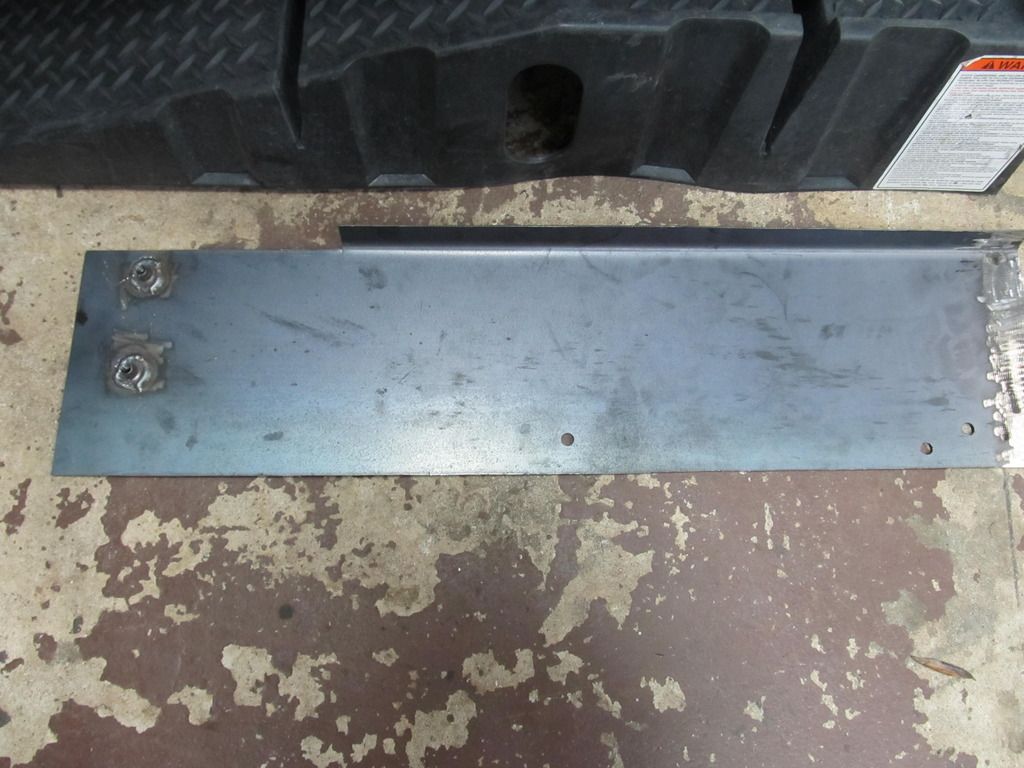
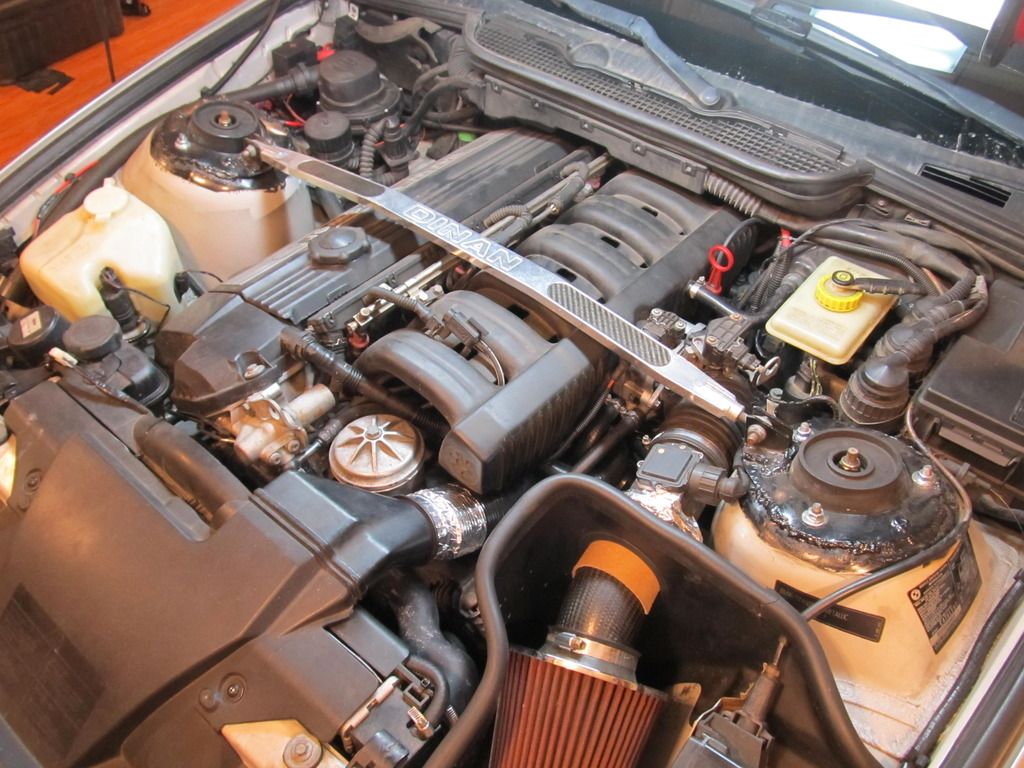
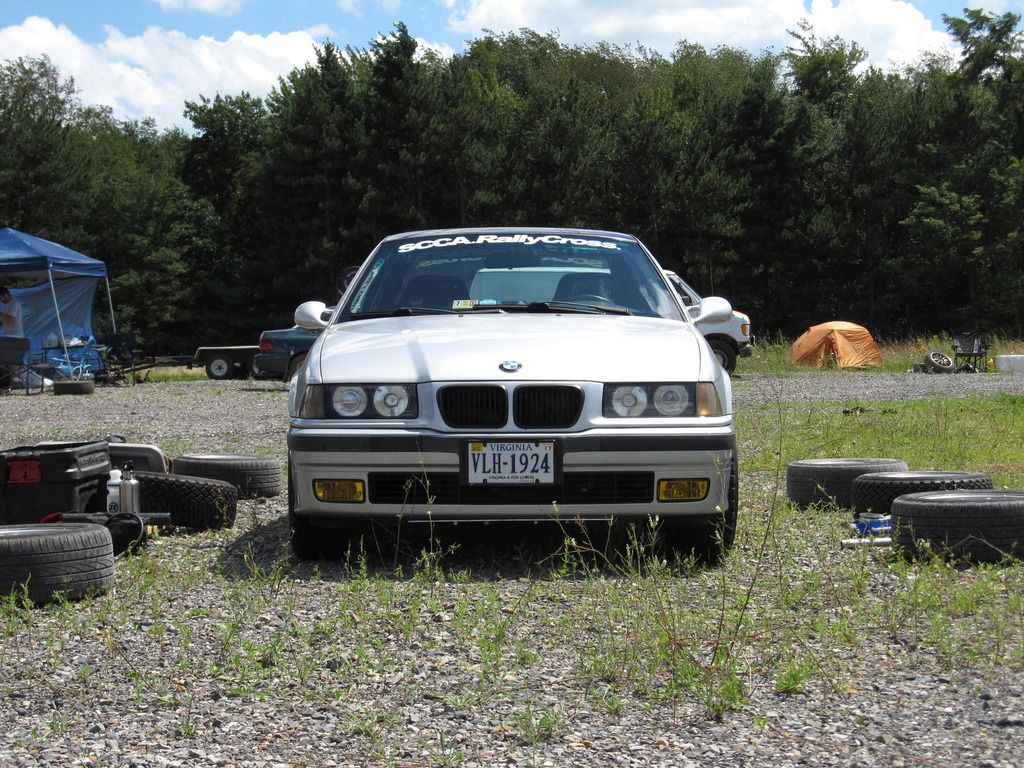
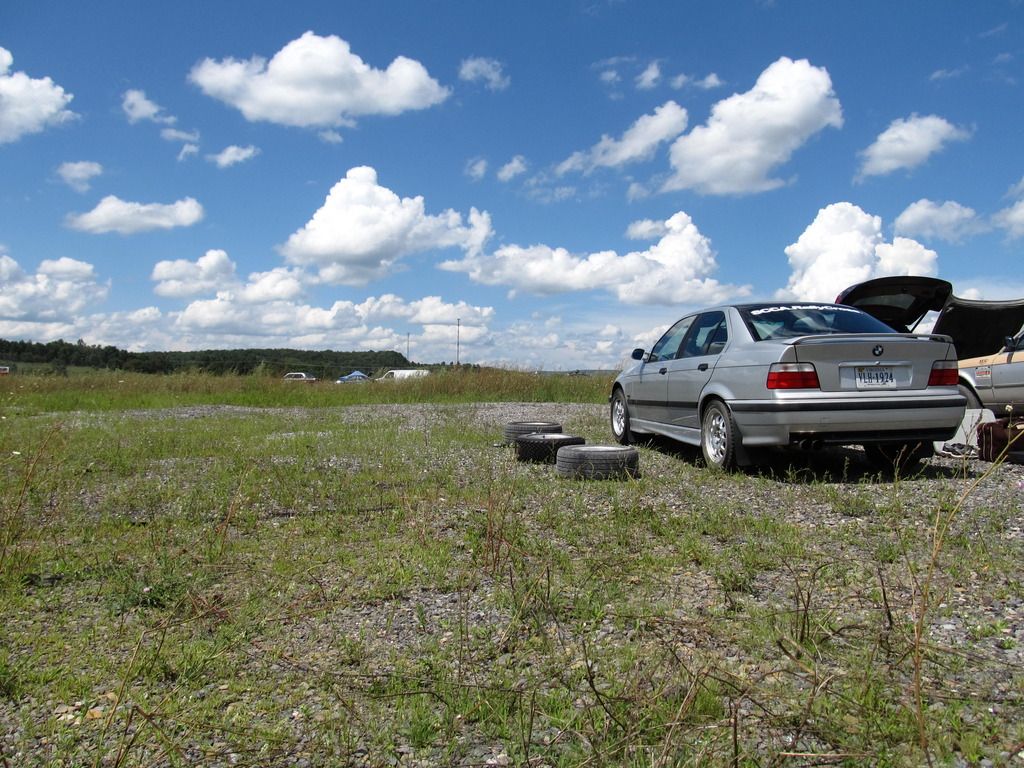
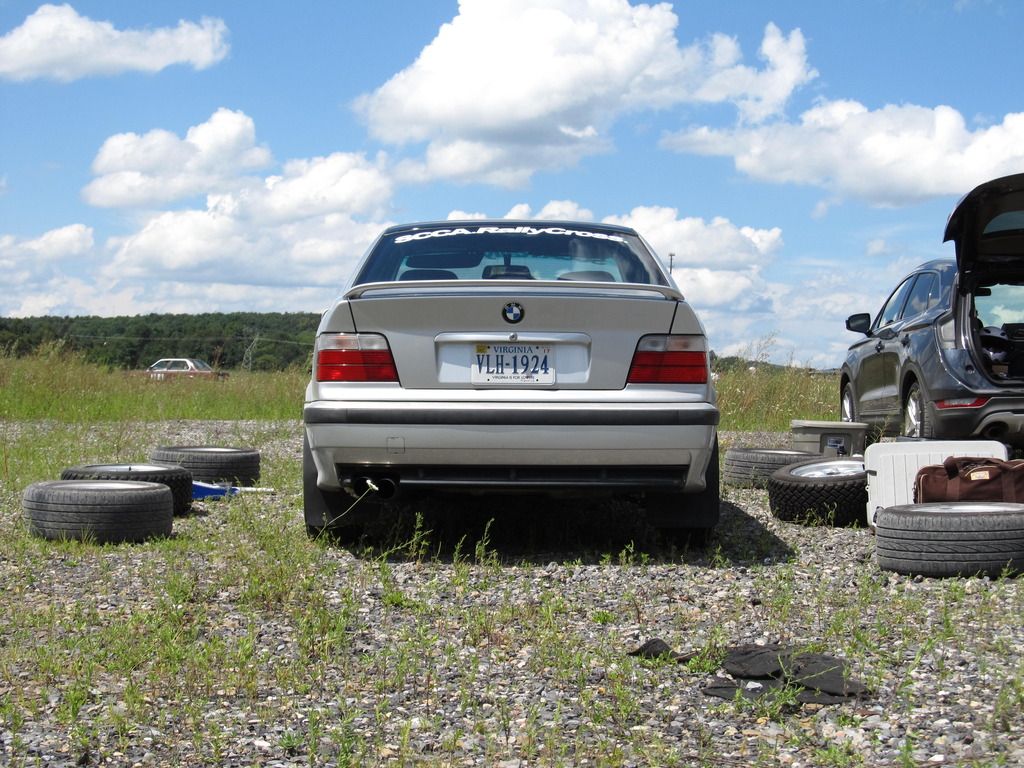
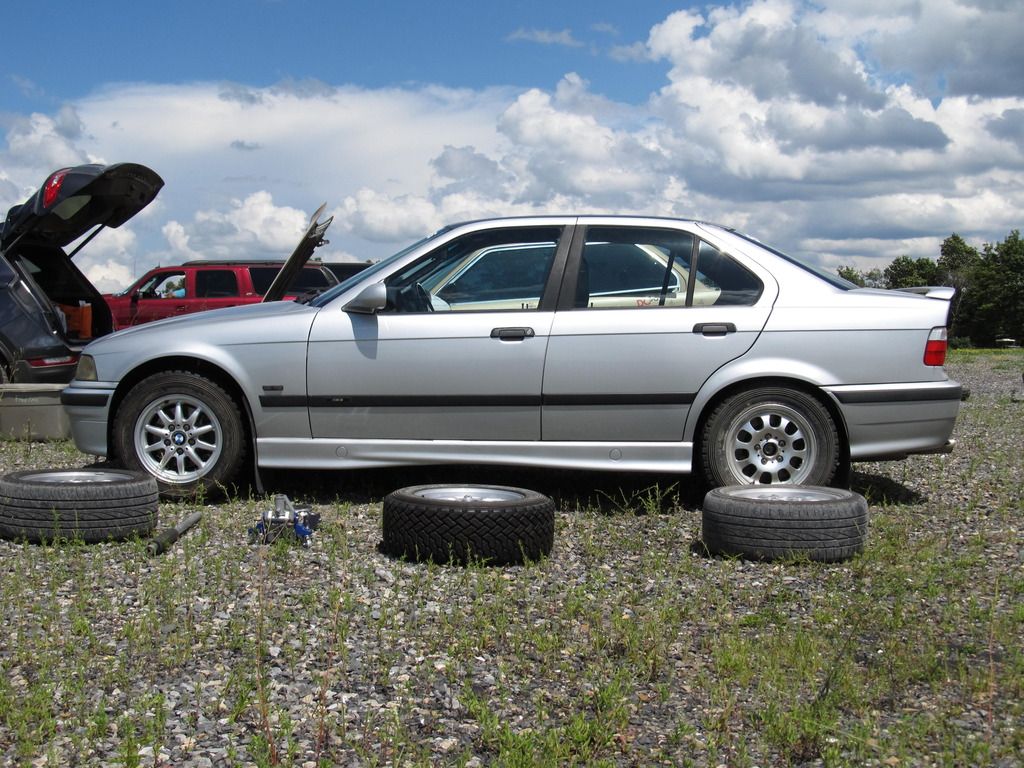
With the old wheels on the back and the new ones on the front, it was time for more pretty pictures!

Then it was time to take it out and see what it could do. The test course was tight and rough, but the M3 felt pretty damn good considering! After a few runs, the rear "diffuser" fell off, but no biggie. I turned the car off for a few minutes to go and do something or other, and hopped back in to get going again. Unfortunately, I was greeted by a CEL and a low coolant warning. Crap!

Oh no, this isn't good:

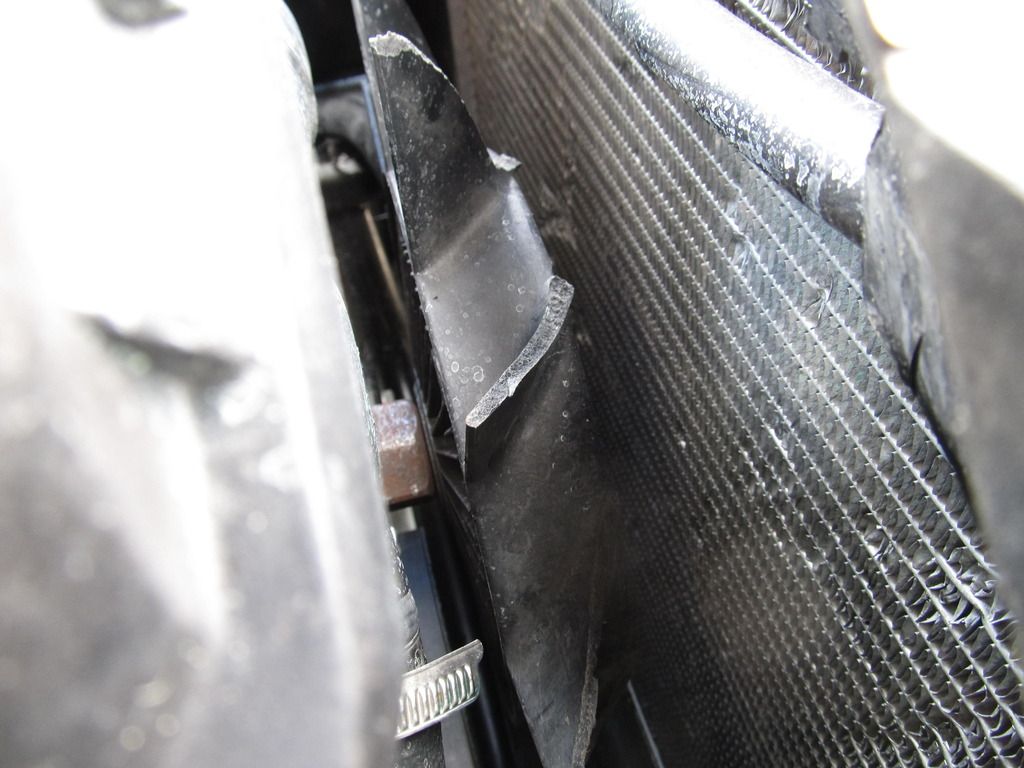
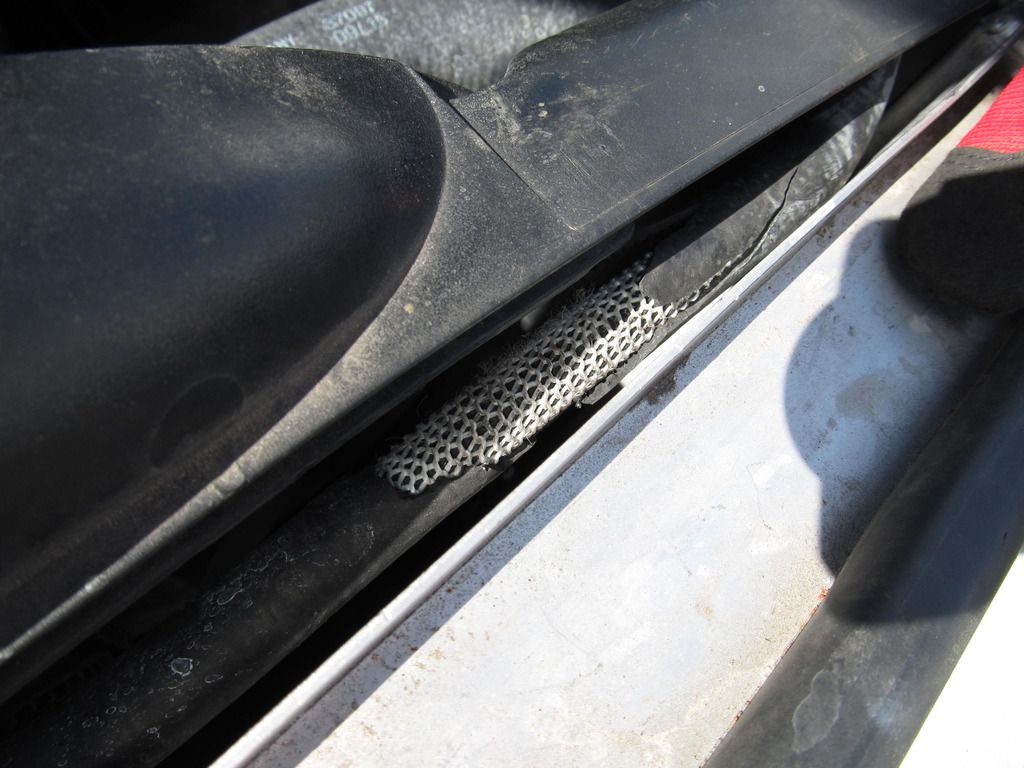
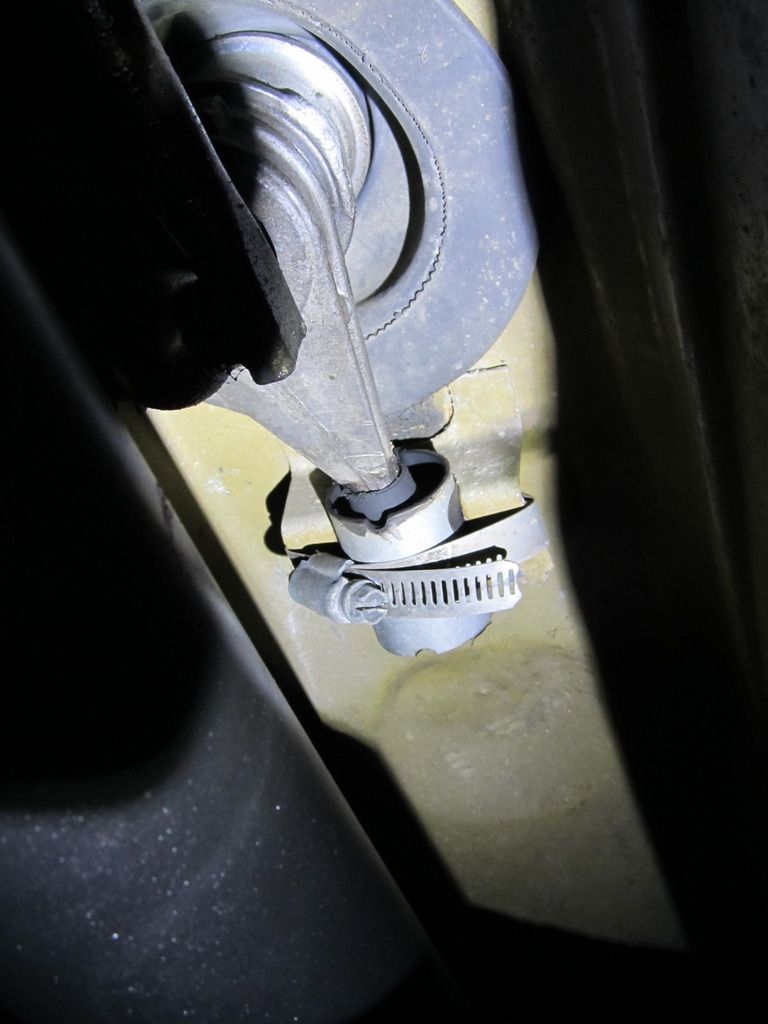
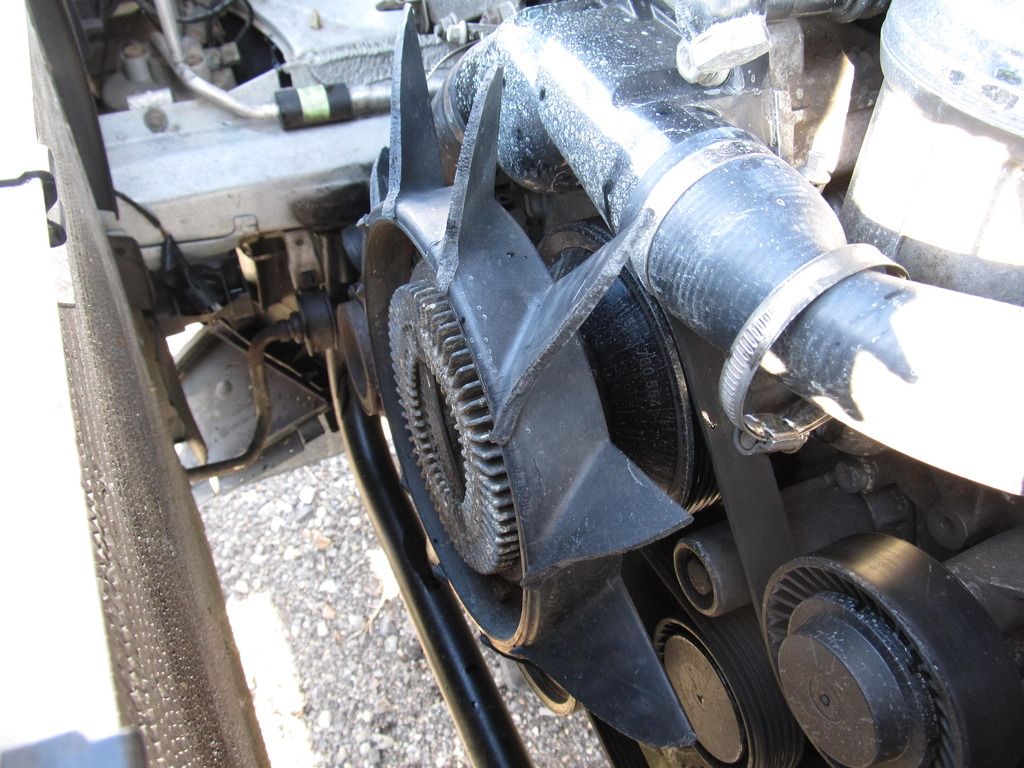
It looks as if a zip tie that was holding up the upper radiator hose broke which caused the hose to fall down into the fan, which then proceeded to explode itself all over and into my nice aluminum radiator. This is not good. I frantically searched all the local parts stores (remember, we race in the middle of nowhere) and of course none had a radiator or fan. After calling Josh, he called Jim, who happens to have an E36 M3 as well. Long story short, Jim came through in the clutch and pulled his nice Behr Z3M radiator and Bimmerworld electric fan kit off his chump car and brought them with him the next morning! Then I called Brian up for one more favor- could he pick up my special fan clutch removal tools from my house, along with all my BMW coolant and distilled water? Well sure, of course he could, because Brian is awesome!

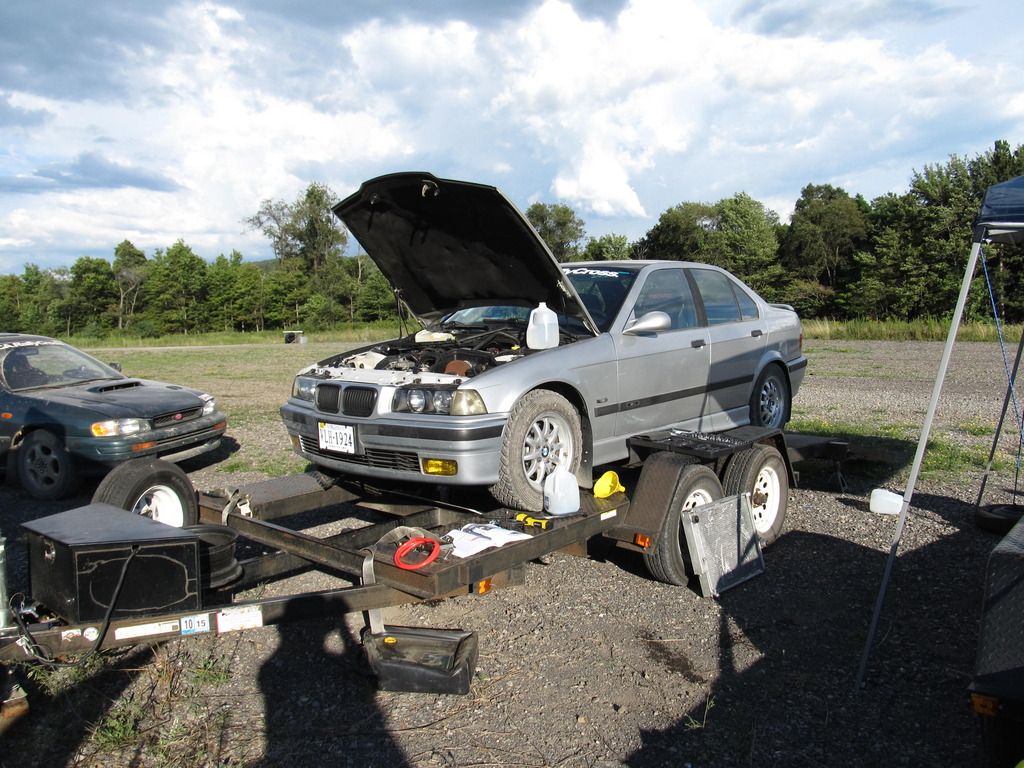
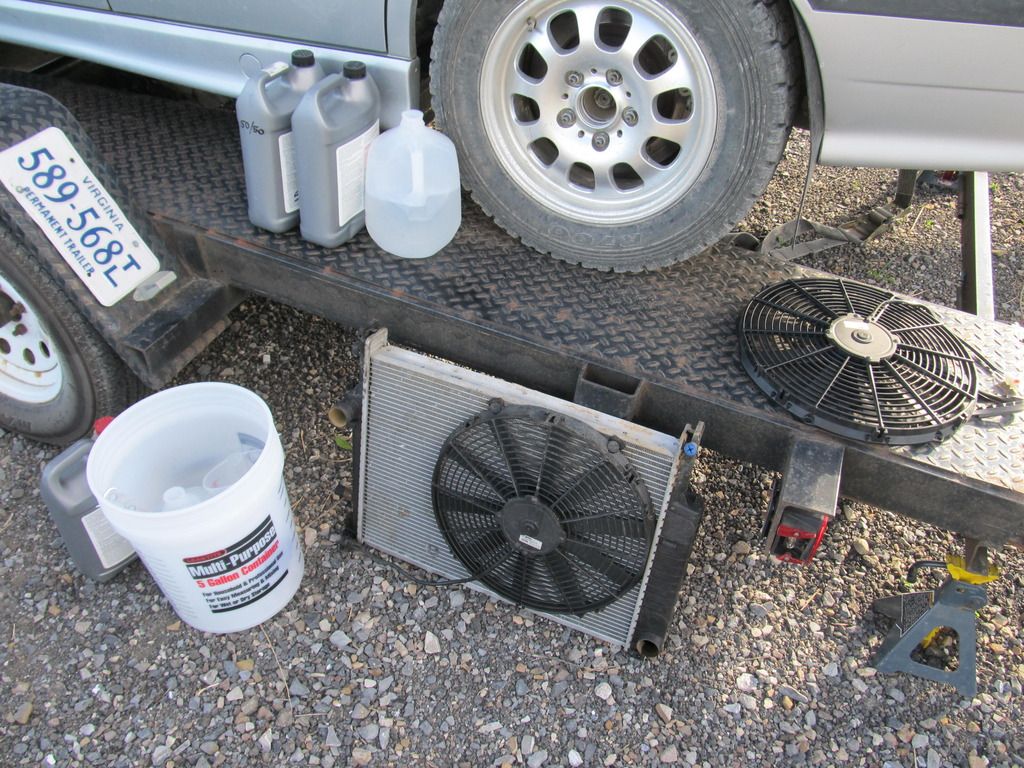
With that all figured out, it was time to get the car ready for the new parts that would arrive in the morning. Shawn and Katie let me park the car on their trailer overnight so I could get easy access to everything. This is one instance in which an open deck trailer is awesome!

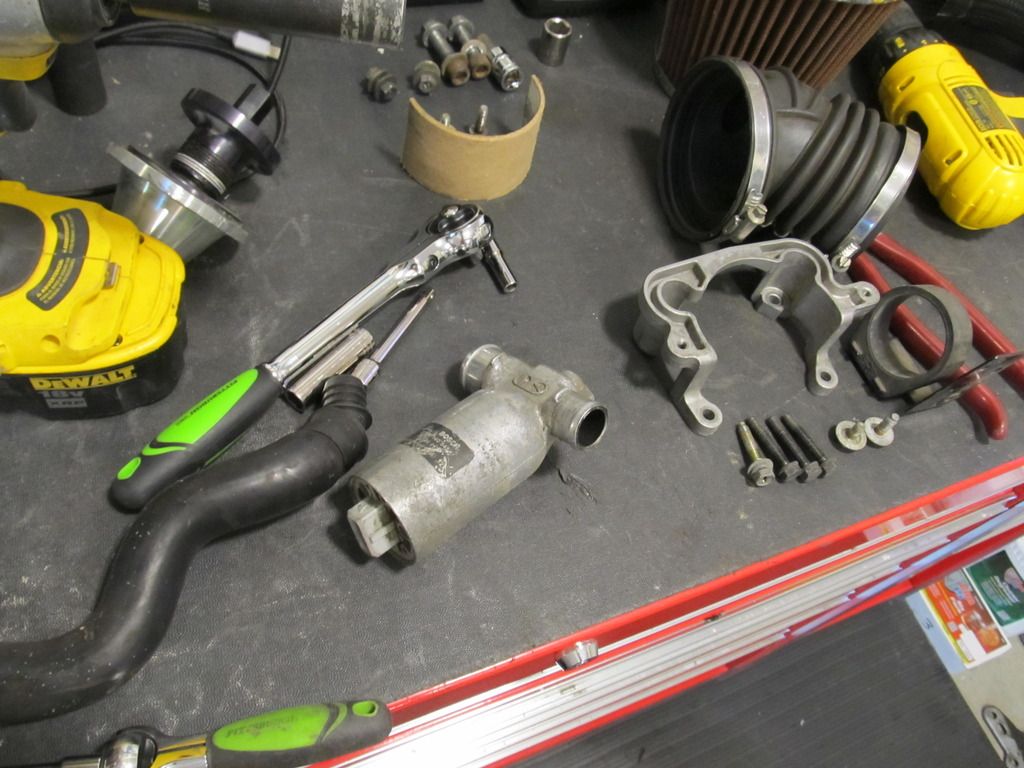
The Pelican and Bentley books both say you have to remove the fan before you can get the radiator and shroud out, but I guess with no fan blades I had some extra clearance. Great success!

Much fail....

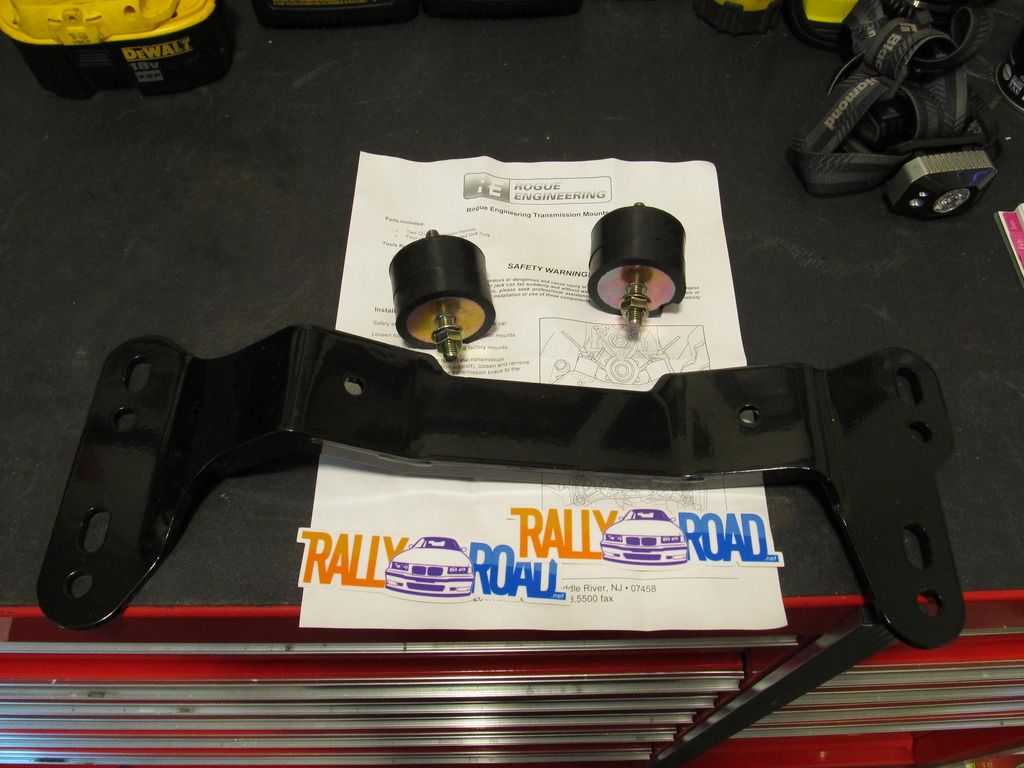
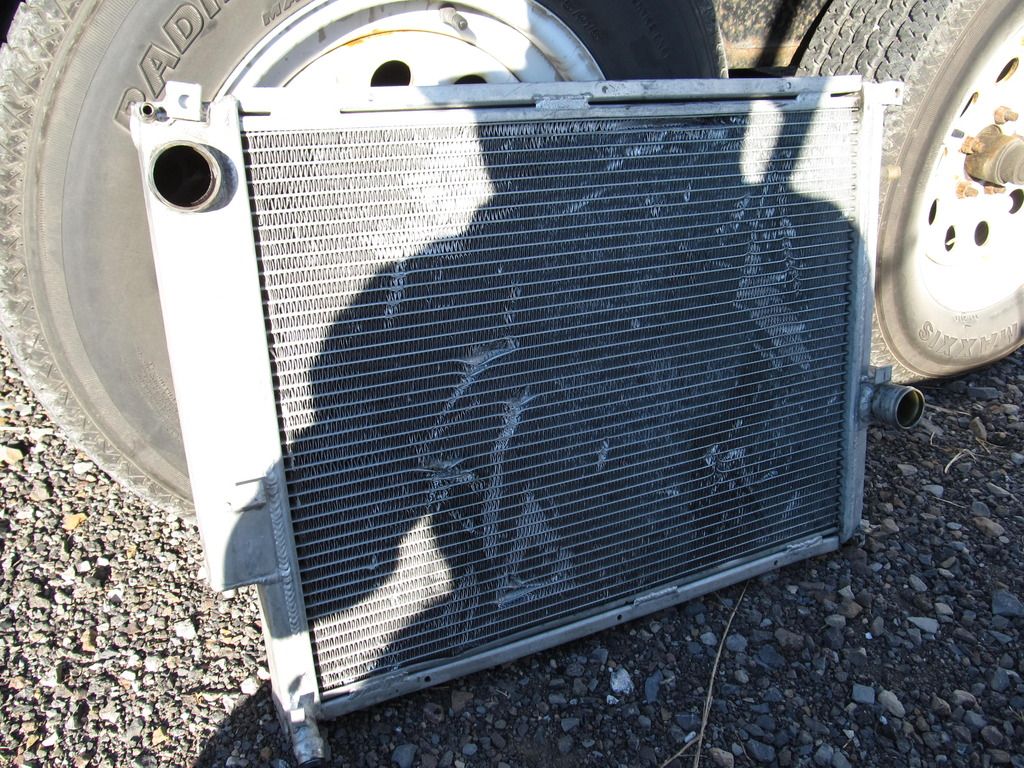
Look, the parts fairies left me goodies!

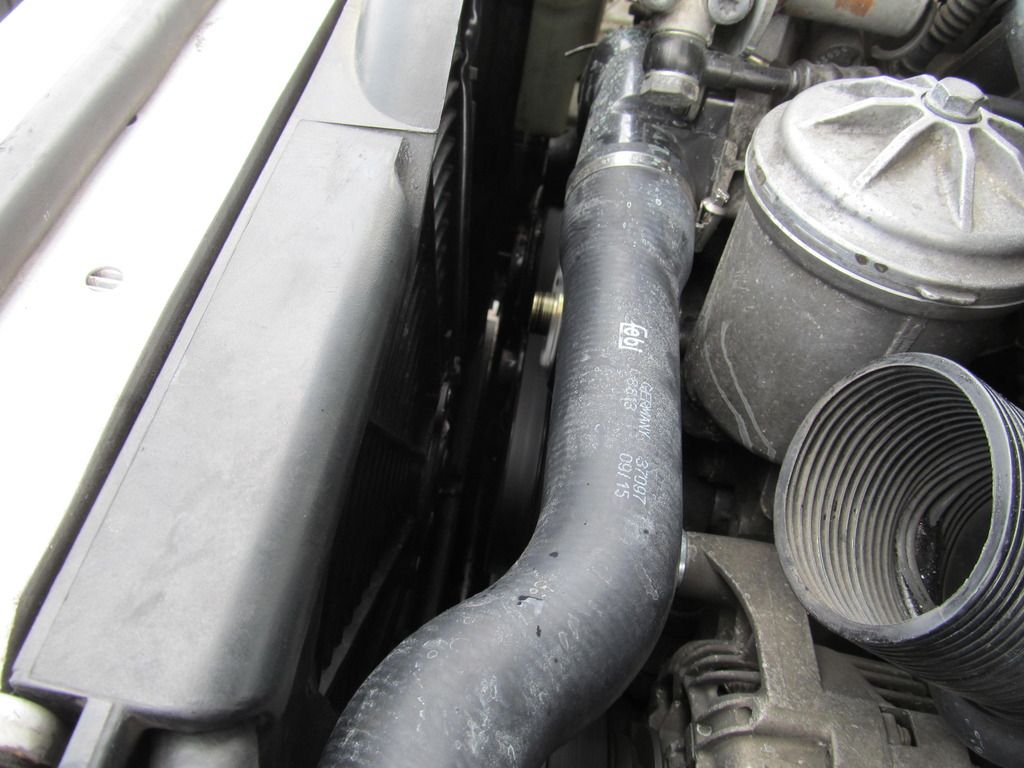
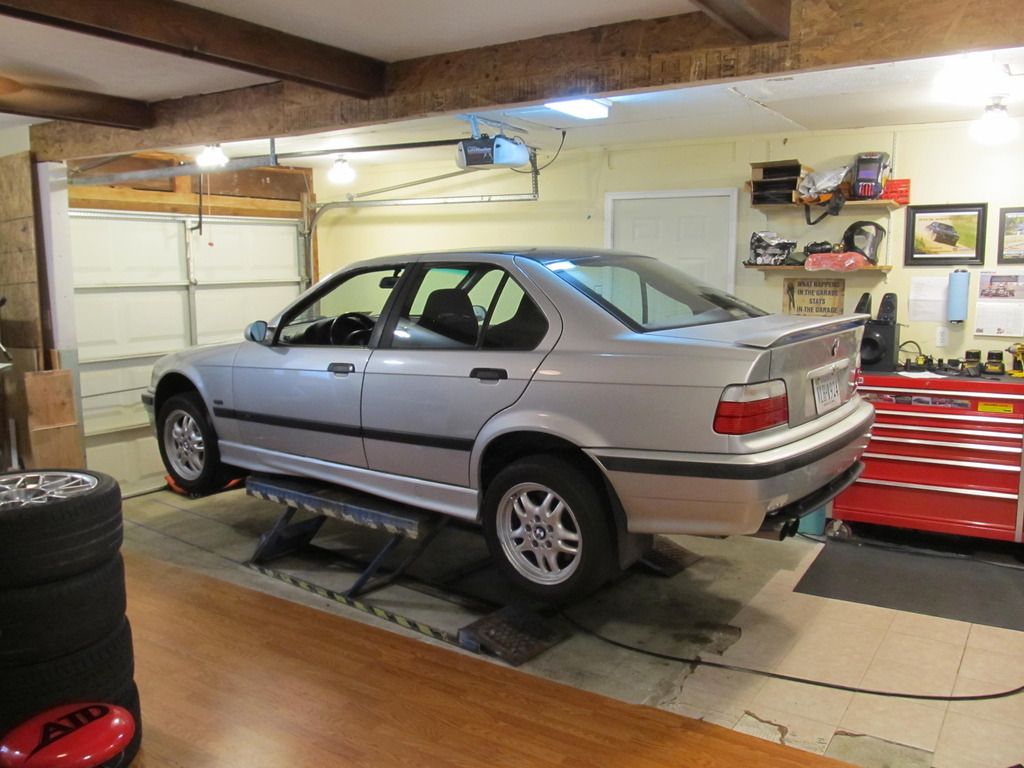
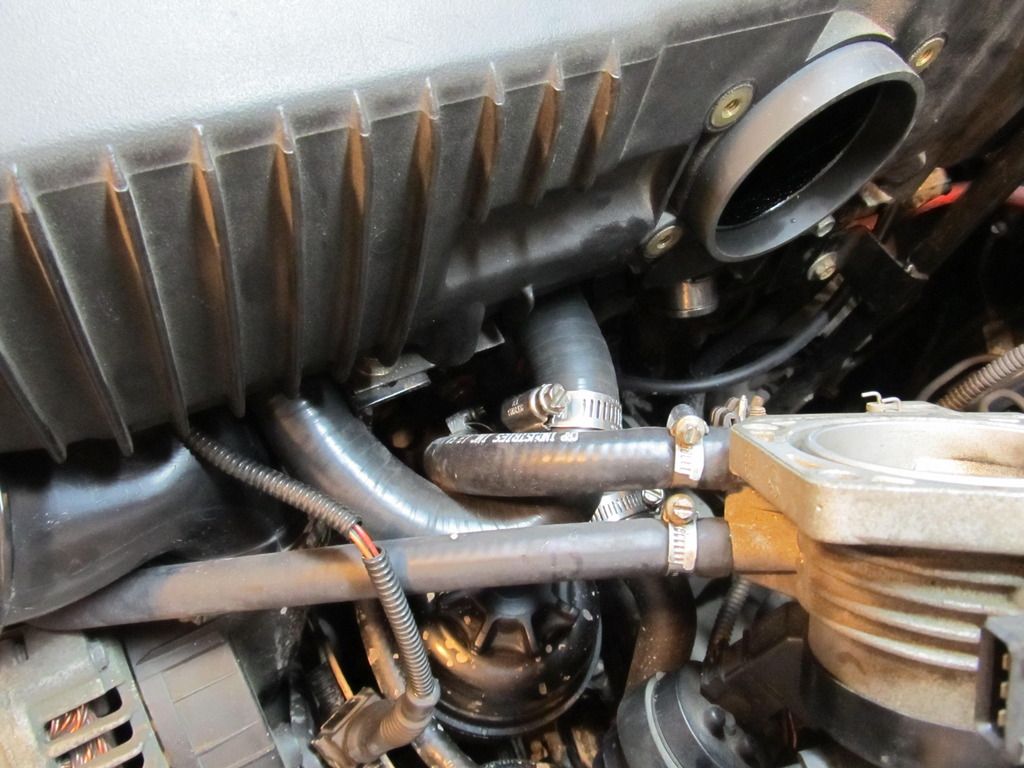
Boom, installed and burped with minutes to spare! Big thanks goes out to Jim for bringing the radiator and fan and for helping do the wiring while I did other things, to Josh for helping with wiring, and to Brian for grabbing stuff from my house. I couldn't have done any of it without you guys!!

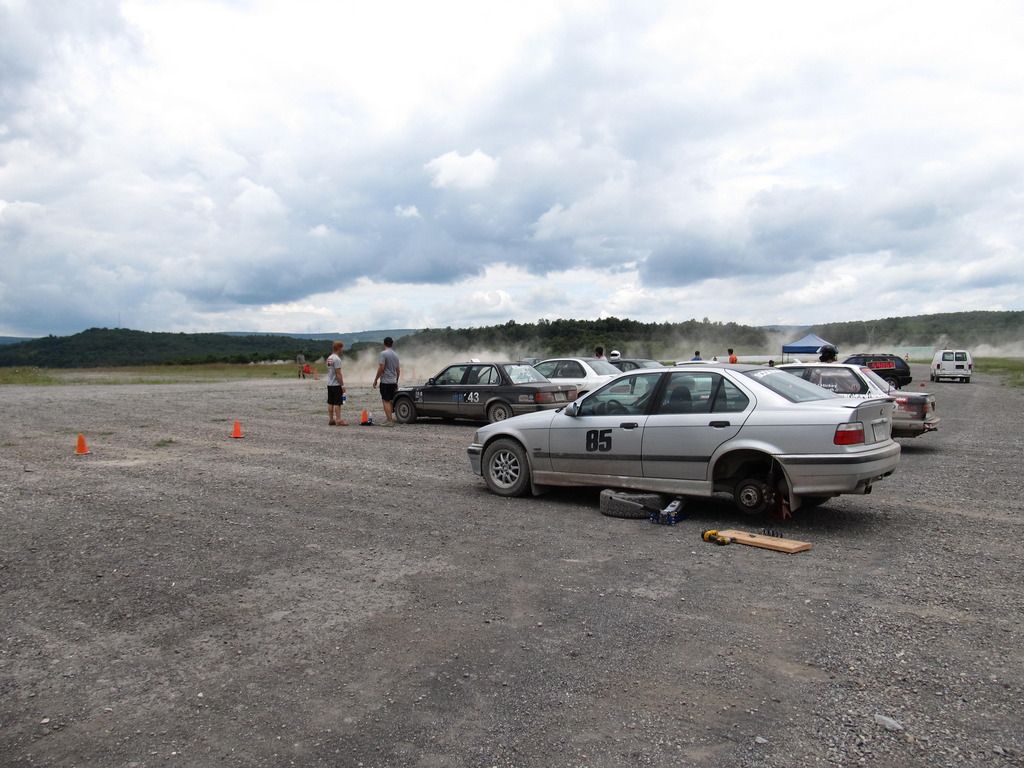
Well, it was finally crunch time. How will the car do out there? I got the car up to the line, launched, and then.....nothing. It felt like the car had 10 HP. WTF??? Did I somehow blow the motor up? Oh wait, what's the flashing on the dash? Oh right, the traction control light. I better turn that off. Ahh, much better! On my second run I was feeling more confidant and the car felt great out there. Steering was tight and responsive, the suspension was absorbing everything, and I had more power than I knew what to do with. BANG! What was that? Hmm, I must have bottomed out or something. I pulled in and immediately knew something was wrong, as the back of the car was sitting way too low on the driver's side.

berkeley.

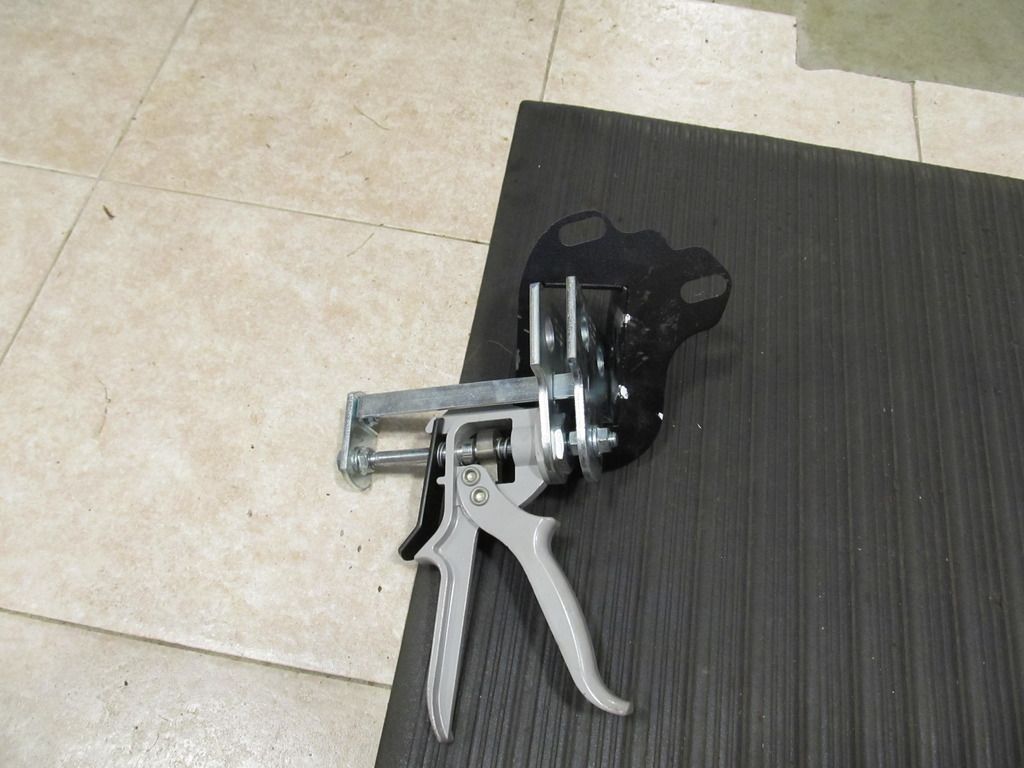
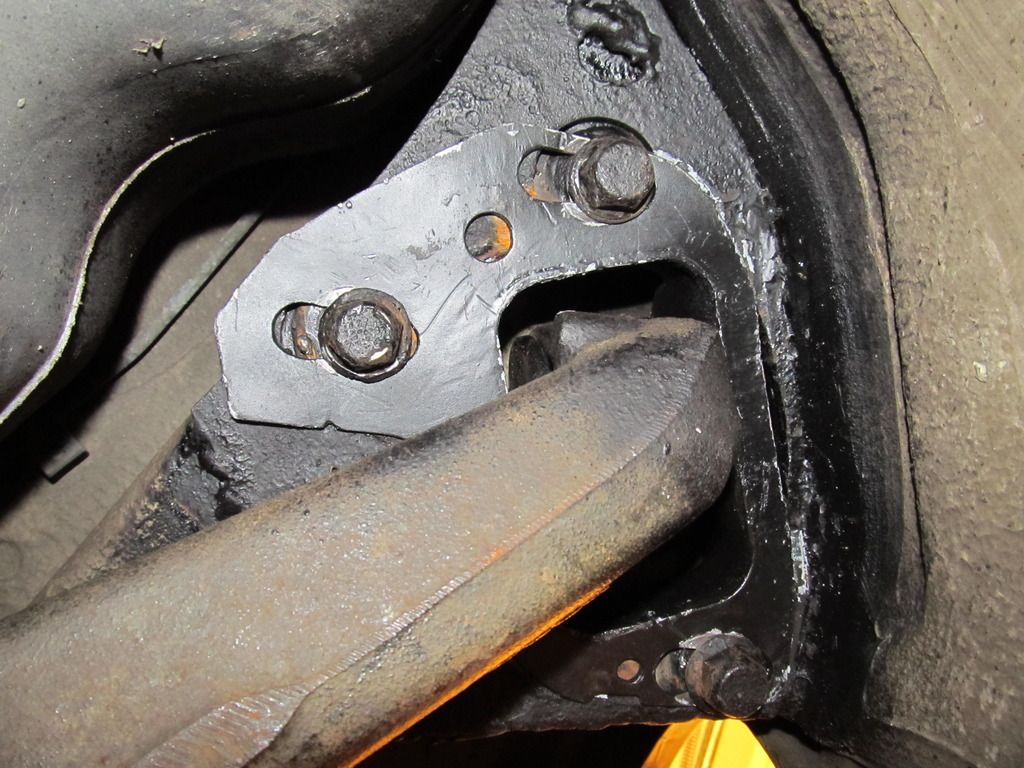
And just like that, my fancy articulating Rogue Engineering rear spring height adjuster failed, the spring was sitting cocked, the top plastic perch had fallen out, and the car had clearly bottomed out very hard.

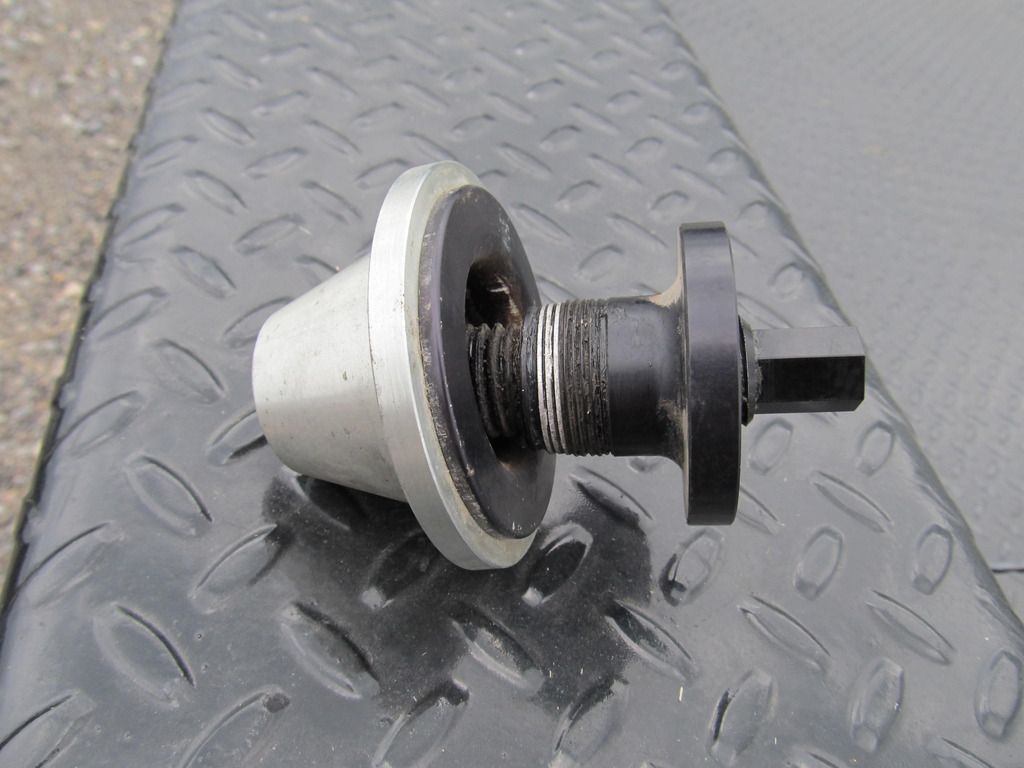
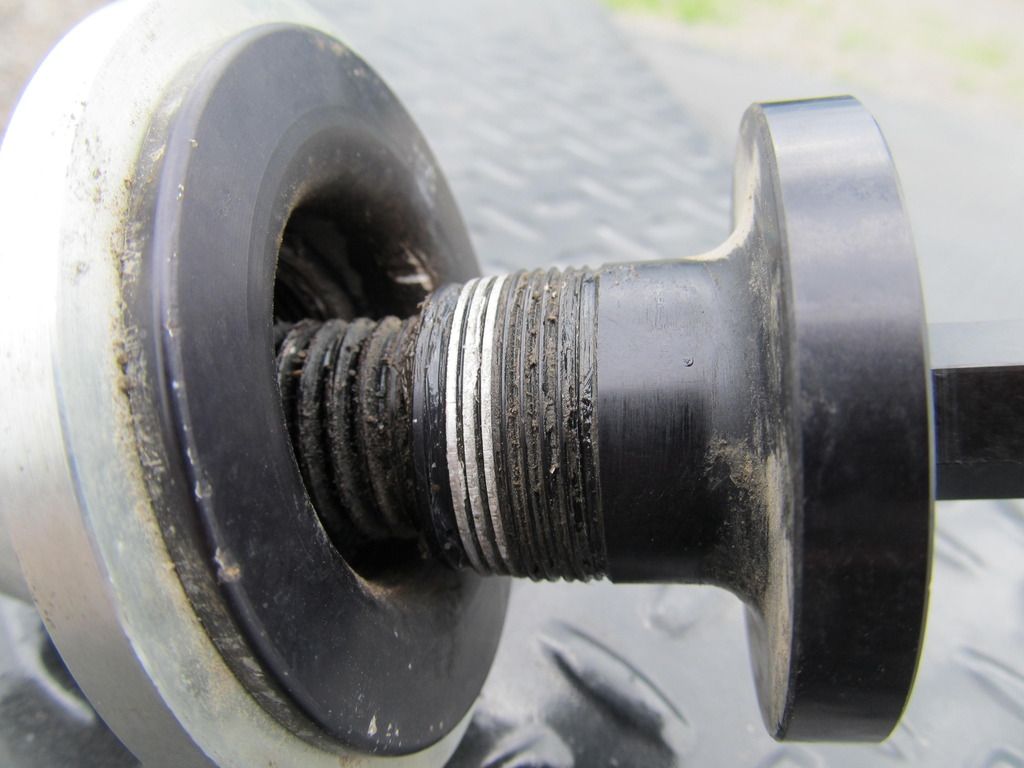
Yeah, those threads stripped right off! I guess these aren't rally tough.

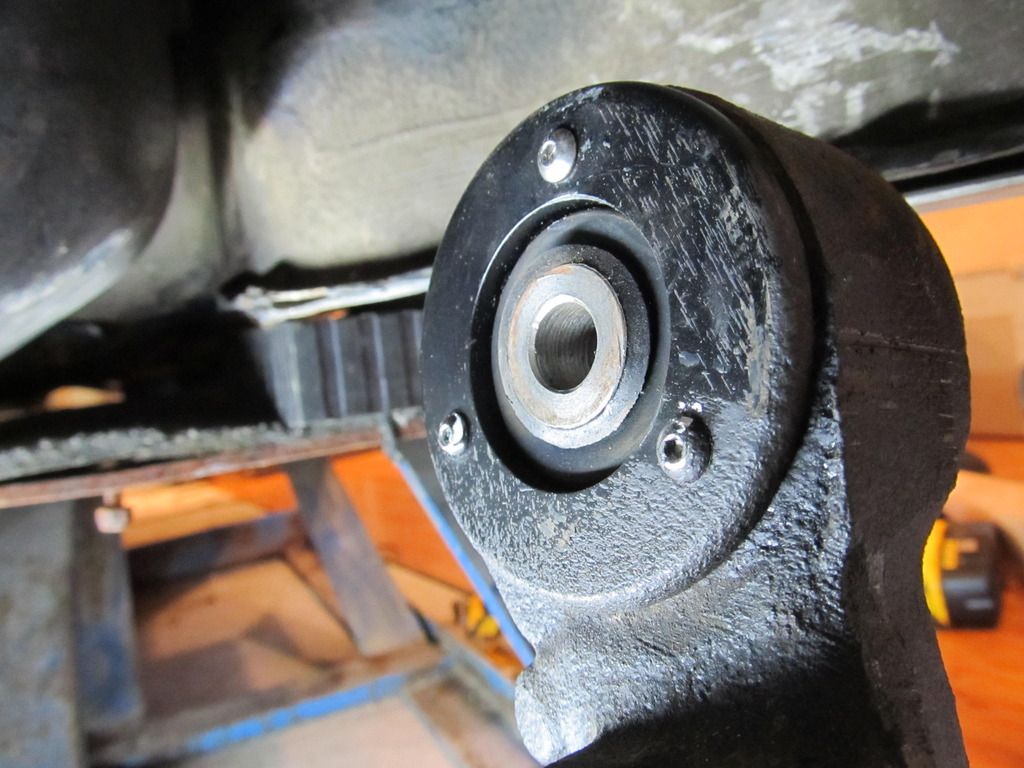
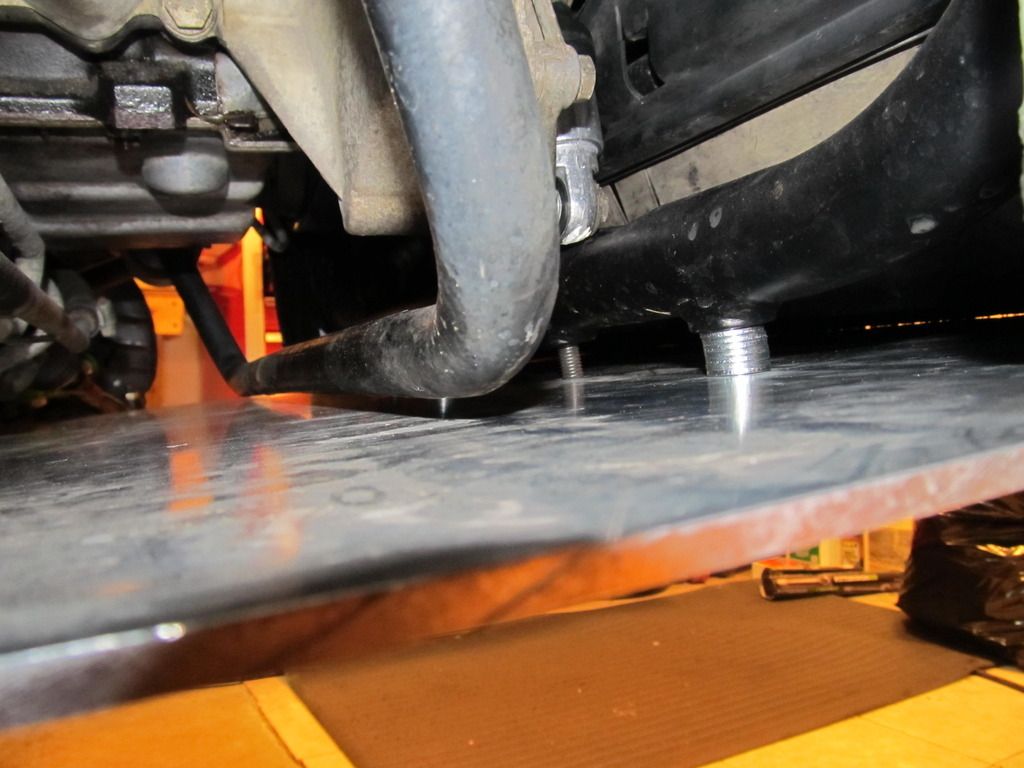
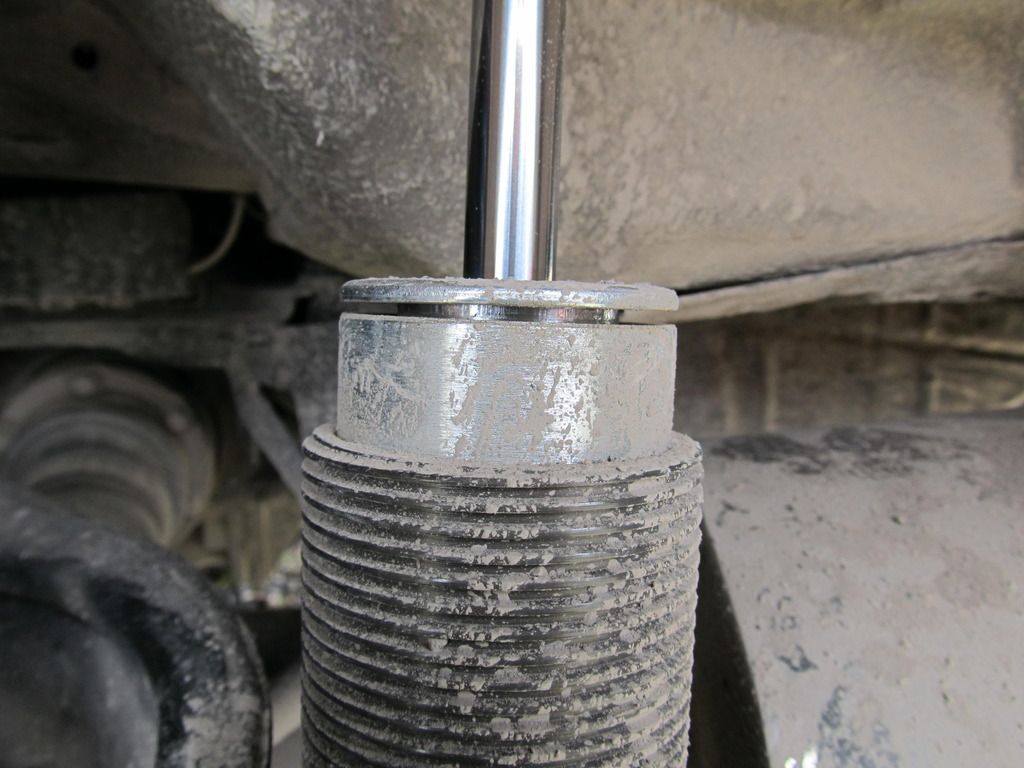
Oh, but the carnage didn't stop there. There is not supposed to be this gap at the top of my Bilstein struts. I really hope this doesn't mean it's blown. I was able to tap it back down with a hammer, but I have no idea what's going on inside the shock. Can anyone speculate on what happened here? I assume these are gas shocks....does this mean it's now depressurized? Or was this just the bumpstop going up way higher than it should have. Or both???

I then checked that strut tower, and it appears as if some paint flaked off, and I'm pretty sure there's a tiny crack now. berkeleying great!

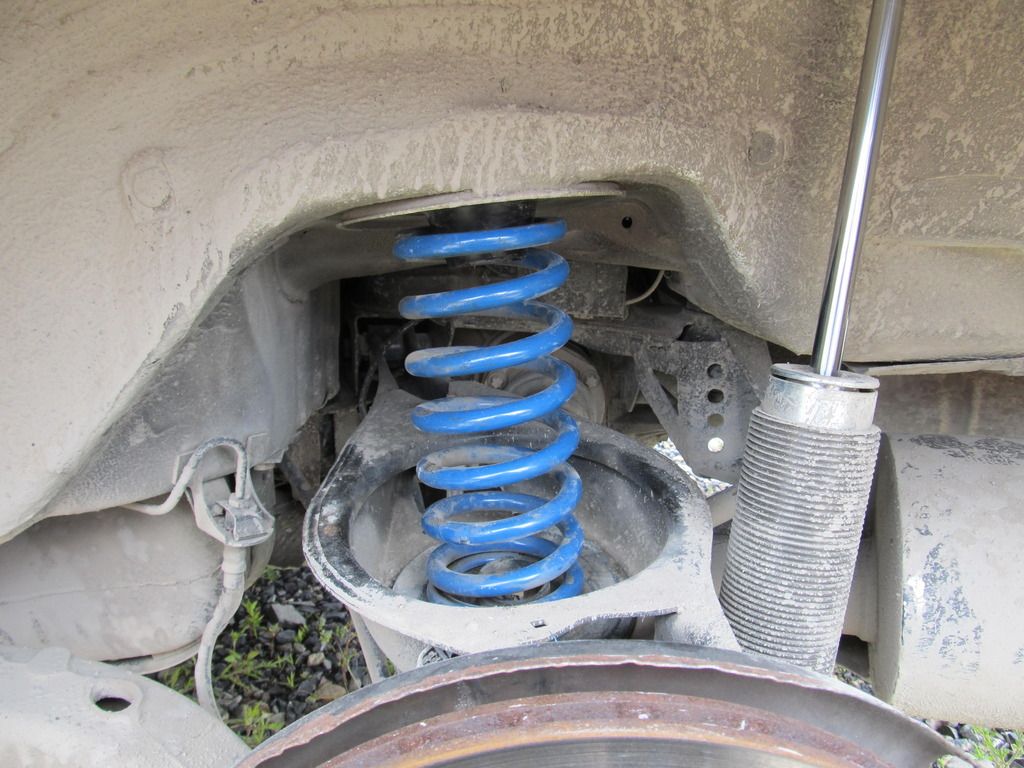
Thankfully, Josh came to the rescue again with a spare 8" 300 lb spring he had lying around, so I threw that in and drove home.

F-ck. This. S-it.

Oh, and to top it off, the car started stalling at idle when I had the AC on during the drive home, which it's never done before. And I'm also getting some whine through the speakers with the AC on, which is also a new problem. I wonder if the compressor is going bad.....WTF.

FooBag
FooBag New Reader
8/16/16 3:07 p.m.
95maxrider wrote: Rally.Build has poor customer service, overpriced products, and very poor fitment. Think twice before dealing with these guys.

Wow, that's the exact opposite experience I've had with Rally.Build. Grant went out of his way to take care of a tire problem I had that probably wasn't even his fault.

In regards to all the stuff on race day, holy crap, you just can't catch a break! This car really doesn't want you to rallycross it.

golfduke
golfduke Reader
8/16/16 3:08 p.m.

Oof. This is Paul, the guy Josh S talked with on Saturday. I had no idea the carnage was that bad, haha. I will now proceed to run into my garage tonight and check all the things on the front of the engine!

I actually have a good AC compressor sitting in my garage collecting dust if you're in need of one. Just need to pay shipping.

As you already know, the E36 rear strut towers/upper shock mounts are not a strong point of the car by any means at all. You may just be better off welding in some crossbracing and putting the early stages of a rear cage in. I don't rally x, but I know that I have experienced some serious deflection/deformation in the rear towers on tight courses and sticky tires, and I know that's not 15% of the level of abuse that you hooligans impart on your cars.

Good luck. If in doubt, however, gasoline and a match can do wonders for perrenial-part-breakdown induced rage.

bluej
bluej UltraDork
8/16/16 5:08 p.m.

There was not a lack of carnage this weekend, but Nick definitely took the brunt of it.

95maxrider
95maxrider New Reader
8/16/16 7:39 p.m.
golfduke wrote: Oof. This is Paul, the guy Josh S talked with on Saturday. I had no idea the carnage was that bad, haha. I will now proceed to run into my garage tonight and check all the things on the front of the engine! I actually have a good AC compressor sitting in my garage collecting dust if you're in need of one. Just need to pay shipping. As you already know, the E36 rear strut towers/upper shock mounts are not a strong point of the car by any means at all. You may just be better off welding in some crossbracing and putting the early stages of a rear cage in. I don't rally x, but I know that I have experienced some serious deflection/deformation in the rear towers on tight courses and sticky tires, and I know that's not 15% of the level of abuse that you hooligans impart on your cars. Good luck. If in doubt, however, gasoline and a match can do wonders for perrenial-part-breakdown induced rage.

As in the guy who spearheaded the bachelor party? What's up man, this is Nick. Yeah, at a minimum I guess I really do need a RSTB. The question is, do I try and make a simple one, or do I save up and spend way too much money on the Mason stuff, like the basic RSTB for $345:

Or you can pair it with the rear subframe support for another $295:

Or go and do this crazy thing for $455

Nah, who am I kidding, I can't afford any of those.

95maxrider
95maxrider New Reader
8/20/16 8:44 p.m.

Alright, I did some work today trying to chase down the stalling at idle problem, and while things have improved, it still has trouble idling with the AC on. I need some more ideas here!

Oh, before I get started with the important stuff, I fixed one part that fell off at the race: the cover for the back of the DS headlight. It looks like the clip on the headlight is broken, so the tabs don't have anything to bite onto. I can't have water getting into my precious HID headlight/projectors, so zip ties to the rescue!

All fixed

So the first thing I wanted to do was to clean out the idle control valve (ICV). After much wrangling around the M50 manifold, I was able to extract the ICV.

I was greeted by plenty of oil when I removed the TB:

ICV out:

It wasn't stuck by any means, but the flap had some resistance. After about half a can of carb cleaner a bunch of crap came out and the flap moved freely and smoothly. Hooray! While I was digging around in that area I noticed that the upper hose going into the ICV was a little too large, and I have a feeling the hose clamp wasn't tightened fully before, so I spent about an hour just trying to get the damn thing on there tight. It would have really helped to have an extra 1-2" of slack on the upper hose, but such is life. Once I got that on, I noticed that the hose going to the CCV had slipped off the fitting. I can't be sure if I did it today or if it had come off during the race, but I wouldn't be surprised if it had been off since the race. The problem with this hose is that room is extremely tight under the IM, and so even since I got the car, the hose didn't have a clamp on it. This might have been fine for normal people/driving, but after thinking about it for two seconds I realized I needed to get a clamp on the thing one way or another. After about another hour or trying all my tools, I was able to get a hose clamp on it and it's now very secure. Success! I'm sure between those two hoses there were some vacuum leaks, and with the ICV nice and clean I had high hopes for the car.

This u shaped hose is the one I'm referring to:

While I was putting things back together I decided to remove the throttle blade from the ASC/TC throttle body. It came out easy enough, and I finished reassembling everything.

Normally when I start the car when it's "cold" (a relative term in a DC summer) it rocks back and forth for about 20 seconds and then smooths out. When I started it up today, that was pretty much gone! I could be mistaken, but the rattle from my lightweight flywheel seems to be reduced as well, and the car just seems to be that little bit smoother when idling. Hooray! I ran some errands and the car seemed great! I then decided to see what would happen when I turned the AC on. At first, all was well, but when I got down to idle the revs dropped and the car shuttered. The oil pressure light came on as well, but it never actually stalled out, and the radio didn't cut out either. With AC off, things were better.

So here's what I'm left with: -My VDO voltage gauge reads 14v at idle -The car struggles to idle with AC on, almost stalls but doesn't -When I roll the windows up or down at idle the revs drop and the car shutters -This problem began on the drive home from the race last week

I'm not quite sure what to make of this. The alternator (which I verified as being an 80a unit) seems to be charging fine, but it struggles with seemingly minor loads. Since the problems occur even with AC off, I think I can rule out that system as the problem. The ICV is working great, and there are definitely no vacuum leaks. Maybe I should upgrade to the 140a alternator and see what happens. It will be a good thing to have, and I can get new ones on Rockauto for $110! What do you guys think?

irish44j
irish44j UltimaDork
8/20/16 11:06 p.m.

I mean, if the battery is charged, all that stuff shouldn't be affected by the alternator anyhow. Maybe the battery is actually the culprit?

95maxrider
95maxrider New Reader
8/21/16 6:48 a.m.
irish44j wrote: I mean, if the battery is charged, all that stuff shouldn't be affected by the alternator anyhow. Maybe the battery is actually the culprit?

Once the car is running, the battery is pretty much out of the equation, right? I've never had a problem starting the car, so I'm not seeing how the battery could be bad or the problem. IIRC the battery is about two years old if the sticker is correct. Although, I've read severe off-roading can be tough on batteries. Maybe the battery got messed up on Saturday at the TNT?

bluej
bluej UltraDork
8/21/16 8:07 a.m.

check the battery and other charge system connections.

battery on it's way out can have some odd symptoms, so worth checking it at a parts store nearby.

hmm, you've recently done some welding on the chassis of the car, right? maybe that f'ed something up.

95maxrider
95maxrider New Reader
8/21/16 8:50 a.m.
bluej wrote: check the battery and other charge system connections. battery on it's way out can have some odd symptoms, so worth checking it at a parts store nearby. hmm, you've recently done some welding on the chassis of the car, right? maybe that f'ed something up.

The connections on the battery are fine. Maybe it has something to do with the wiring you and Jim did for the fan? I can go get it checked out though.

Hmm, we did weld on those weld nuts the day before the TNT. I sure hope we didn't mess something up then....ugh.

4 5 6 7 8

You'll need to log in to post.

Our Preferred Partners
DAL8RsYBFG8LC1Yvj8DkUJrJoo5aZAUtEVRlmwKhPmyj2BJCfPjDabcTNskidCYU