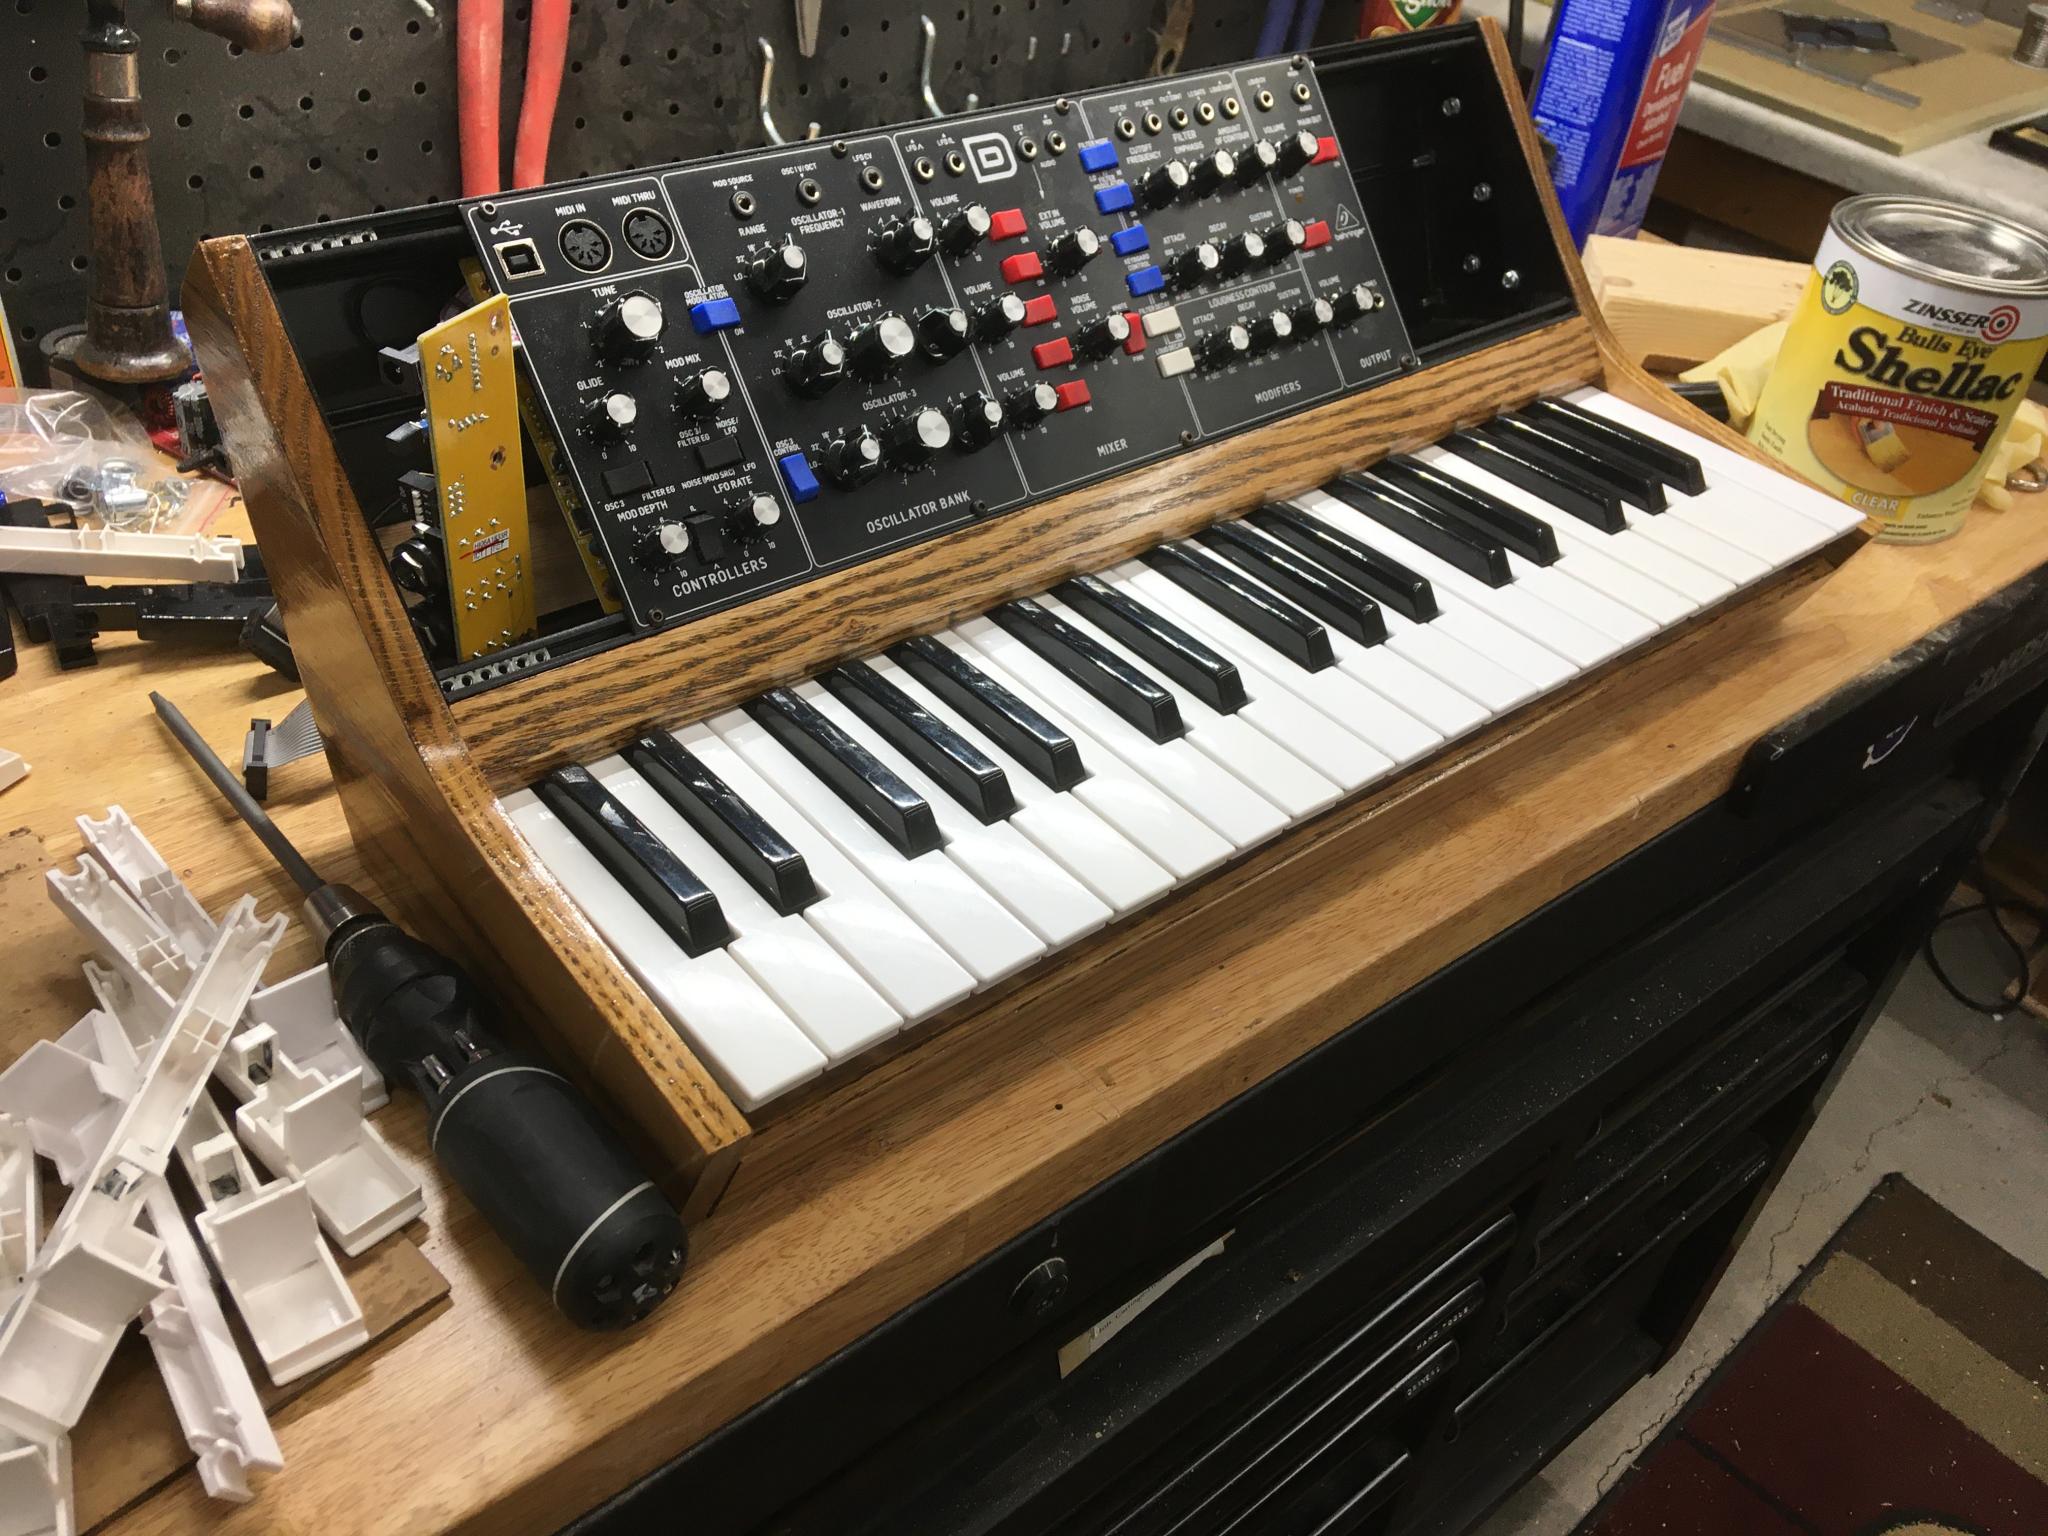
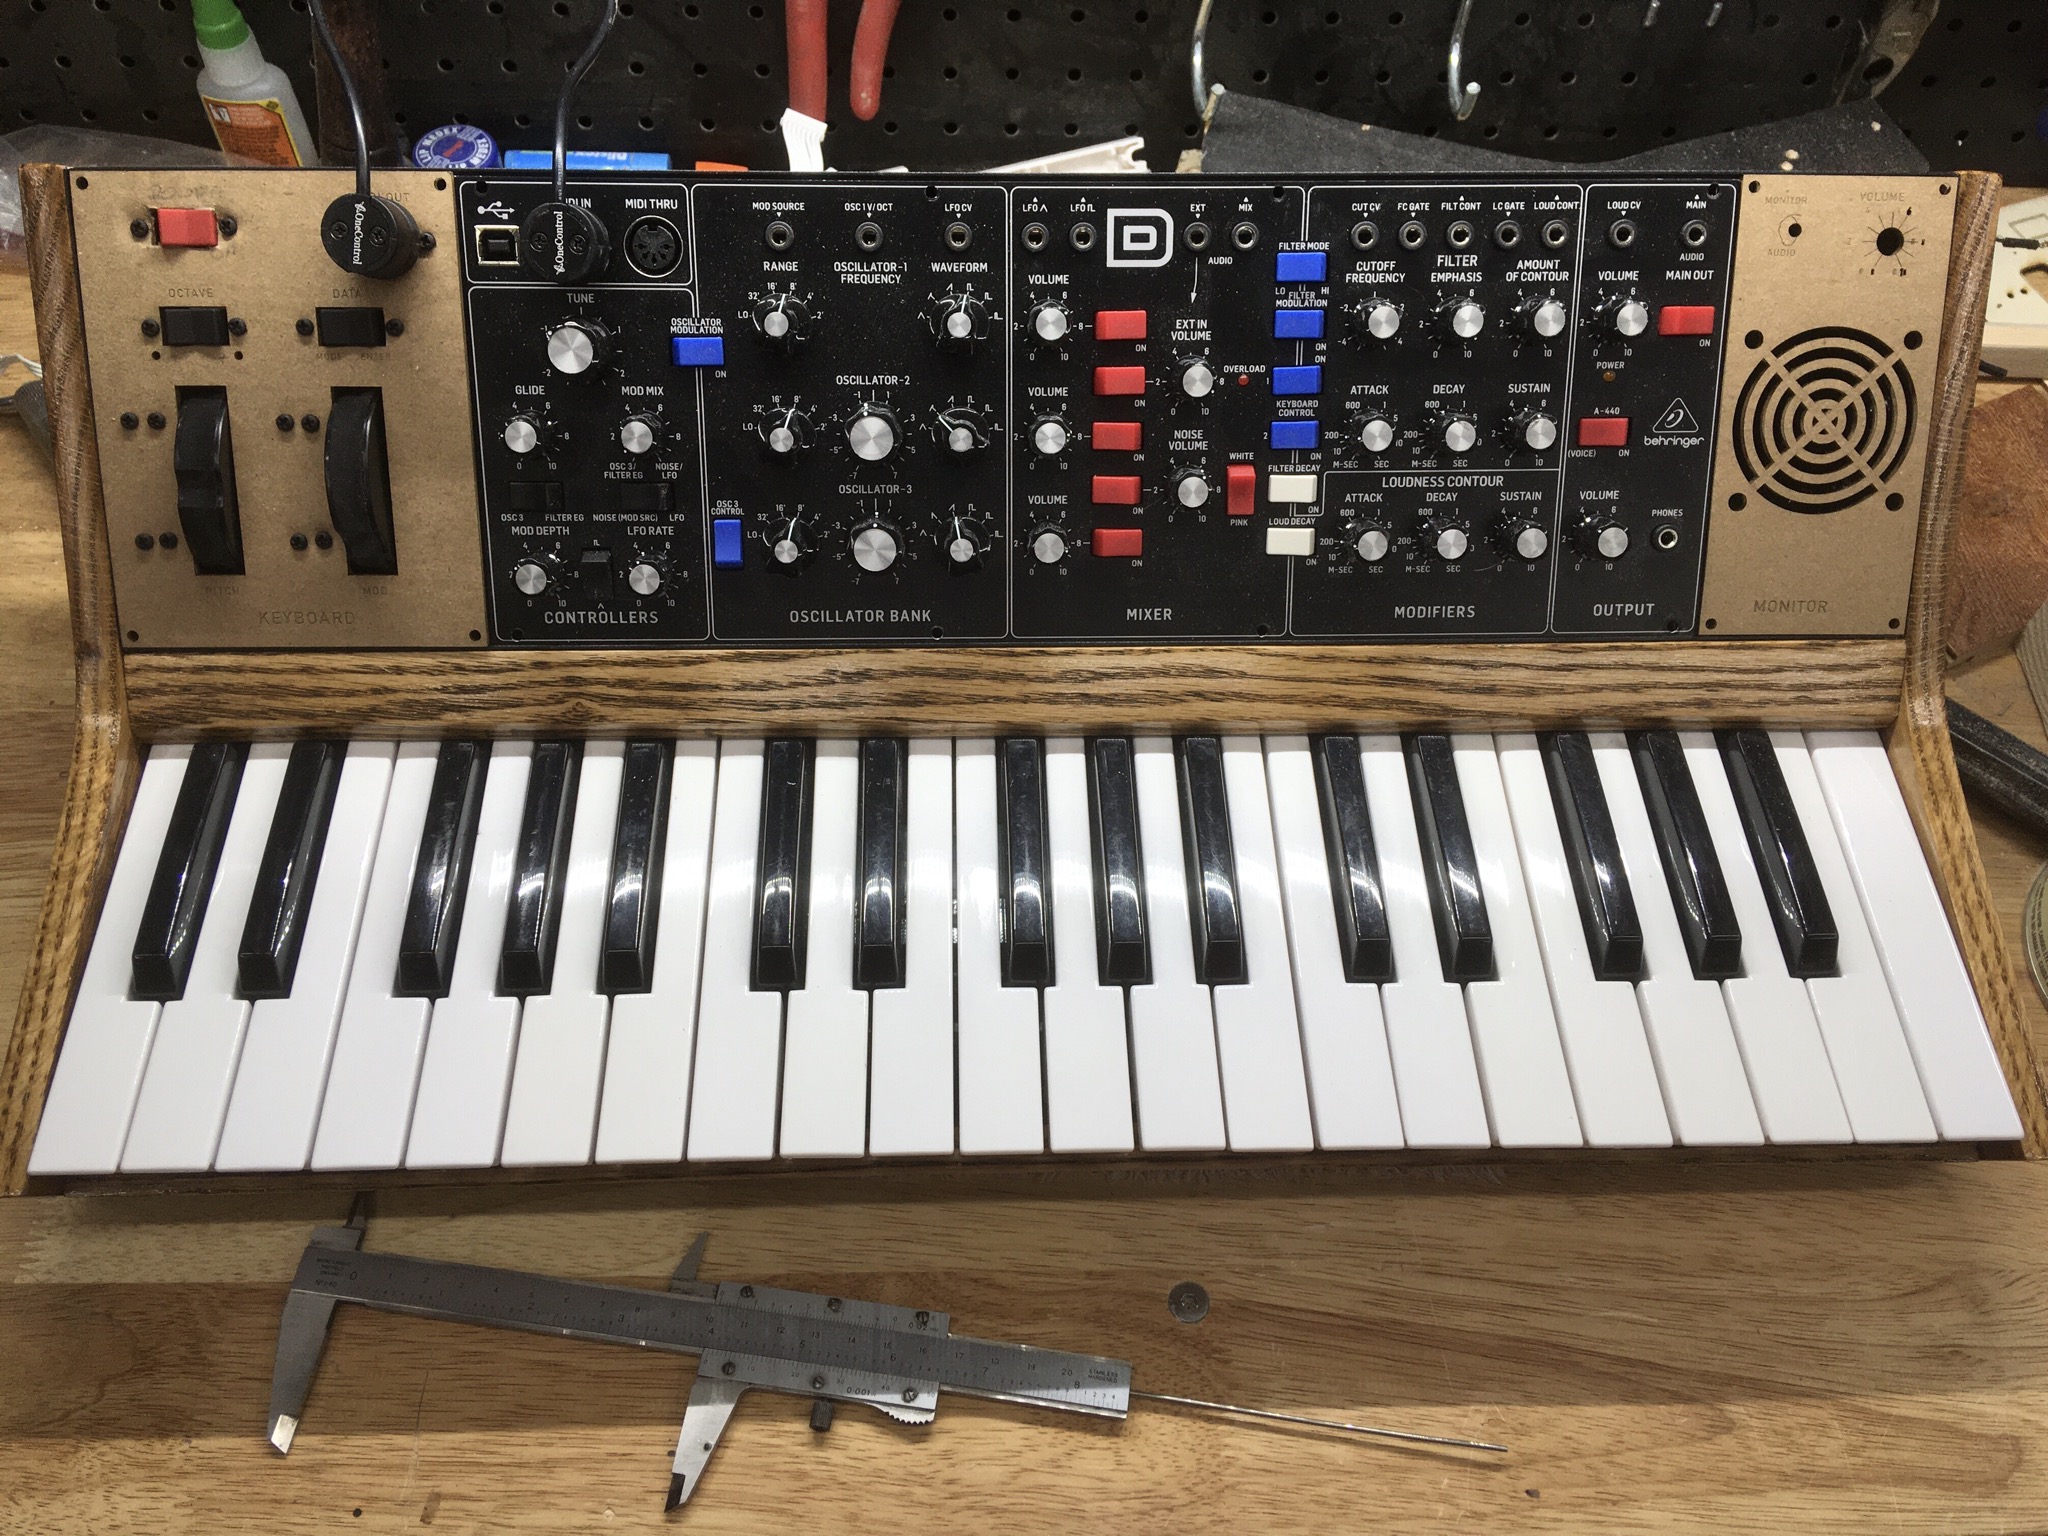
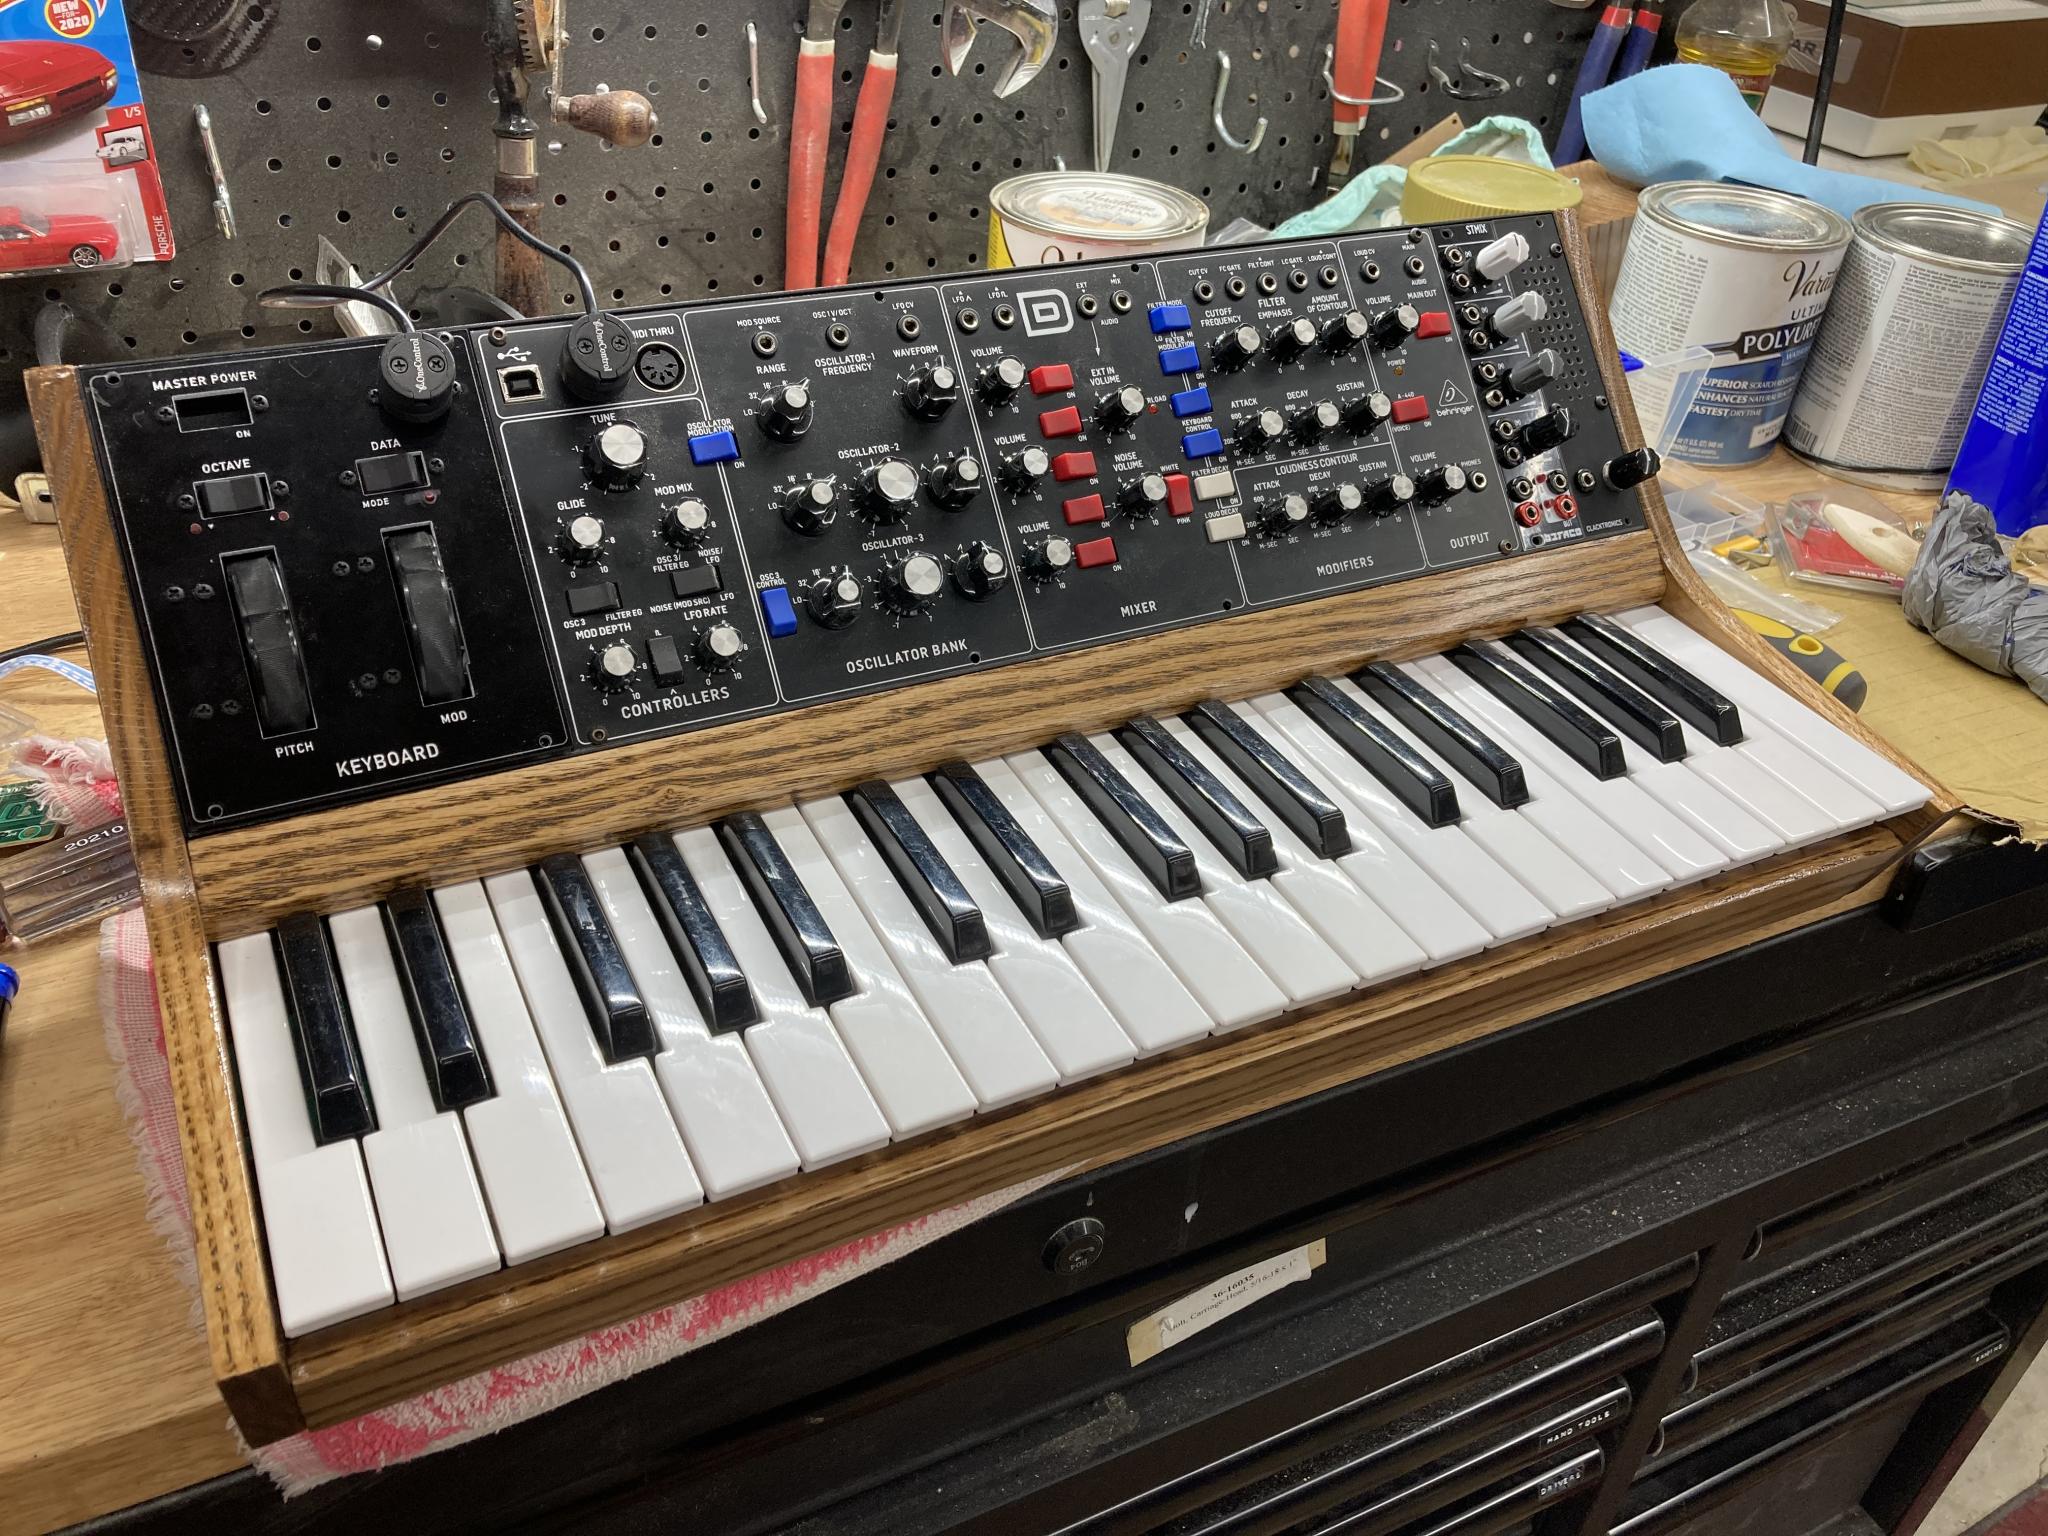
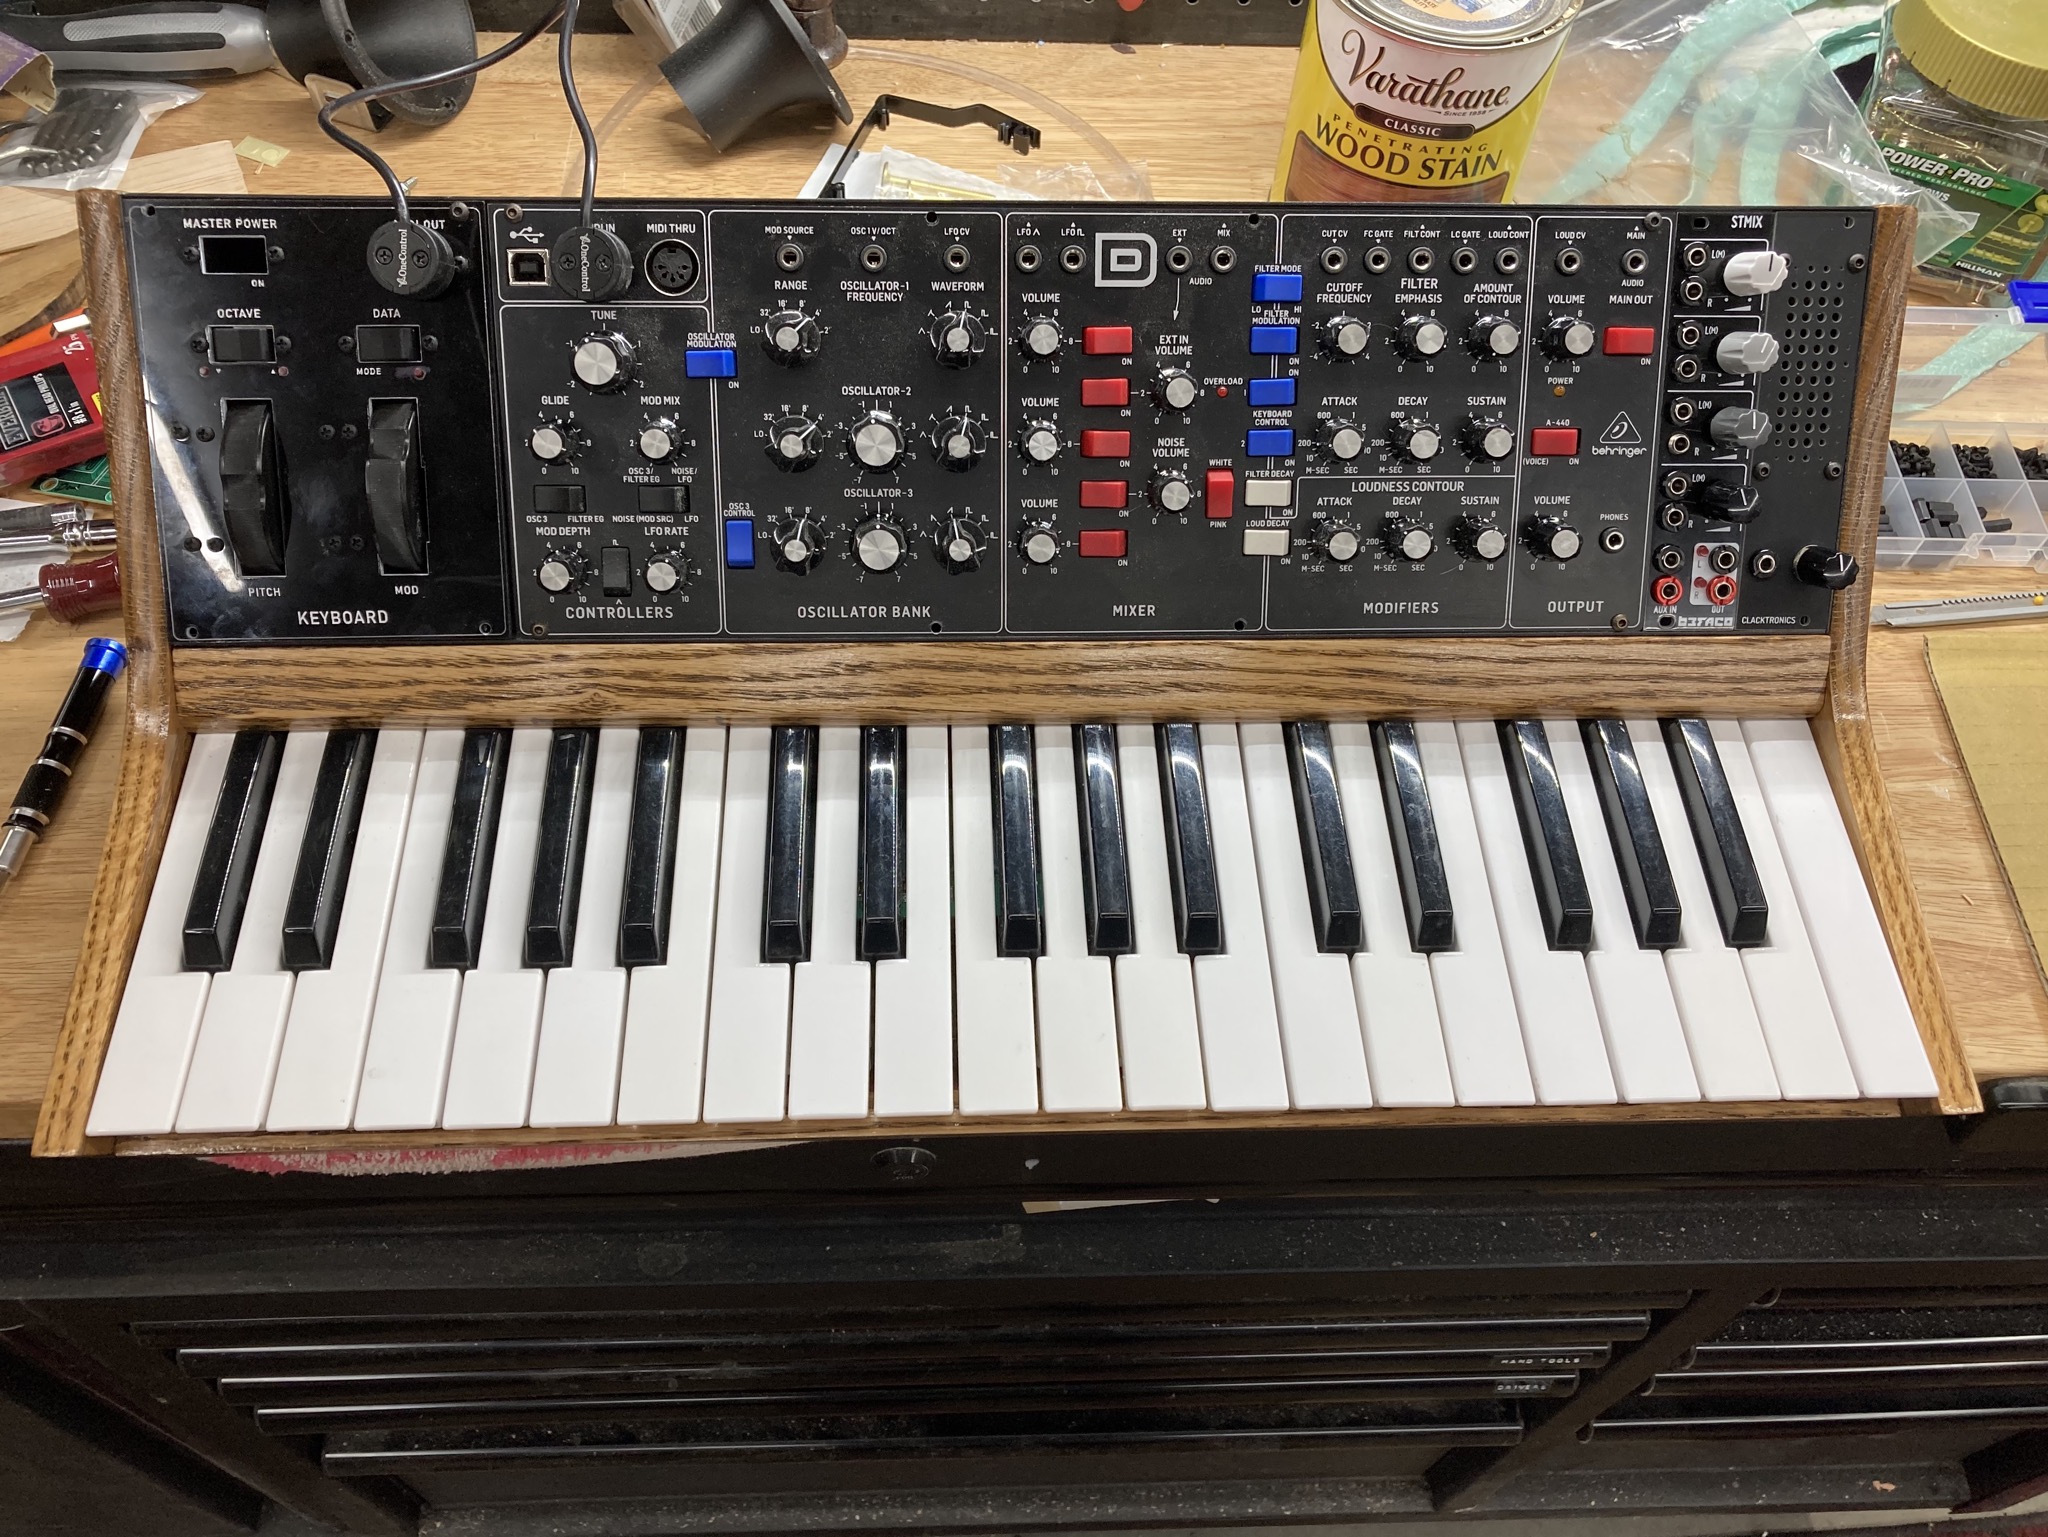
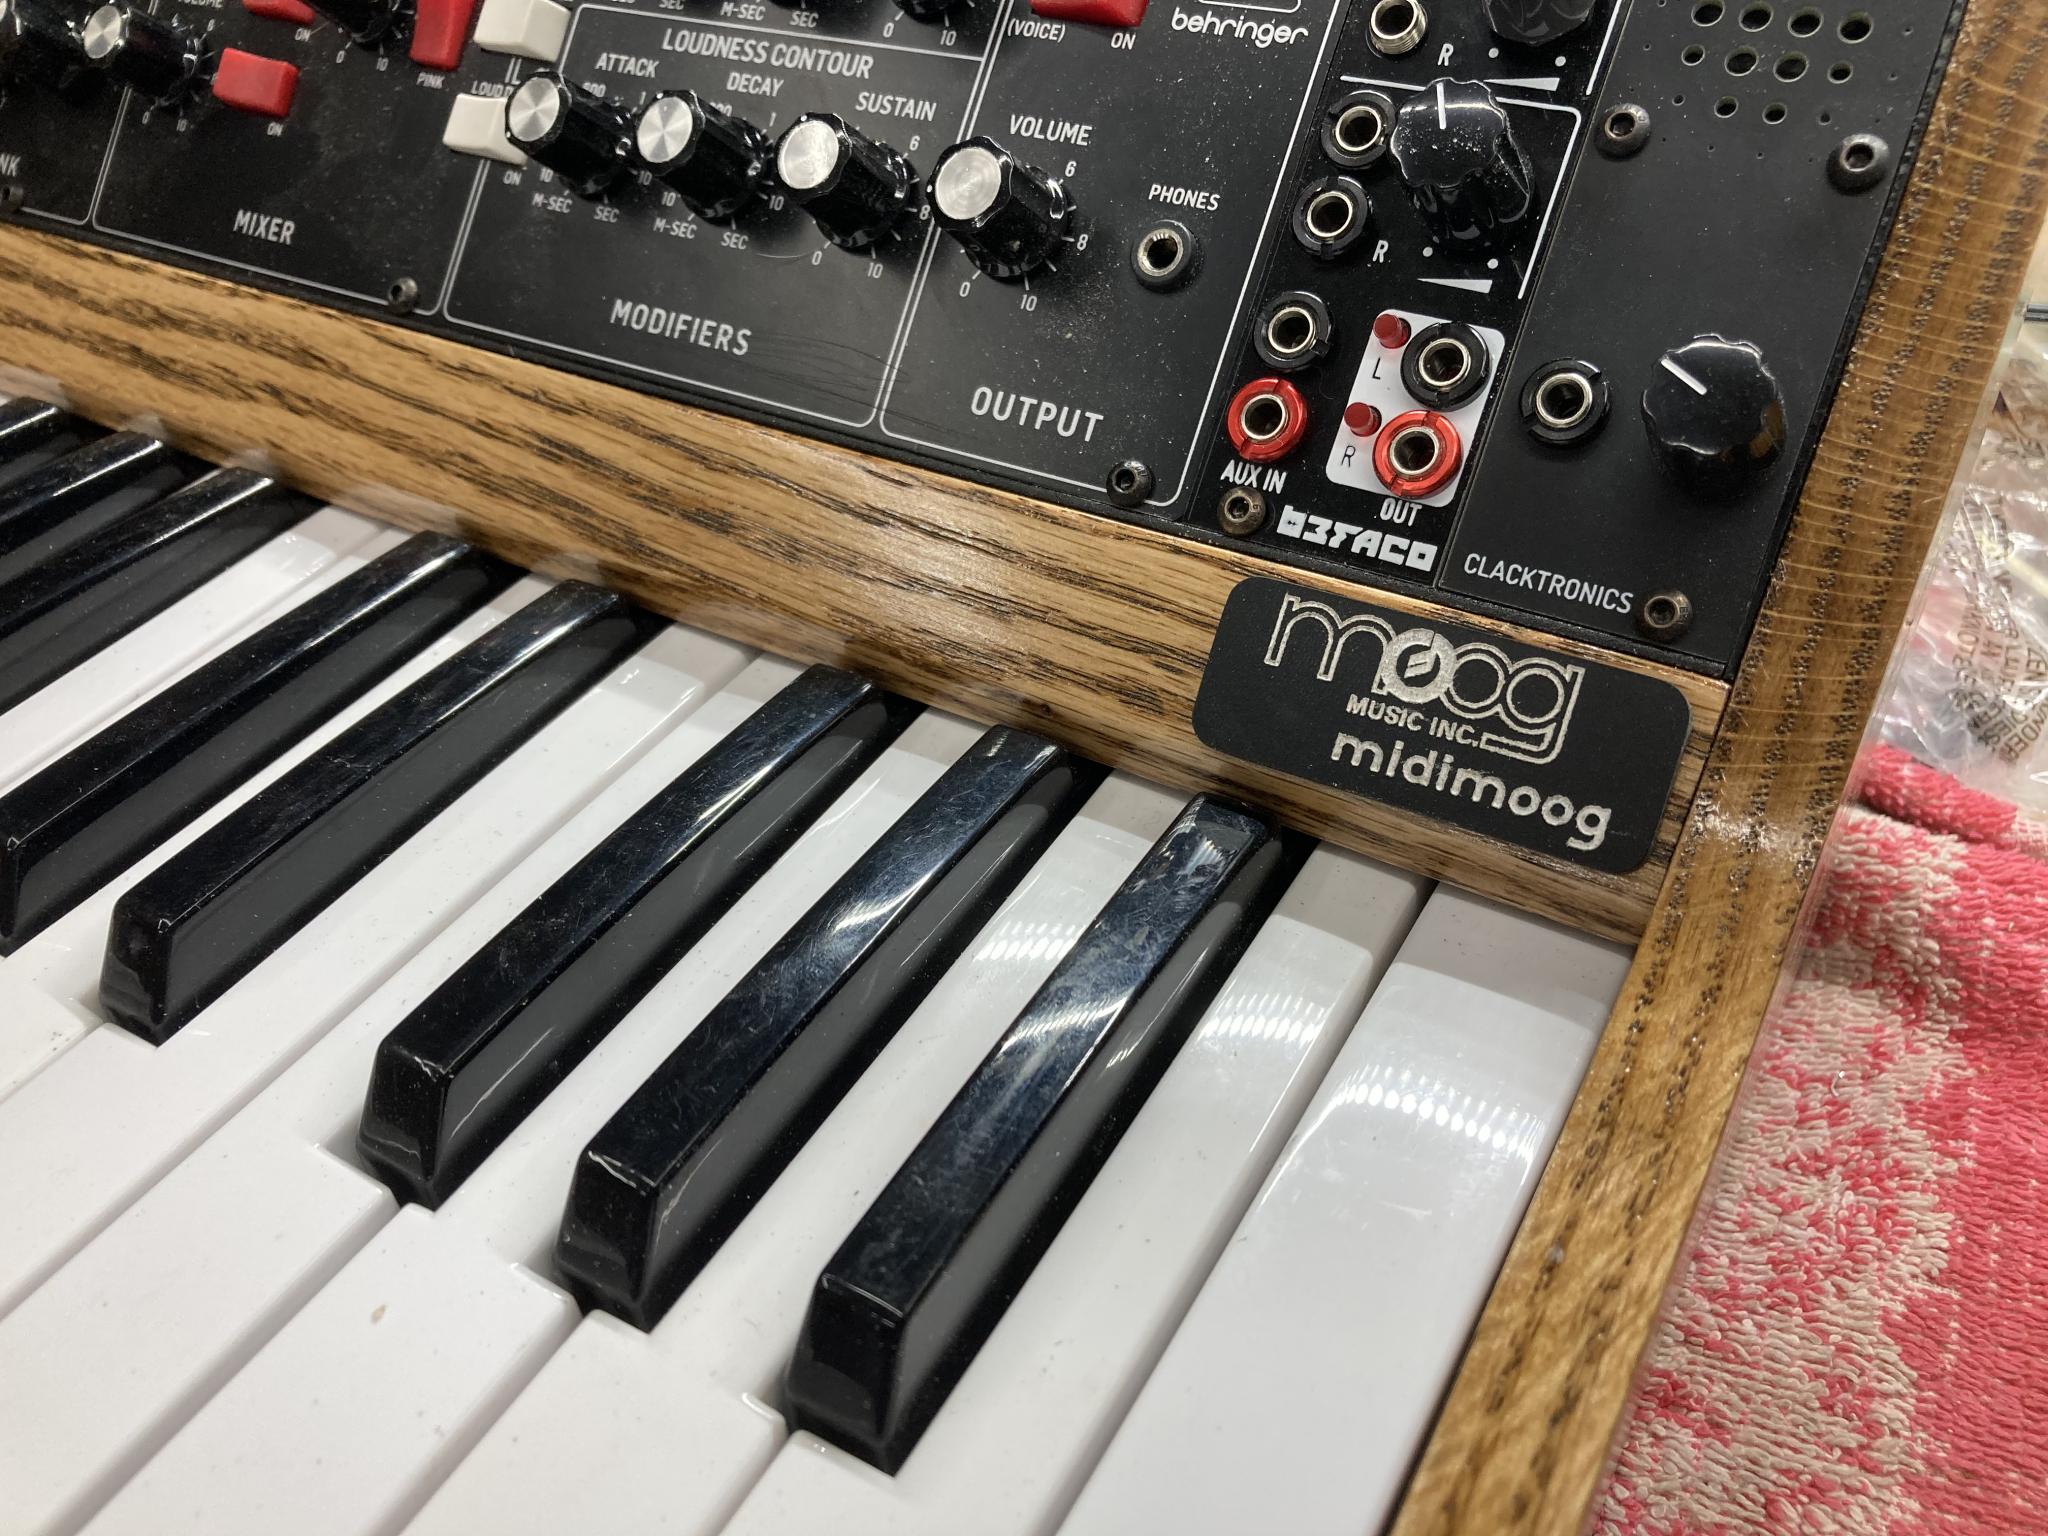
This makes me happy. Shellac may be from a different era than this retro synth, but the end result looks great.
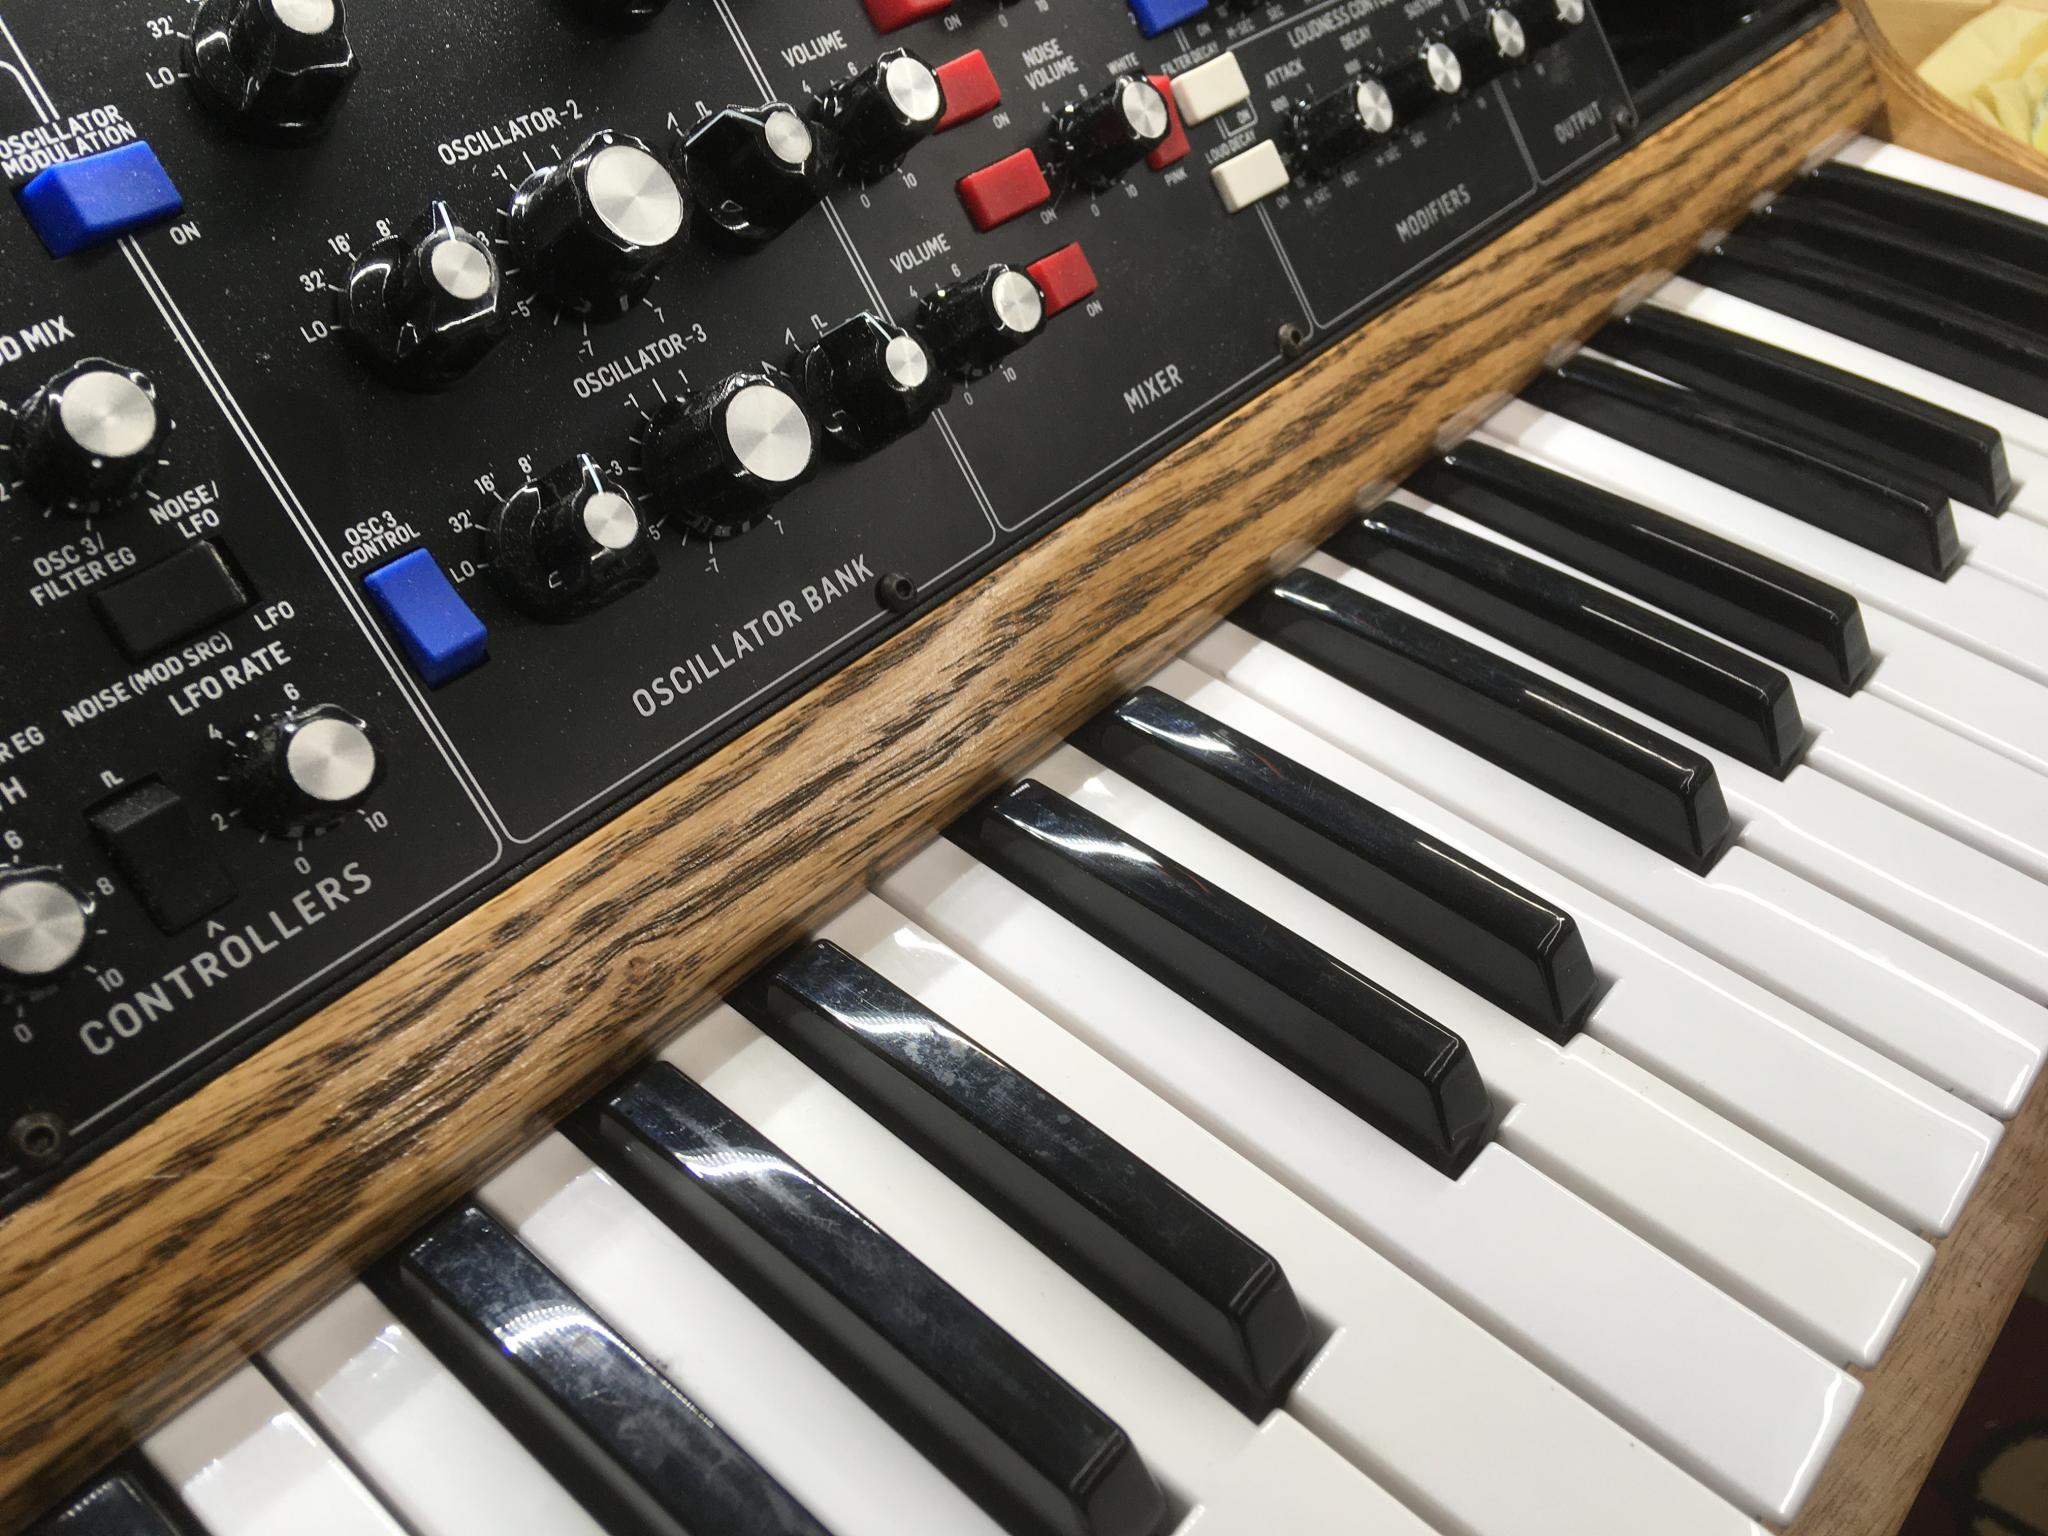
Gratuitous closeup. Both of my keyboards had some general scuffing on the keys - with a small, light keyboard you're always just tossing it around and it ends up upside down as often as not - which adds just the right aging to the manual.
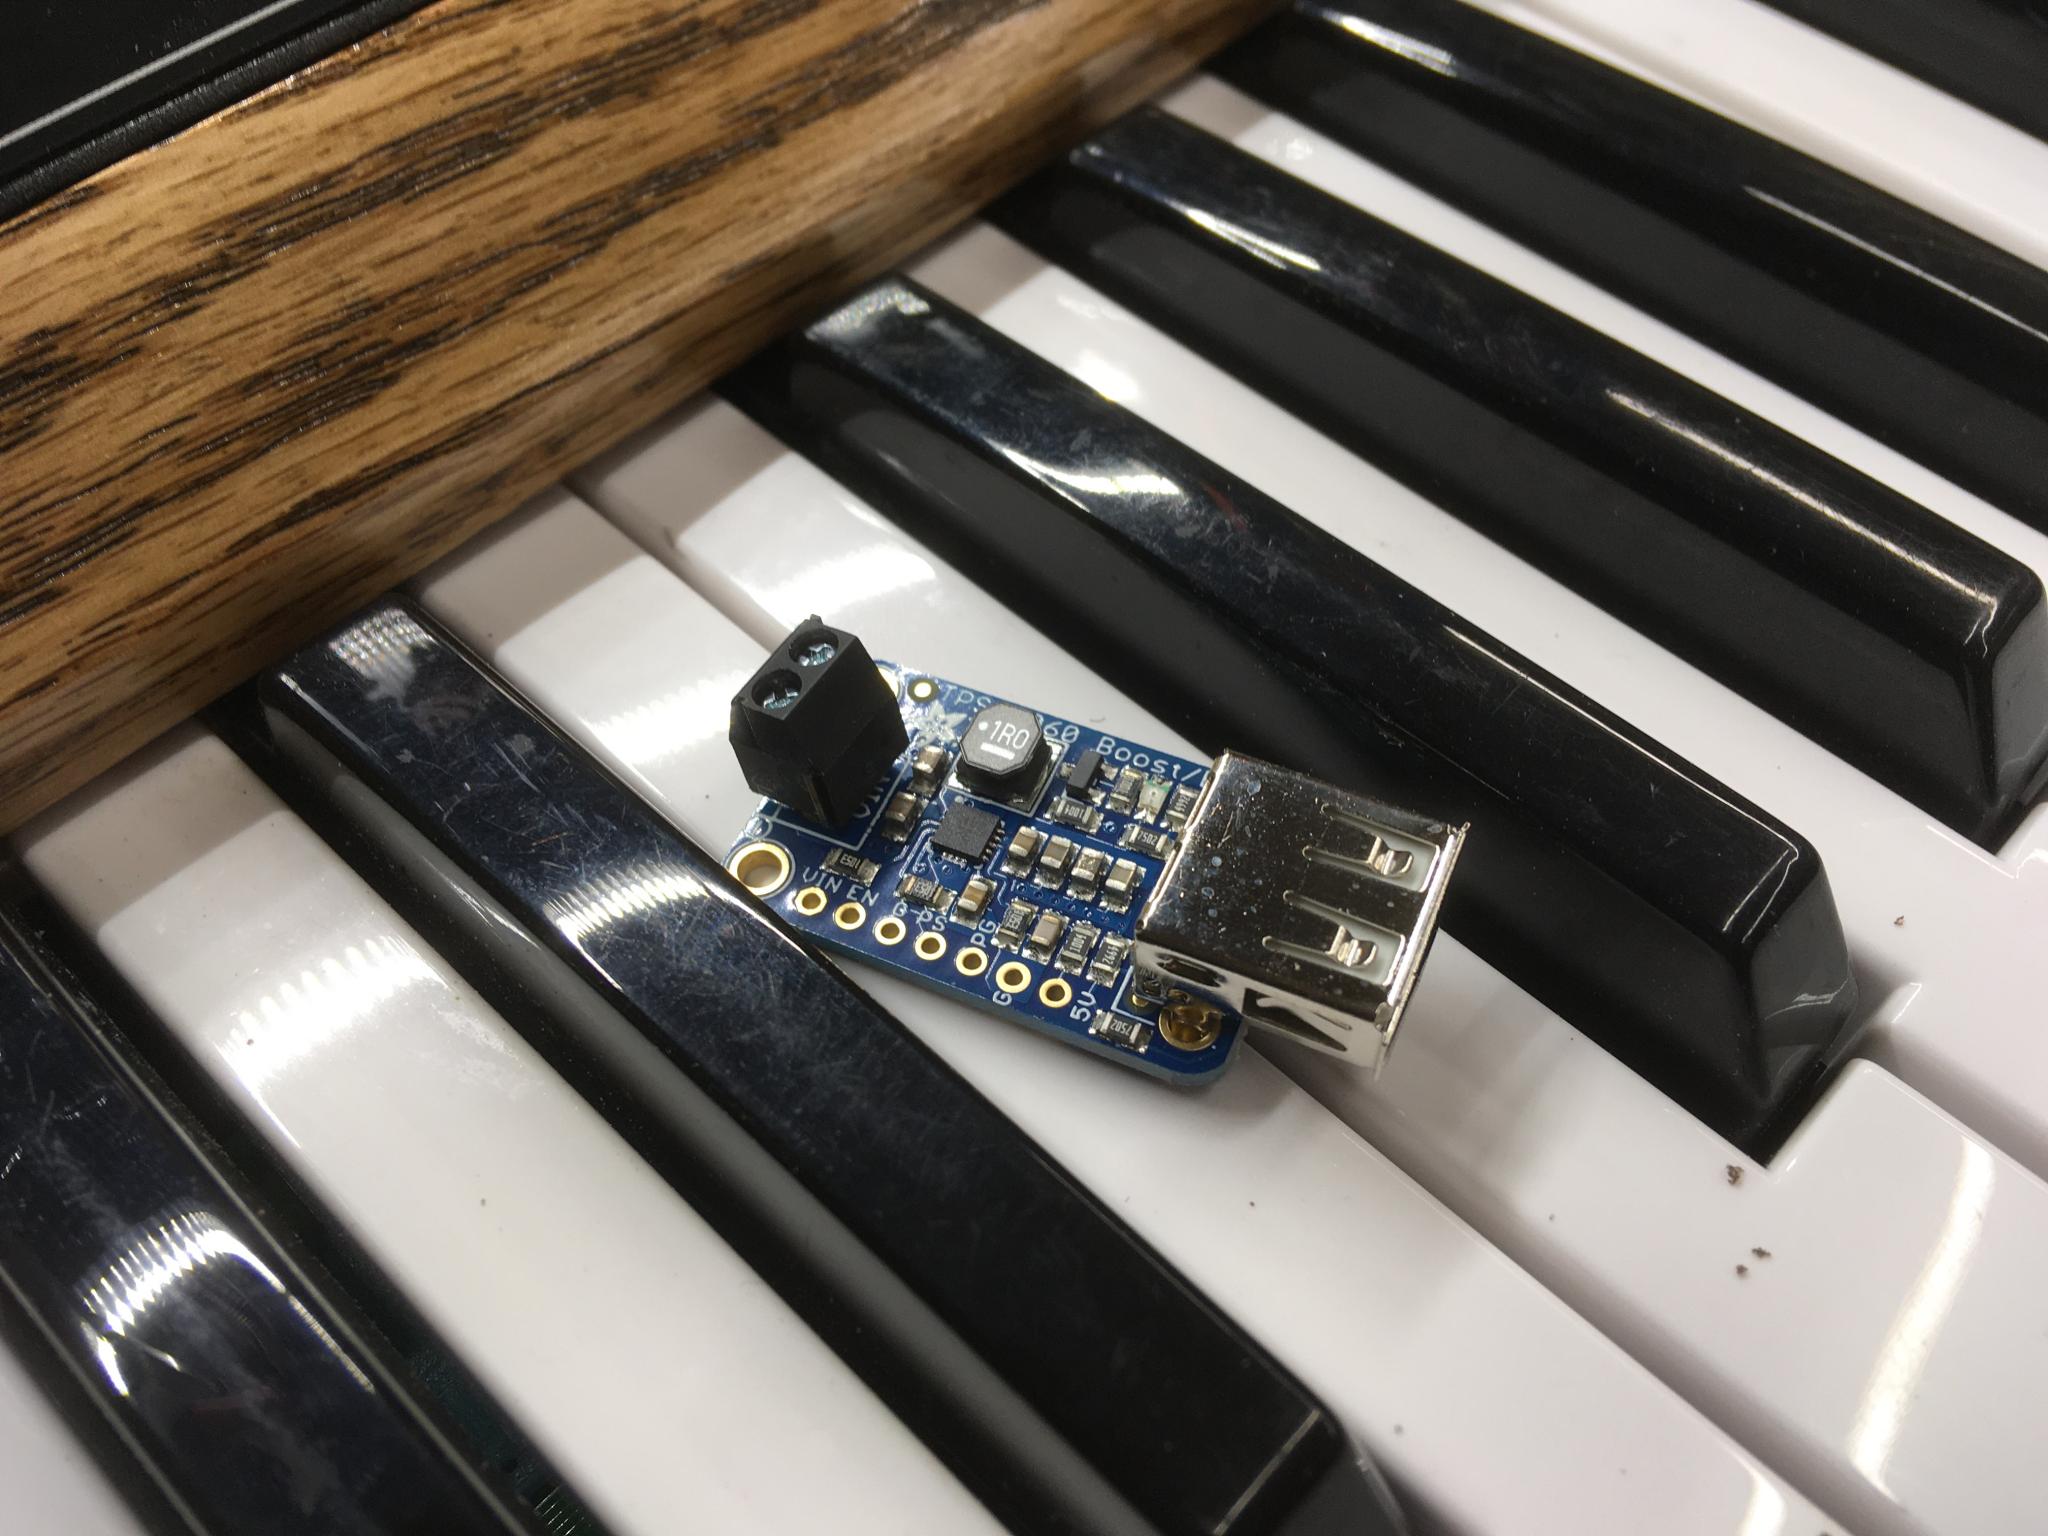
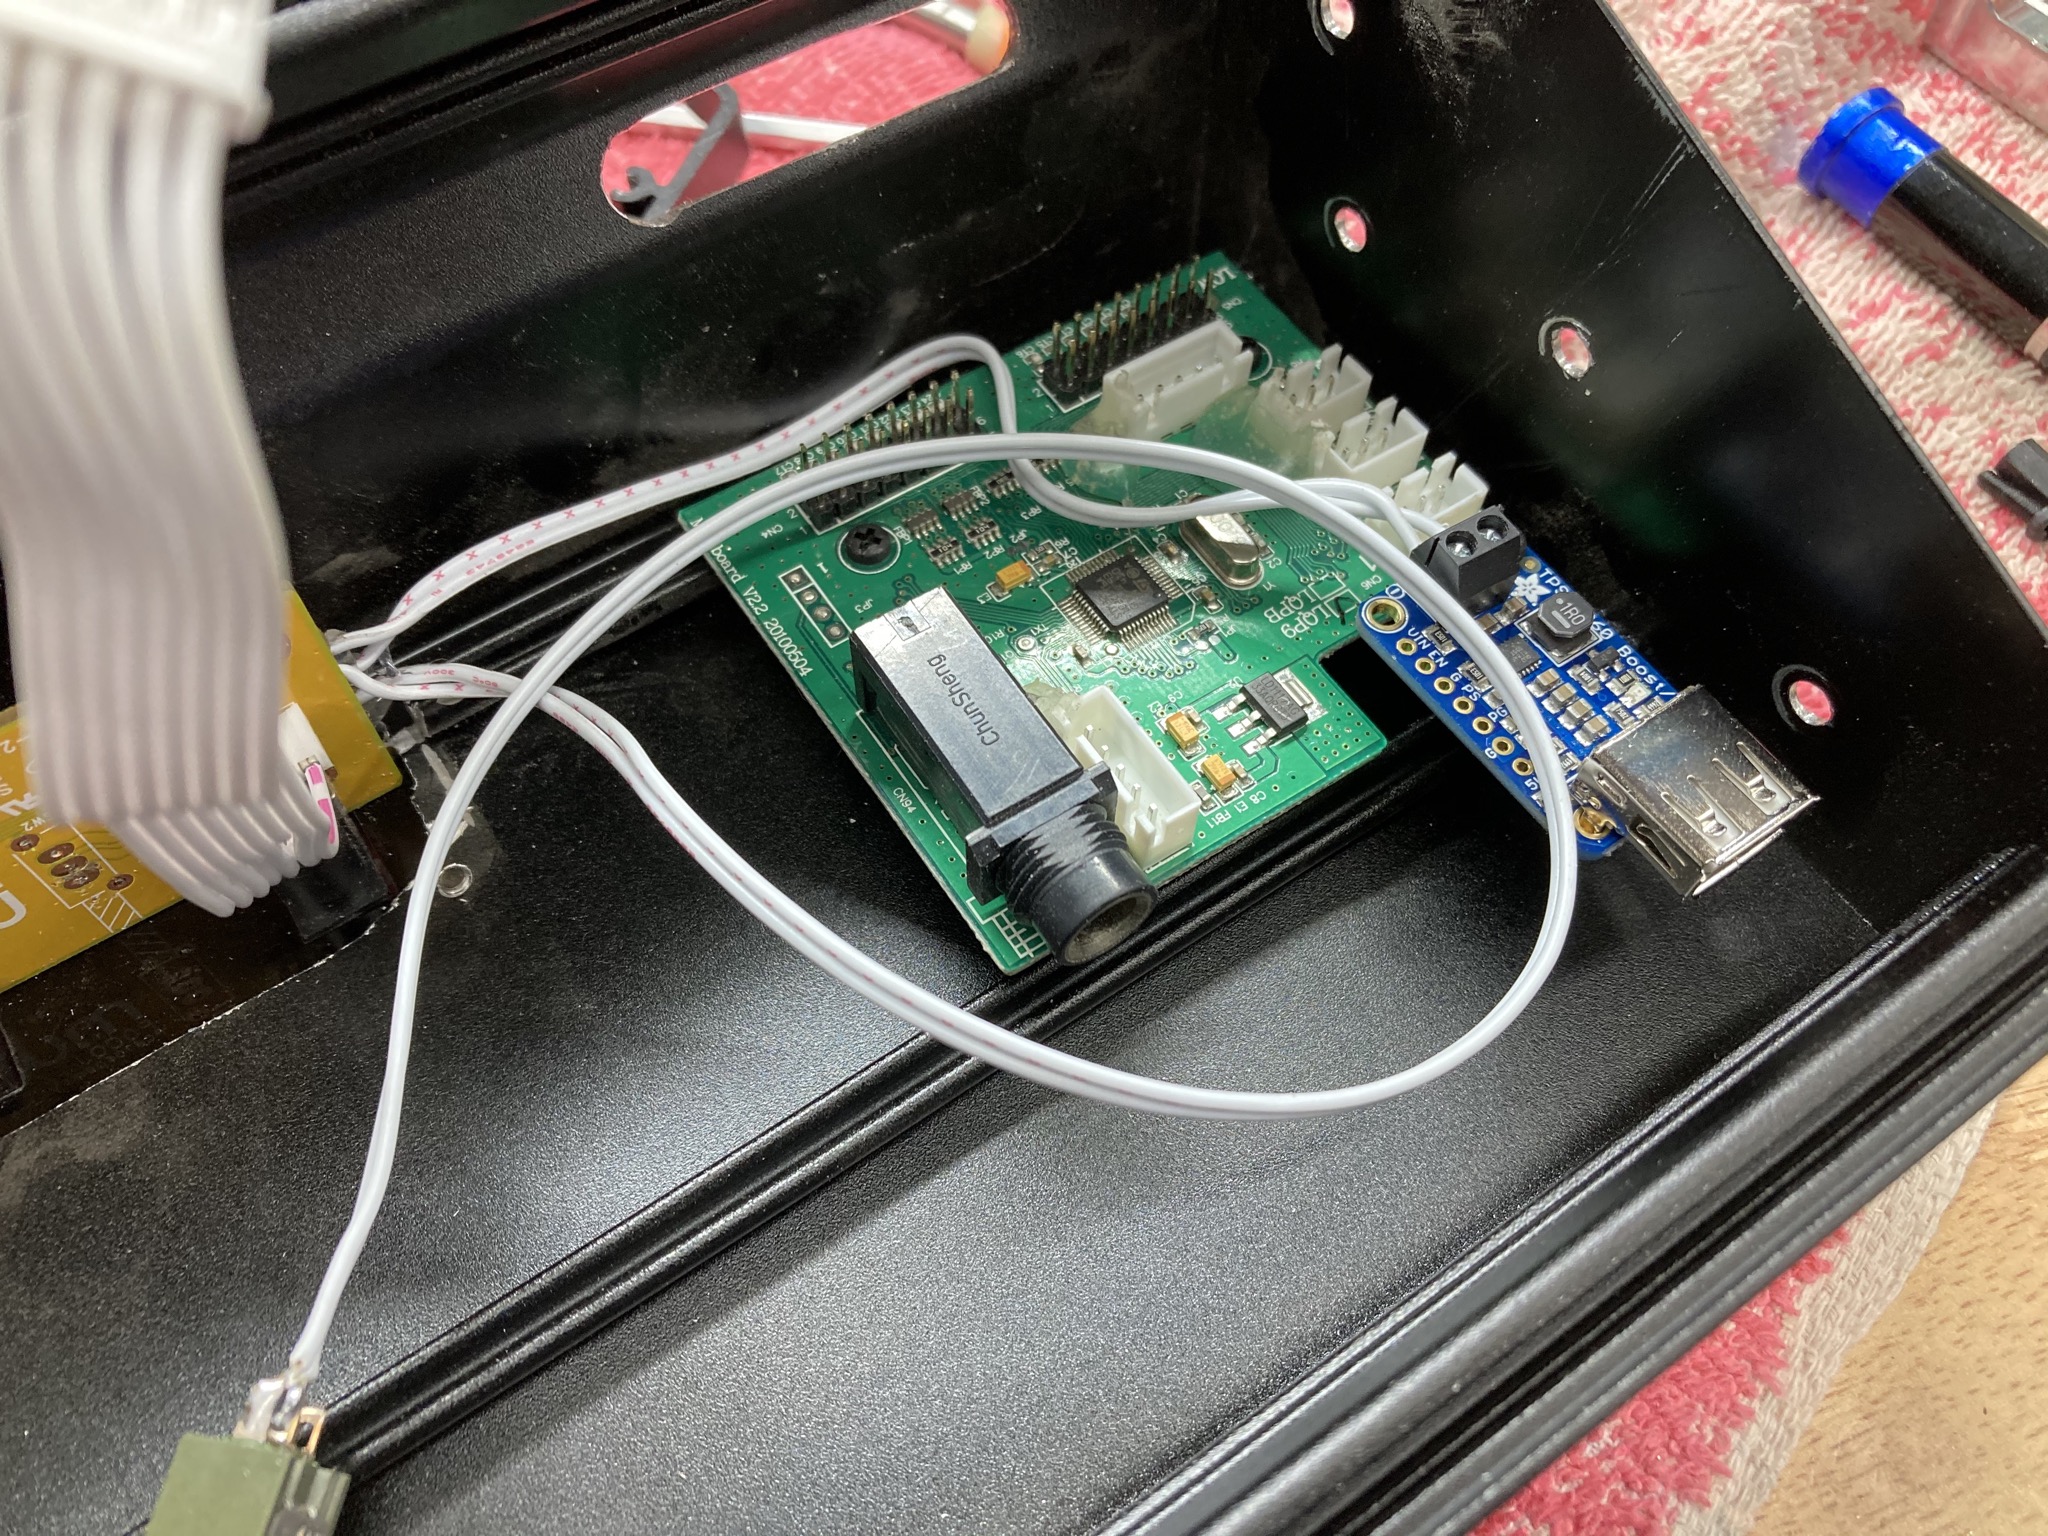
I'm slowly working my way through the next part of the plan, mentally designing, laying out and redesigning the components. There's one shipment coming from the UK that will allow me to move forward, but in the meantime I'm slowly collecting other parts. This is the 5V power supply that will step down my 12V feed coming off the back of the synth, which will power the keyboard itself. This means I can feed this whole thing off a single wall wart.
In reply to Keith Tanner :
That looks beautiful, good call on the shellac!
Blame Frenchy for that. He may not have quite convinced me yet that the Jaguar V12 is the ultimate engine, but he knows wood!

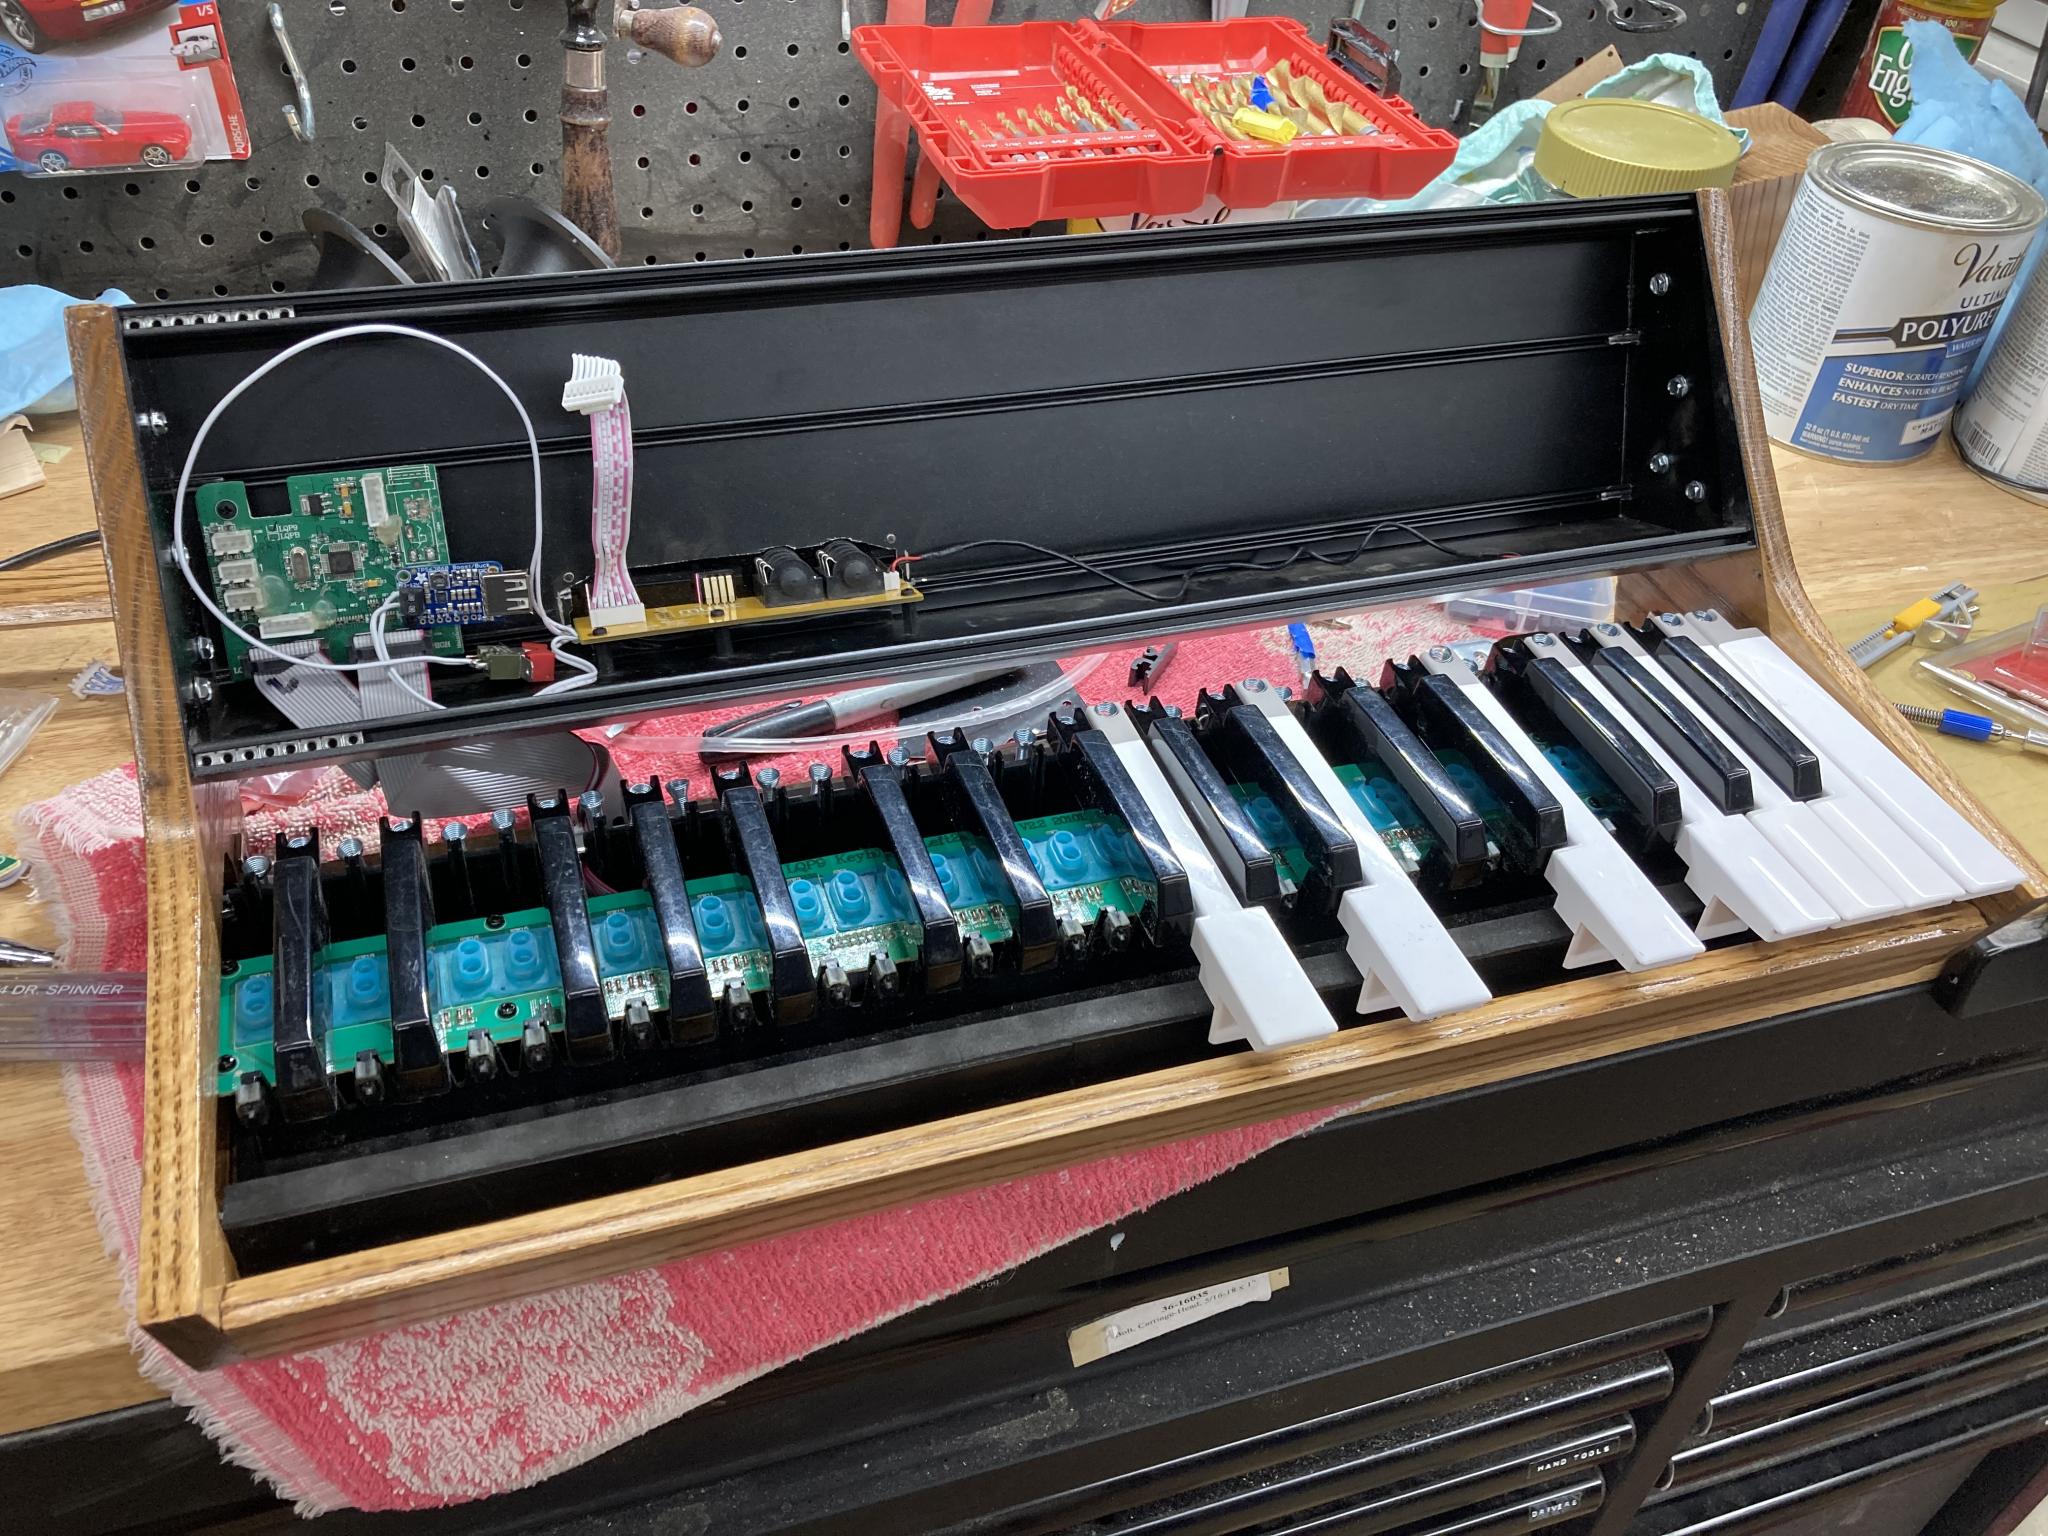
With the the case looking good, I turned my attention back to the electronics.
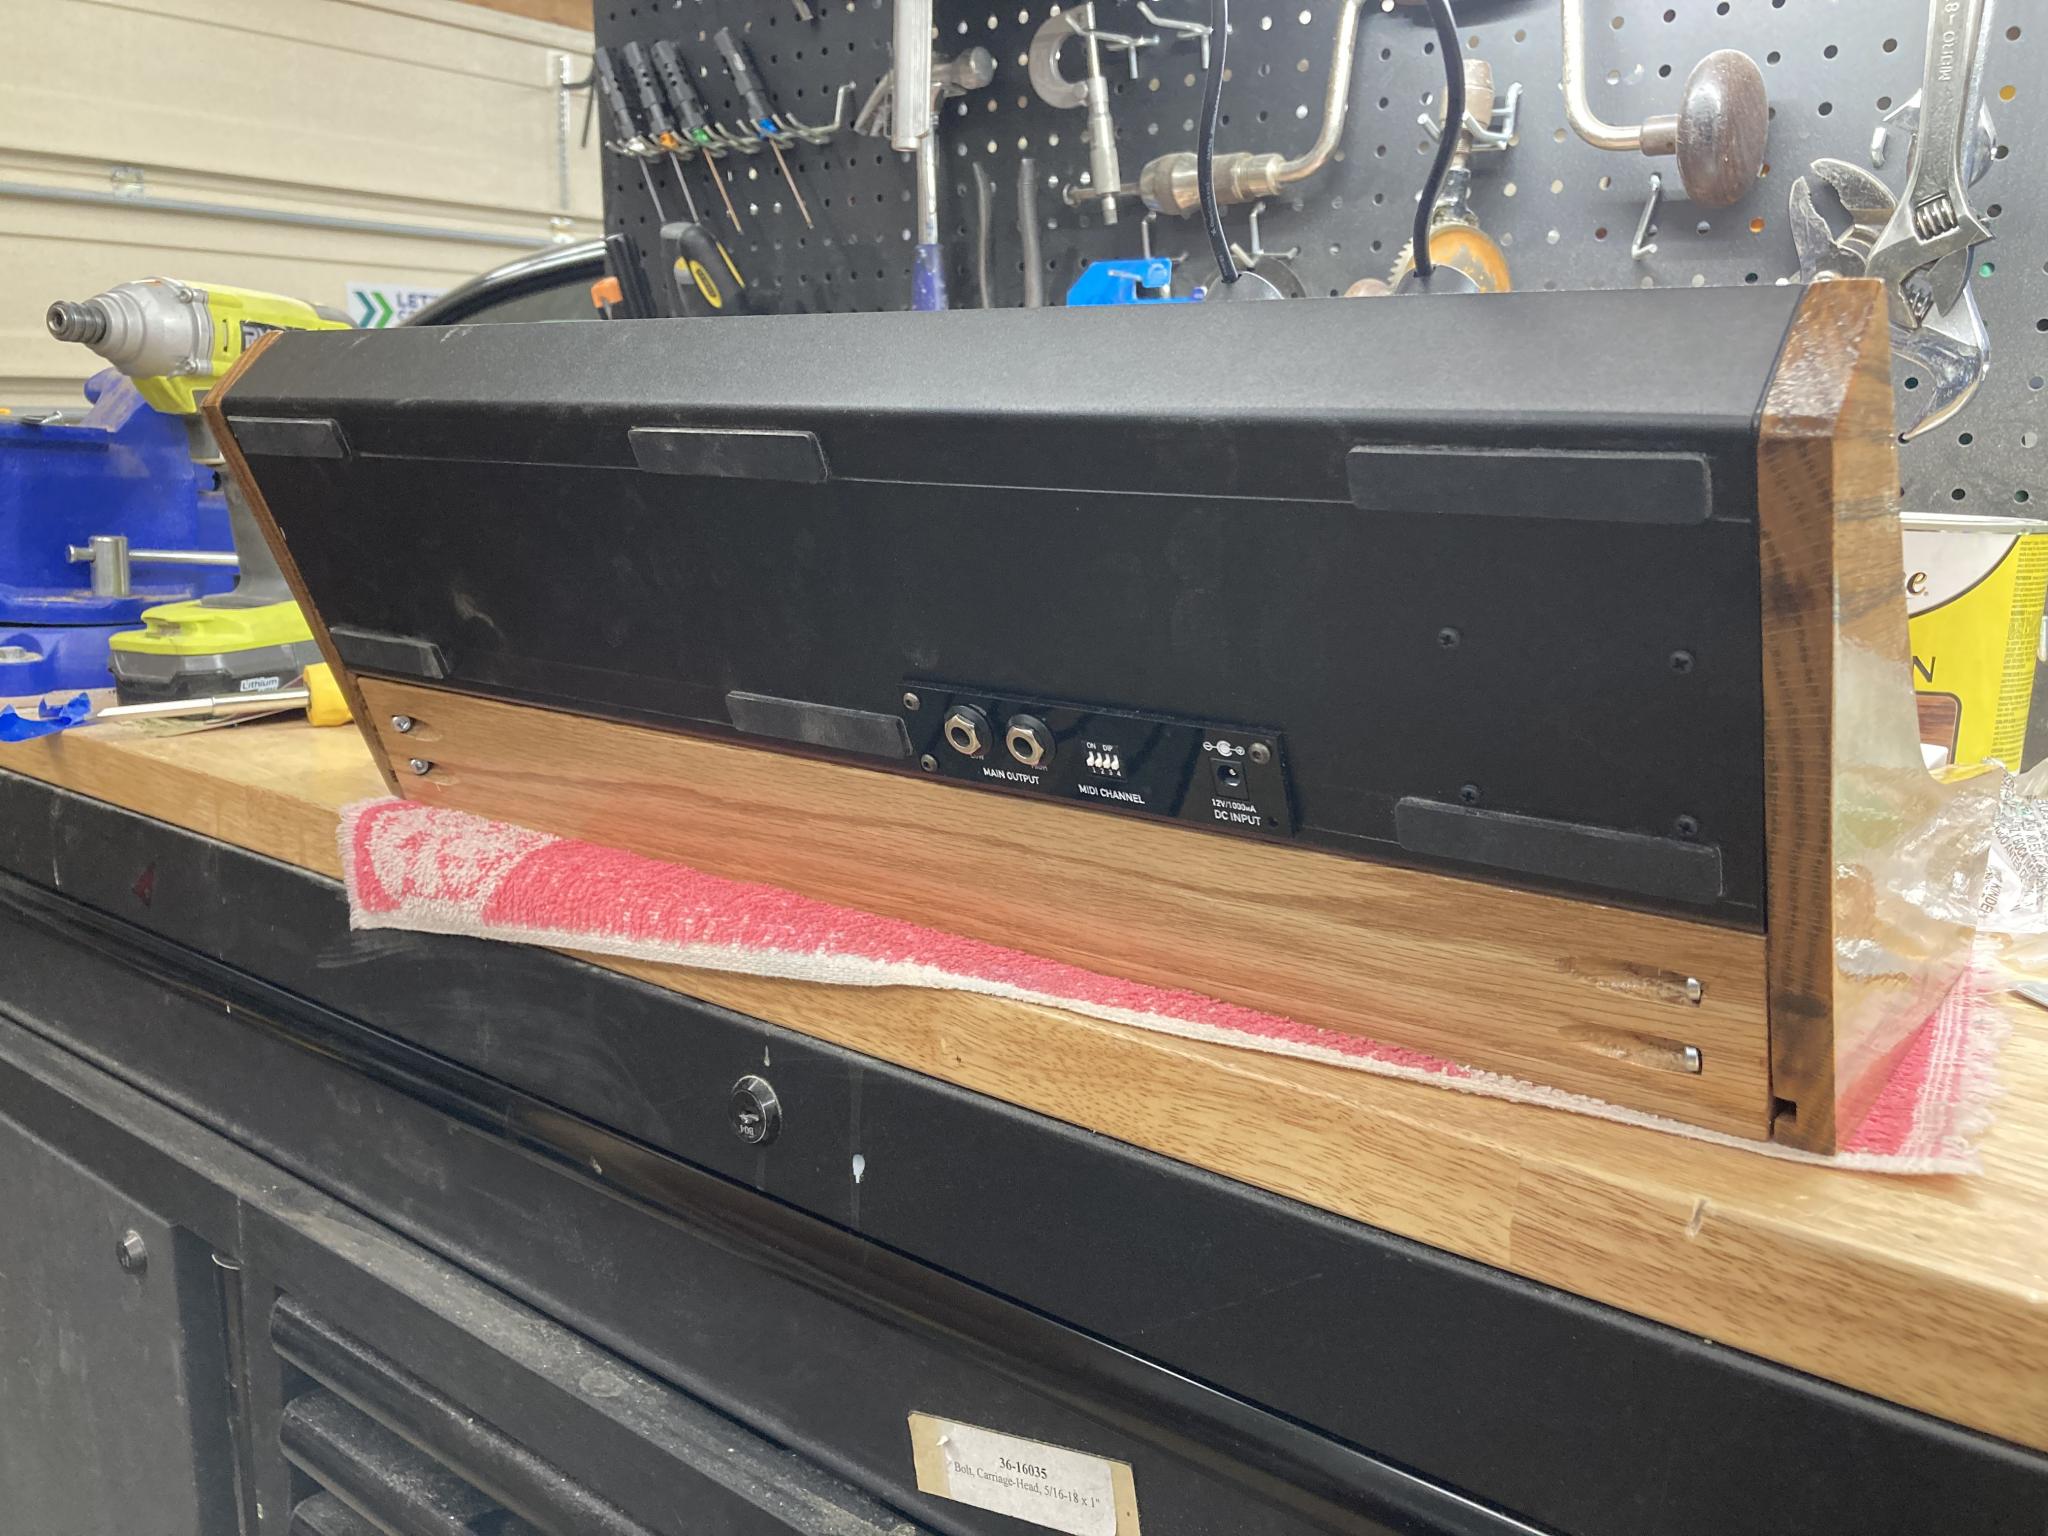
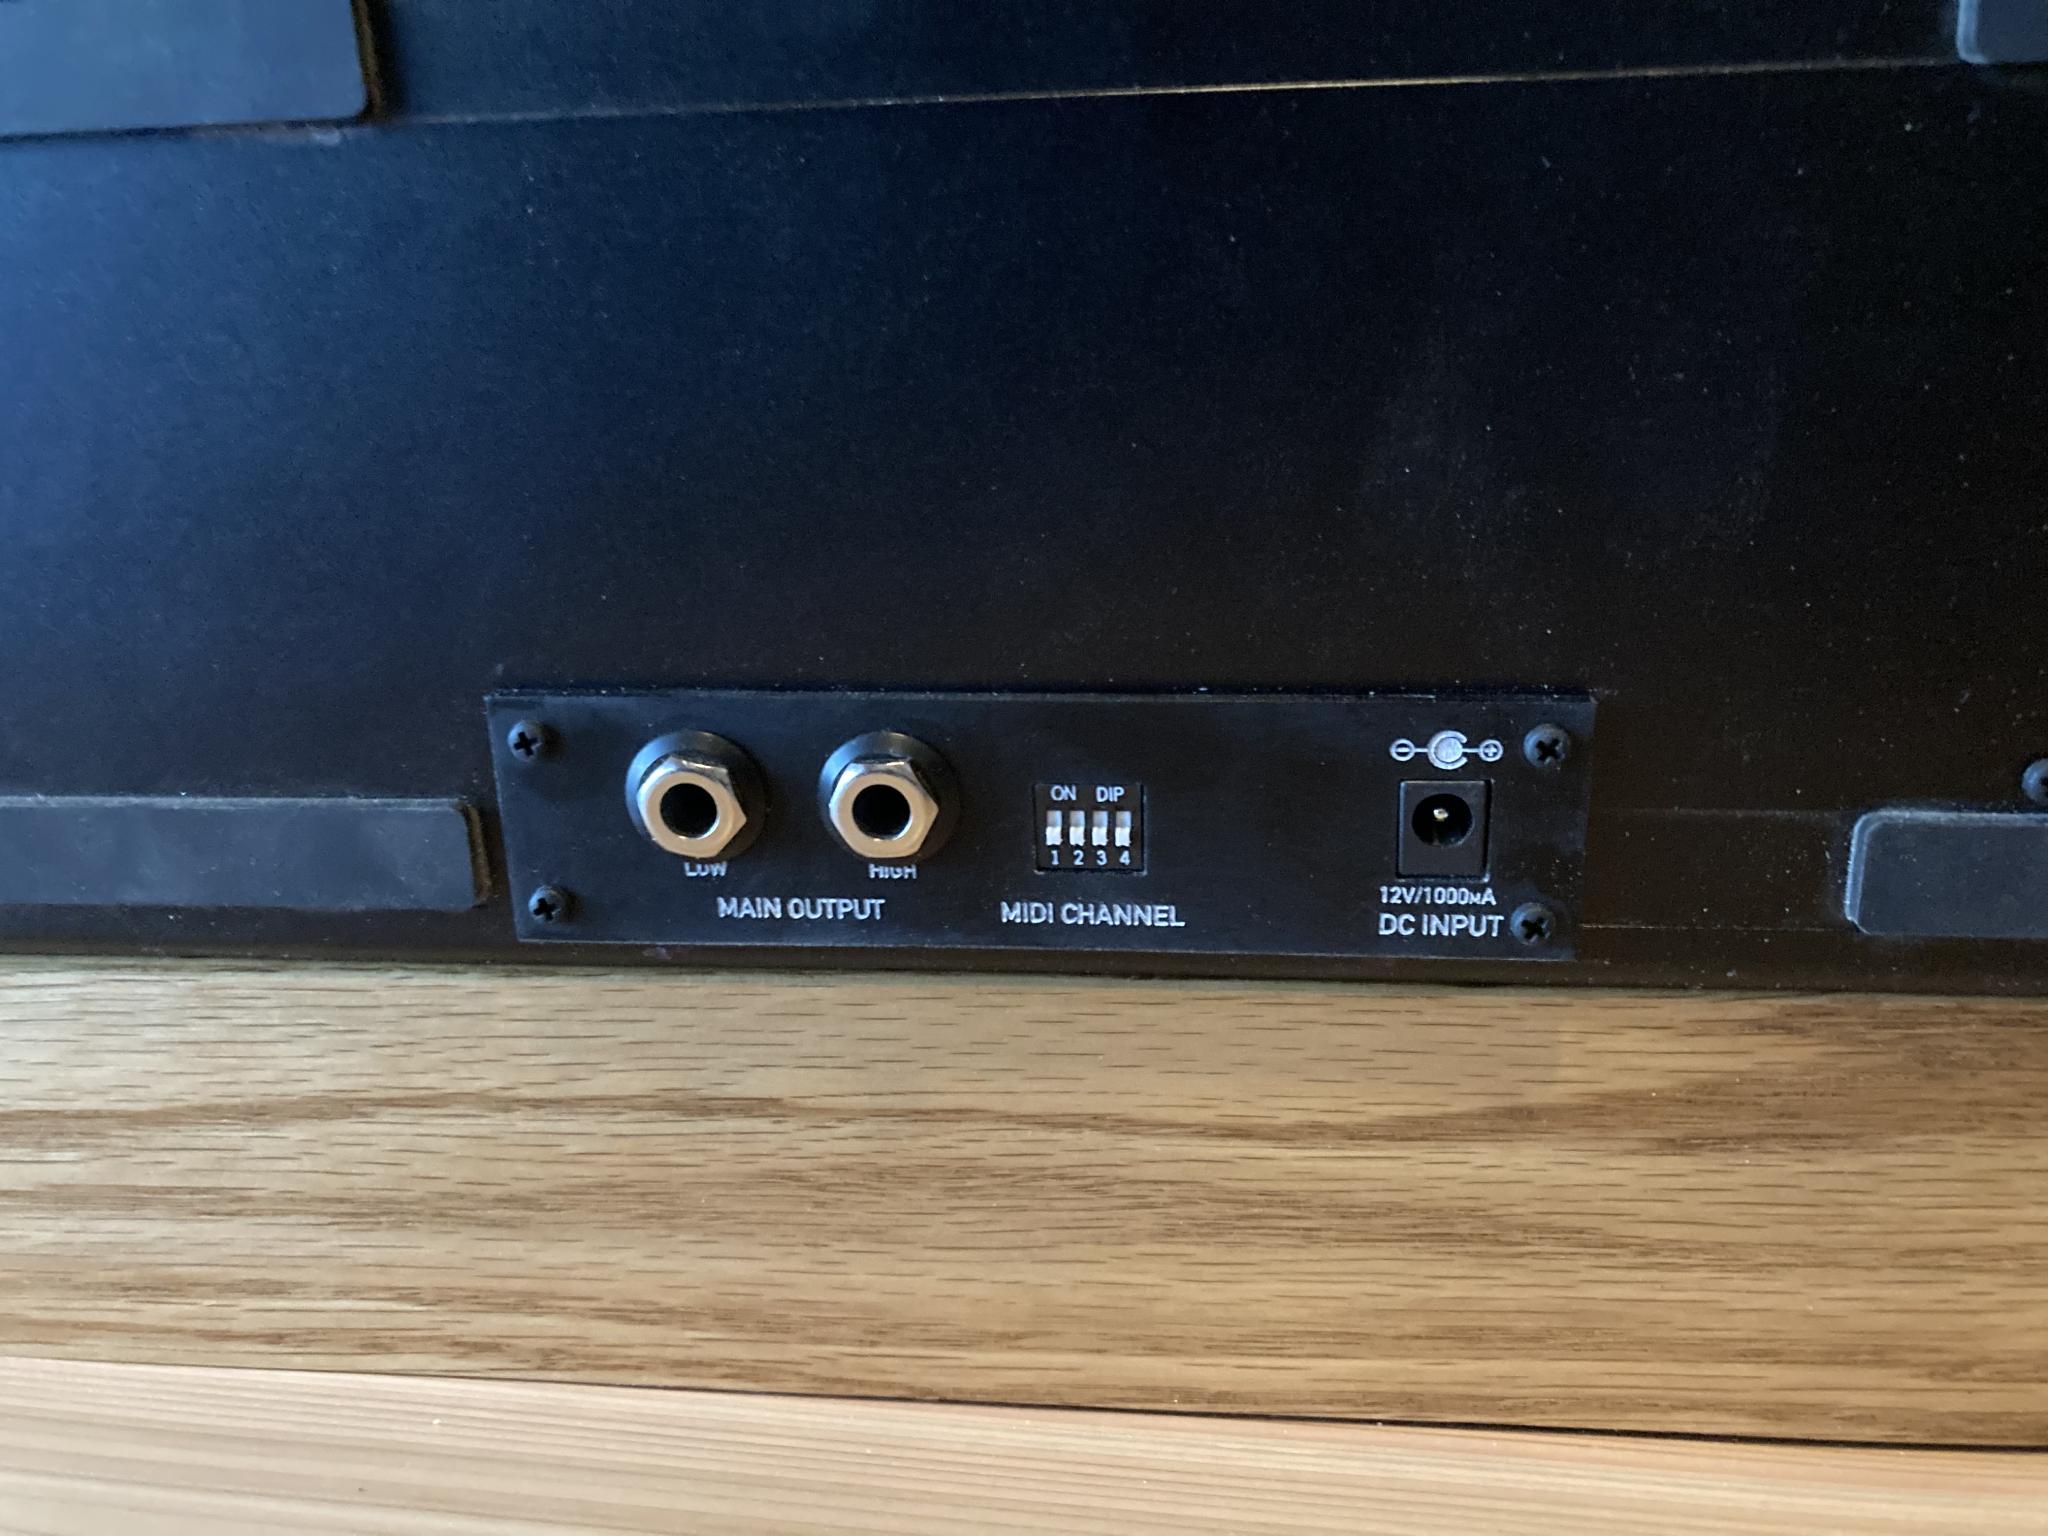
The synth has one daughter board with the power jack, MIDI channel selection dip switches (yes), power button and high and low level outputs. The keyboard has four: processor, octave selector switches, data entry slider and an I/O board with power, USB and MIDI. I'm trying to figure out which ones I need and how to integrate them.
The synth board could be removed is I decide to delete the outputs - but I have a couple of interesting amp options that really should use the low level output. Plus I came up with a decent way to mount it, so it's going to stay. That also opened up a nice option for finishing the back of the case - watch this space.
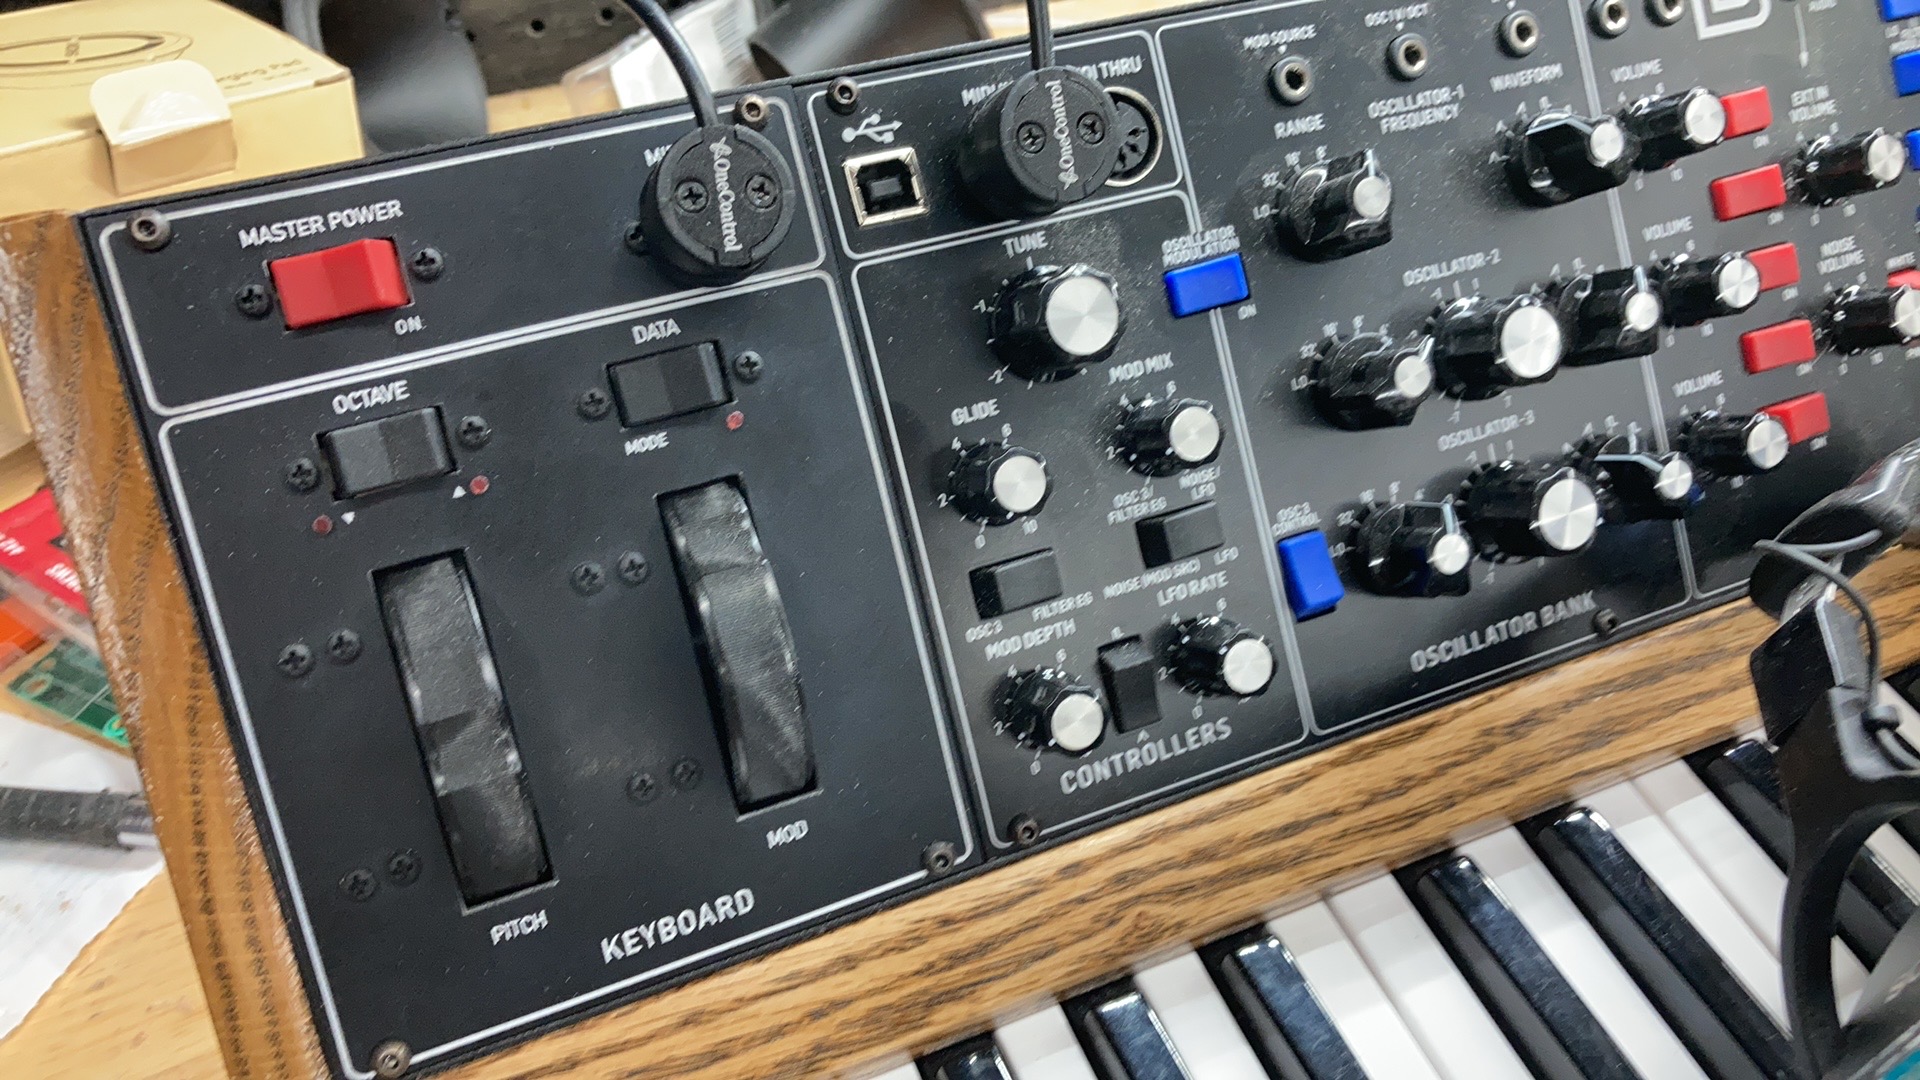
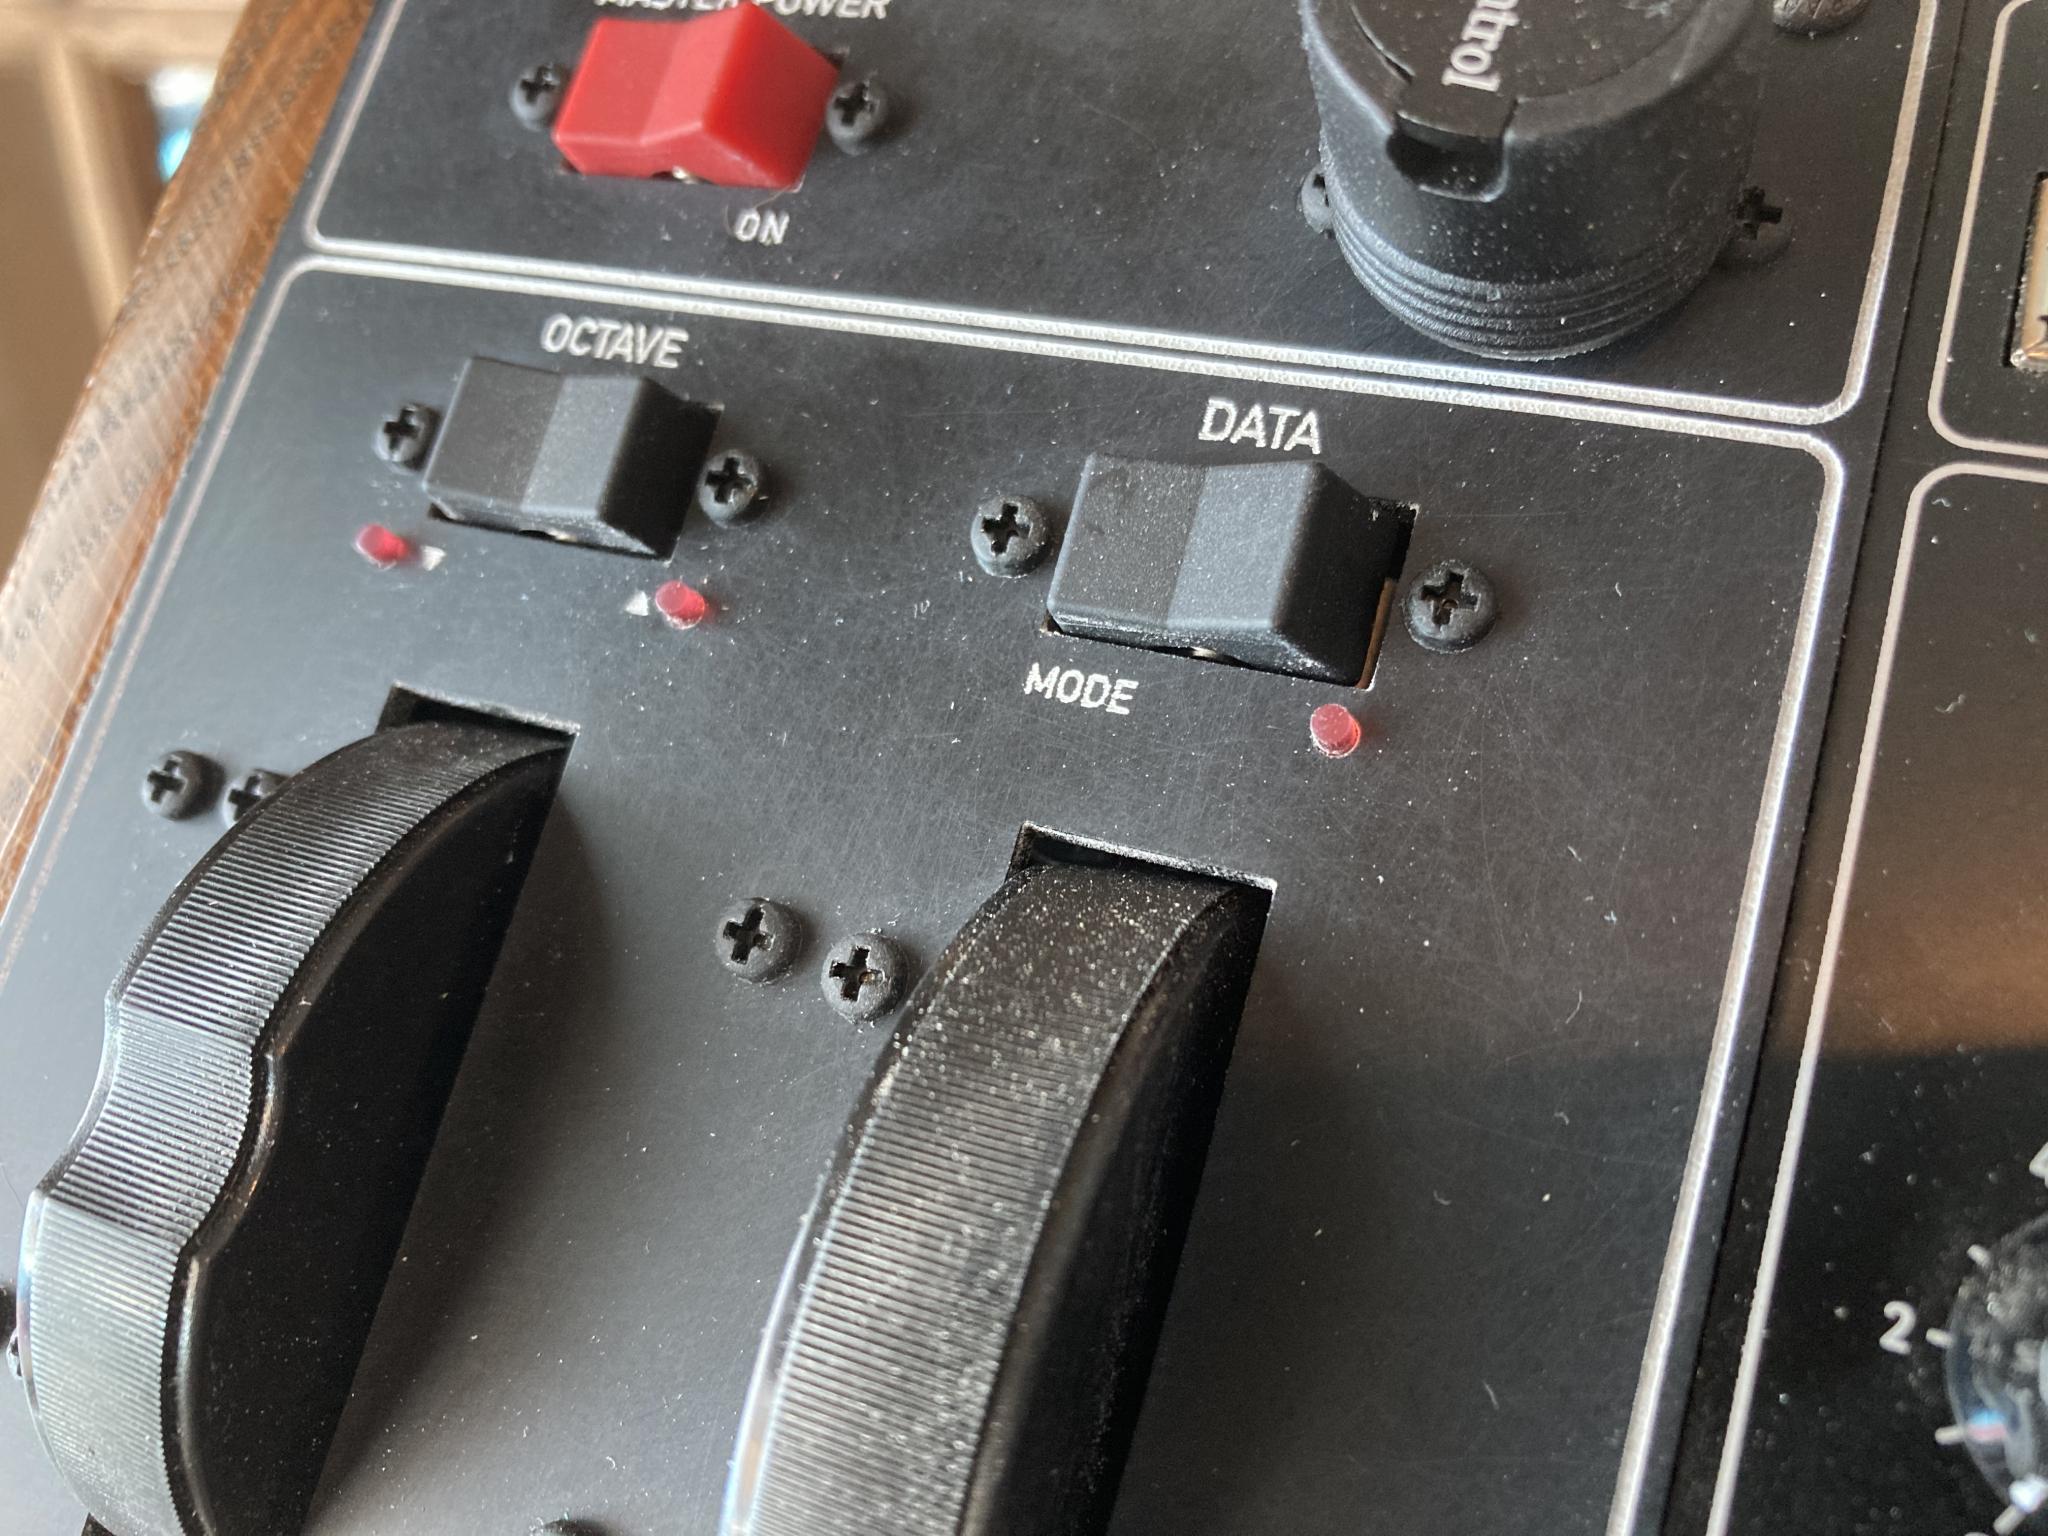
Now, the keyboard. The data slider can go. The I/O board, I'll move the MIDI output elsewhere and keep the power internal. So I'm left with the octave/mode select board.
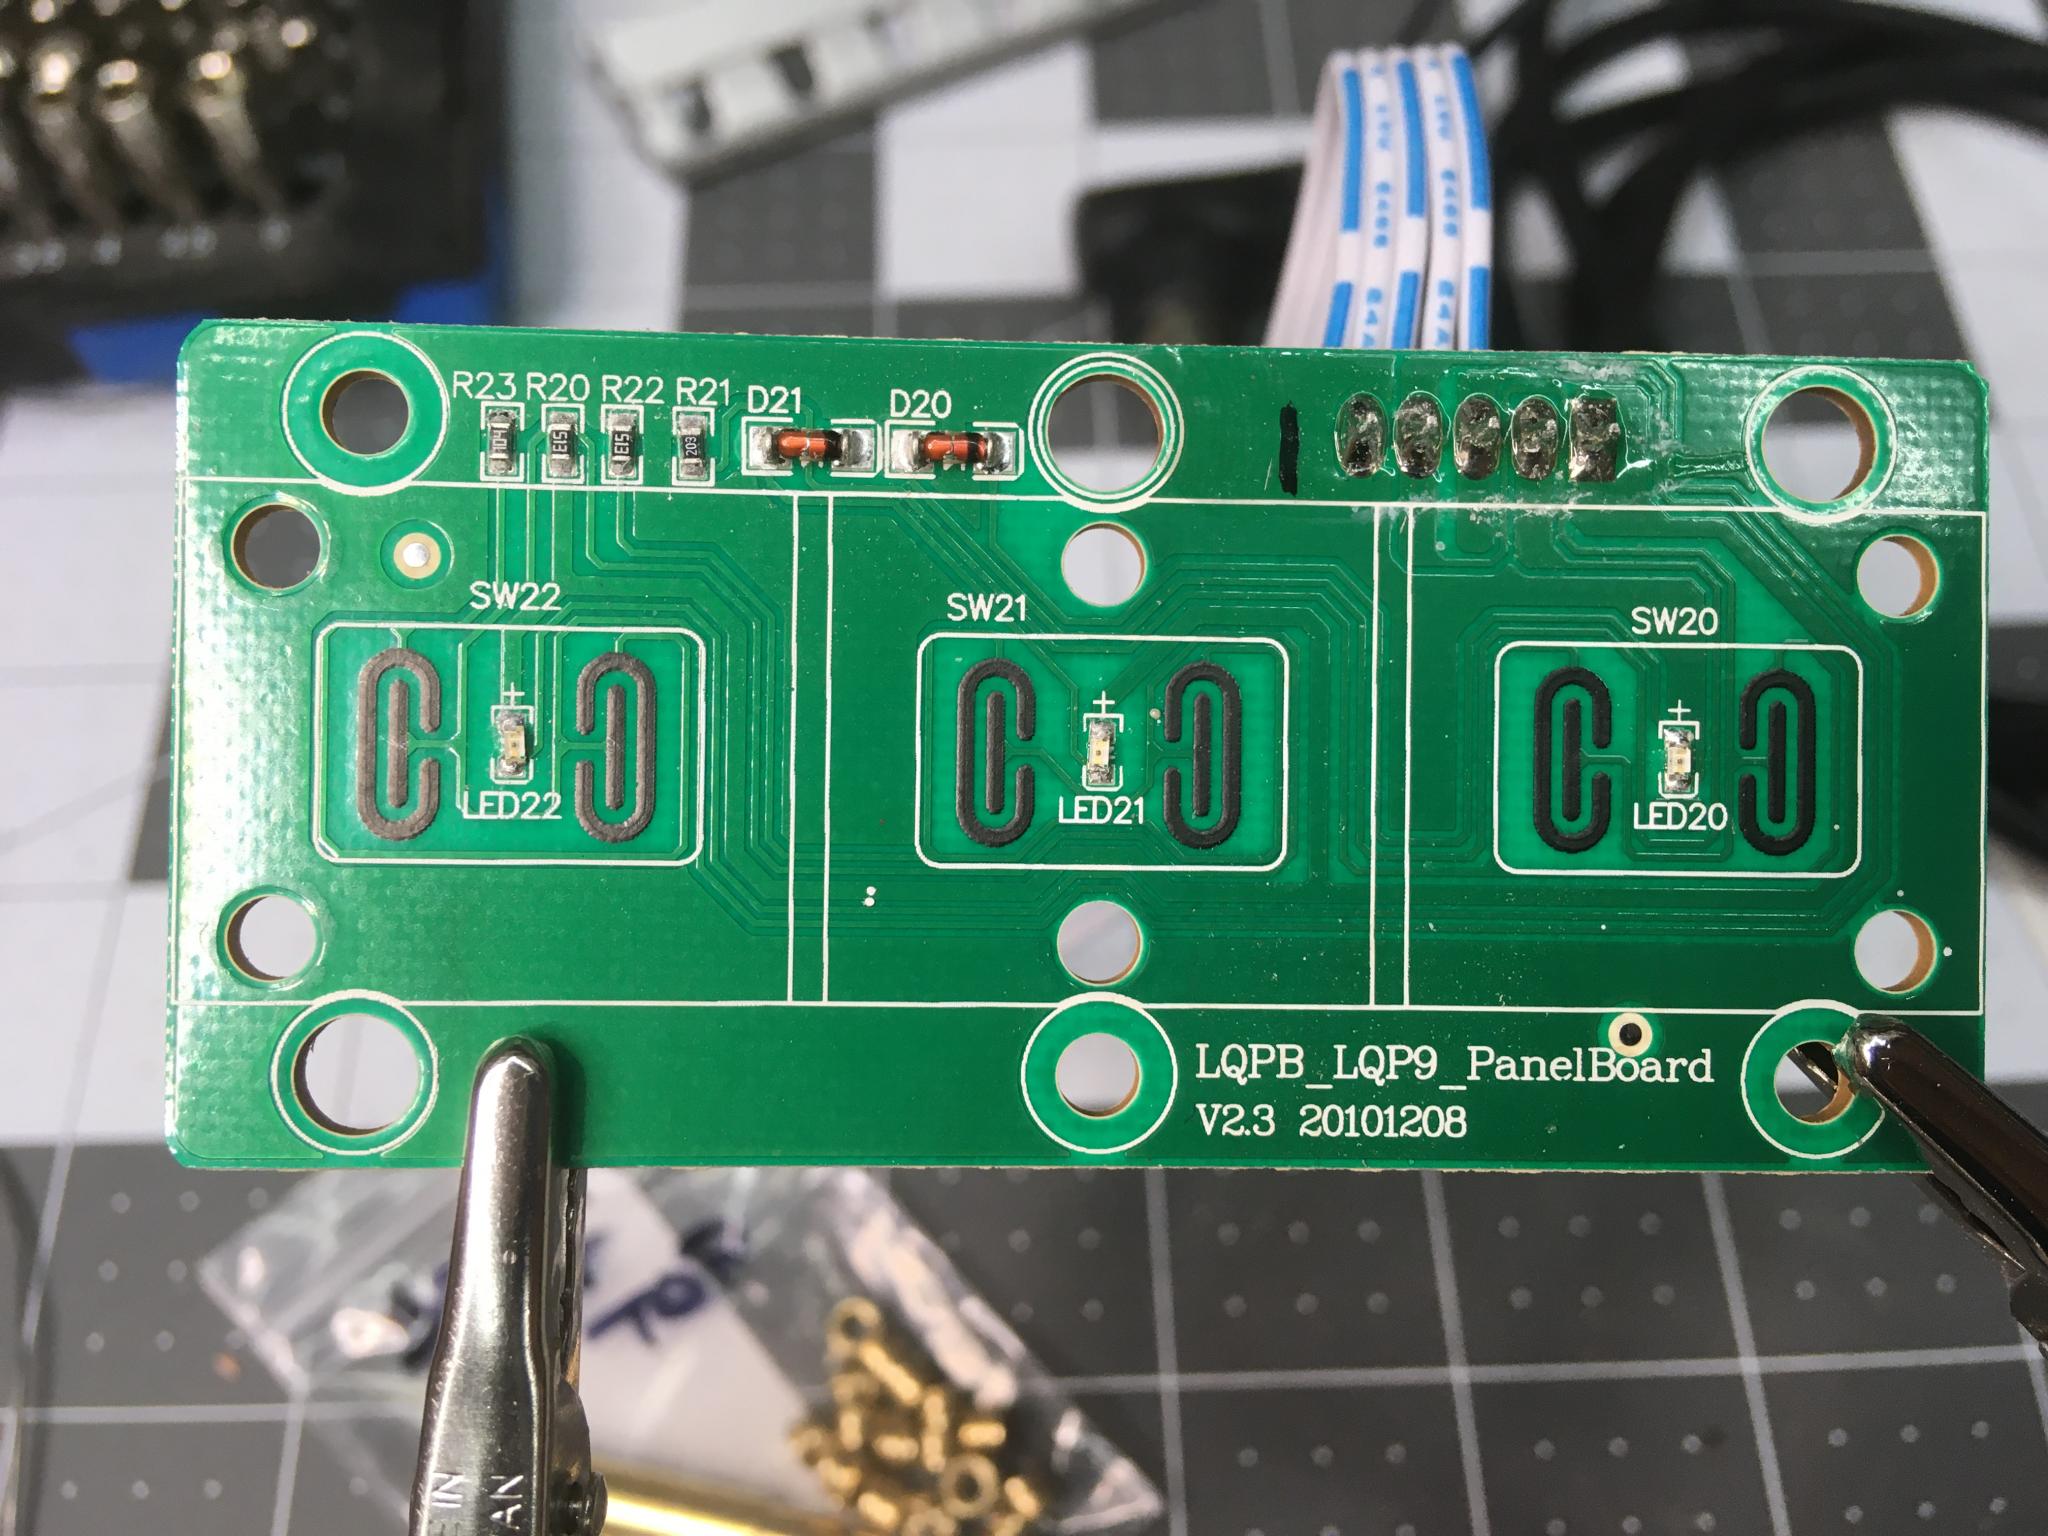
I am going to move these controls to one of my panels beside the synth with different switches. It's a relatively simple circuit - resistors and diodes - but the board is nicely packaged. The decision is whether to simply patch wires into the board or to replicate the logic. I think I'll go for the former to avoid the "resistors as a structural element" scenario. Luckily, I have a spare one from the Q25 so I can afford to screw it up.
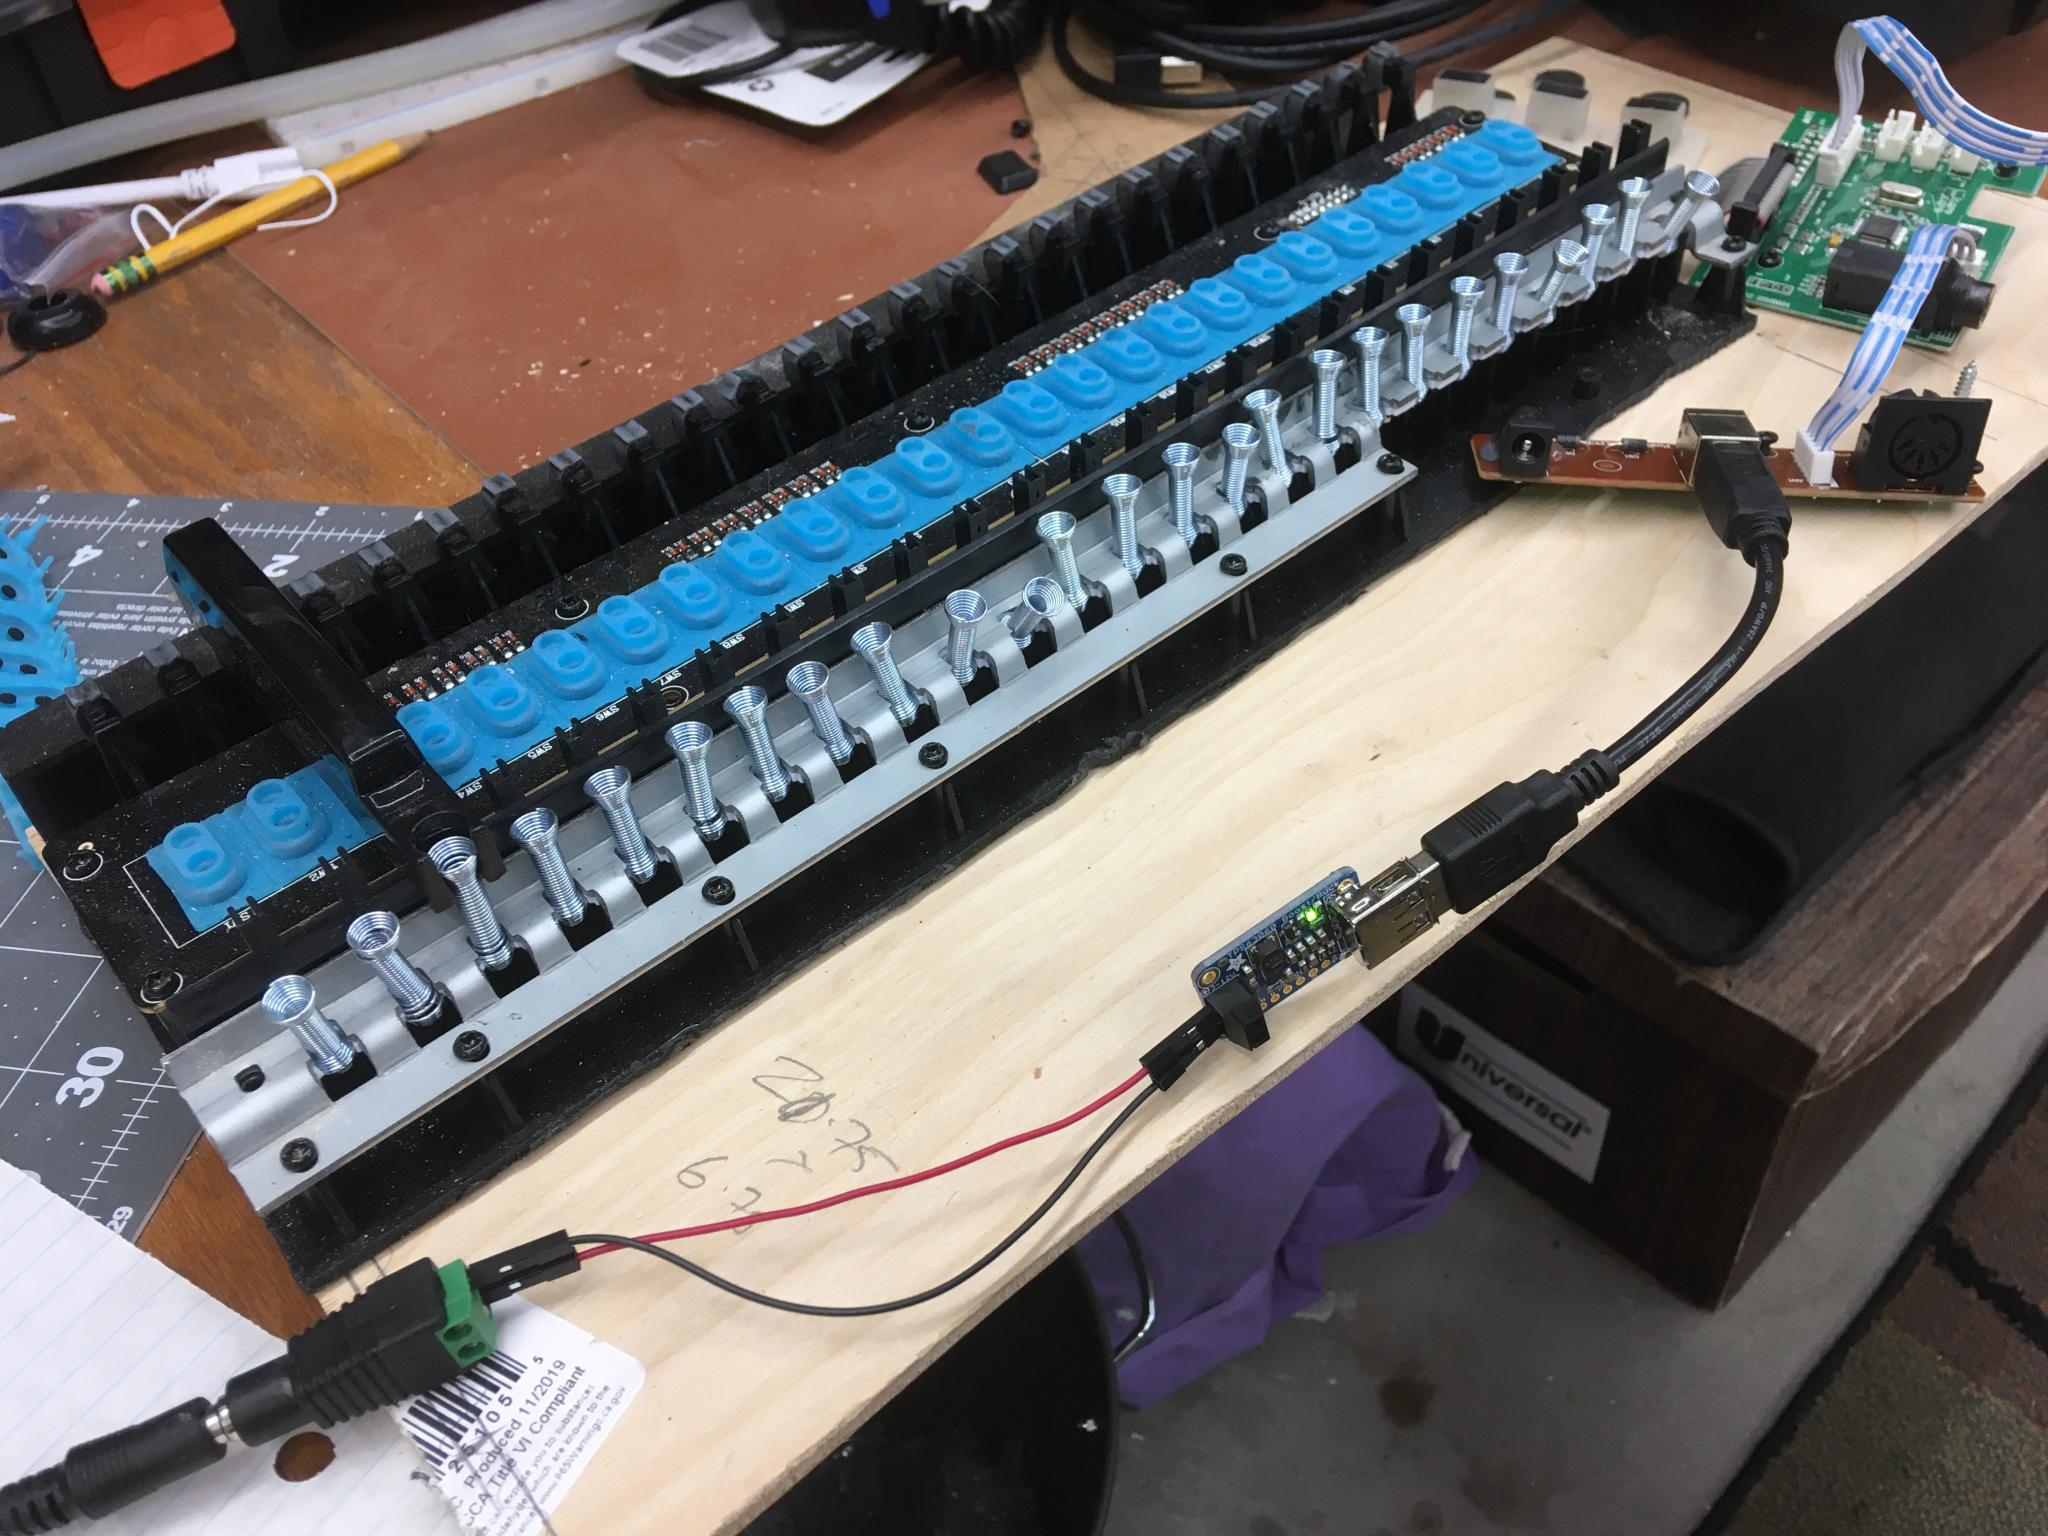
I also used that donor Q25 to test my power setup without risking my "good" keyboard.
The eurorack rabbit hole is calling. I have a bit of space thanks to the larger overall size compared to my original plan. I can get a four channel stereo mixer that will fit in nicely, which has the potential to really clean up my desk when I have the 808 and Sound Canvas hooked up. I can daisy chain them on MIDI then run all the outputs into the mixer on the synth. The keyboard can control them all. I like the concept.
The keyboard control panel in cardboard mockup. This lets me see the end result, play with the ergonomics (never a strong poing of modular and eurorack synths from what I've seen!) and make low-effort modifications. For example, I've decided that I will mount a master power switch on that panel so I added one using a knife.
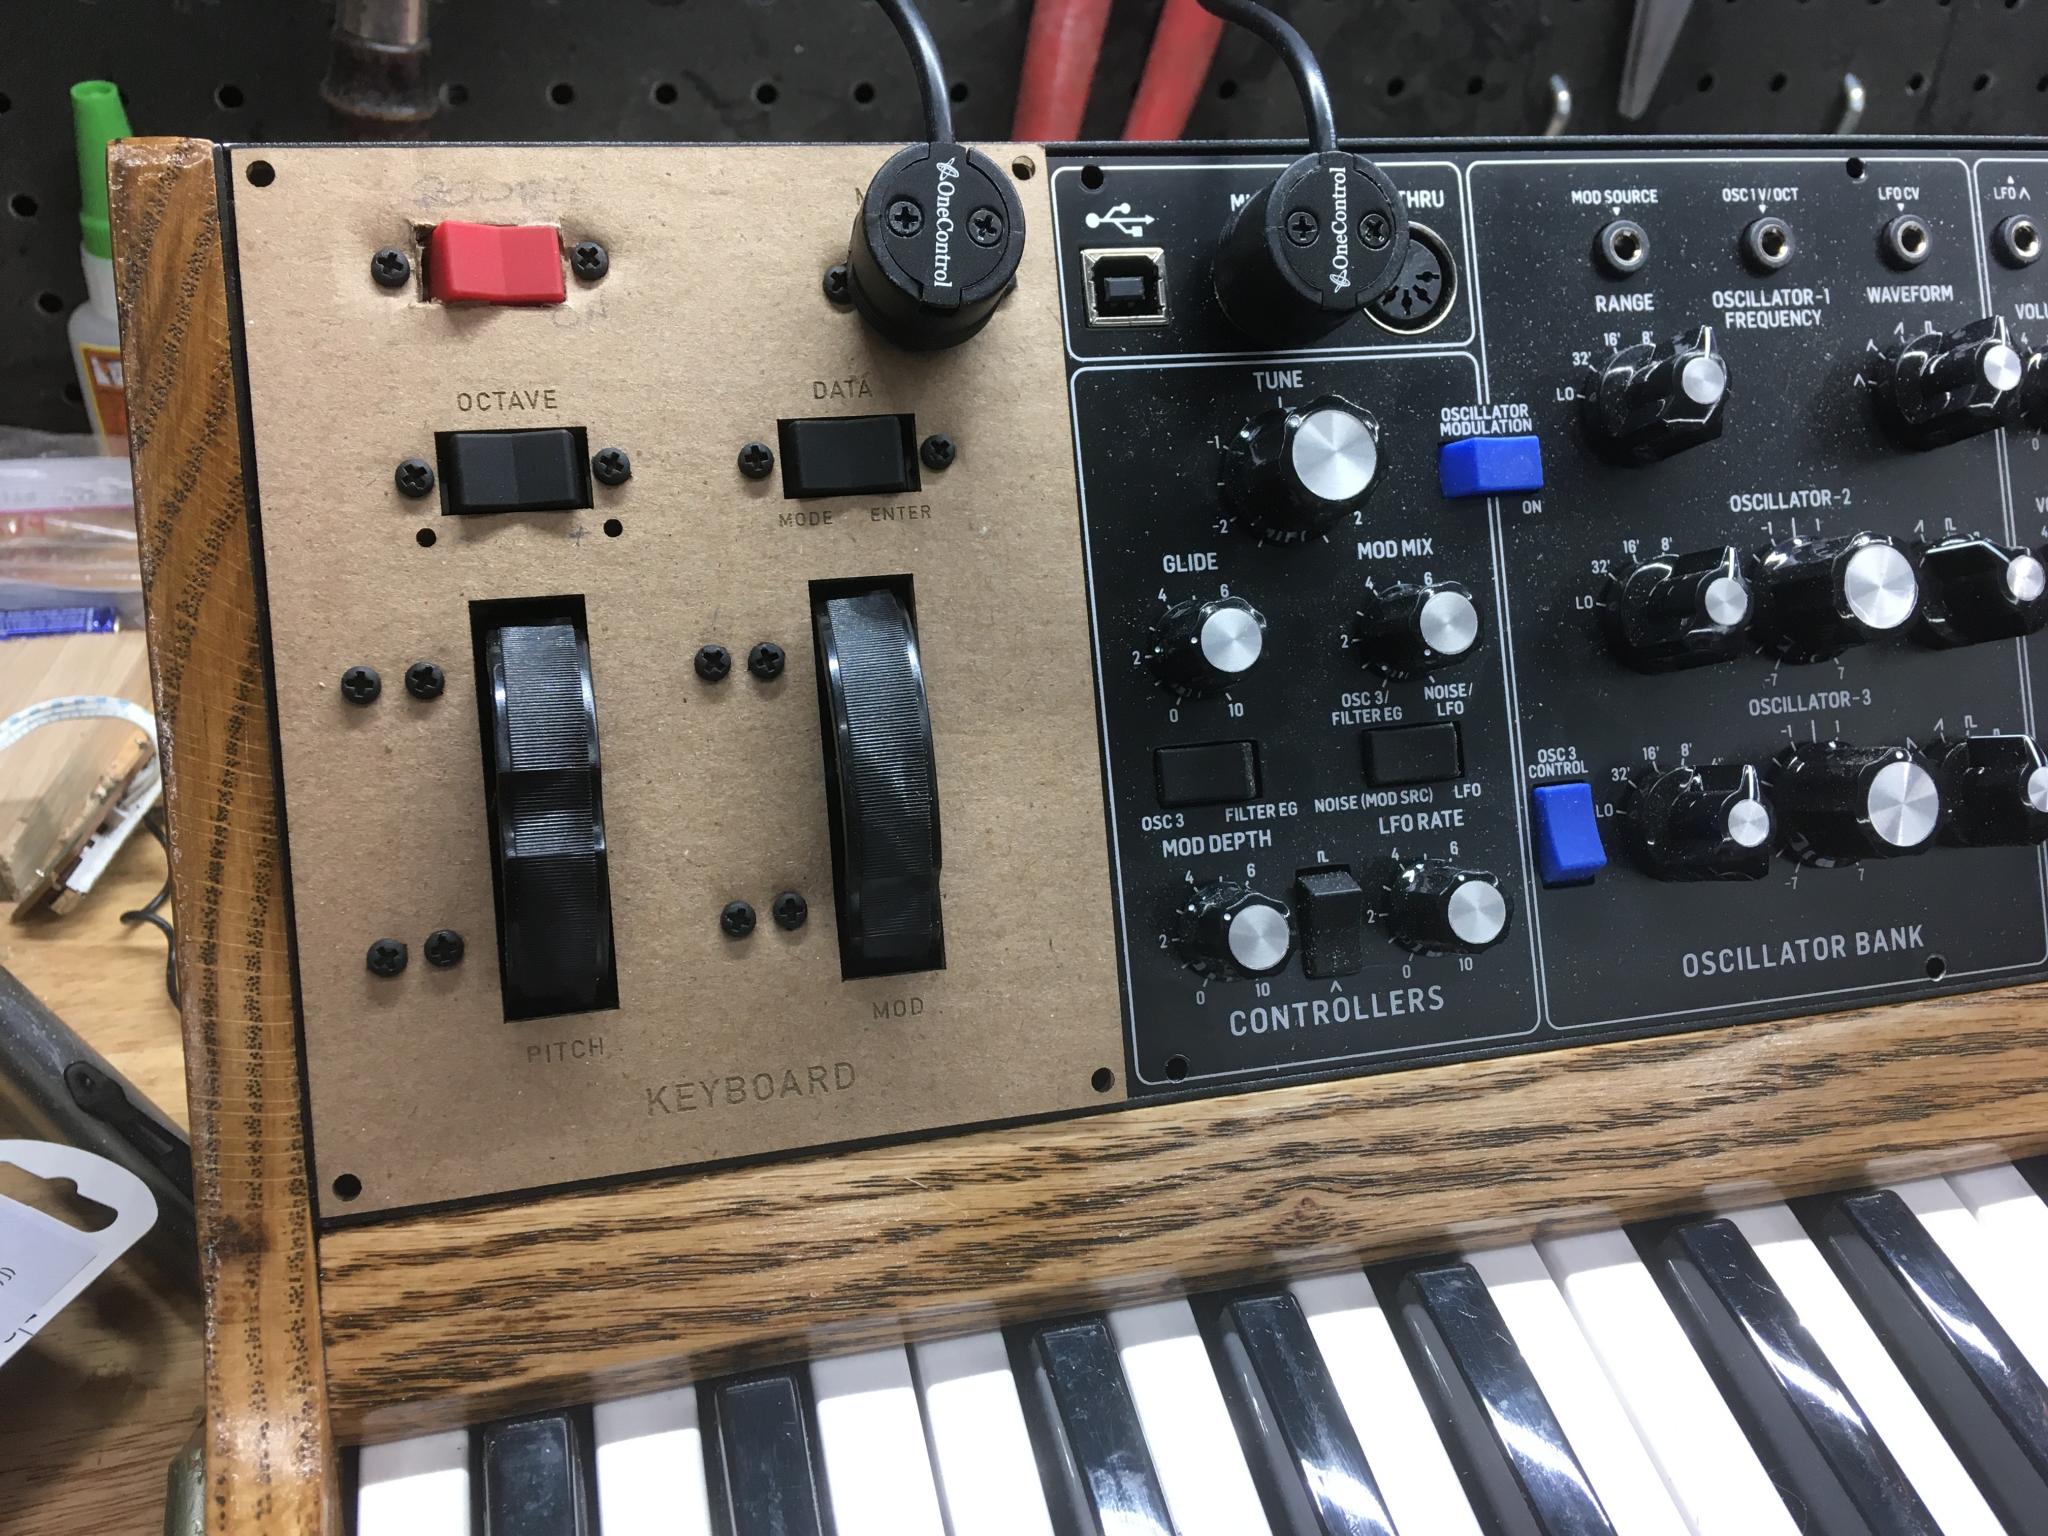
The exposed fasteners don't thrill me but they're difficult to avoid with a laser-cut acrylic faceplate. The alternative would be to either try to make this thing out of metal or get it 3D printed. The new printers at work can do a pretty sexy job and include standoffs, but I kinda want to use my own tools :) I'll probably model up the panel and get one printed just to see since it's an opportunity to practice with the modeling tools and it's basically free to try.
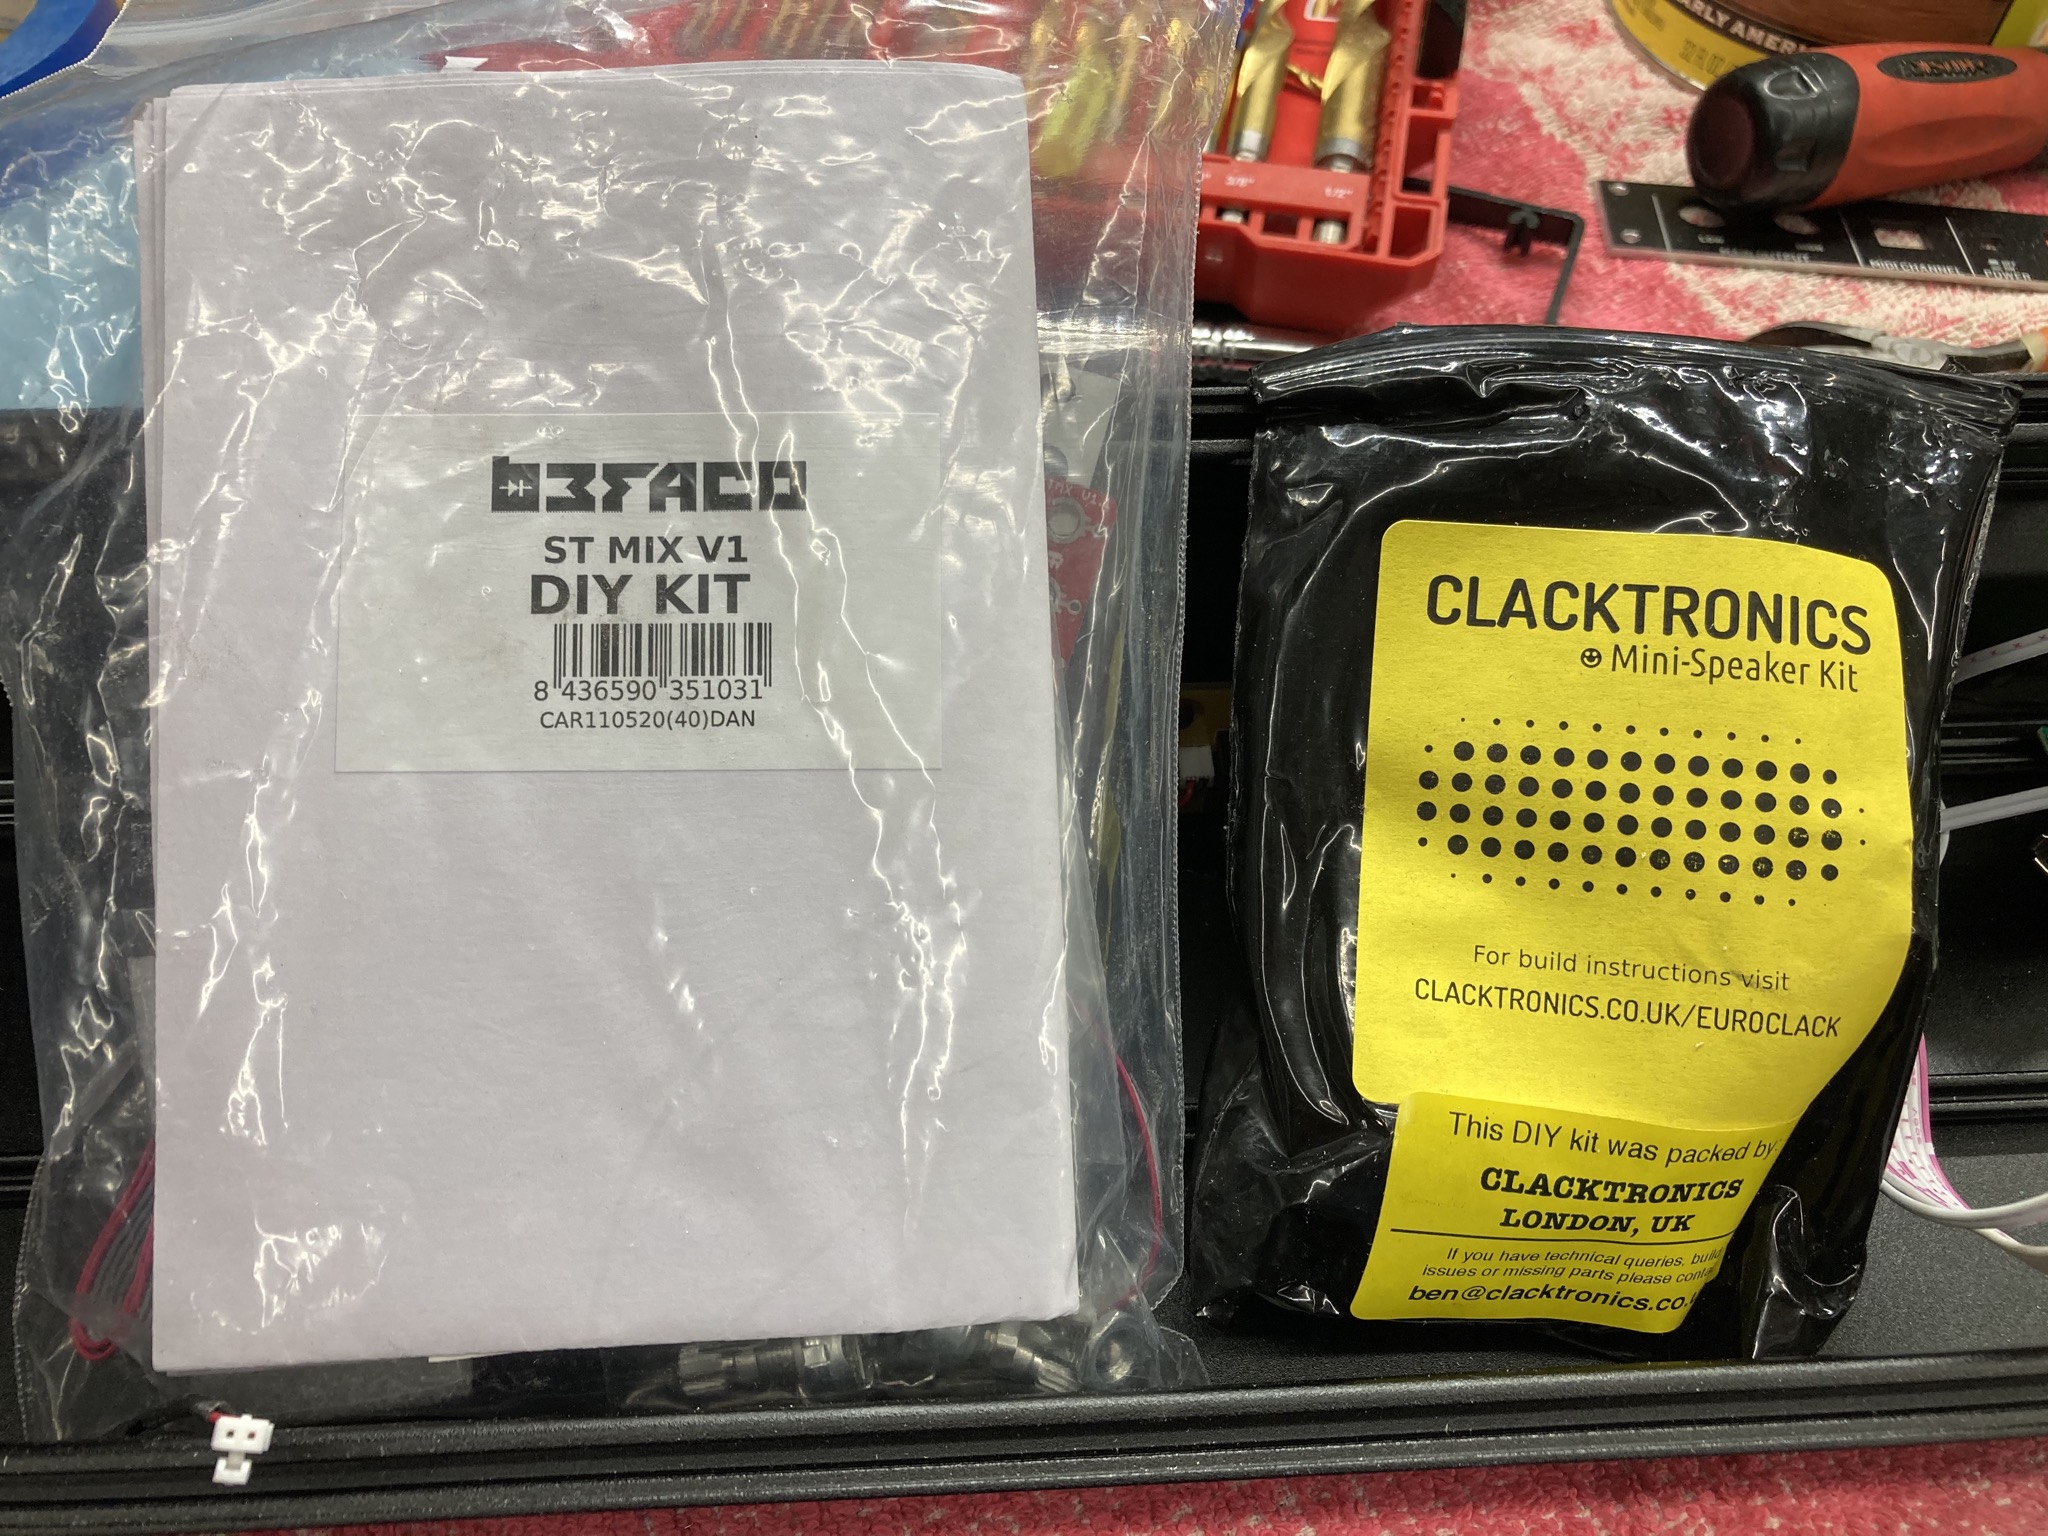
I did decide to go with the on-board mixer, so the right side panel will change from a single speaker mount to two eurorack modules - a skinny speaker plus a fairly space-constrained mixer. The space is accurate, and maybe I'll make a cardboard version just to look at it. The mixer kit is on the way from the east coast. In the meantime, it's about time to start with the wiring for the keyboard.
Like the power switch. That's a good call and you will appreciate it long term.
As for the screws, there is a way around this using acrylic "glue" or more accurately, solvent. This stuff will plastic weld two pieces together with no fear of separation. That would allow you the ability to provide a reliable way to weld in a standoff or even a screw sandwiched between 2 pieces with a hole drilled in one. Poor explaination so you can DM if that doesn't make sense.
Looks great. Eurorack is not ergonomic at all but that doesn't seem to stop people from using it. Love the layout BTW.
My alternative to the front power switch was to reuse the power button on the back of the case for the synth. Definitely less convenient but workable. That big empty area was just begging for it, though!
My standoffs are nylon and my front panel would be acrylic, so I'll look to see if there's a good way of fastening them together. I could potentially make standoffs out of stacks of acrylic bits with a heat set thread insert. That might be worth some experimentation to see if it works. I think the print is probably the right solution, but I'm going to try both because that's how you learn stuff.
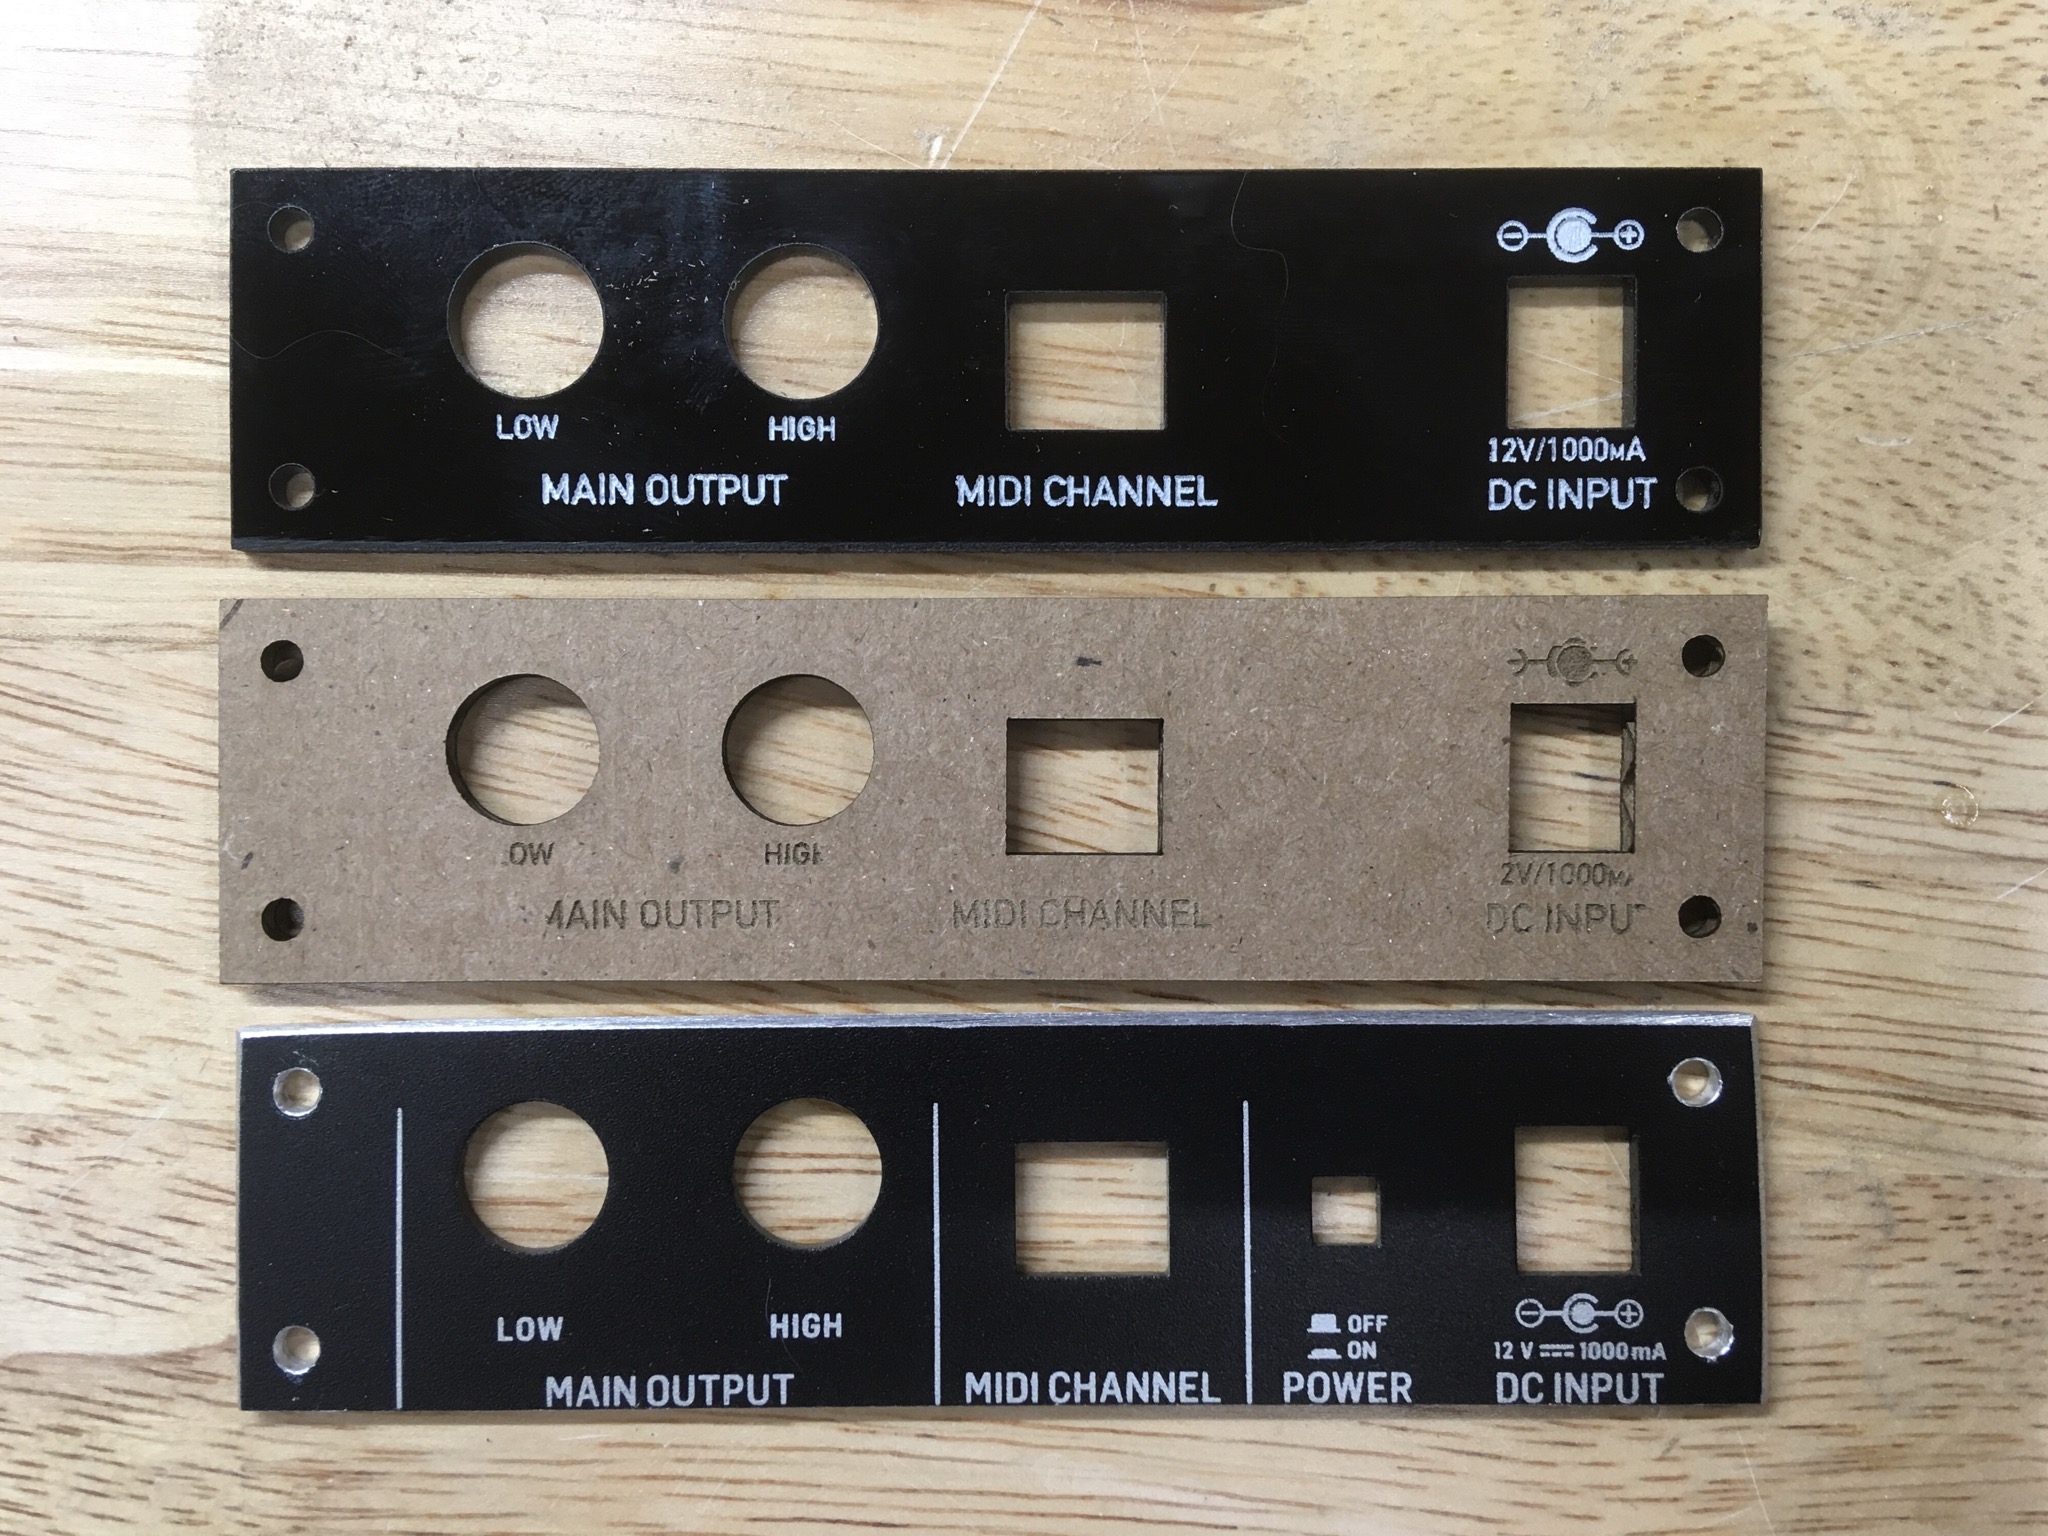
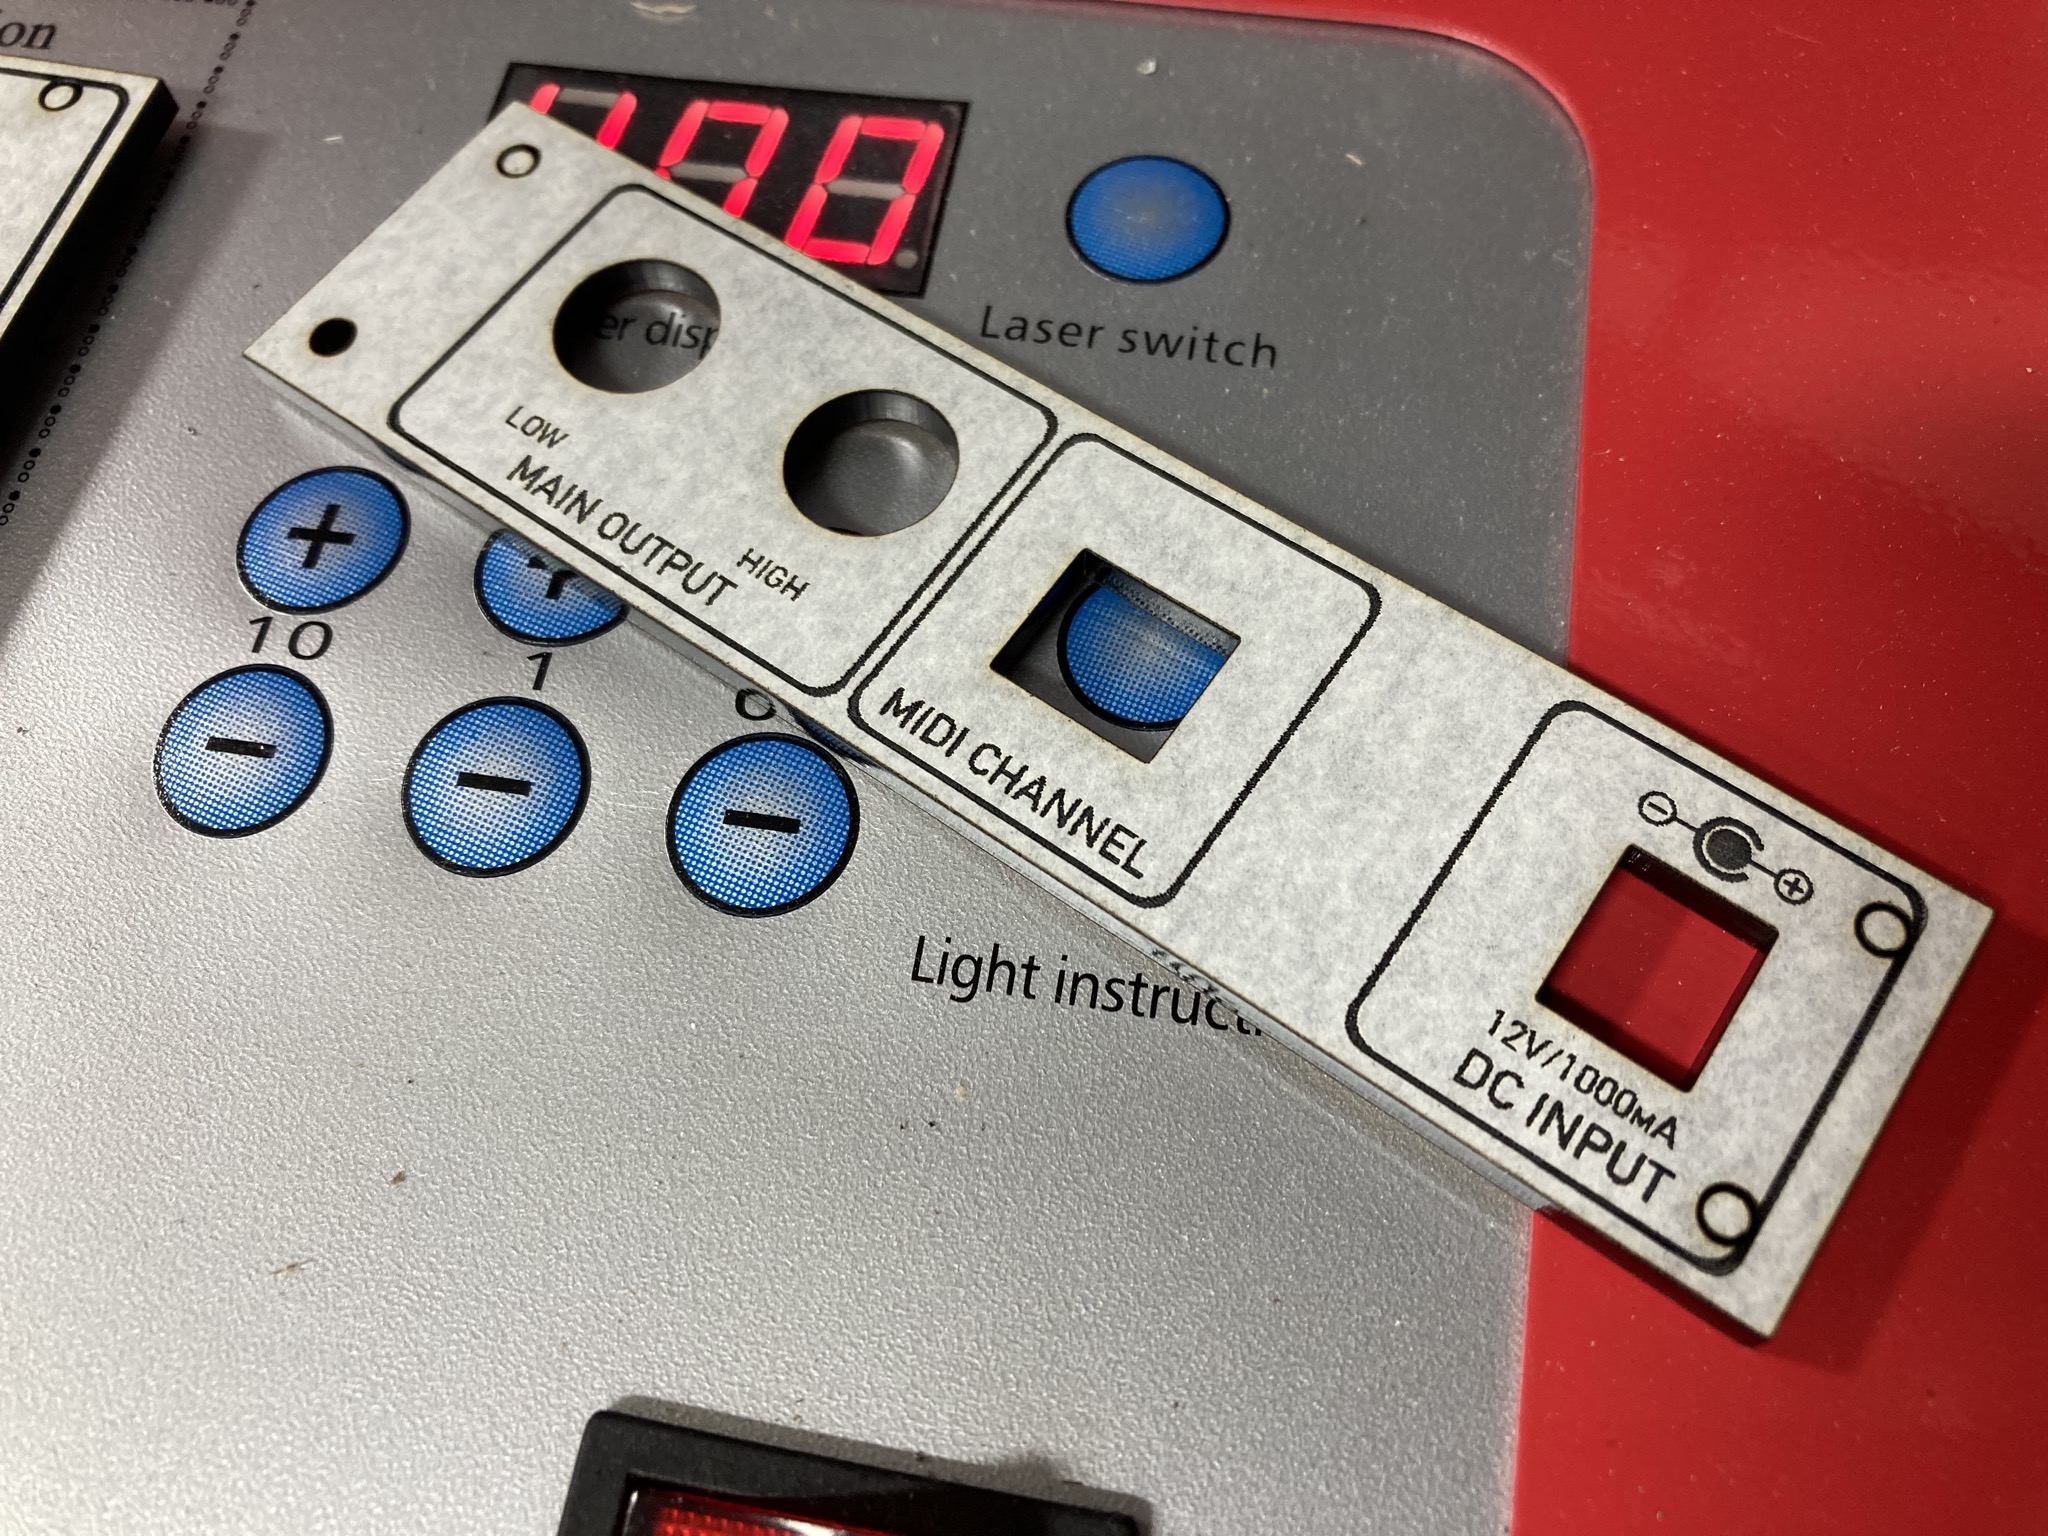
Acrylic prototype for the keyboard control screen. Not bad. Done with the laser followed by a rattle can coat of paint while the mask was in place.
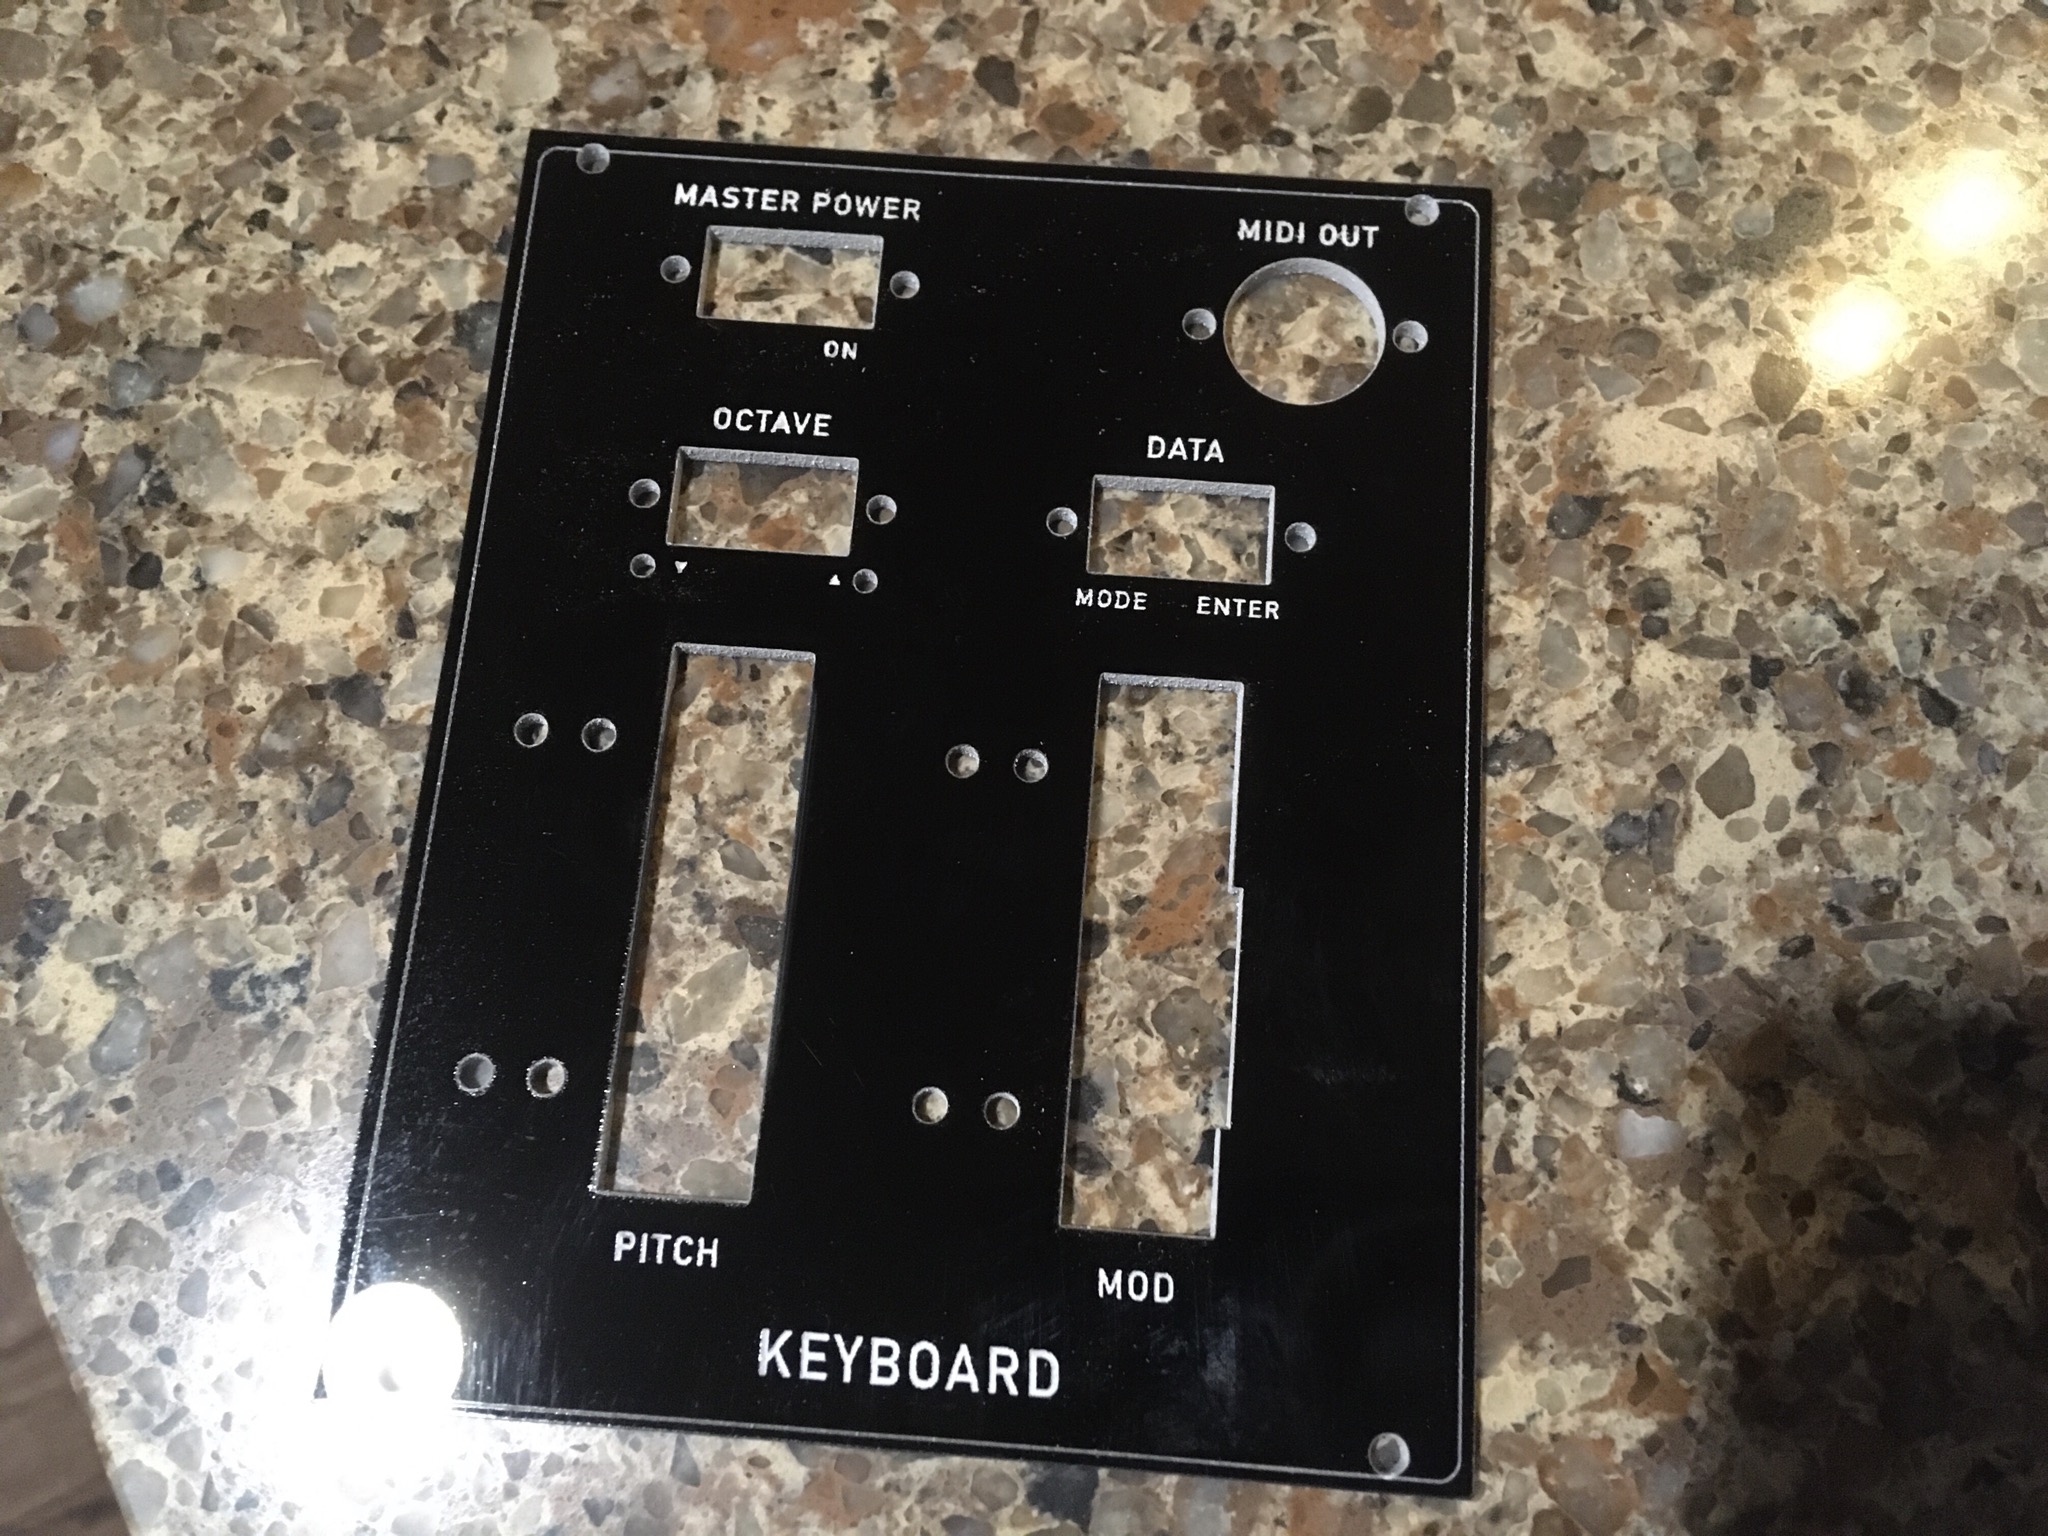
That's a decent match. I might do the final in matte acrylic, this was a spare chunk I had sitting around. I think I'll add a power indicator LED as well.
I cut this out of the original synth case thinking I'd use it for the I/O ports, but now I'm wondering if I should just make another from acrylic and delete the power switch hole.
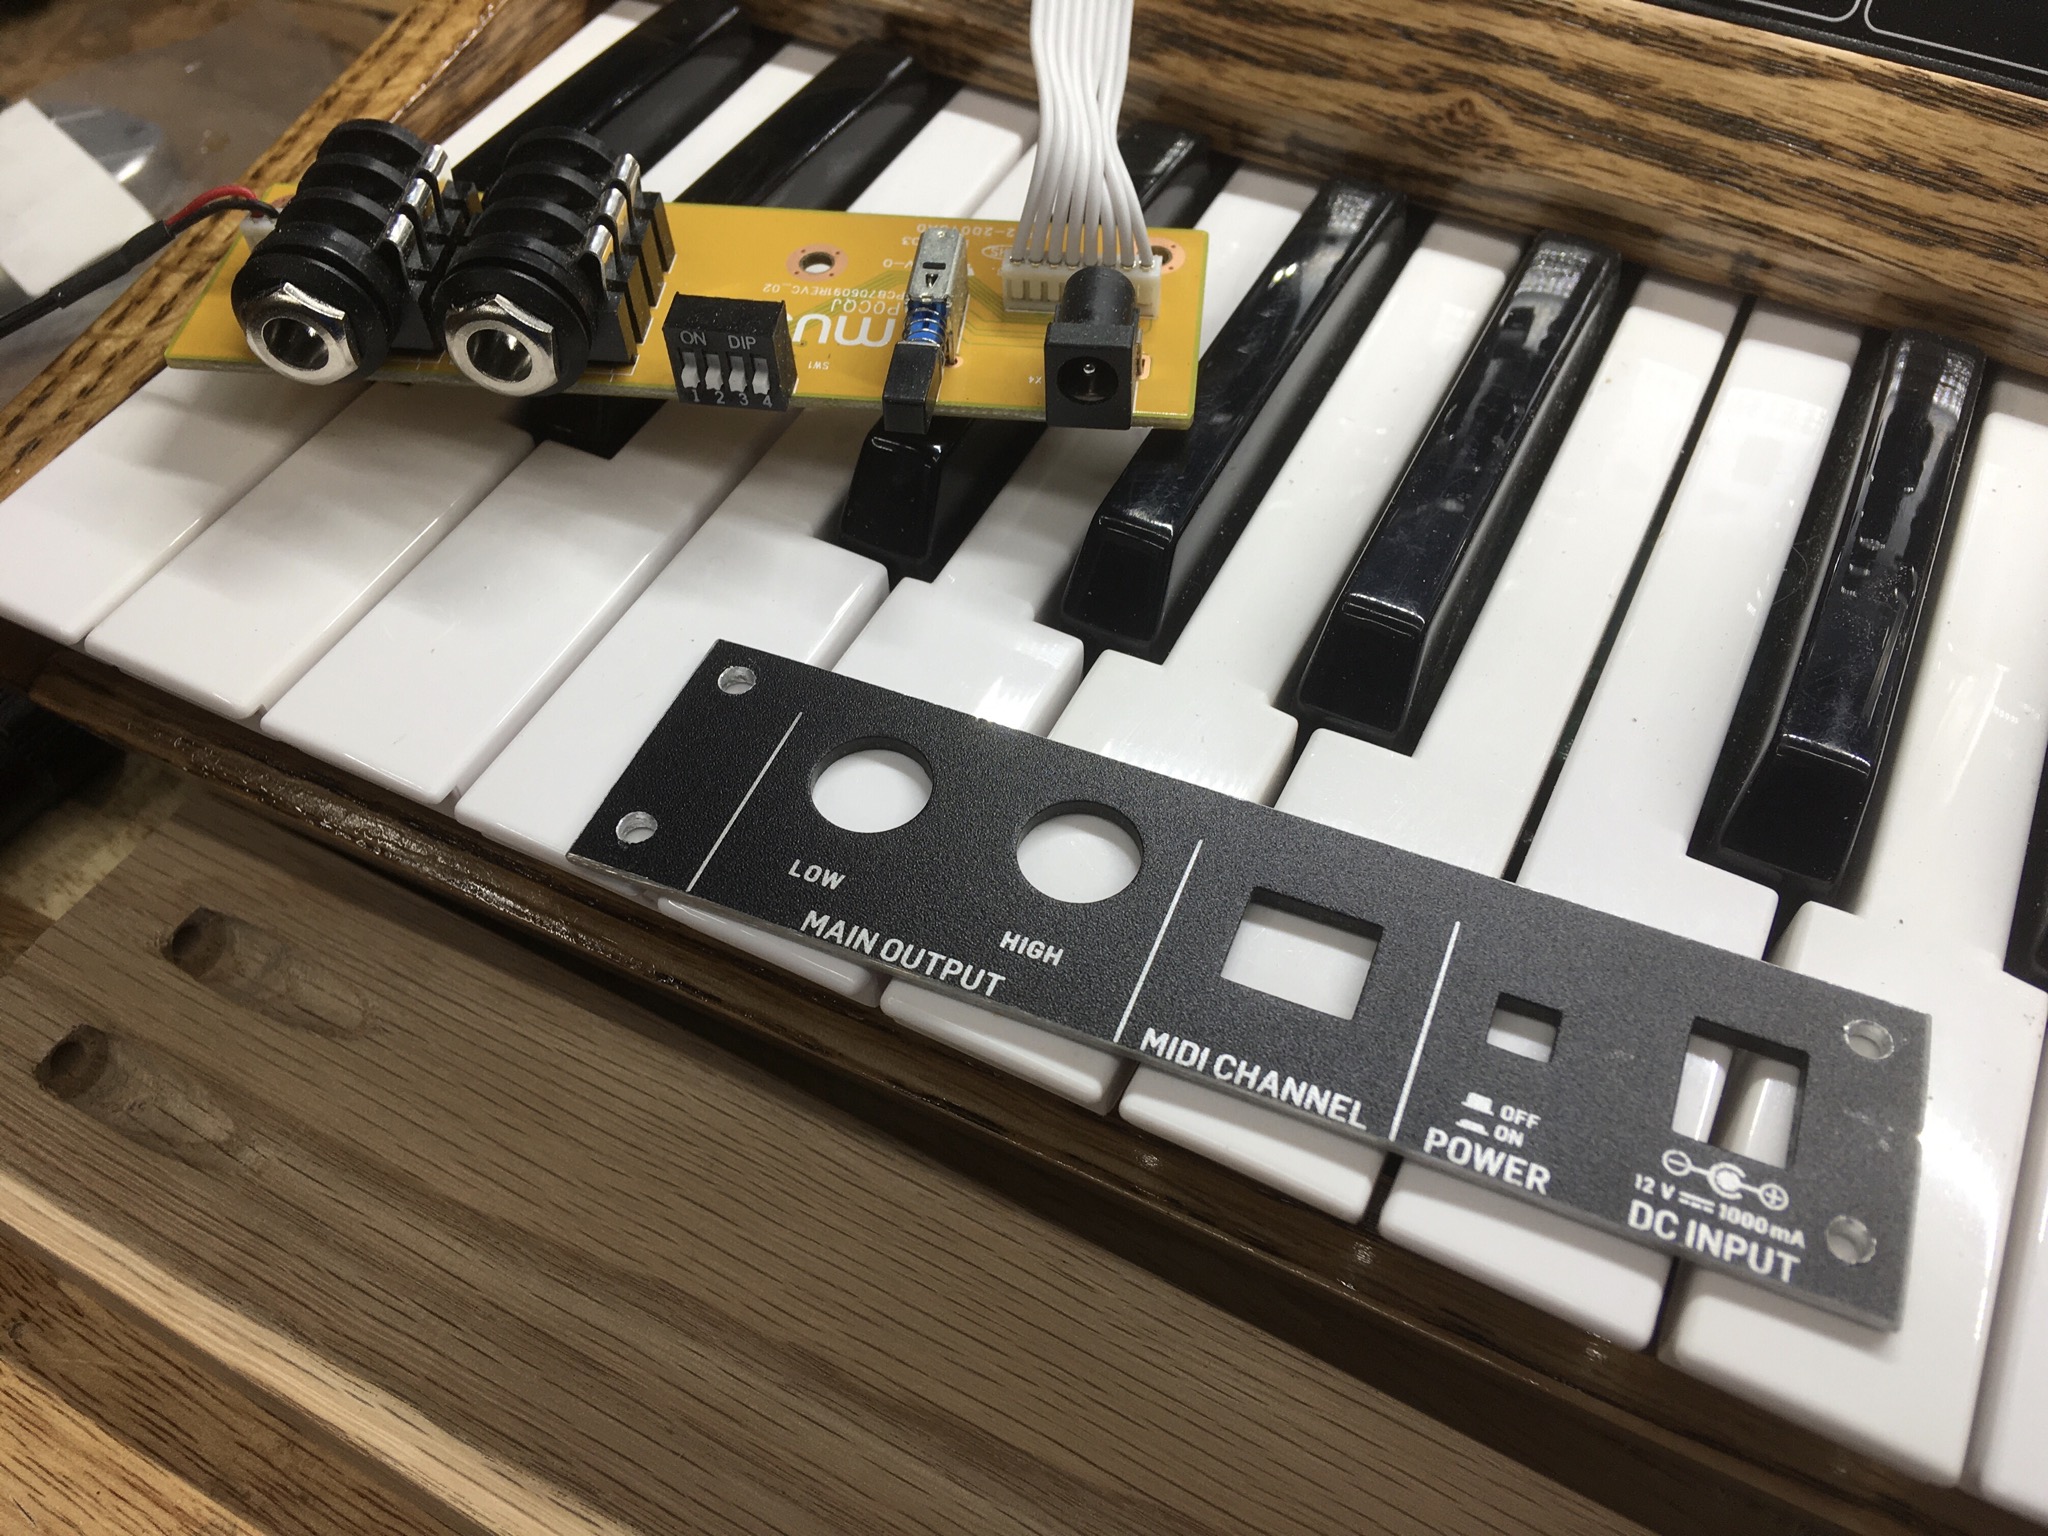
Acrylic version of the I/O panel with a deleted power switch. That's the one I chopped out of the synth case (RIP a chunk of eurorack dinghy), the cardboard template and the acrylic version. Turned out okay. This won't be visibile normally, it's on the backside.
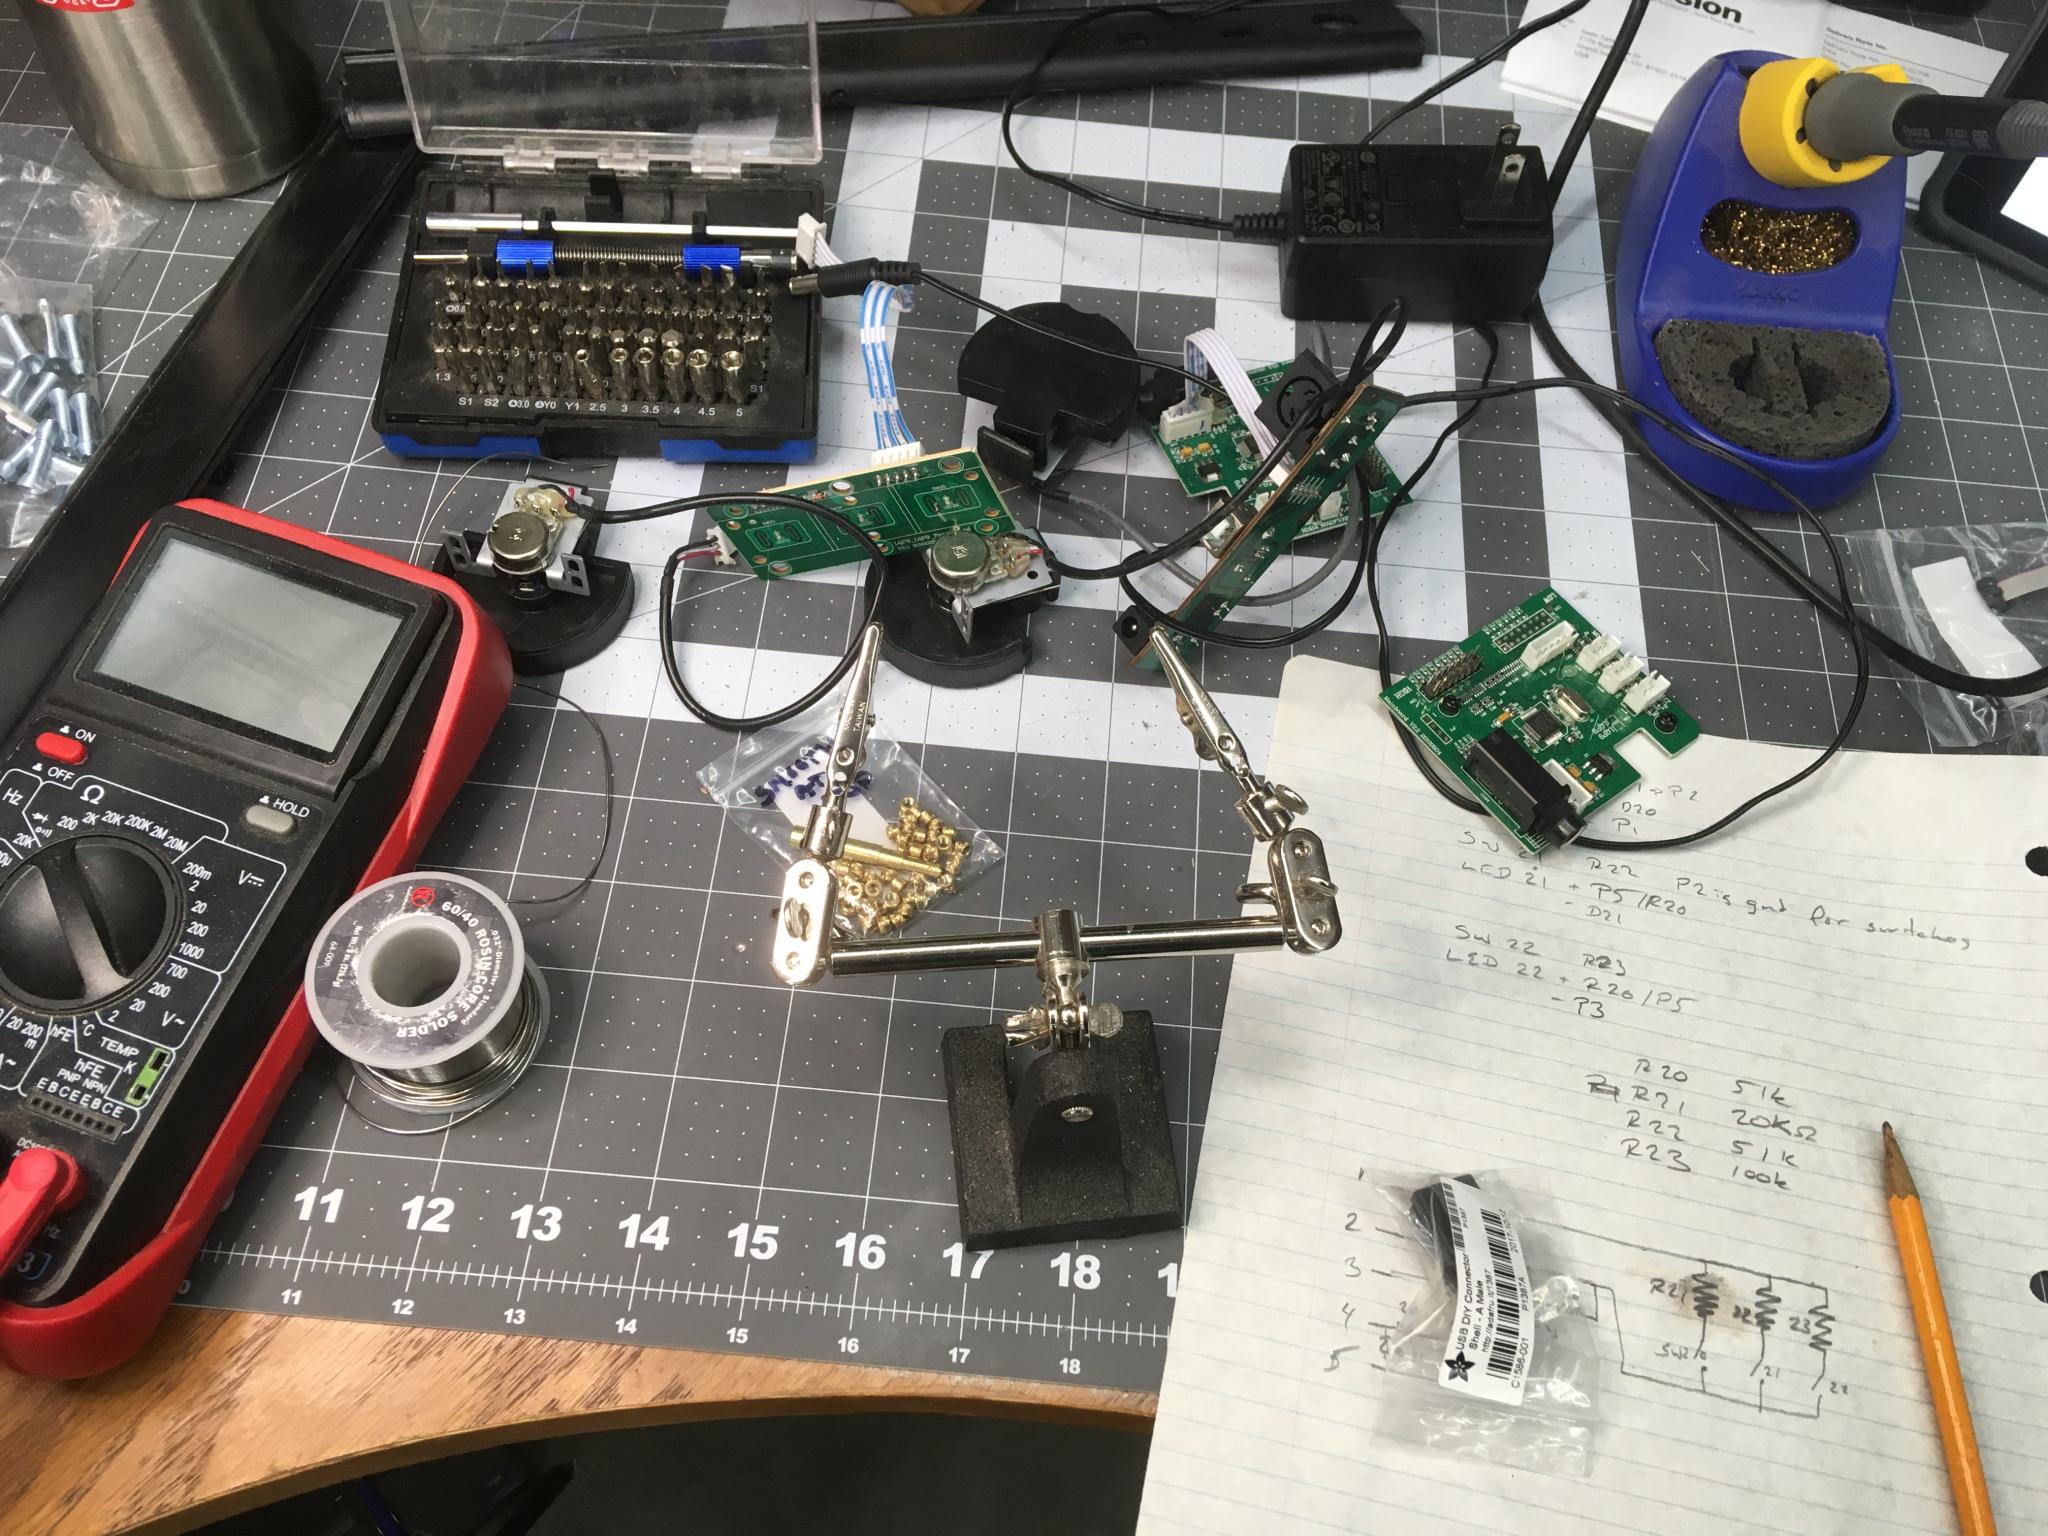
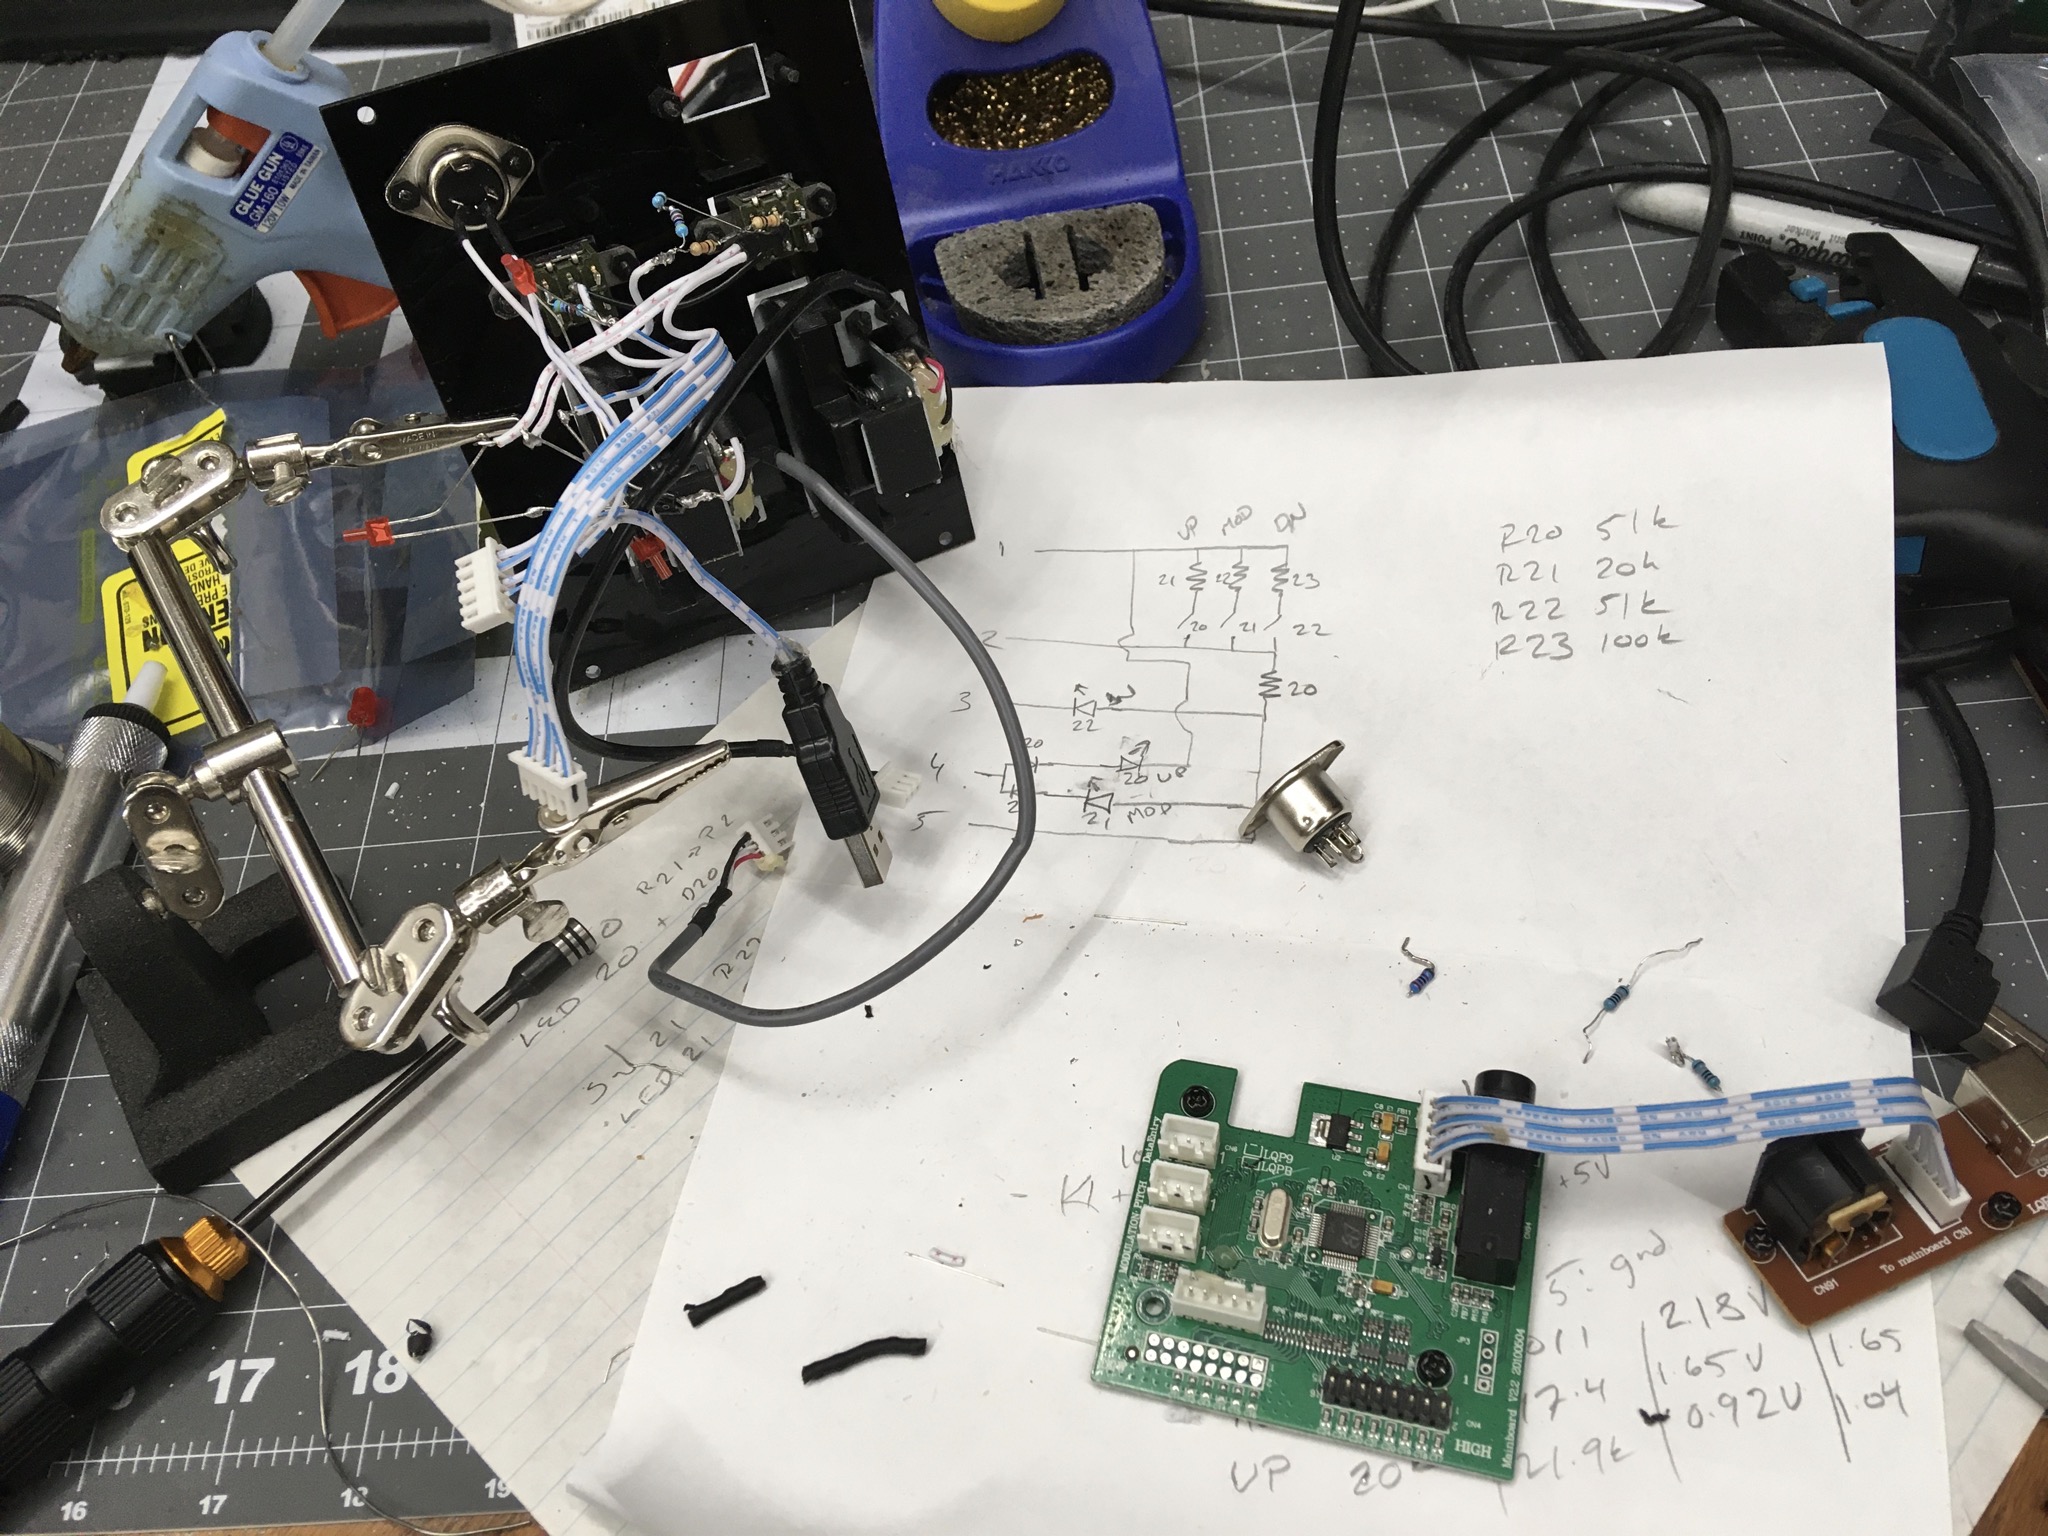
I also spent a bunch of time today doing wiring. I got the power situation sorted out nicely, but for some reason I can't get the switches to control the keyboard options. It's simple enough, but I had to set it aside for a while. I'll get it...
I'll bet you thought I'd given up on this.
The wiring kicked my butt for some time. I gradually snuck up on it - got one switch working well, then another one working erratically. I eventually figured out that I was only barely too high on my resistances. For example, 22K Ohms was too much while two serial 10K resistors was just right. Even if the stock ones measured out in that range. Anyhow, I got there.
A bit of cleanup and it's ready to start assembly. Which means I have to take everything apart for the last time.
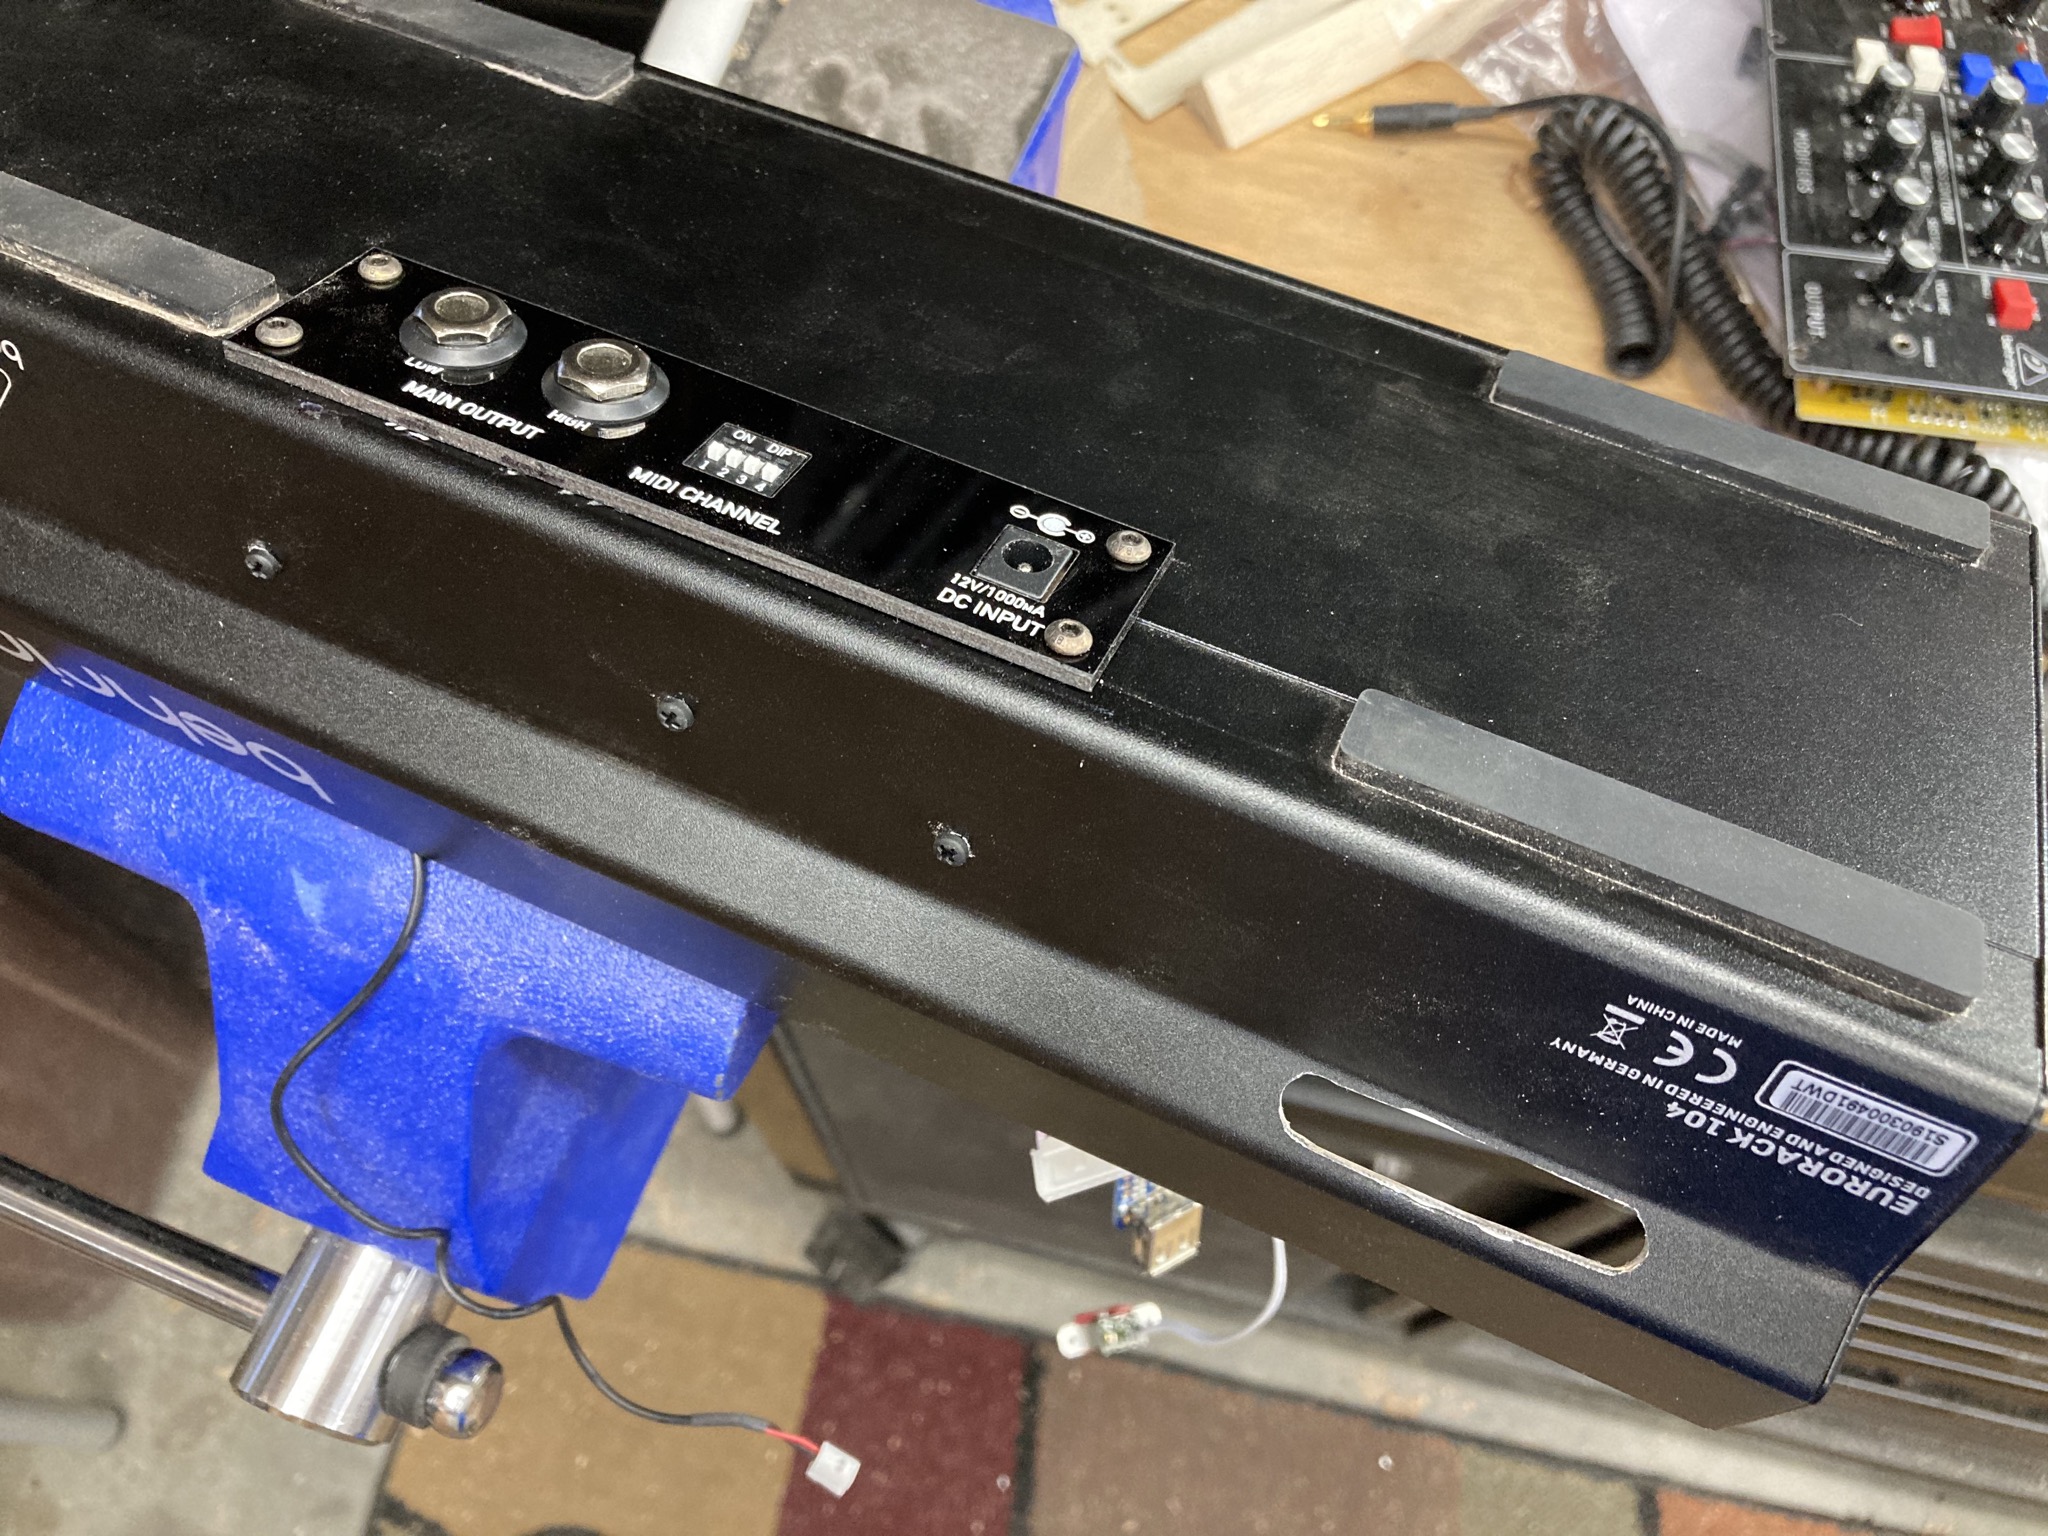
Assembly also means poking holes in the skiff. I need to get power in, potentially audio out and pass the ribbon cables from the keyboard into it. This means lots of careful shaping of holes. After a bunch of noise, I got this done. The oval hole won't be visible when assembled. I'm pretty happy with how the I/O panel looks, although I may redo it in matte.
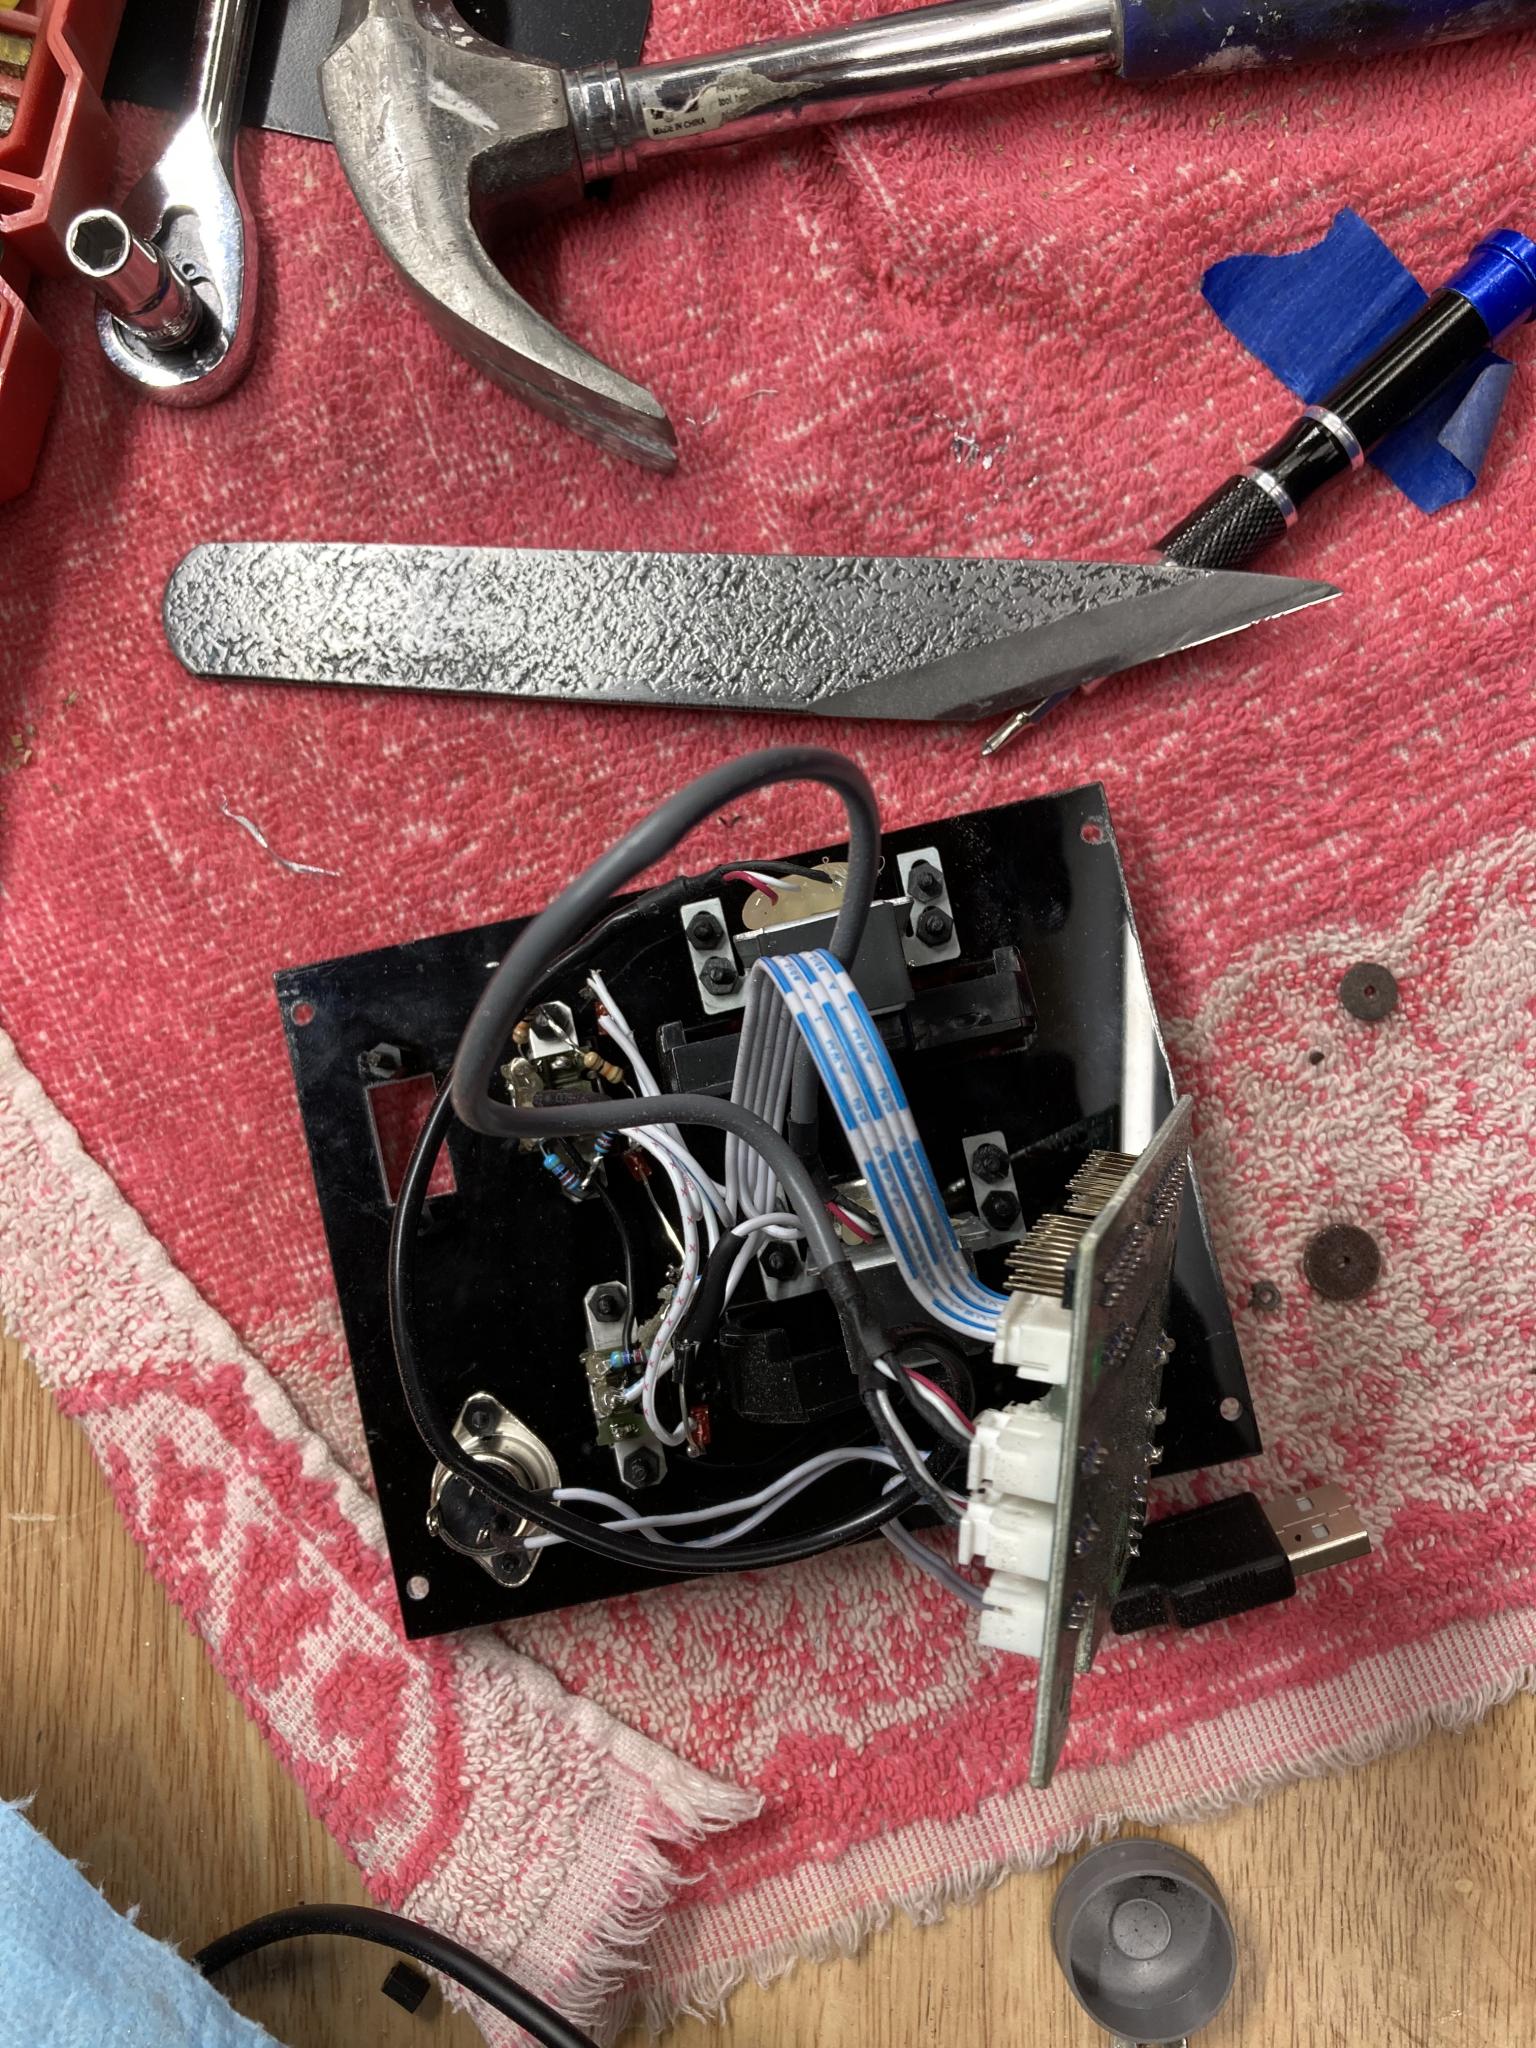
The various circuit boards are being mounted on nylon standoffs. There will be four visible screw heads on the backside of the skiff for this one, but I'm okay with it. Packaging is surprisingly tight here because the pitch and mod wheels are bulky. I ended up taking the socket (for a sustain pedal) off the circuit board for clearance.
I just need to extend one pair of wires and I can do final assembly of the whole thing. This last build will have a few changes to make it nicer, I'll detail those when I'm done. Assembling, handling and disassembling gave me the last fine-tuning ideas.
And then I can build these two guys!
Almost done, I swear.
I reassembled today for the last time. I had to tear it all the way down to make one cut to the base of the keyboard, which means even the keys have to come off. There's only one right way to do this.
And boom.
This rear wood panel is new since the last time. Now all the mechanism for the keyboard is hidden as well as some extra internal wiring. It does have exposed fasteners, but I couldn't find a way around that. Since they're right on the back, I don't feel bad about it. The matte plastic arrived today so I can swap out that rear I/O panel as well.
Whoops, wrong button.
The keyboard control panel will be redone in matte shortly. I decided to leave the MIDI OUT on the face of it and use a jumper to feed to the synth because that gives me more options to run other instruments. I could have wired it in the backside but the MIDI IN would have remained on the synth panel and that would have been weird.
Fitment on the backside of the wheels is still VERY tight, to the point where I may have to remove a couple of connectors and go for a hardwired connection for some inputs. I'm not sure if I can move the daughterboard that's causing the problem. I may move the wheels a little further outward (ie, so more protrudes from the control panel) to help just a little bit.
The little mixer and monitor are in place, although I need to source a couple of cables to power them. I'm pretty happy with these. It'll let me use a couple of jumpers to make the synth audible through the monitor and I can mix in my other devices like the 808 and the Sound Canvas with a minimum number of external wires. I had a very enjoyable couple of hours soldering these up.

Future plans (once the power wires arrive and I can actually test this):
- possibly engrave the face of the Clacktronics monitor to have the same rounded graphics found everywhere else
- see if I can match knobs better
- redo my keyboard panel and I/O panel in matte
- make a little logo'd plaque for the wooden strip above the keyboard that plays off the Minimoog design
- possibly make a couple of plaques that show MIDI channel and transposition info for the keyboard
- put it on my desk and noodle with it on conference calls
In reply to Keith Tanner :
Are you going to call it "Miatamoog"? ;-)
I've been wondering what name to put on there. My life isn't JUST about Miatas :) I was thinking midimoog. Or micromoog, because it's smaller than a real minimoog. Spent some time last night working on getting the font just right.
I was trying to figure out why the back bar didn't match the rest of the oak, then I read back through this thread and realized I'd stained the oak before shellacking it. But not, as you can imagine, on the back bar. Sigh. I'll sand it clean and stain it. The good news is that it's the last thing to go on and it's not structural at all, so I can do this easily.
Instead of trying to engrave the clacktronics faceplate, why not just model and cut (and spray) a replacement with the design you like with your new matte acrylic? Can do the same for the mixer faceplace and then you'd only have two materials and styles of faceplace on the front (the synth in OEM, and all the other panels in matching matte homebrew).
Definitely an option, and it's quite likely I will revisit some of these choices. The highest priority right now is to get it up and running so I can play with it, then I'll start modding :)
Time to recreate the panels in matte. They look good off the laser.
...but they don't paint cleanly. I eventually realized that the matte takes a little more power to engrave, and I wasn't getting deep enough. Drat.

I also realized that the matte wasn't the right texture - but if I sanded my gloss plastic, it looked pretty good and it had a nice sharp edge to the engraving. So that's what I did. Note the extra graphics on the face, too. Really it's a satin finish I'm after so I may still experiment a bit.
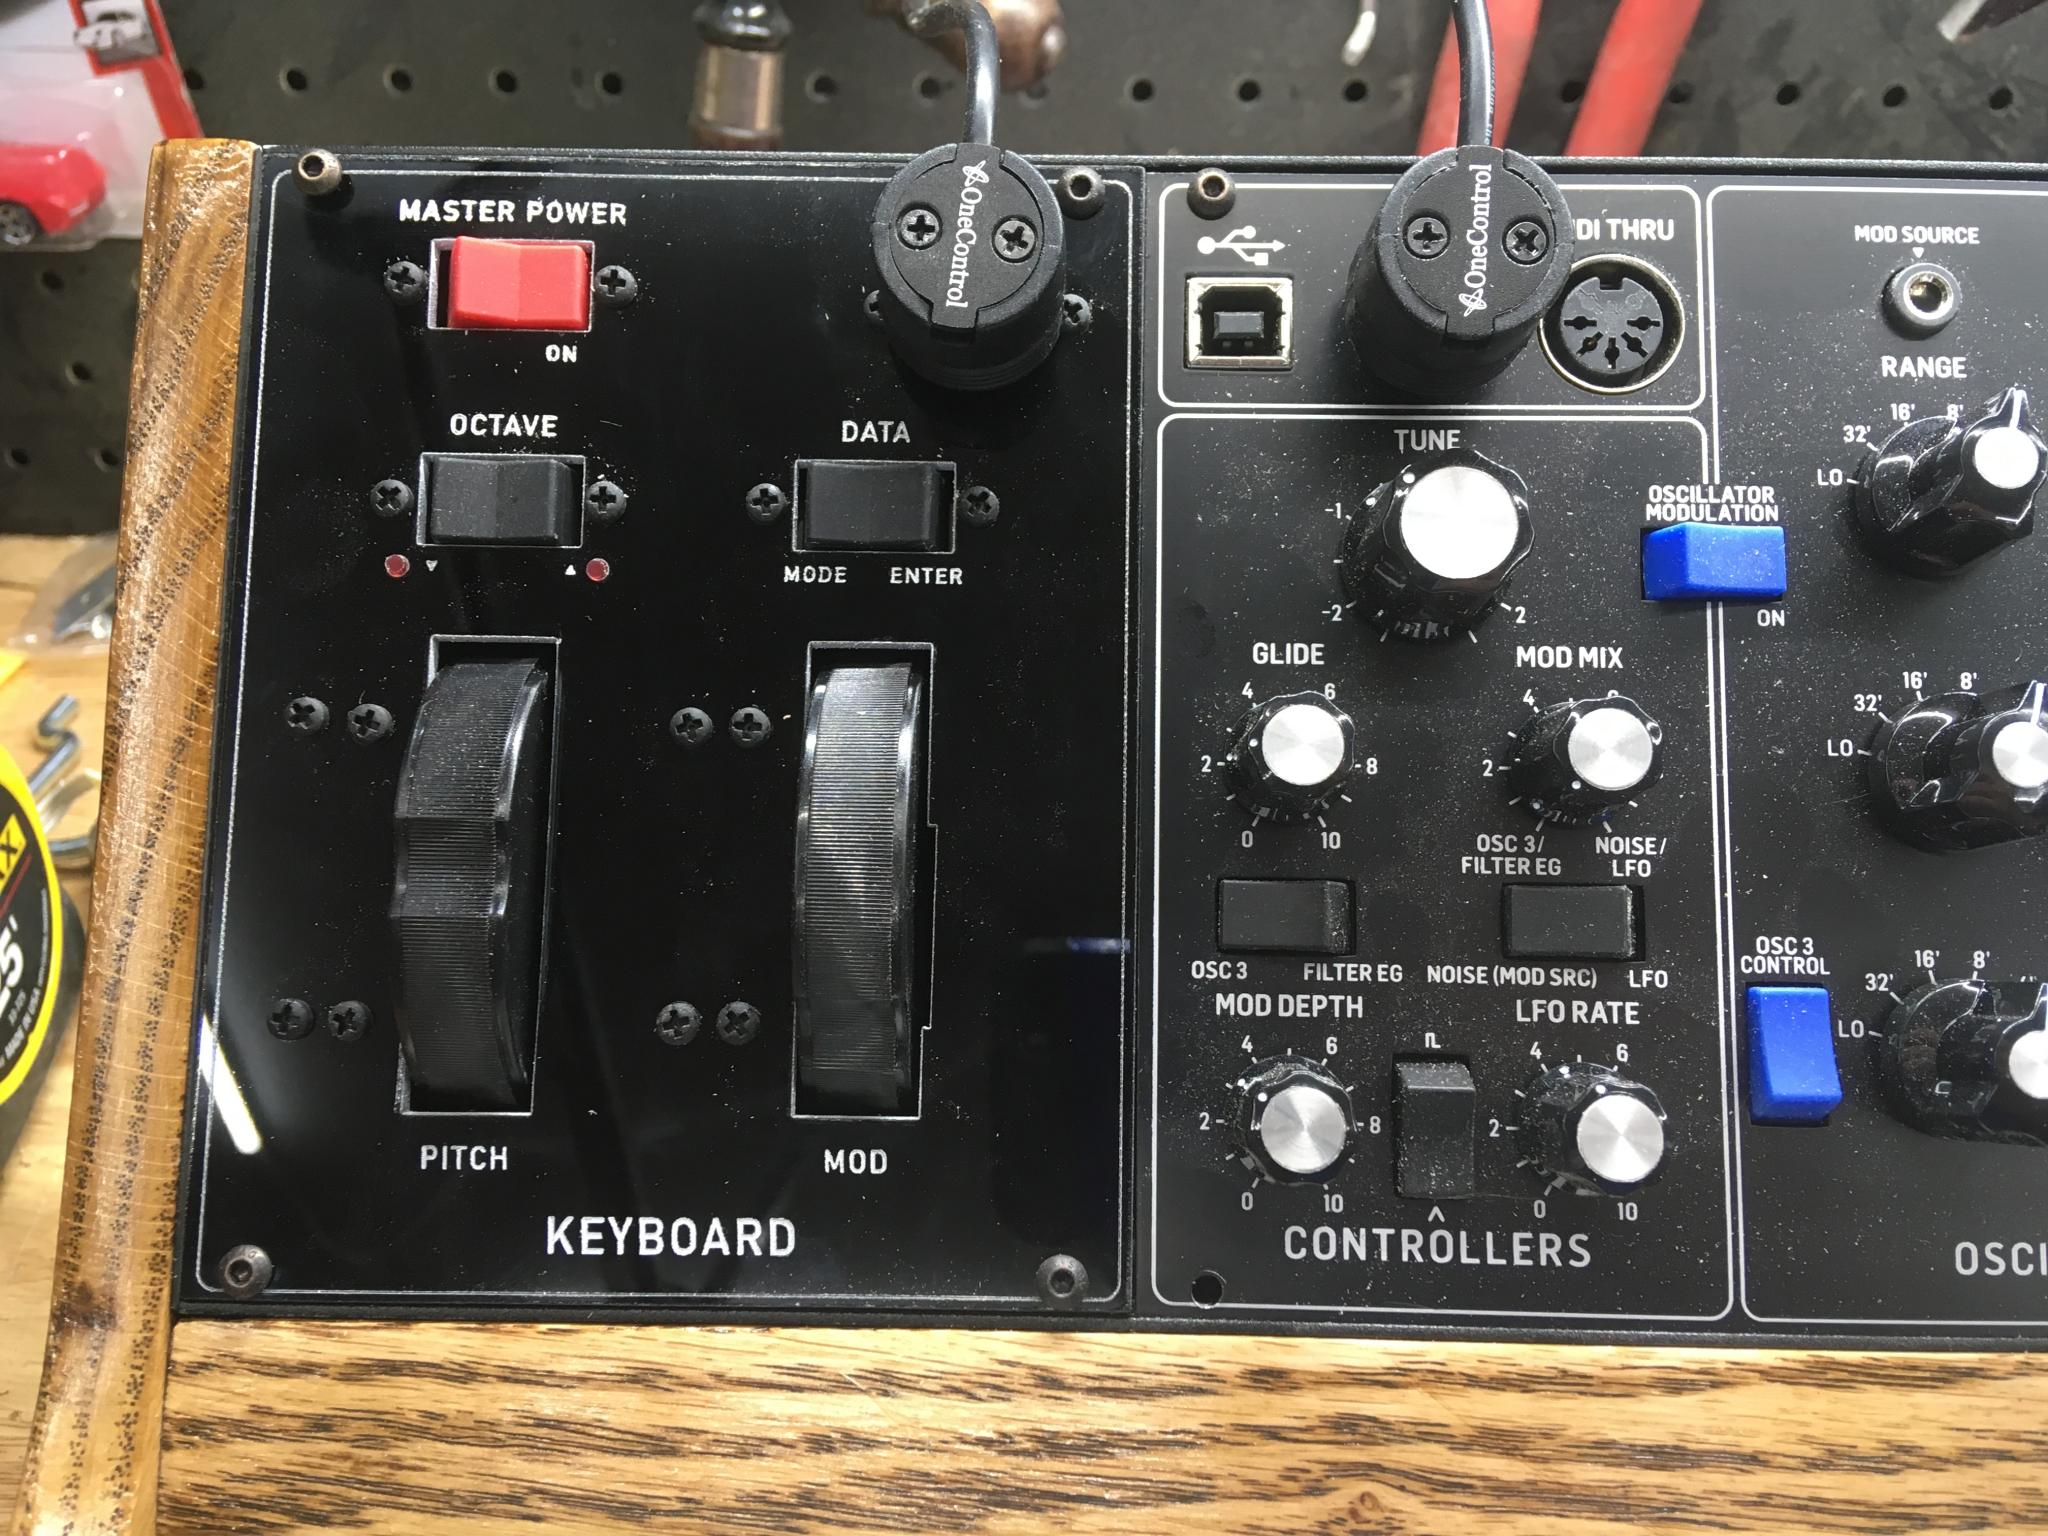
With that, I was able to wire up the keyboard panel. I moved the switches 2mm out so they're easier to use. The LEDs below tell me if I'm in edit mode or if I've shifted octaves. No power LED because there's one on the synth.
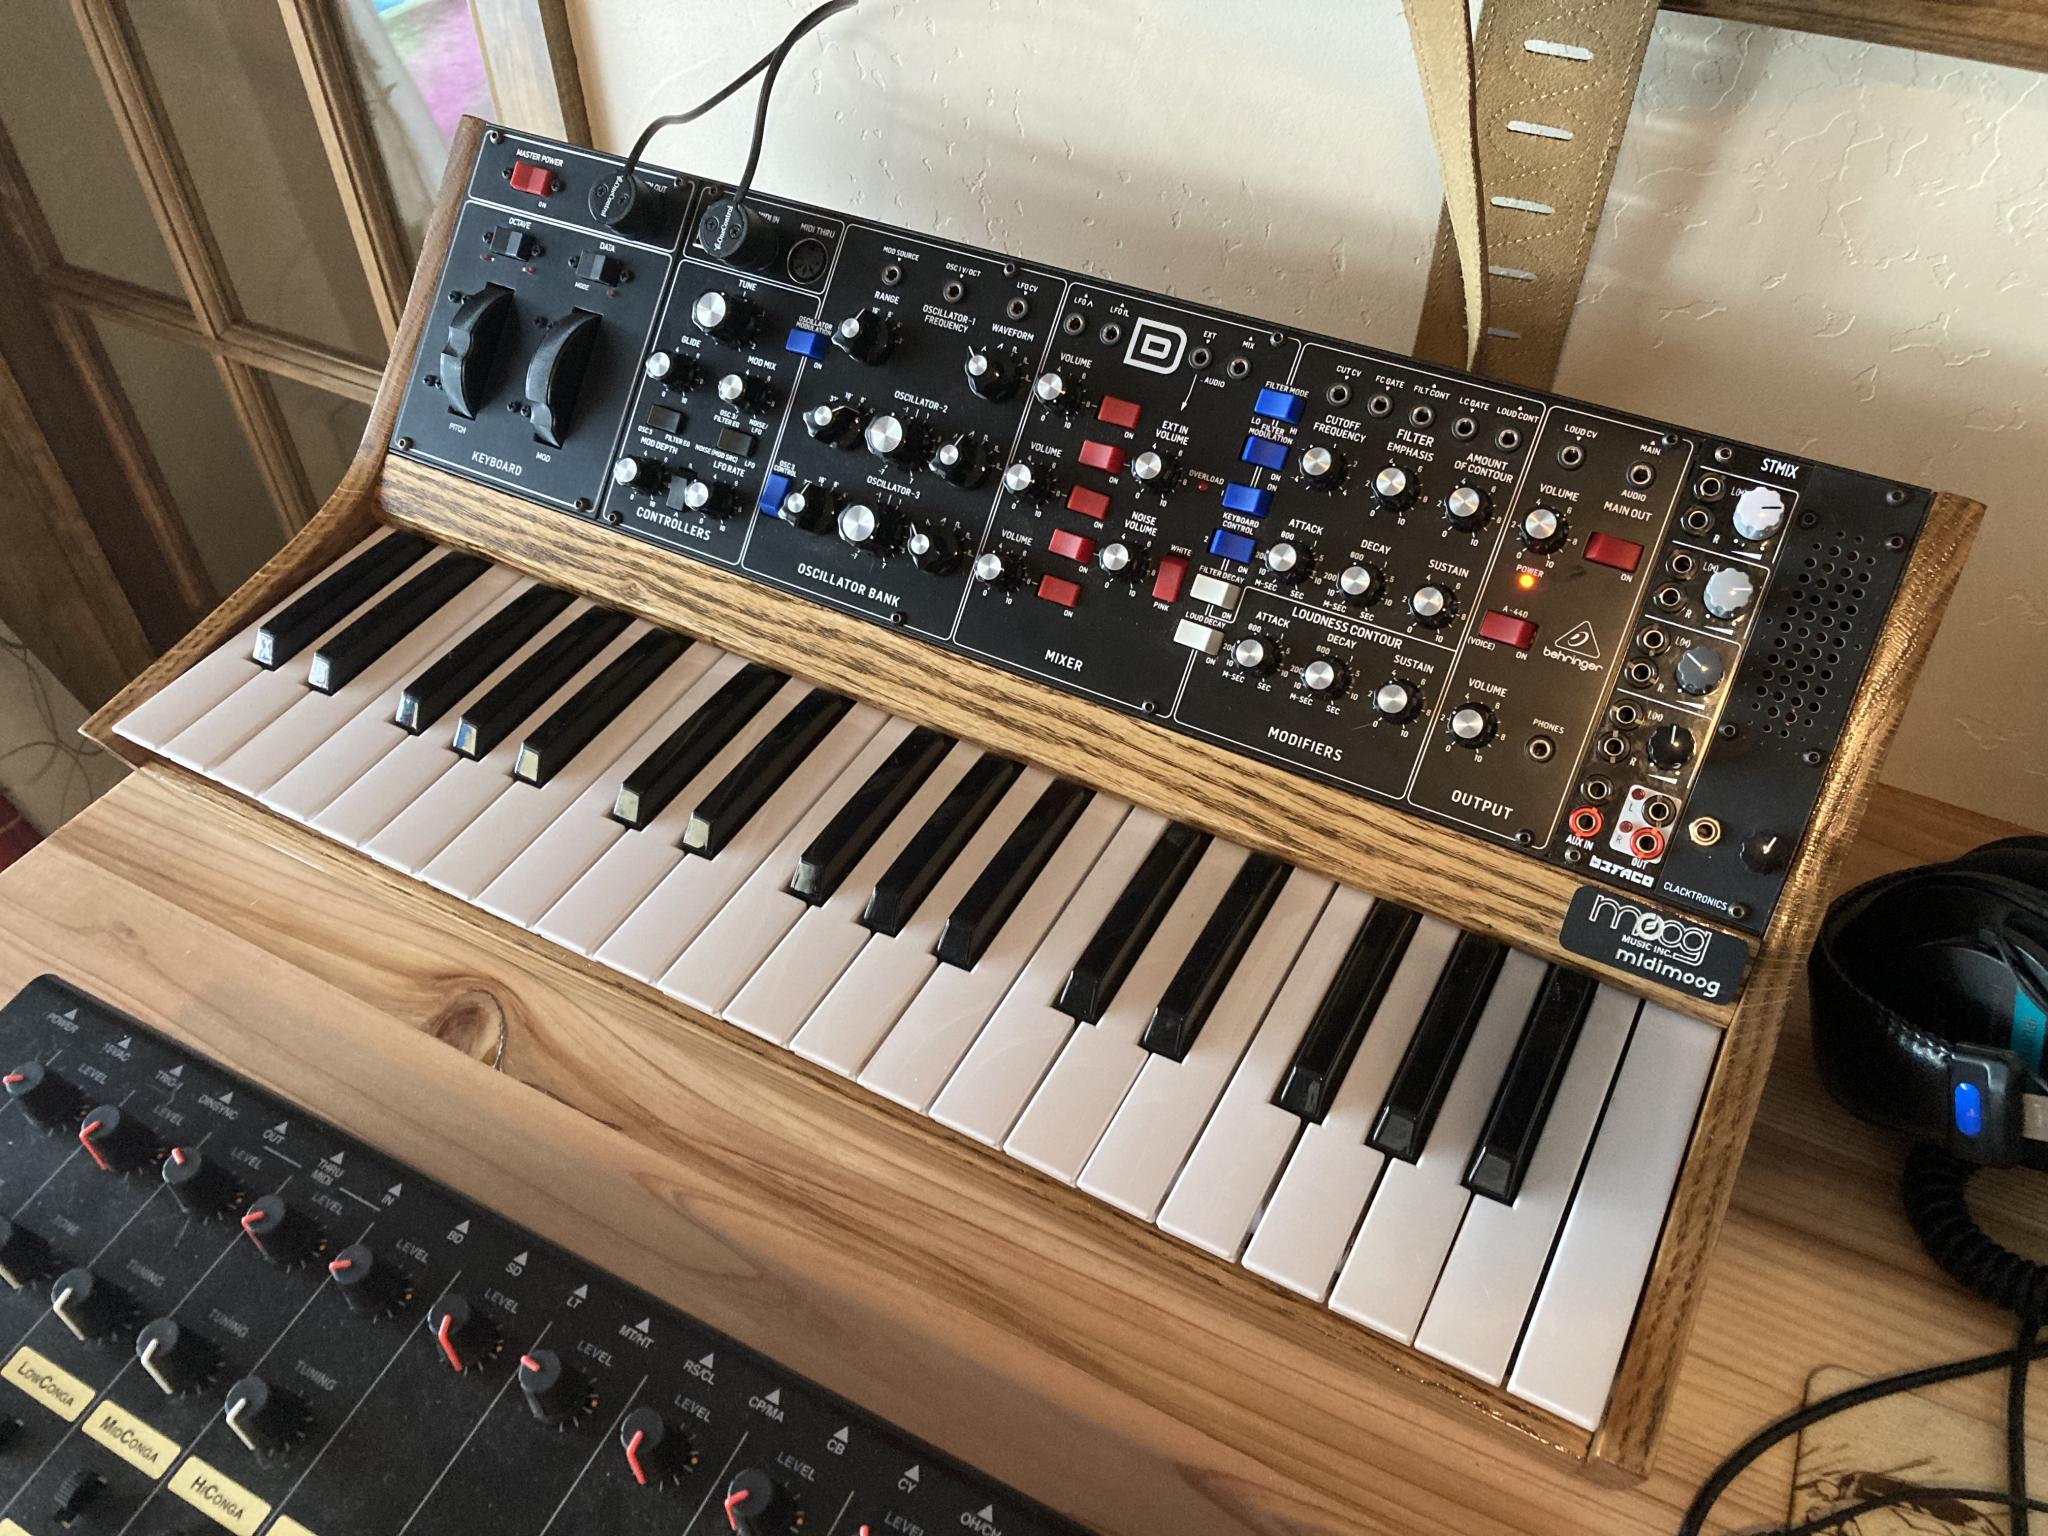
The Midimoog name plate is attached temporarily with scrapbooking tape - I may redo it in thinner material.
Still waiting for a Eurorack power bus cable so I can power up the mixer and monitor, but I do have a compete monolithic unit with functioning bloop.
If I seem distracted on a conference call, there's a good reason. Thanks to everyone for suggestions and support and comments that moved me in a different direction. It turned out a bit different from my original plan, but it's better.
Oh, you thought this was done.
My power bus cable finally arrived today so I plugged in the mixer and the monitor. The monitor is great success, I can now make audible annoying noises without the need for any extra cables. But the mixer didn't wake up.
Why? Because Eurorack power has both a +12v and a -12v leg. The output on the backside of the synth (which is really supposed to be an input) only has +12v. And the mixer wants a massive 10 mA of -12v. So I'll have to come up with a way to create that. There are various little ICs that do it, most of which are obsolete on Digikey interestingly.
The good news is that I'm already learning new things about my synth and conference calls are a lot more fun.
Parts is here! This little guy showed up in its own box, inside a bigger box, inside a MUCH bigger box. It was a little comical. It's a Rochester PT78NR112S, an obsolete DC-DC power converter that takes in anything from 7-18V DC and turns it into -12V DC. I think I got the last one they had in stock and the datasheet has a big "NOT RECOMMENDED FOR NEW DESIGNS" warning on it. Oddly, all of the converters I found were obsolete and NLA. The 10 mA of power I need is actually just a bit more than the minimum it can provide.
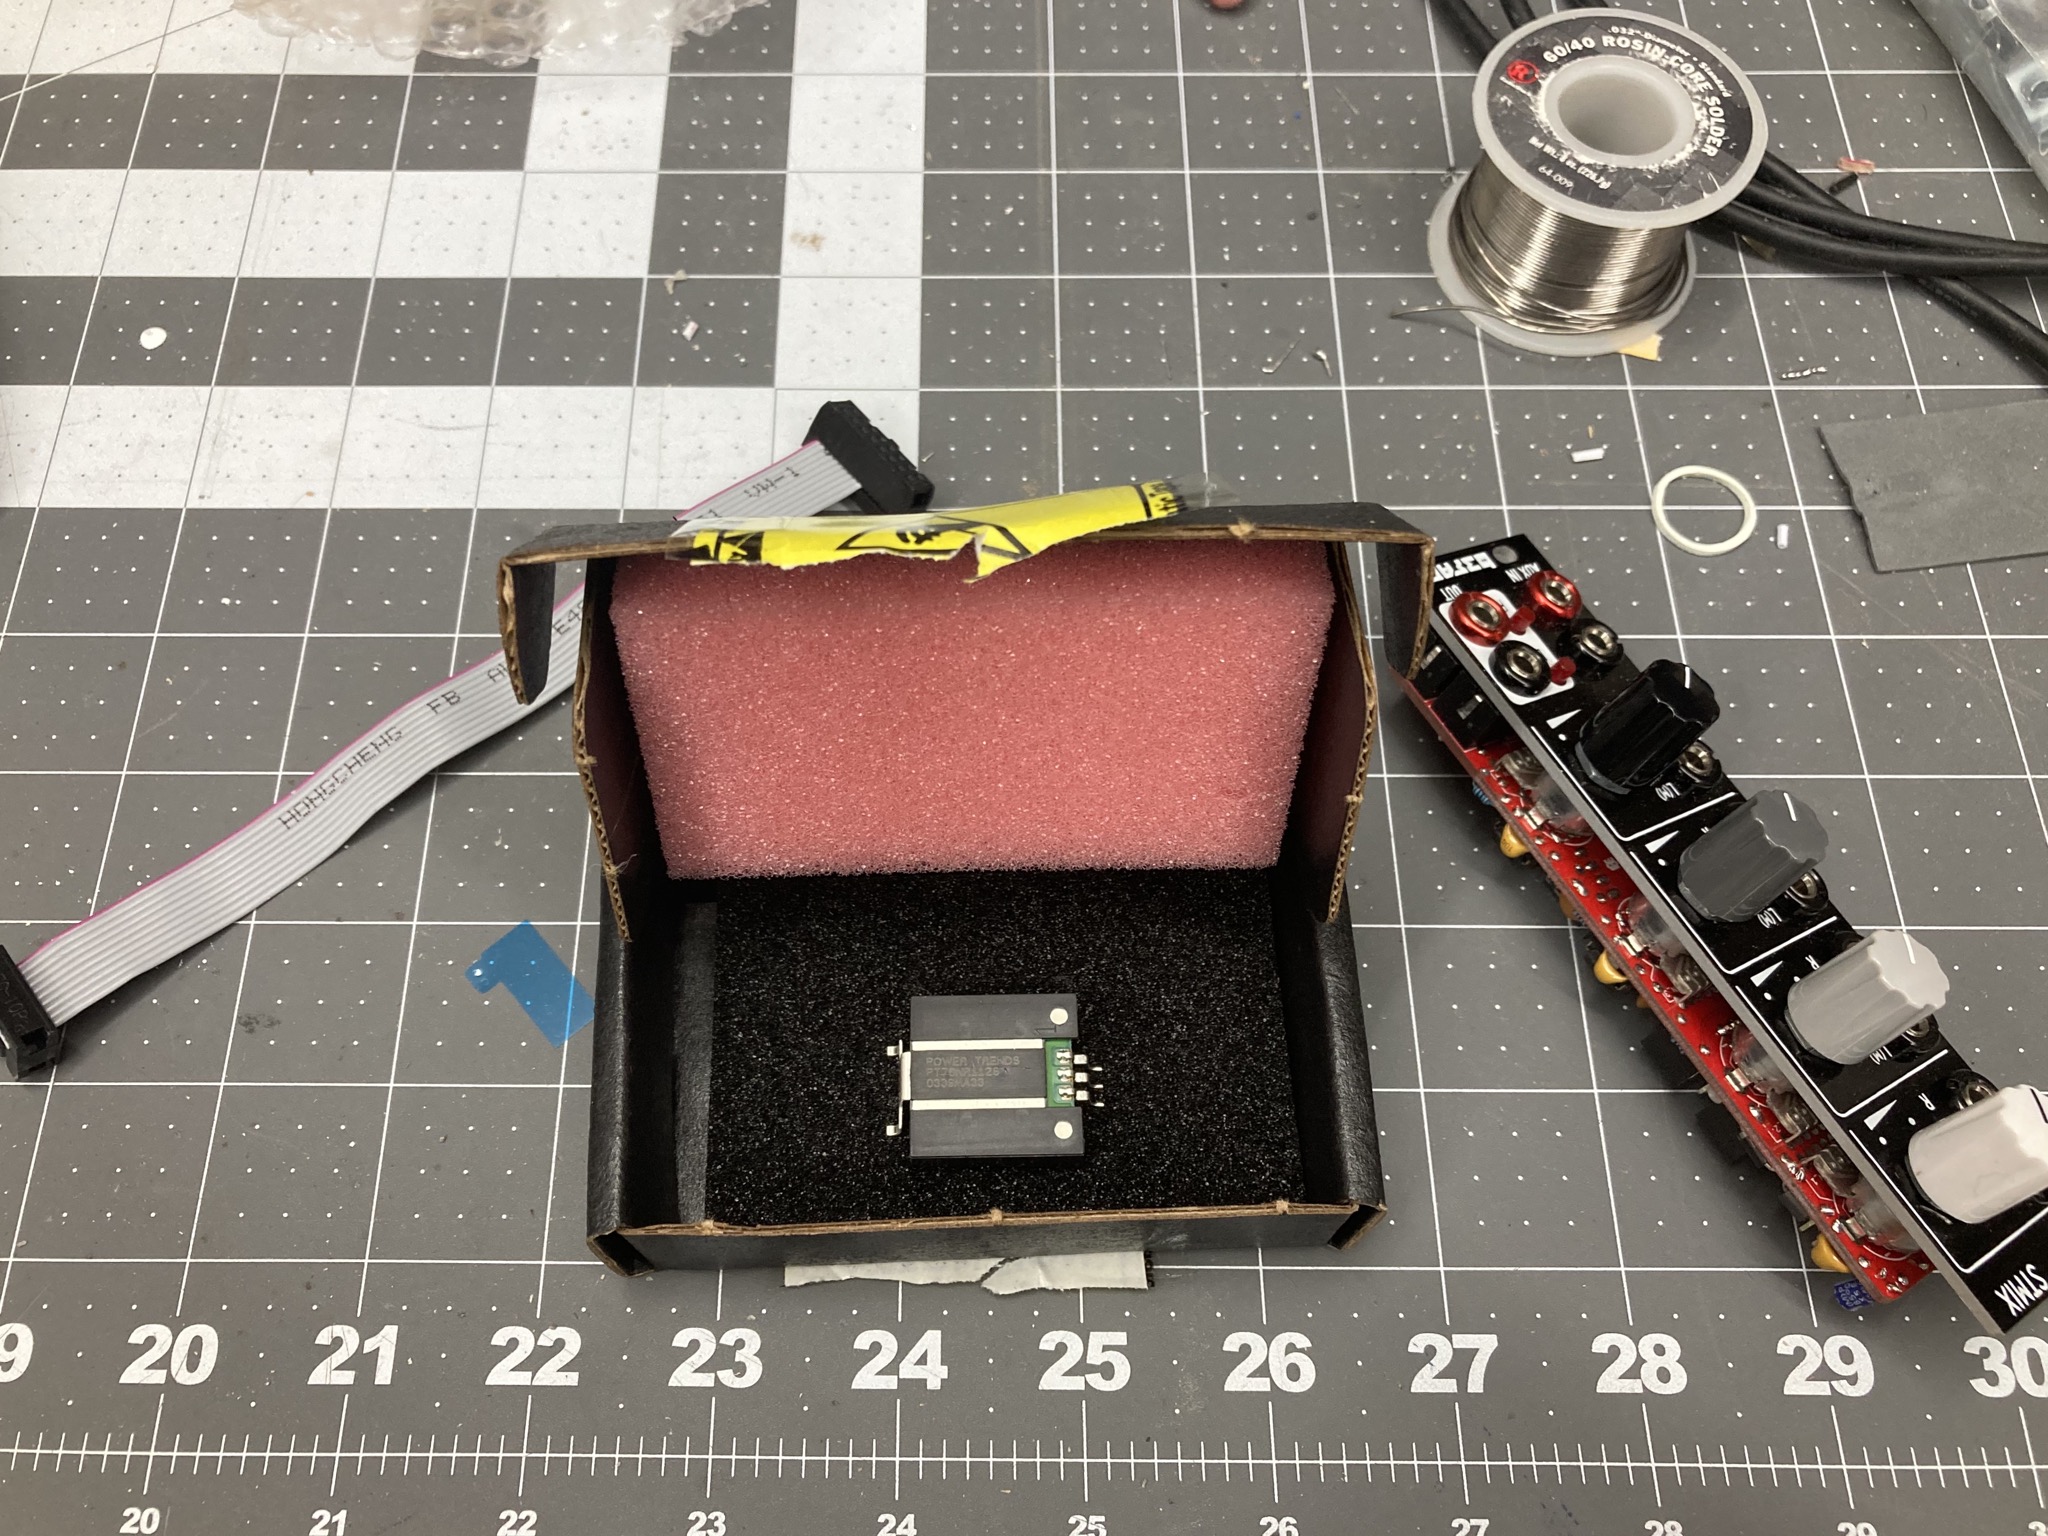
Anyhow, I only needed one. It's small and light enough and will live inside a protected case, so I just piggybacked it on a power cable like some sort of leech. A ziptie seatbelt and a big glob of hot glue and it's protected against shorts as well as structurally strong. Well, strong enough.
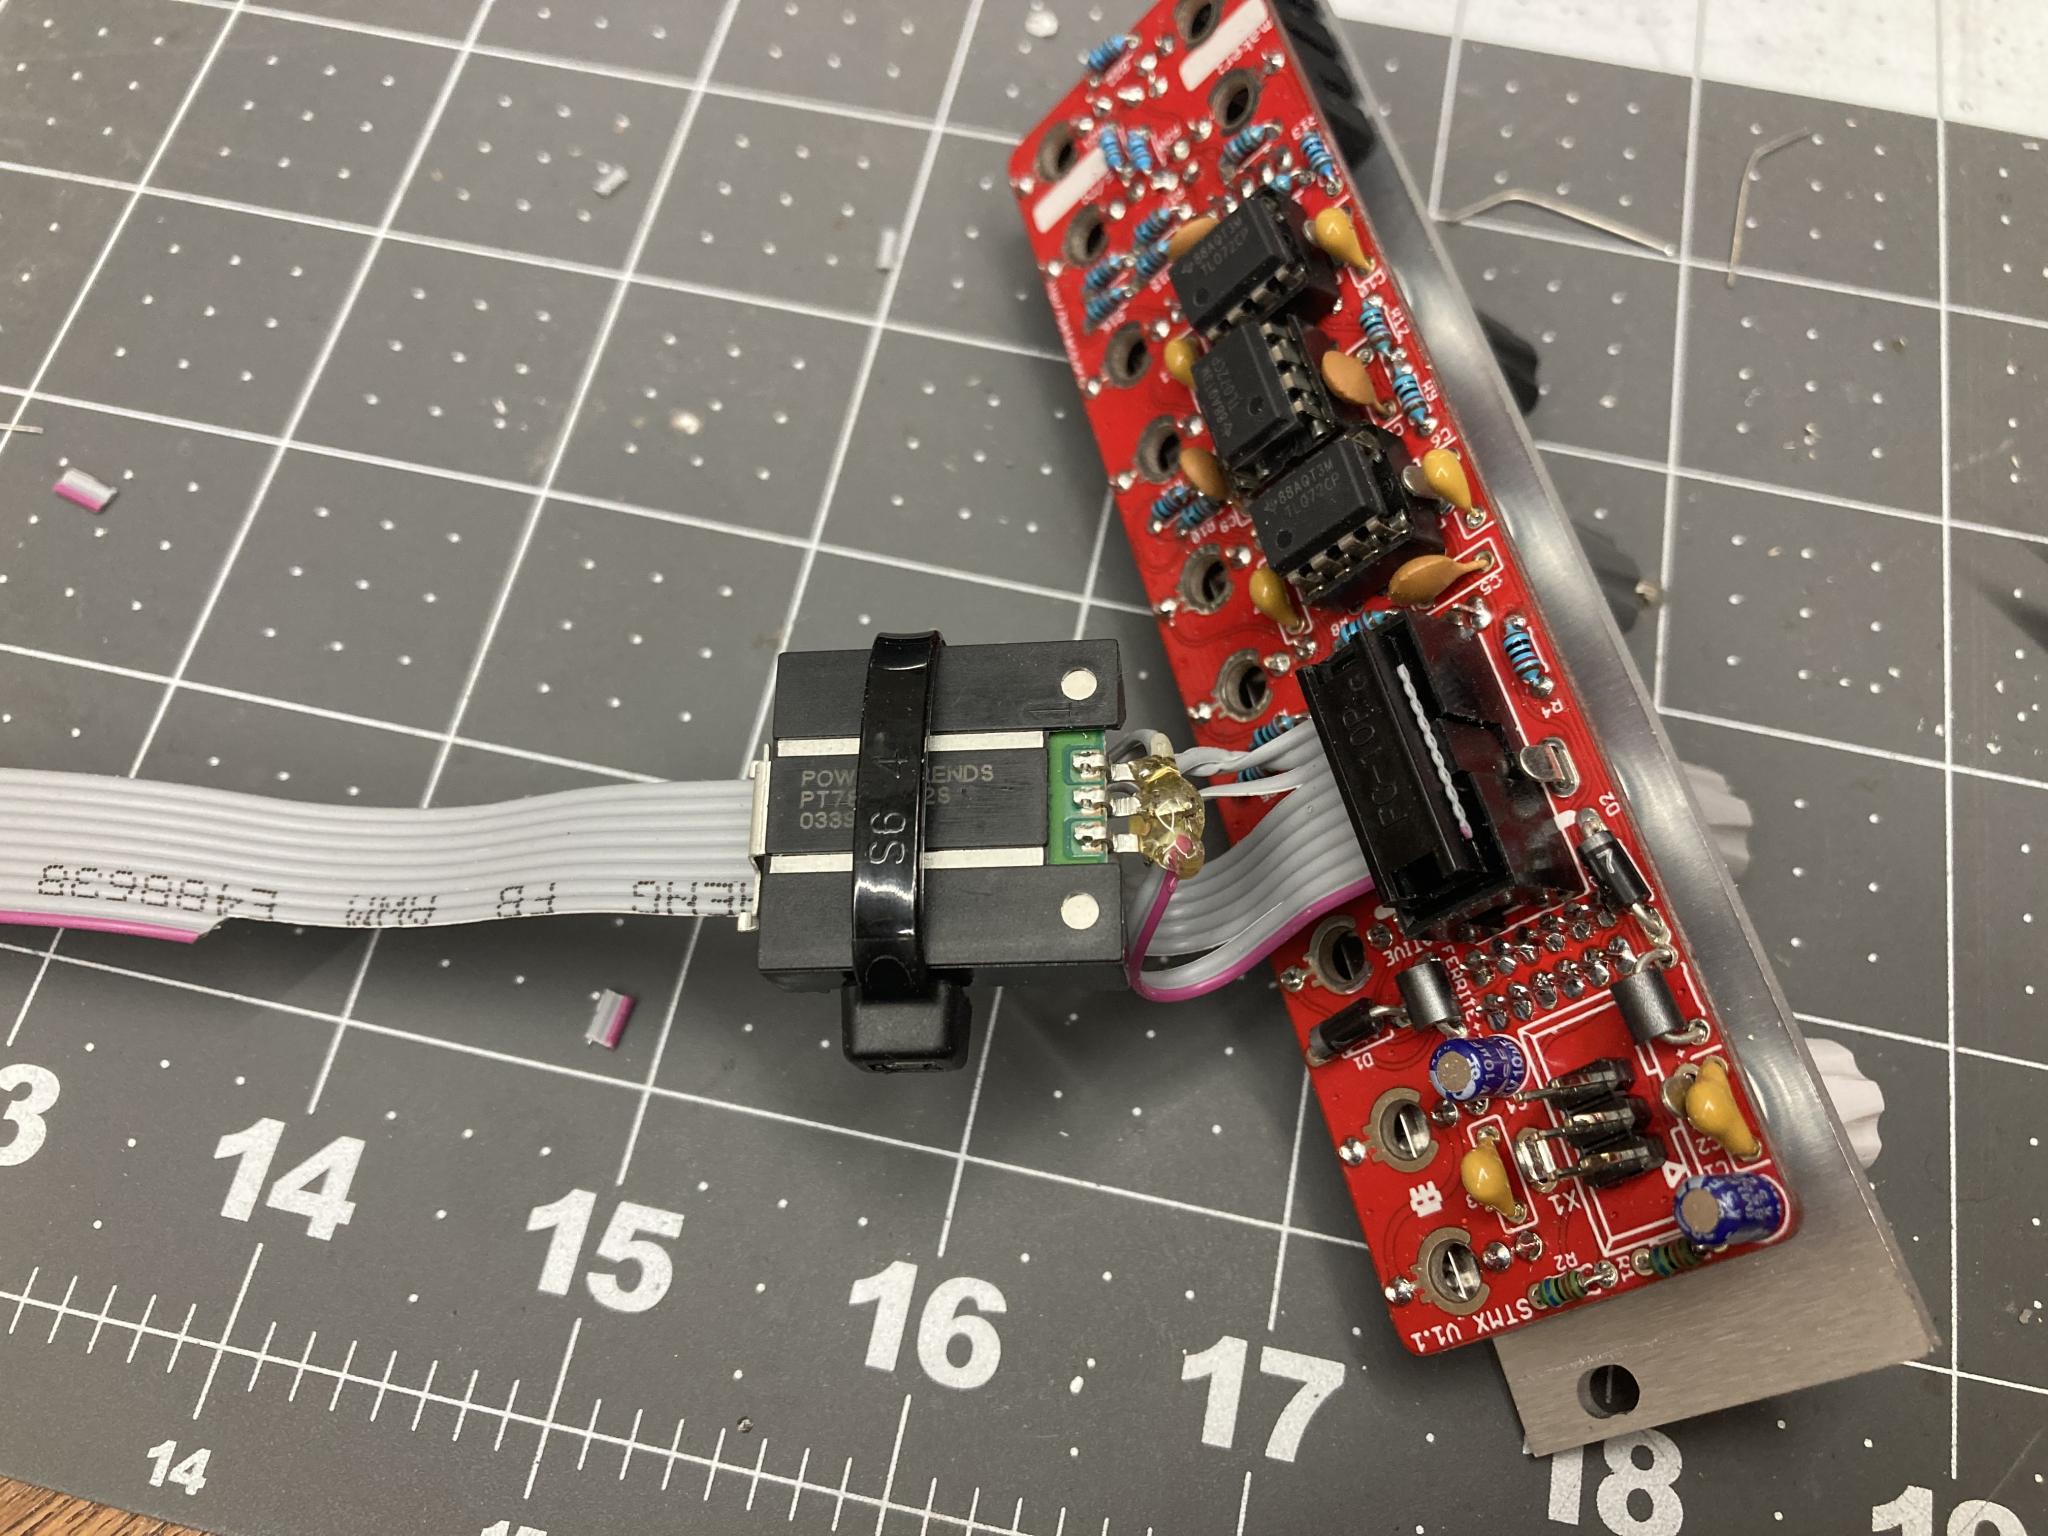
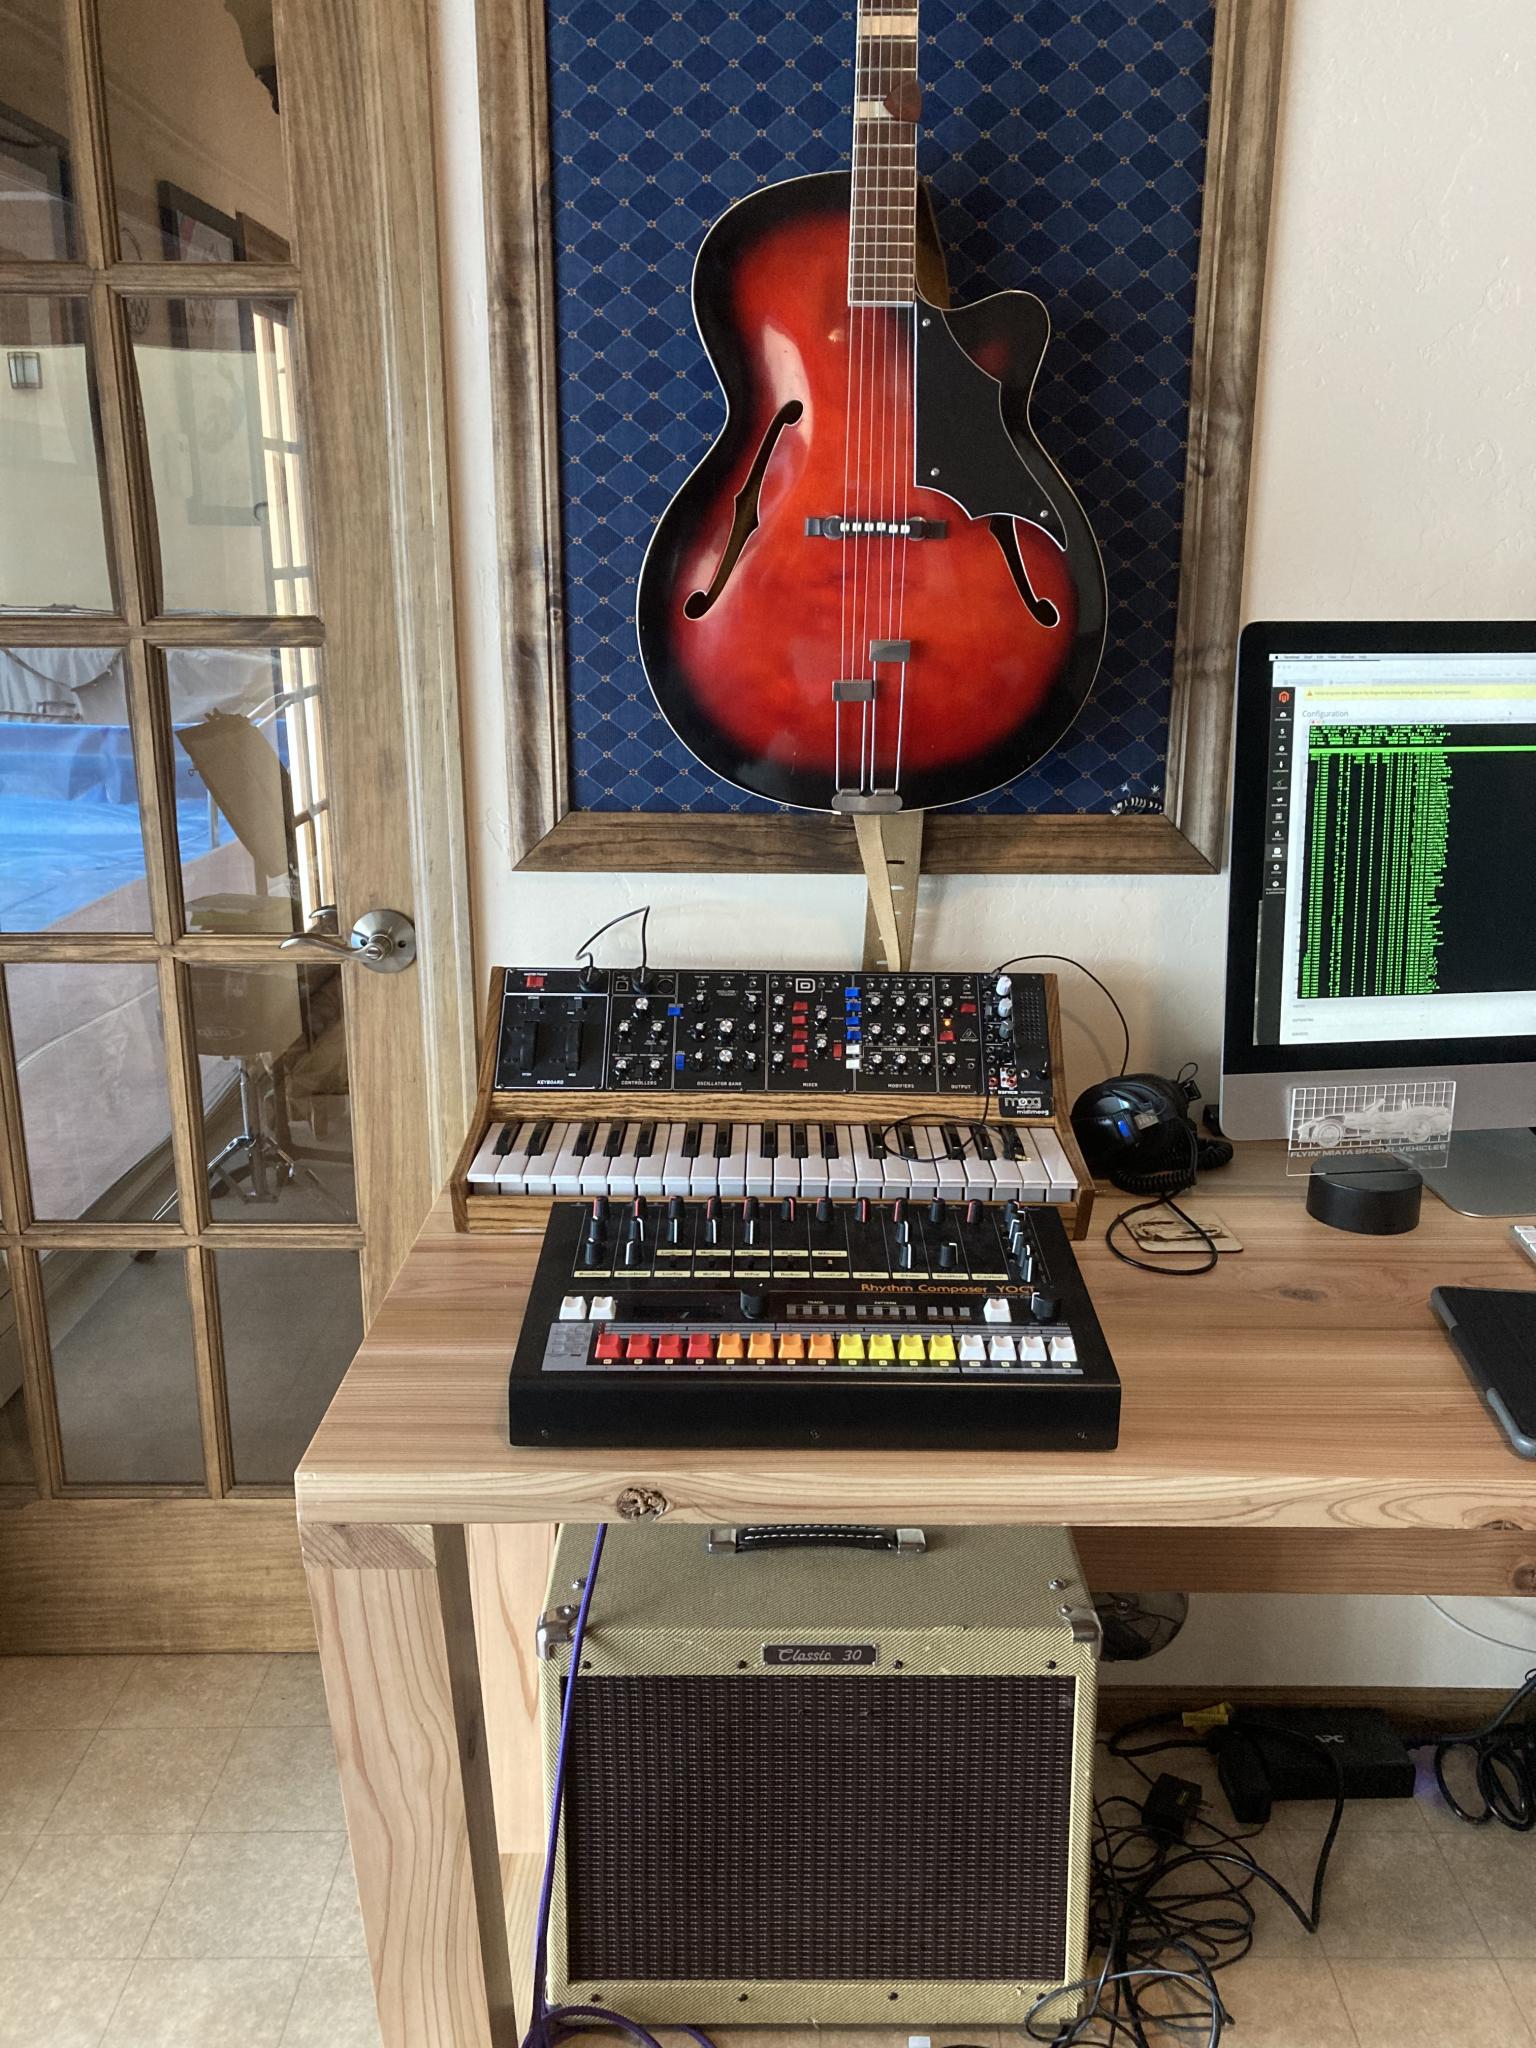
Used my power supply to check the outputs, then plugged it in and ran the power supply. No smoke. Assembled it into the synth case and no lights...until I ran a signal into it, then the two LEDs by the output jacks started to pulse as level indicators. Cool. Ran the 808 into a different input, twiddled knobs and confirmed we are at full function. The synth consists of a integrated keyboard, onboard mixer and a little speaker so it can all run off one power cord. If I want, I patch in some oonch oonch oonch to go along with my bloops, which adds a much more fun dimension to the whole thing.
I've also been playing with the various badges and getting cleaner results out of the laser, etc. But I think this horse is well and truly dead, I'll call it done and stop bothering the lot of you. Thanks again. That was fun and went in directions I did not expect.
Build thread isn't done until there's a short youtube video of the oonch oonch bloop.
I guess I should get practicing! Good thing I have a call at 2:00.
I find your lack of ambition disturbing 
That's just ridiculous in a wonderful way. Mine has three oscillators for sound generation and I often tune one a 4th or 5th out to fatten up the monophonic sound. All of those? Massive.
So, update on my little blooper. The monitor speaker is not loud, but that's to be expected. Having the proper low level out on the back (I considered deleting it) allows me to run it through effects pedals and an amp, which sounds totally appropriate with a delay and fun with a Freqout. It also helped me discover that the 808 is down, looks like a power chip on the cymbal circuit that also takes out the hihat and handclap. I'm not convinced the mixer is giving very clean throughput, I'll investigate that later.
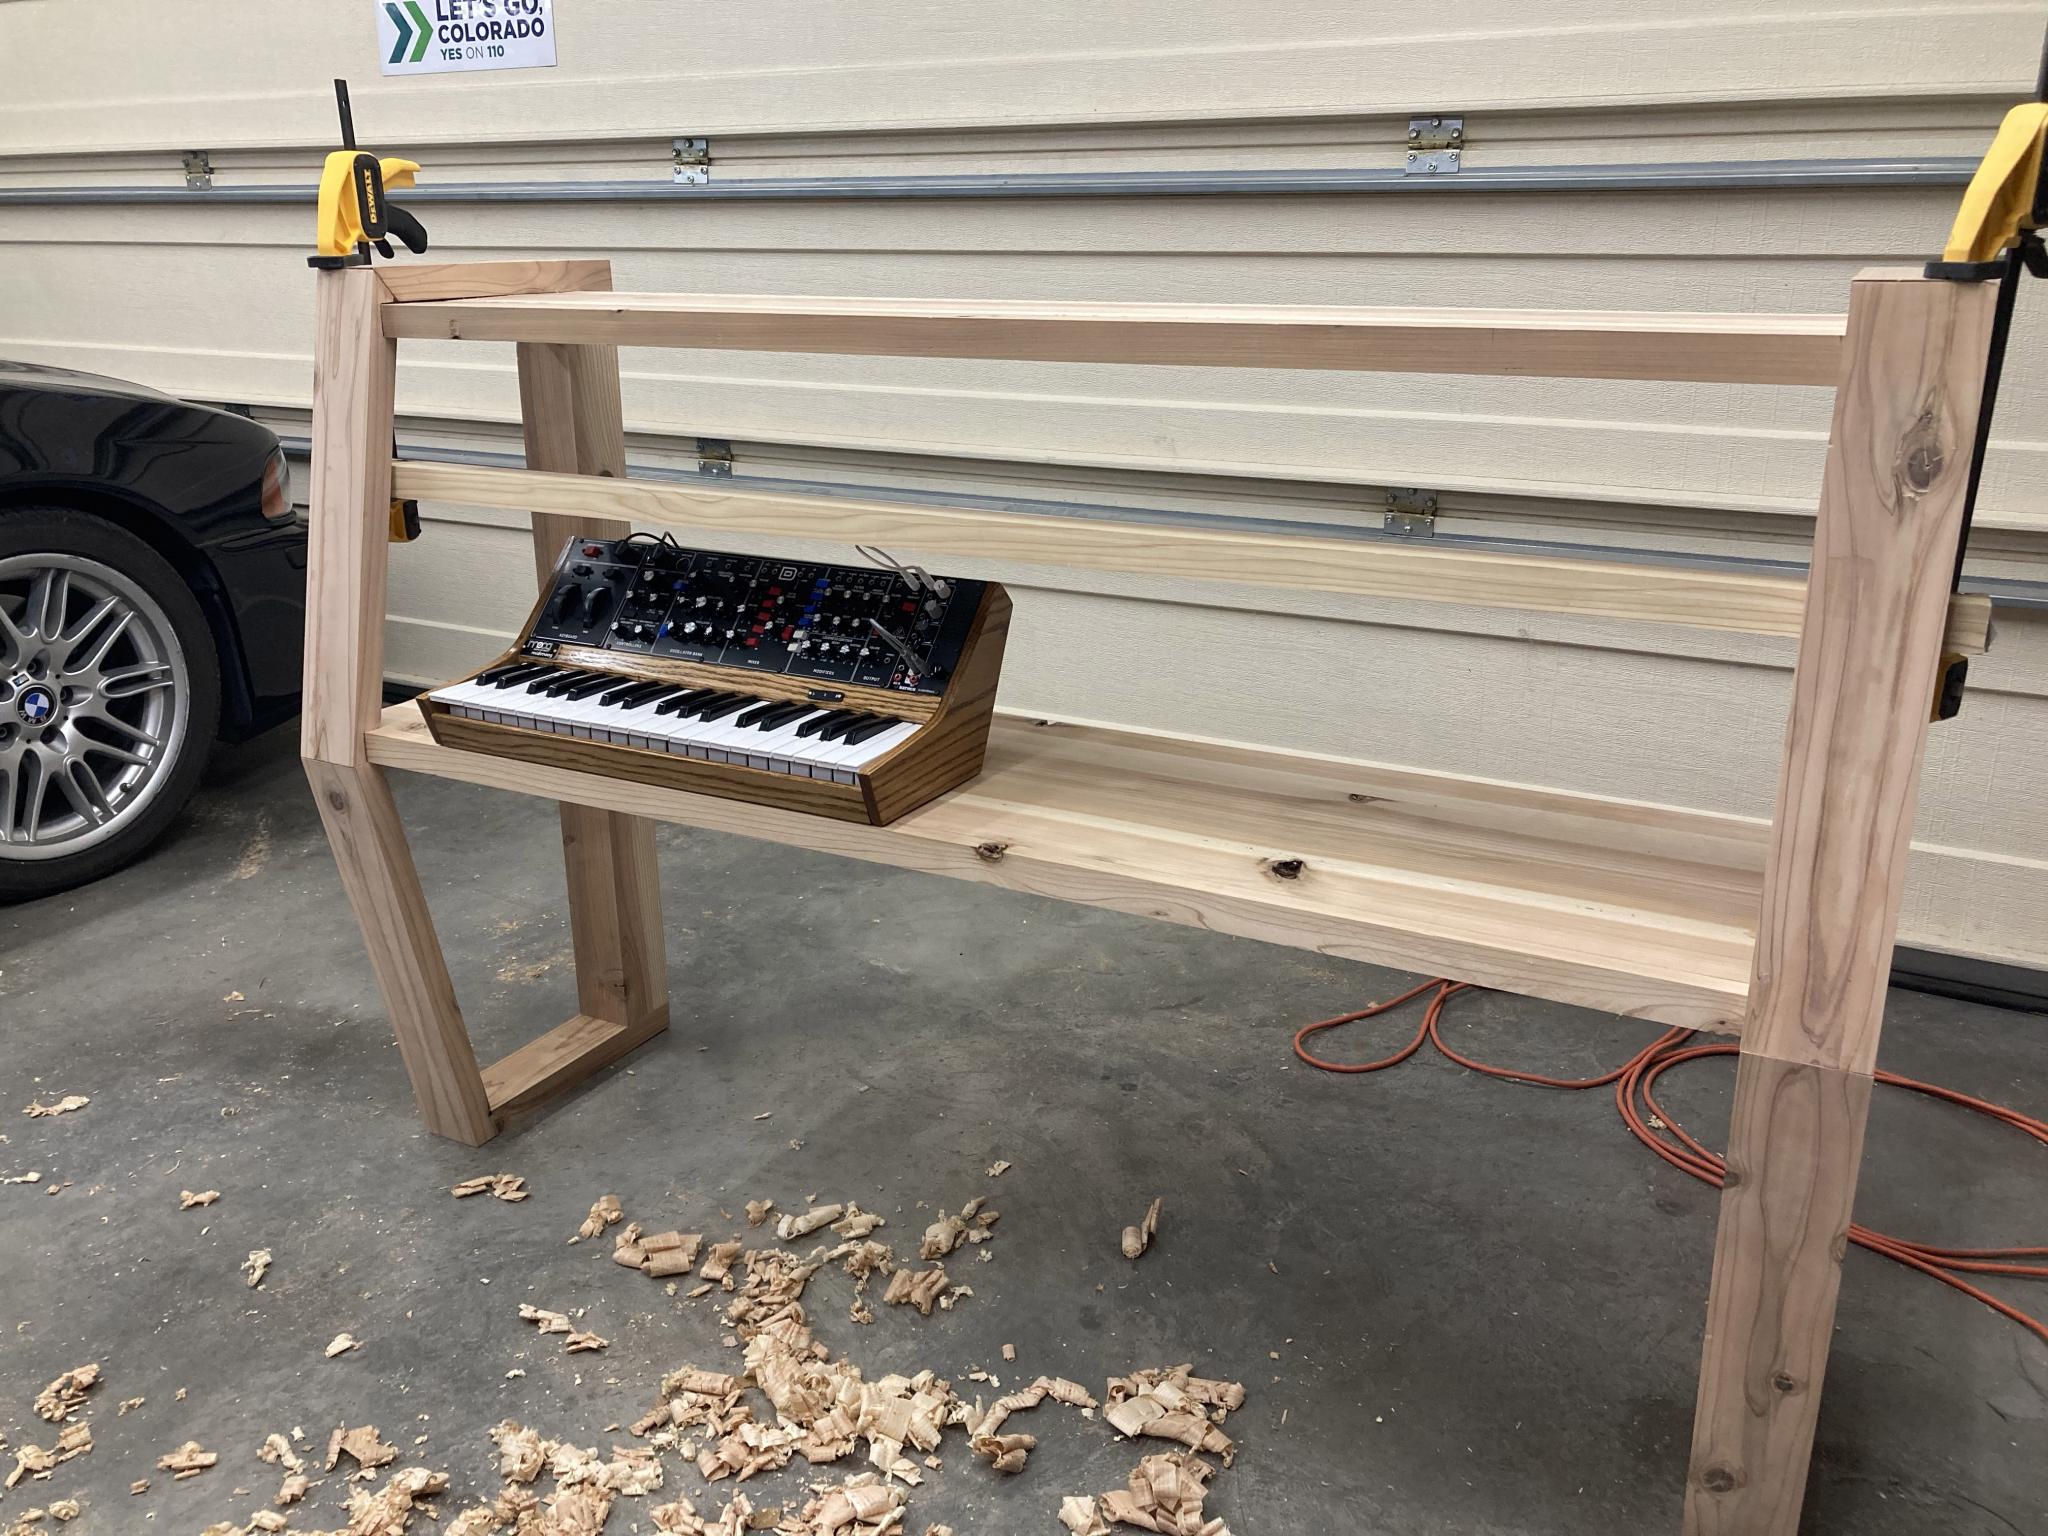
In the meantime, I am building a cool shelving unit to house the various instruments and hopefully give an appropriate vibe. This is nowhere near the finished product, it's just the first time it was assembled and the middle shelf is just a placeholder to set heights. It's being made of cedar instead of oak because it's cheap, dimensionally stable and my woodworking skills would not let me do justice to the better wood.