


Ok, so a quick tour of the shop.
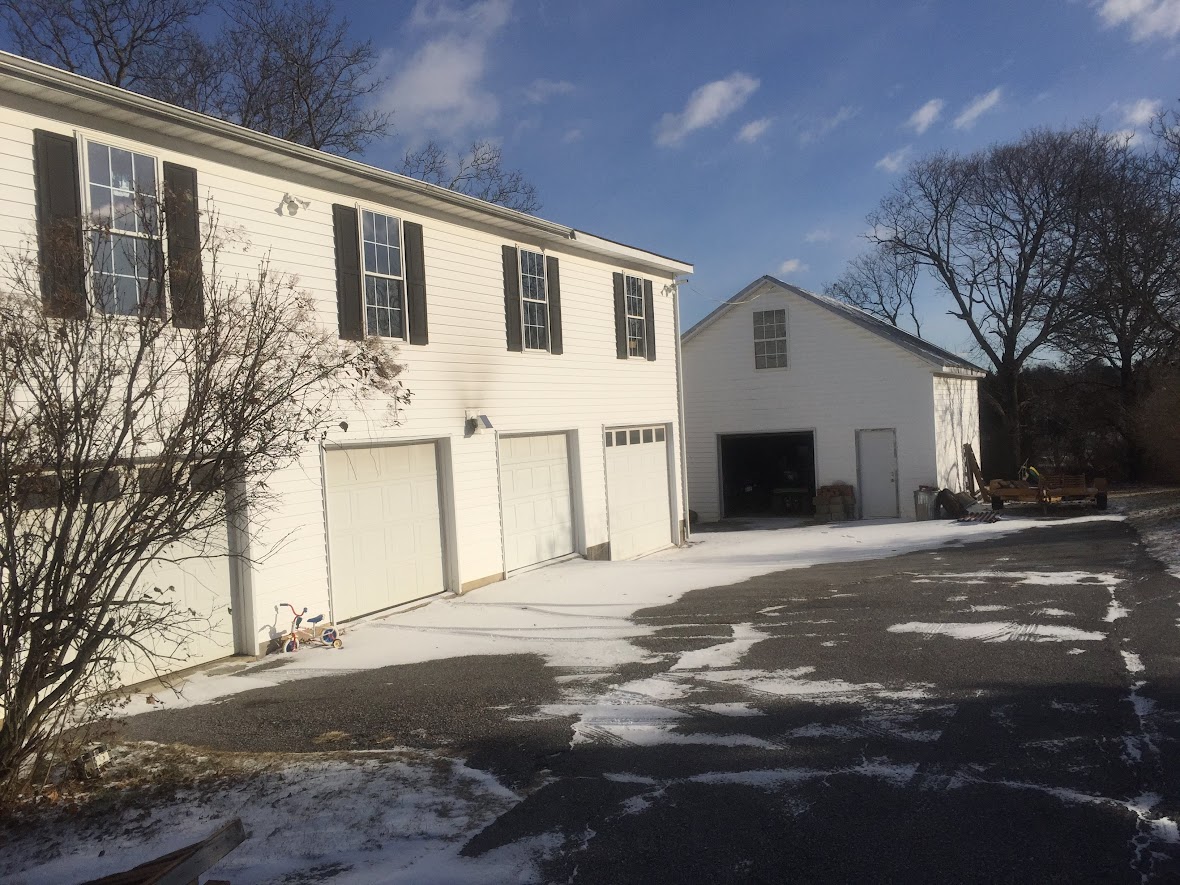
Outside, The small garage on the right is mostly just storage.
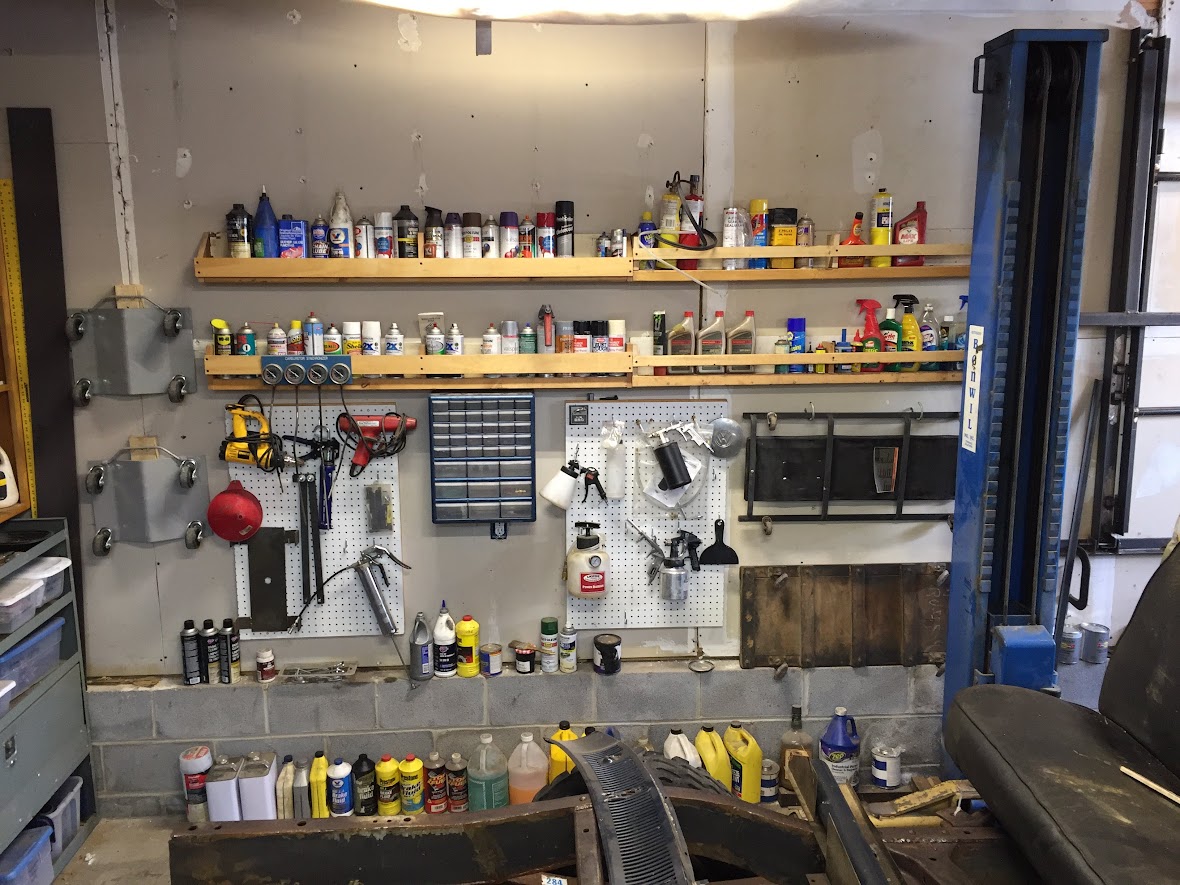
Starting from the right side: Chemical storage and paint supplies.
Under the stairs: Nuts/ Bolts/ zip ties/ clips/ anything small enough to fit in a bin.
Also on the left you can see my brother's "REAL WELDER" hiding under the stairs.
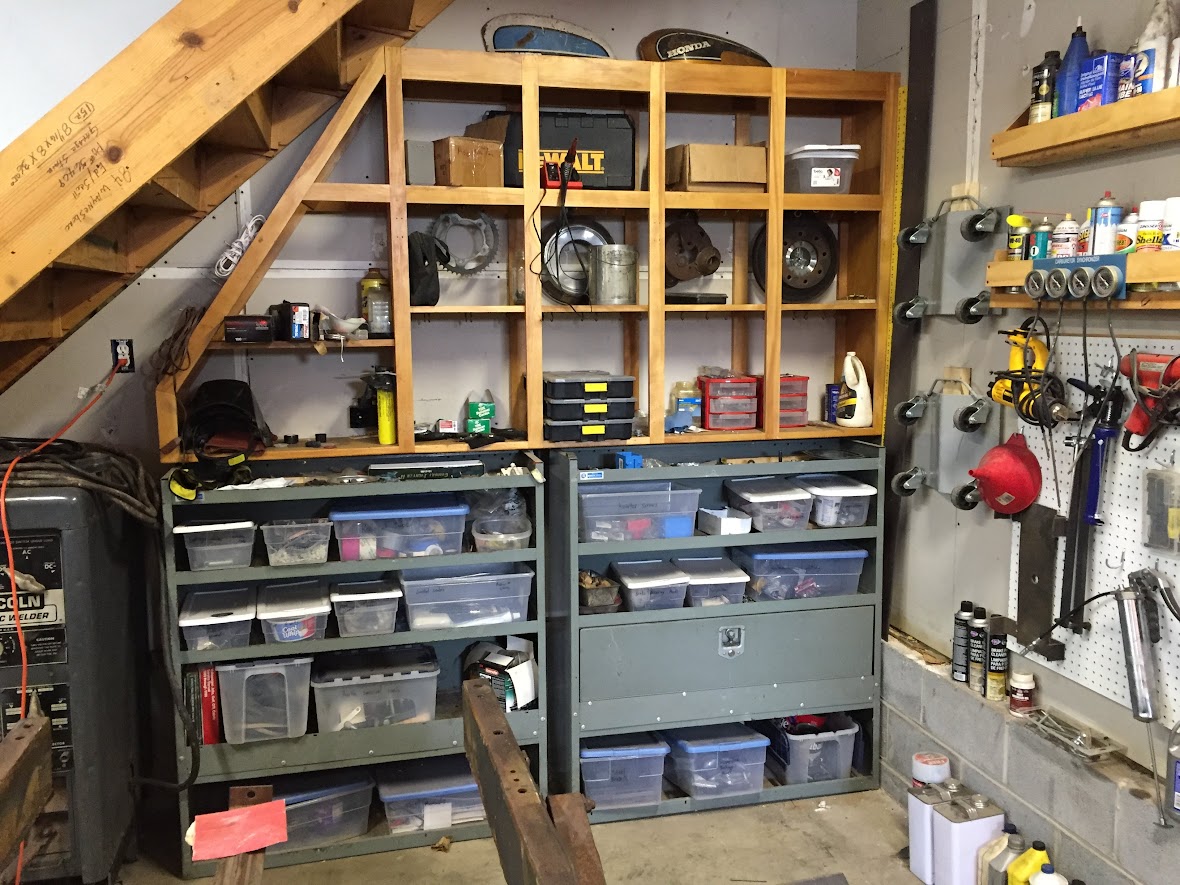
The lift itself, also monopolized by project storage.
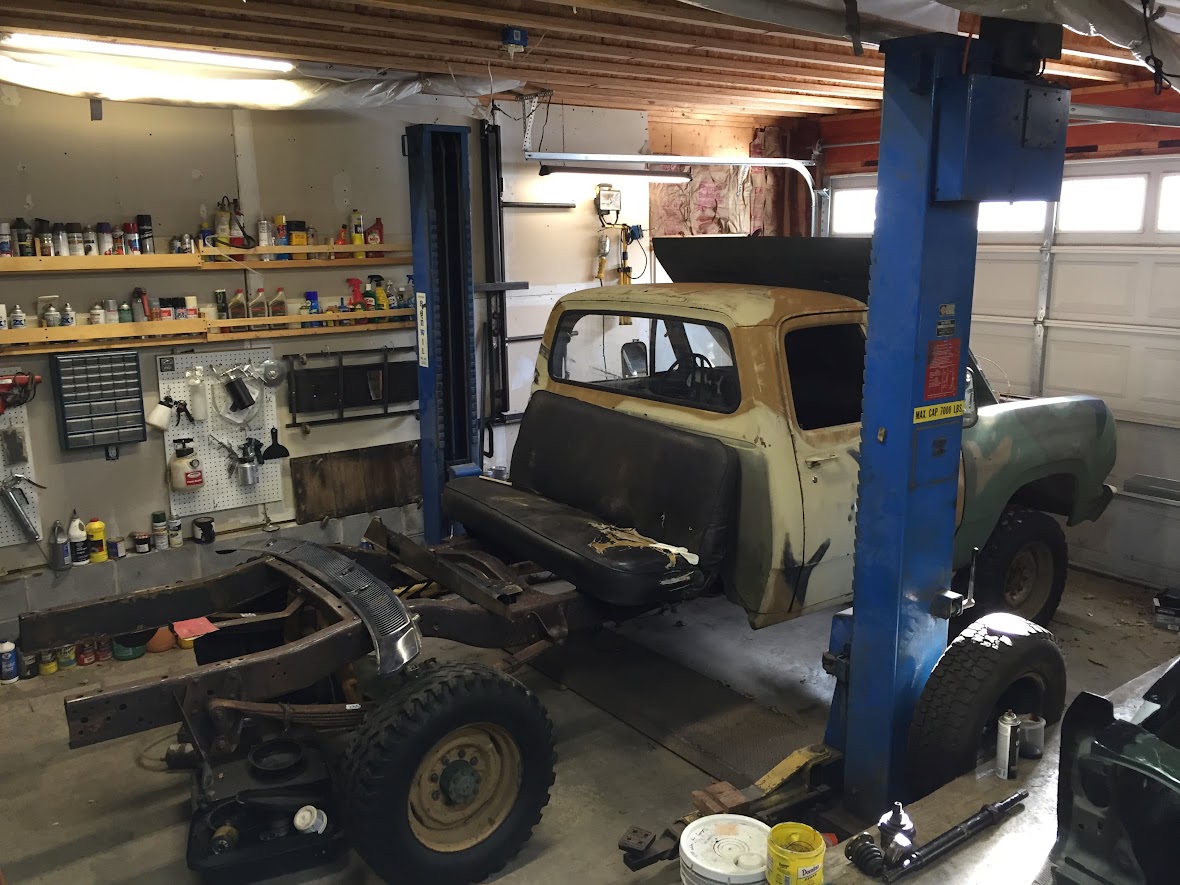
The next bay is where 'Patches' lives. One day this should be a parking space instead of a work space.
Also, You can see the rolls of plastic hanging from the ceiling. These are to drop down for painting/ media blasting.
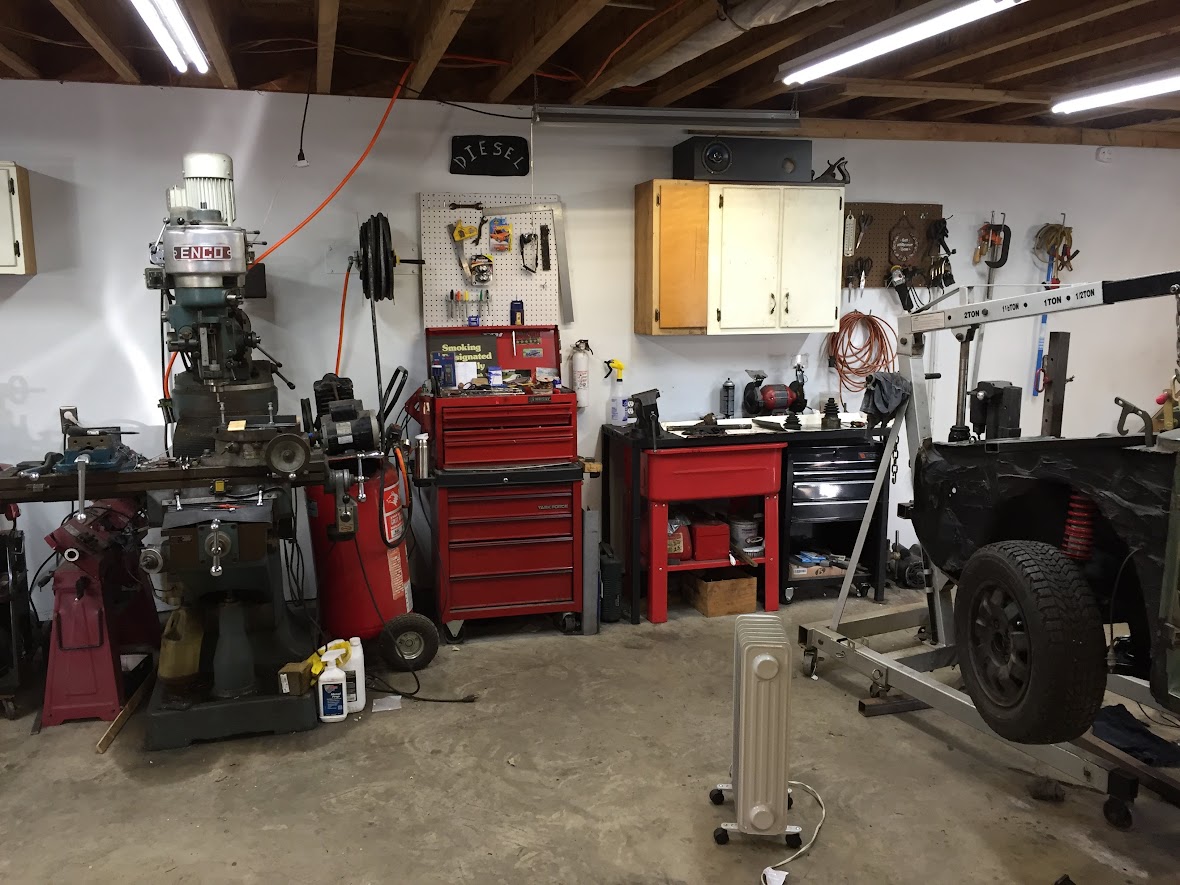
In front of the second Bay: Workbench, tool boxes, Parts Washer, compressor and vertical Mill.
Last two bays: DD parking, HF Bandsaw, Mig welder, Lathe, Beer Fridge and the WC.
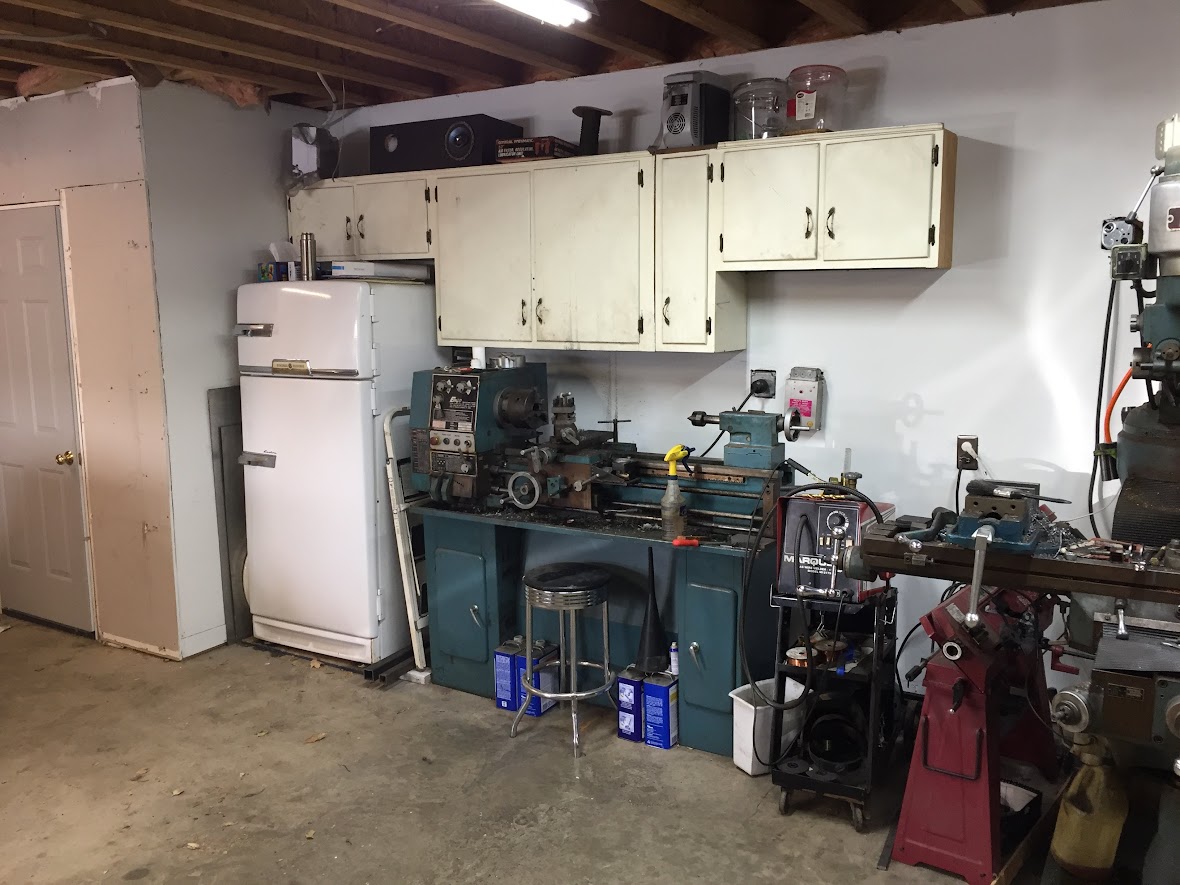
And inside of the WC: Slop sink, Battery storage (to keep them away from freezing temps), stereo and Urinal.

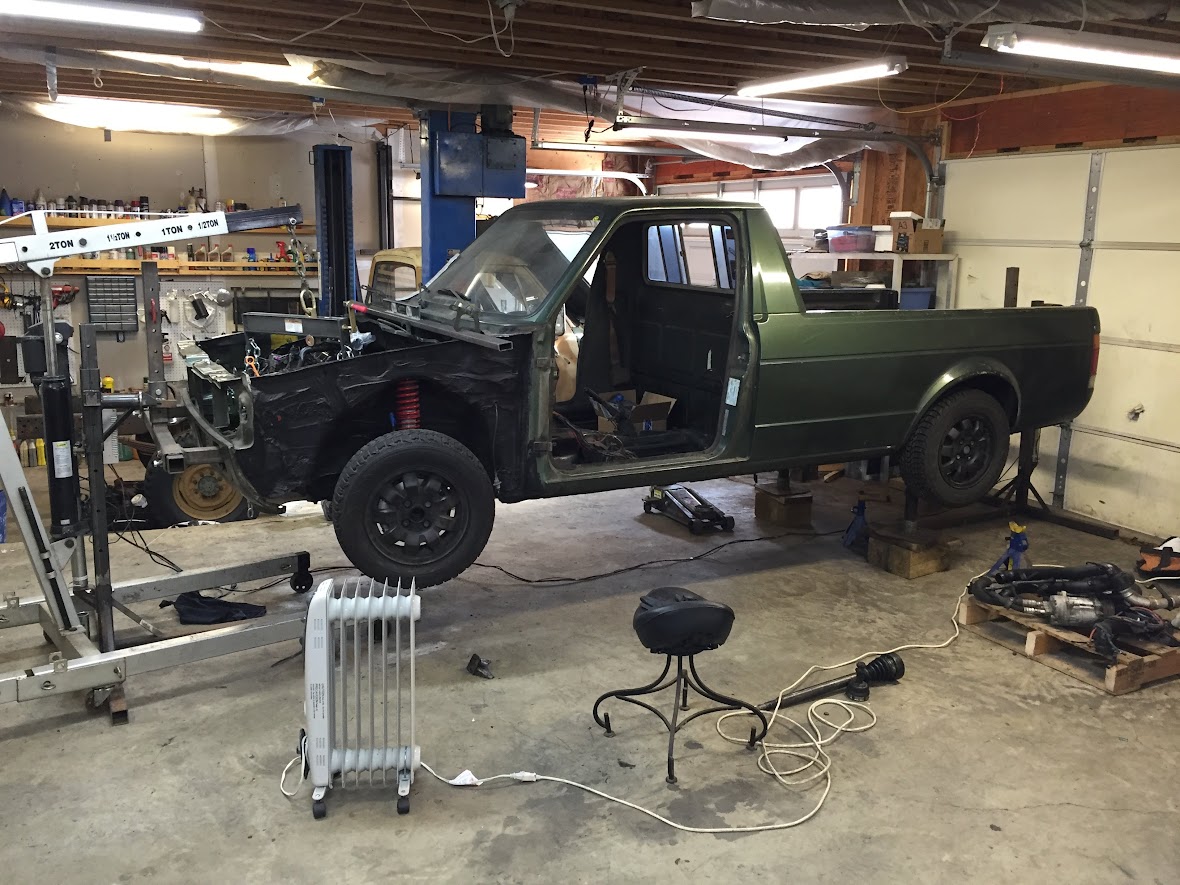
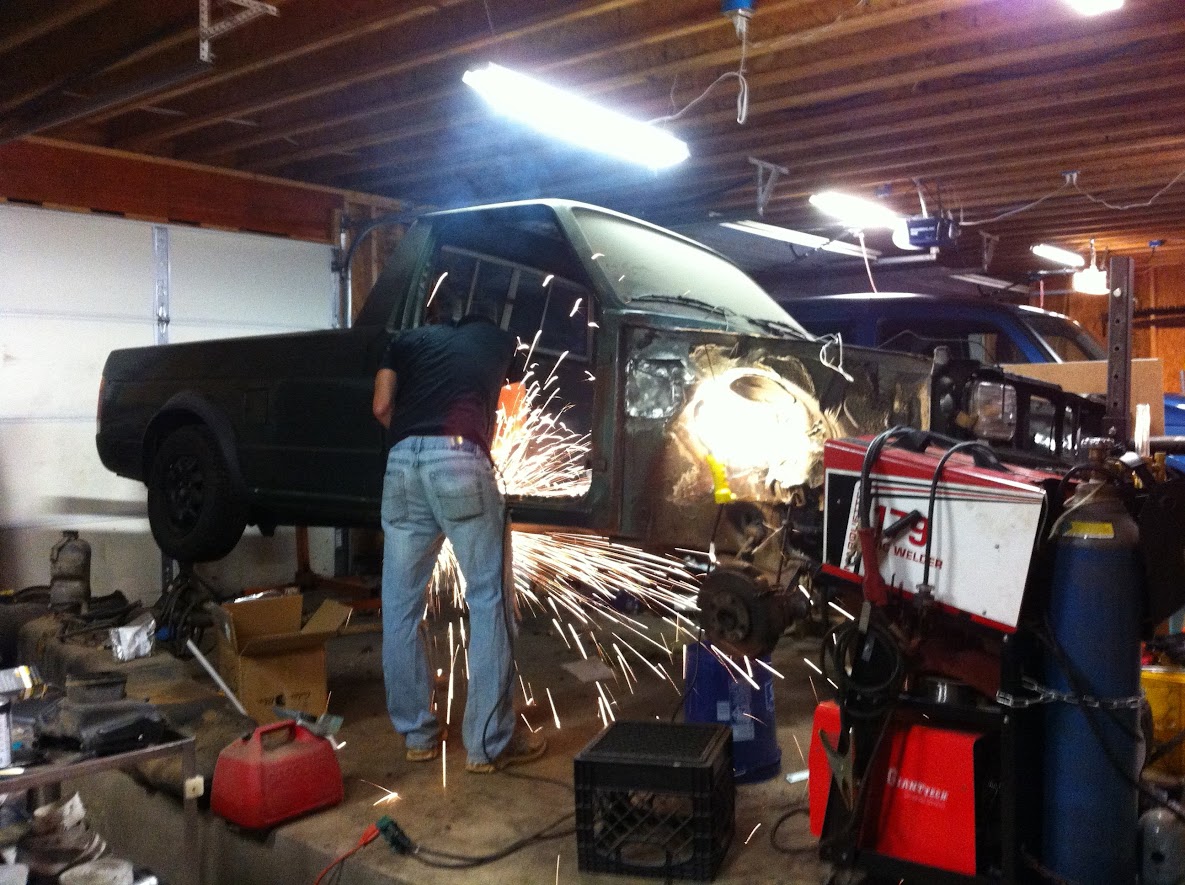
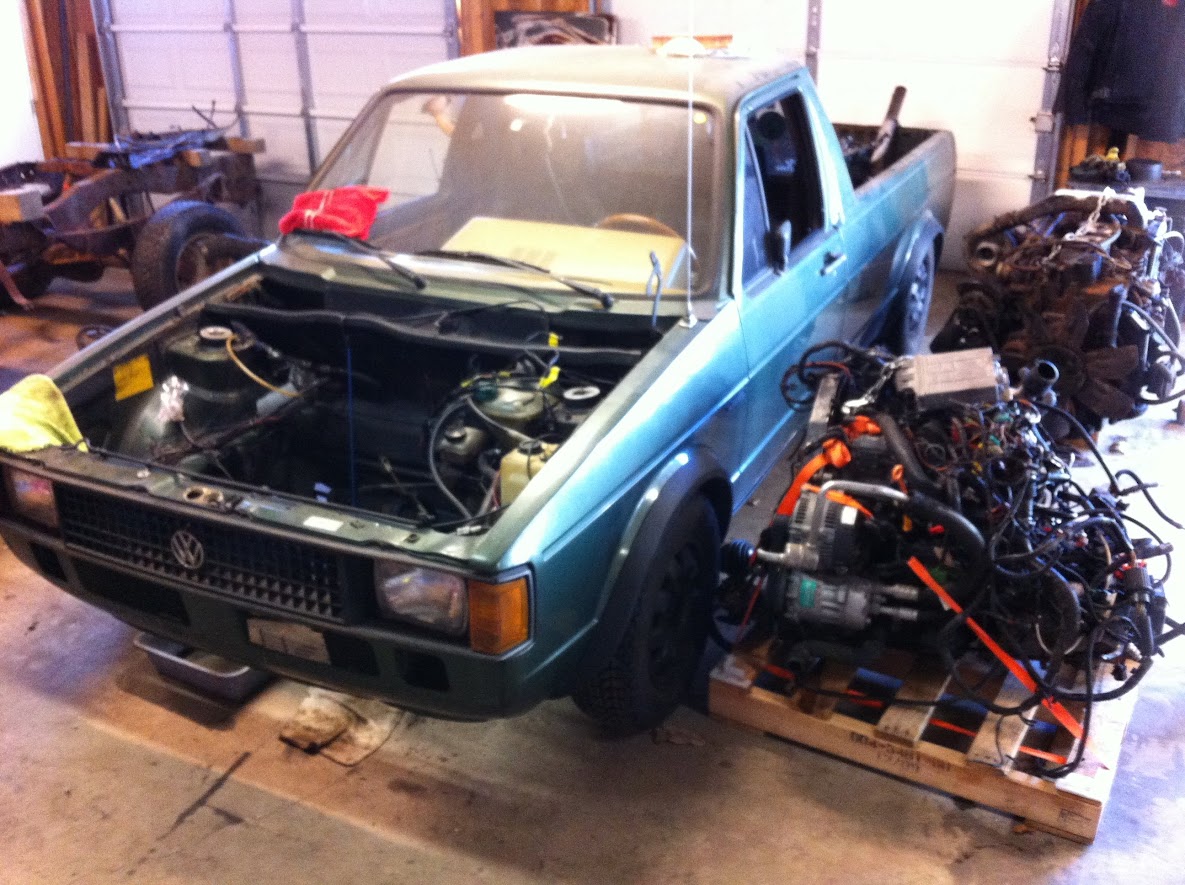
As for the project itself... I really don't have any great photos since it came apart almost as soon as I got it.
Here are some of the more complete ones I haven't posted yet though.
(Safety Third!)
Don't worry, those TWO leaky fuel tanks right behind my brother are full of diesel.
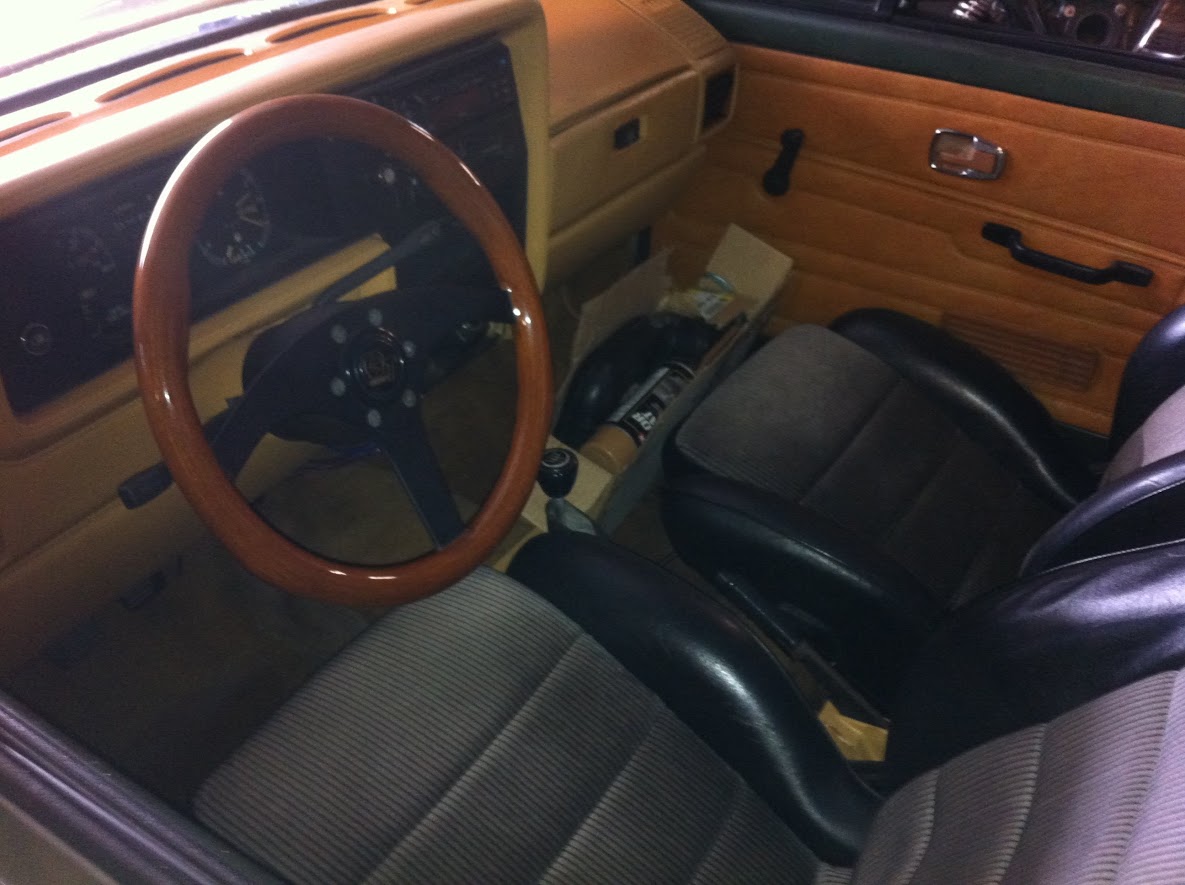
The interior was not bad for the 10 minutes I sat in it.


 Then I made these little blanking plates to cover up the oil and coolant passageways.


