1 2 3
crazycanadian
crazycanadian Reader
4/4/16 3:55 a.m.

Hey guys. Welcome to my blog... I figured this blog would fit in quite nicely with the grassroots theme over here..

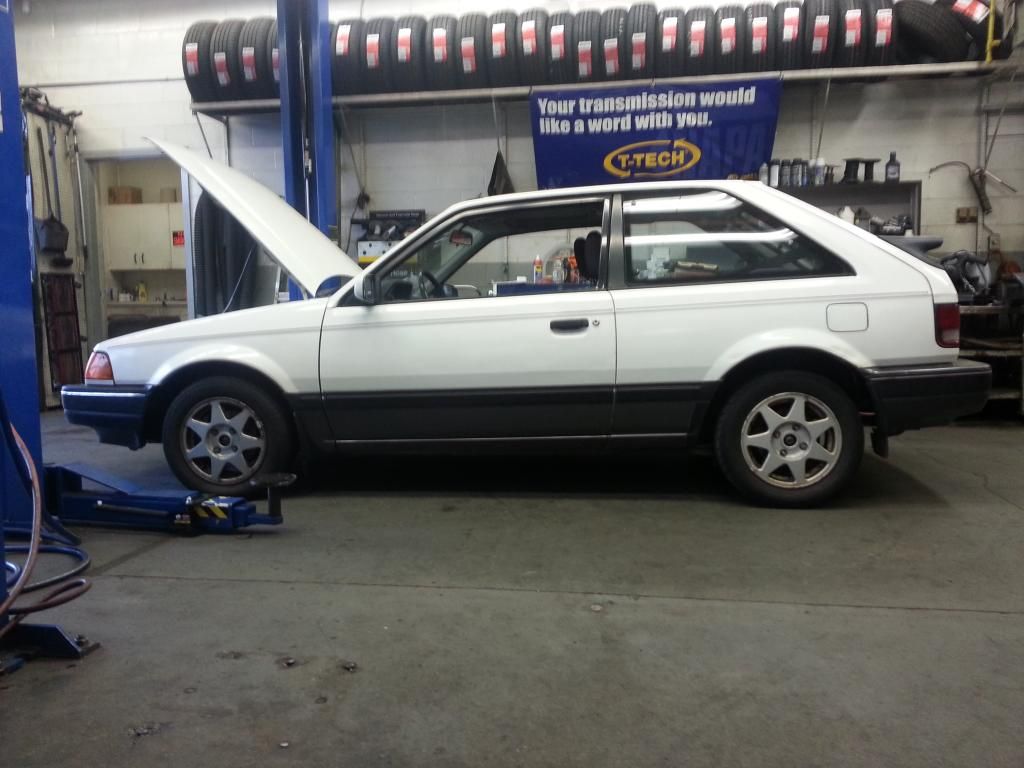
With out further delay here is my baby the day I brought her home....

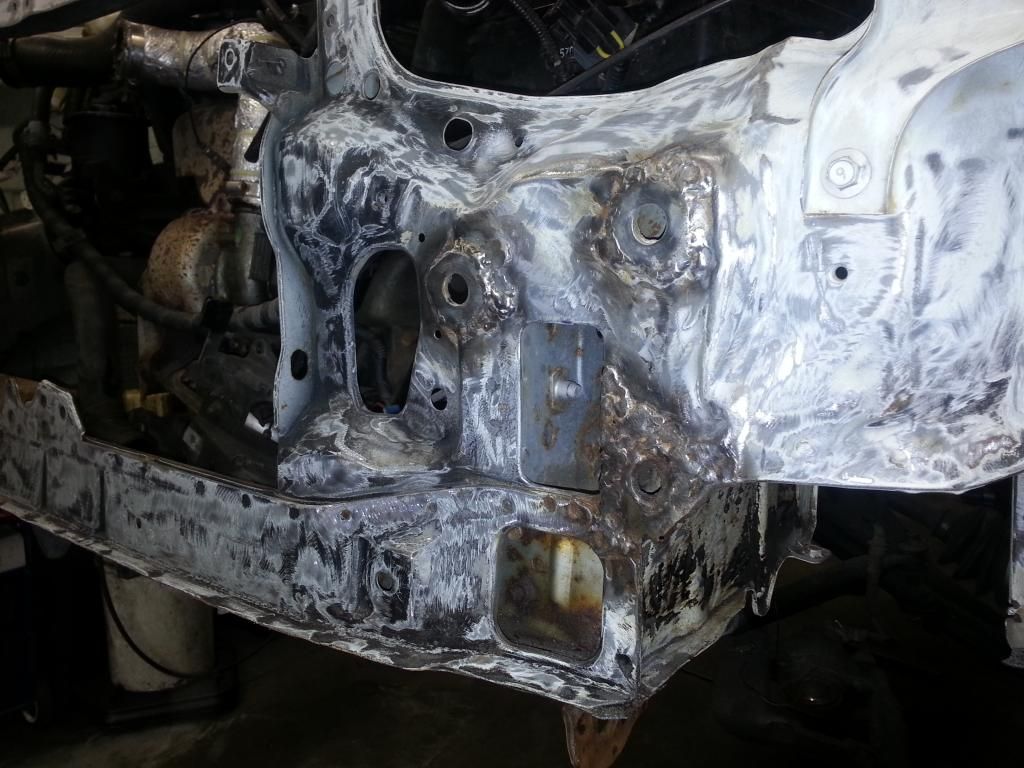
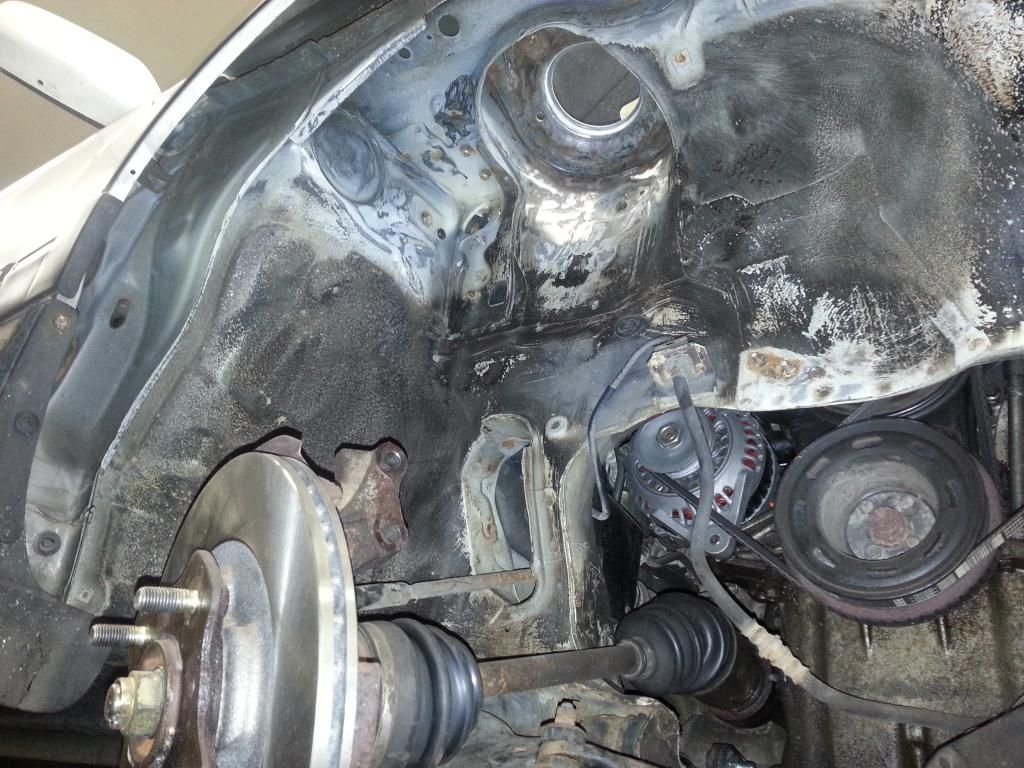
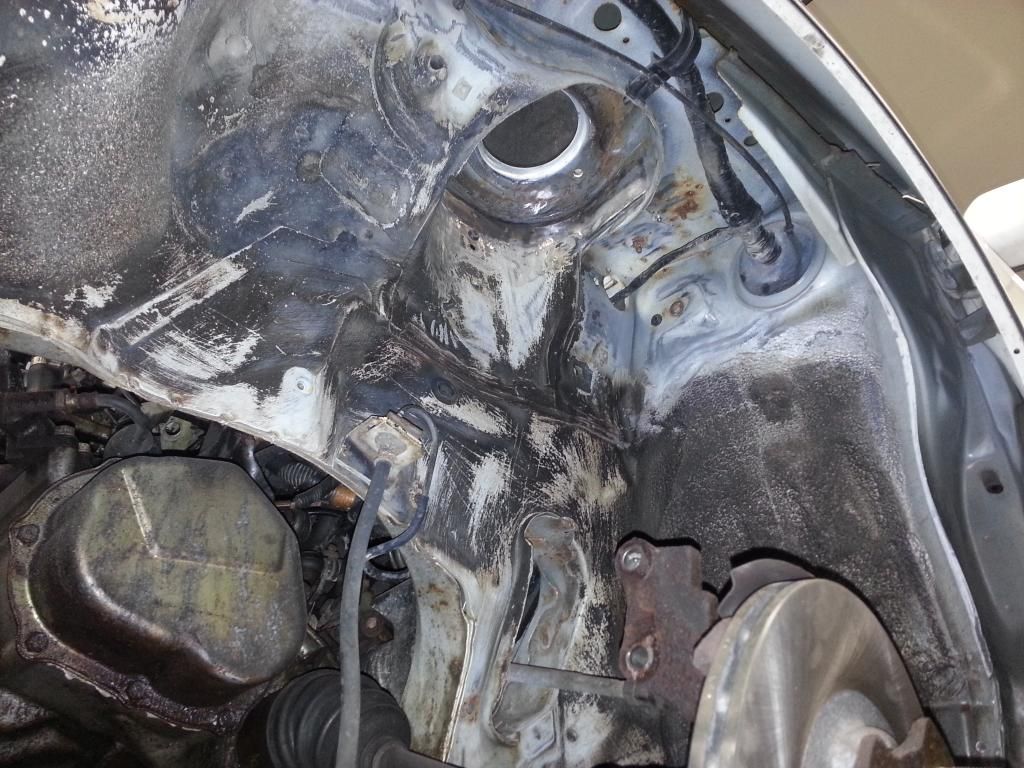
The back story.. I bought her with only 79,000km on the clock. Don't let the low millage fool you, this car was rode hard and put away wet for a good portion of her life. The friend I bought it from happen to know most of the back story on the car. She was bought off the show room floor in 88 and put to use in TSD rally's. It shows, at some point the front bumper was ripped off, the under carriage was pretty beat up. In that time it was also stolen and recovered twice.. By the time the car had 39,000kms on it the first owner passed away and the car sat in a garage for a number of years. Sometime around 2001 the car was sold to a young college student who wasn't able to drive it much. Shortly after that my friend bought it and was using it for his daily driver. Unable to upkeep with the maintenance it needed he decided to sell it.

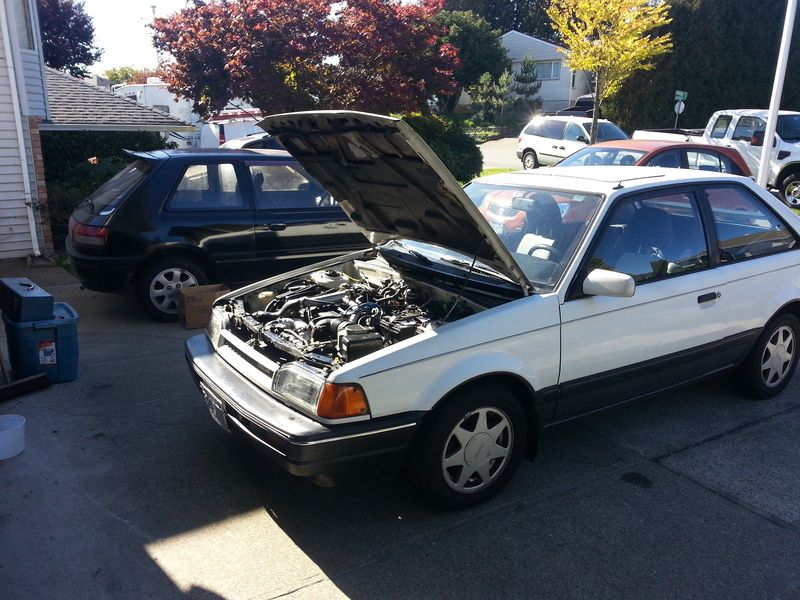
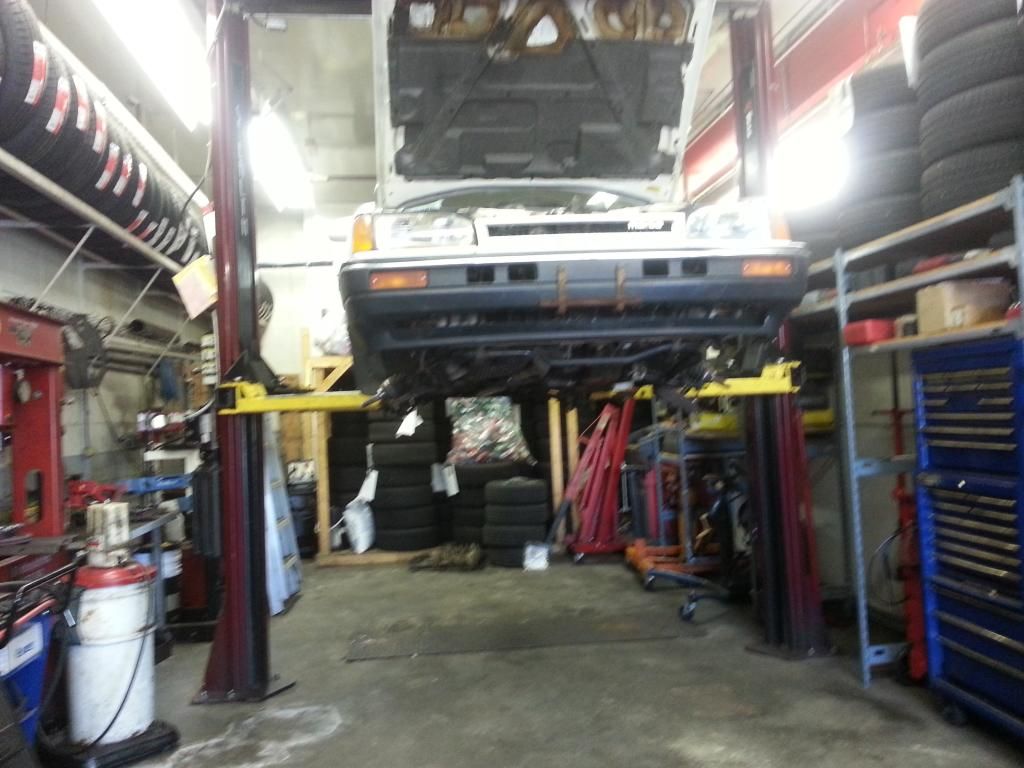
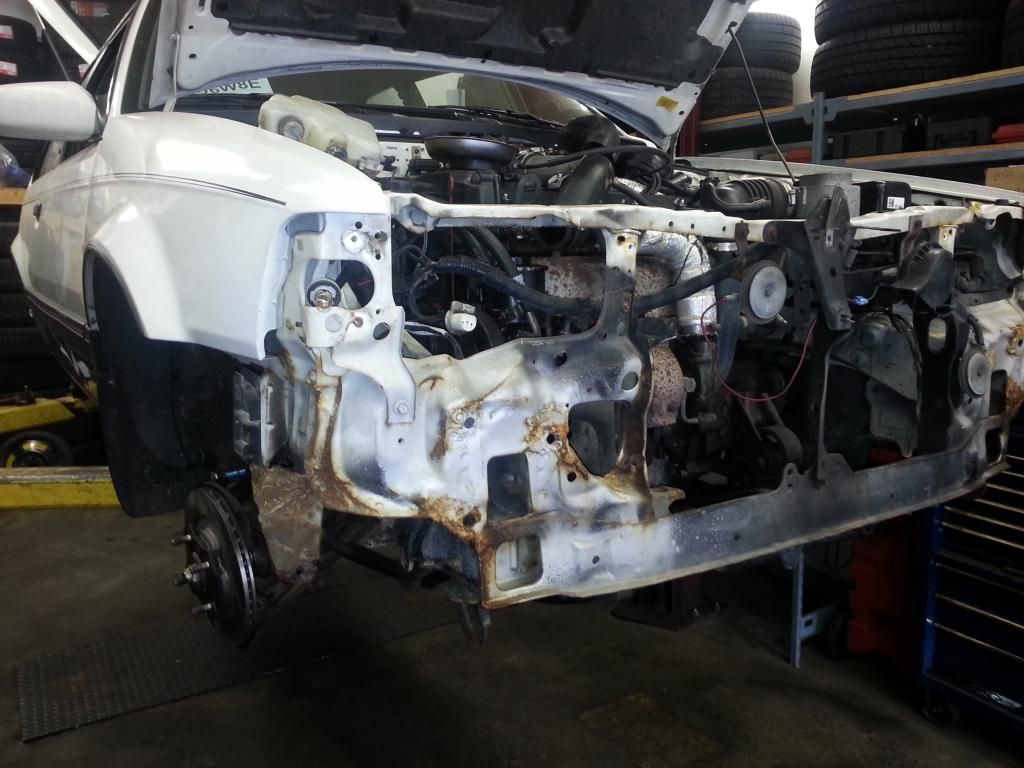
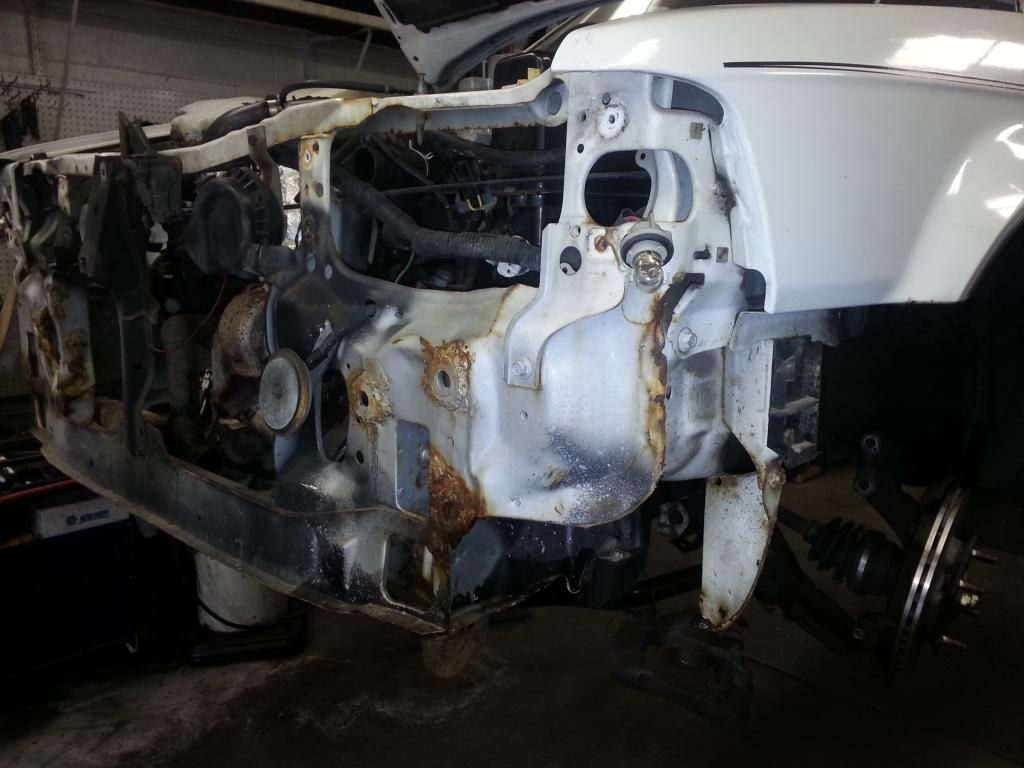
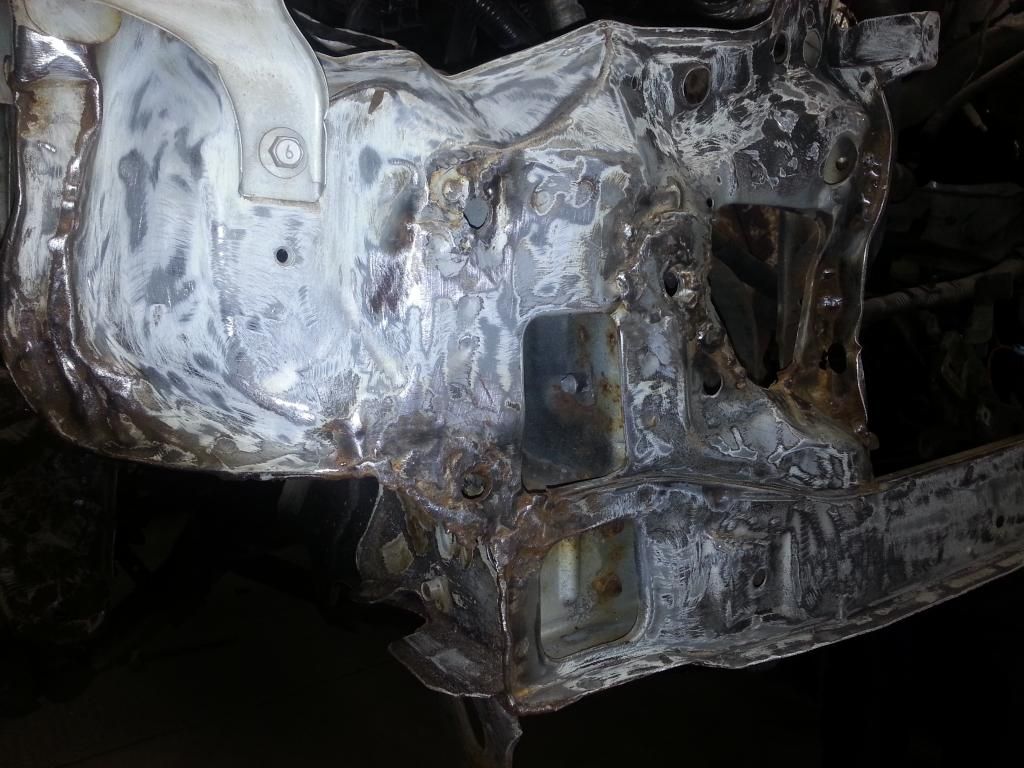
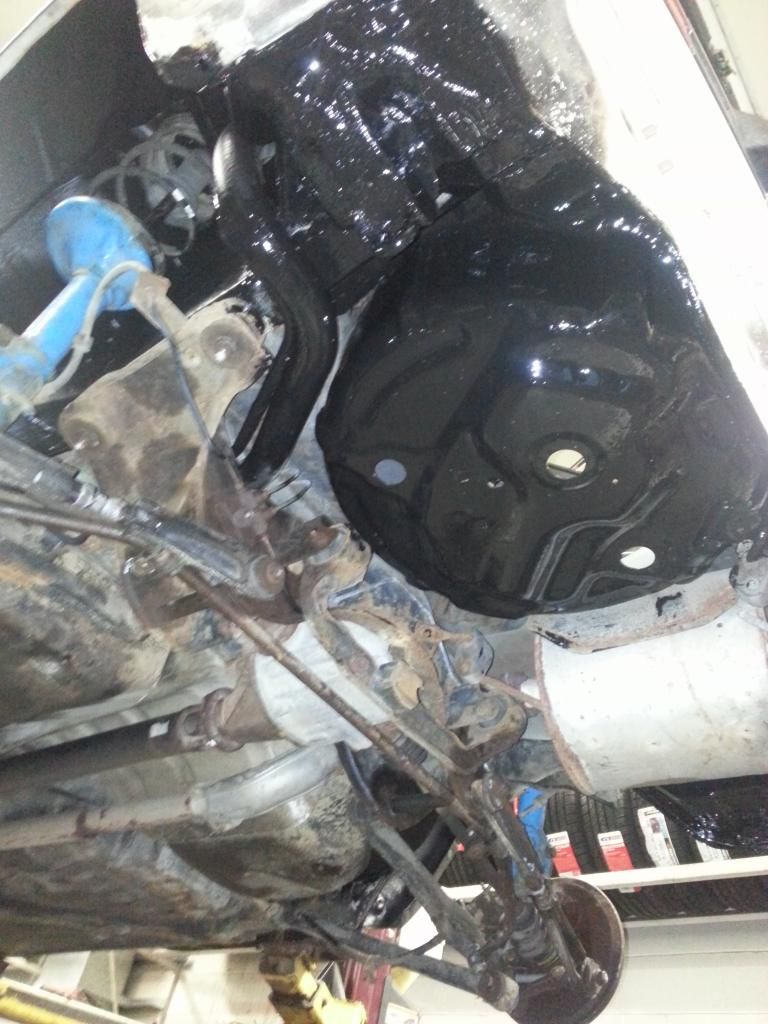
The car needed a fair bit of work before making its return to daily driver status. Lets start at the first stage.

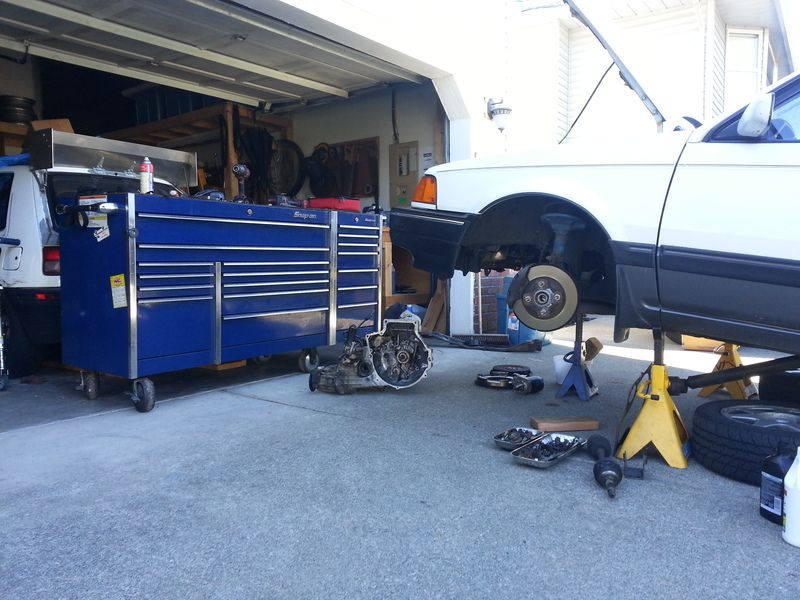
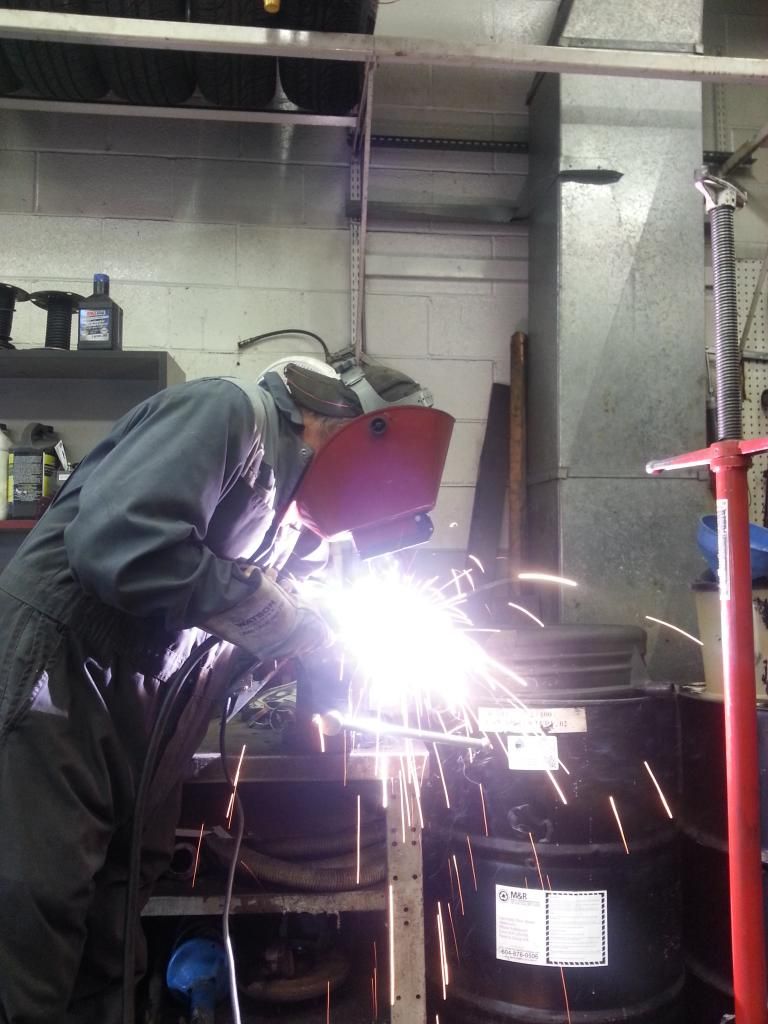
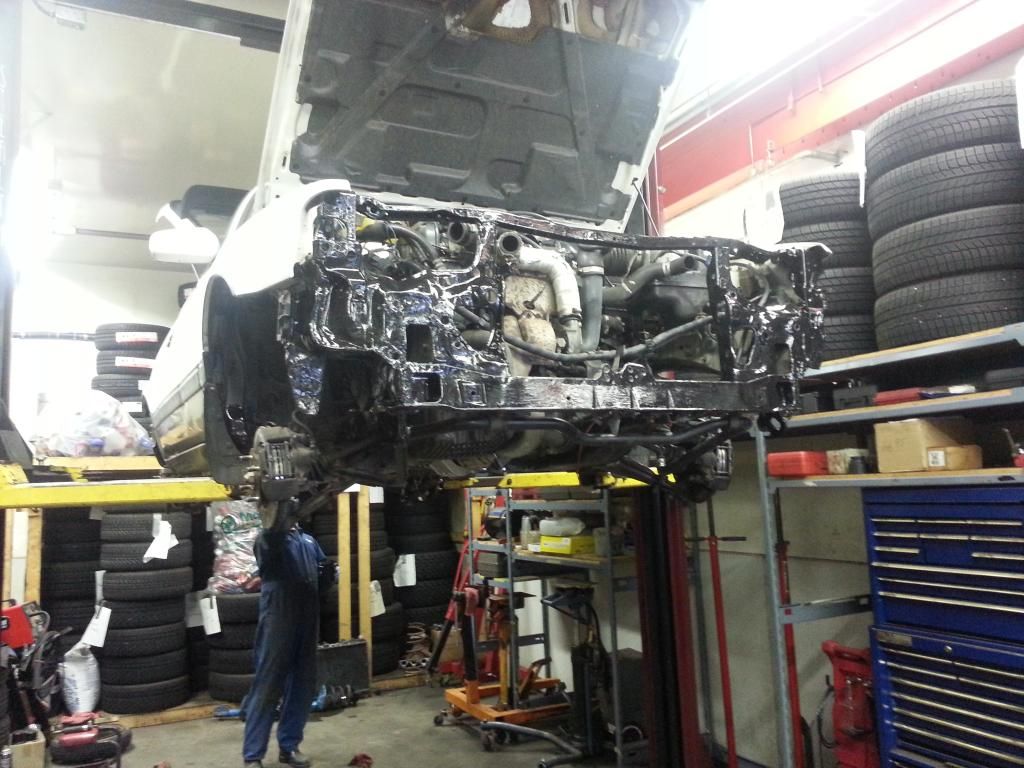
September long weekend 2014 I got time to bring the car into work and put a major amount of time on it.

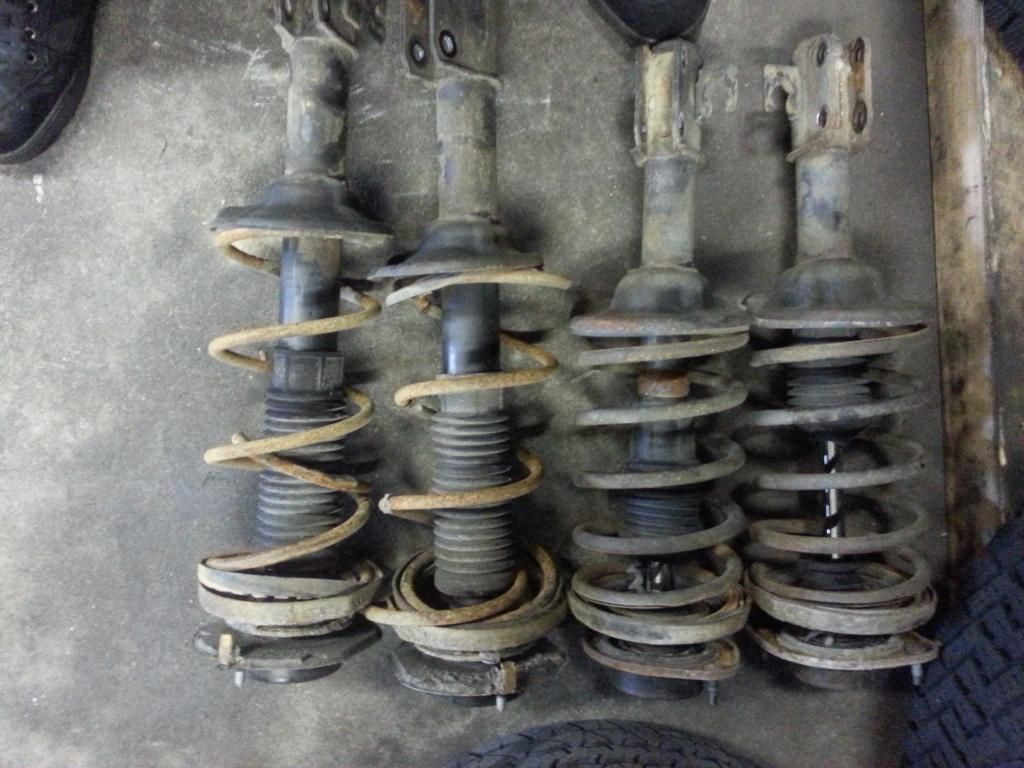
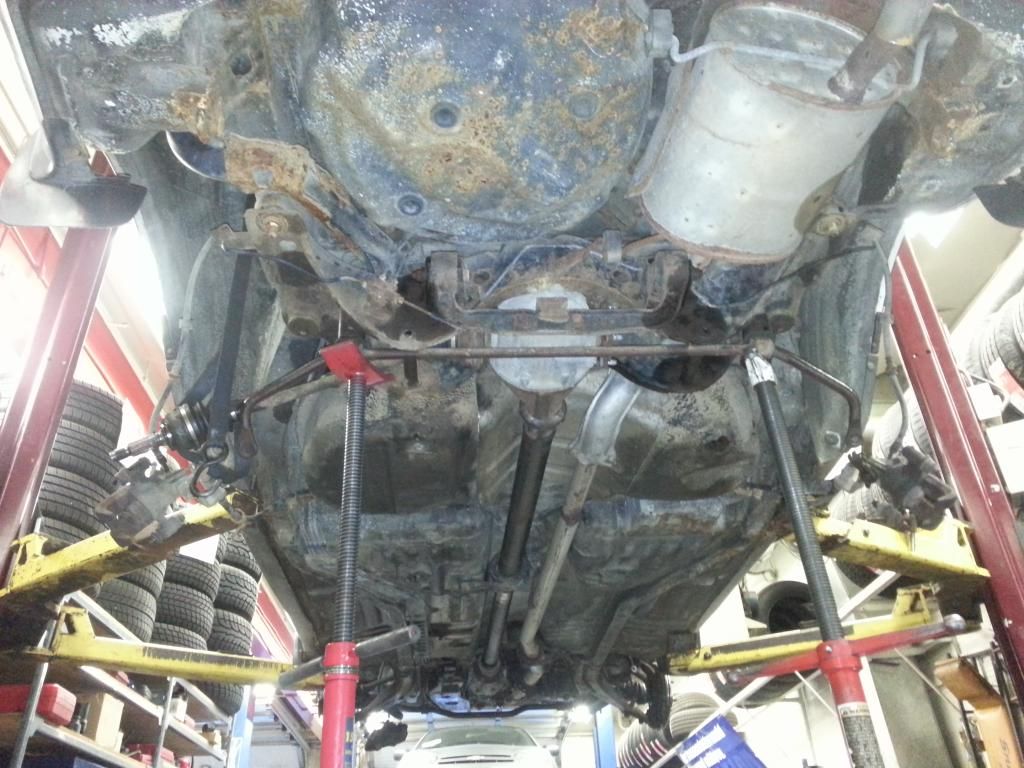
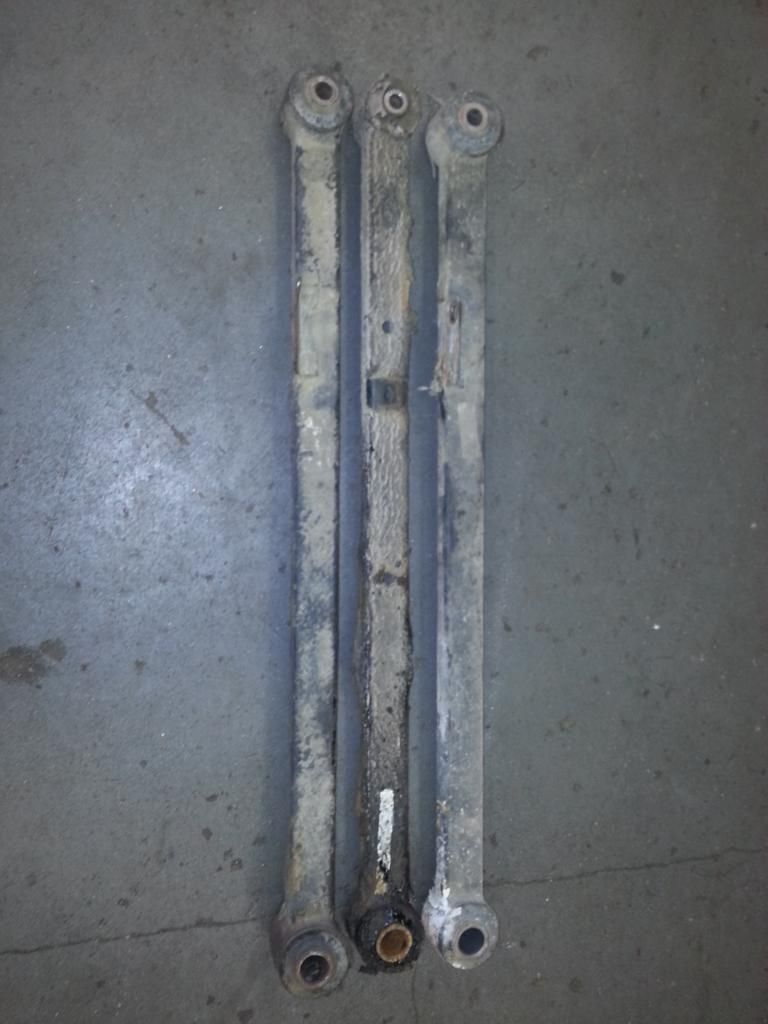
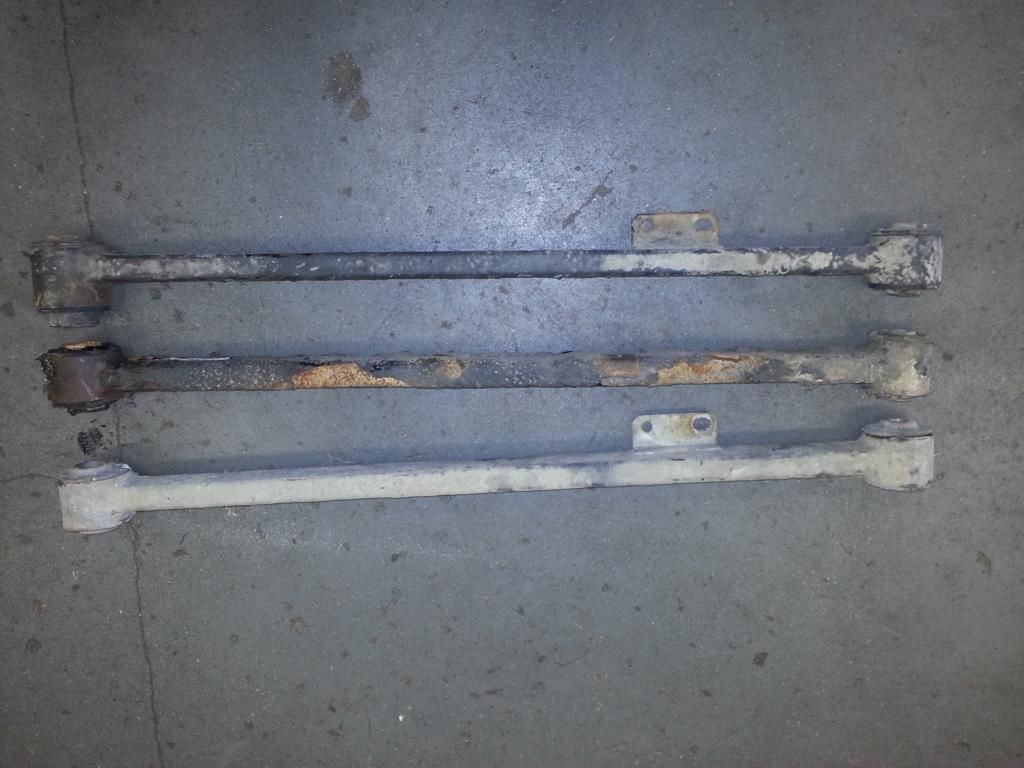
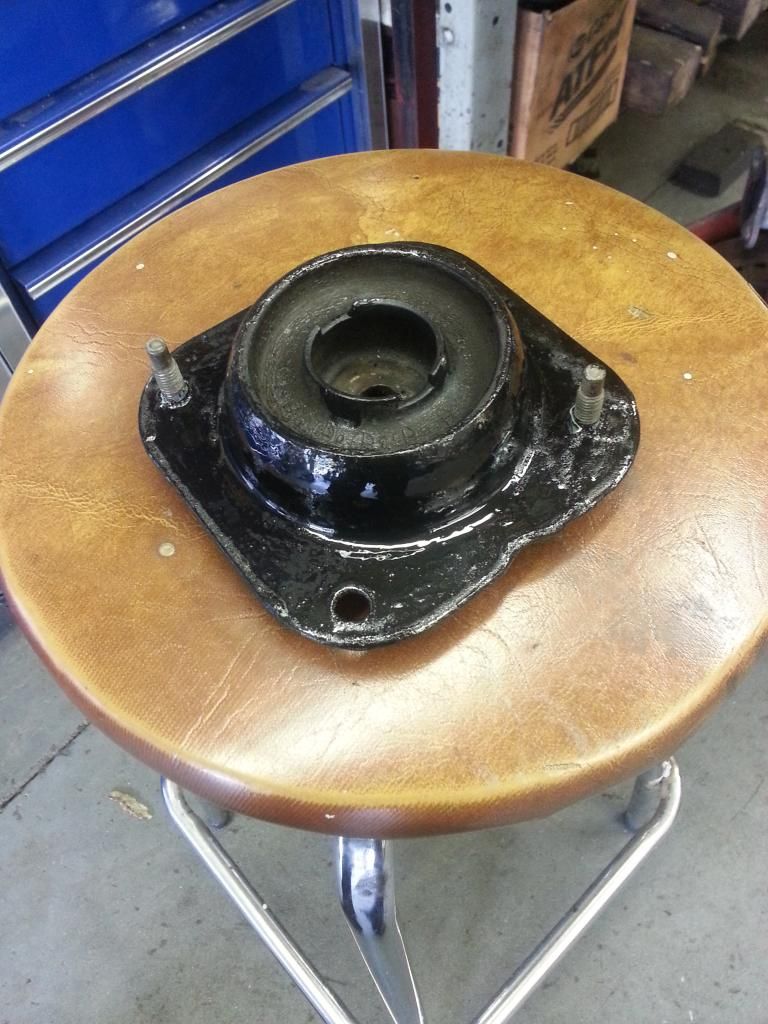
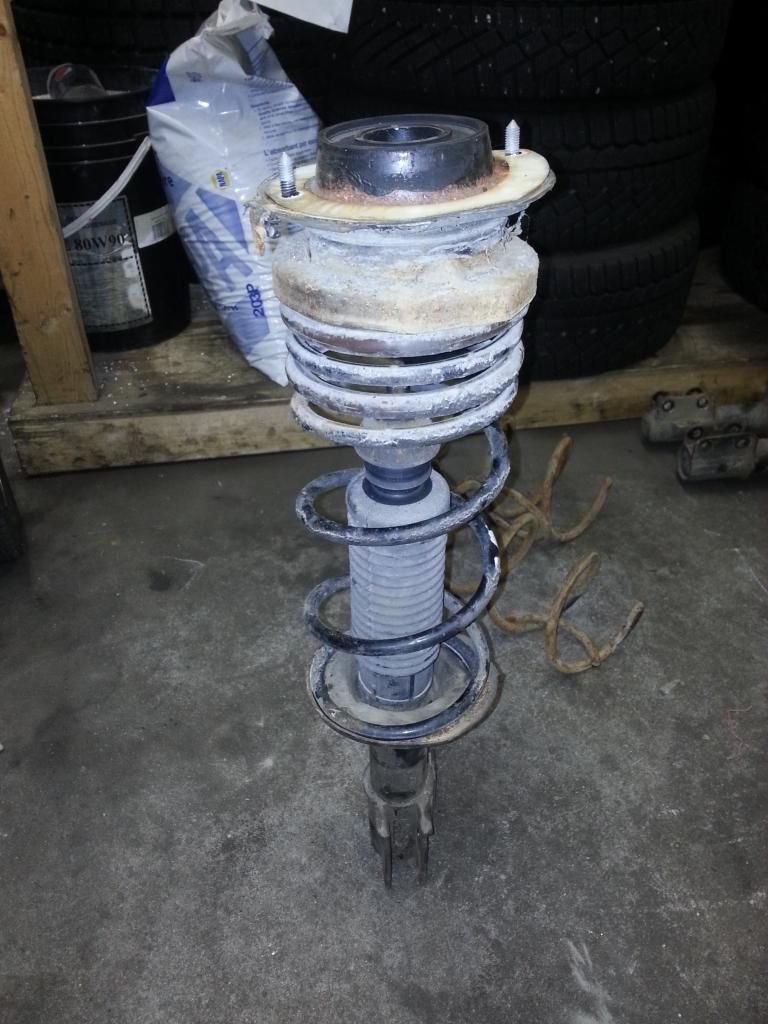
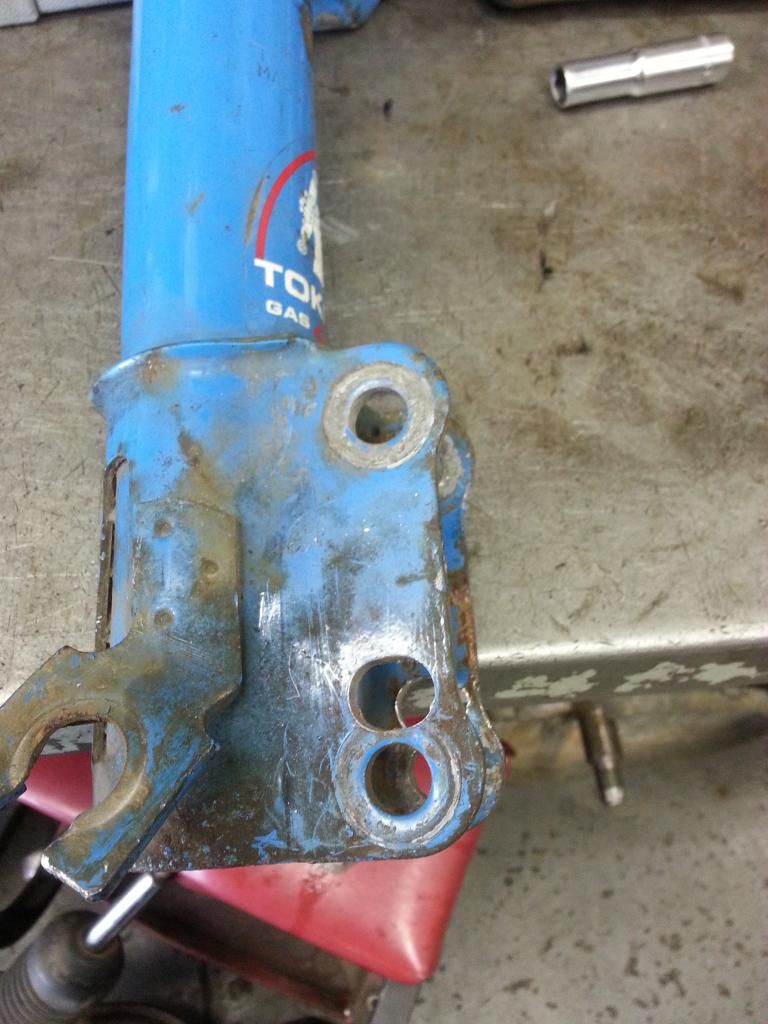
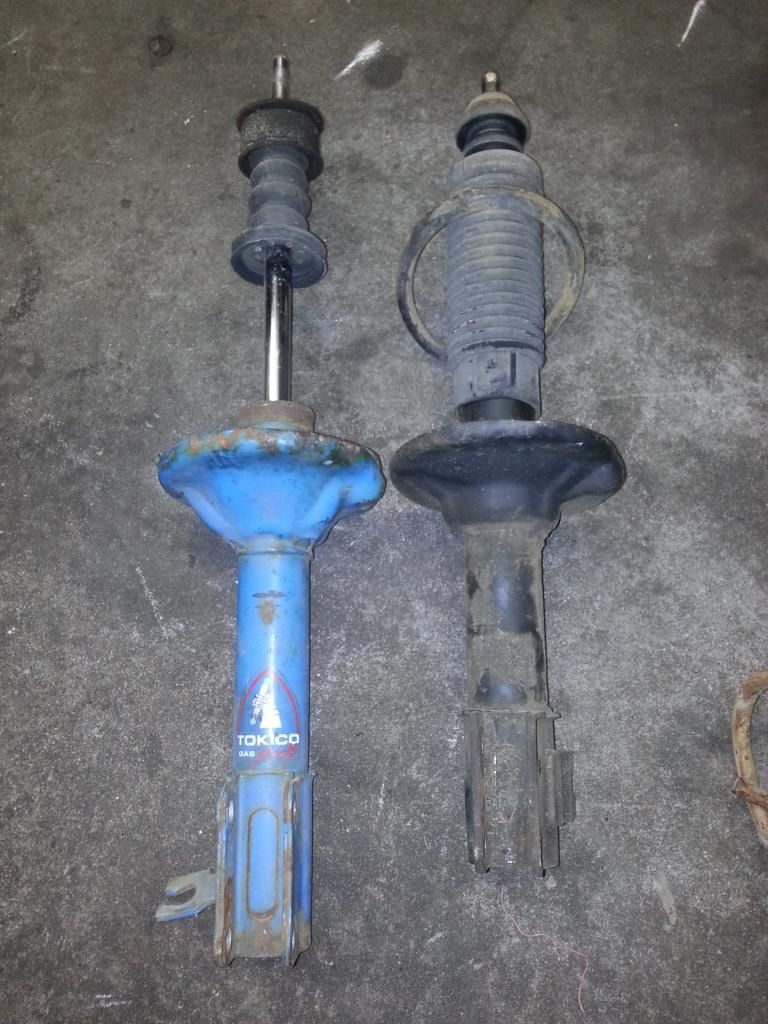
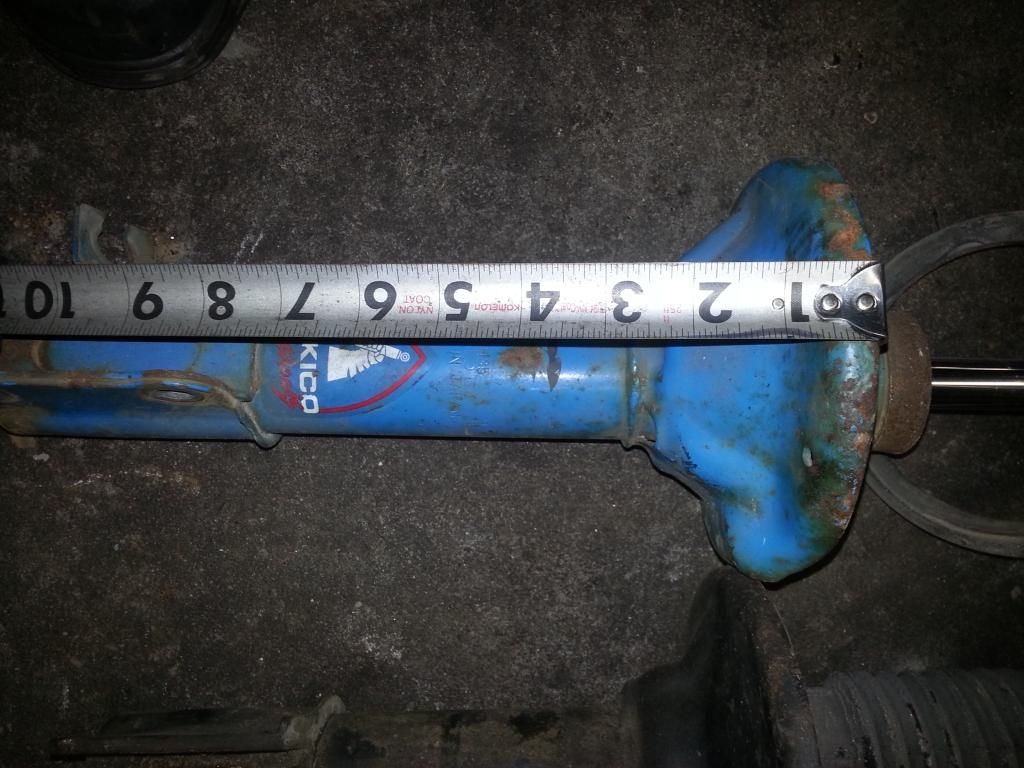
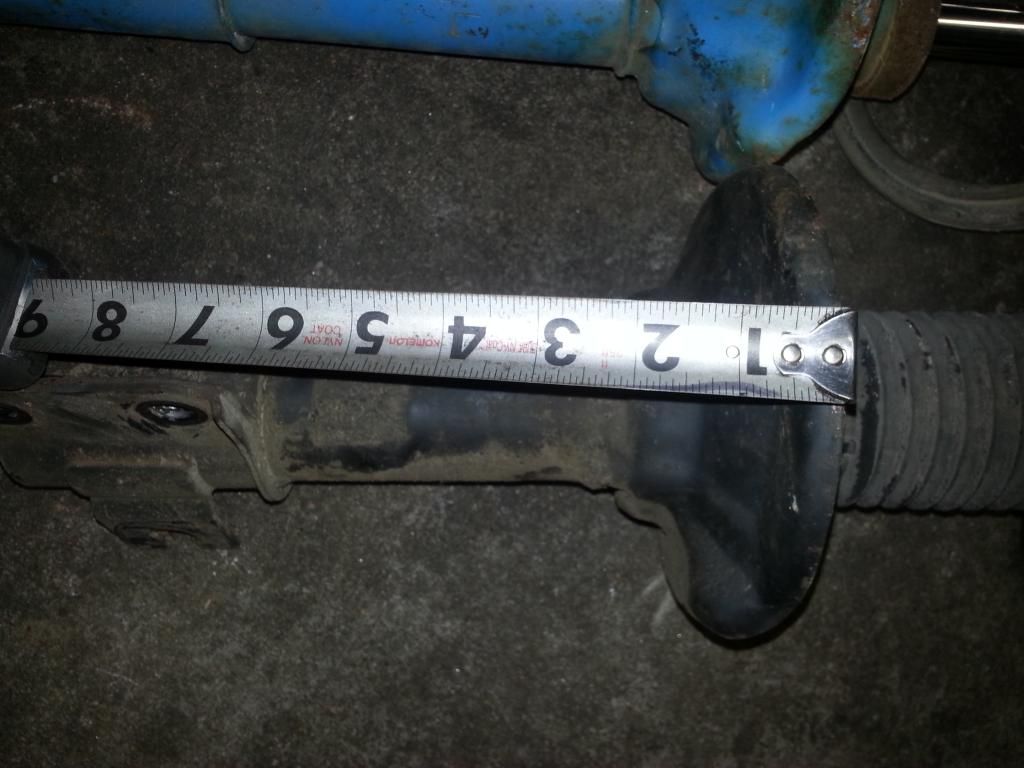
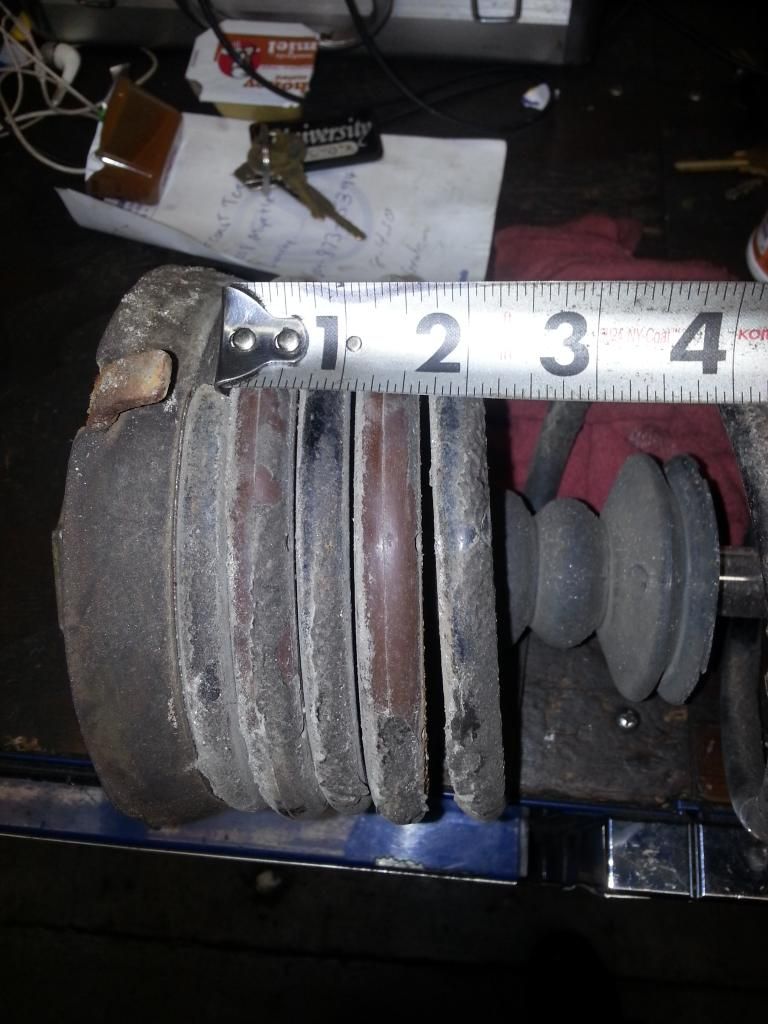
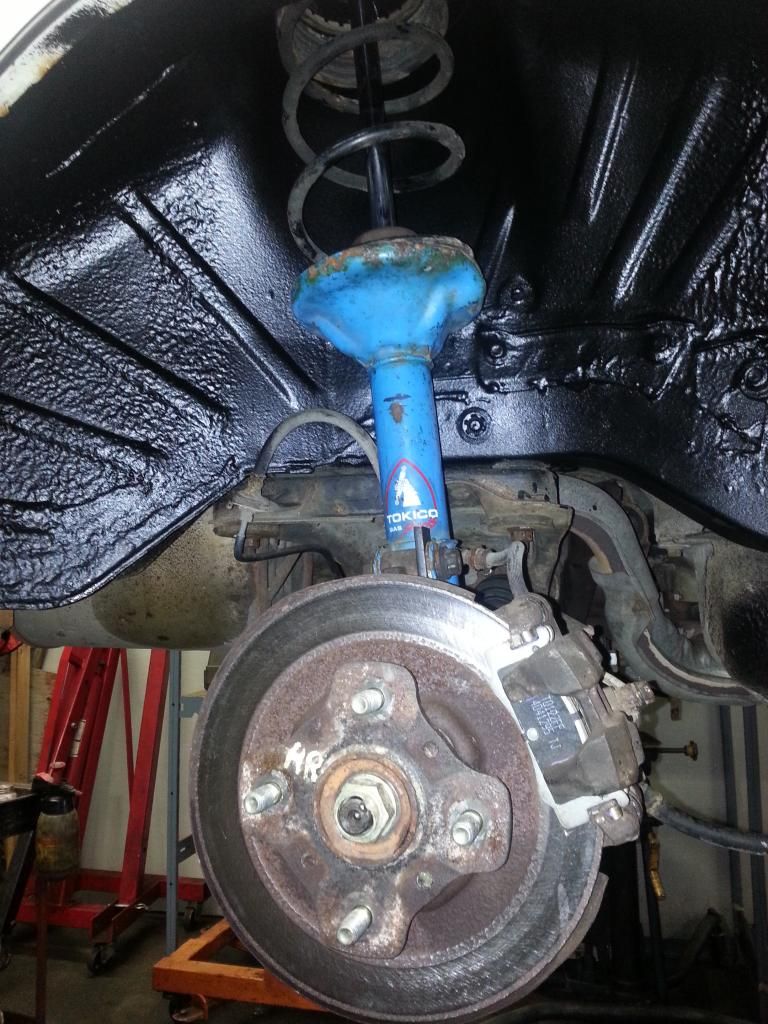
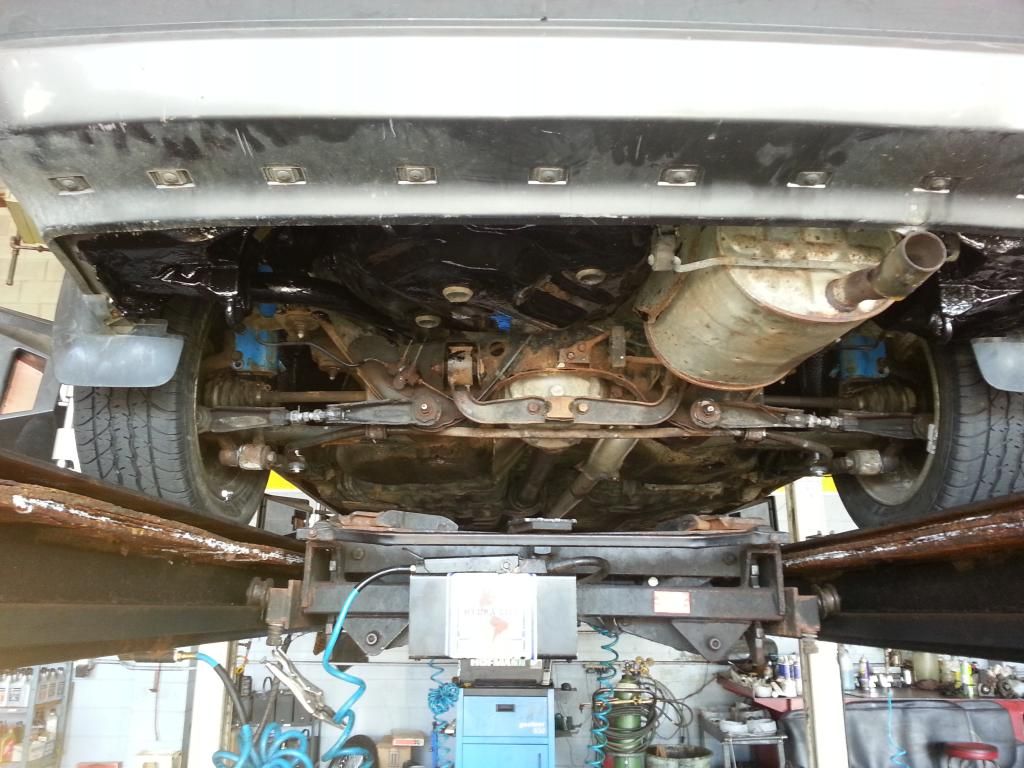
Stock suspension out. hummm can you spot whats wrong?? both rear springs broken, both rear shocks blown and the right front shock was blown.

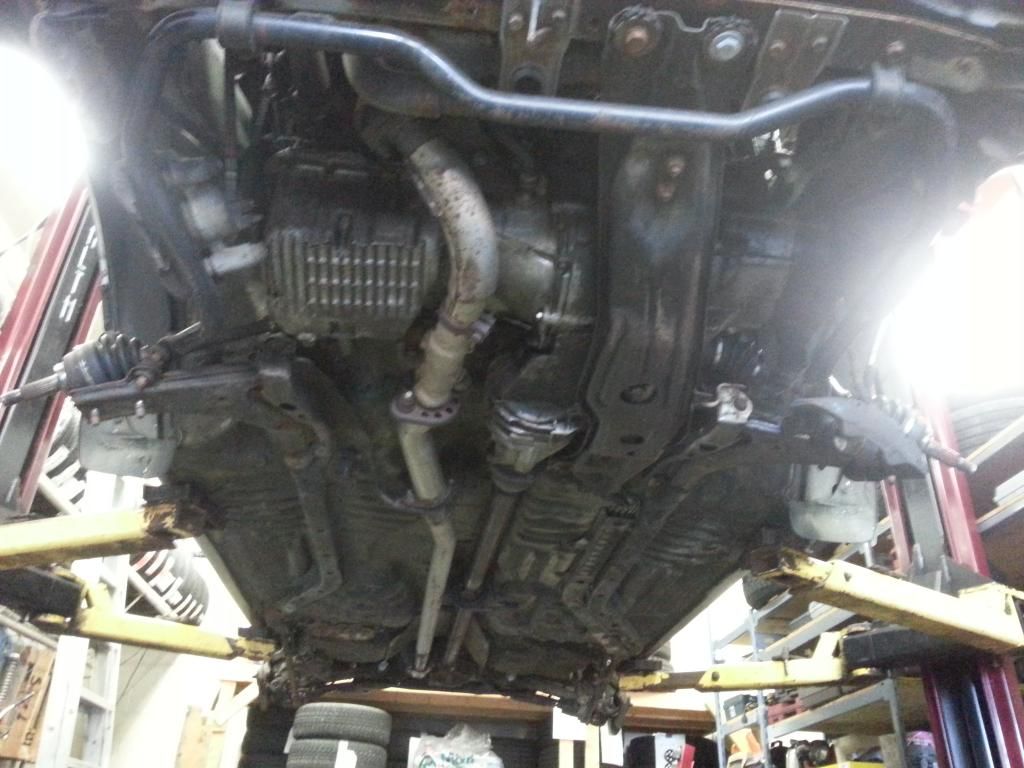
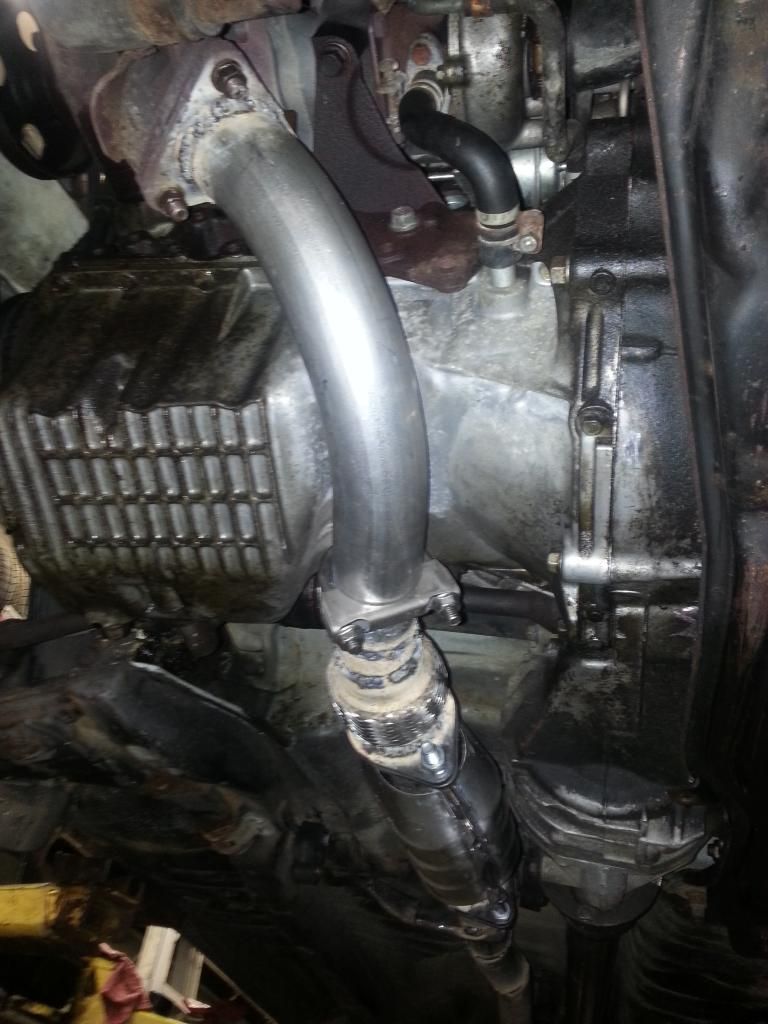
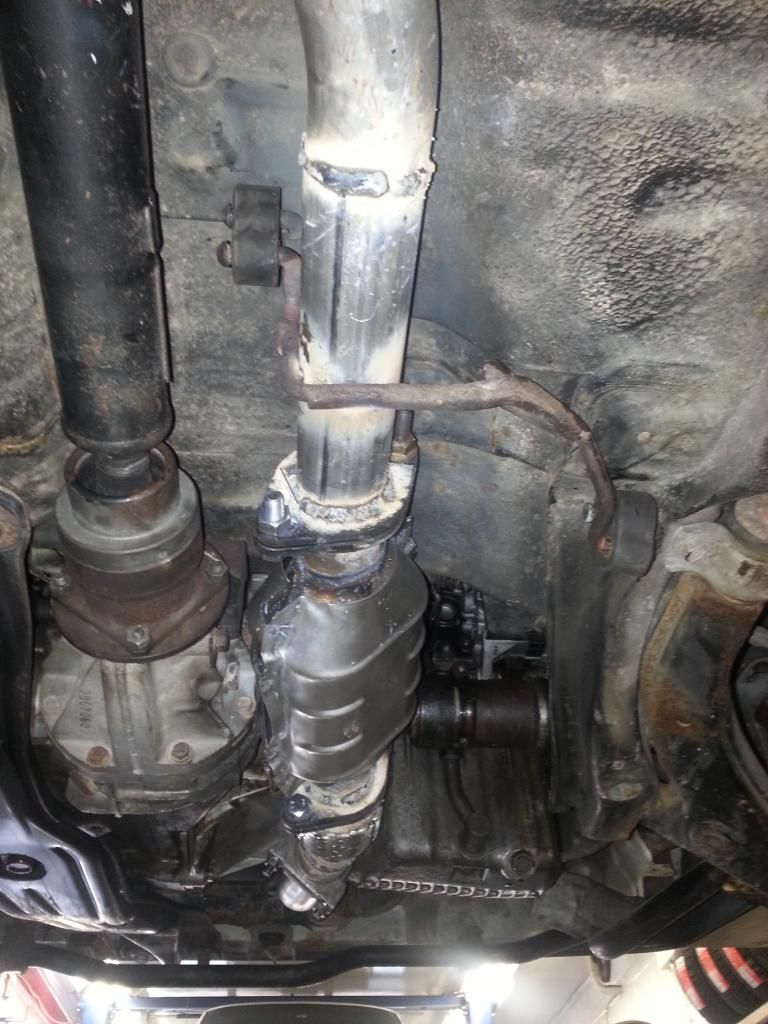
The stock exhaust system had the cat converter deleted.

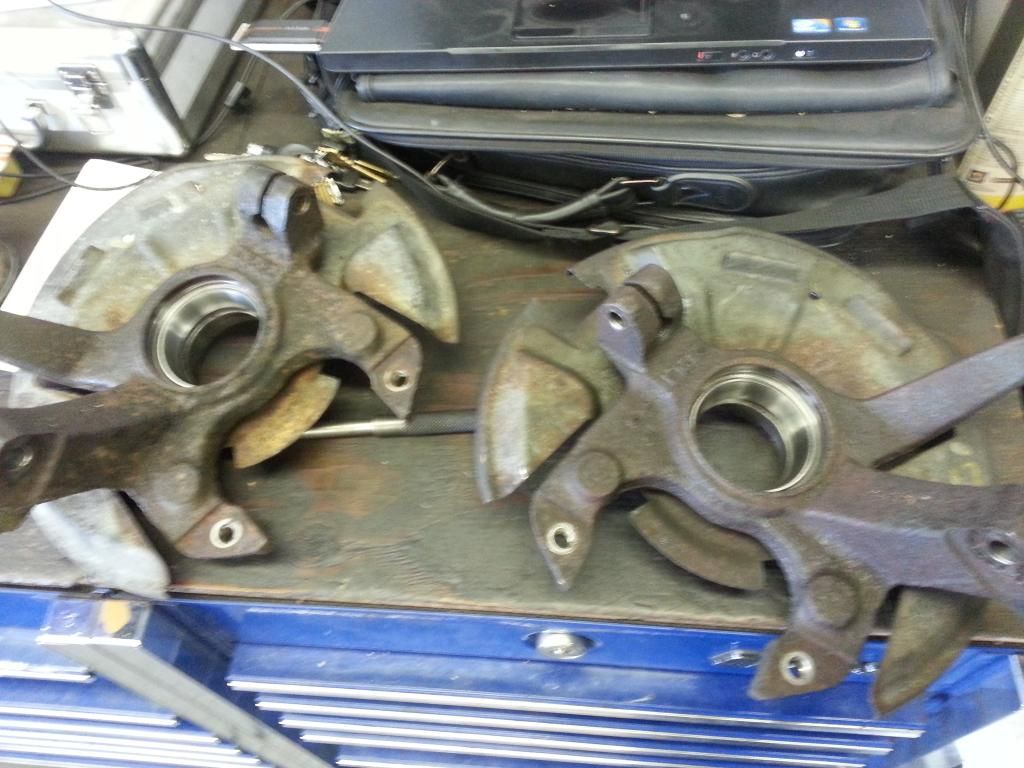
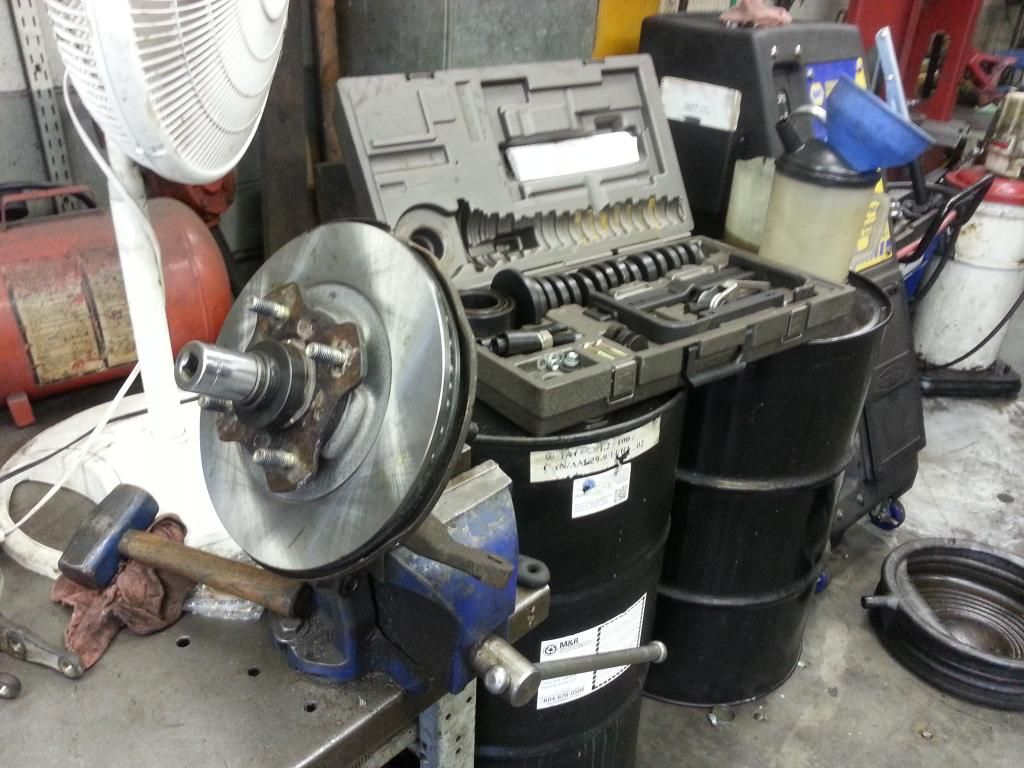
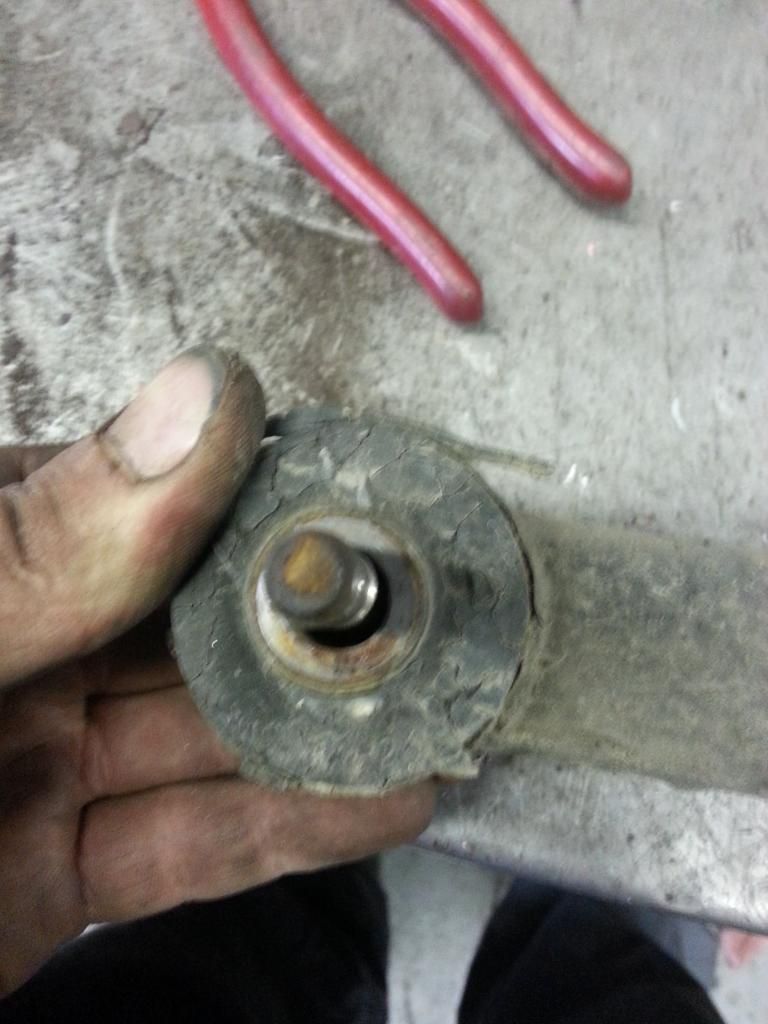
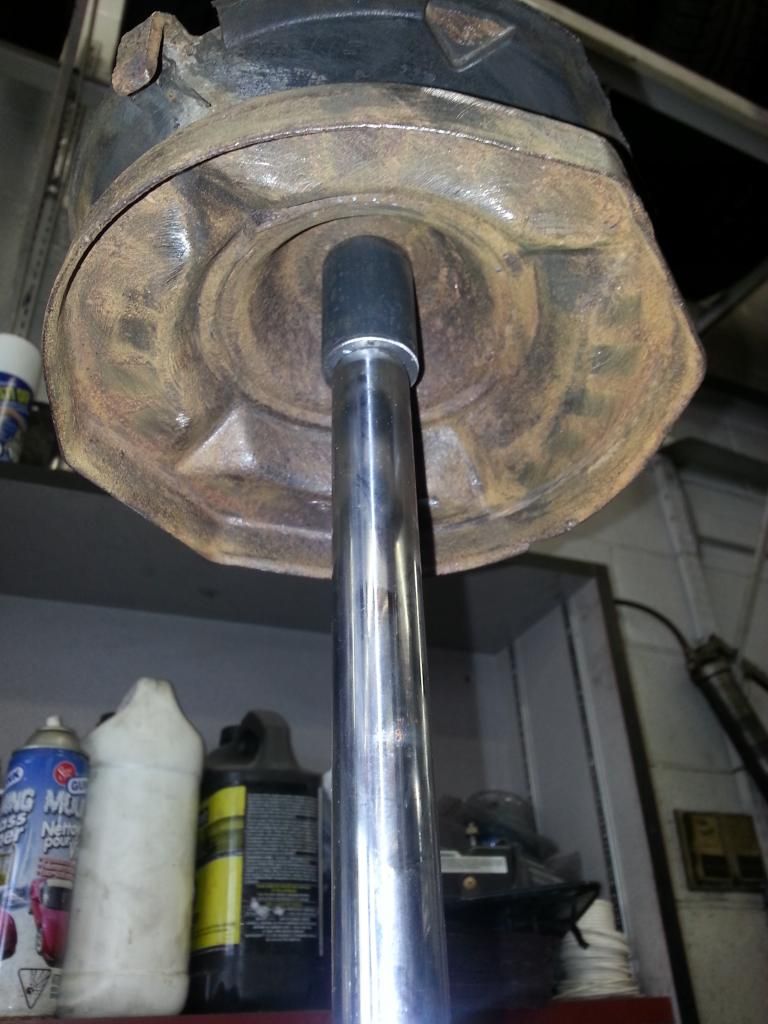
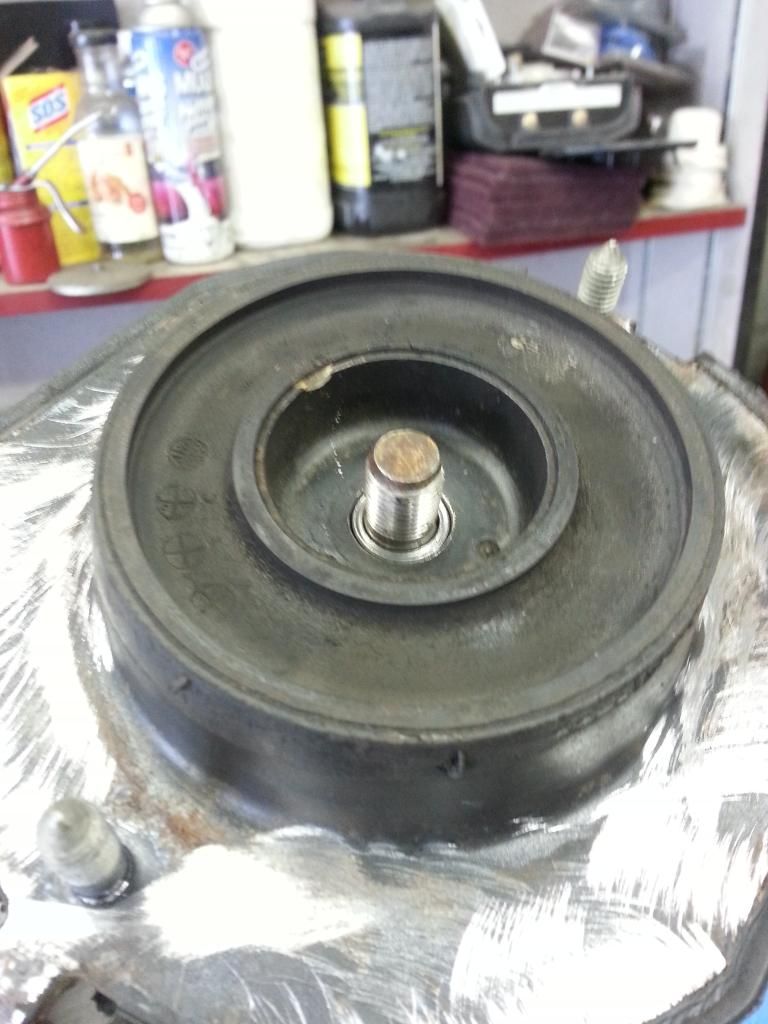
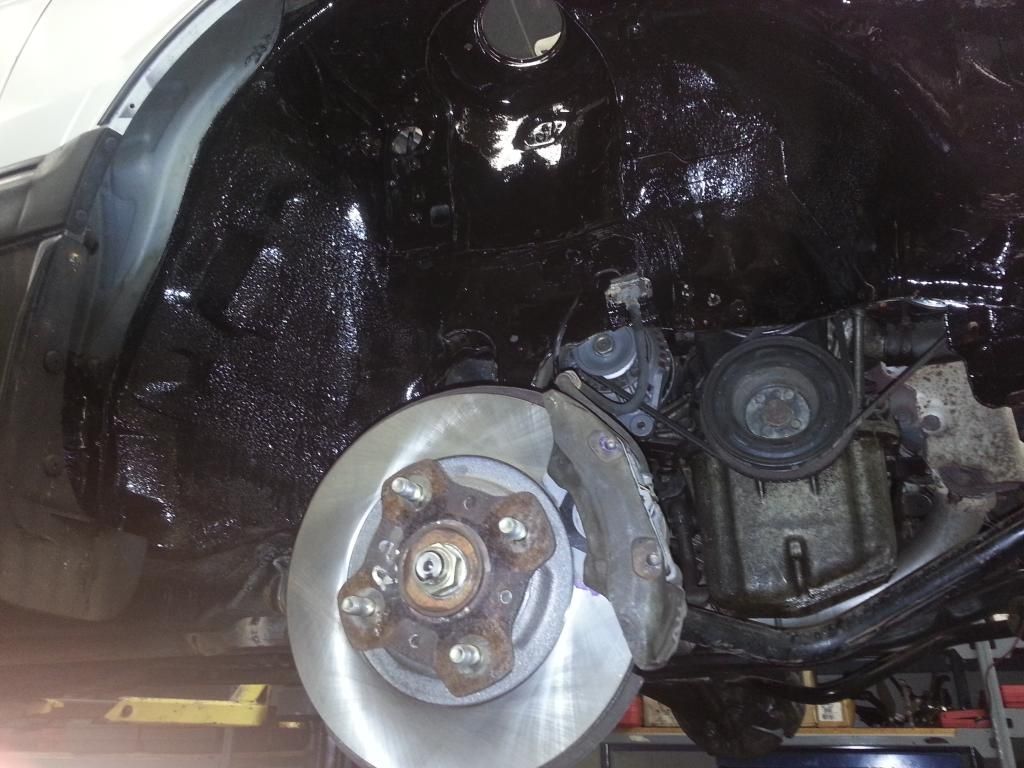
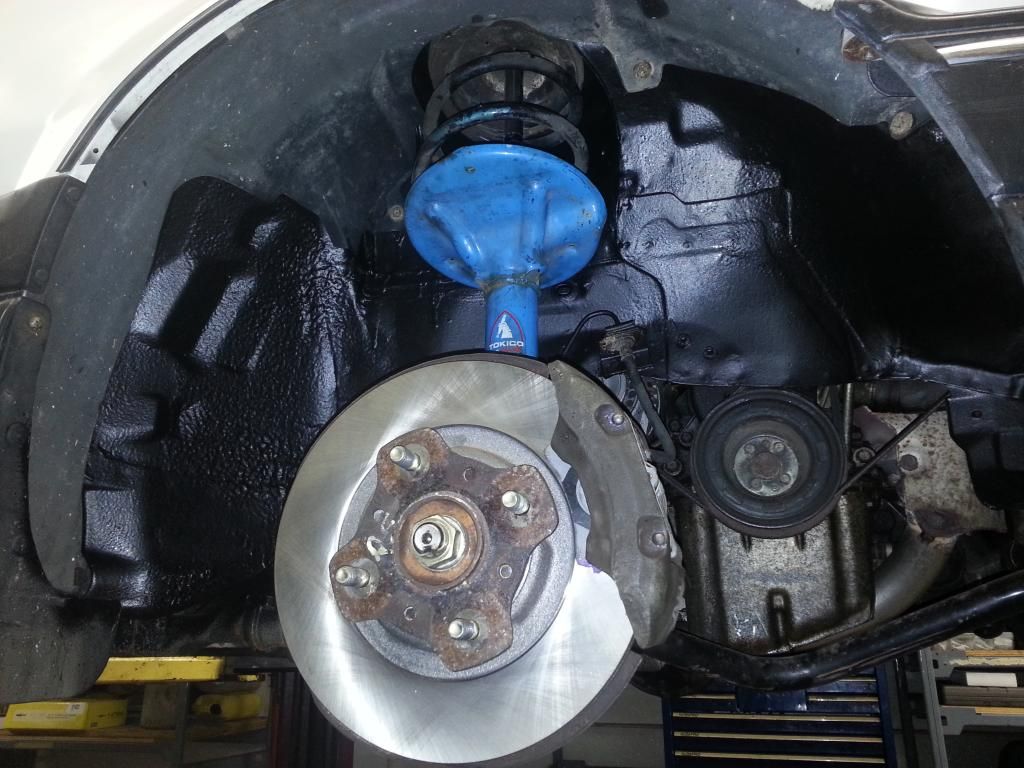
First thing I addressed was the front brakes. New pads had been supplied with the car when I bought it. Sourcing new rotors was cheap and easy. I replaced the grease seals and repacked the bearings.

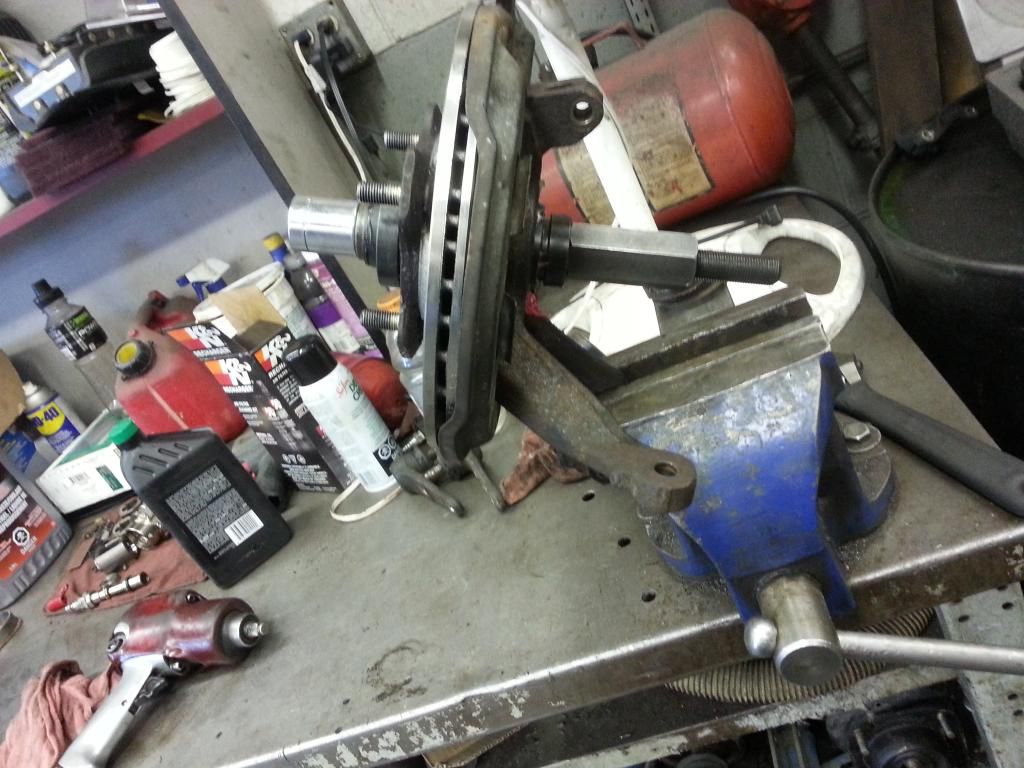
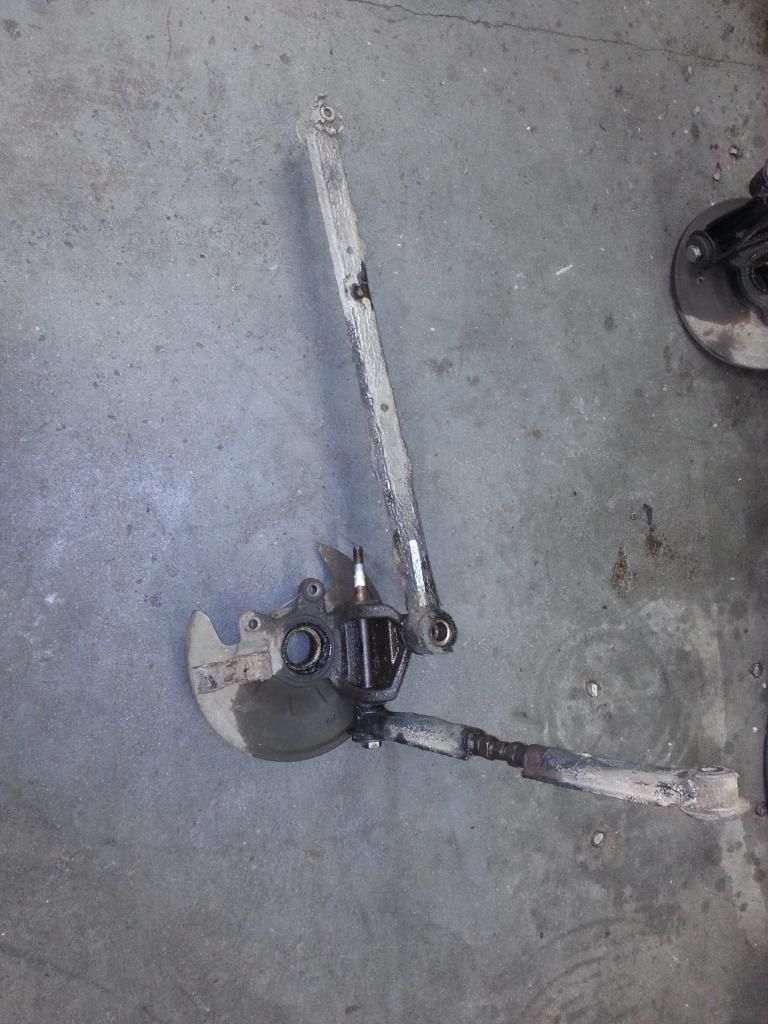
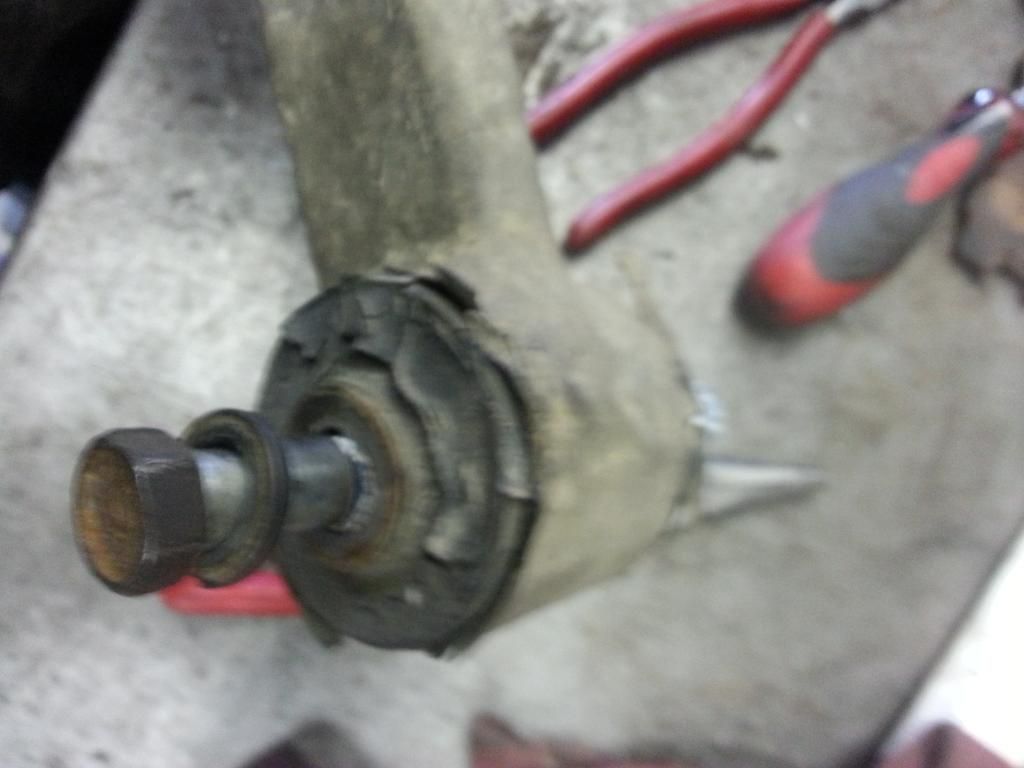
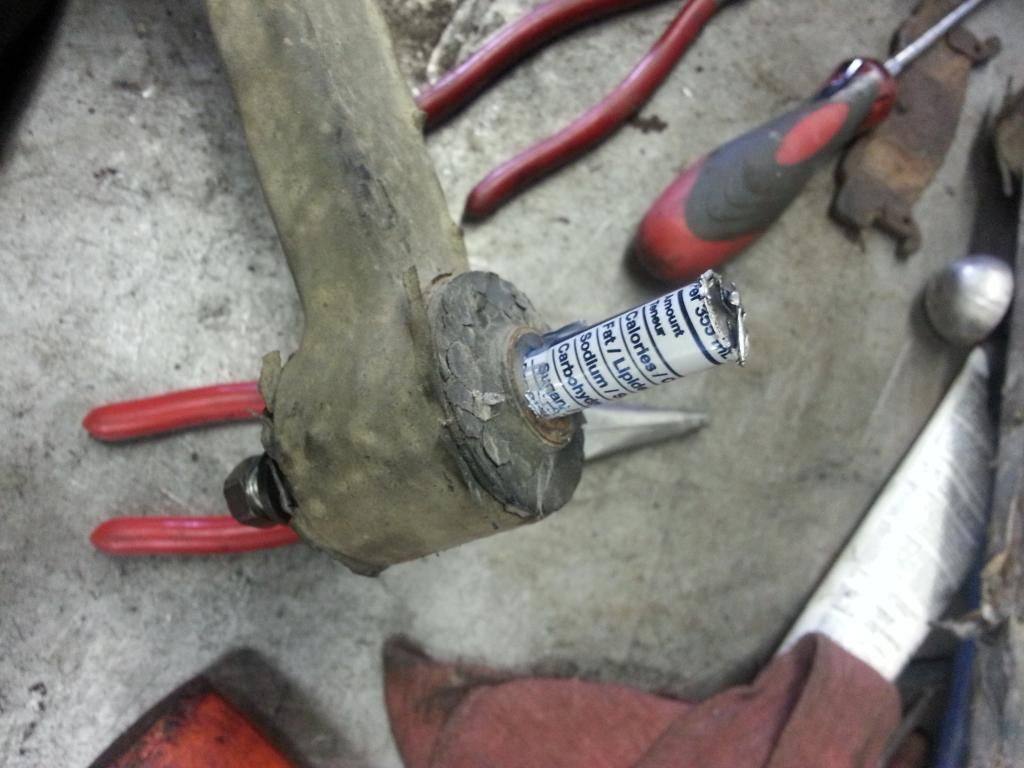
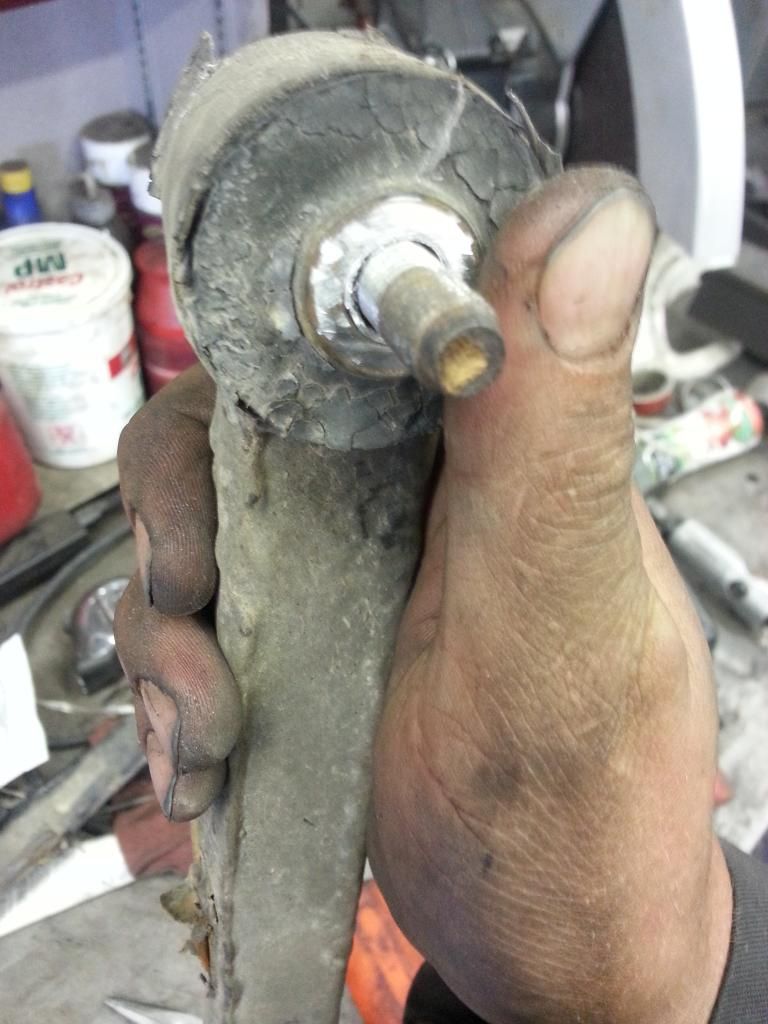
I also pressure washed the knuckles and cleaned them up.

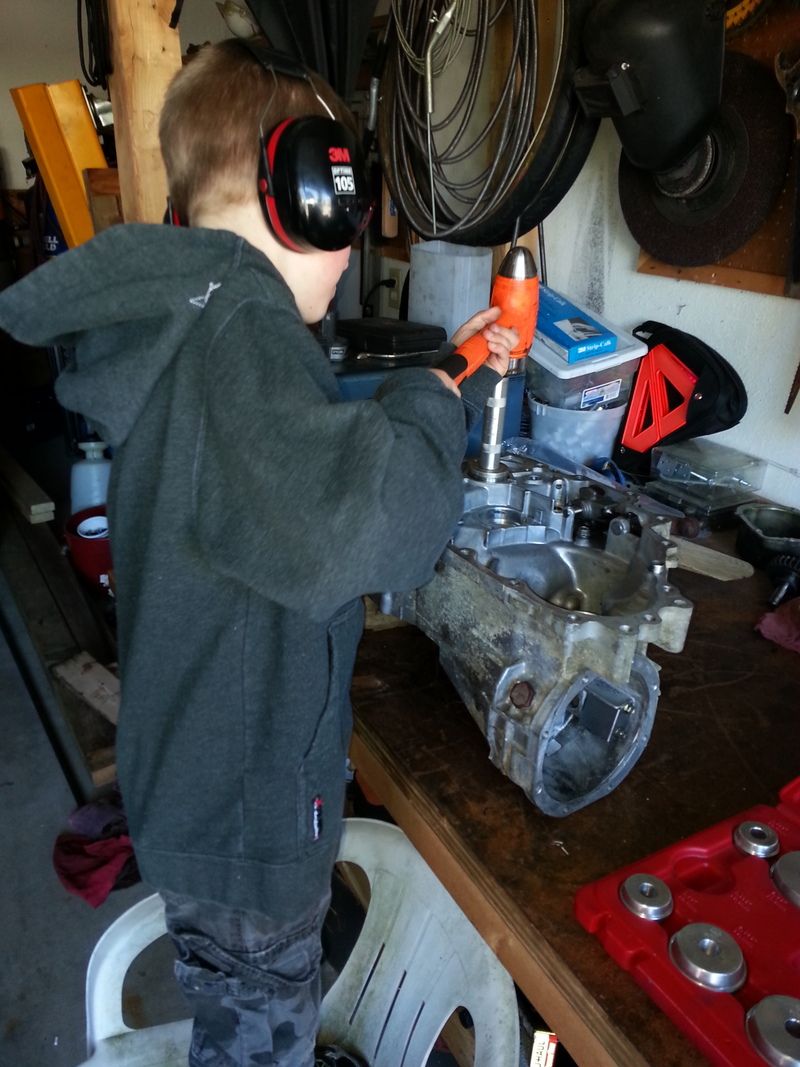
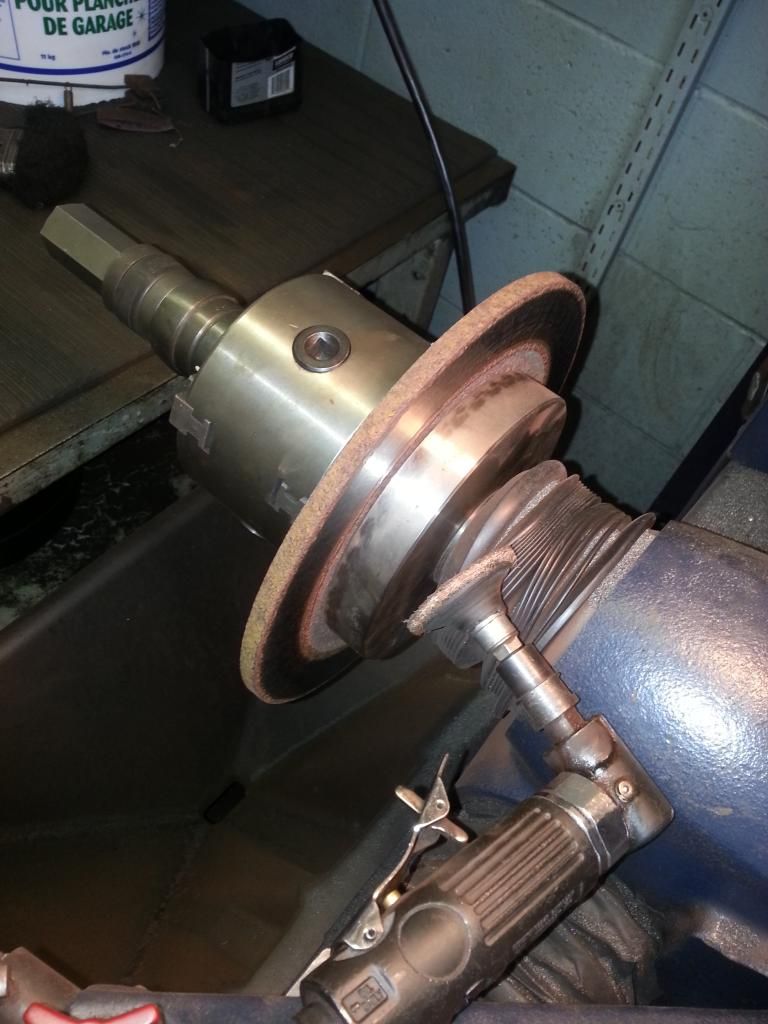
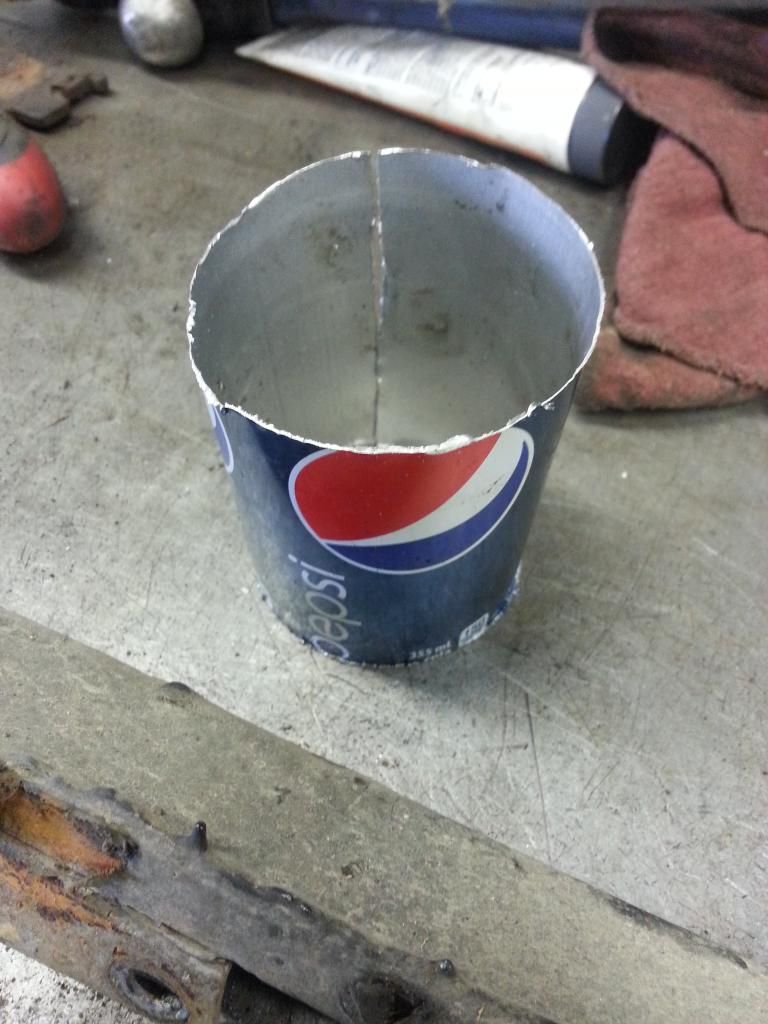
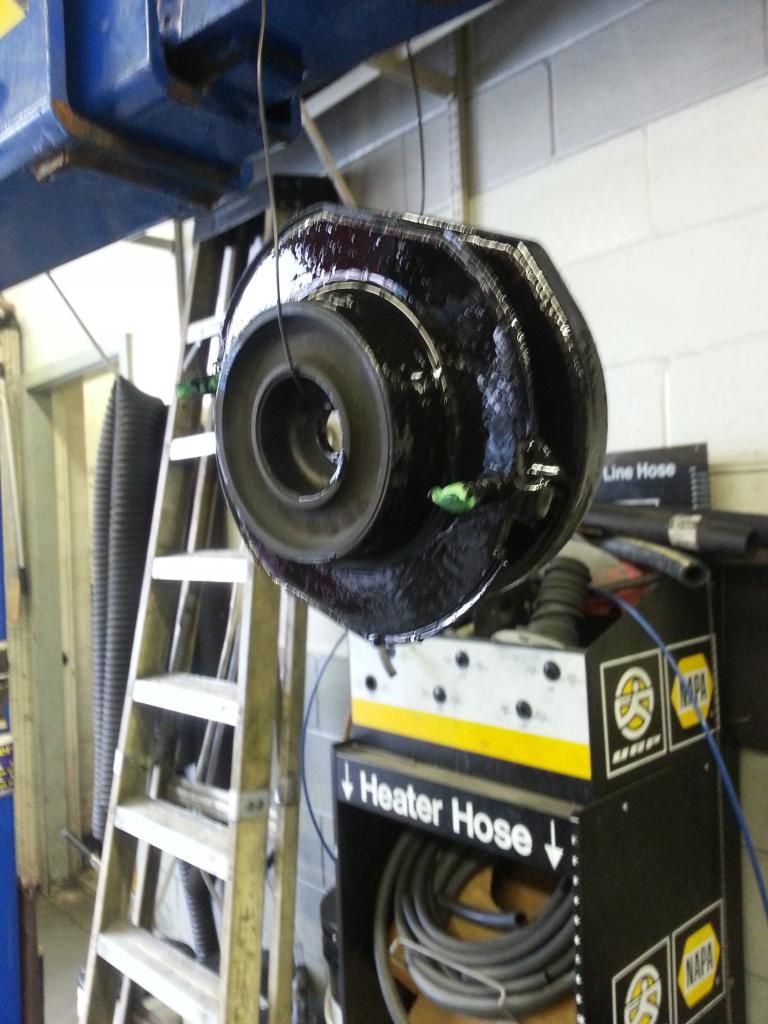
Putting things back together went really slick with this hub tool..
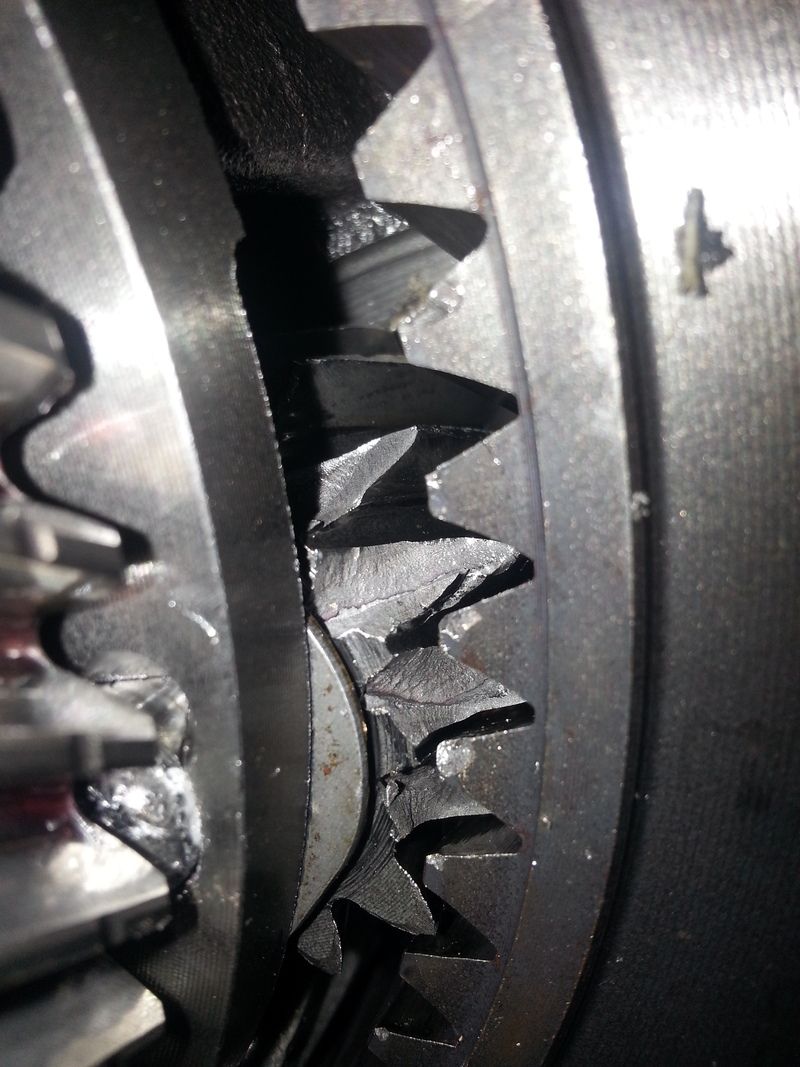
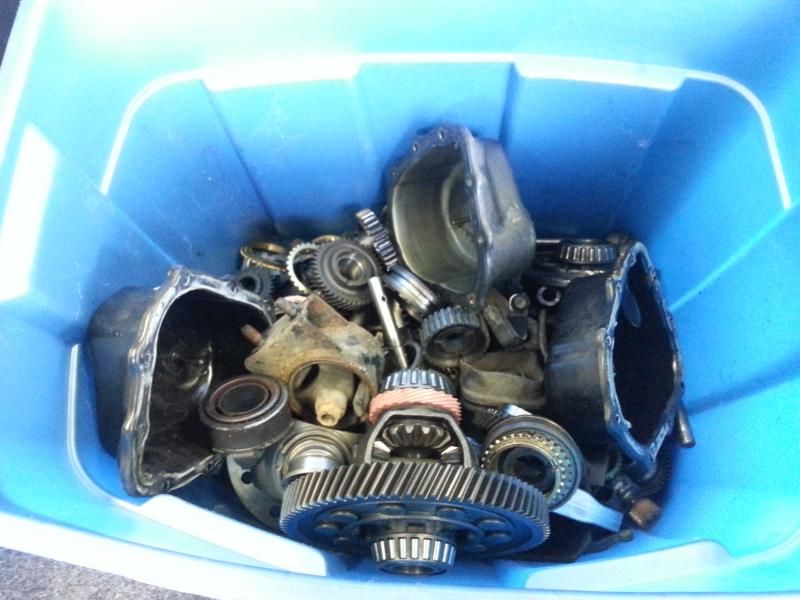
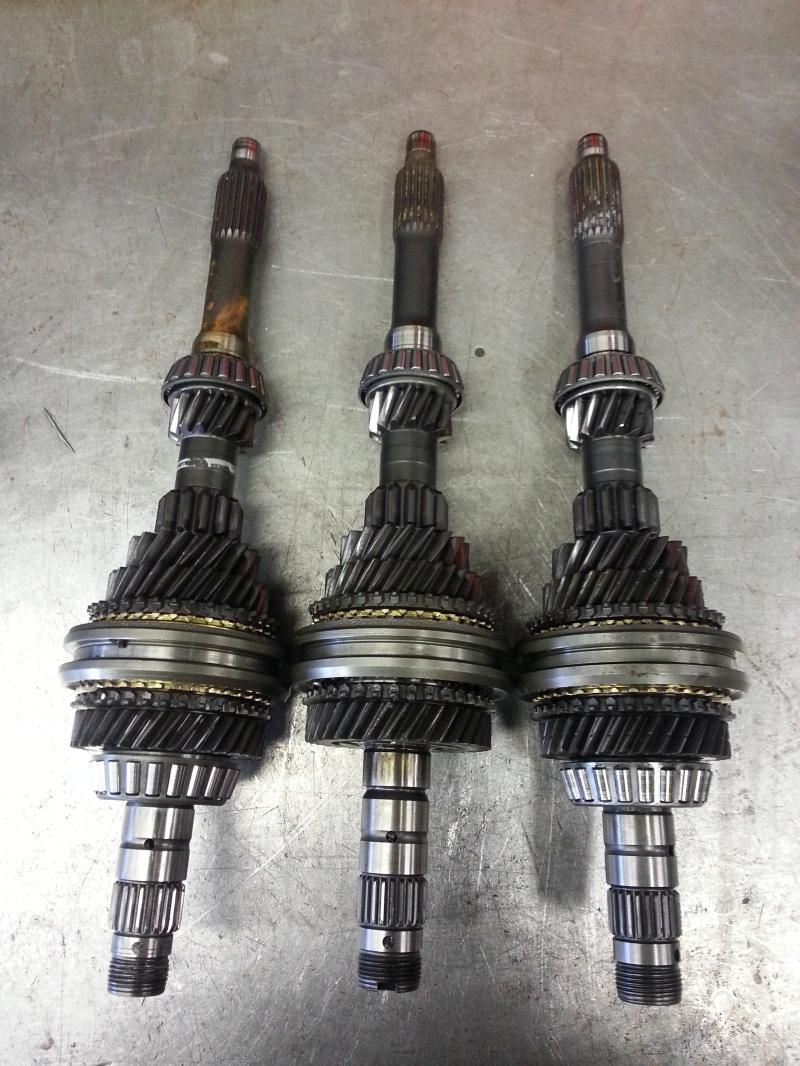
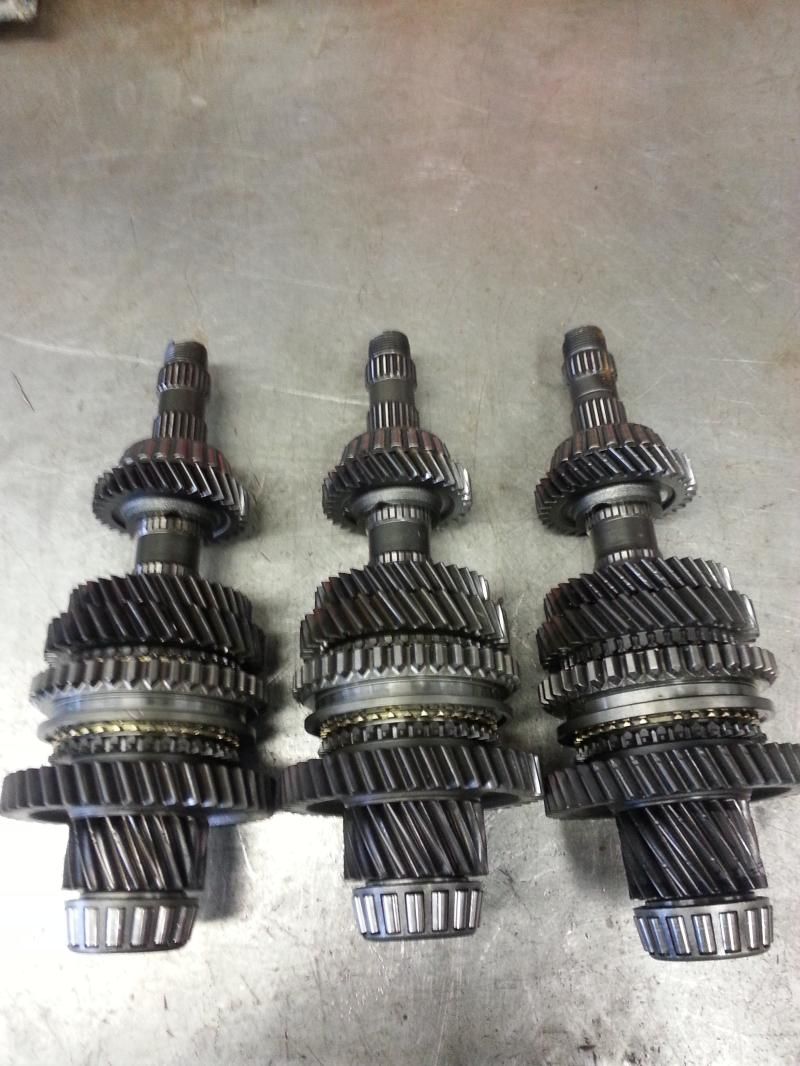
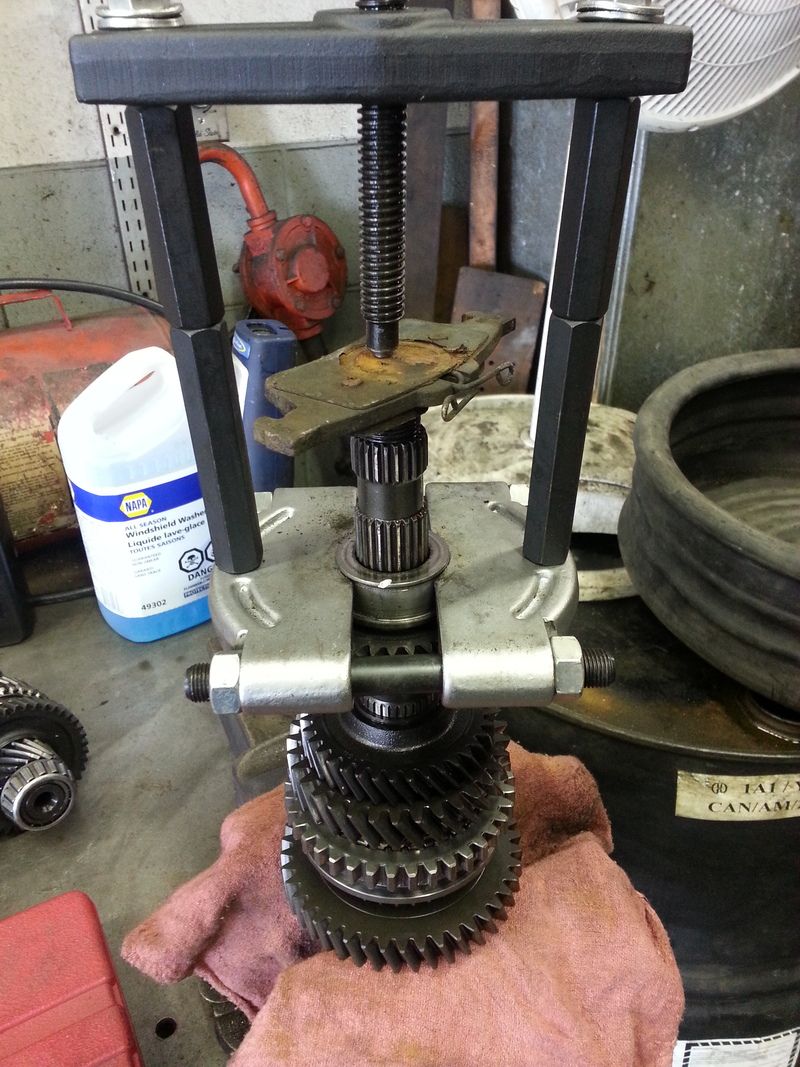
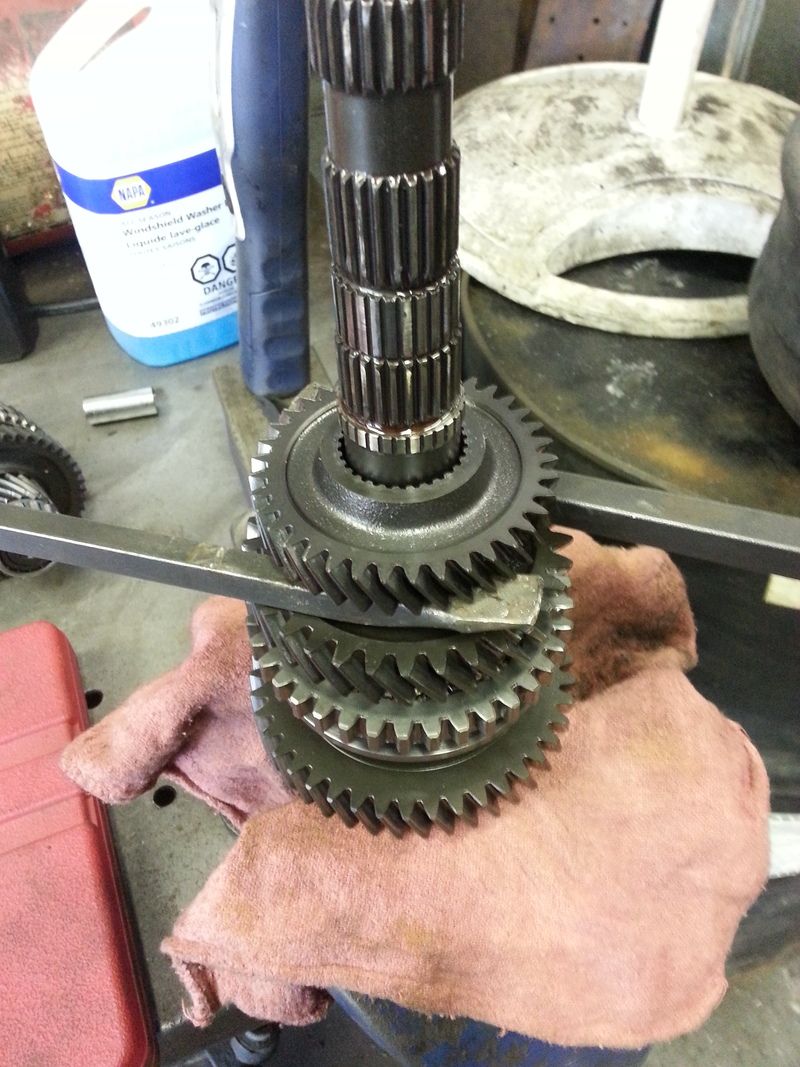
more to come..

crazycanadian
crazycanadian Reader
4/4/16 4:25 a.m.

The rear brakes were up next. At the time I was doing all this work, rear rotors were not available to get with out a 2 week wait. That kind of time frame I didn't have, so I had to make due. Measuring the rotors showed they were still thick enough and with in spec. I didn't have the right adapters to machine the rotors, so I made due by sanding down the rust ridges.

Pulling the rear suspension apart to do the rotors ended up being a challenge. The Lateral link bolt at the spindle was seized. The Trailing arm sleeve was seized as well to the spindle. The right side trailing arm bushing was worn out and fell apart the moment I started to fight with it. Eventually I had to lower down the diff so that I could remove the bolts holding the lateral links to the sub frame. Thankfully these bolts weren't seized.

The left rear spindle with everything seized to it.

Not many pictures, but I did manage to get the bolts for the lateral links out of the spindles. I accomplished this by using my heavy duty air hammer, rattling away on the center of the bolt while my co-worker used my 1/2 impact gun attempting to twist the bolt. Eventually we got it to turn and free up saving the bolt and the lateral links. The trailing arm, wasn't so lucky I couldn't get the inner sleeve to free up so I had to torch the bushing off the sleeve then use the torch to get the sleeve off the spindle. That ment I needed to replace both trailing arms. With no new replacement parts available, and no BF's in any junk yards around I had to get creative.

I had a set of mx3 trailing arms sitting under my bench that came out of my autocross 323. comparing them to the GTX trailing arms I discovered they were very close to the same. Spindle side of the mx3 arms is wider but over all it looked like they would bolt up. The wider bushing ment I needed a longer bolt which I didn't have. The local wrecker was having a half price weekend and happened to have a couple clean BG 323's in the yard. A quick trip I came back with a set of stock 323 trailing arms. Here is a comparison of the arms. The Mx3/323 arms are boxed, where as the GTX is flimsy C channel.

The one issue I saw was with the side that bolted to the body. The BG's use a larger bolt. I was worried if I just slapped in the trailing arms with out finding away to make sleeve in the trailing arm fit the stock GTX bolt better, I would get a clicking sound while braking/accelerating. Rob was lending me a hand with other stuff on the car and had a great suggestion. Using a pop can with the tops cut off I wrapped the bolt in the pop can until it was thick enough to take up the slop. I used the bolt to help hammer the pop can sleeve in place, then cut it to length after it was installed. With the new sleeve installed the BG trailing arms bolted right in.

The excess slop, kinda hard to see.

using the bolt to drive the pop can sleeve in.

The extra before cutting it off.

Slop all gone.

NGTD
NGTD UltraDork
4/4/16 9:44 a.m.

Subscribed - I love these cars but they scare me. Transmissions are apparently easy to break and virtually impossible to find. Treat it gently!

crazycanadian
crazycanadian Reader
4/4/16 2:29 p.m.

Thanks bud. This isn't my first GTX I have owned. I had one 10 years ago, unfortunately it was loaded with rust.

crazycanadian
crazycanadian Reader
4/4/16 2:31 p.m.

The suspension was up next to tackle. I had taken some time prior to compare a set of stock BG 2wd shocks, with Mx3 springs to the GTX suspension. This led me to believe with some modifications I could make it work. Since stock rear springs were non existent. new stock shocks couldn't be found in north america. inserts and coil overs to expensive, I figured I would give it a shot. I tryed to take pictures but I don't think I took enough, so hopefully you can follow all this.

I'll start with the fronts. They took the most to figure out, but were the easiest to modify to make them fit. The spindle side was straight forward, the lower bolt holes needed to be relocated since the bolt spacing was different between the BG and BF's.

The body side was a little more difficult. BG's use an upper spring perch that is machined out to accept a little plastic bearing/bushing that allows the spring/struts to turn, when turning the wheel. This plastic bushing sits against the upper strut mount that is then bolted to the strut and to the car. The BG upper mount also uses 4 bolts to attach it to the body. The BF uses an upper mount with the bearing built into the strut mount. The spring perch then has a washer kind of piece that contacts only the inner race of the pivot bearing.

The point between the threads and the shoulder on strut shaft is longer on the BF shocks, then it is on the BG shocks. Also the BG shocks have a smaller diameter strut shaft. This ment the BF, strut mounts would not bolt the BG shocks.

I ended up knocking all the studs out of the BG upper mount and test fitting them on the body. When turned so that 2 of the 4 holes lined up with the holes on the body they were very close to lining up. 1 problem though, the large hole in the body where the strut mount pokes up threw is oval, and not wide enough for the BG strut mount. I ended up putting the BG mount in the vise and squeezing it, to narrow it. It didn't take much to make it work. From there I had to ream out the holes a little bit to make them line up with the body. I then welded the studs from the Stock BF strut mounts to the BG mounts.

With the modifications complete, the front struts would now bolt into the GTX using BG shocks, Mx3 front springs, BG strut mounts.

The only pictures I have are of the completed mounts.

Just to note. BG springs have coils that get wider in diameter as they go from the top to the bottom. BF coils are the same diameter at the top as they are at the bottom. The top coils between a BF and BG spring are the same diameter.

crazycanadian
crazycanadian Reader
4/4/16 2:41 p.m.

Rear suspension was easier to figure out, but took a little more work.

Both the BG rear springs and BF springs were the same diameter, so they could be interchanged back and forth.

Mx3 rear springs mocked up for fun on my old BF GTX rear shock, and rear spring mounts.

A comparison in the shocks reveal a couple of problems though. Lets start at the spindle. The BG spindles are wider then the BF spindles by a 1/4. So a plate needed to be made in order to make up the gap. Also the bolt hole locations are different spaces and needed to be relocated. With access to a milling machine this wasn't to hard to modify and make work.

With the spindle part solved lets move on to the upper mount. The BG uses a very thick upper mount where as the BF, is pretty thin. You couldn't use the BG upper mount since the orientation of the bolts is off set and will not fit in the body of the GTX. The BF upper mount will work, but you need to build a spacer to fit between the shock and the mount. With Robs, help and access to his dad's lathe it didn't take long to make up a couple spacers.

We drilled out the upper mount and put a small shoulder on the spacer in order to make sure the upper mount would stay properly centered.

more to come

crazycanadian
crazycanadian Reader
4/4/16 8:16 p.m.

Rear strut mount completed and all rust proofed..

Great, we have all the issues solved right? We can now bolt it all together and have it all bolt into the car. Kinda sorta. There is one more issue to over come. The distance between the spring perch and the spindle is different by about 1" This ment using the BG rear shocks would give the ass end of the car a bit of a lift. The Mx3 rear springs are a little different then 323 springs as they have a bunch of coils tightly compressed together. Cutting one or 2 of these coils out shouldn't affect spring rate to much and allow me to level out the ride height of the car. I haven't put the car on the ground yet, so I don't know how much to cut out yet. As of right now the shocks are assembled with full length Mx3 rear springs.

At this point, I had only spent $12 in materials to fix the suspension. Not bad for a grassroots budget.

crazycanadian
crazycanadian Reader
4/4/16 8:21 p.m.

The exhaust system was pretty straight forward for me to fix. Since the flange that would have been before the cat was in ruff shape, and the flange after cat was horribly done. I decided to cut it all out and build from scratch with new flanges and flex pipe. While I was at it, upgraded the pipe to 2 1/4 just in case I was to have a little more fun down the road. Since the stock cat back was in good shape, I decided to save my penny's and leave it alone for now.

The welding was all done with a flux core welder. It looks like ass, but the welder works really well.

crazycanadian
crazycanadian Reader
4/4/16 8:37 p.m.

Since this car has such low miles, with very little rust on it I felt the need to preserve the body as much as possible. So while everything has been apart, I enlisted in Robs, help to give the car a good coating.

Stripped the front end down, you can now see some of the damage from the front end hit. Looks like the RF took the brunt of it.

All sanded and prepped...

Yep wheel wells getting some love and attention as well.

Rear trunk area done. We wanted to pull the diff to really get all over, but couldn't get the brake lines apart so I decided not to pull the diff.

Rear suspension all together and installed.

Rufledt
Rufledt UltraDork
4/4/16 8:37 p.m.

This thread is relevant to my interests. Another GTX owner, hooray! We need more of these things getting fixed up.

jgrewe
jgrewe Reader
4/4/16 8:37 p.m.

This thread makes me sad. I just finished taking my GTX apart for it to serve as an organ donor for cars like yours. I'm probably taking the shell to the scrapper this week. I owned it for over 20 years and Ohio winters then Florida salt air killed it. Let me know if you need anything, I still haven't begun sorting everything out. I even have a pair of clean rear quarters I cut off a 323 about 8 years ago

crazycanadian
crazycanadian Reader
4/4/16 9:45 p.m.

In reply to jgrewe:

I need a good dash thats not split cracked ect... The rear panels in the trunk, and rear seat belts... :)

crazycanadian
crazycanadian Reader
4/4/16 10:01 p.m.

Well at this point it was time to assemble the car. First up was getting the bumpers back on and all the trim pieces back together. I flushed the rad out and installed it.

The car mostly back together. Ready for wheels and a ride height check.

Front suspension all back together

Rear suspension all together with the BG trailing arm installed. I also installed new sway bar end links, and found the sway bar mount on the passenger side bent. A BFH fixed that.

Ride height check. She had about a 1.5" rake to her.

I ended up cutting 1 coil out of the top portion of the men springs. This portion is compressed all the time so it was an even half inch drop. This still leaves the car with a bit of a rake but it looks pretty good. If I don't like it in the future I will cut another coil out.

With the suspension all buttoned up I focused on some maintenance items. The cooling system was full of this jelly like substance so I flushed it out with water. Changed the thermostat. Ran a rad flush chemical threw it and flushed it again. While I was at it I changed the engine oil and flushed brake fluid. Then took the car down for an alignment. I didn't slot the front struts enough to get tthe camber I wanted but the rear worked out well. I managed to get the front set to 0 camber 0 toe. In the rear it was set to -1 with 0 toe.

jgrewe
jgrewe Reader
4/4/16 10:07 p.m.

My dash isn't cracked but I think it is pulling away from itself in the tight corners on top. I'll look at the interior bits.

I couldn't see much as I was pulling the car apart, watery eyes...

I have a set of Dirtras that would be a nice start to a new insert conversion. I'm thinking about pulling them apart a powder coating them. No body bit on them on ebay last week.

Rufledt
Rufledt UltraDork
4/4/16 10:14 p.m.

say what about some dirtras?

jgrewe
jgrewe Reader
4/4/16 10:20 p.m.

Yep, interested?

Rufledt
Rufledt UltraDork
4/4/16 10:45 p.m.

I'm highly tempted, but i think my wife might castrate me in my sleep... shoot me a price on email (my username here at AOL dot com) and i'll see if its worth loosing a nut over it...

crazycanadian
crazycanadian Reader
4/5/16 12:42 a.m.
jgrewe wrote: My dash isn't cracked but I think it is pulling away from itself in the tight corners on top. I'll look at the interior bits. I couldn't see much as I was pulling the car apart, watery eyes... I have a set of Dirtras that would be a nice start to a new insert conversion. I'm thinking about pulling them apart a powder coating them. No body bit on them on ebay last week.

Wouldn't mind seeing pictures. It might still be better then my dash.. Mine has large holes drilled in it above the glove box from the rally computers that were once installed in it..

crazycanadian
crazycanadian Reader
4/5/16 12:56 a.m.

Well back to the GTX. I still have a long way to go to get this thread caught up.

I found another picture of the car up on the alignment rack. What a purdy looking rear end.

After the alignment shop it was off for emissions testing unfortunately the car developed a very bad hesitation on light throttle tip in. I turned around and took the car back to the shop. On what whim I decided to do a tune up. It's a good thing I did. The spark plug holes were filling up with oil from a leaking valve cover gasket.

All 4 plug wires came apart when I tried removing them An interesting note. A miata valve cover gasket can be used if you can't find one for a b6t. The bolt holes are slightly different shape but it all goes in place and seals up.

Unfortunately the hesitation wasn't solved. I had a feeling that was going to be the case. It took me sometime, to track down the problem but I managed to find it. Turned out to be a self inflicted wound. When I did the thermostat I forgot to bolt the bracket that goes on the upper housing bolt. This bracket has some important ECU grounds attached to it. With out the grounds the injector pulse width would flat line when I tipped in on the throttle and cause a lean miss fire. With the ground fixed the car ran great.

This ends phase one. From here I started daily driving the car and turned my attention to my SMF prepped 323.

crazycanadian
crazycanadian Reader
4/5/16 1:35 a.m.

So, Phase two. This started in late March of 2015 and carried on for a while. Ever since I had bought the car, 3rd gear was grinding. So, in comes the spare transmission I got with the car. I was told this one was binding up while cornering.

For anyone not interested in the in's and out's of rebuilding a gtx transmission you might want to tune out now.

For anyone still reading, lets talk about removing the diff lock actuator. There isn't much that's documented about it. First off there is this bolt. Its a lock pin for the rod that moves the fork for the diff lock. You need to remove it. While you are at it also remove the sensor. This sensor is a pain in the but with out a sensor socket. The sensor is used to indicate when the diff lock in engaged.

Now removed the 17mm rear plug on the actuator.

When you look down inside you'll see the rod and it just so happens to have a slot in it. You'll use a flat head screw driver to turn the rod 90 degree. This is what the rod looks like with the actuator removed. This picture shows it in the normal operating position.

This picture shows the rod turned 90 degree so that you can remove the actuator Now you undo the 3 mounting bolts and the actuator will slide off. YA!
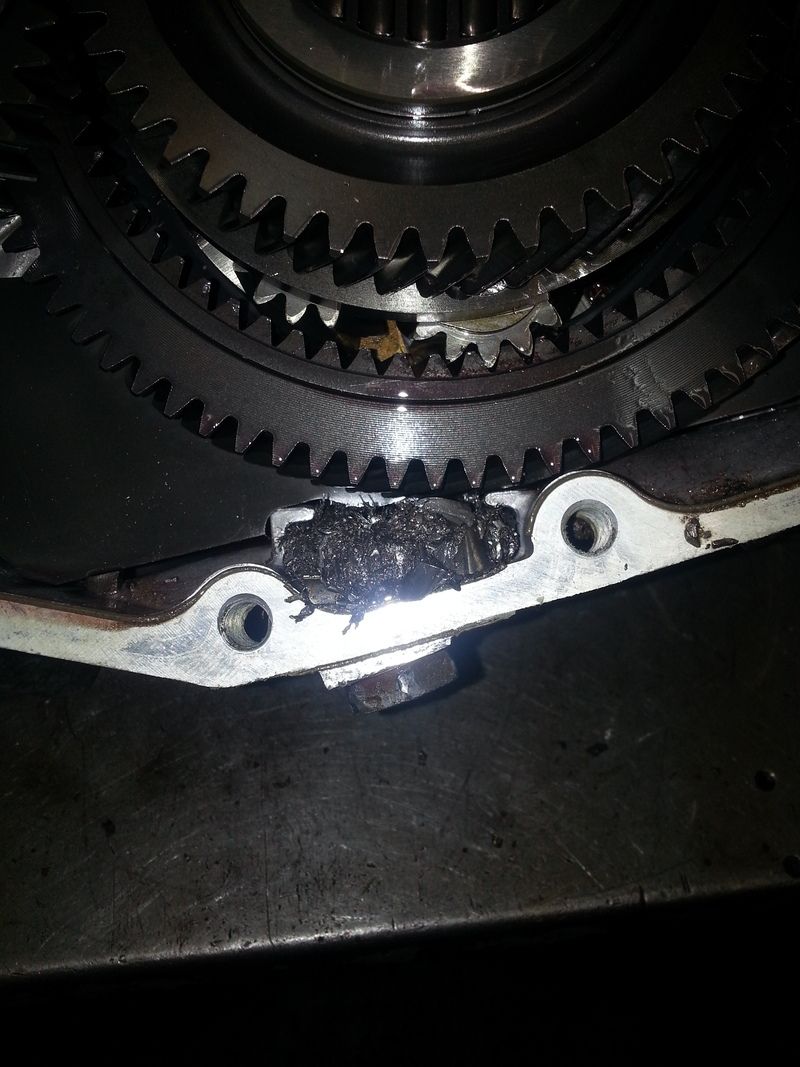
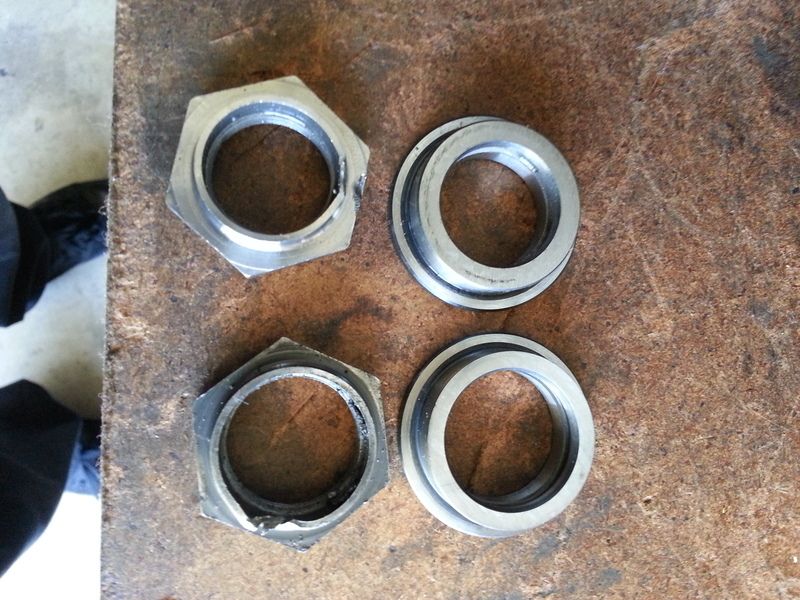
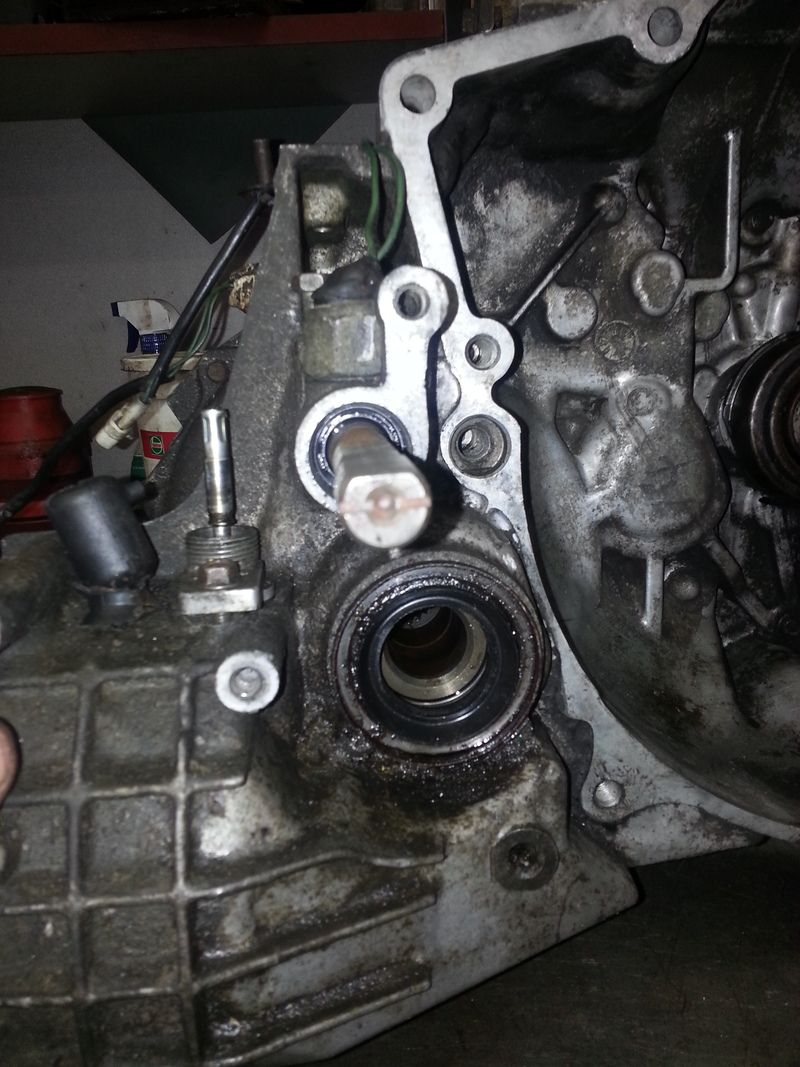
crazycanadian
crazycanadian Reader
4/5/16 2:01 a.m.

I didn't take many pictures of tearing the transmission down. Its something I have documented in the past. Once I got this transmission torn down I found a magnet full of metal chunks.

The center diff blew up/seized up and chewed its self to pieces. When this happens you get a lot of loud clicking/clunking when turning sharply. It can be pretty violet and loud.

At this point I decided to continue tearing down the transmission and inspecting it. The results weren't very good. This transmission has been used/abused chewed up, spit out and chewed up again. At the end of the day I threw everything but the counter shaft in the garbage. Its a good thing I have an issue with hording parts.

Here is some more of the carnage I found in the spare transmission. Once of the sliders, I forget for which gear now. I think it was 2nd or 3rd. When you look at the teeth these, are supposed to be sharp and pointed. Sometimes minor burring and wear can be cleaned up, but this one is toast.

The clutching teeth on this gear are chipped. Often times if someones been grinding gears, these teeth would be rounded off. Once again they should be sharp.

This is what a good slider and gear should look like.

crazycanadian
crazycanadian Reader
4/5/16 3:27 a.m.

Well, in the spirit of keeping this grass roots lets compare spare parts from other mazda G series transmissions I have torn down. Left to right we have B6T, V6 Mx3 and GTX input shafts. I bet if I didn't tell you which one was which you wouldn't be able to tell the difference.

Now on to the counter shafts.. Left to right.. B6T, GTX and V6 Mx3. The Mx3 counter shaft is easy to spot. The final drive gear is wider.

It looks like I have some possibilities at this point, but let me go over a few things first. The GTX and B6T transmissions share the same gear ratios between 1st to 5th.. Their final drive ratios are different though.V6 mx3 transmissions have a closer ratio 3rd and 4th gear. The final drive is the same as the GTX.

Looking things over I decided the Mx3 gear set was the best of the bunch. Comparing input shafts I could tell the Mx3 one would be a straight swap. The counter shaft was going to be a different story. The larger final drive gear meant it wouldn't swap into the GTX case. So I tore down the counter shafts.

Here you can clearly see the difference between the GTX and Mx3 counter shafts.

I was able to swap the mx3 gears on to the GTX counter shaft making it possible to use the Mx3 input shaft.

For anyone interested in rebuilding their GTX transmissions, rebuild kits are still available. OEM Mazda seals.

I wouldn't suggest using the aftermarket syncros though. You can tell just how cheap they are compared to the OEM ones. OEM on the left.

Opti
Opti HalfDork
4/5/16 7:29 a.m.

I thought tranny parts availabilty was what had sidelined most of these.

crazycanadian
crazycanadian Reader
4/5/16 9:58 a.m.
Opti wrote: I thought tranny parts availabilty was what had sidelined most of these.

It does, the specific gear train parts for the 4wd system are really hard to come by. At this stage of the build I was with out a center diff and couldn't finish rebuilding the transmission.

crazycanadian
crazycanadian Reader
4/5/16 2:57 p.m.

With the counter shafts torn down, I discovered all the gears off the Mx3 counter shaft would swap over to the GTX. I dug threw my box of parts and found the best sycros I had and put the GTX counter shaft together, using the Mx3 1st to 4th gear set.

At this point I was stuck. I couldn't continue the rebuild since I didn't have a good center diff, so everything sat on my bench for a few months.

Fast forward to September of 2015, I quit my job and took some time to my self. This gave me the time I needed to pull the semi ok, transmission out of the GTX and rob it for the parts I needed to finish the rebuild.

While tearing down the transmission from the car I found out why 3rd gear was shot..

Bad 3/4 shift fork. Wear link this is usually cause by a misalignment in the shift rods, or people who rest their hands on the shifter and preloading it while driving down the road.

I tore the center diff down that came out of the car and thankfully it was healthy.I might have to dig up an old pic to post to show you guys what one torn down looks like. Its pretty cool how its all put together.

I enlisted in some young talent to help me finish rebuilding the transmission. An interesting combination of parts for this rebuild. New bearings and seals. Complete Mx3 V6 input shaft, GTX counter shaft with Mx3 gear set and a new 3/4 shift fork.

Once thing to note... With the change in the input shaft I had to change the nut and collar up by 5th gear.. The GTX and MX3 shaft are different widths.. The gears them selves can be interchanged though..

Time to install the new transmission. While the transmission was out, I had the fly wheel machined and sent the starter off to be rebuilt. The starter was starting to click on hot restarts. The place I had it built said it was full of clutch dust and had burnt out the contacts in solenoid.

Couple hours later, she's ready for a test drive. BPT swap, parts car in the back ground..

This ends Phase 2.. The transmission drives great, the closer ratio 3rd and 4th make city driving more fun and gives the car a little more pep at its stock boost levels.

1 2 3

You'll need to log in to post.

Our Preferred Partners
ImImkVX5LvKUFt4kzpa6SnMqsvJyNhhpeGY373u9B6OwiizFs4KLz8H8B3k2n6In