

Ben_M is latest progress only found on your Ytube build page ?
759NRNG wrote: Ben_M is latest progress only found on your Ytube build page ?
No, just no progress lately. I have been cleaning and organizing my shop! Tired of tripping over things and searching for tools.
Ben_M yu have some serious SBPADFD...scratchbuildprojectattentiondefictfocusdisorder. Was waiting patiently for the next Bianchi update....and what do I see just in the last hour????......a Vdub on a custom frame sporting a SBC or something or other...The Vdub pays$$$ and Bianchi is for your enjoyment? Just curious that's all.... ![]()

Greatest build thread EVER—
Amazing work, even more amazing vision ! !
759NRNG wrote: Ben_M yu have some serious SBPADFD...scratchbuildprojectattentiondefictfocusdisorder. Was waiting patiently for the next Bianchi update....and what do I see just in the last hour????......a Vdub on a custom frame sporting a SBC or something or other...The Vdub pays$$$ and Bianchi is for your enjoyment? Just curious that's all....
Something like that. The bug has been a longer term project. Once finished, I will probably drive the bug for six months or so and then put it up for sale.
TeamEvil wrote: Greatest build thread EVER— Amazing work, even more amazing vision ! !
Thanks, I appreciate it!
Some minor progress today. I installed the master battery switch and ran the cables in conduit. Also started on the battery box mounts
<img src="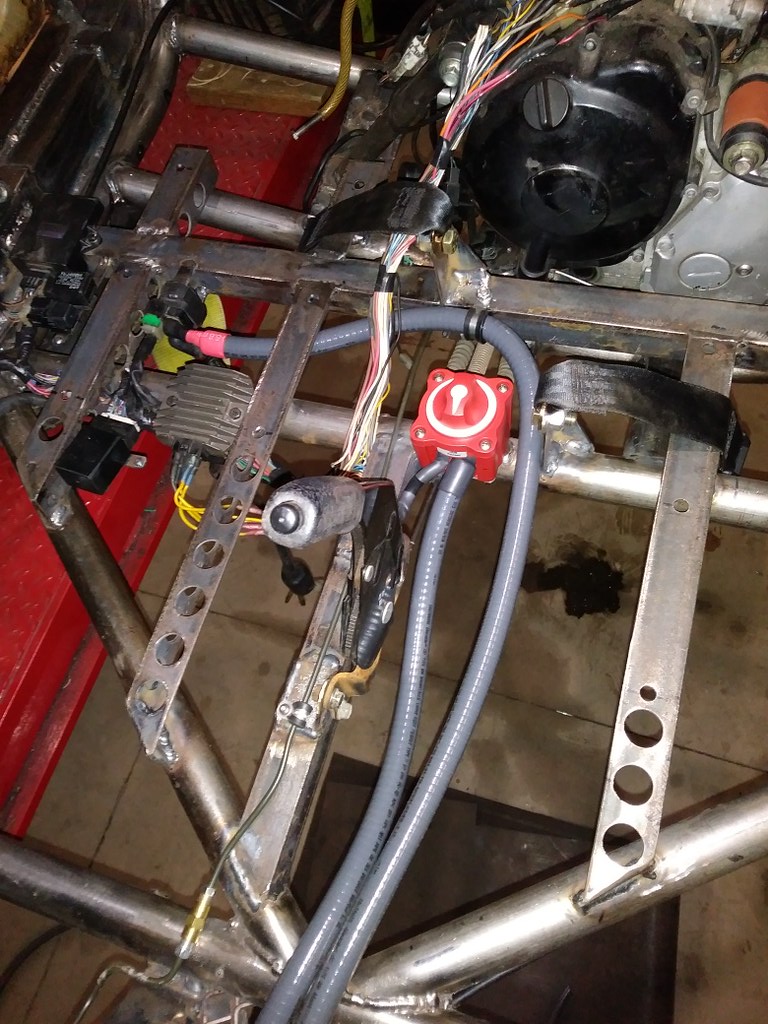 " /><img src="
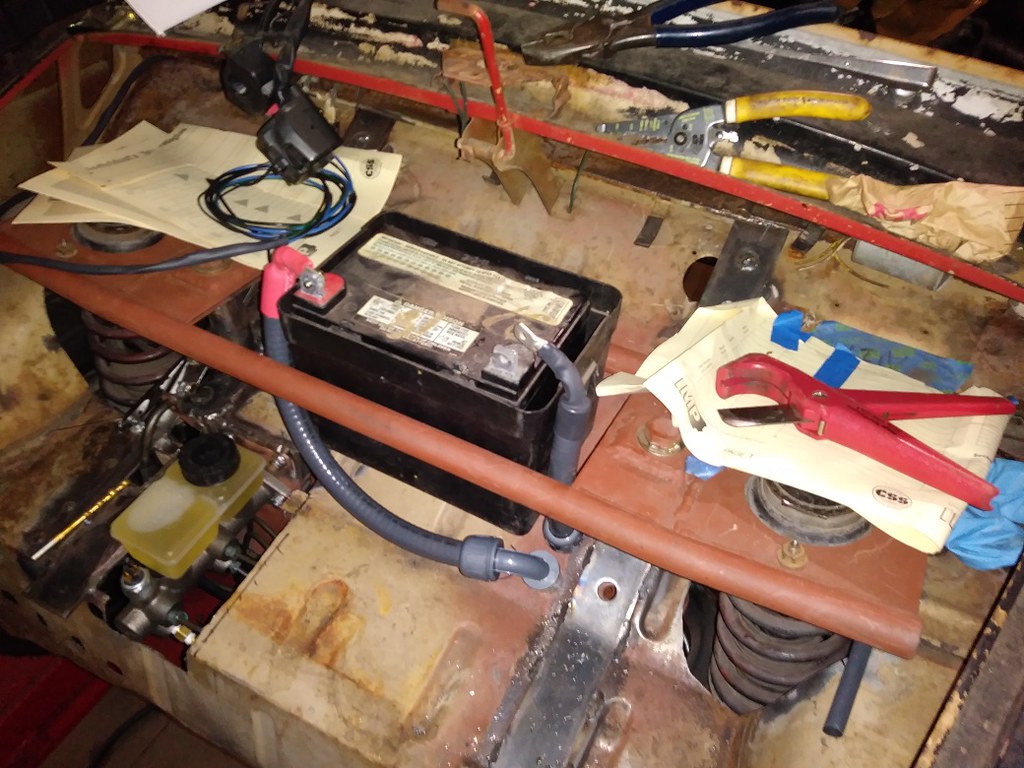 " />My Build Videos
Can we see some electric reverse wizardry when you have a moment? ![]()
759NRNG wrote: Can we see some electric reverse wizardry when you have a moment?
That won't be for a while, but I will document it all.
Getting started on the radiator install. I am using copper tubing to route the coolant from the engine to the radiator which will be mounted up front. If all goes as planned, I should be able to mount the radiator with sufficient air flow and also mount a spare tire under the hood. I purchased two 10' lengths of 3/4" copper tubing and a variety of fittings. The R1 engine uses 1" diameter coolant hoses which will fit nicely over the copper tubing. The OD of the tubing fitting is very close to 1".
<img src="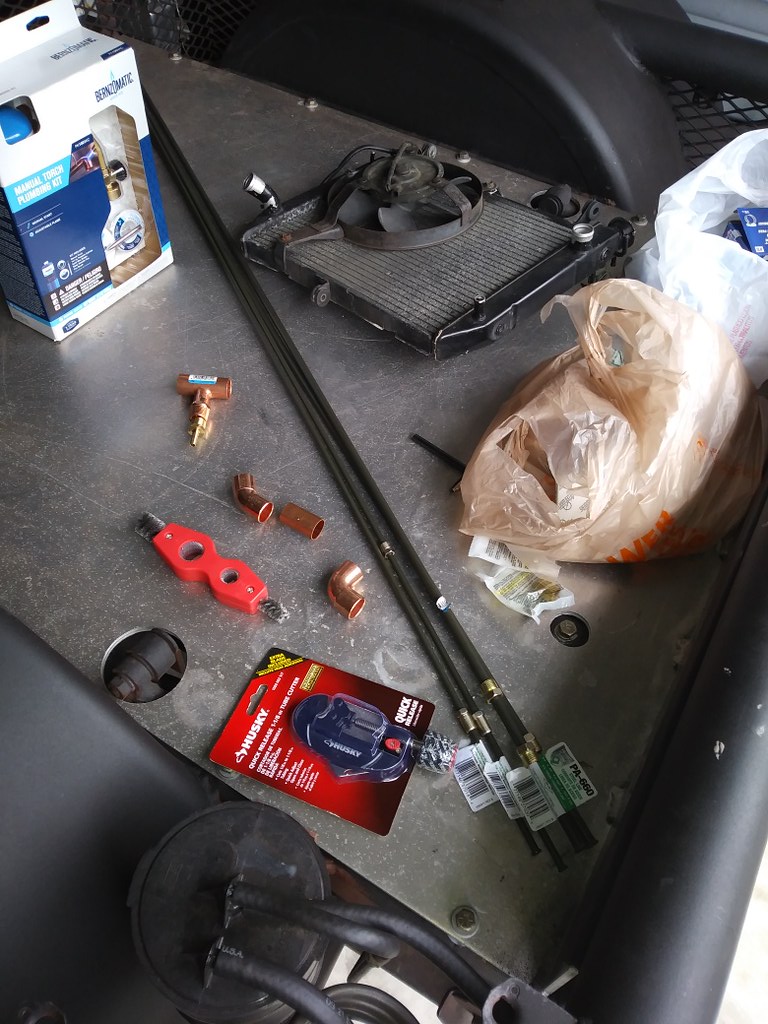 " />
" />
The tubing comes in a couple of different wall thicknesses, I went with the thickest, the "L" variety.
<img src="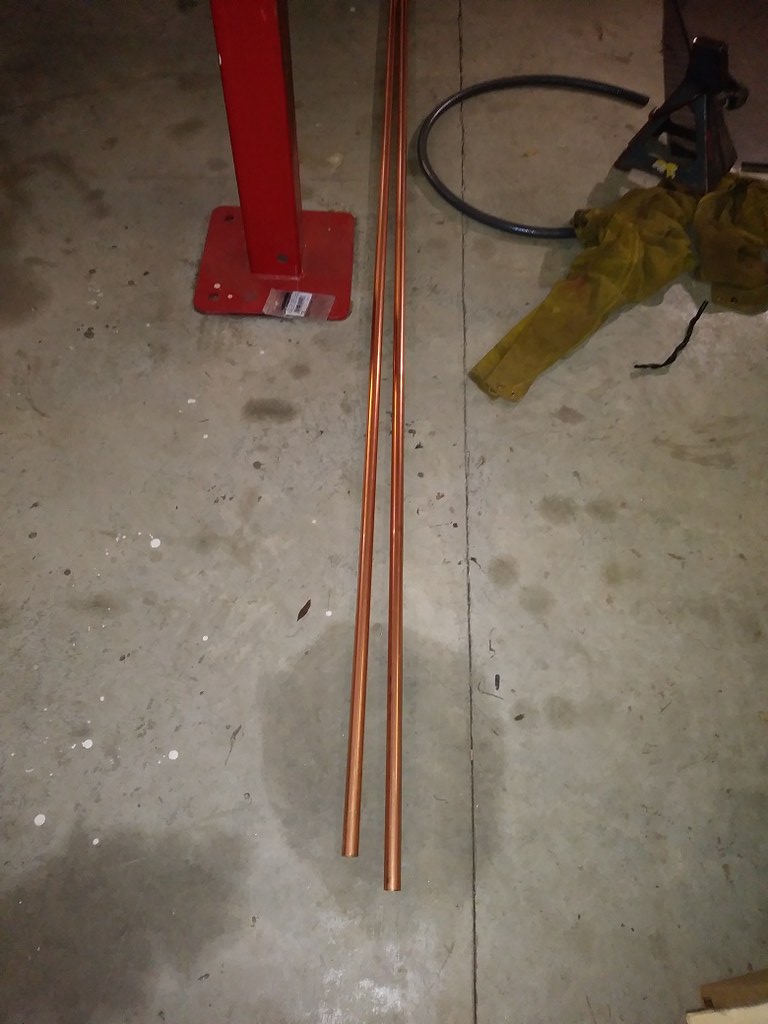 " />
" />
I have seen this tubing used on some street rods in the past and feel confident that it will work here as well. This will be my first attempt at sweating copper joints, so we'll see how it goes. Also picked up a propane torch and other tools necessary for the job. The tubing is very affordable but the fitting add up quickly. I hope to return several after the job is completed.
Besides 45 and 90 degree fittings, I also purchased some with wide threaded ends. I machined off a portion so as to duplicate the dimensions of the radiator inlet and outlet flanges. The fittings will be sweated on to each end of the tubing to give the rubber radiator hoses a proper attachment point.
<img src="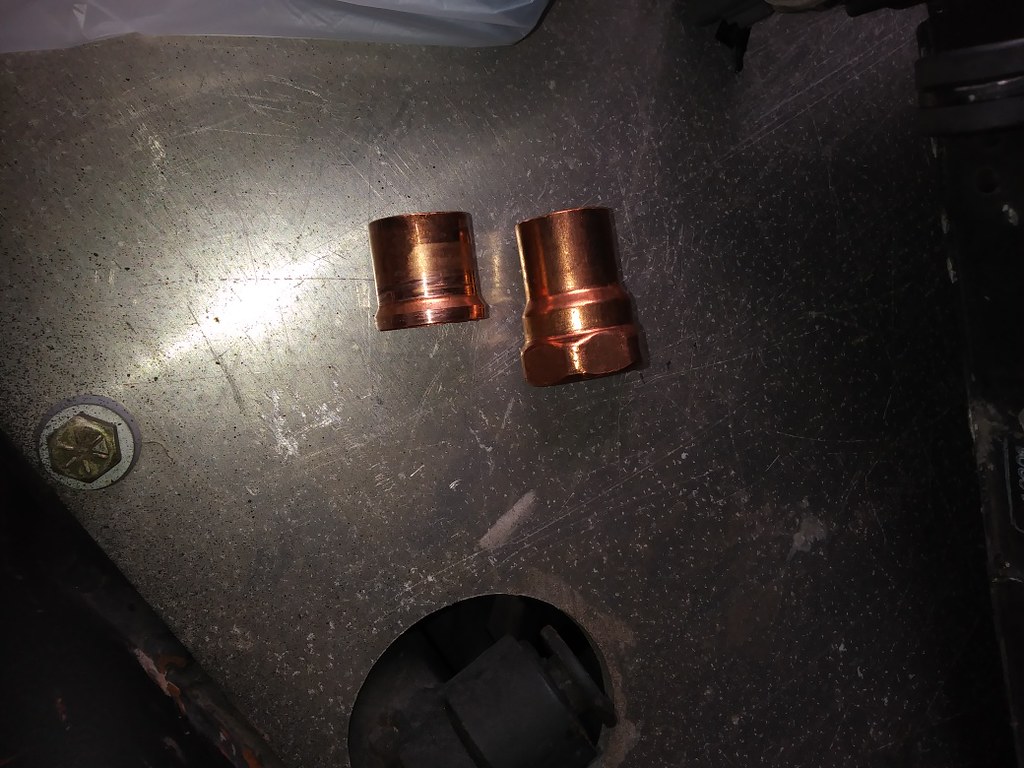 " />
" />
The machined piece is resting on the radiator to show the mirror image. The radiator in the photos is a used and abused one. I have a new one on hand when the time comes to install it for good.
<img src="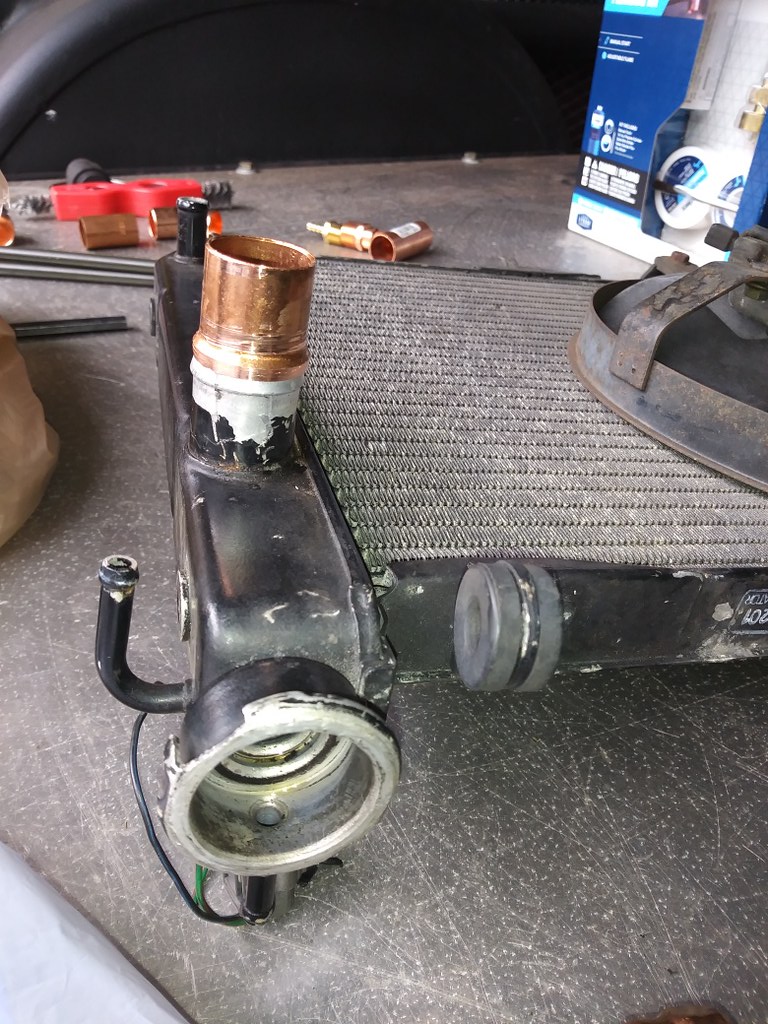 " />My Build Videos

Type L means you have approximate $300,000,000 worth of pipe there. Regular gauge pipe would do fine since that bike motor will be hard-pressed to pressurize the cooling system over 150 psi. Also, use a MAPP gas torch for plumbing. Makes it a lot easier to sweat pipe if you have a leak and tear the system down with water in it.

In that last photo, how does the copper fitting attach to the radiator inlet/outlet? Just a short piece of hose and clamps over both fittings?
maschinenbau wrote: In that last photo, how does the copper fitting attach to the radiator inlet/outlet? Just a short piece of hose and clamps over both fittings?
That and a rubber preformed elbow (carquest) on the other one. The fitting just replicates the fitting that is on the radiator
In reply to Ben_Modified:
Love it. I might stealing this idea, because the Rice Rod's radiator is probably going in the back.

I'm really enjoying this thread - you have some great design and fab skills!![]()
X2 on MAPP gas FTW. Use the brush-on flux both before fitting, during sweating and then just after sweating to cool down the joint and make the sweat lines look more uniform. Also have a slightly damp cloth ready to wipe excess flux and solder off.
Sparkydog wrote: I'm really enjoying this thread - you have some great design and fab skills!X2 on MAPP gas FTW. Use the brush-on flux both before fitting, during sweating and then just after sweating to cool down the joint and make the sweat lines look more uniform. Also have a slightly damp cloth ready to wipe excess flux and solder off.
Thanks, glad you are enjoying it and thanks for the informantion!
Progress on the remote mount radiator tubing. Temporarily zip tied in place
<img src="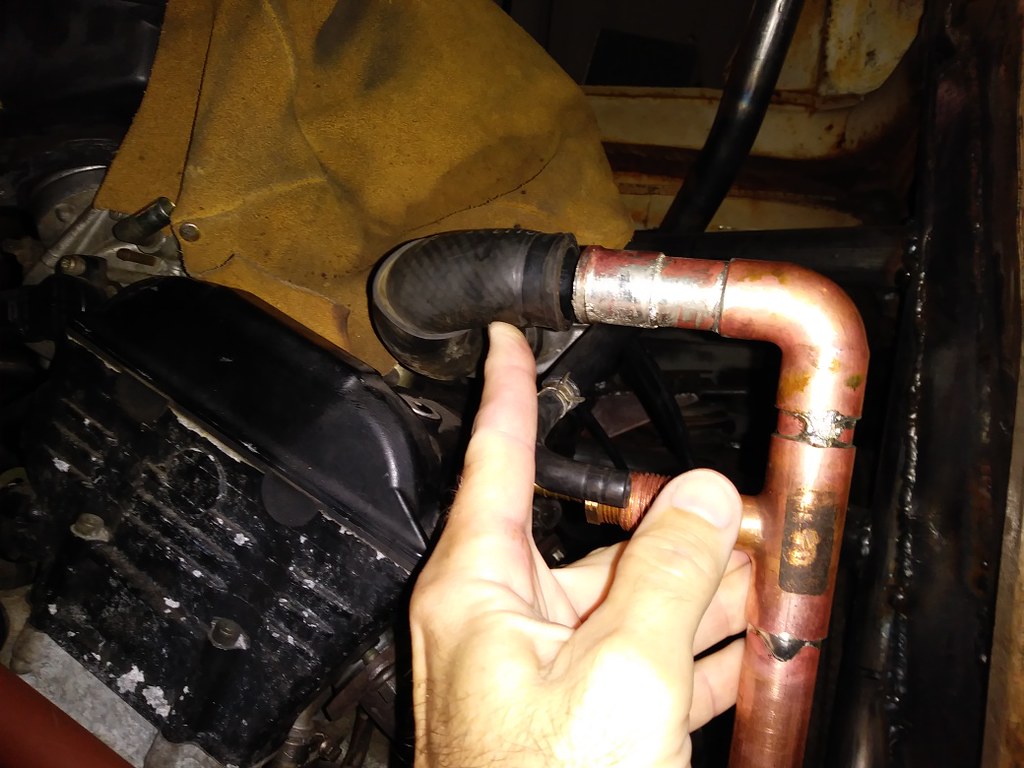 " /><img src="
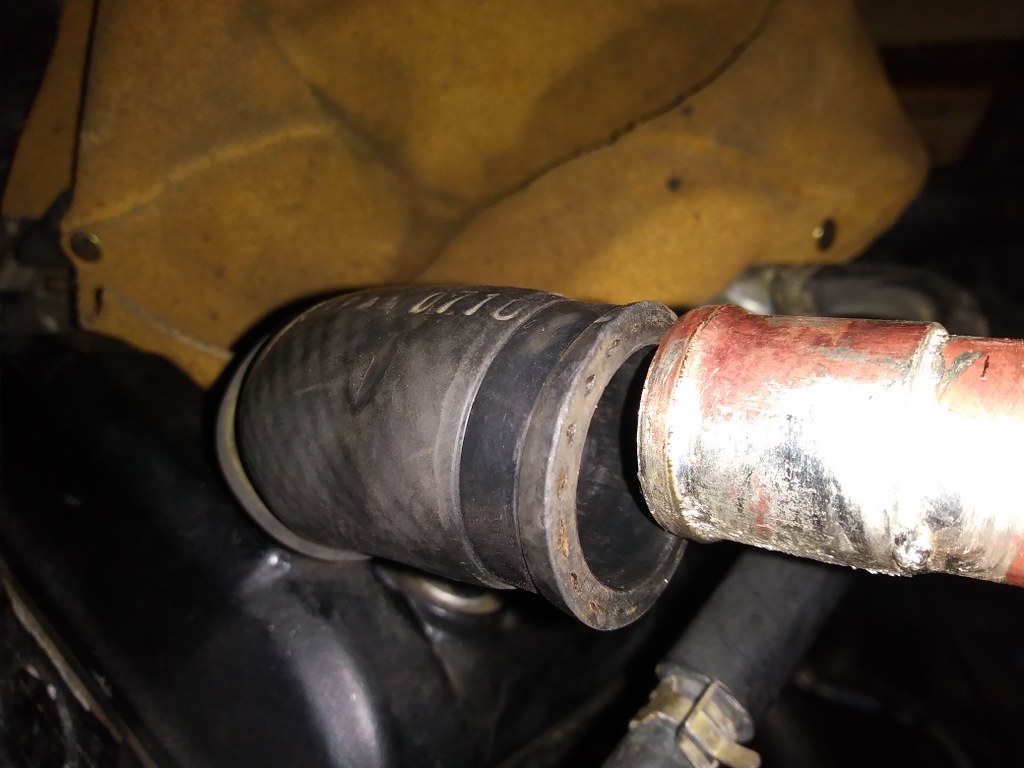 " /><img src="
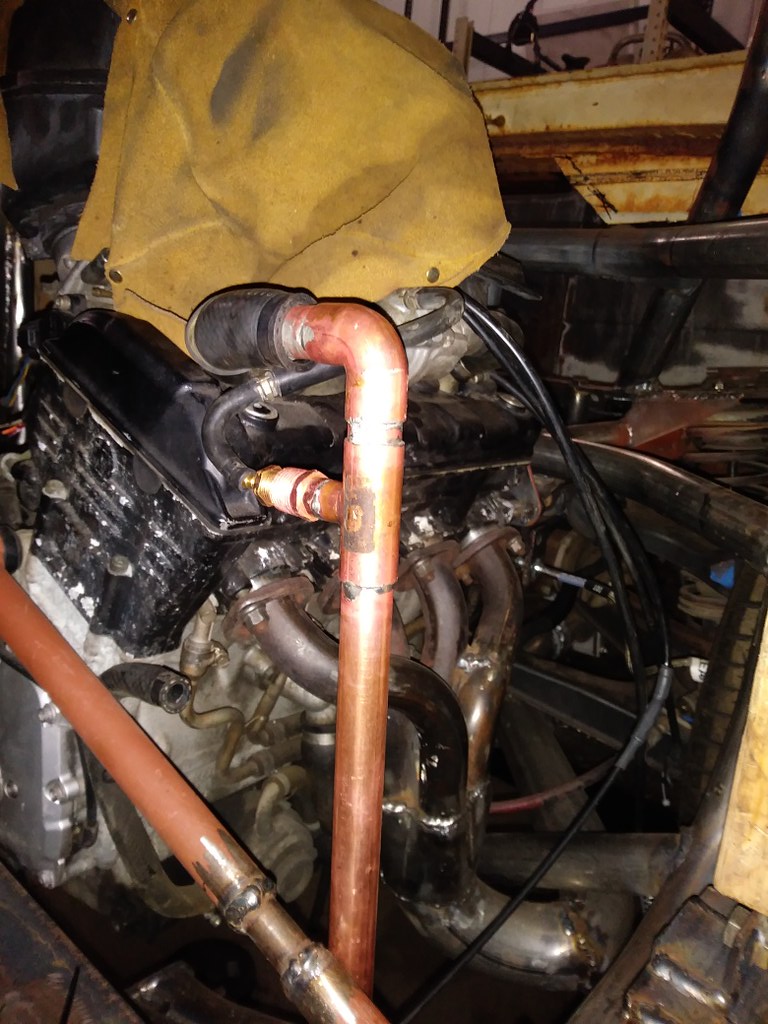 " />
<img src="
" />
<img src="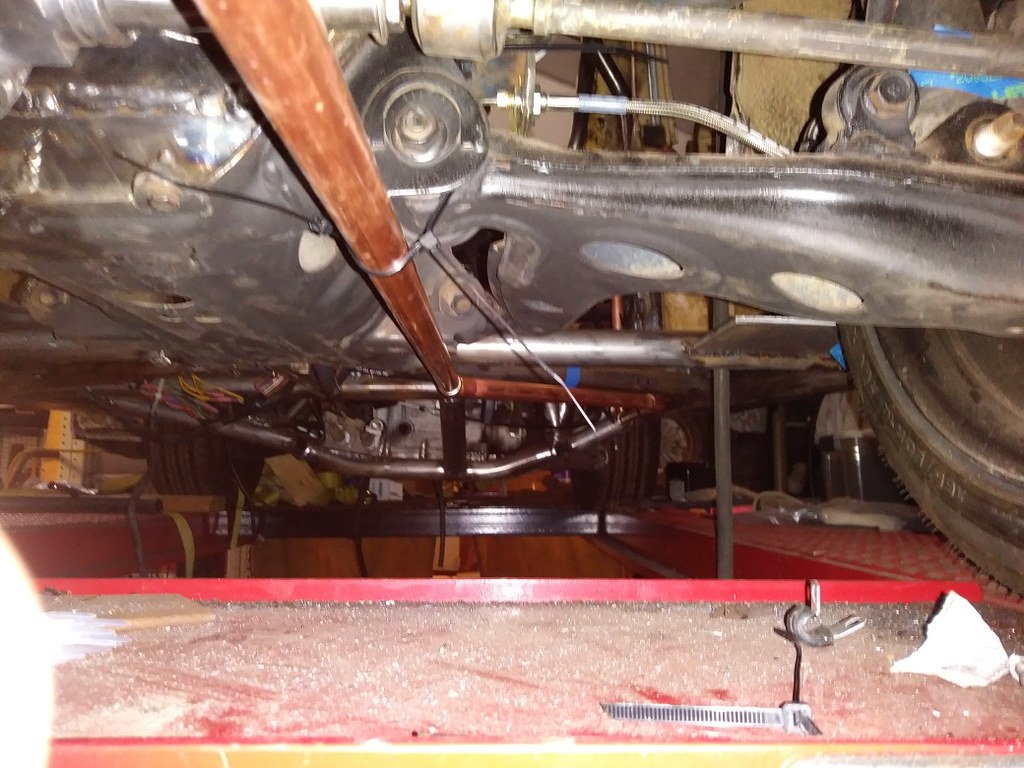 " />My Build Videos
Progress.
This is the lower engine coolant outlet.
<img src="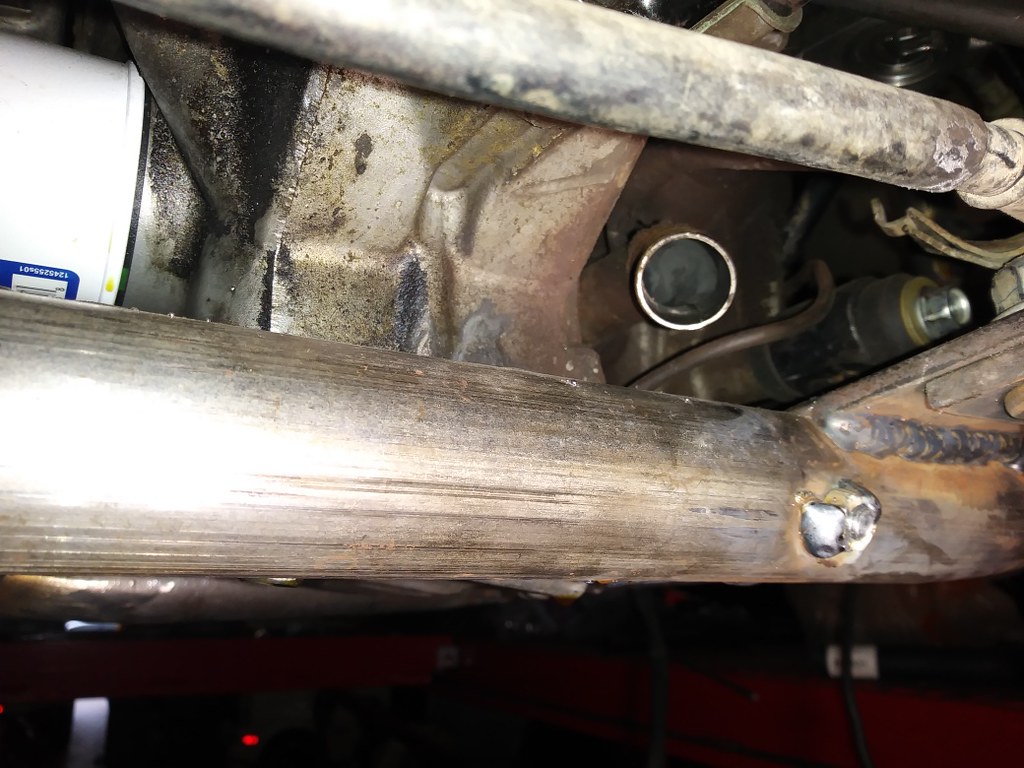 " />
" />
I was able to use an off the shelf radiator hose elbow for the connection
<img src=" " />
<img src="
" />
<img src="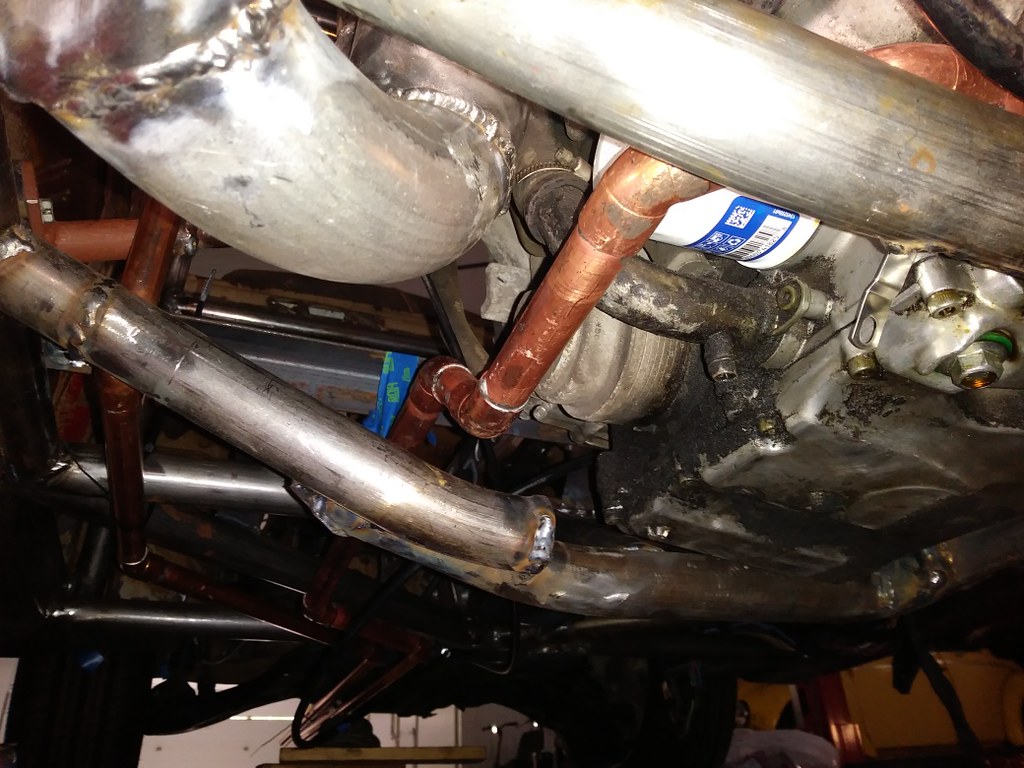 " />
" />
<img src="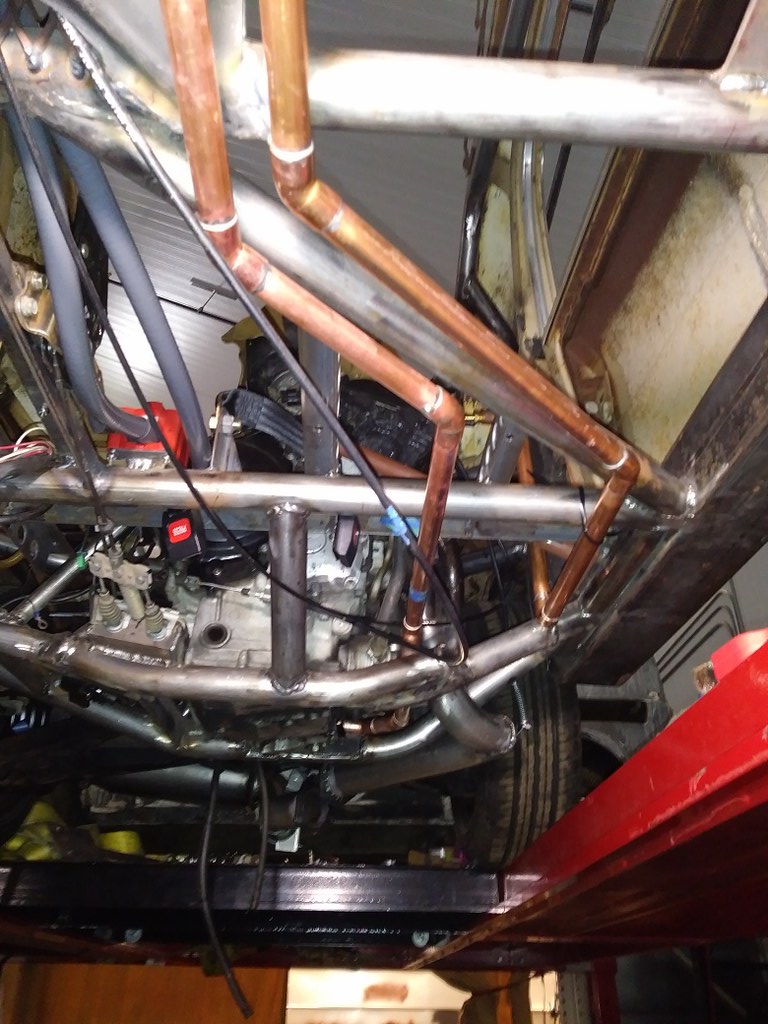 " />My Build Videos
 " />
" />
Narrowing the half shafts. Removed 6" from each side.
<img src="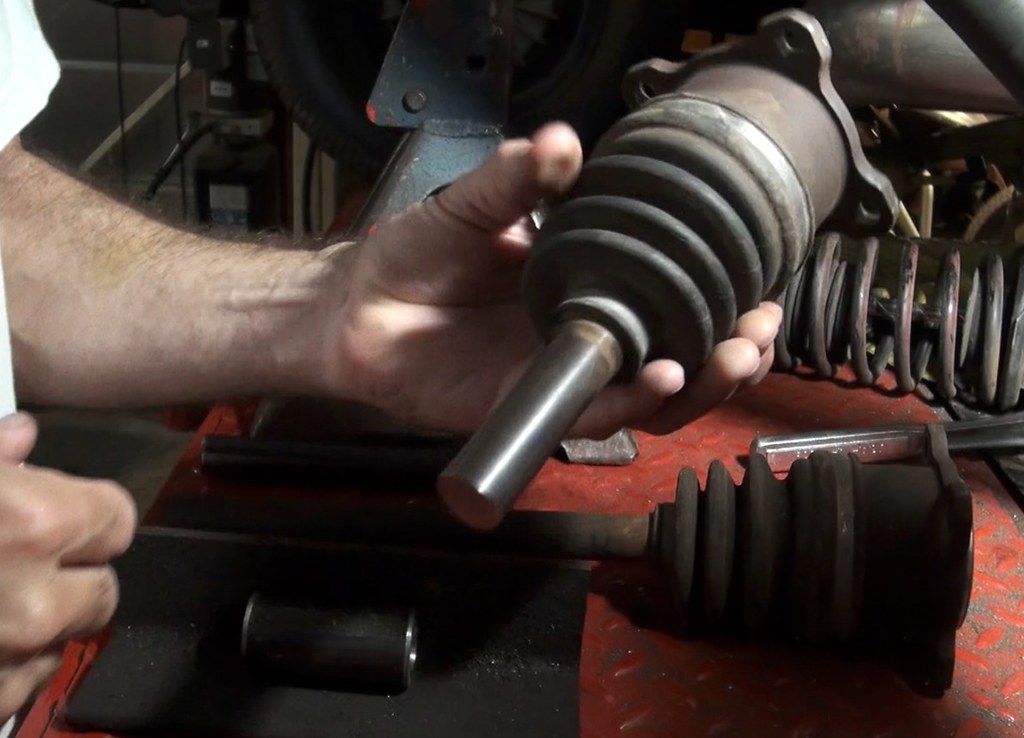 " />
" />
Welding the halves together and then welding a collar across the weld. Using a fixture made from heavy wall angle iron to hold the pieces true.
<img src="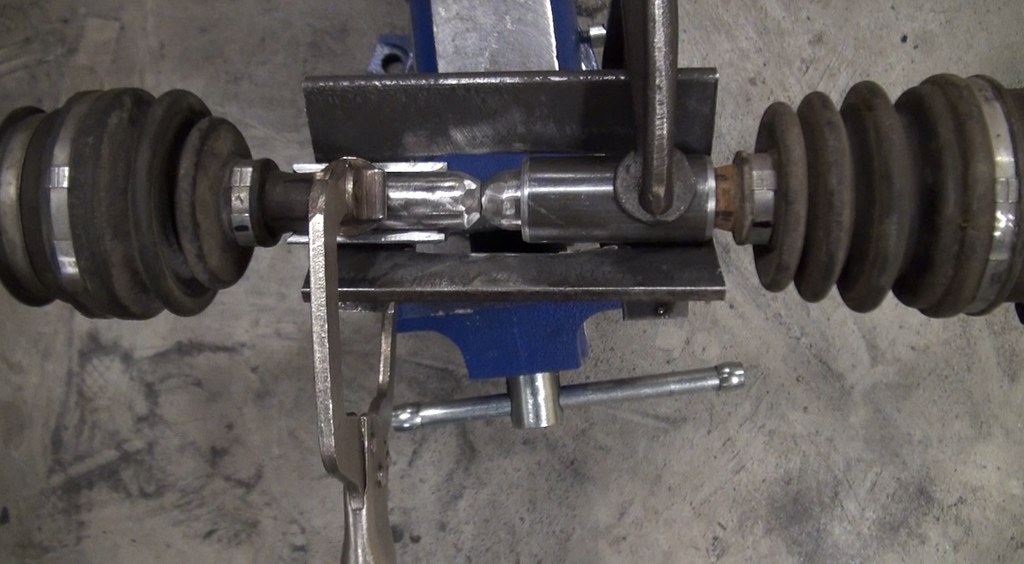 " />
<img src="
" />
<img src="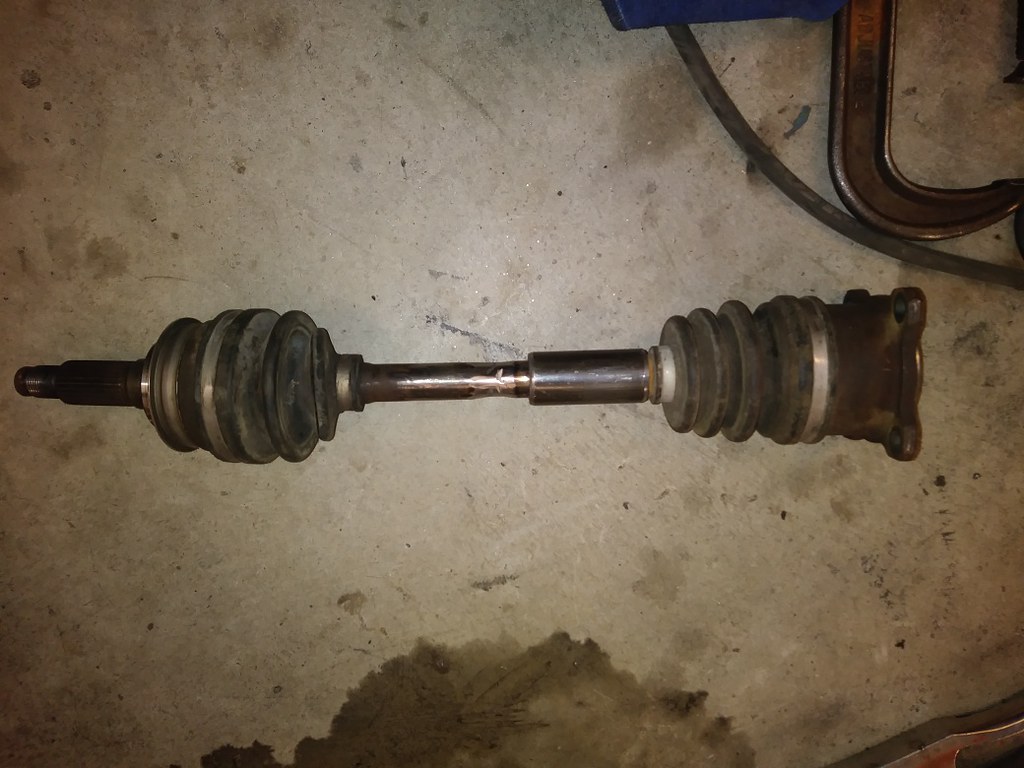 " /><img src="
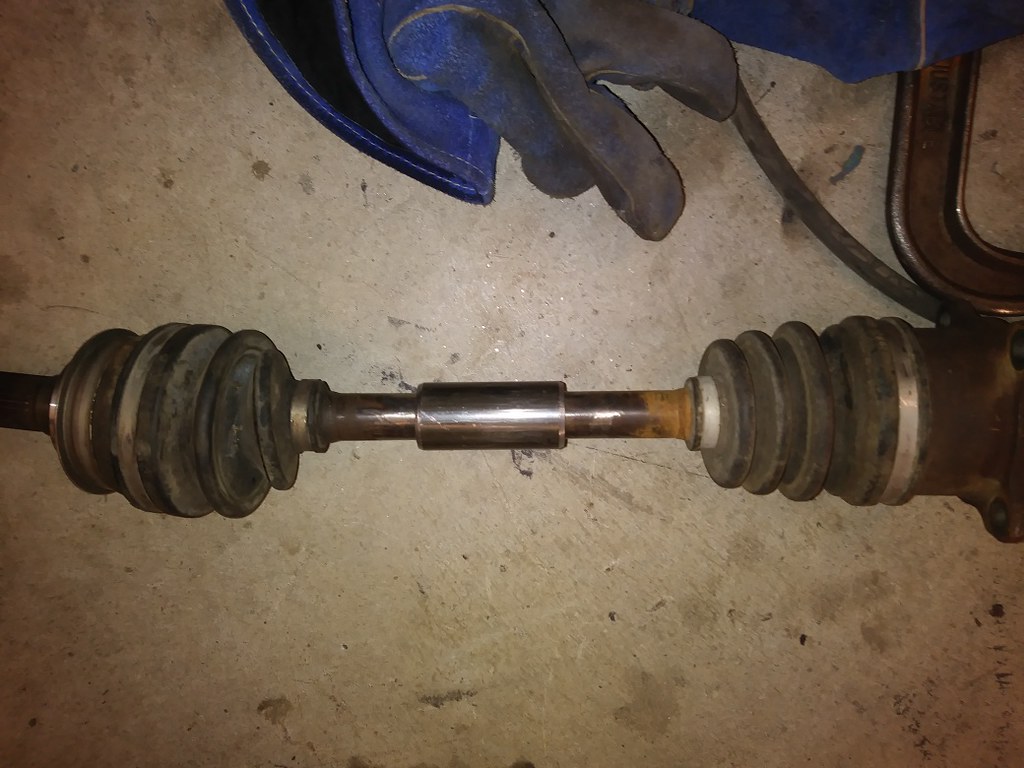 " />
" />
Yu da man !! Anybody see any thing wrong with that half shaft? Thought so.... ![]() On the other hand I got to wonder whether the cooling lines are out of harms way?...
On the other hand I got to wonder whether the cooling lines are out of harms way?...
Not recommending this axle method, just trying it out

Ben_Modified wrote: Not recommending this axle method, just trying it out Part 11 is on YouTube If you have any issues, call this guy: http://www.dutchmanaxles.com/products/custom-alloy-axle-shafts/rear-axles Will use your cut down axles to make some whatever length you want.

How I have not seen this build thread? Love it.
Here is you some inspiration.
You'll need to log in to post.


