1 2 3
badwaytolive
badwaytolive Reader
12/18/18 1:20 p.m.

In my search for brakes that would keep me happy during an endurance race, I had a pretty brutal talk with a man named Ken that owns KNSBrakes, a supplier of race-grade braking solutions. I originally just emailed him to get a recommendation on front calipers, but he told me to call him because it was too much to email.

Fine.

So I called and listened to him tell me what a terrible idea racing a WRX was.

For 30 minutes.

I think he signed off by saying if I owned a Subaru shop, had a mountain of cash to light on fire, and wanted to get internet famous, then go ahead. Or drive it backwards and call it a 911.

He told me that everyone pretty much gave up on the platform 5 years ago because it’s an economy car with a moderately sweet drivetrain. Fun street car. Underbuilt everything track car.

For whatever reason the news hit me pretty hard so I decided to set the project aside for a bit while I focused on the Datsun. I actually just wanted to sell the car I was so frustrated.

Fortunately, my friends talked me off the ledge. It’s a fun $1,500 car; just relax and enjoy it. Yay friends.

So, in the meantime, I’ve only done a few things on the car; I got some ECU stuff finally resolved, along with some interior bits and check engine codes.

Anyhow, here’s a bit of a catch-up to where the car is now.

Here's where we left off, with the wideband gauge floating around the center console.

The boost gauge was acting like the sensor was bad, so (as previously mentioned) I got a $17 gauge off eBay that used a sensor I believe would work with my gauge. 

Behold, the "Universal Sport Meter: Performance When Power".

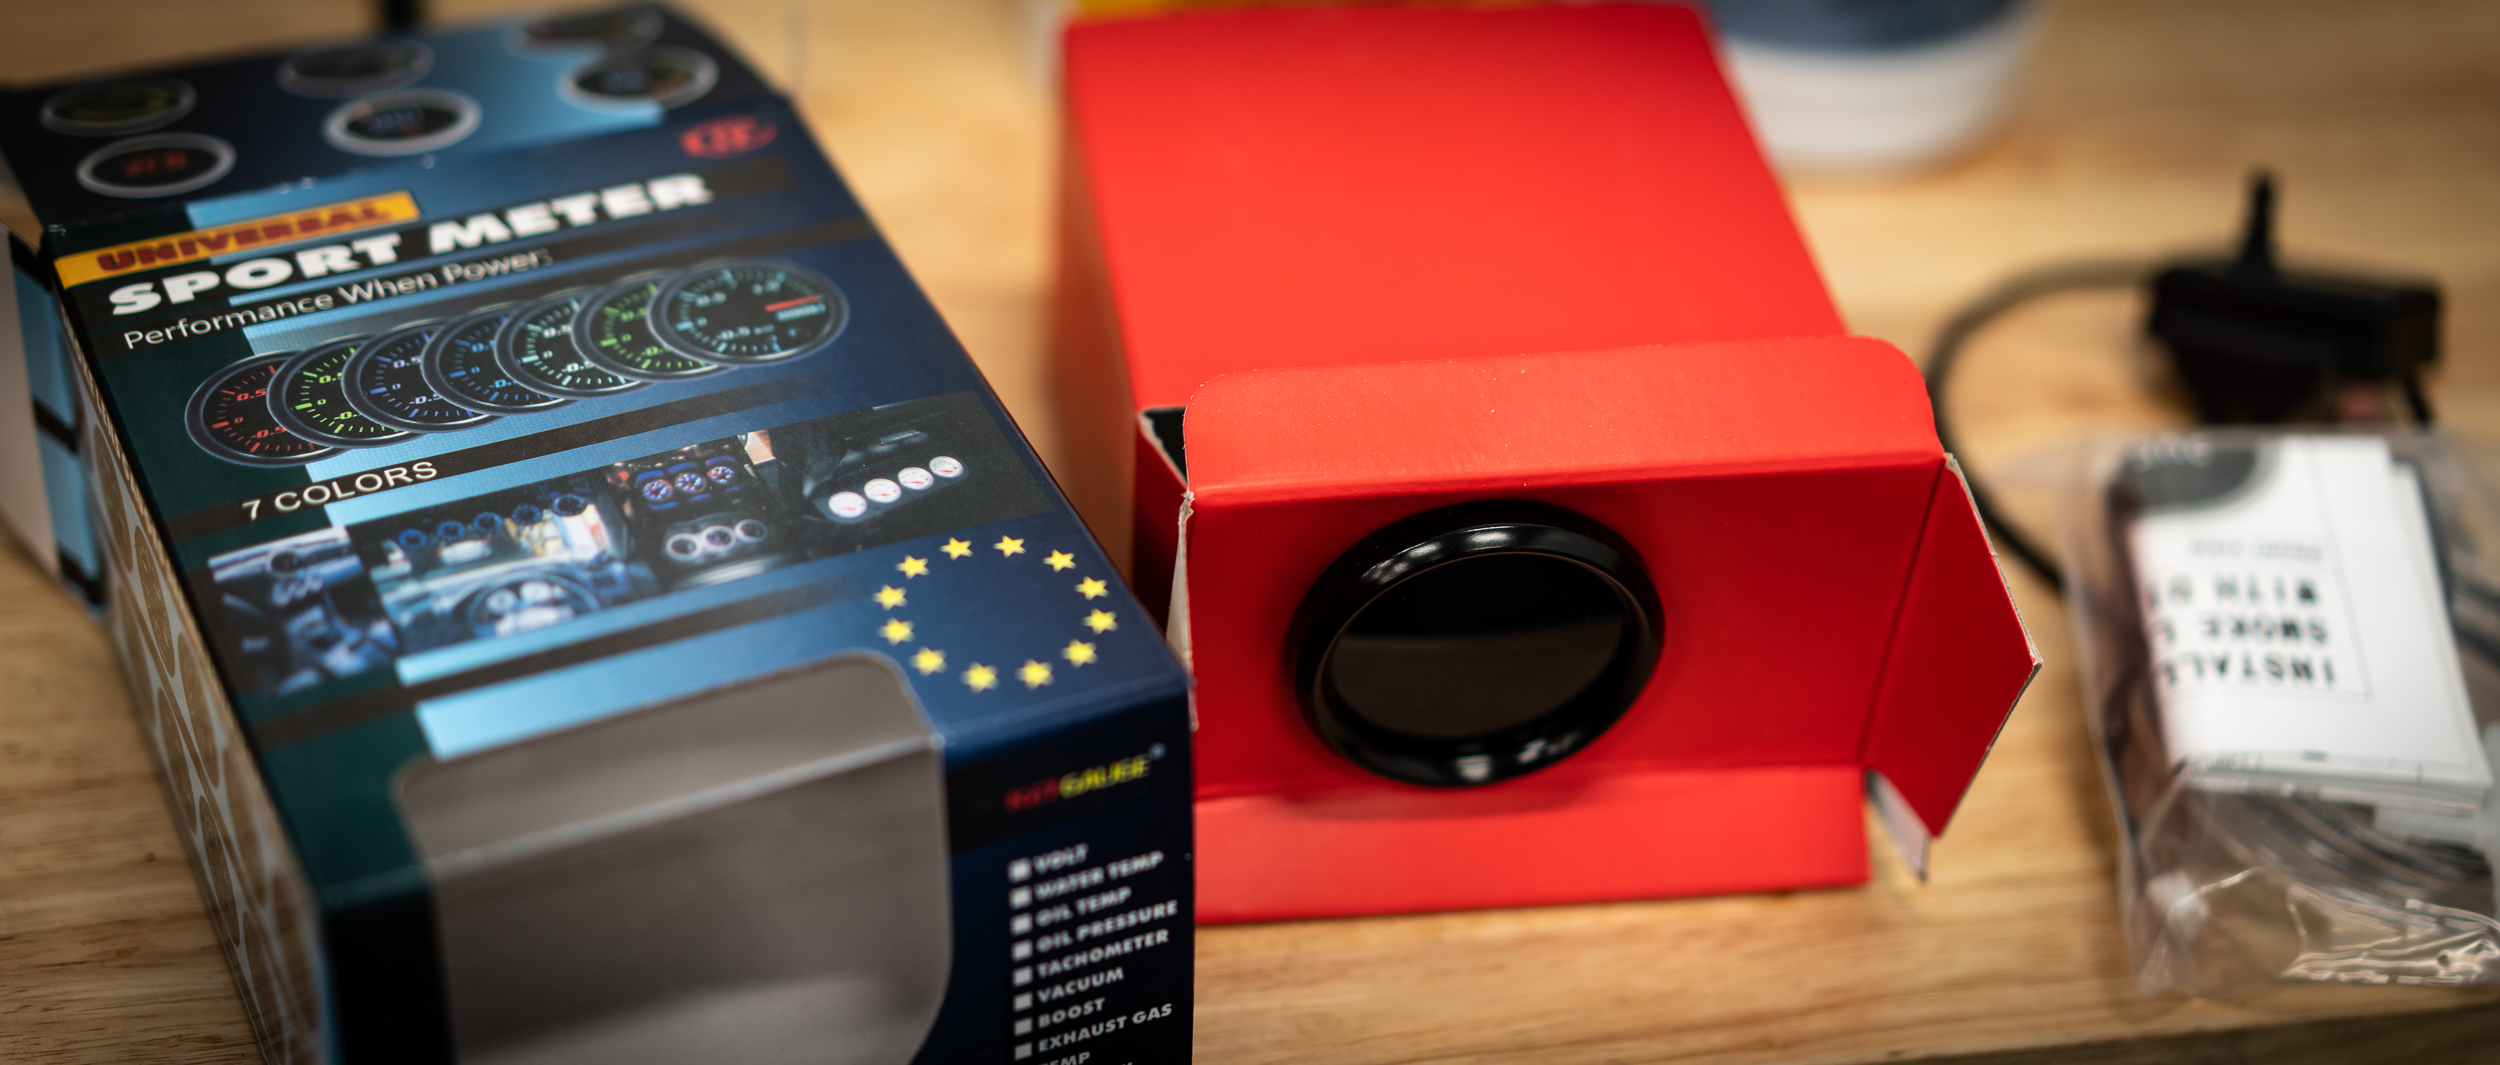
Before getting too far down the road, I wanted to check that it worked at all, so I pulled out the bench testing setup.

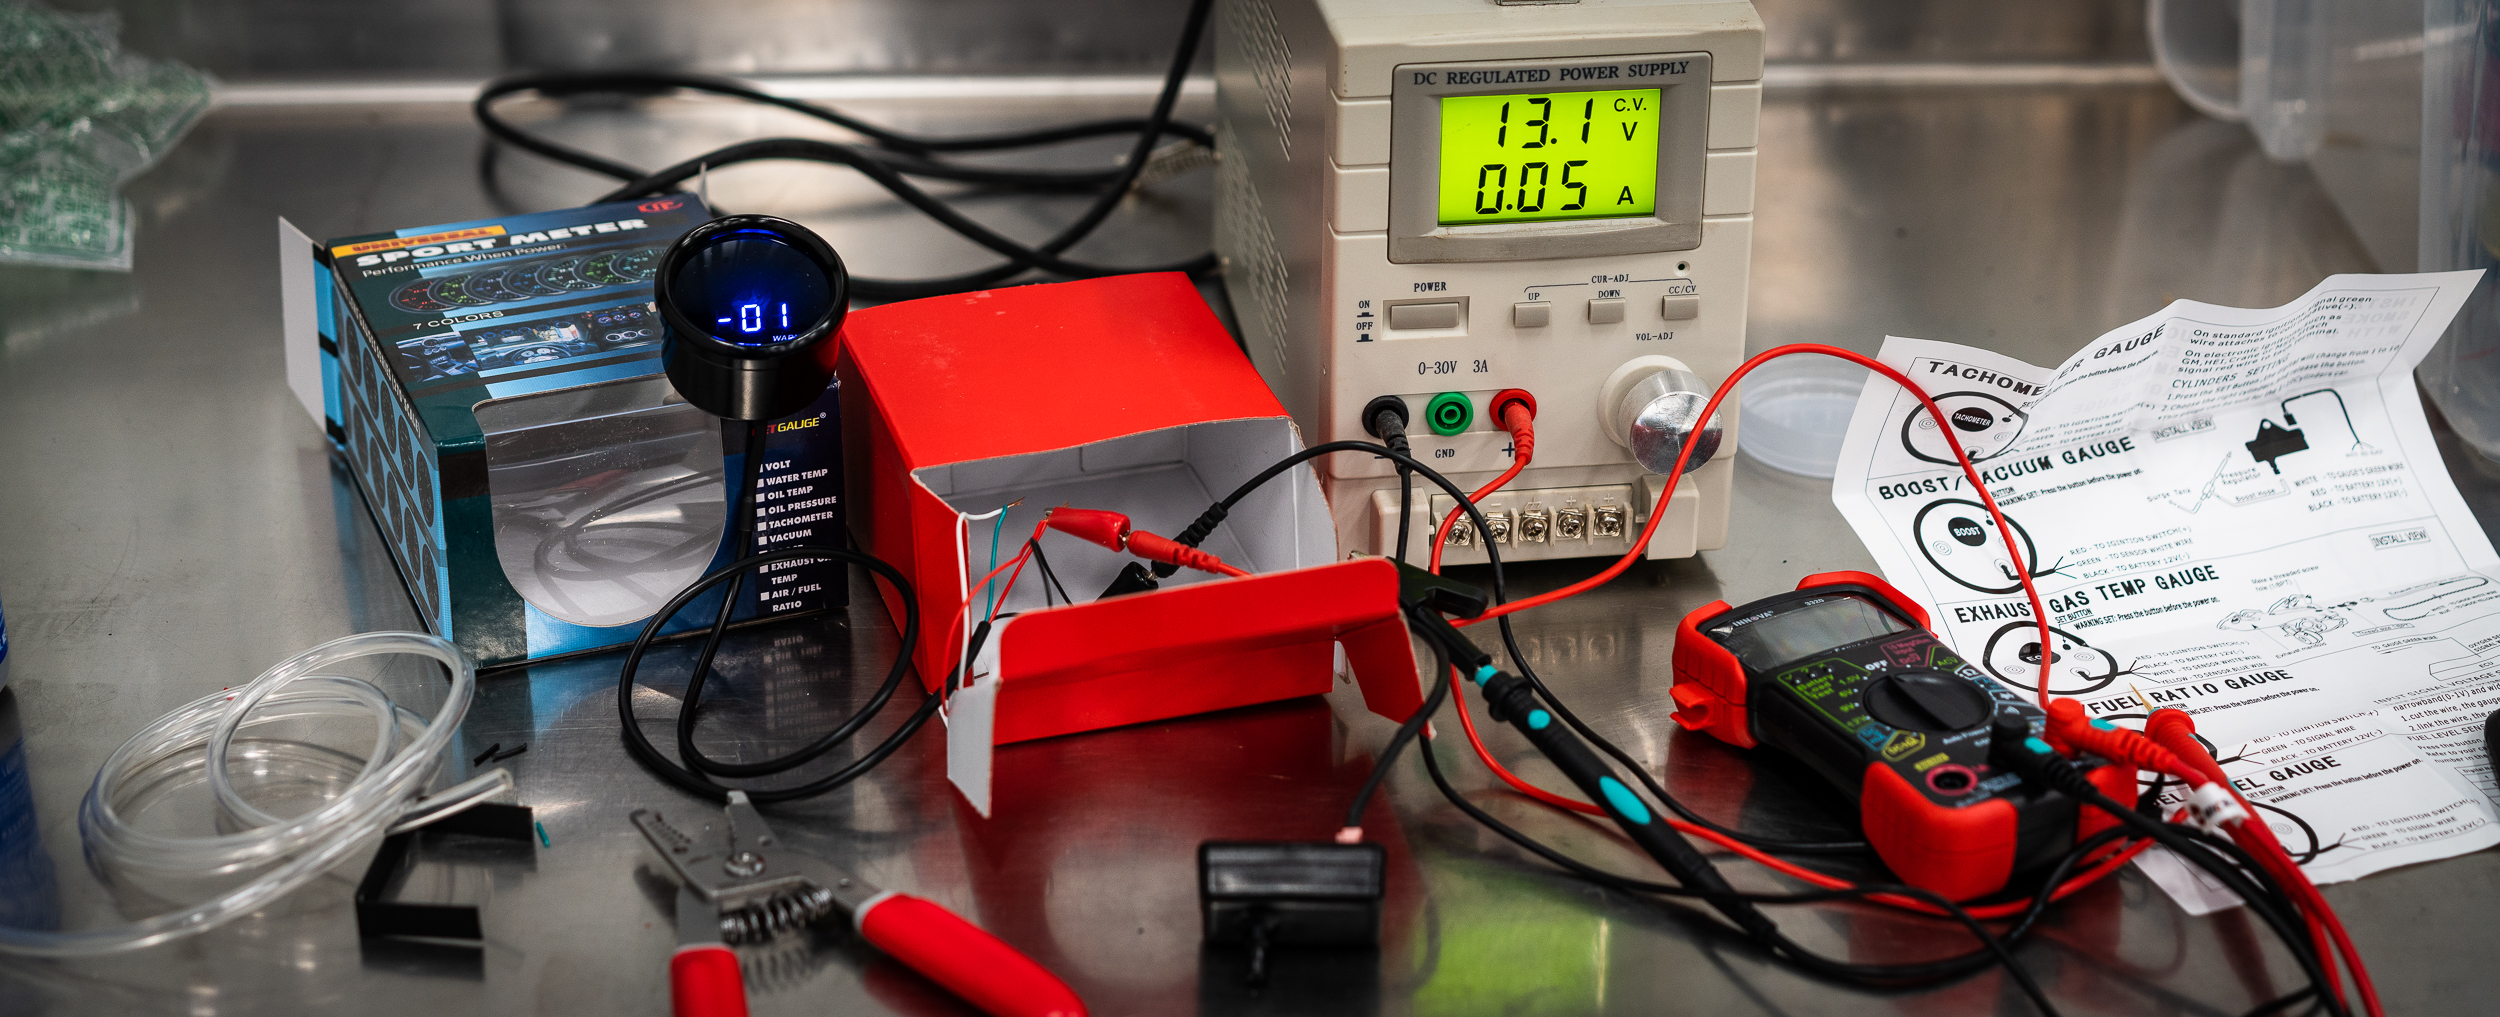
It seemed to work, yay.

The old sensor was disassembled to compare to the new one. Conclusion: Not The Same. Here's what the inside of the new sensor looks like:

I swapped it into the car and behold, boost readings. Woot!

Next was to tackle the wideband / EGT gauge swap. Or more accurately, remove the dead EGT gauge and put the wideband in its place. But first, RYEPhil told me to switch the AFR to Lambda because [something about meaningless AFR].

So I did. The AEM gauge needs disassembled to flip the faceplate, but it was very simple and a pretty cool feature, I think.

Look how sophisticated I am now. Pass le Grey Poupon, plz.

With everything out of the center stack, and the gauges on a single connector, it was very simple to swap in the wideband. It even worked!

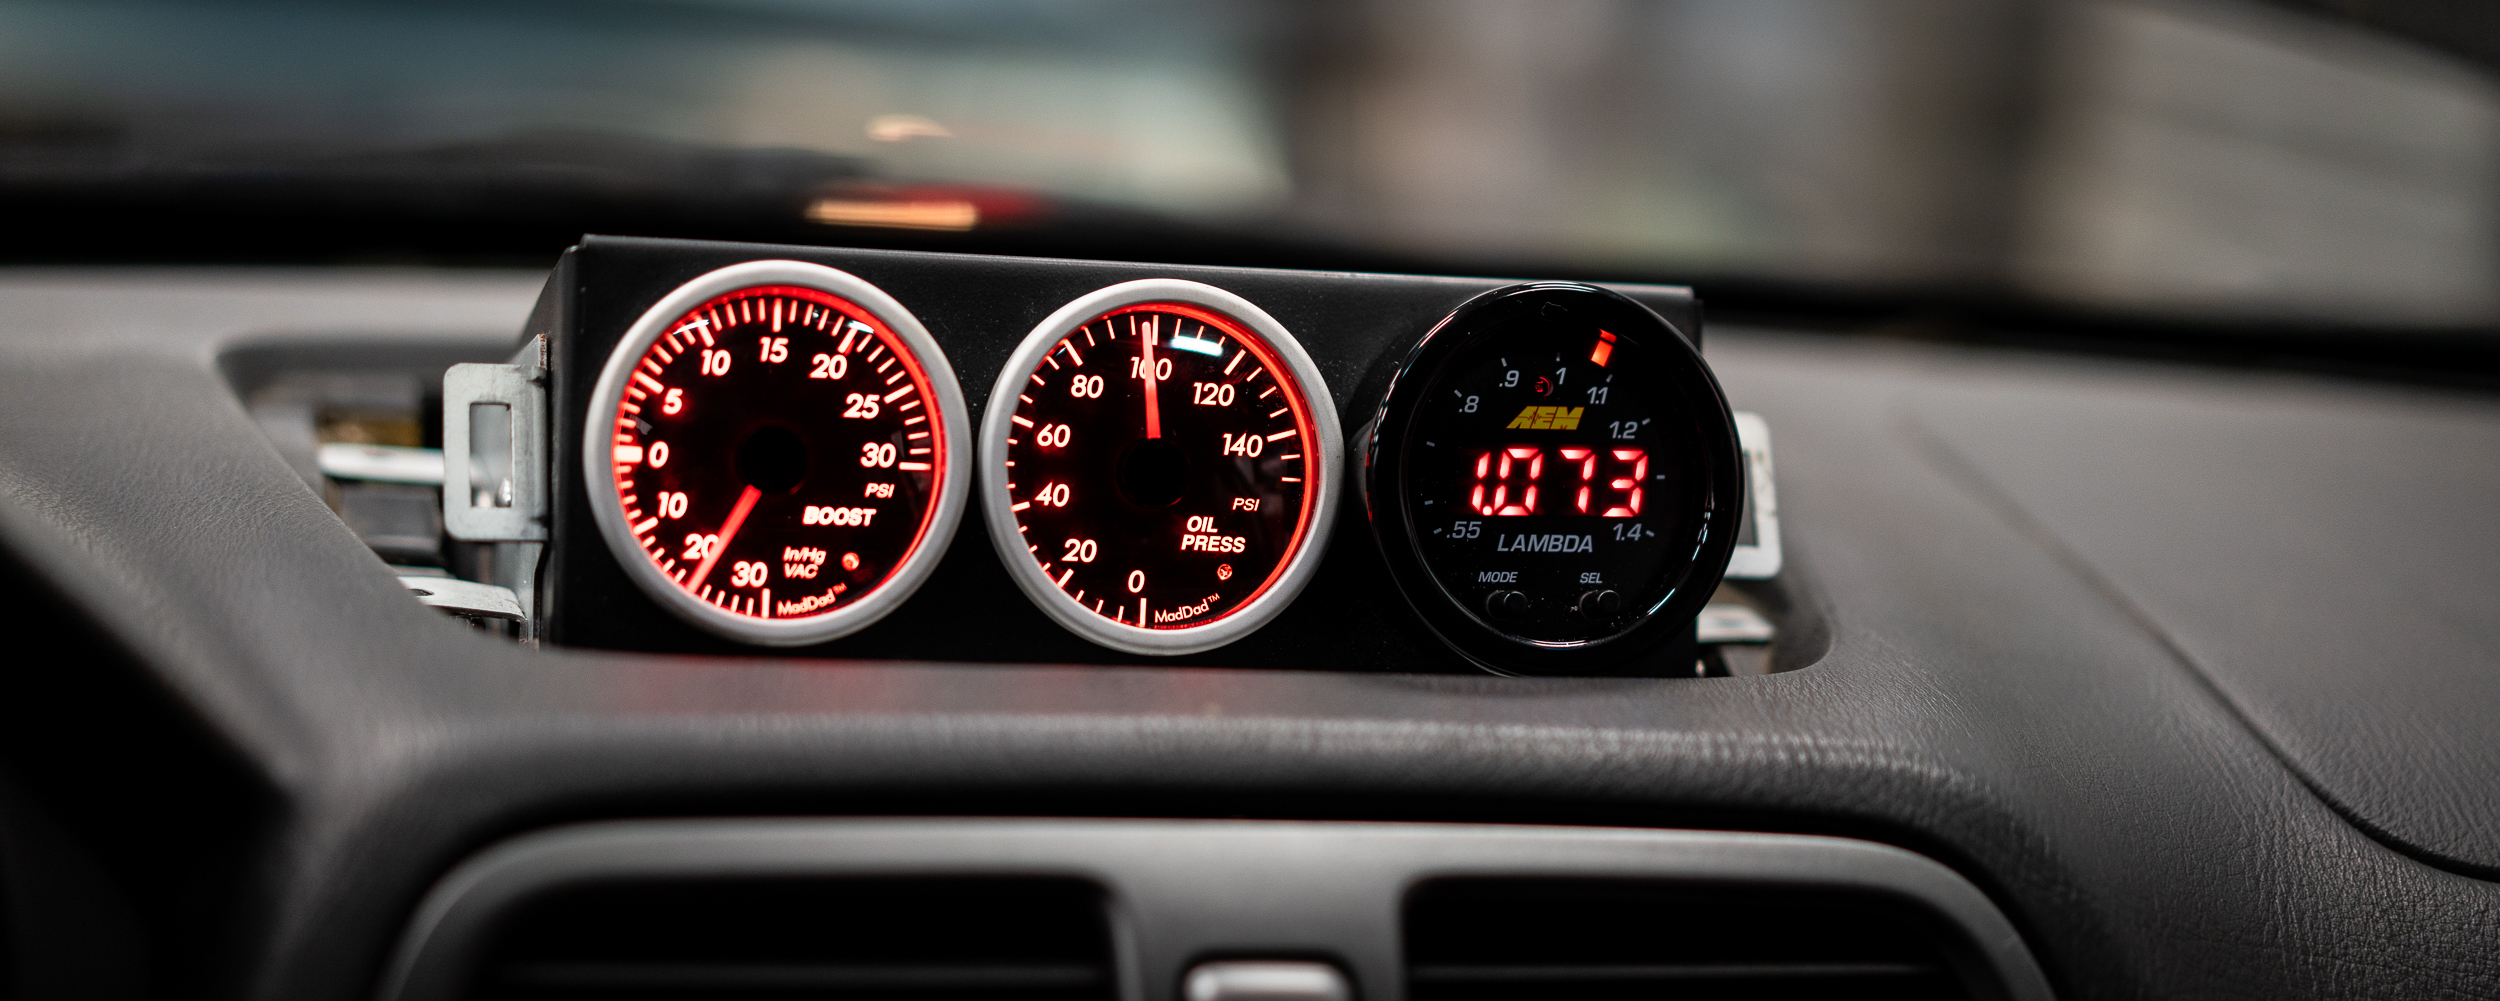
But the cover doesn't fit nicely over the wideband gauge because of the much-larger bezel.

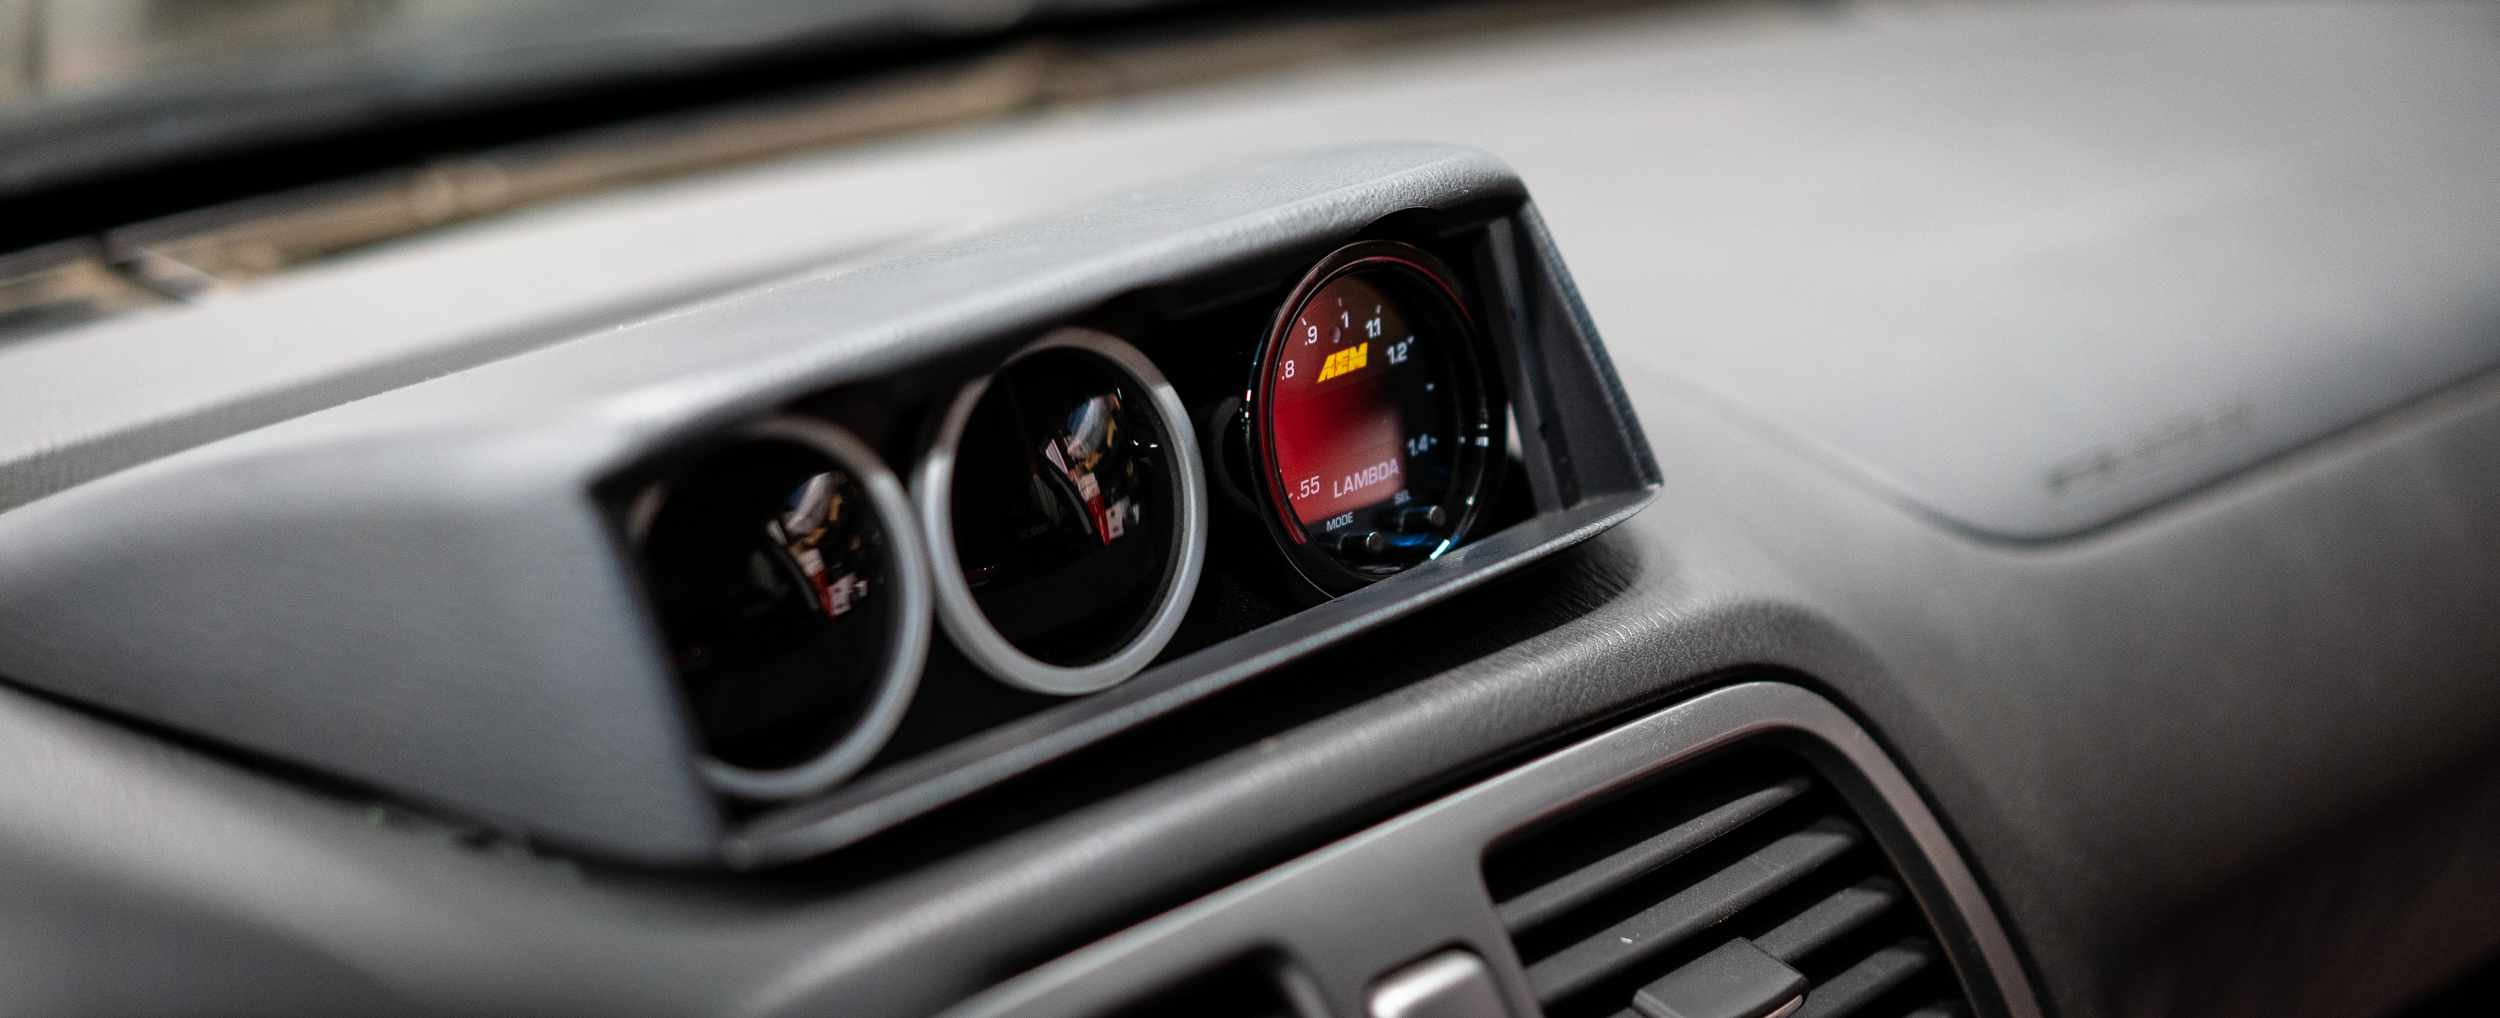
I've gotten a bit closer to fitting with the dremel since this photo, but it's not quite there. Small matter, but I'm very glad to have these gauges to monitor.

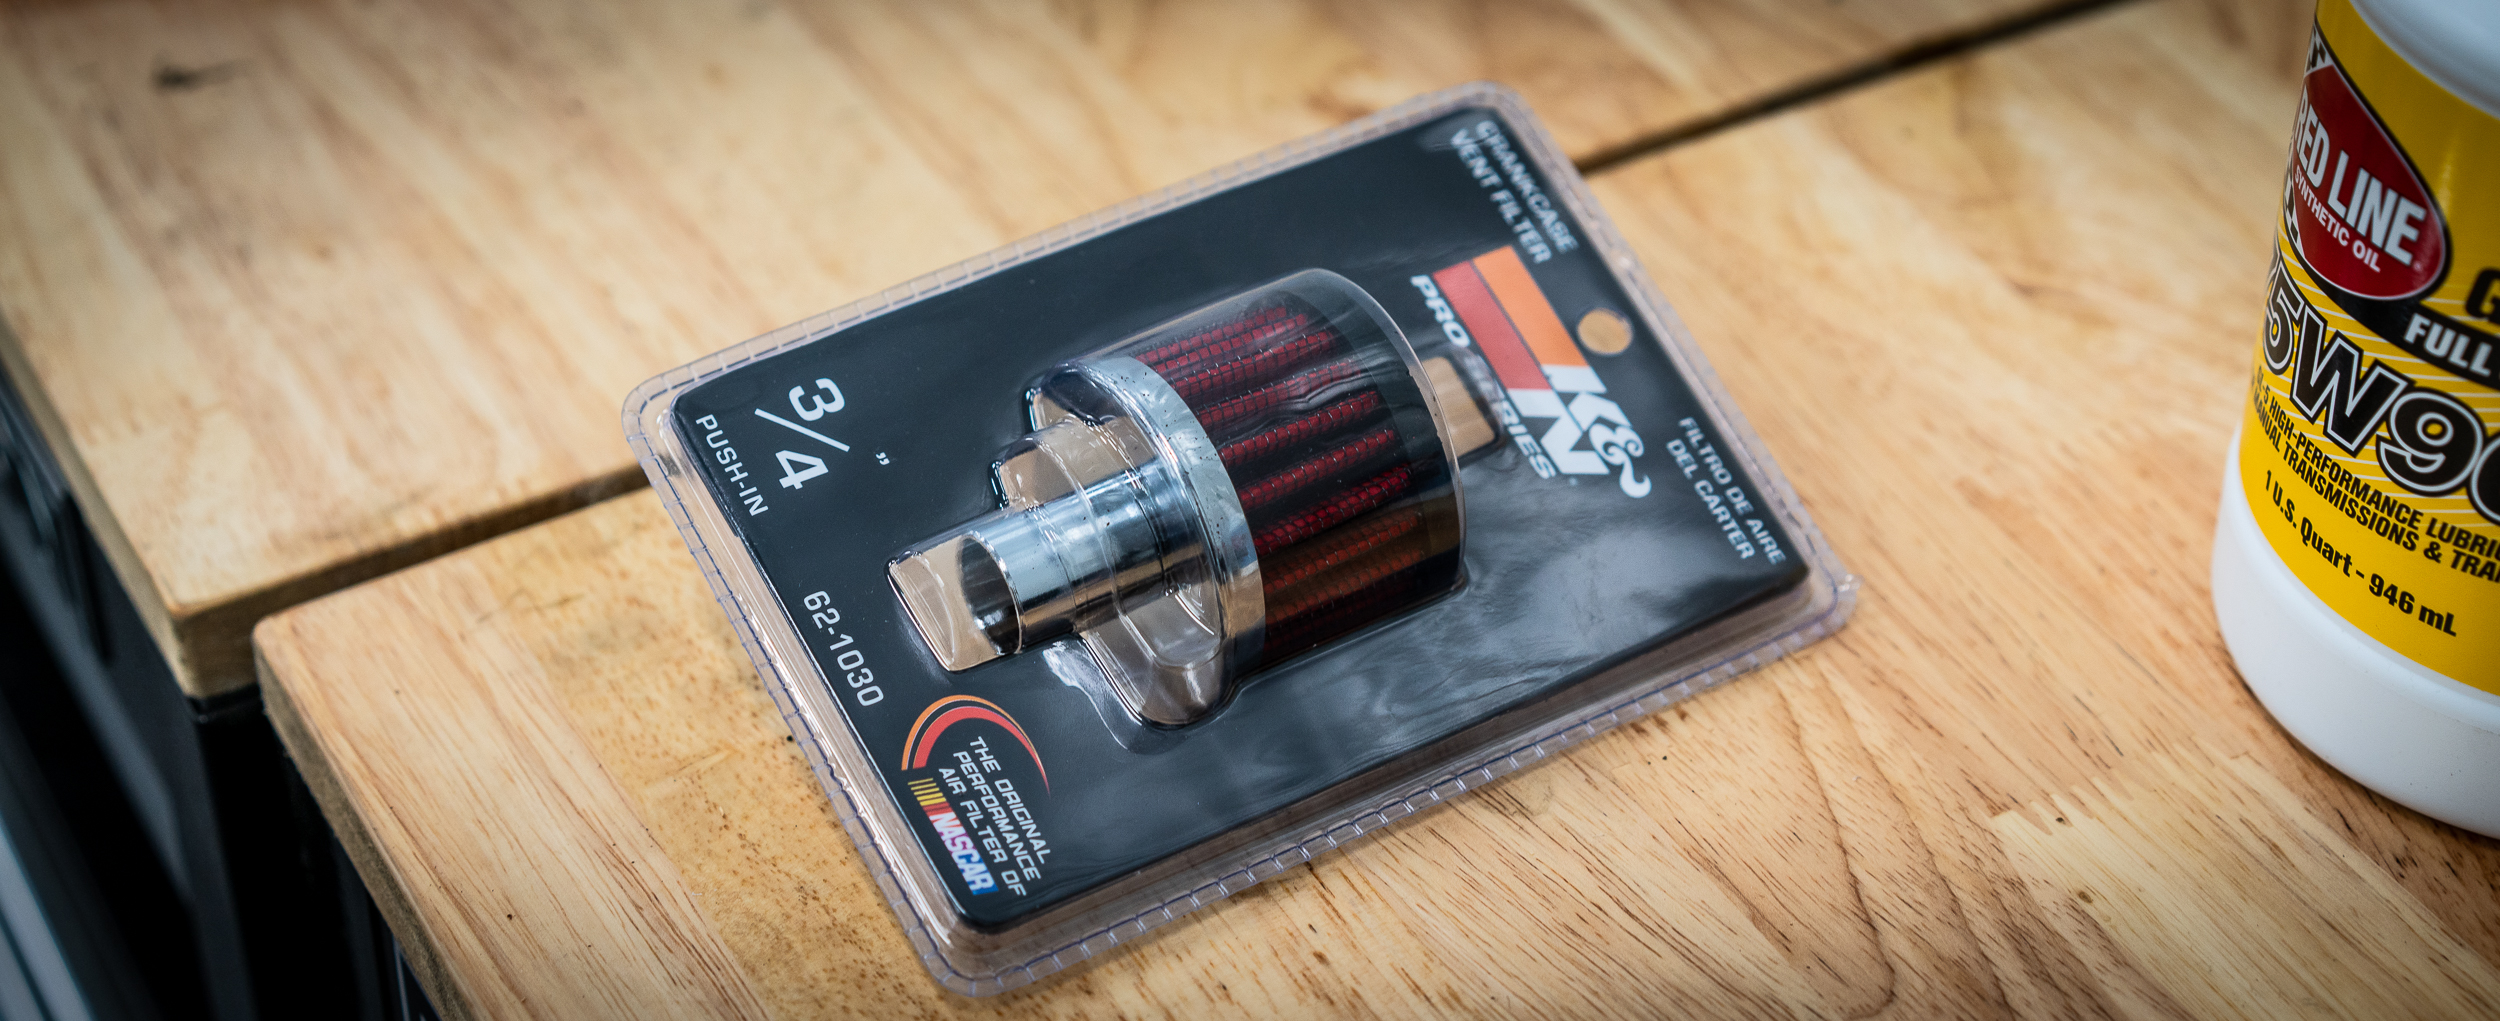
A little while ago I removed the charcoal cannister and all the solenoids that died in the flood from the back of the car. Because this is going to be a track car, I'm not replacing all that stuff, but there's a large open breather tube that I wanted to put a filter on to prevent any junk from going the wrong way.

These little filters are surprisingly expensive. This one was like $23. I really did search for a cheaper option, but failed.

I pushed it in place and secured with a hose clamp.

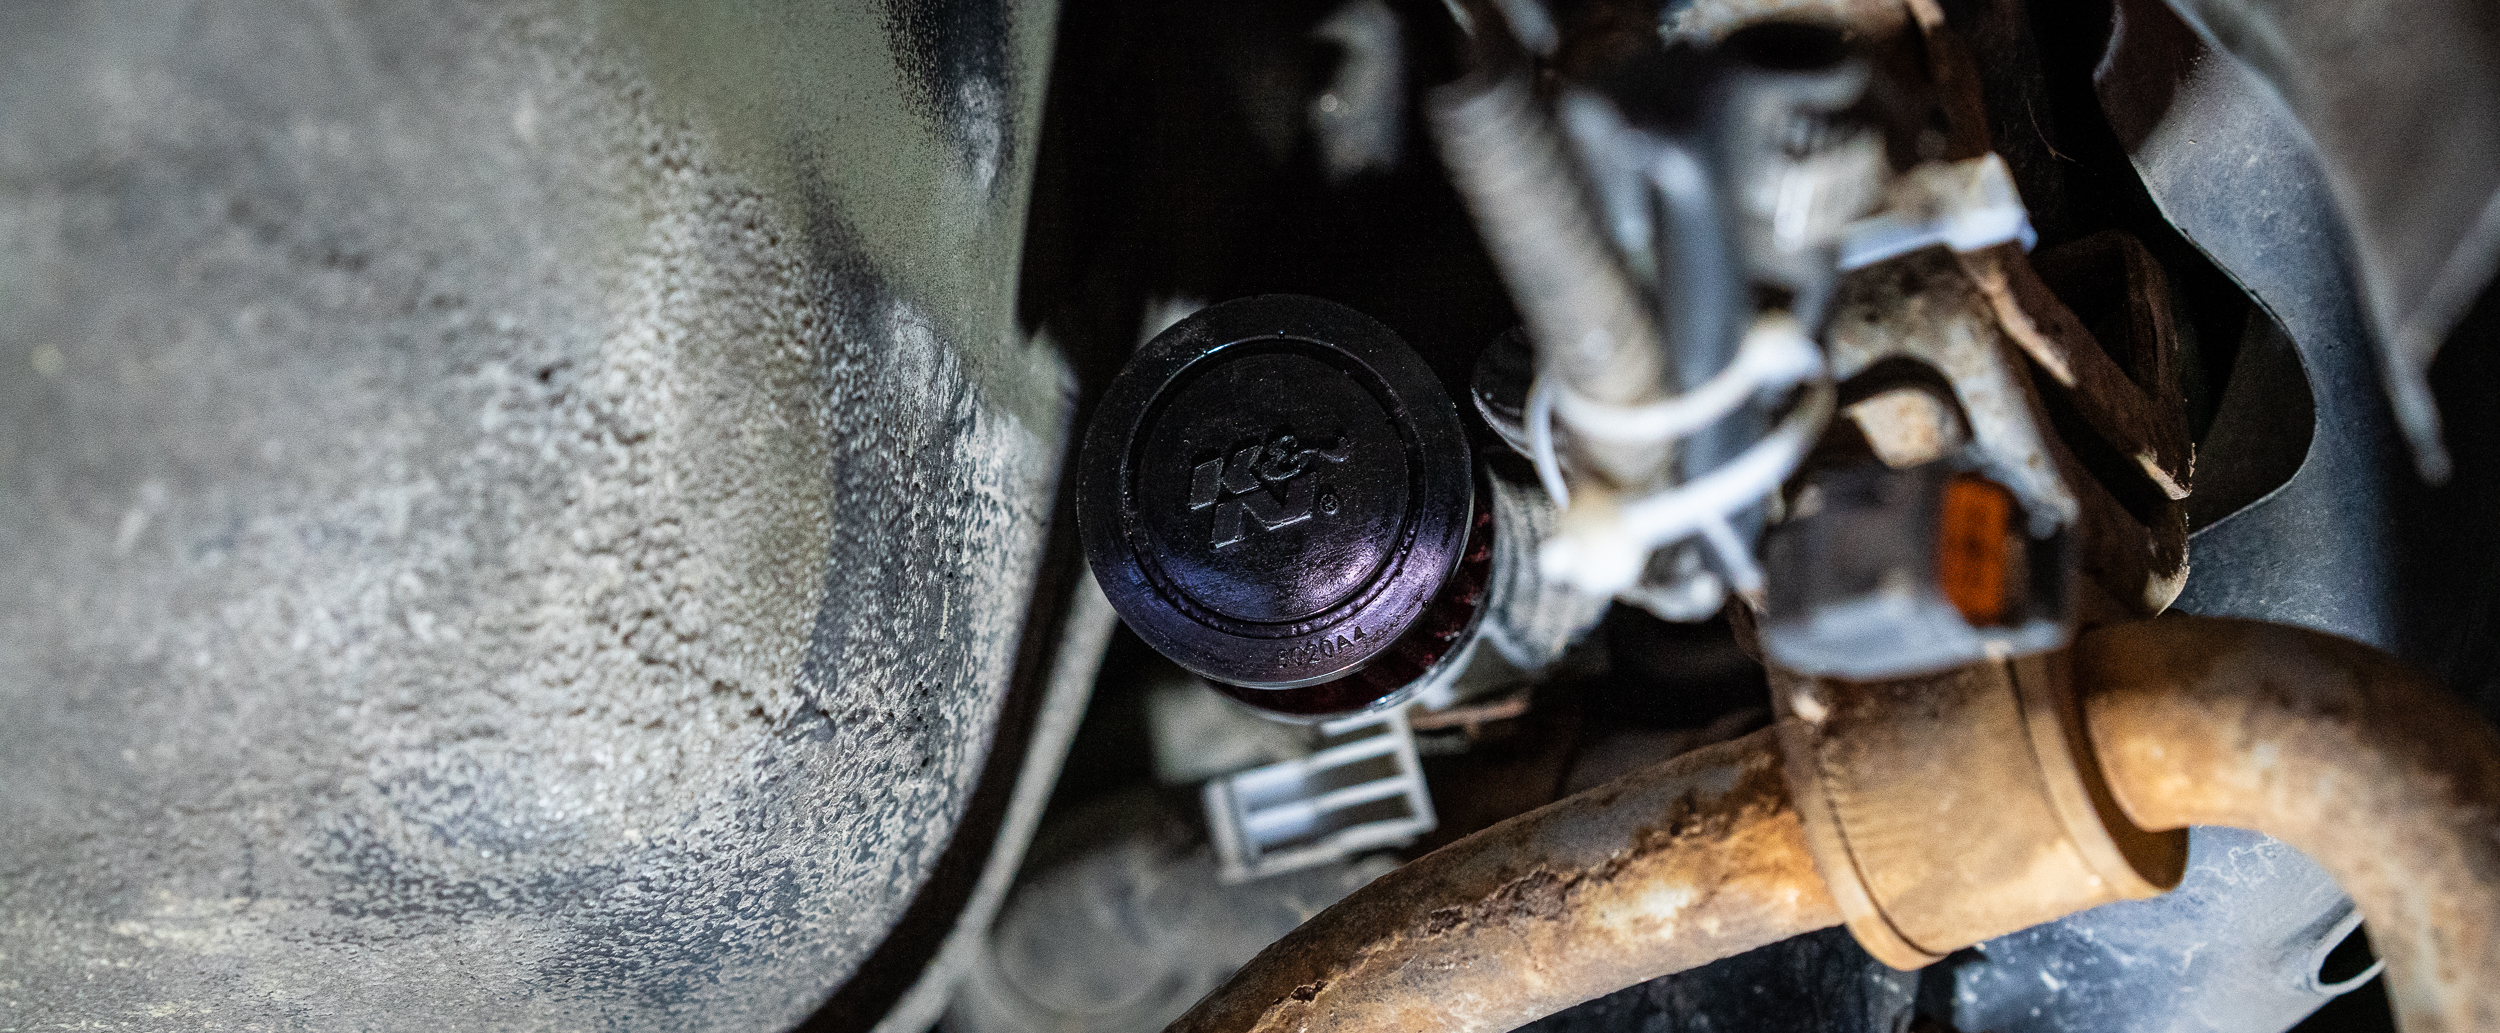
So that's solved for now.

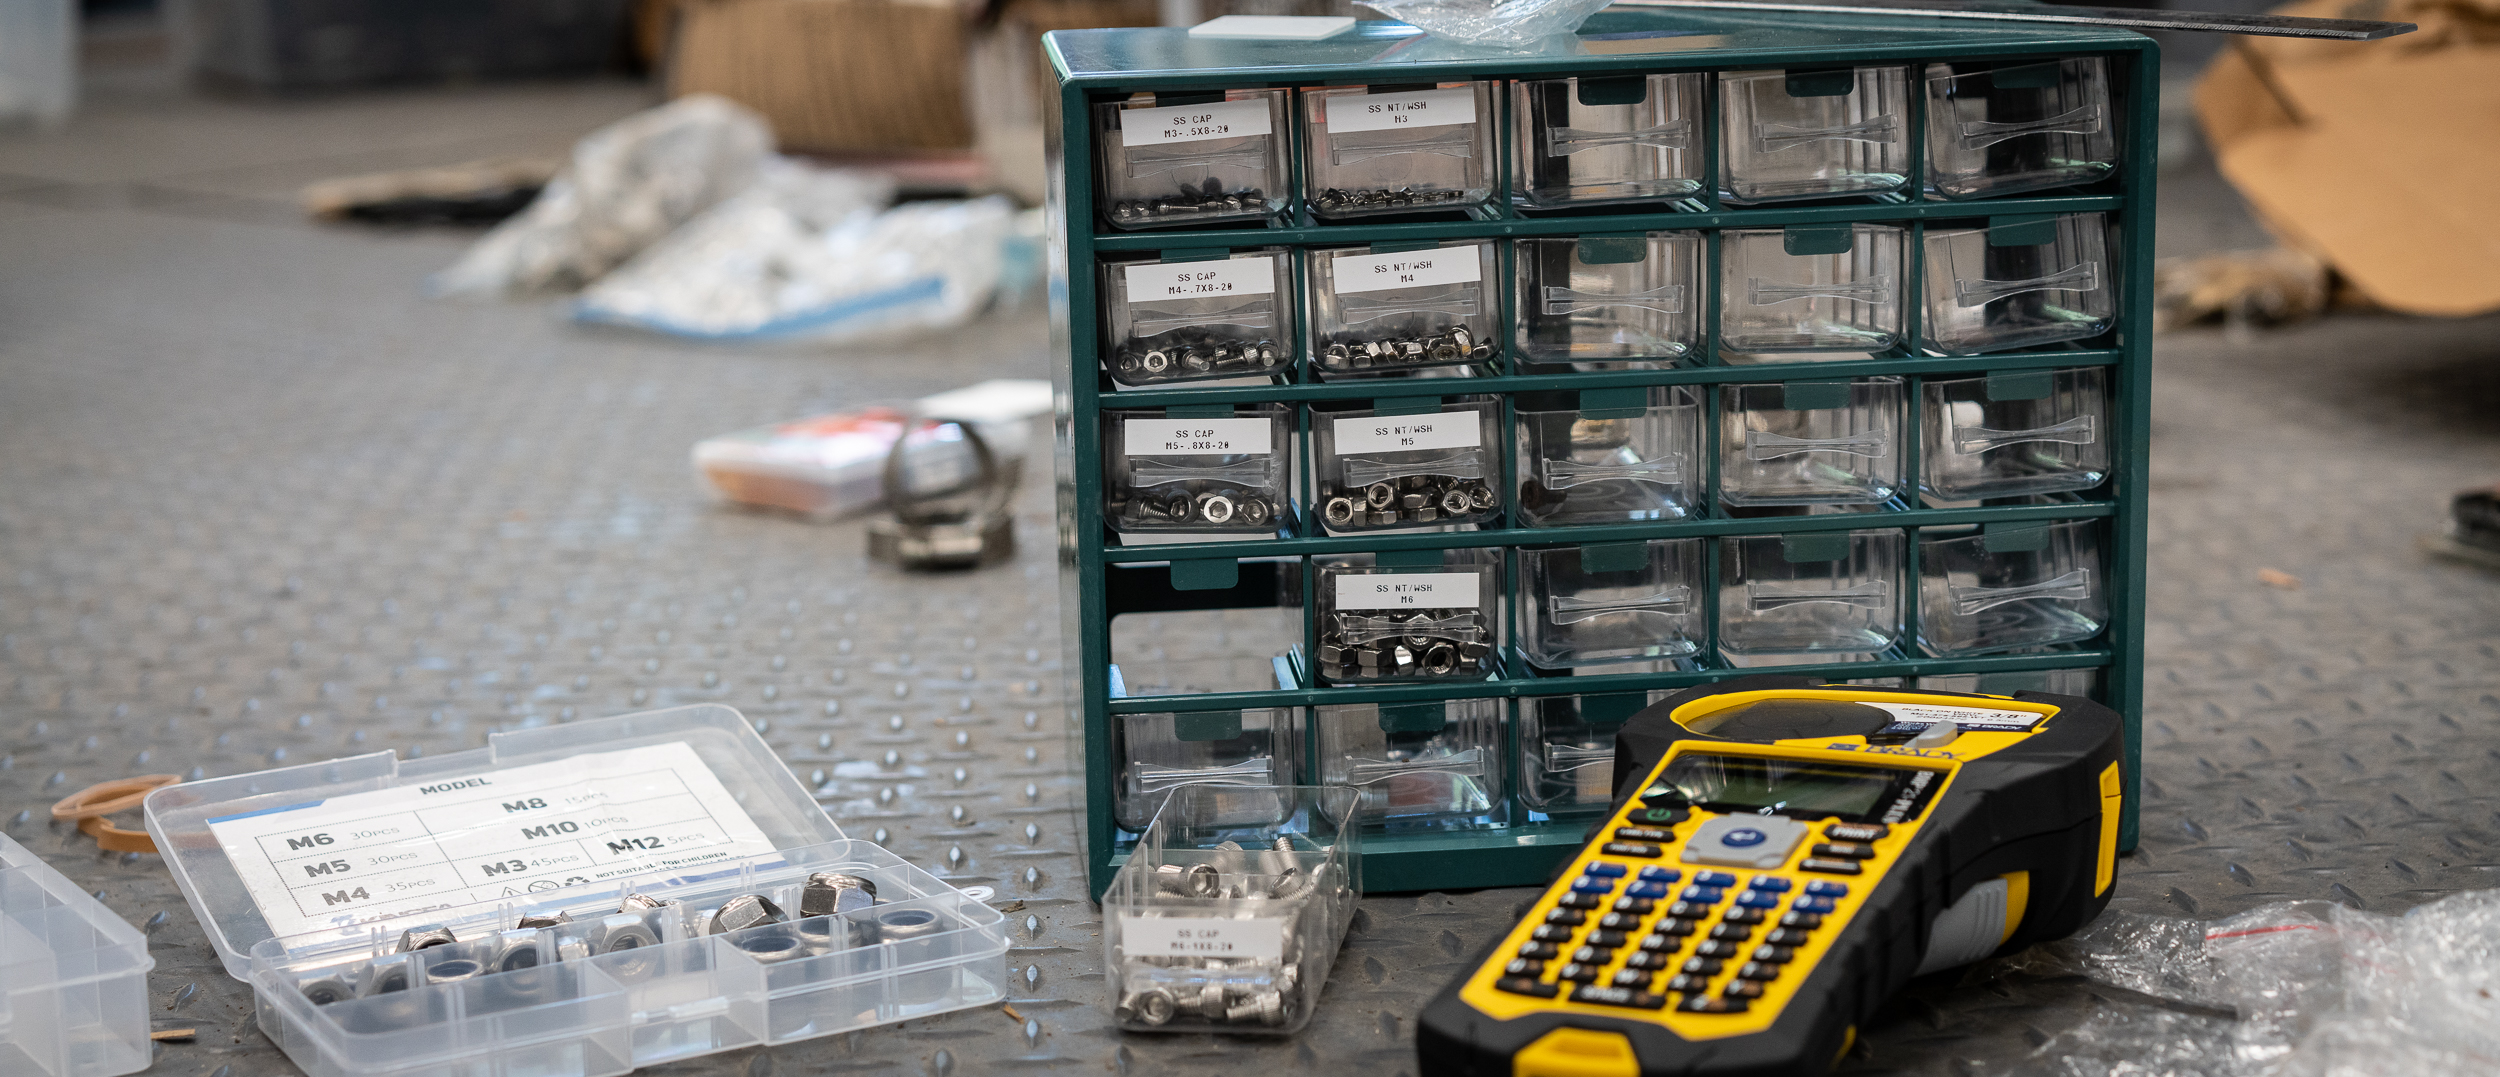
Nik and I made a huge effort at the end of last year and the beginning of this year to get the shop cleaned and organized, but these are never 1-shot deals. The first pass resulted in amazing progress, but some stuff didn't have a home yet and we gradually got some piles regenerating. We decided to take a day to address some mess. I don't have a bunch of photos from it, but it was good. I do have this photo of the couple hours we spent organizing hardware, labeling and sorting.

At one point, I even washed the car. It is an odd looking thing.

Since I now have boost and wideband, I can get a much better idea of how the car is running, so I took it out for a quick spin with the eBay "stock / locked" ECU.

I saw 17-ish psi and lambda 0.68 (meaningless AFR ~=10). That's not stock. Stock is like 12-13psi and not that fat.

So this ECU was definitely "touched" at some point. I got back in contact with the original seller and he apologized and begrudgingly agreed to a refund. Great, I had a different stock ECU on the way, so all was well.

Until it showed up. Totally wrong ECU, it did not match the description or the photos from the listing. Ughhhhhhh. Feel free to skip the rest of this ranty paragraph. <rant> I contacted the seller who proceeded to disagree with me which ECU I was holding in my hands. After multiple back and forths, and him finally checking the photos I sent him, he realized, "oh, sorry, sent the wrong one." Ok fine, send me the right one with a return label enclosed and I'll send the wrong one back. Ok fine, so I wait a week. Nothing. Hellooo? He says he hasn't received the wrong one back. We didn't agree on that. Oh ya, well, go through the eBay return process, return the wrong one then he'll send it. Fine. I start the eBay process for the return, eBay tells me to wait up a week to get a shipping return label. A week goes by, nothing. Helloooo? Oh, he's waiting for me to start the return process. No, I did that. I have to send him screen captures to prove it. He decides to check his account. Oh, it's waiting on him to click "OK". So he clicks "OK" and I get a shipping label. Finally. I ship it back, he ships me the right one, and finally after 3 months I have a stock ECU. </rant>

So I took the stock/locked ECU out. Gratuitous photo because I liked the lighting.
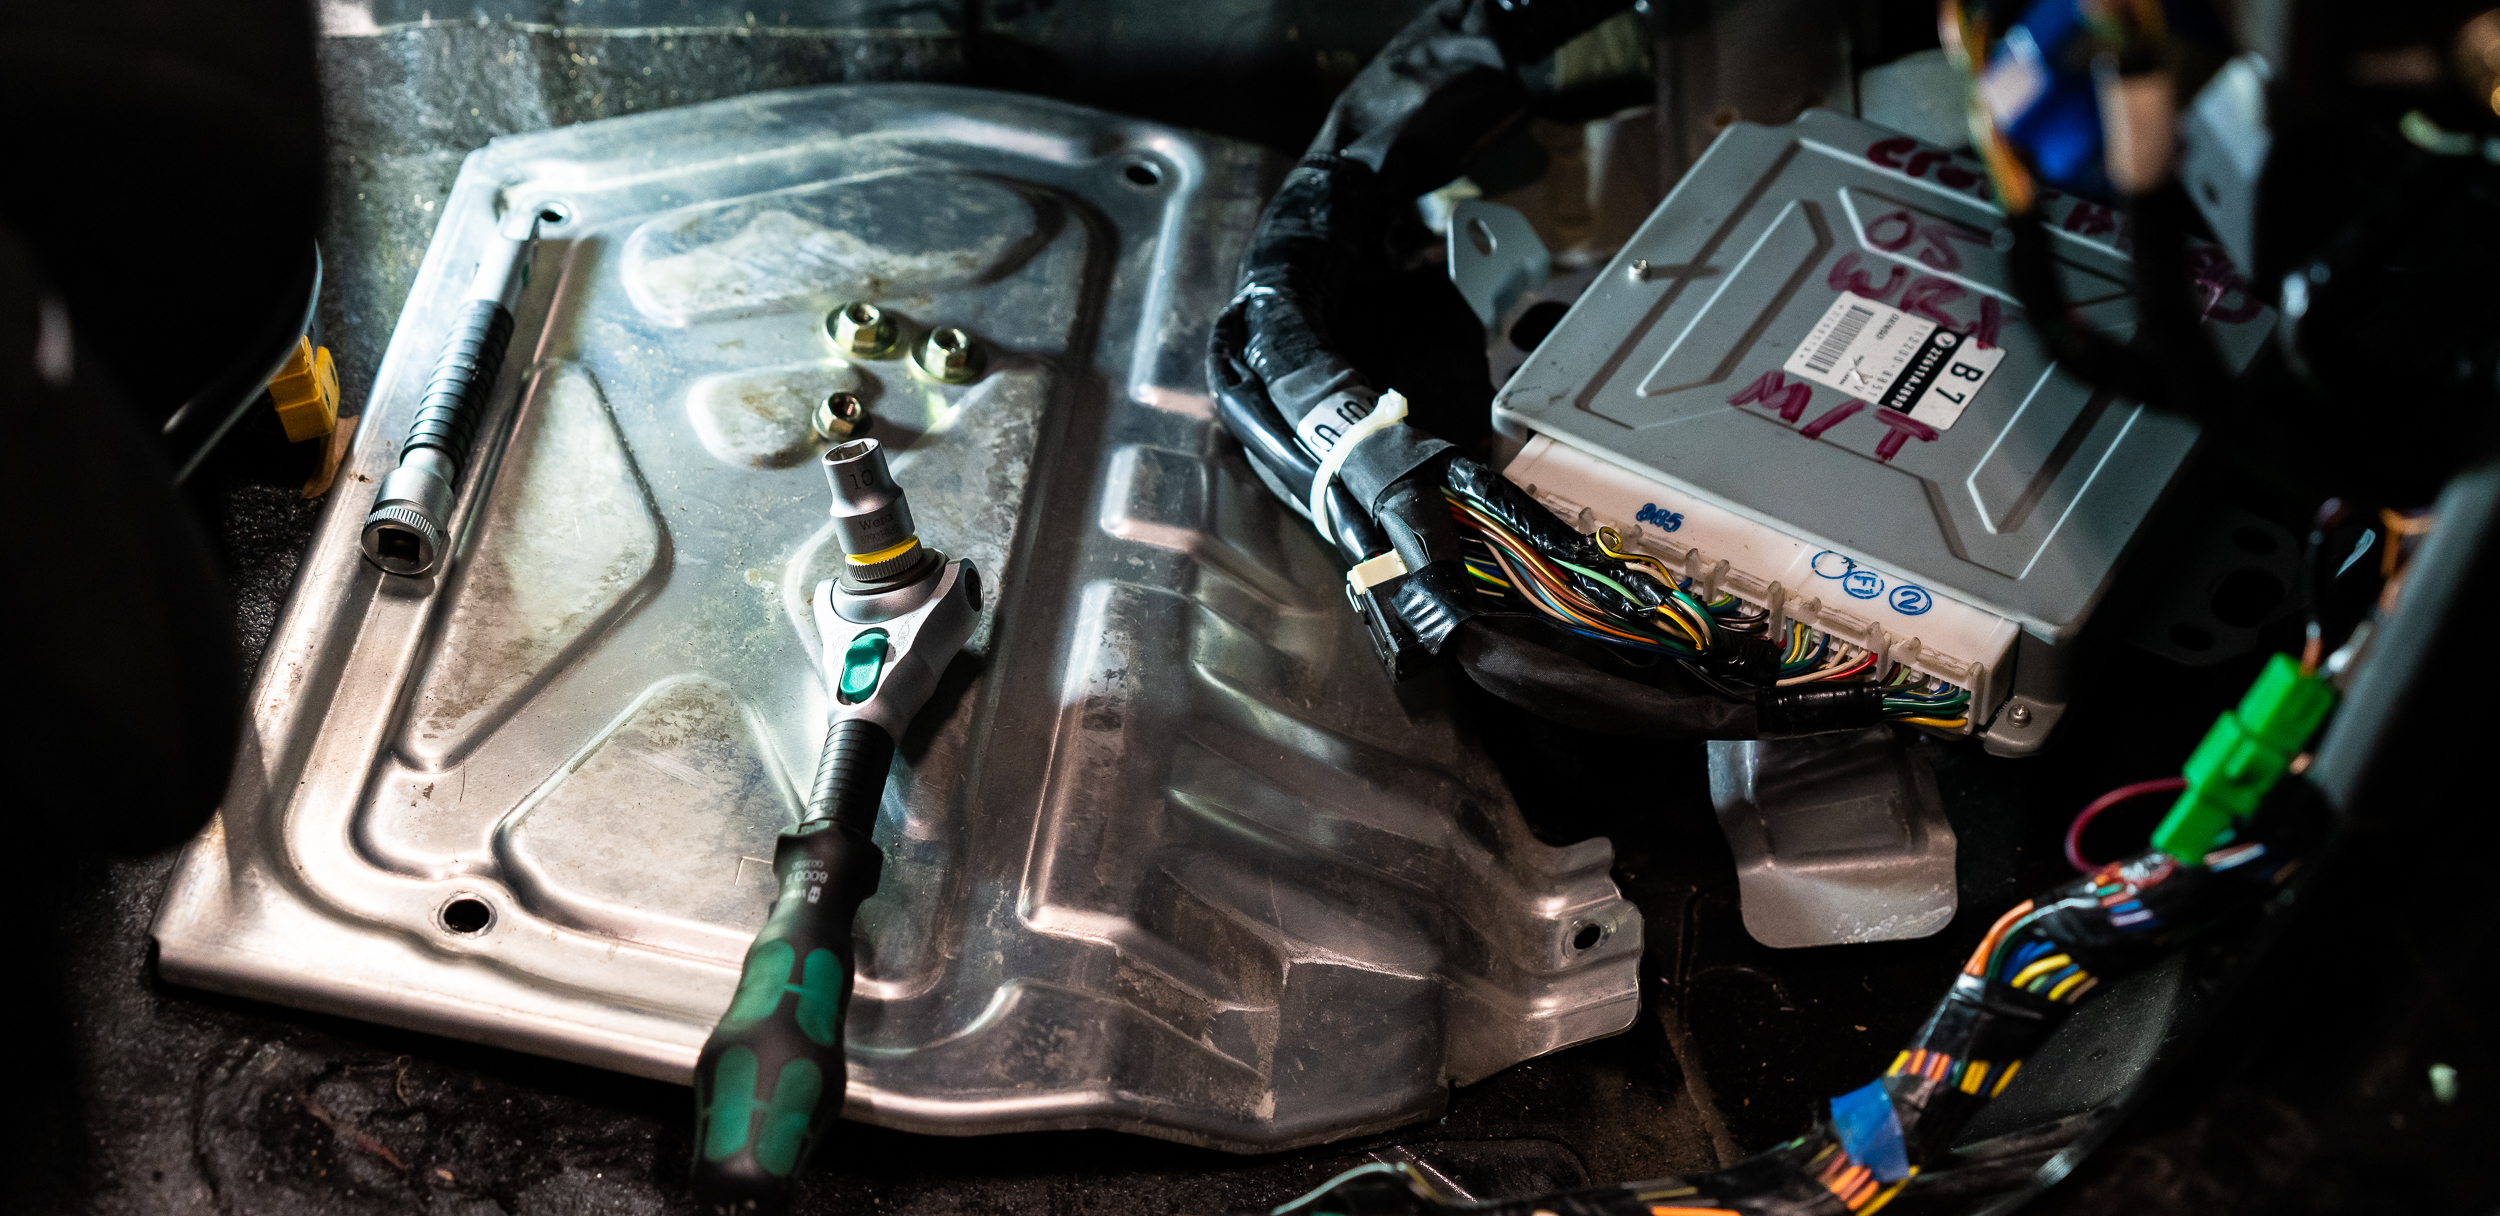
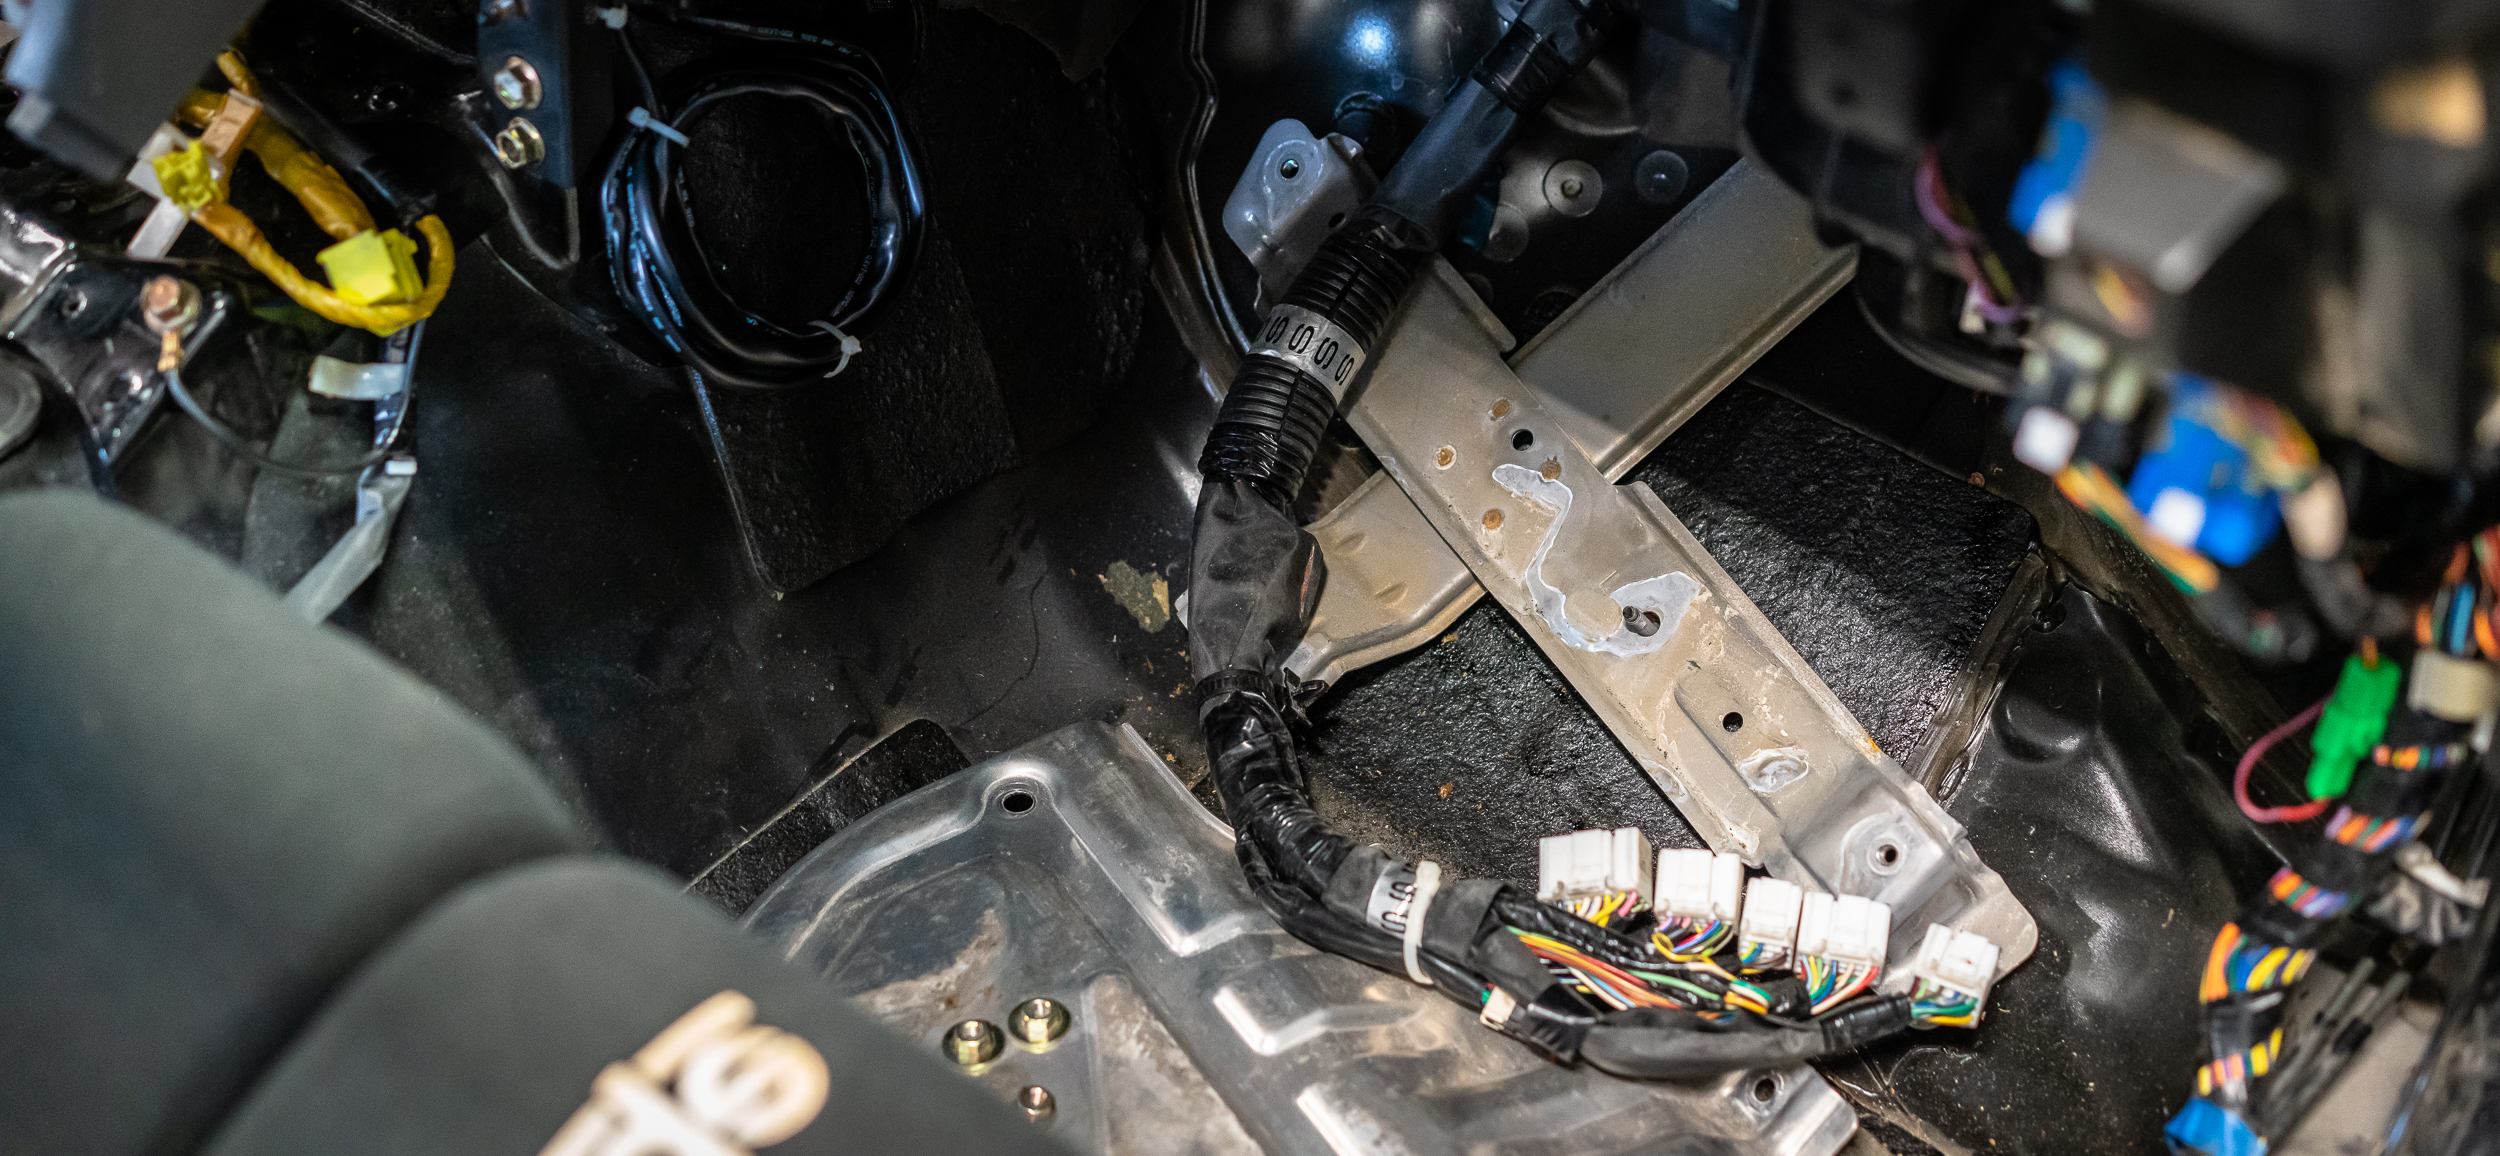
Back to no ECU.

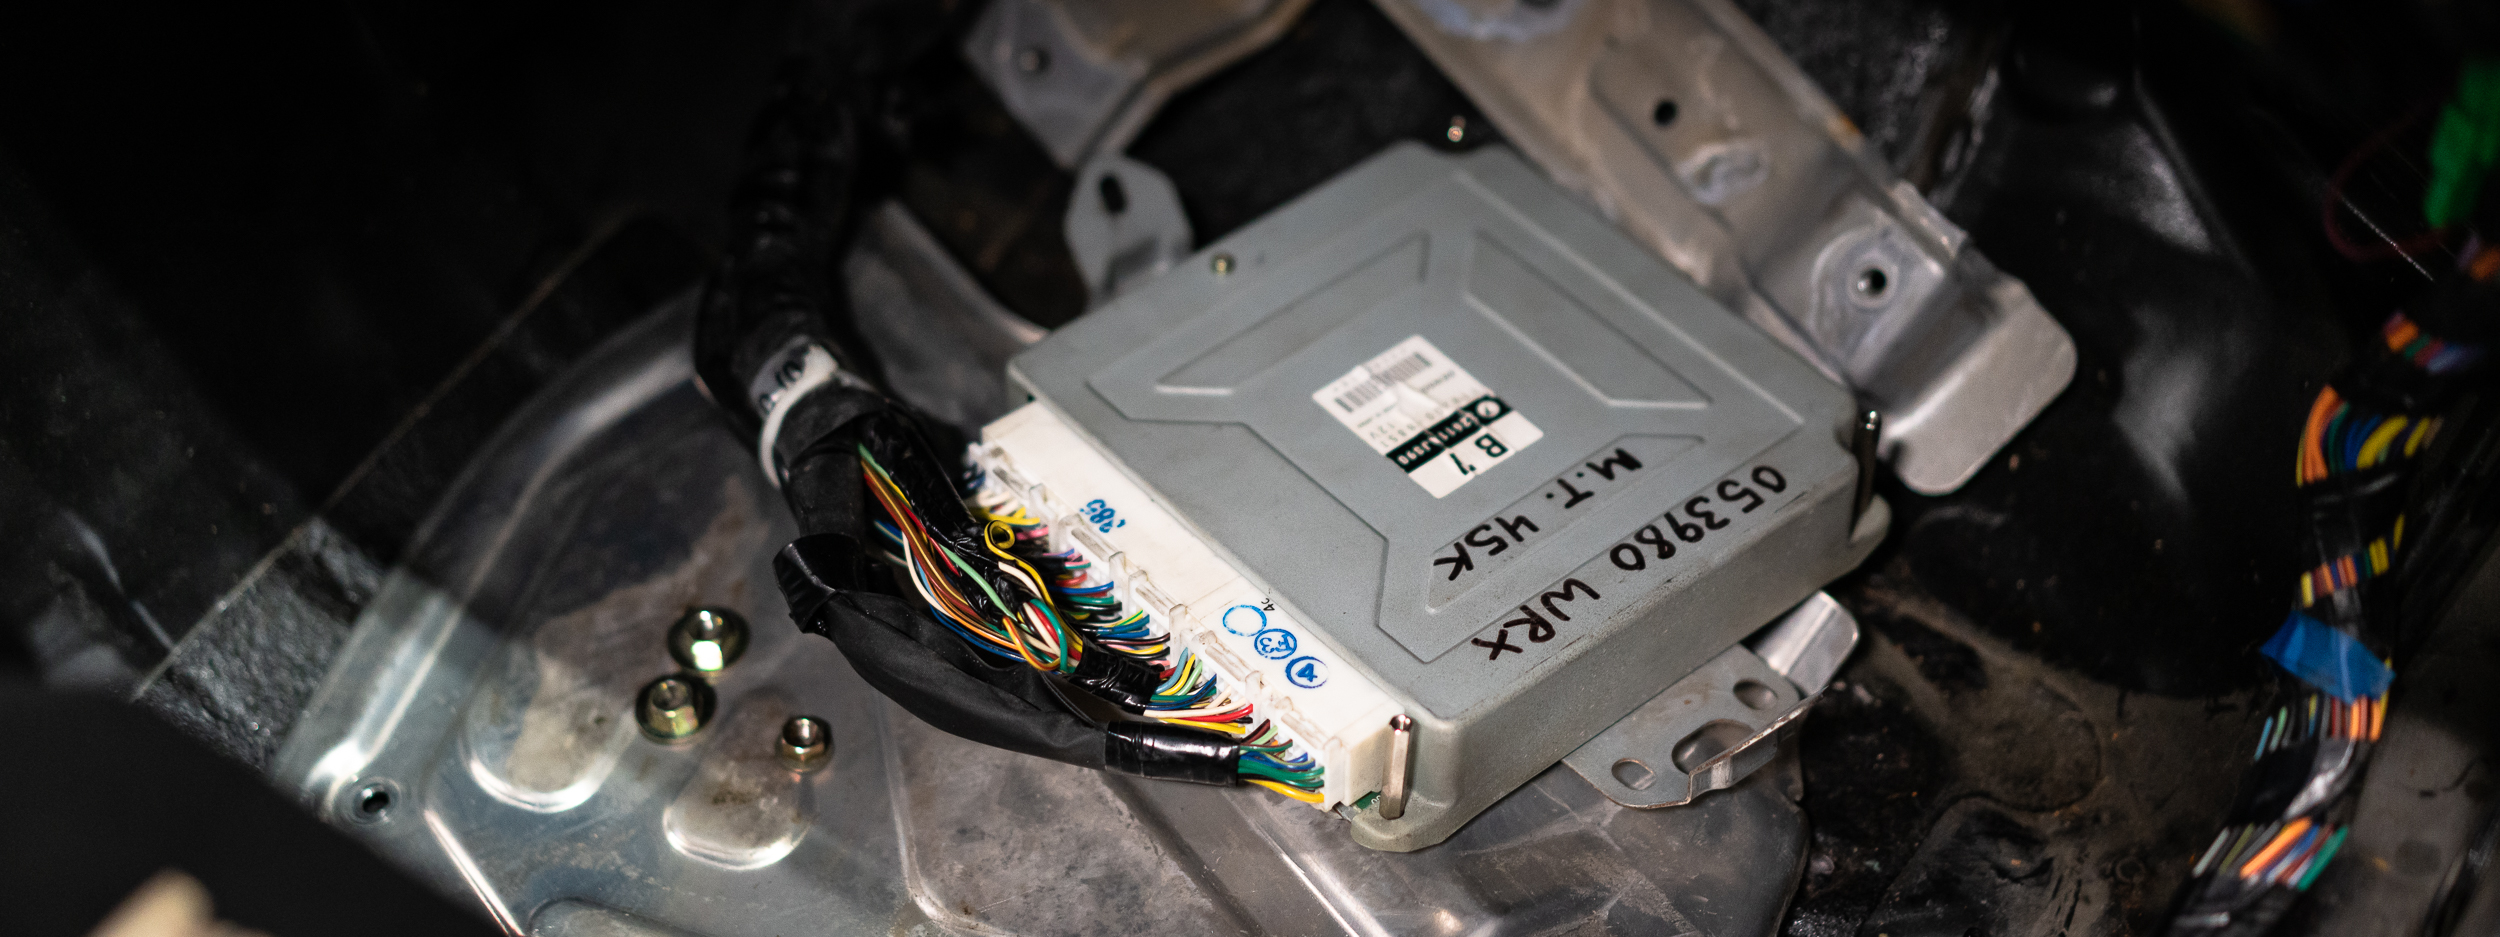
And here's the latest "stock" ECU that has some strange standoffs on it to show that someone has done something to this ECU at some point. Great.

I'll try it anyway.

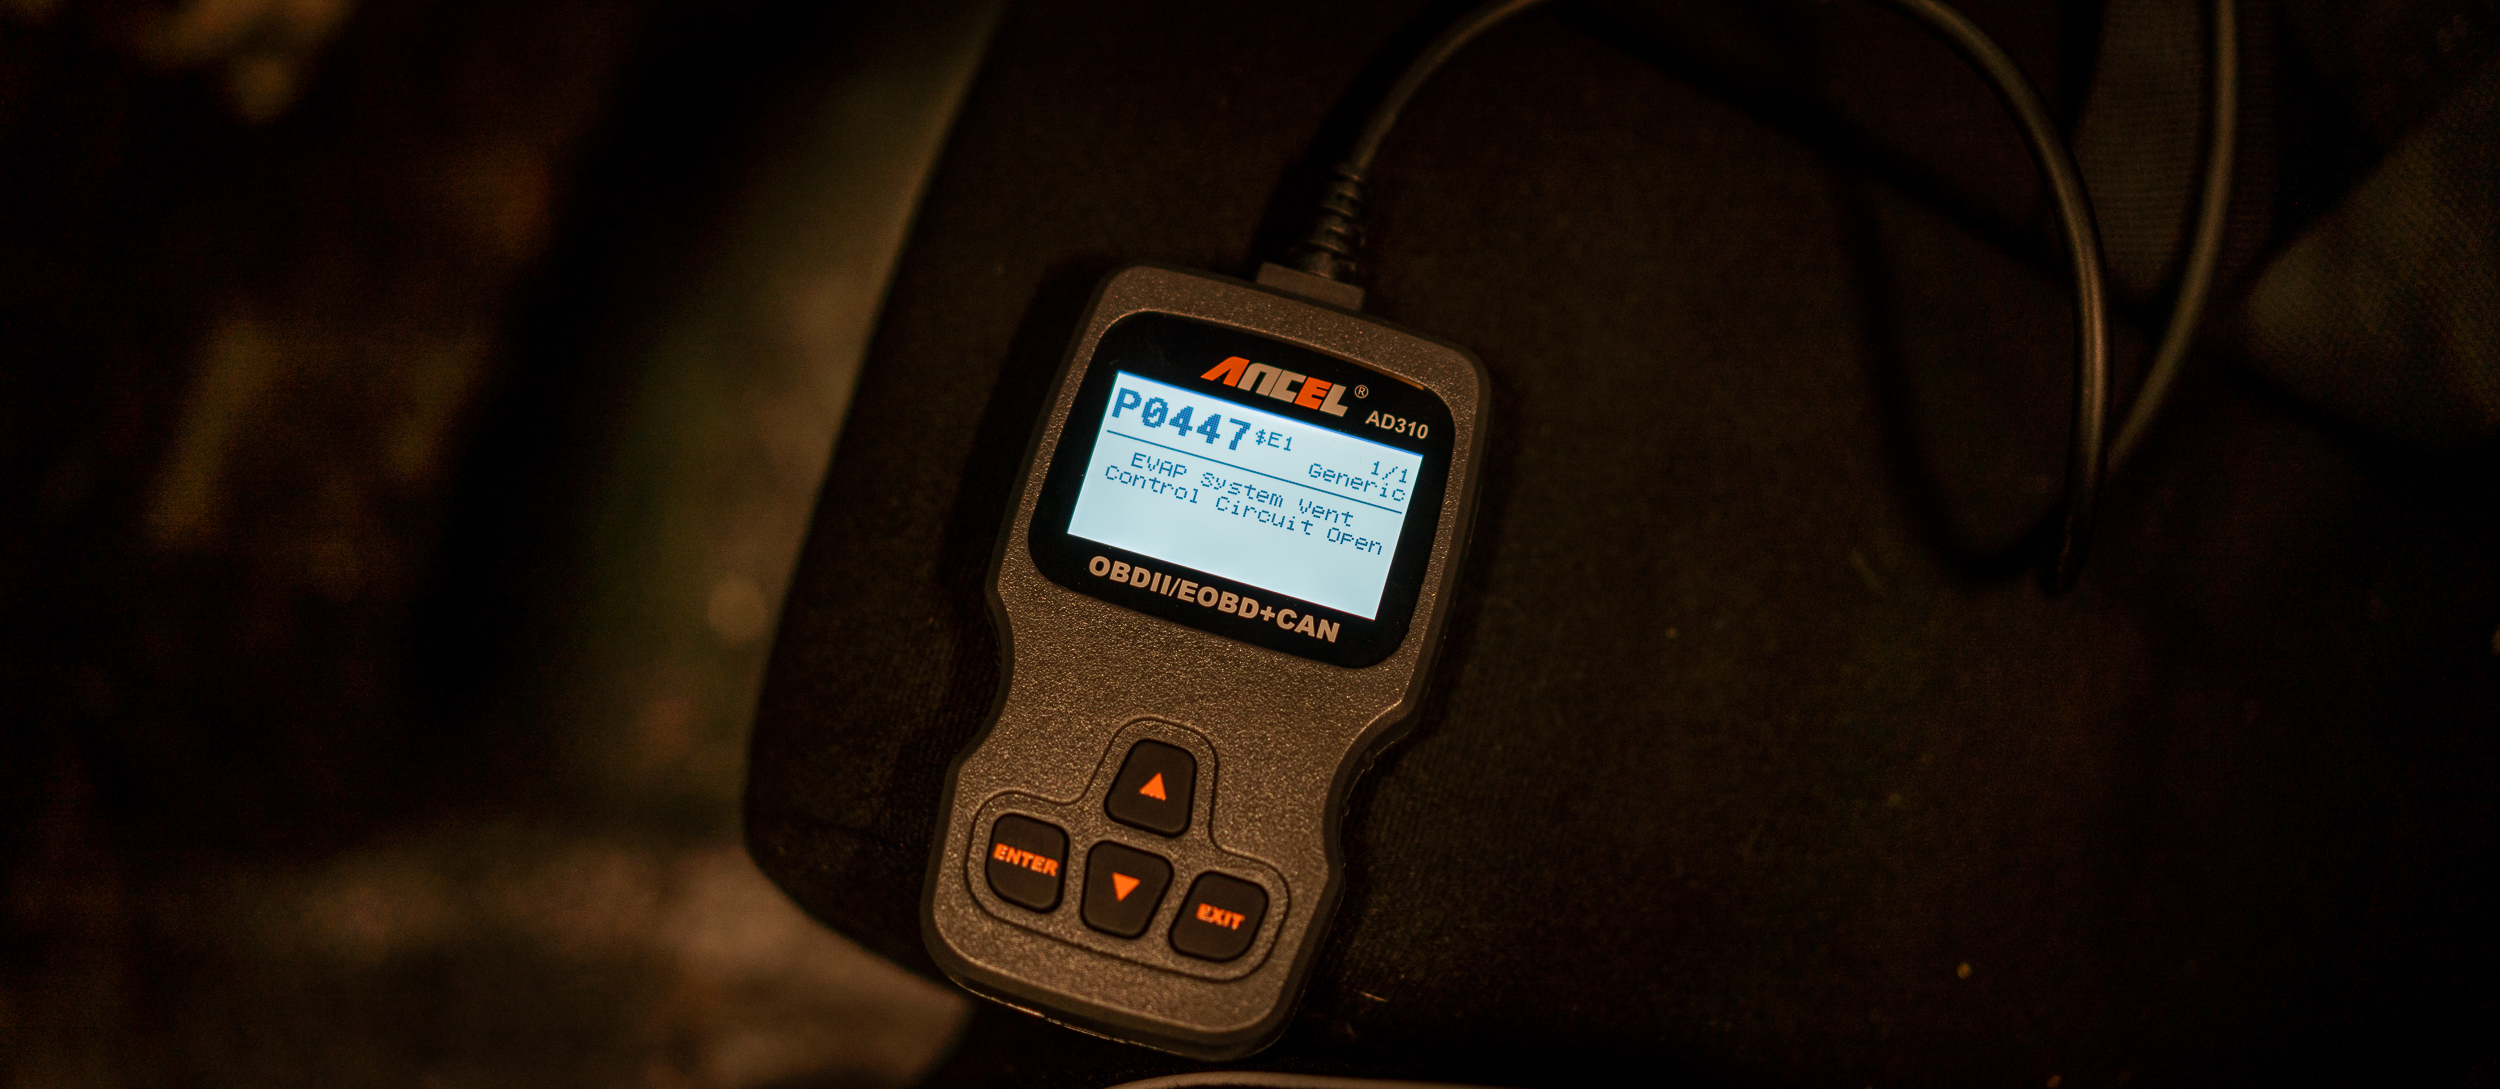
Lo and behold, all seems well. I ran it for a minute, and sure enough the evap codes came on, relating to the charcoal cannister delete.

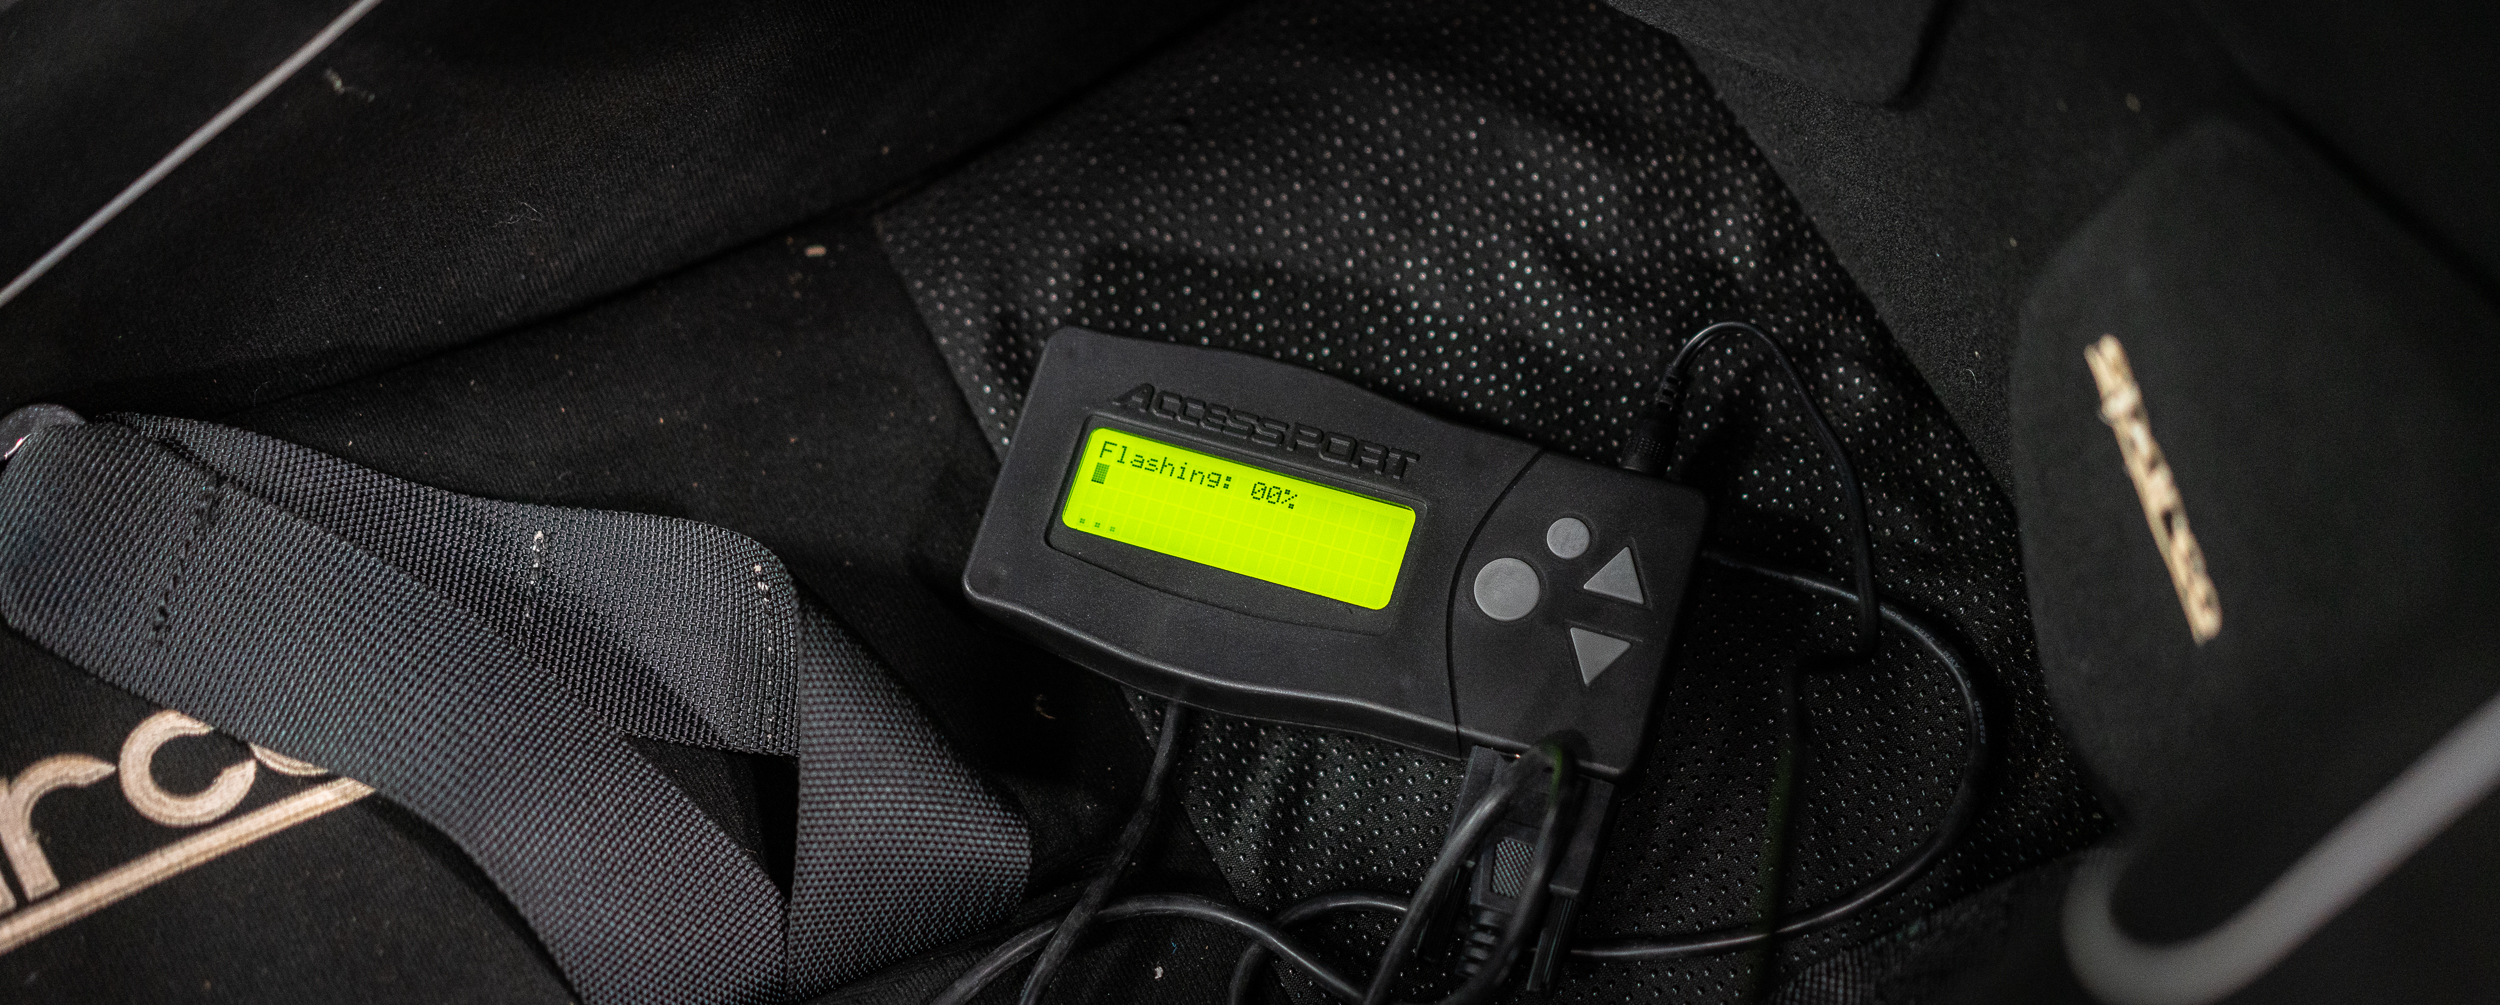
I got out the Tactrix Cable (again) and attempted to connect to the ECU and download the image.

Success!

Although it's a bit intimidating to have that much control over the car now. RomRaider, the software used to make changes to the ECU image, is pretty straightforward, so far at least. I was able to just "disable" the DTC codes relating to the evap system, then re-flash the image back onto the ECU. Now the ECU shouldn't be even looking for those codes, so no check engine light.

My next step was to try Ye Olde Tyme COBB V1 tuner. 

Well I'll be, it works now too. It was the locked ECU causing these problems all along.

At this point, I actually downloaded another image of the ECU with the COBB Stg 2 93oct tune onboard. I haven't looked too deeply into it, but here's an image comparing the two BOOST tables. Stock on the left, COBB on the right. Sorry for the horrible image quality, these are screen captures via Bootcamp on a Mac, so the resolutions are all pretty unhappy.

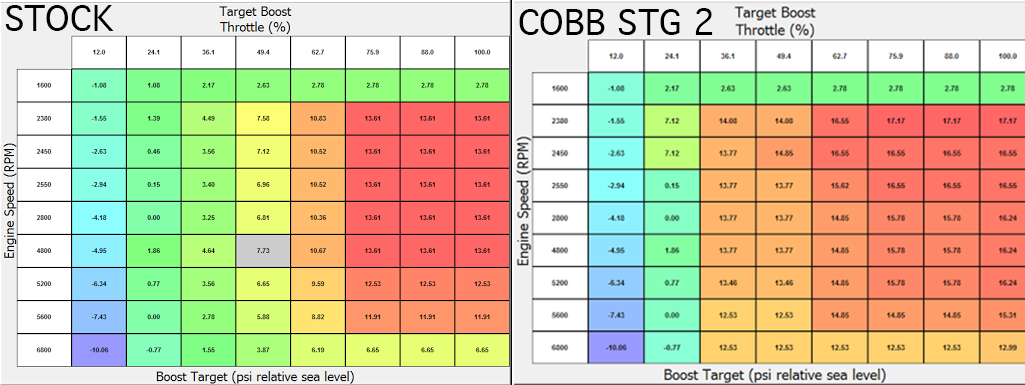
For those that can't quite make out the fuzzy numbers, the stock 100% throttle is 12 - 13 psi, and the COBB is 15 - 17 psi. A healthy bump.

The target fuel ratio table shows the COBB tune is calling for 0.68 (~10 AFR in meaningless terms), which is quite rich. I'm told this adds a lot of safety factor and keeps the catalytic converters alive. If you get them too hot (like a 0.8 - 0.9 ratio would do), they'll melt and die. Additionally, peak engine torque drops less than 5%, even when running this rich. The big negative is an increase in fuel consumption. And a bunch of soot out the exhaust when you go wide open, which apparently is a dead giveaway of a mediocre tune. Once I have some better data logging, I'm going to try to bump it to 17psi across the whole 100% range, then target lambda at 0.75. I'll report back here if/when that happens.

Anyhow, I used the old camera-as-datalogger trick to film the gauges for a short test drive. I was able to get one full 2nd gear pull (I'm not brave enough to do a 3rd gear pull on the busy roads around town), with a dip into 3rd. The gauges seem to confirm the ECU tables I pulled. Here's a gif of that.

And here's a youtube link if you want to hear it:

YOUTUBE VIDEO OF SAABMARINE PULL

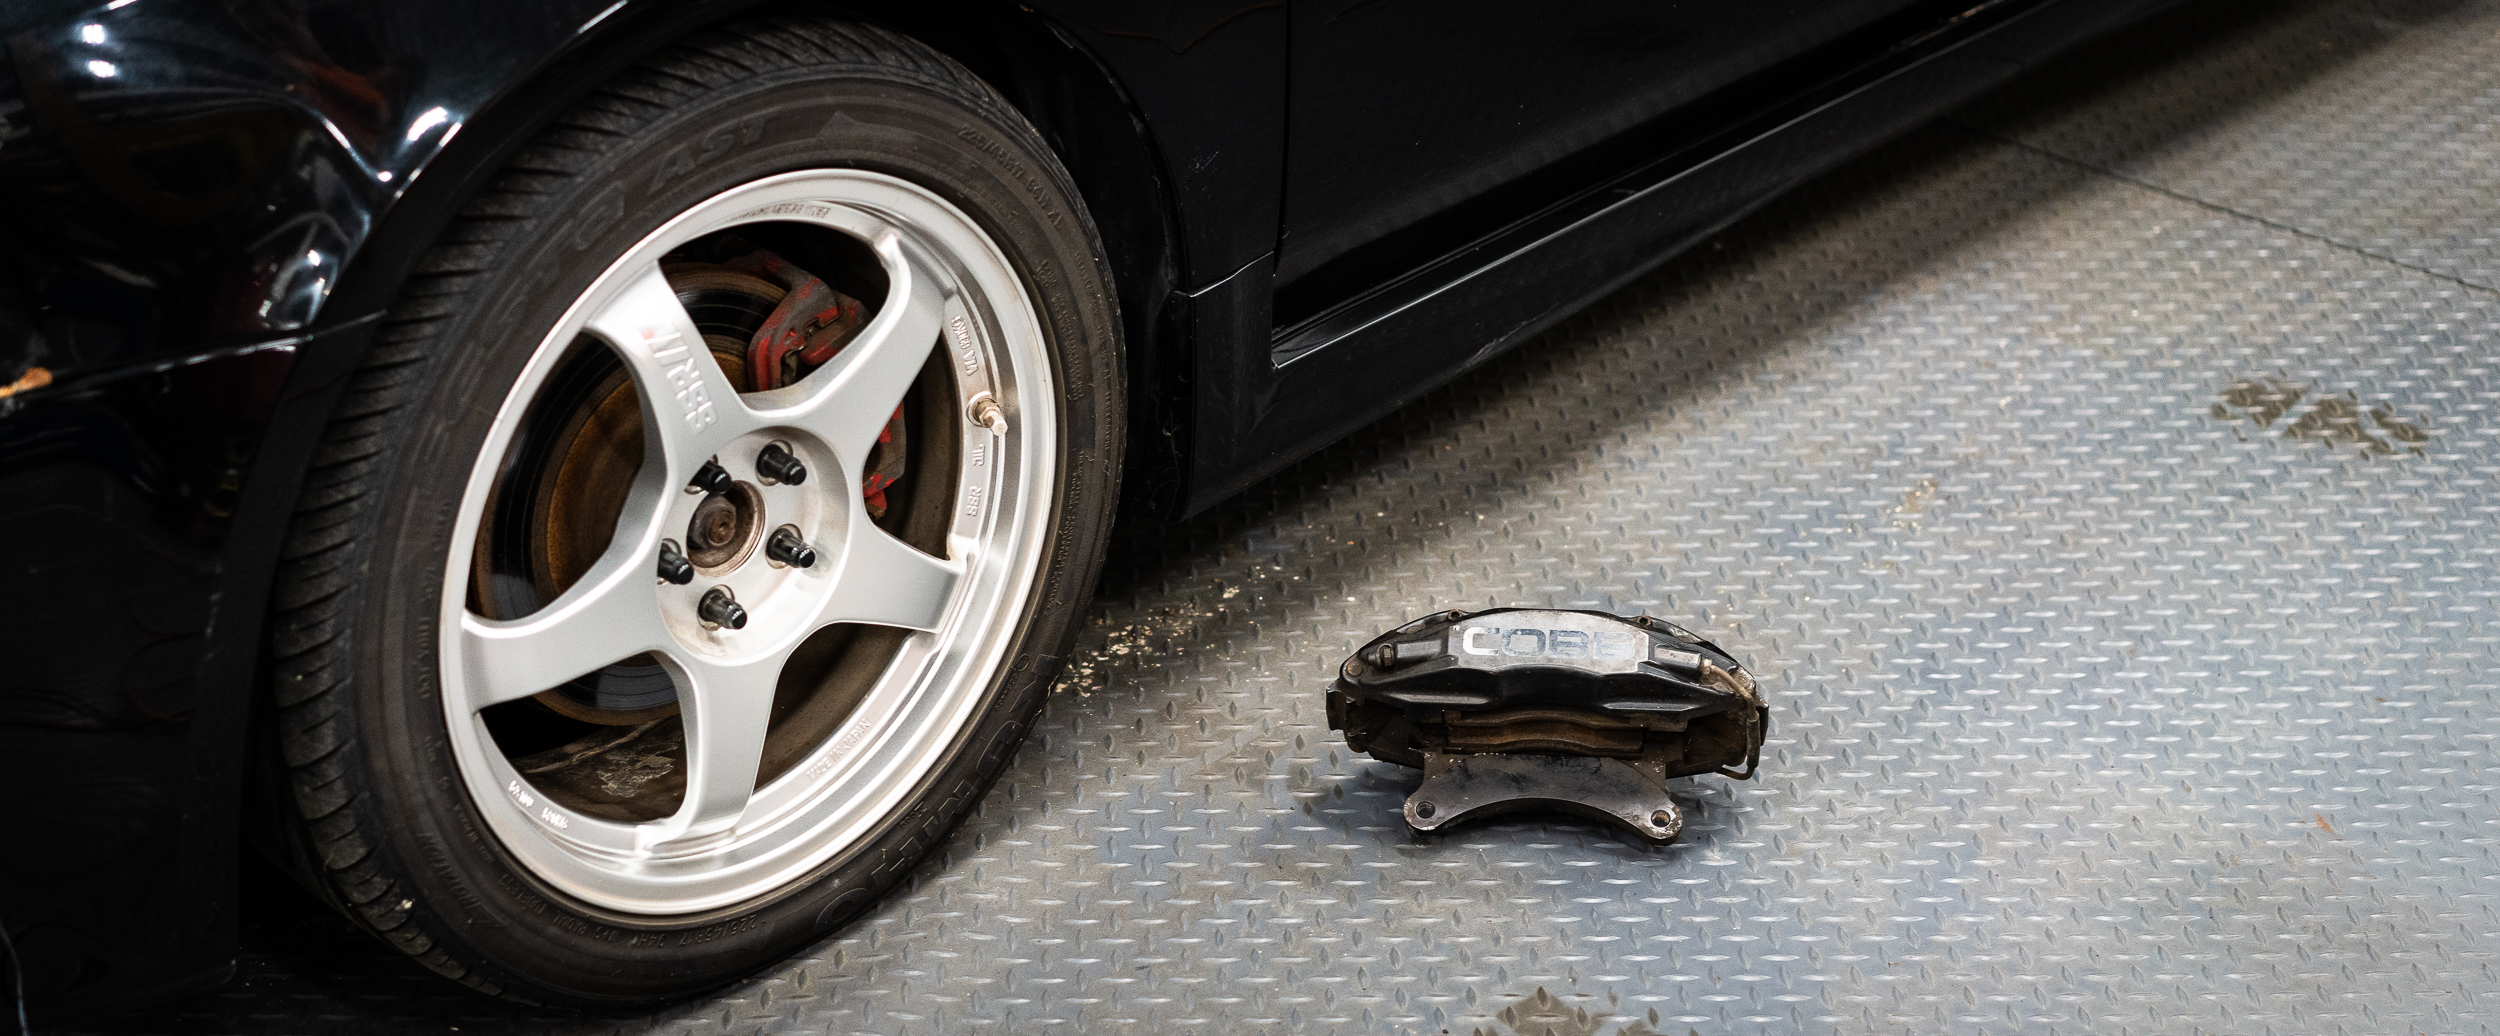
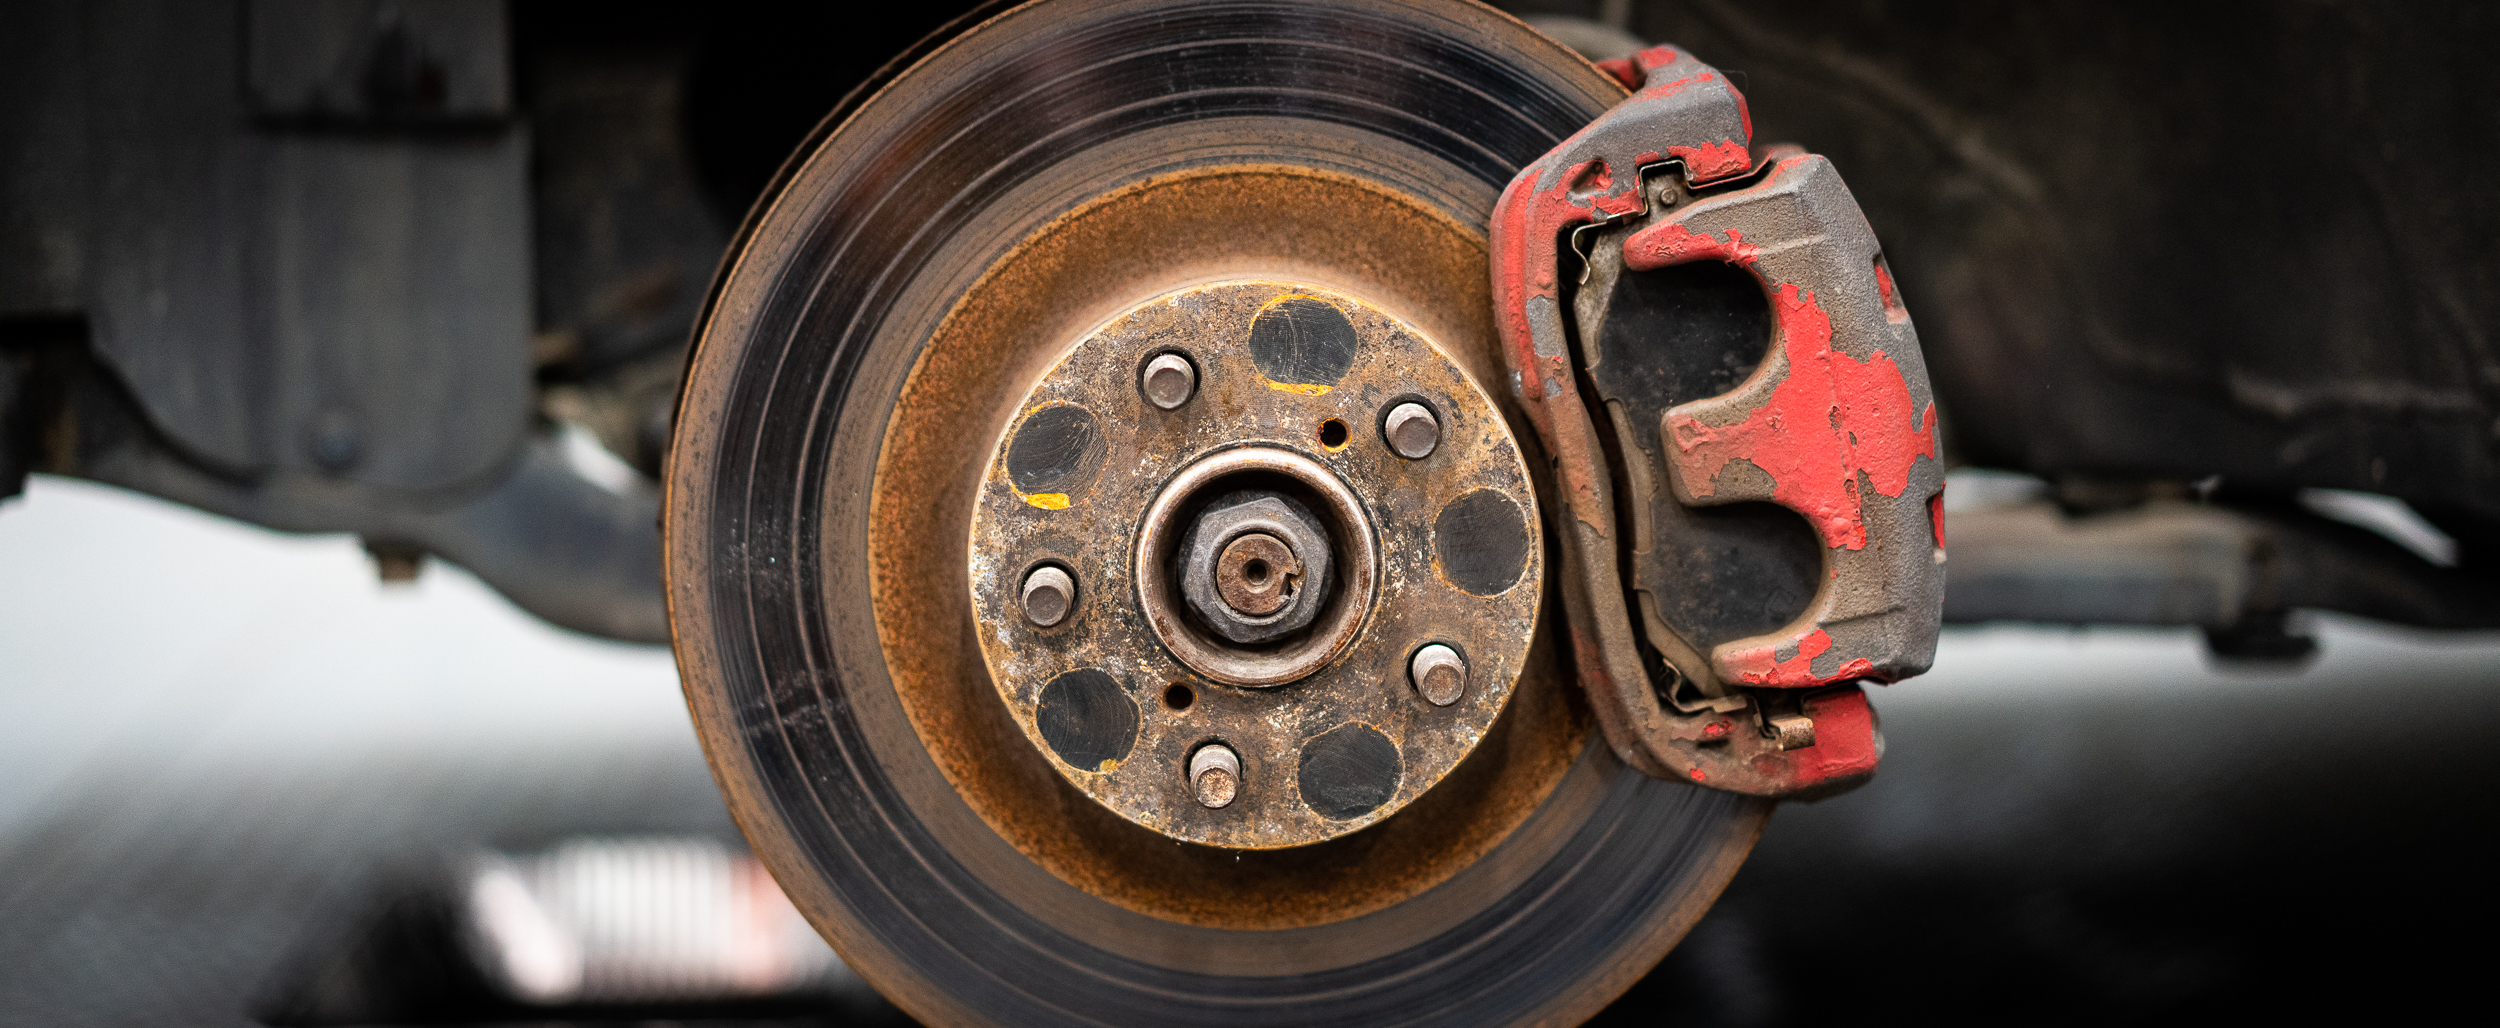
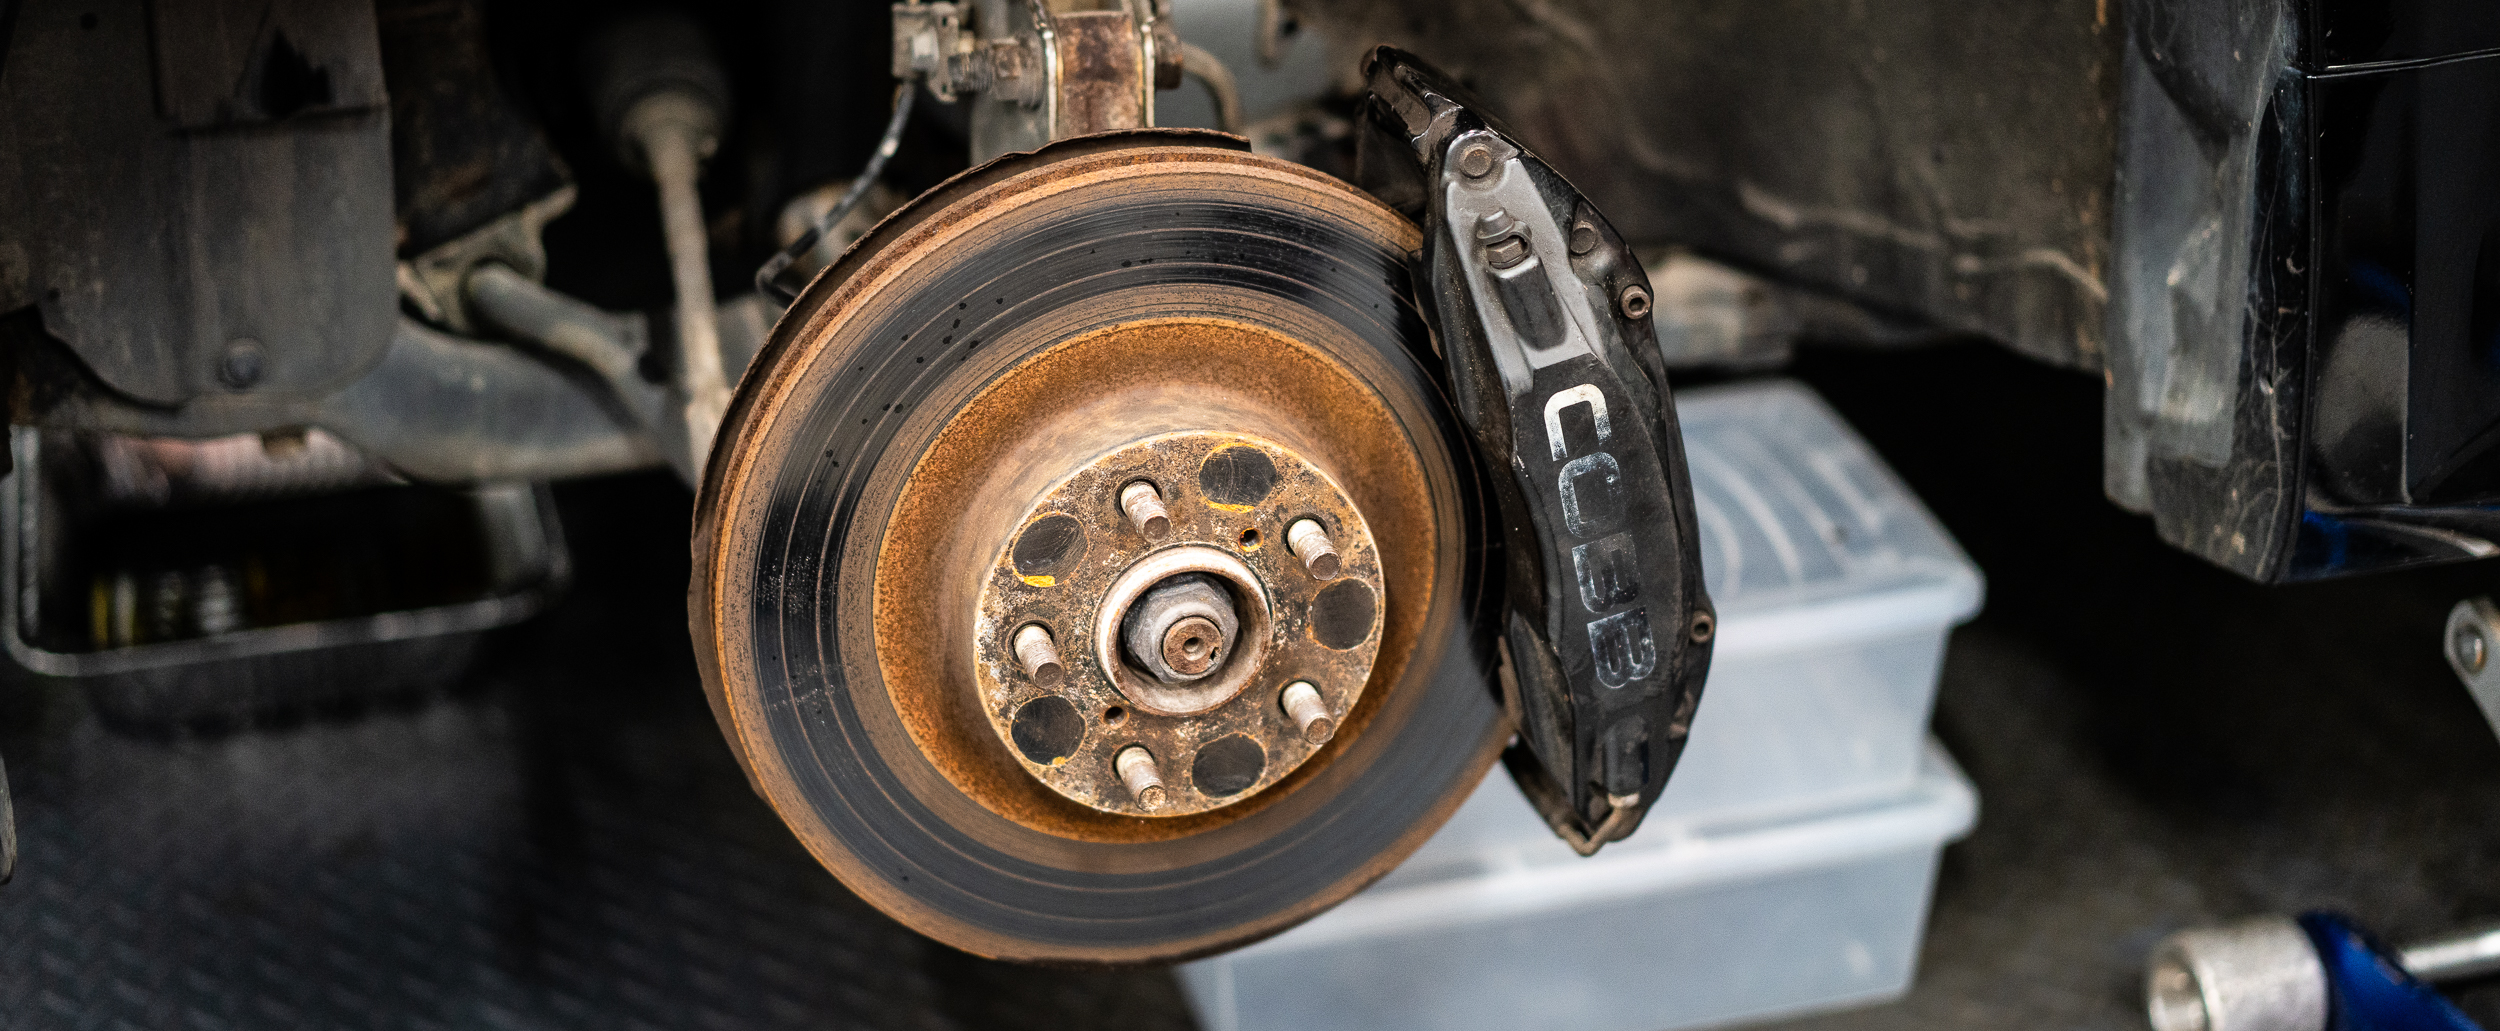
With no check engine lights and the car running pretty nicely, I'm at a bit of a loss what to do with it next. It definitely needs new brakes, one way or the other, so I'm still searching for that answer...

Until next time...

damen

AWSX1686
AWSX1686 SuperDork
12/21/18 8:49 a.m.

The STI guys I know also hate on "regular" WRX's all the time. Apparently the transmission is a lot weaker, the engine and suspension isn't as good, etc, etc, etc.... For as cheap as you got it, definitely have fun with it!

badwaytolive
badwaytolive Reader
12/21/18 1:07 p.m.
AWSX1686 said:

The STI guys I know also hate on "regular" WRX's all the time. Apparently the transmission is a lot weaker, the engine and suspension isn't as good, etc, etc, etc.... For as cheap as you got it, definitely have fun with it!

Those things are all true, but Ken was talking about both WRX and STi's :(

I doubt I'll be able to resist taking it to the track and finding out for myself :)

AWSX1686
AWSX1686 SuperDork
12/21/18 1:12 p.m.
badwaytolive said:
AWSX1686 said:

The STI guys I know also hate on "regular" WRX's all the time. Apparently the transmission is a lot weaker, the engine and suspension isn't as good, etc, etc, etc.... For as cheap as you got it, definitely have fun with it!

Those things are all true, but Ken was talking about both WRX and STi's :(

I doubt I'll be able to resist taking it to the track and finding out for myself :)

Huh. I won't know a lot about Subaru's besides the usual (oil burners, head gasket issues, etc.) but I still kinda want a blob or hawk eye STI. I have a buddy with a 2017 STI and he tracks it. He's almost done with a new engine build, should be 550awhp. He did get a miata though, so I think for track days he's been favoring that more. 

As long as you're having fun who cares what people think? We're stubborn folk here sometimes. 

badwaytolive
badwaytolive Reader
3/5/19 2:52 p.m.

While I may not be going full-on race car just yet, I do want to at least be able to do a track day with my friends, so for now that means focusing on the bare minimums.

Like brakes.

Again.

Nik has some COBB-branded Stoptech ST-40 calipers that he is letting me try. They’re beefy though, which is normally excellent, but I have some concerns about them fitting under the 17” wheels I have. Kevin stopped by and offered to swap a corner on to see how they fit. Thanks, Kevin!

Here’s one of the calipers:

cobb-stoptech-caliper

And here’s the stock caliper. This car is a 2005 which was the last year they used this sliding nonsense. The 2006 WRX’s moved to a much nicer 4-piston front and 2-piston rear setup. This 04-05 setup is so unpopular, it’s extremely difficult to even find race pads for them.

saabaru-stock-caliper

The swap here was just unbolting the stock caliper, bolting on the adapter bracket, then bolting up the COBB caliper. Nik has some rotors with the calipers as well, but if the caliper fits, then the rotors will fit. So this is the stock rotor and the bolted-up COBB caliper.

cobb-caliper-on

Aaaaand the moment we’ve all been waiting for:

cobb-caliper-hitting-wheel

The wheel DOESN’T clear the caliper; it hits. But by less than 1mm I’d say. In fact, I think I could run it as is for a little bit and the setup would machine itself to fit.

I’m not doing that though.

I’ll probably try some 5mm spacers, which I’ll order with some new race pads and rotors and stainless lines at some point in the future. I think I’m shooting for a July track day, so it’s not an emergency. Yet.

wheel-over-caliper

Thanks for reading!

damen

Mezzanine
Mezzanine Dork
3/5/19 4:39 p.m.

If the spacers don't get you all the way there, you could clearance the caliper a little with the grinder... You shouldn't need much.

badwaytolive
badwaytolive Reader
3/6/19 10:23 a.m.
Mezzanine said:

If the spacers don't get you all the way there, you could clearance the caliper a little with the grinder... You shouldn't need much.

For sure.

I'm borrowing the calipers to test first, so I'll start with the spacers. I need to check the rear clearance, check the rotor condition, see what kind of pads are kicking around, then put in an order for all the stuff I'll need. I'm hoping the rotors are okay because the replacement rings are $315/each. Zoinks.

damen

WonkoTheSane
WonkoTheSane Dork
3/6/19 11:59 a.m.
badwaytolive said:
AWSX1686 said:

The STI guys I know also hate on "regular" WRX's all the time. Apparently the transmission is a lot weaker, the engine and suspension isn't as good, etc, etc, etc.... For as cheap as you got it, definitely have fun with it!

Those things are all true, but Ken was talking about both WRX and STi's :(

I doubt I'll be able to resist taking it to the track and finding out for myself :)

Eh, "not ideal" and "cannot do" are pretty far apart.  A bunch of people use them as track cars and they're alright.  You'll be fine.  Go have fun and don't worry about it :)

Be mindful of the siren song of mad powah, as that's what'll get you in trouble.  If you focus on some suspension/brakes/alignment stuff (whiteline offset bushings, for example), you'll have a lot more fun for cheaper than if you try to build a 600 HP monster, as you'll be chasing the economy awd origins a lot.  Don't forget to good quality fluid in the diffs, and check them for leaks before subjecting them to track work.

badwaytolive
badwaytolive Reader
3/6/19 12:24 p.m.

In reply to WonkoTheSane :

Good advice here, thanks. Seems like that's the way it's going right now anyway. Get these brakes on and see how that lands. I have a July track day pencilled in at the earliest. I was considering slapping on a 16G turbo from Blouch (along with some injectors and a fuel pump), which should land around 300awhp, but I don't think I have enough enthusiasm for that right now.

Other than the brakes, I'm going to put on some Rival S 1.5 tires, take it to an alignment shop, hopefully get some sort of data logger, and see how she chooches.

I have a bunch of Redline stuff on the bench, ready to go in the transmission and diffs.

Thanks!

damen

badwaytolive
badwaytolive Reader
7/26/19 1:33 p.m.

Back in January, I was considering a July 2019 track day at the earliest, so I’d been focusing more on the Datsun project. My tentative plan was to get the Datsun motor apart, sent to machine shop(s), then start working on the Saab.

Then a friend emailed me and asked if I was interested in a Circuit of the Americas track weekend in May.

It was gonna be mighty close, but Nik agreed to split driving duties and costs with me and we could use his truck and trailer to transport the car.

Mad dash commence!

If you recall from the last post, I was testing out some big brakes that Nik had on the shelf.

Here’s a reminder of what the front stock setup looks like. Sliding 2-piston with a tiny rotor. This combo performs quite badly and in fact, Subaru changed to a much beefier setup for the next model year, so there’s very little pad and rotor selection for this hardware anyway.

02-stock-caliper.jpg

We tested the caliper and mounting bracket to see if they’d fit under the nice 17” wheels that came on the car.

03-cobb-caliper-on.jpg

04-caliper-hitting-wheel.jpg

They looked good, but didn’t clear the back of the spokes (by less than a millimeter), so I ordered some 5mm wheel spacers.

Those worked.

05-wheel-over-caliper.jpg

My parents came to town to visit, so I dragged Dad out to the shop while I tested the rears.

06-dad-saab.jpg

07-rear-before.jpg

I dug out all four corners of hardware. Some of it was looking pretty rough.

08-brakes-on-ground-before.jpg

09-rear-brakes-before.jpg

Test fit for the caliper on the rears was all good. No interference. These are re-branded Stoptech ST-22, while the fronts are the ubiquitous ST-40.

10-rear-brake-caliper-test-fit.jpg

I had some concerns about the state of these hats and rotors, so I took measurements to try to find the exact model so I could track down minimum thicknesses.

11-measuring-rusty-rotor.jpg

All the rotors checked out as plenty thick, so my next task was to see about reconditioning the pieces and making sure there weren’t any problems.

12-closeup-crusty-rotor.jpg

The rear hats were totally fubar’d from corrosion, so Nik had already tracked down and purchased the parts to replace those.

I watched some YouTube comparisons of rust removal products and Evapo-Rust seemed to fare pretty well in the effectiveness/low-risk/value balance, so I bought a couple gallons to submerge the rotor assemblies for a bit. I wire wheeled a bunch of the junk off the surface first to speed up the process.

14-evaporust-container.jpg

15-rotors-soaking.jpg

And after soaking for 6 hours, they looked significantly better. Yay.

16-rotors-after-soak.jpg

I soaked the rears for multiple days and was finally able to hammer the rotors off the hats for replacement. The rotors are ~$315/ea, so I was happy to at least try them before buying new.

Something bad happened at the steel rotor / aluminum hat meeting point.

18-corroded-rotors.jpg

These are floating assemblies, so I followed the instructions that came with the inconel bellville washer, nut, and bolt pack. It came with Loctite 290, which you apply after assembly.

19-new-hat-loctite.jpg

Looking fresh.

The rear brakes had a dust shield the needed removed (they interfered with the much-larger new rotors), so I used a spot-weld-drill-bit to remove those. You can see the spots where the bit just kissed the backing plate here after drilling through the dust shield spot welds. The dust shield is removed already.

21-dust-shields-off.jpg

22-saab-on-jack.jpg

With that done, it was a pretty simple bolt-on affair to get them installed.

I took time to properly adjust the parking brake since this will be driven on the street as well.

23-rear-done.jpg

On to the fronts.

Here’s a size comparison between the stock front caliper and the new one. The photo doesn’t really do it justice; the new calipers are huge.

24-front-caliper-comparison.jpg

And then a comparison of the rotors.

25-front-rotor-comparison.jpg

Fronts installed.

I swapped out the old rubber OEM brake lines for some Stoptech Stainless lines while we were in there.

I just stuck the pads in that were already with the kit. I wanted to make sure it all worked before ordering race pads, which are not free.

26-front-installed.jpg

The caliper is held onto the mounting bracket with a nut. It was a goofy looking nut, so I did some more research before replacing one of the missing ones.

27-jet-nut.jpg

And I’m glad I did. This is called a “Jet Nut”, or “K-nut”, and they’re a little oval shaped (sorry, “elliptical offset”), which makes them a locknut. In fact, these were also 7/16-20 thread, which was unexpected, so, yay for reading the manual.

I ordered all new ones from Pegasus Racing and torqued the calipers down. All good.

28-new-jet-nuts.jpg

29-saab-on-stands.jpg

Nik helped me bleed the new setup to get at least a bit of pedal before a test drive.

There was some air in the system still, so it was pretty mushy, but after a short drive, we confirmed that the brakes do work!

Comfortable moving forward, I officially bought the brakes from Nik, so now I’m the proud owner of a serious brake kit! Woo!

I celebrated by ordering race pads: Stoptech SR-34 all the way around. I found some goofy wheel sales place in Miami that had a crazy good deal on them, so I ordered through there.

I didn’t really believe in the deal until the pads were all in my hand. It took about 5 calls over 3 weeks to get them actually shipped to me, but I eventually got ‘em. I’m not super happy with the pad thickness, say, compared to the AP-racing CP8350 pads that I used to run on a Z06 back in the day (those were 20mm thickness, vs these 12mm), but oh well.

30-new-race-pads.jpg

It was a mad dash to get the car ready for the track, which I’ll go over in another post, but we did make it to the track.

31-on-trailer-to-cota.jpg

The brakes were totally amazing all weekend.

Unreal stopping power and absolutely 0 fade during 25 minute sessions in 90+ degree heat at Circuit of the Americas. There was a bit of pad knockback during turns 3-4-5, so braking into 6 required a short pedal application before getting the real braking done, but no drama once we figured that out.

Admittedly, the car is not terribly fast, so maybe it’s not the most rigorous on brakes, but it was really awesome to not give the brakes a second thought other than, whoa, this thing can stop!

After fretting about brakes for 6 months, I’m one happy camper.

Thanks for reading!

damen

TVR Scott
TVR Scott HalfDork
7/26/19 2:47 p.m.

You take some really nice pictures.  Can you illuminate me on your equipment and techniques?

Fun project, BTW.  I've always liked those and I've been quietly following with interest.

badwaytolive
badwaytolive Reader
7/26/19 3:26 p.m.

In reply to TVR Scott :

Hey thanks for that!

I use a Sony A7RIII with Zeiss 55mm f1.8 lens, so I have no excuse not to have some nice photos!

I catalog and edit in Adobe Lightroom. Nothing special on the technique, other than I really don't like flash, so I never use it. In fact, I don't even have one. I take 5,000 - 10,000 pictures a year, so I've had a lot of practice :) Just shoot with whatever you have; some of my favorite photos have been from a cell phone. As you take more and more, then organize and edit them, you'll find your own style that you like. I've found that most of my photos end up with a real similar look, not on purpose, but just because I've found what I like. Sometimes I wish they weren't so similar, but oh well.

Then sometimes, you just get lucky. I'll put together a post about the track weekend at COTA, but there were some mighty fine cars there...

Thanks!

damen

1 2 3

You'll need to log in to post.

Our Preferred Partners
mWdjcjRirwkmsX9Z4GhxJV3J9F3e2p0MorbyHQRCcYLPHYN53mx6P1l6gkZSDMVn