1 2 3 4
mslevin
mslevin New Reader
9/29/21 3:53 a.m.
madmax98 said:

Out is the old filter.  I want to dissect it to see if it caught anything, can anybody recommend a proven way to do this?

Sounds like you need an oil filter cutter

(pretend like there's a Summit Racing link here, my phone won't paste the link for some reason)

digital
digital New Reader
9/29/21 11:42 a.m.

This thread is legit, keep up the great work dude!


madmax98
madmax98 New Reader
9/29/21 11:44 a.m.
Loweguy5 (Forum Supporter) said:

Holy cow I love everything about this!

Thank you... stay tuned laugh

madmax98
madmax98 New Reader
9/29/21 11:45 a.m.
digital said:

This thread is legit, keep up the great work dude!


I really appreciate it ...

madmax98
madmax98 New Reader
9/29/21 11:48 a.m.
mslevin said:
madmax98 said:

Out is the old filter.  I want to dissect it to see if it caught anything, can anybody recommend a proven way to do this?

Sounds like you need an oil filter cutter

(pretend like there's a Summit Racing link here, my phone won't paste the link for some reason)

Haha

I looked up "oil Filter Cutter" in summit... Didn't even know they have these lol   BUT 50 bucks???!!!  man I'm not that curious lol On a serious note, I think I'm just gonne try to find a way to chuck it up in my toy lathe and cut it.

madmax98
madmax98 New Reader
10/21/21 6:36 p.m.
madmax98 said:

On another front, I started my sunroof delete.


I initially I thought that black trim (where the bolts are inserted) is metal. Upon further inspection, It seemed to be some kind of fibrous plastic composite.


Out went the composite panel and sunroof frame.


The composite panel, alone,  still weighed over 9 pounds, so I decided to do some lightening :)


I was disappointed to see it weigh just under 6 lbs. That was a lot of work ... nasty work.. I was itching for a couple of days (there's probably some fiberglass in there).


Installed


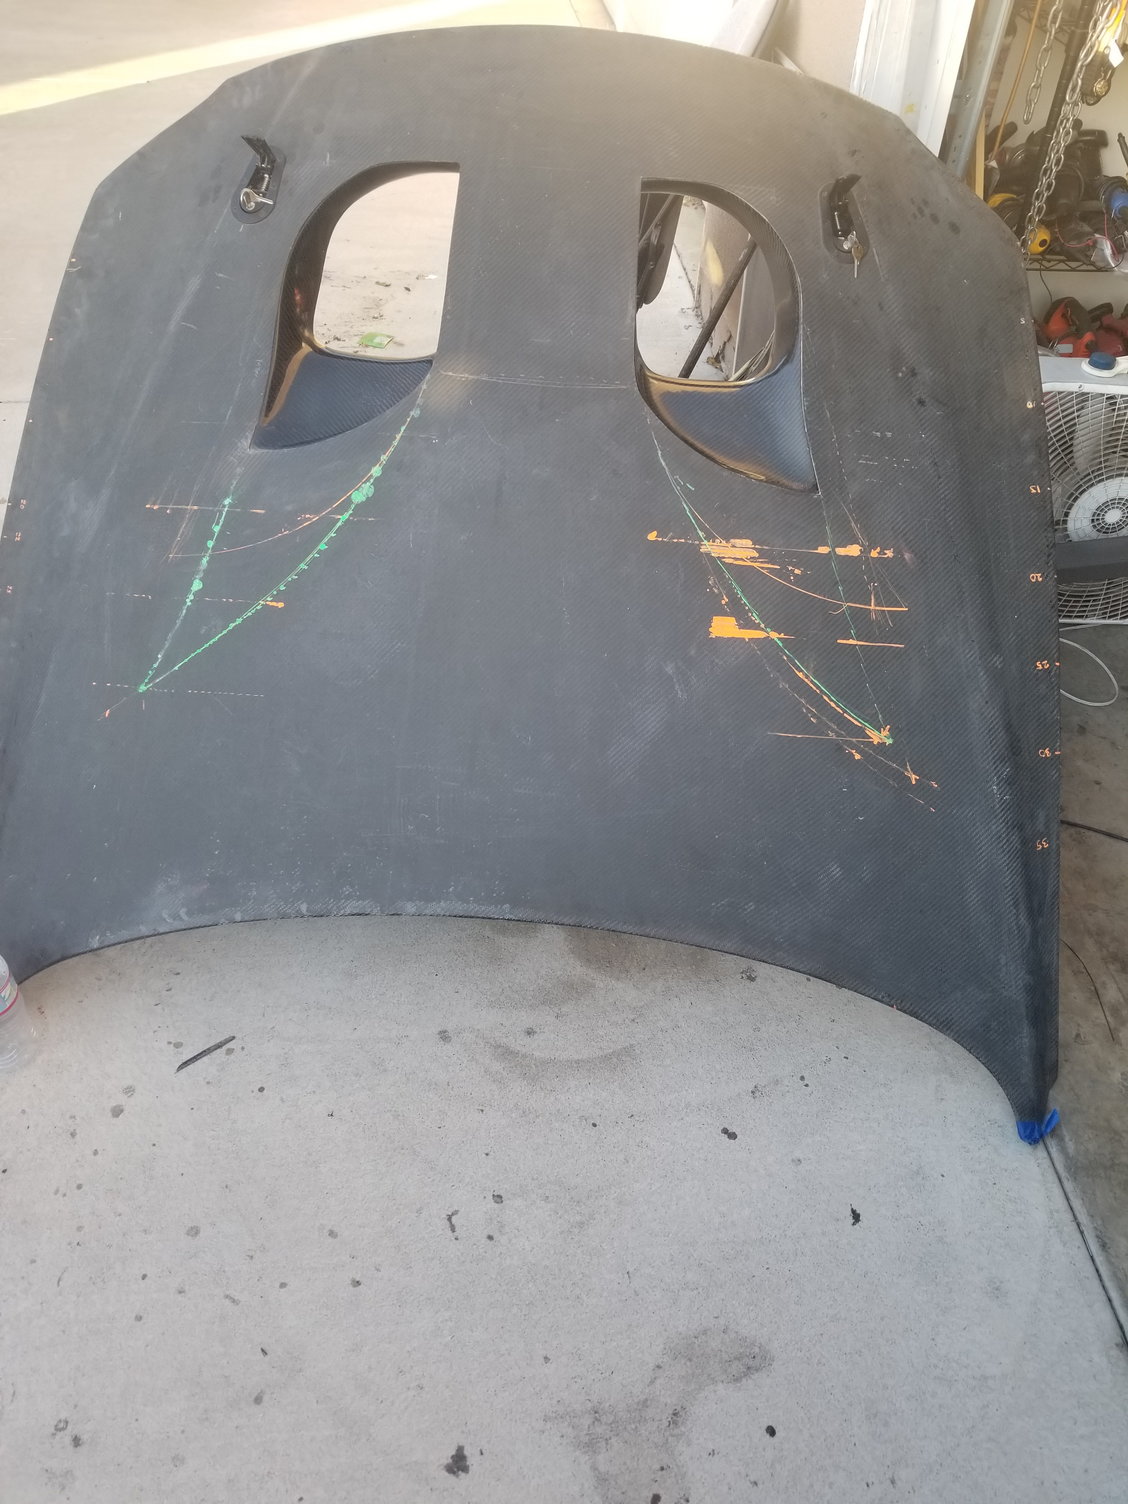
Then comes the hard part: Making a fill panel instead of the heavy glass sunroof. I was kind of torn between a light lexan duplicate, or a carbon panel.  I ended up decided on going the carbon route. To me there's no point of the lexan unless you really can't do without the sunlight shining on top of your head while you drive. In Ca, most people end up using the sunroof shade to block it (at least I did). So... what's the point ?! lol

Anyway... I started to make the mold. In an effort to not damage the original sunroof panel, I wrapped it with vinyl (the kind you wrap food with).


That didn't work out so well because the vinyl did stick enough to the glass. It ended up sticking to masking tape. Additionally, it formed bubbles near creases or edges of the rubber gasket. I tried to remove the rubber gasket but it wasn't a removable part (it was sealed with urethane). 

So I took off the vinyl wrap and waxed the sunroof panel well. I then taped over the rubber part to further protect it from the gelcoat.


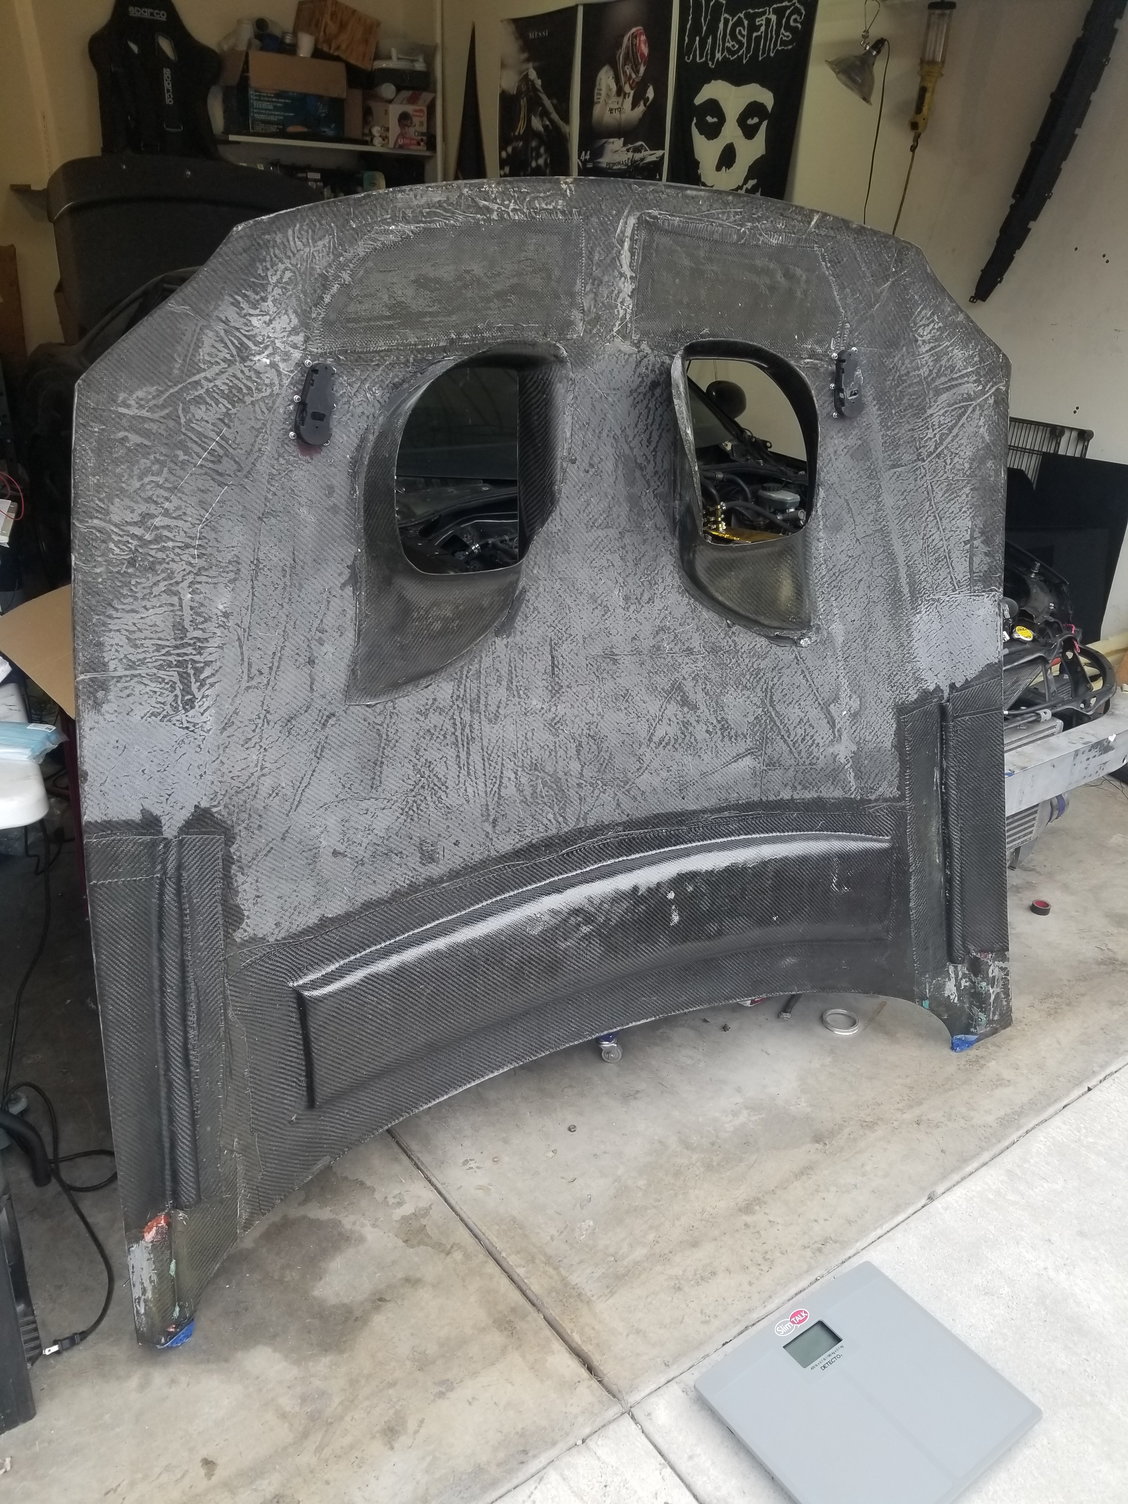
Last time I made a mold was making the one for my hood (you can see that HERE). That was quite a project, but it was also over 10 years ago. So I lost a lot of what I learned. I made a few mistakes. First, I didn't buy enough gelcoat. One quart was not enough to achieve proper thickness. So, some areas ended up thinner than others. I didn't have my support fiberglass cut beforehand so I was under the gun a bit. The resin was curing too quickly and the heat wasn't helping. Last, my flanges were not great, so I had to spend a lot of time making sure they hold vacuum.


Any who..

This was me starting to pop the mold a few hours later. That wasn't too difficult, but took about 30 minutes.


Mold out... looks like crap I know... It was a good surface though, with no problems. So that part I'm happy about.


The flanges have to hold vacuum. That struggle I still remember from my first project with the hood. So, I decided to make sure the flanges have a good surface, that's big enough for sealing tape, before going forward.

I taped the area around th flanges and currently in the process of depositing polyster resin all around.


will report back with progress in this project.

Sunroof delete panel done... need to finish the clear coat.

.
.
.
.
.


Just gonna park this right here... weighs less that a pound (OEM glass alone weighs 12 lbs)


madmax98
madmax98 New Reader
10/21/21 6:50 p.m.

Some deets...


I kind of dig that flat look.... but decided to go with gloss in the end


Post vacuum bagging


Proceeded to stiffen the sides a bit


Was still not stiff enough for my taste... So I mixed some foam to match the curvature of the sunroof...


once cured, I cut a brace out of it


then I added another couple of CF layers on the foam... did not take a pic of that apparently, but you can see what it looks like here. I also added an aluminum tab to attach to the roof of the car. The panel is fused to the roof with structural epoxy.  I still need to lay urethane around the edges to seal it.


Gammaboy
Gammaboy New Reader
10/22/21 4:38 a.m.

Have you drilled a hole in the firewall yet to drain the sound deadening sand from between the skins? 

madmax98
madmax98 New Reader
10/22/21 9:11 a.m.
Gammaboy said:

Have you drilled a hole in the firewall yet to drain the sound deadening sand from between the skins? 

Sand?? I drilled in the firewall before for wiring reroutes and 5 speed conversion, no signs of sand anywhere. It does have tar sandwiched between the skins though. That tar ain't going anywhere lol   If I ever pull the motor though, I'm going to probably make a new firewall...

Gammaboy
Gammaboy New Reader
10/22/21 9:16 a.m.

I was sure I remembered someone draining sand out of the firewall - maybe it was a LS400.

madmax98
madmax98 New Reader
10/27/21 7:59 p.m.

Getting ready to do my alignment... Wish me luck

madmax98
madmax98 New Reader
10/3/23 9:22 p.m.

It has been almost 2 years since my last post lol new job, kids yada yada yada lol I'm sure you understand. I will pick up where I left off.

Alignment is finished. That was time consuming. I'm pretty satisfied with the outcome though. This was my first time attempting it and I can't believe I hadn't done it before. It really isn't complicated but shops make it seem like rocket science lol
I maxed out Castor and adjusted Camber to 1.9 degrees. That was the easy part lol The part that took most of the time is Toe... I put toe at 1/32 of Toe-in.


madmax98
madmax98 New Reader
10/3/23 9:26 p.m.

First, I took out the seat belts and added a harness bar in preparation for a harness. I had it for a few years and it was in rough shape from storage so I sanded it to raw metal and painted. I'm not sure I like the safety level of harness bars! To be addressed sometime soon.


Finally, pulled out my composite hood and added the vents you see there. I shaped the vents from foam over Christmas of 2021. It must have taken me a couple of months to finalize.


Why can't I resize these photos?????!!!!!!


Here's the inside of the hood.


Oh yeah! I made an inside duct to extract air from behind the radiator. I coulda sworn I took a lot of photos, but apparently I lost most of them when I switched phones.


First, I took out the seat belts and added a harness bar in preparation for a harness. I had it for a few years and it was in rough shape from storage so I sanded it to raw metal and painted.


Finally, pulled out my composite hood and added the vents you see there. I shaped the vents from foam over Christmas of 2021. It must have taken me a couple of months to finalize.


Why can't I resize these photos?????!!!!!!


Here's the inside of the hood.


Oh yeah! I made an inside duct to extract air from behind the radiator. I coulda sworn I took a lot of photos, but apparently I lost most of them when I switched phones.


madmax98
madmax98 New Reader
10/4/23 12:42 p.m.

More Updates catching up:
I started dabbling with 3d scanning last year. My main objective was to scan the outside of the car and tighten up my CFD model. Tried different scanners with no luck. The latest was Revopoint. All were pretty much garbage. Finally my wife got me the Einstar for my birthday  And that one worked wonderfully.

Still, scanning the car had some challenges. The most notable is having large flat black surfaces. I had to coat it like you seen in the pics with baby-powder. You also couldn't scan the car in one shot because the file size grows quickly and it makes it difficult to process. Ultimately, I couldn't use the scan as a 3d model due to geometry having too many triangles. However, I was able to use it as graphic (as in an image) and guide my cad design.


Having some fun with the engine bay:


I will post a pic of the first product I made via scanning when I get home.

TGMF
TGMF HalfDork
10/4/23 1:11 p.m.

Grab a HF paint gun and some chalk based white paint. Mix it up and spray prior to scanning. Will lay out flatter than hand applied baby powder. 

madmax98
madmax98 New Reader
10/4/23 9:52 p.m.

In reply to TGMF :

Good suggestion. 

What I ended up doing (which is not shown here) is mixing alcohol and baby powder in a spray bottle and went to town. That worked really well.

R32Jordie
R32Jordie New Reader
10/5/23 7:51 a.m.

In reply to madmax98 :

I came here to suggest the alcohol/ baby powder method but it seems you've already figured out this cheat code. 

Loving the build. please keep us updated 

-Jordie

madmax98
madmax98 New Reader
10/5/23 11:01 a.m.

Yeah I came across that method in a youtube video. It's definitely better than doing the "sprinkle sprinkle" crap I was doing with the baby powder bottle. Cleaning is easy  too (in theory, since I haven't tried it lol)

madmax98
madmax98 New Reader
10/7/23 3:05 p.m.

Decided to work on my oil cooler ducting.
I 3D scanned the cooler area, and I'm gonna use that to guide my CAD.


View from the front with the headlights removed.
 

Arm Human body World Gesture Space


World Urban design Art Slope Vehicle


Had to spray a lot of baby powder on my newly painted bumper since scanners don't do well with black surfaces.
 

Automotive exterior Font Window Tints and shades Rectangle


Here's what it looks like when in CAD


madmax98
madmax98 New Reader
10/7/23 4:04 p.m.

Been working off and on the intercooler-radiator ducting. Just used 1/16 ABS and went to town. I think the fitment is as good as it's gonna get. I plan on using seals and foam to seal some areas. Sorry my engine bay is a mess at the moment.


Alright... Does anyone have input on a good way to hang the intercooler? I have these "ghetto" straps you see above. They worked great but I hate the way they look lol I had beams in the bottom before, but they hit the ground the first driveway I went over. They also bent by radiator support ehhh. So The straps work great because they allow the intercooler some compliance in case of I hit something. Input is appreciated.


Here's something else I've been working on. I decided on taking out the high beams and using this opening to feed fresh air to the radiator by a duct. The area fed from the high beam openings will be separated from the intercooler area by a divider (shown above). I 3d scanned the area and designed the duct you see below.


I then decided on stiffening it a bit with carbon fiber. It was kinda difficult since I couldn't use vacuum bagging easily, and I really didn't wanna make a meal out of it. So I wet-layed it. I don't like the quality but it's "good enough". Now, I've had the Duratec stuff for a while and have not used (UV protection). So I decided to try it out on the ducts. This stuff was not easy to work with. I thought it laid like clear coat. Boy was I wrong! It took me 2 tries to find the right nozzle/gun combination. I trashed the material both times since pot life is like 10 minutes. It's drying as we speak.
I'm going to use my gelcoat gun next time to spray this stuff. I'm hoping to be able to spray it on my sunroof delete panel and prevent from yellowing.


No, they did not come with the booster seat!


A few weeks ago, I started looking into putting strakes or guides on my hood vents. I designed them in CAD and 3d printed a template then made the composite parts. I just finished attaching them to the vents.


These were vacuum bagged.


Dry look for now... I think I like it.

madmax98
madmax98 New Reader
10/8/23 11:45 p.m.

Been tinkering with the oil cooler duct design a bit. Used the 3D scan point cloud/mesh to guide my CAD. This will be feeding a 6x11" cooler on the driver side.
Below is the front view (looking at the left side of the bumper). The plan is to use the opening on the left. Eventually, I'm planning on designing something to block the opening on the right.


View from the right.


View from above.


Just the duct.


I'm hoping to print it in sections, glue them, then pad it with some carbon.

AngryCorvair (Forum Supporter)
AngryCorvair (Forum Supporter) MegaDork
10/9/23 12:32 p.m.

i love reading GRM ways to do stuff i've never done.  when i have some space + time + money, i'm going to get into making composite body panels.

madmax98
madmax98 New Reader
10/9/23 2:14 p.m.

In reply to AngryCorvair (Forum Supporter) :

You can always start with something small. 
The hood I have here was my first composite project ever back in 2010/2011. Even youtube didn't have a lot of information on that topic back then (nowadays everybody and his mother have a video on how to make composites lol).  I do not recommend tackling a project like that as a first project. I would have done a few things differently knowing what I know now.

Maybe a simple delete panel (sunroof, speakers, ac vents...etc) would be a nice project to get your feet wet. The barrier to entry is a lot lower today, so.... start today :) 

AngryCorvair (Forum Supporter)
AngryCorvair (Forum Supporter) MegaDork
10/9/23 5:27 p.m.
madmax98 said:

In reply to AngryCorvair (Forum Supporter) :

You can always start with something small. 

... she said

madmax98
madmax98 New Reader
10/9/23 8:03 p.m.

In reply to AngryCorvair (Forum Supporter) :

No, that is not cool lol

1 2 3 4

You'll need to log in to post.

Our Preferred Partners
bZMH3rMD9sdjj90K1SnIDsrAcQ9rVKWG8Vt0JmLSTtM52LbX1GL5tE3bbbVkiGNp