


Still following!

Still following!

I'm pretty much in project limbo right now. Waiting on the paint booth to be open so my car can go in, but customer vehicles take precedence over shop projects right now. If this latest car is going to be in the booth for a bit I may get a start on the harness swapping. Or tape my doors shut and get it on the hoist for fresh brake fluid, then paint my calipers, and start tackling other maintenance things.
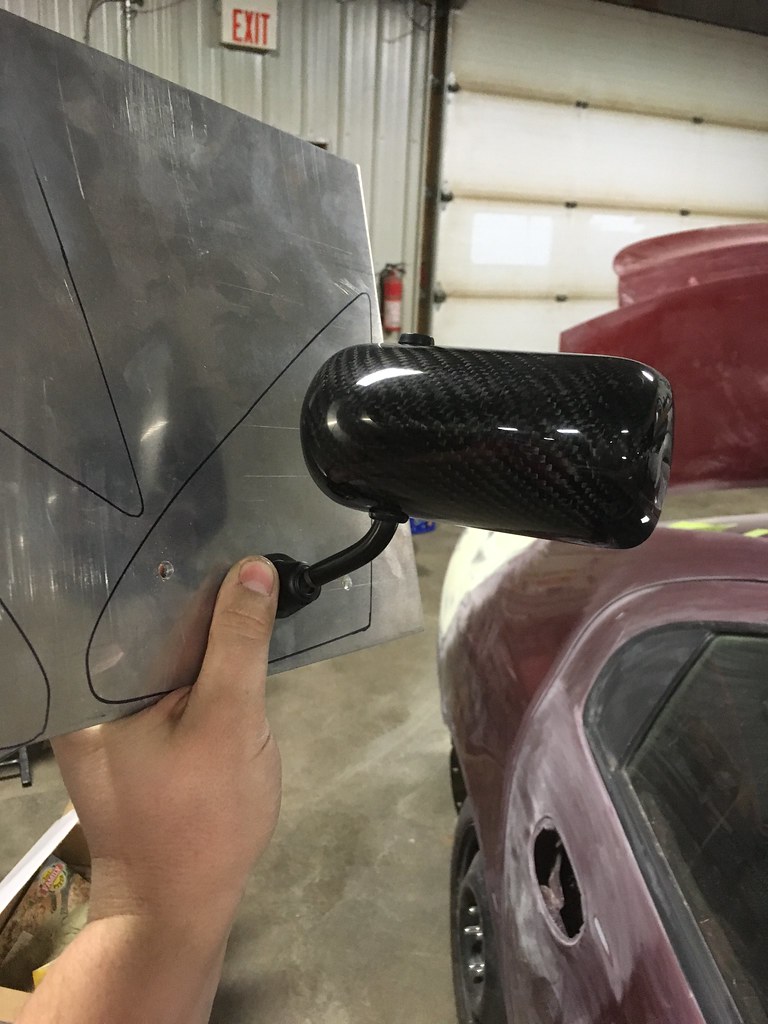
So awhile ago, I bought some mirrors because I have *always* wanted these mirrors.

And there may be a small difference in size...
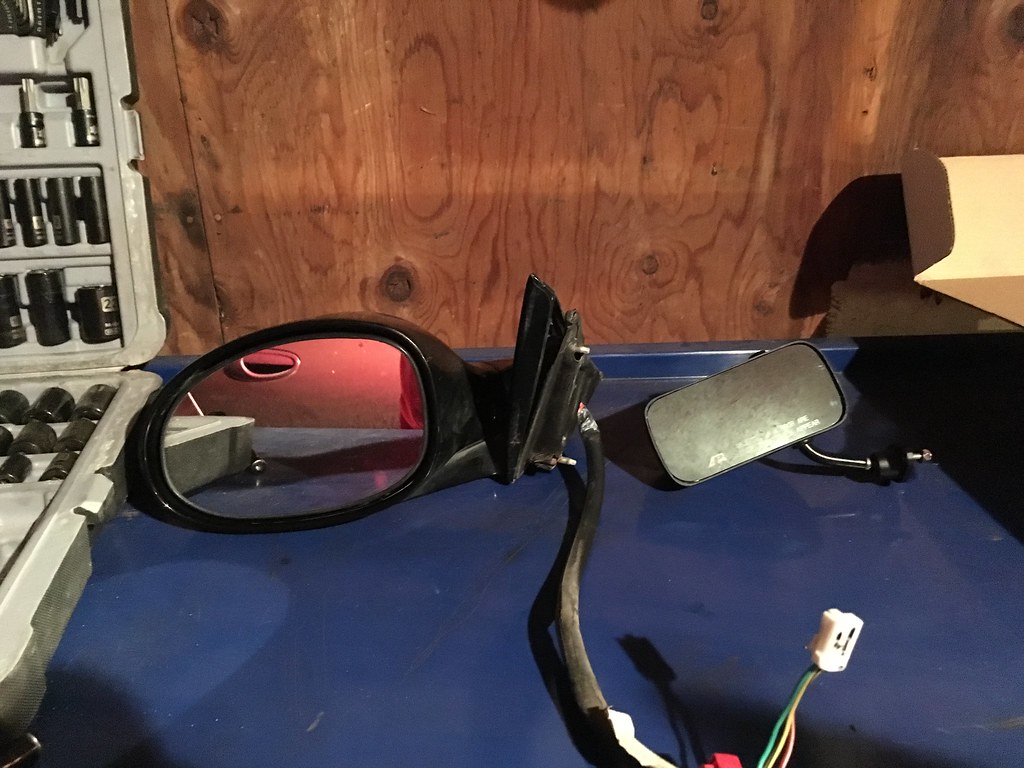
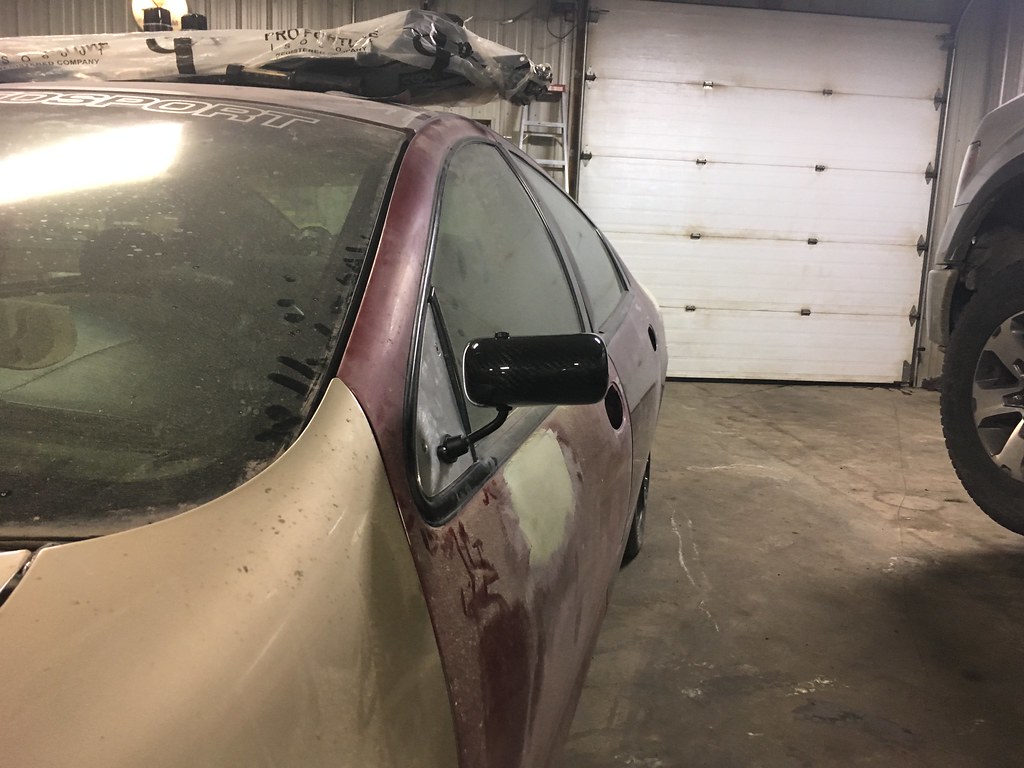
So I had to see how they would look.
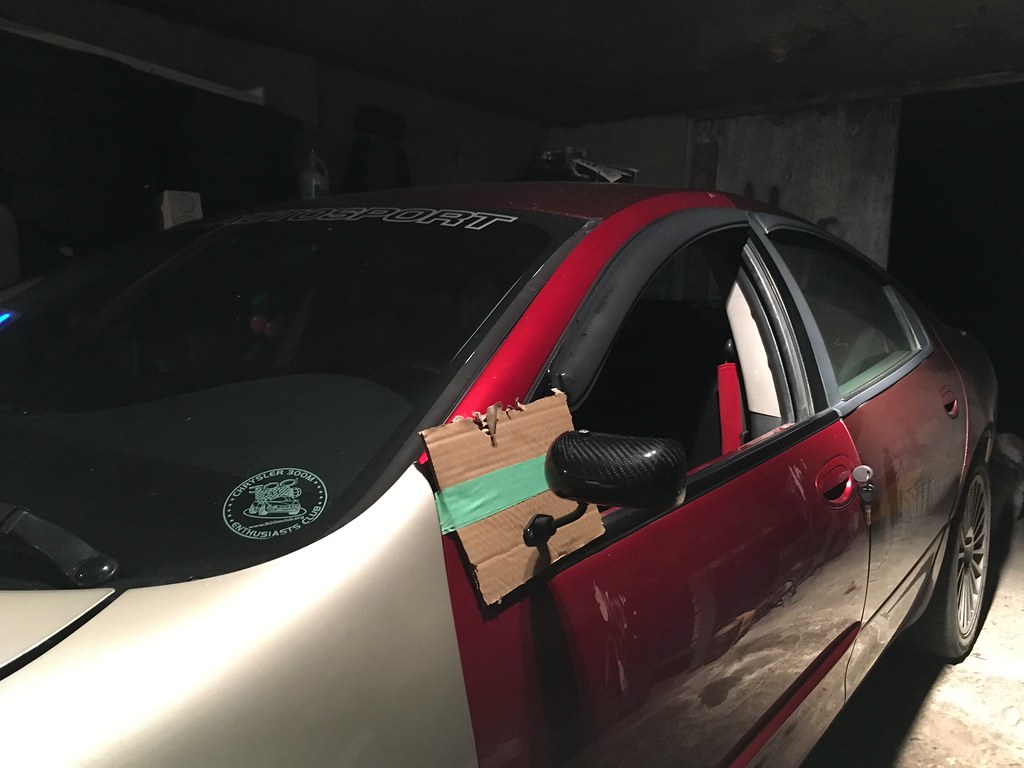
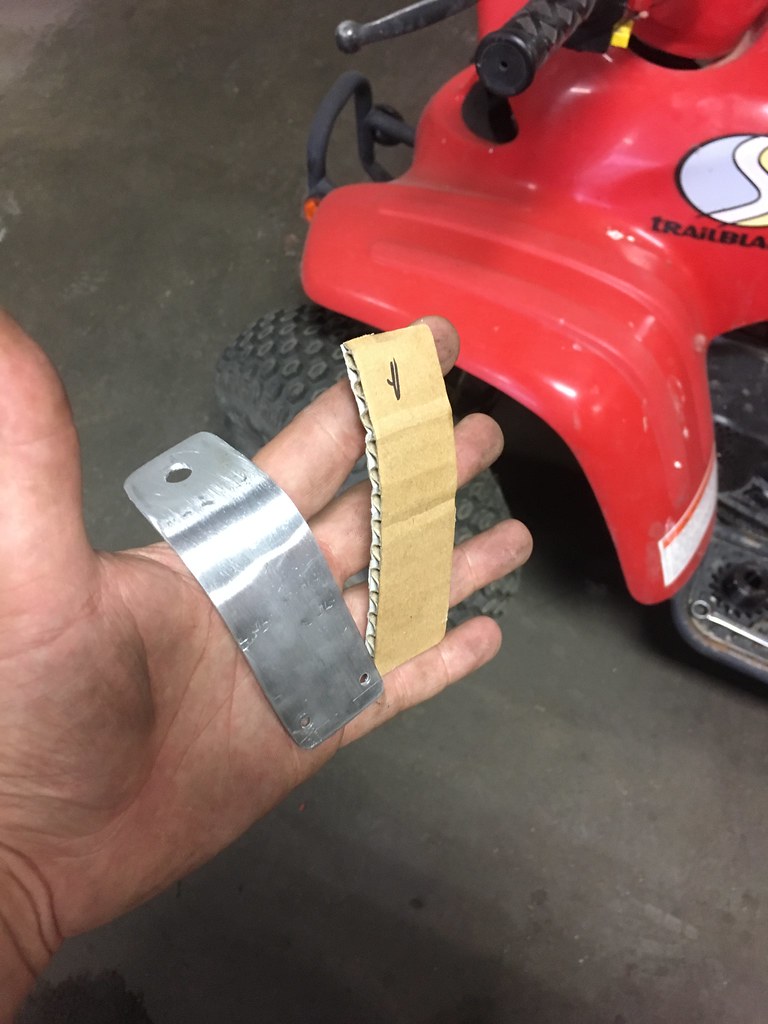
Obviously, cardboard will not be structural at all, so...
(spare door at the shop to replace my rusted passenger side door)
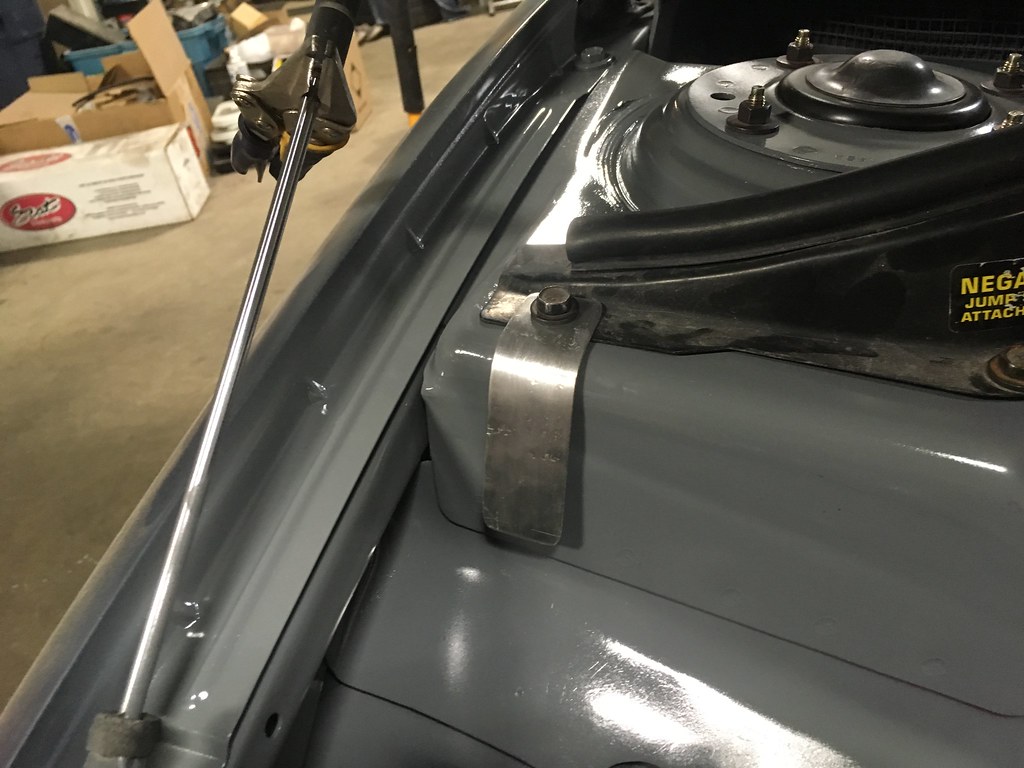
From there, I wanted to see how they would look on the car, still taped to the template because I was still determining mounting and didn't want to use the nyloc nuts that came with the mirrors yet.
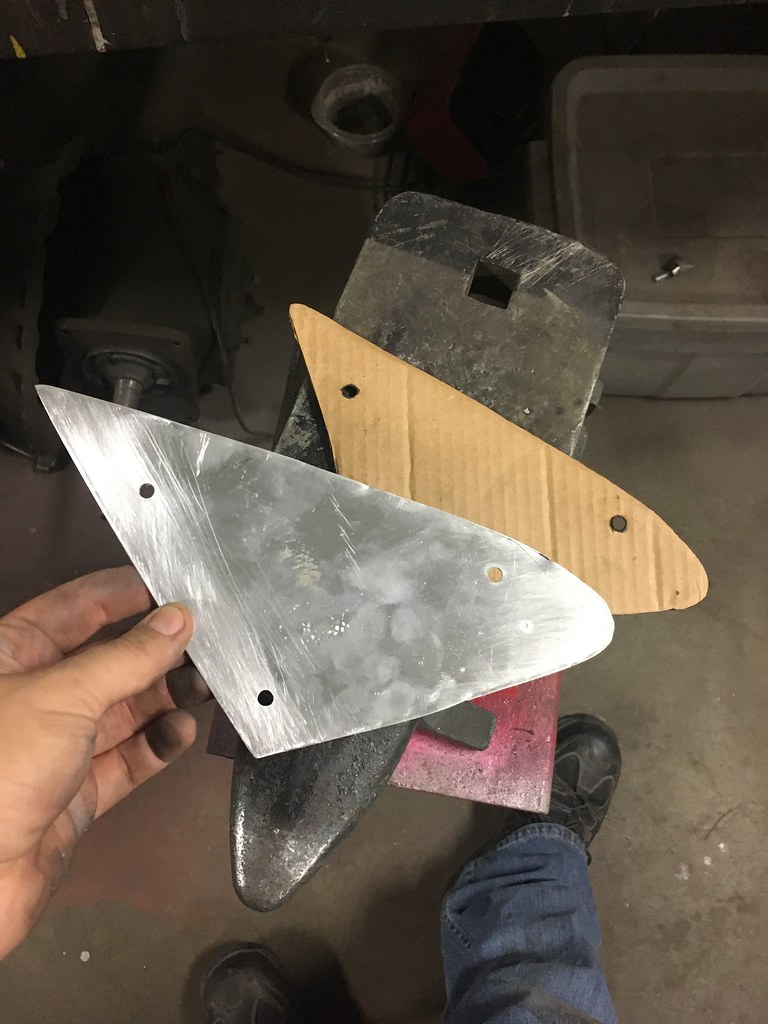
Obviously the template won't fit nicely, so I had to purchase some aluminum and transfer the markings, only messed up a little bit...
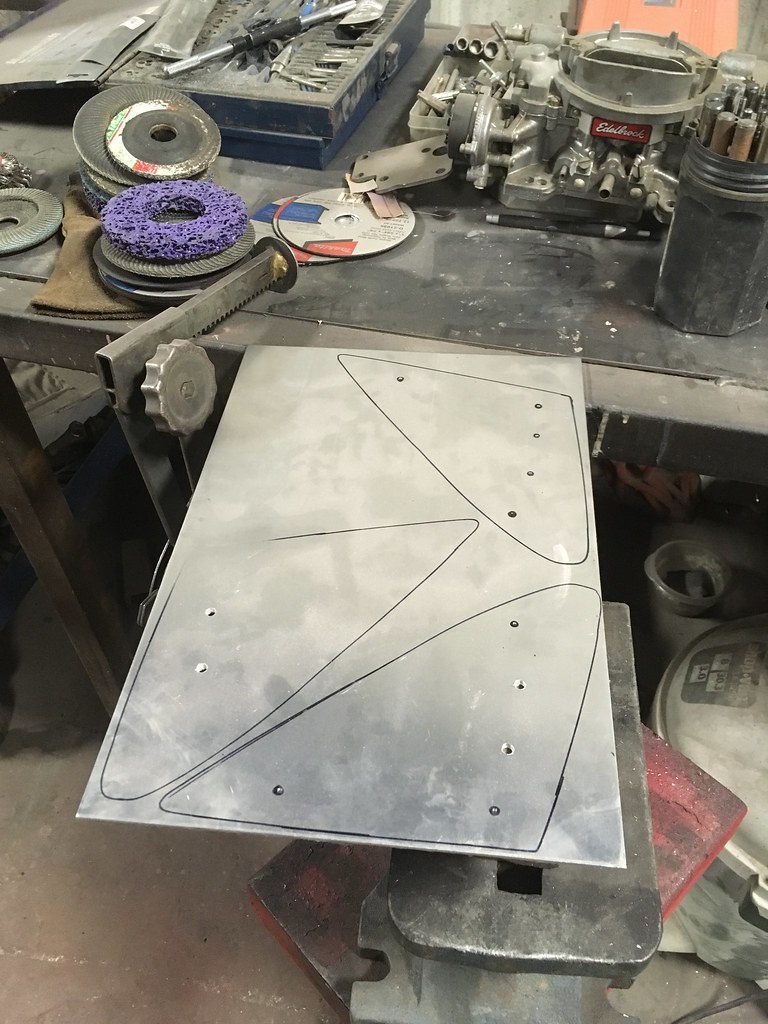
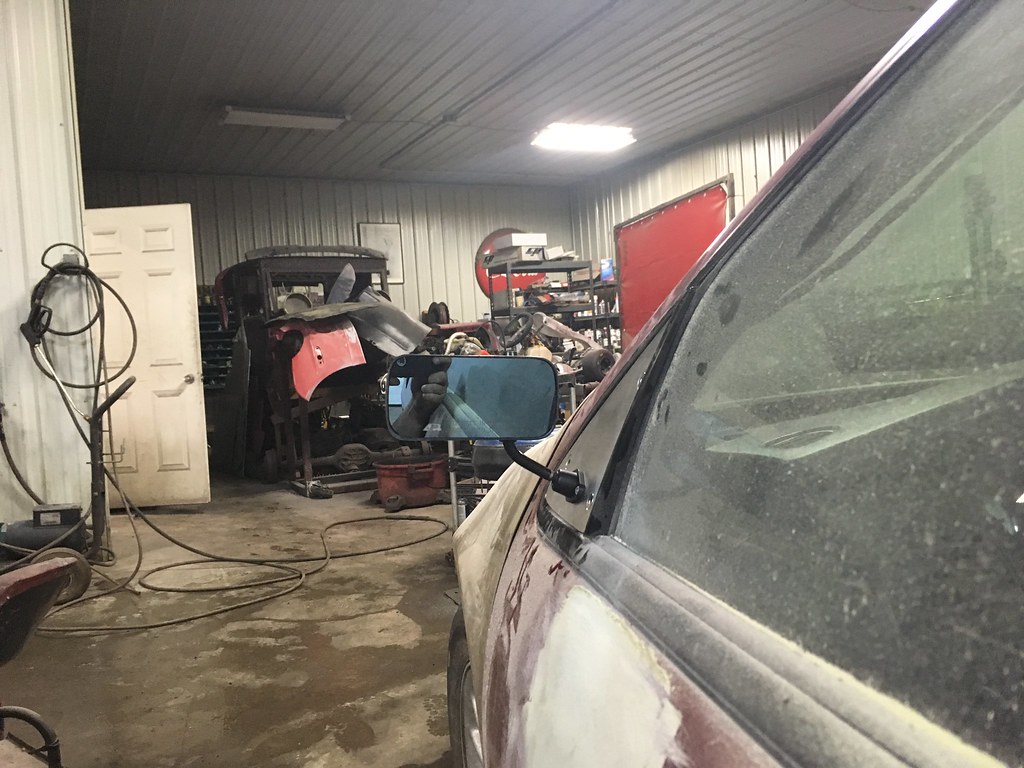
I think they will look good in the end. Just debating if they will be painted trim black, brushed aluminum or wrapped in carbon fibre. I will need to weigh the old mirrors and these to see what the number is between them. The wide angle viewing will be really nice. I do have stainless steel Allan head bolts that are counter sunk to mount them to the door.
Let me know what you guys think.
I should update this later with pictures, but in the past 4 months its been in the booth and sprayed with primer twice. And I did finish up the mirrors and had them mounted to check fitment. Fair amount of pictures taken, louvers got finished up and I really like how they turned out, and you can't see them from the drivers seat.
Also repaired my trans pan leak, straightened the bottom out and added a transmission temp gauge. I am mostly happy about the pan not leaking, and the temp gauge will be nice when I finally get it out to Gimli. Hopefully make it to an open lap day this year yet. It's presently in project car limbo needing basic hoist work, rocker repair on one, brake fluid drain and change and rocker guard the rockers. Just waiting for the hoist to be free. What was supposed to be a 'quick job' was 3 weeks of the hoist held up by a 1974 Impala with some weird Oldsmobile rear axle needing seals and bearings.
I will probably upload some pictures later. Its at least one colour (primer dark gray) now, so that's a plus, right?
Photo dump of the mirrors?
Photo dump of the mirrors.
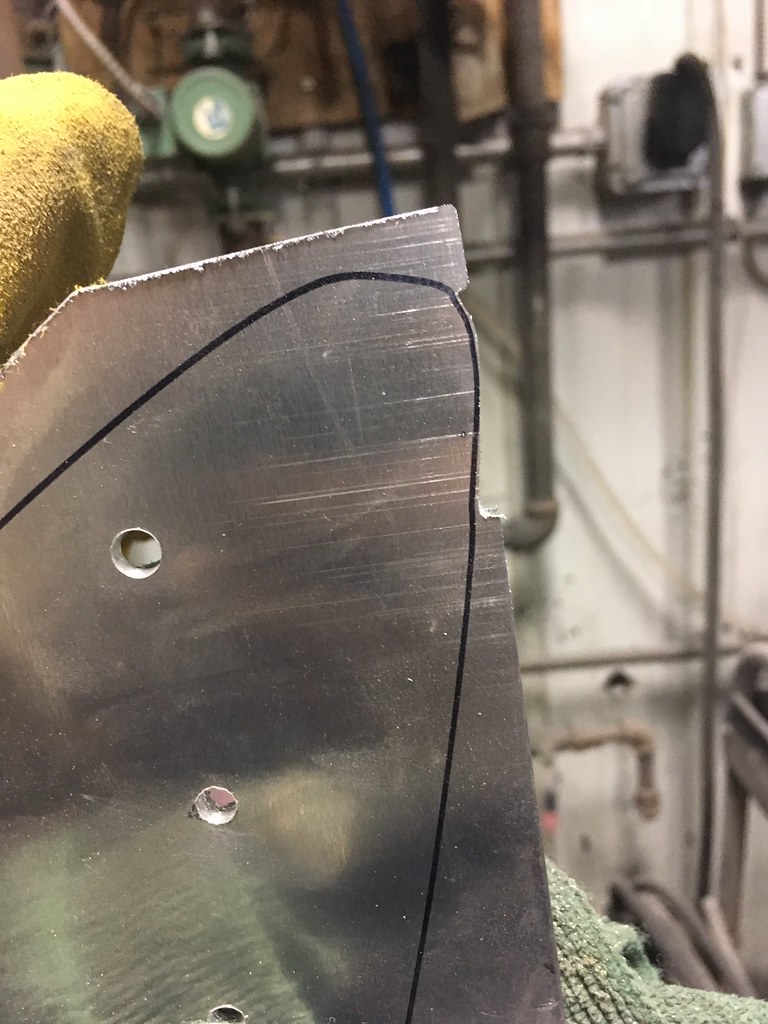

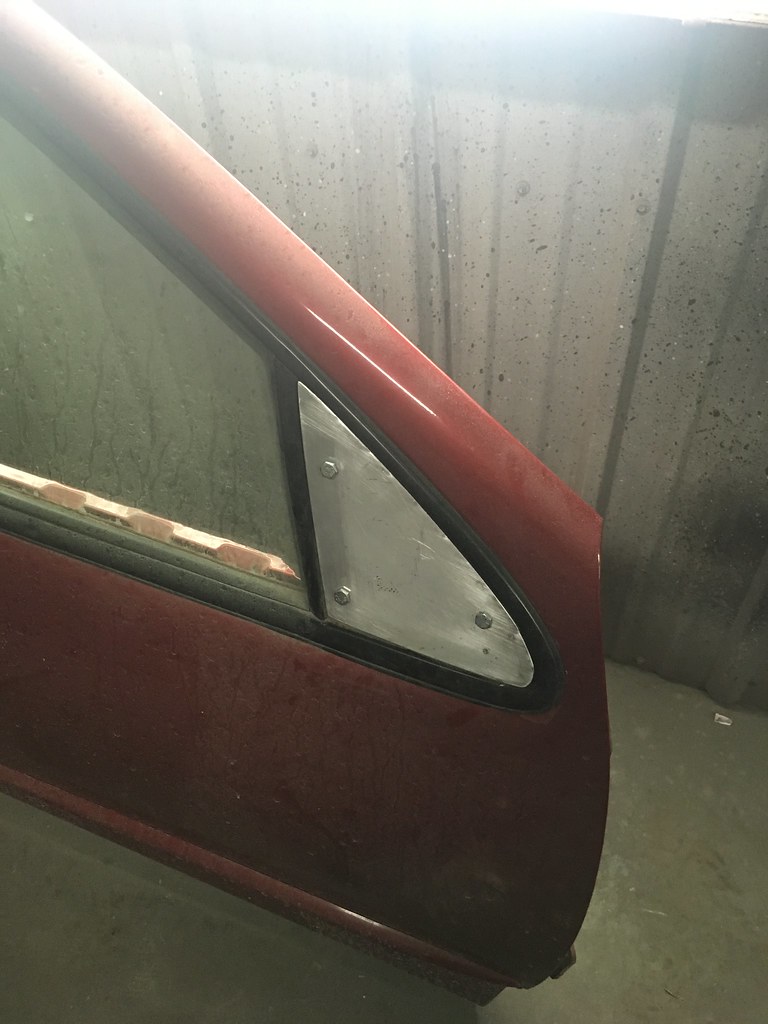
This was not a fun process of filing and sanding trying to get them perfect. I think I spent about 8 hours per side filing, grinding and sanding smooth. BUT, I think it was so very worth it in the end.
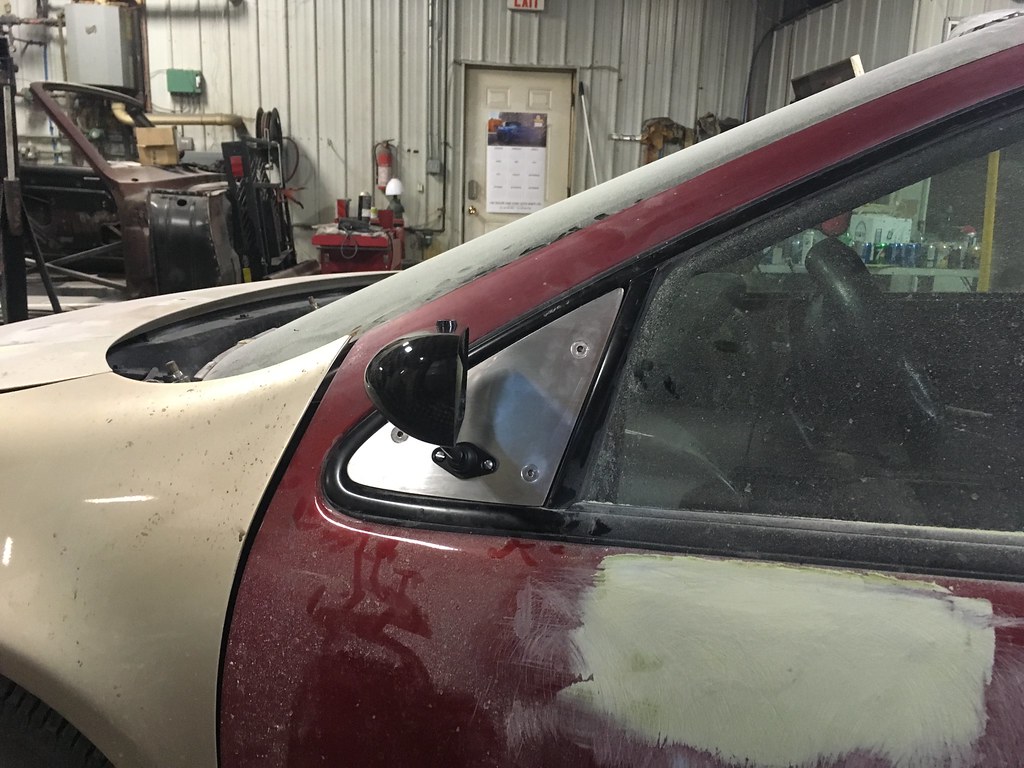

In the end I did counter sink a bit to far, and I was 99% square on one hole so it looks a bit off and the fitment isn't 100% perfect in the top corner. I 'brushed' the aluminum but still decided to have them wrapped in a Carbon wrap at the shop we use. He took pictures of the mirrors to match the weave so if someone walks by they will never know. Will will clear them after so they will have a high gloss shine afterwards as well. The hardware will remain stainless and exposed, much like the mirror hardware.
Next time I will post all the pictures of the Hood. That was another long arduous process to get it perfect.
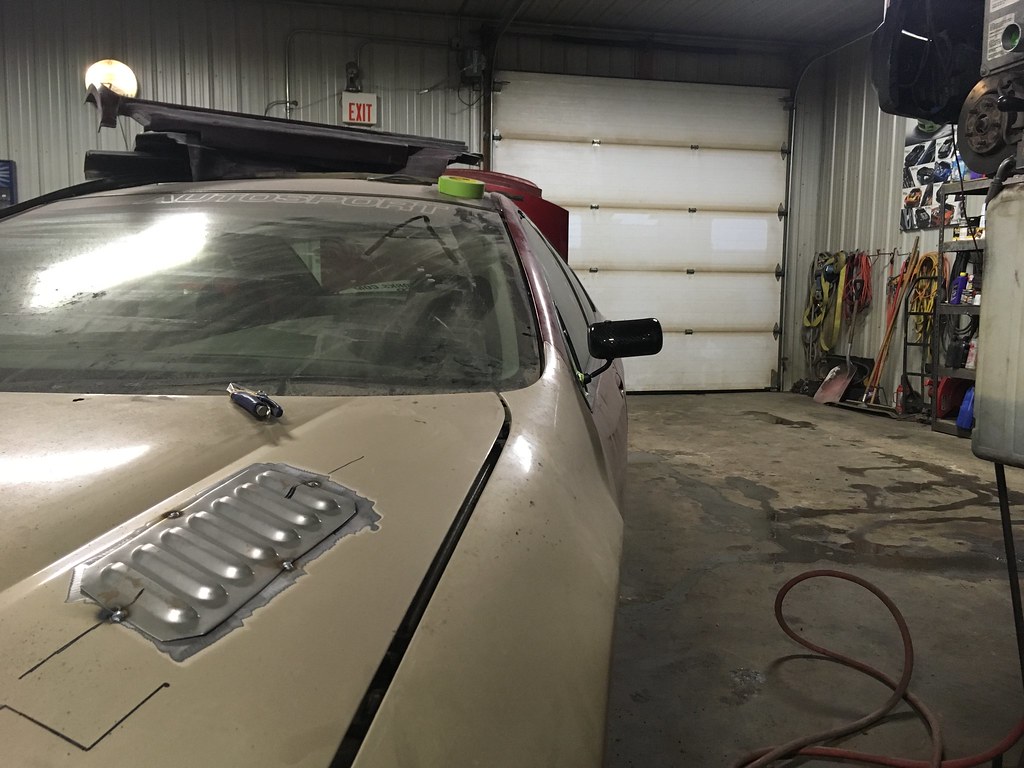
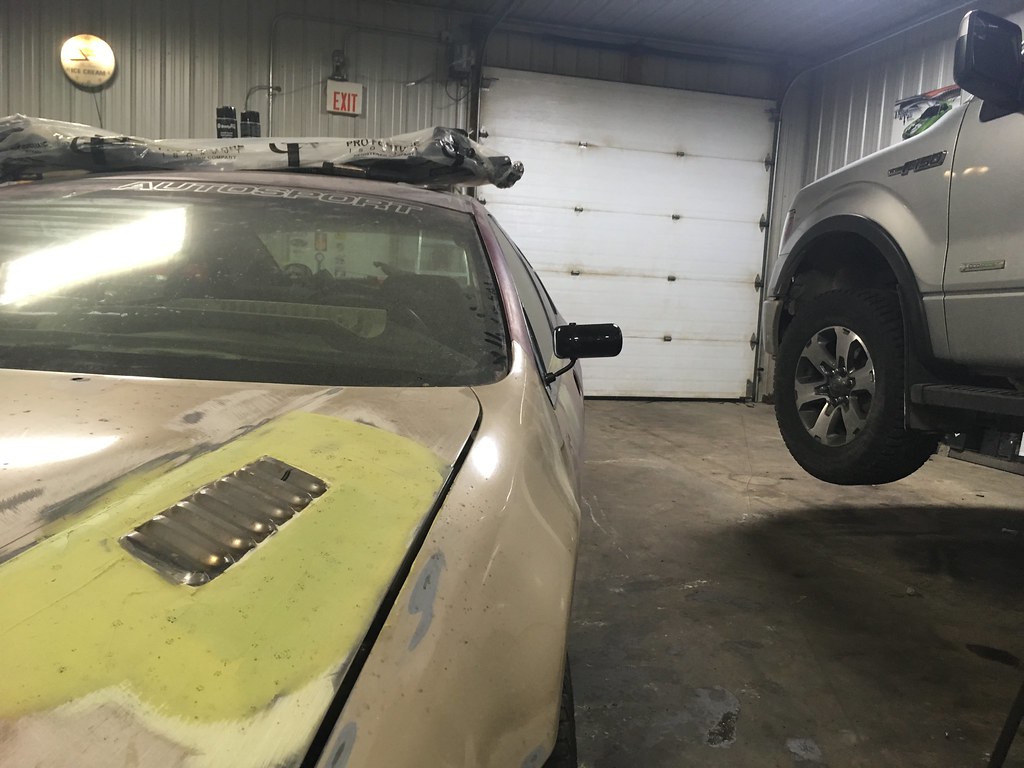
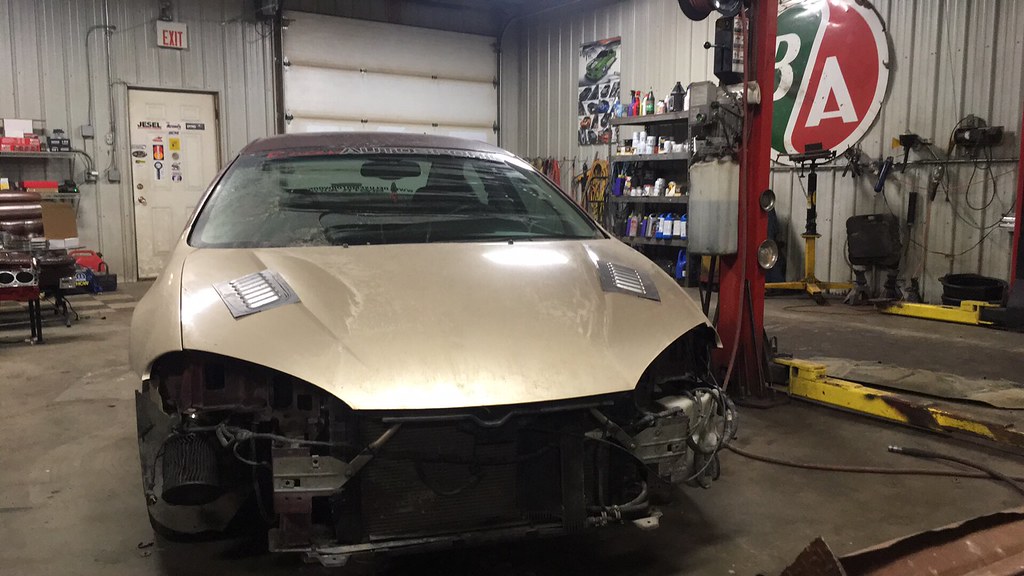
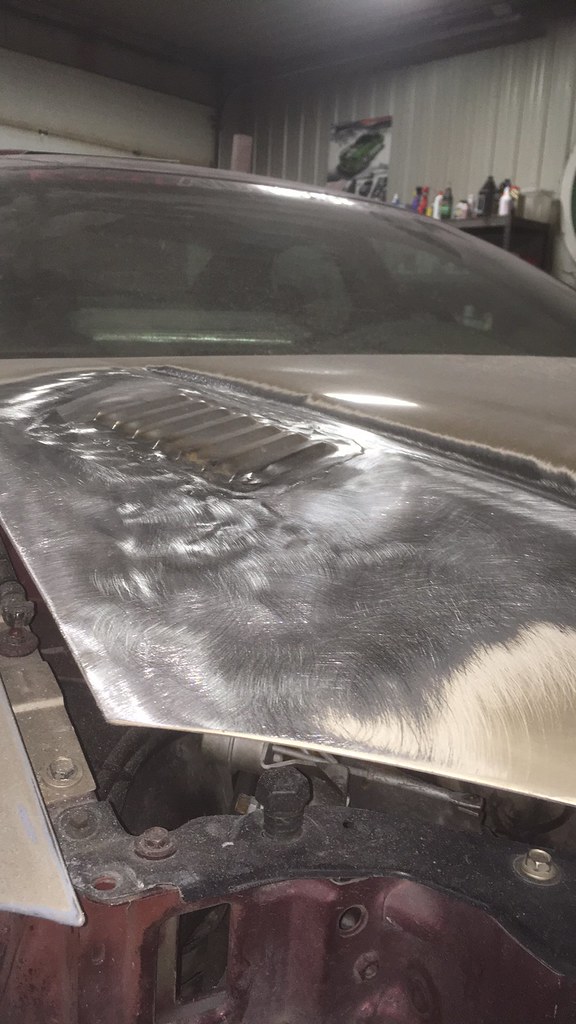
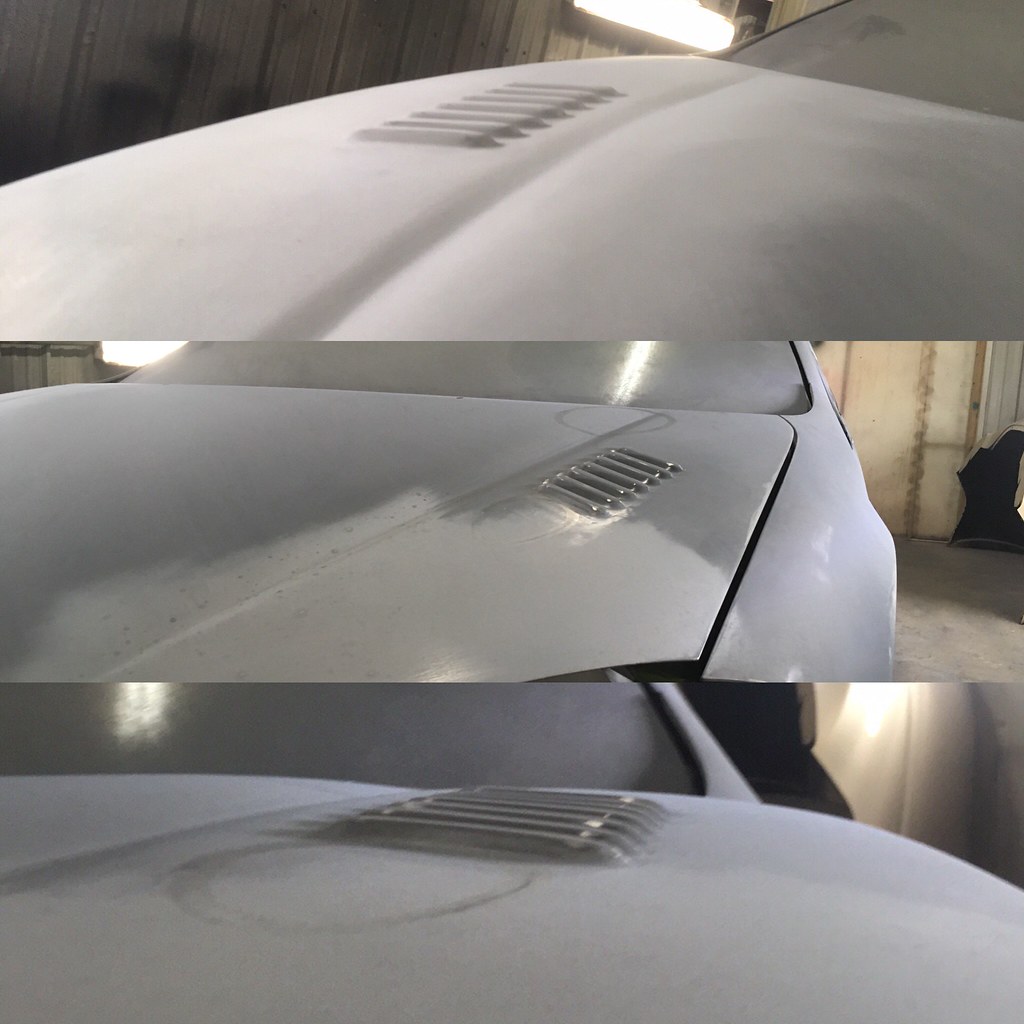
So the hood. What started as a simple set of louvers purchased from Ebay with intentions of being riveted into place changed to 'In for a penny' kind of deal. Why rivet them in place if I was going to all the work of paint and body repair?
What we started with:
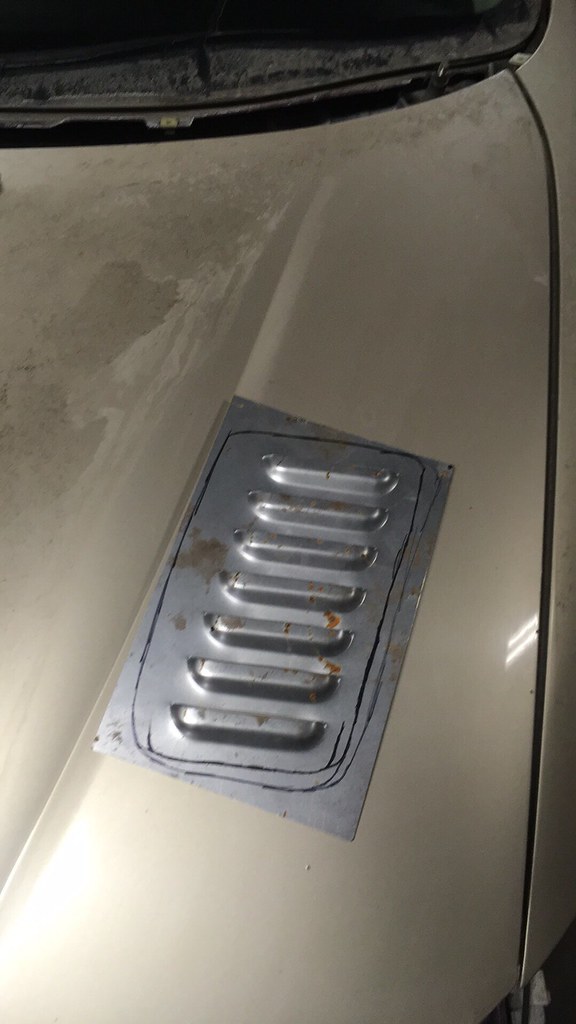
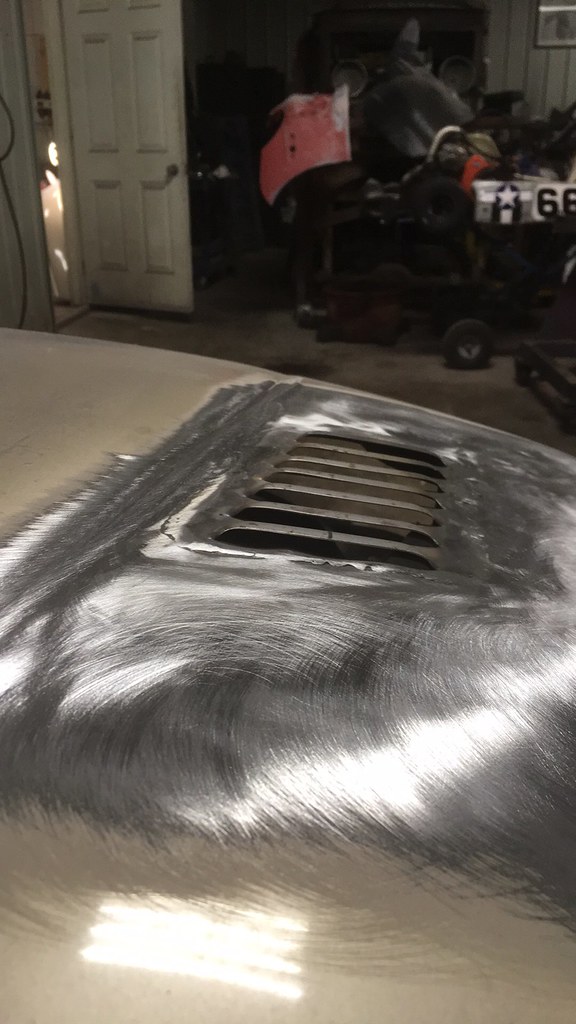
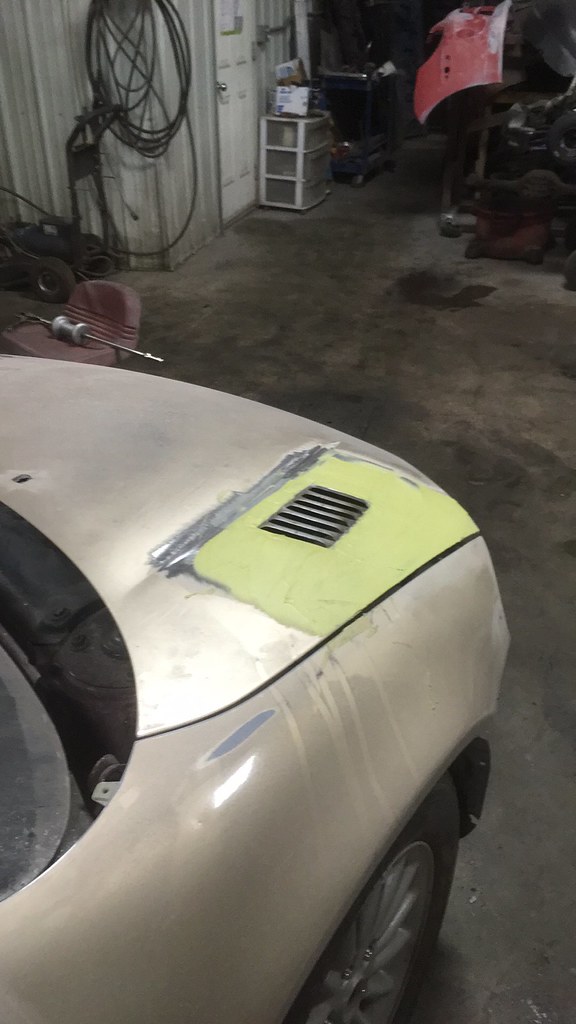
And the progression:
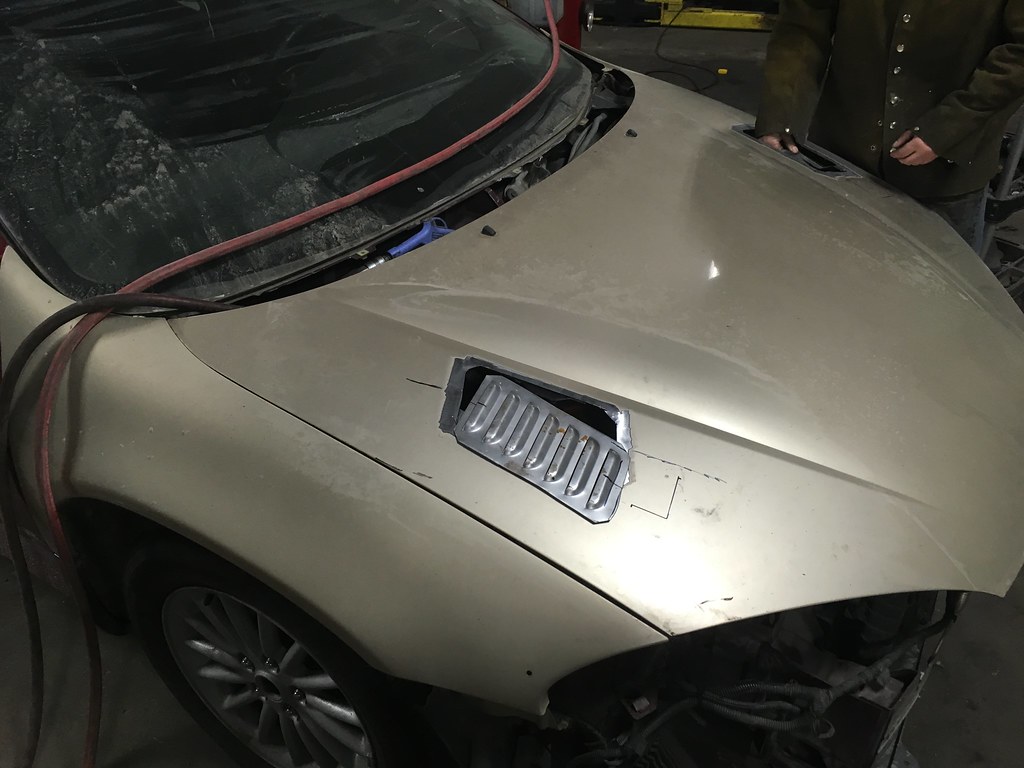
They do in fact vent out the hot engine bay air out, I have only had a chance to feel the air coming out being pushed by the fan so far, but I want to think that during road use it will help as well?
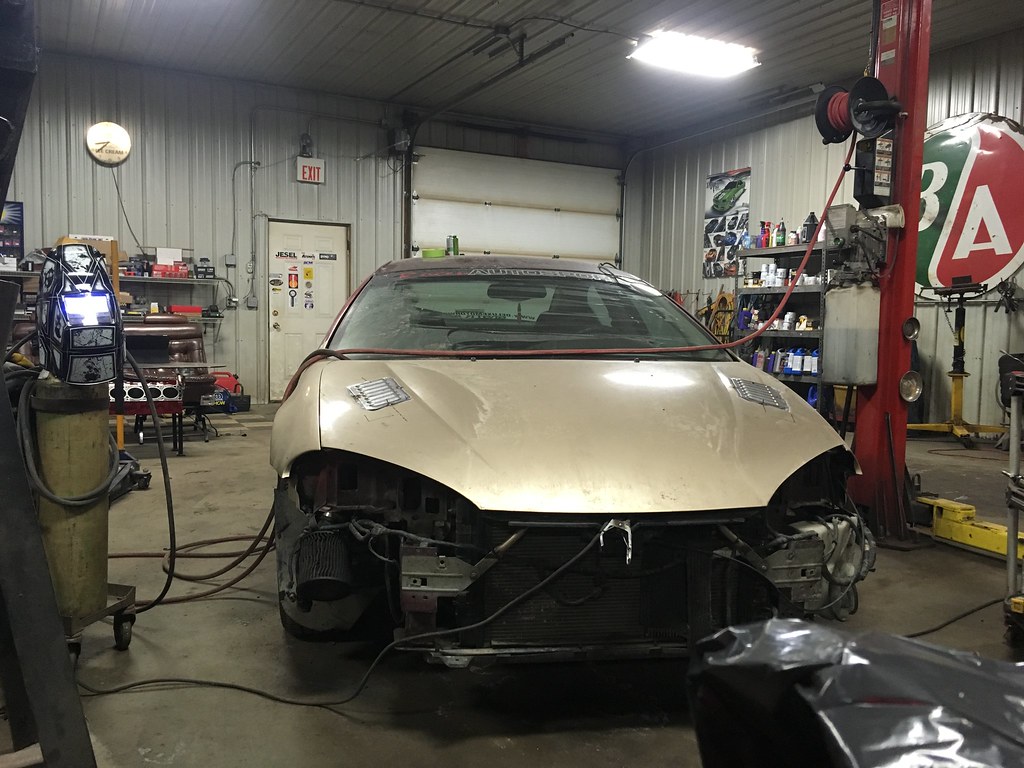


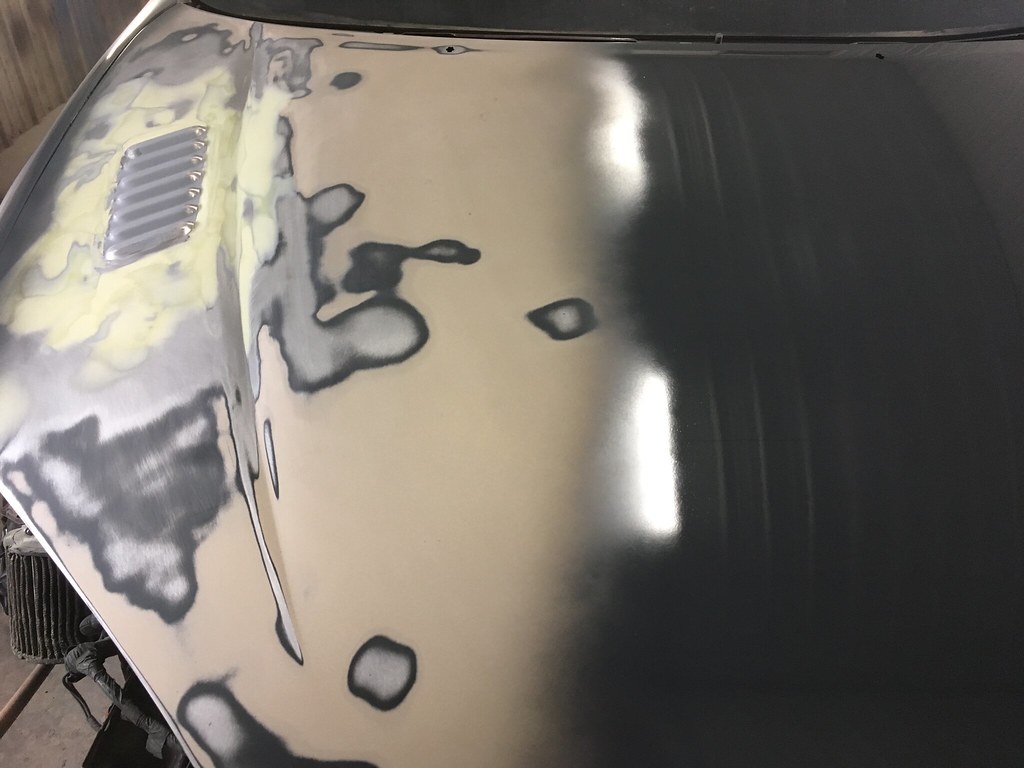
and finally, in primer, I believe this is the second coat of primer. There was a lot of metal working after the first coat of primer trying to get it perfect,
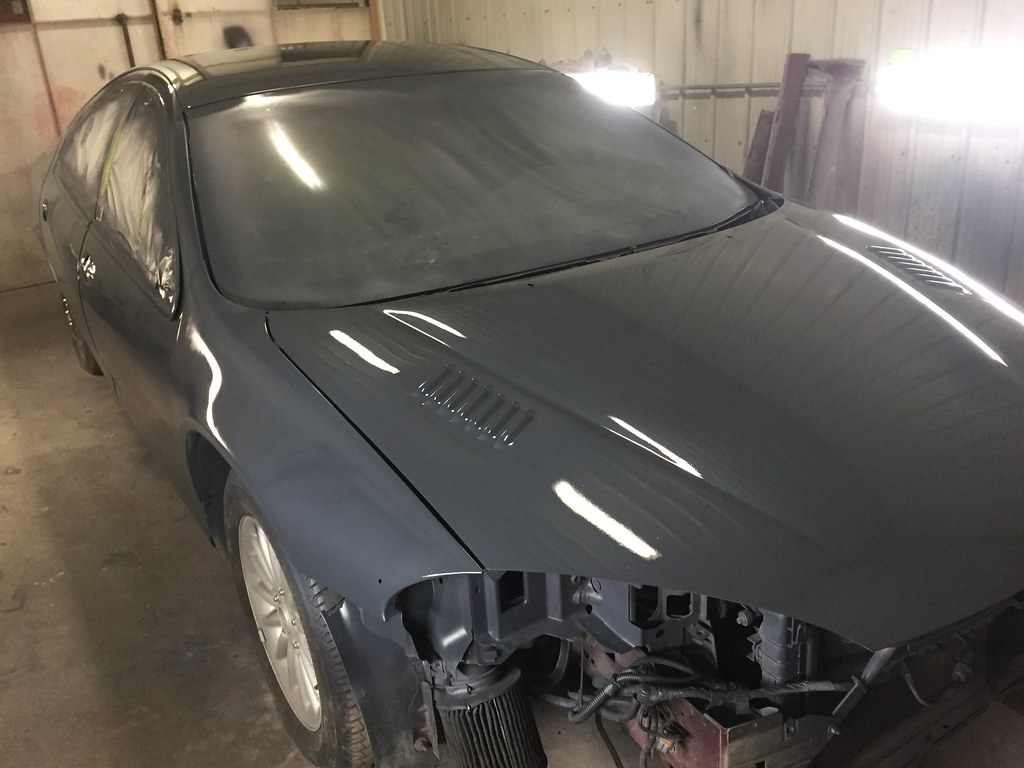
And a final shot of the louvers close up in stage 1.5 of primer.
It wasn't just the louvers we fine tuned but the rest of the hood as well trying to make it look as clean and finished as possible.
And then pushed out of the booth to do some of the other work were it has been living for about the past month.
I really like how the louvers turned out. A lot nicer instead of just rivets and some seam sealer like I had thought of doing 'Just to get it done'. Upside, the accord left today and the Impala has all the pieces needed to be finished up this weekend, then... rockers and brake fluid change!! Then wet sanding.....
Thank you all for reading and let me know what you think!
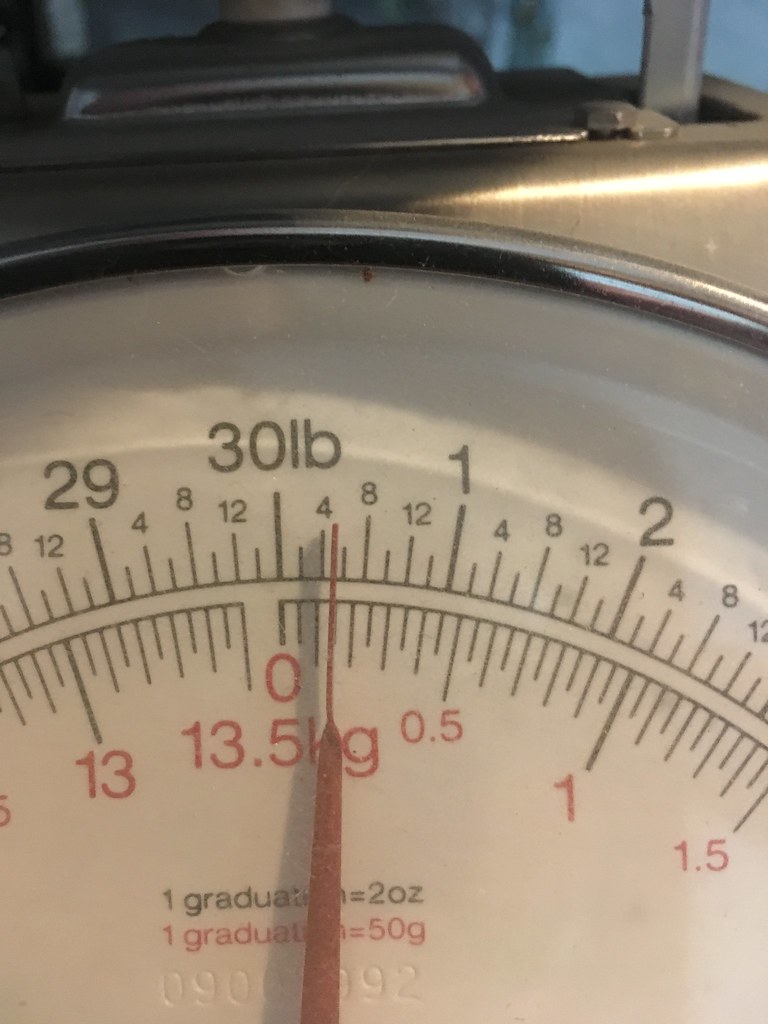
Weighed the mirrors for comparison sake the other night.
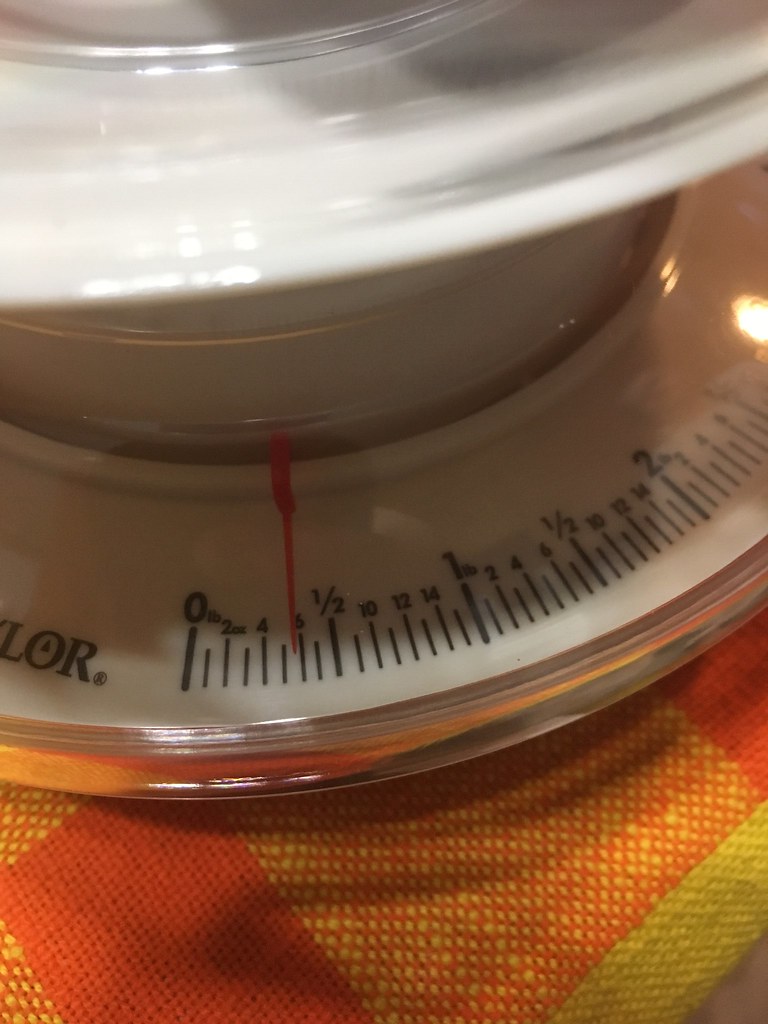
Factory mirrors weighed in at 2lbs, 6ozs each.
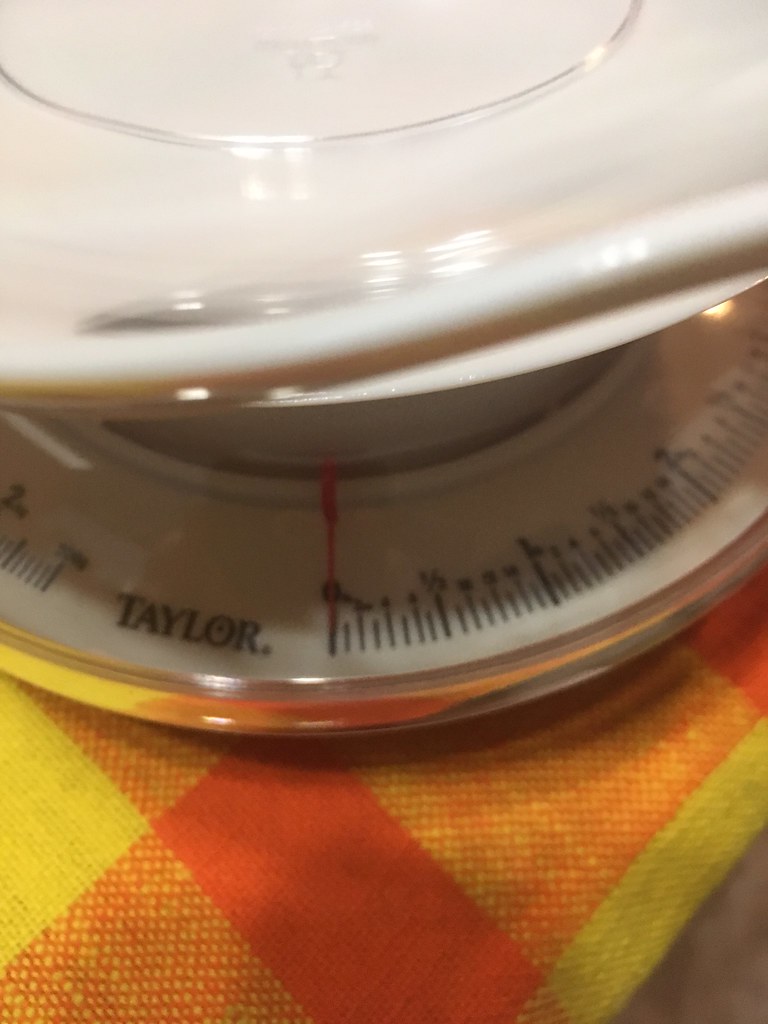
APR mirrors weighed in at roughly 6ozs each.
So about a 2lb saving per side for the mirrors, plus better aerodynamically and a wider view angle from the driver seat. It was not a cheap way to pull 4lbs from the car, but I had always wanted these mirrors so the weight reduction is a bonus.
I do have pictures of the mirrors on the scales I can post later (two different scales used to cross verify the findings)
No reall introduction to this, other than promised pictures of mirror weight comparison
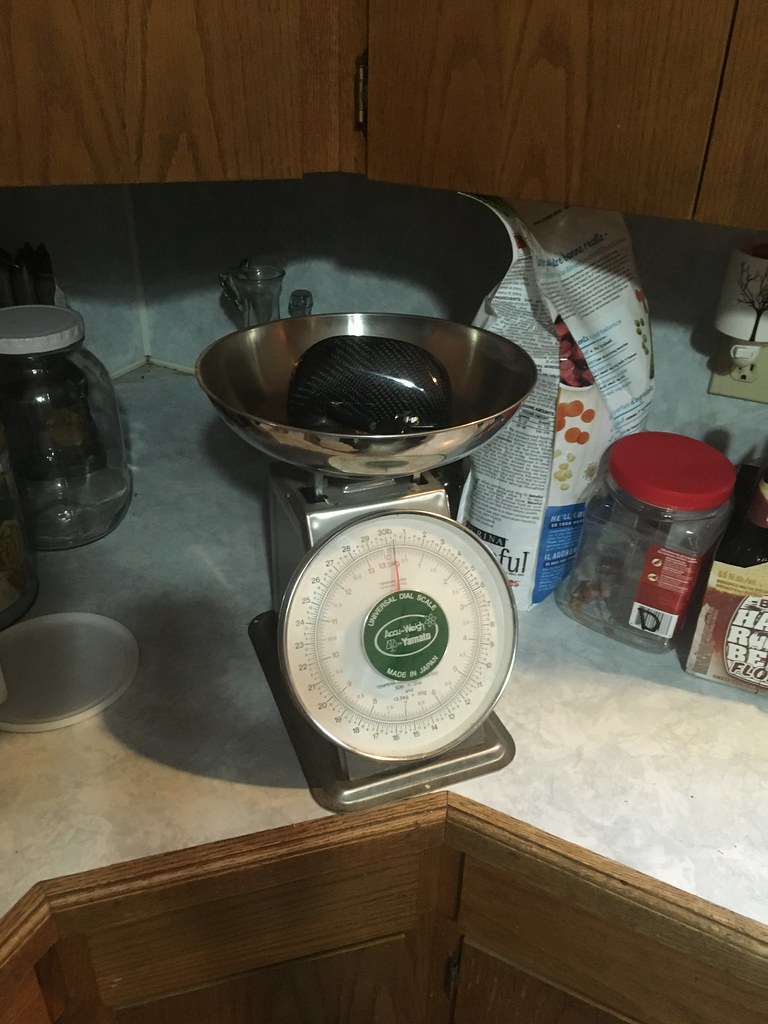
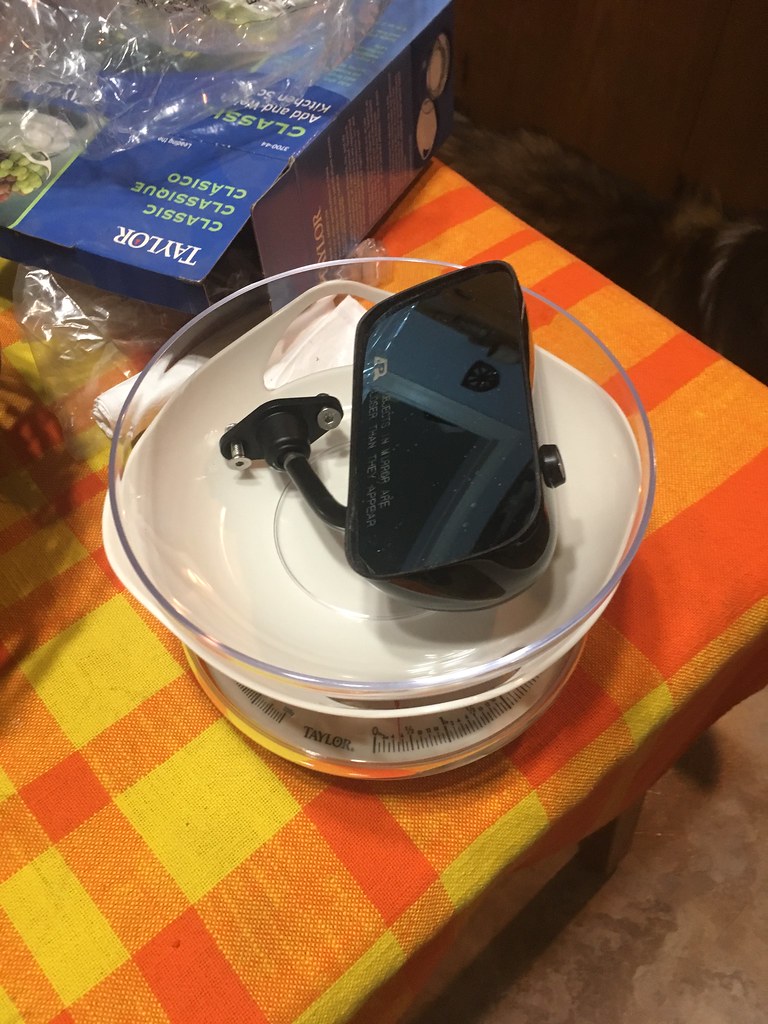
And the factory power folding mirrors
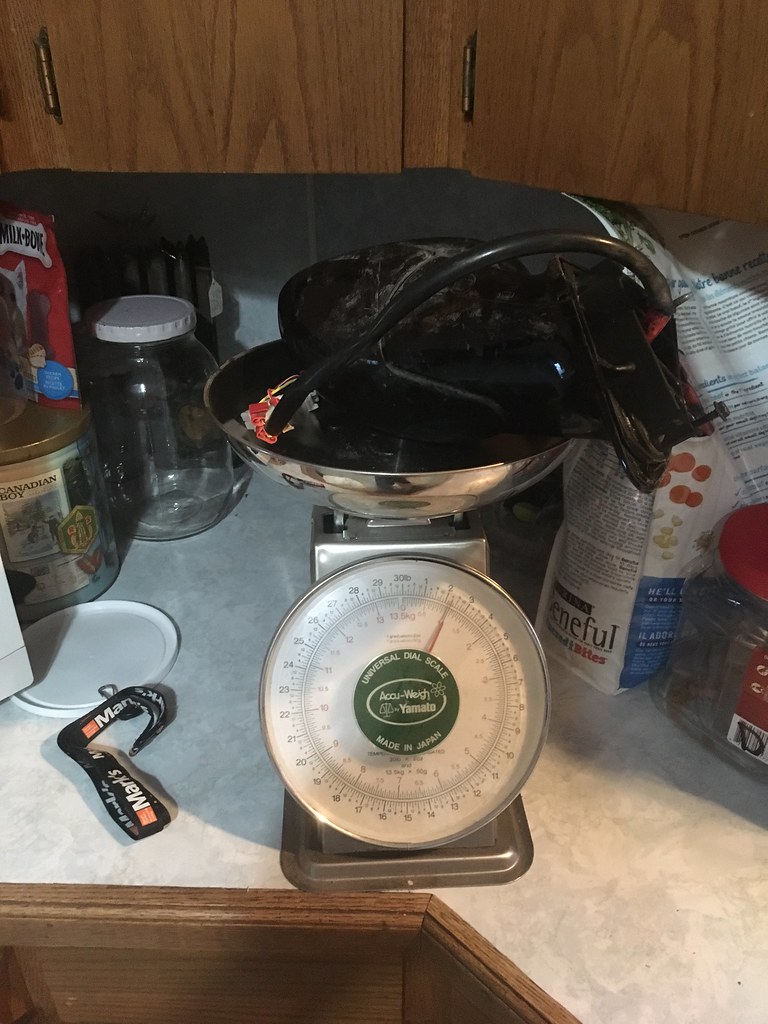
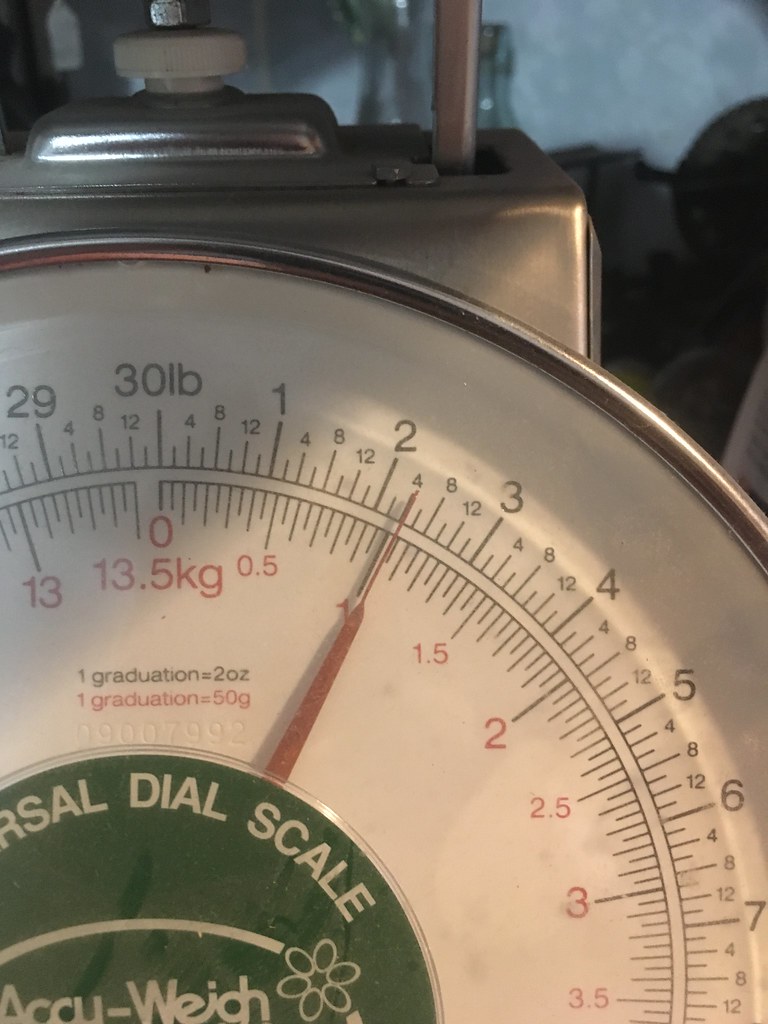

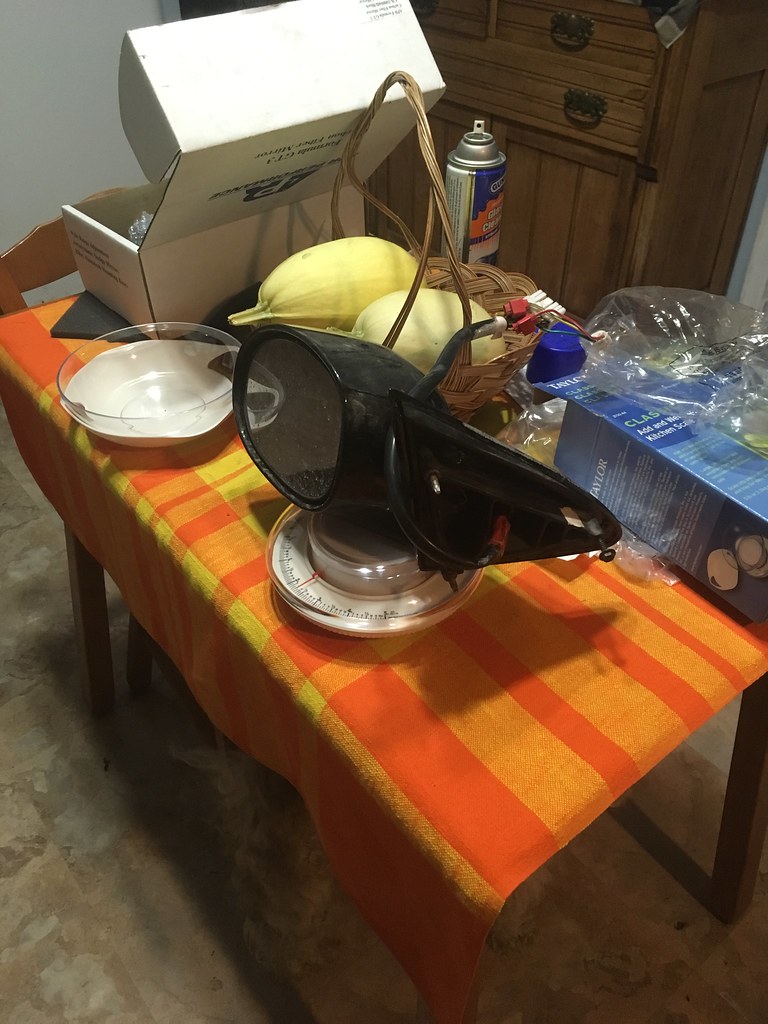

Not scientific in anyway other than using two separate scales to verify the weights.
Also, decided I wanted the car to look somewhat 'uniform' from the outside in so I took to the underside of the hood.
Before:
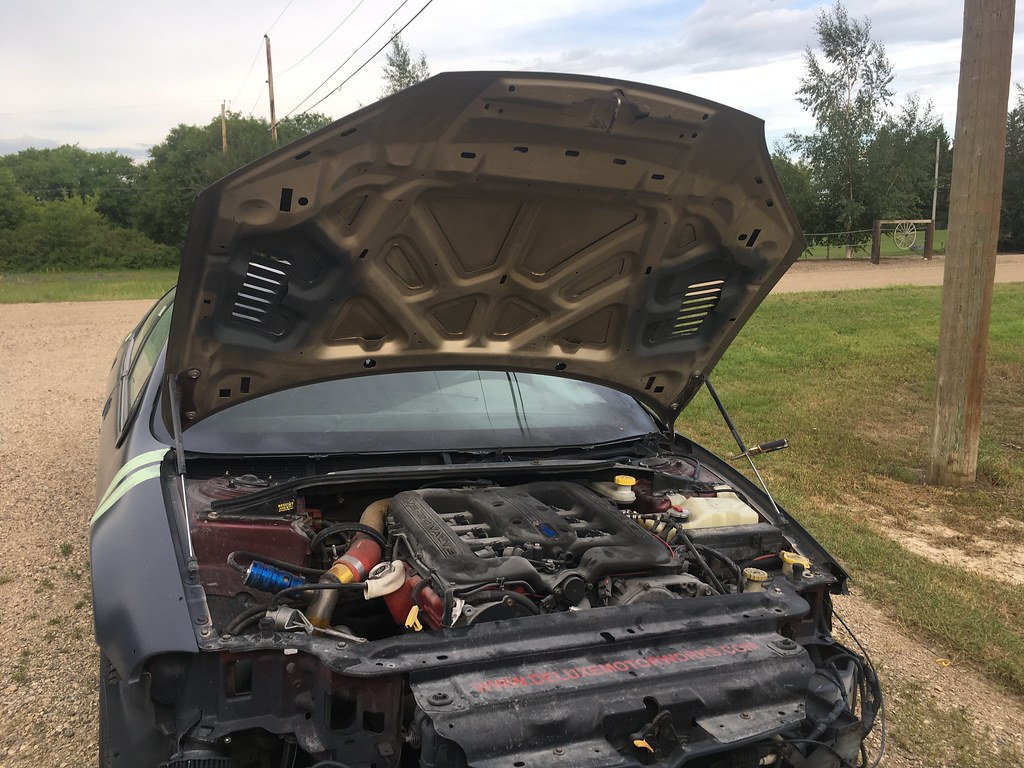
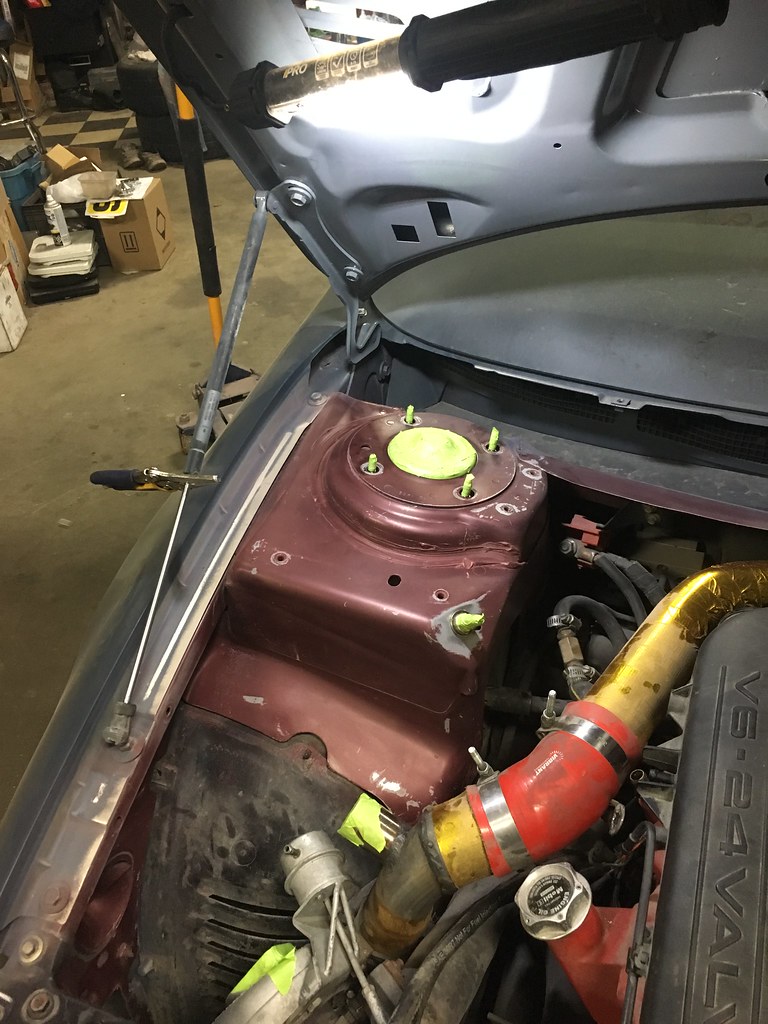
After:
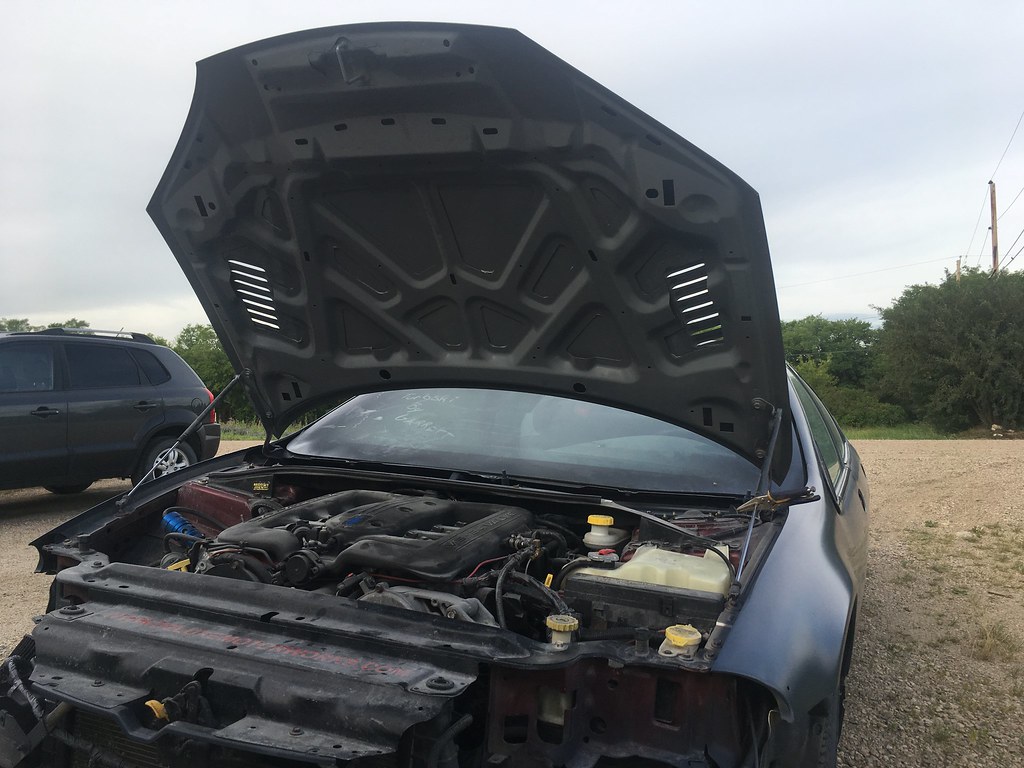
Colour is 'Battleship Grey' from the Krylon 'Rust Tough' (I think that's what its called) line. I mostly wanted to cover up the old faded factory paint. I scuffed and tack clothed the underside of the hood before painting. At least half the underside of the hood will be getting some kind of insulation to help protect the paint after so I wasn't too worried about it being 'perfect'.
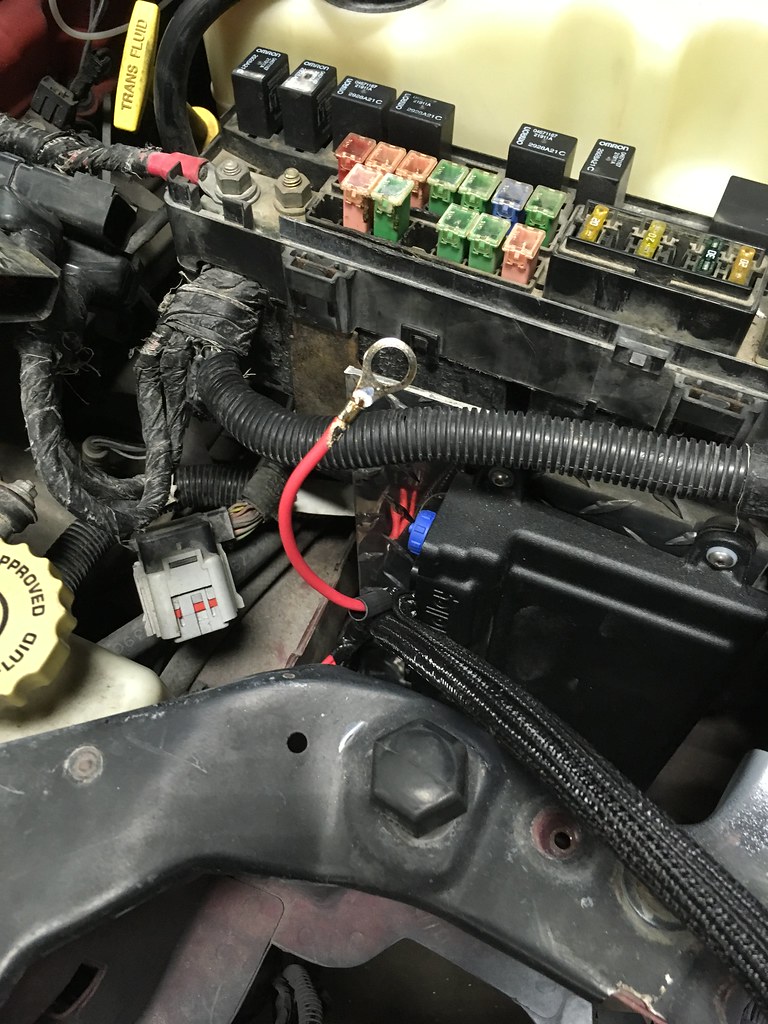
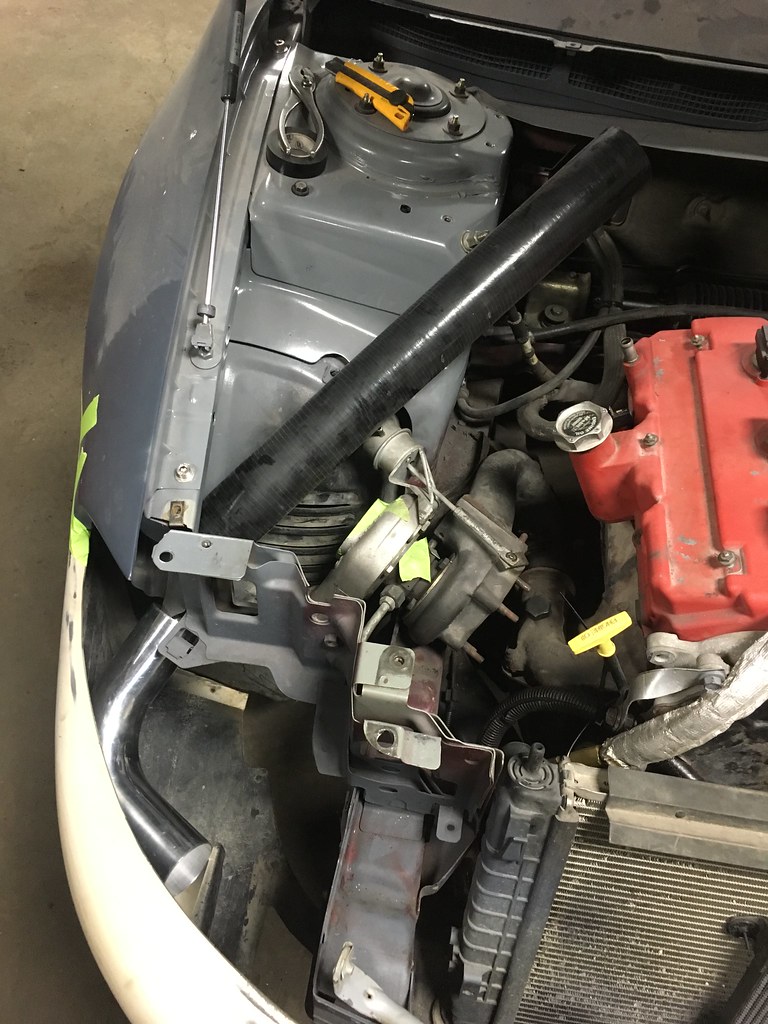
I also took the time to tackle the strut towers to hopefully 'clean up' the engine bay visually.
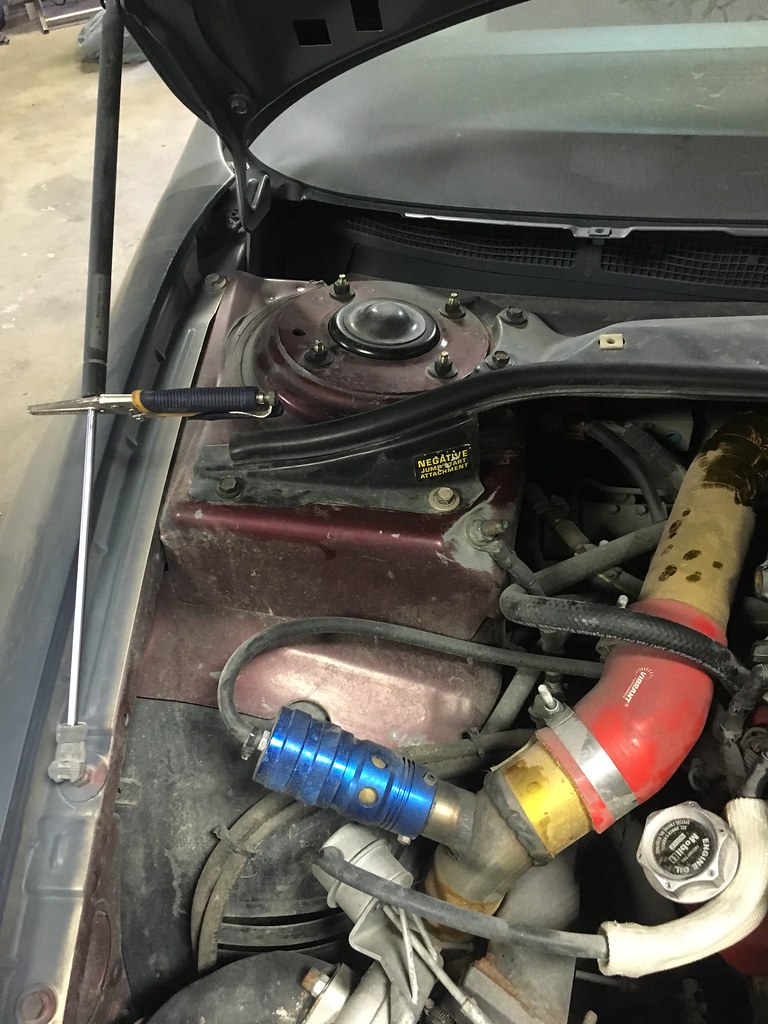
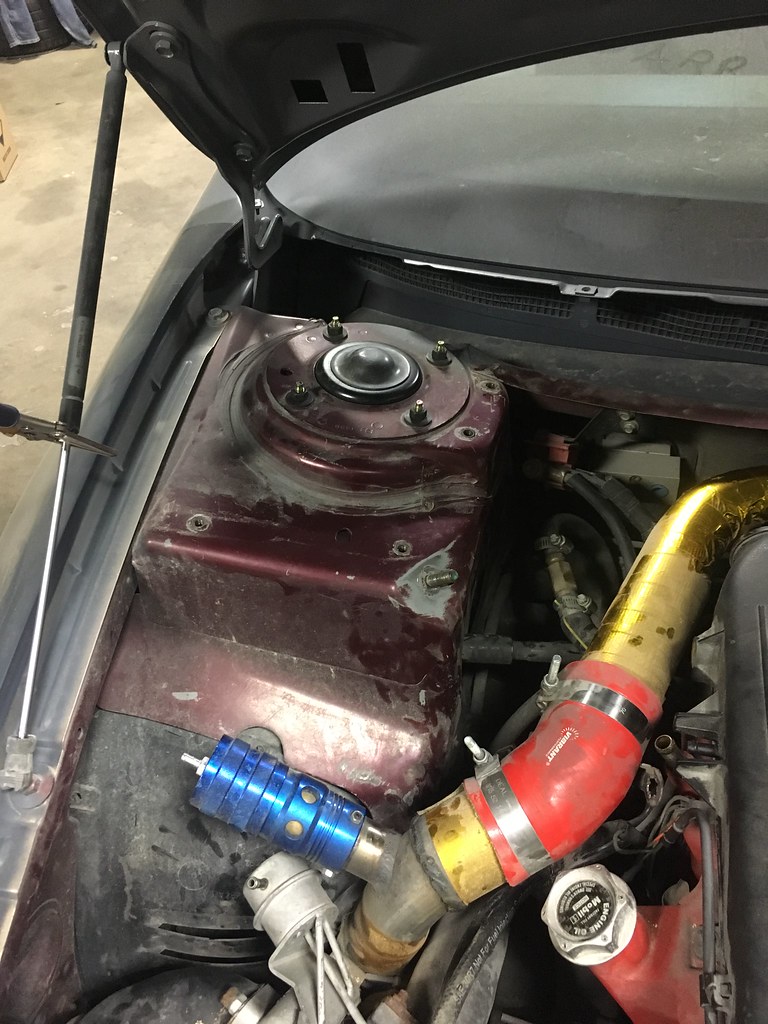
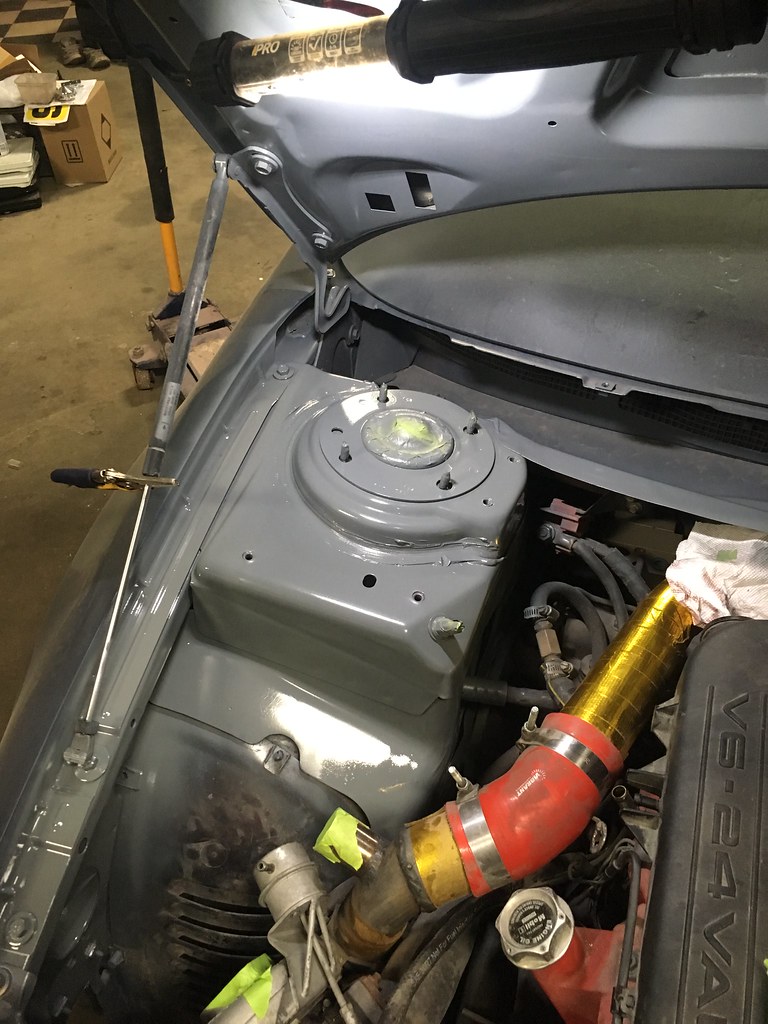
What do you guys think? I know there is over spray on the fender liner, that part is removable to access the original battery location so I will take it off and give it a good cleaning when I do the brakes.
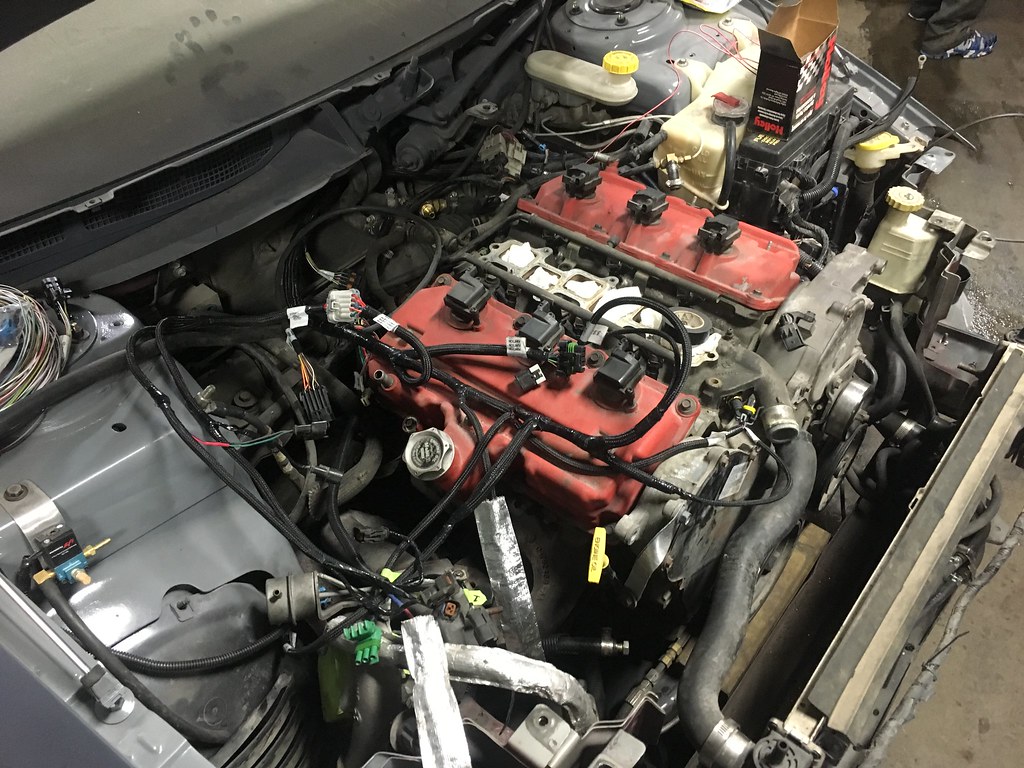
So as of late, the car has taken a bit of a turn direction wise. I got my new much larger injectors and installed them and had to turn down the fuel pressure regulator to get the car to run. So I have started to pull apart the engine bay to swap in the Dominator EFI, which should be fun.
There will be many pictures going forward when I have a chance to upload them to flickr, mostly need to mount a few pieces and get everything sorted out on the 'physical' side of things then figure out a base tune.
Sooooo.....
Been a bit, life kinda went sideways a bit as life does. So progress slowed to a crawl, but I was able to make slow progress.
This post may just be a photo-dump of things


There has also been a lot of non photo worthy things, the purchase of more pieces, exhaust being cut / removed, changing a lot of little things. One day this week I should be going in to do a day of just wire routing and draining of coolant and what ever other little things I get done.

Glad to see this build is still going! Always thought this chassis had a lot of potential especially since it was designed to be capable of being fwd awd or rwd. Keep it up
Still following, thanks for the update!
Updates should start to come together more often now since life has some what settled back into normality. I plan to spend the day Thursday tackling underhood wiring to hopefully get ready for starting it under control of the Dominator.
I've always had a crazy idea for a different AWD setup, I need a second Intrepid and a Toyota Camry hybrid too assemble it together first to figure it all out. It's a crazy idea and if I can purchase the pieces cheap enough I may go through with trying it.
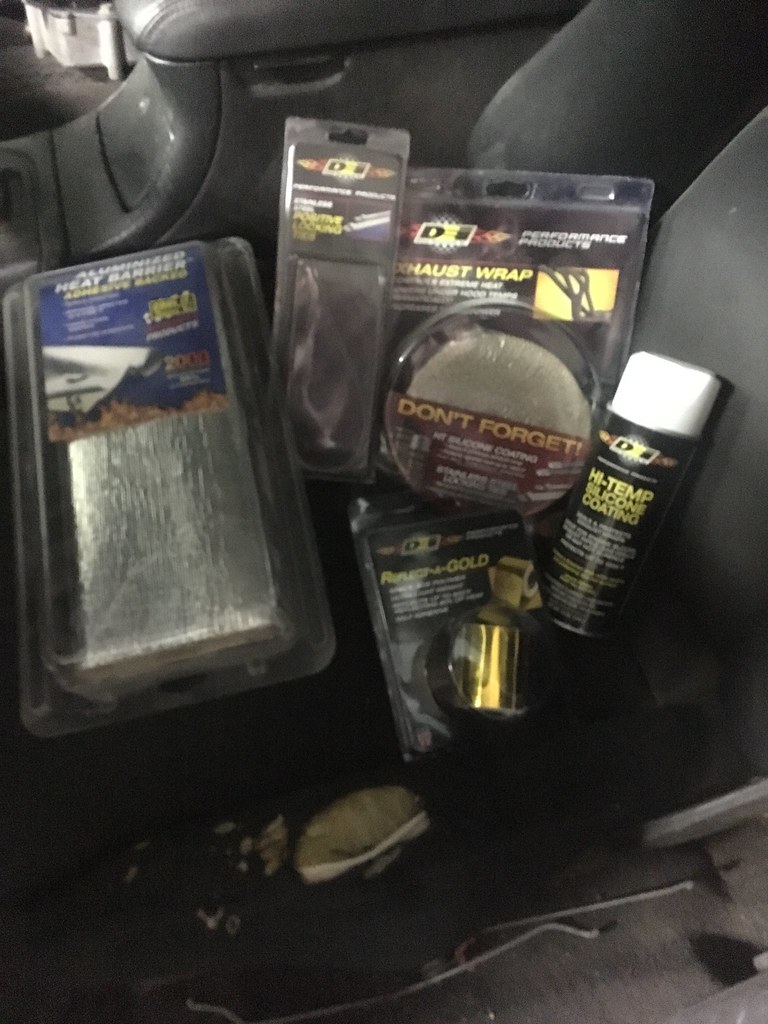
I'm back! This time with more pictures! All of my 'whoa!' parts have arrived

Not pictured is the 2 liters of Castrol SRF brake fluid I have sitting at the shop waiting for the fluid change, and some caliper paint because that's an good for an easy 25kw gain.
I have previously used the HAWK HPS pads on the car, but I had Powerslot front rotors (apparently they are now StopTech) and Napa Ultra premium 'U groove' rear rotors. Being a non ABS car, this thing has always stopped really really well, hopefully I will get more seat time in and get into better throttle control to find more time. I have a complete set of 16 inch wheels I am going to get decent tires for because after reading the 'pedal steering' thread I want to get better control with rotating the car.

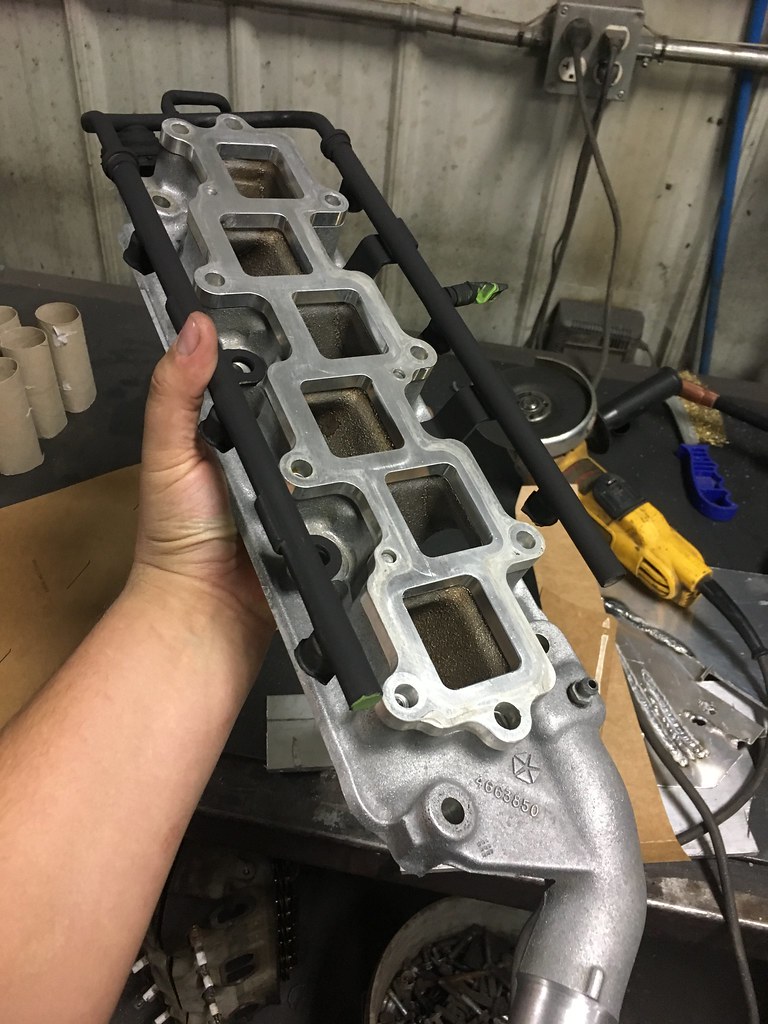
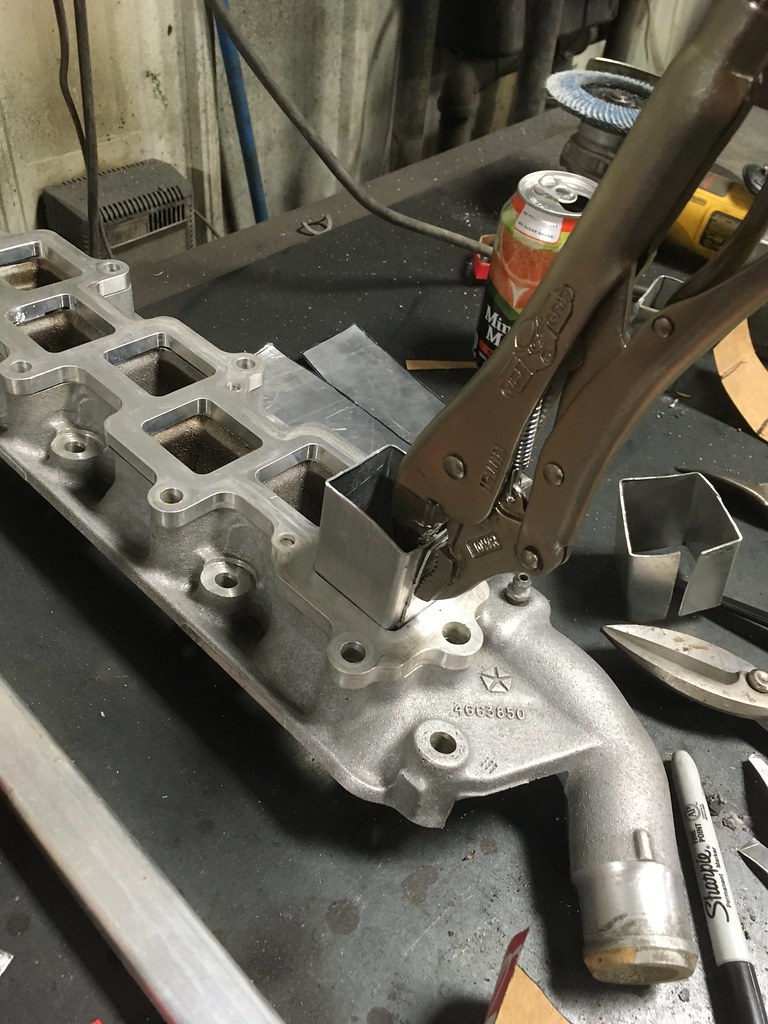
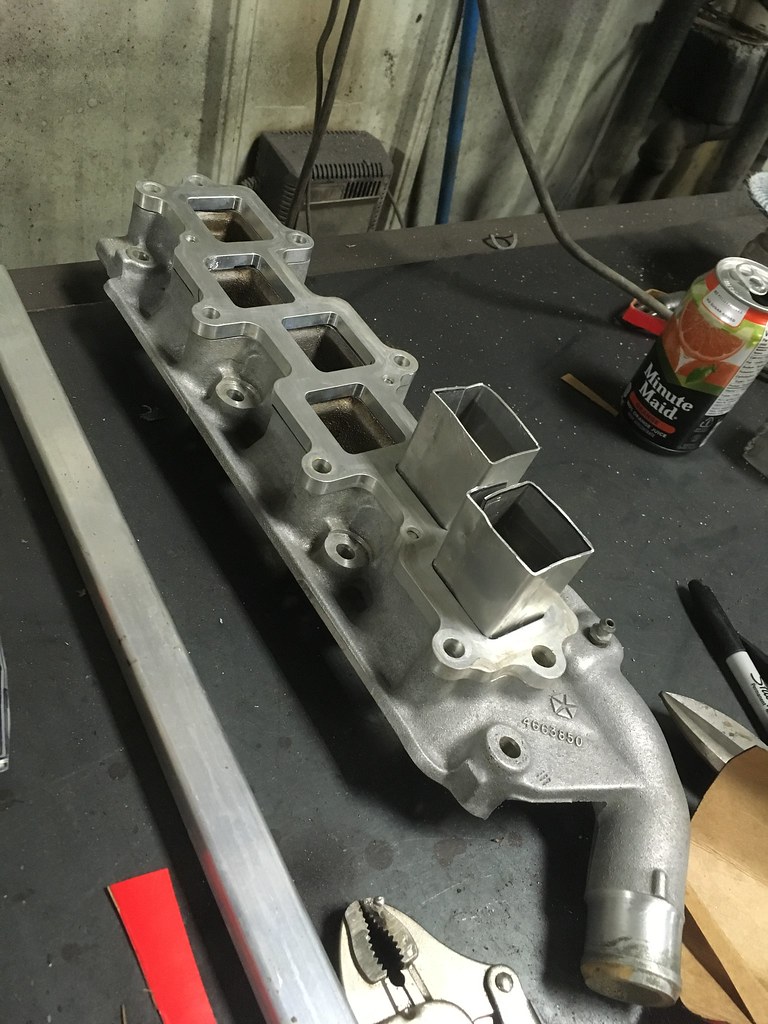
The intake is coming along, still need to bend more aluminum, but its coming along.
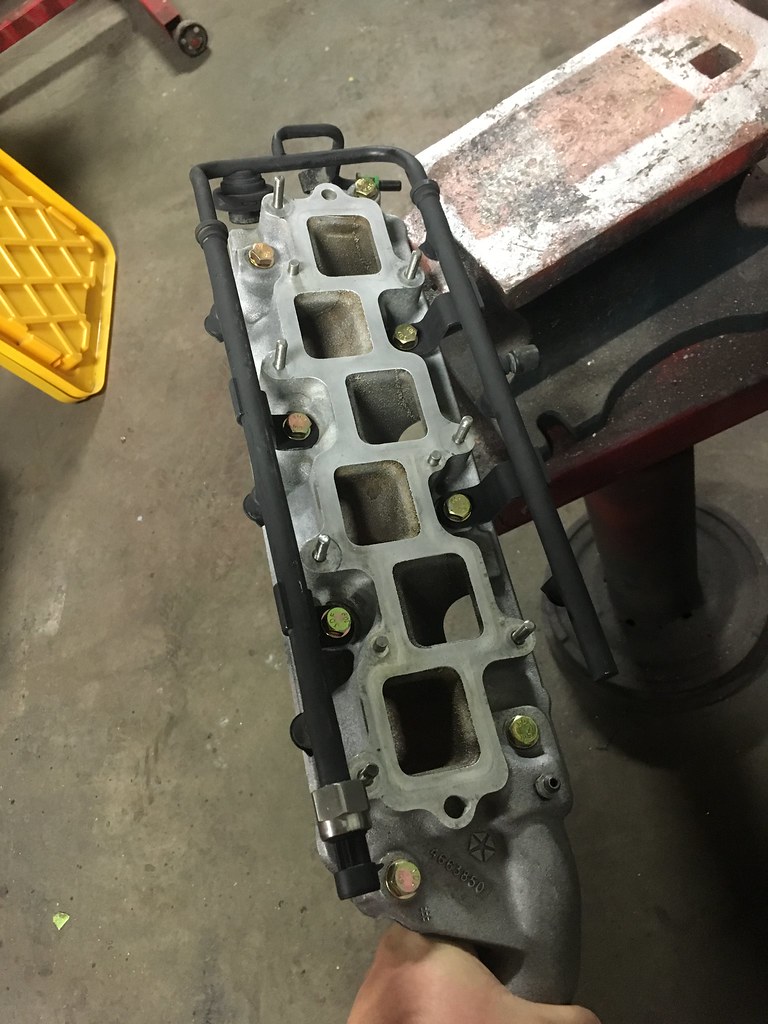
Decided on some grade 8 hardware simply for the aesthetics of it. I like how it looks, even tho it will spend its life hidden under everything else, but I will know its there.
Got the Holley harnesses laid out in the engine bay, it's mostly laid out how it needs to be, but there are a few sensor locations that need to be sorted out and a few ends that need to change over and that will be completed.
Speaking of sensors and wiring...

Had to drill a hole into the elbow to the turbo intake for the IAT, which is kind of going backwards because I had previously painted it...

Thank fully, it looks like a weld on bung for an oxygen sensor is the same threads as the IAT from Holley, so that helped. I plan to add an O2 sensor metal ring to the sensor and a bit of anerobic to decrease the odds of an intake air leak.

And then after grinding down the welding, it went in for primer

Should make for a pretty looking intake to the turbo, which being this far into it, I may as well make the underside of the hood look really good.
Next week I should get the intake plenum finished up, then I can finish up the wiring routing, and hopefully get the rest of engine bay finished up, then its back to masking things and sanding and another coat of primer and then paint then the process of reassembly. Need to get behind the dash and clean up that rats nest as well, and rebuild the transmission, I should search for a shift kit maybe since I'm in there....
Been a minute, but I have been working away on this. I posted a video on my YouTube
Its basically a better way to learn the update. Been working on wiring and manifold construction, and soon we will be tackling the transmission.
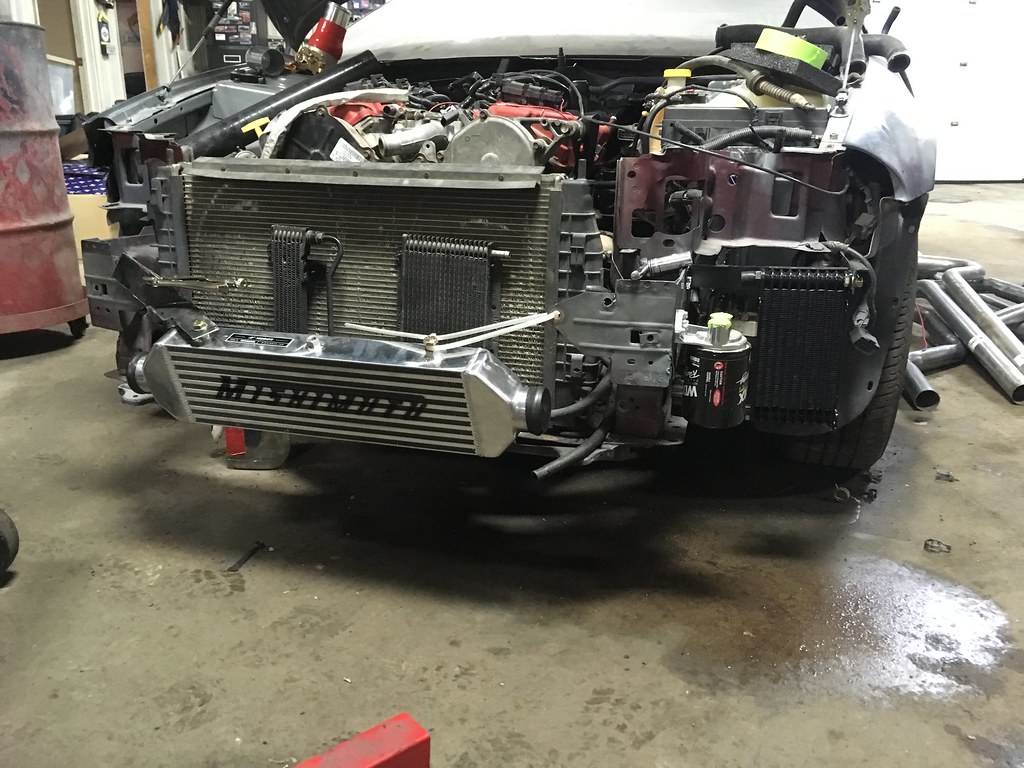
More work happening, Test fit the SRT4 intercooler to see. Going to be using a different intercooler that's a little bit smaller tho. Took inspiration from rotary's and V mount setups because of the shape of the bumper.
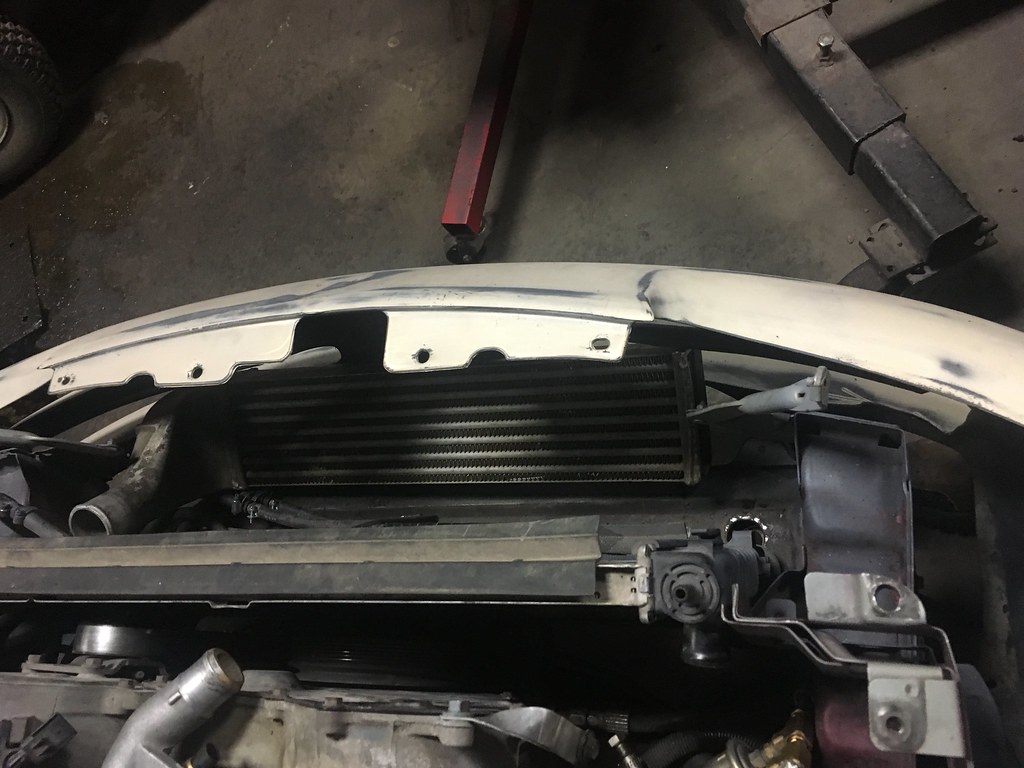
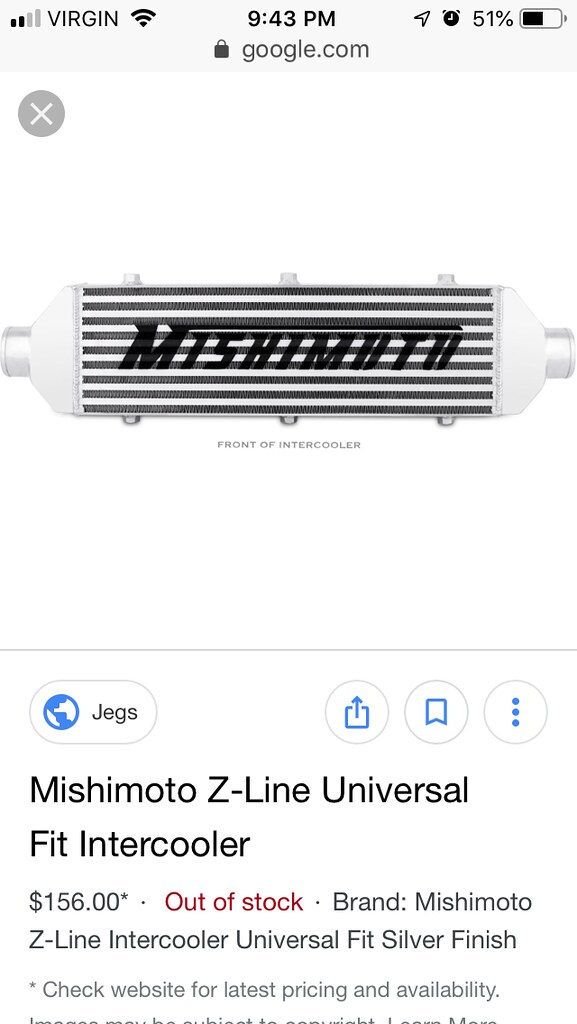
And plans are to go with a Mishimoto MMINT-UZ
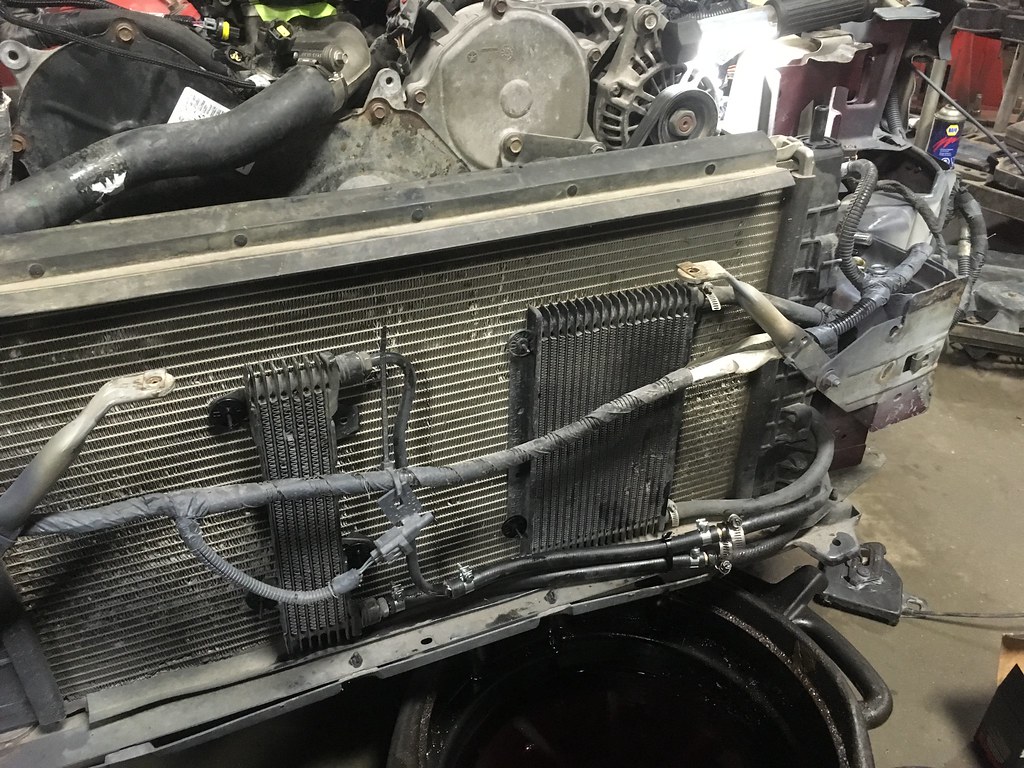
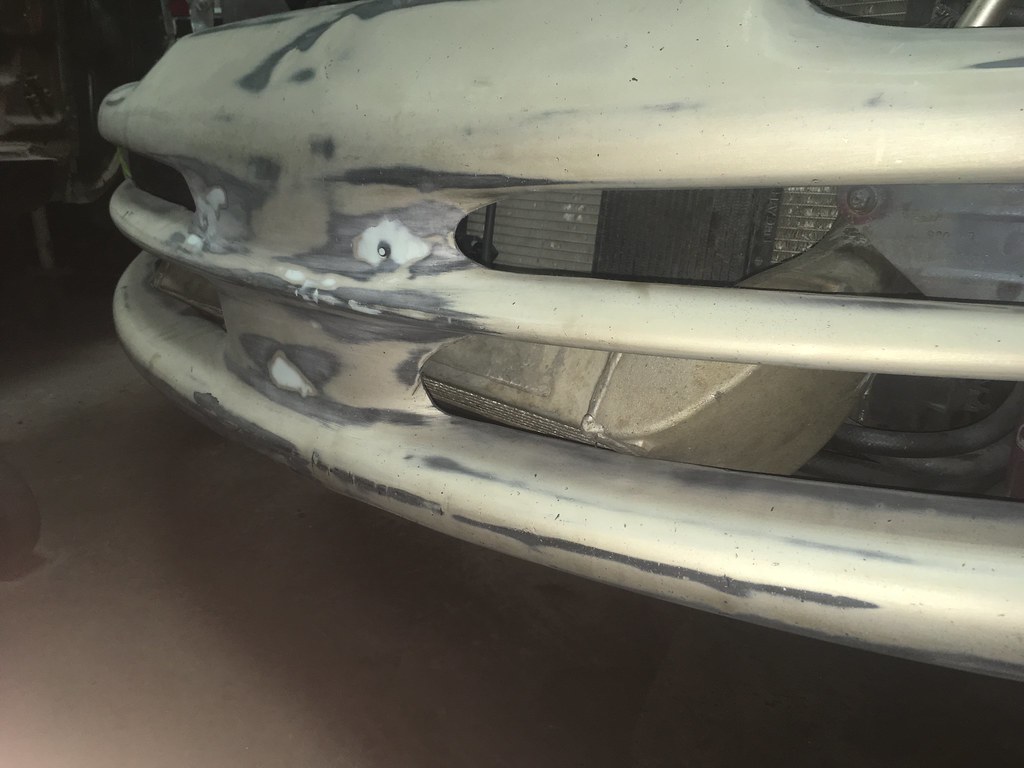
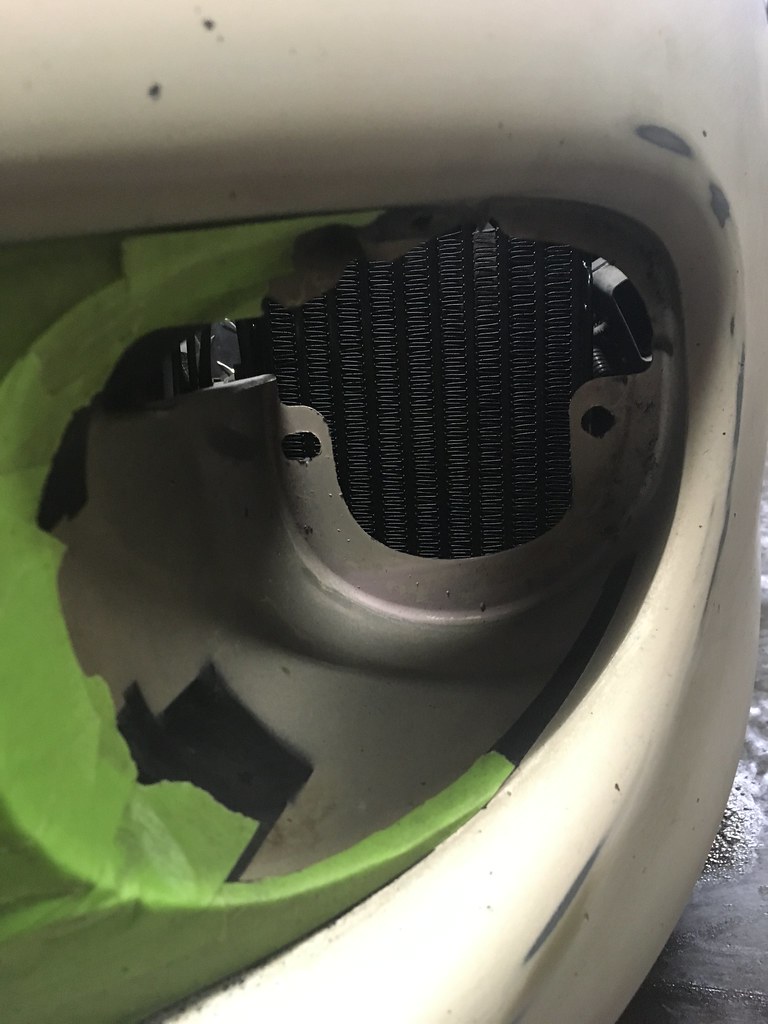
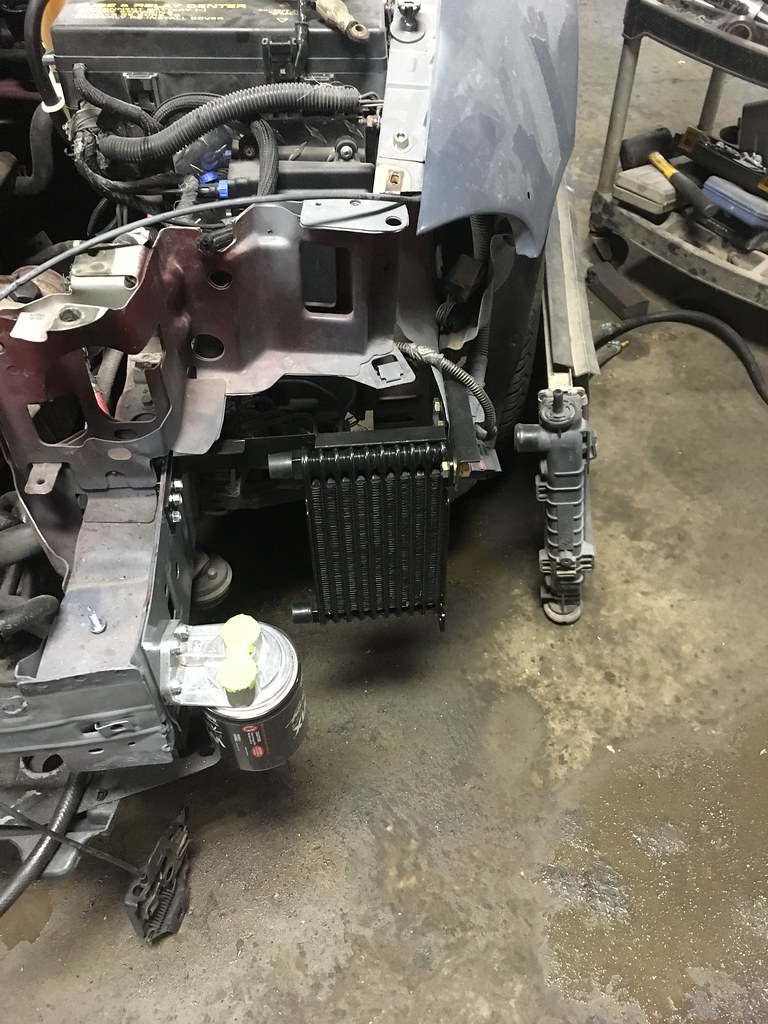
Also made the 'executive decision' to relocate the washer fluid reservoir into my trunk and mount an oil cooler and remote mount my oil filter to the area behind the drivers side fog light. Also going to turn the fog light into a 'funnel' for the oil cooler.
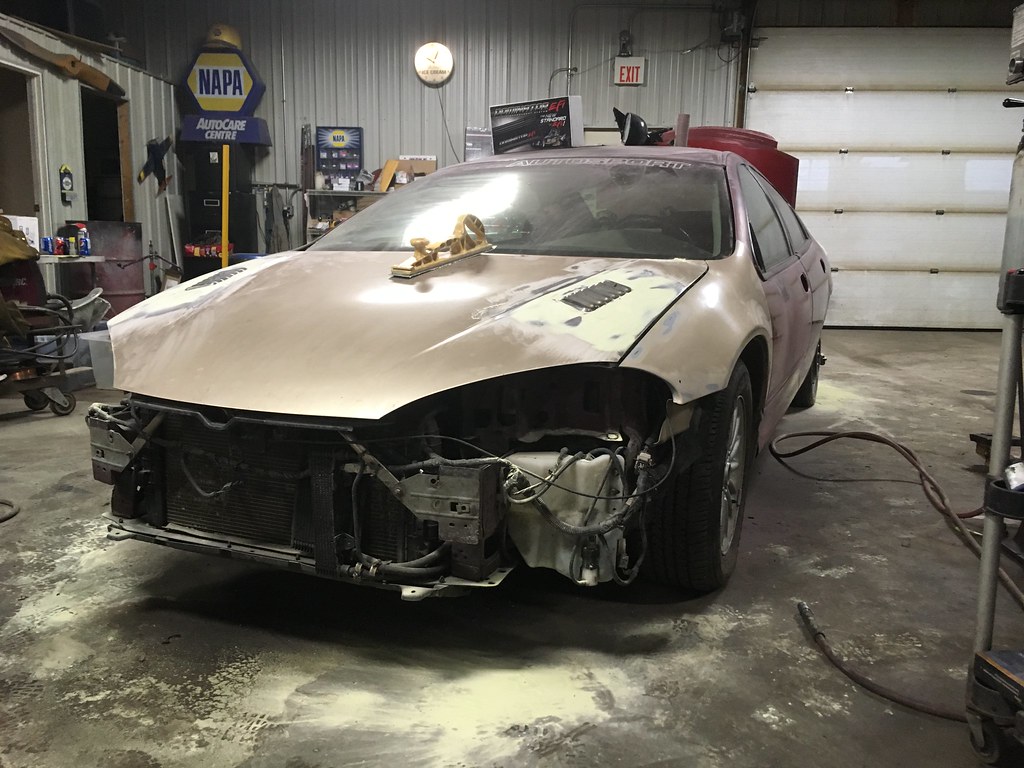
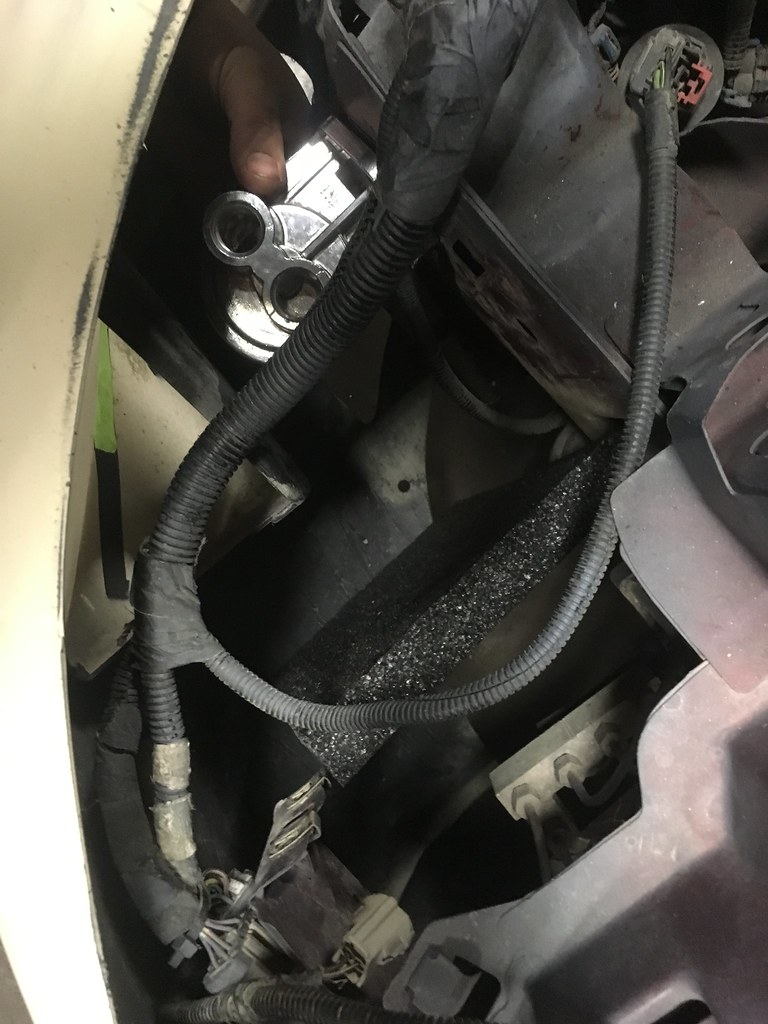
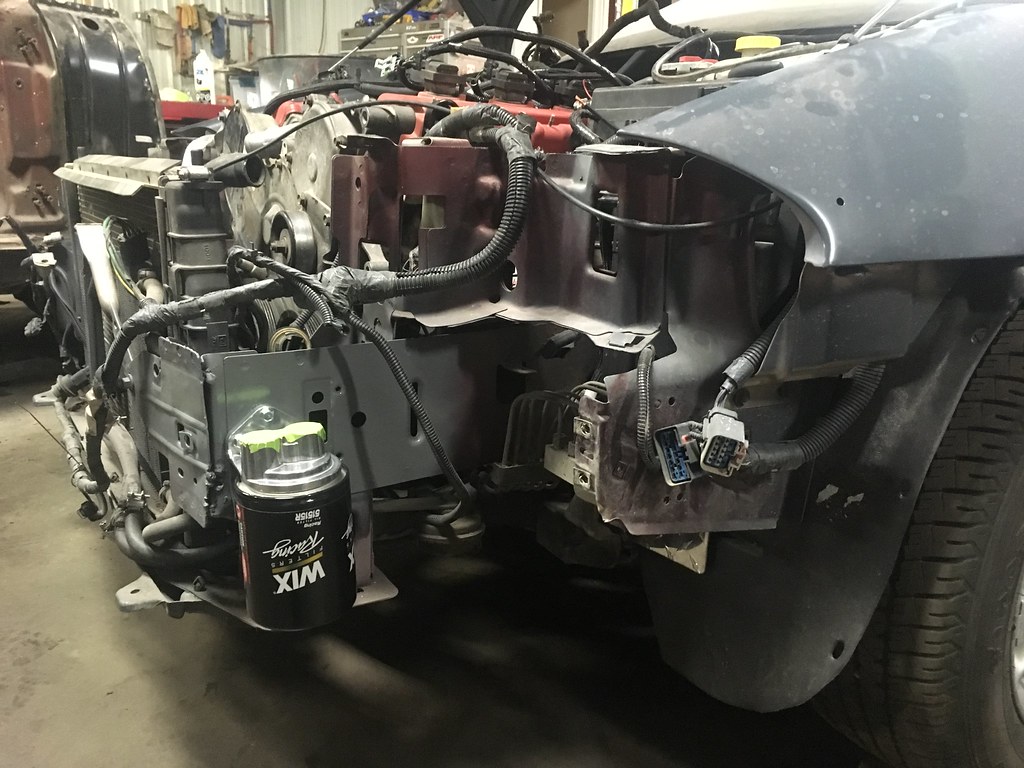
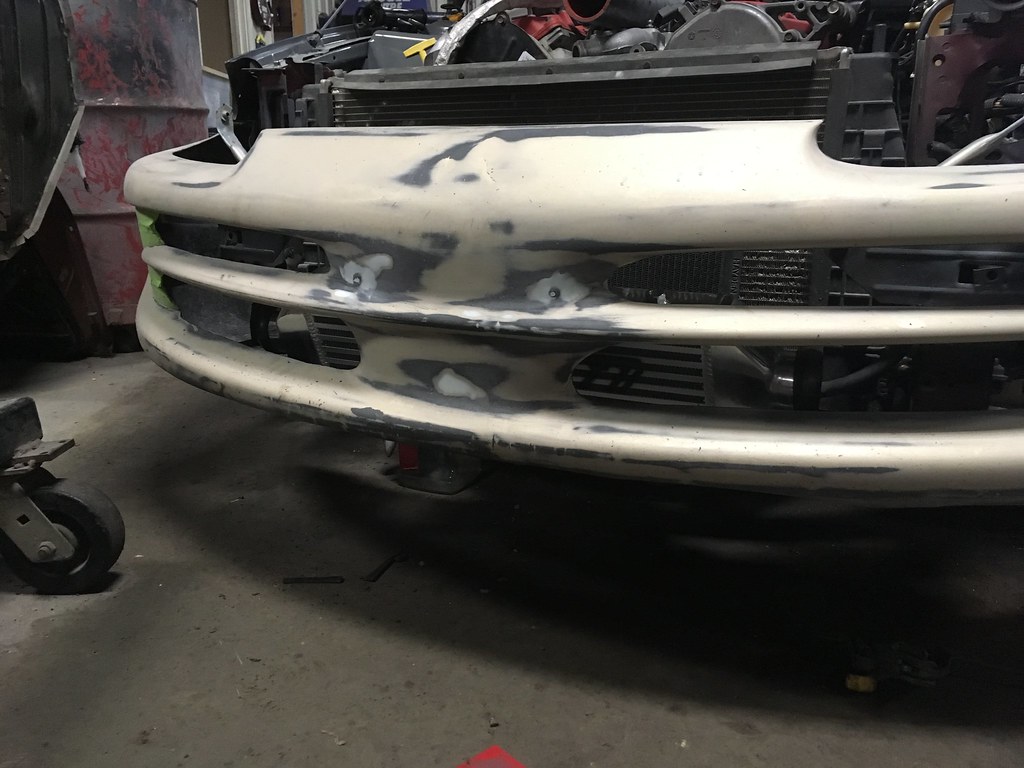
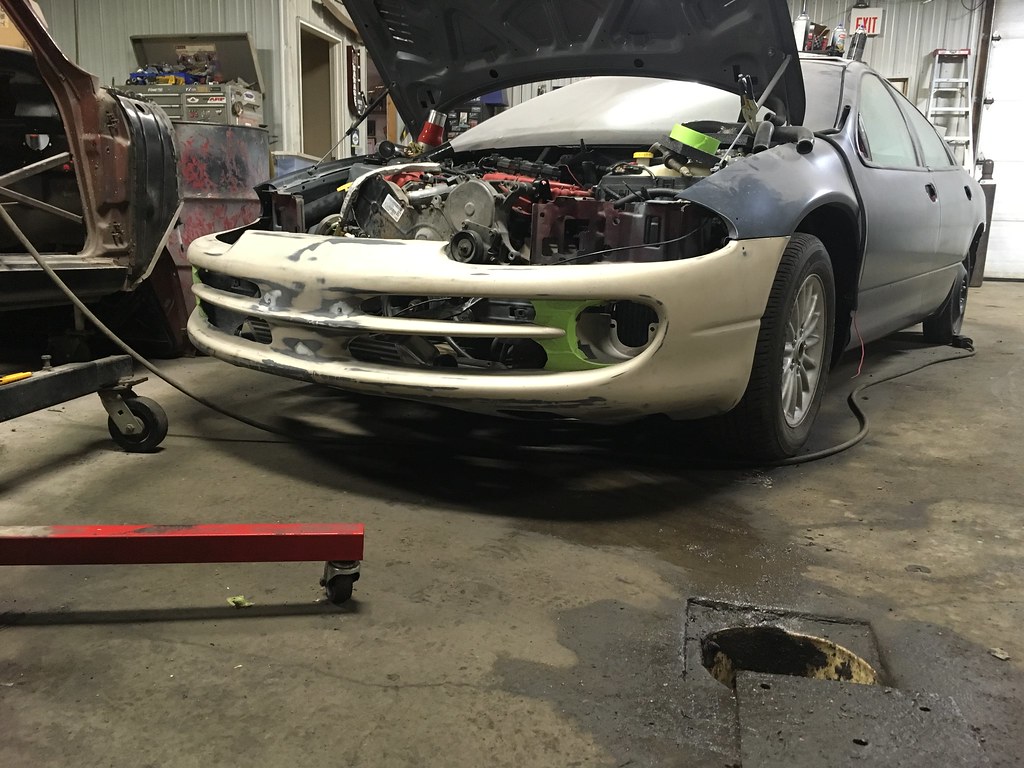
Still need to mount up the proper bracing to hard mount the cooler, then route in the hoses and such. The downside is now to change the oil filter, because of the brake ducts and the hydraulic hoses, I will need to remove the front bumper. Which is fine by me, I will be making it easier to remove, and with plans for adding a functional splitter later, an easy to remove bumper is fine by me!
And that's about it for now, I need to pull the engine soon so I can replace the very worn out engine mounts and give the bay an extensive cleaning to gets years of grime cleaned out. Wiring is almost complete, need to finish the intake plenum and then wiring will be easy to finish, and making the engine bay cleaner will make finding future leaks easier. Transmission is on the bench to be rebuilt, then is all just bolting things back together and getting ready for more sanding, more body work finishing and then finally paint and the final reassembly!! I should really do something with my door panels to make them look nicer...
So the other day I watched my first episode of 'Project Binky' (episode 23 thanks to the forum) and I had to go and binge watch the entire series up to date and then feel bad because there was no more to watch AND I don't feel as bad that my car is taking longer than it was originally planned to be taking, so its just one step at a time.
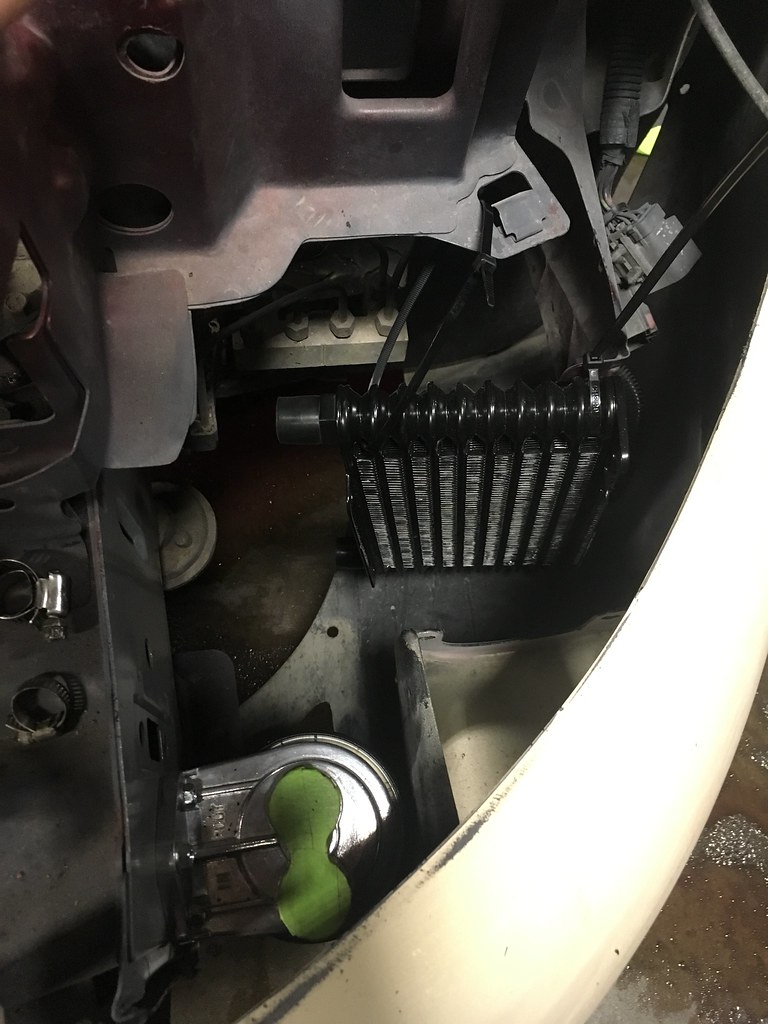
So I mde up a bracket for the oil cooler and after a coat of paint, got it mounted to the car.

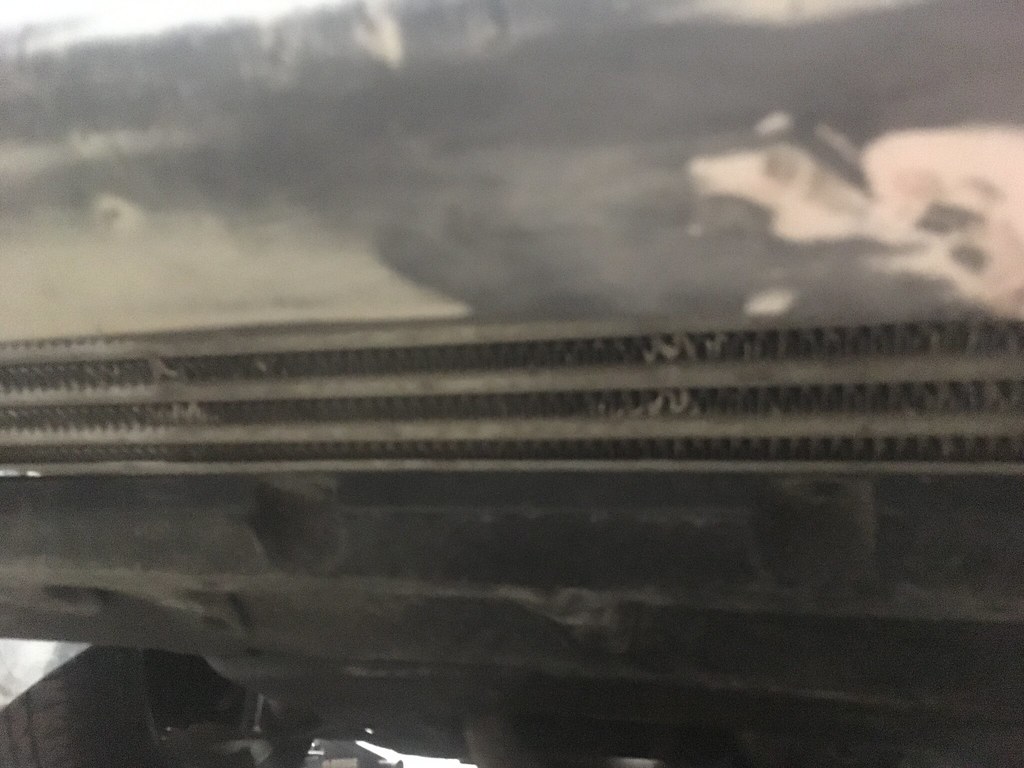
And the new intercooler arrived as well. Need to pick up some tubing to make the brackets to hold it in place because I was misguided with the first iteration of the brackets.
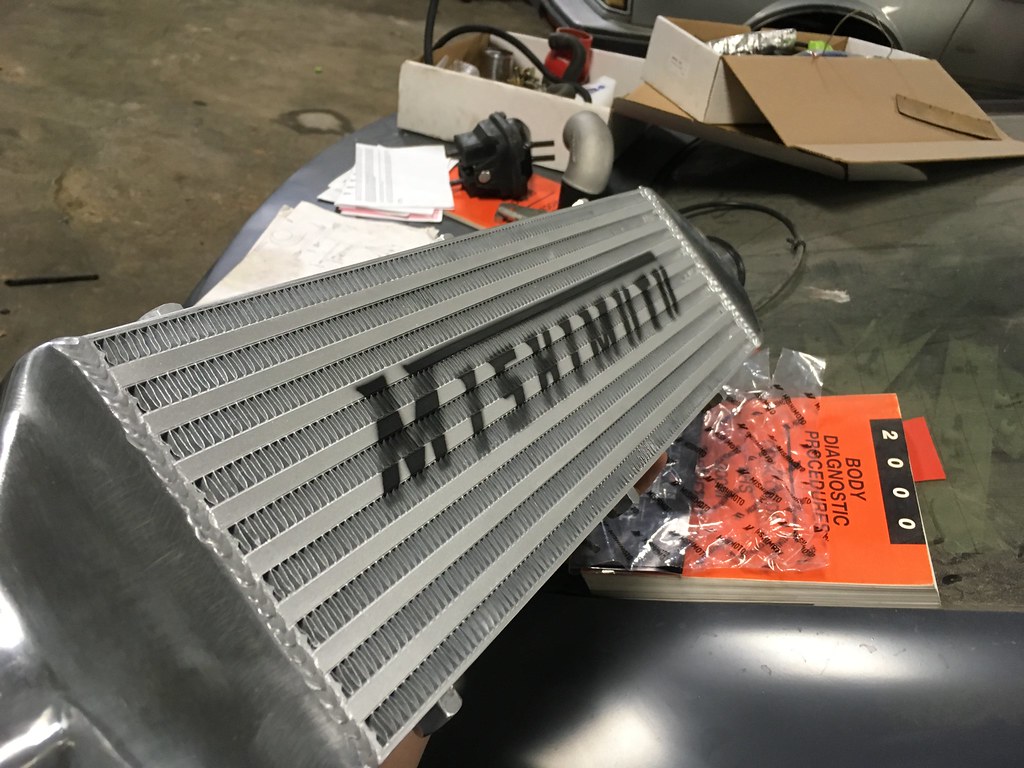
A sie note, the packaging for this was beefy. The cardboard was recycled and heavy. Very impressed with the quality. I had heard stories about 'poor fitment' from Mishimoto lately and a few people tried warning me about, but this isn't anywhere near a 'direct fit' part so I wasn't bothered.
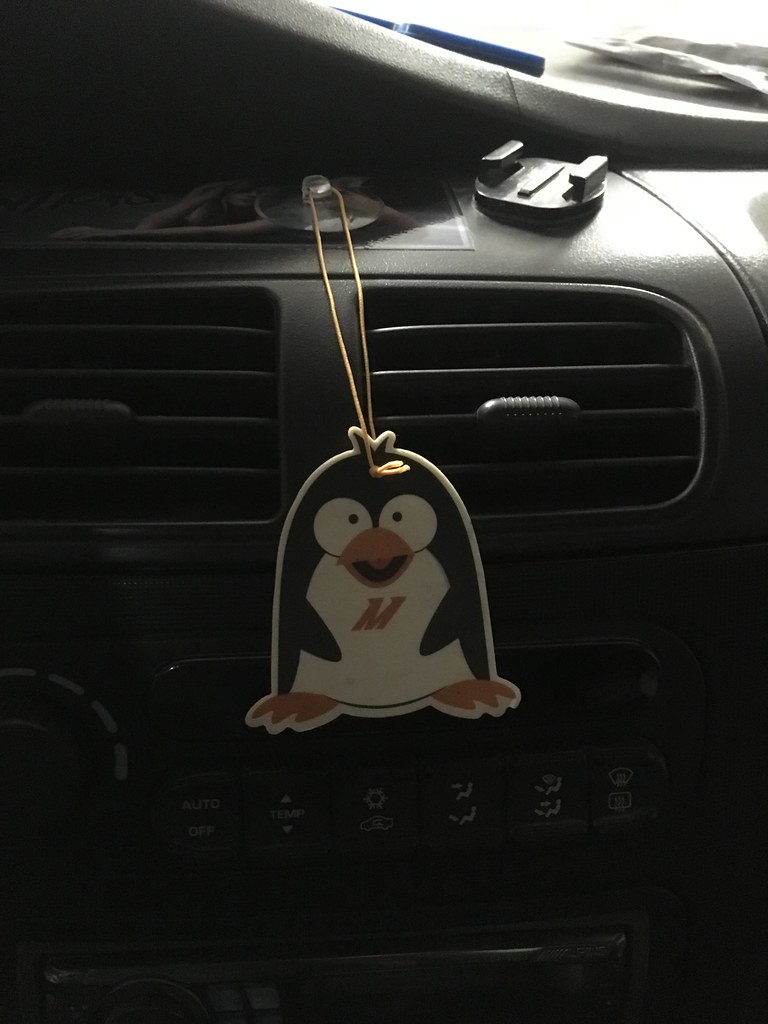
It even came with a penguin air freshner!!
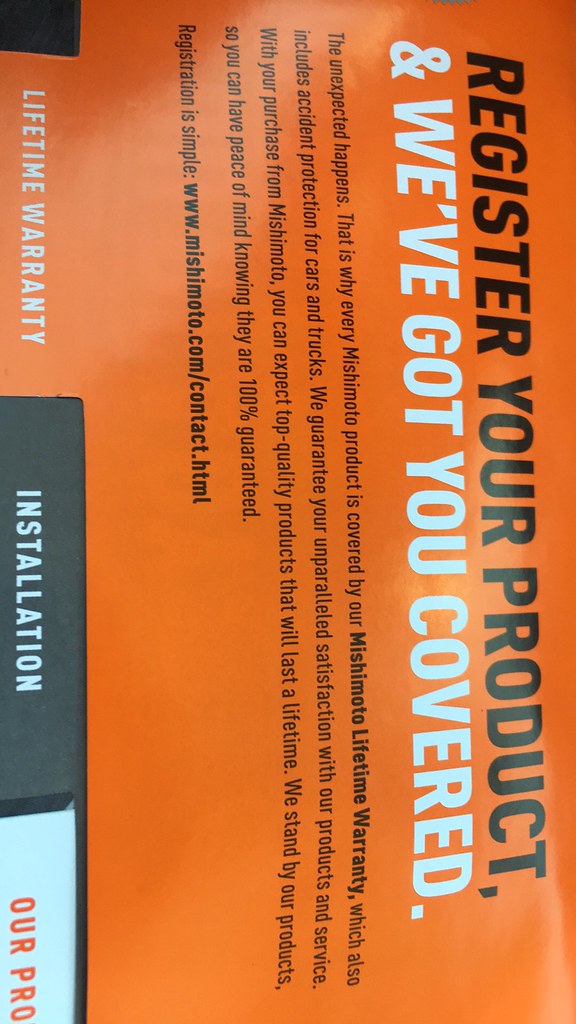
Also, it should be noted about Mishimoto's warranty which also covers accidents.
Should look good when its all said and done.
Hopefully pick up the tubing this week to make the brackets, then I need to purchase some basic 2.5in exhaust pipe to route for intercooler piping. I have some Aluminum piping that will be used for the actual piping but I'd rather use steel for mock up purposes and save having the aluminum covered in fingerprints to clean up.
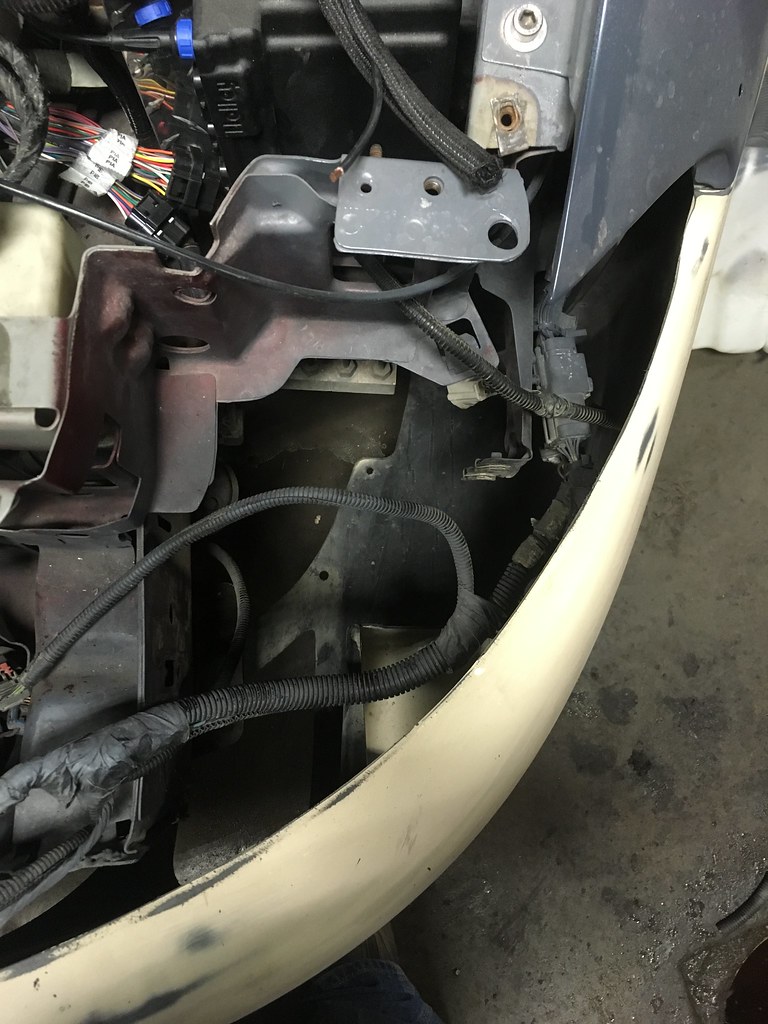
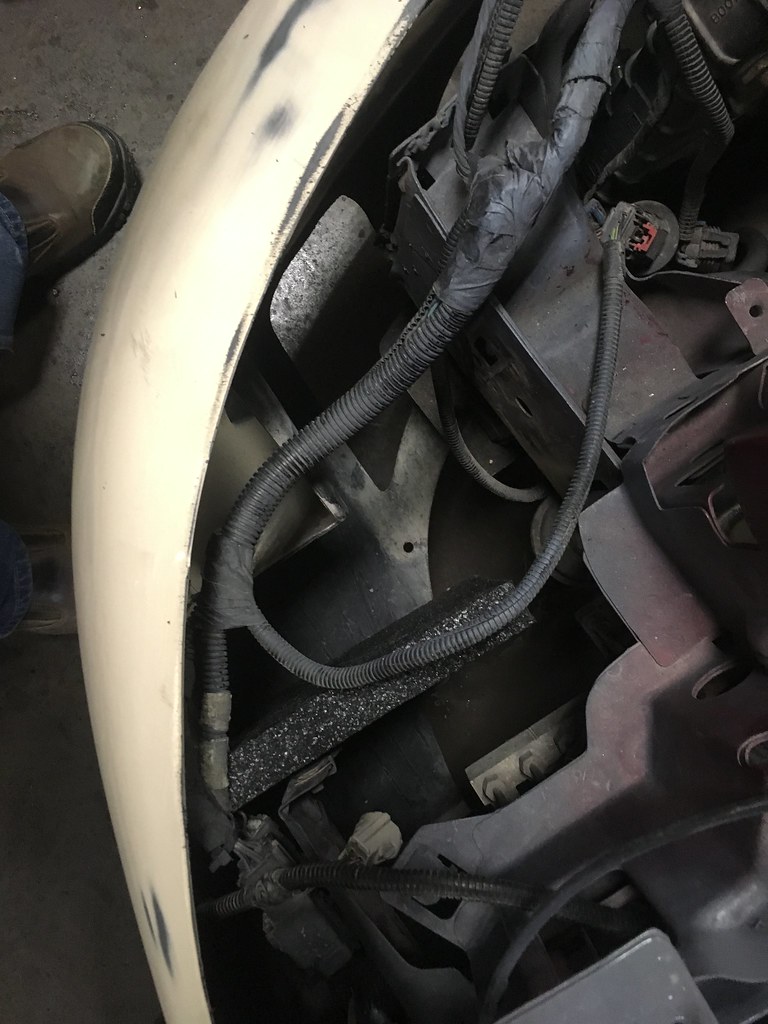
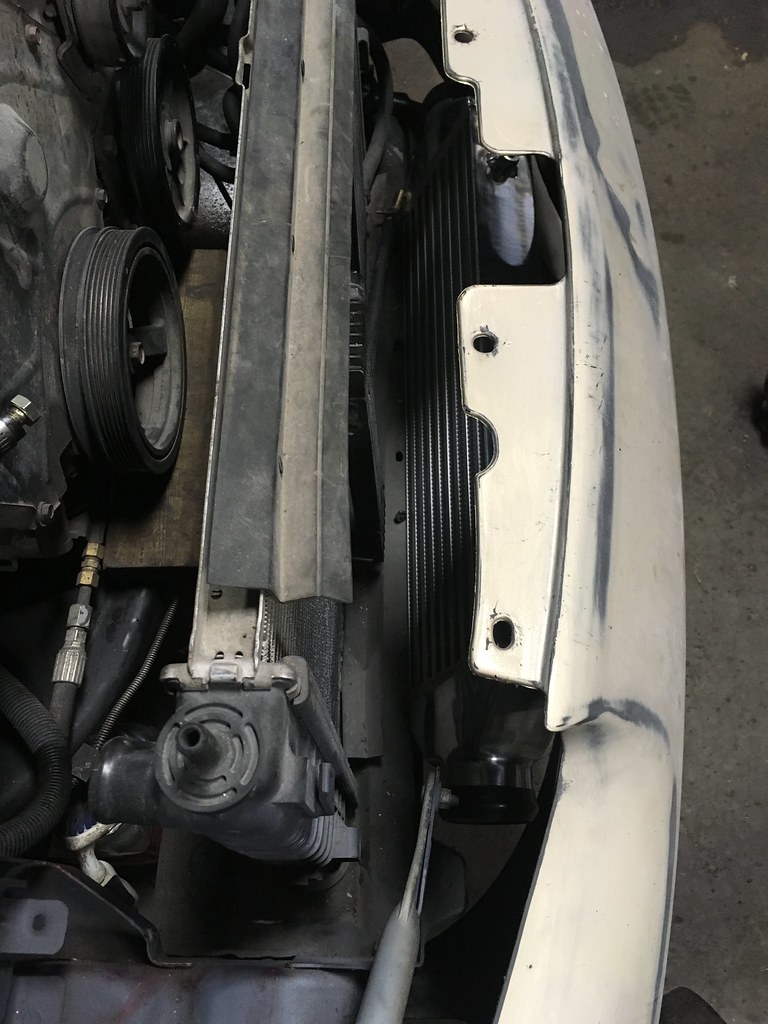
Its looking like the routing to the intake will be routed sort of like this...
Which means I will need to cut a hole and add a bit of bracing to the fender support to the headlight support...
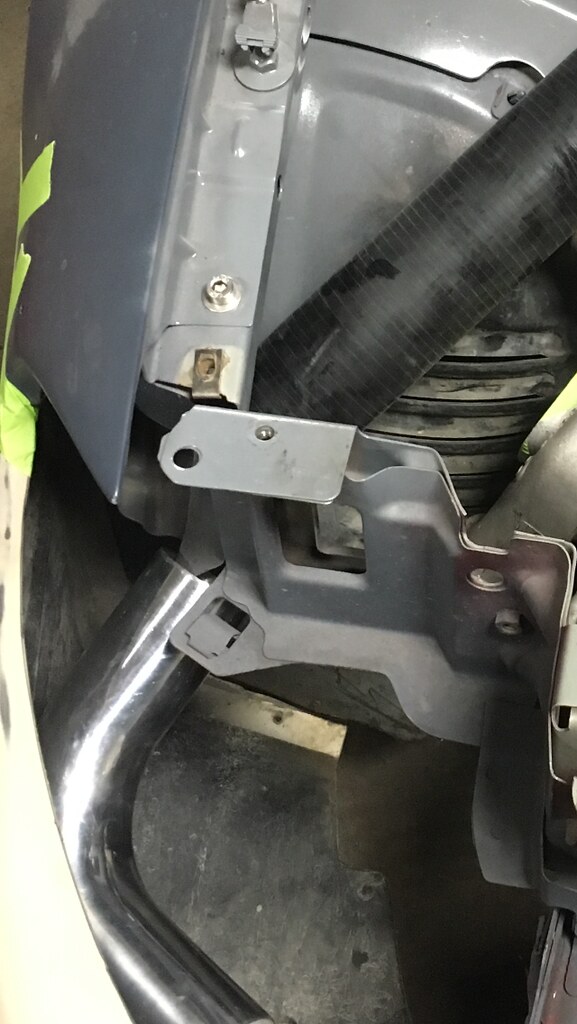
But it will be the easiest route to the intake with the air intake and the charge pipe all trying to take up the same space and being roughtly the same size.
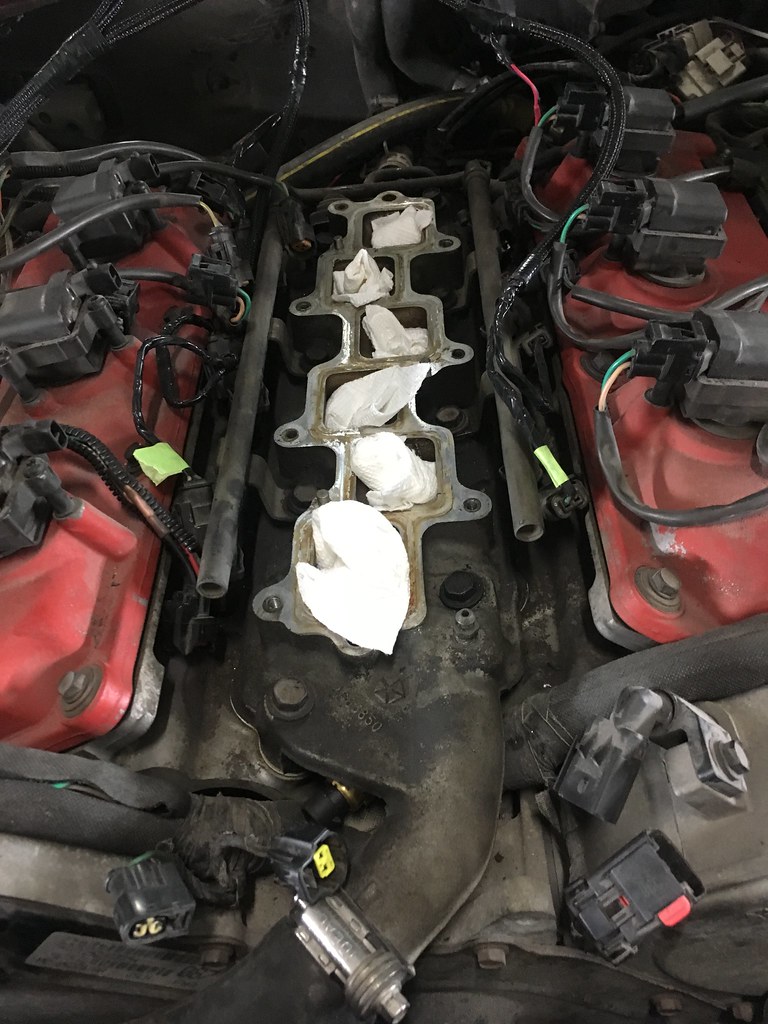
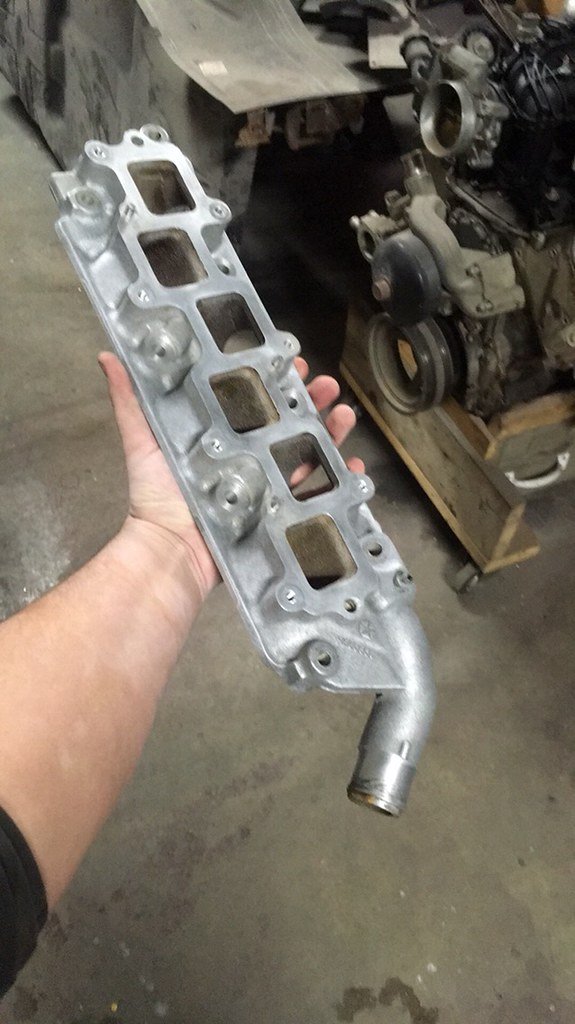
Next step will be the intake plenum attempt number 2 due to reasons.
So they car has entered back into a weird stasis of nothing happening.
Upside, I have gutted 98% of the transmission with just 2 big nuts holding shafts in place, once those are out, I will be scrubbing down the case and getting it cleaned up, then I can begin reassembly of it. Also need to pull the engine out so I can replace the very worn engine mounts and give the engine bay a substantial scrubbing and cleaning and perform a few tiny little modifications that are required for clearance.
I still need to sit down with someone and discuss the intake plenum so I can finish the engine bay wiring, and figure out what way I want to go for the transmission harness since I need a new harness for the Holley Dominator to control it and I have an option for the whole harness or just the connector. Eventually there will be more pictures.
So after some extensive reading on here, I decided to gravity bleed my brakes so I could then paint them and install the fresh pads and rotors. With the car being a non abs model it was actually fairly straight forward.
Powerslot slotted rotors and Hawk HPS pads on all 4 corners. Just some VHT Brake caliper red paint. The set up is what I was running previously, mostly. I had some older Napa Ultra Premium rear rotors that had 'U' slots in them.
Rotors were in decent enough shape so I may clean them up and hang on to them in case of an emergency track repair or a challenge build if I can ever find an LH platform UNDER $2000 up here, I have a few ideas for a challenge build Intrepid...

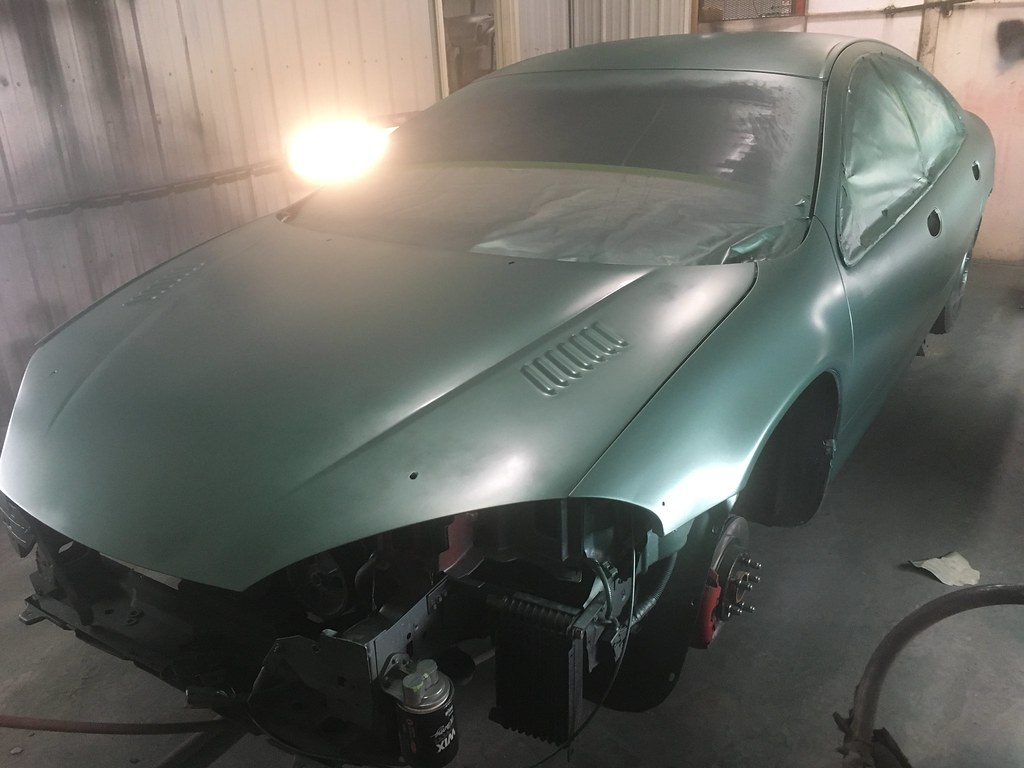

There is paint on the car now. I love the colour. Without the clear, it's really different, but with clear...


With the clear its vibrant. I am so glad I dug for this colour for so long. A very worthy motorsport colour. There is still lots to do in the reassembly side of things and rebuild the transmission but its in colour now

Wow that looks great.

Add some yellow accents and Aston badging that would give onlookers pause.
Good on you for building what you want your car to be.
Thank you! Getting the paint code was a bit of a pain, but so very worth the effort.
In reply to BarryNorman :
Going with Red Accents, but spot on for knowing the colours original home
So my transmission issue (of getting it rebuilt) may have happily come to a close. Turns out the one parts car I traded some parts for shifted 100%, the previous owner stopped driving it because the engine lost oil pressure. So the plan is now to pull the remainder of that engine with transmission and install that complete transmission to at least get the car back to a 'driving' state. I will be doing a once over on the transmission prior to installation (seals, swapping my pan with temp sensor on, new trans filter/gasket) and probably steal those parts from the rebuild kit I had purchased for transmission I pulled out of the car.
On the stand alone front, after watching Project Binky, I was really REALLY unhappy with how the wiring was looking rushed and hack jobbed into place, so I want to redo the entire 'Universal Fit' harnesses to actually fit my car, so I will be learning a lot about wiring and *hopefully* making it all look better.
Tonight the plan is to get the final door handle installed and set, then get the side skirts properly clipped into place and mount a few more pieces in the engine bay and get everything mostly bolted up to be a close to running car. Still need to make the oil cooler lines yet...
Hopefully next post will be a large photo dump update!
You'll need to log in to post.


