1 2 3
SkinnyG
SkinnyG SuperDork
2/22/14 3:26 p.m.

I bought this truck to replace the The Hideous Hardbody, whose standard cab wasn't going to fit me and my two pre-teen boys much longer.

On looking for a larger replacement truck, knowing I am going to modify it, this was available with a fairly cheap buy-in. I began working on this with a good group of students from my Mechanics class (I'm a shop teacher). I neglected to take sweet pictures of it in its larval stages. Imagine that you saw them.

1977 Chevy C10 Silverado 350/TH350, Rochester, 3.07 gears 122,000 miles, bought from the original owner.

Imagine the box still on the truck:

mazdeuce
mazdeuce UltraDork
2/22/14 5:54 p.m.

I like this. My dad had a 76 that is the first truck I can remember. It was loud and stinky and we hauled firewood in it and we didn't have to wear seatbelts when we did that as long as we didn't tell mom. Looking forward to the build.

Gearheadotaku
Gearheadotaku UberDork
2/22/14 6:04 p.m.

Looks like a solid start. Stock or resto-mod?

SkinnyG
SkinnyG Dork
2/22/14 9:14 p.m.

Resto-mod-esque. I have never owned or kept anything "stock." Because that's my personal Albatross.

SkinnyG
SkinnyG SuperDork
2/23/14 10:07 a.m.

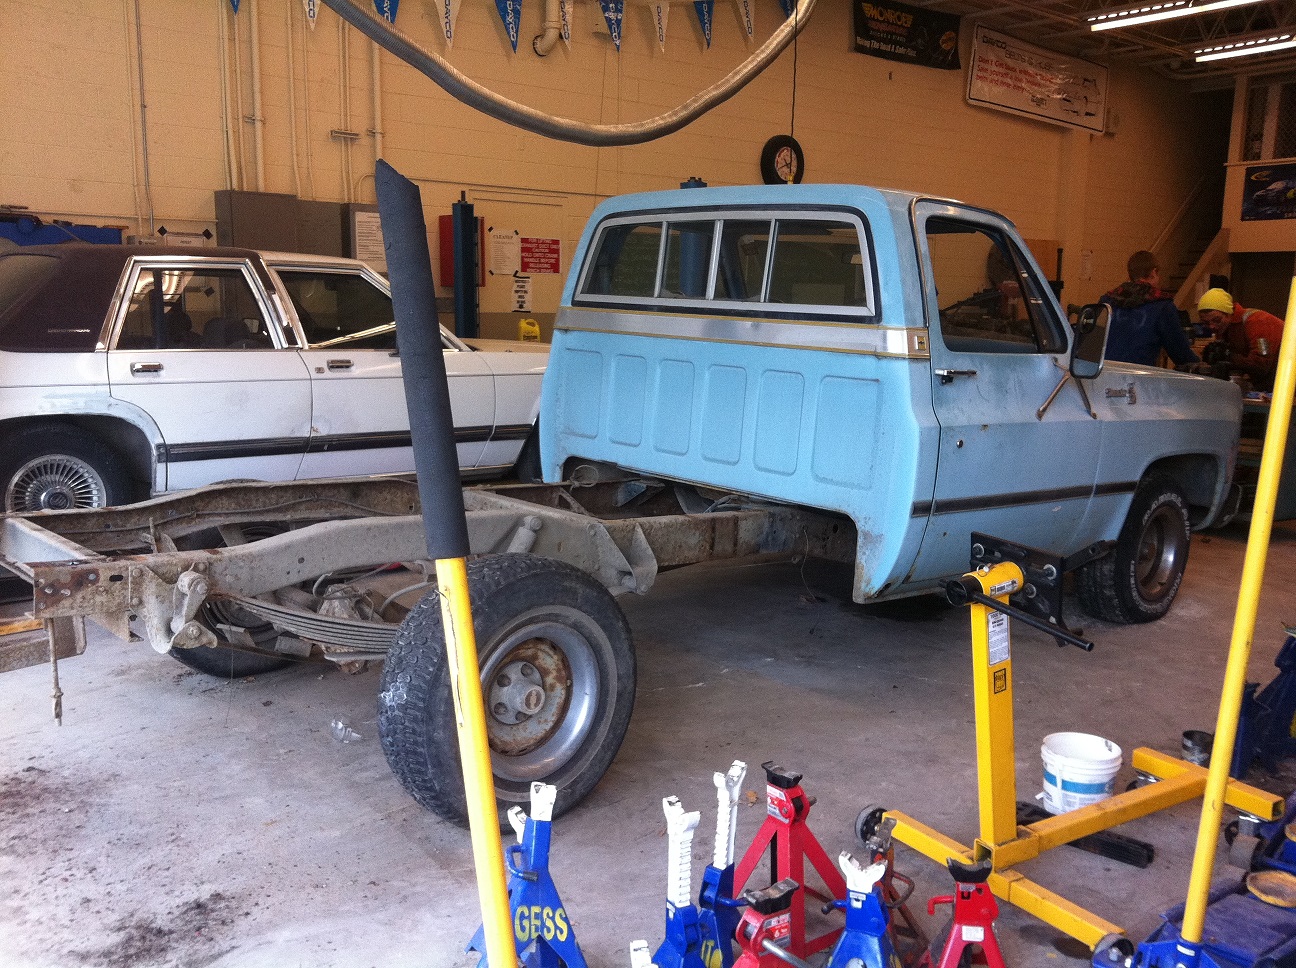
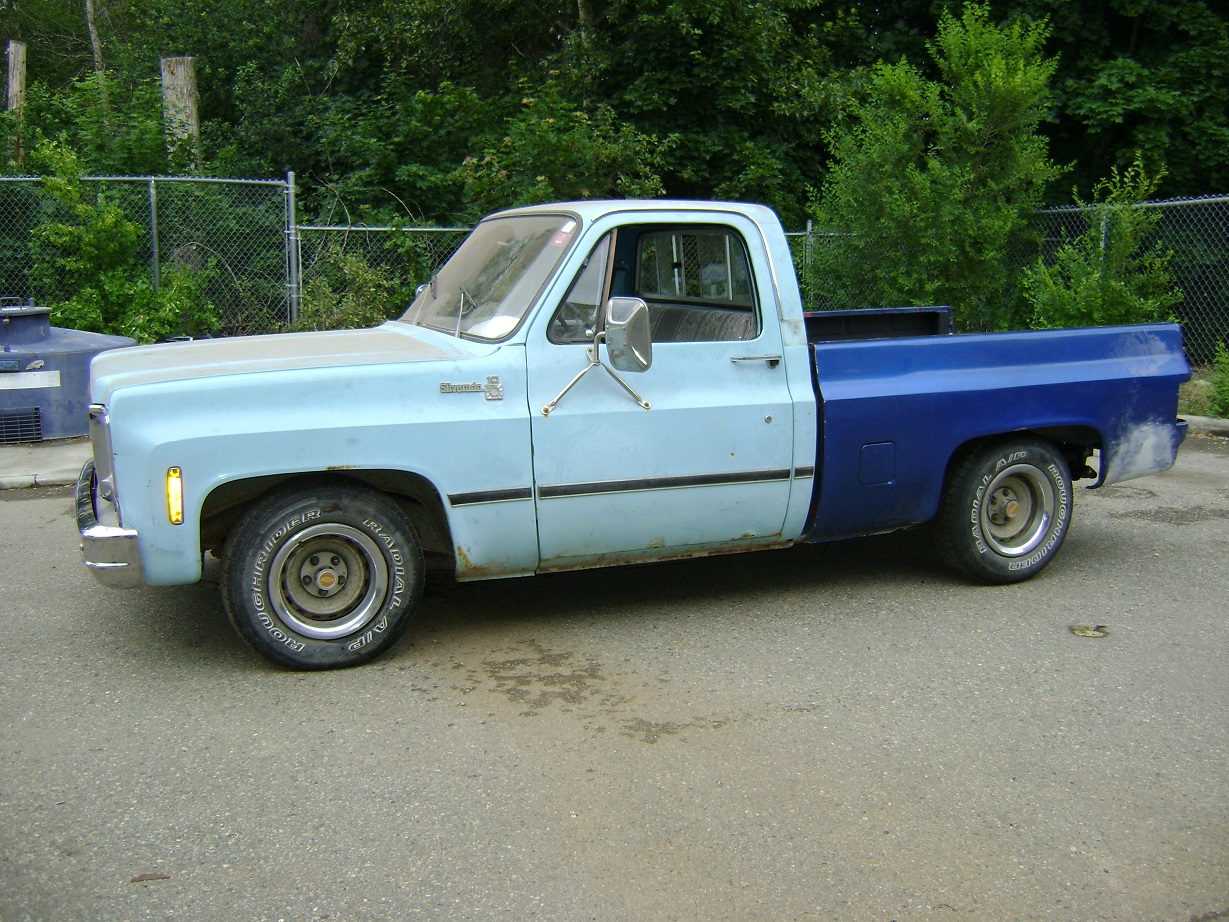
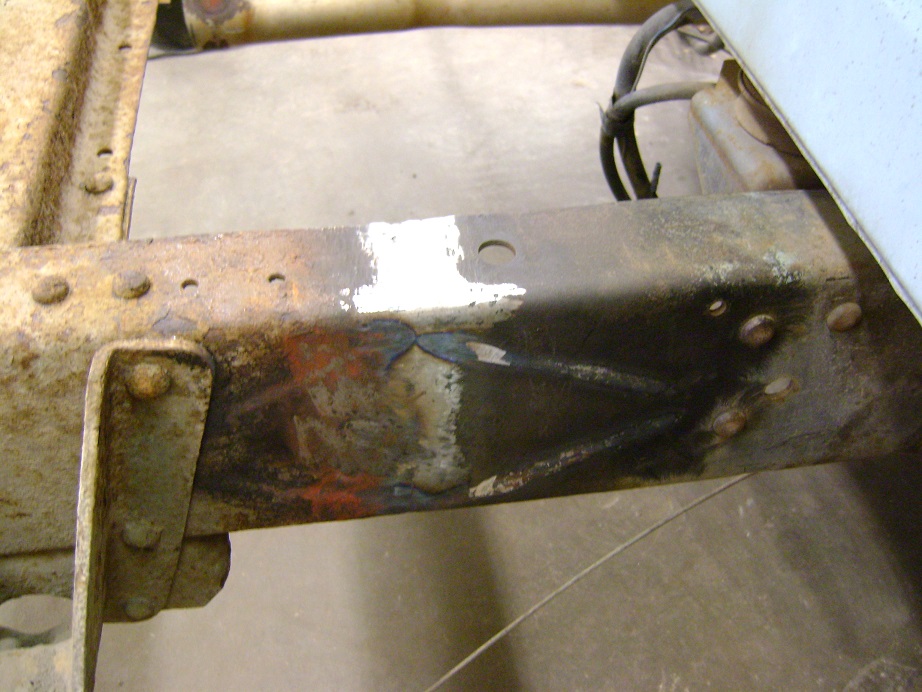
I don't care for the long box, and short box are hard to find here. First thing we did was pull the box off and shorten the frame. We carefully measured the frame and took 14" out just behind the cab.

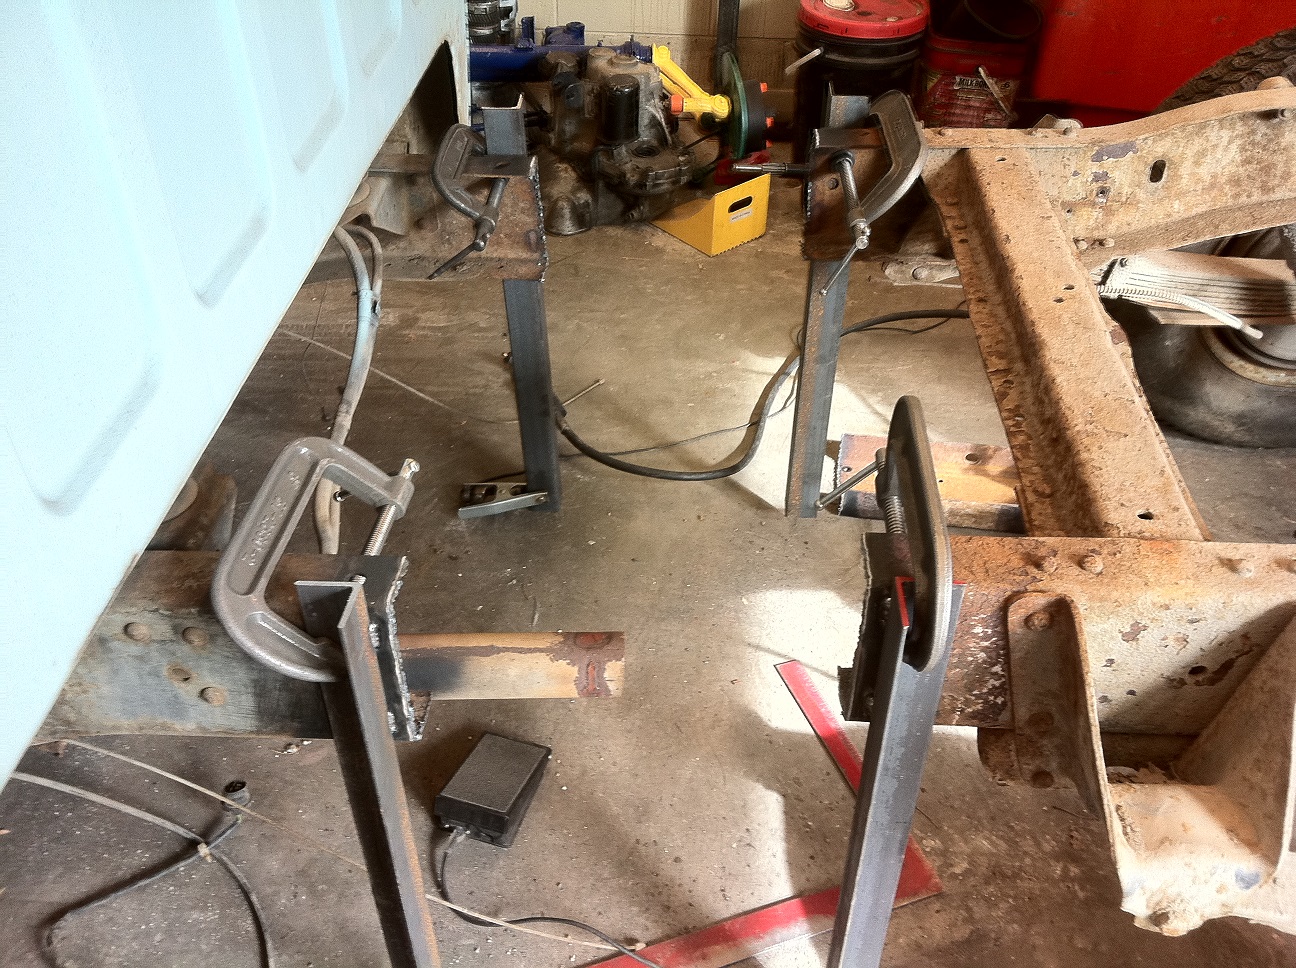
We used a removed section as the fish plate, and welded it together.

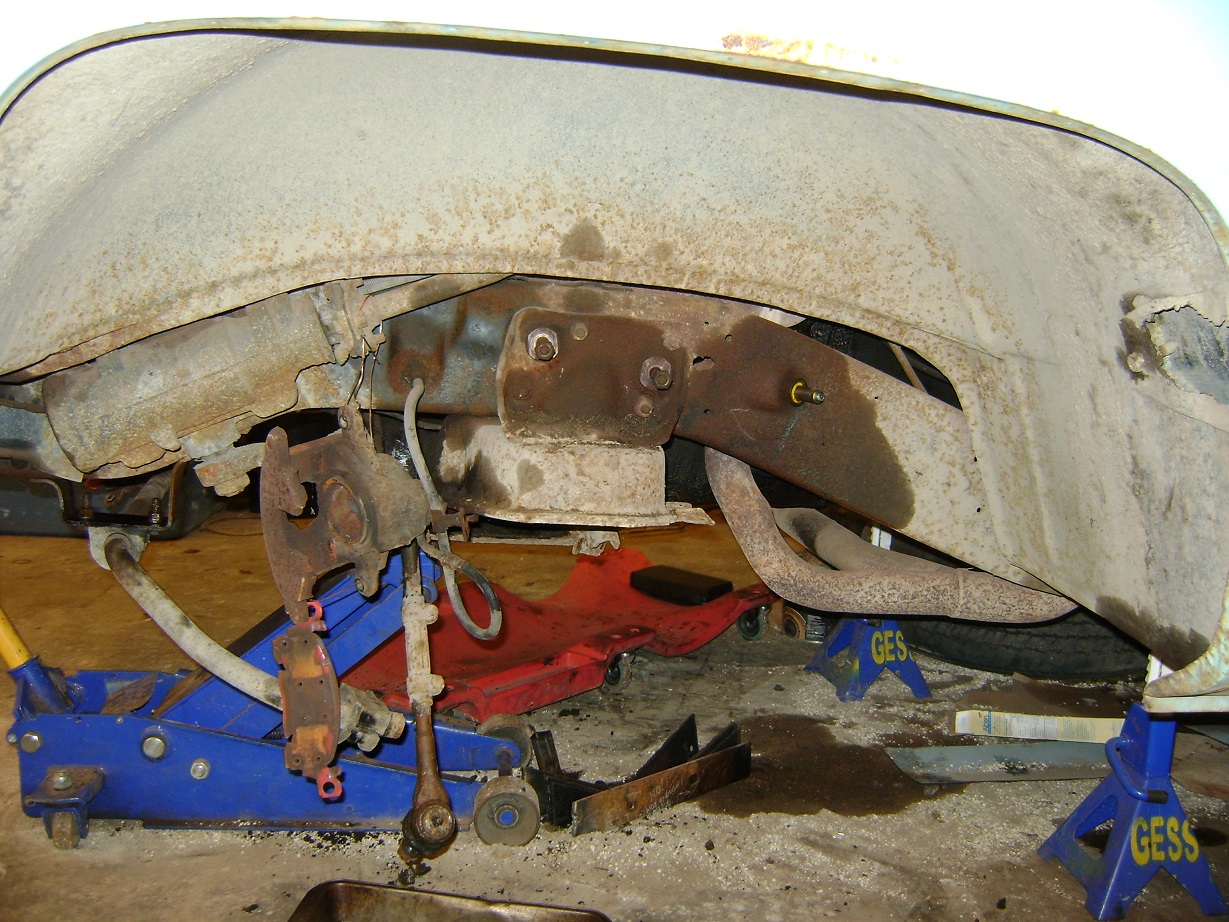
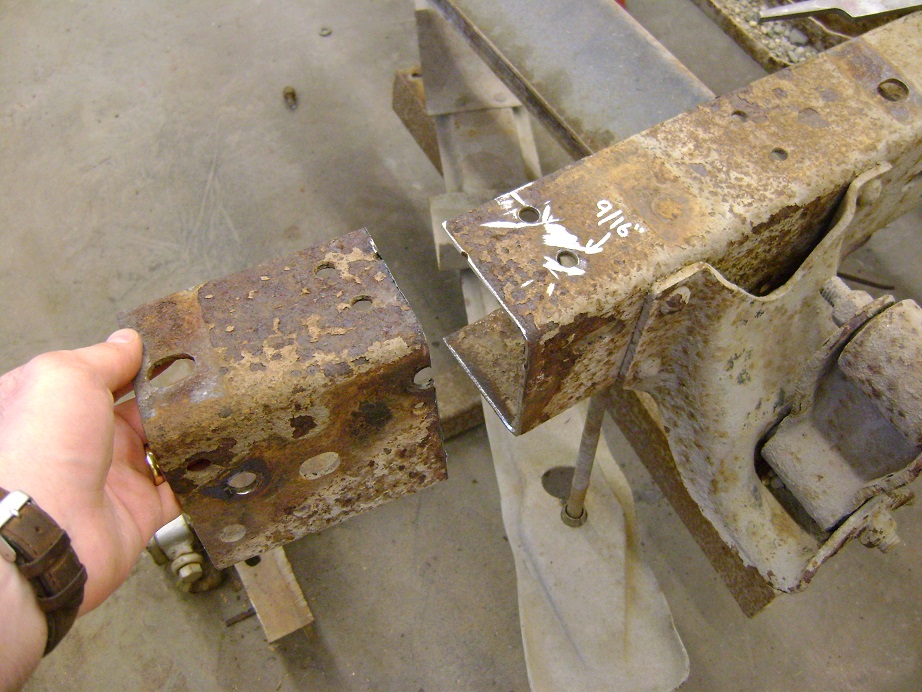
I cut 5" off the back of the frame, and moved the rear crossmember to the next forward set of holes.

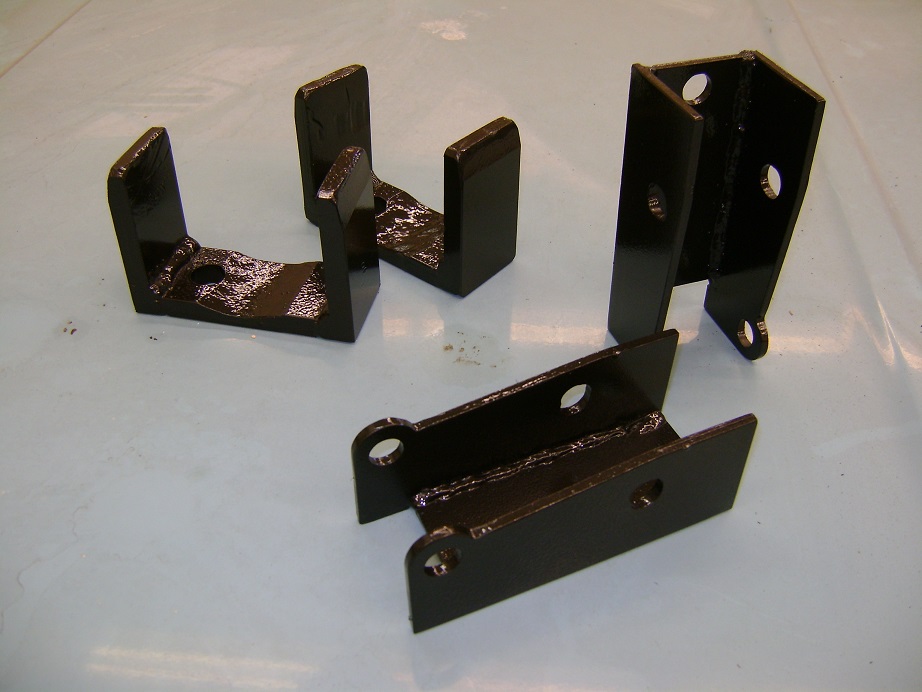
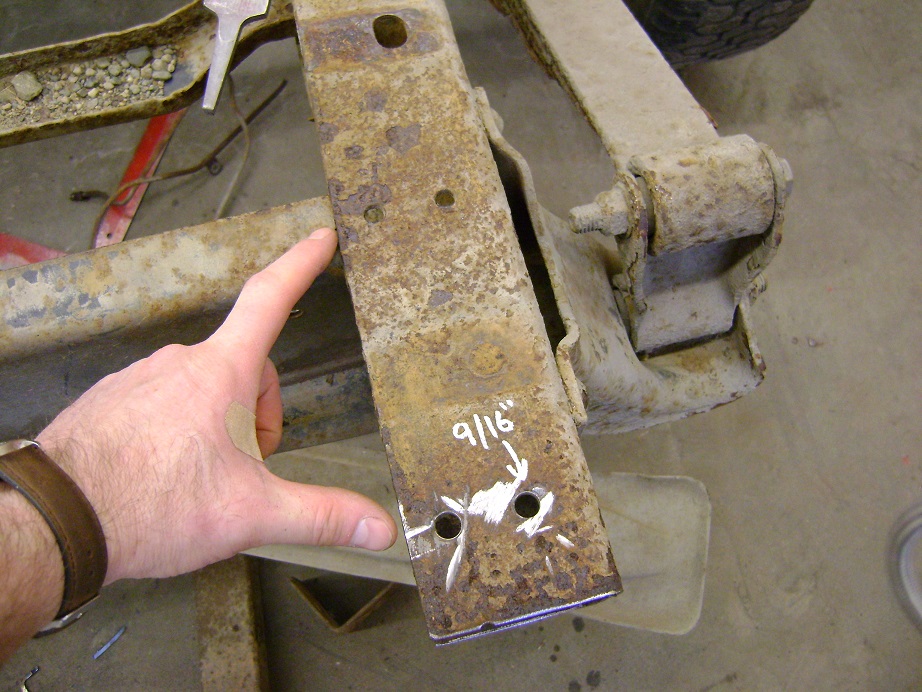
New holes were drilled to mount the box.

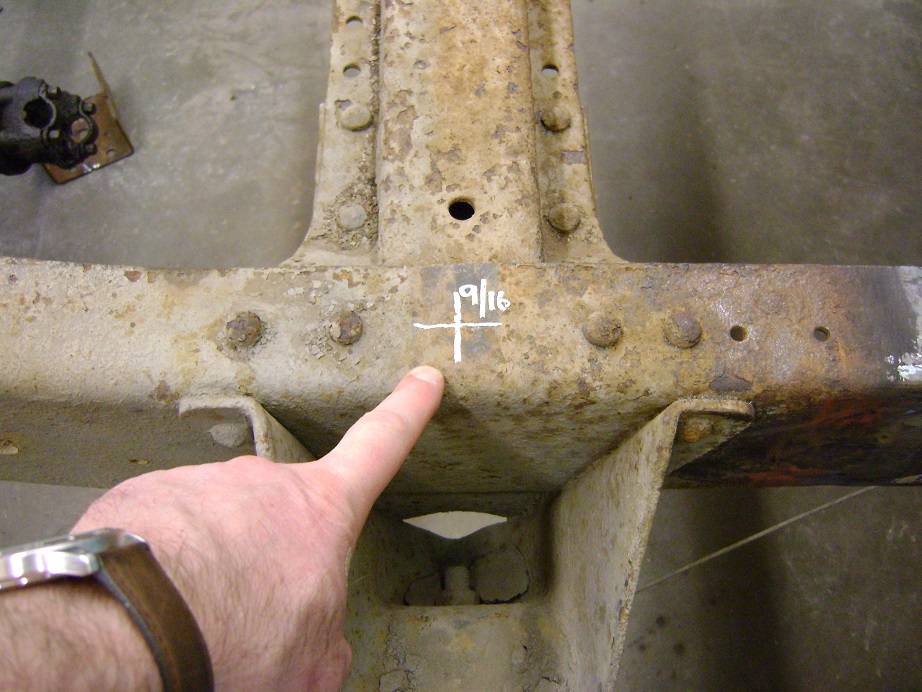
Rearmost crossmember was moved to the next forward set of holes, and more hole drilling for the box mounts.

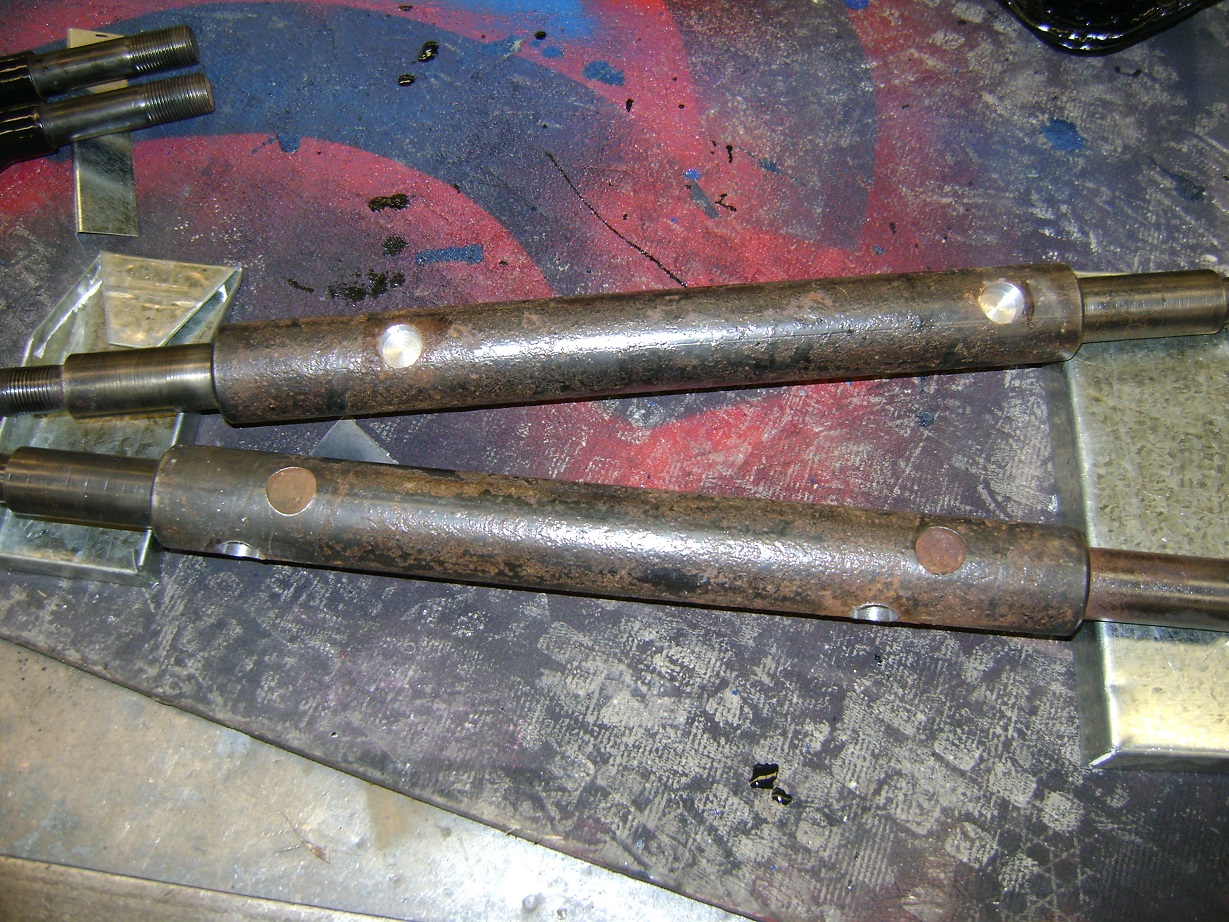
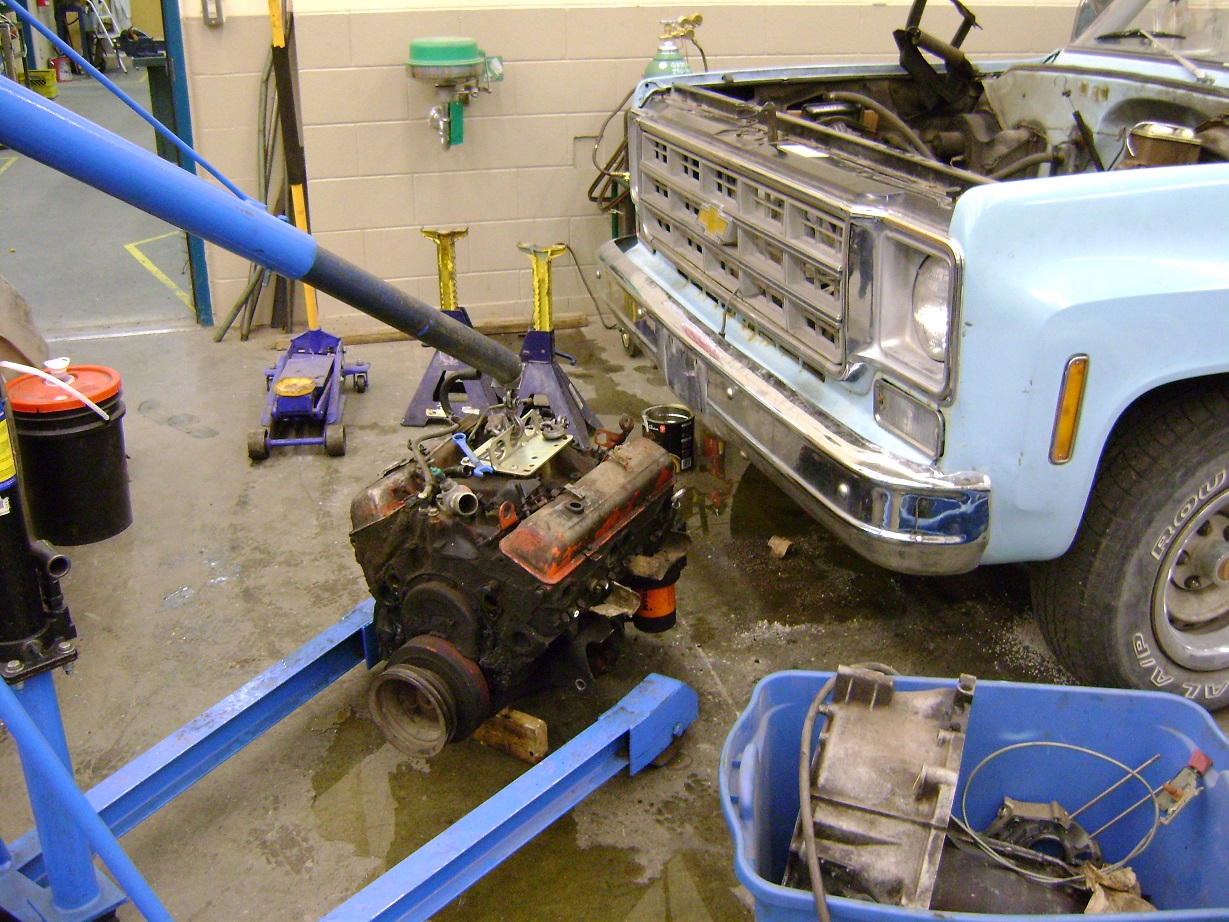
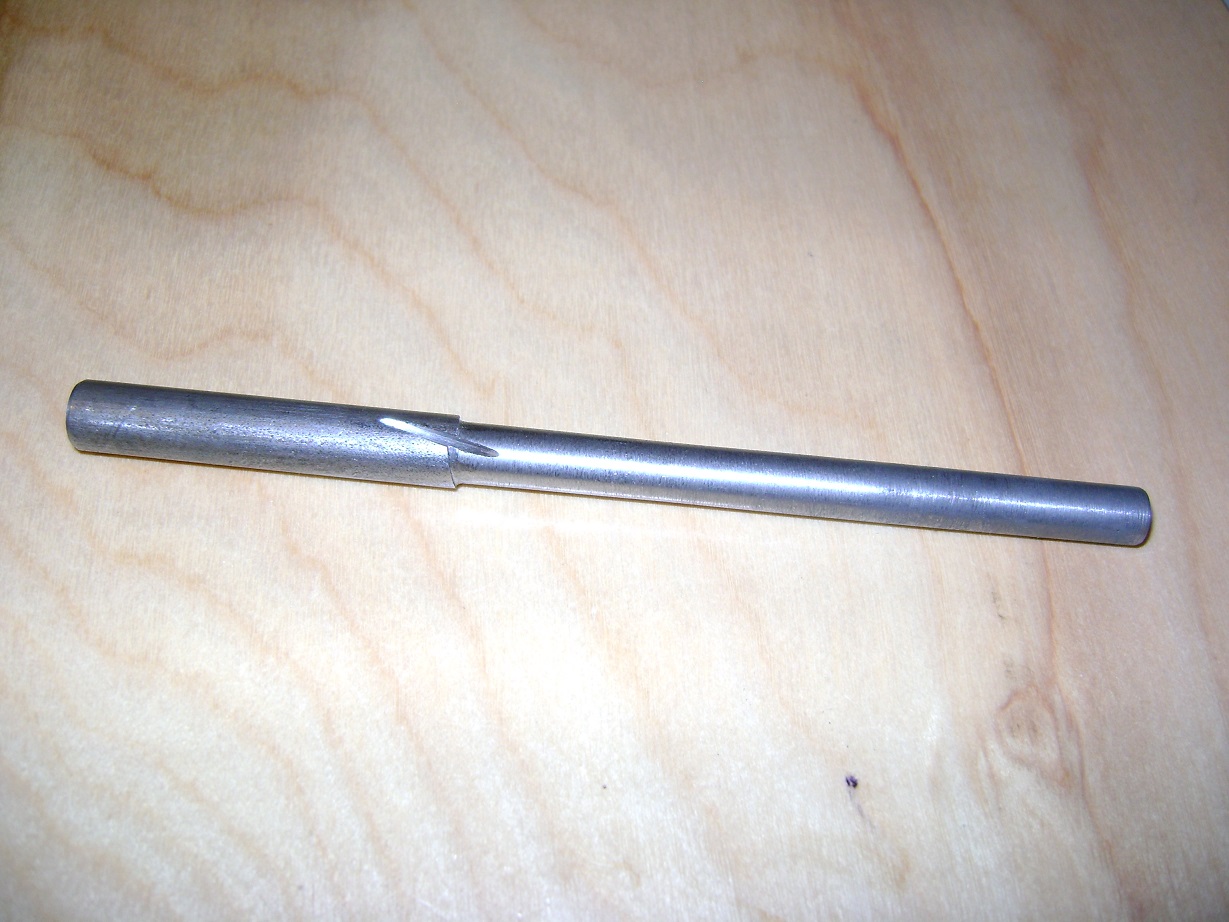
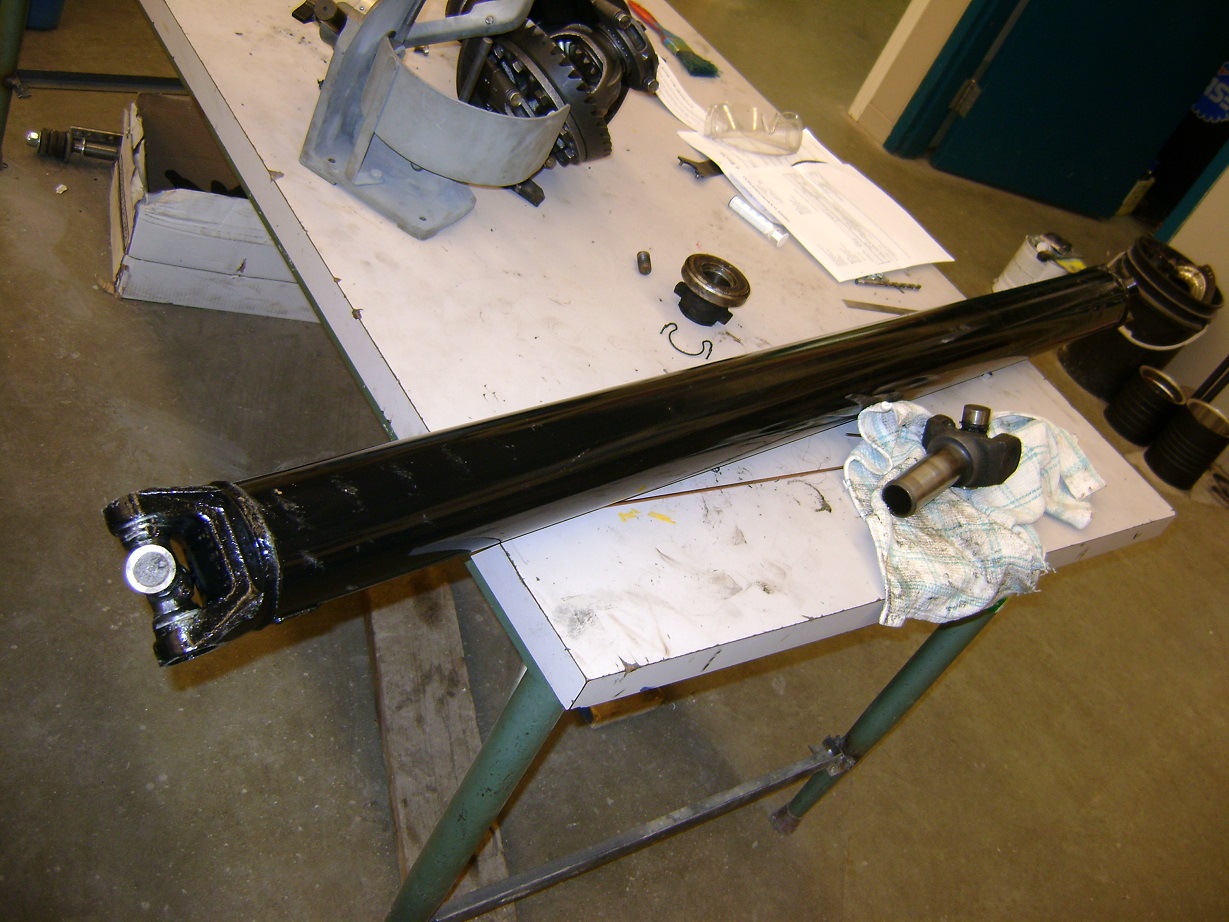
I could not find a good (or shortenable) driveshaft at the wreckers, so we had a driveshaft made.

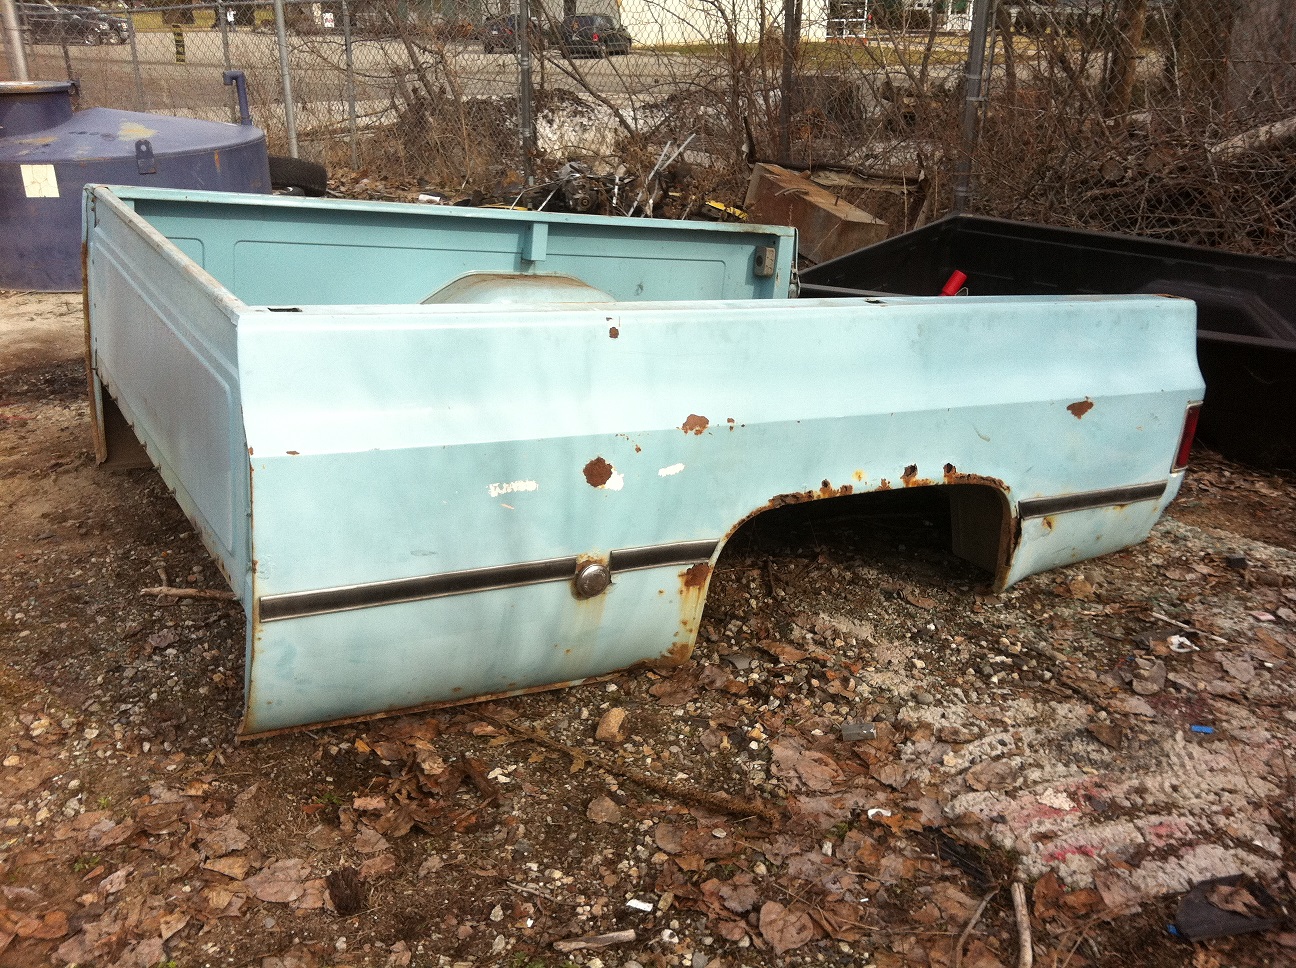
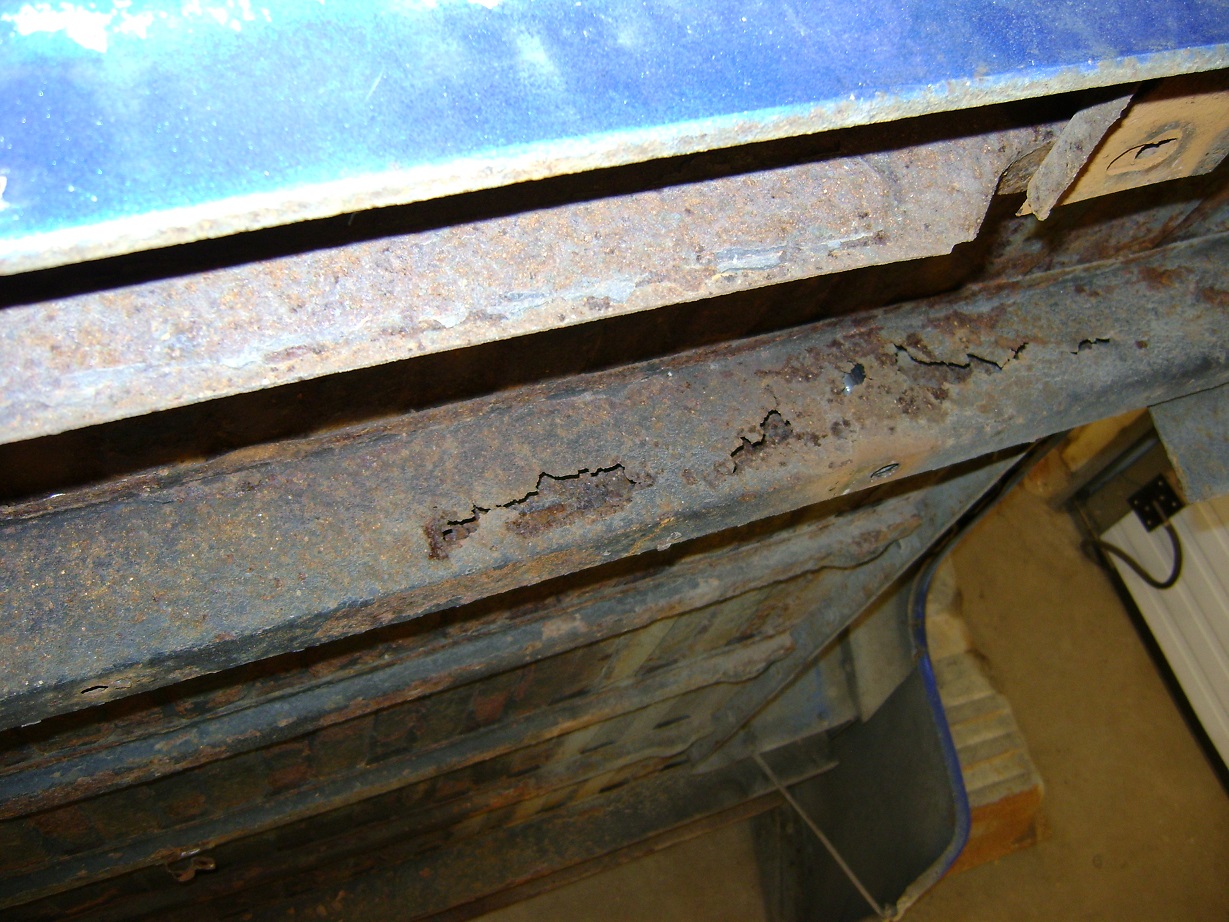
To save bucks, I figured we could shorten the bed. I figured with some creative patching, we could patch the 14" removed from the front of the bed to repair the back of the bed.

I had bought some wheel arch patch panels to repair the rust, but then found a short box locally for not much more, so I took the arches back.

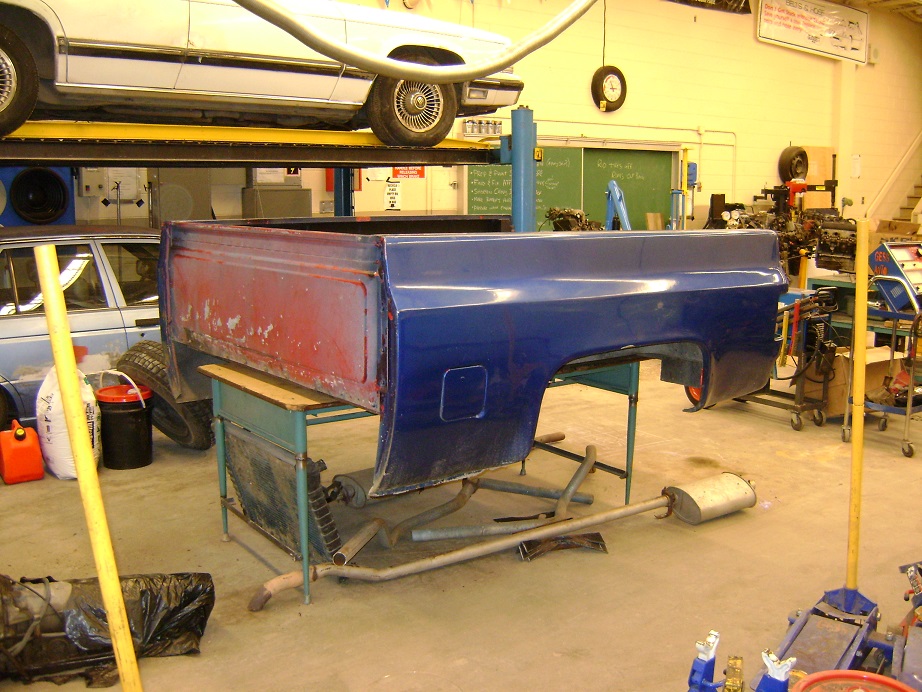
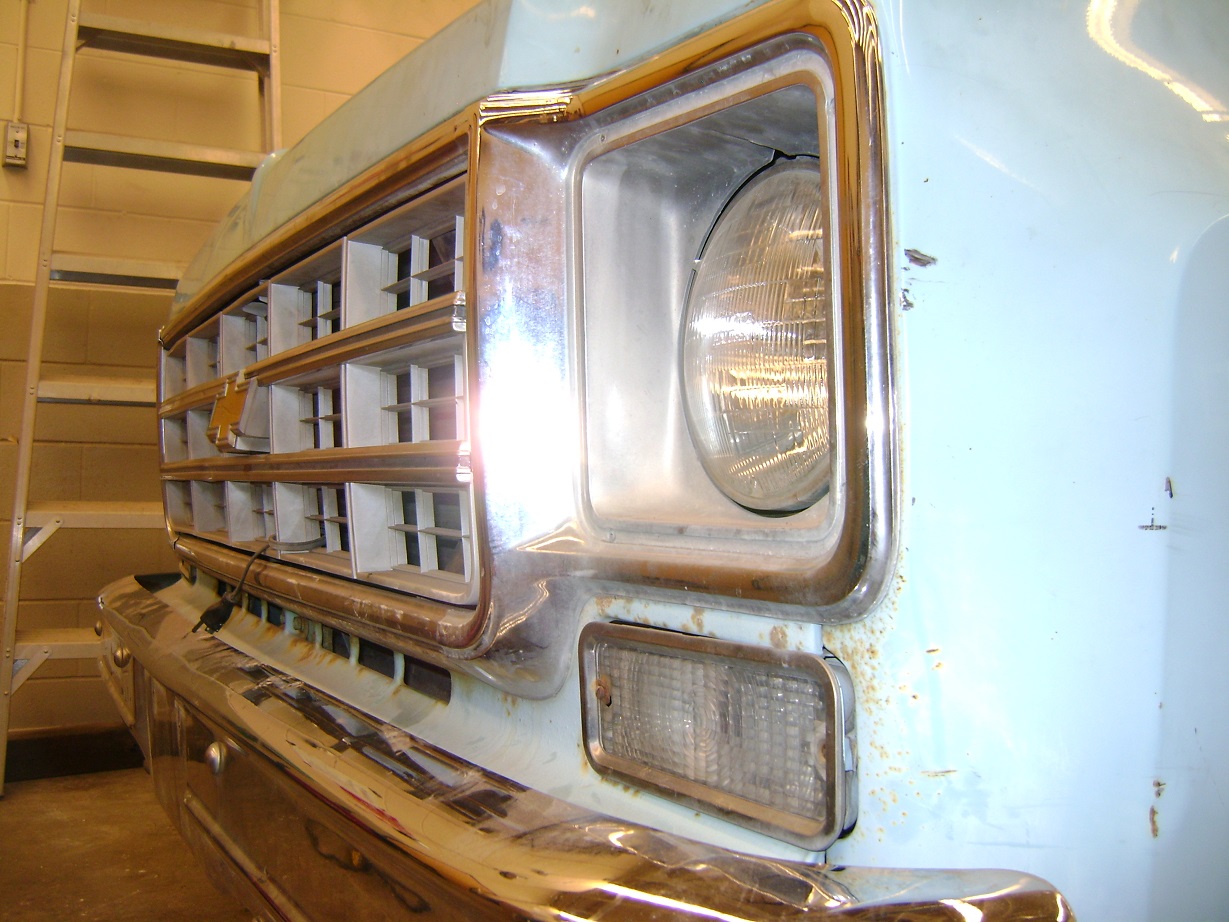
This box "looks" good, but magnets only stick in a few places. No matter. I can mix filler too.

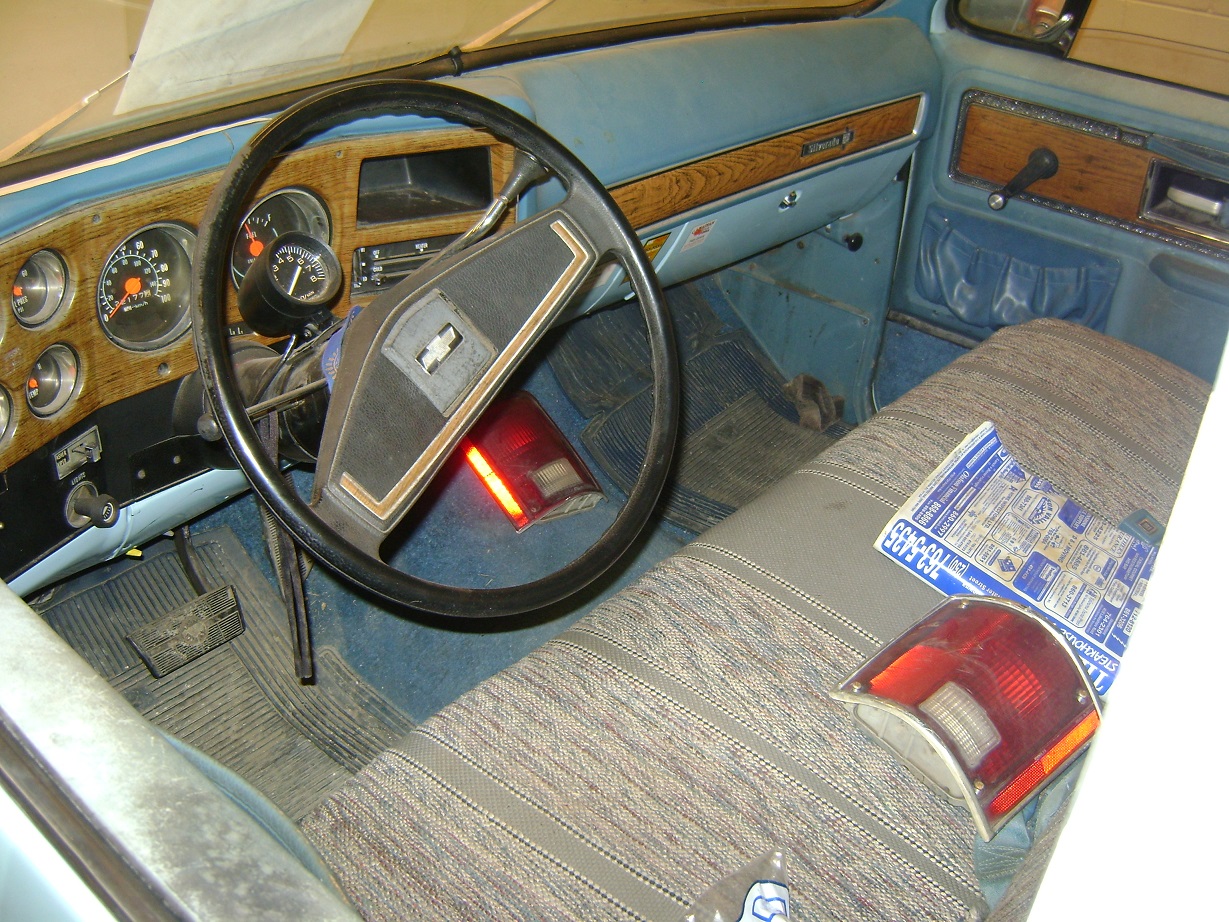
This 81+ box had the main tank on the left side, my '77 had the main tank on the right, so we had to swap the tank to the other side. In removing the tank, kids had sliced the filler hose, breather hose, sender wire, and bent and broke the fuel pickup tube off the pickup. Because my truck came with a 20gal tank, I bought a 16gal for the shortened version. I also ordered a pickup with a return so I had the option to convert to EFI later.

Run_Away
Run_Away Reader
2/23/14 12:28 p.m.

Insanely jealous, that's my dream truck. Love the pre-'81 front end.

SkinnyG
SkinnyG SuperDork
2/24/14 10:00 a.m.

We cut off the rearmost box floor brace and welded on a good one from the old longbox.

We also fabricated our own flip kit and shock extenders.

The frame rails were notched and boxed. Probably didn't have to, given that this had some heavy rear springs, but I was in there already. After we did the axle flip, I had the whole class standing on the frame rails so I could mark where the axle contacted.

The whole underside of the box and the entire back half of the frame was needle-scaled (louder than freaking hell), and painted with a couple coats of Zero-Rust. The first coat was weak because the kids in charge of it didn't have the muscle (or discipline) to actually stir the paint, so they just painted with the solvents, leaving the useful solids in the bottom of the can.

cdowd
cdowd Reader
2/24/14 10:19 a.m.

Awesome. That looks like you are going to have a great truck!

tuna55
tuna55 PowerDork
2/24/14 10:27 a.m.

Nice work so far!

solfly
solfly Reader
2/24/14 11:02 a.m.

love the truck builds!

xflowgolf
xflowgolf Dork
2/24/14 1:05 p.m.
Run_Away wrote: Insanely jealous, that's my dream truck. Love the pre-'81 front end.

same here. Love the '73-'79 nose.

wvumtnbkr
wvumtnbkr Dork
2/24/14 2:03 p.m.

insert rustproofing hootus comment here.

turboswede
turboswede UltimaDork
2/24/14 2:07 p.m.

heheheheh, you said insert.....

SkinnyG
SkinnyG SuperDork
2/25/14 9:53 a.m.

All the bushings were replaced with Polyurethane. The lower control arms had the cross shaft locating notches re-drilled 3/4" rearward to increase caster.

Moog "Problem Solver" lower ball joints were installed since the originals were poo. Suspension was painted in Tremclad semi-gloss.

Some slight beating of the crossmember let the relocated control arms clear.

And of course the Tremclad was not holding up.

BellTech 3" spindles were installed (HD front brakes). This required some clearancing on the control arms to clear the 15x8" rallys. This actually leaves the lower control arms hanging lower than the rims. Kinda sketchy at best. To make it even more fun, we cut half a coil off the springs as well.

At this point, the truck sat like this:

SkinnyG
SkinnyG SuperDork
2/26/14 9:51 a.m.

That pretty much took us from March '13 to the end of the semester.

September I appeared to have another really good class of students. I have to teach Mechanics 11, Mechanics 12, and Mechanics 12 Advanced all in the same class. I have my Level 1's do "engine rebuilding" with dead engines because it builds skill and knowledge with lower stress on me than having them knacker "customer" vehicles. As the Level 1's went through their engines, I went through mine. It was cool to show a "real life" example whilst they did theirs.

The engine was a 3970010 (expected yay!), two-bolt main (unexpected boo!), with 882 heads (expected boo!). I started cleaning the pistons with the intent to do a cheapie re-ring.

But changed my mind and ordered Hypereutectic pistons and had the block bored and balanced.

A Howard's cam was ordered (110961-08: 231°@.050, .470" 108LSA, 104ICL) and degreed (stock on right).

dj06482
dj06482 Dork
2/26/14 10:11 a.m.

Cool build, I learned to drive a manual on my dad's '77 C10. It was brown, had the 250 ci inline 6, and a three on the tree. Aside from a massive gap between 2nd and 3rd, it was a great truck.

fidelity101
fidelity101 Dork
2/26/14 3:29 p.m.

I like the degree wheel that bolts on. Also, very impressive build! I love student labor for things you don't want to to and for things they really can't make any worse.

SkinnyG
SkinnyG SuperDork
2/27/14 9:37 a.m.

I shelved the 882 heads that came with the truck, and used some 305 heads I had that were in very good shape. Lots of internet hate on 305 heads on a 350, but dude - it's a truck, they were free, and so was my labour. Studs were pulled and the holes tapped.

Bosses milled and counter-bored.

ARP studs installed.

Heads were ported, with exhaust cleaned up to 400 grit (I was sick of it by then).

Theoretically I'm at 10.9:1 with a steel shim head gasket, which is apparently the trick to making this whole thing work (0.040" squish). The valves were also back-cut, and the combustion chamber side of the exhausts were radiused. Exhaust rotators were removed, and a combination of taller Howard's springs, offset keepers and shims got the spring installed heights correct.

wvumtnbkr
wvumtnbkr Dork
2/27/14 11:29 a.m.

This is pretty sweet!

Rob R.

SkinnyG
SkinnyG SuperDork
2/28/14 9:47 a.m.

In prepping the engine bay for reinstallation, I had a student gently cut through the factory heater hose clamps with a zip disc. Luckily the new hoses would cover the section of heater core inlet that he sliced into.

I had chrome and an Edelbrock Performer intake laying around. The intake had three of the four holes stripped, two had Heli-Coil inserts, but one of the two had been drilled right into the intake runner. I demo'd how to repair aluminum casting with TIG in my metalwork class.

I had students replace the tired rubber motor mounts with polyurethane inserts. It wasn't until I was unable to get the motor in, that I discovered they put the inserts in backwards.

Funny, because previously I ~did~ catch them unable to install them upside down into the clamshells. I fabricated dual exhaust using cheapie Walker mufflers because I'm not 16 any more. This sounds snorty, but not obnoxiously loud. It's kind of like meeting a gentle big guy wearing a fancy suit, and then finding out he's a bouncer and the rowdiest night club in town.

I had a student replace the sheared transmission mount with polyurethane. And then had him drop the cross member so I could show the class how to Heli-Coil a freshly stripped mounting hole in the transmission case.

I broke the cam in, and then put a permit on the truck to seat the rings. I thought it ~seemed~ powerful, but noticed once I got back that the secondary lock-out lever was bent, preventing the secondaries from opening.

Might need a higher stall converter.....

xflowgolf
xflowgolf Dork
2/28/14 9:54 a.m.

Your school have a paint/body shop class to finish it off?

Keep the trim on it when/if it does get purtied up.

SkinnyG
SkinnyG Dork
2/28/14 10:02 a.m.

No spray facilities here. I've sprayed outside in the past, but I'm not comfortable with spraying an iso-cyanite at a public school in a residential area without proper equipment.

The truck came with no trim - it had been previously painted cheaply already, and they tossed the trim. Sad, because it is a '77 Silverado and originally came two-tone which would have had the "gold stripe" on the trim.

I'm keeping an eye out for trim at the wreckers, but most of what I find is pretty buggered.

Still have the cab band and the tailgate band though...

Powar
Powar SuperDork
2/28/14 10:07 a.m.

Damn, that sounds awesome.

TIGMOTORSPORTS
TIGMOTORSPORTS Reader
2/28/14 9:27 p.m.

I also am a 73-79 GM truck fan: http://grassrootsmotorsports.com/reader-rides/10058/

good to see the build

SkinnyG
SkinnyG SuperDork
3/1/14 11:56 a.m.

The engine idles in park at about 12inHg. That's probably outside the realm of "factory" settings on the Q-Jet.

I bought Cliff Ruggles' book "How to rebuild and modify Rochester Carburetors" (http://www.amazon.ca/How-Rebuild-Modify-Rochester-Carb/dp/1932494189). I also sourced some bronze bushings at my local auto parts store for $2, and fabricated a cutter to machine the base plate.

Bushings tapped in easily.

And then I rebuilt the rest of the Rochester, with tweaks according to Cliff's book (great book, by the way!) - idle up tubes, idle down restrictions, idle air bleeds, idle bypass air, secondary air valve, full throttle at full throttle. Fun, but compared to tickity-type on MegaSquirt - super tedious.

I'm currently running 20° base timing, distributor has 14° mechanical advance. I have an adjustable vacuum canister on it, I just need to fiddle with the settings and see if I can get a better idle in drive. Adjusting the can changes the amount of advance, so I made a limiter to maintain full vacuum advance. It idles at 6inHg in drive at the moment, I'll get back at this next week.

1 2 3

You'll need to log in to post.

Our Preferred Partners
xEsBTJnXT5pvKYcPrdHqhOghaiXuhw2xGyY0pVLquOqOrFuwTXDrOAy8MjrvXoJd