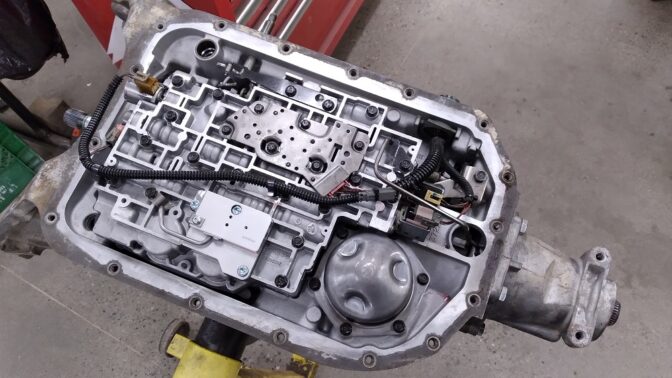
I reamed the AFL valve more to fit the new (larger) TransGo valve (Thanks Darcy!).
I also did all the mods in the valve body and separator plate required for the Sonnax Over Running Clutch Valve (which applies said clutch for when you forget to drop out of Square-D (Overdrive). Good safety insurance, because I'm getting old and forgetful. VERY nice product, and super clear instructions.
Reassembled the valve body with the remainder of the parts from the TransGo HD2 kit. I drilled 2nd to 0.093" and 3rd and 4th to 0.101". Did not install, as I am waiting for the TCC valve.
Also drove in the 3/8" cup plug to block the reverse feed to the Direct Clutch. I did NOT use the HD2 separator, I dual-fed internally (remove 2nd seal from center support, remove center seal from direct drum, and plug reverse feed).
TCC valve came in, so I installed it.
Installed the valvebody.
Installed the Overrun Clutch Valve.
Finished the valvebody, but forgot to get a filter.
Picked up a filter, attached the pan, and a spray of Aluminum engine paint.
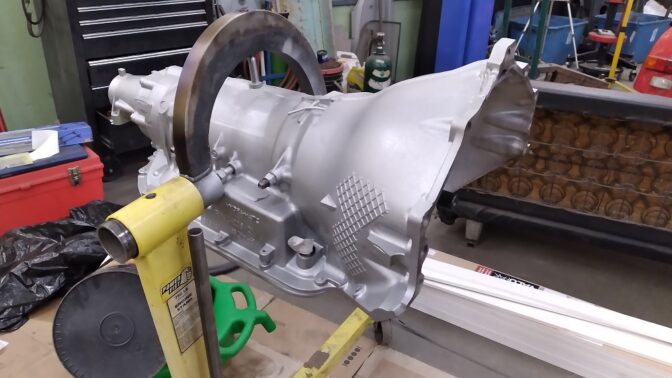

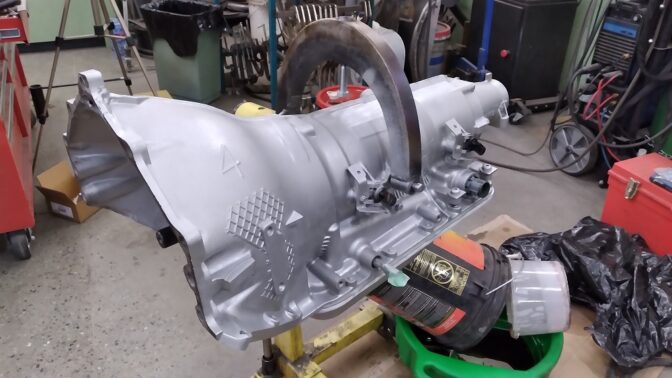
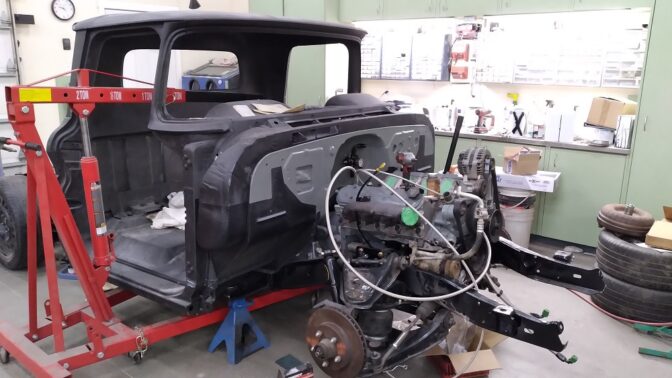
Tomorrow - hang it off the motor, and set it in the chassis.
The driveshaft got painted. Bear's Performance out of Ontario, 1350 u-joints:
Looks awesome. I'm really impressed by all the 4L80 wizardry. How did you pick up the trans-rebuilding knowledge?
In this particular build, I did a LARGE amount of research, checking a wack of websites, and finding the common knowledge, and who the Transmission Whisperers are (Jake Shoe, Clinebarger, Chris Kokkonis). I studied everything until I felt I really knew what they were doing. Ran across Gears Magazine (the professional rag for transmission builder) which had VERY detailed articles on how to do all this (links in the video description).
I built a Frankenstein Ford C4 for a V8 Pinto I was building when I was 22. That helped build confidence that I can do transmissions. I hadn't touched a transmission until about ten years ago, and I've done 1 manual and six automatics since. One more auto coming over Christmas.
Cab placed on the chassis for hopefully the last time. Energy Suspension cab mounts (63-66) with front top bushing machined down to 5/8" thick as per original bushing. PQY fuel pressure regulator mounted.
SkinnyG (Forum Supporter) said:
Raptor sprayed on the underside of the cab. This is so when the frame is finally painted (maybe tomorrow), the cab can go on and stay there, and I can focus on paint prep.

This is exactly my plan for the underside of my amc project.
Just want to make sure that the process was as i remember it: sandblast, blow dust off, immediately spray woth epoxy primer. Let epoxy dry fully, seam seal, let cure, bedliner.
Right?
How thick does this stuff go on? Did you get their gun? What did you do about threaded holes?
The amc was previously seam welded, no sealer, shoddy rust repair, and then painted with implement paint. It has not held up well, and has orange rust at many seams....
Pretty much, yes.
I blasted, epoxied, sealed, and Bedlined. Some say one can should be enough to do the bottom, but I went through two cans.
I used a Shutz gun I bought a few years ago, which, it turns out, does NOT fit their cans. I've since bought their gun (it's cheap). When I do the fenders, I'll use their gun.
I don't think I did anything with the threaded holes. You could stuff in some foam ear plugs. Or chase the holes with a tap.
I put tape over where the cab mounts go, so I wouldn't have a textured finish between the cab and the cab mount. Don't know if it matters. Remove the tape before the Raptor dries.
Did you sand the epoxy primer prior to shootingthe kiner or applyingseam sealer? Also how thick does the bed liner go on? Enough to level over panel flanges and such?
Paints, primers and sealers have a re-coat window where you don't need to sand. I made sure I was within those windows, and I did not sand. If you were to wait too long (like I certainly have with my fenders), you'd definitely have to sand.
It's not thick enough or textured enough to make it all disappear like a fat coat of filler would, but it's enough to say "I can see that this is completely sealed and convincingly water-tight."
My brain woke me up super early this morning, with a nagging "are you SURE the intermediate band was air-checking correctly?"
Dang it.
So....
I pulled the cab, pulled the trans, pulled the valvebody, and checked.
Yes, yes it is working correctly. As are all the others.
Just leaving this here so the next time this happens I can show this post to my brain and tell it to shut up.
Like I need another project.
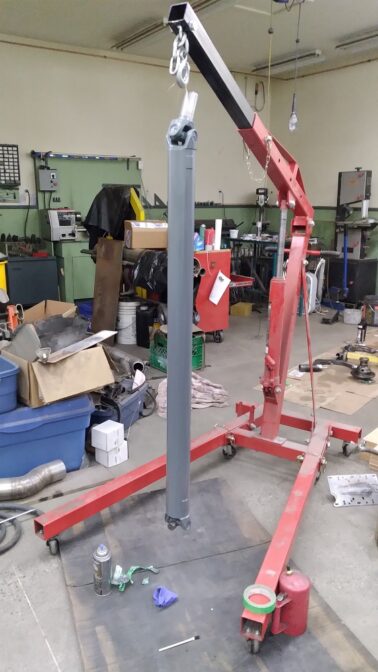
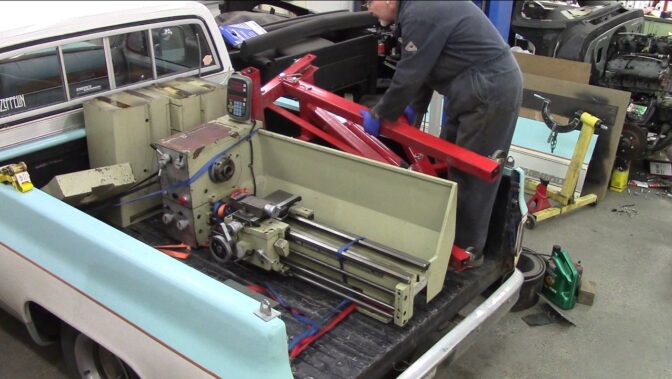
Picked up a "new" toy at scrap metal prices (the Cherry Picker is mine already, used it for loading).
In reply to SkinnyG (Forum Supporter) :
I hear Channing Tatum from 21 jump street "berkeley you, brain!"
This 12x36 will replace my 10x24 once I have all the parts and it works.
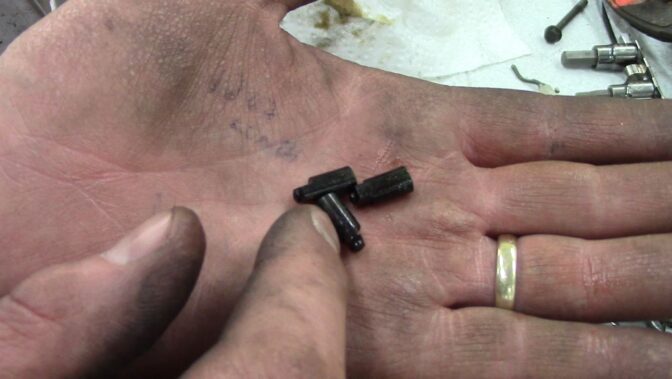
Got the carriage apart: 5mm roll pin had fallen out, which rendered the carriage inoperable. The pin was in the bottom of the apron, but is very worn. I'll try to find one locally.
Wiring looks pretty unmolested. I removed a "lockout" switch, and a 6x6 box that had nothing in it, with conduit running unconnected wires into the panel on the lathe.
I need the hardware for the camlock headstock, but I'm pretty sure I can get that. I need two chucks. It would be nice to have a steady rest and a follow rest, but to be truthfully honest, I've never used them for what I tend to make.
So much progress! Thanks for sharing
Paid $500cdn for the lathe.
Fixed the broken carriage feed with a $1 roll pin.
All new Camlock hardware is coming, $39 US.
A couple of chucks fell into my lap for free. The 4-jaw is useable, but the two 3-jaws I got are pretty junk.
Ordered a BXA tool post to hold my cutters.
I got it to run yesterday. Nice, quiet, smooth. Wish I could find a manual for it.
Once it proves itself, my 10x25 lathe will go up for sale.
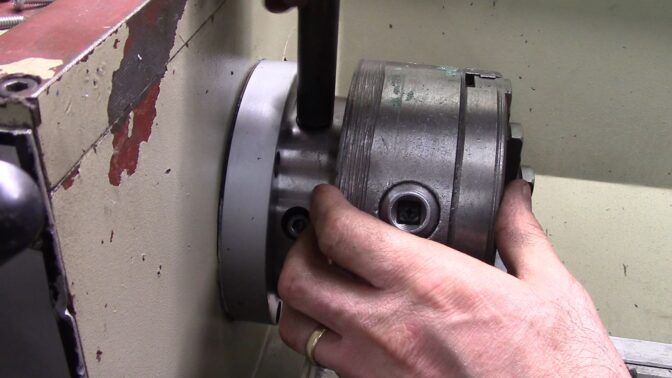
The lathe had had its camlock hardware stripped.
The majority of this lathe is still sold by others, and I sourced the camlock screws and springs from Grizzly (4003 lathe).
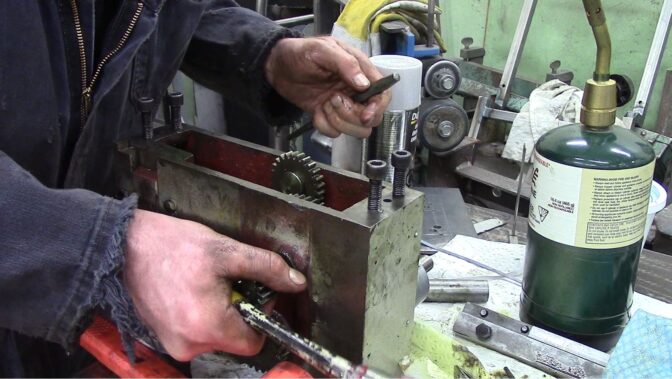
The detent pins were deceptively hard to locate, so I ended up fabricating my own from 1/4" drill rod, and hardened using a propane torch and motor oil to quench.
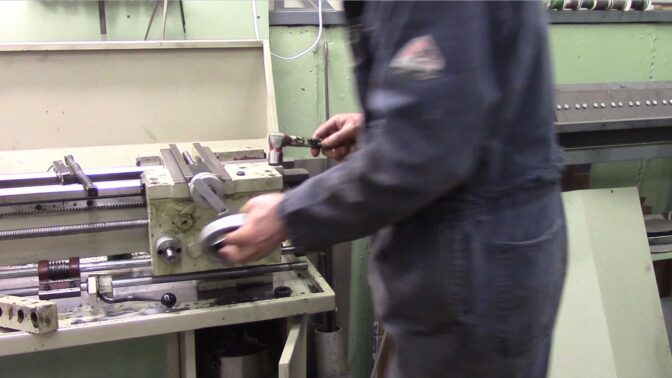
This allowed me try mount one of the used chucks I got for free.
The carriage feed got a new 6mm roll pin (the original had worn to 5mm, and fell into the apron)
And then the carriage could be put back on the lathe:
Tailstock mounted:
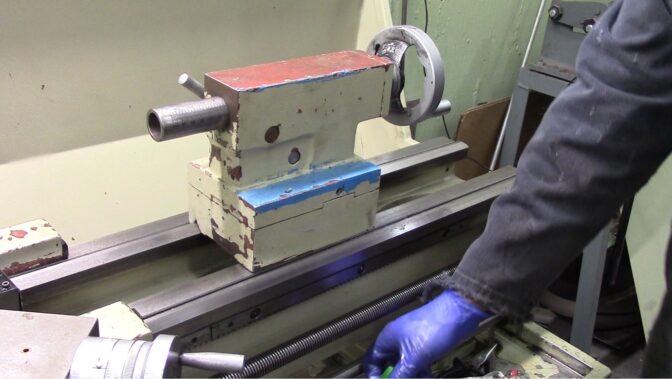
Lathe works, operates, and feeds. I'm pretty excited.
Need to make new tool rack for the larger tools....
If the quick change tool post shows up next week, we should be back in business.
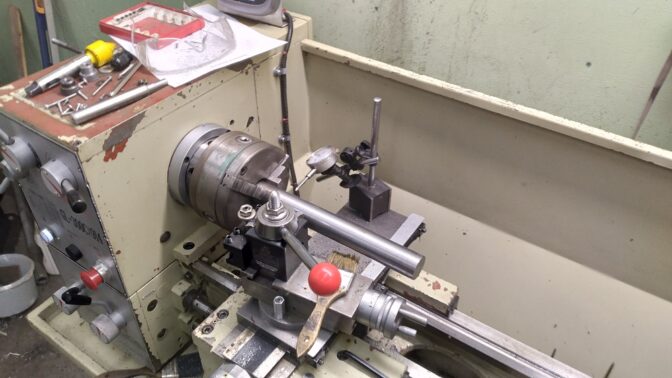
Tool post arrived, and anchored the lathe to the ground with four 1/2" bolts, and shimmed one side of the tailstock with two strips of paper to get 0.0005" taper over 10" - good enough for me for now.
Back to the truck....
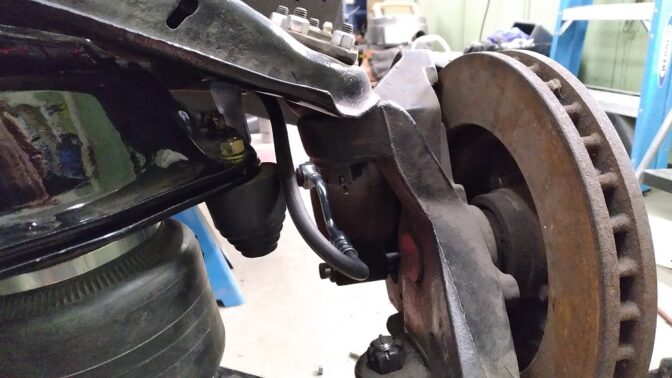
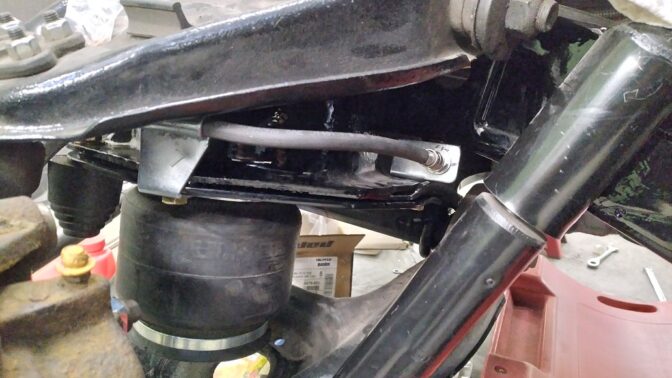
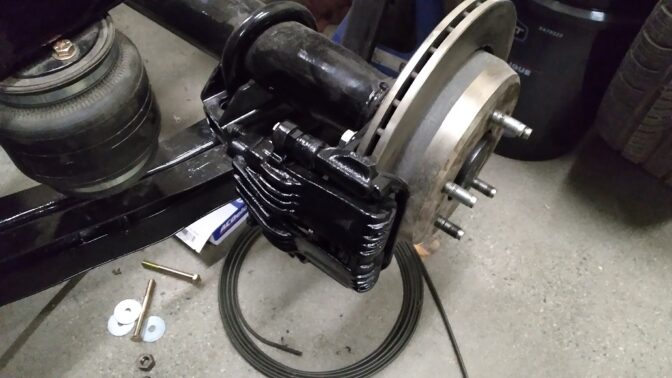
I used OBS 8600GVW brake hoses, but split the factory bracket in two and made two mounts for the hoses. This seems to clear well at ride height, full up and aired out:
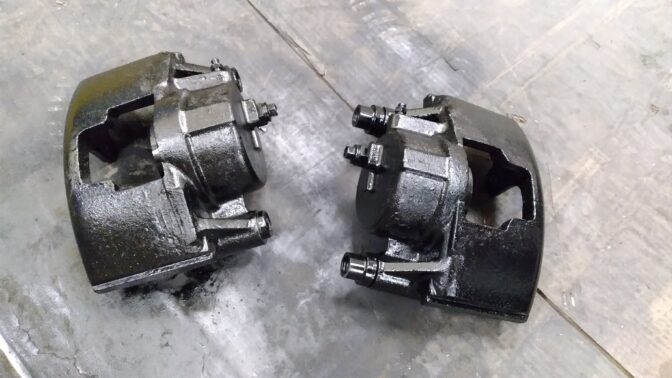
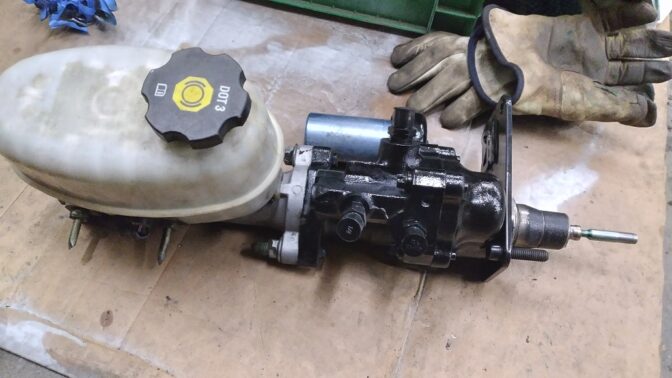
OBS 8600GVW C2500 Calipers got blasted and painted, and the NBS Hydroboost unit got painted.
And sold my 10x27 lathe just like that.
In reply to SkinnyG (Forum Supporter) :
I may never do a project just like this one, but I really appreciate the detailed documentation and helpful hints you drop along the way. I have learned a ton from following your threads.
In an effort to reduce my personal stress levels, I've tried to "unplug" from my self-imposed "deadlines" and just putter in the shop. Stuff will get done, but I need the shop and this project to be my "escape" and not too "goal-oriented." I've probably mentioned before, my Myers-Briggs personality type is the same as every tv and movie villain; it's not that I'm trying to take over the world, it's that I will accomplish my goals regardless the cost. That can be good, but also unhealthy. Nevertheless....
Brake master mounted:

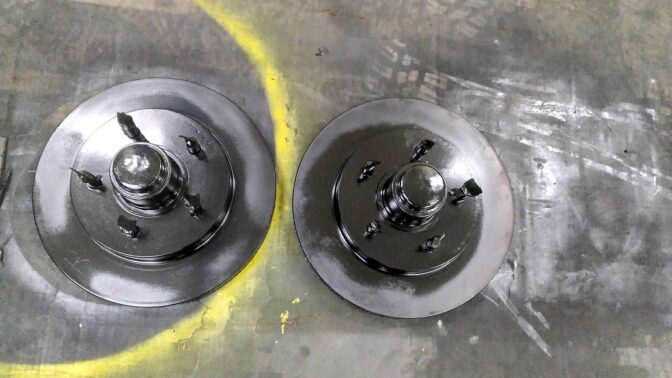
Smoothed out the center caps as good as I cared to, and blasted and painted the front rotors (Brake Caliper paint). These will be cut once I'm back at work, as I don't have a brake lathe at home.
And painted the rear calipers:
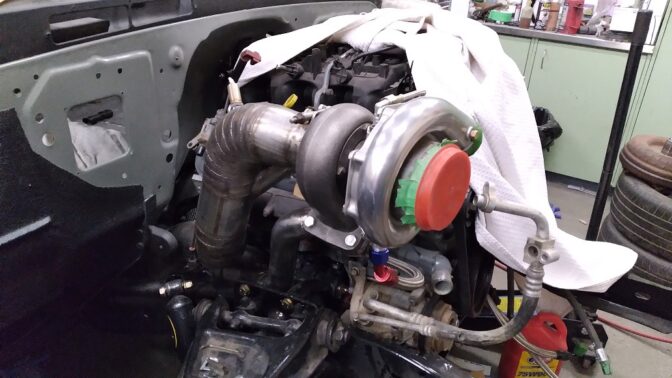
And reinstalled the turbo:
Small celebration of success. I've been down for a while, struggling with some of my own demons, and not finding the shop the "escape" I need it to be. This is all I've gotten done, but dang it I can celebrate that anyways.


