


In reply to Crackers :
The cowl is correct as far as I can tell. The shroud fits over top exactly as it did when I took it off and it hits all other attachment points, none of which have been altered.

In reply to Crackers :
The cowl is correct as far as I can tell. The shroud fits over top exactly as it did when I took it off and it hits all other attachment points, none of which have been altered.


Way I have done this is to get a door to swing and build the car around it. where I might pause is to check and make sure the car is not twisted. You can check by using a laser level to get your four jackstands to the exact same height. Find the tallest one and using plywood and sheet-metal shims, bring the other three to the same height. Make sure they are in symmetrical points on the chassis and see if they all touch.
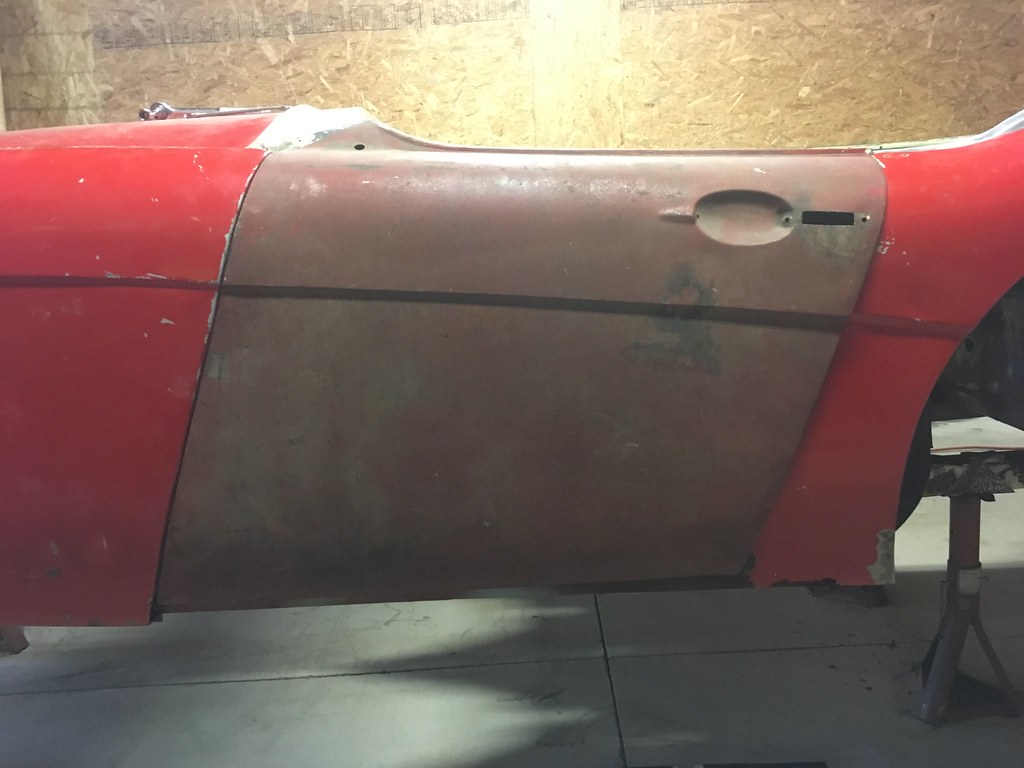
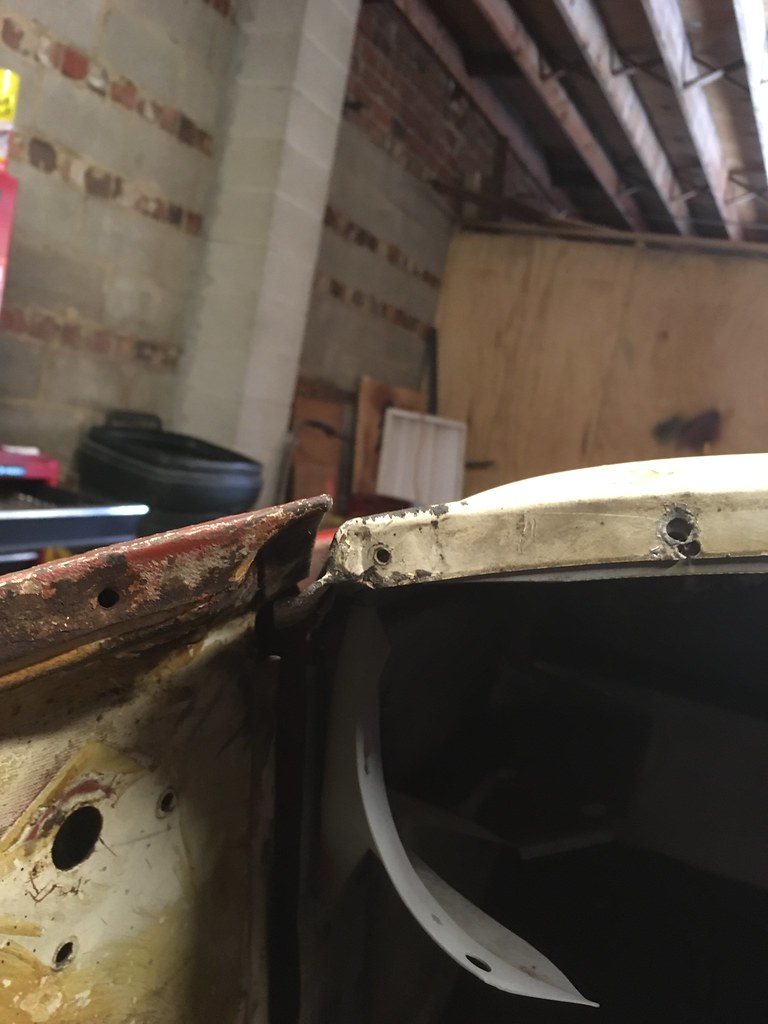
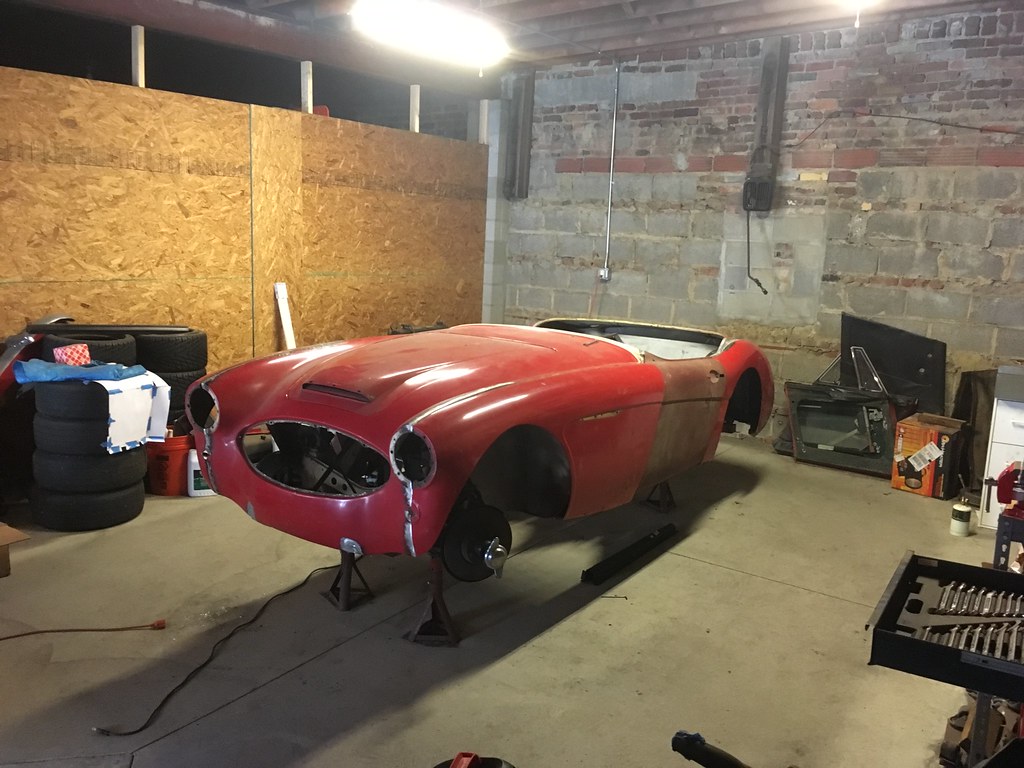
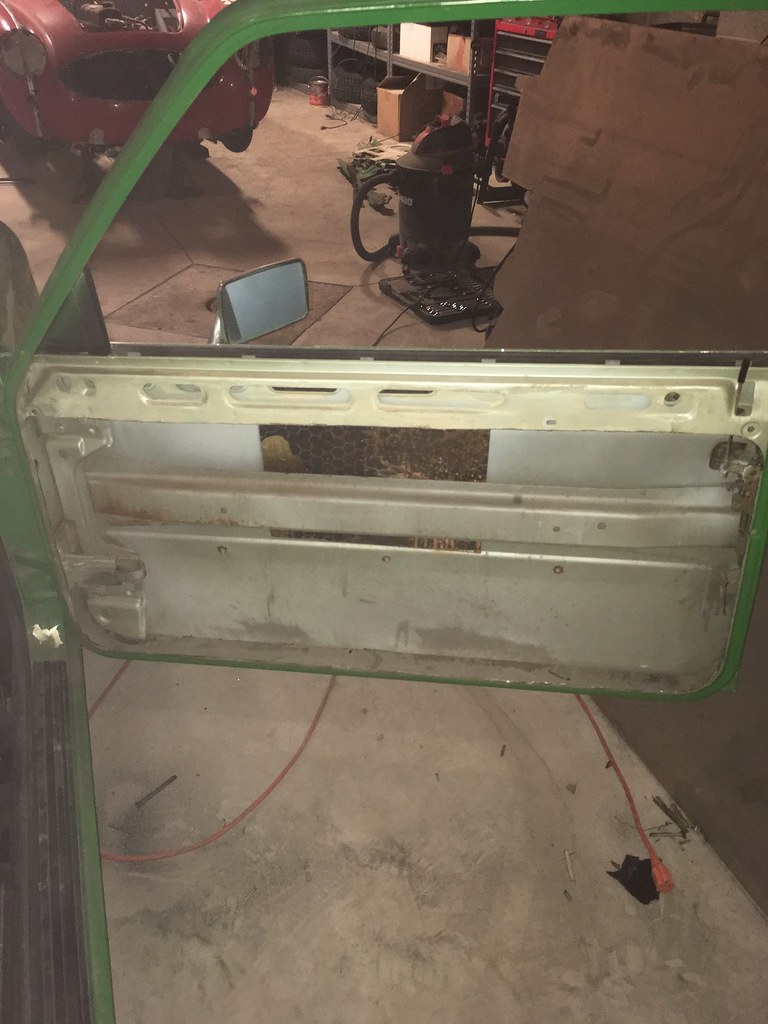
From the picture:
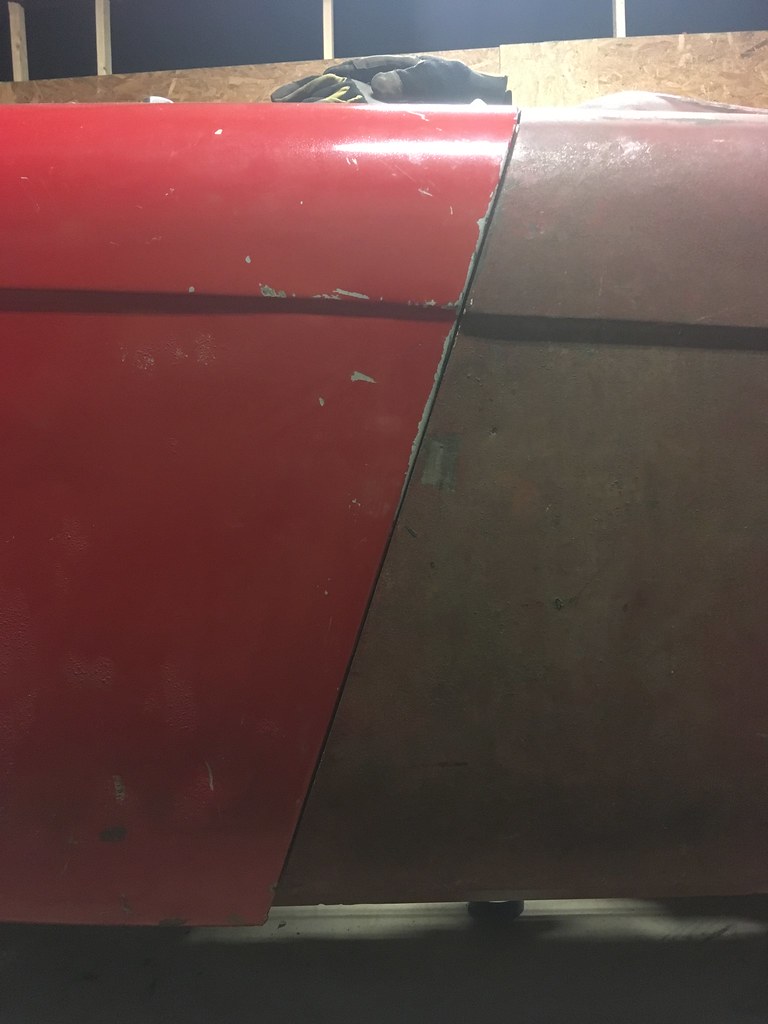
#1 what is happening here? Looks like the door return does not meet the cowl
#2 does the gap close or is it just the angle
#3 what is with the open triangular bit? Is the front fender not bolted down tight?
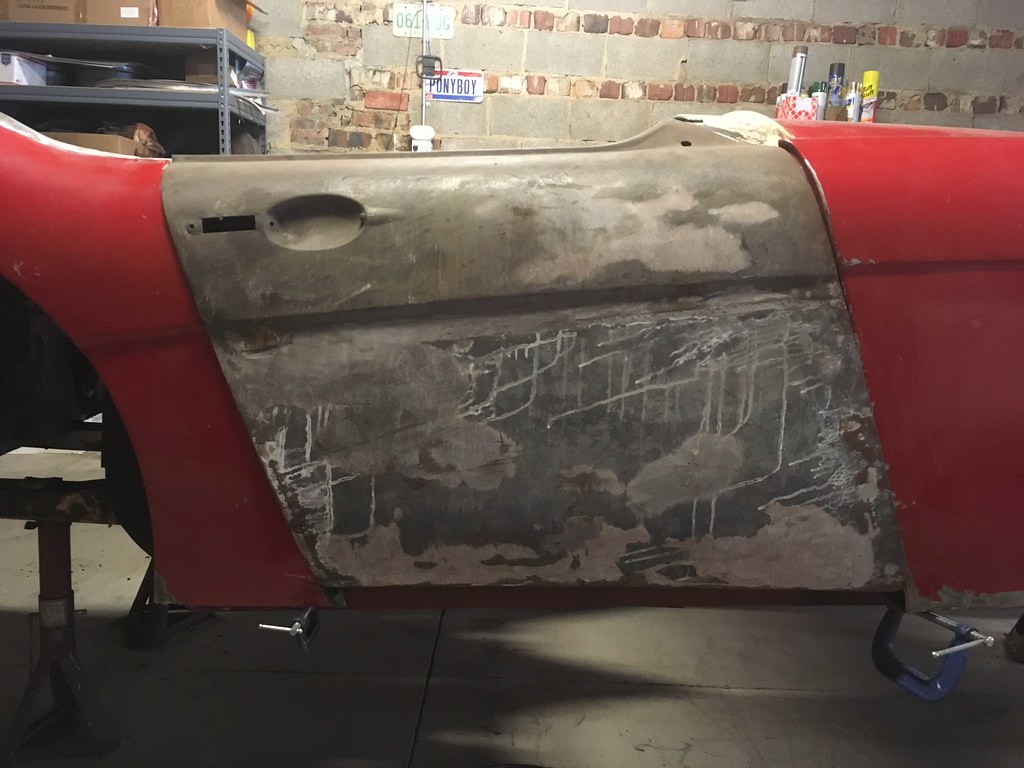
#4 and #5 tell me that either you have a twist in the chassis or its just a case of this door not having been invited to the party when the car was built. Donor panels from one Healey to another just don't ever fit.
If you have zero shims in place now, then the front hinge pillar might be a bit too far rearward. But with the front of the door lined up to the front fender, I need to get a better idea of how shims would get you out of trouble. In the past, I have actually made the hinge thinner using a belt-sander( negative shims) in order to change the door orientation.
Bottom line, the front does not look terrible. Equally important, the body line seems to line up along all three panels. How is the fit of the bottom of the door along the sill? A good straight on shot like this one would help visualize the problems

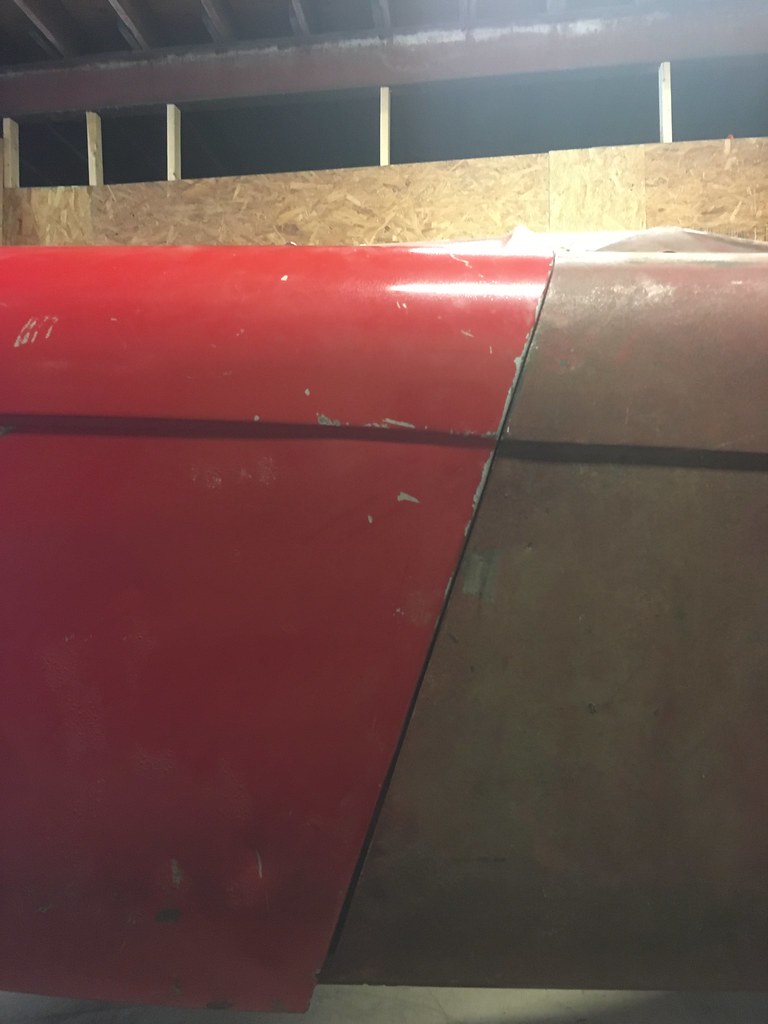
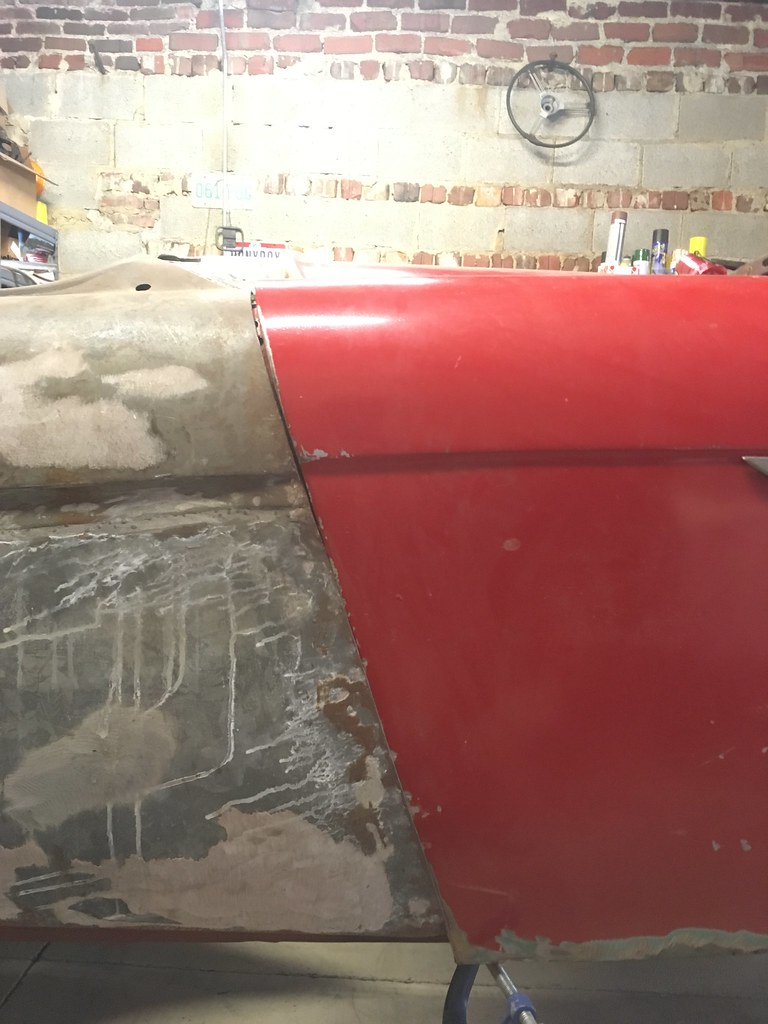
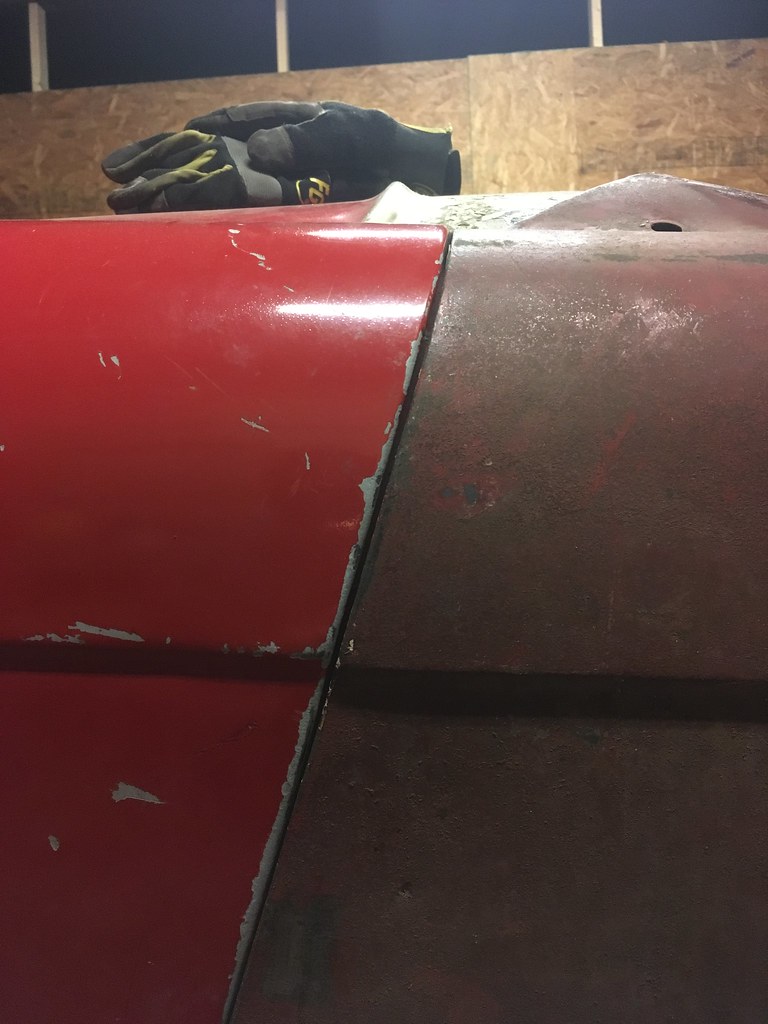
The picture below is kind of confusing. It looks like the top of the door fits in the alloted space, then the curve of the door does not match the rear fender, and then I cant tell what is going on at the bottom? Is that overlapped?
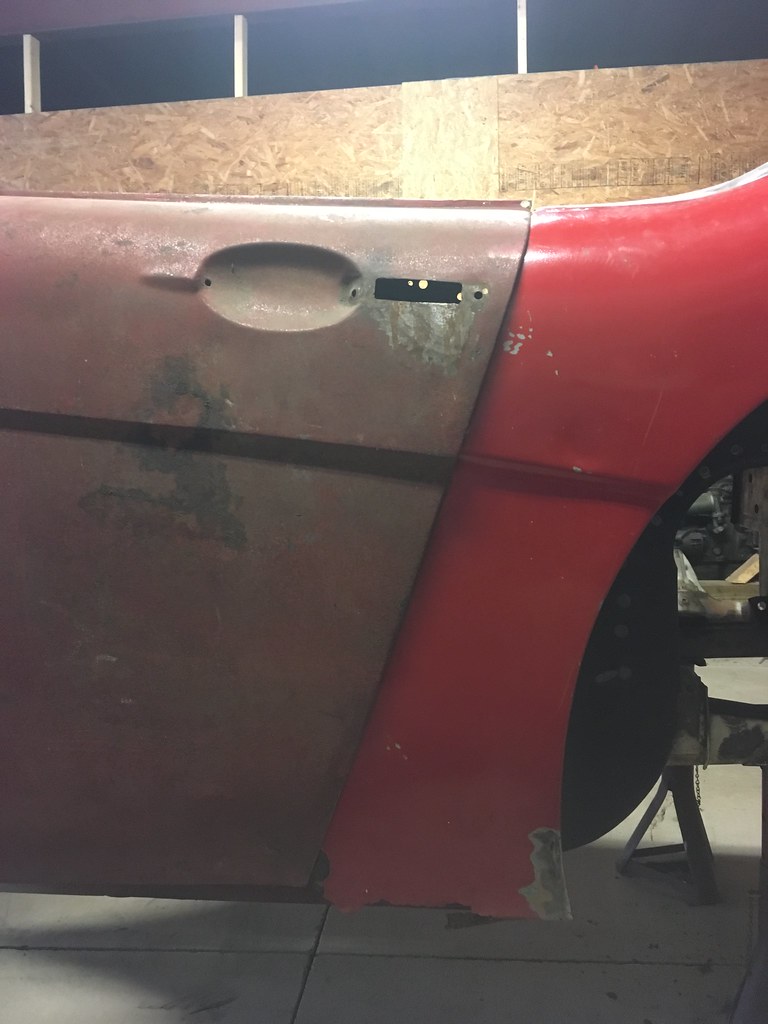
Once again, #4 looks like it has issues meeting the cowl or it could just be the picture. My instincts are telling me to stand behind the car and give the entire structure a good hard clockwise twist in order to make the door fit better. Put the other door on and see if the same reasoning applies to the fit on that side.

All in all, this seems like a pretty normal Healey assembly. Get the door mounted and fit to the front fender. Then do whatever is needed to make the rest of the door fit the sill and B-post. Reaching for the angle grinder to trim the door or to slice the sill is not a sin. The gold should have slit the stop of the sill and added a bit of tin to get rid of the spot where the door and sill don't meet. Or the bottom of the door could have been slit for the same effect. Healey don't cater to cowards when it comes to panel fitting!
Pete
Pete - really appreciate the write up. Let's see if I can hit everything.
The first thing I did both in my parent's garage and when we moved the car to it's current garage was get it level. I have also continuously leveled and re-leveled if I ever bump the car.
For the first picture:
1 - The door return, honestly, meets the cowl as well as I would have expected but it is not perfect. You can see in the second picture that the door seems to turn up at the end. Everywhere else it's very close.
2 - That is just the angle because the gap actually gets BIGGER towards the bottom. The door overlap at the rear also gets bigger at the bottom telling me my hinge pillar angle is off.
3 - What you're seeing there is the lack of a rocker.
4 + 5 - These doors were definitely not invited to the party and have never been on this car. A local Healey guy had an extra set of roadster doors sitting in his basement that we purchased about 10 years ago. The convertible doors that have been on the car since the 70s-80s didn't fit to begin with and aren't going back on.
That is correct- I have 0 shims. I also thought about sanding/machining off some of the hinge mounting surface but I'm thinking that was already done at some point. There isn't a whole lot of meat left.
I'm in the process of getting all of the body panels mounted in place and will get a direct side shot but it will be about a week until I'm able to get back to the shop unfortunately.
Picture 2
2 + 3 - The top of the door doesn't quite fit. I can get it closed but it would take off paint if the paint wasn't already taken off by the old doors! Yes - there is not really an overlap at the top but it increases towards the bottom of the door. The biggest overlap is just under 1/4" meaning to me that the door is about 1/2" off at the bottom. This pretty much relates to how the gap at the front edge increases towards the bottom.
From what I've seen so far, the passenger side door has the same issues. the only difference is the gap up front is much tighter at the top. Again, I think this is a factor of incorrect hinge pillar angle.
I'm glad you feel this is normal. As I've said to a few people this week - I was actually expecting to have these issues, it just sucks that it really happened. I was making some great progress and now I just have a big speed bump.
Healey don't cater to cowards when it comes to panel fitting!
This is my new slogan! I might write it on the inside of a panel somewhere for the poor sucker that decides to re-restore this thing once I'm dead and gone.
Healey don't cater to cowards when it comes to panel fitting!
OK - progress. I have now mounted all body panels and have a much better idea of actual door gap/overlap on both sides. I have decided to chuck the engine and trans back in before moving anything but that will have to wait until next week (most likely) before I can pick the hoist up from a mechanic friend.
I think the only thing missing from this upload is how the top of the passenger door hits the top of the cowl. Not sure where that pic went. It's pretty frustrating that everything is SO close but yet SO far from being right...
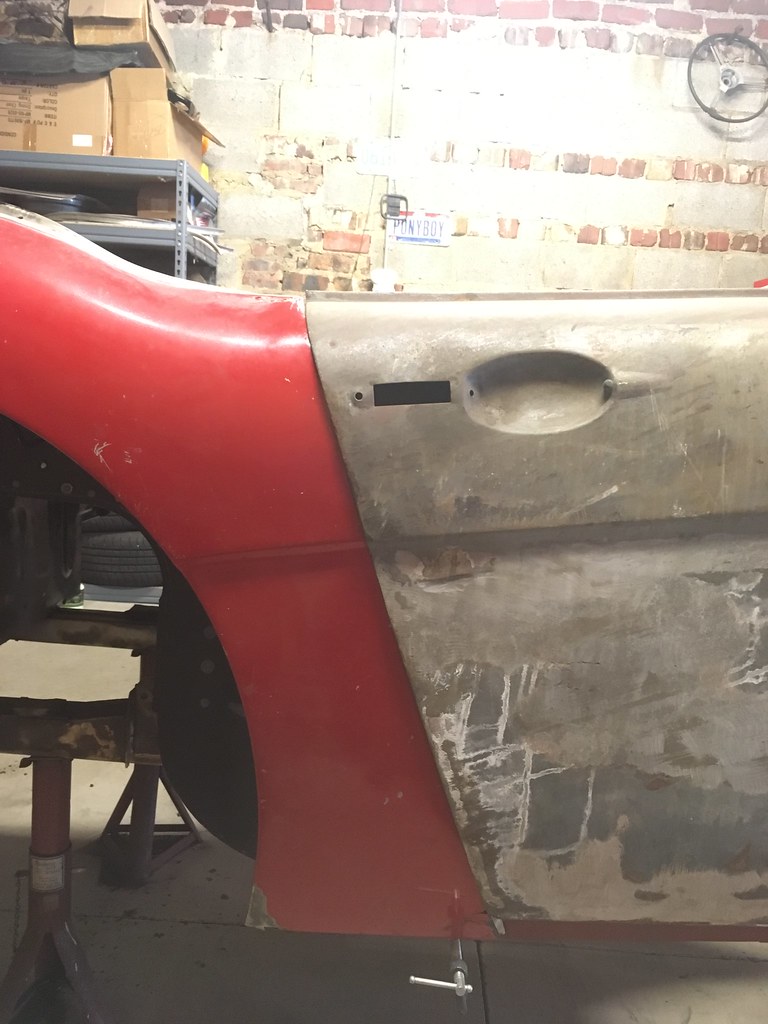


The worst misalignment is the top-front of the passenger door. The picture makes it look a little worse than it is and I was able to get it better after taking the picture. I think there is also room for improvement on the door-side of the hinge to push the door out and up a little bit.
Another factor with the passenger door (as can be seen on the front close-up) is that it has been re-skinned at some point. Whoever did it doesn't seem to have gotten the swage line perfect. Once the door is a little higher up, this should be not so much of a problem.
Once I get weight on the chassis and have final "numbers", I'll be able to make a decision about how to move forward. At this point, however, I'm strongly leaning towards the slice and dice method. I really think that even after moving the hinge pillars there will be a ton of movement needed in the rear...more than there should be.
I think that having the swage lines aligned front and rear are going to dictate a lot of what you will nave to do to make the perimeter fit.
I recall putting the shrinker-stretcher tool to good use on the top curvature of the rear fender where it meets the door. Easy enough to make a cardboard or tin cut-out tracing the door of the fender and seeing if it will transfer to the other. If not, on has to change and the fender is the easier one to re-curve.
Put a straight edge across the door and see if the edges curl in or out to any degree. Often a 1/32" to be found that way.
In reply to NOHOME :
Thanks for the tips as always. Although I won't be getting the engine and trans in tonight, I will be over there shoring up the front suspension supports. I'll check the door(s) for any curl.
I've been on baby watch the past two weeks and have been driving my wife to work. That means I haven't been able to pick up my friend's engine hoist. That means, no progress on Healey panel fitting. I did get the front suspension support figured out.
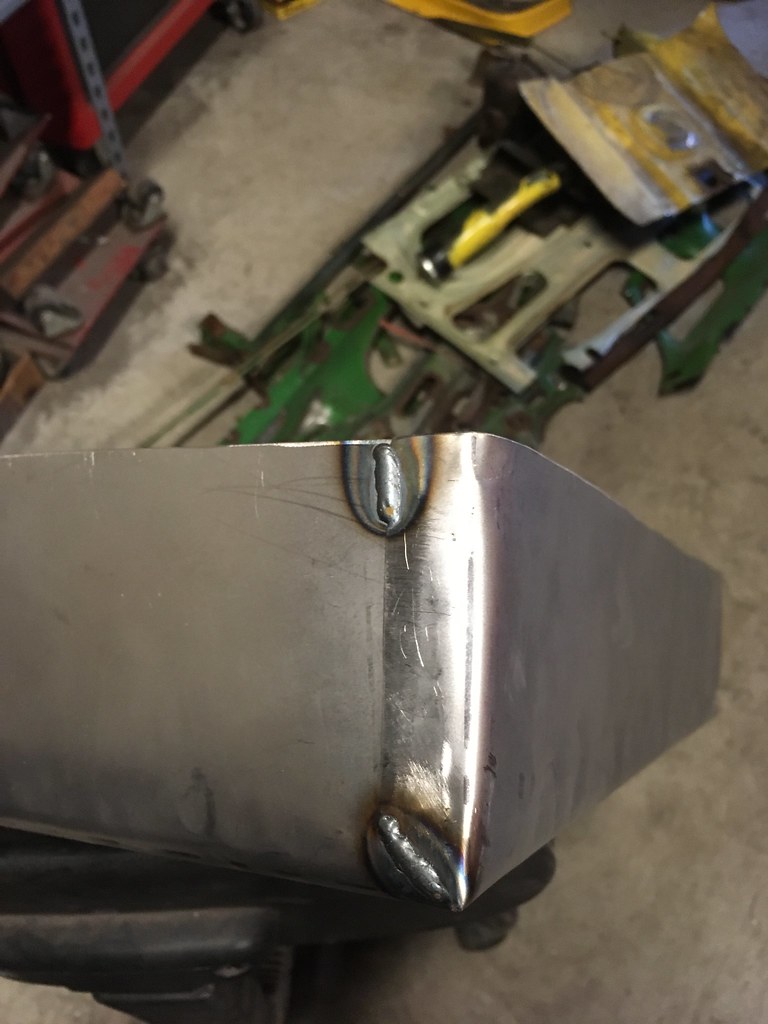
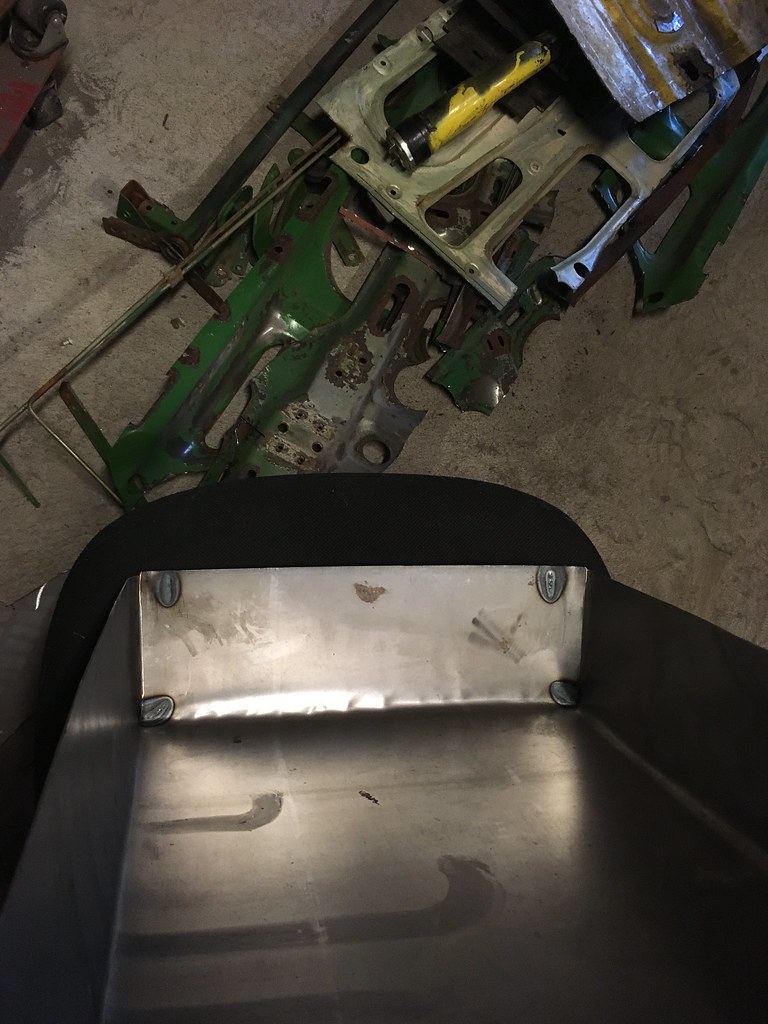
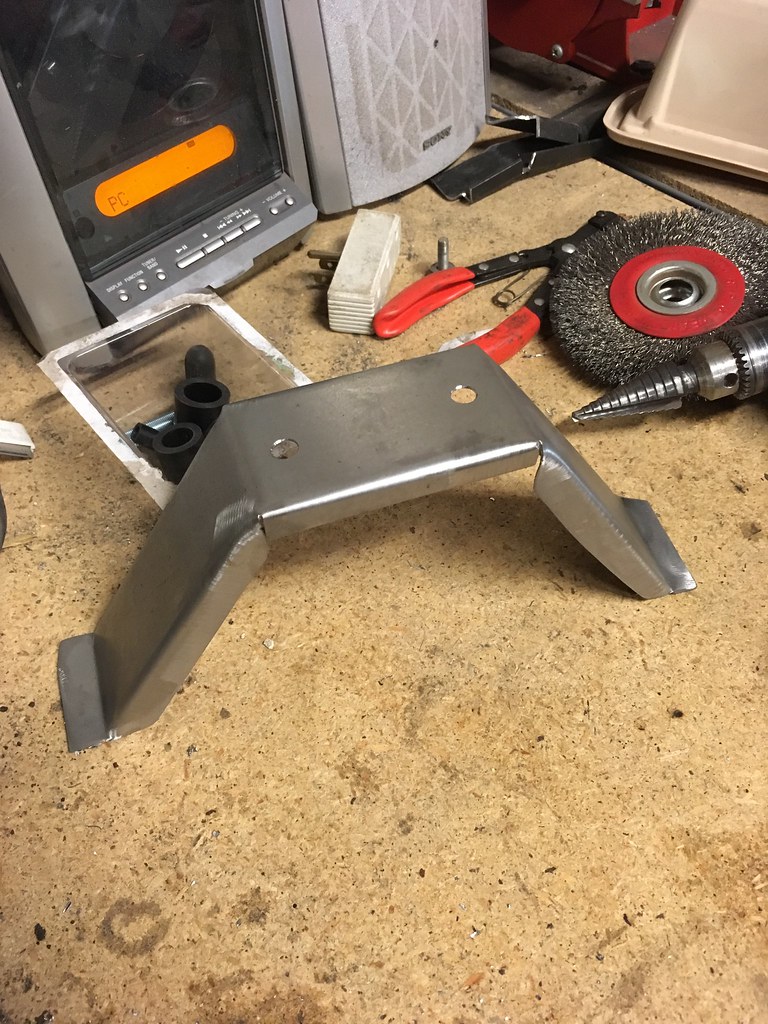
I was working through making templates and so forth but wasn't confident in the gauge sheet metal that I have. I felt that even once I have a few bends in the piece, it wouldn't be strong enough. That's when I remember the frame rail top/bottom repair panels. I had a piece remaining and ended up with this...
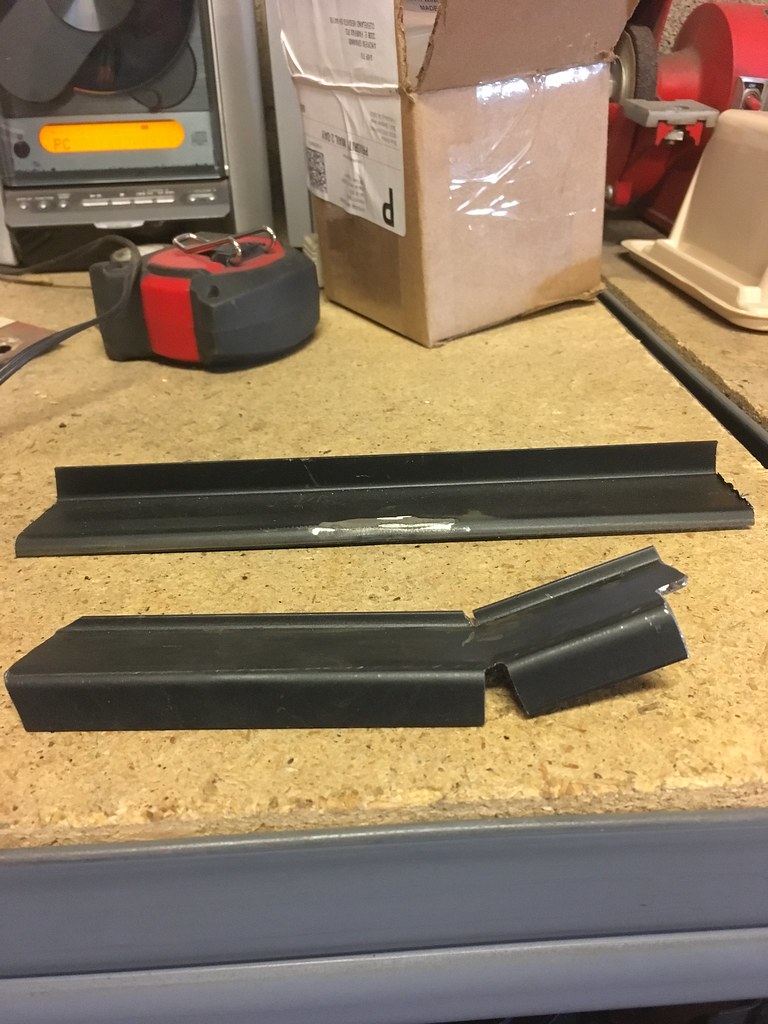
Which looks like this in place.
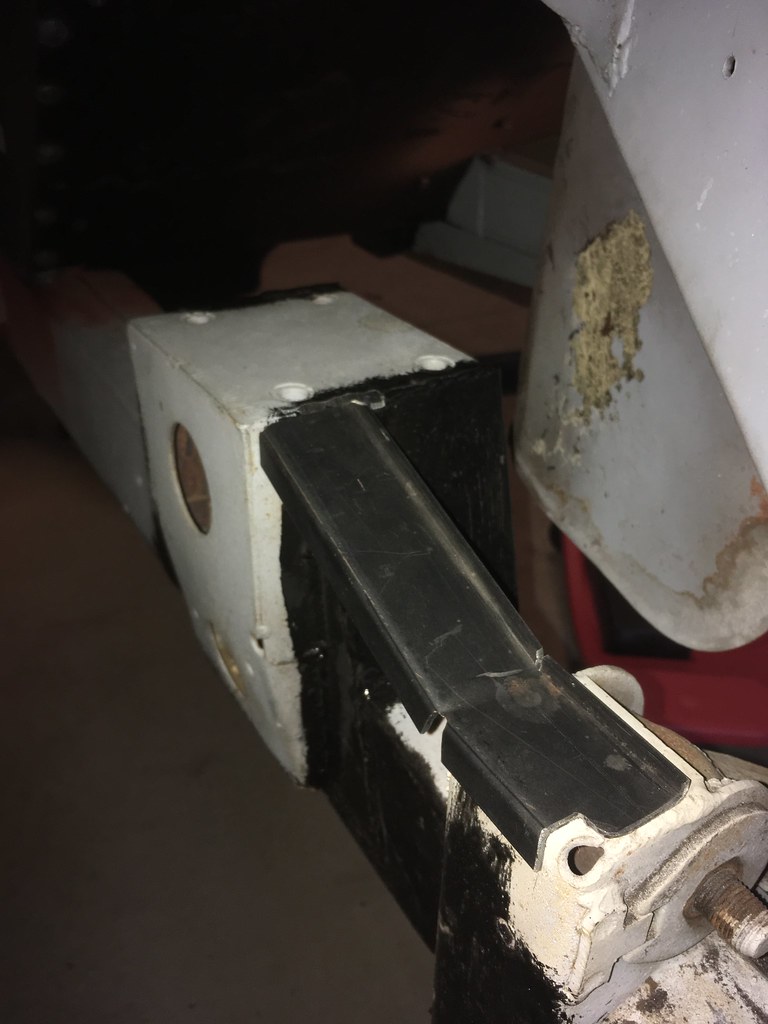
The two pieces used to be joined in the middle with one spot weld. The gauge of this is much thicker than what I have laying around and the fact that they're already pressed makes them plenty strong enough.
They relief cuts will be welded up to make it prettier.
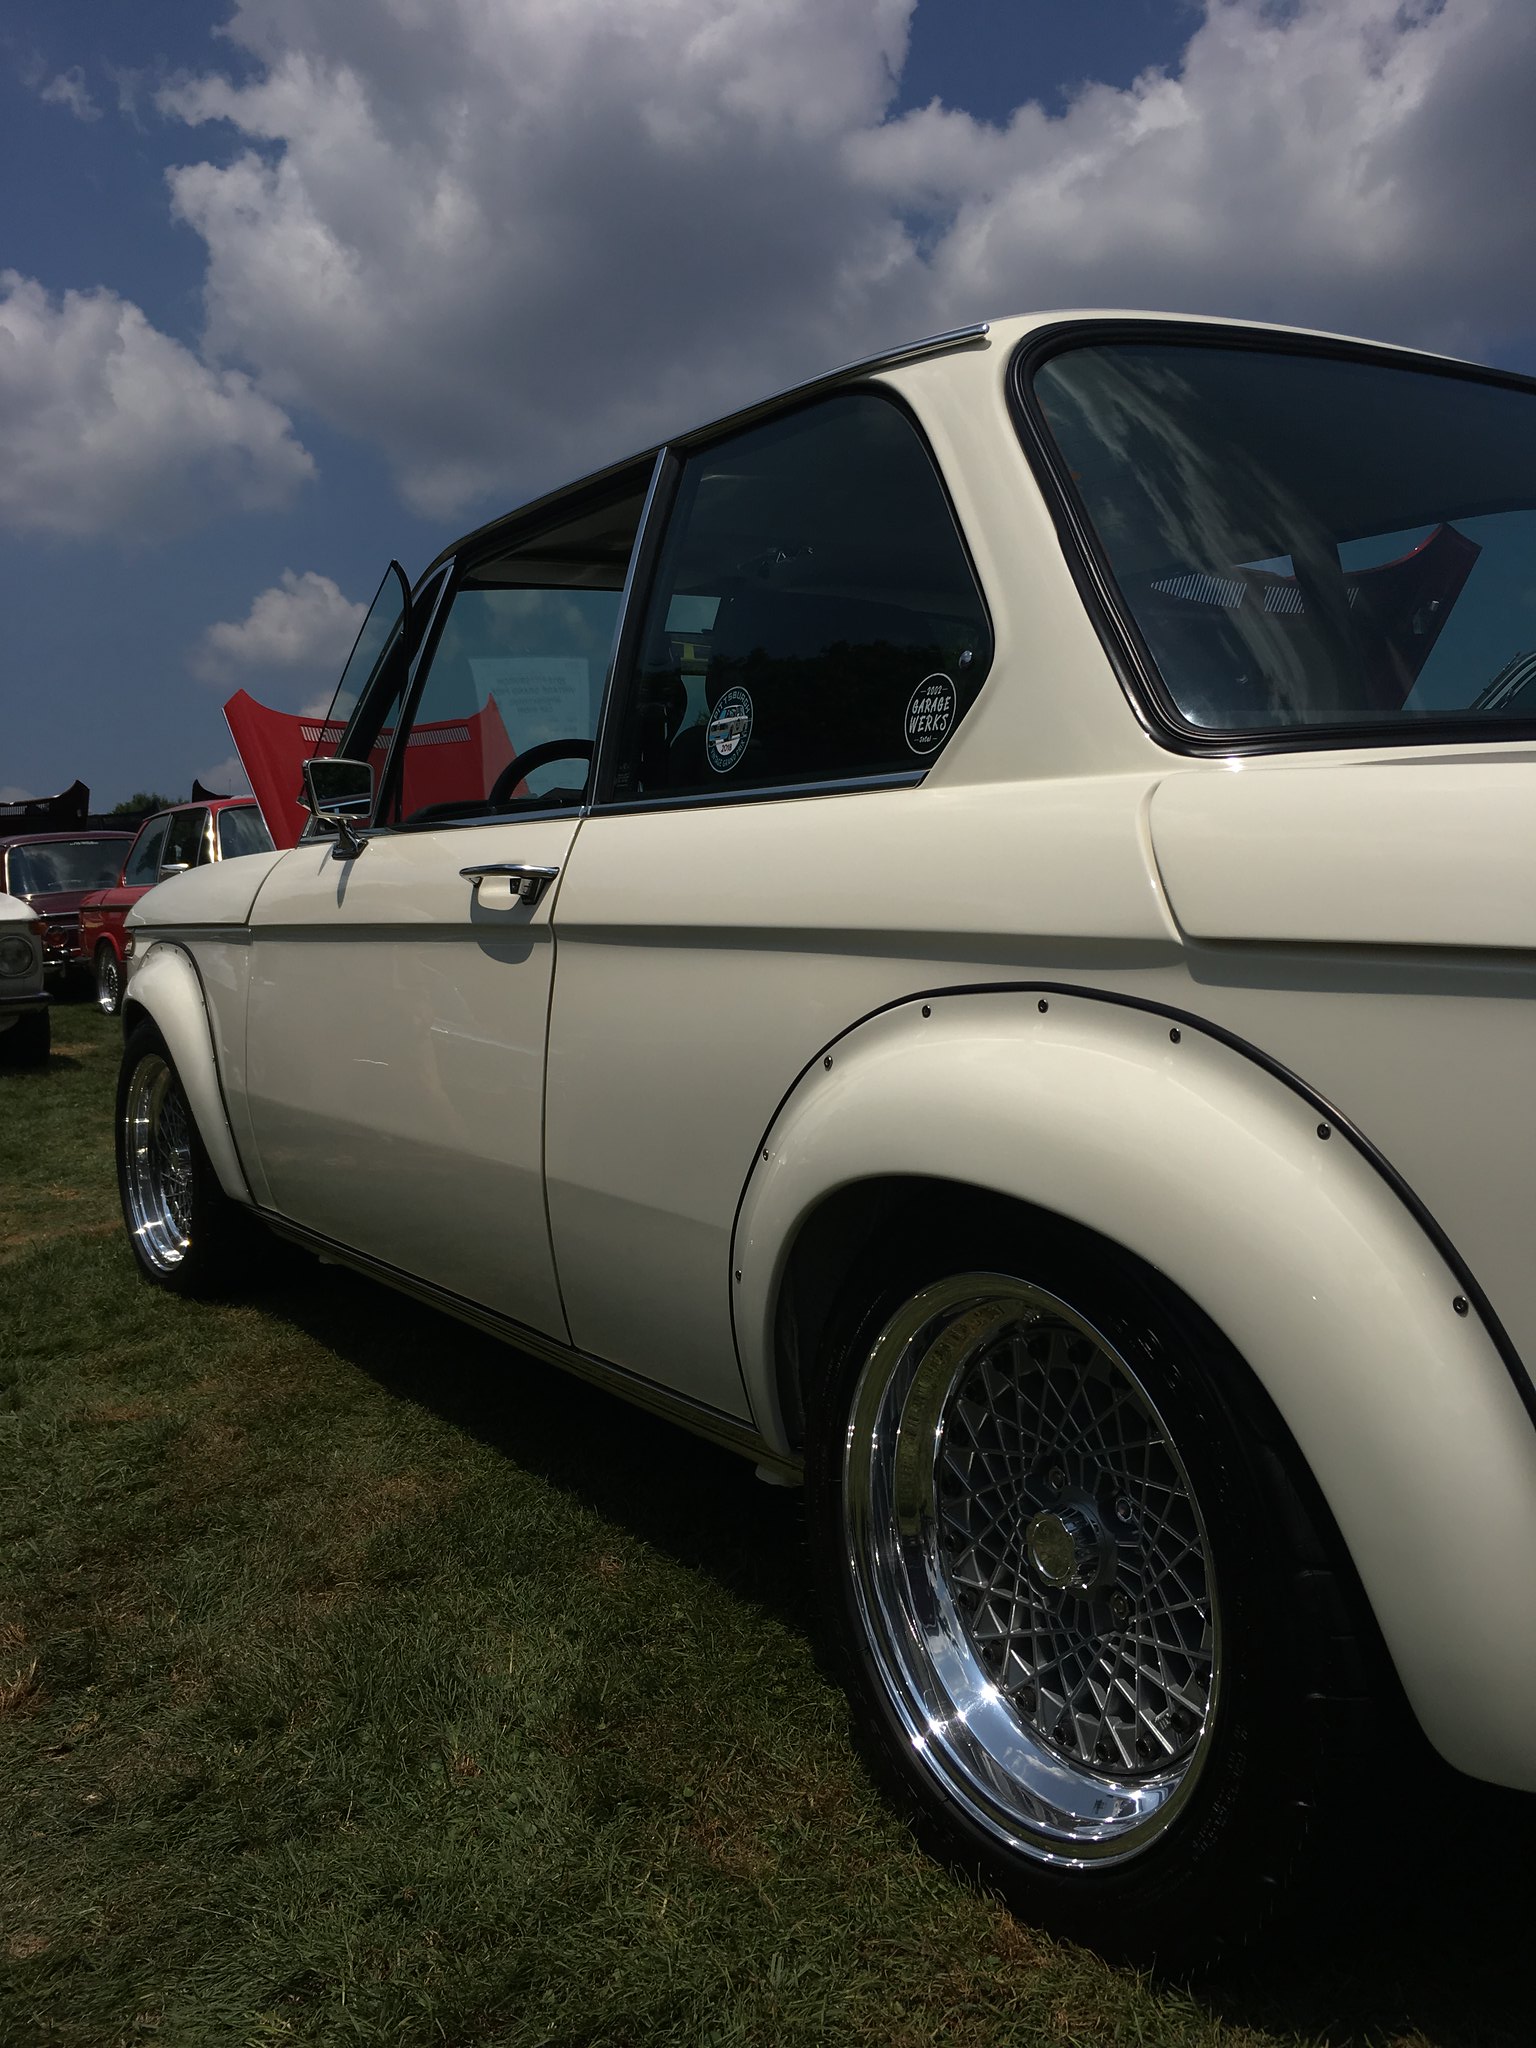
I also removed the front valence from the E21 yesterday to prep for a fresh coat of green.
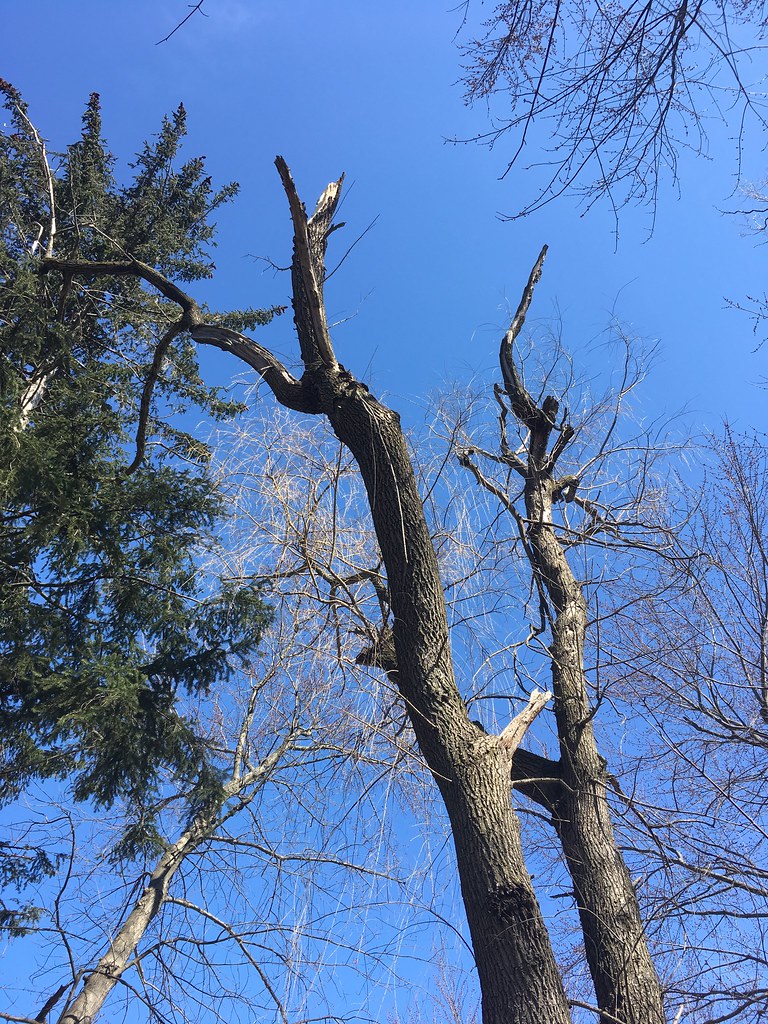
Well...I guess the cap isn't going back on Elmore.
It's a big old willow that has definitely been dying for a long time and it's gotten worse since we bought the house about 3 years ago. It was originally three trunks but one had been removed prior to our purchase of the house. We got a quote in the fall for removal but it was WAY too expensive to pay for so we've let it stay. We did confirm with insurance that the garage (and anything inside) would be covered.
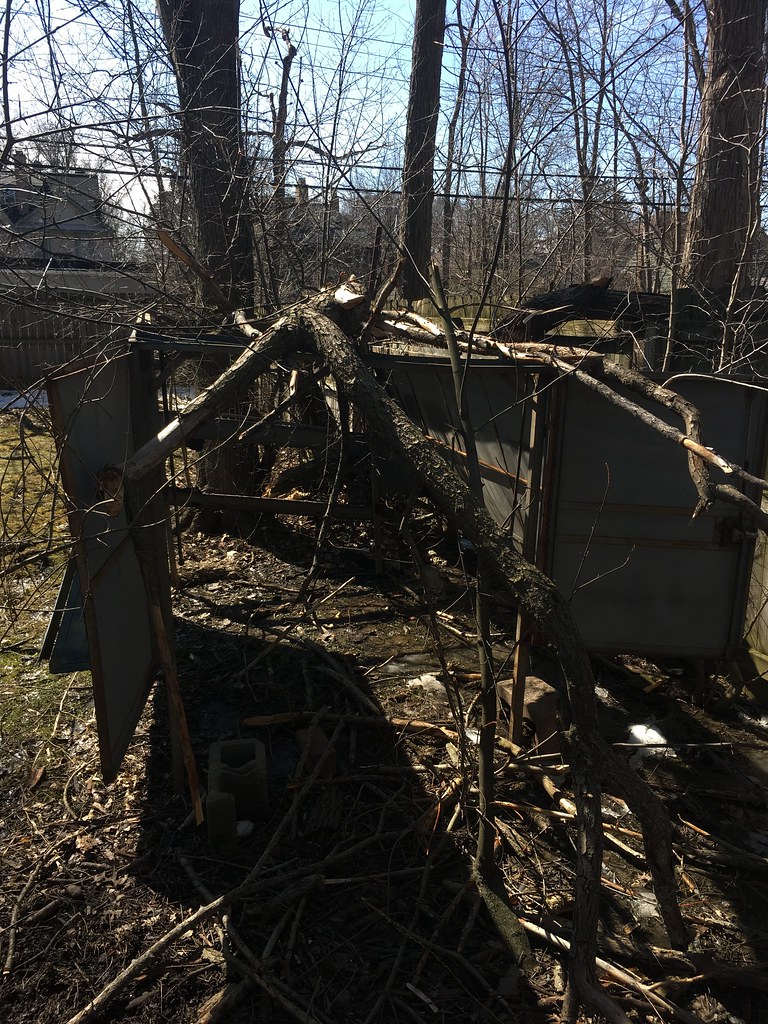
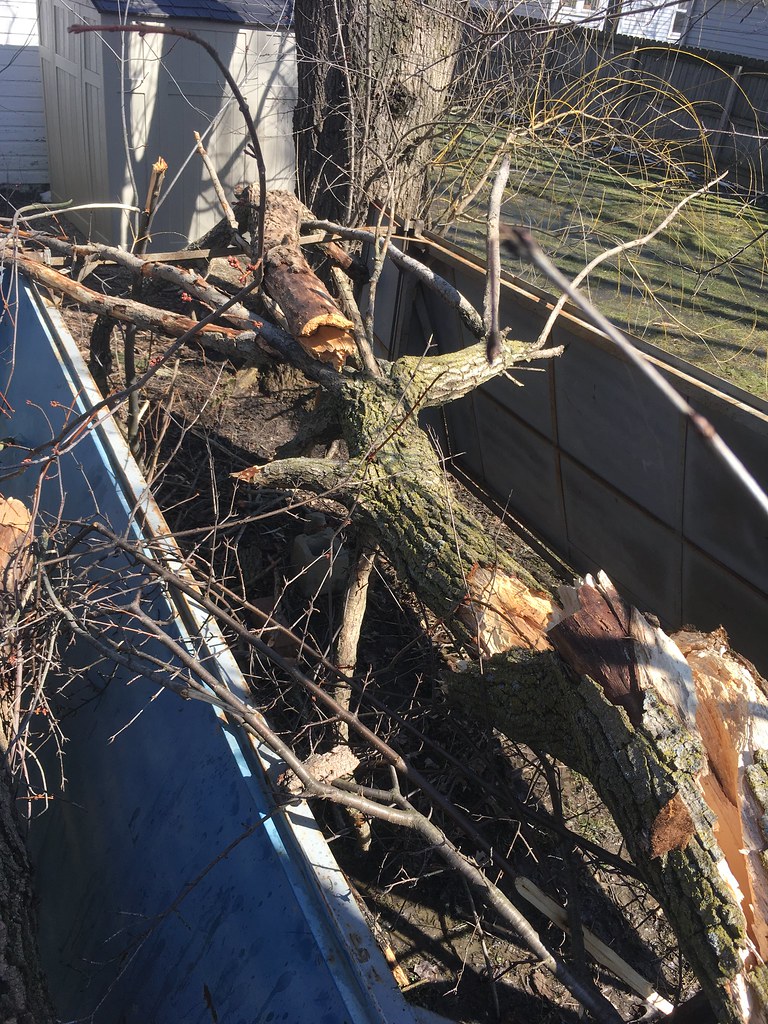
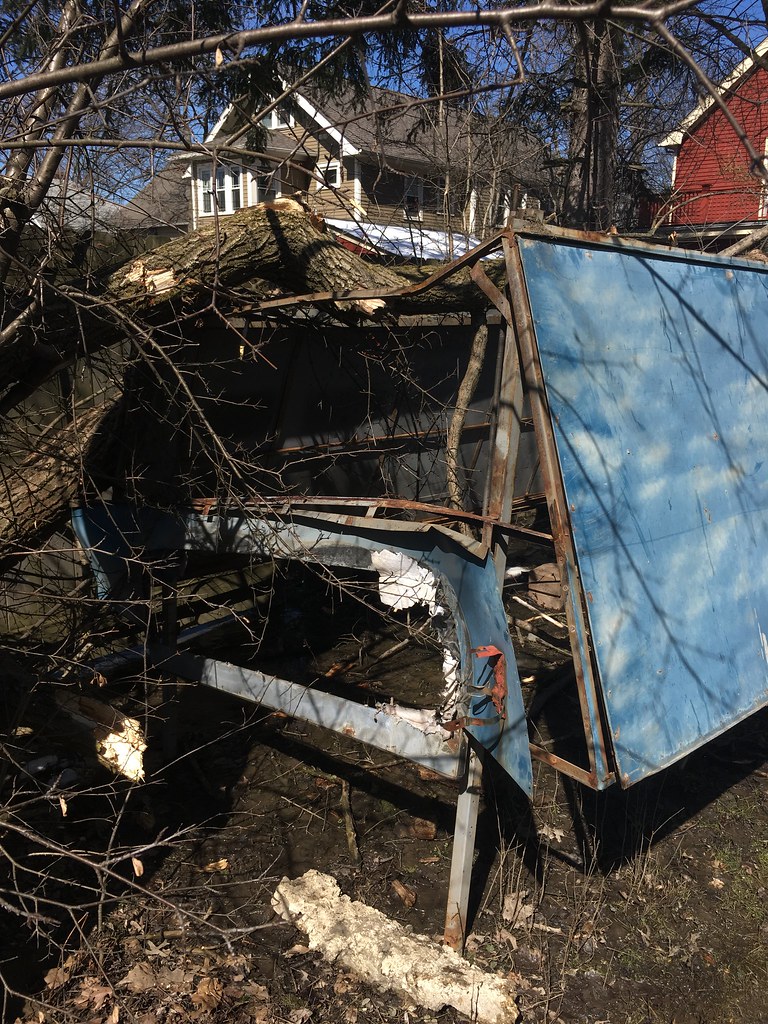
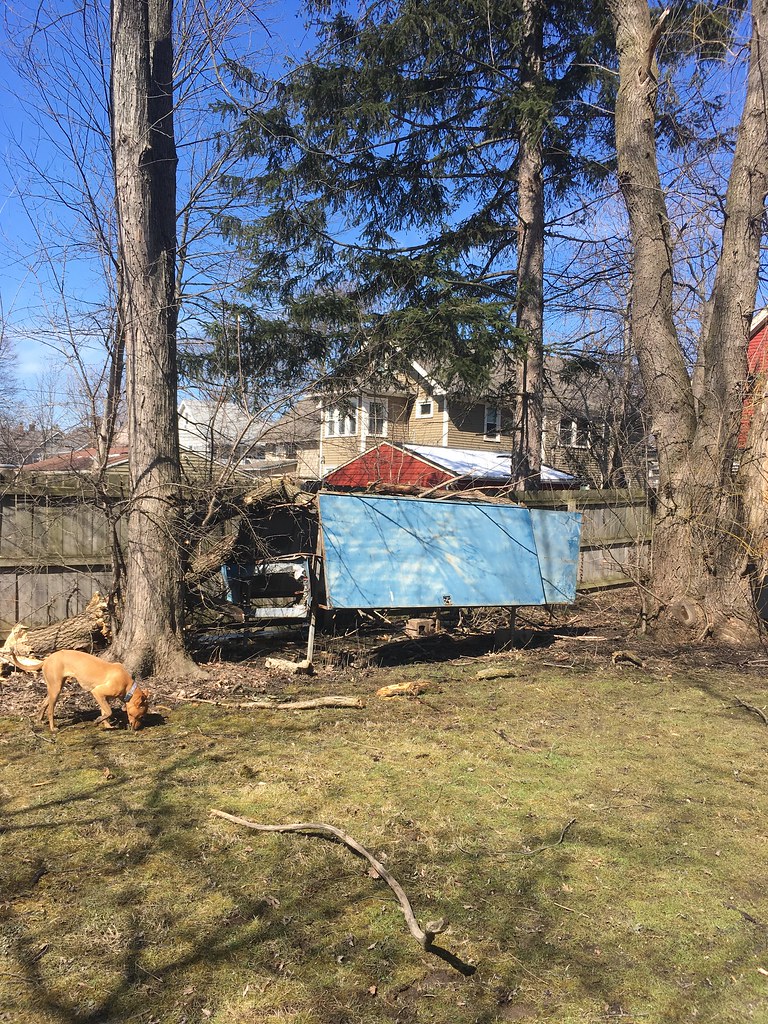
The worst part is it was such a struggle to get it back there in order to save it for later...
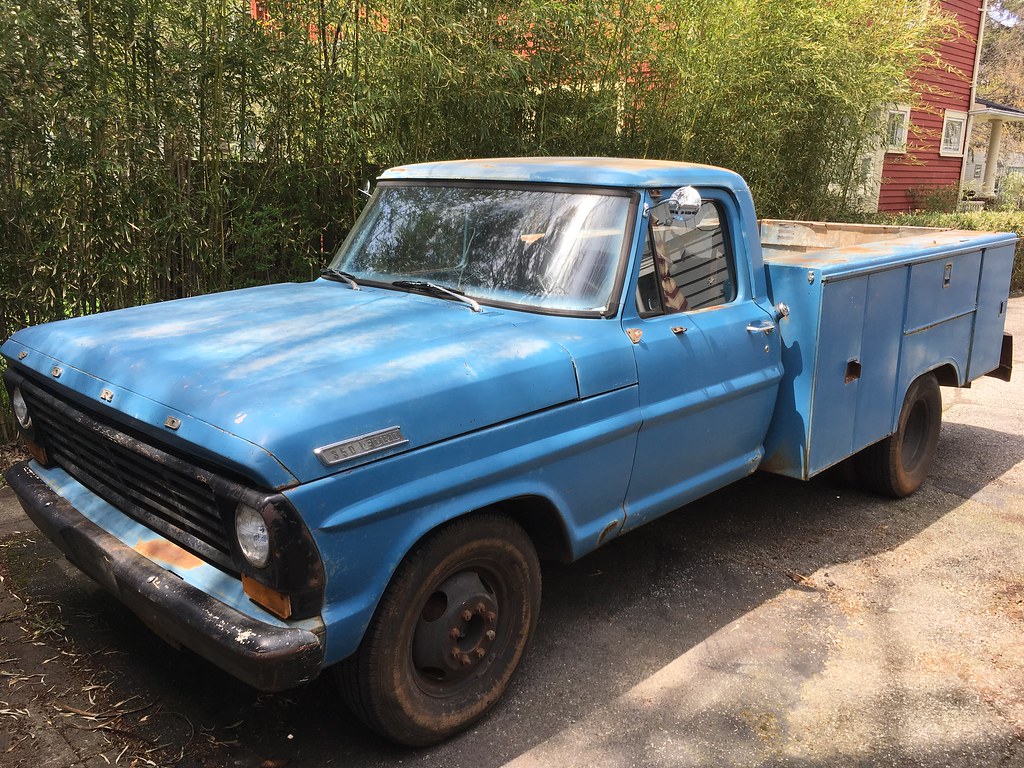
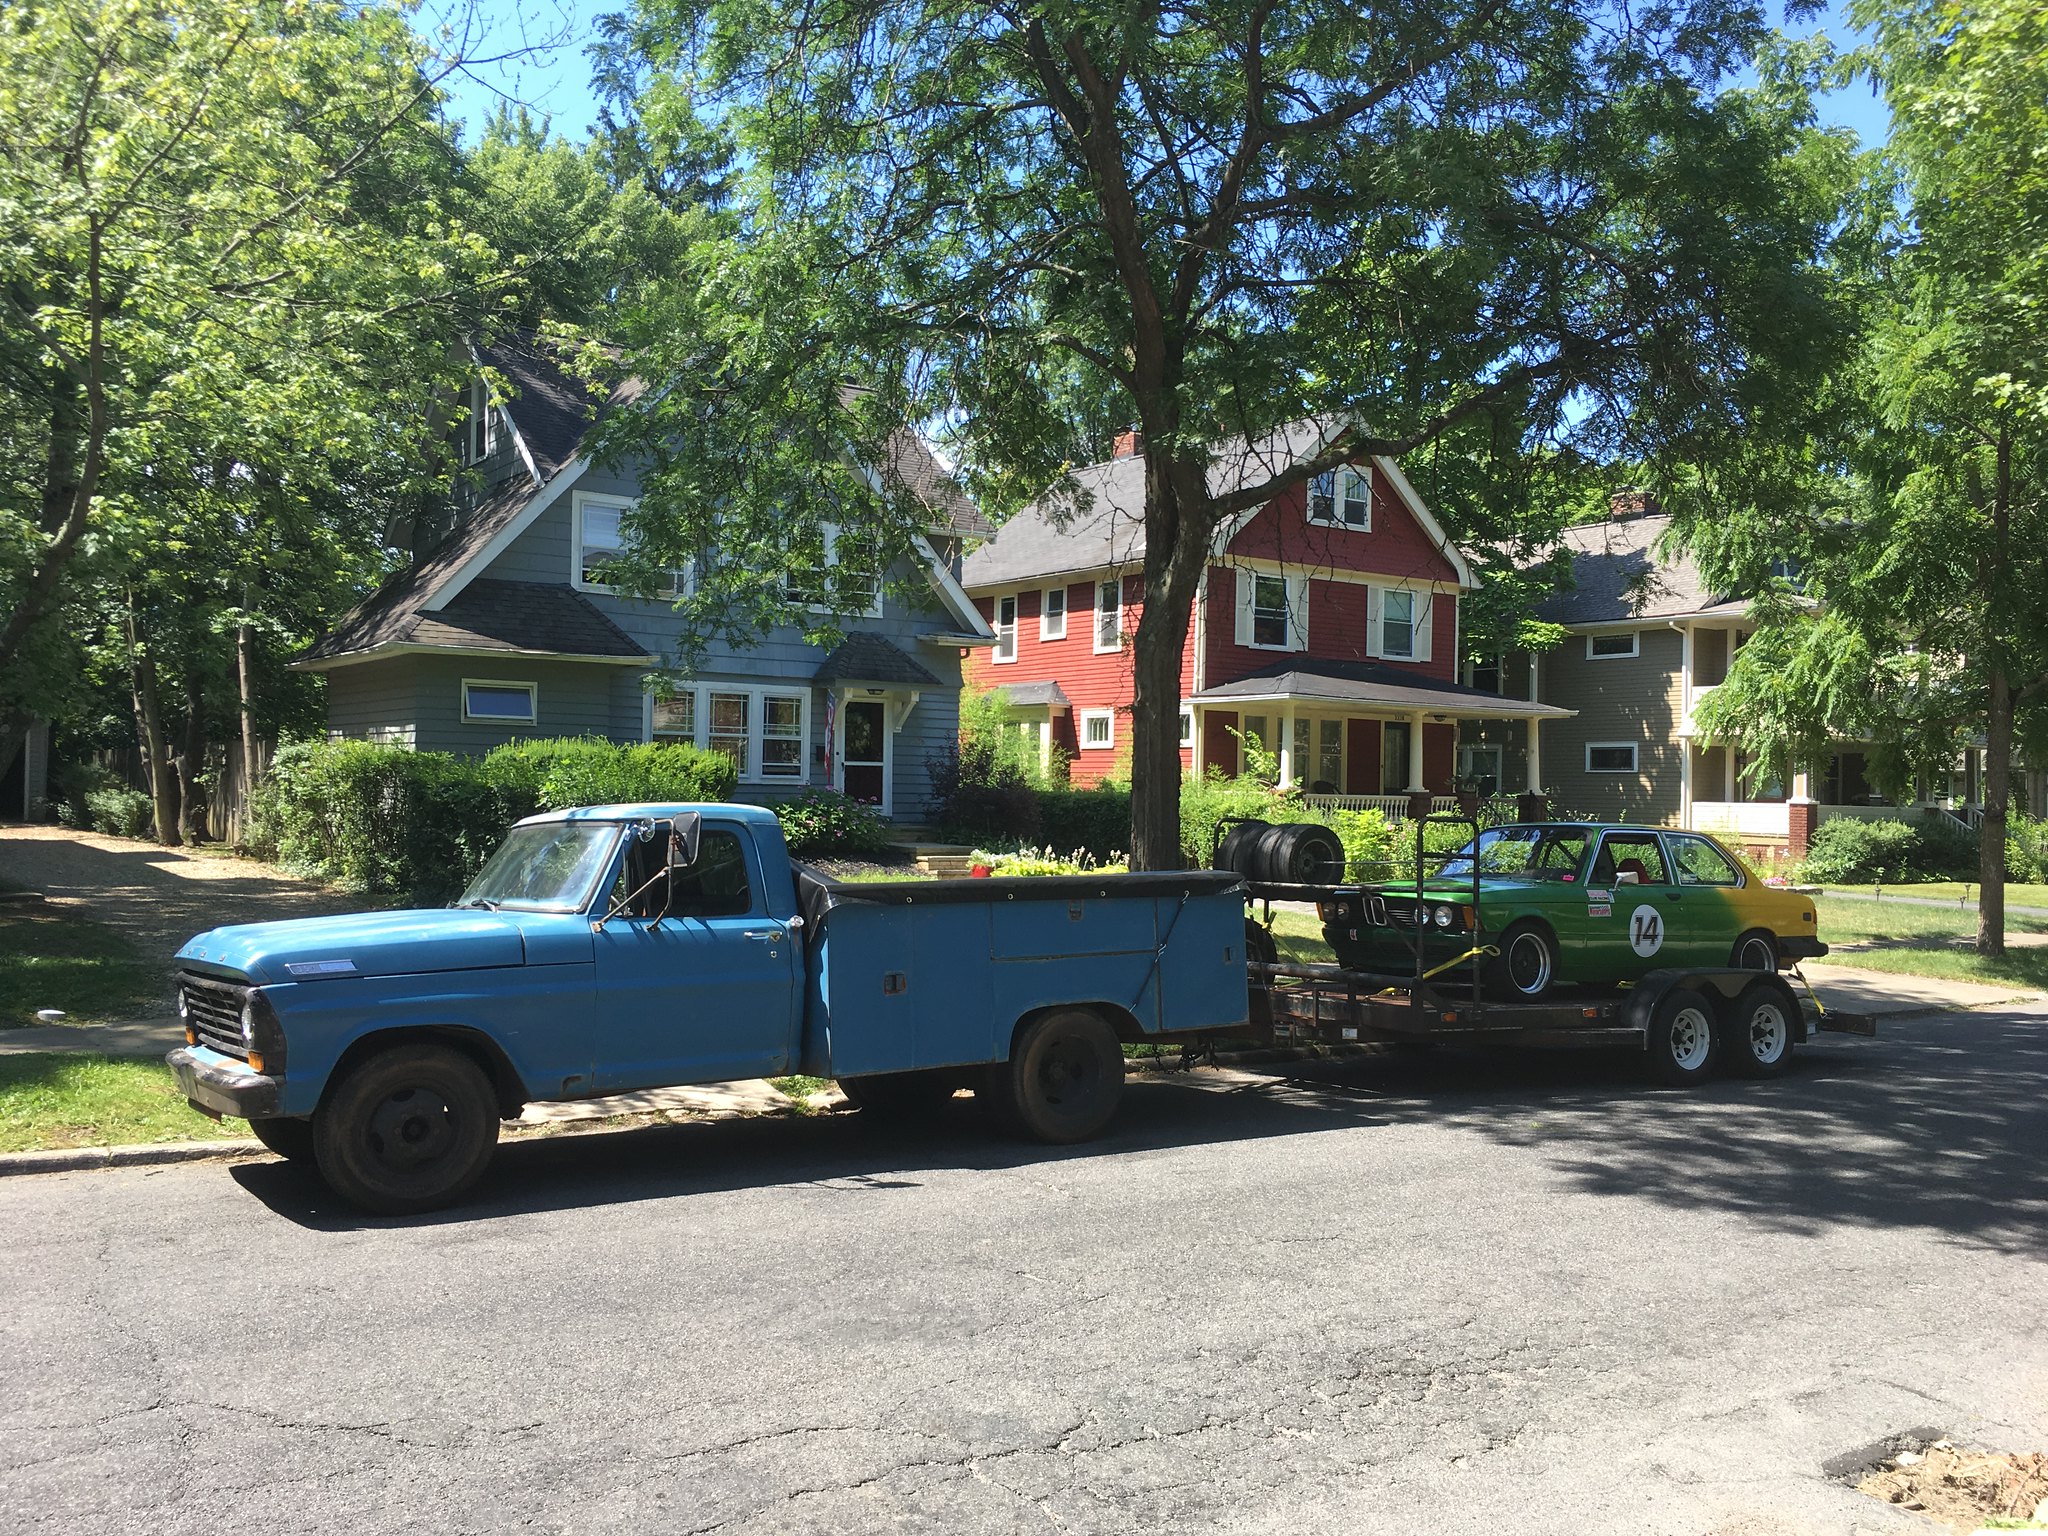
Woke Elmore up from his winter slumber yesterday and took him this morning to pick up the engine hoist.
It's really a shame about the cap, but it does look damn good as a normal truck. I also gave it a quick wash yesterday. Looks a thousand times better, I think. Need to scrub the tires.
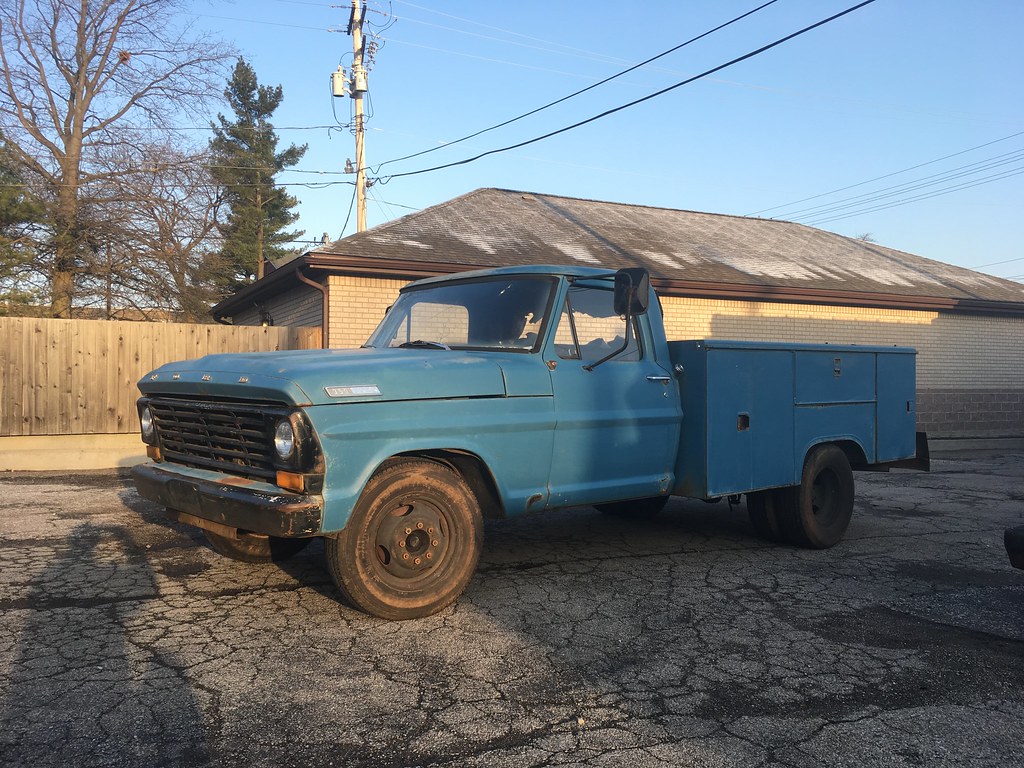

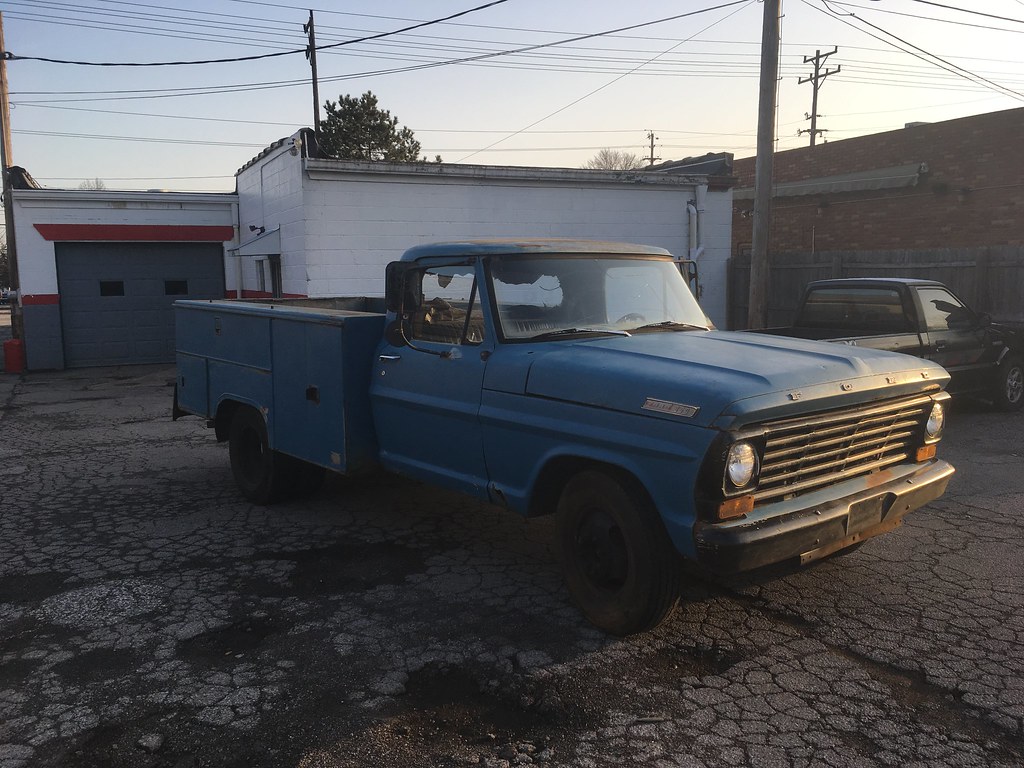
I really need to do something about the mirrors. I have to remove them so that the truck will fit in my garage. That makes taking it out for a quick spin a little annoying.
While I'm waiting for this...

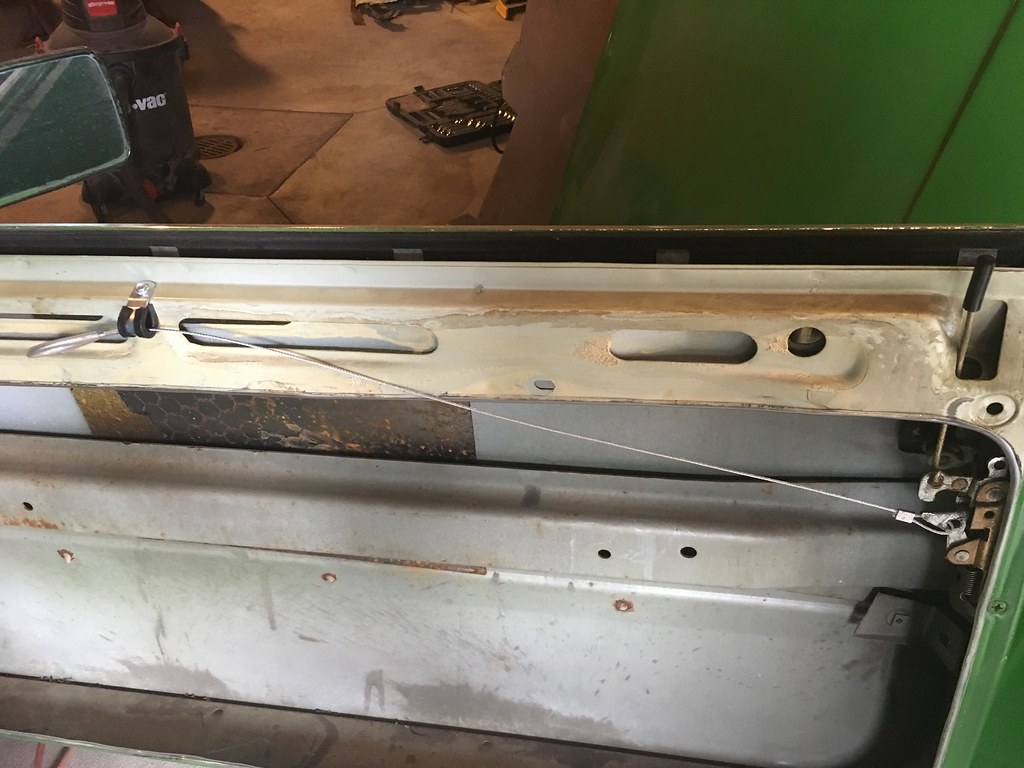
...to show up, progress on the Healey is a bit stalled. Because of that, I decided to make some progress somewhere else. I took the glass out of the doors along with the regulators last month. I'll be cutting some weight out of the doors eventually but decided to move to the hood.
The hinges are removed along with the catches and all of the supports. I have to weigh everything but there's a good chance it wasn't worth the effort. I also removed the vapor canister for the gas tank since it won't be needed with the cell. At least it's lighter than before.
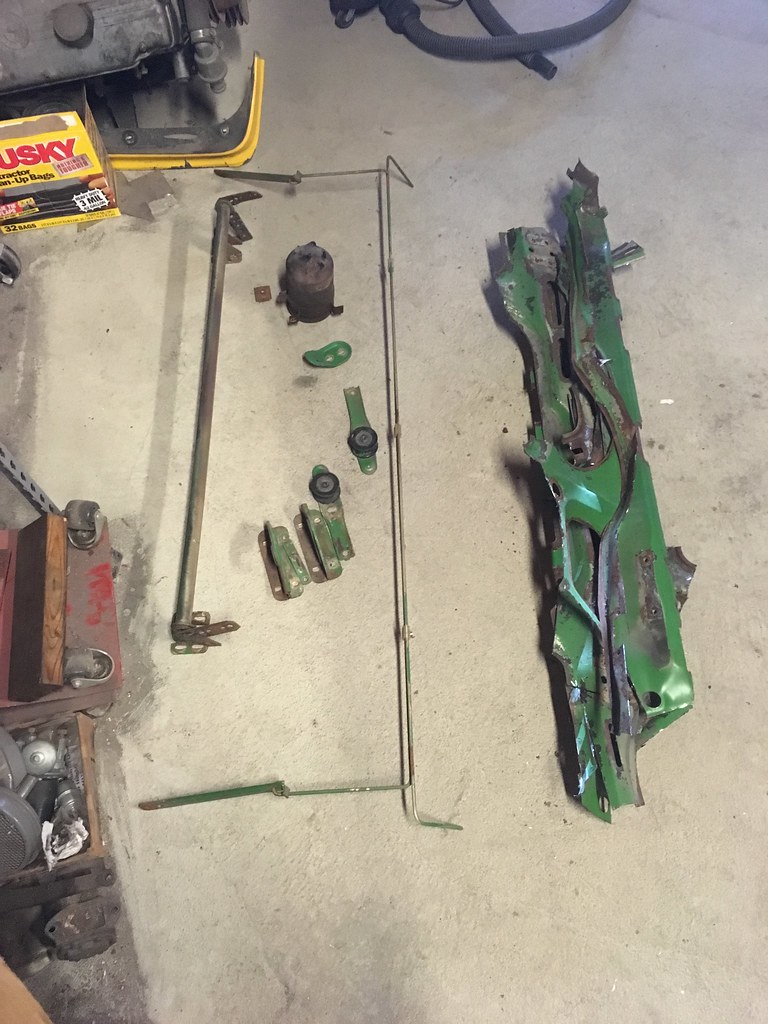
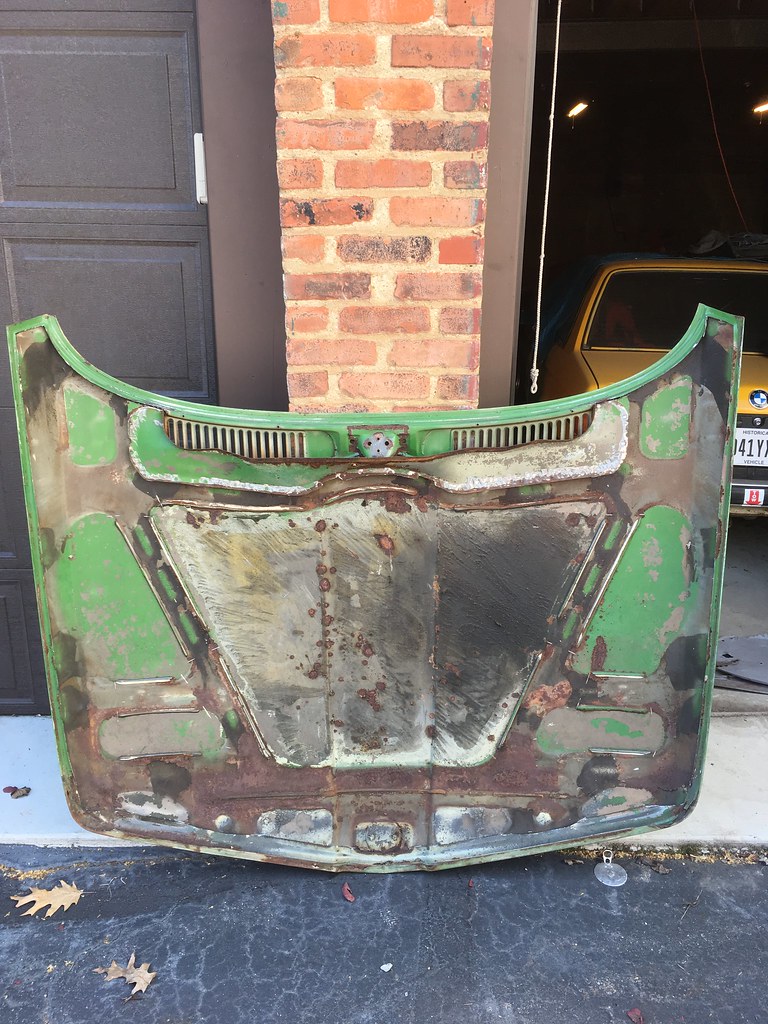
The remaining glue will be removed and it'll get a lick of primer and paint. I'm planning the same with the truck lid.
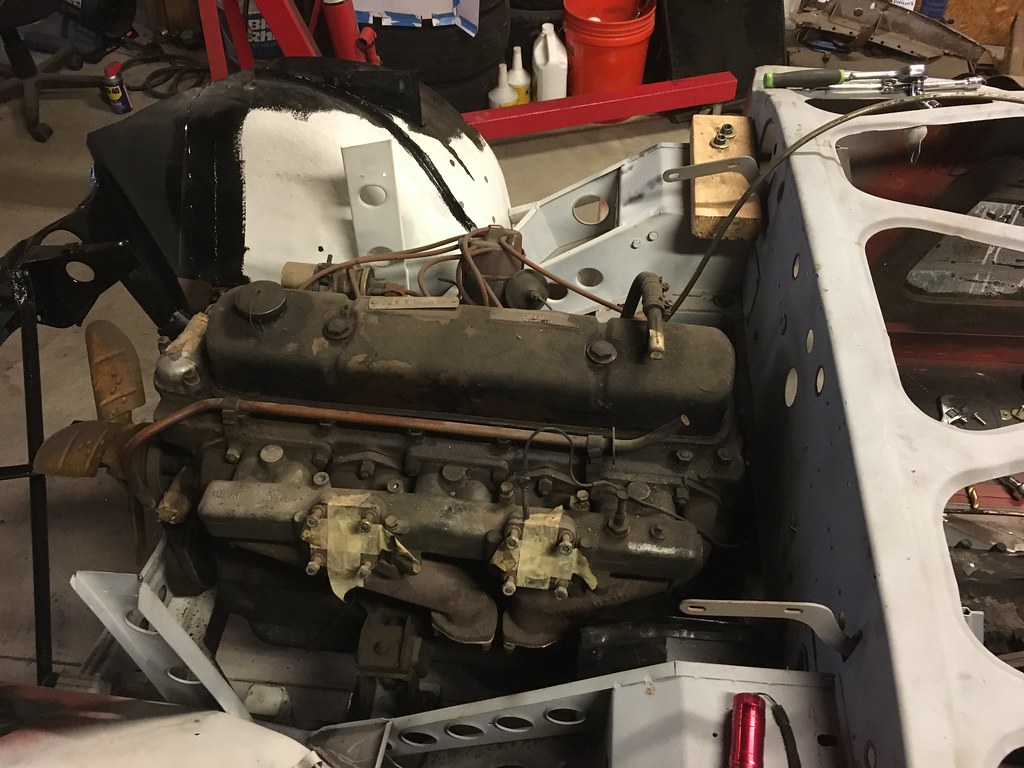
This is a sight I haven't seen in about 2.5 years. The Healey with an engine and trans. Even though it has to come back out and then go back in, it feels like a big step.
I have to get all of the panels back on but it sure seems like the gaps didn't change at all. At least I can say I have been thorough.


Although it was much easier to put in that I remember it to be taking it out, it's a crazy tight fit. Putting it back in once the chassis is painted is going to be nerve racking!
Not an update with many pictures but things are moving along. I spent a good bit of time last night getting the front driver's side fender just right and fiddling with the door before making any cuts. It's actually not going to be that bad I don't think.
I've been using the E21 as a diversion/mental break and last night I tackled replacing some vacuum caps. These two were a bitch! It took all types of hand smushing and arm contortioning to get at them.
The sweet sweet sound of metal cutting tools as they slice into expensive or ancient Healey metal!
It always works out
.....somehow.
Pete
In reply to NOHOME :
You always know what to say, Pete!
Hopefully I'll have some pictures of the carnage that the sweet sounds produce after this weekend.
Well, I ended up with only a couple of hours to give to the projects yesterday and there's no going today. I got the gap on the front edge of the door close to as good as it's going to be. Still off by a little but what on this car isn't...
The door clears the rear edge of the fender everywhere, which is something it's never done. Swage line is not perfect but it might be as good as it's going to get. I'll try a little more fiddling this week before deciding I'm satisfied. The height in the rear is low by about the same amount so I may just have to get it to work.
I also continued to strip away metal from the E21. Does anyone in the Cleveland area know of a place where I can weigh the car? Scrap yard, rest stop..?
I need to start taking my actual camera to the shop.
The door body line and the B post body line dont seem to have the same profile. Is one or the other a repair part?
Pete
In reply to NOHOME :
You mean the A post? They don't, you're right. You can really tell by the shadows they throw off.
This door appears to be original - at least it hasn't been re-skinned. No clue about the fenders. It was obviously a car that was thrown together with bits from a number of other cars.
The passenger door has definitely been re-skinned (poorly) and the front edge of the swage line is very flat. That is, the profile really doesn't get close to matching.
The only Healey update is that I've now taken the driver's door on and off approximately 1 billion times. I'm getting to the point where I'm just about comfortable with where I need to cut and my plan of attack. Problem is, every time the door goes back on, it fits differently!
I've finished the passenger door of the E21 - need to get some pictures this weekend. The cut edge has been smoothed a bit and I ran split plastic tubing along the whole thing. I also made a new door pull out of cable, some plastic tubing and a p-clip. I may need a lighter spring for the door mechanism. It takes a lot of force to open.
The eBay special aluminum radiator showed up from China EARLY if anyone can believe that. The welds are a little boogery in some places but so are mine! Hopefully it doesn't leak.
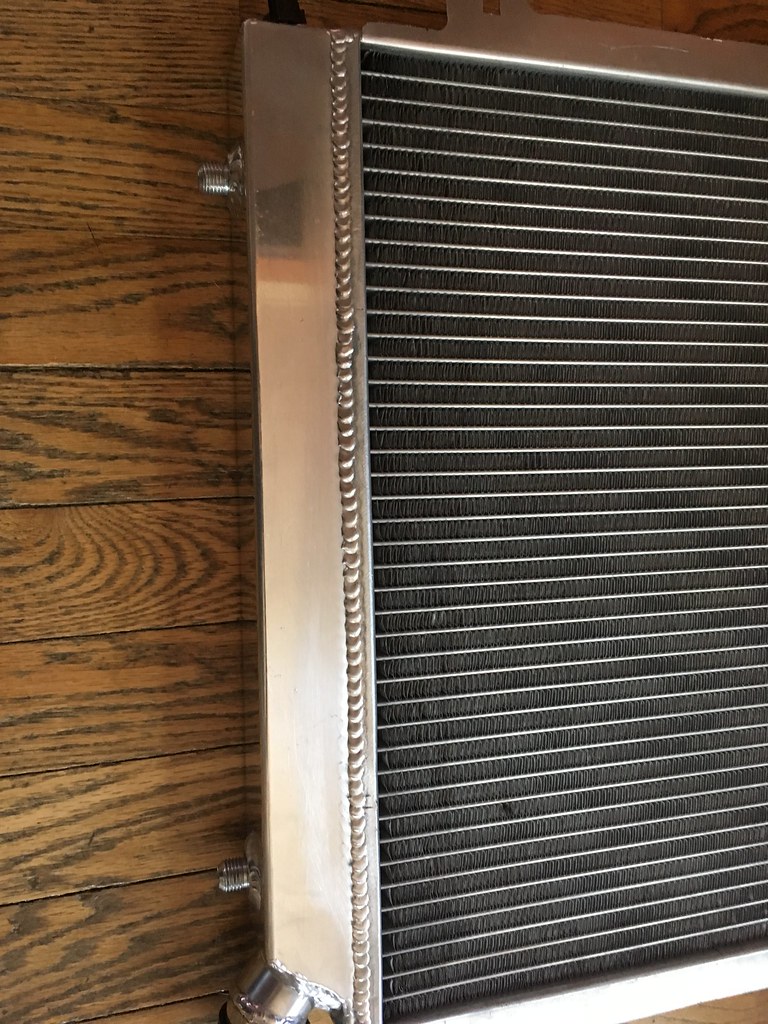
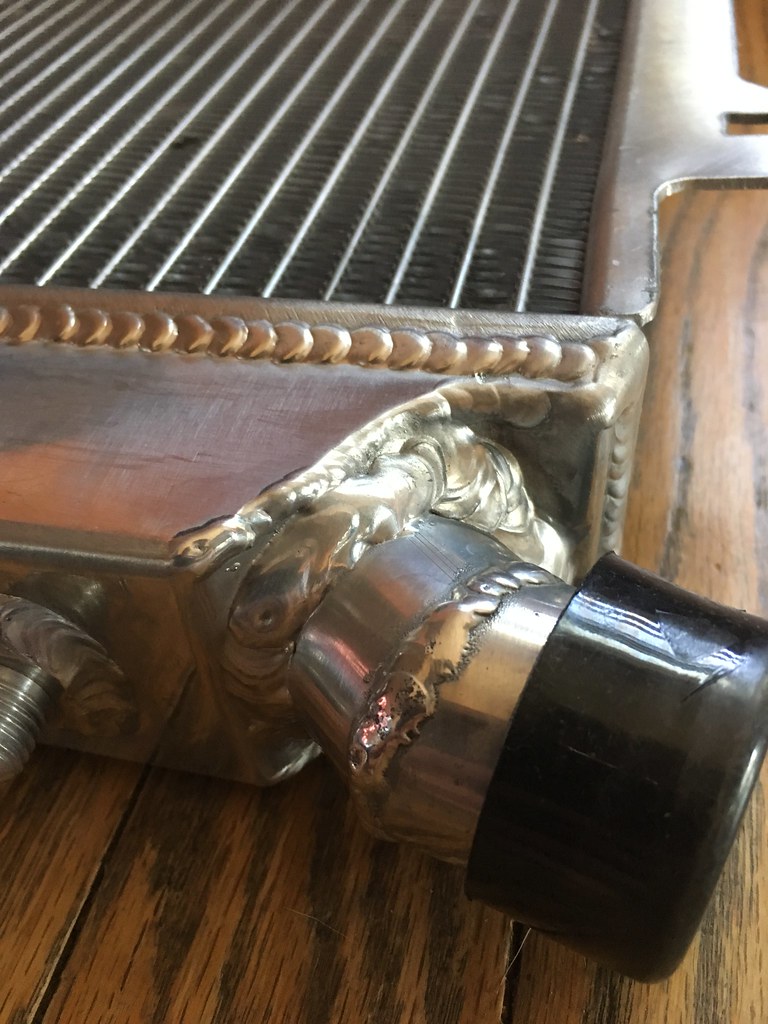
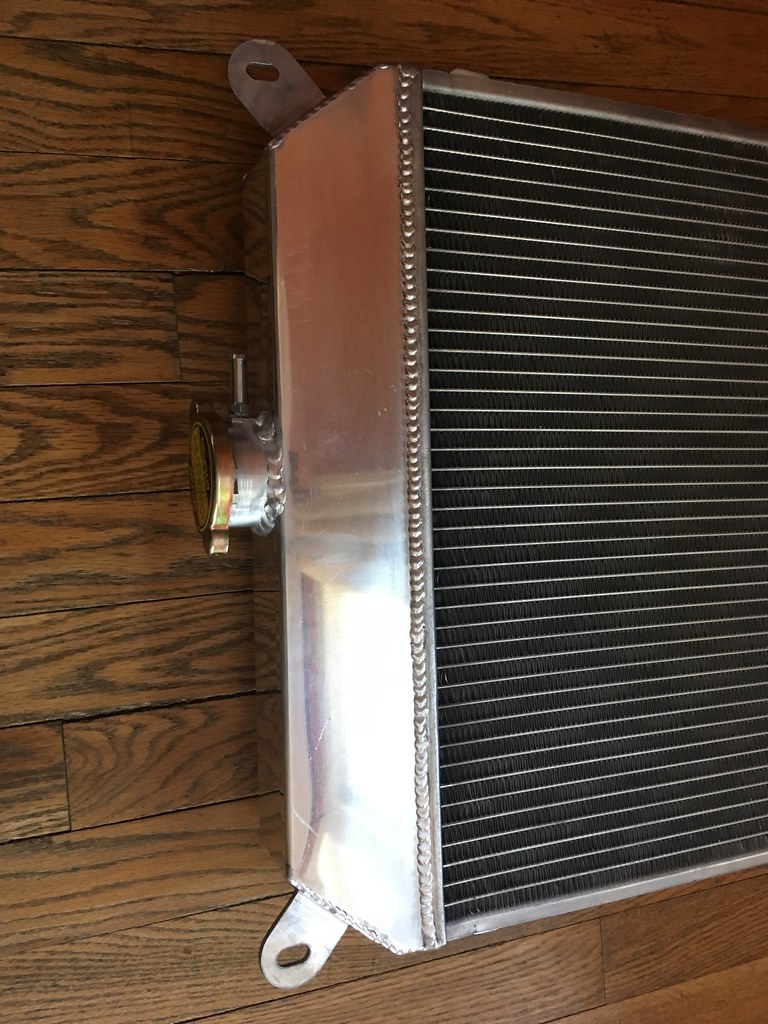
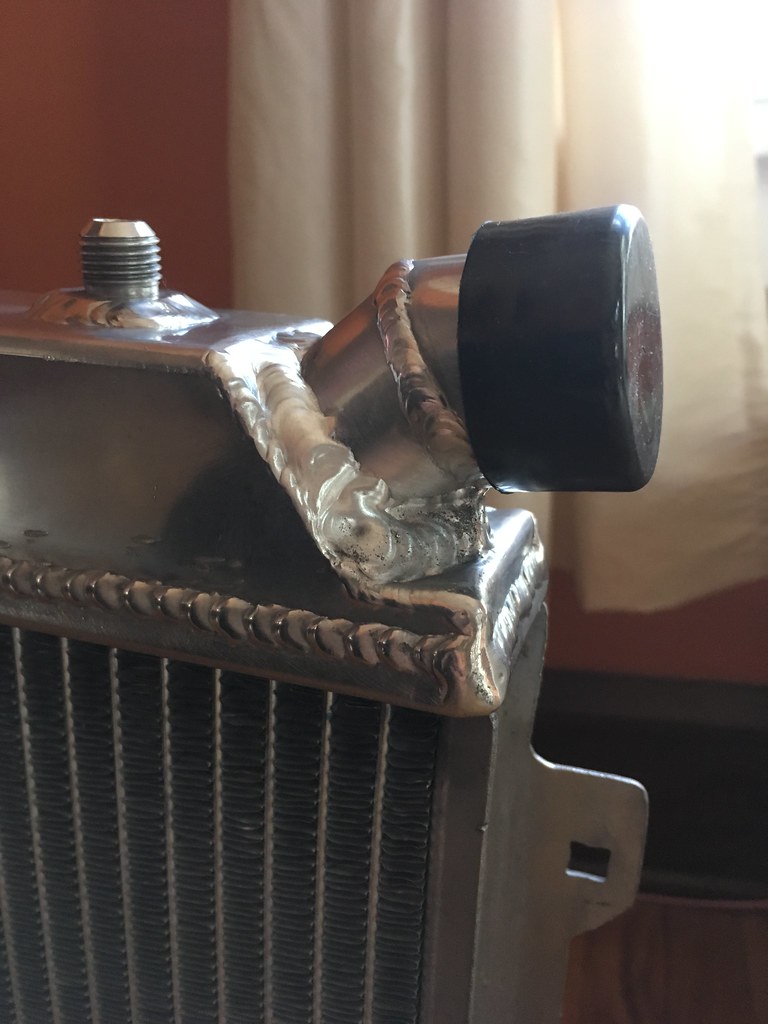
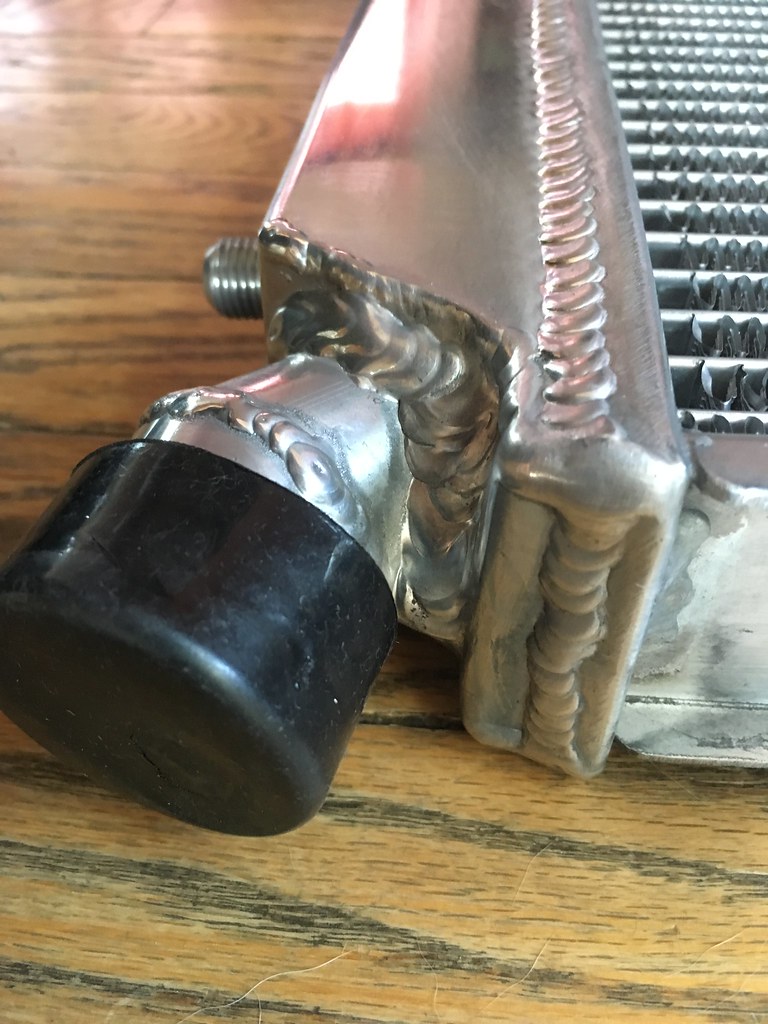

At $255 including shipping, I figure I can buy three of them if need be before it costs as much as a good one from a manufacturer here so I may as well give it a shot.
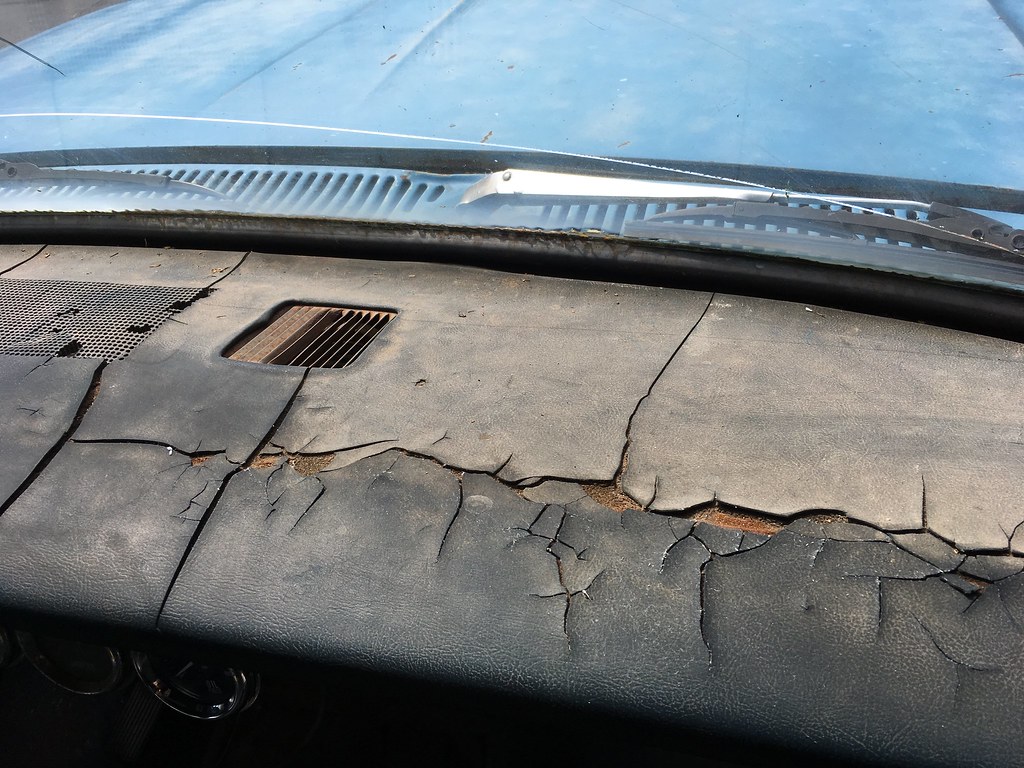
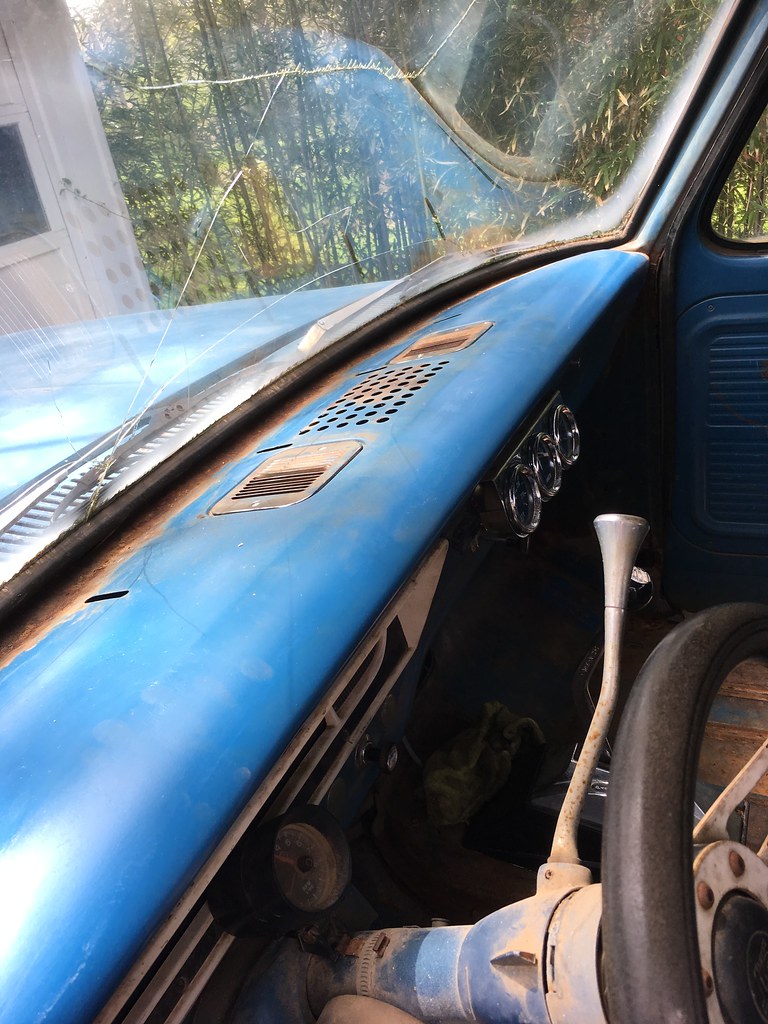
Progress has also been made on the truck. The nasty dash cap has been removed, gauges cleaned up a bit and I put on some peep mirrors so I can get it in and out of the garage for quick trips. The big mirrors will go back on for towing. Badly need a rear-view mirror.
Before:
After:
My wife's birthday was Friday followed by her first Mother's Day as a mother on Sunday. Needless to say there wasn't much garage time this weekend albeit for good reason.
Here's my new door handle and razor edge protector. I'm going to try a lighter spring in the door mechanism. It takes some serious force to open the door.
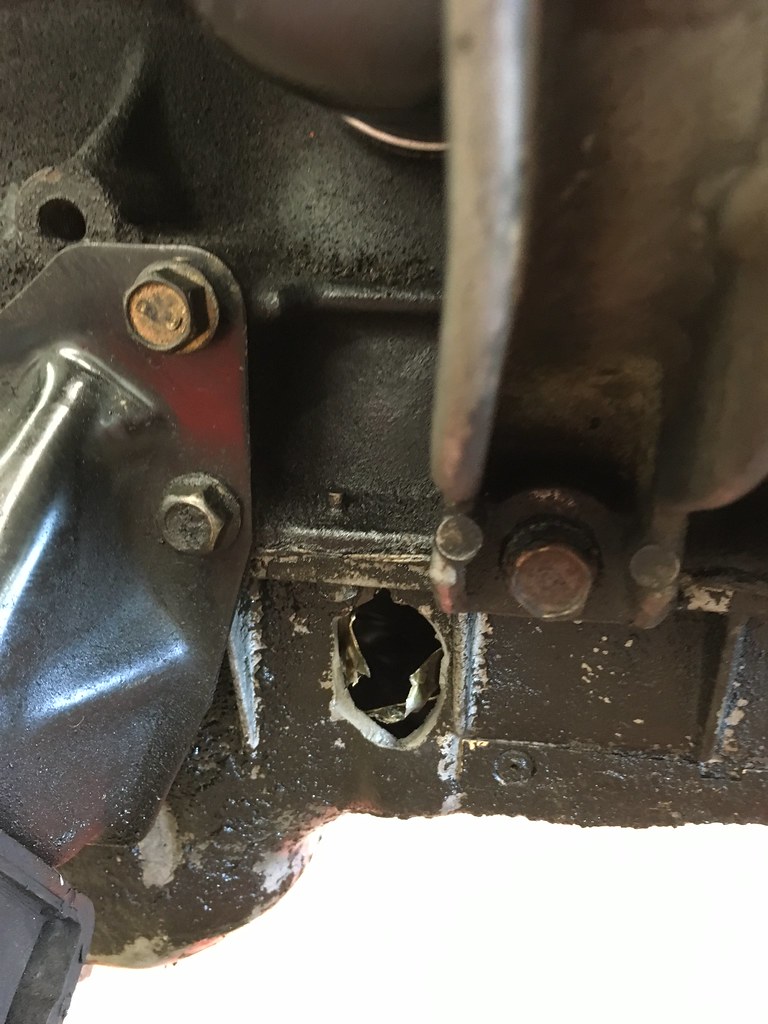
When prepping the E21 last year, I never changed the rear subframe mount bushings. Why? Because the dingleberry who put in the GALVANIZED steel rocker panels, did so in a manner that the bushing carrier couldn't be removed. Here's what I mean.
 .
.
Those two allen bolts need to be removed to allow the bushing and its carrier to come out. You can see out the rocker panel would have prevented that. I thought about many more elegant solutions than chopping the rocker panel but this just makes the most sense. The hole looks huge in the pictures but it's not that bad or noticeable when the car is on the ground. Maybe I'll put a little fill panel in with self tapping screws.
On the plus side, I found a little souvenir inside the rocker.

I had only limited time to put towards cars during the week but was able to dedicate a good 4-5 hours yesterday. Much progress was made.
The CV boot is replaced. Check out the snap ring with no tabs that I had the pleasure of removing...
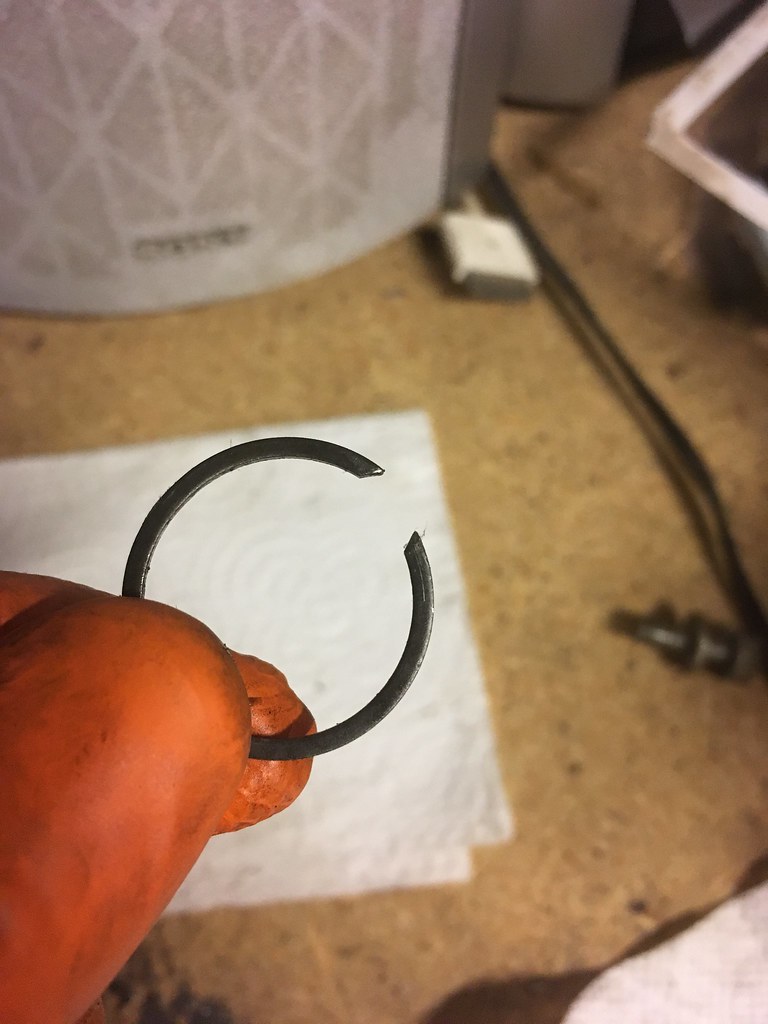
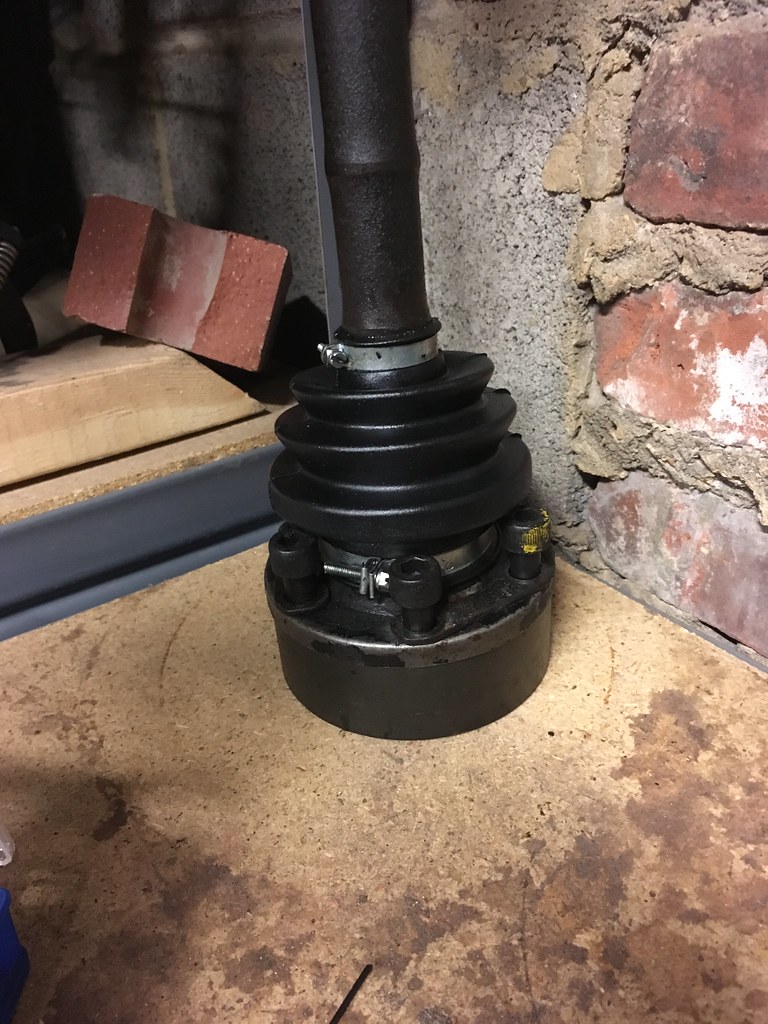
Looks good now. I'm waiting to put it back in, however, until I've got the fuel pump, accumulator and filter back into place. It's much easier to get at all that stuff with the axle removed.
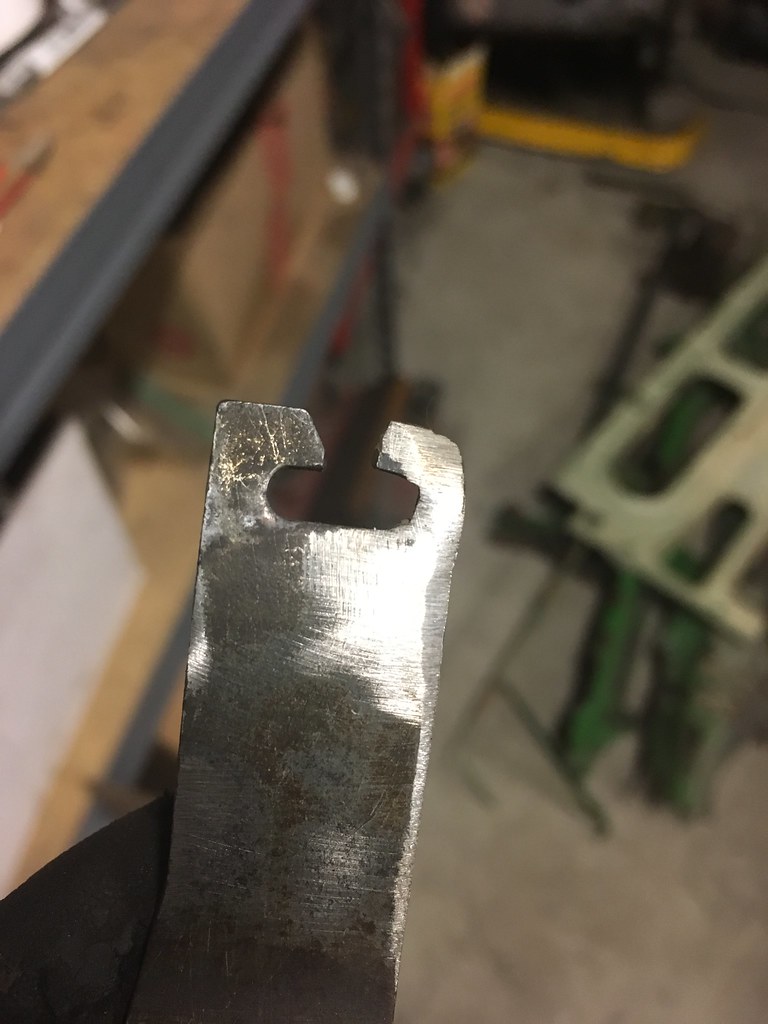
While replacing the throttle cable, the cracked bracket that the cable attaches to gave out. I ordered a replacement from Pelican who then sent me an email the next day saying the lever is NLA. Time to fix it. Peep the broken tab where the cable attaches.
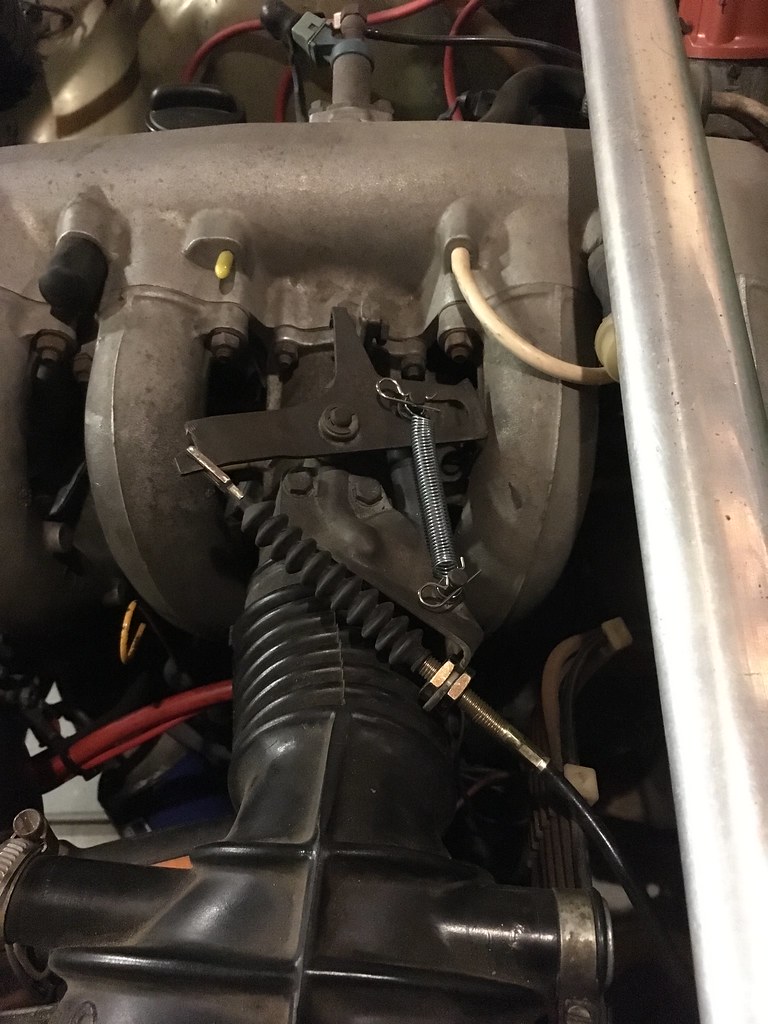
Fixed.
Installed. Don't worry, the RC car body clips will be replaced with the correct circlips to hold the top spring on.

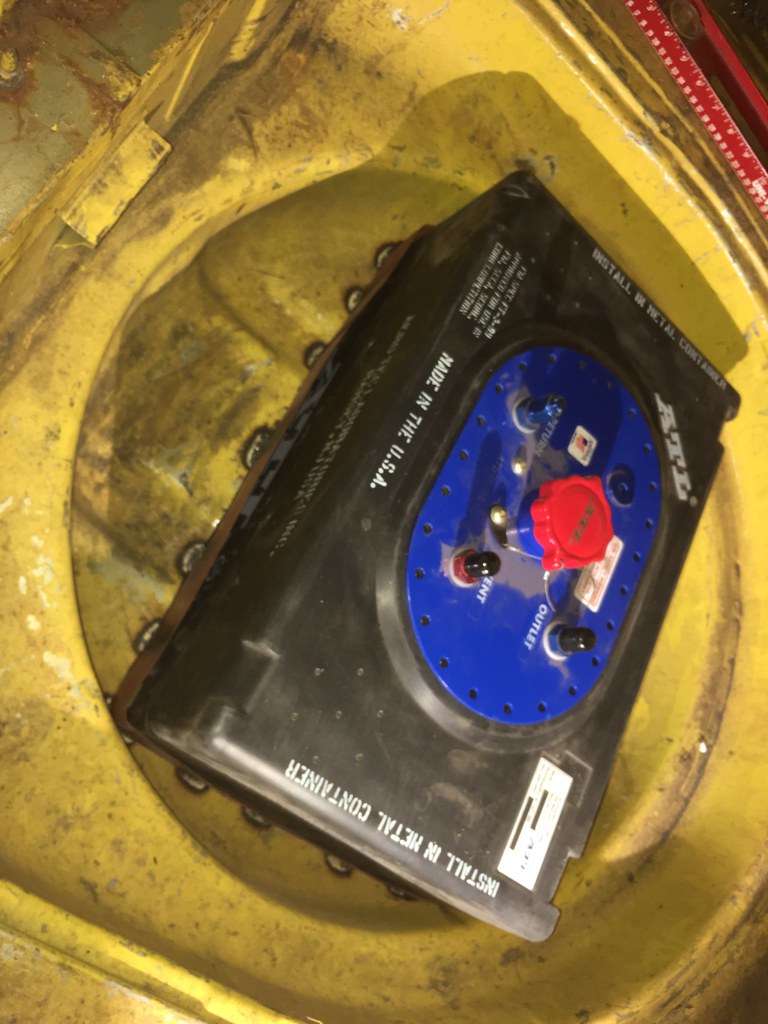
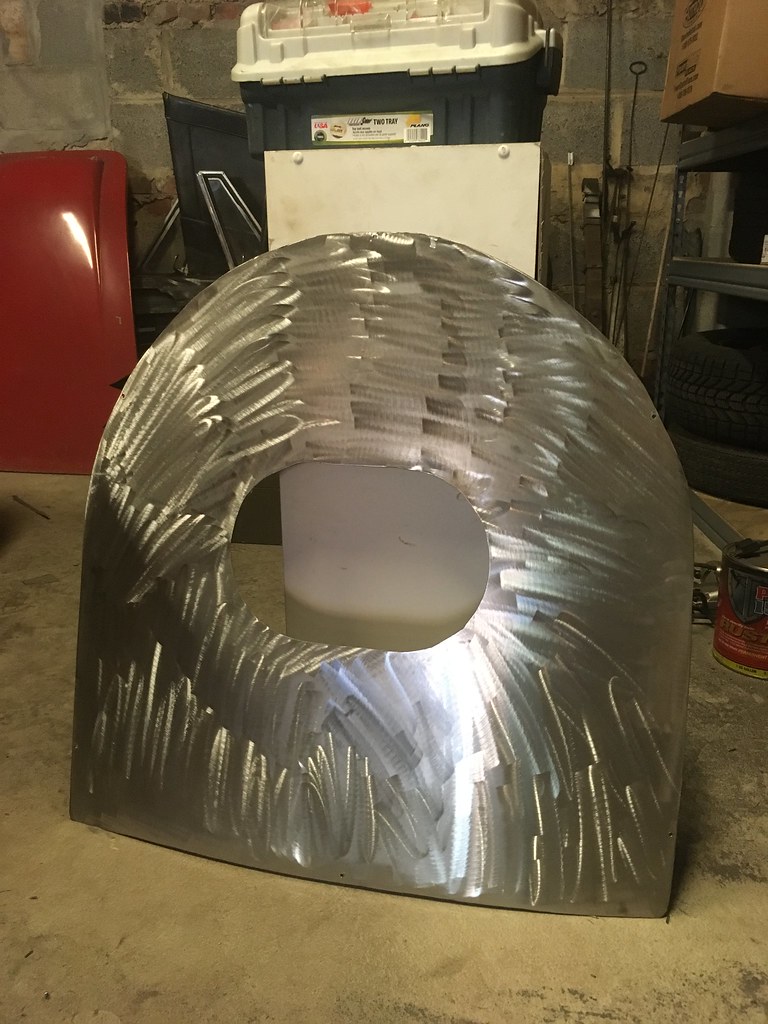
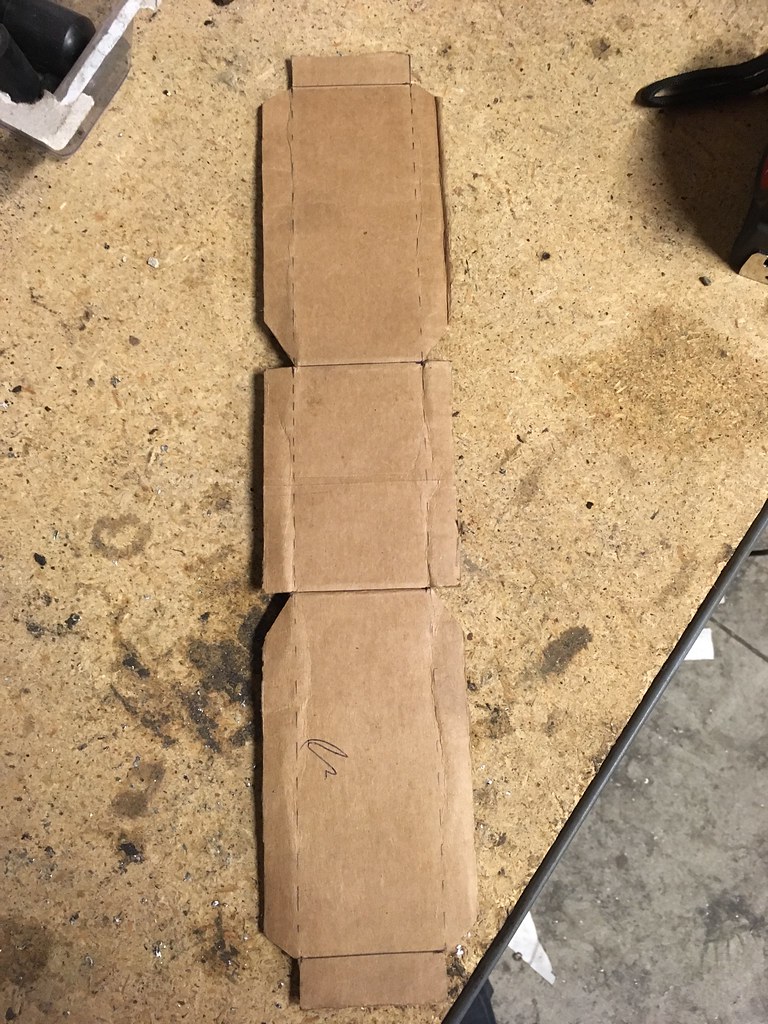
The fuel cell needs to be in the car for PVGP at Schenley so that was my next task. Great news from this weekend is that I can just have the cell take the place of the tanks and run a new line from the cell to the pump. I couldn't remember if the line from the tank to the pump used banjo bolts but it does not. Bad news is that the two hardlines (from the pump to the accumulator and the accumulator to the filter) were trash and new ones are on order. Not a big deal, but an extra $100+ that I wasn't expecting. Stock tanks are removed and drained, hole cut in the wheel well and box made. Yes it's far from perfect but it'll do until I buy a bigger cell at some point and will probably get beat up anyway.
The box is sitting in primer now and I should have time to get it welded in this evening. That scrap pile is starting to add up. I'll have to drag it home soon, weigh it and get rid of it.
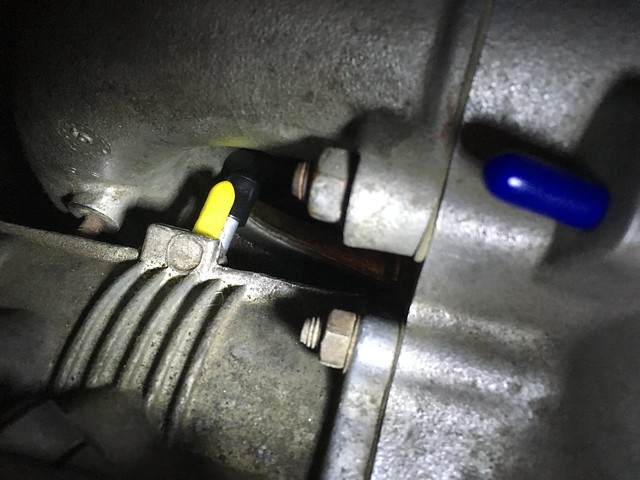
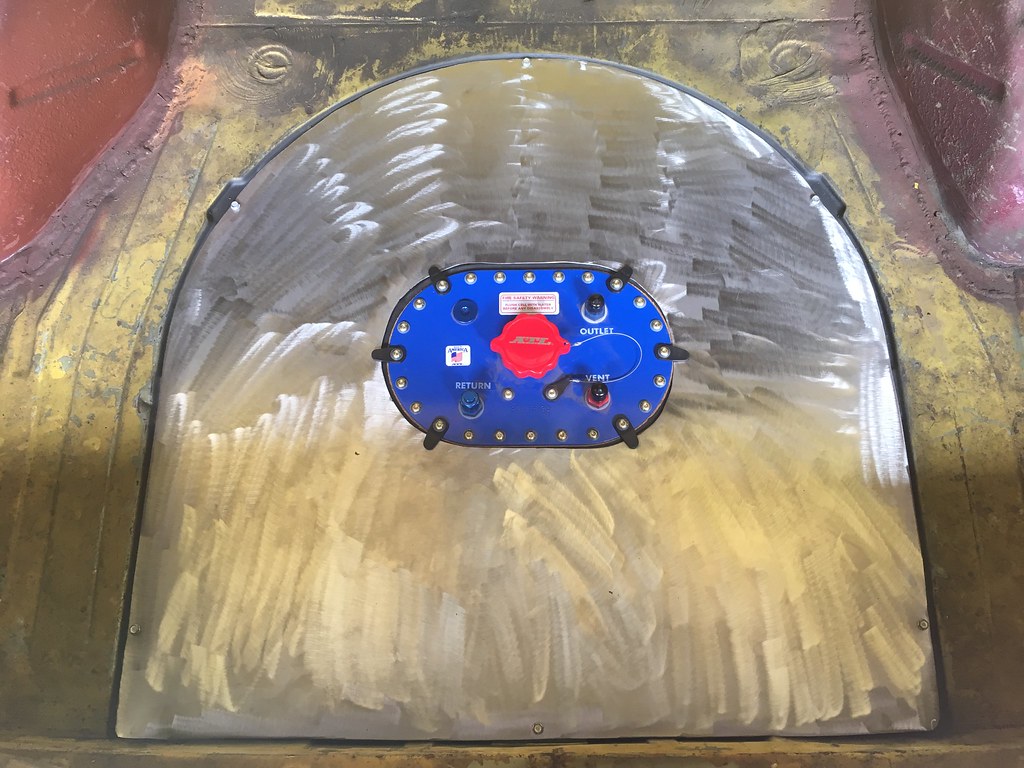
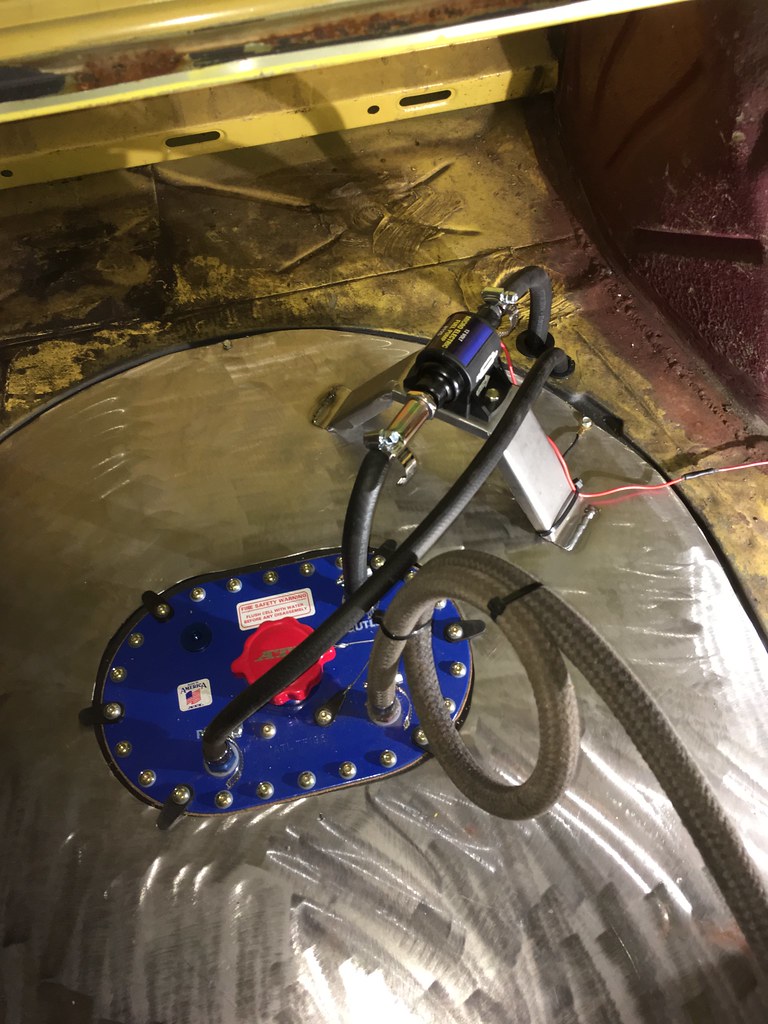
Things are moving along. The fuel cell is installed, plumbed and the car runs! I almost pulled all my hair out after assembling the whole fuel pump, accumulator and filter assembly (berkeley CIS by the way) only to have 0 fuel pressure. And I mean 0. It was dribbling out of the filter.
I decided that the issue was that I no longer had an in-tank pump and the high pressure unit didn't have the sucking power to get enough fuel. I went out and bought a cheap carb pump. I was aiming for 10PSI but the highest I could find was 4-7. Still didn't work. It wasn't until I sent a friend a picture of my setup and he realized that I installed the check valve backwards on the fuel pump. Whoops! It fired right up after flipping it around.
Although it's all very unprofessional per usual, I'm really pleased with how the fuel cell "top plate", as I call it, came out along with the secondary fuel pump bracket. I didn't take a picture of it, but the inside of the wheel well is now painted black. I also had to remove the stock towing eye from the bottom of the wheel well and re-weld it into place further aft.
Hood pins are done on the hood and the trunk is about 95% done as well.
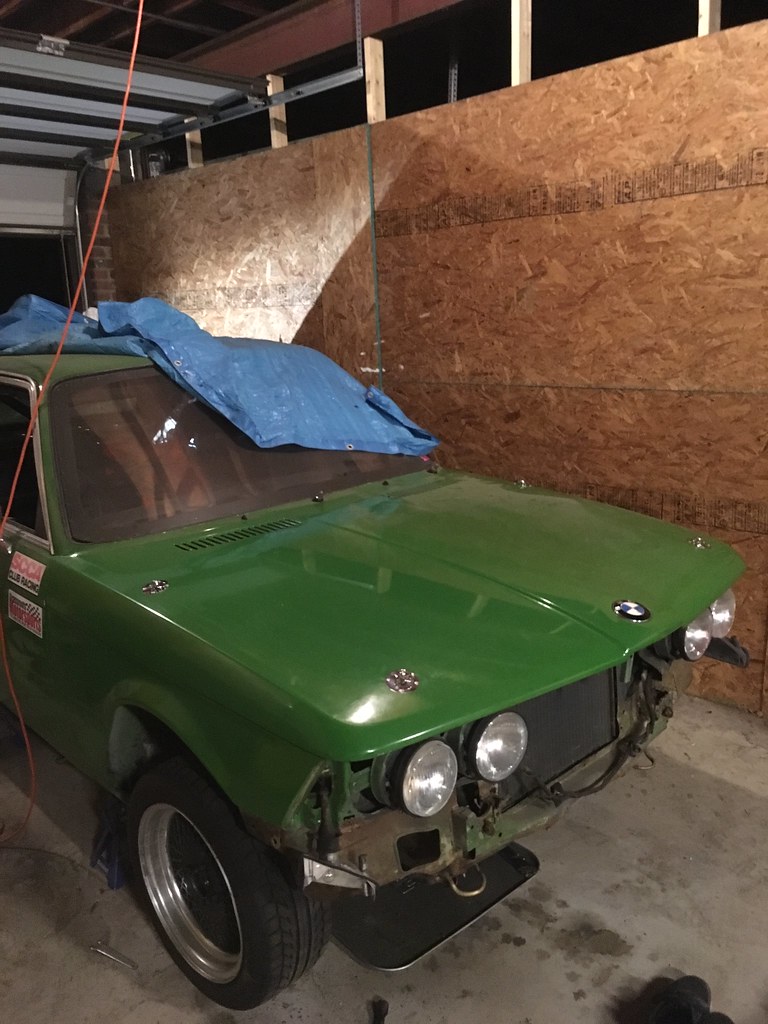
By the way - this whole 4 hood pin thing with a steel hood is something no one should do. Even with the lightening, it's not that light and it's really a pain to get on and off. You live and you learn... It's a damn good thing too that the paint on the car is crap anyway because I have made many a scratch taking it on and off.
Since the last post, much more prepping occurred... Valves were adjusted, brake shoes were replaced, brakes were bled, oil was changed, all fluids checked, valves adjusted, rear sway installed, etc., etc.
Last Friday was the big day, Elmore's first big towing test. I went and picked up a friend's trailer and after troubleshooting the lights, got truck and trailer back home and loaded up.
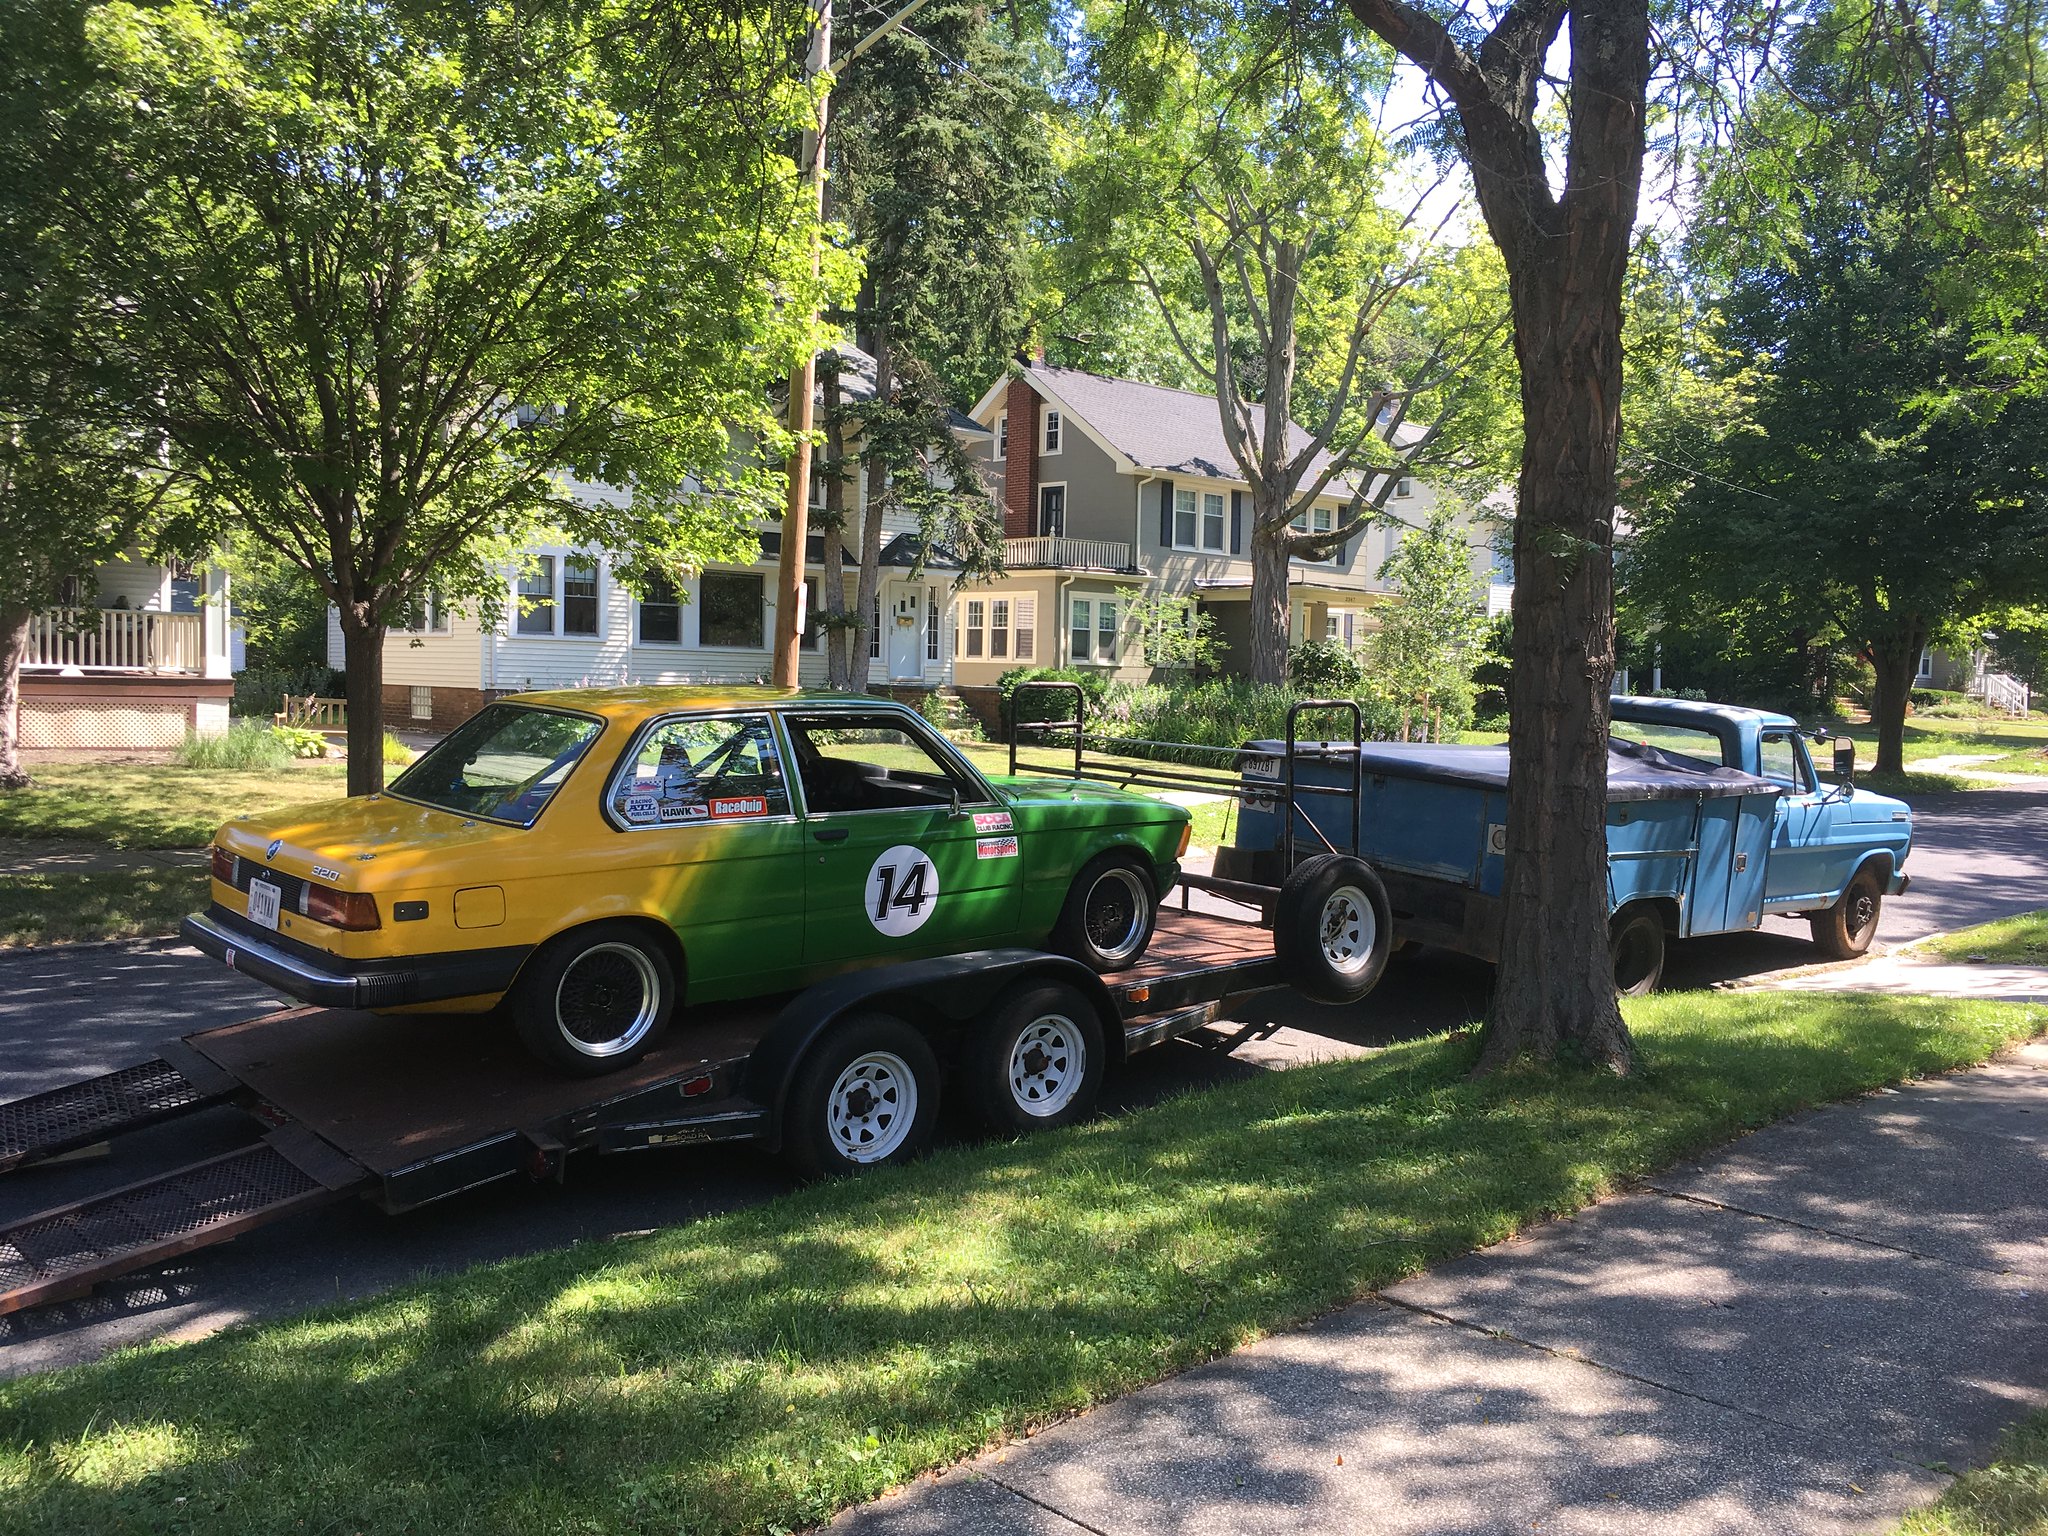
The sucker got only about 5-6 mpg but made the trip to Schenley Park with no problems whatsoever. Even going up some long steady grades temps only rose to a little over 190. I was very impressed. It's amazing that just about everything fit in the tool boxes. Only the oil catch pan and mini bike were in the bed.
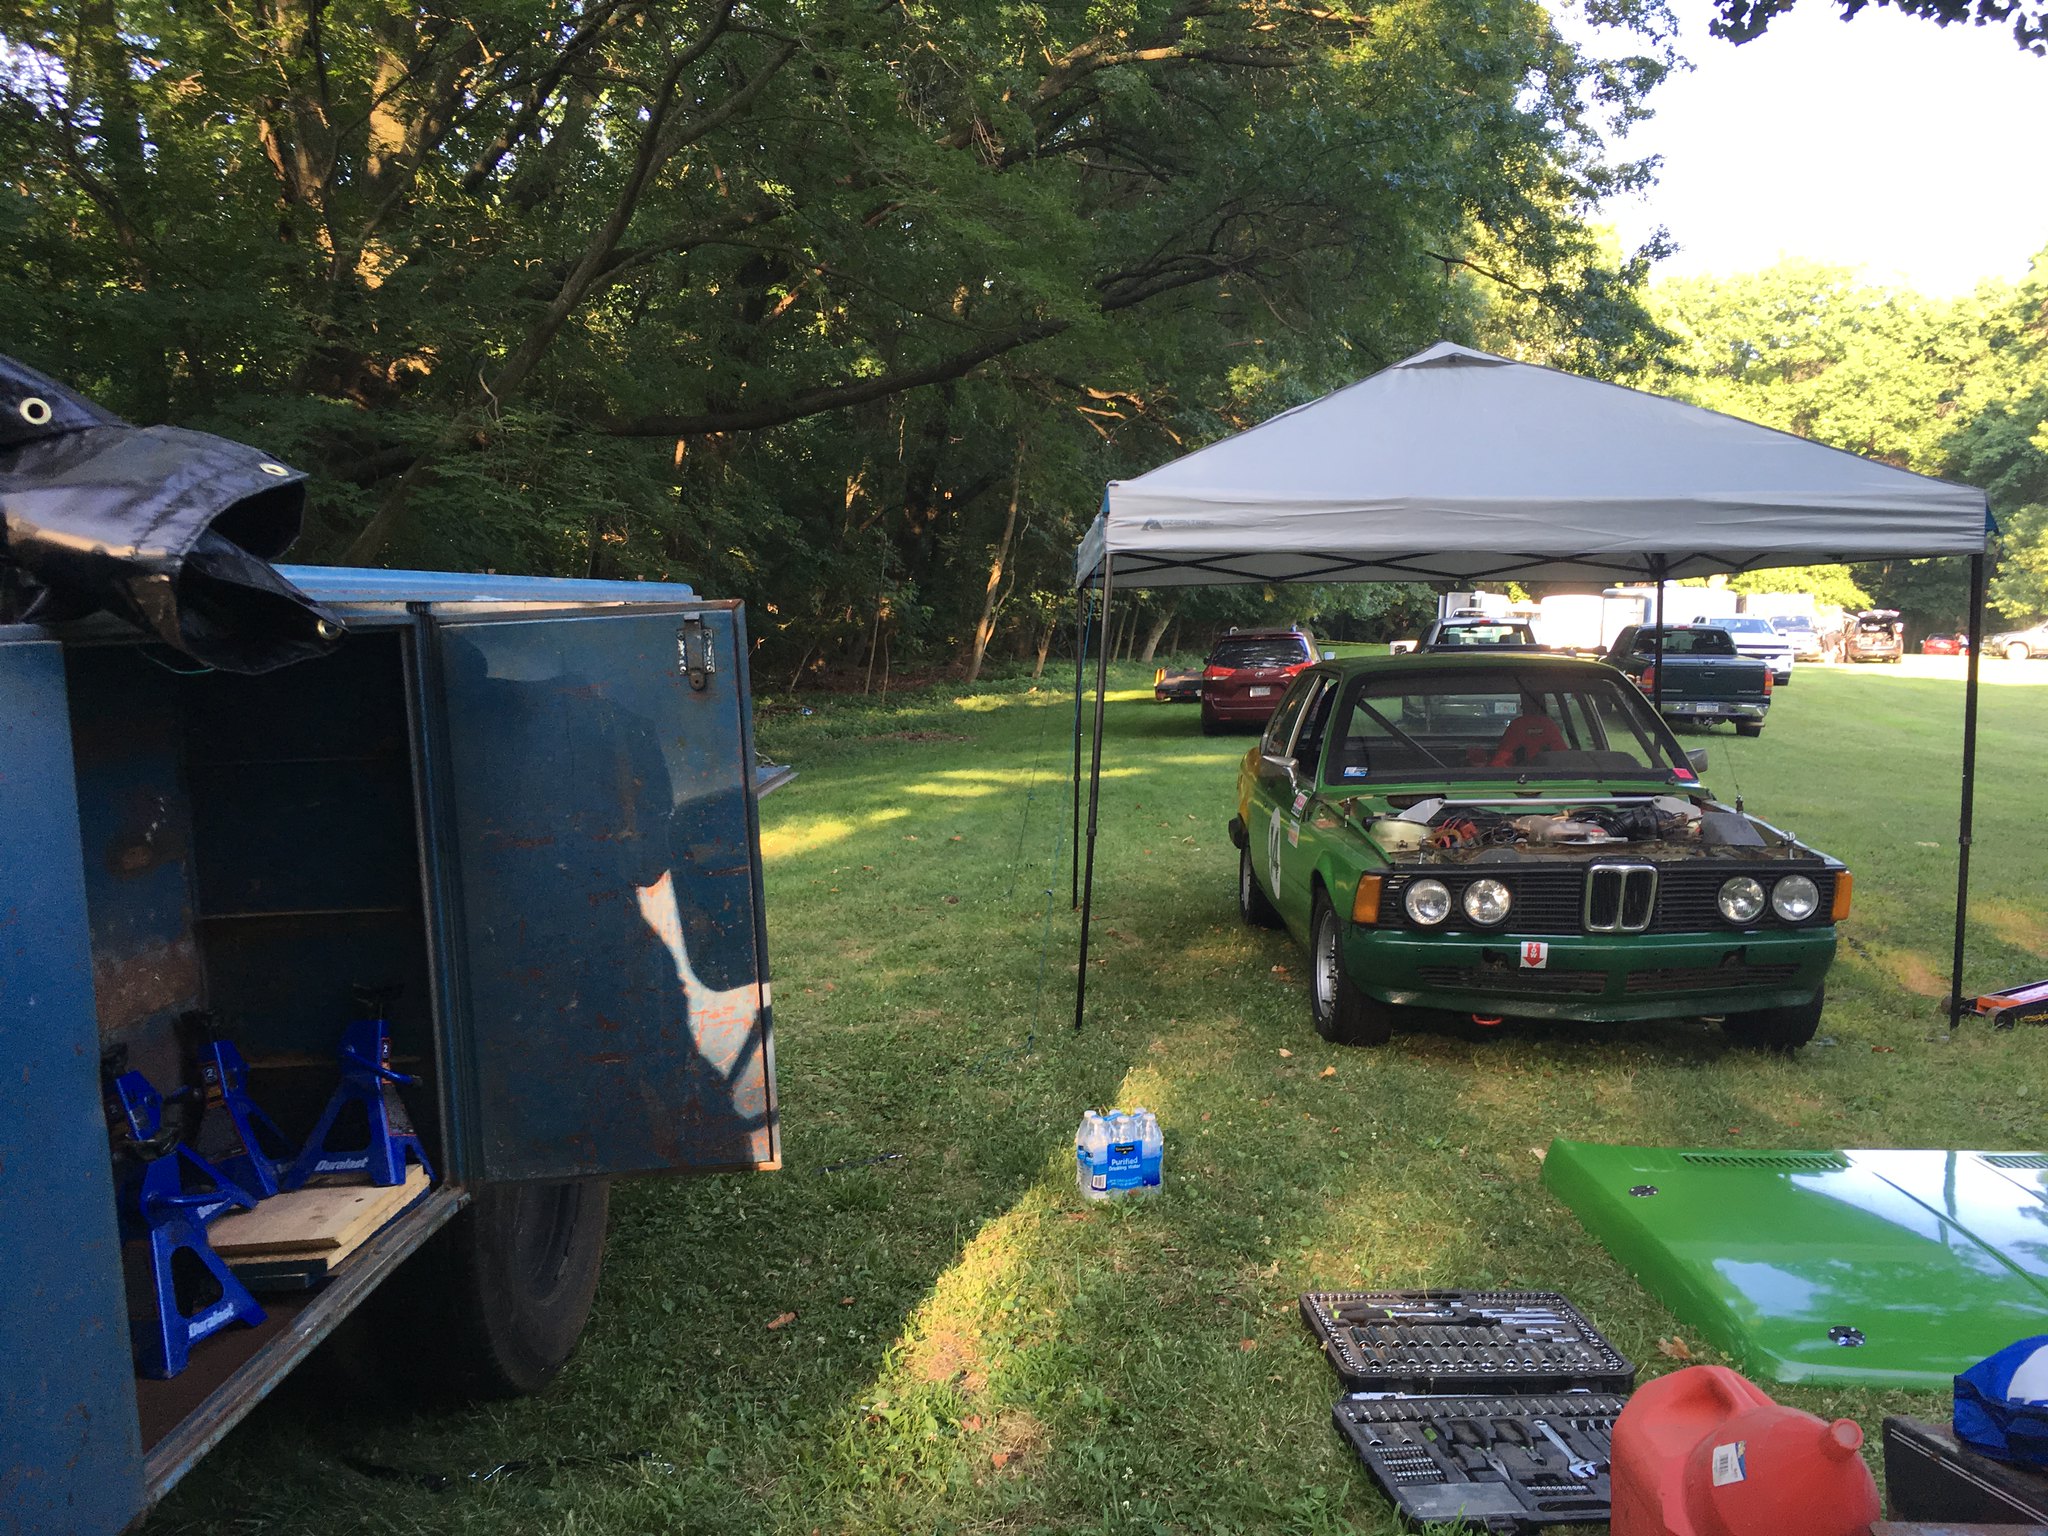
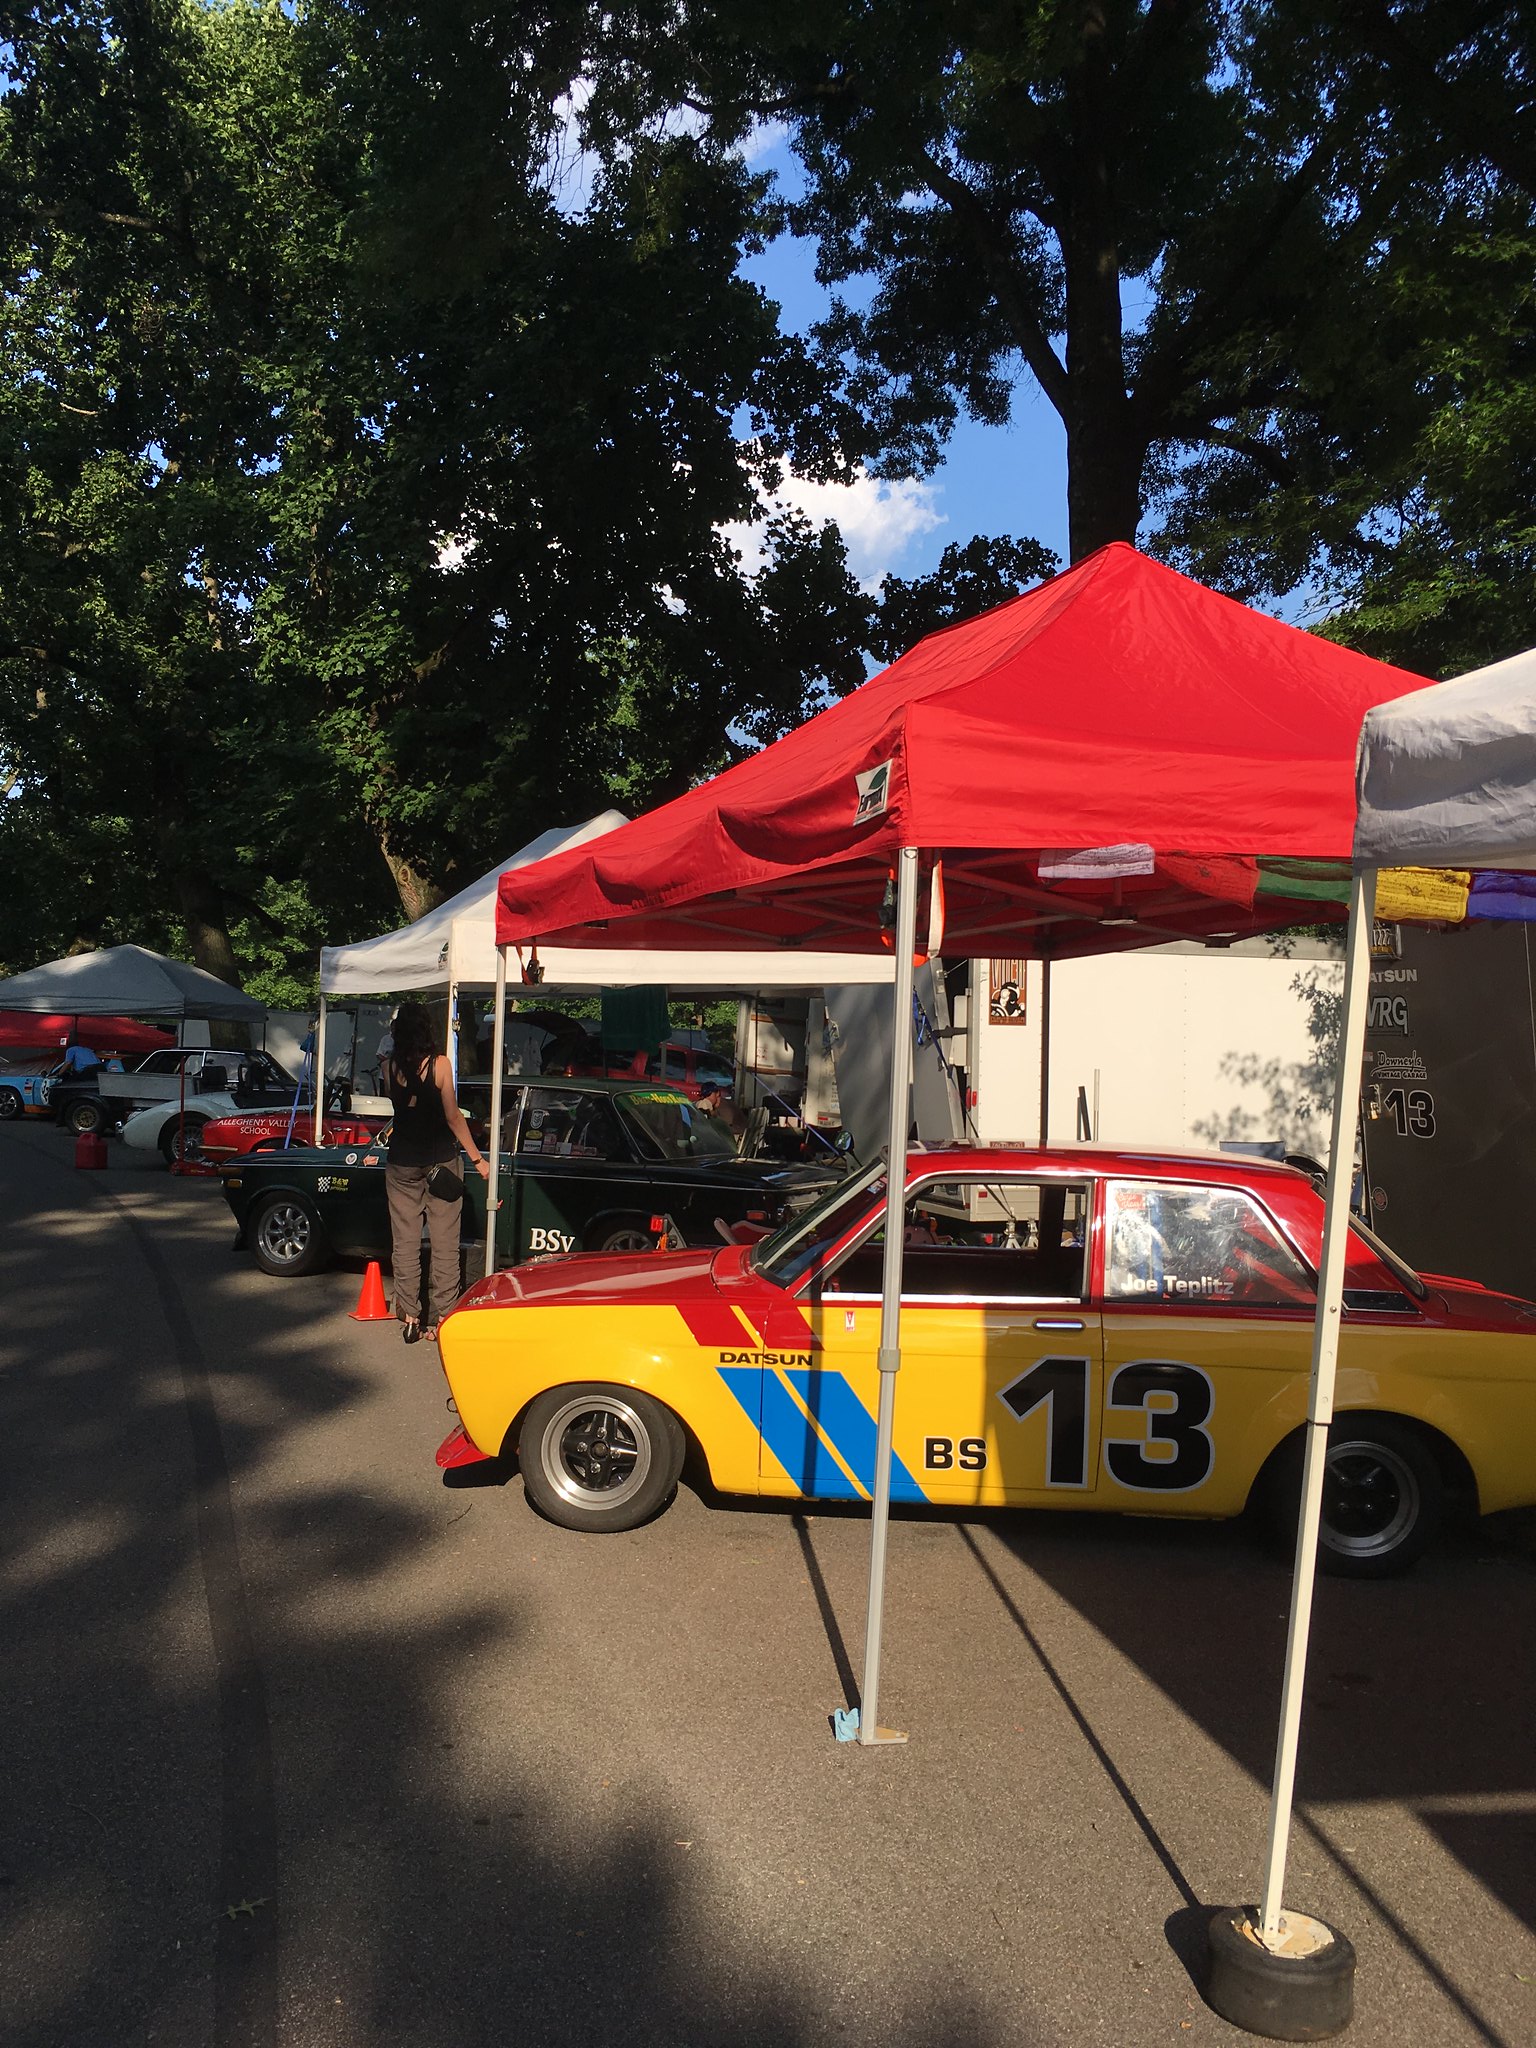
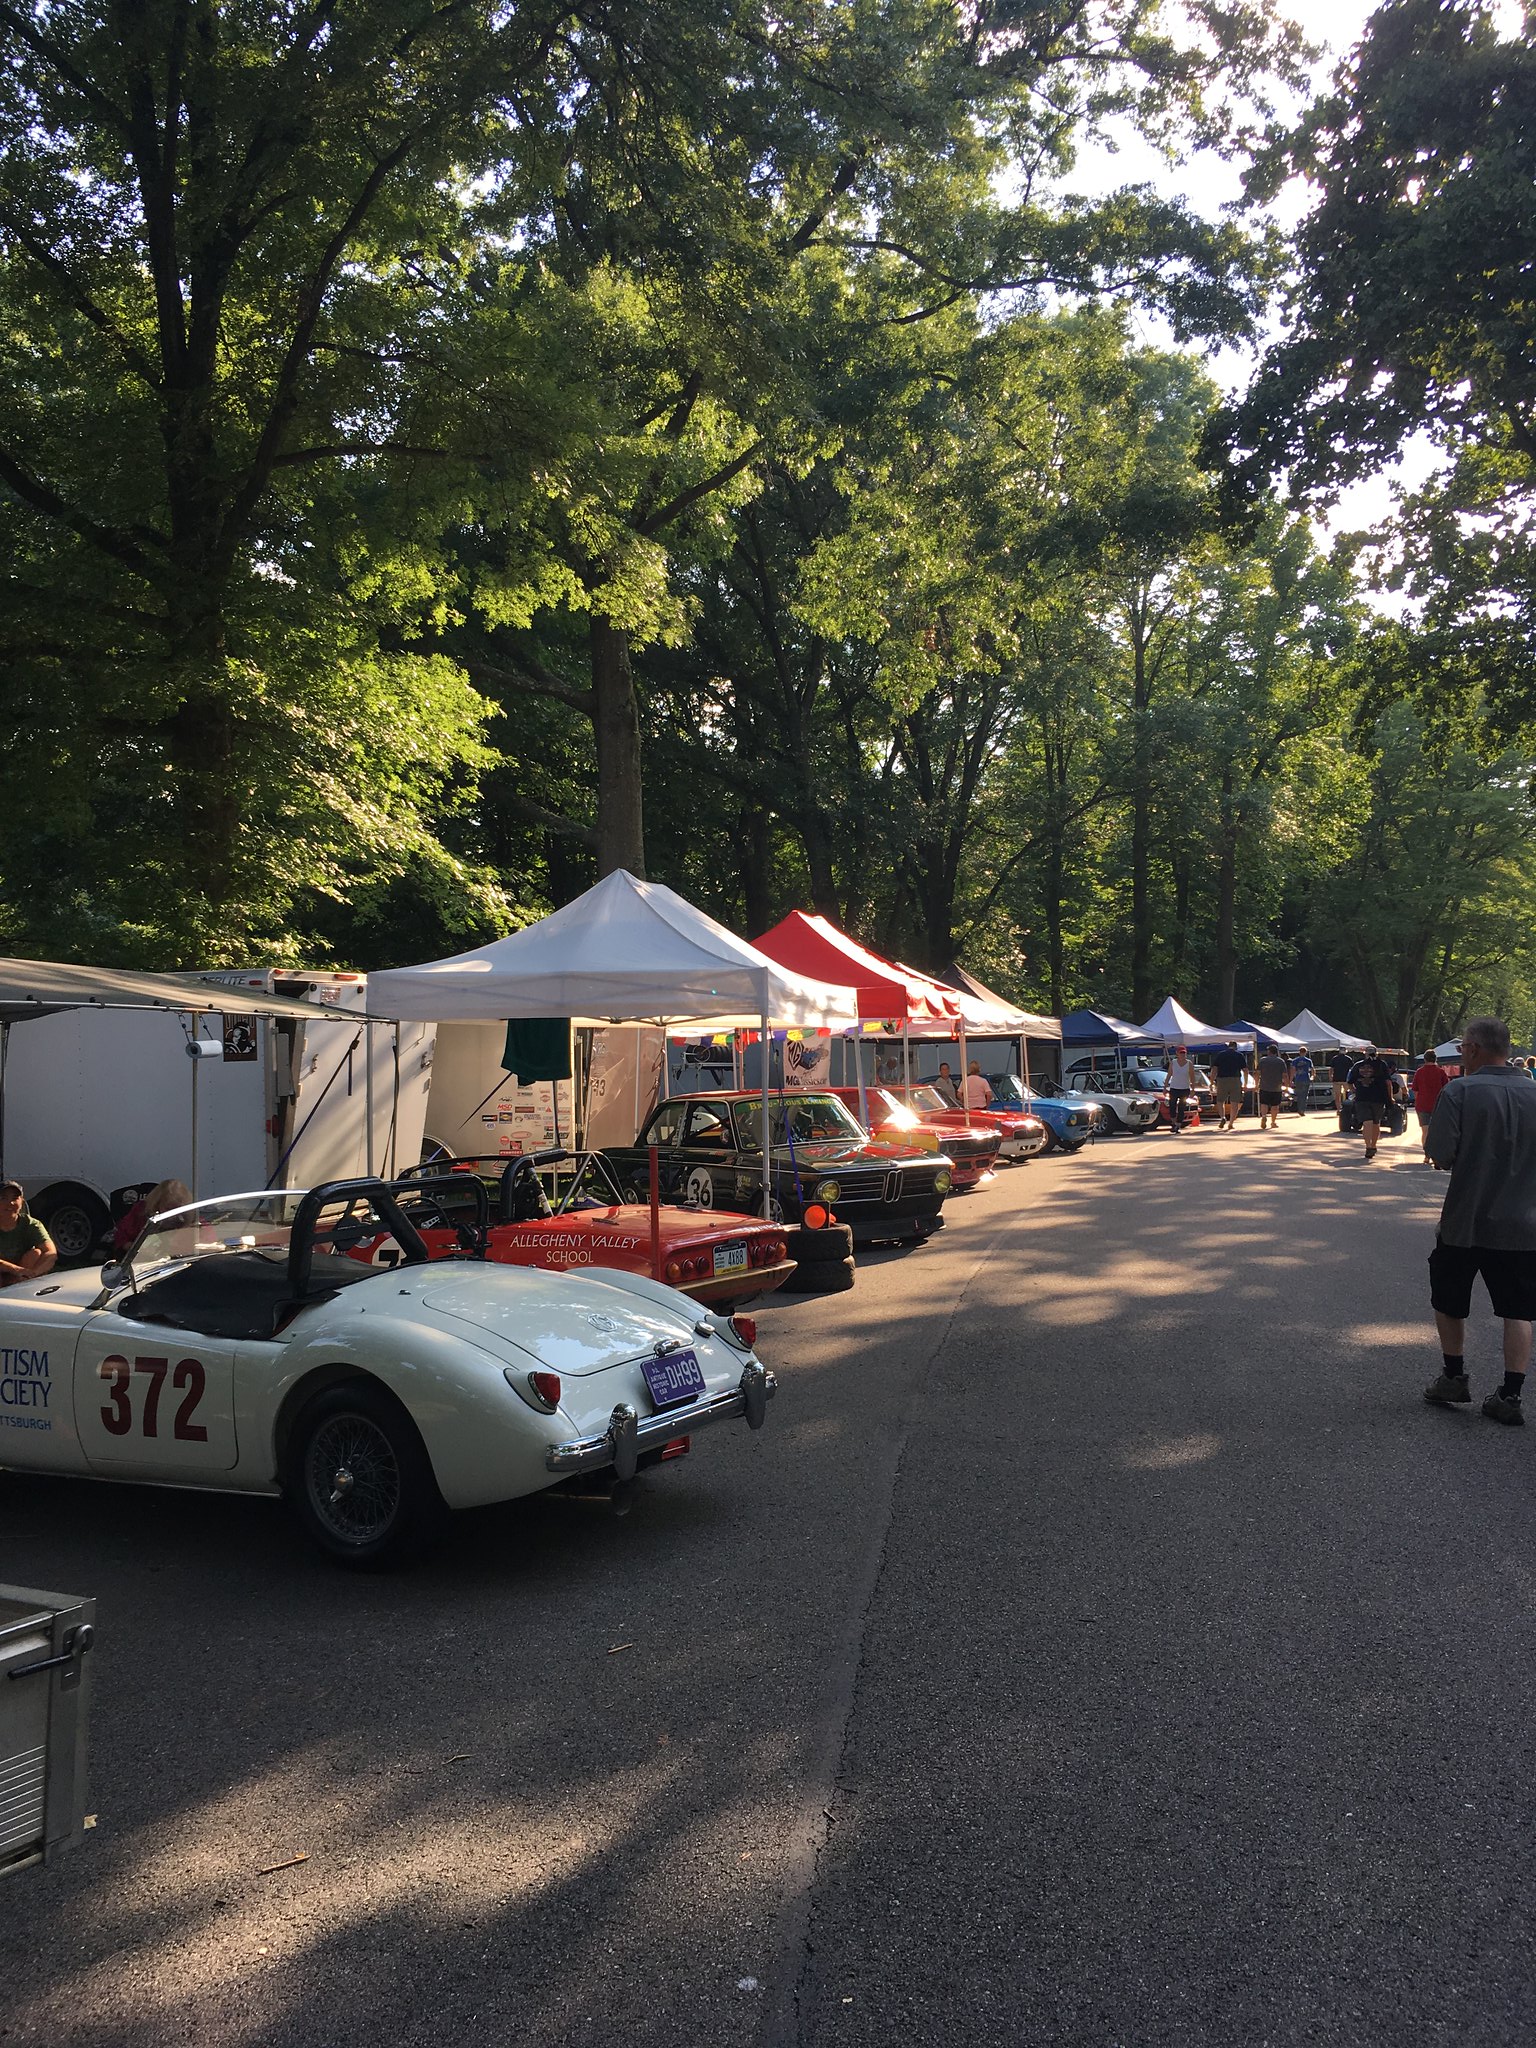
Since I was a bit late getting into town, there wasn't any paddock space left on Prospect so I had to set up "down the hill". As it turns out, this was kind of nice because it was nicely shaded. I ran to the new driver's meeting and track walk, then attended the big driver's meeting, then finally got unpacked an sort-of set up.

Saturday morning, I had a complete loss of power coming out of turns from low RPMs. I initially thought this was an issue with the engine under heavy load. Everything seemed in order, plugs looked perfect. I couldn't even find a wire loose.
My family showed up early afternoon to catch my qualifying runs. I couldn't find anything wrong so I went out again. Same issue...This time I realized it was only happening after right-hand turns. Ah hah! The fuel pickup in the cell is on the right-hand side. But...this shouldn't happen, right? There's foam in the cell. Since my family had driven two hours to see me, I just packed up for the night went to dinner with them and figured I'd give moving the duckbill a shot in the morning.
Sunday morning I woke up to Thunder and a drizzle. Uh oh. There's no way Elmore was pulling himself let alone the E21 and trailer up a hill of wet grass. Thankfully, enough people had left Saturday night that I was able to move my paddock to the turnaround on Prospect. Whew!
I moved the duckbill, filled the cell to the brim and went out for morning practice with my fingers and toes crossed. It worked! My times didn't end up where I'd like them but man did it feel good to get a full practice session in and then see the checker in the afternoon race. On top of that, Elmore made it back no problem. A fully successful weekend.


I really want to get down there next year for the races, I should've gone this year with Oktoberfest in full swing. The E21 is looking really good! What's it like driving that course? Do people take it a bit easier with less run off, concrete barriers, hay bails and trees or does the red mist set in and everyone is trying for 110%?
Adam
You should, it's really an awesome event.
The course is pretty intimidating to be honest. There's a ton to think about...see the obvious concrete barriers, sharp stone walls, grates, no run off, etc., but there's also funky camber because it's city streets with a crown and there's often chunks of gravel and washboard pavement. Where I was braking going into serpentine was not only extremely bumpy but was riddled with ping pong sized gravel chunks by Sunday.
For the most part, yes, people are taking it a bit easy in the real hairy bits. In the driver's meeting we're told this is a 6/10ths event. There were some drivers going a little hard. There was one car that rolled this weekend and I was actually passed in a section after the hay bale chicane that really under no circumstances is a passing zone.
So, prior to the PVGP, a few of us entered into the ChampCar 24Hrs of Nelson. I got hooked up with an awesome group of guys a couple years ago that raced Miatas with NASA, then with Lemons, then with Champ and then really just track days. We decided to get the cars prepped up and going for the Nelson race after doing a track day there in May.
The day started out great. First two drivers had good stints with no problems. Then I came around.
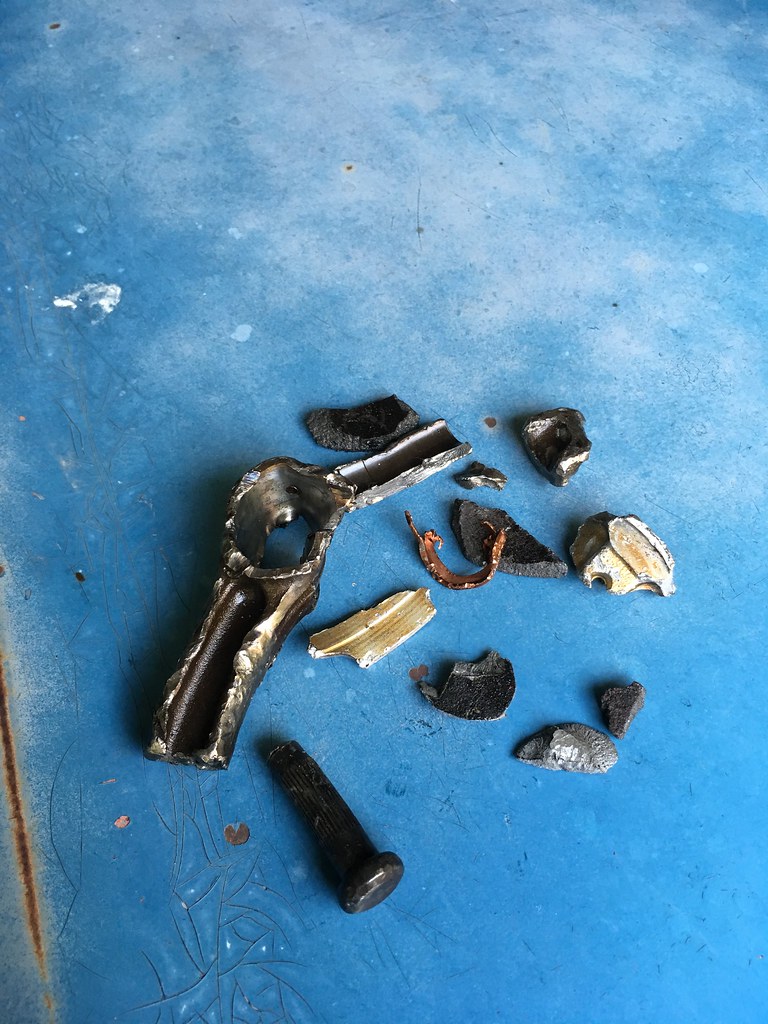
Coming out of Oak Tree first time around, I hit the rev limiter for about a second. OK, no big deal, it got there a lot quicker than I remembered from the track day. I wasn't even really pushing hard yet. Next time around, no problems. Next time though, hit the rev limiter again for the same amount of time, shifted up, on the gas and BANG! I got the car to the side of the track as quickly as possible on the carousel. Damn. It was my fault, I was on the limiter too long but I think the original 250k mile engine was going to give up soon no matter what.
We had a second car though! Some of you may be familiar with it, it goes by the name of the Pink Lady and was actually on the flier for the race this year. We thrashed on the pink lady for about 2.5 hrs. Swapped the fire system, wheels and tires, put a net over the cage (didn't plan on running the hard top), swapped out the bad fuel pump, changed out the seat and belts and got it through tech! After a handful of laps, our fourth driver came in. It was running hot. It wasn't boiling and everything seemed OK so we cooled it off and he went back out. Same deal... We then checked the plugs. One was wet. We pulled the plugs and cranked it over - pretty water fountain. HG blown. A day of bad luck.
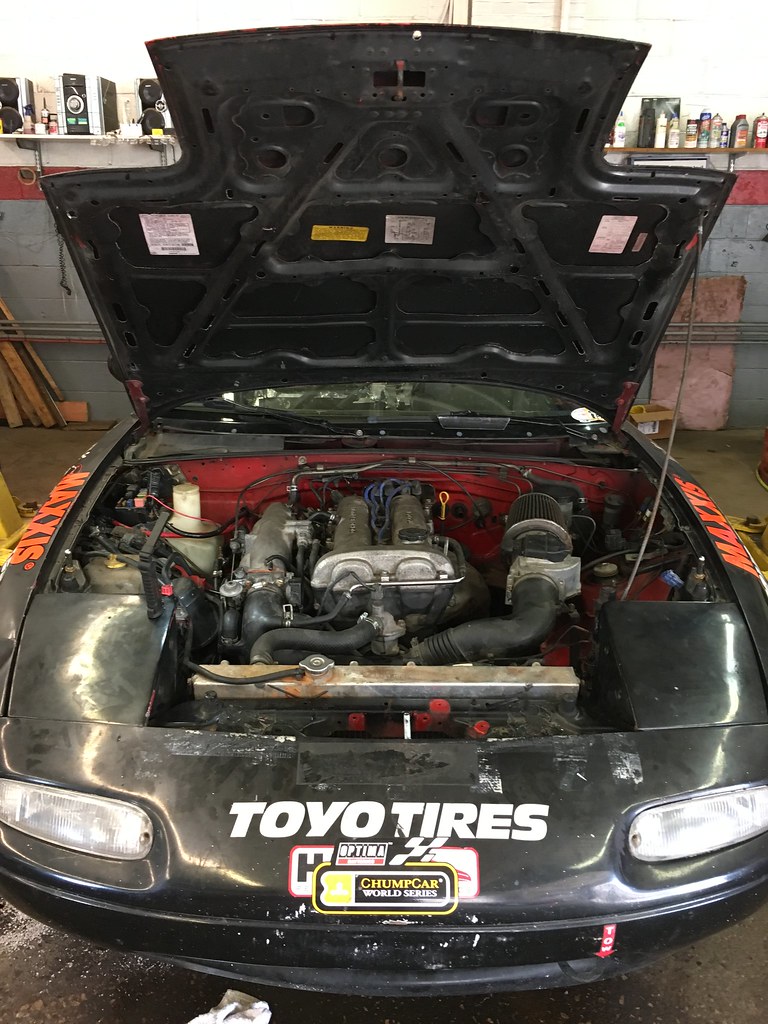
How do I repent for exploding the Miata? Help to put a new engine in it!
Failure:

Success:
Doesn't look like we can make the ChampCar event at PittRace this fall but at least it'll be available for track days!
In other news, I've signed up for the VRG event at PittRace at the beginning of September in the E21. Really looking forward to it. Seems like there will be a ton of track time.
You'll need to log in to post.


