Shavarsh
Shavarsh HalfDork
8/19/22 10:37 a.m.

Thanks Angry, always appreciate the engagement!


I am starting to approach this car as an excuse to fabricate, rather than a pursuit of the perfect car. This point of view is more positive, and lets me do some of the more frivolous projects on the car without feeling dragged down when the ultimate performance of the car is less impressive than a modern appliance. It also frees me up a bit from analysis paralysis. I am an engineer all day at work, sometimes I just want to jump into the fabrication instead of running the numbers when I get home.

AngryCorvair (Forum Supporter)
AngryCorvair (Forum Supporter) MegaDork
8/19/22 11:38 a.m.
Shavarsh said:

I am an engineer all day at work, sometimes I just want to jump into the fabrication instead of running the numbers when I get home.

hashtag me too.  BSME 1991, in automotive since 1993. i'm tired of engineering.  i just wanna build stuff.

Dusterbd13-michael
Dusterbd13-michael MegaDork
8/19/22 12:59 p.m.

Im convinced that fabrication and frivolity is what makes hotrodding an artistic expression. If it was all about the numbers,  we wouldn't do half of it. 

Enjoy the headfirst plunge for the release it is. 


And i need to learn holly carbs a lot better. Im sure my duster could benefit from your approach. 

jr02518
jr02518 HalfDork
8/19/22 2:36 p.m.

If you are up for the drive a little farther on the Highway 15 North, the SCCA  has events at the AAA Speedway in Fontana.  Now that we are past the Nationals, in a couple of weeks, getting access to the Saturday practice events will get eraser.

You can find more event information at motorsportreg.com

We have a number of ways your car could be classed.  On Sunday, the 28th, there is a Porsche event that your car could run in the X class, for non P cars.  These are a run, no work format. You just pay for the privilege.  You get to run both in the morning and afternoon.  Lunch is provided.

I will be on site as an instructor.  I should have my Miata with me to give rides.

David 

Shavarsh
Shavarsh HalfDork
8/22/22 11:05 a.m.

Thanks for the comments all, its good to see the engagement. Also thanks for the invite David, I'll look into it. I can always use more driving instruction!

Shavarsh
Shavarsh HalfDork
8/29/22 2:40 p.m.

I've been having some fun collecting and modifying parts for the future addition of power steering. Lets start with the pump. Its a cheap ebay purchase from an NB miata. The general plan is to swap the serpentine pulley to some kind of v-band pulley. The first step was to remove the serpentine pulley:

Well... pressing wasn't working. Time to go nuclear:


Shavarsh
Shavarsh HalfDork
8/29/22 2:54 p.m.

Next, lets figure out a v-belt pulley. Another cheap ebay purchase yielded a pulley for an older chevy (5/8" shaft with 1/8" key way). The intention was to machine the 7mm shaft to a tight slip fit for the pulley... Well I got a bit too aggressive and ended up with a very loose fit. After whipping up a collar to correct the shaft diameter here is where we ended up:

After a bit of reassembly here we are:

Just a simple pulley swap right?

SkinnyG (Forum Supporter)
SkinnyG (Forum Supporter) PowerDork
8/29/22 5:31 p.m.

Makes the swap to an underdrive pulley that much easier.

Good job!

Shavarsh
Shavarsh HalfDork
8/30/22 1:04 p.m.

Thanks Skinny!

So now we have a v-belt pulley on the pump, we need a v-belt pulley on the crank to drive it. The existing crank pulley has 2 grooves, but the front groove is too close to the radiator to fit a belt past the fans. The solution? Cut and paste the groove into a spot where it can be used:


First, chuck the pulley up in the lathe and adjust until running true:

Get started by turning down the engine side of the pulley and parting off the outer groove:

Then get fed up with the parting tool and finish the job on the band saw:

Have some trouble with air leaks on the tig torch:

Get the torch working properly and break out the rotating rig:

Lay in some wire for a nice big fillet:

A bit of machining to recover the mounting surfaces:

Find some voids and fill/ machine again:


And finally if you've made it this far, a test fit:

That should put our belt in a much better position, allowing the pump to be mounted closer to the head as well.


TVR Scott
TVR Scott SuperDork
8/30/22 5:29 p.m.

Nice fab work!  I've not commented a lot but I've been following.  I've enjoyed seeing your progress.

Shavarsh
Shavarsh HalfDork
9/14/22 11:32 a.m.

Thanks Scott, I appreciate it.


Now whats going on here?

I picked up this cheap bilge fan to see if there is a significant difference in hot start if I let the "carb fan" run for awhile after shut down. The routing and hose are proof of concept.

Nukem
Nukem New Reader
9/14/22 5:19 p.m.

In reply to Shavarsh :

They have this new thing called EFI that kinda solves these problems :p

What kind of thing did you find to turn it on after shutdown?


TurnerX19
TurnerX19 UberDork
9/14/22 10:30 p.m.

Fiat X1/9s have a thermo switch on the cam box which turns the carb blower on at 210f and off at 195f if the ignition is turned off.  This uses the heat transferred through hard aluminum, it does not approach the coolant. I have several, as I don't use it, all of my original fan motors are siezed. One is yours for postage from 18042. Put it under an intake manifold bolt. I will ty to get a photo of one posted for you tomorrow.

Shavarsh
Shavarsh HalfDork
9/15/22 10:41 a.m.

In reply to TurnerX19 :

Turner that sounds great, thanks for the offer I'll send you a pm.

Shavarsh
Shavarsh HalfDork
9/25/22 3:13 p.m.

A bit more progress on the power steering parts:

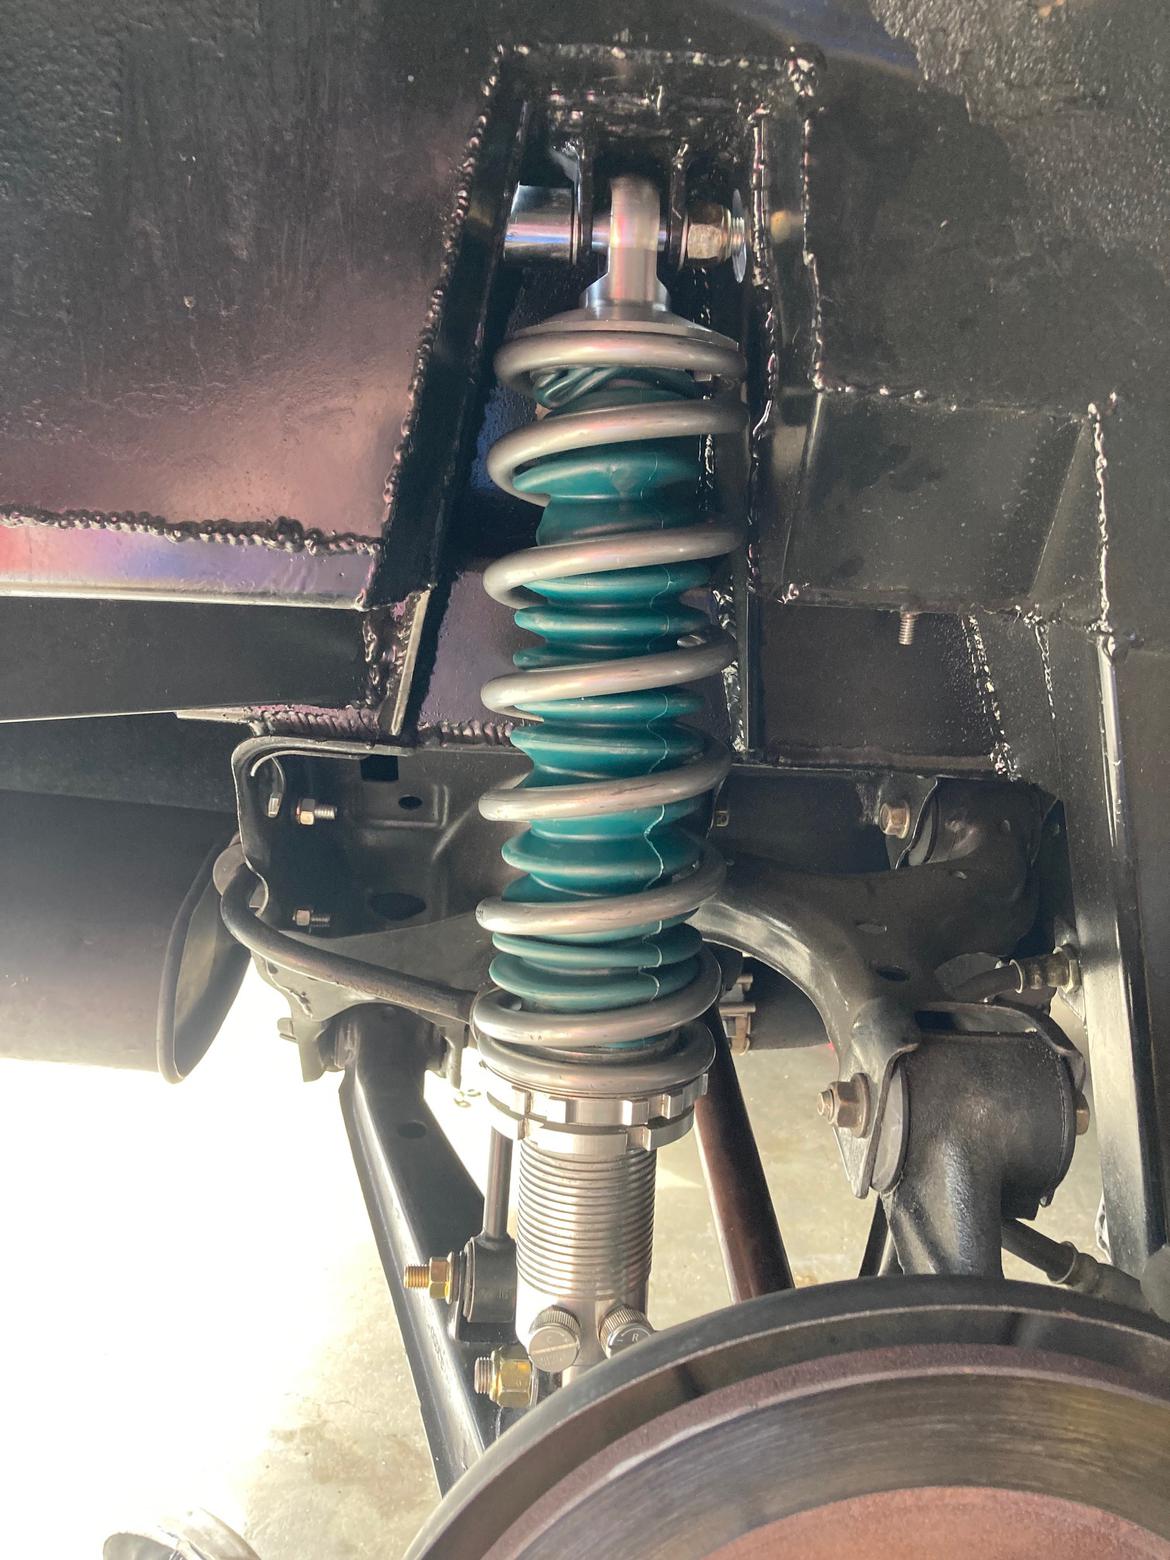
After much deliberation about steering rack length and bump steer, I decided to just keep it simple and try to keep the outer tie rod pivots on the line between the upper and lower control arm pivots. To do that I needed to finally get an accurate measurement of where the front suspension pivots are relative to each other. Sounds simple...it isn't. Everything is on a different plane, and nothing is easy to get a tape measure or even a plumb bob to. Then, an epiphany:

It took me a looong time to think of this, I've been trying to get these measurements off and on for a long time now. Happily, the laser level helped me to get a reasonably accurate sketch of the front end geometry:

The ends of the diagonal lines represent the control arm pivots. The middle horizontal line shows where the stock pinto rack is located (stock length is not shown). The upper horizontal line shows the stock miata steering rack length (approximate, really more like 25.8"). The rack would need to be mounted 1.84" above the lower control arm pivots to remain in its optimal position. This location is firmly in the oil pan. So, lets pick an easy mounting location and modify the rack length to suite. I selected 3/4" above the lower control arm pivot to give me some real estate if I need to move the rack up/down when fine tuning later.

All this means that the miata steering rack needs to go from ~25.8" to 24.75". However, as it is easier to make a rack longer than shorter, I  decided to take 1.25" out of the rack.

First disassembly:

You can see where the pressure fittings are, and the seal that moves between them. If we shorten the rack and housing on the right side of the pressure fitting, and on the left side of where the end cap seals, we wont effect the operation of the assembly.

I was able to use the lathe to scribe 2 lines. 1 where the rack needed to be cut, and 1 where the finish length would end up. After cutting with the grinder I found that the case of the shaft was too hard to even face. So... the finish pass:

(If you plan to do either of these operations make sure you clean the lathe thoroughly afterwards. The grit can wreak havoc on the ways)

After that, bore the ID to 15mm, run in the cheapest M16x1.0 tap you can find online, and add the end features to match the original:

Stay tuned for the housing...


AWSX1686 (Forum Supporter)
AWSX1686 (Forum Supporter) UltraDork
9/26/22 11:09 a.m.

Impressive work!

Shavarsh
Shavarsh HalfDork
9/26/22 11:36 a.m.

Thanks AWSX! 

As promised the housing: 

First, remove paint and chuck up in the lathe to precisely mark final cut positions:

As stated above this position is chosen because it is not an area the seal on the rack with be sliding over, and it is just inside the area where the end cap O-ring seals.

Next remove the bulk with the band saw and final finish to the line on a belt sander:

Clamp into an angle and get a few tacks:

Then weld it out, taking care not to put any heat into the seals located near the aluminum part of the housing. I used an autogenous weld to seal it up, then went over the top with a bit of .030 filler to level the surface again.

Despite trying not to fully penetrate, I had to clean up the inside a bit with a stone. The seal travels over this area during assembly, and I do not want it to snag on anything.

A bit smoothing with the flap wheel and a lick of paint, and its ready for reassembly:

pres589 (djronnebaum)
pres589 (djronnebaum) UltimaDork
9/26/22 12:18 p.m.

Oh man, that's really impressive work.

Shavarsh
Shavarsh HalfDork
9/30/22 2:14 p.m.

In reply to pres589 (djronnebaum) :

Thanks, I appreciate it. Hopefully I'll have some time to clean and reassemble soon.

Shavarsh
Shavarsh HalfDork
10/10/22 10:59 a.m.

So, I have had a squeaking shock for awhile. The manufacturer told me that this is not common and I should try cleaning the shaft seal and lubricating. After cleaning and lubricating with pb blaster the shock will operate quietly for about 24 hr. After taking out one of the shocks to install a bump stop a couple weeks ago, I noticed that there is some light scoring on the shaft. I decided to get some boots to keep the shaft seals clean and hold in a heavier lubricant.

Since I didn't have any way oil on hand I went with wheel bearing grease (I cannot recommend this I did no research).

I'll test for a few weeks and pull the boots to see if I need a more robust solution for sealing the top/bottom.


In other news I've always had a problem with high speed vibrations in this car. Lately it has gotten worse. The steering wheel vibrates, and the whole dash is moving. First, I had the front wheels rebalanced. This did not solve the issue. Next I found this:

All 4 bolts were loose... scary, but tightening did not solve the vibration. I'm not sure if cowl shake may be the culprit. I'll need to check the alignment again and go through the rest of the drivetrain for a nut/bolt check. I had vibration issues with the live axle as well, I always attributed it to driveshaft imbalance. The shake starts at about 60-65mph and seems to be somewhat inconsistent drive to drive. I'm sure the super rough california highways are not helping.

Shavarsh
Shavarsh HalfDork
10/12/22 1:11 p.m.

To continue chipping away at the power steering project...

Here is the first (hopefully last) attempt at mounting the pump. Having the laser level made measuring for pulley alignment far easier than using other methods in the past (although possibly less accurate). After measuring, I whipped up a set of spacers:

I didn't take too many pictures. The mounting holes in the ford heads are 7/16 course thread. A piece of threaded rod provided some mounting studs. This meant the mounting bore in the pump needed to be enlarged and the mounting hole in the tensioning bracket needed to be enlarged. After that, mount up the pump and check alignment:

Good enough for now.

wheelsmithy (Joe-with-an-L)
wheelsmithy (Joe-with-an-L) PowerDork
10/12/22 7:04 p.m.

Great work as always!

Have you checked driveline angles? Kinda obvious, but yeah, backing out u-joint bolts is worrisome.

I forget, did you do a driveshaft loop (I'll go back to look, but just talking stuff through.)

Shavarsh
Shavarsh HalfDork
10/17/22 1:39 p.m.

Wheelsmithy, good call. I've shimmed the back of the transmission up awhile ago to improve the angles but there is still work to be done in that area.


I had some time to reassemble the rack. The power steering rack seal was very tight through the welded area of the housing but in the end we got it together.

Took me awhile to figure out where this flare adapter originally came from:

Finally it's all back together and the steering action feels nice and smooth with appropriate resistance, and no slop. The adjustment nut for preload was actually seized to the locking nut, so I didn't have to readjust.

Next up I wanted to remove the stock rack temporarily to develop a plan for mounting the power rack. However, after fighting the mounts for awhile out came the grinder and pry bars. I can fairly confidently say the stock rack isn't going back in.

During removal I managed to separate the collapsible steering column accidentally. Stay tuned to watch the steering jump to the top priority!


Edit: And because the page has gotten a bit disorienting, here is a picture of a sweet c3 seen at harbor freight recently.

pres589 (djronnebaum)
pres589 (djronnebaum) UltimaDork
10/17/22 1:59 p.m.

Interesting wheels on the C3.  And very cool progress on your steering upgrades.

Shavarsh
Shavarsh HalfDork
10/24/22 4:40 p.m.

First things first, fix the column:

Remove the wheel and whip up a quick steering wheel puller to remove the hub:

Remove the snap ring under the turn signal assembly:

This is what the upper shaft looks like:

The lower shaft slides on over the 2 clips on the upper shaft and holds it relatively firmly. There isn't a positive stop though (because the shaft needs to collapse on impact). This lead to quite a bit of thought about potential failure modes if the lower part separates while driving. It was good enough for Ford, but I will be replacing the rag joint with a universal. For now I slid the assembly back together and marked the assembled length for future reference.

You'll need to log in to post.

Our Preferred Partners
UjO2ESsGBCOt85MFxdNcEYeEsXeQuUrbAi4zBbft44d6TYOqjVWfNJ66s4aoLbwp