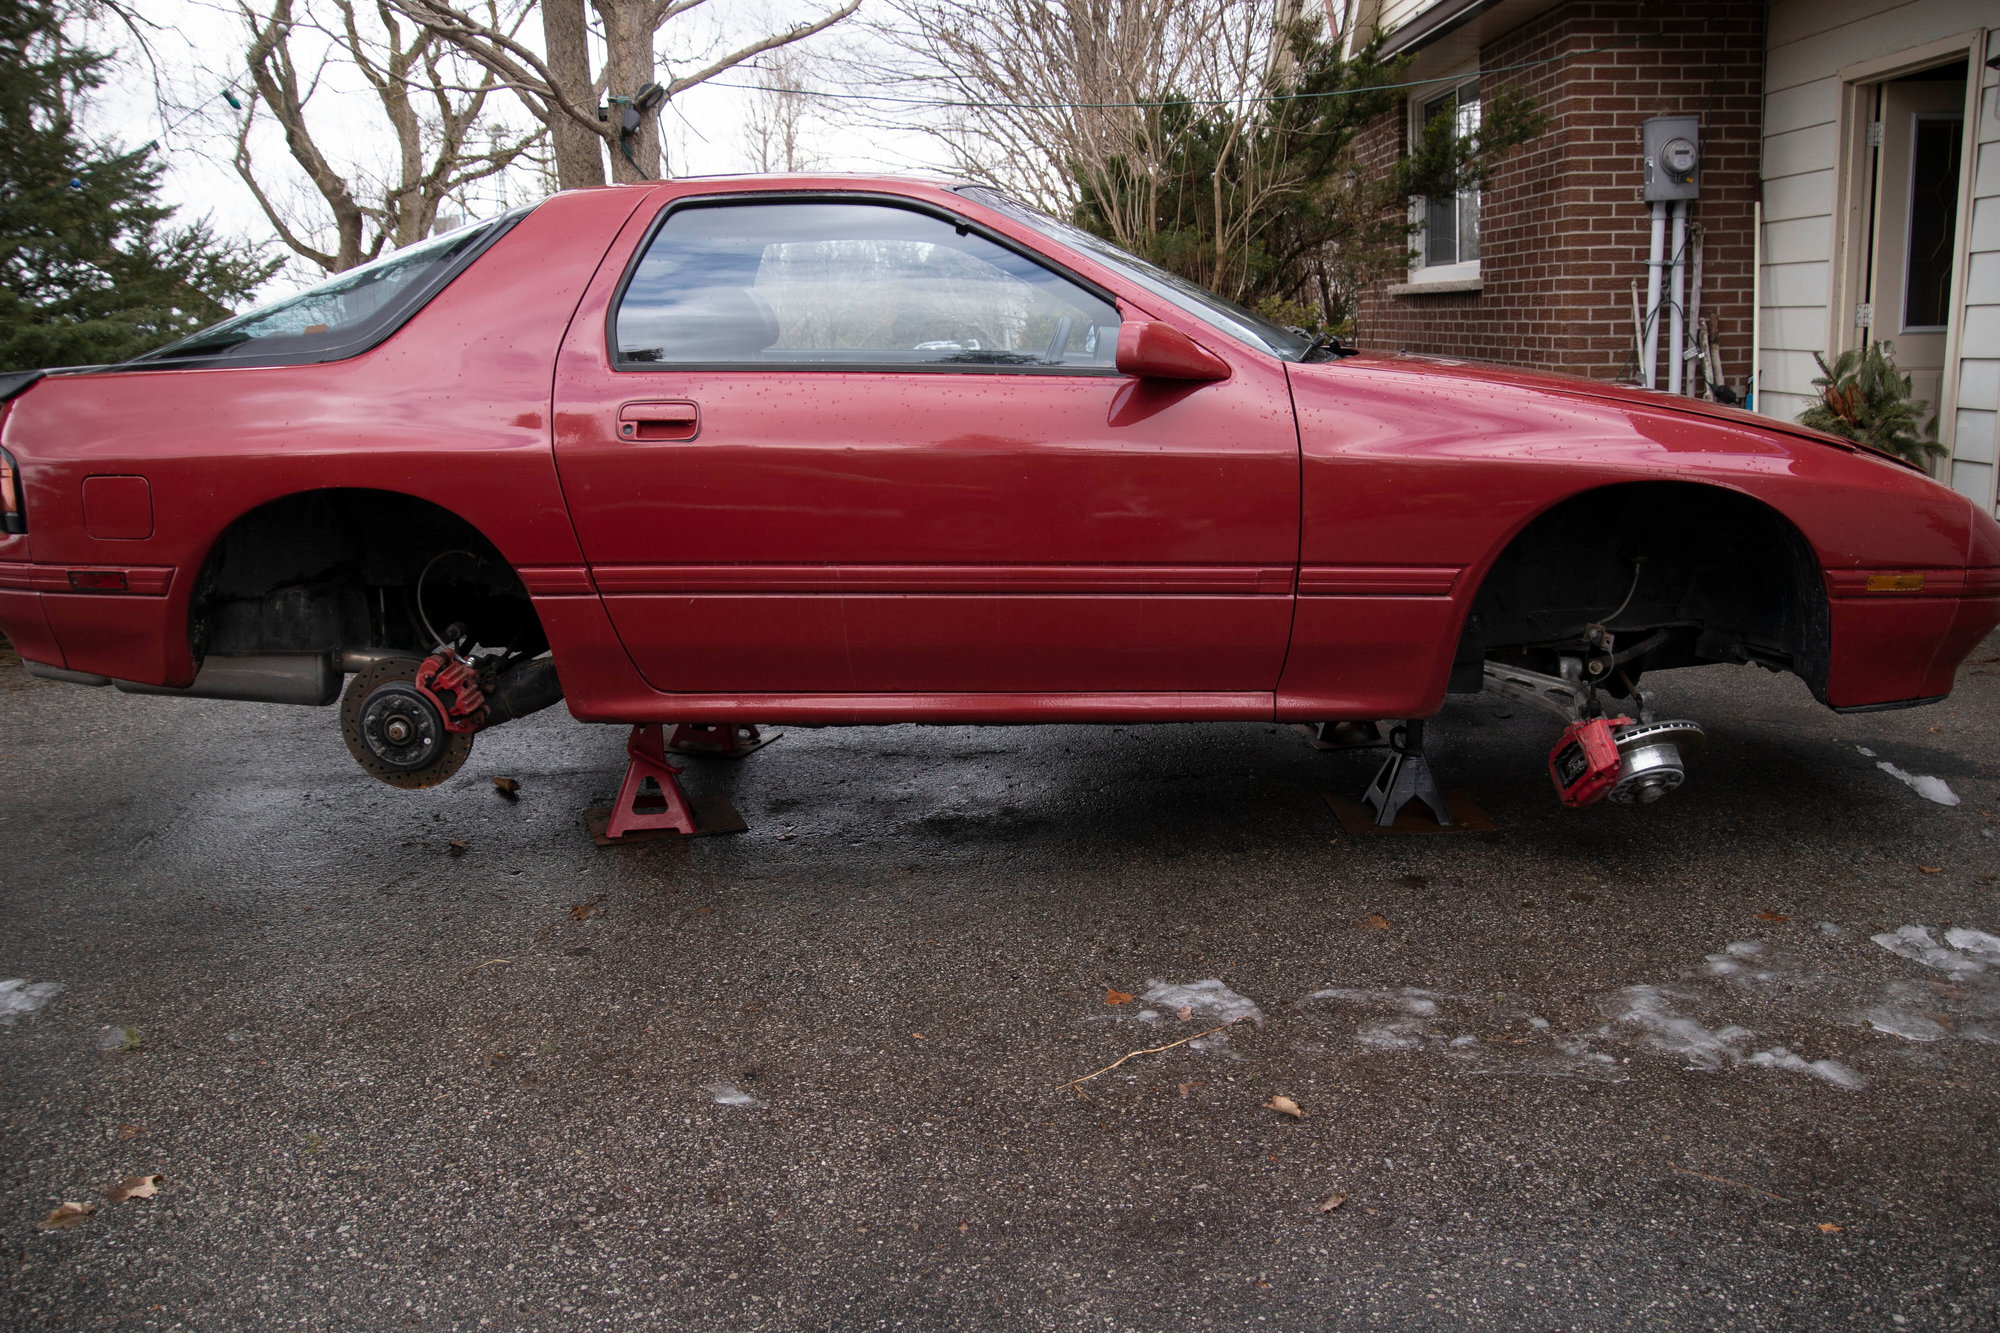
1 2 3 4
WondrousBread
WondrousBread New Reader
1/1/22 5:23 p.m.

Continued:

I left the part of the hub that mounts flush against the pulley bare, so I gave it a skim of silicone brake grease to prevent it rusting again. The keyed channel also got some grease just in case. Then I ran a tap through the threads (as I've done with every other thread on this car) and reassembled the pulley:


It could’ve been smoother with filler-primer and sanding, but honestly it’s good enough that I won’t worry about that.

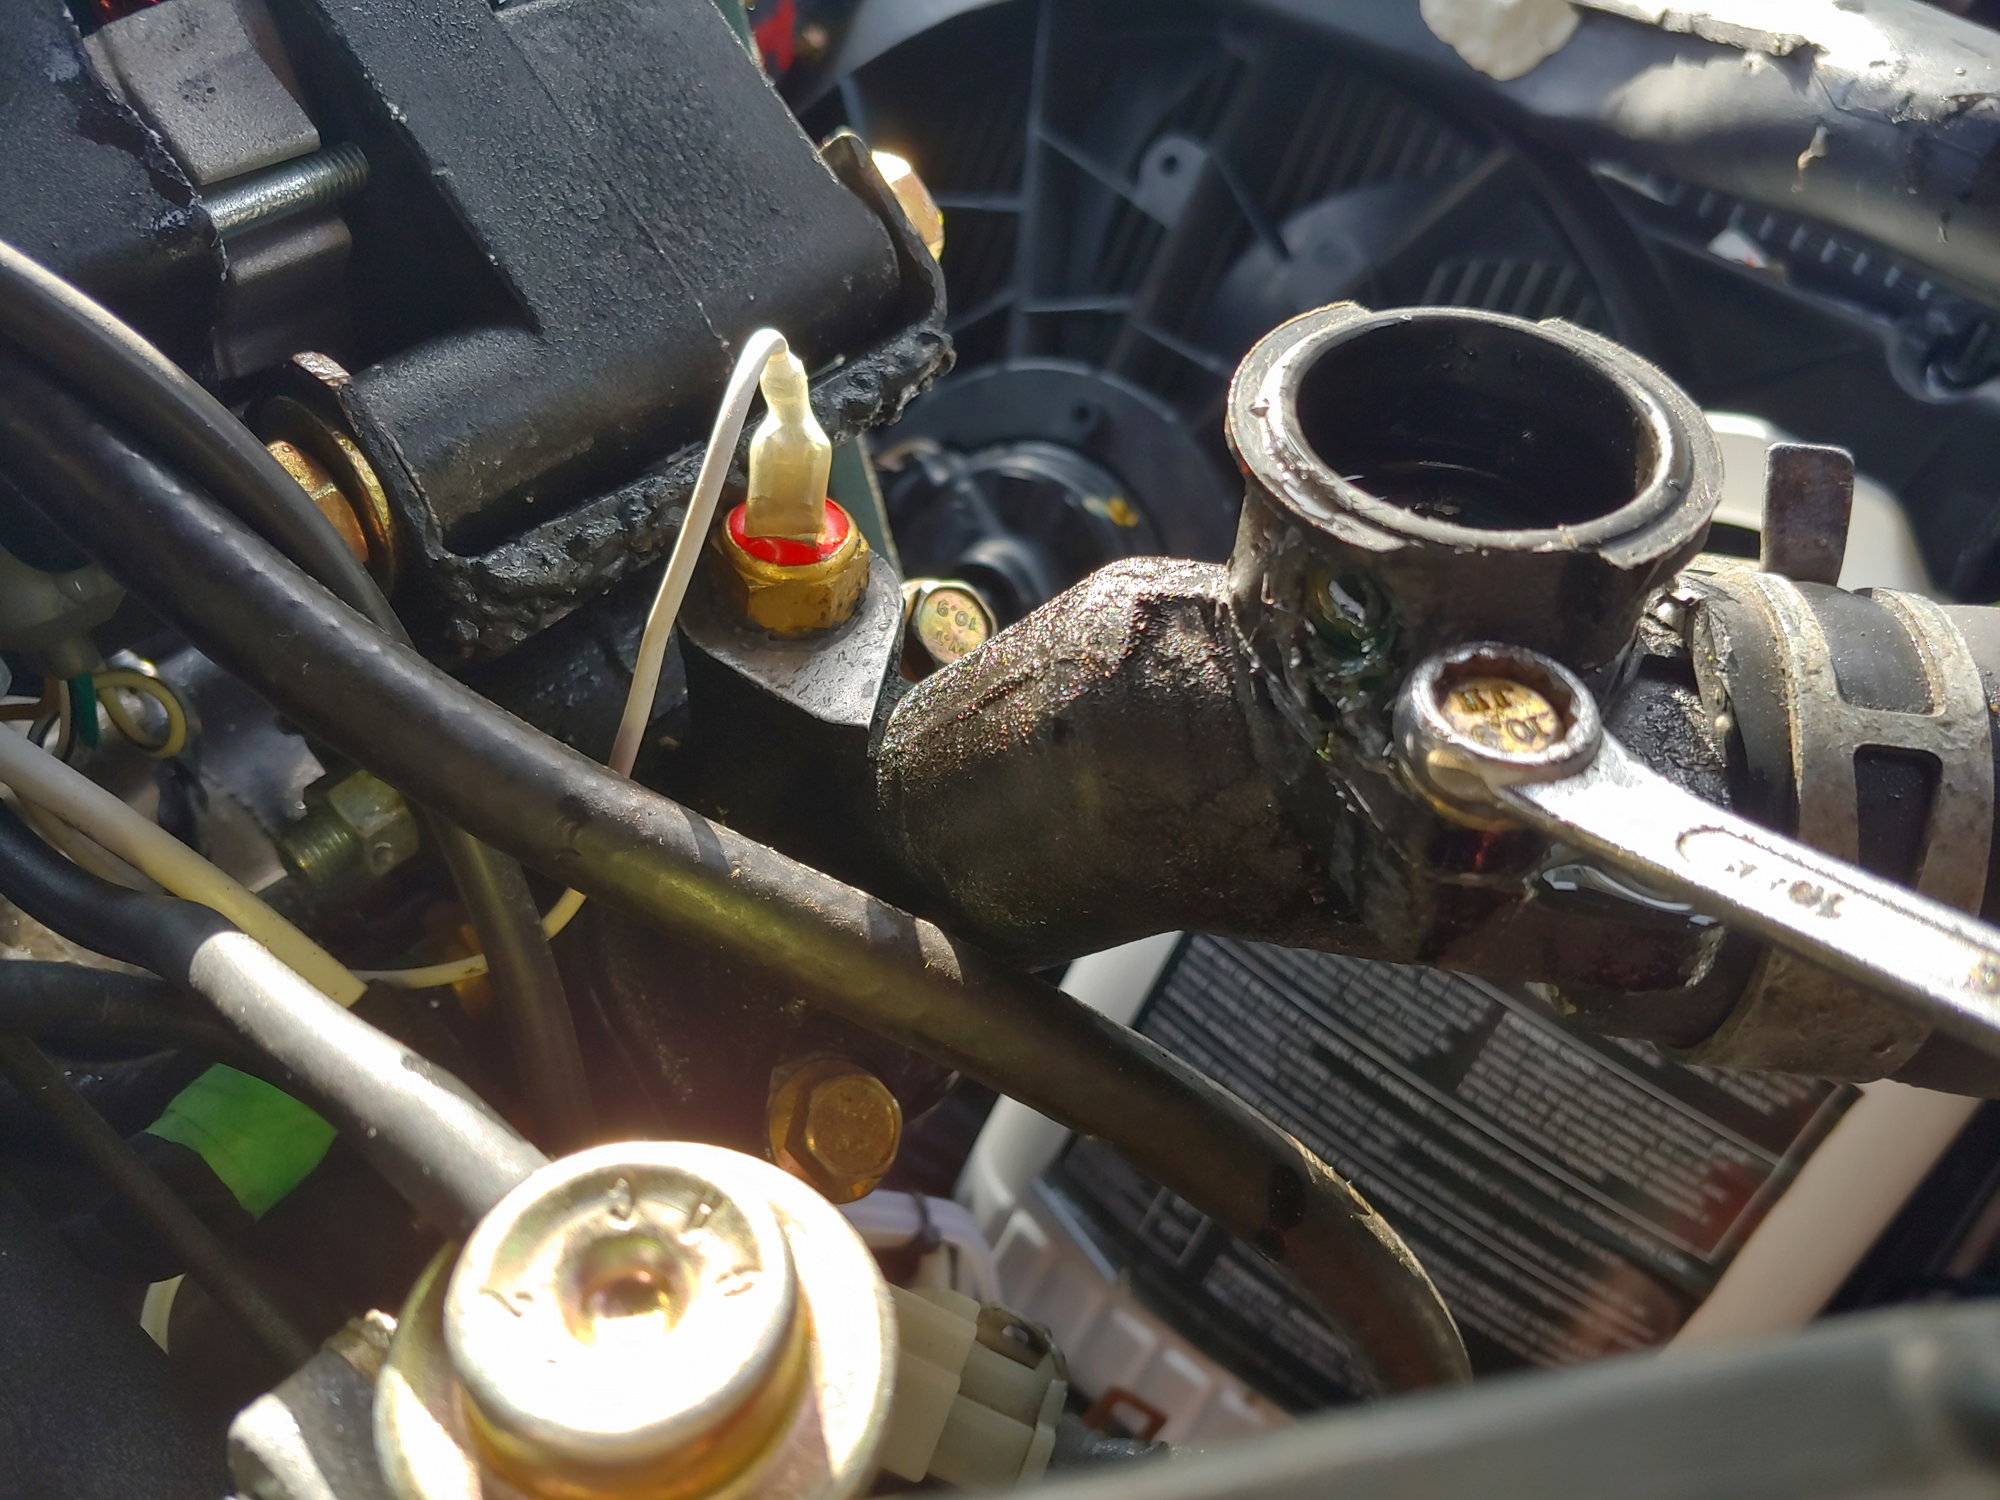
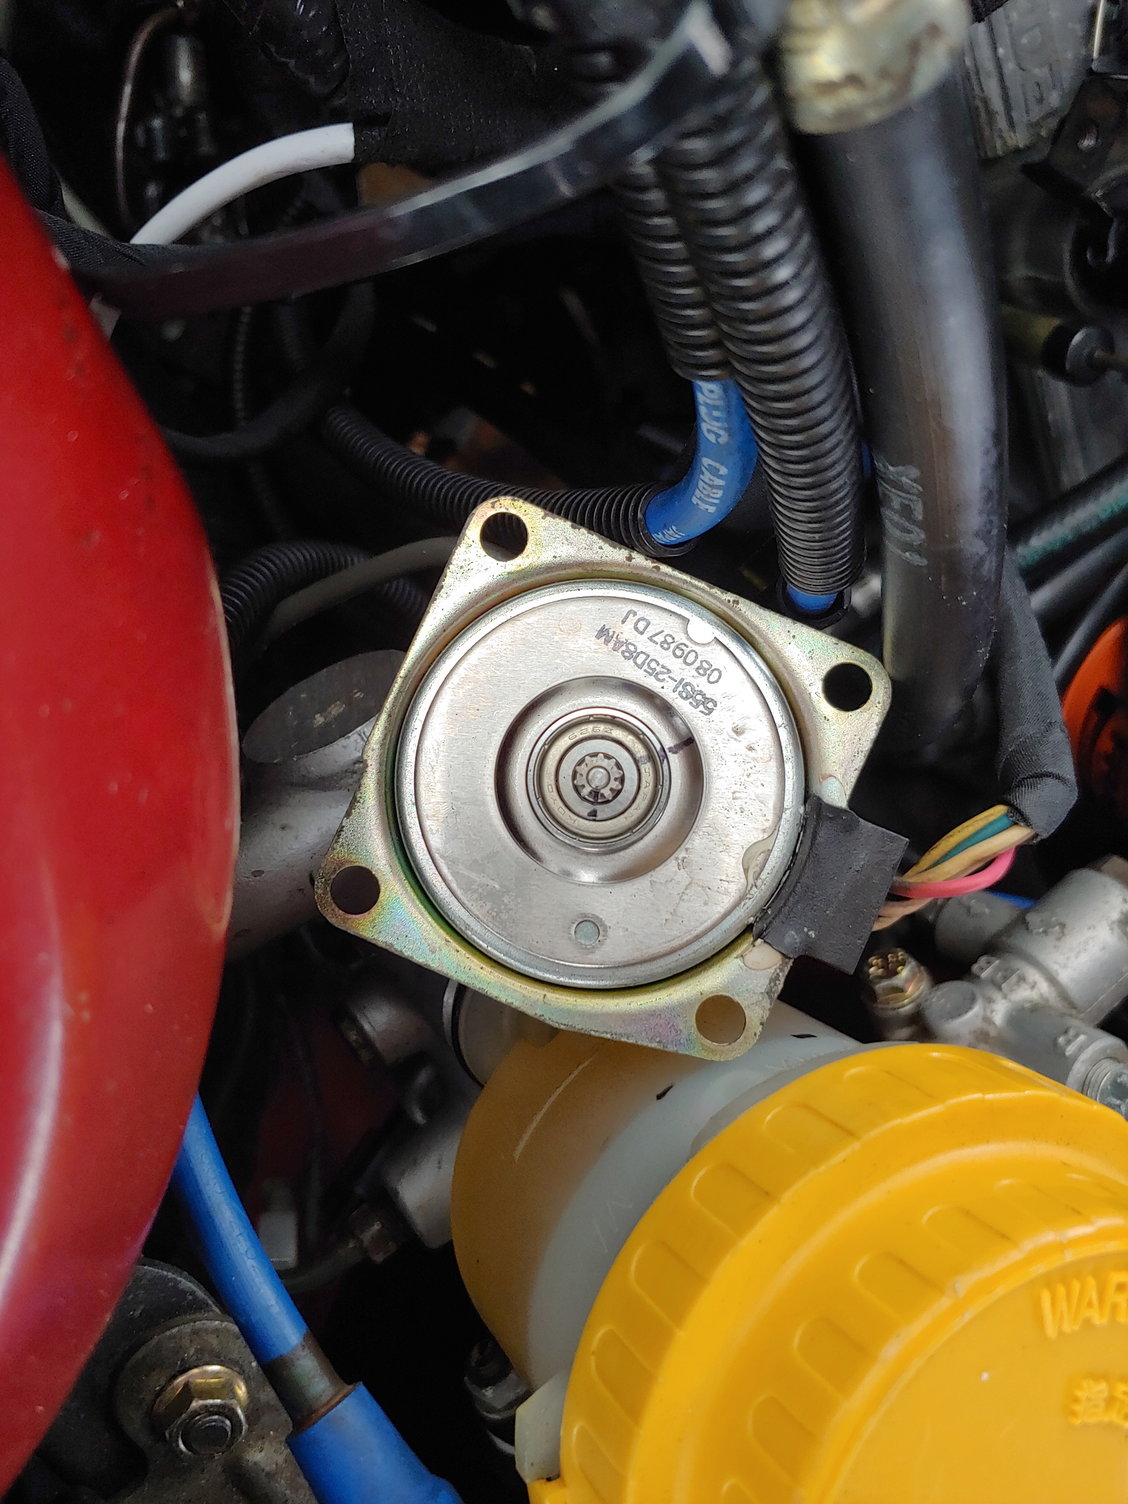
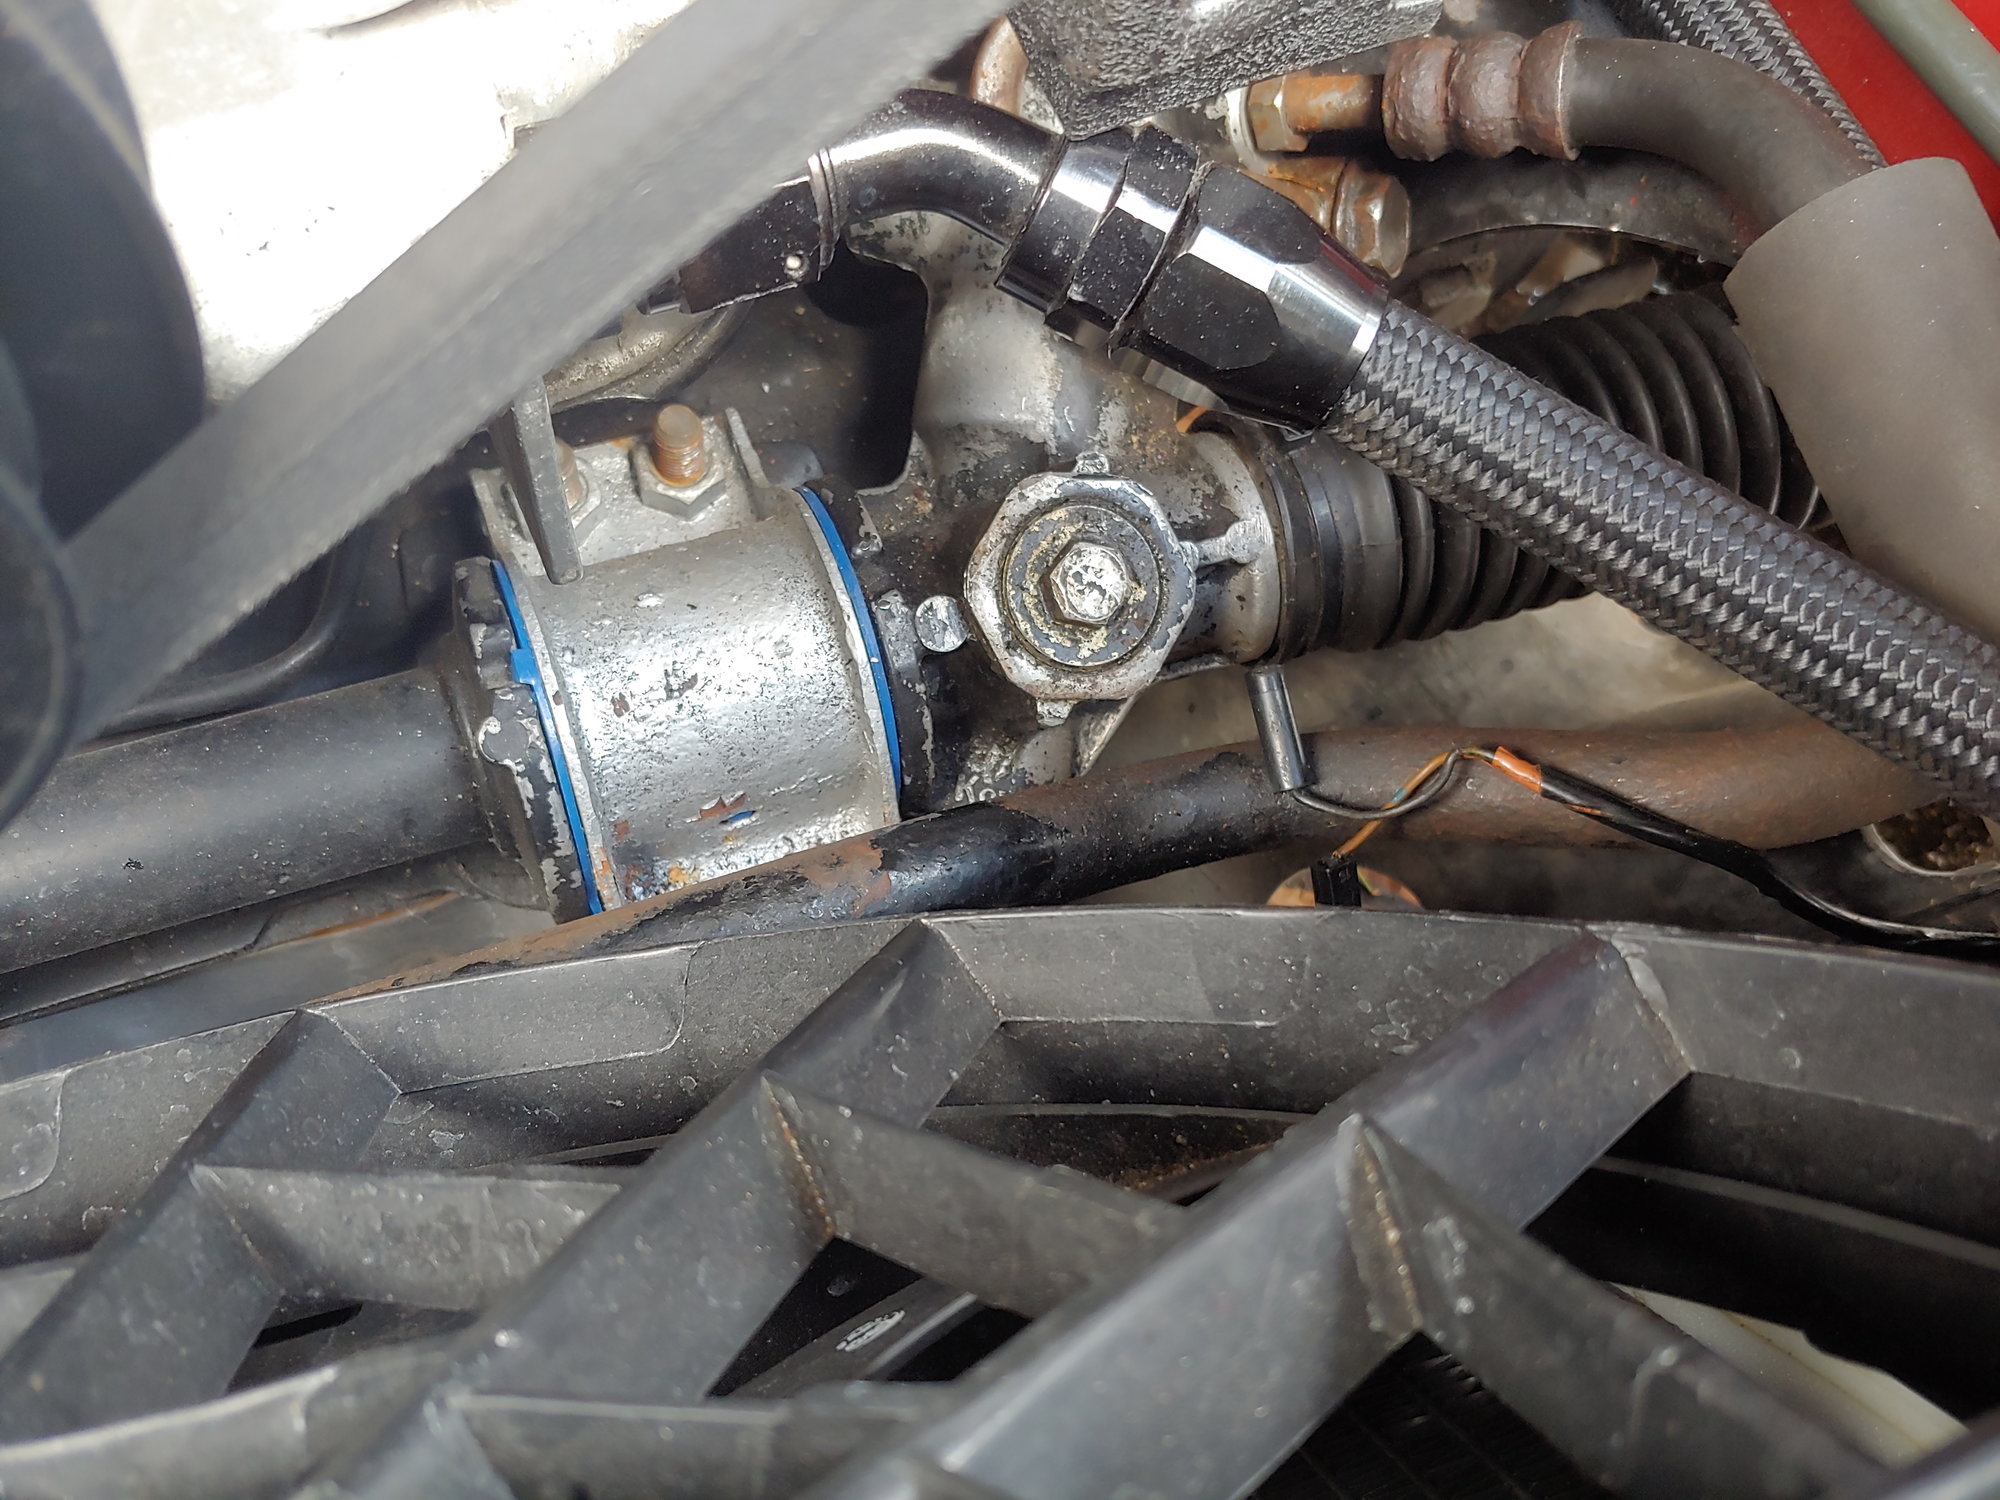
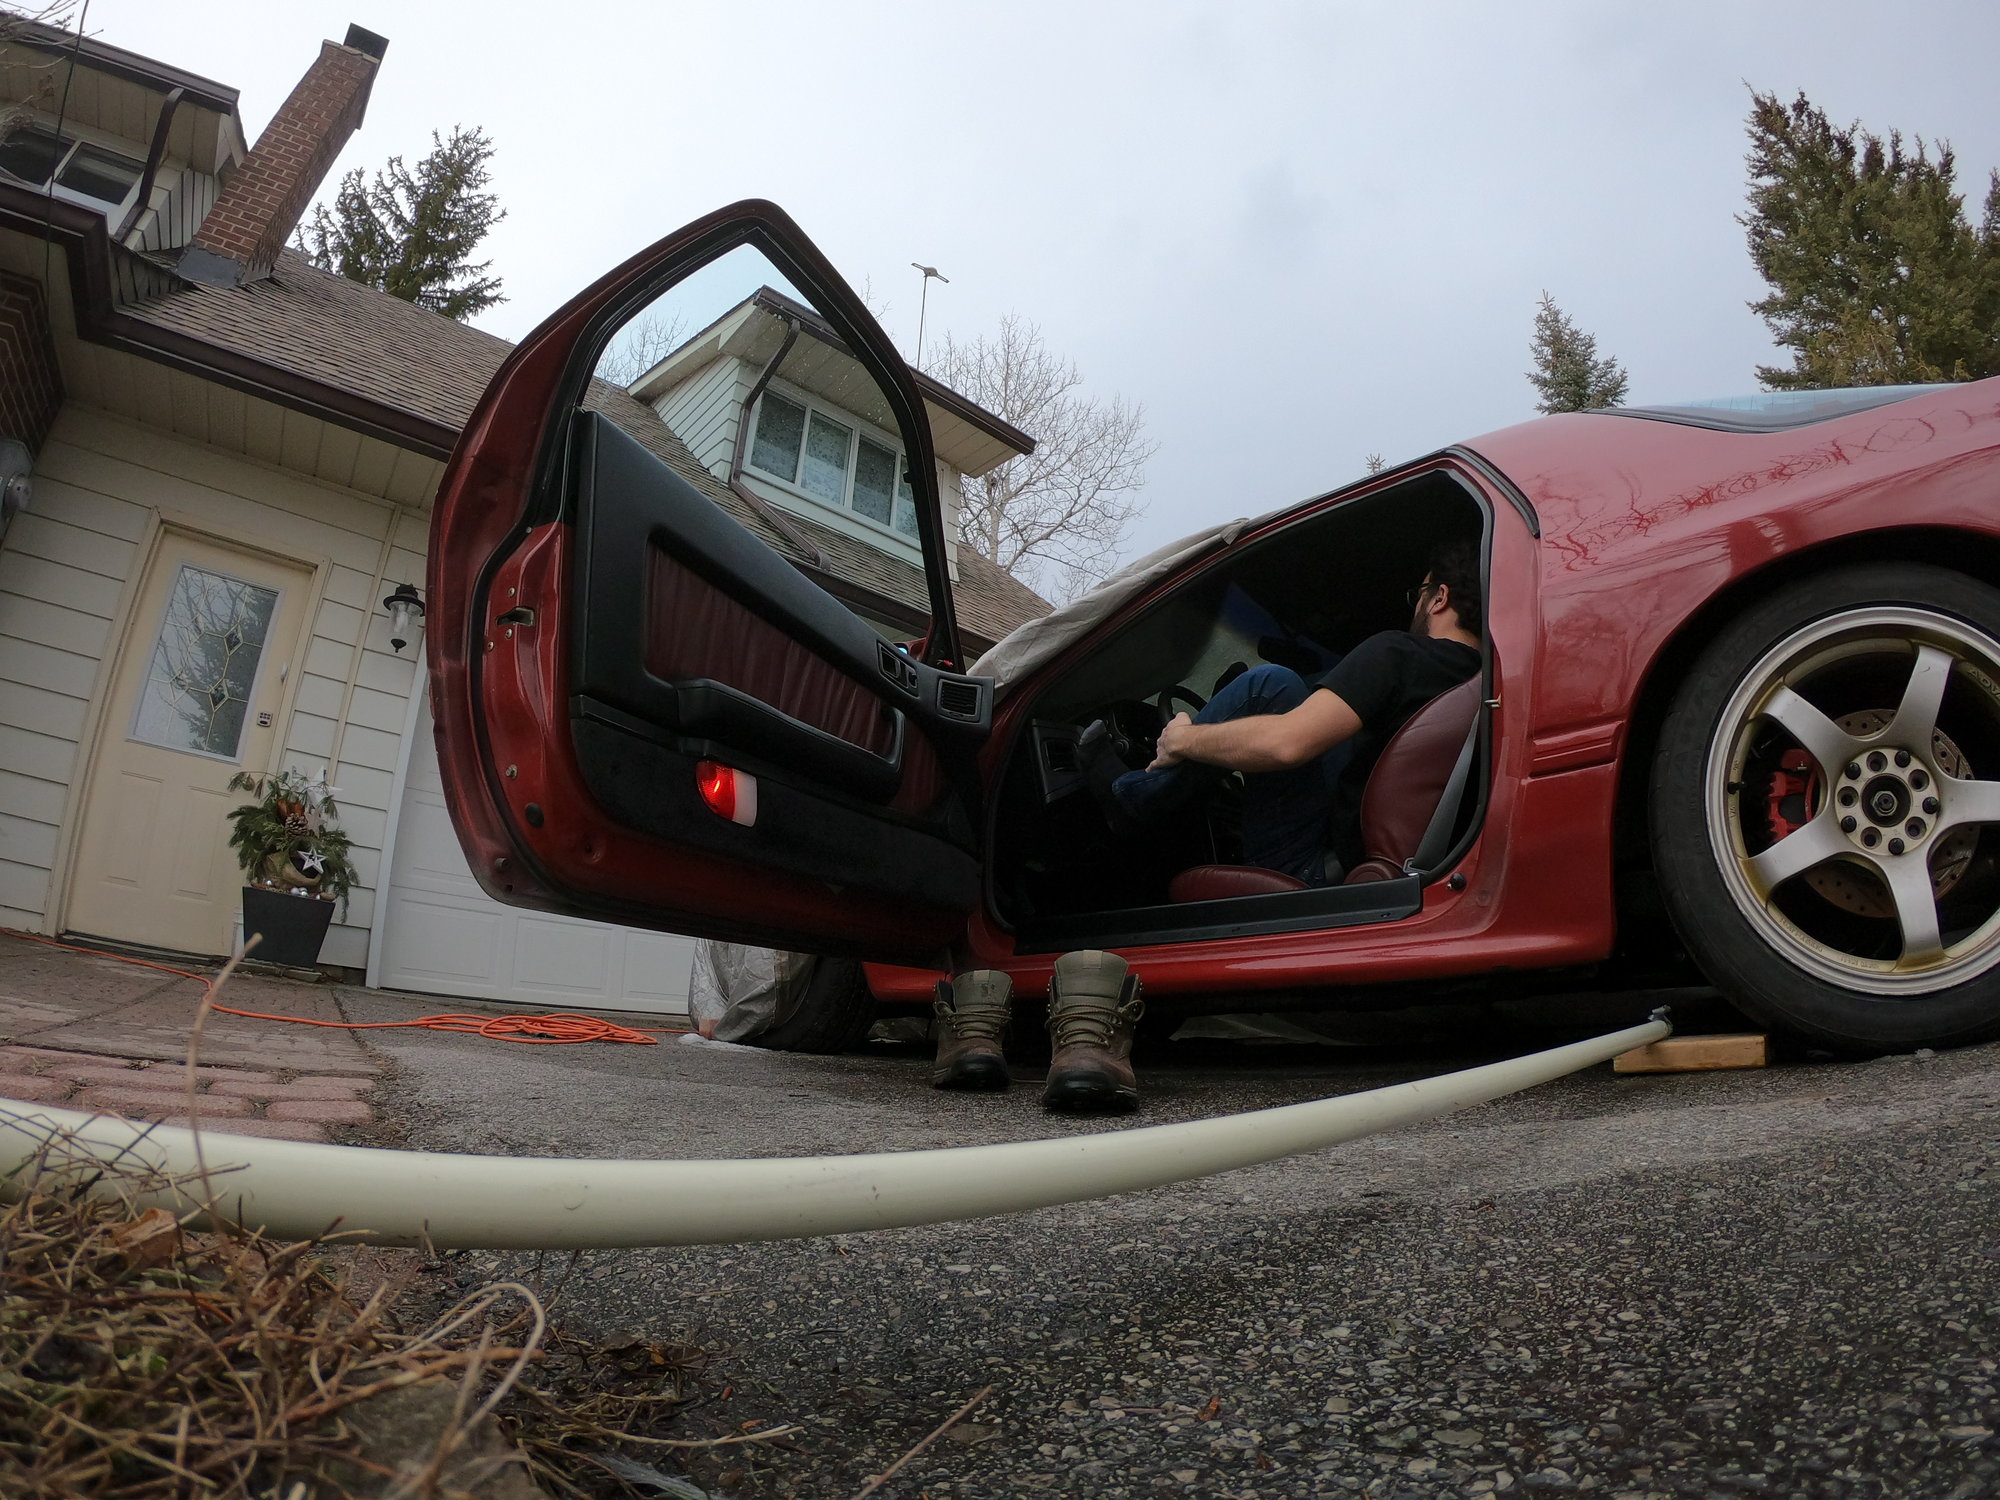
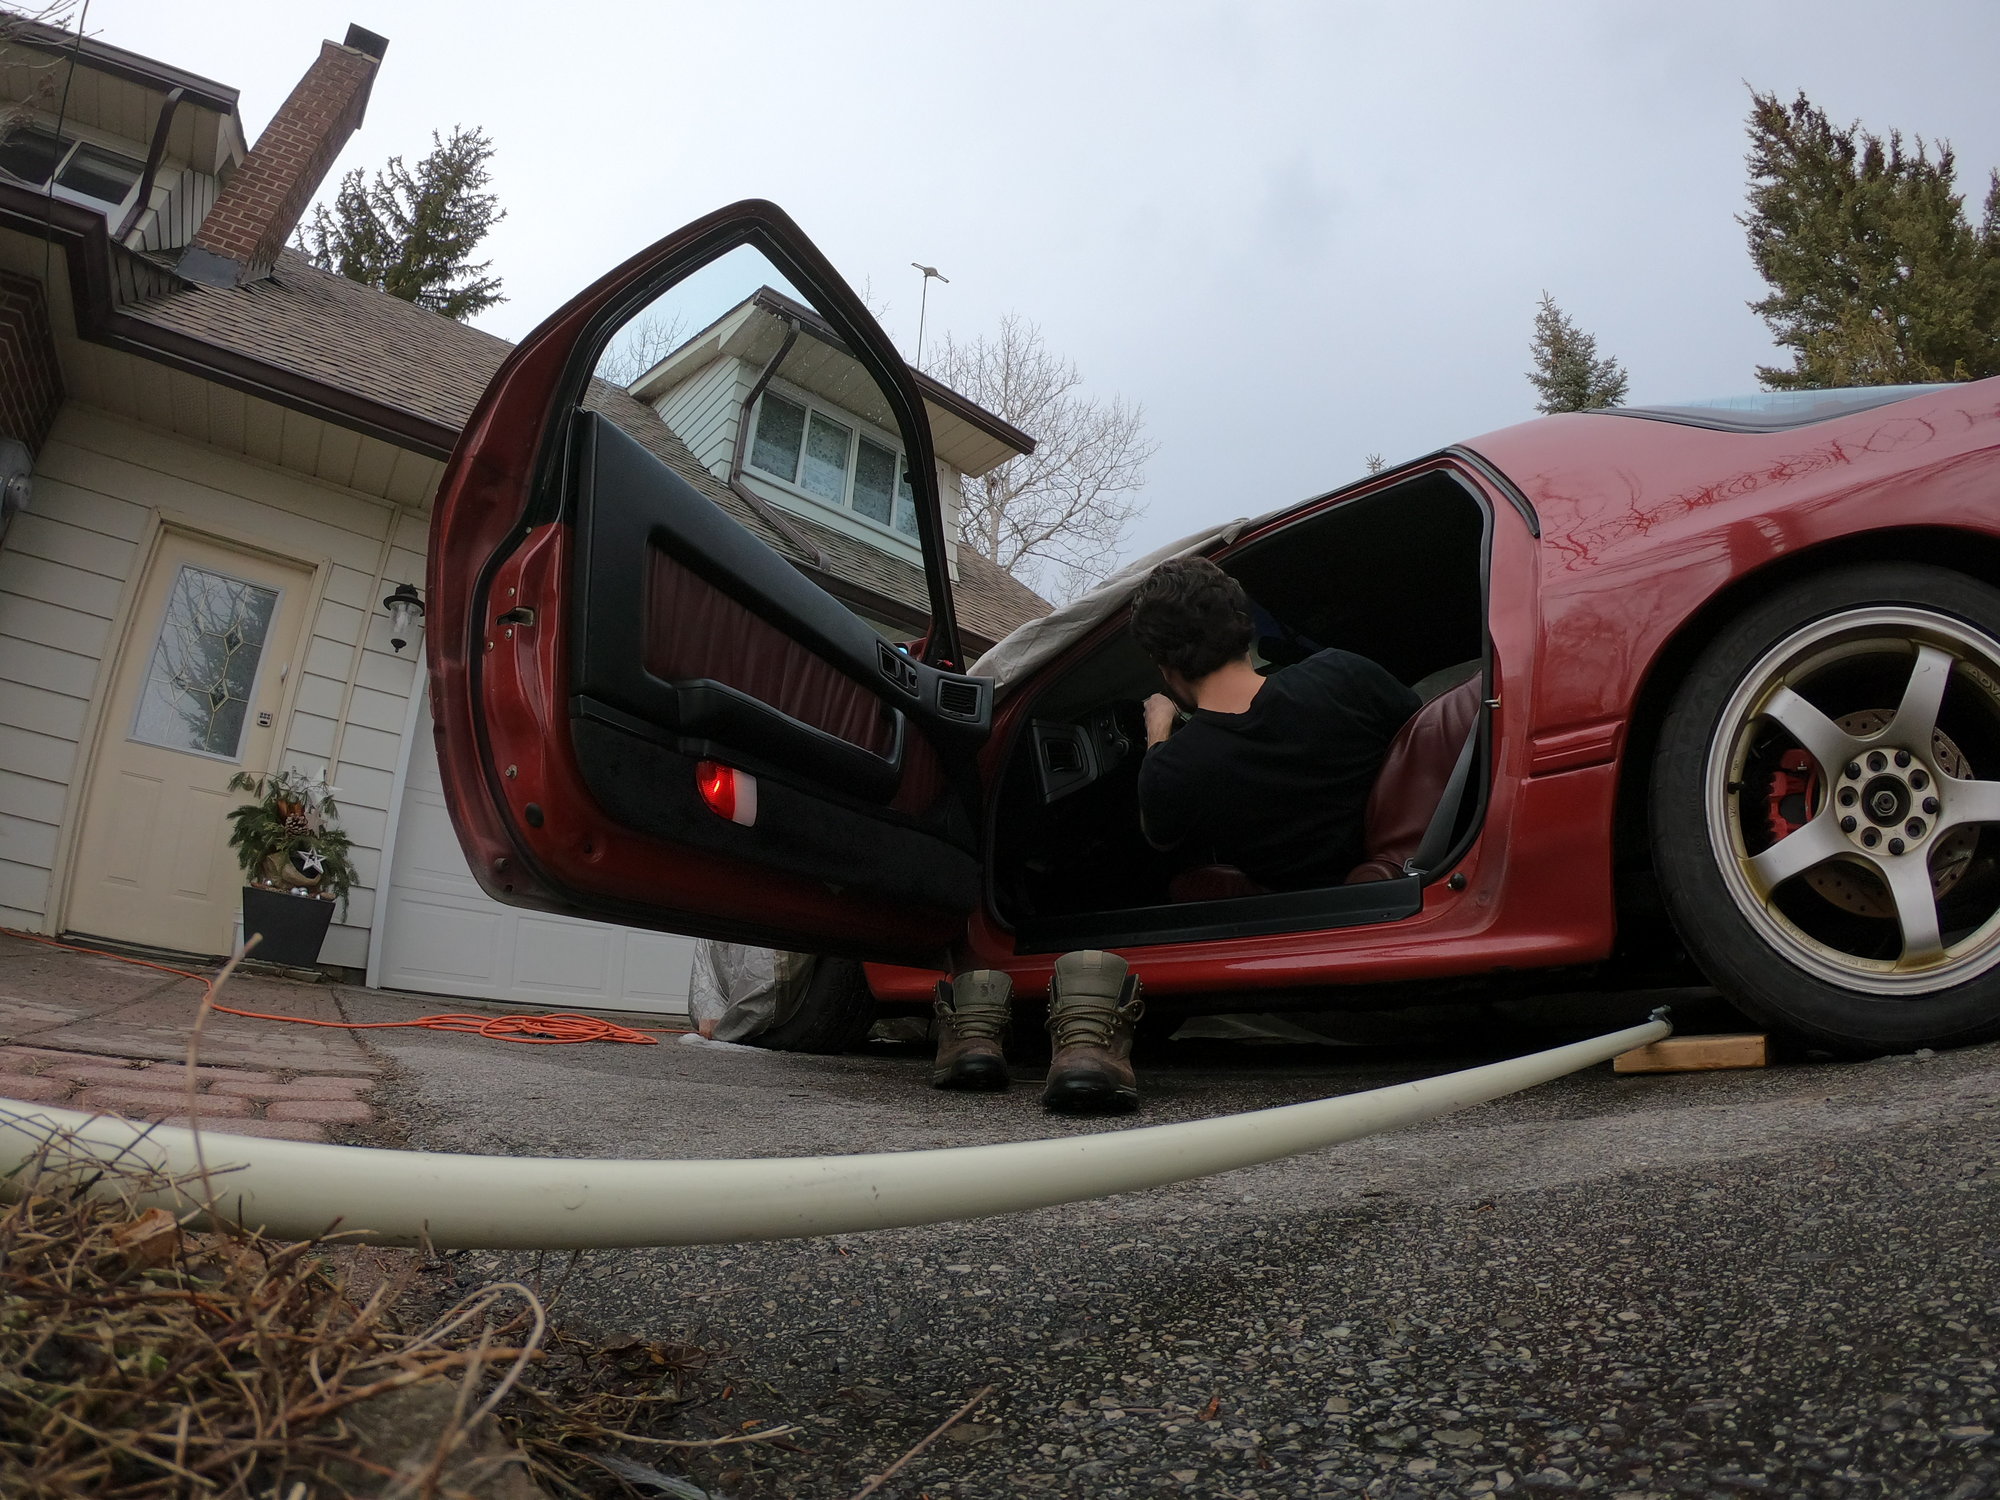
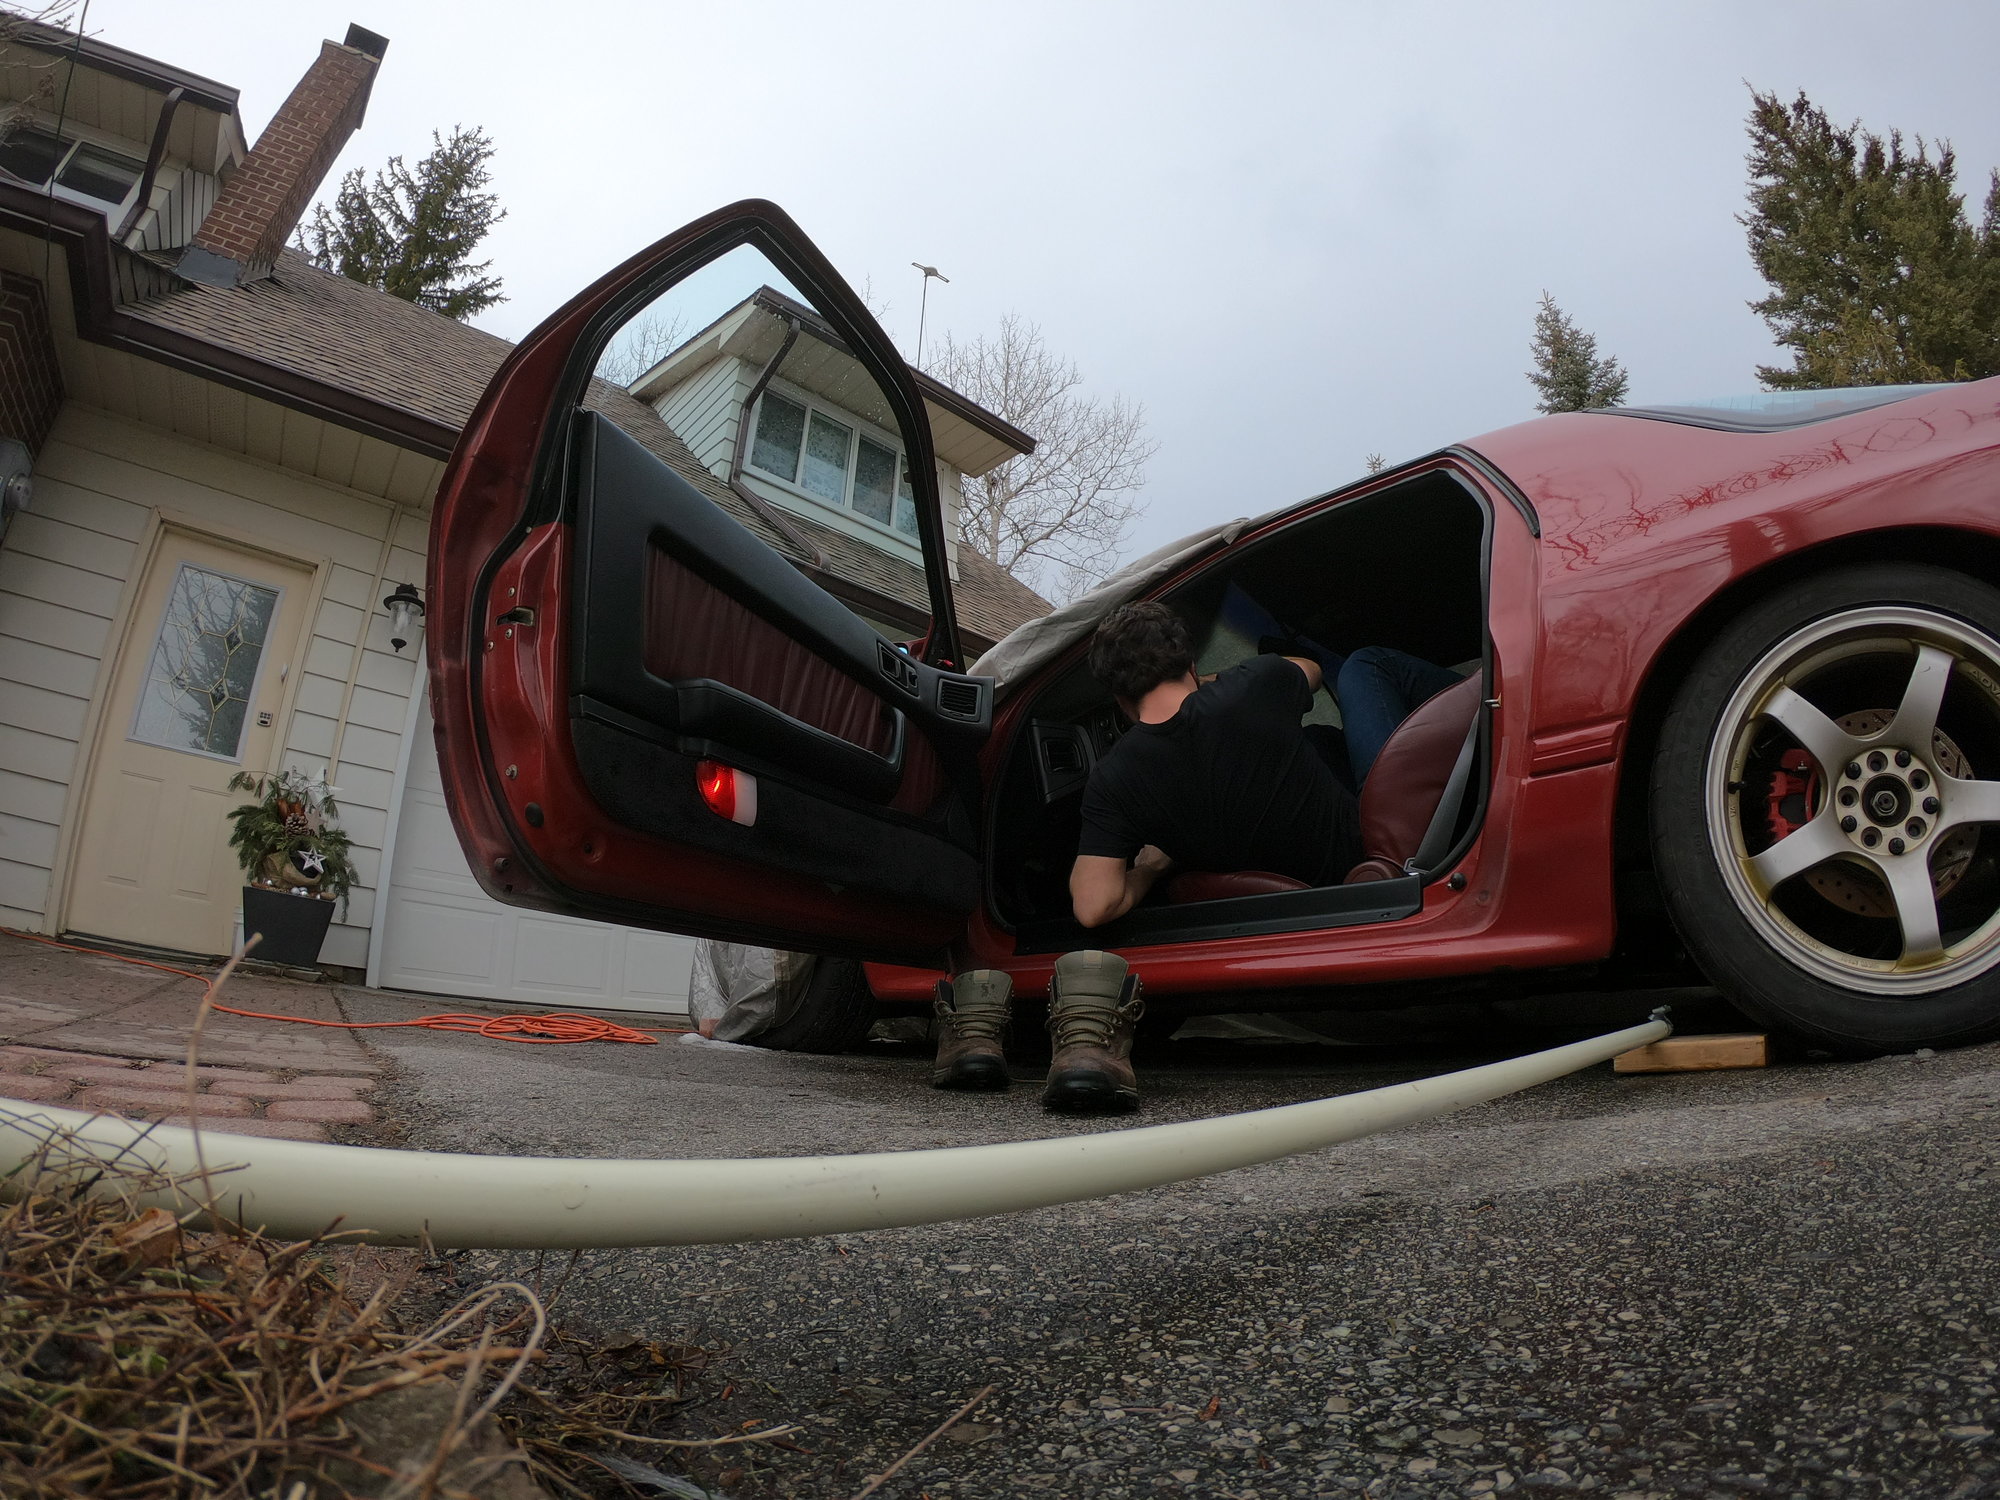
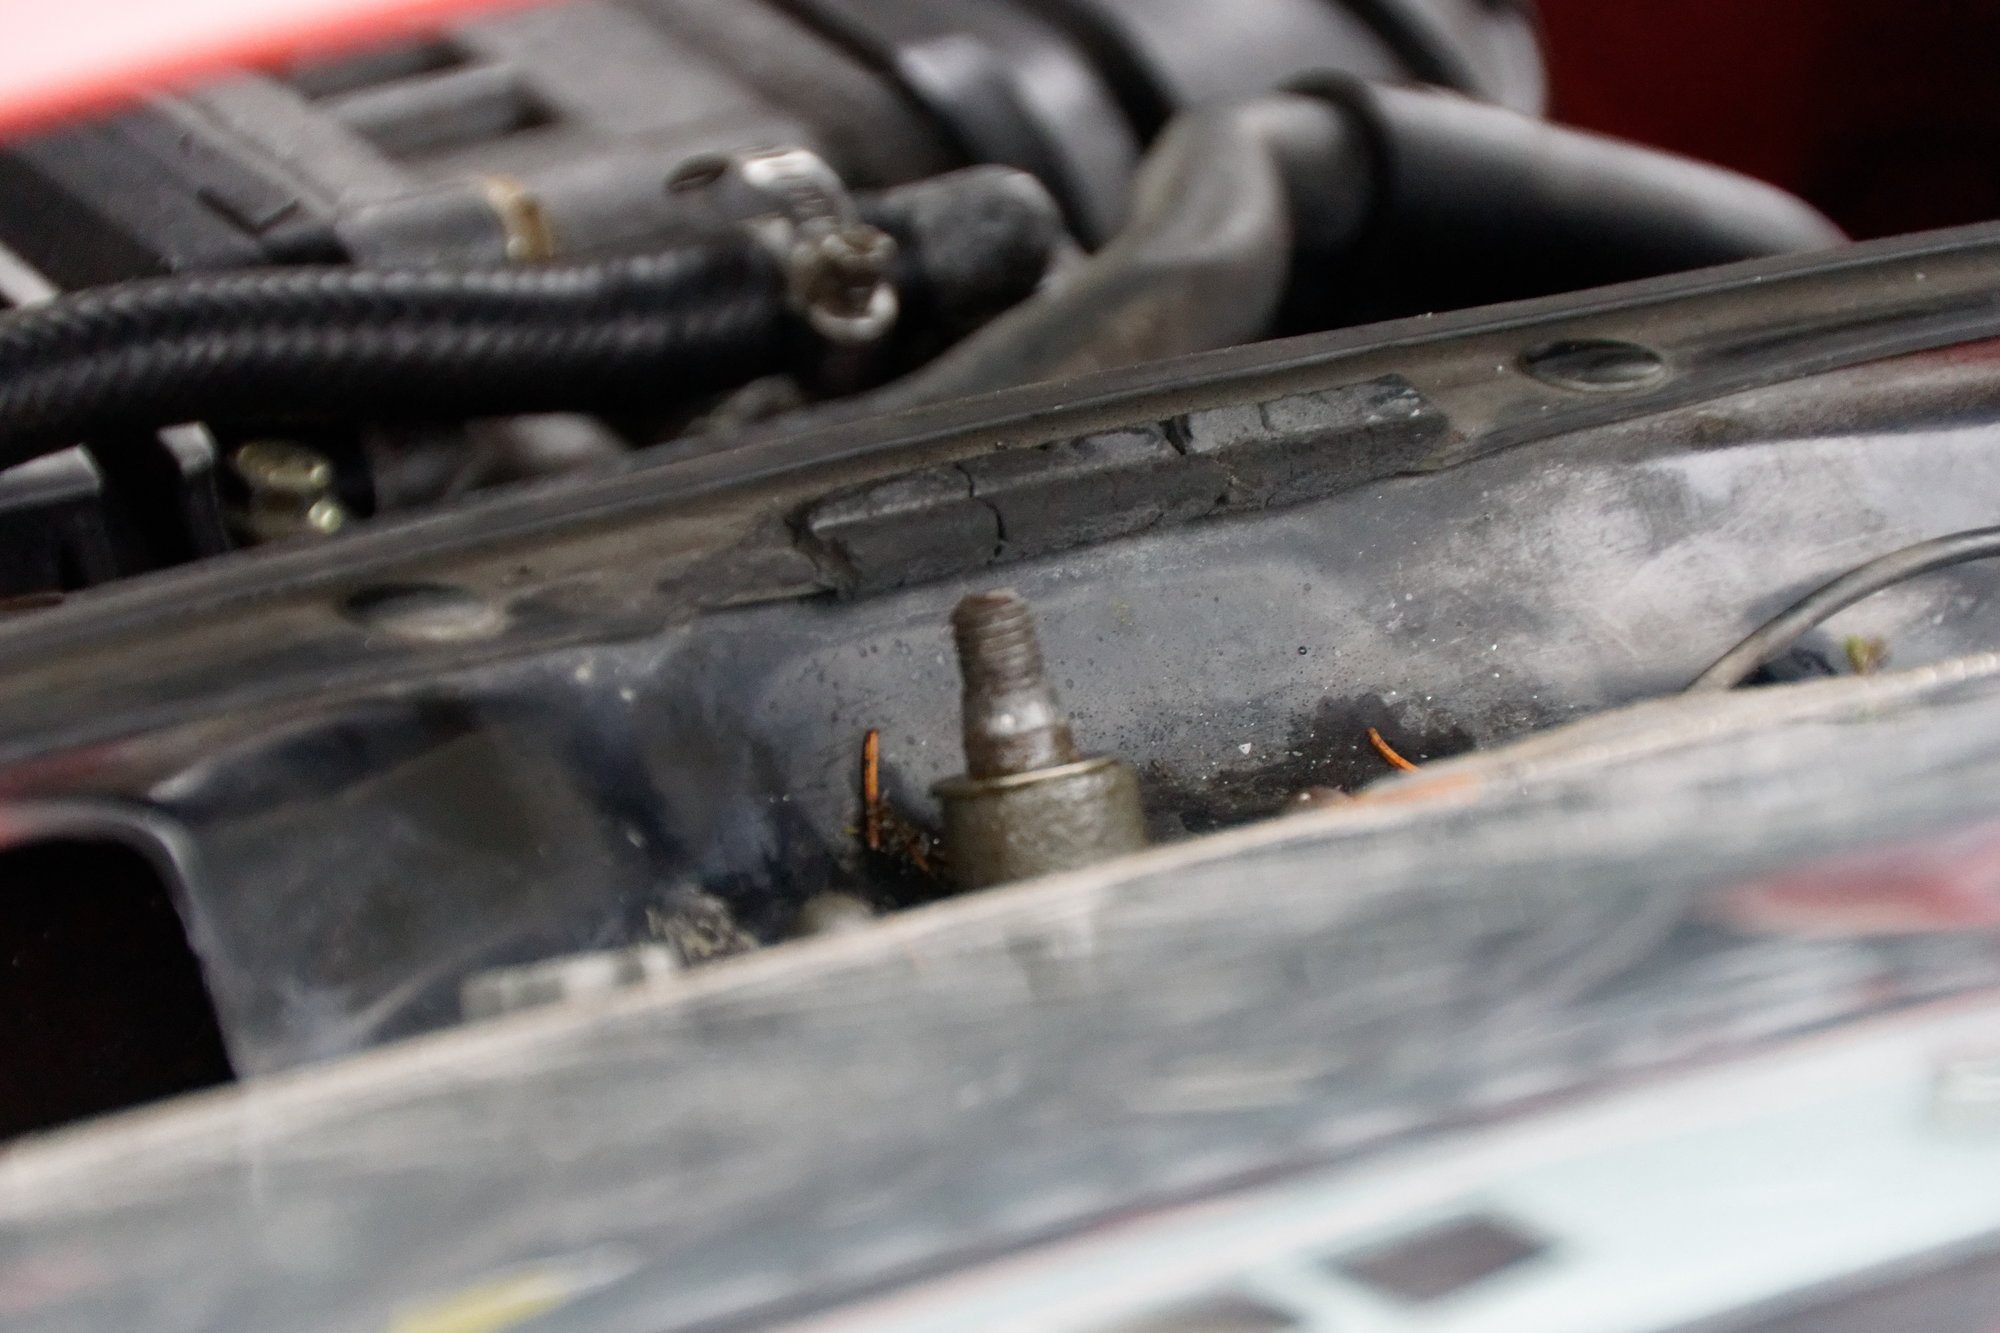
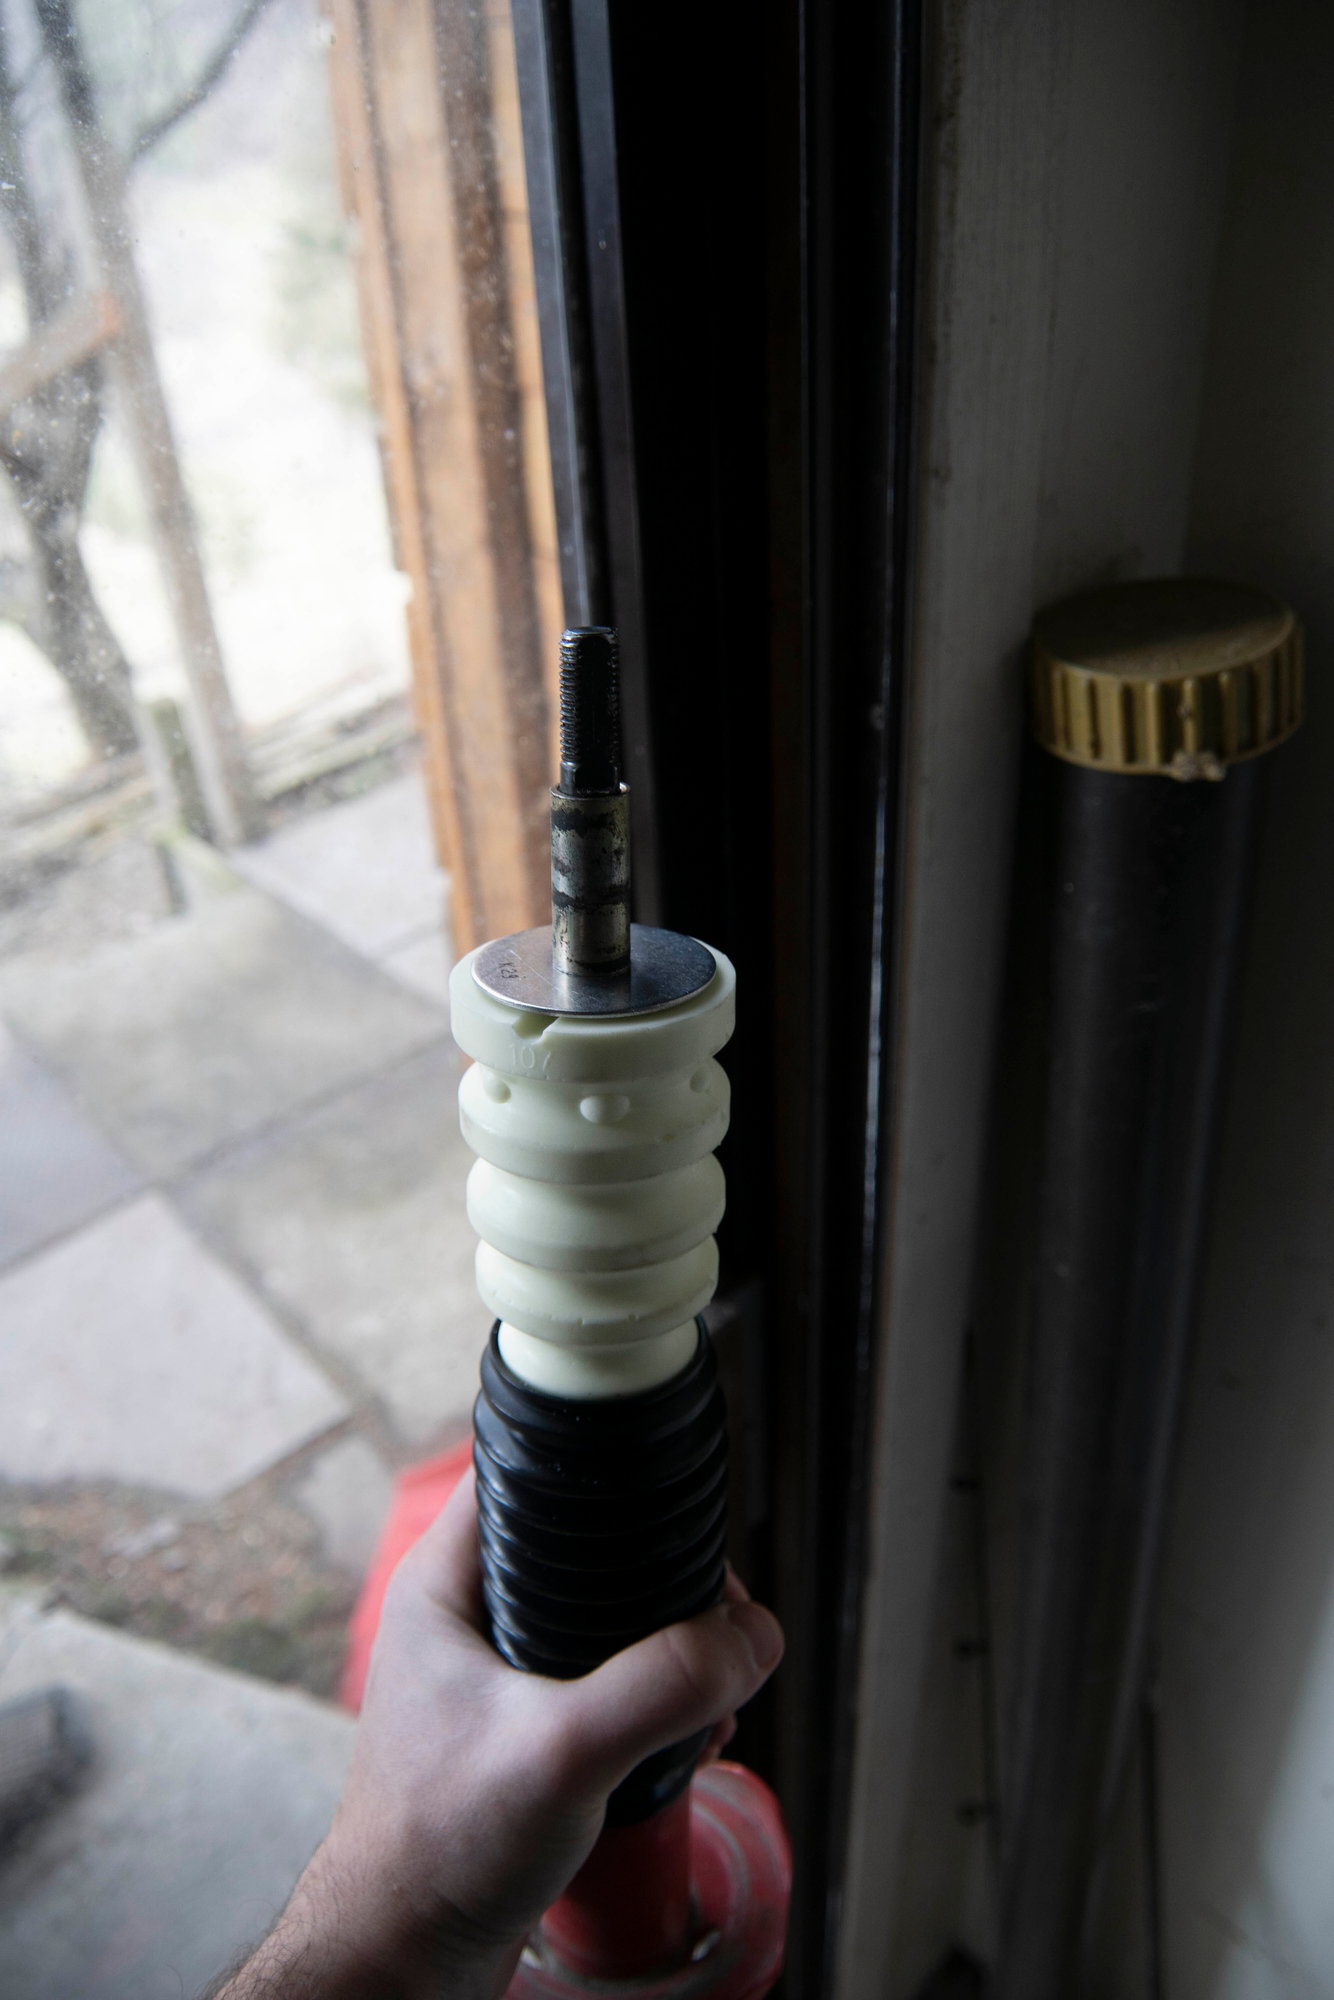
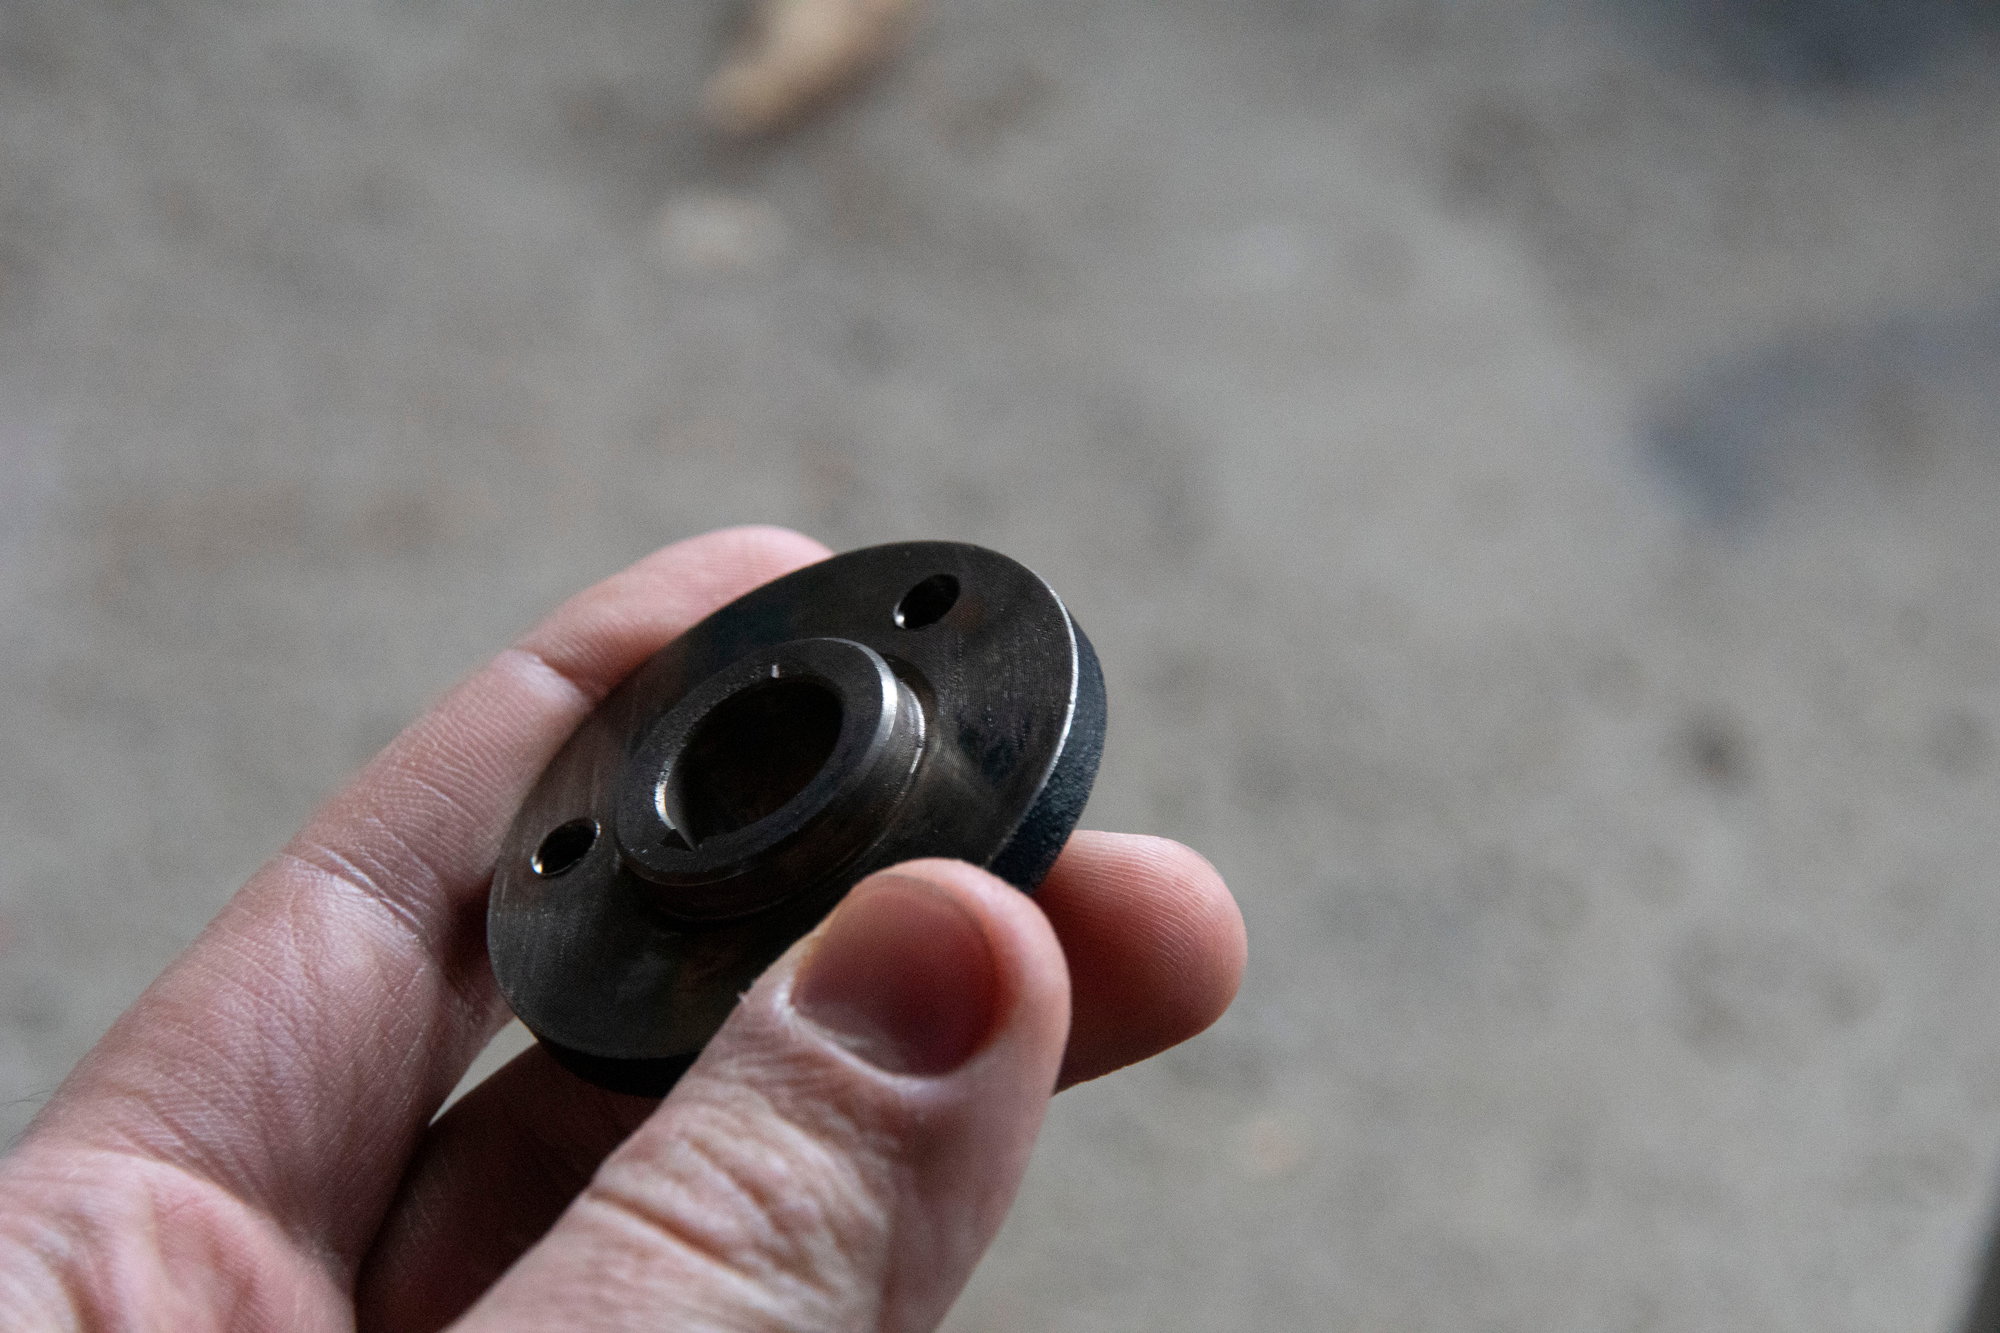
Forgive the blurriness of the following photo:


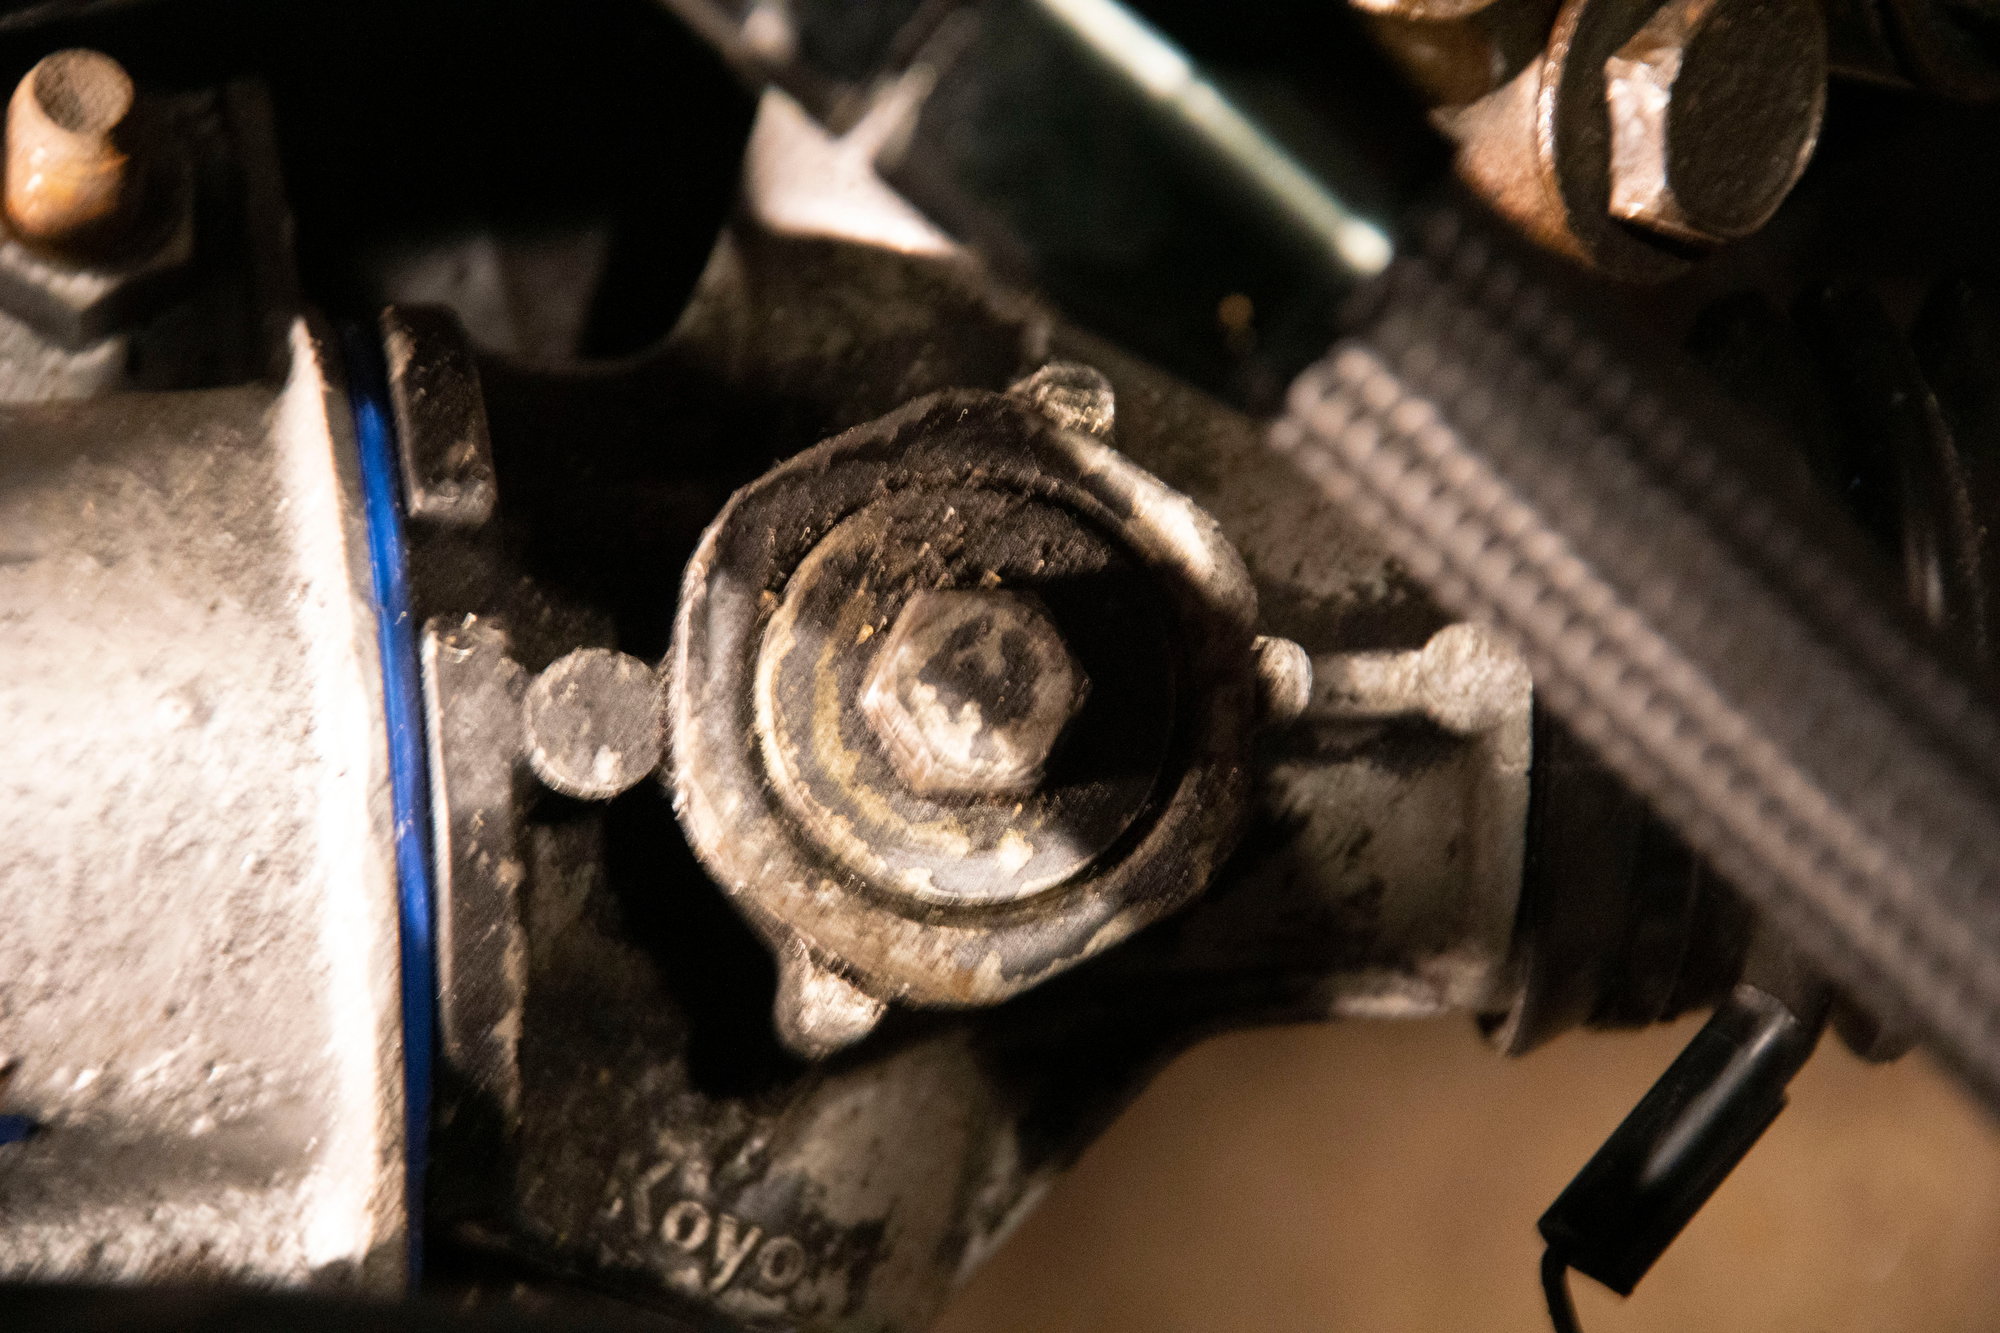
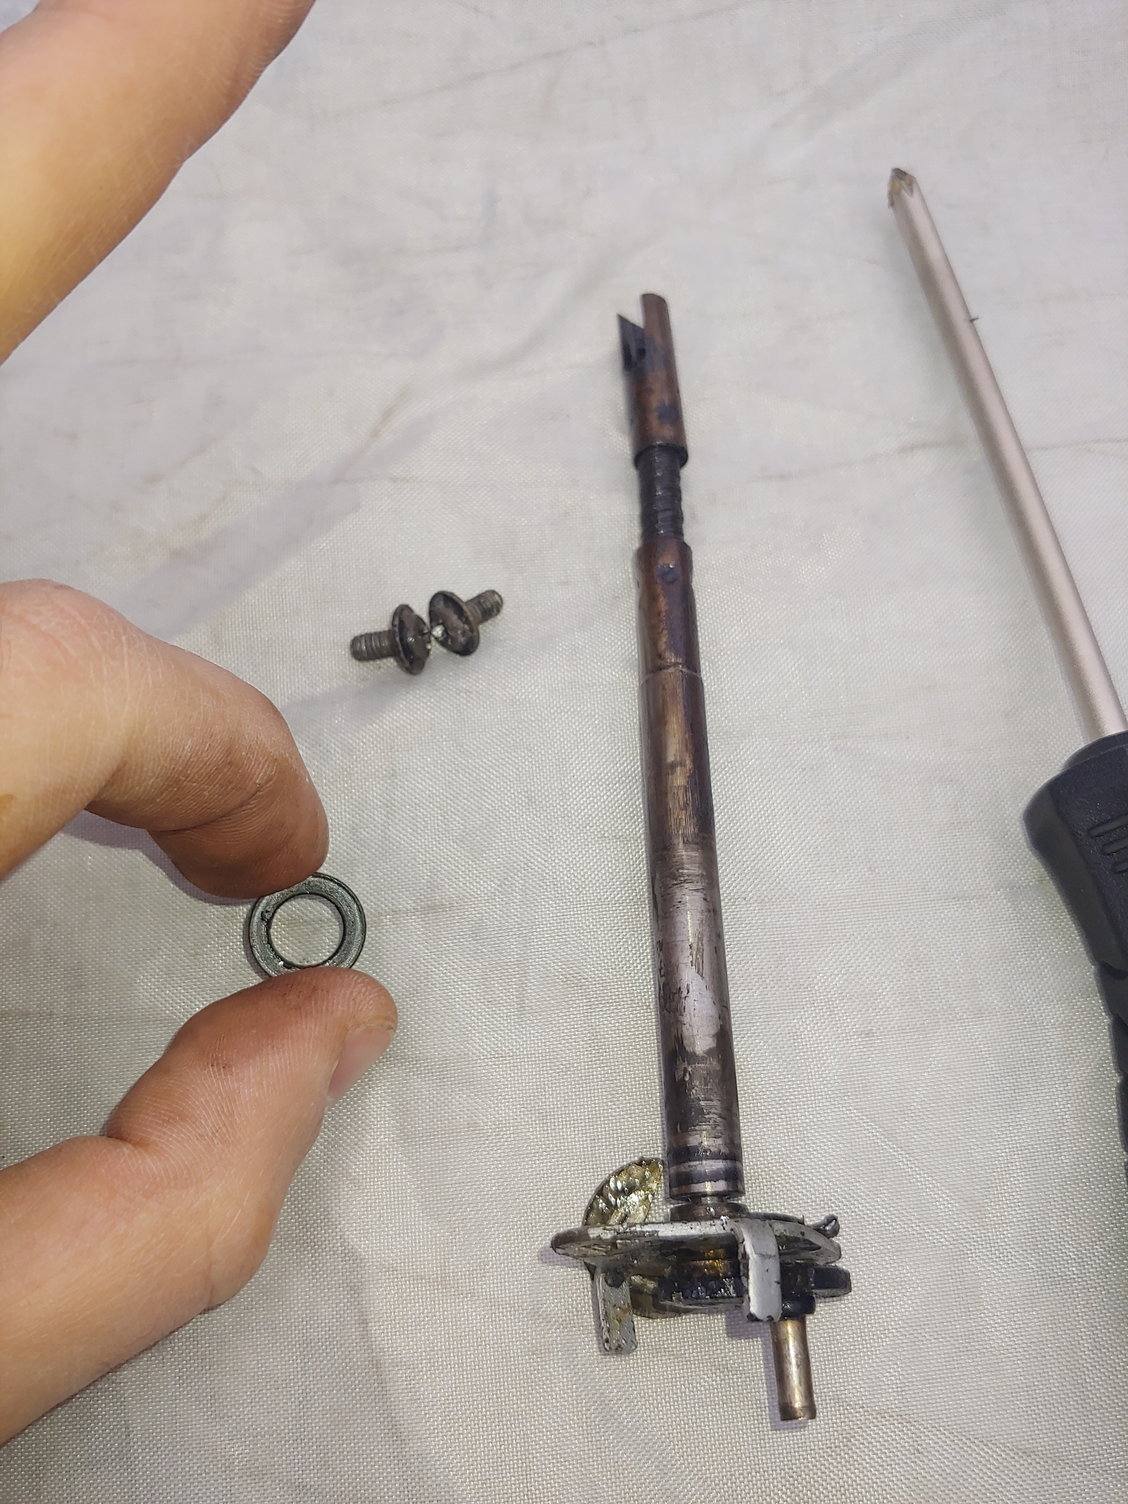
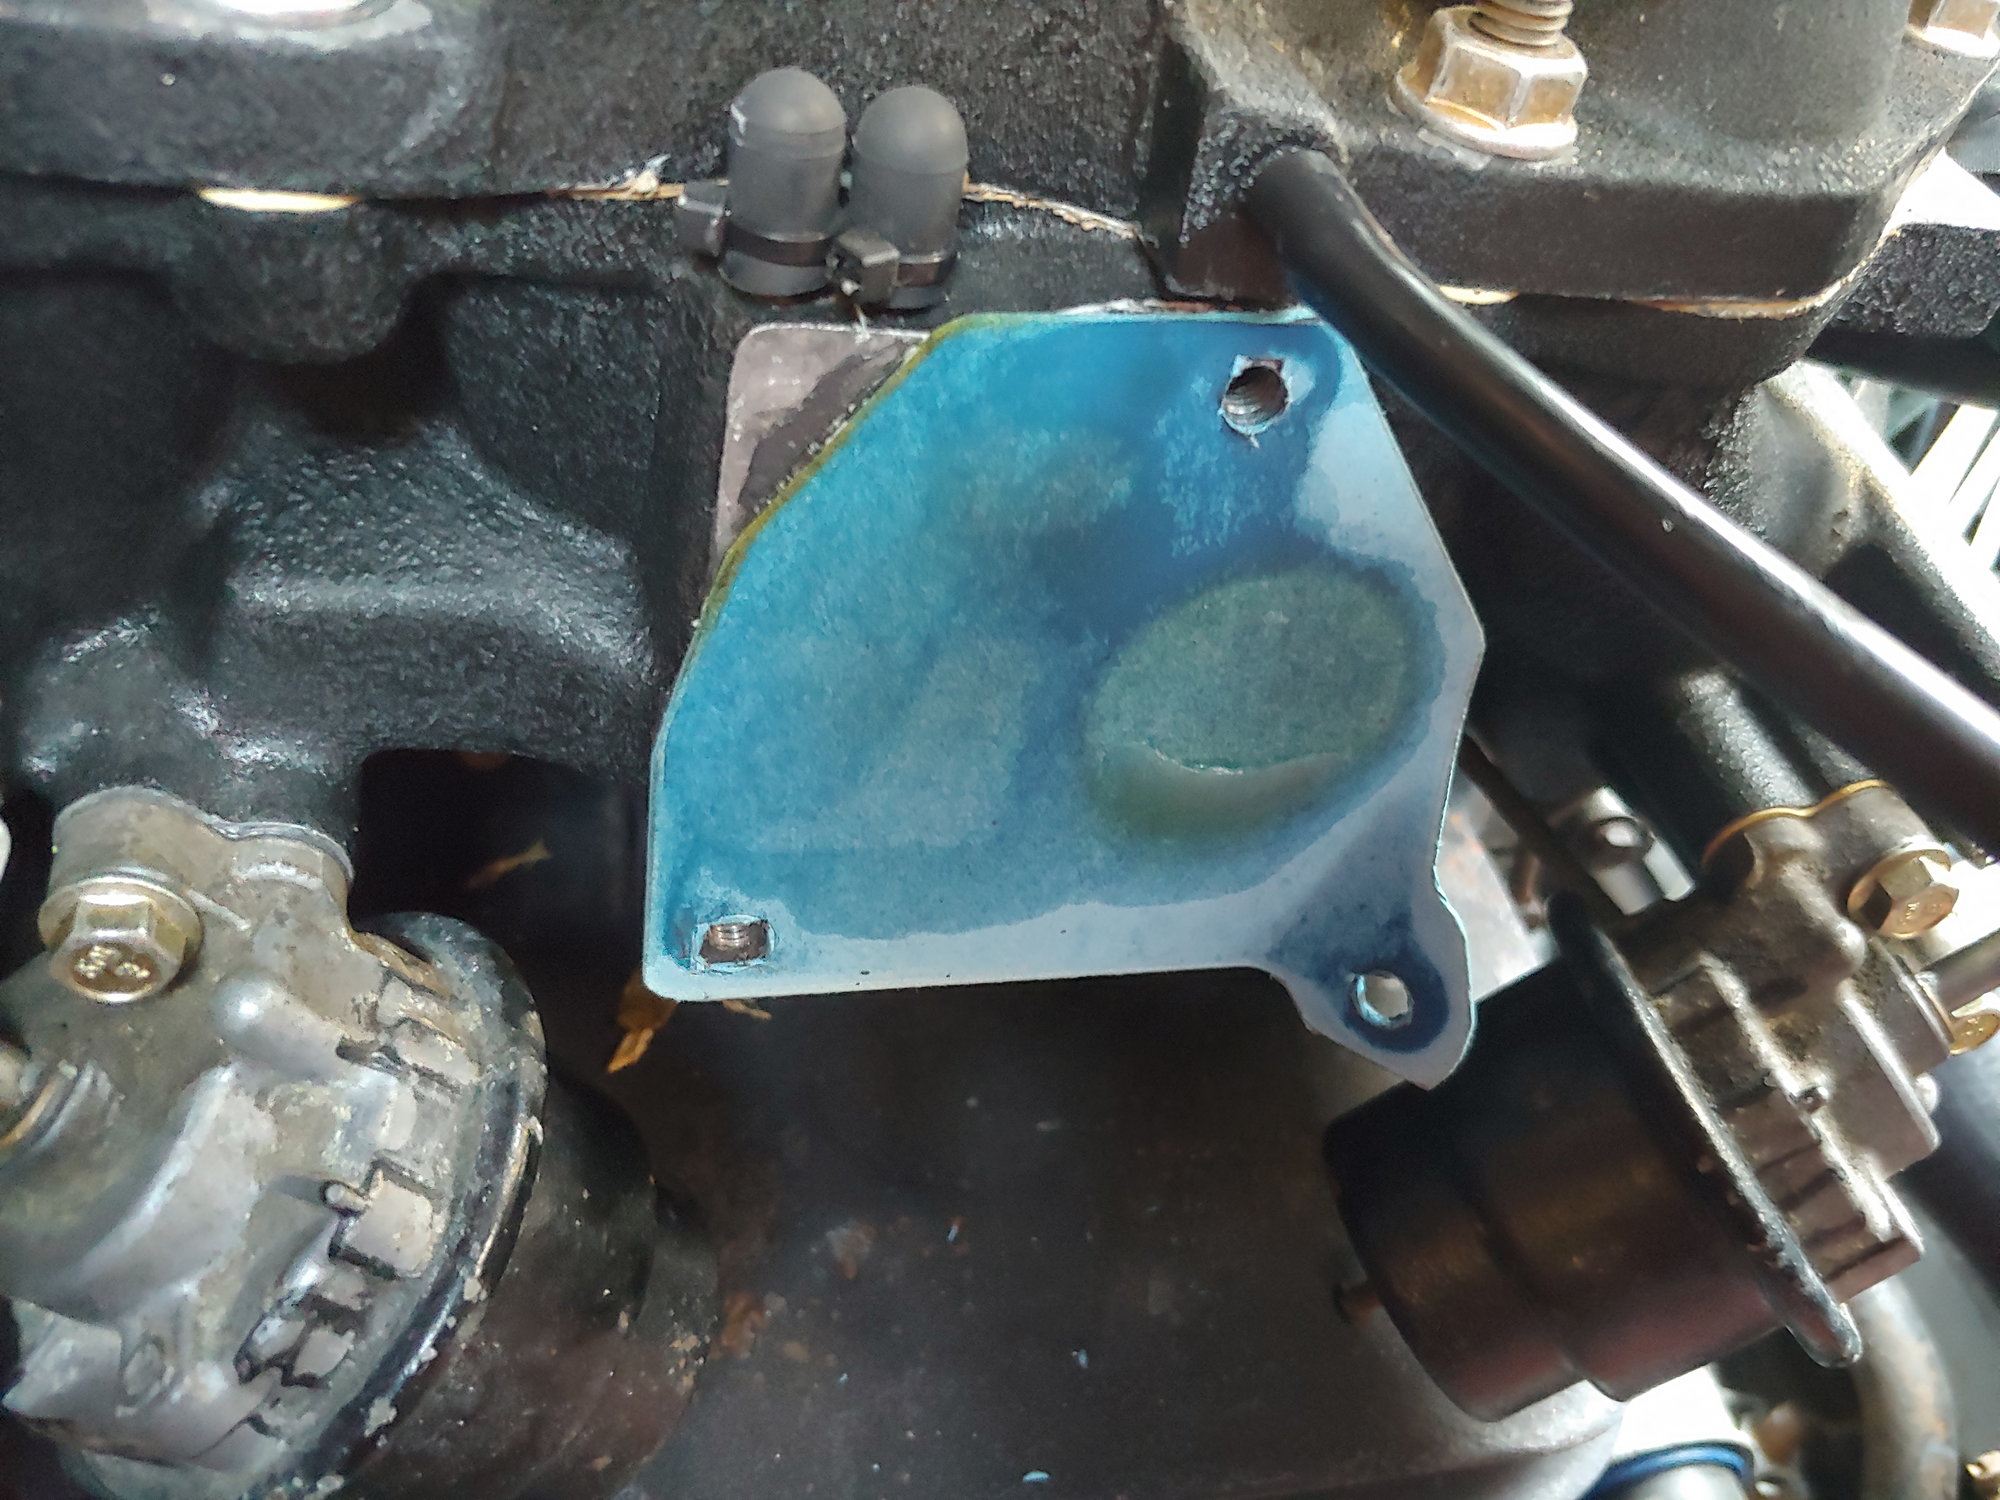
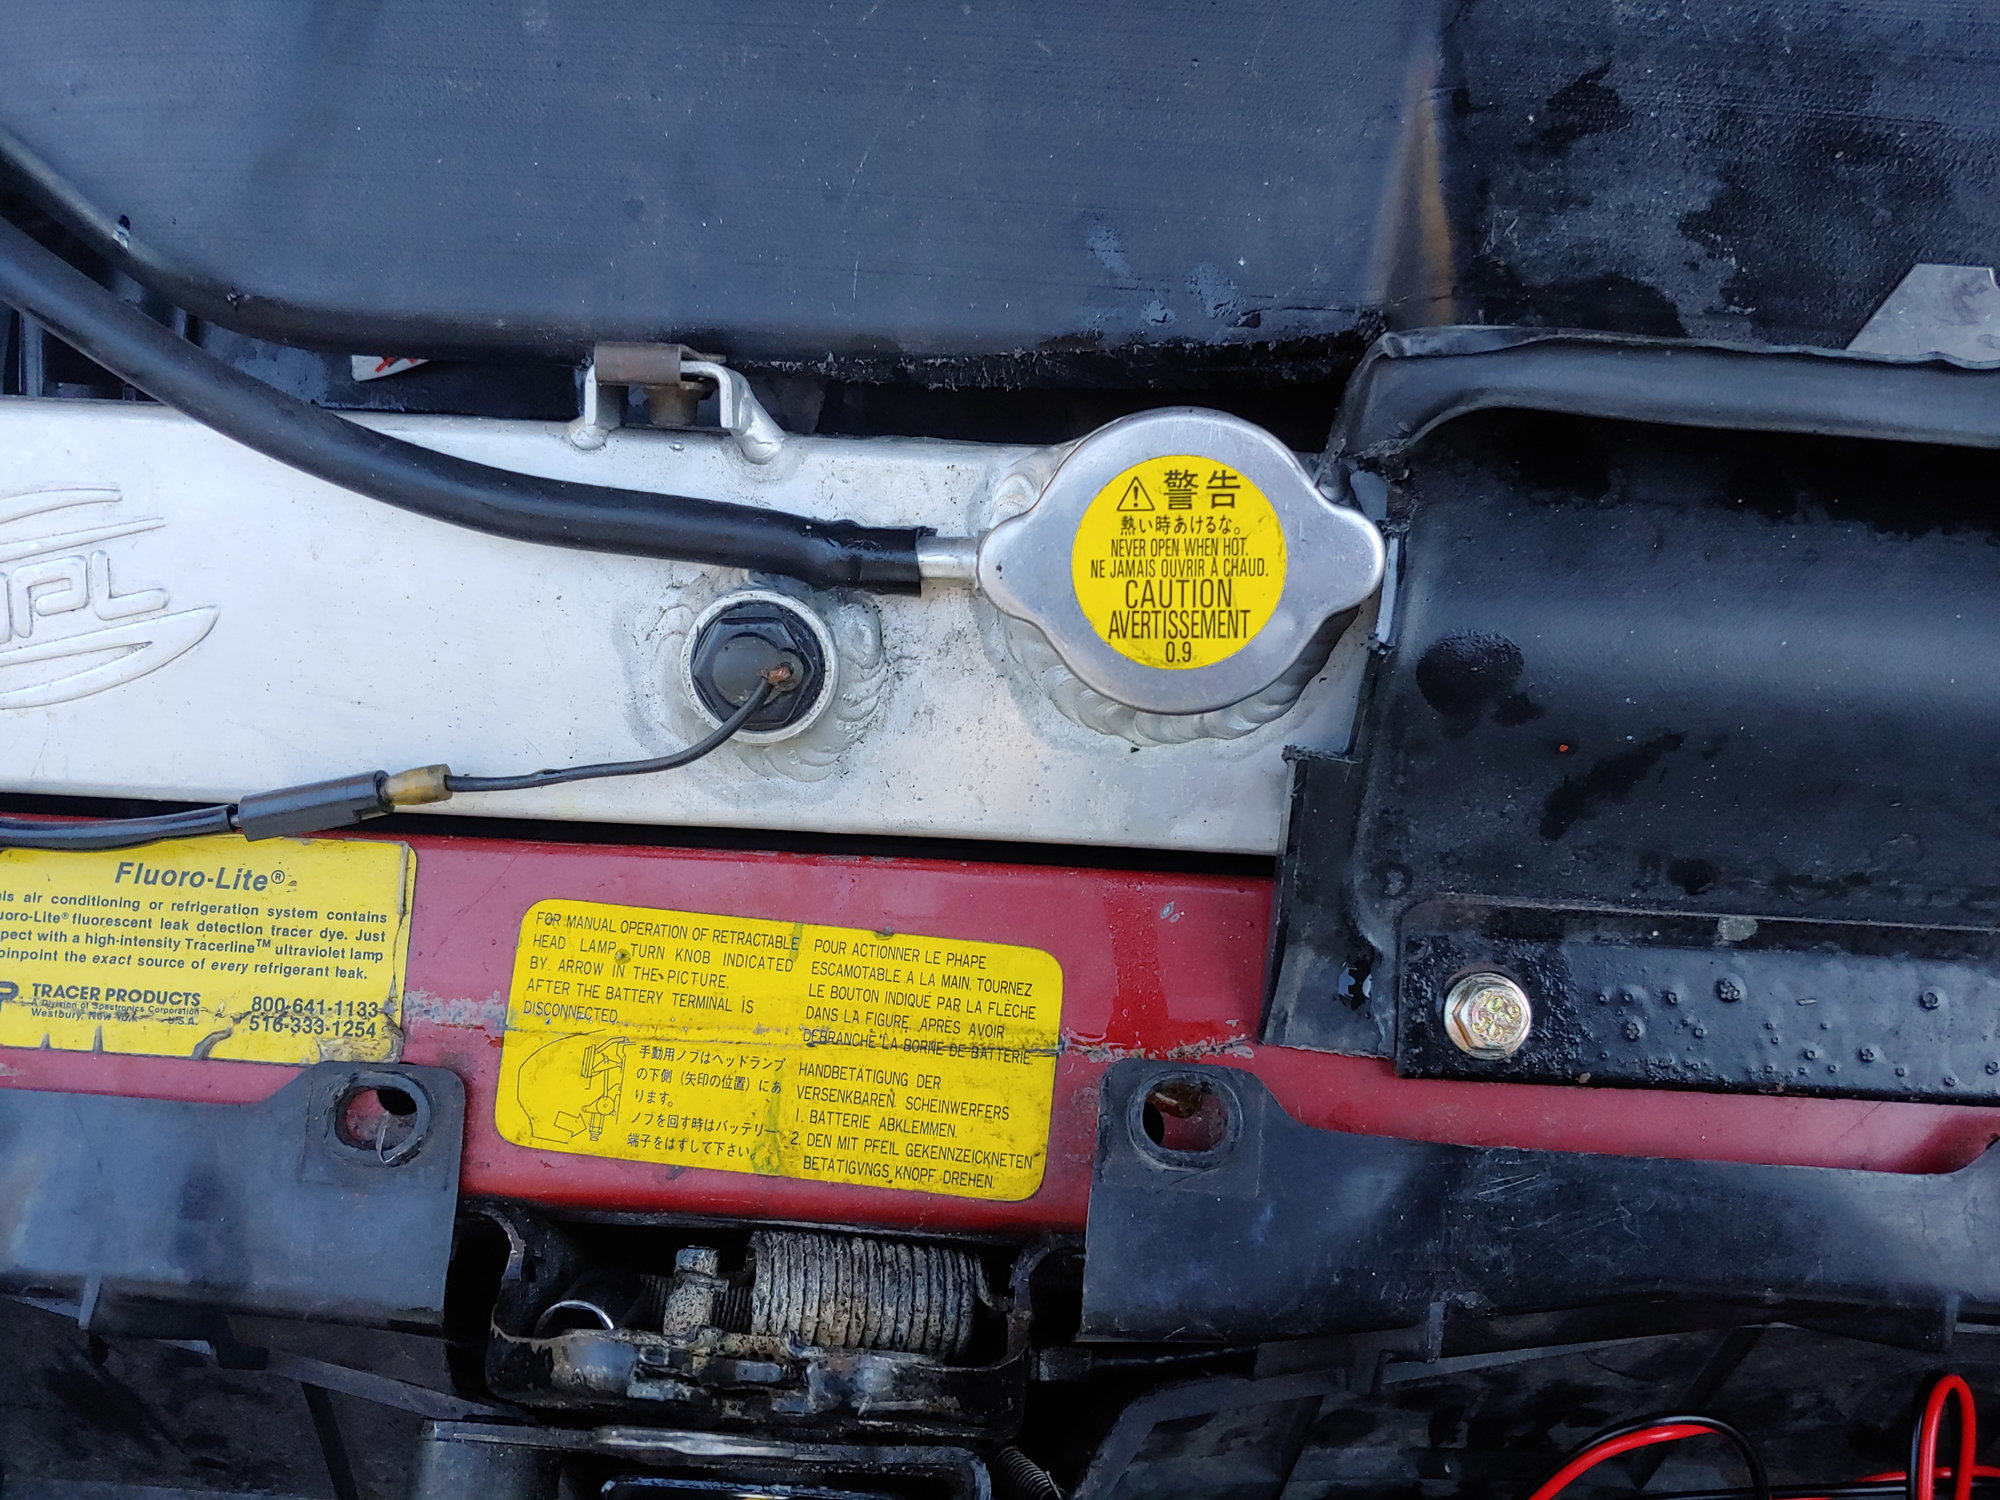
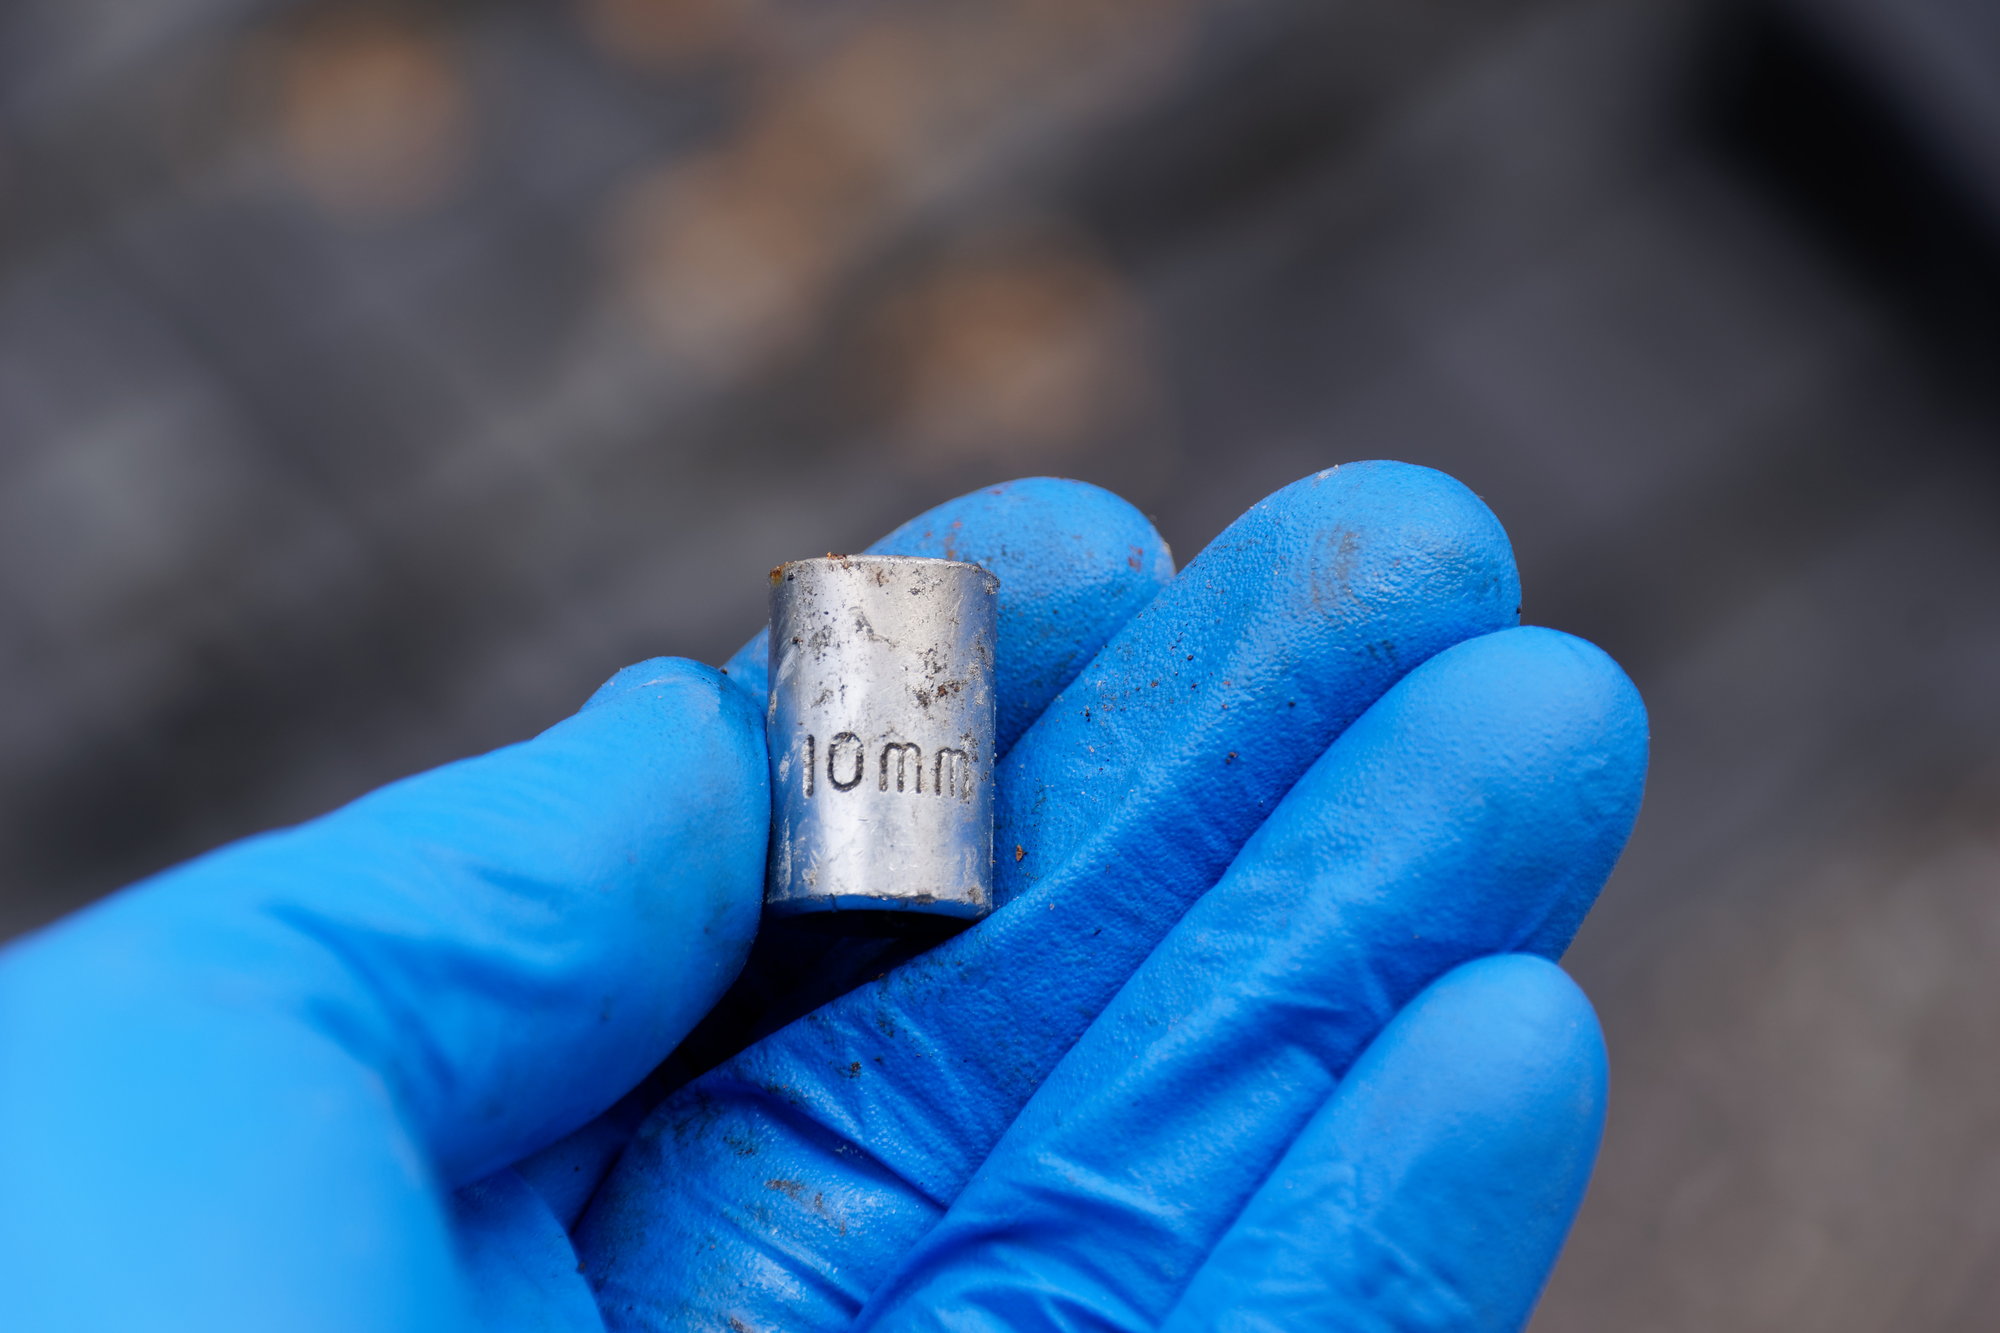
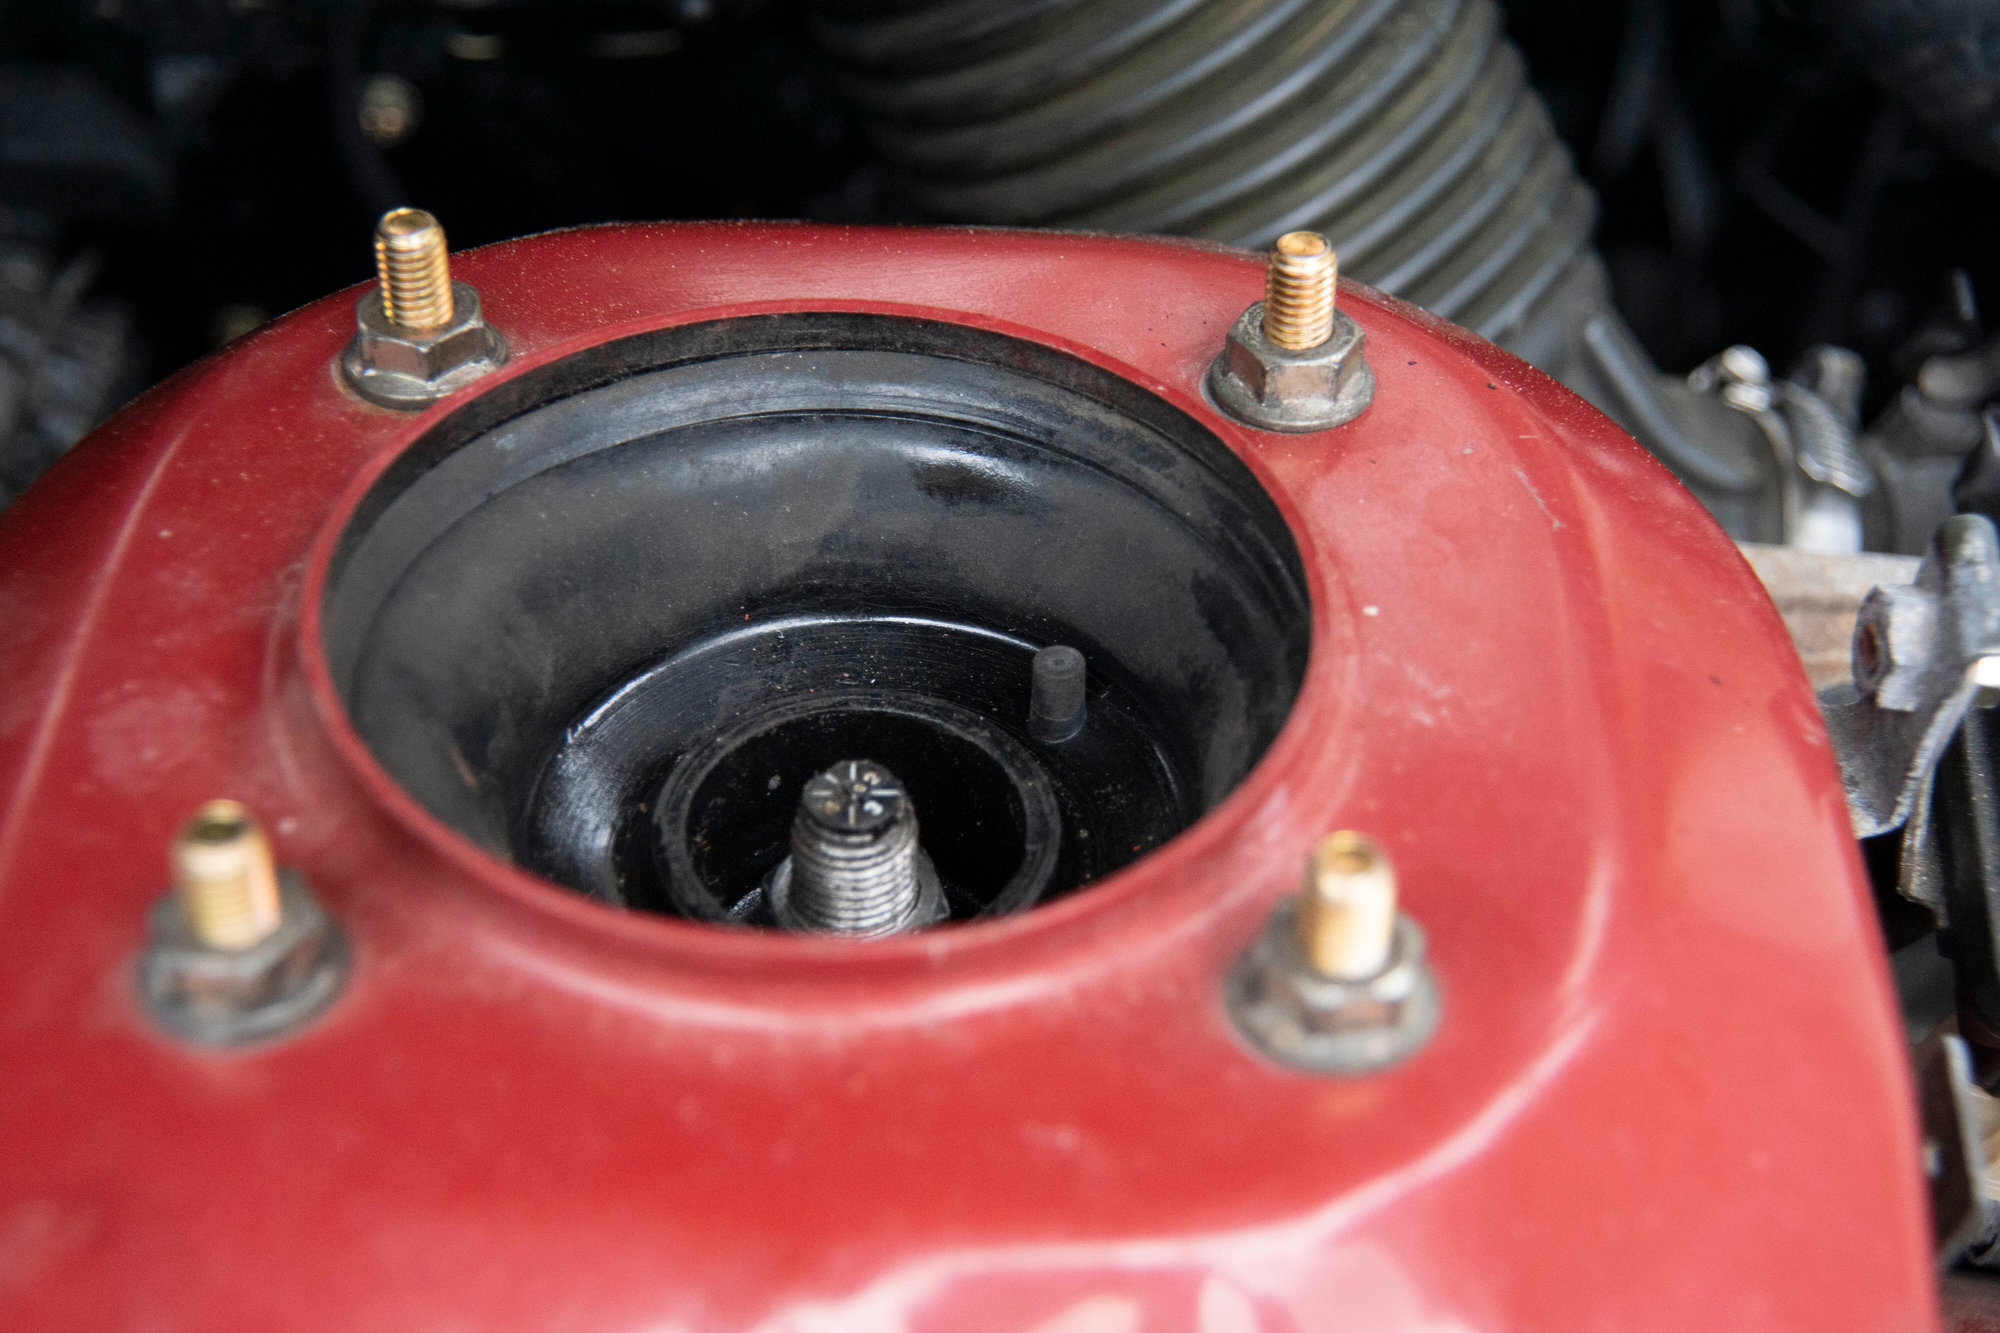
This is the yoke plug on the steering rack. I had backed it off slightly when driving around without the pump to make steering about 1% easier, but now that I was re-installing the pump I wanted to reset it to factory spec. You need to use a 41mm socket to loosen the lock nut, then torque the plug to 14 ft-lbs. Then back it off 25-30 degrees with a wrench, and snug the lock nut back up before torqueing the lock-nut to 40ft-lbs.

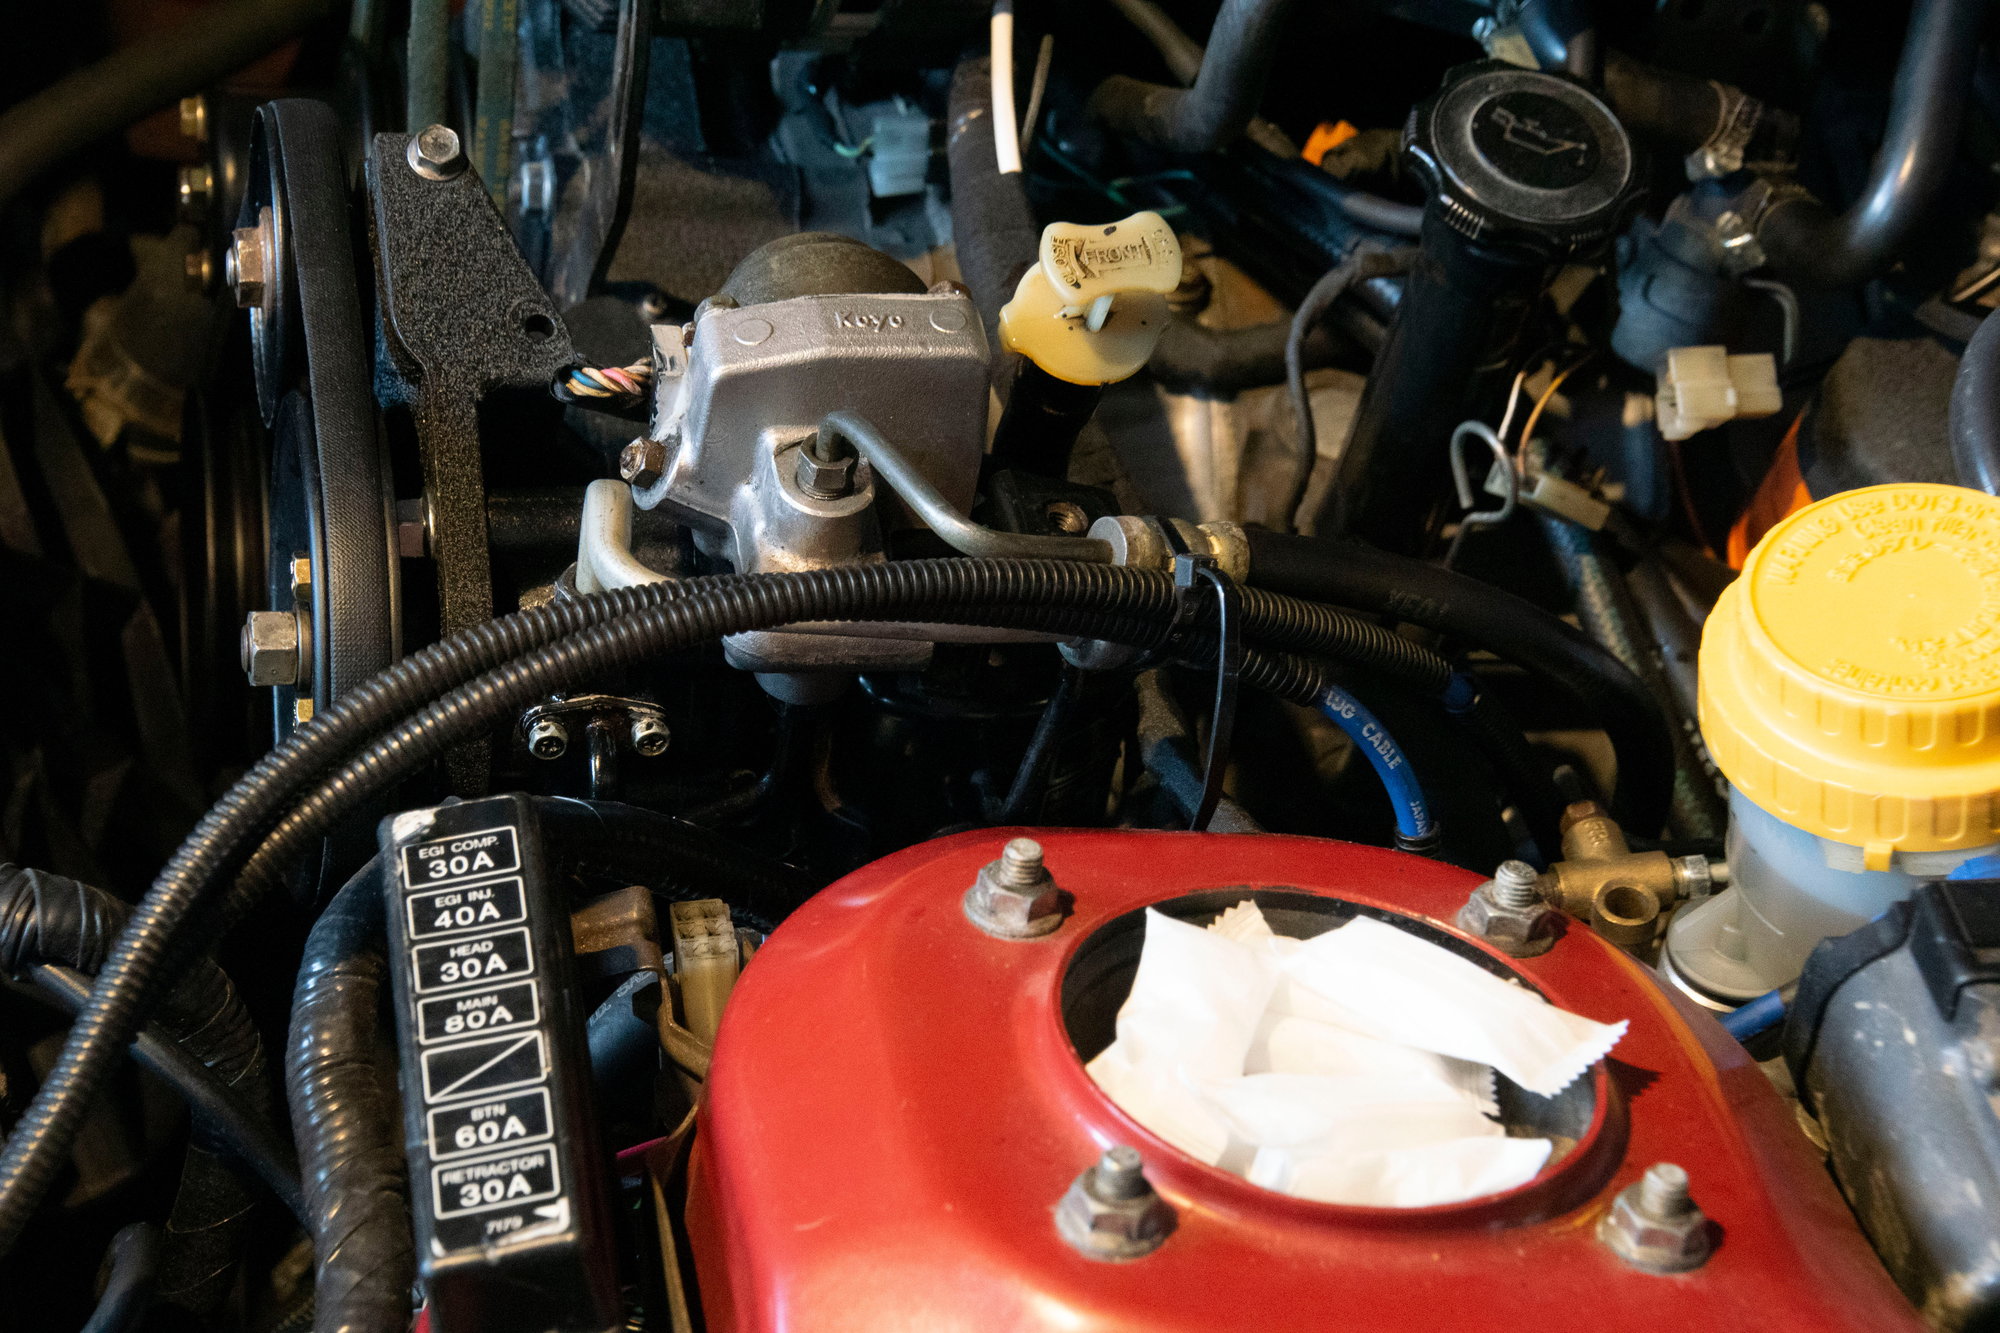
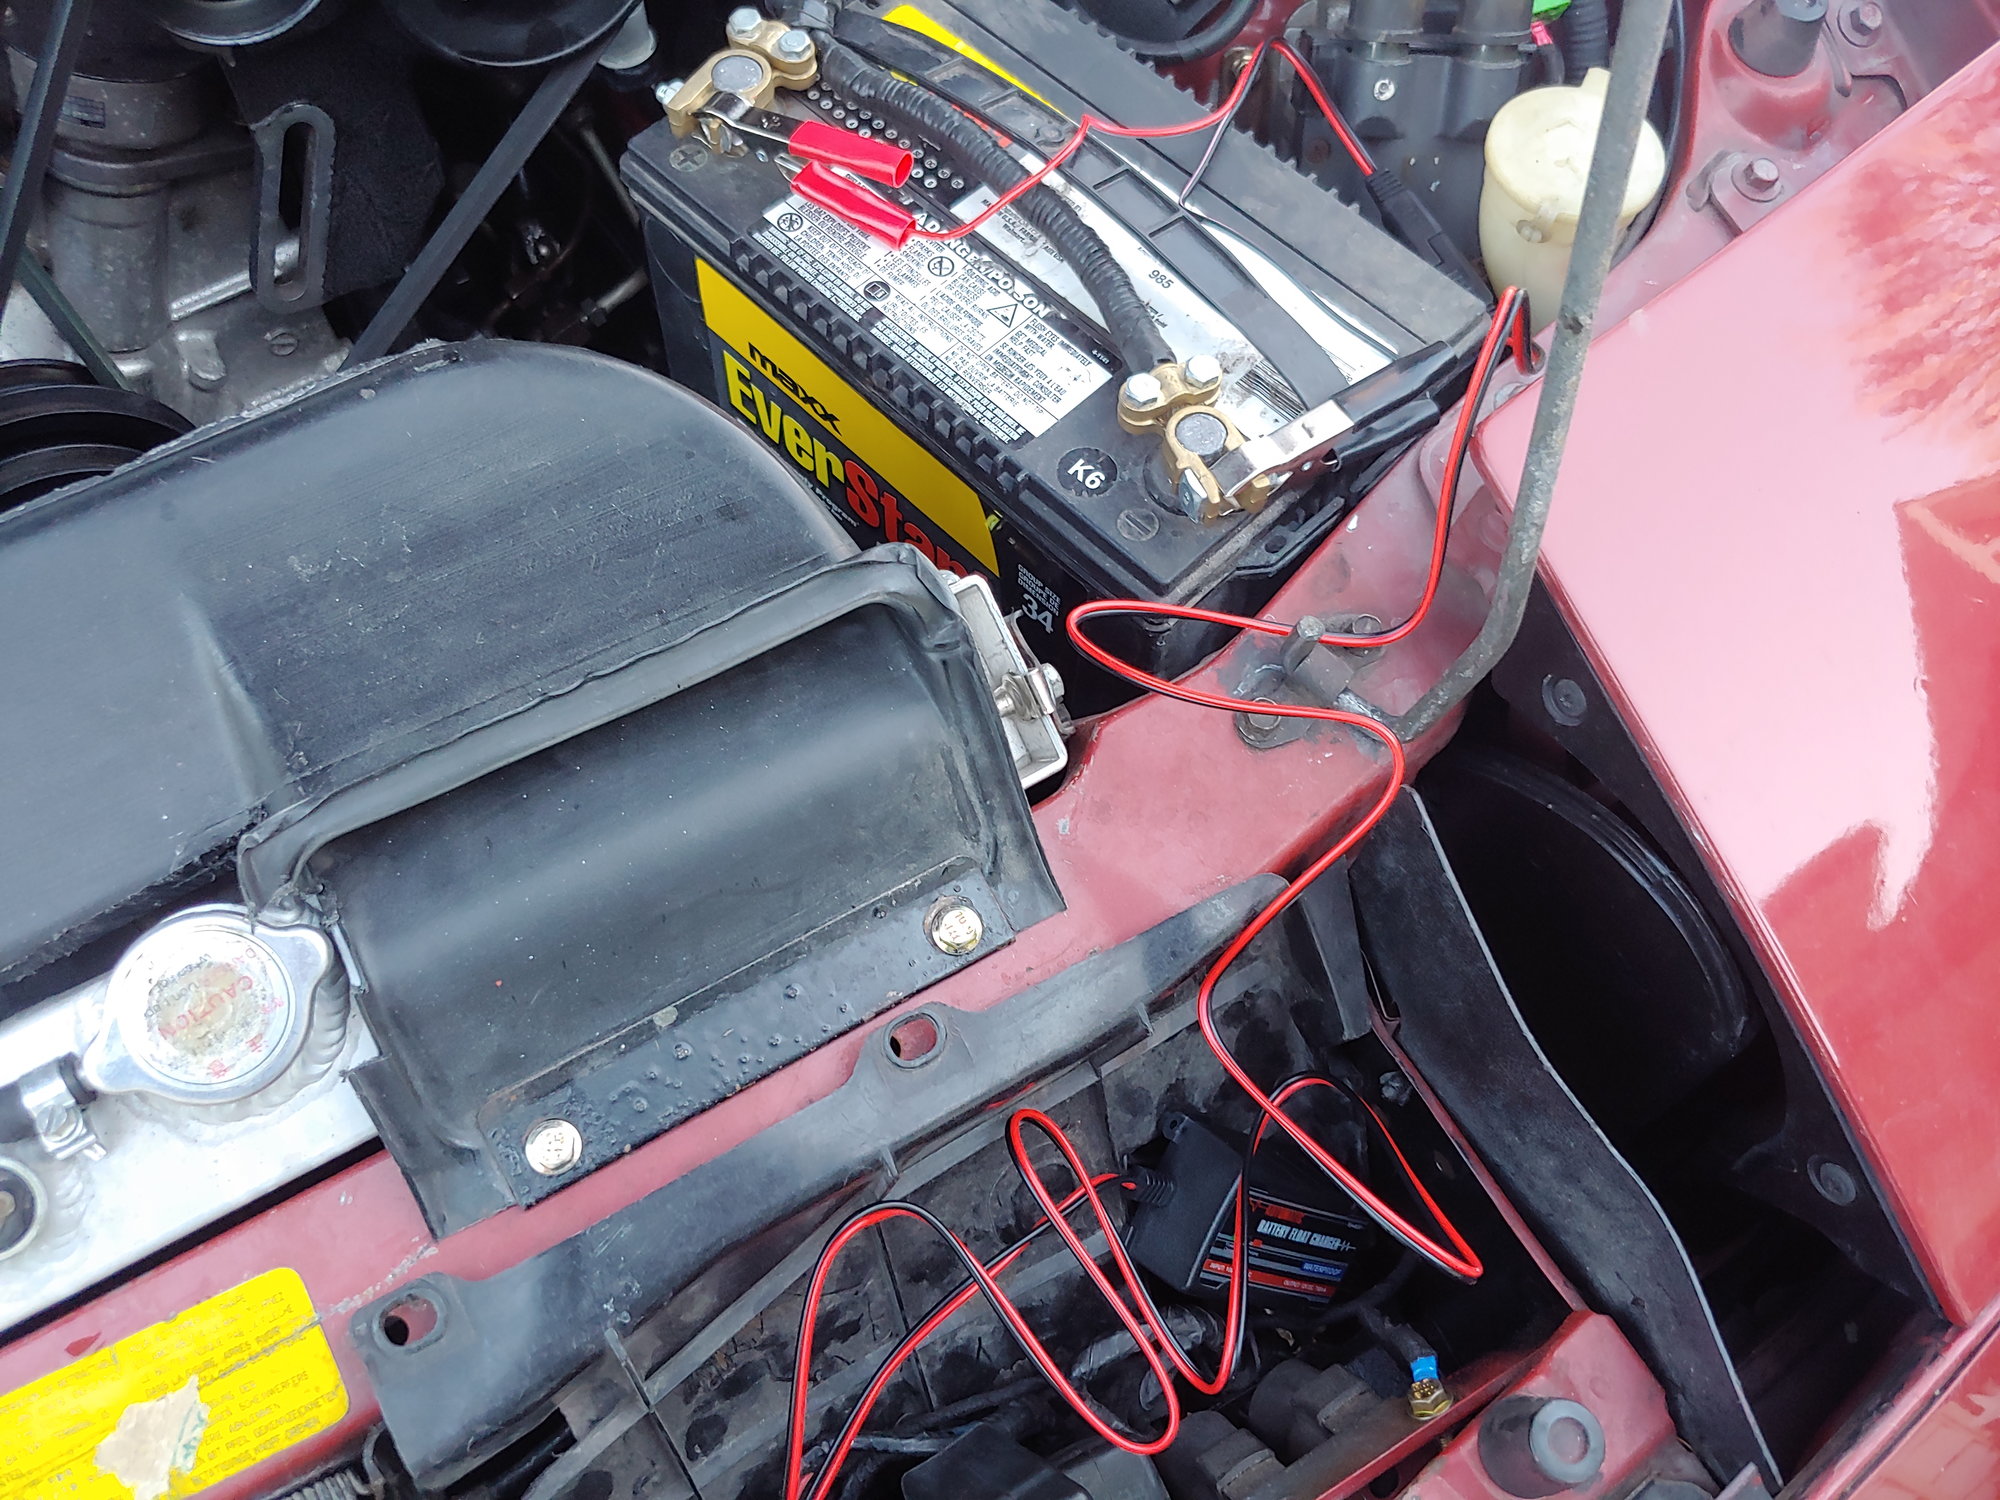
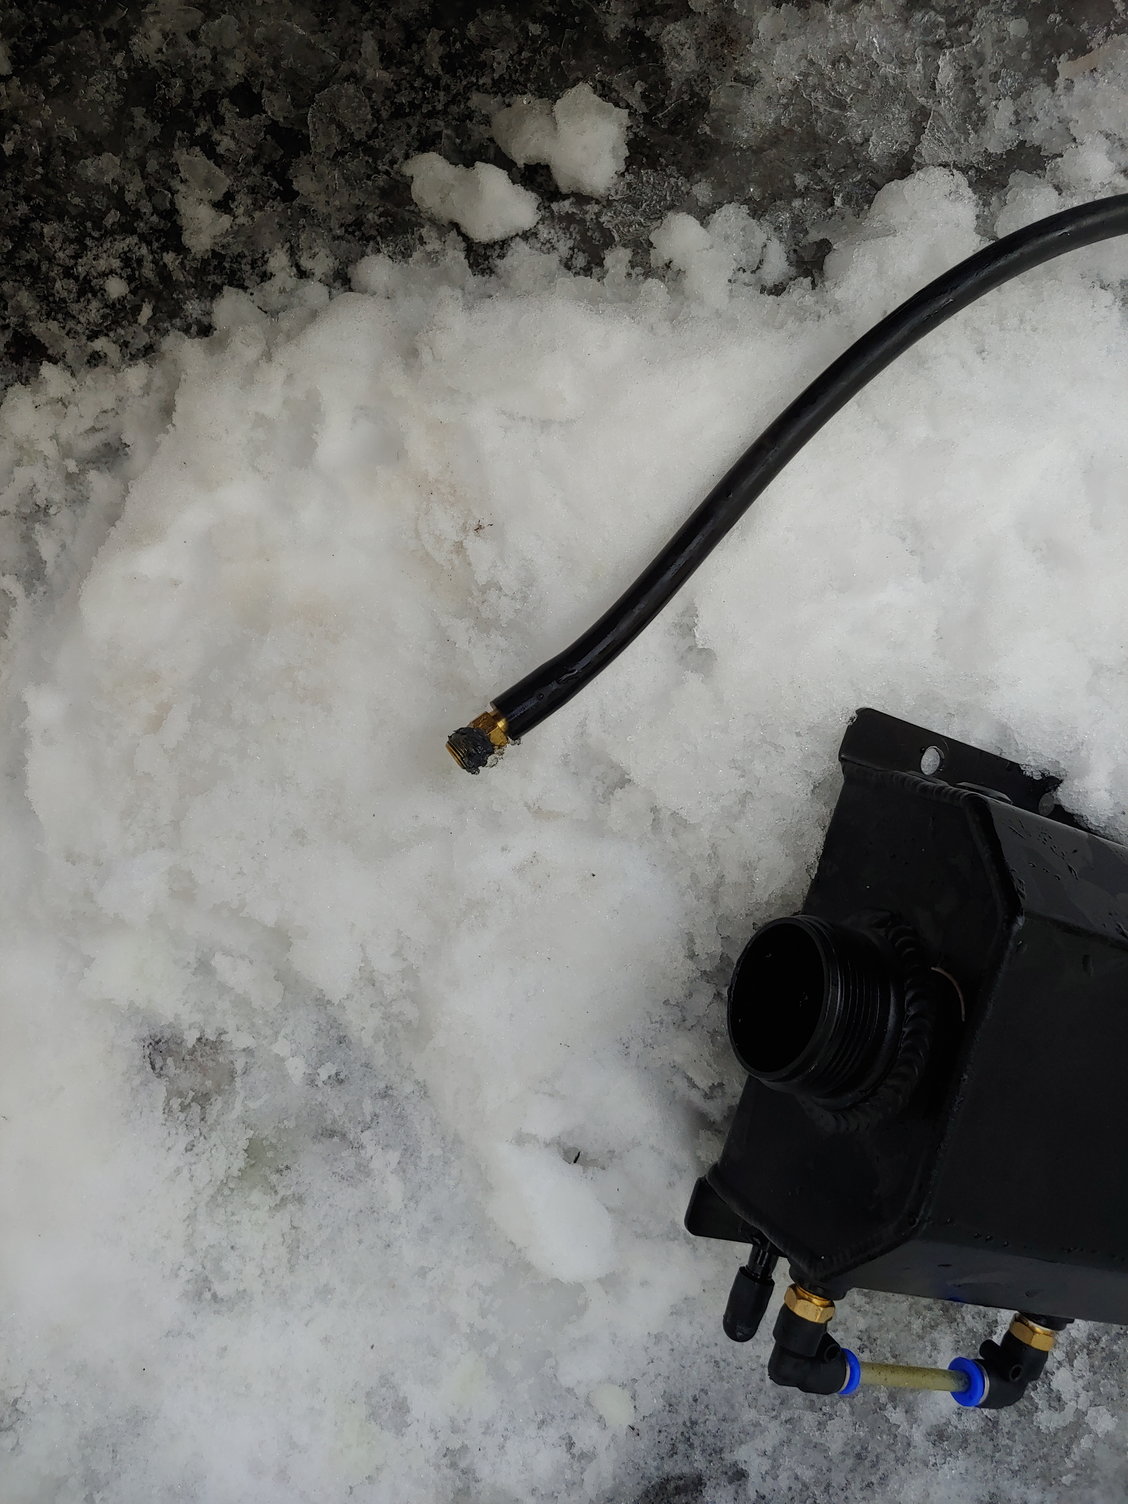
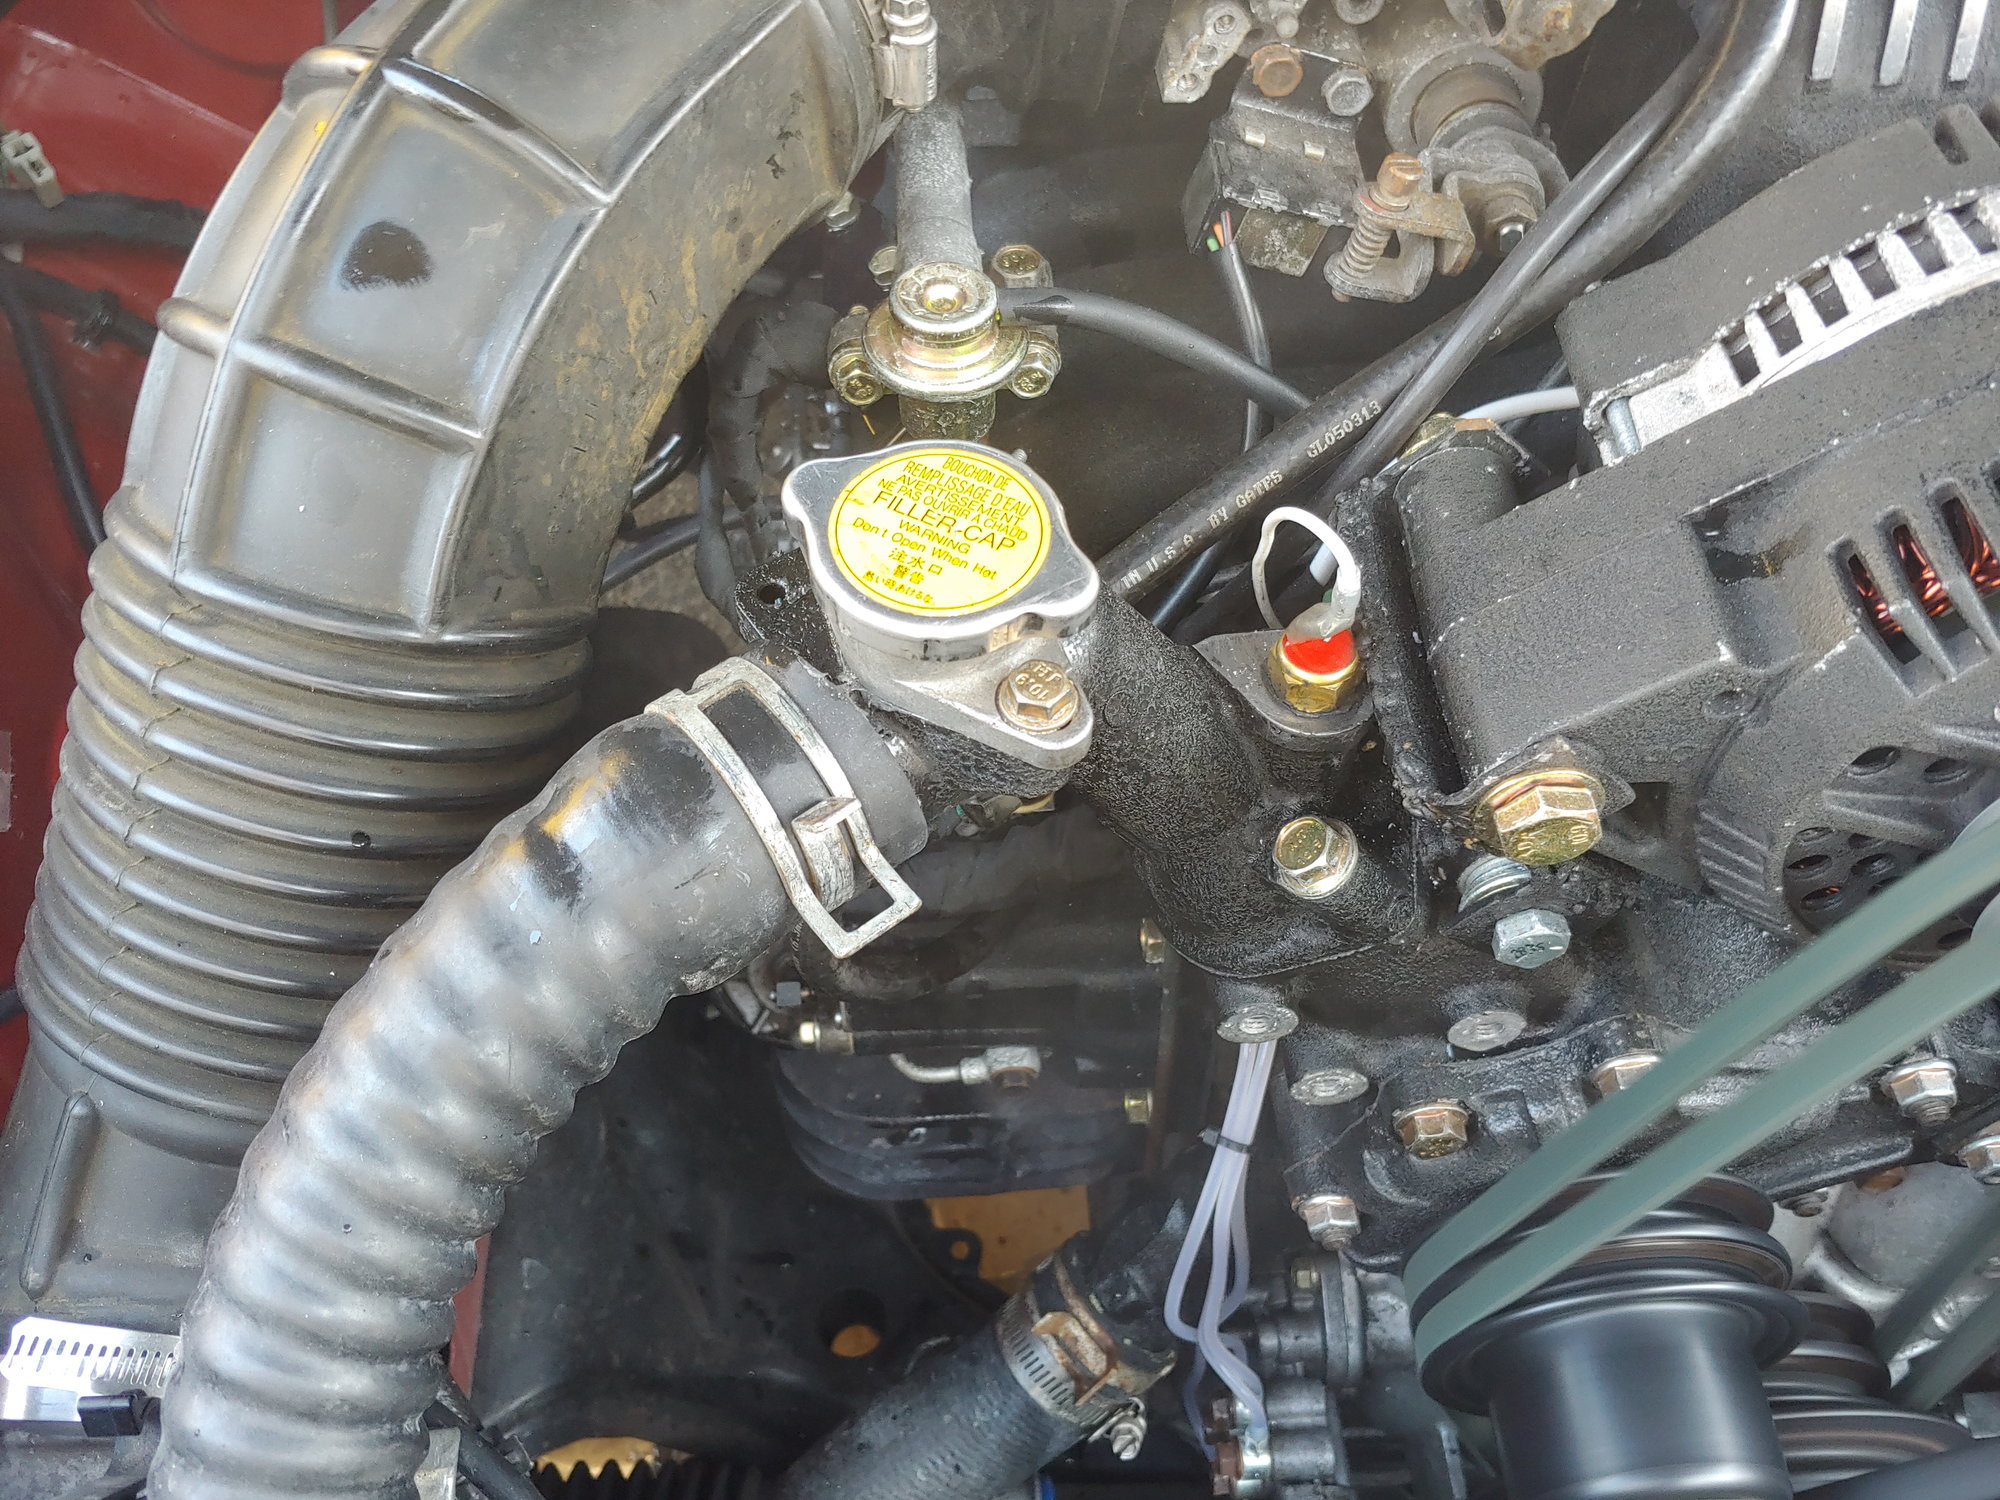
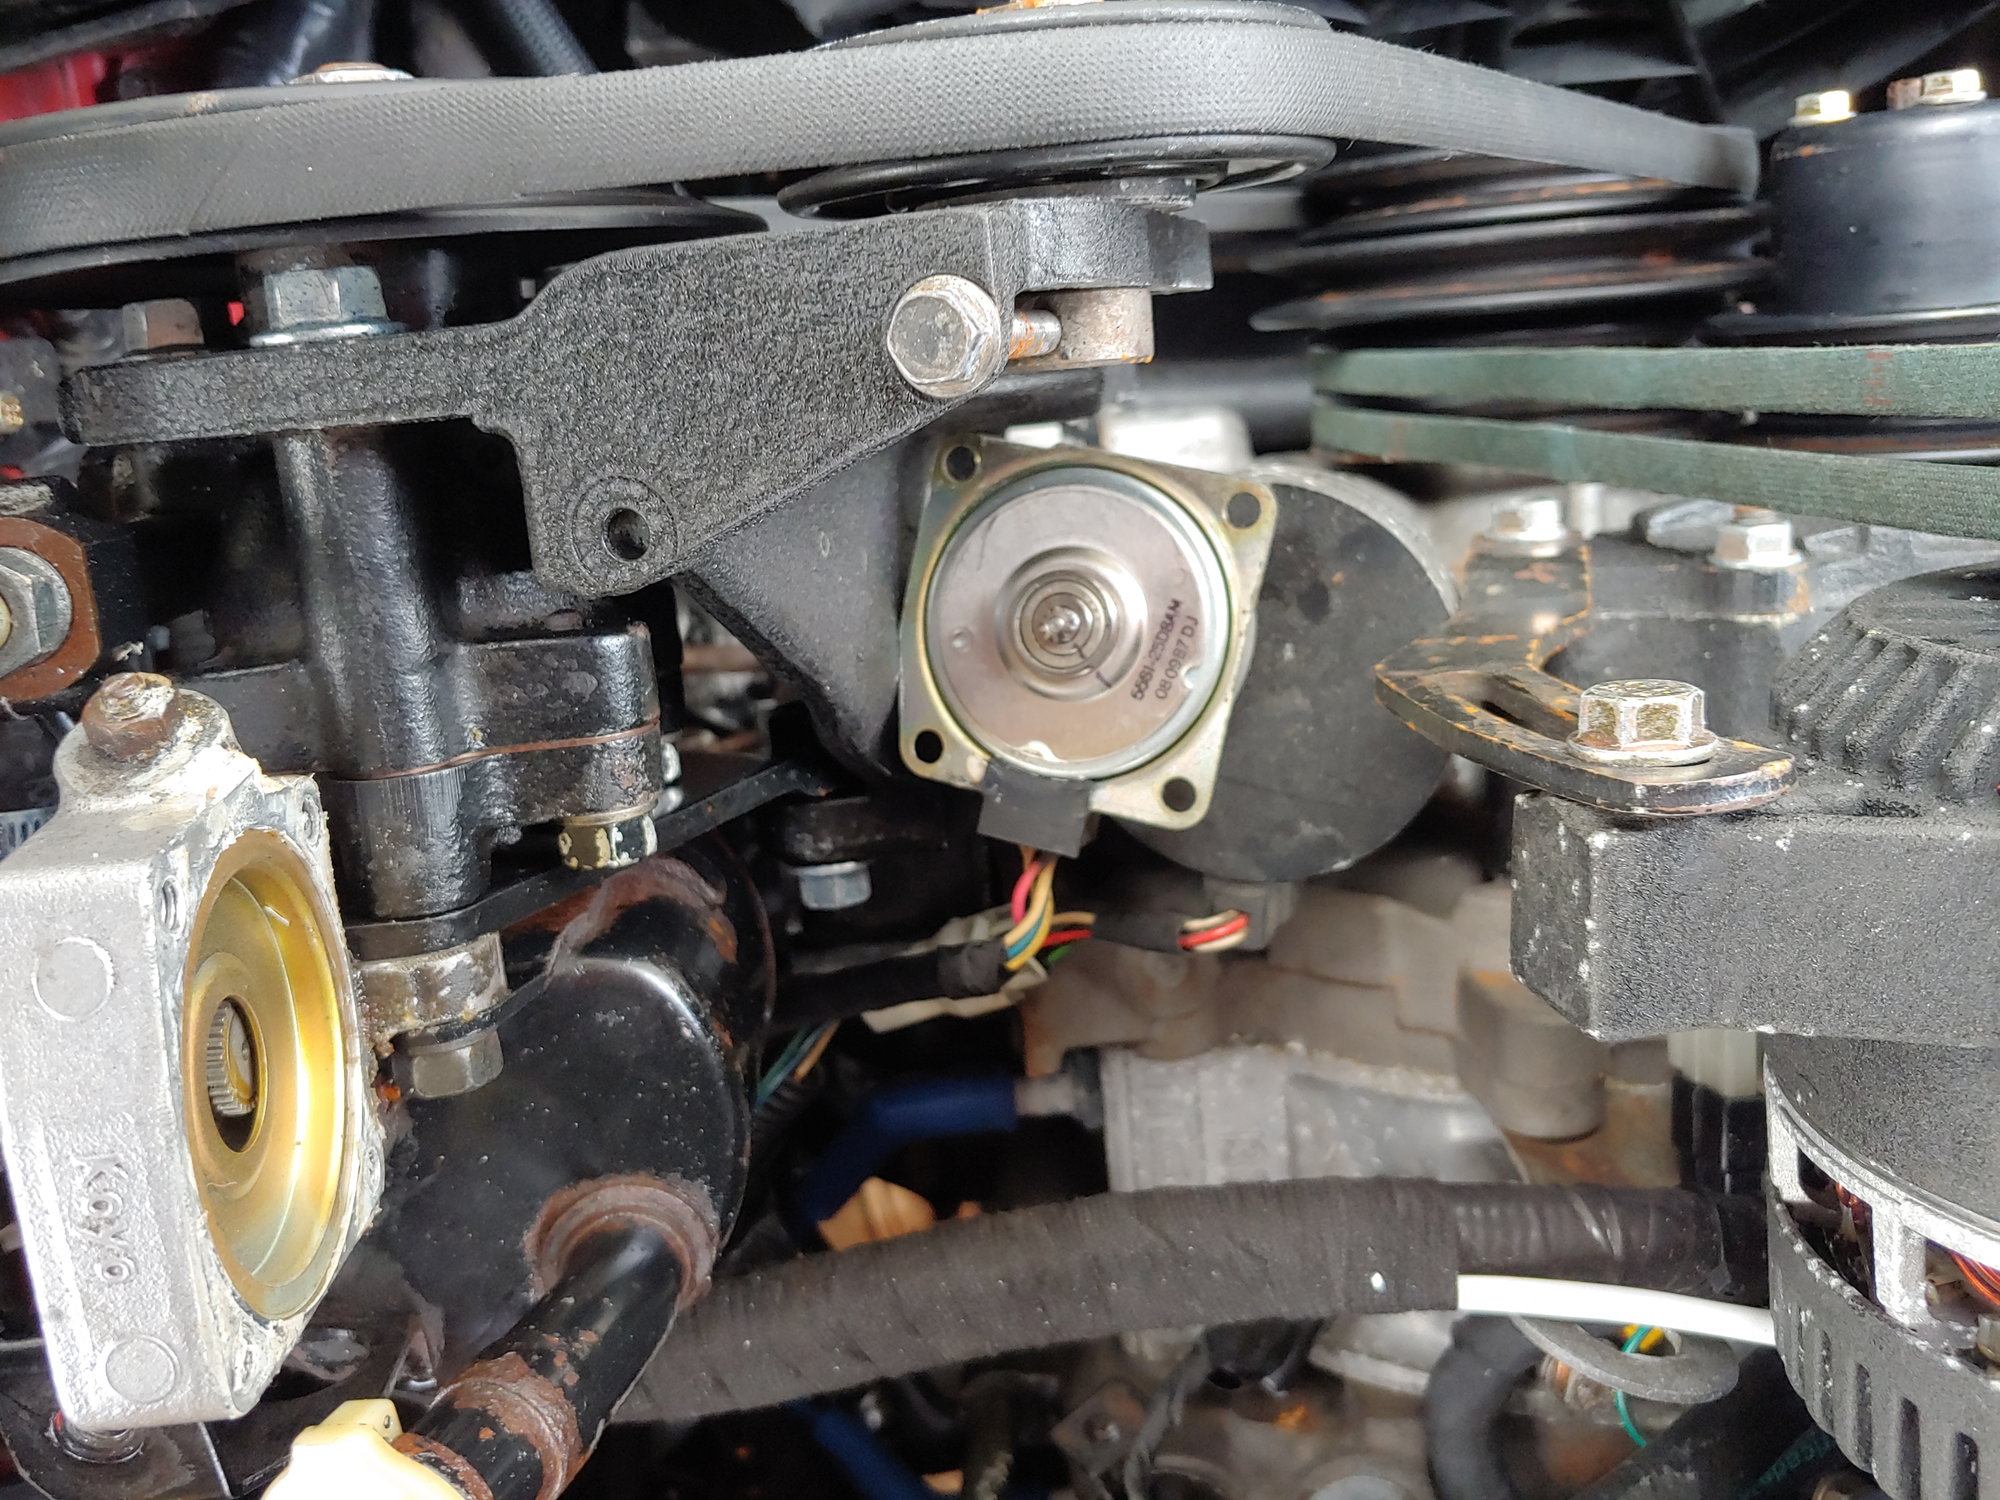
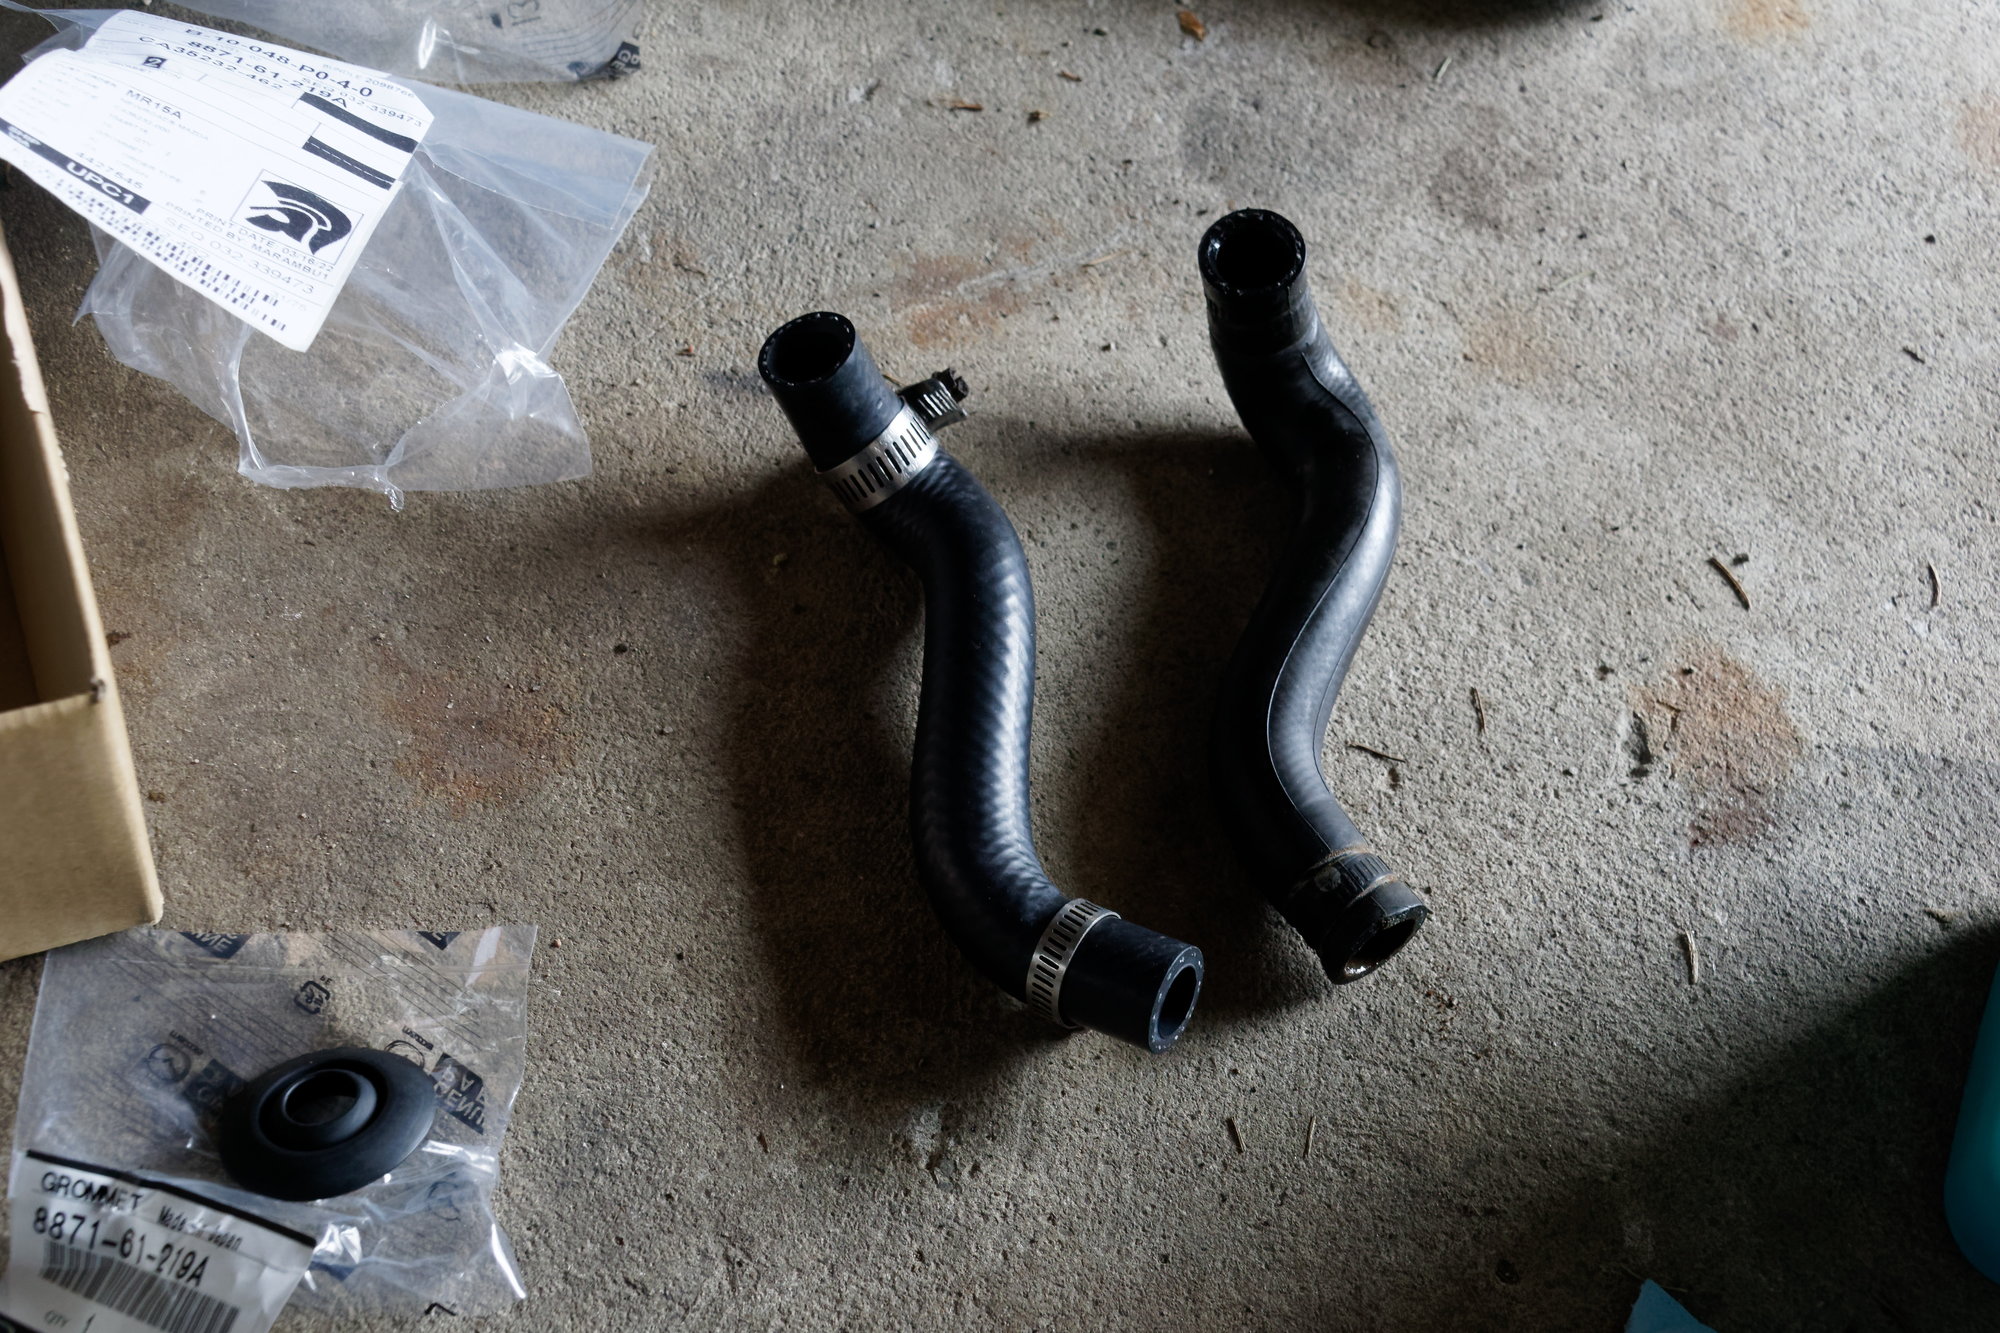
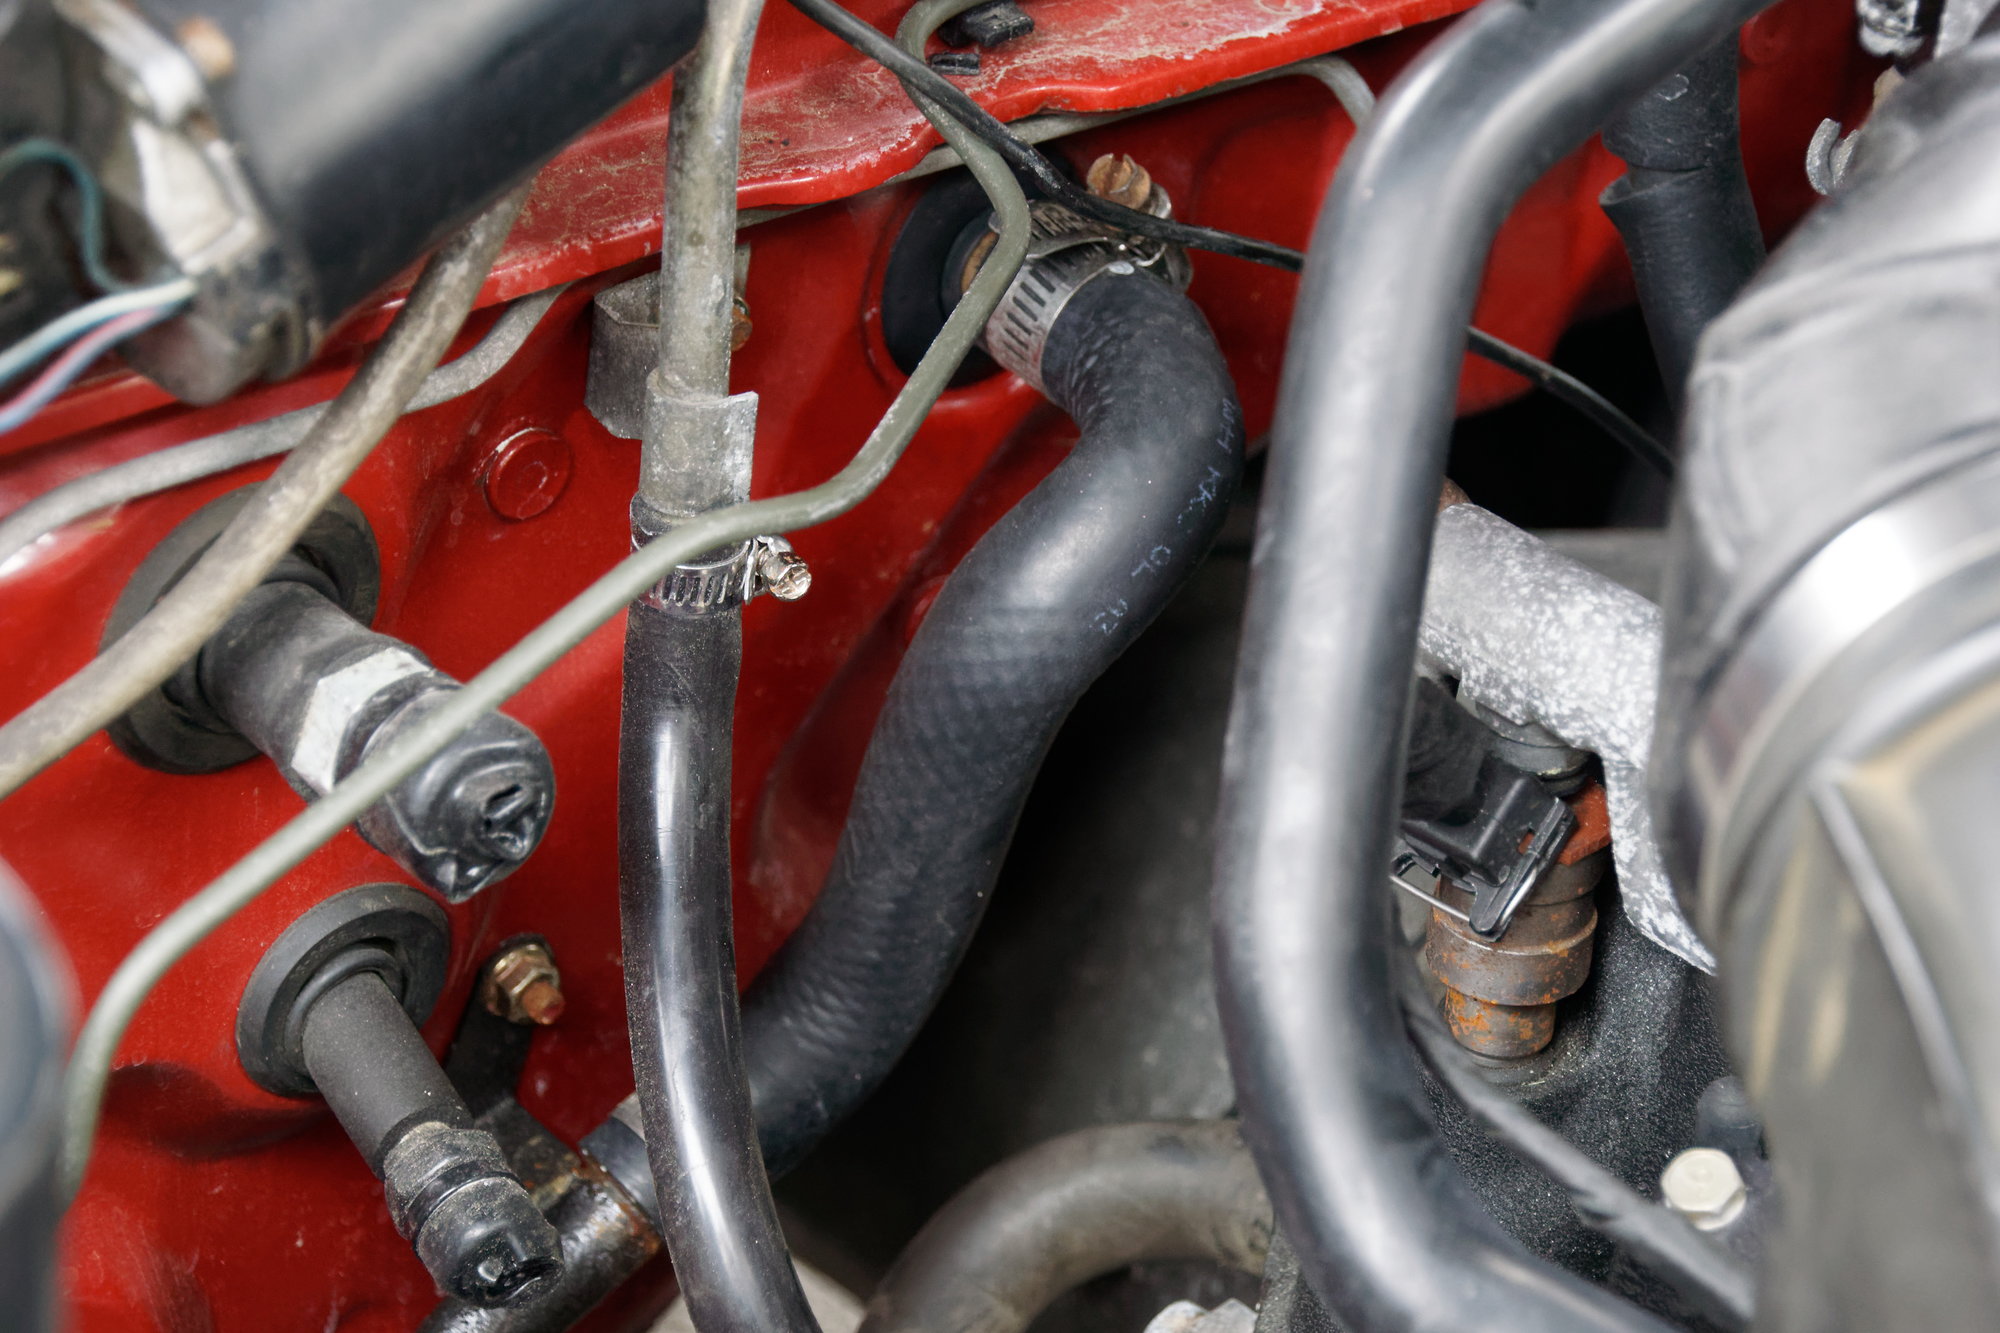
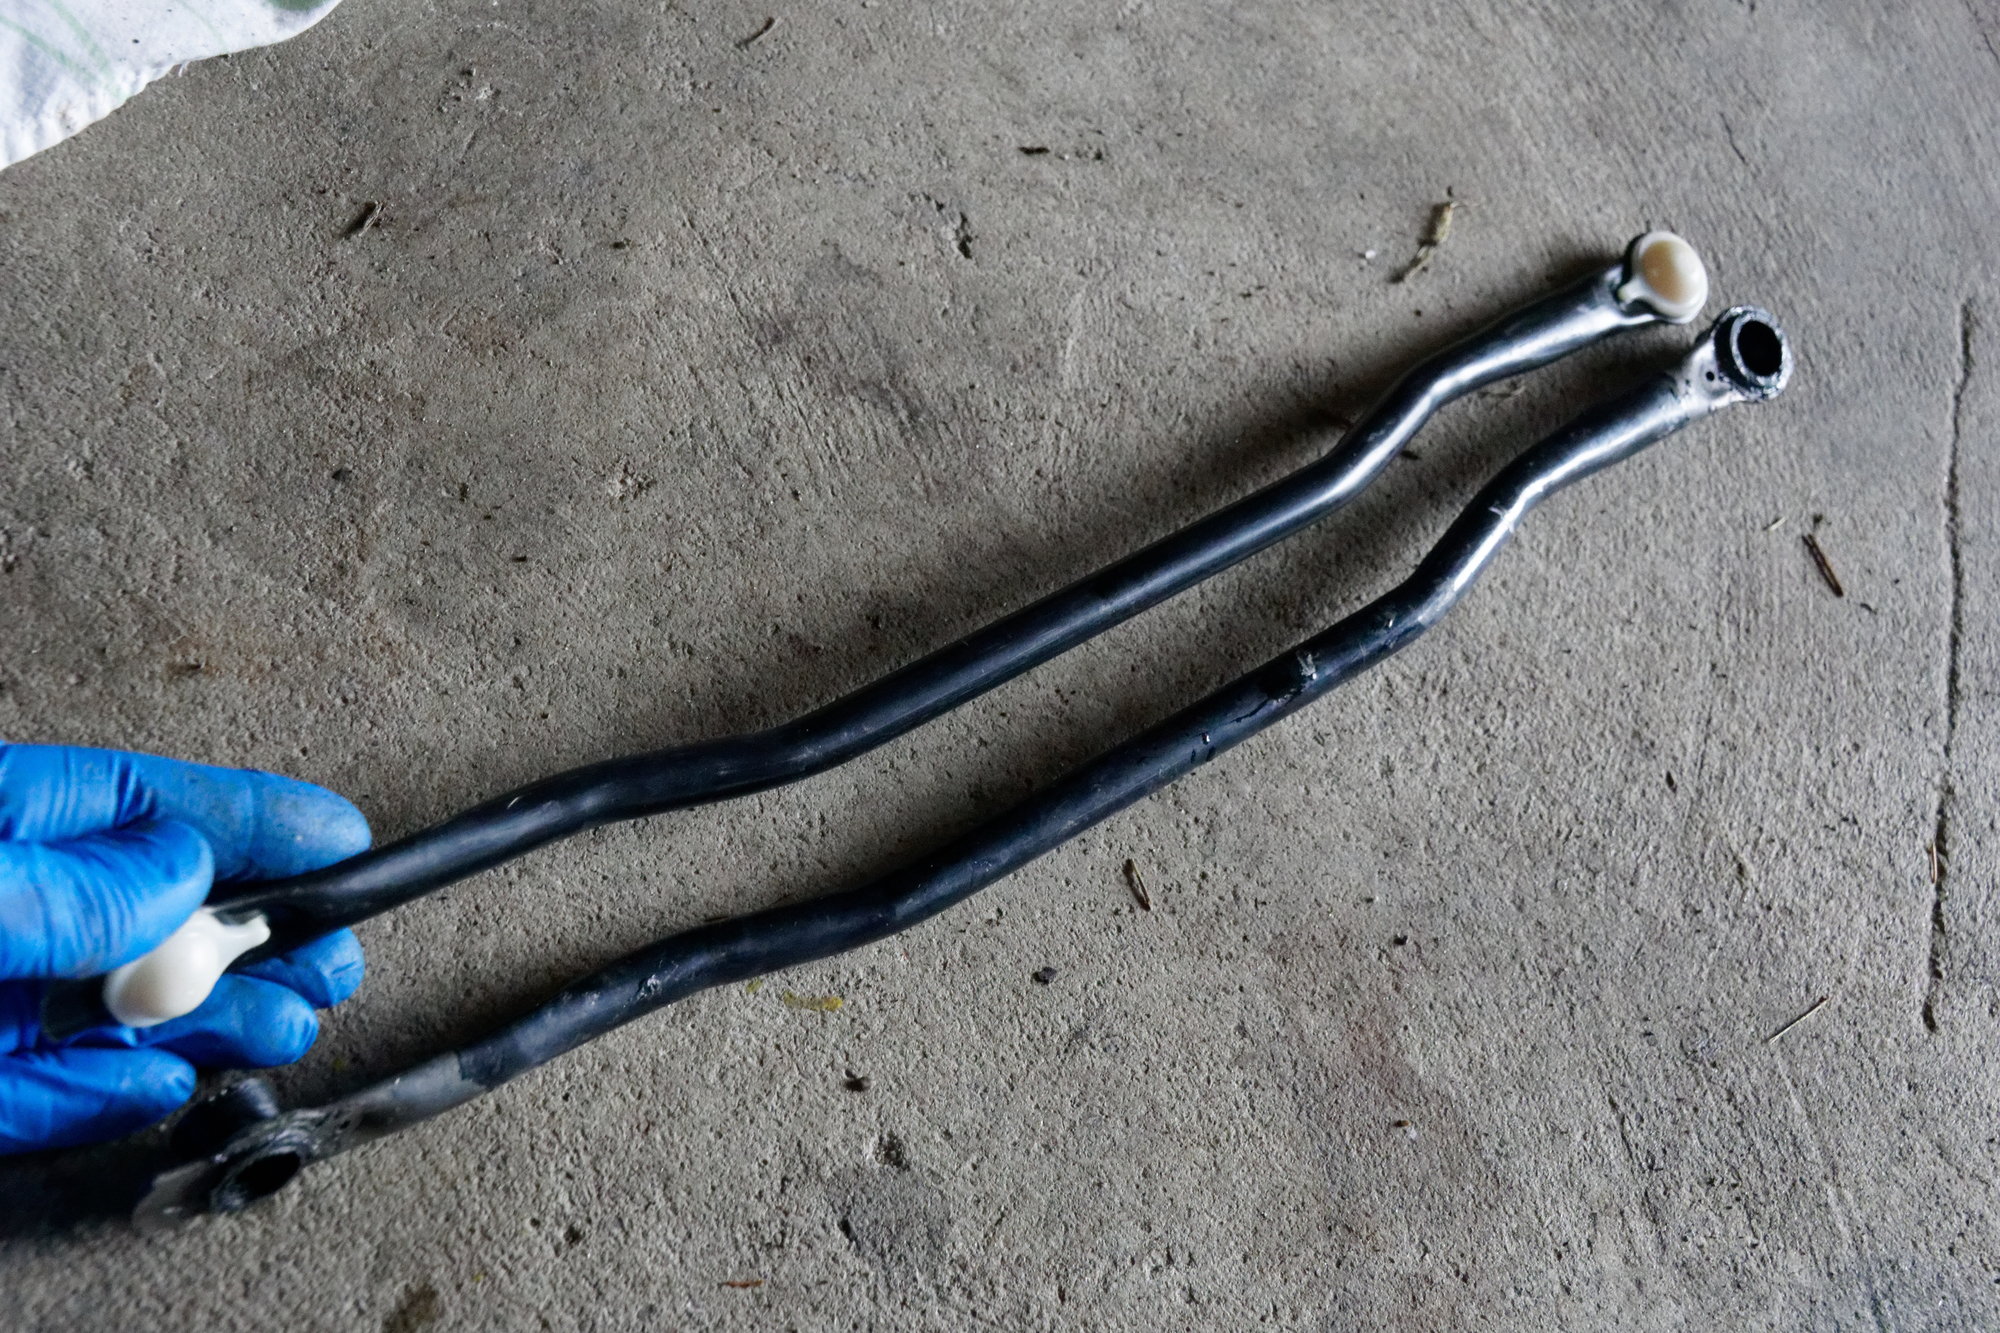
After that I connected the lines:


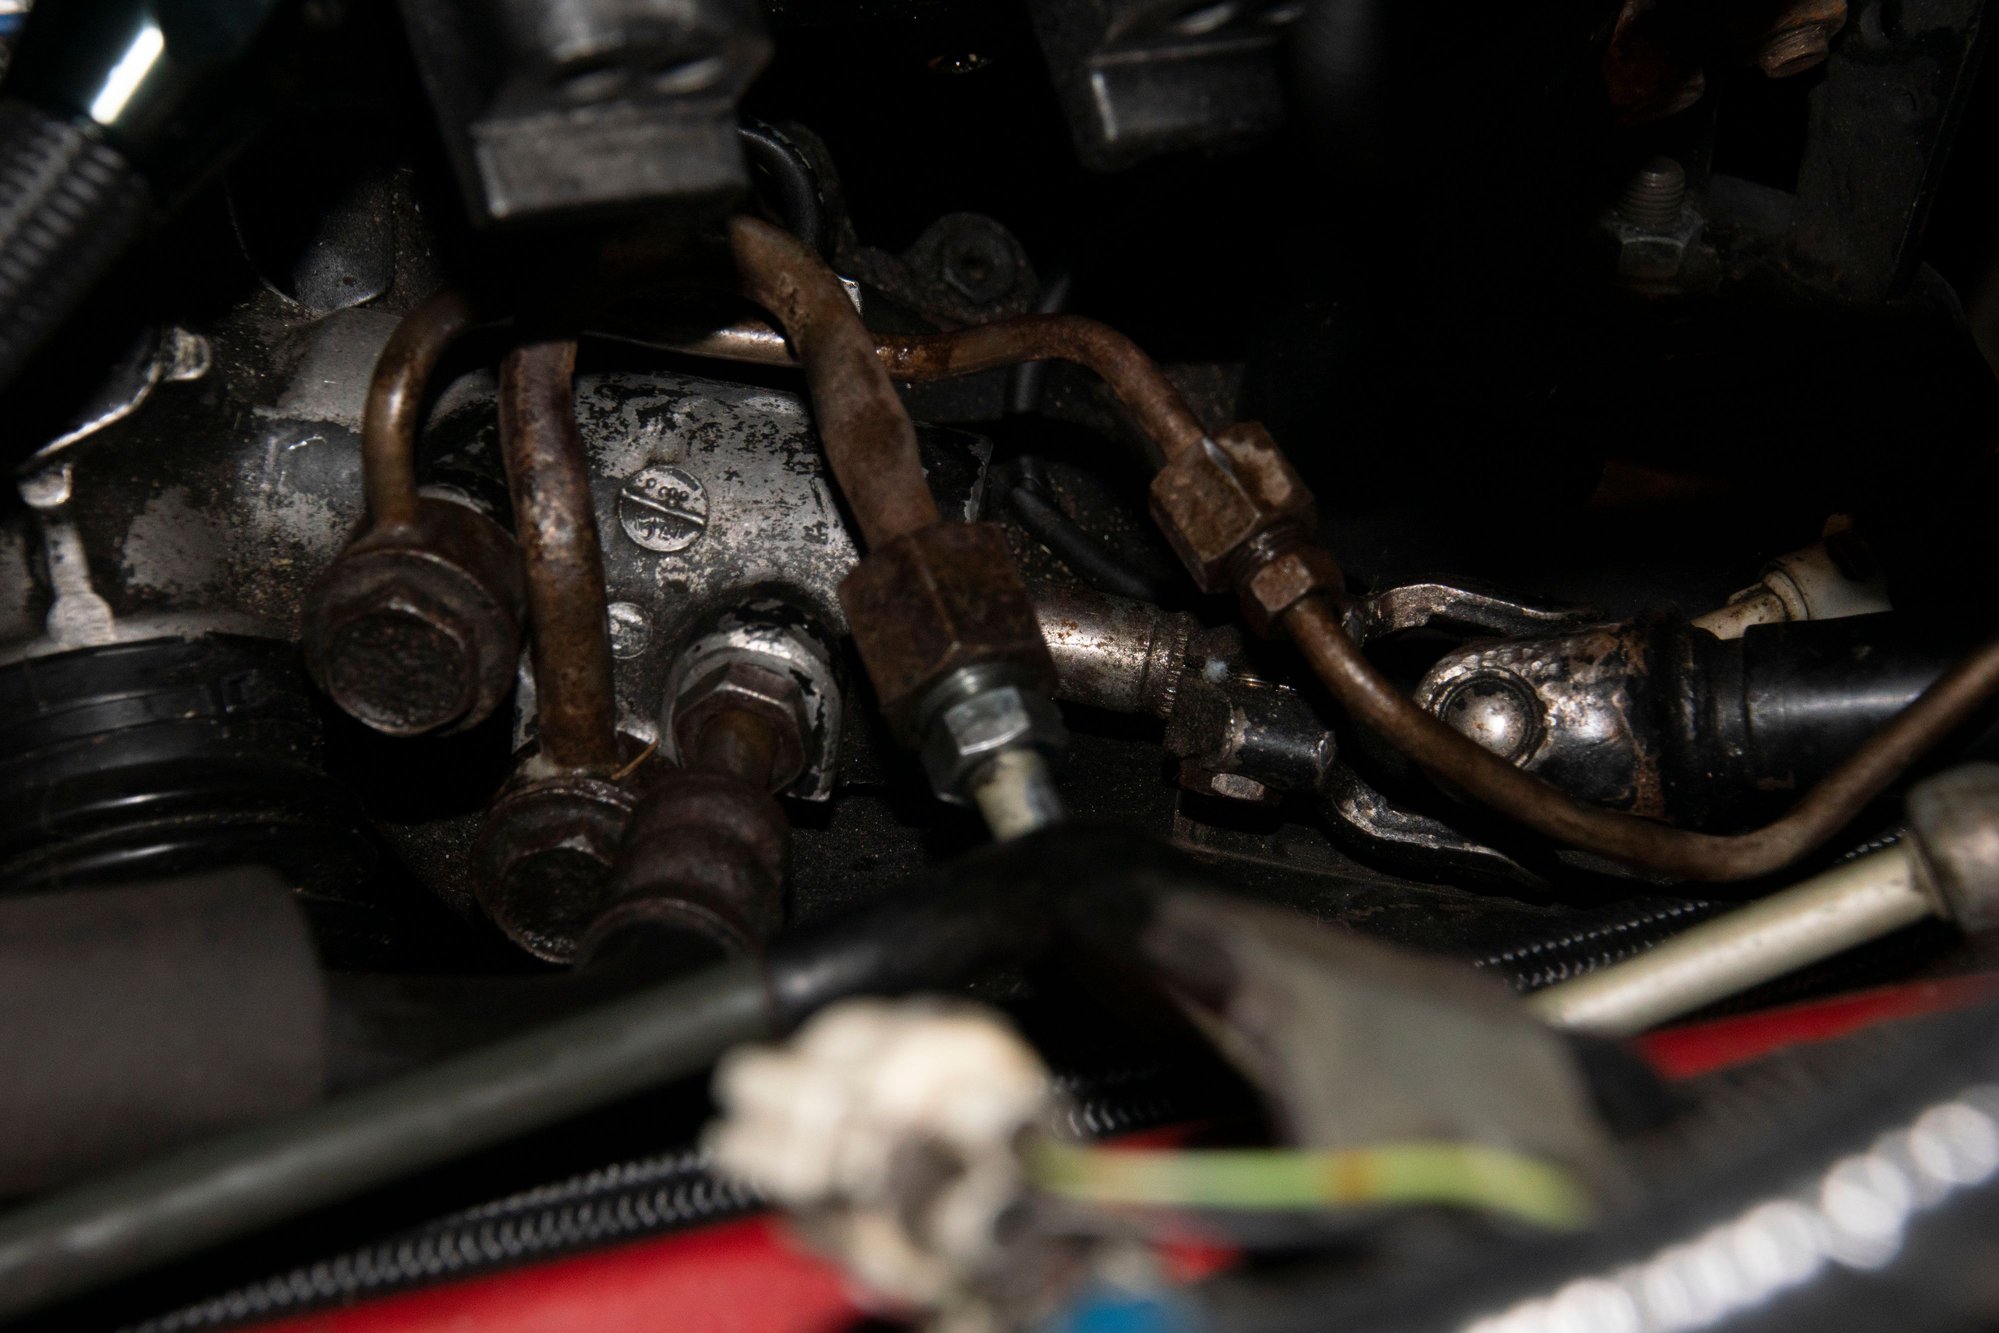
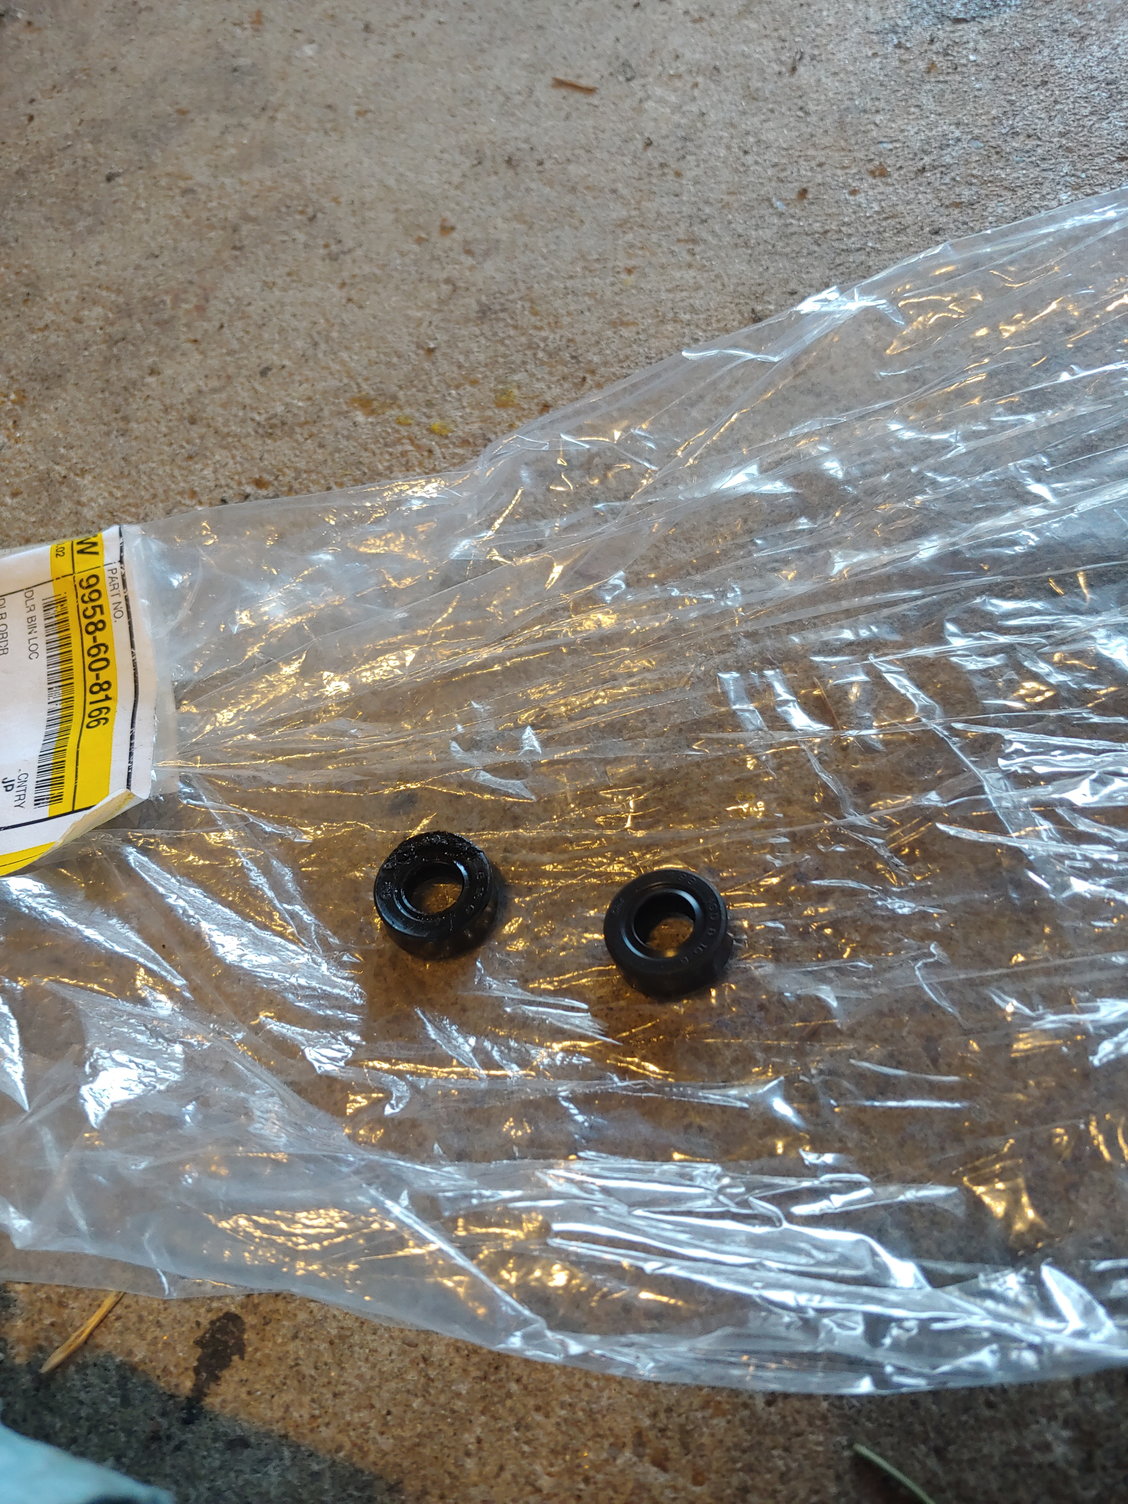
The slight kinks are courtesy of the previous owner. This is one part of the FC steering system I kind of hate. Instead of having banjo ends on the hoses, or using flared ports on the rack, you have to use banjo bolts and o-rings to connect those adapter tubes to the rack, then connect the flare fittings from the hoses to the adapter tubes. It just irks me and it’s begging to leak. I used all-new Viton o-rings so hopefully I can avoid soaking my nice clean harnesses in ATF again.


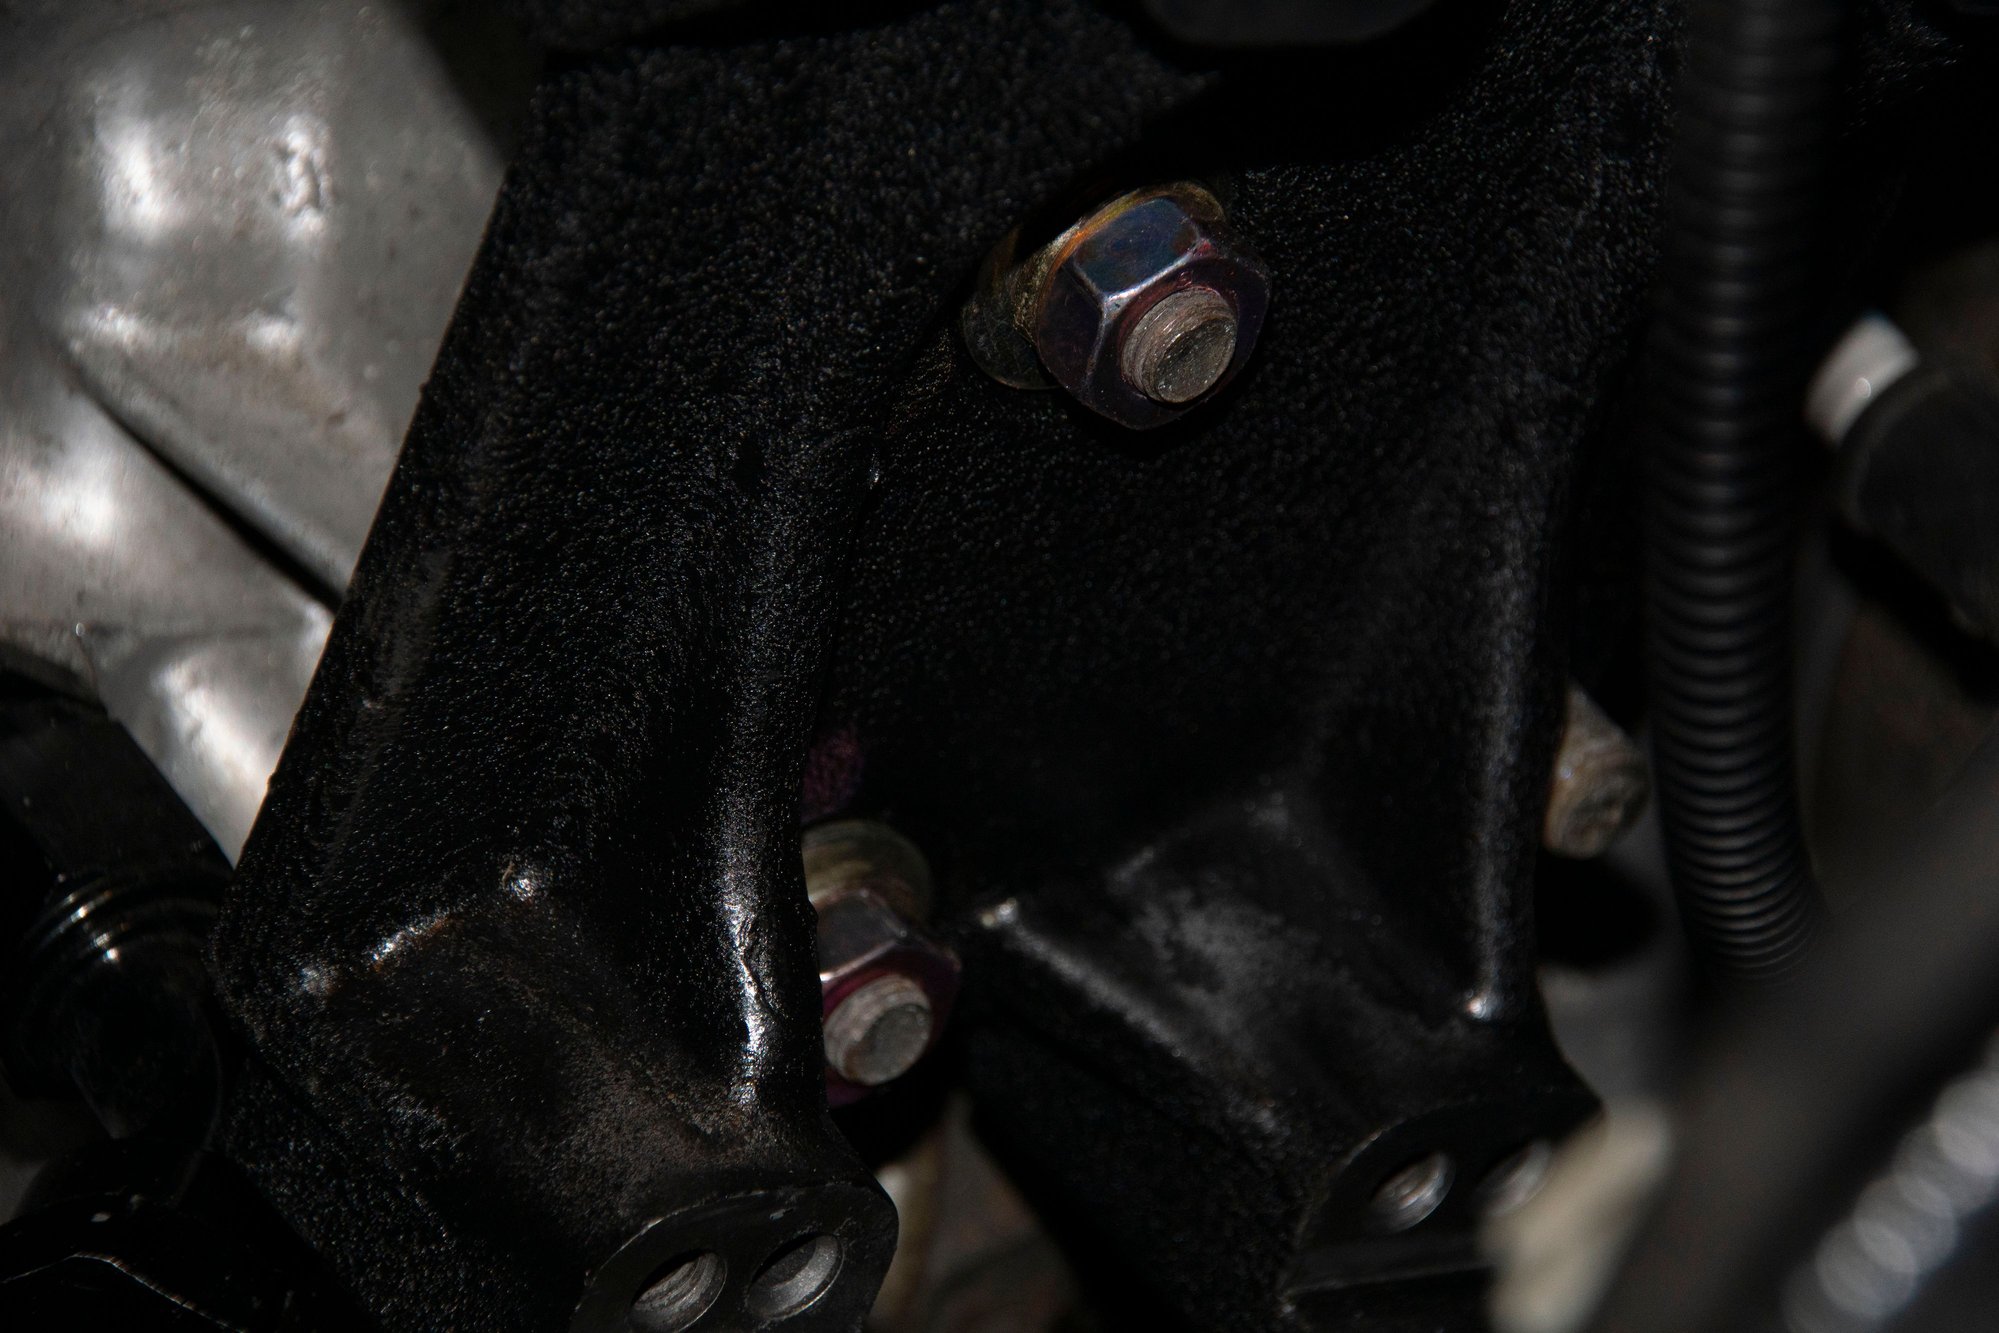
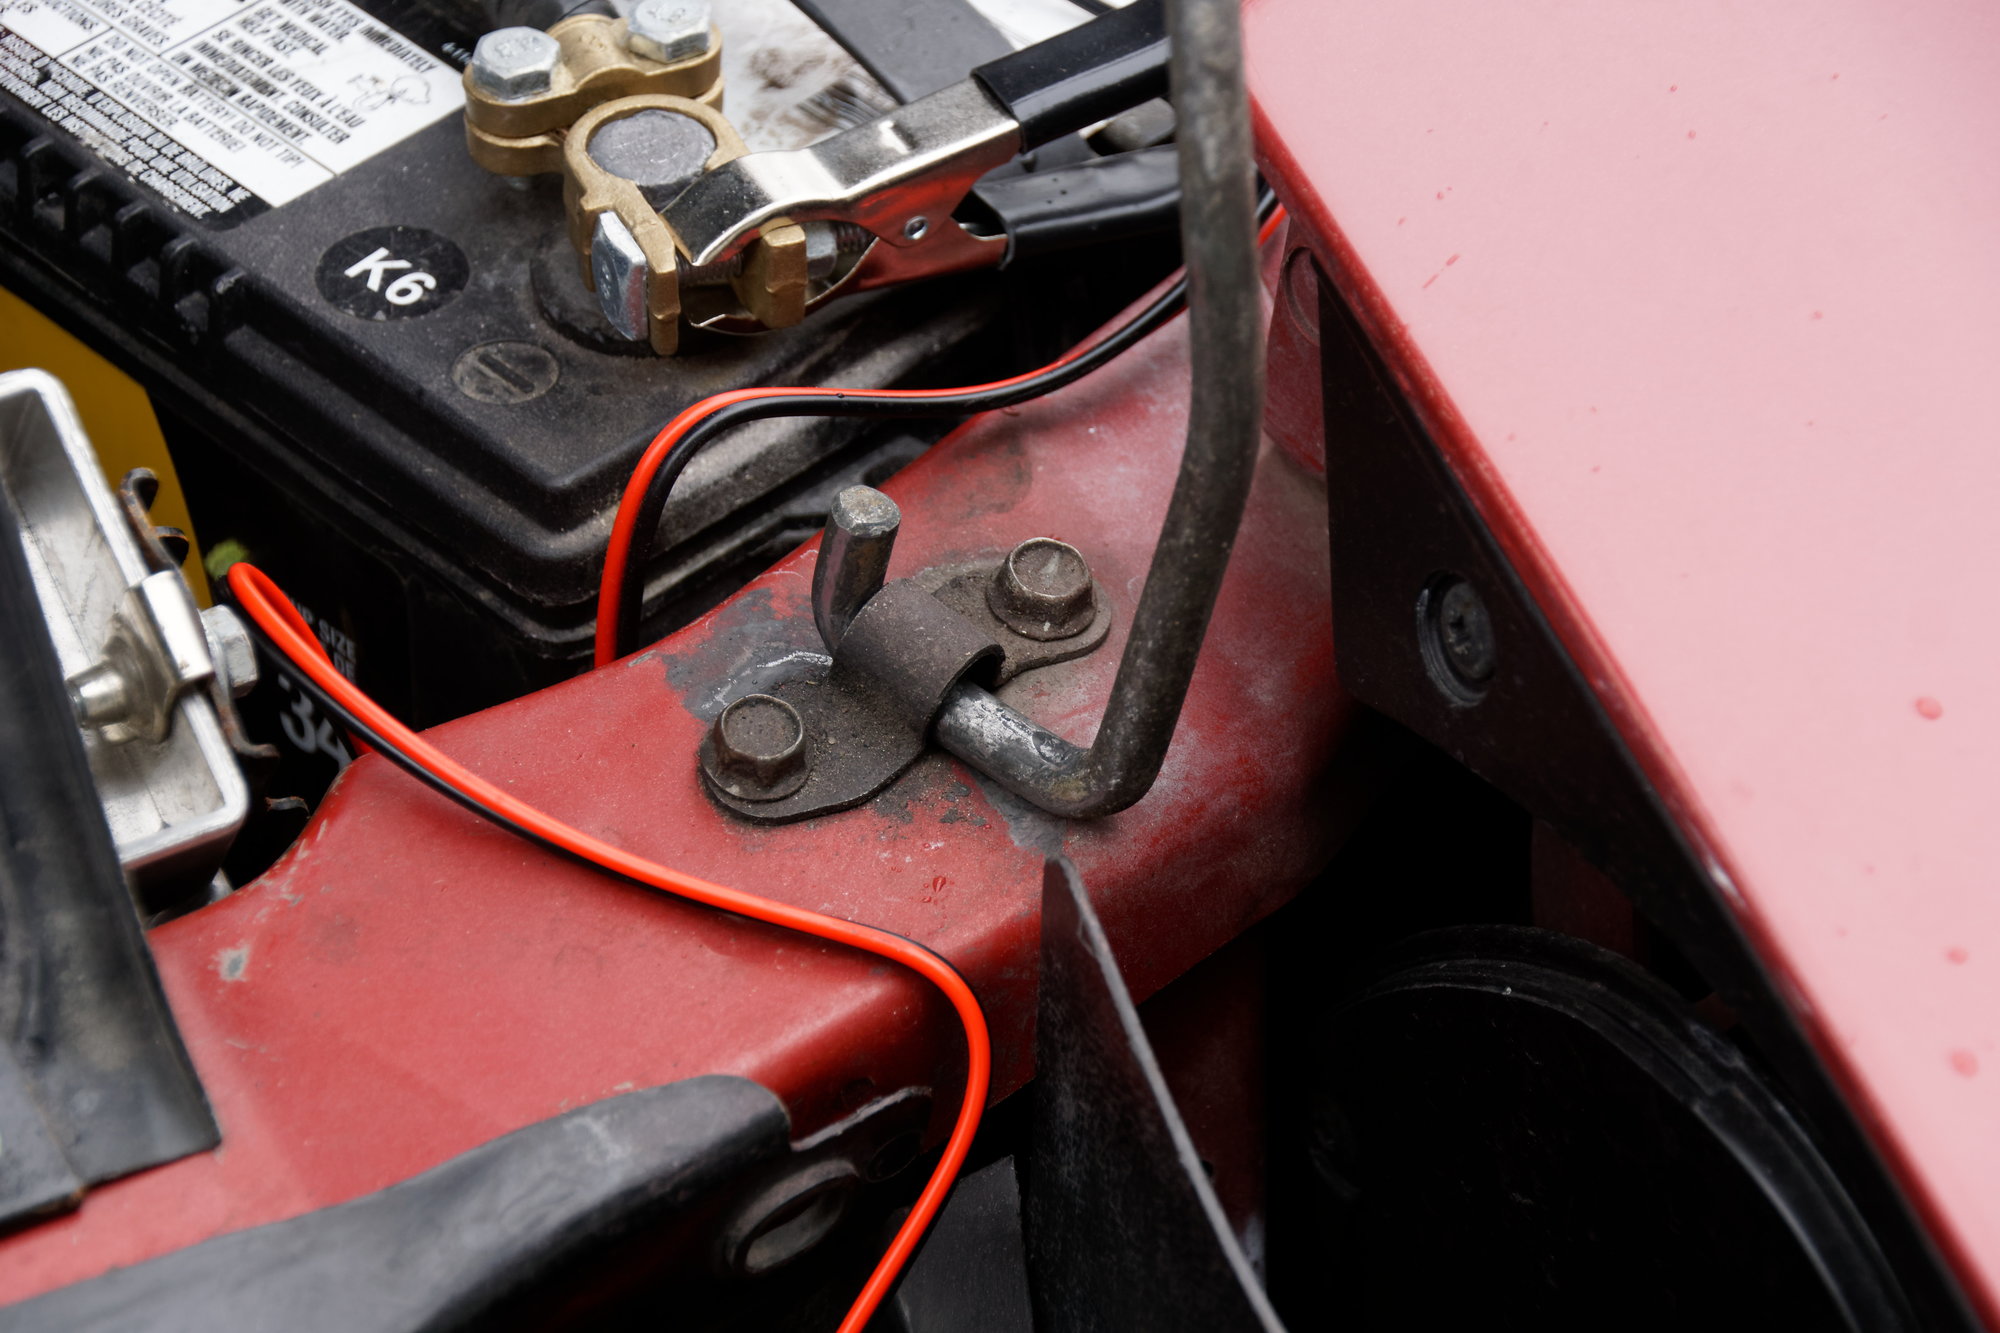
I used some shiny new hardware to install the power steering / AC bracket. I’m still missing the two rear nuts (need an M12 fine), so I’ll get those ASAP. I’m not driving the car until spring anyways.

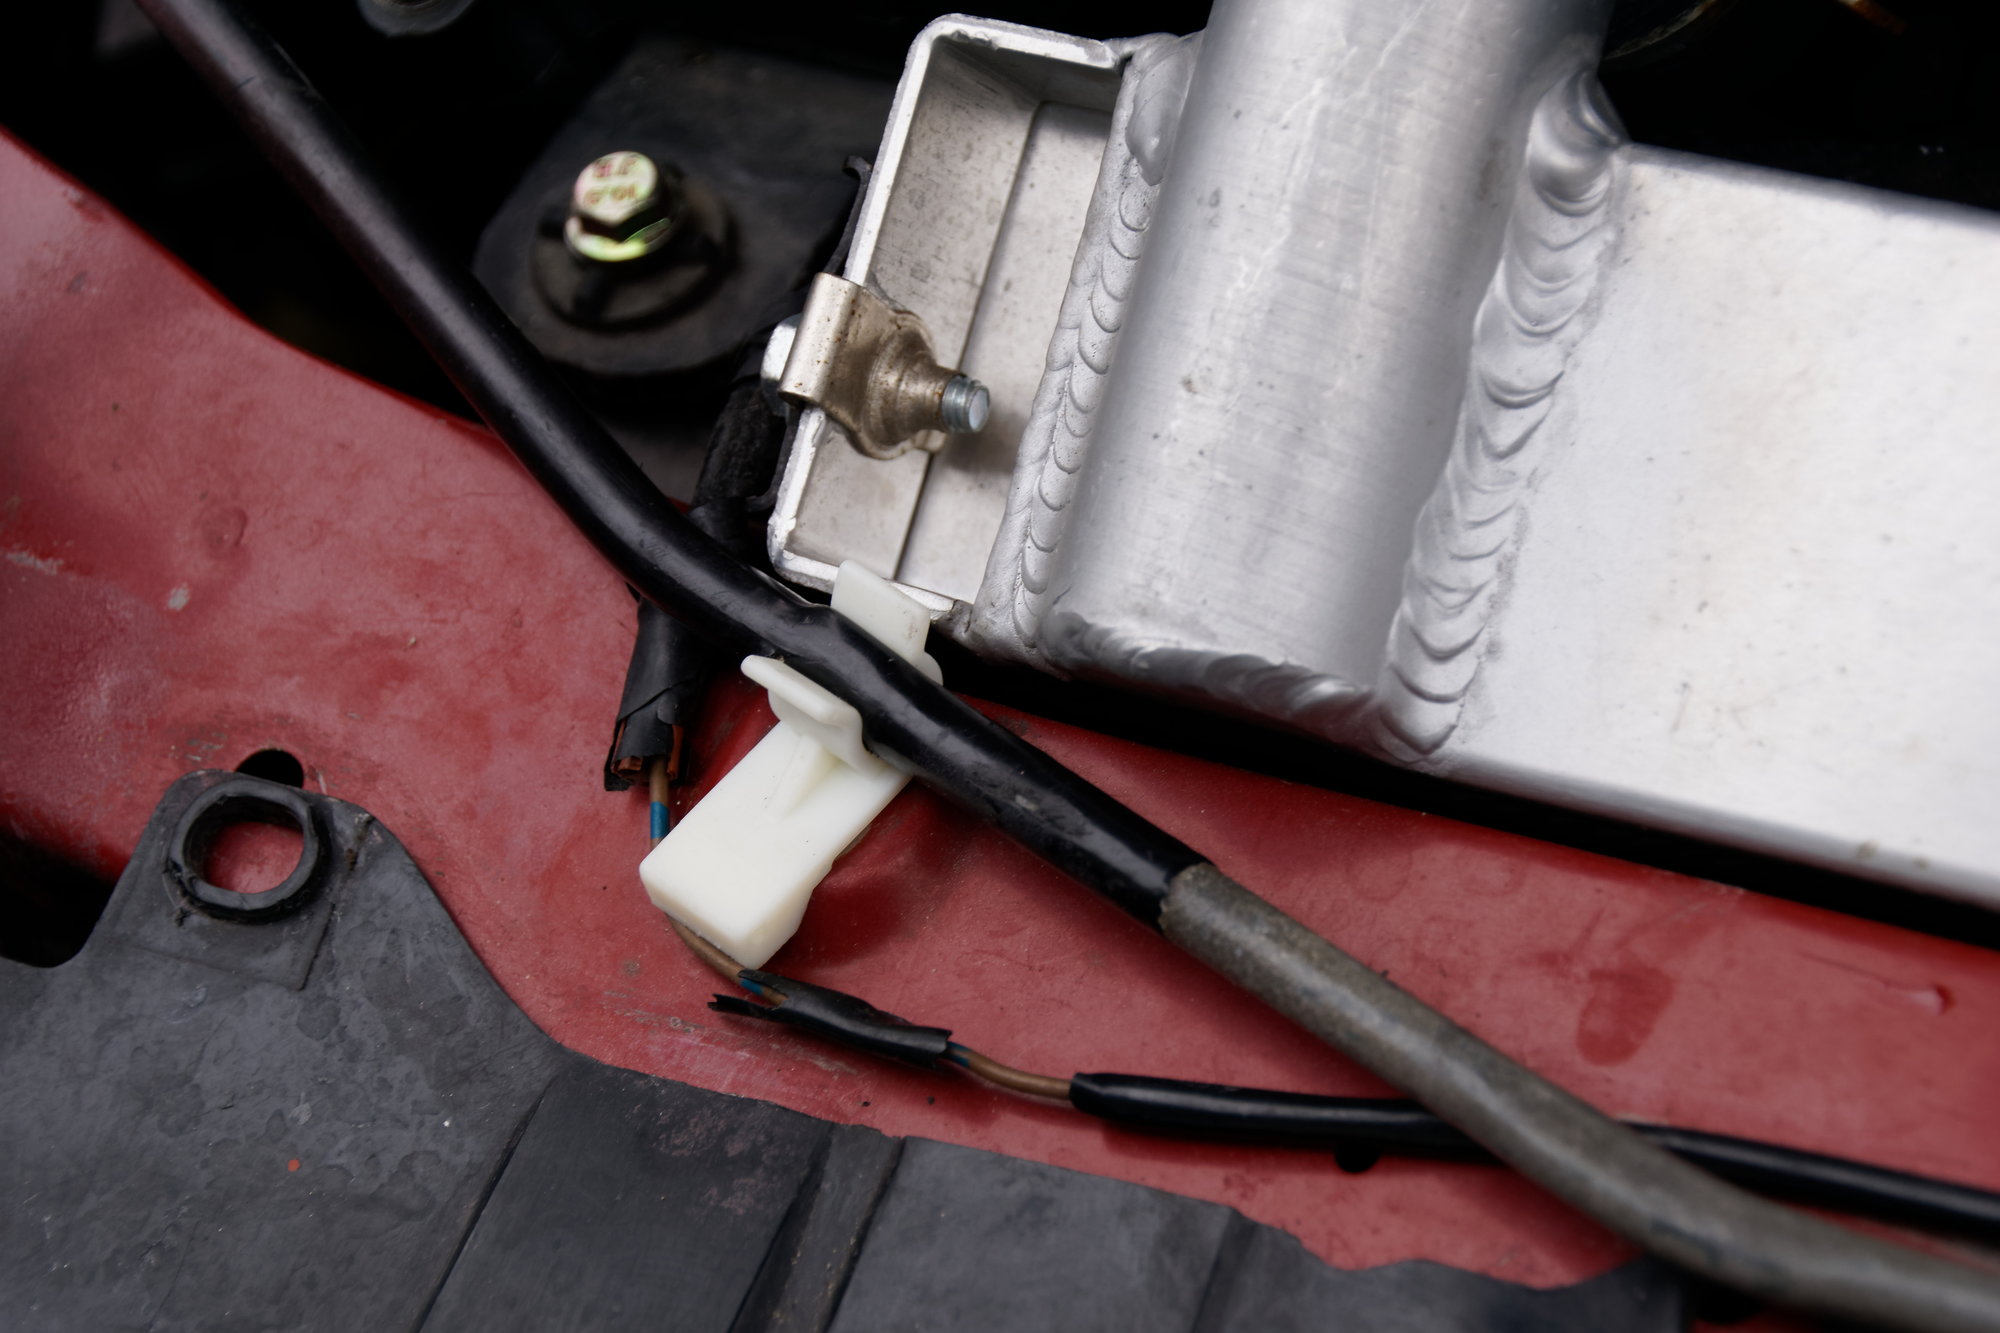
The AN line for the oil cooler is quite close, but it isn’t rubbing so I’ll just keep an eye on it for now.


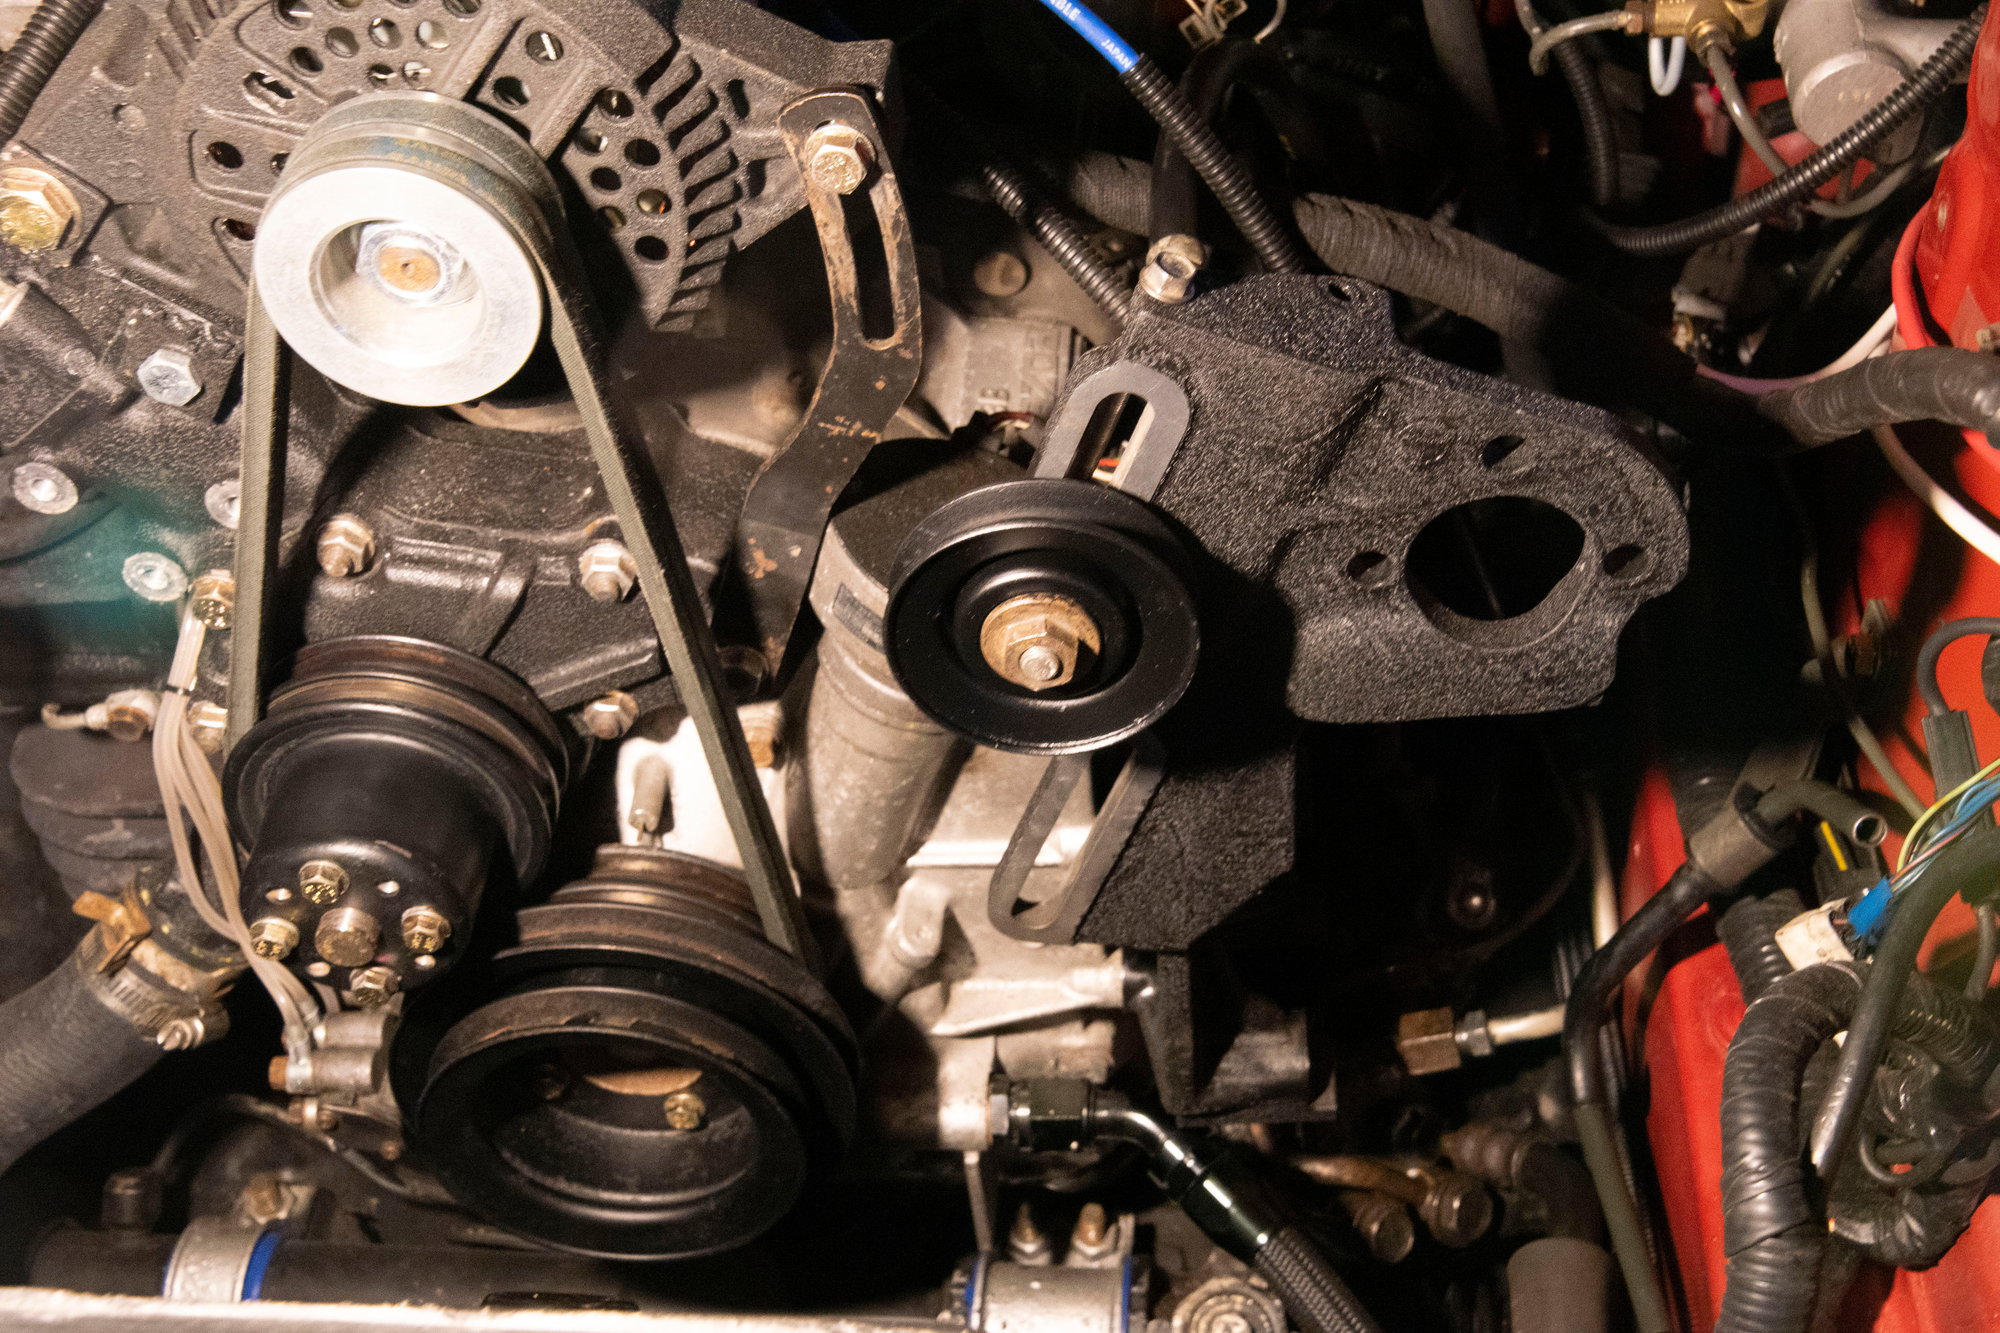
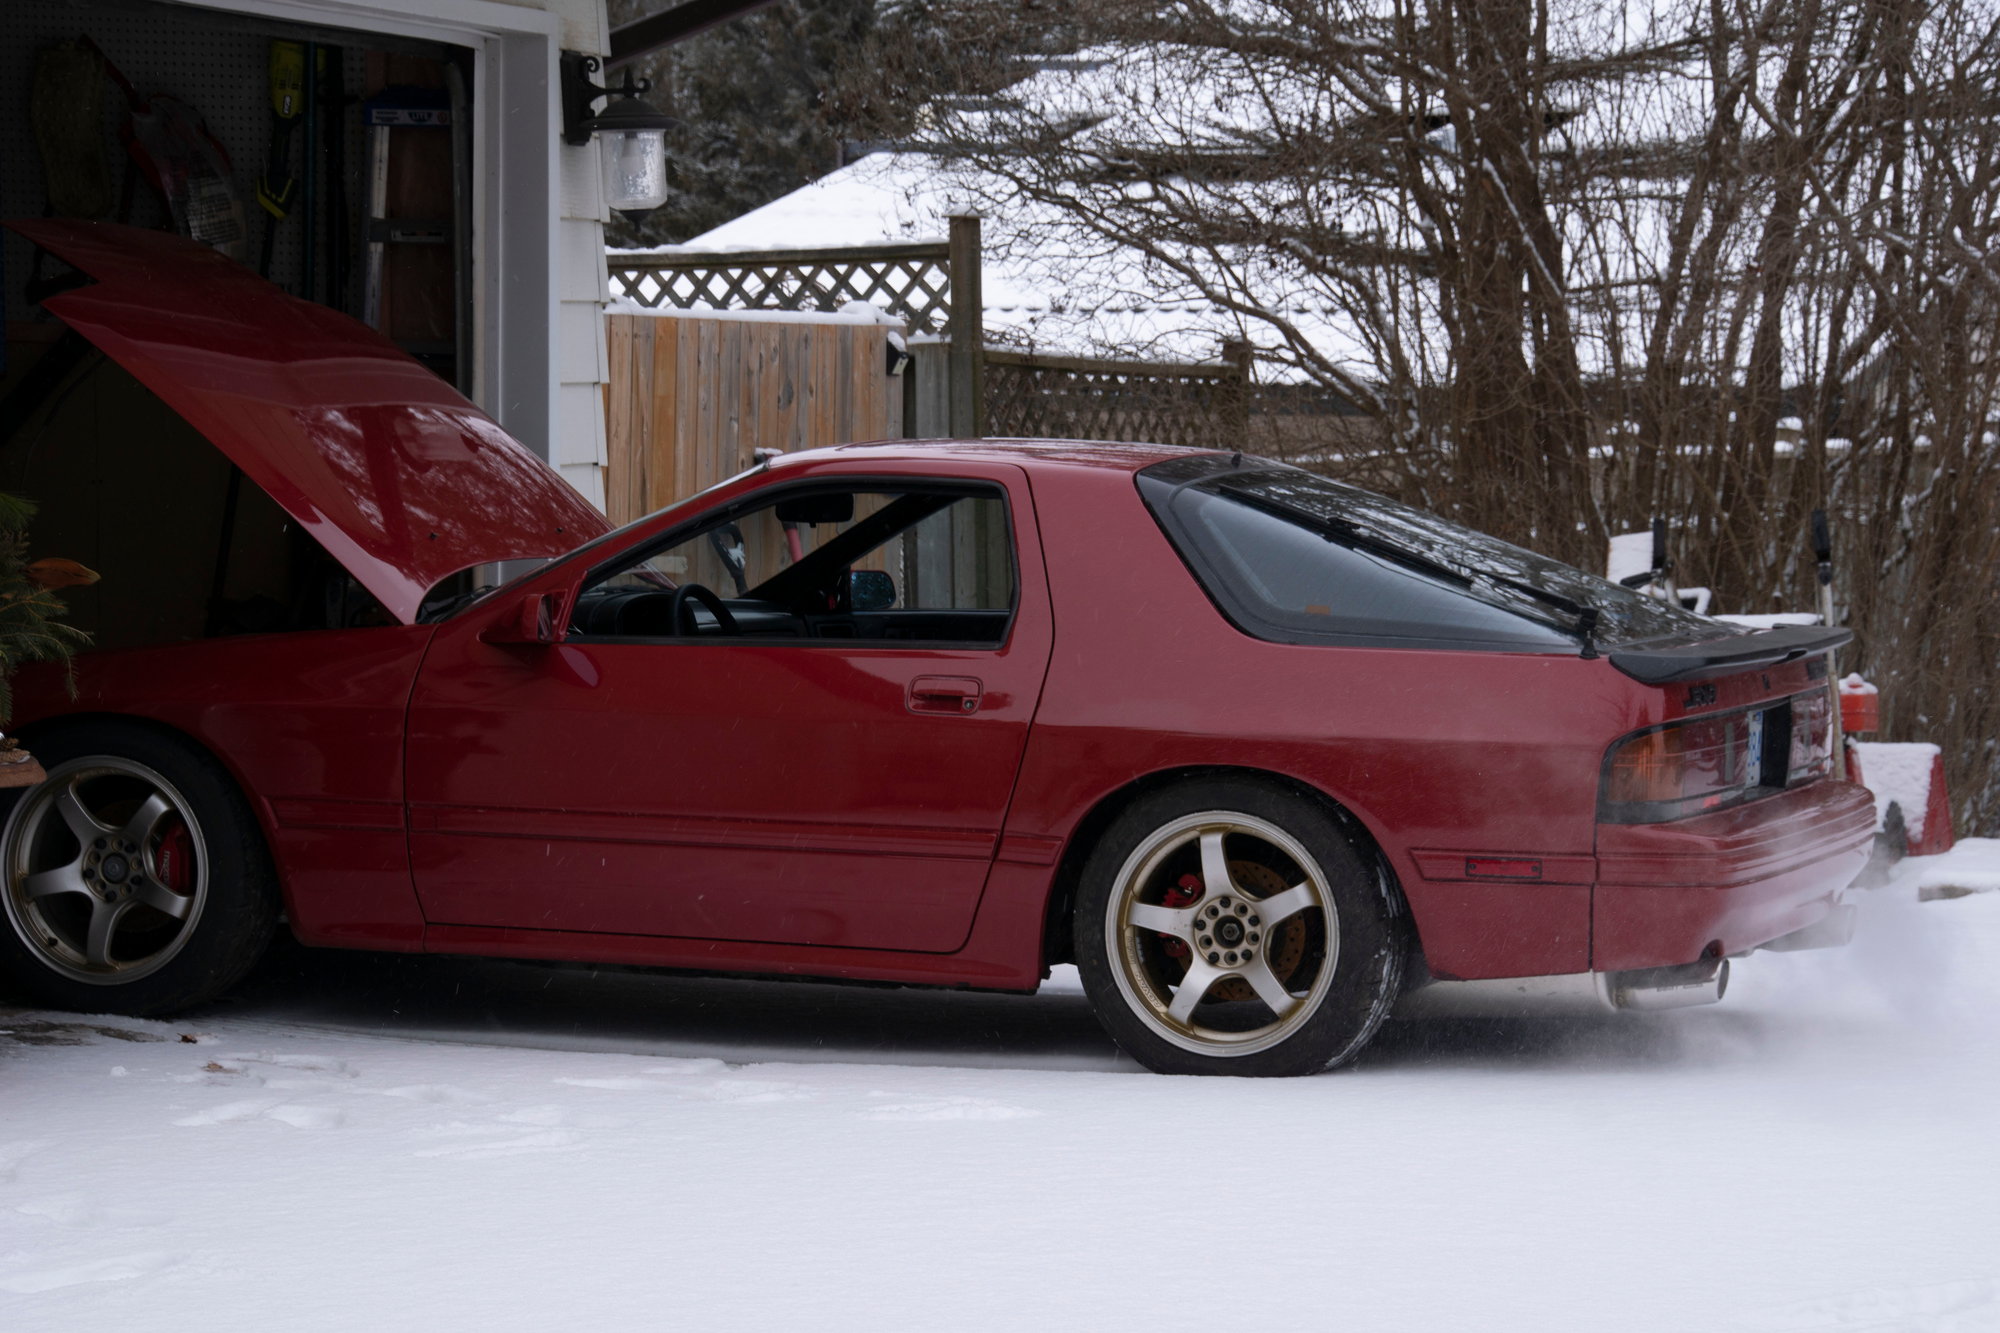
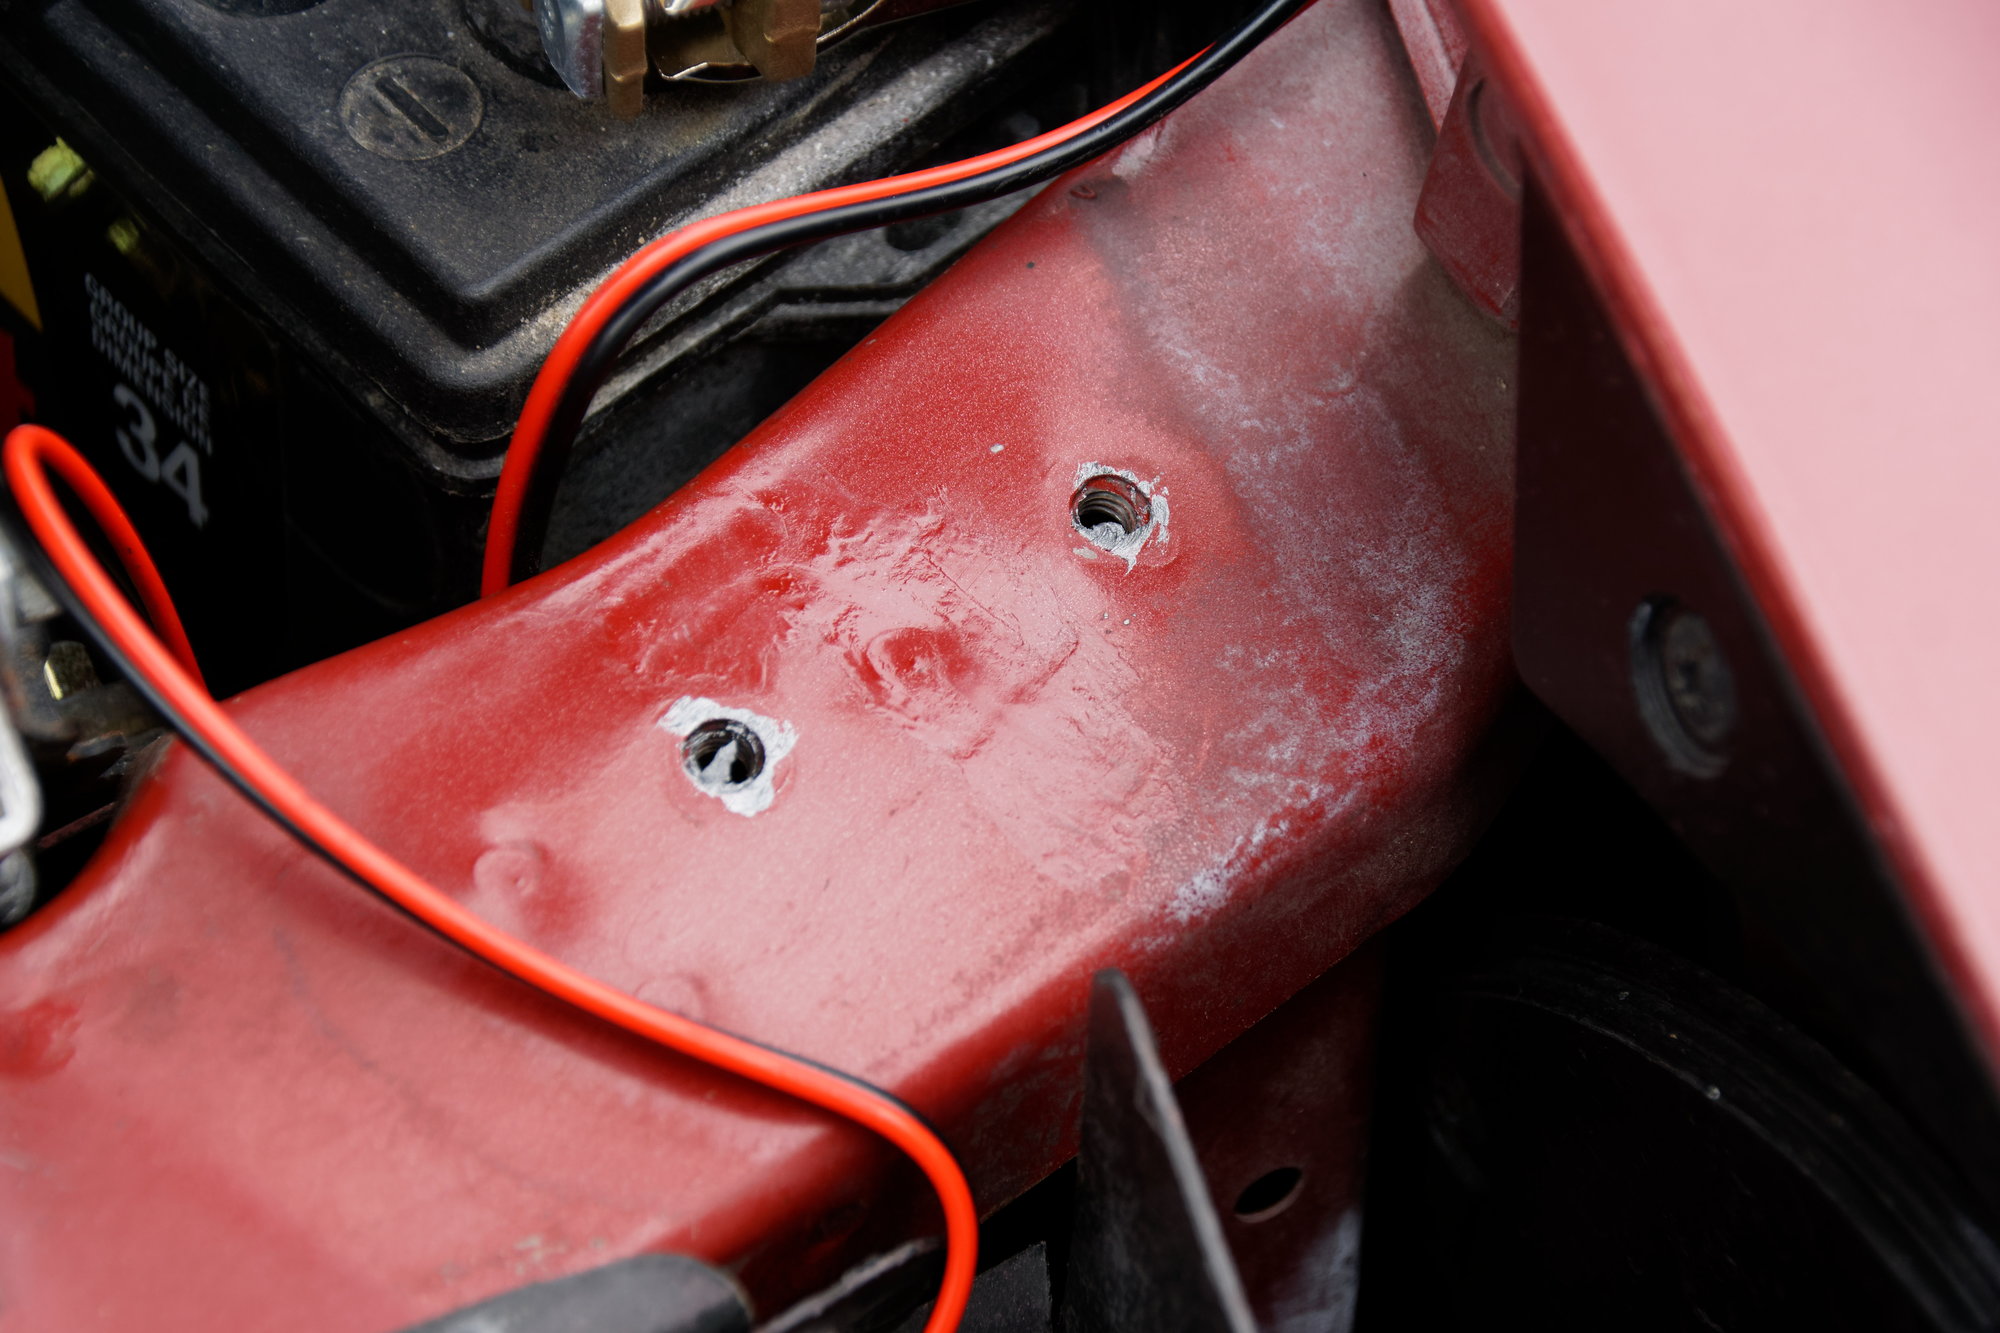
The power steering bracket is back in, idler and other pulleys are reinstalled, everything is ready to go…

Except that I can’t find the four M10x1.25 bolts required to mount the pump. I’m assuming they fell into the same black hole that claimed my pump pulley. Also it’s New Year’s Day, so I can’t go buy any.

Hopefully my next update (“My power steering works!” or alternate title “Leaks, leaks everywhere!”) will be tomorrow.

Happy New Year’s to everyone. Until next time :)

Brett_Murphy (Agent of Chaos)
Brett_Murphy (Agent of Chaos) MegaDork
1/1/22 7:18 p.m.

I love seeing S5 cars with the S4 sport spoiler. Great work so far!

wvumtnbkr
wvumtnbkr PowerDork
1/1/22 8:28 p.m.
Brett_Murphy (Agent of Chaos) said:

I love seeing S5 cars with the S4 sport spoiler. Great work so far!

Although I agree with you, 4 bolt wheels means s4 car.  As do the non retractable seat belts.


However, s5 tails with that spoiler ARE hawt!

That is, unless cars from Canada or elsewhere could be had with 4 bolt wheels in the s5s.

WondrousBread
WondrousBread New Reader
1/1/22 8:29 p.m.

In reply to Brett_Murphy (Agent of Chaos) :

Thank you! Mine is actually an S4 model, but the previous owner colour-matched the trim.

I was going to restore it to factory black, but it's grown on me so I've decided to leave it body-coloured for now.

WondrousBread
WondrousBread New Reader
1/1/22 8:30 p.m.

In reply to wvumtnbkr :

The Series 5 lights with Series 4 spoiler complicates things a bit, but yes.


The spoiler is an S4 sport spoiler. My car was originally 4 lug, so also an S4 thing. Like most S4 owners I prefer the S5 lights.


However on the seat belt front, all Canadian Series 5 models had manual seat belts. Which makes those parts expensive since US residents keep importing them :)


wvumtnbkr
wvumtnbkr PowerDork
1/1/22 11:39 p.m.

In reply to WondrousBread :

Good to know!  Thanks!

WondrousBread
WondrousBread New Reader
1/2/22 1:42 p.m.

Bright and early this morning I went out to the local Canadian Tire to grab those M10x1.25 bolts I needed. It snowed last night (and was snowing this morning during the drive too) so I had to keep the speed down and there were a few times other cars got too close for comfort. That being said I did end up getting what I needed:


And the one sneaky M10 that hides on the back of the pump:


With that done I took some time to clean off the crusty connectors and re-wrap the pigtails on the pump. I used TESA tape, although I find a piece of the fuzzy interior tape on either end is a good piece of insurance.

Conveniently I left the power steering computer under the dash when I pulled everything else, so all I had to do was plug it back in. I was glad not to have to try and dig through my storage bins for it like some of the other parts. Plugged in the sensors, tightened all the fittings, installed the pulley, and…

Realized I did not have the belt. I have a stack of v-belts on the shelf, and I had assumed I kept the old belt (it would be out of character for me to throw it away unless it was bad).

So after a drive back to the Canadian Tire I grabbed the 4L 42” OD belt I needed. There was a bit of confusion since it seems Mazda had two separate accessory brackets. One was for cars optioned for power steering only, the other was for cars optioned for power steering and air conditioning. I made an educated guess that I would need the longer one and luckily it worked out.


(Those packets are the moth-balls I was using while my car sat outside).

My engine bay actually may end up looking neater after installing the PS system, since it gives me convenient locations to hold-down the alternator harness and the spark plug wires. The two leading coils are a waste-spark setup, so it’s fine to zip-tie them like this. I will probably make a bracket of some sort to hold those wires down properly.

I filled the pump and started the car, and there was zero power steering. But after checking I realized that the pump had already run itself dry. I filled it and turned the wheel, and it ran itself dry again. I was looking and not finding any leaks, but the pump kept taking more fluid. I was starting to think that something must be wrong, but eventually the steering effort eased and it worked perfectly. I guess I forgot just how much fluid this system takes.


Anyways, there are no leaks yet. I looked at the sketchy cooler line and see no moisture at all, and the little adapter area by the rack that I am always suspicious of looks perfectly fine too.

For the true leakage test I put some cardboard boxes down under the engine bay and I’m leaving it for a few hours before starting again.

I don’t want to declare victory yet, but the steering seems to be working fine so far. I can easily turn the wheel with one hand (possible but not trivial with the de-powered steering), which I can already tell is going to greatly improve my enjoyment of the car. As for the real test, that would require me driving it on a road at different speeds and in different conditions. So unfortunately, that’s at least 3 months out.

Overall it’s been a good day. Until next time :)

WondrousBread
WondrousBread New Reader
1/15/22 9:48 a.m.

I believe I mentioned this somewhere above, but I was missing the seals that go on the shafts for the 6 port actuators. Despite being a simple rubber bushing, they're now NLA from Mazda and no vendors carry them anymore as NOS that I could find. Having mentioned this on the Rx7Club, a fellow member (Spider2K) was kind enough to mail me some seals he had purchased on Aliexpress, free of charge! I get to be the guinea pig, which is pretty cool.

Even though I didn't have the time, I decided to make the time to install the seals on Thursday. It was -2C out Thursday and I was anticipating colder weather (which has now arrived at time of posting, -25C).

I was originally going to do a test fit on one of my spare manifolds before taking my actuators apart, but I found they were under some other containers in the shed and it would have actually taken longer to get to them. I found a friend though:


I put him back in the shed, since he's not hurting anything by living in my old springs.

Took off the actuators and set them aside. Then removed the shafts (having to remove 3/4 of the screws with a hammer and punch):


I actually DID have seals in there. I guess I didn't throw them out and decided to reassemble with the old ones. Anyways, they're long past dead.

New seals:


Spider2K sent me two sets of seals, and it turns out the shorter seal is the correct one. On reassembly I had to be careful to get the shaft back onto the pin in the correct orientation. If I flipped it 180° by accident I would have aux ports open by default and then closed at 4000rpm.

I'm still a bit paranoid that I got it wrong, but I feel like I would have noticed when starting the car.

Anyways, I get everything back together and start the car. I'm lucky I have good compression since the battery was nearly flat (I've been meaning to get a tender for it). Starts up well, idle is maybe a bit better with the new seals. All in all it seems to have made a bit of difference, so thanks again Spider2k.

Unfortunately my power steering started to act strangely. It was fine on first startup, but as idle approached 900rpm or so it started to have spots where it felt "tough". No grinding or anything, but just a tough spot. Sometimes I could push past the tough spot and then it would loosen a bit before happening again. I drained some fluid (it was slightly overfull), turned lock to lock a few times, but no change.

Already having spent too much time on it for the day, I pulled out the power steering computer and spent an hour reflowing the soldering joints. I didn't see any obvious issues but that would be my only recourse other then an issue with the rack. Solder joints on the logicon ("logicon" is what Mazda calls the HVAC controls) and clock assembly are known issues on this car too. No fluid was leaking so it would have to be an internal rack issue or internal pump issue (presumably rack because it only happens at certain points).

After reflowing all the solder joints I reassembled the power steering computer and installed it. Then my brake lights stopped working. I realized I had knocked loose the connector at the pedal, but reinstalling it didn't help so I need to do further diagnosis. But it's dark now, so that isn't happening.

I considered starting the car again to see if I had fixed the steering, but frankly I don't even want to know at this point. I won't have time to work on it again for a few days (maybe weeks).

All in all it was several hours work on Thursday and I have less to show for myself than the day before. Two steps forward, one step back.

WondrousBread
WondrousBread New Reader
1/15/22 6:10 p.m.

Being chronically unable to sit still, I went outside and worked on my car. It was a balmy -25C today and my car is outside, but with no wind it was manageable.

I had three goals:

- Check for vacuum leaks (specifically by the Air Control Valve blockoff) and seal if present
- See if my power steering was fixed
- Look into the brake light issue.

On goal one, I still have a somewhat lumpy idle. The ACV blockoff is at least partially to blame, because the idle is tuned around the air that the ACV channels into the exhaust ports. Having no way to tune (beyond the little varistor that doesn't seem to help much) my expectations for a buttery idle are somewhat limited. Until now I've also had an issue where plugging in the BAC valve (this is what Mazda calls the idle valve) causes the idle to start bouncing, so I just turned the idle screw out to about 900rpm and unplugged the BAC. Having no accessories meant this was no issue.

Now that I have put the power steering back, the BAC valve starts to serve a more important function. Also the big solenoid that sits right nearby, which also has an idle maintenance function. So I had to fix whatever was causing the bouncy idle, and the likely culprit is a vacuum leak of course.

I suspected the ACV blockoff was leaking because I saw some moisture on it. Having removed the plate, here's what's underneath:


Looks like moisture found it's way to the back of the gasket (likely from the catalyst air-injection tube). This was easily fixed since I just had to remove the gasket and use RTV instead. Moisture won't attack RTV so I think it should last.

I also found the rear actuator for the aux ports was seized, for some reason. I put it on the bench and gave it a whack with a dead-blow hammer, now it seems to be fine. I put some moly grease on both of the piston-looking things for good measure.

Now I was ready to try starting. I considered just leaving it as-is for the day, but the RT in RTV stands for "room temperature", so I needed at least a little heat to actually cure it. Starting the engine was the logical option. Before that I decided to clean the connectors for the power steering pump for good measure. With the connectors cleaned and computer completely resoldered, that takes care of all easily fixed electrical options.

I had to let the car charge awhile. Even once the battery was 100% charged and the car was warmed up, cranking rpm was maybe 120 or so. Like I said, I am grateful for my good compression.

Note: The stock Rx7 ECU is very crude. It has limited error detection, no engine light, and no learning functions. It doesn't even use the O2 sensor at any time other than cruising for about 5% fuel trim at most. It is allegedly supposed to be able to blink codes if you make a set of test lamps and plug them into a diagnostic connector under the hood, but I have tried this and even when wantonly unplugging different sensors no code is thrown. Idle is set by sticking a jumper into a particular connector to lock timing at -5 degrees. Then you set idle speed using a bypass screw. When it works it works, but it can be a pain to get everything set.

Once it warmed up I set the idle to stock (750rpm). Since I had just fixed some vacuum leaks (not only the ACV but also the new seals on the actuator shafts) I decided to set the mixture again. Normally this isn't necessary but like every part of my car the mixture screw was screwed with by the previous owner. I set it the crude way: turn it all the way rich, turn it towards lean until you hear it stumble, then back a little towards rich. My external tach doesn't seem to want to read my Rx7's engine speed for some reason, so this will have to do for now.

And with that I plugged in the BAC and the cylindrical thing next to it (I call it the Big Air Solenoid, not sure what Mazda calls it) and nothing happened. Which is exactly what SHOULD happen. Then I removed the jumper from the initial set coupler (the aforementioned connector you jump when setting base idle) and it still just worked normally.

I turned on the accessories and the BAC valve did its thing, maintaining idle. I turned the wheel (steering now seems to act normally too) and the BAC valve and Big Air Solenoid again did their thing: solid idle at around 800rpm. All in all the idle is still slightly lumpy, but as mentioned above my expectations on that front are limited until I have some level of tuning control.

My brake lights still don't light, but since all the other illumination works this will require me to put my head against the pedals again to see what's what under the dash. Which means it's a job for another day.

Lastly I put in a battery-tender.


So with that, I'm calling it a successful day. Until next time :)

TT86
TT86 New Reader
1/18/22 7:00 p.m.

What an awesome build thread. Great job! 

WondrousBread
WondrousBread New Reader
1/19/22 9:06 p.m.
TT86 said:

What an awesome build thread. Great job! 

Thank you!

WondrousBread
WondrousBread New Reader
1/19/22 9:11 p.m.

Minor update. I had an unseasonably warm day today, so I took what free time I had and spent it on my Rx7. First thing I did was to """fix""" an exhaust leak. And by """fix""", I mean "slap exhaust cement onto it".


This is a short video I took to show how loud the leak was. The first minute is just testing the power steering and moving the car forward one foot so the tires don't get a flat spot, so skip ahead if you just want to see the leak. I'm not sure where it came from since the last time I did any exhaust work everything fit. But then when I took it apart and put it back together (I think while the engine was out) this flange decided not to align quite right anymore. The noise is quite noticeable and on video you can see exhaust spilling out.

I am not too concerned with the longevity of this repair since I want headers anyways, so I decided to just use exhaust cement. I slapped some on and worked it in before letting it dry awhile. This isn't really a repair but it's fine for a part I will be replacing later.

After:


I also have a slight whine from a bearing somewhere, probably the transmission.

On to something a little more interesting. I have a Cusco under-brace on my front control arms. I got it when I was buying my S5 tail lights, and the guy had it in his garage so I bought the brace as well. Does it actually do anything other than add weight and provide a convenient thing to prop my transmission on while the engine is out? No idea.

One thing that has always bothered me a bit though is that the sticker was peeling off. A few years ago I removed the sticker entirely and cleaned it, then reattached it with packing tape. But this has always bothered me a little bit. The sticker is pointless, all it does is advertise a name-brand part and it lives under the car facing downward, but I still wanted to fix it. A replacement sticker costs $50 for one (!), and that doesn't seem like a wise use of my money.

So I decided to make one. First I guesstimated the size and got the nearest size Avery clear printable labels (1"x2-5/8"). This really is more guess than estimate since I didn't even lift the car to remove the old sticker and just eyeballed the width of the bar from above. I also know it's on the smaller side, but the next up option is a 2" label, and that's too big. Then I found the appropriate logo online and used Avery's online tool to format it for printing onto my label sheets:


Then I loaded the paper into my printer and printed the template (make sure to select "actual size"):


I wasn't sure about durability, so I scraped one label vigorously with my fingernail:


You can see the scratches, but I'm pleasantly surprised. Next up, the original label is an aluminum foil-backed label, so I needed to add an aluminum backing. Enter some aluminum tape:


Then cut it out:


There you go. I'm sure there's some enthusiast out there who would notice it isn't original, but it's good enough for me. And if it doesn't last, I have 299 more labels... The package of labels cost like $15, so it only cost me $0.05 for one label and I have the other labels left for something else.

Next time I have a compelling reason to lift the front of the car, I'll remove the old label and compare before installing.

Until next time :)

WondrousBread
WondrousBread New Reader
1/24/22 5:01 p.m.

Since I haven't done any work on my Rx7 in the past few days (school is ramping back up), I thought I'd post a little about my Celica.


When I put my Rx7 on jackstands to start working on it, I needed a car. At the time I was looking for something like a Civic. My only real requirements were:


 - 2 Door

 - Manual

 - Easy on gasoline

 - Parts availability.


I started looking and found most Civics were rusted out, poorly modded (usually a stock base model with eBay coilovers and a straight pipe), or had 400,000+ km. And the asking prices were still ~$8k. My price range was about $4k. A stock or tastefully modded Civic was well out of the range I was looking to pay for a car that would see the Canadian winter.


I found that 7th Gen Celicas were way cheaper. They share plenty of parts with contemporary Corollas, and the GT models got 32 MPG highway on 87, while still producing a respectable 140hp. It's not going anywhere fast, but for a daily car a small coupe with a 5 speed is perfectly happy at 140hp.


I knew I needed a model from 03-05, since earlier 1ZZ engines had an oil burning issue. They also get a glass moonroof (earlier models got a lexan moonroof that clouds horribly), and a facelift to the rest of the car.


I saw an ad, asking $6000 for an '04 GT Tsunami model (a special trim package with a limited run body kit and paint colour). I showed up and test drove it, found no rust on the floor (only some surface rust on the subframes), and the guy sold it to me for exactly $4k. This was the top of my budget but he had every single oil change receipt from the day he bought the car. Regular coolant and transmission fluid changes, everything you'd want to see in a used car.


So I brought it home:


~200k km, included a set of 17" wheels with summer tires and the stock wheels with winters. I had to replace the broken fog lights to pass inspection, but the Tsunami edition got special fog lights and Toyota quoted me $1200 / set (!), so the ones in the bumper right now are Princess Auto's finest $25 set.


I installed a basic Pioneer head unit (keeping the special Tsunami specific Panasonic in the basement for resale value), replaced the door speakers and rear cabin speakers with a set of decent JBL units, and popped my home-made subwoofer in the hatch. The seats and door cards are also Tsunami-specific (I think the TRD model got a similar one though). The previous owner did smoke in the car, so I have removed and cleaned everything other than headliner and dash itself. Then I used an ozone machine. I still get a whiff of it, but manually de-upholstering the seats, cleaning the covers, and then re-upholstering took out the bulk of it.


The car has been through a few adventures with me. The clutch disc broke once and wouldn't disengage, so I had to start and drive home 2 hours in 2nd gear. I'm aware I could have shifted without the clutch but I decided against it. I also went over a bump once and broke a spring. A set of lowering springs was less than one spring from Toyota, so it now has a 2cm drop and has KYB replacement shocks.


All of the rubber shifter bushings have been replaced with aluminum and the shifter is a MWR short shifter. This summer I replaced the power steering pump and lines (rusty), and cooler.


Otherwise it's mostly stock. I like it; it does everything I need it to do and it's a perfectly good little car. It has airbags and anti-lock brakes (rear drums though, much to my chagrin).


But it doesn't really make me "feel" anything the way the Rx7 does. So while I will continue to maintain it as long as it makes financial sense to do so, I'm not looking for any upgrades. If I need an exhaust (for example) I'll get one, but not before this one rusts out. Until then it's just the regular fluid changes and maintenance that every car deserves.


Until next time :)

WondrousBread
WondrousBread New Reader
2/9/22 3:57 p.m.

It was warm today ("warm" as in "above freezing"), so I decided to take the car cover off and start the car. But first there was a minor upgrade I wanted to do:


Forgive the photo quality, but when I'm working with liquids I don't like washing my hands 20 times to take a photo with my SLR. Phone only today.

The little part with the wrench on it is the fitting on top of the thermostat neck. It's a simple piece, and it's only job is to let you fill the cooling system from the highest point.

My FC originally had the early S4 coolant overflow setup. This means that the rad had a flat cap on it (supposed to anyways, I've had two 13psi pressure caps since I got the car), and the fitting at the top of the thermostat neck here had the pressure cap and a small nipple for the overflow tank. After going to the e-fan setup, the stock hose routing no longer made sense because the coolant tank sat on the driver's side wheel-well and the hose ran all the way over to here.

Instead of trying to keep the stock overflow I bought the black anodized aluminum one I've been using and repurposed the original tank area as a fuse panel. The black tank fit in the passenger side rear corner by the charcoal canister, so I only needed to use a small run of hose to go to the same fitting (flipped 180 degrees so the nipple faced the firewall) and I was good to go.

But there are a few problems:

- The stock piece is this weird fibrous plastic material. I don't know if it's fiber-glass exactly but it is something like that. Over the years it got brittle and broke, so it needed cracks filled.
- The original piece was too far gone, so I have been using a slightly less far gone later piece. However, it's from an FC that got the late coolant tank setup (coolant bottle in front of rad, nipple on rad), so it didn't have the nipple I needed.

So I added one:


The nipple I added ripped out of the fitting when trying to remove the hose:


Anyways, it worked for awhile (with a lot of help from my friend JB), but it still seeped a bit of coolant every so often.

When acquiring parts recently I also got this with the bunch:


This is the aluminum version that FDs got. I've wanted one for awhile but they are expensive new. Same piece, just a much more durable material. But I wasn't in the mood to try and add a nipple to this one and ruin it too, so I have to make use of the one on my rad. When I got the aluminum rad a few years ago I capped it (since I was using the stock setup) since using the original nipple on the thermostat neck required less hose.


Not super happy about how the hose fits, but it's fine for now. It isn't pressurized so I'm not too worried.

And now the FD piece fits exactly where the FC piece did, with a flat cap and a new o-ring for sealing:


Started it up and ran it for awhile, there seem to be zero leaks (steam from some spilled coolant). I'll be keeping an eye on everything, but that's one less piece of plastic in the cooling system to worry about.

I know this isn't a super interesting update, but the whole situation has been irking me for awhile and I'm finally glad to have it resolved. It all could have been avoided if the original piece was aluminum though :)

Until next time.

WondrousBread
WondrousBread New Reader
3/4/22 6:33 p.m.

I had some time today (midterms are through) and it was a bit warmer than usual today, so I made some time to work on my Rx7. I picked up a wideband for a good price not long ago, and decided to install it. The sensor is the easy part, fishing the cable through the firewall is a pain though:


I had to peel back some of the silicone tape to access the top of the grommet, so when the weather is warm I'll wrap this up with the TESA tape to finish it a bit more nicely. And then the whole area gets a wash of course.

I've done plenty of unpleasant work on this car in the cold, but I think this has to be one of the most unpleasant. Shoving the cable in the engine side and then contorting myself under the dashboard to reach my hand up past all the sharp bits in that corner to grab it on the other side. Rewarding, but I wouldn't call it fun. I put the sensor in the stock location in the manifold. The stock O2 sensor is unplugged now, since the stock ECU only ever uses it for minor corrections in 5th gear anyways.

I also spent some time checking all the connectors where the emissions harness connects to the body harness. I didn't see any obvious issues but cleaned the contacts anyways. I was hoping it would help the lumpy idle, but there was no change.


Success! This is kind of cool, lets me monitor what AFRs the stock ECU runs under different conditions. Also barely pictured here, I swapped to another oil pressure sensor I had around and the gauge is better. Still a bit wonky since the condensor (and the wire that it used to connect to) were missing when I got the car, but it jumps up to 4.5 kg/cm^2 at cold idle now and about 2 kg/cm^2 at hot idle (64 psi and 28psi respectively). Boy, I wish they had just used a gauge denominated in PSI for Canadian models. I don't know anyone who uses kg/cm^2 in common discussion.

Then two things happened. First, my heater hose sprung a slow leak in the engine bay. Annoying, but easily replaceable:


Two, the engine speed starting going down as the temperature increased. Which is normal, but this AFR reading isn't:


AFR goes full lean. I thought it might be the gauge, so I shut the car off and turned it back on. AFR went to ~13 for about 3 seconds, then slowly climbed up and went full lean again. Hmm. So I can think of three explanations:

- Exhaust leak allowing air into the exhaust. I did have that one right nearby at the manifold outlet, but I think the exhaust cement took care of it (temporarily of course).

- My AFRs are actually lean, but I'd be surprised the engine ran at all at over 20 AFR. The lumpy idle would be consistent with lean mixture but >20 AFR is hard to believe.

- A combination of the above.

I tried it again a few minutes ago before covering the car back up, and at hot idle (not all the way hot, didn't want to run it too long with a coolant leak) AFR was 17.7 and climbing:


I'm not sure yet, so I think I'll inspect the bottom of the downpipe connection once it's warm enough to lift the car and roll under there. I have to get that heater hose anyways.

Big picture wise, I had some big plans going forward with the car that have now been sort of pushed back again. Between school, work, and a side business I'm in the process of scaling up, it's hard to find the time to work on the car (even with the cold). So current plan approaching springtime is to just fix anything that prevents me from driving and enjoy the car as it is.


Until next time :)

WondrousBread
WondrousBread New Reader
3/6/22 6:28 p.m.

With a bit more time (and nice warm weather) today, I was able to jack the car up and fix (read: add more exhaust cement) to the joint by the manifold and also the one further down by the catalyst. After letting it dry and starting it up, things look a bit more sane now:


It idles around 12.4 (rotary engines always like to idle rich), and it seems a bit smoother. There's no reason I can think of that it should be smoother from just fixing exhaust leaks (since the ECU doesn't even notice if the exhaust is missing), but it feels like it may have improved some. Also, I replaced the clamp on my heater hose and it doesn't leak anymore. I might still pick up replacement hoses as a precaution since mine are of unknown age.

This is what I mean when I say it isn't quite as smooth as I think it should be:

https://www.youtube.com/watch?v=BsRwLxvev1k

Hard to capture it on video, but even with brand new mounts (OEM vert engine and trans mounts, plus new crossmember with center bushing) there is a sort of thrumming feeling through the chassis. As for the idle quality:

https://www.youtube.com/watch?v=gq_9bemVr7A

There is a small but noticeable bounce. This again implies lean mixture, so I could try adjusting with the variable resistor again but I'm guessing there is a tiny vacuum leak someplace. I can occasionally hear a slight "whistle" noise, but not from any noticeable area (and the propane trick isn't showing any leaks). It's quiet enough it could be a bearing or something, or possibly one of the exhaust leaks I cemented.

Also my steering has decided to work fine off-idle but not want to turn the wheels to the left at idle (lots of resistance and a whine noise). I have a spare pump somewhere I think, so I could try tossing that in to see what happens. If I can't figure it out then it's back to de-powered for the summer. I am really hoping to avoid that. At the end of the day though, de-powered steering is better than not driving the car at all.

Until next time :)

WondrousBread
WondrousBread New Reader
3/8/22 9:05 p.m.

Put in some more work on the Rx7 today.

First on the docket to fix was the steering, but since it was cold out I took breaks by working on the tweeter mounts. I'll present them separately to make it a bit more sensical.

Starting with the steering, I first pulled off the old stepper motor and installed the new one. I then put a mark on the gear to watch the orientation:


Turns out every time you cycle the key to IGN, the stepper motor sets back a tooth. This turns the gear on the pump side towards the "more assist" setting, so that takes care of the calibration. Just cycle the key a few times and it should reset itself.


You can see the gears in this photo.

Since that wasn't the issue, I moved on to the interior steering sensor (the part a fellow Rx7Club member mentioned). I'd already disassembled and rebuilt this part, but I thought I'd check it again just in case:


The black traces combine with the wipers on the little rotor piece to make a variable resistor. This tells the PS computer the steering angle. Meanwhile the other contacts are for the turn-signal cancelling function. The little round guy with the two nubs engages into the back of the steering wheel (or hub). I cleaned everything and lightly re-greased, and double checked to make sure there was contact on all the traces. Everything looked good, so I reassembled. Still no fix.

So then I moved on to something I'd played with before:


This is the yoke support for the steering rack and pinion. It applies pressure on the rack to keep it from flopping around. If it's too loose the rack can chew at the inside of the housing. If it's too tight the rack can bind. I loosened it a lot (not all the way) and the issue disappeared, although the steering became vague. I had it at factory spec before, but I figured it was worth a try messing around.

So then I tightened it a couple degrees at a time until I felt the issue, and then backed it off again before tightening it down. I can still feel it a tiny bit (I may be imagining it since I'm now hyper focused on how the steering feels), but it's not really noticeable. I'm going to leave it for now, and if it comes back then I know where I need to focus my efforts.

It also makes some sense that this would be the way it works. The Mazda training manual describes the system as two separate but related parts: the stepper motor control and the "reaction force" system. The stepper motor is fairly intuitive, it turns that little gear on the pump body according to what the computer tells it to do. One extreme is "full assist", one is "minimum assist". You could in theory turn the gear where you want it, install the stepper unplugged, and then have the system disabled and set at whatever your preferred level of assist is.

Meanwhile, the third line on the steering rack works the "reaction force" system. There is some sort of mechanical system that responds to slippery road conditions (snow, gravel) with decreased assist and grippy road conditions (asphalt) with increased assist. This works in concert with the stepper and computer but seems to be entirely mechanical and independent. The manual indicates that during a left turn, the system needs to feel resistance before reacting. Obviously it shouldn't be noticeable when actually operating the vehicle, but at least this lets me know mechanical failure is less likely than maladjustment in my case.

As for the tweeter mounts, I found a STL on Thingiverse and printed them:


They turned out a bit too large, so I measured my tweeters again and scaled the model appropriately. Then I removed the flat area inside the opening:


A press-fit would be nice, but I don't really trust it. There was about 1/4mm or so of slack in the final print, so I just used a dab of epoxy to hold the tweeter:


There we go. I printed a second one but the filament tangled right before the end (doh!), and then I had to rush off to class. So I'll need to print another later. I also only have the triangle trim for the door on one side, so in the meantime I may stick them on with a piece of 3M tape before I acquire (and immediately drill) OEM triangles for the final finish.

Until next time

WondrousBread
WondrousBread New Reader
3/14/22 7:14 p.m.

Probably a boring update, but the brake lights are fixed. Required some contortion, even with the seat all the way back, but I have this down to a science now.

Step 1: Swing legs over steering wheel


Step 2: Push legs over center console while turning torso towards driver's door


Step 3: Swing head into footwell while lifting legs towards driver's headrest


Step 4: Prop feet on rear storage bins around seat with head against the pedals, and think about how nice it would be to have double-jointed elbows


I posted a thread on Rx7Club and member j9fd3s told me there were not one but two brake switch connectors. One is for the cruise control, one for the brake lights. They both have identical connectors, and on models that came with CC the switch has two sets of spades for the two connectors. I had plugged in the wrong one. The correct one was pointed way way up in the dash tucked behind a metal bracket. Not sure how that happened, but after swapping it back on I have brake lights again. While I was under there, I also found that the fuel pump relay was plugged in a bit crooked. It certainly would have been interesting for that to come unplugged while driving... I popped the top off the relay and cleaned some carbon from the contact too. I doubt it matters (my fuel pump has been re-wired anyways so this relay just switches another relay in the hatch), but if I see any noticeable improvement in the way the car drives I will replace the relay.

Then comes time to free oneself from the footwell...

Step 1: Reach up and grab steering wheel to hoist oneself up


Step 2: Extract left elbow and start twisting torso around


Step 3: Pull legs against chest while simultaneously rotating towards driver's door


Step 4: Push oneself back up into driver's seat. Put footwear back on.


That's about it for the day. That heater hose is on order, and now I'm kicking myself for not having ordered the other ones at the same time. I'll probably place the order when I go pick up the first hose, just to do them as preventative maintenance. I am also grabbing some miscellaneous interior parts (including the door triangles) so I can tidy up a bit inside. Nearly ready for spring :)


Until next time

WondrousBread
WondrousBread New Reader
3/17/22 9:16 p.m.

I picked up the heater hose I needed, but while there I placed an order for some other parts that included the driver's side hose. So I am going to wait for that to arrive before I work on the coolant system. One part that was available at the counter though was the speedometer seal, so I thought that this would be a good thing to install in the meantime.


The old one is looking a little crusty. Which is consistent with the transmission fluid climbing all the way up the sheath and into the car under the dash. It's free undercoating for the chassis but when under the dash I could visibly see the cable was slick, so I'm hoping this solves it.

I also decided to add some exhaust hangers. Basically, there are three factory hangers that I was missing.


One mounts to the transmission and connects to the stock pre-cat pipe (I think, I have never had that part so who knows). The other two are the hook shaped ones that connect right behind the catalyst to the frame rails. While I did have the hangers for this set, my car came without the actual rubber donuts on those hangers, and I had never replaced them. To add to this, the reinforced frame rails didn't have provisions for these mounts as they're designed for a Miata. I elected not to notch them at the time of installation, so I needed to add some mounts today. You can also see my liberal use of exhaust cement, which I hoped to avoid after reassembly today.

I started out with all these parts:


My exhaust is a bit of a frankenstein situation. It's a stock manifold, a downpipe with the pre-cats replaced with 2.5" pipe, down to a 2.5" catalyst which then widens to 3" to mate to the Racing Beat REV TII exhaust I'm using. The large resonator here is designed to bolt in the factory cat location in the Racing Beat exhaust, but I haven't been running it. I like having the catalyst to cut down on the exhaust stench (and they aren't a restriction anyways these days).

This complicates my exhaust situation a lot, because aftermarket exhausts don't accommodate the catalyst. I was hoping to use the Racing Beat resonator in the stock catalyst location, and then move the catalyst forward and shorten the split-air tube. This didn't pan out due to the location being cramped and not having a heat shield, but the resonator was still useful because it told me where to put the exhaust hangers.

Otherwise in this photo are the factory hangers that bolt to the frame rails, the transmission hanger with the bolt on type isolator, some all-thread I found to turn into hangers, rivnuts, two 2.5" to 3" reducers (expanders in my case) two OEM exhaust donuts, and a bag of non-OEM donuts. I found them in one of my parts boxes, they're brand new, and I have zero idea where they came from.

I bolted up the silencer to the y-pipe, marked the location on the frame rails, and then drilled the holes. Boy do my arms hurt from drilling overhead while laying on the garage creeper. After popping in some rivnuts, I installed those little hooks onto the frame rails (photos to come).

Next I needed to make the actual hangers, since I don't have them. Well, I almost certainly have them, but I have no idea where since they weren't in the box with my other exhaust parts. Weird how the hangers disappeared from the box but the random rubber donuts manifested... The all-thread I had around was the obvious choice, although rebar would have been better and less likely to bite the rubber donut:


A few minutes with an oxygen torch and some hammering left me with the two hangers I needed. Then I welded them onto the catalyst and installed it into the car. I didn't realize the outside section of the cat was a thin heat shield until I tried welding to it, but by welding on low heat I got it to work. It may have been a better choice to weld it at the pipe right ahead of the cat pointed backwards, but what's done is done. Then I hit it with paint and installed it into the car:


A little more heat and bending put them in the right place. I also had to massage the fuel and brake lines up since they were mounted a bit lower during the frame rail reinforcement, but they now have a good amount of clearance.

I was really hoping that I would get away without having to add exhaust cement, but despite using clean gaskets and a bit of copper spray it still leaked. Mostly at the three-bolt flange by the catalyst. I added that years ago since the exhaust was all one piece when I purchased the car, and I'm assuming the welding warped it enough that it won't seal. So I gave up and slapped some more cement on there, and some on the manifold to downpipe flange as well. And with all the exhaust cement it actually doesn't leak anymore. I don't expect it to last forever, but it should be fine for a few months and let me enjoy the car through the summer.

If you look below the downpipe section in the photo, you can see the transmission hanger I had wanted to add. I ran out of all-thread, and it became apparent when grabbing and shaking the area that there was almost no flex as it is. I may end up adding that in the future, but since the Racing Beat exhausts don't use that hanger at all I think it's safe for now to ignore it.

Results? It has definitely cut down on the vibrations I was noticing. They're still there, but noticeably reduced. I might try using those other donuts since my old ones are original, but the diameter is just slightly smaller which may make clearance an issue. Or I'll grab some new OEM donuts just to check that off the list of possible vibration sources.

While I had the exhaust apart, I was curious what it would sound like open manifold:

https://www.youtube.com/watch?v=ac96rCIL1yA

The answer? Crazy loud. In that video I blip the throttle to less than 3k and it was way too loud for me to even consider going higher. Also, the vibrations are quite intense. This makes sense since it was dumping under the car, but off camera I leaned down and looked under the car and the sheer pressure is shocking. It was a fun experience but I won't be doing it again :)

Until next time.

WondrousBread
WondrousBread New Reader
3/23/22 5:45 p.m.

I picked up a big pile of OEM parts. Here's a grainy picture (that I didn't realize was grainy until now that half the parts are installed, and therefore can't retake):


It's now warm enough that I can expose my fingers to the air longer, which means I can use my SLR. So I promise, that's the last grainy picture until autumn.

I then placed a third (and fourth) order. Half of what I ask for is NLA, and the other half is expensive. But one thing I like about the OEM Mazda parts is that you get what you pay for: Nice molded hoses, little clips, grommets, etc. It just fits the first time and aftermarket options for some of these parts are either not available or of dubious quality.

Of all the bits and bobs, the ones I was installing today were the heater hoses and two little clips. It was a rainy day in Pizzaville, but I bundled up and rolled under the car to drop the undertray. Found a long-lost friend under there:


After draining the coolant and meticulously filtering it back through a coffee filter, I pulled the old leaky heater hose. I was pretty worried; the firewall gasket was in terrible shape and the heater core barb angles downwards through the firewall. This means it was 50/50 whether I had a leaky hose on my hands or a leaky core. OEM replacement hose and grommet:


The ones I pulled out. Yes, that's all that remained of the driver's side grommet.


I also did the driver's side, which was not leaking, but in for a penny in for a pound. This also means I have officially replaced all the coolant hoses, so that's a load off my mind.

One more thing on the docket for the day: Hood prop clip and bushing. It seems almost pointless, but it's these little things that bother me when I open the hood. I don't want or need a show-car, but I'm slowly trying to close all the loose ends that have accumulated. This was comparatively cheap in parts, so why not?

Long overdue clip replacement:


And the bushing was just gone. I really should have asked the previous owner more questions...


Touch-up paint and anti-seize:


New bushing. One day I may get a big batch of all the metal bracketry and get it plated. Until then, a clean and new hardware is good enough:


And that's it for the day. I'm waiting for some more interior bits, and some suspension bits, but hypothetically I can in fact drive the car. I'm also going to unbolt the cat again one time, I have a sneaking suspicion it may be clogged. I looked down and saw an obstruction, but it was going across the center of the honeycomb in the same direction and approximate width of the air-injection tube, which lead me to believe it was just that. But thinking about it, that would contribute to lumpy idle and a bit of poor throttle response I've been noticing. And I would be surprised if the air injection tube went straight through the center of the honeycomb and to the other wall of the cat.

That of course leads to the rabbit-hole of finding a new cat (I need 2.5" to match my exhaust, so stock replacements are a no-go), then adding the air-injection tube OR converting to a different method of actuating my auxiliary ports. But that's something for another day; My car no longer drops coolant (and the interior is dry, so fingers-crossed the heater core is solid), and is hypothetically ready to drive once the weather improves in early April.


Until next time :)

WondrousBread
WondrousBread New Reader
3/24/22 9:52 p.m.

This morning there was a bit of sun, so I took the opportunity to install some more from that parts pile before class. I grabbed part of the OEM wiper linkage. The bushings are not available separately, so last year sometime I designed, 3D printed, and installed new bushings. It worked, but I was concerned for safety reasons. Add to this there is a ton of slack in the rotational mechanism for the passenger side wiper (not sure the real name, photos to come). I went to Mazda fully intending to purchase the entire linkage assembly, which I found out is now NLA. They told me the one bar (the one into which I installed 3D printed bushings) was available, so I bought that and decided to deal with the rest later.

Lo and behold, Atkins Rotary sells the entire assembly. But I had already spent $50 + on the bar from Mazda, and I had already placed my order with Atkins, which means paying flat rate international shipping AGAIN. So for now, I am just installing the one bar. Pulled the old one out:


It was actually super tough to free it from the motor, and the bushings were still firmly mounted into the bar. I guess I did a better job than I thought? I did put the bushings in backwards though...

With it installed, not a whole lot is different other than my peace-of-mind. Here's a picture showing the part that has slop though. When it's parked the shaft is straight inline with the body. Then when it's at the other extreme:


There's a lot of slack there. I was going to try and disassemble it, but it's riveted together, and I was reluctant to drill it apart without a replacement (which would render it moot anyways). I couldn't even get any grease in there to take up the slack. So I just oiled both of these parts (passenger and driver's side) and then reinstalled them for now.

Everything looks pretty nice (since I already restored the whole area), although you can see the mark where the hood hits the bottom of the wiper due to all that slack in the linkage making the resting position somewhat ambiguous:


Then I had time for one other small change before class. The bolts for the airbox are pretty ugly. The usual "philips screwdriver on a JIS screw" syndrome:


After returning from class, I picked up my latest shipment from Atkins at the post-office. It included the new top-piece for the steering column trim. The bottom piece was available from Mazda, the top piece wasn't for some reason. Here's the old one:


Aside from every screw hole being broken, and all the clips being broken, there were tons of scratches (not sure why). The cutting is due to the NRG hub not being quite a direct fit: The stock opening measures at 85mm or so, the NRG hub is about 90 across. The cutting is not visible when the hub is installed (and the stock wheel obscures it as well), but I decided to make it as neat as possible this time.

The fresh OEM parts:


A few minutes with a razor blade and some sandpaper, and the opening was now wide enough to fit the NRG hub. But first, install the bulb for the "lighted keyhole":


I don't know who this feature is for honestly; I have never had any issue finding the ignition switch in the dark.

This piece also uses three self-tapping screws with a conical seat, which as far as I remember are unique to this part. They aren't used in the rest of the interior IIRC. I also didn't have them (one screw hole had a traditional Mazda trim screw in it, the other three were empty). So I have one screw I purchased and am waiting on the other two to arrive at the dealership. Until then, two screws is enough.


Not bad, if I may say so myself. The trim needs some 303 aerospace to match the other interior parts though. I wonder, was it this way from the factory, or did Mazda change the material on later manufactured interior parts?

Lighted keyhole works too:


Complete with a new OEM trim ring.

Lastly, I tried disconnecting the cat [again] and flooring the pedal to see if the throttle response or free-revving improved. No difference that I can tell, so the cat is unlikely to be clogged. I did redline it though (middle of the day out of consideration for the neighbours):

https://www.youtube.com/watch?v=uGxExT2hO68

The idle on a stock-ported engine with no exhaust sounds a bit underwhelming IMO, but 7000rpm sounds sublime. No way I could live with the volume day to day though.

Next on the docket is probably the corner trim with the tweeter pods. I'm just taking that slow since I need to drill holes in my brand new OEM triangles for the wires to pass through. I want to make extra sure I'm happy with the setup before I commit.

Until next time :)

WondrousBread
WondrousBread New Reader
4/1/22 8:50 p.m.

Before I put the car back on the road (which I can officially do now at time of writing), I wanted to refresh the suspension a bit. When I first did the suspension, I bought brand new KYB AGX shocks and a set of Tanabe GF-210 springs. I did not however replace the front mounts, I assembled the rear mounts incorrectly (I'll explain later), and re-used the rear spring retainers even though they were well past their effective life. When actually driving the car I noticed a lot of road vibration, which makes perfect sense given the above information. I also didn't install dust boots or replace the bump stops with new. And while this shouldn't affect operation, it's sloppy work. So I decided to remedy that with some fresh parts.

Suspension out:


Wow, this job is easier the second time. No stuck bolts or bruised knuckles. The cordless impact wrench also helps; I should have bought one years ago...


You can see some sag in the old front mounts. New ones are KYB but seem to be identical to OEM (other than the following):


The strut mounts have an offset built into them so that they can be rotated to adjust caster. On the OEM unit the little square mark (painted white from the factory) is supposed to face the inside of the car and forward when installed. On the KYB unit, the little rubber cylinder takes the place of the square.


The spring cups. Left is rear, right is front. The front ones are definitely old, but I re-used them since they aren't crumbling apart. The rear, meanwhile, are well beyond saving. I can grab a chunk of the rubber and break it off with my fingers. I don't know if this has any noticeable effect on ride or handling, but I was concerned about the rear springs sliding around once the rubber has degraded too much.


New boot and bump-stop. I am missing one OEM piece (called the set plate) that doubles as the washer in the photo and a retainer for the bump-stop. It's possible I lost it, but I also don't recall seeing it when I first disassembled the struts years ago. I called Mazda and it's NLA, so I substituted the 1/2" fender washer seen. The foam bump-stop sticks to the shaft by friction anyways, so I'm not worried about it sliding around.

As far as the rear mounts being assembled wrong, I found that the nut got stuck on the end of the shaft way before bottoming out. This caused a tiny amount of slack, so when the rear mounts were loaded I could grab the inside of the mount and wobble it (with great force, but still). I ended up chasing the threads on the shaft with a die (nerve-wracking), then on re-assembly it went much more smoothly. Now they're very tight.


Front dust boot is similar. I did have the OEM rubber bump-stop on the front, and I considered using it instead of the foam one. The foam one is shorter though, which may be helpful since these are lowering springs, so I went with that. All around the KYB parts are foam and plastic instead of OEM rubber. I prefer the rubber parts, but they're significantly more expensive so KYB it is.


Rears installed, set to stiffness 4.


Fronts installed, set to stiffness 2.

And not much else has changed. The car looks identical since the springs are the same, and I didn't see a noticeable change in front height from the new mounts either. I'll probably need an alignment but otherwise it should be good to go.

Next update to come shortly with some interior updates.

WondrousBread
WondrousBread New Reader
4/1/22 8:54 p.m.

I showed the tweeter pods in a previous post, so it was time to mount them. I was nervous about drilling brand new OEM triangles, but after careful measuring it worked out:


They're mounted using the screw seen above, and a dab of epoxy. There was really no good place for a second screw, but one solid mechanical connection is enough for me.


In place. The OEM trim is super tight, and really needs a lot of force to align the mounting peg. No wonder these have all perished with age.

Next, on to a much more interesting part. I looked at ways to mount gauges (other than zip-tying them into the radio opening as I had), and founding nothing I really liked. Rx7Club Spider2K mentioned a cool solution earlier with (a Defi multi-gauge), but I have something else planned down the line which makes that redundant. Otherwise the commonly available mounts replace vents, the warning lights, or go on the A-pillar. I didn't like any of these options since I like the car looking fairly OEM.

I had shown a radio faceplate I made a few months ago, but it was an early part. No provisions for mounting other than press-fit, and no holes for gauges. I have made a new and improved part. This was the first revision:


The light blue is a support structure which breaks away after printing. There are three barrels for the gauges themselves, mounted at an angle so they point towards my face while seated in my driver's seat. The support structure is needed because I originally had the barrels extend behind the faceplate to try and preserve the original gauge mounting system, but later this had to be removed. The first print:


It worked reasonably well, but there was warping (common when printing ABS) and a few fitment issues. I ended up revising the design four more times until I got it perfect. I also needed to address the warping; ABS likes to be printed in an enclosure, which I don't have and didn't want to purchase. Building one is complicated by the fact that it needs to be really tall to accommodate the spool, and fire-retardant for safety reasons. My printer also sits against an exterior wall, which aggravates the temperature change. So I built this:


Not pictured is the space heater on the ground. Keeping the room at 30 degrees C and any airflow to a minimum helped on the final print, leaving me with zero visible warping. ABS fumes are possibly hazardous (although apparently the science isn't conclusive yet) so I had to wear a mask when entering and let the room air out before really spending any time in there after the print.

It turned out well:


It's mounted using computer screws, although they aren't a very tight fit. The top left one had zero bite, but there isn't any wobbling there so I am not worried about it. The piece of aluminum tape is insurance.

You can see now why I wanted the barrels to extend to the backside of the plate. My idea was to use the original mounts, but without the barrels extending the mounting surface is now offset 15 degrees from the plate. I scrapped the idea because the barrels on the front side had to extend out further to clear the head unit, which made it impossible for the screws to be long enough anyways. A dab of RTV at the back of each gauge holds them in. Normally I wouldn't like this solution (still don't), but the gauge face is disposable since I can trivially print new ones for $1.50 in materials per unit.

Installed:


It's a very close fit, but if I can say so myself, it's about perfect. All of the buttons on the radio are accessible, there are no gaps, and the gauges point directly towards my eyes as intended.

Even the ashtray (full of loonies, fuses, hose clamps, and miscellaneous hardware) still opens and shuts. It can also be installed and removed while the gauge plate is in place, if you pivot it carefully.


I have yet to decide which gauge will go in the third spot.

Until next time :)

78CobraII
78CobraII New Reader
4/1/22 11:53 p.m.

Great maintenance thread. The 3D printed parts are outstanding.!

WondrousBread
WondrousBread New Reader
4/22/22 1:22 p.m.
78CobraII said:

Great maintenance thread. The 3D printed parts are outstanding.!

Thank you! I have big plans for power later on, but I'm trying to get everything else 100% sorted out before I do anything.


1 2 3 4

You'll need to log in to post.

Our Preferred Partners
q5Aovcgve7aQfoAHxWQqMYFfJi65JqpYizrjctAGXfurGye8jmdg4TmYpWzVE7bF