7 8 9
teamilluminata
teamilluminata HalfDork
10/9/16 10:53 a.m.

So, a lot of work but not a lot of updates. Here's why.

Bled the brakes.

Reinstalled the grill and the bumper.

and put it back on all fours for the first time in years.

Then got it to idle and run quiet.

https://youtu.be/4aqI0iT-wP8

https://www.youtube.com/embed/4aqI0iT-wP8

Then drove it off the lift.

https://youtu.be/Qp0ASTHZ-V8

https://www.youtube.com/embed/Qp0ASTHZ-V8

Then took it for a drive.

https://youtu.be/ypoHY6EsoyQ

https://www.youtube.com/embed/ypoHY6EsoyQ

Then stood back and admired it

https://youtu.be/FfhyveNAIPI

https://www.youtube.com/embed/FfhyveNAIPI

Happy birthday to me!

teamilluminata
teamilluminata HalfDork
10/24/16 9:34 p.m.

Sorry about the lack of updates. Got distracted by some work related events not the least of which was attending LSPR with our 911 and other assorted old rally cars.

Since I got back I haven't worked on the car but taken every opportunity I could to drive it. This included a funeral, a couple of cars and coffee events, an open house and running to Autozone for parts for our ailing Allroad.

I'd forgotten how much I enjoy driving this car and how much attention it gets. I'm going to try to enjoy it as much as possible before it goes away for the winter. It drives very well, is smooth and quiet but does have a slight hesitation under load though it pulls strong. I can figure that out and put the remaining few parts back on this winter. For now LET"S DRIVE!

teamilluminata
teamilluminata HalfDork
11/3/16 3:20 p.m.

Been looking for opportunities to show of the car and have some fun with it before we run out of season.

The demise of our A3 left us with some 17" BRAID Fullrace A wheels and 225 tires lying around and with the help of the spacers that our ALLROAD doesn't need with it's winter wheels it soon became obvious what we must do. Throw them on the quattro!

This is only for fun mind you. They are a little contemporary and the 225/45-17 tires are about an inch to tall but it was well received in this state at our local meet Saturday.

You can feel the extra weight and diameter when driving and there is s slight rub somewhere on full lock but they are about the same diameter as the package we are planning to use on our 83 build so worth the trouble. 15" BRAIDs go back on soon.

The car is starting to srtuggle to start again now. Runs great once warmed up exept for a slight hesitation around 4000 rpm. Maybe the cold start valve? It is also pissing out hydraulic fluid still. We replaced everything around the bomb except the pressure switches so we suspect those. New ones are on the way.

We have also been tidying up the mess we gad left over from the project. This consists of mostly parts that need to go into boxes and parts that still need to go on the car.Tok care of inventorying and boxing parts and installed the plastic underbody stuff.

So just the cruise control actuator and injector blower to reinstall when we get chance. Holding off for now until we diagnose the starting issue though.

de80q
de80q Reader
11/3/16 11:34 p.m.

Start up issue is probably the WUR. They are known to just decide to stop working. You can still get them new, but they are quite pricey.

teamilluminata
teamilluminata HalfDork
11/4/16 6:36 a.m.
de80q wrote: Start up issue is probably the WUR. They are known to just decide to stop working. You can still get them new, but they are quite pricey.

thanks. this one is fairly new as in about ten years old LOL

teamilluminata
teamilluminata HalfDork
2/15/17 5:51 p.m.

It's been winter for too long already so no driving the 85. No working on it either as our 83 rally build and wheel sales have been keeping us busy. We have been picking away at the hydraulic system leaks however. We easily sourced some new pressure switches for the hydraulic bomb and quickly replaced the one on the side. However we did manage to disconnect a wire in the process.

The one underneath was a different prospect requiring us to access it from below. This, of course, took many, many weeks to get round to until recently when we finally drove it onto some ramps in the showroom.

where it sat for another couple of weeks till we had time to crawl under it. It soon became anther classic Audi "unscrew the simplest thing, if you can" project until we found just the right 24mm deep socket to get the switch off. At first we tried loosening the bomb from it's moorings but you cant undue these two nuts even though you can see them:

Finally found a thin wall socket that fit.

This still left the wiring issue to fix.

Think this is where it came from.

This puppy cost $35! Well, it was free, but we had to buy $35 worth of zip ties to liberate it from the box of 100 we were supposed to buy.

Soon had it on and back on the switch.

Of course we can't tell if it's solved the leaks till we drive it and it's still too salty outside. Never mind, now we can fix the leaky rear diff. However, this involves putting it on the lift and you now how long it took to get it off there last time! Wish us luck.

teamilluminata
teamilluminata HalfDork
3/17/17 2:08 p.m.

Uh oh! Car is on the lift again! Hopefully not for two years this time.

The plan is to drop the diff and reseal it. Three main seals to replace and I think they are all leaking to some extent.

My first plan was to undo the axle and drive shaft bolts, undo the diff mounts and then, hopefully wrangle the diff out. All the axle and drive shaft bolts came out easily but, however, it looks like the axles don't have enough axial free play to release and the subframe bushings have seen better days so new plan is to remove the diff with the subframe. Still have to separate the axles and drive shaft first though. Probably going to remove the track rods and lower control arms at the subframe and leave the struts hanging.

Must remember to disconnect the diff actuator though.

How hard could this be? LOL

teamilluminata
teamilluminata HalfDork
3/23/17 4:14 p.m.

How hard could it be? Very

Well the axles and drive shaft needed some persuasion to let go of their respective couplings. A few wacks with a hammer did the job. I made some room by disconnecting the lower control arms and the tie rods from the subframe.

Then moved on to the subframe bolts. Two came out easily. the rear right was seized in the sleeve but that tore out of the bushing so it did unscrew at least. The rear left just broke it's head off as soon as it saw the socket approaching.

We still managed to free the subframe from it with a bit of brute force but that left a siezed bolt taunting us in place.

So my friend Carlos welded a nut to it but as soon as we offered up the big socket to attempt to unscrew it we realised it was already hand tight! The power of heat. It's magical.

So next is inspection and tear down of the diff and subframe. Oh, and finding lots of parts.

teamilluminata
teamilluminata HalfDork
3/29/17 1:51 p.m.

We started to dismantle the diff and subframe. Dismantle might be too strong a word and we are just replacing bushings and seals, but it is an old Audi.

Drive shaft and both axle flanges are out.

This is the big seal on the left. No longer available but 034 Motorsport had some made. Phew!

Will need to replace this as it broke off the diff lock actuator shaft.

Will be replacing the diff lock actuator too of course. Already have a new one of those. The rear mount has seen better days. It will have to go. Have a couple of these in the parts bin though :)

and the left tie rod boot is split so this will have to be replaced too. Fortunately still available as a complete unit.

And, of course, new subframe bushings from Germany! So here we are, waiting for parts, again.

teamilluminata
teamilluminata HalfDork
4/2/17 4:36 p.m.

Got the right axle seal in but not started on the right one yet, the BIG one. Had to order the drive shaft seal as I had the wrong one but I did try fixing the groove in the shaft with a Speedi Sleeve.

These press on the shaft using the tool provided with the sleeve but it didn't go too well and we were very disappointed with the tool as it seemed too big.

Will try again perhaps with one from a different supplier. We received some yokes for the diff actuator from a generous member of the community.

and for fun tried our new BRAID wheels for the 83 rally build on for size.

16x9, et12 so they are way too wide for the stock fenders of this car but will work well on or wide body rally car.

teamilluminata
teamilluminata HalfDork
4/21/17 6:46 a.m.

It’s been another slow project. Who would have thought replacing three diff seals would take this long? LOL

So we replaced the rear diff mount. The old one came out on the press but the new one only needed a g-clamp and some grease to persuade it home. Fortunately we took pictures so we were able to orient it correctly; or at least the same.

We searched hi and low for a new shaft repair sleeve that was the right size and not made by SKF. You may remember the last one was distorted by it’s own installation tool. Finally settled on one from National but when we opened the box the instructions were from SKF! Anyway we were a lot more wary installing his one and managed to keep it staright by making our own installation tool out of a pipe clamp.

Then we pressed in all the seals, The left one is huge and does not have a shoulder to press it against. We measured the old one’s depth before taking it out and gradually tapped the new one home around it’s circumference till it measured the same all round.

Then we turned our attention to the diff lock actuator. We used the same Mercedes part we had used for the center diff. We had to drill another hole in the mounting plate as the back hole is in a different place. Not a big deal. We managed to salvage the original yoke and had to tap the Merc actuator shaft to mate up to it. Then we slapped it all together. There’s something magical about operating the diff lock on the bench. Maybe it’s the lack of driving the car.

With the diff done it’s time for the tricky bit: sub-frame bushings! We destroyed one last time remember?

teamilluminata
teamilluminata HalfDork
4/27/17 7:57 a.m.

Well, the diff project is done, not without with some casualties. Read on……….

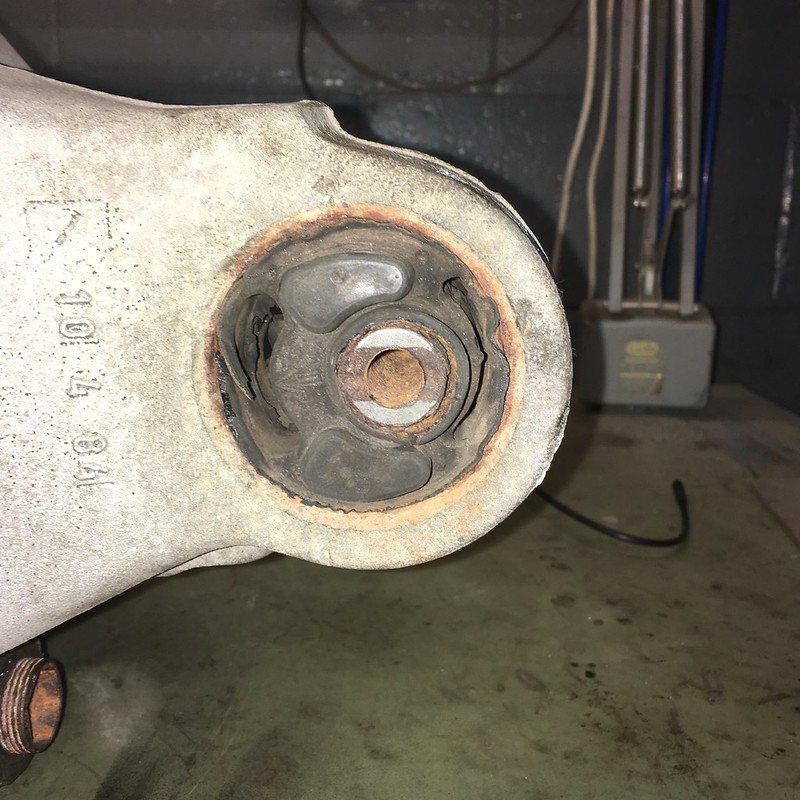
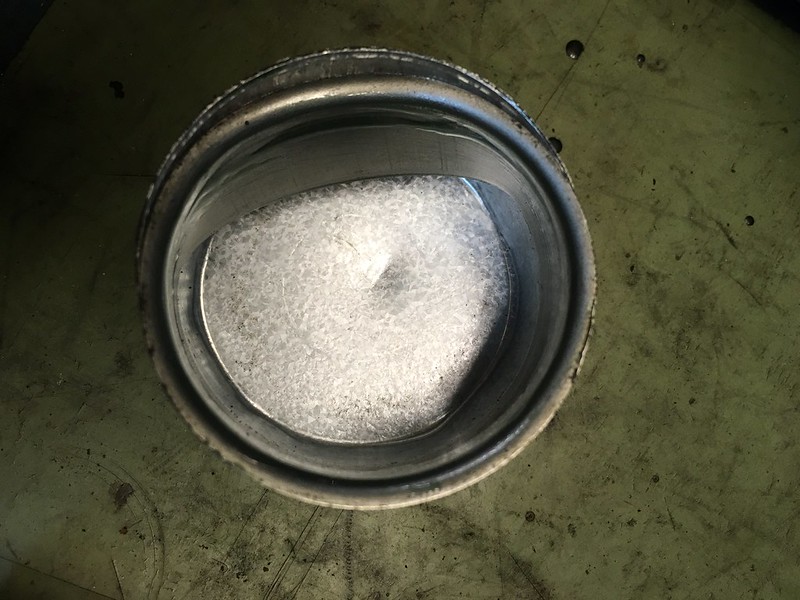
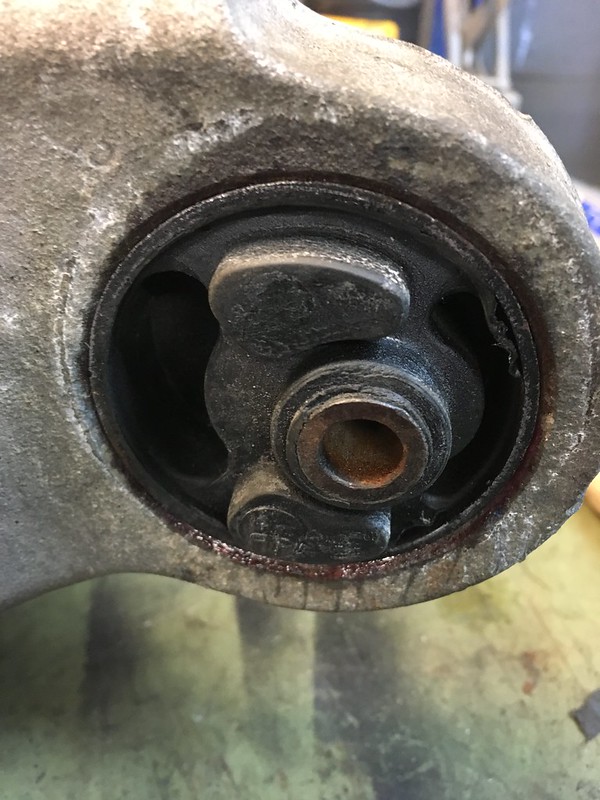
Our friend Carlos, a venerated old car genius, made a jig for the press to keep everything aligned while pressing in the notorious pair of small sub frame bushings. The large pair went in like you’d hope a bushing went in: easily.

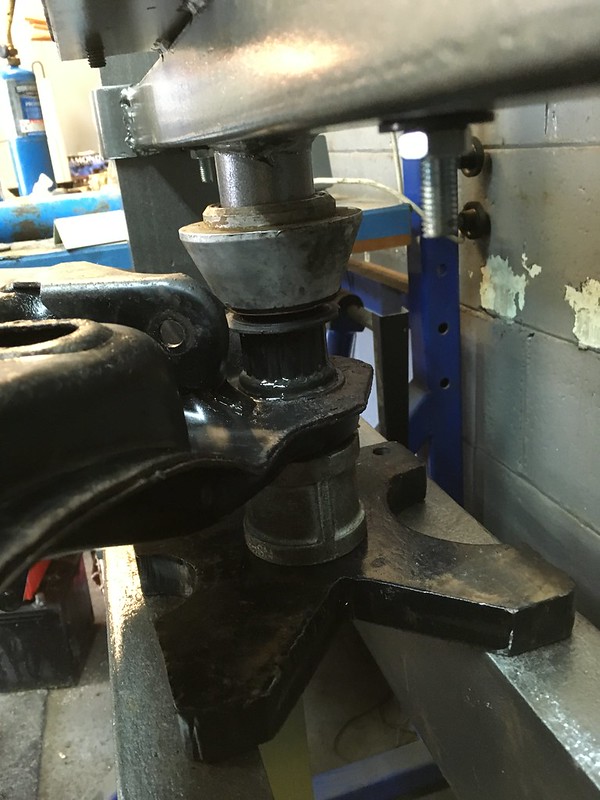
Well that didn’t work and we destroyed one $50, only available from Germany bushing. Apparently there is always a 50% failure rate when pressing these in which is why we had a spare!

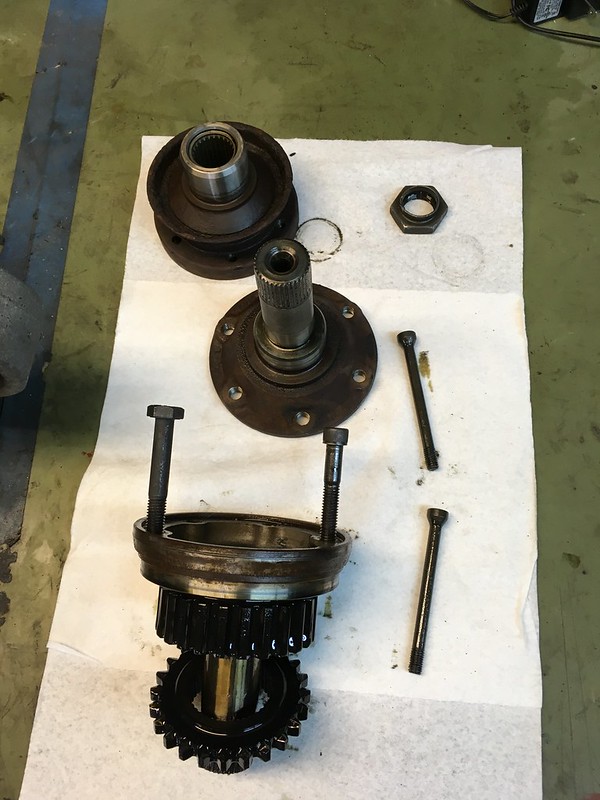
So we gave up with the jig and just used a bolt down the middle and lots and lots of patience. This took several attempts with each bushing as we eye-balled them intensely looking for any sign of them starting to twist.

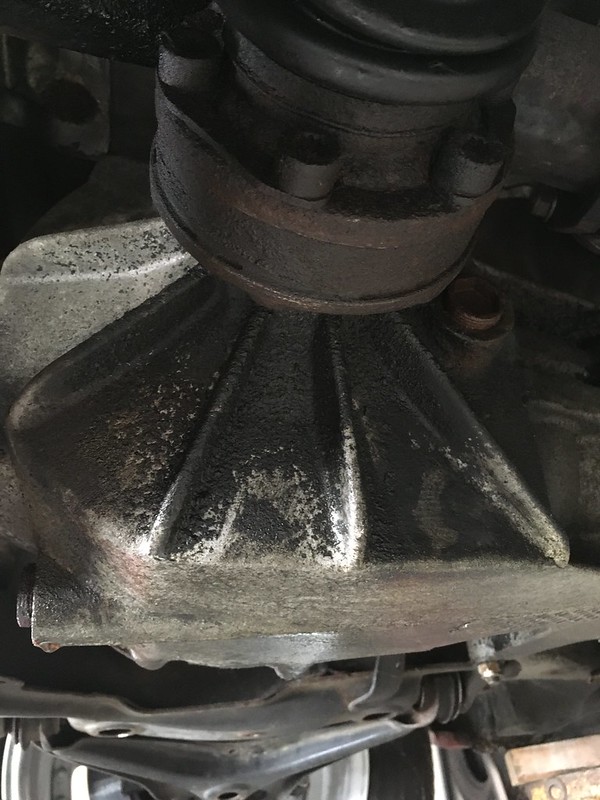
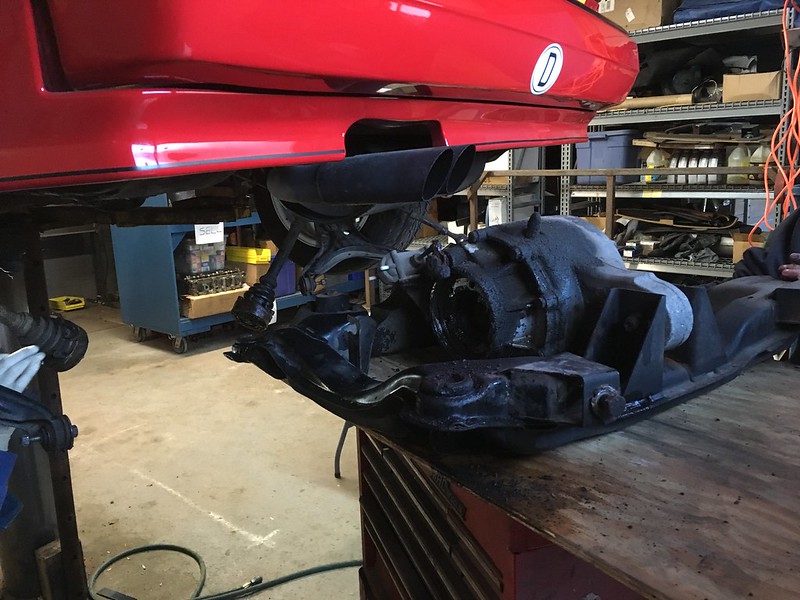
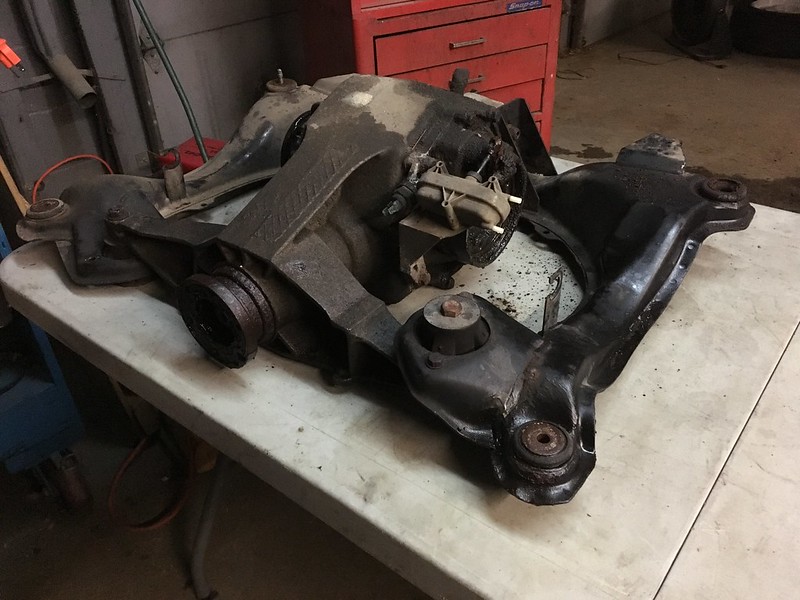
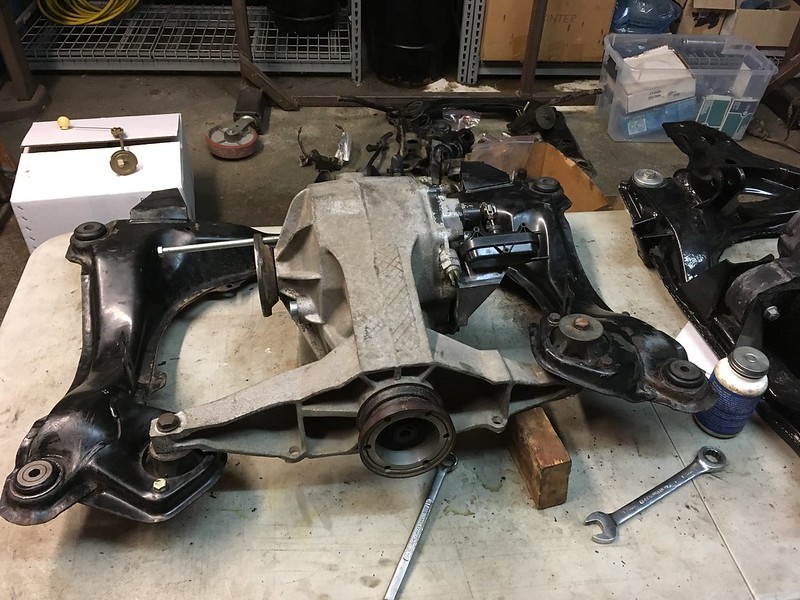
Once they are happy they go in nicely, like you’d expect but the slightest mis-alignment causes them to rotate and if you persist, distort. It was a bit stressful as ruining one more would set us back a month. Once in we soon had the diff mounted in the sub-frame again.

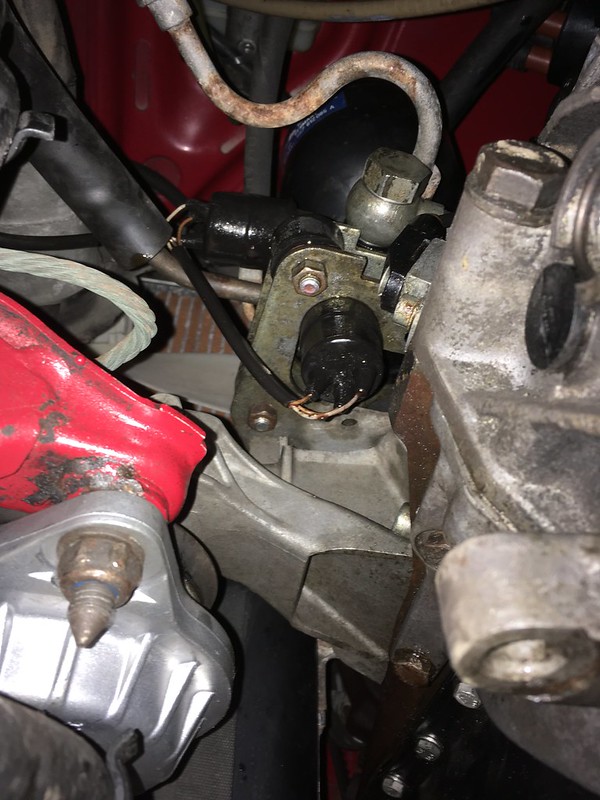
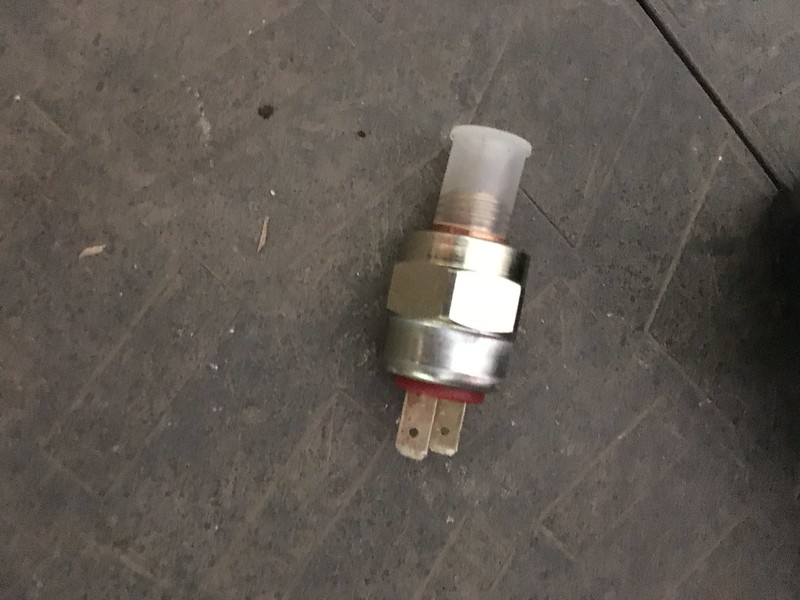
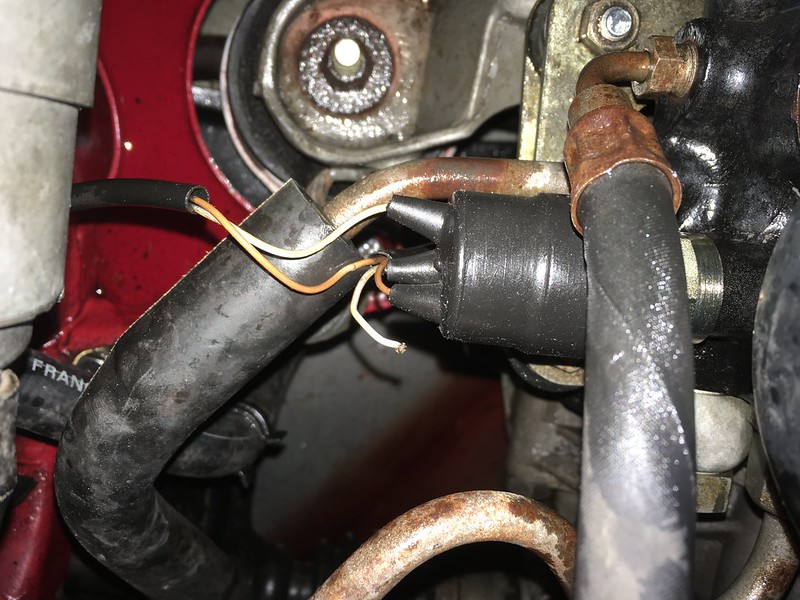
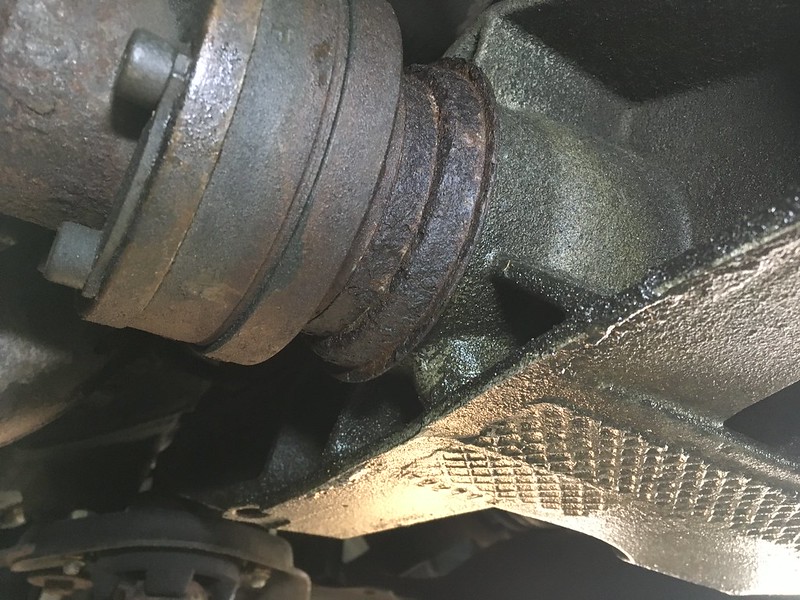
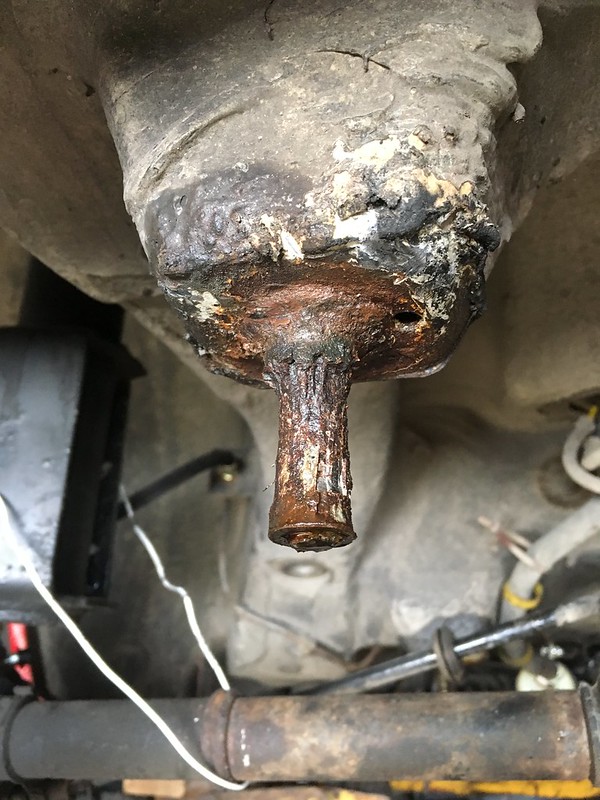
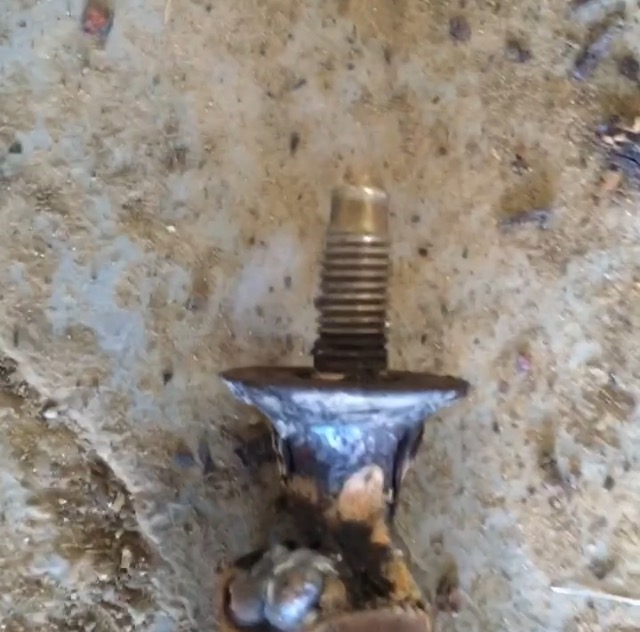
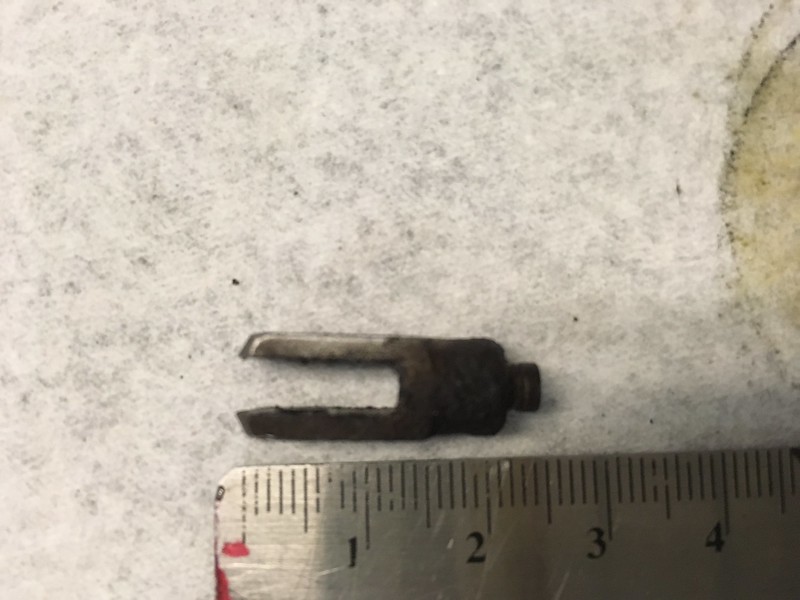
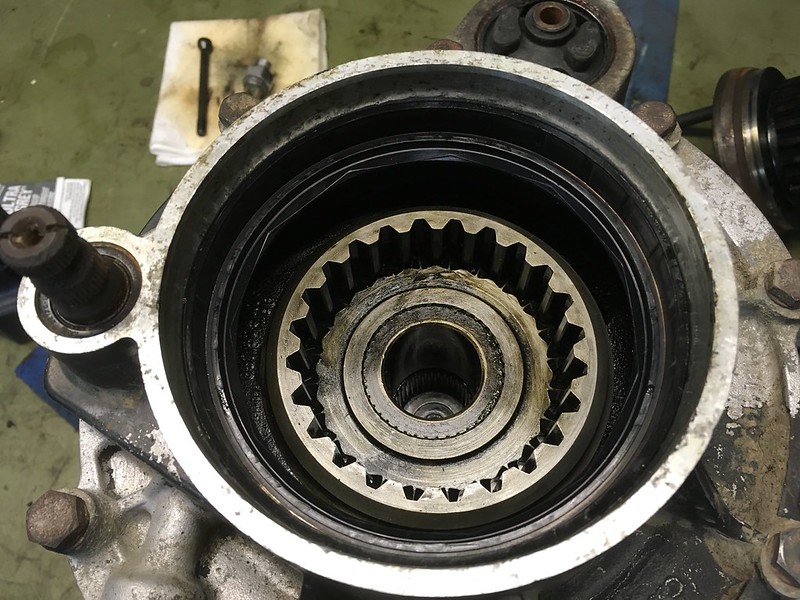
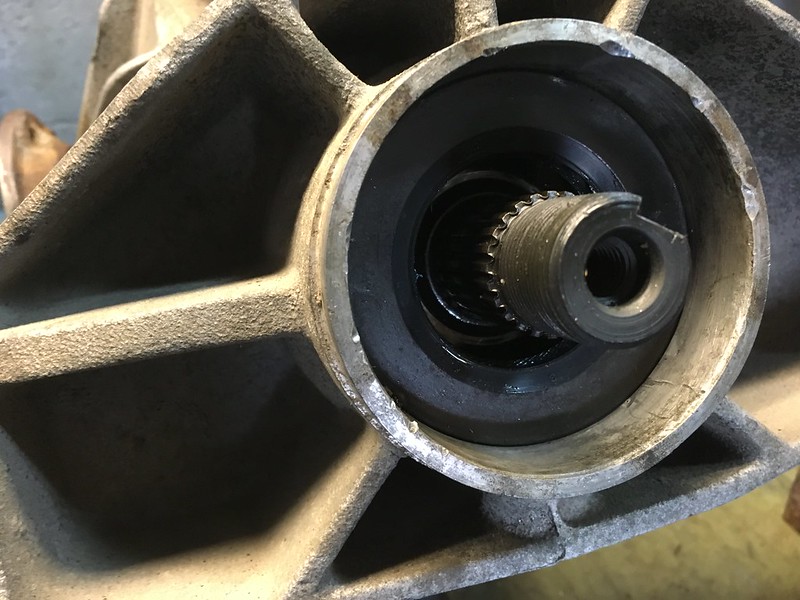
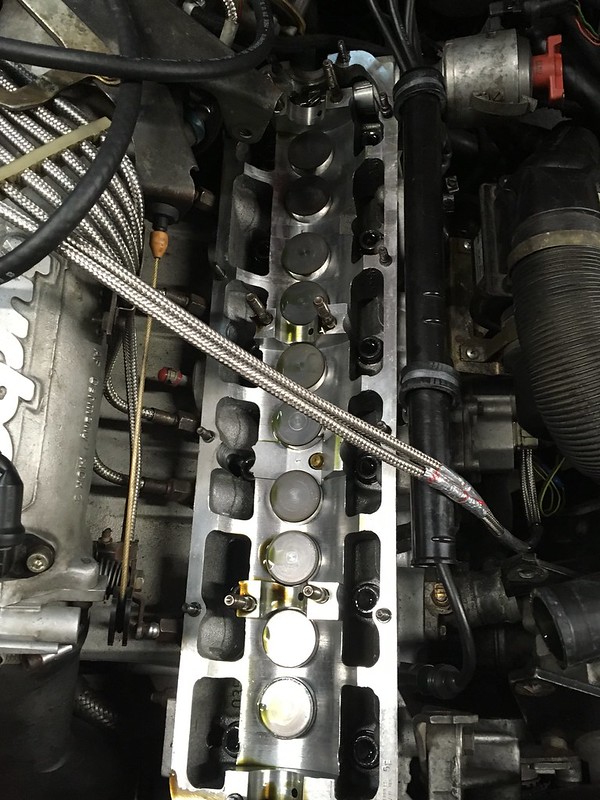
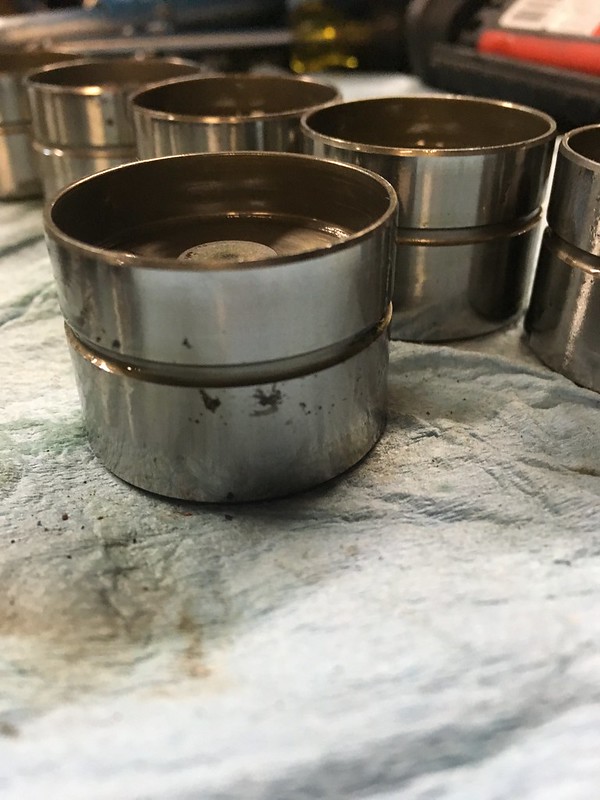
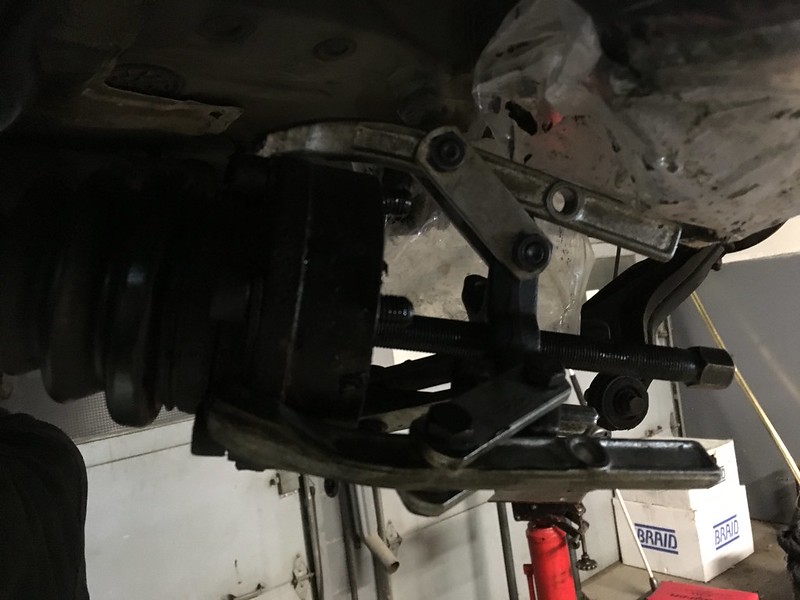
Before we could reinstall the assembly in the car we still had one more bit of housekeeping to perform. One rather rough inner CV joint. Fortnately you can still get these from an OE supplier and we were able to work on it still attached to the car, though it was a little dark under there. Once cleaned the old CV joint came off with some elbow grease and a puller.

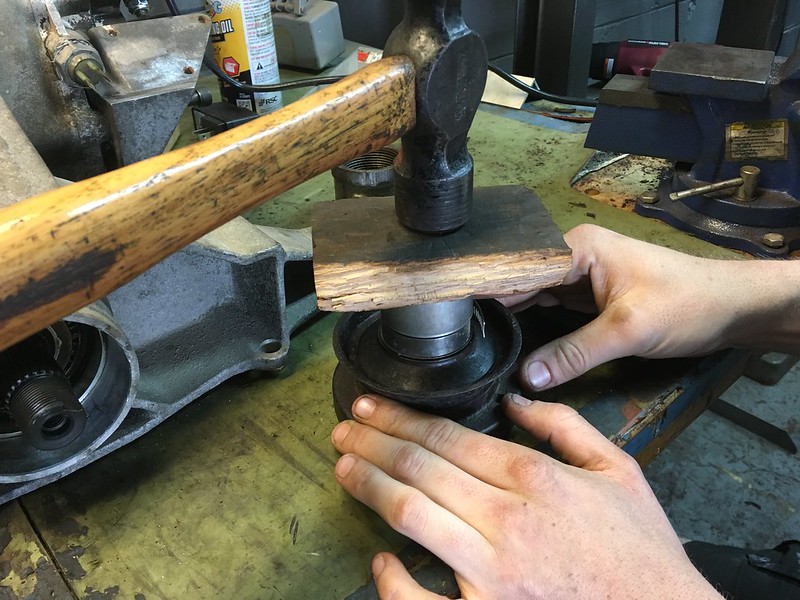
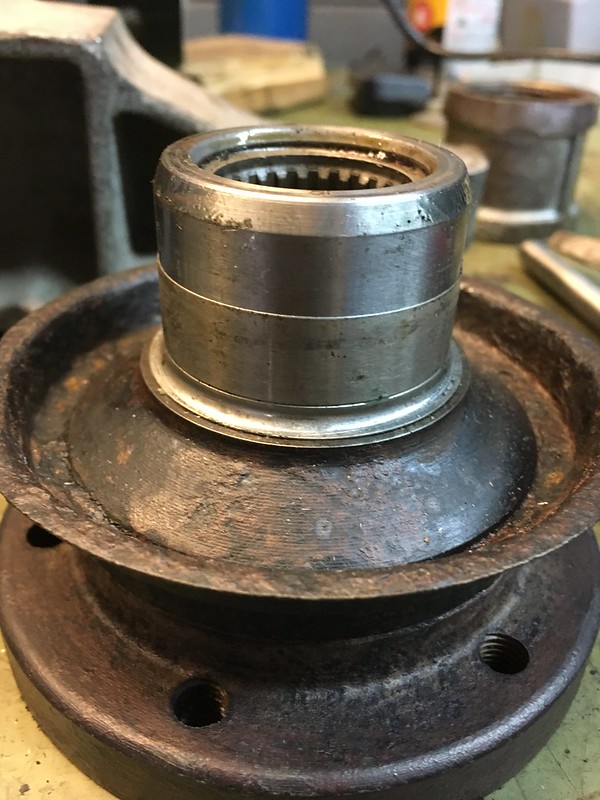
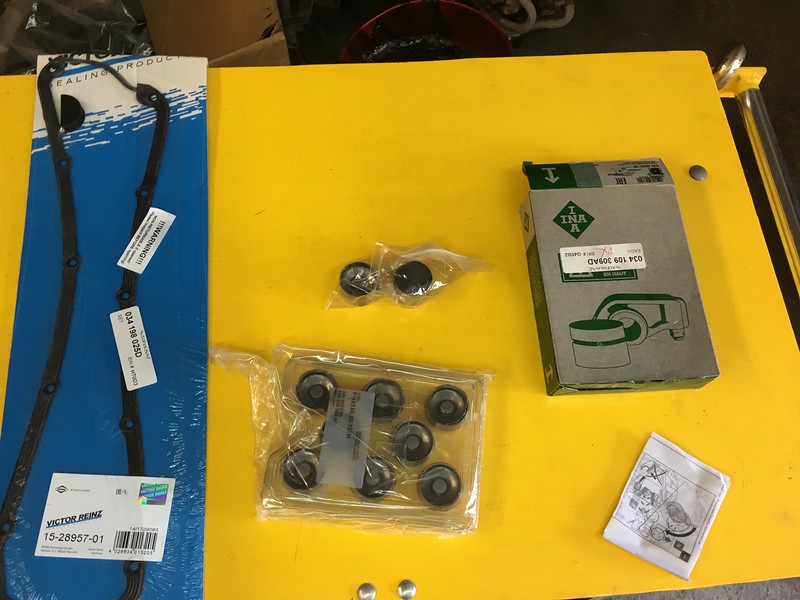
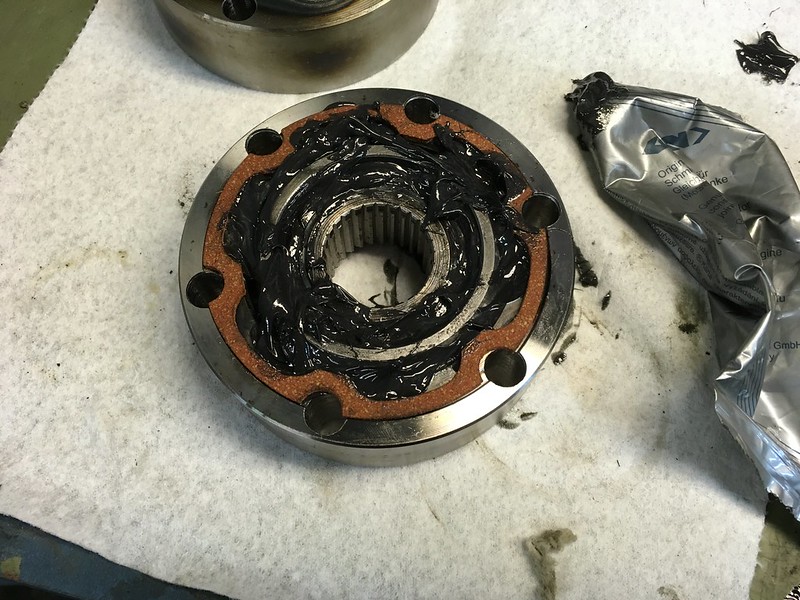
We assembled the new joint on the bench and packed it full of grease.

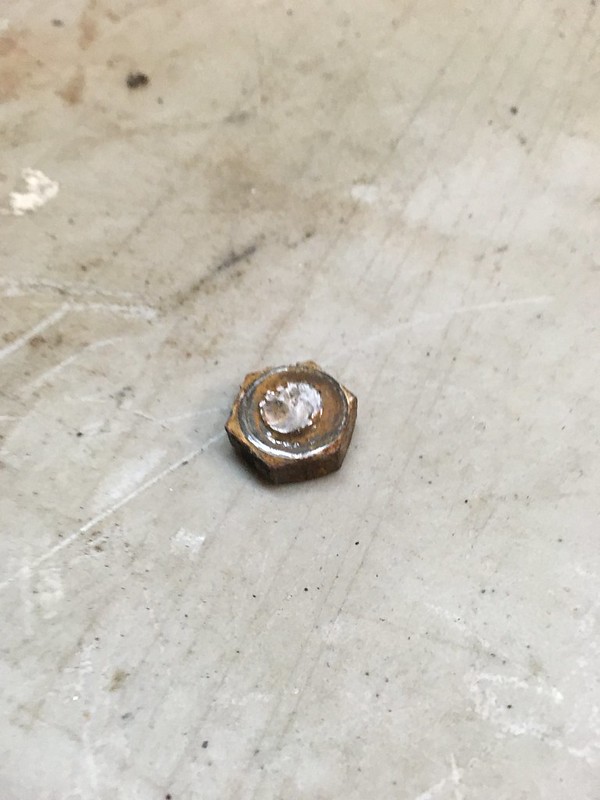
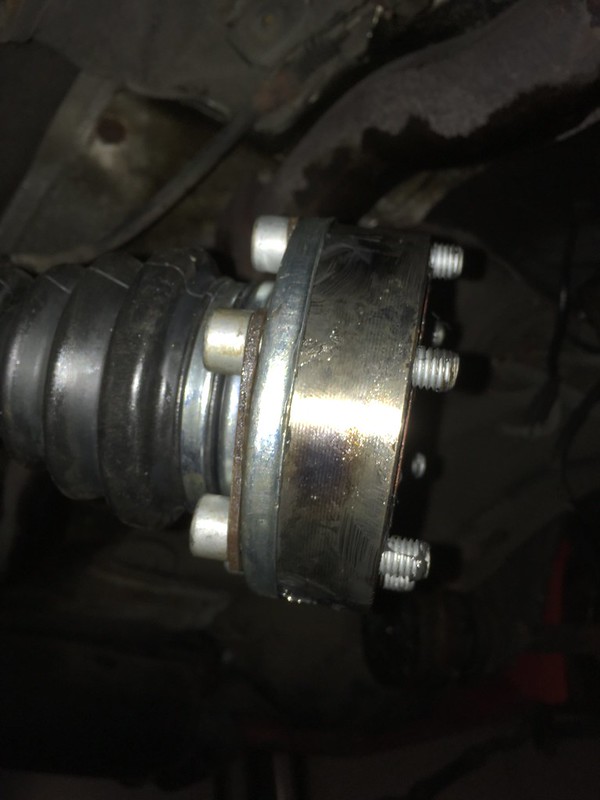
Then drove it home with a drift. They are surprisingly tight on the axle splines.

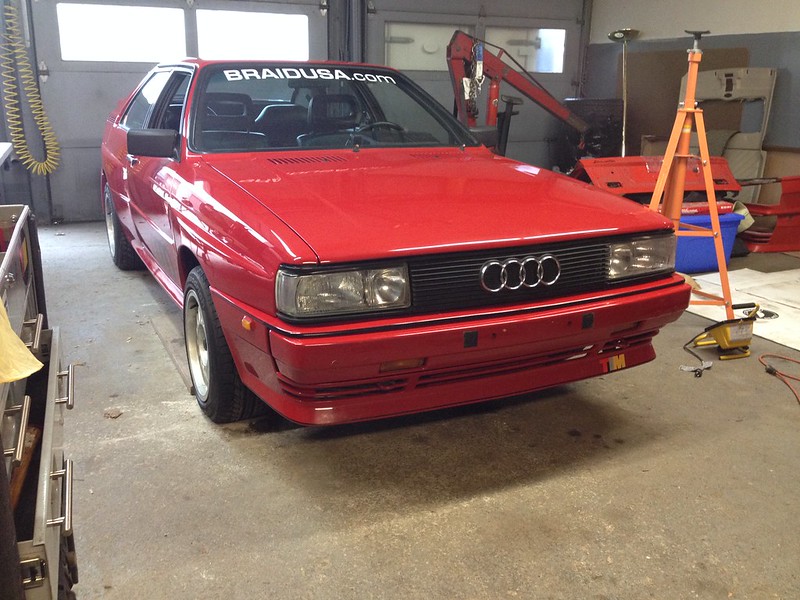
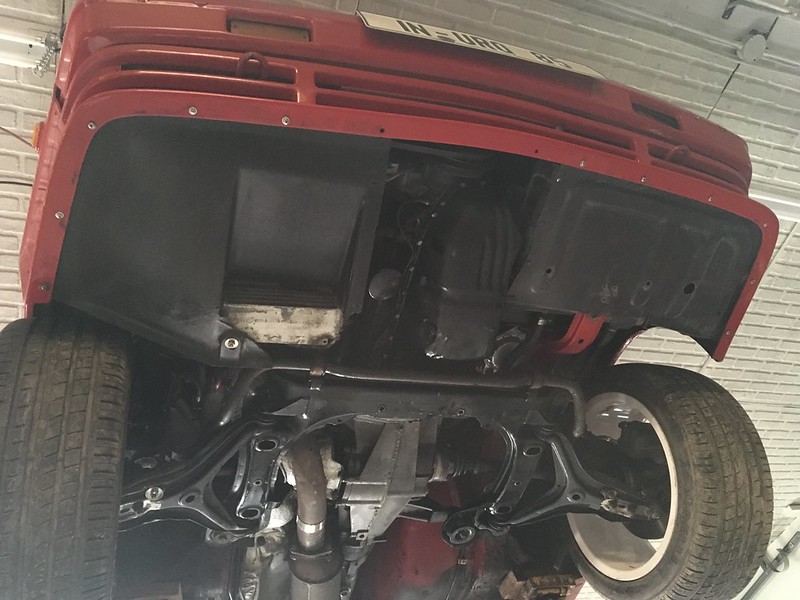
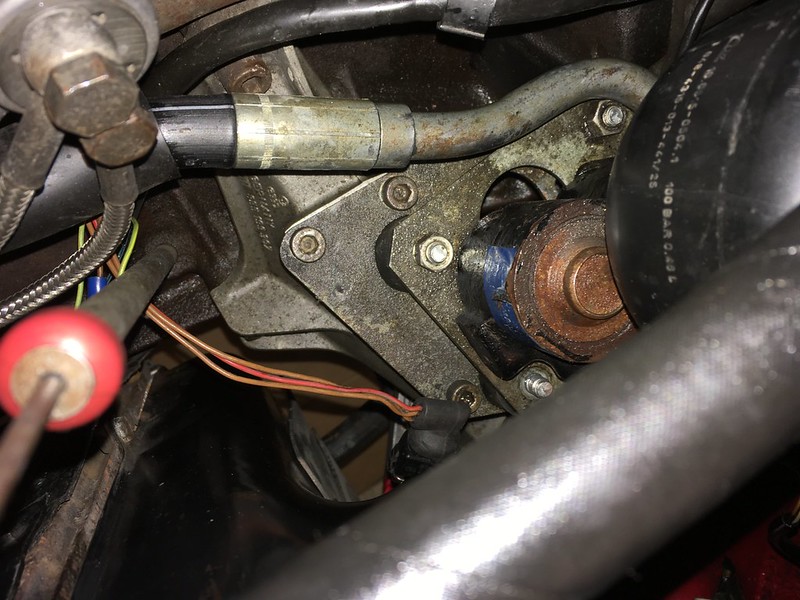
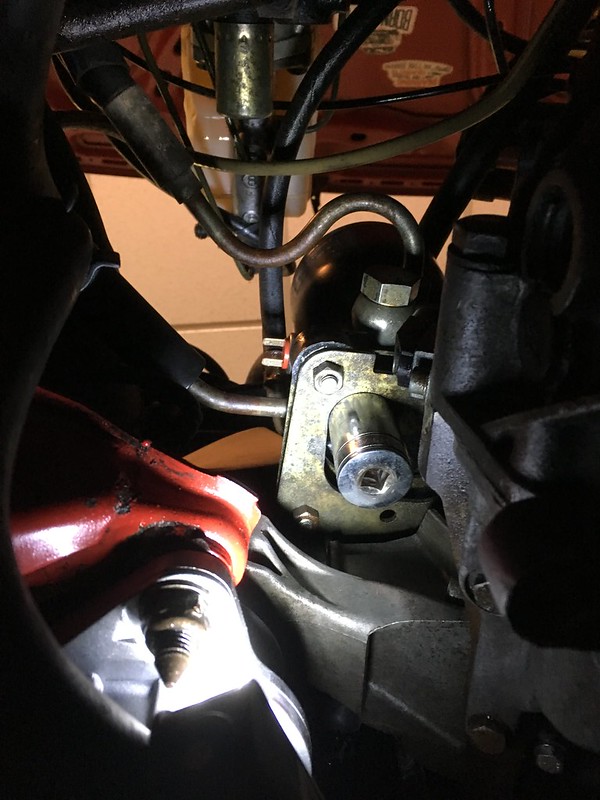
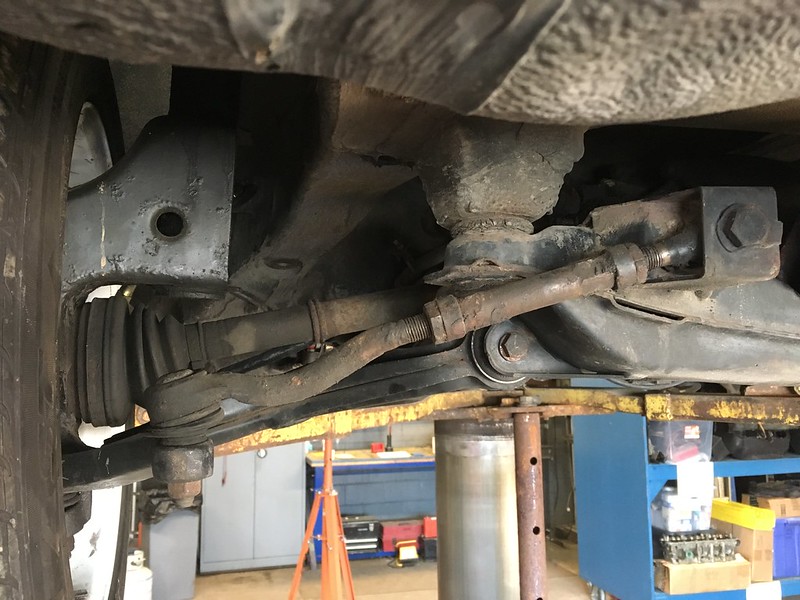
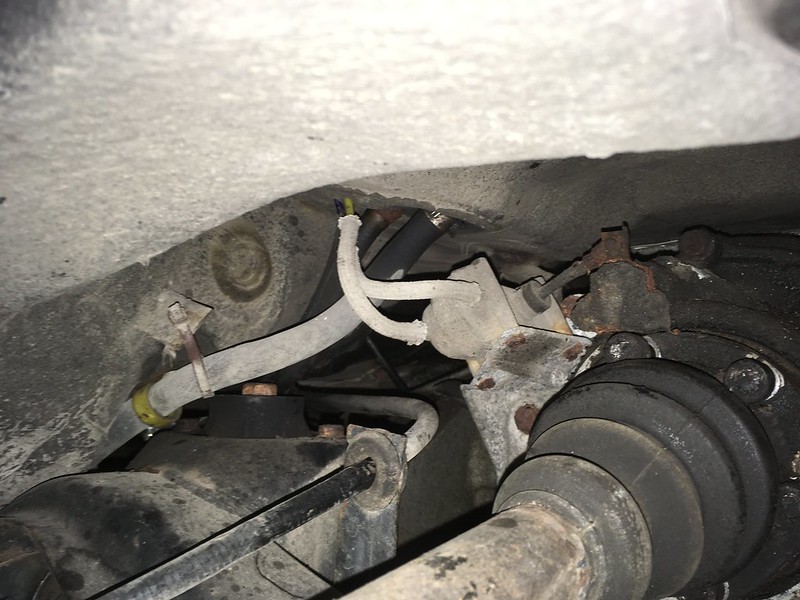
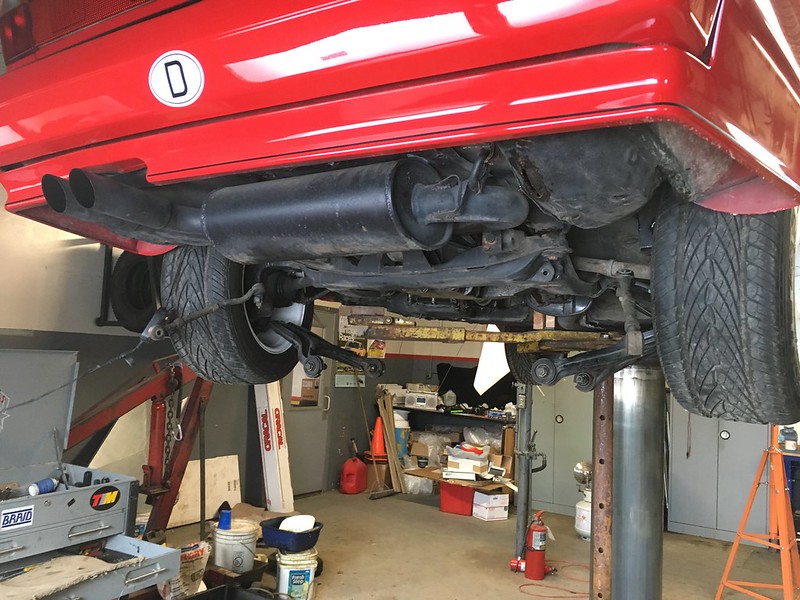
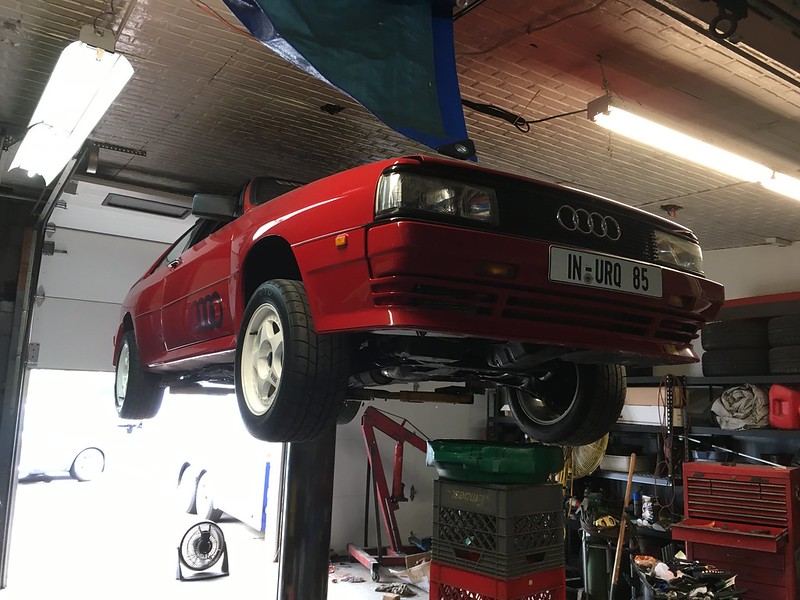
Then we were finally ready to throw this thing back in the car and tighten everything back up

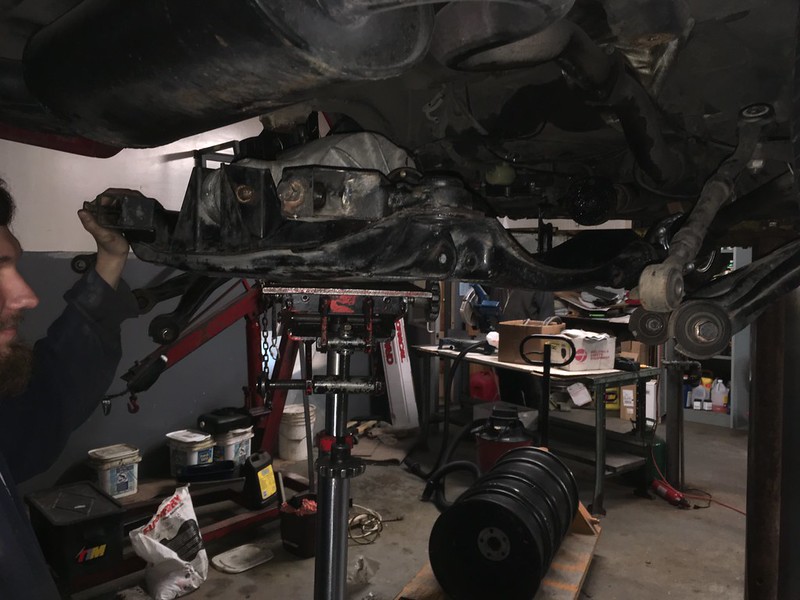
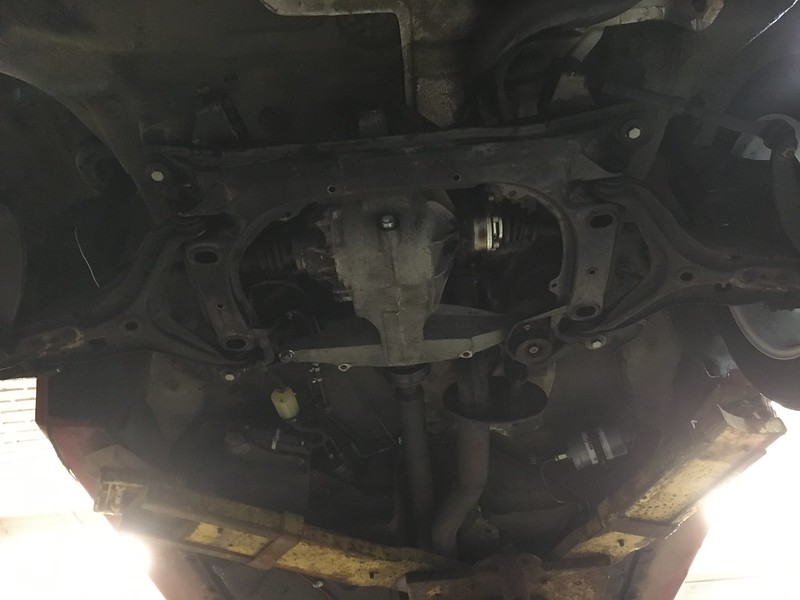
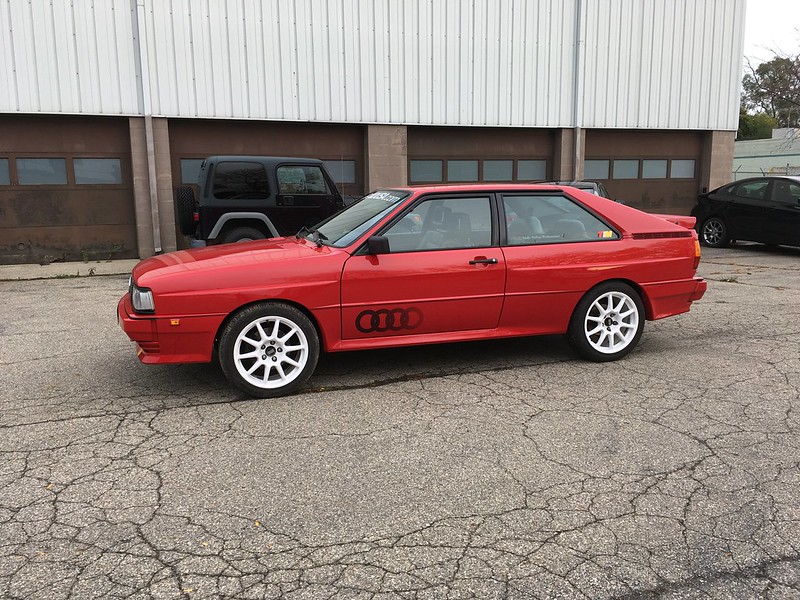
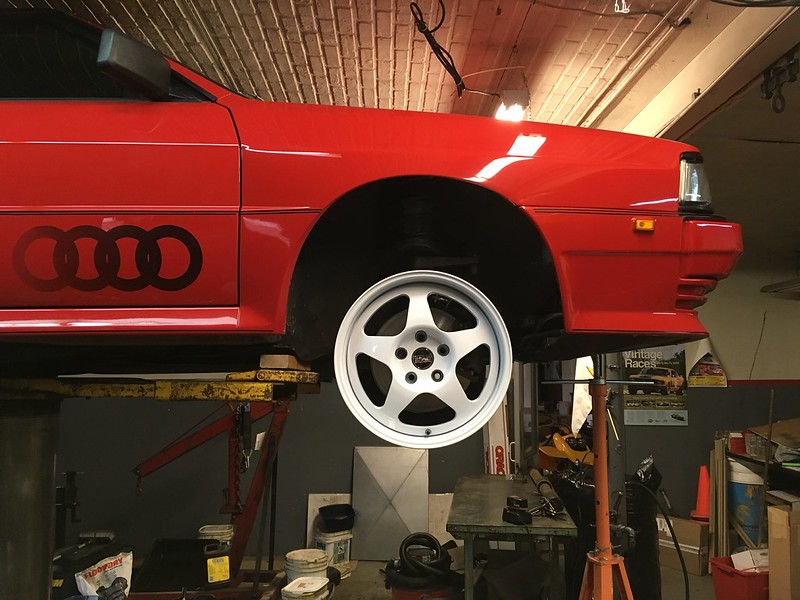
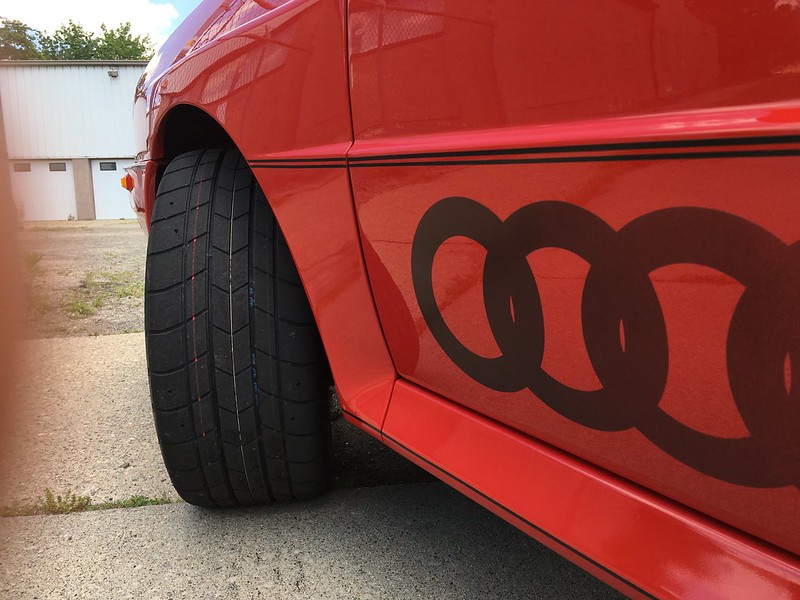
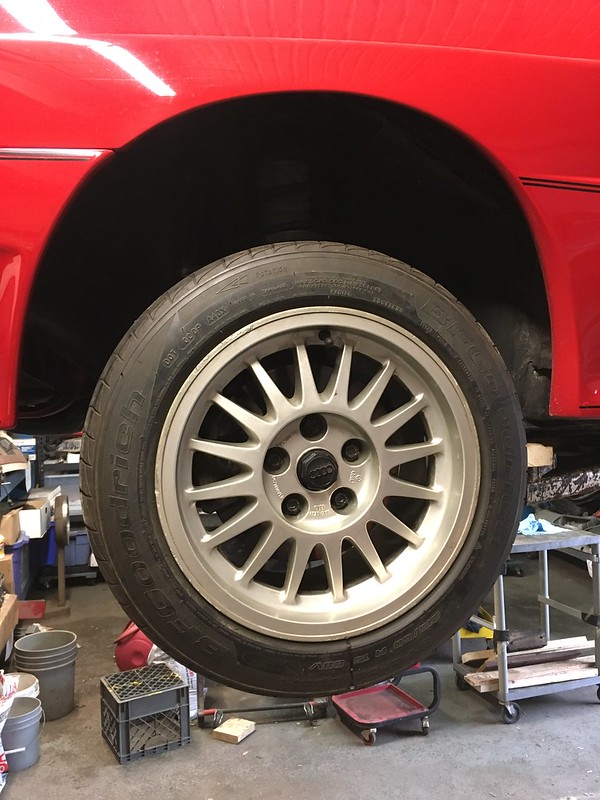
Except for the lower control arm bushings off course, which have to be tightened with the car on the ground. Unless you have some BRAID wheels lying around that is. Don’t try this without proper wheels!

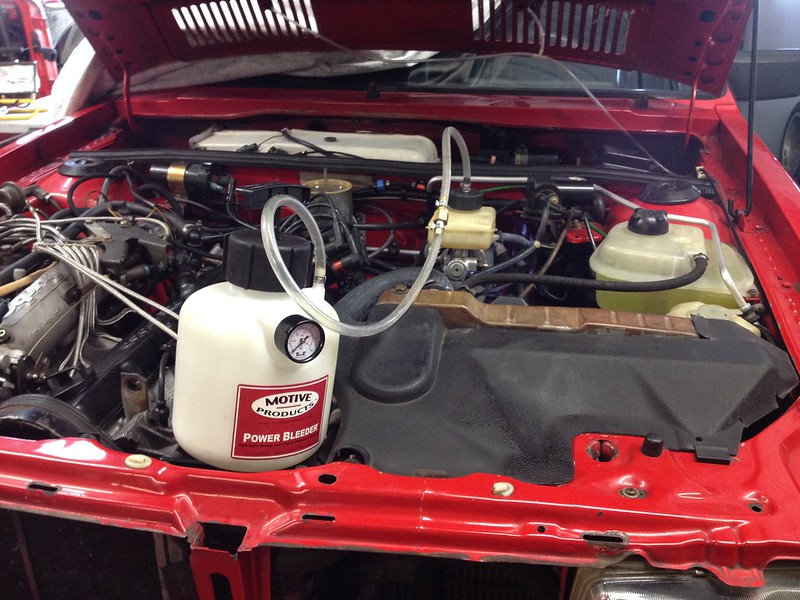
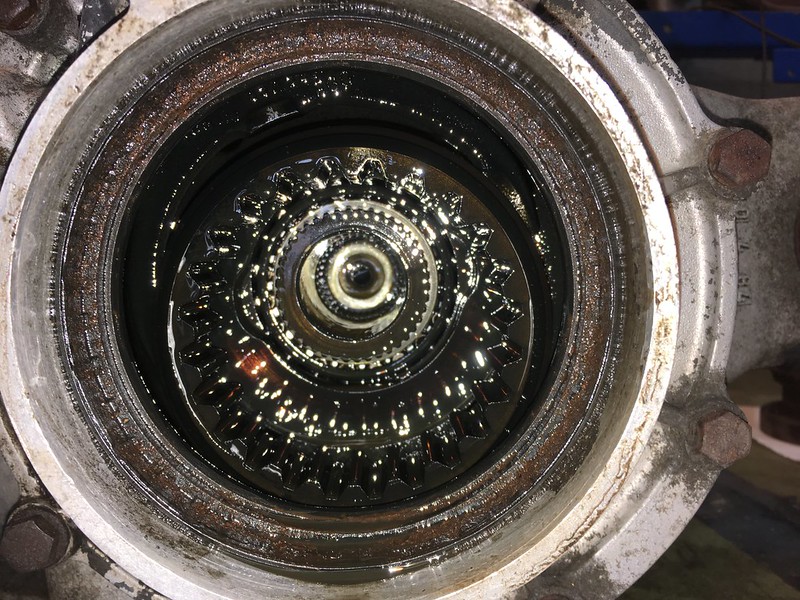
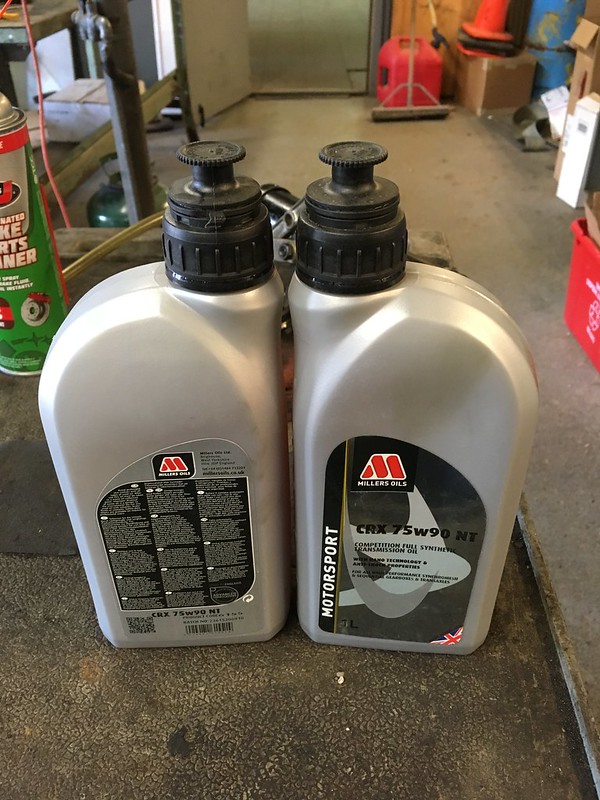
And of course, don’t forget to put some nice diff lube in it.

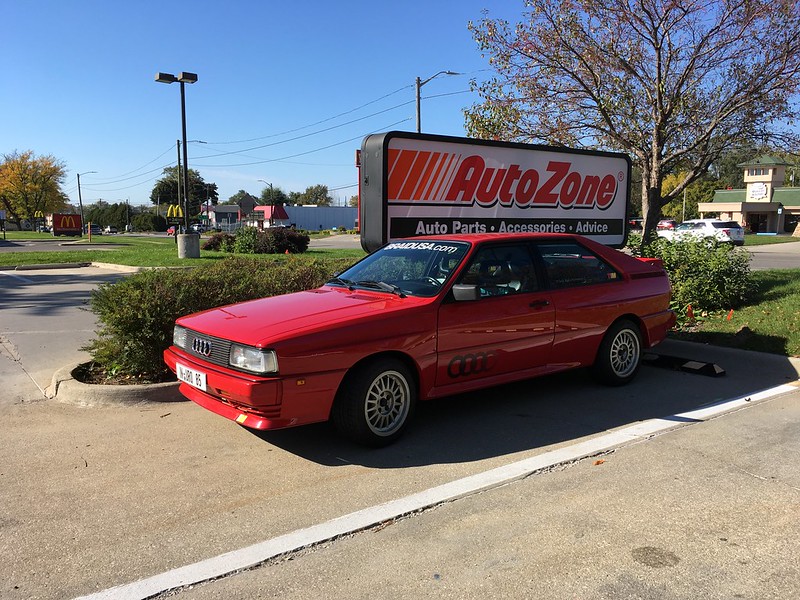
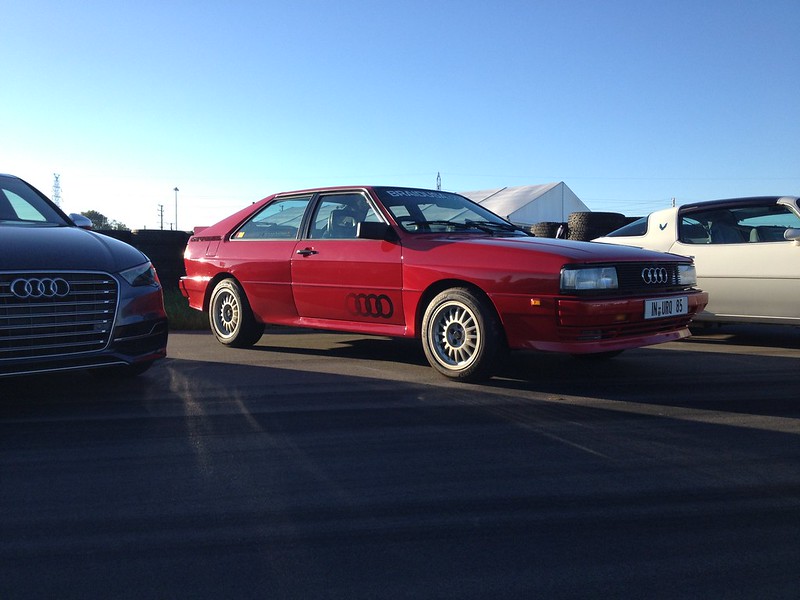
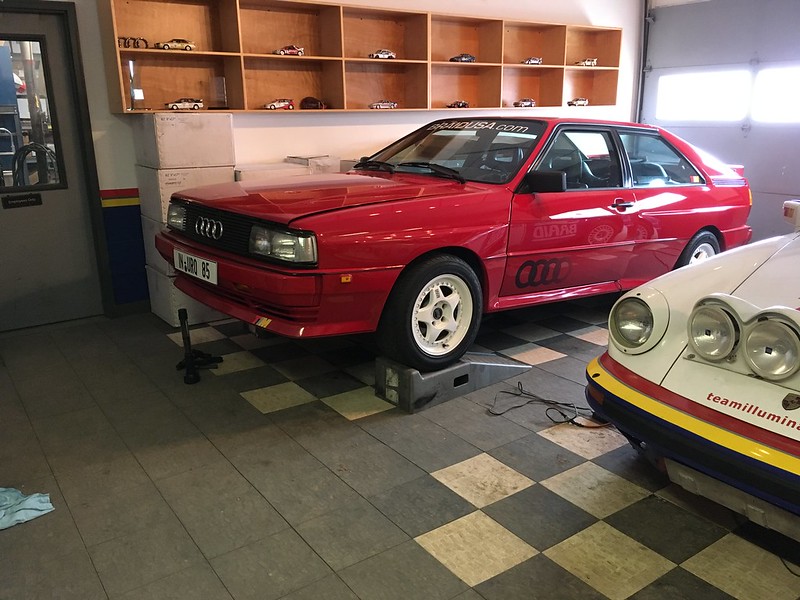
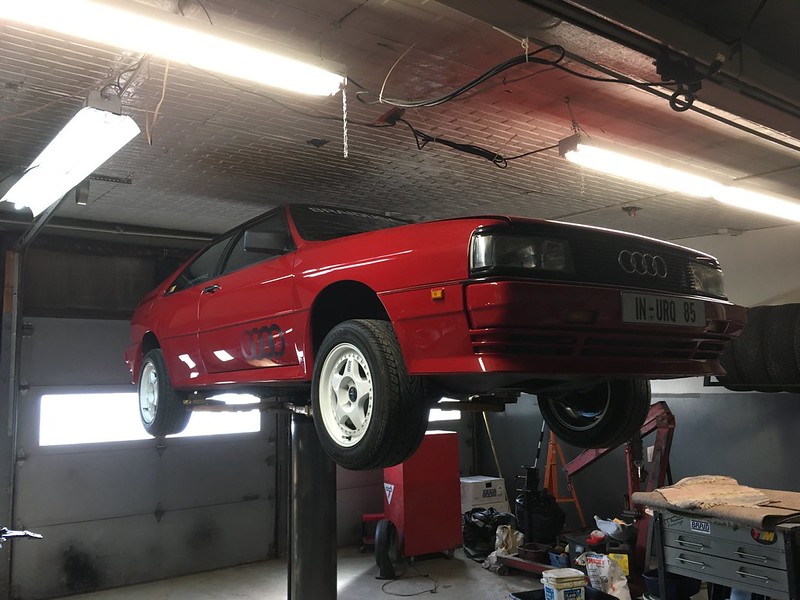
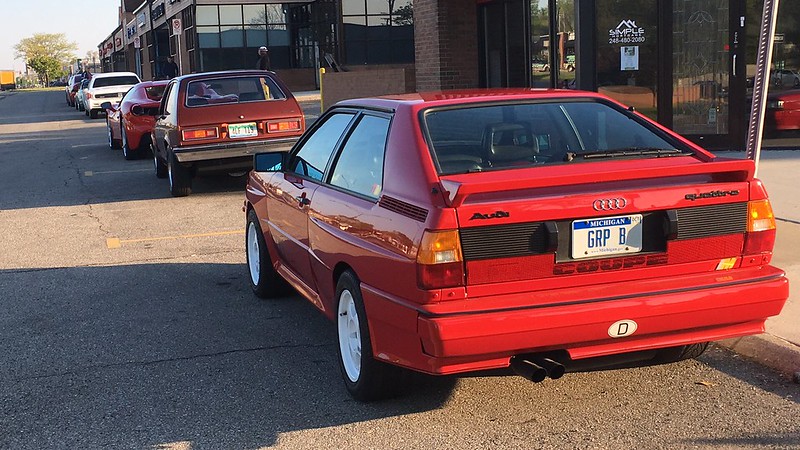
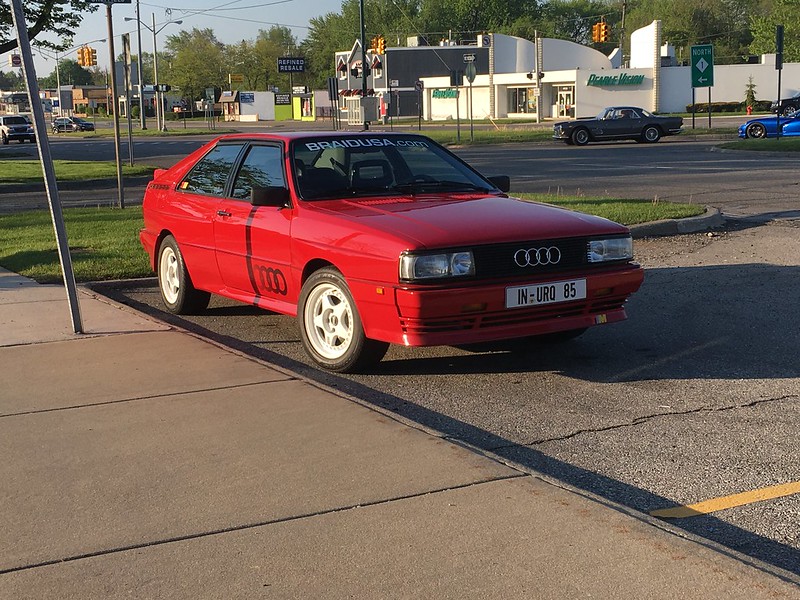
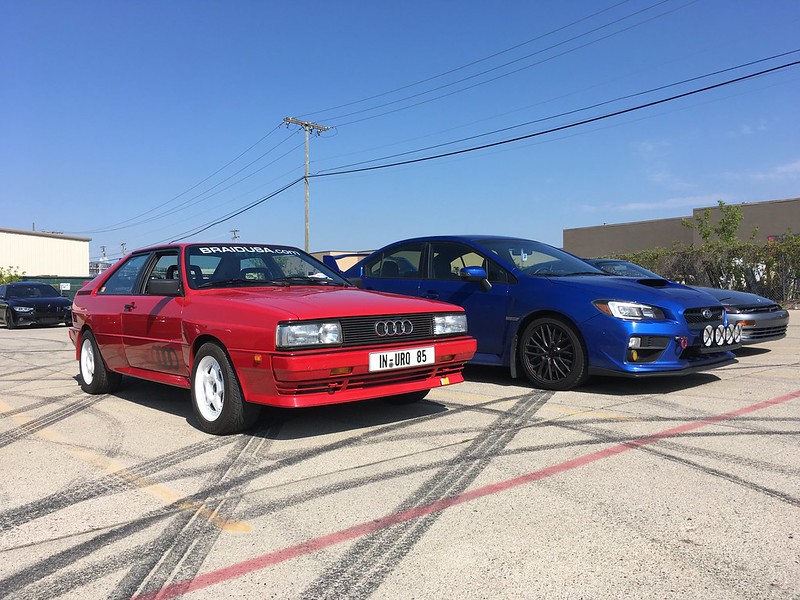
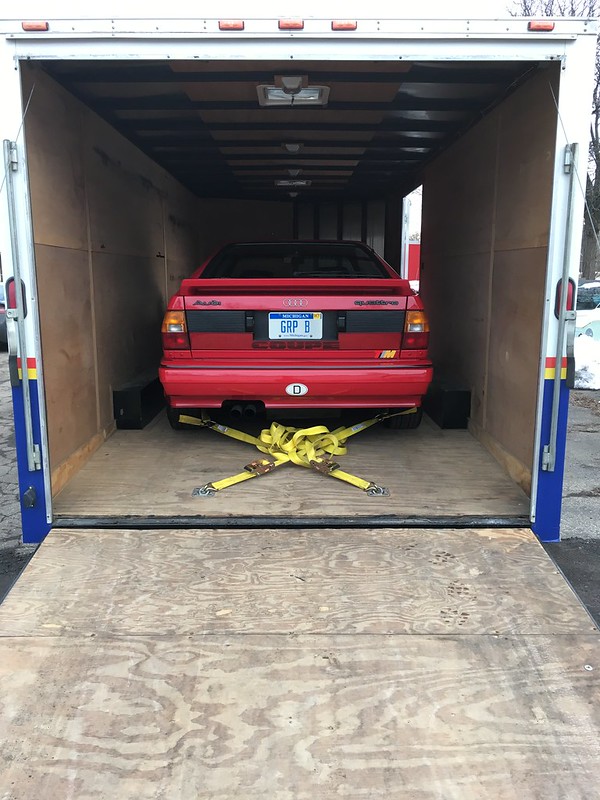
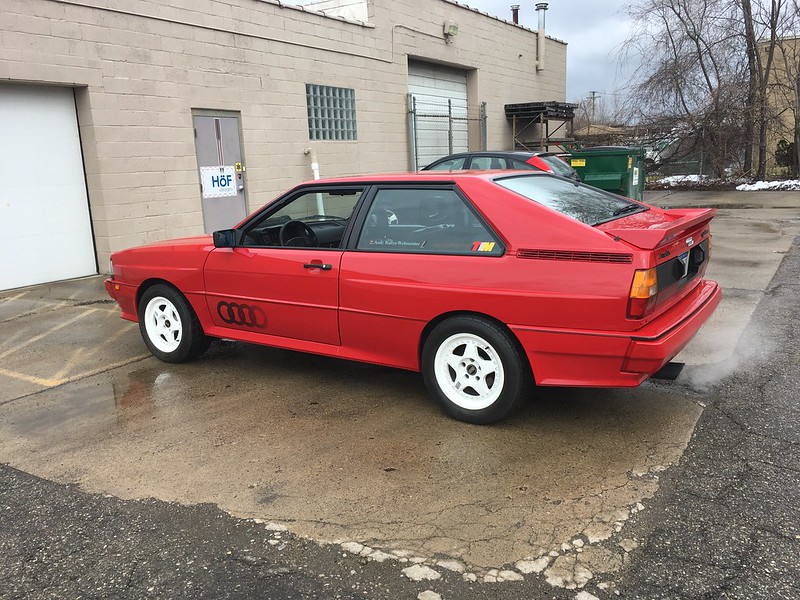
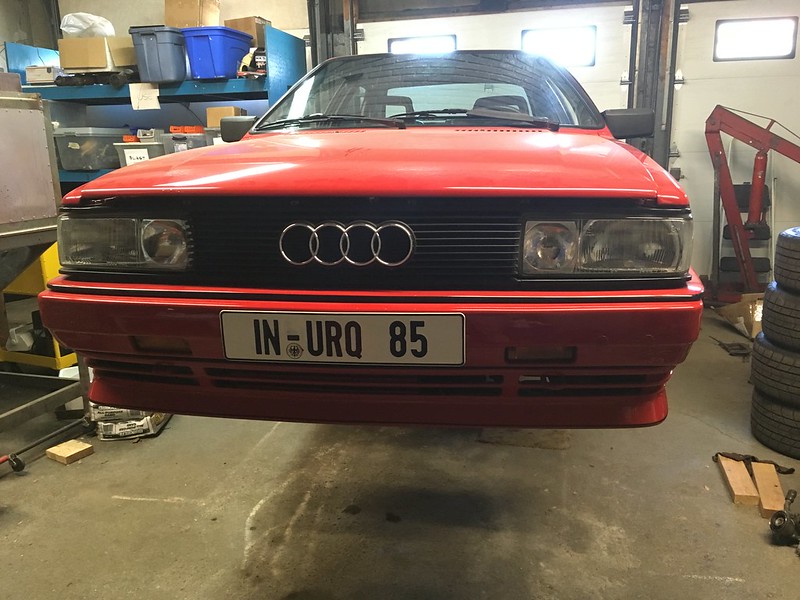
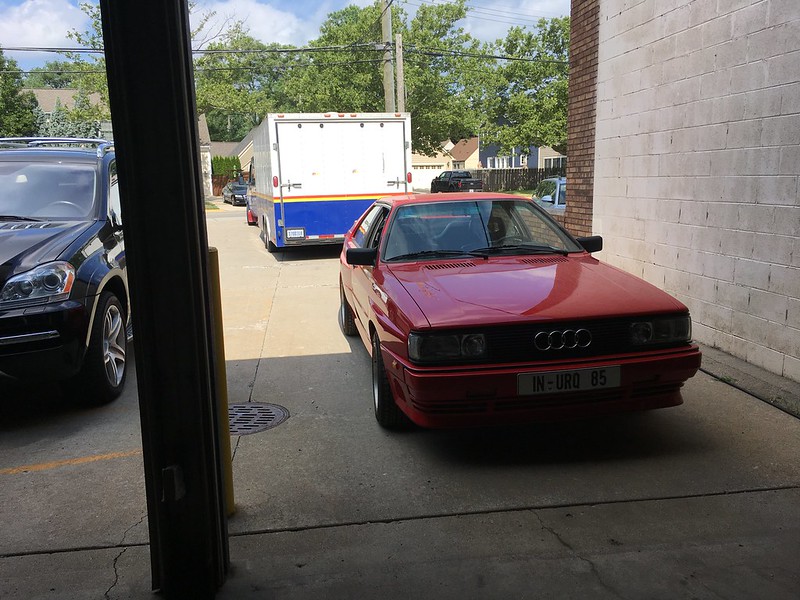
By then it was 1am so we waited till the next day to take it for a test drive

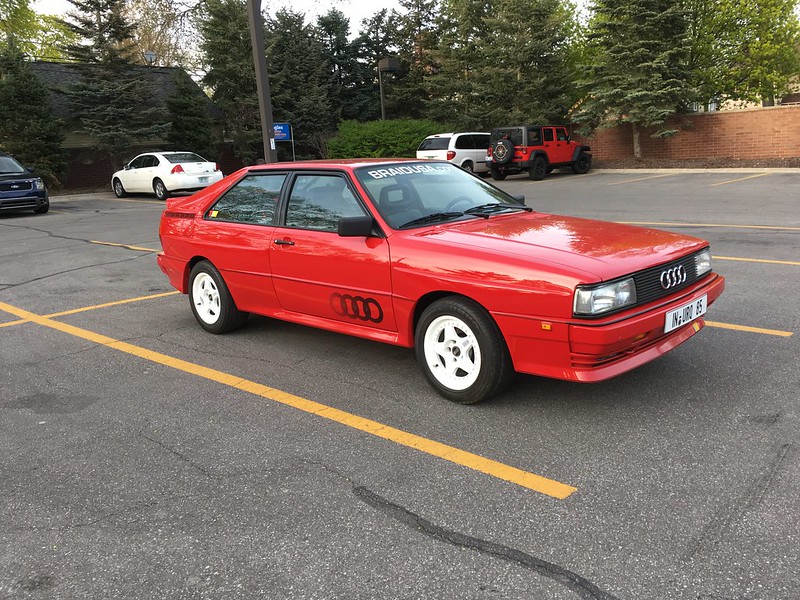
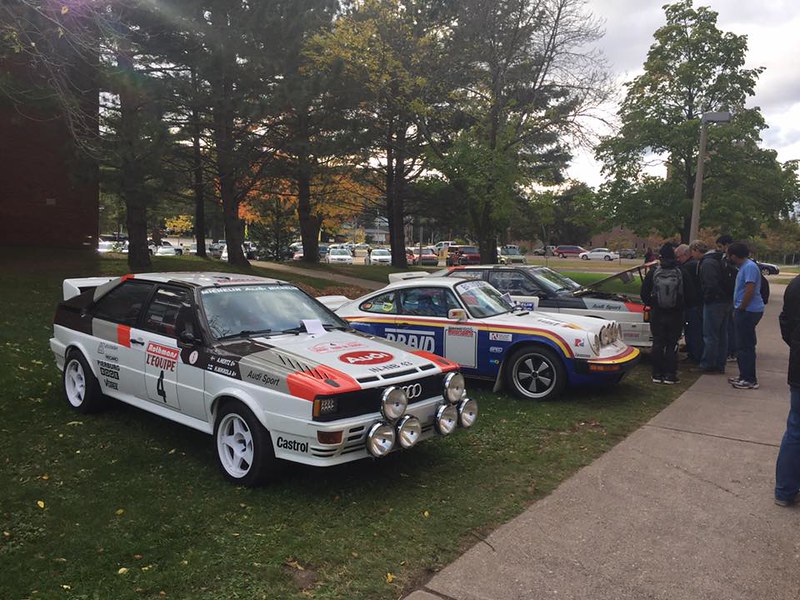
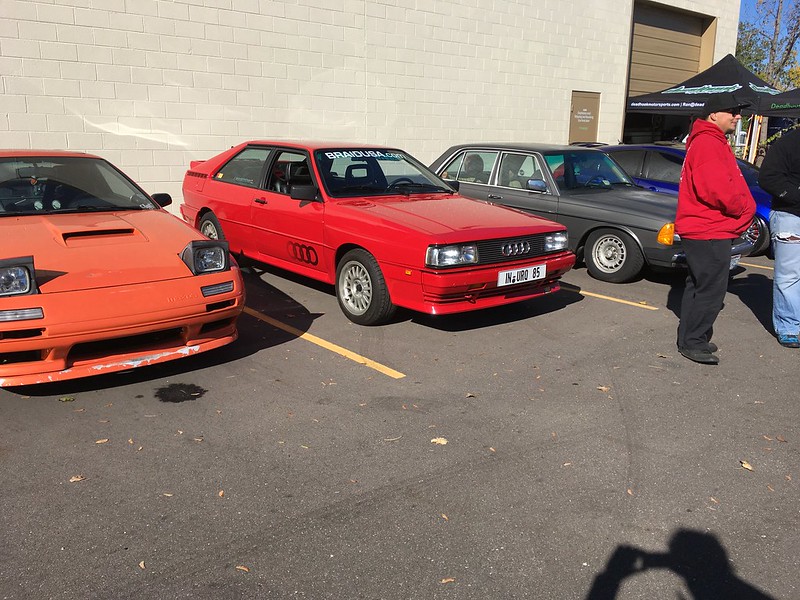
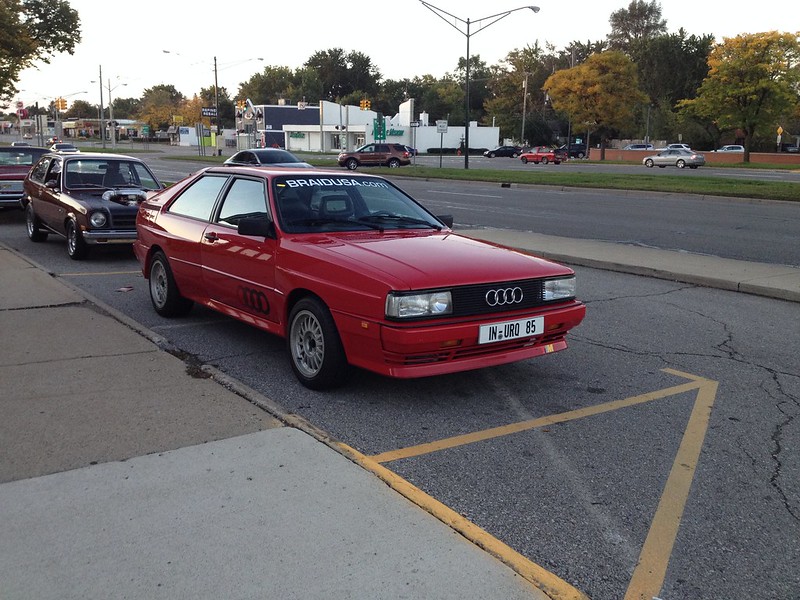
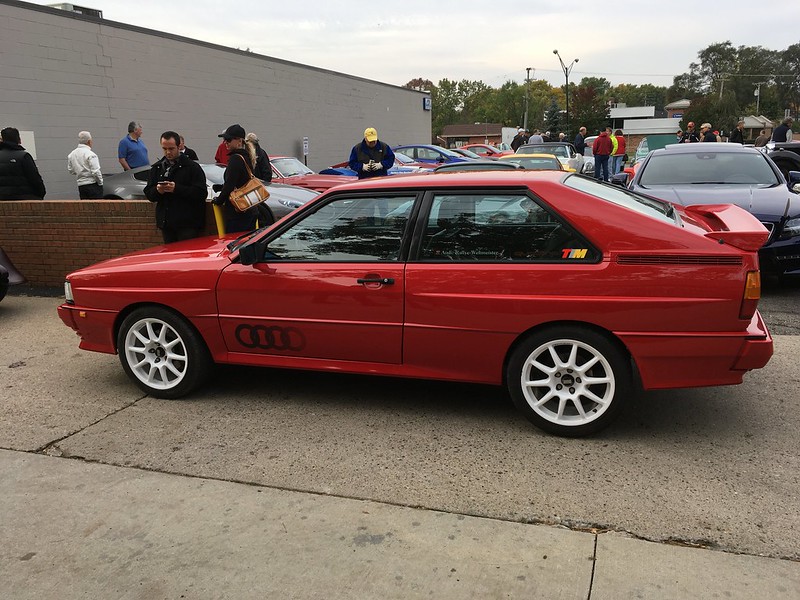
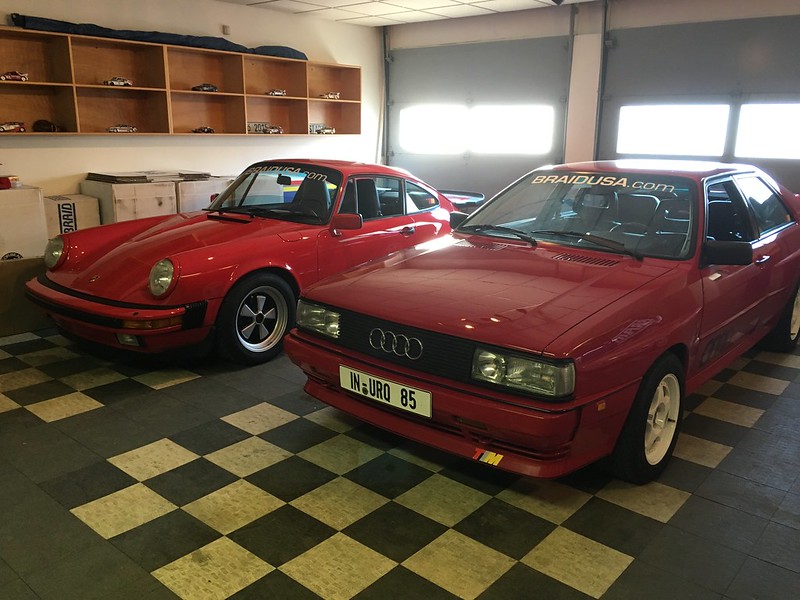
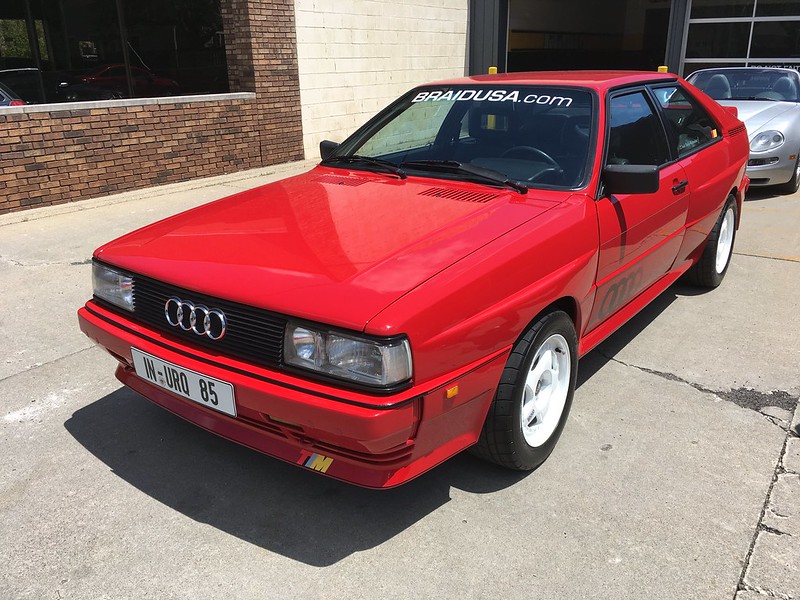
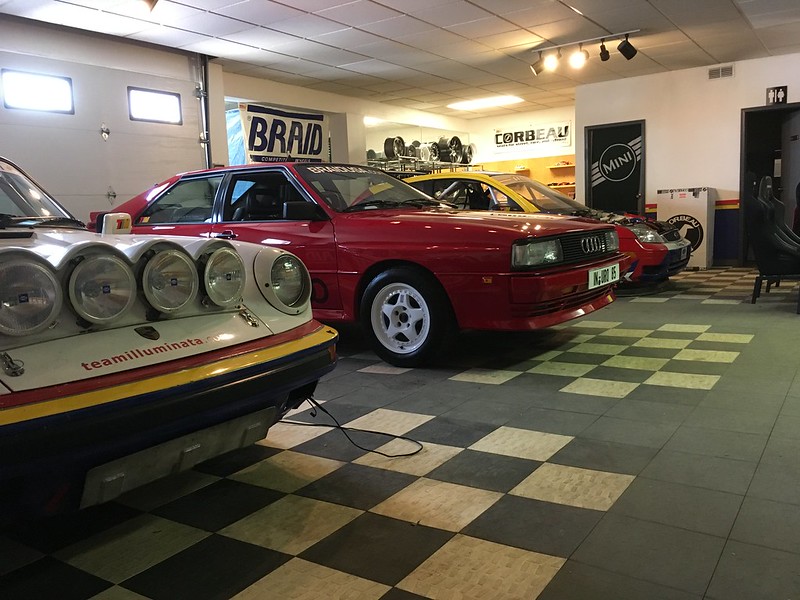
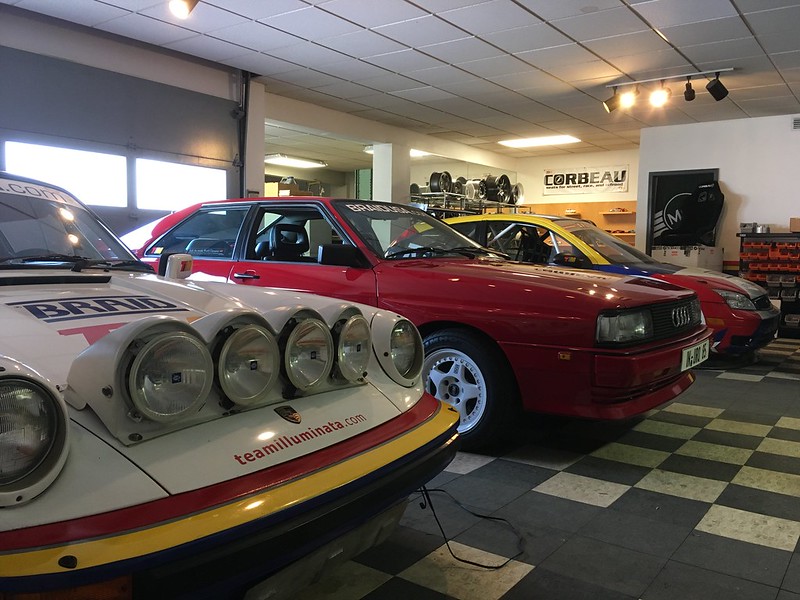
Before returning it to the stable with its friends.

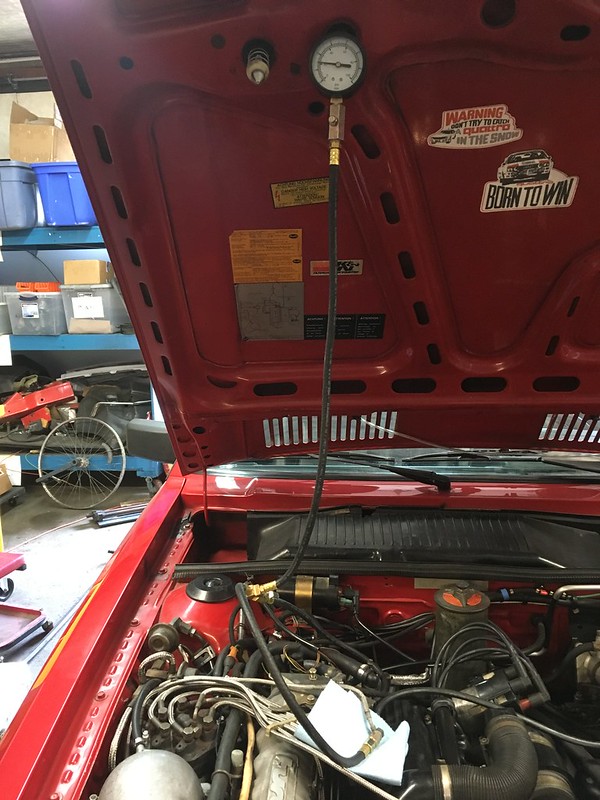
Now the car needs an alignment and a tune. Still have some hesitation under load.

teamilluminata
teamilluminata HalfDork
5/11/17 1:20 p.m.

HELP ME CHOOSE SOME TIRES.

The Kumho all seasons (no seasons) that are on the car are done so it's time for some new rubber. The stock size of 215/50-15 is NLA in anything affordable and streetable so it's going to be 225/50-15 again. The car does not see winter so summer tires are a must. I don't track it but want the most grip I can afford in case I have to stop or swerve in a hurry. They should look cool or period or both. Treadwear is a non-issue as these will age out before they wear out.

I've narrowed it down to 4 but can't quite decide:

P ZERO TROFEO R $169

PROXES R888 $138

PROXES R888R $140

PROXES RA1 $189

teamilluminata
teamilluminata HalfDork
5/27/17 4:09 p.m.

The car is running but not perfectly (more later) so I have been taking every opportunity to drive it and pose around in it. Took it to the post office:

A cars and coffee or two:

Parked in in the driveway:

and at the showroom:

I even parked it outside the local Audi dealer:

This really is the key to happiness.

teamilluminata
teamilluminata HalfDork
6/9/17 11:38 a.m.

Took the car to AutoEurope in Birmingham for:

new tires alignment detailing dent removal

Now so clean. Hadn't been cleaned for three years!

They did a great job. Shame it's parked back in the showroom and not in my drive.

Next on the agenda is to address the hesitation under load at around 3-4000rpm. Any ideas?

teamilluminata
teamilluminata HalfDork
6/13/18 9:43 a.m.

WOW. We can’t believe it’s been a year since we updated this thread. Better get cracking. Let’s see, what have we been up to?


Well, before we put it away for the winter we took it to the gas station to fill it up but on the way back it died at a light. Took much cranking to get it to fire back up but then we only had a 100yds or so back to the shop so couldn’t tell if it was ok or not. We parked it and forgot about it.


We fired it back up in April to take it to HOF Designs in Dearborn for some interior work. It didn’t seem really keen. Fortunately the roads were still bad so we trailered it there.


It still didn’t seem very keen once it drove off the trailer:


The car has been selected to appear at the Concours of America in July so we thought it was a good time to address a few issues with the interior. The drivers seat had a small hole and some of the stitching was coming loose. Also, a previous owner had installed big speakers in the doors and parcel shelf.


We got the car back last week. Yes, it took a while but our shop was full so we didn’t mind at all. It actually fired up really nice and drove round the block just like last year. No sign of the stalling now. We’ll have to dig into that later.


HOF did an amazing job and we could not be more pleased:


Next thing to tackle is the hesitation while getting onto boost along with a list of concours prep stuff. Oh, and trying to figure out why it died that one time. Stay tuned.

teamilluminata
teamilluminata HalfDork
7/15/18 4:49 p.m.

MORE CONCOURS PREP FOR THE QUATTRO


With only a few weeks to go before the Concours of America we thought we better get in stuck and fix some issues with the car so we got it into surgery:


Where we removed the TIM and BRAID stickers we have had on the car since we got it:


Put the stock steering wheel back on:


Put the stock wheels back on:


And found the right screws for the trunk carpet that covers the fuel tank:


Although it’s not really concours related we did want to replace the valve lifters in the head as one or two sound as if they are sticking lately.


Maybe this was the culprit. It was in about the right position considering where the noise was coming from.


Then off to Auto Europe to get it detailed, with a month to spare!

teamilluminata
teamilluminata HalfDork
8/1/18 10:25 p.m.

Well, what a day we had at the Concours d’Elegance of America last Sunday. This is the first time the car has been accepted to a concours event and our first too so we had no idea what to expect. It’s scertainly not like RallyCross! With 11 year old tyres and a nice shiny car we decided the sensible option was to tow the car to the event, even though it was only an hour away. The “Rig Lot” was a bit of a zoo but we found a spot and unloaded without any issues, though the rather expensive looking Daimler being unloaded from a box truck next to us made us a bit more than nervous.


The show was held at the Inn of St. John’s in Plymouth, Michigan and was only a couple of miles away from the rig lot. It was also a beautiful sunny morning so was a nice drive, though rather short. As soon as we got to the entrance the attention started. We were somewhat taken aback as we have never really exposed the car to the wider car loving audience. All the way down onto the field people were stopping in their tracks and taking pictures. Two gentleman, one of whom later turned out to be judging our class, practically jumped up and down waving their arms about!


We were quickly escorted to our “ring” and with help from the two “ring masters” positioned our car in its allotted slot. We were in MD class which apparently stand for “Modern Collectables”. We were parked with BMW Z1, Daimler Double Six, Vector M12, Toyota Supra Turbo, Nissan 300ZX, de Tomaso Pantera, Lotus Esprit, Ferrari 308GT4 and a  Qvale Mangusta.


Even before the show opened to the public there was a crowd gathered around the car. Then all day long we just stood next to it and fielded question after question. We were amazed by the reception the car received and the number of people who were very aware of them but had never seen one. We were also delighted to see old friends who, of course, were quite familiar with the car.


Upon returning from lunch were we thrilled to see a ribbon on the windshield. This seemed to mean the car had won something but were weren’t sure what.


At first we thought it might be for “Best In Shoe”.


But a little investigation revealed that the Vortex had been awarded Best In Class and that our Quattro and the Pantera had won what was described as “Lion Awards”. We are going to call it  2nd and 3rd place as indicated by the order we were to drive onto the awards field later but we are still not quite sure. If anyone asks we were 2nd in class as far as we are concerned. If only Quattros had gullwing doors!


So despite being completely out of our bubble we had a great day. We wouldn’t do it every week but it was fun and great to let so many people enjoy the car. Now back to the Quattro rally build.

759NRNG
759NRNG SuperDork
8/7/18 3:26 p.m.

Congrats on your "Best in Shoe", perhaps some more fiddling to correct the stumble?

teamilluminata
teamilluminata HalfDork
8/8/18 7:01 a.m.

In reply to 759NRNG :

Thanks. Stay tuned...............

teamilluminata
teamilluminata HalfDork
8/25/18 9:08 a.m.

Before we dropped the car off at Auto Europe for detailing we had been trying to diagnose some running issues. Basically the car would hesitate when transitioning onto boost but otherwise ran pretty good. There are no real diagnostics on these cars and the CIS injection we find baffling but thought we could troubleshoot it. We went ahead and bought a CIS fuel pressure tester kit to check the various fuel pressures in the system. 

These fell a little short of optimal so we replaced the fuel pump and fuel filter That did not help much but did make a marginal difference. 


We also tested fuel delivery. We had plenty. So, with Auto Europe also being the home of famed Audi guru Phil we suggested they take a look while they had it in for detailing. Well that escalated fast. Phil quickly diagnosed that the frequency valve was not pulsating. He fixed a dodgy previous owner splice in the wiring but unfortunately that didn’t bring it back to life. He then attacked the wires at the ECU end and discovered some disturbing previous owner hacks. Firstly there were a bunch of wire nut splice adjacent to the ECU. Then he realised the vacuum input had been tee’d and there were now two inputs! It didn’t get any better once he got into the ECU either. There was a second, aftermarket vacuum switch piggy backed onto the original and various pins on the chip were soldered together! Clearly a new ECU was needed to make this car run as intended by the factory. 


They managed to find a un-touched and supposedly working ecu from the same year car and threw it in just hours before we picked up the car to take it over to the concours. The car did indeed run and idle much more smoothly than before but exhibited a big backfire the moment it went from vacuum to boost. It also now will not run pat 4000rpm, an issue normally associated with a bad intake air sensor. That was all tested and the wiring repaired during the engine reseal project so it’s probably ECU end related. The backfiring stopped when we disconnected the cold start valve. It appears the ecu is using the that to add fuel on boost; way too much fuel. So that is where we are now: the car idles and runs great up to 4000rpm but then the ecu cuts fuel. We may just drive it like this till the season ends and then let Phil have at it as this car has been off the road far too much these past few years. Let’s see how that goes.

7 8 9

You'll need to log in to post.

Our Preferred Partners
WoF1HtPpyENILmIlJU1q3bz8ygRyuKB2v0xbaHH3gUaNS0WJW616VVbuP7wyDHdv