First disclaimer: This is in no way permanent. The metal failed and it will fail again. This is a temporary chewing gum and duct tape repair.
Second disclaimer: This is in no way pretty. In fact it gets ugly fast. Do not attach pics of this disaster to your CV when hunting for a fabricating job.
The victim/patient in this case is a Y pipe from an '07 Ridgeline. This pipe is only available aftermarket with a bogus 90 degree junction, which the owner (my employer) doesn't want on his truck. I claimed I could fix the old pipe, so I had to step up and actually do it 
First, the damage. It rusted out inside where the hanger was welded on. I cut the hanger off (it rusted off the other leg already) and wire brushed the loose rust away, to see this:
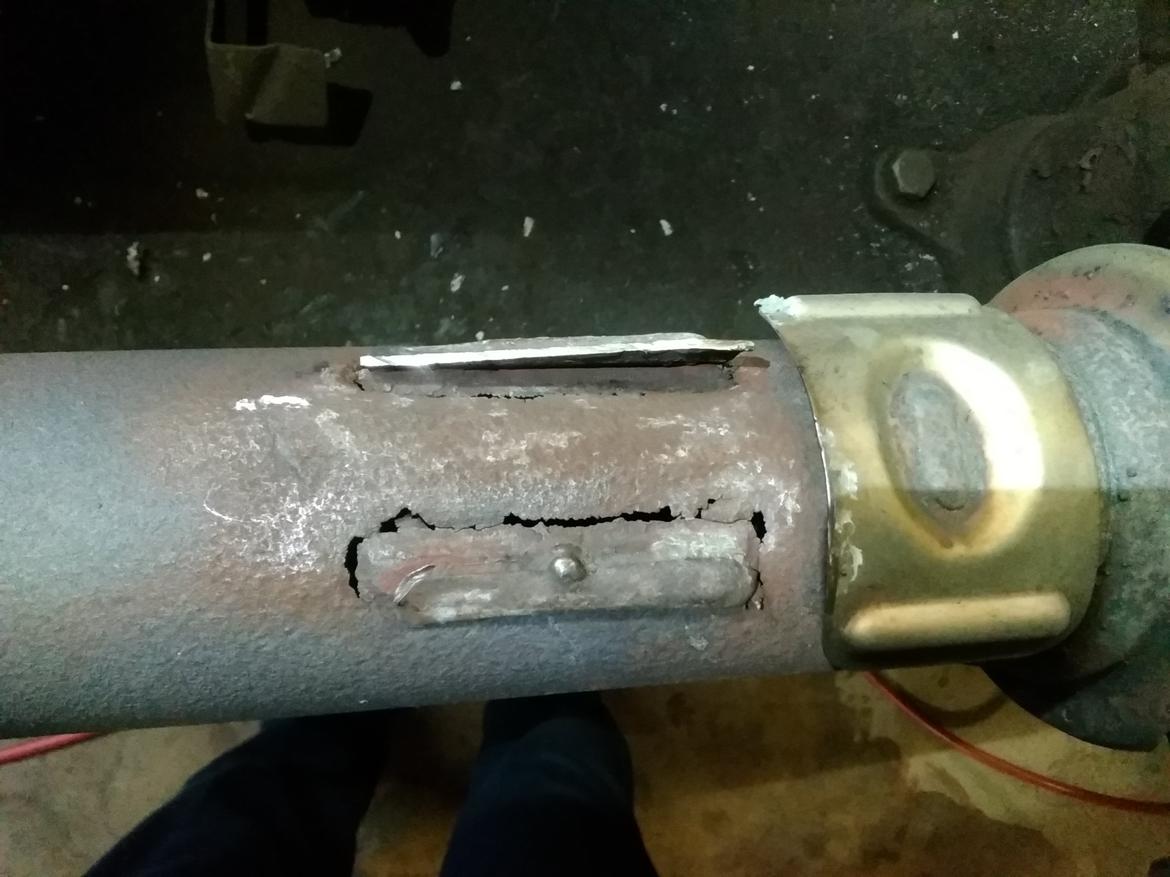
Very ugly and the metal is razor this where it corroded away. As a bonus, it is stainless steel, which can be a pain to weld due to how it does not transfer heat well. A recipe for blowthroughs if there ever was one.

MIG welding is about heat management while you add metal to a puddle and move that puddle around. If we try to make a puddle on the thin fringes, it will just disappear instead. So we need to add mass, by putting little tacks back where you think there is mass.
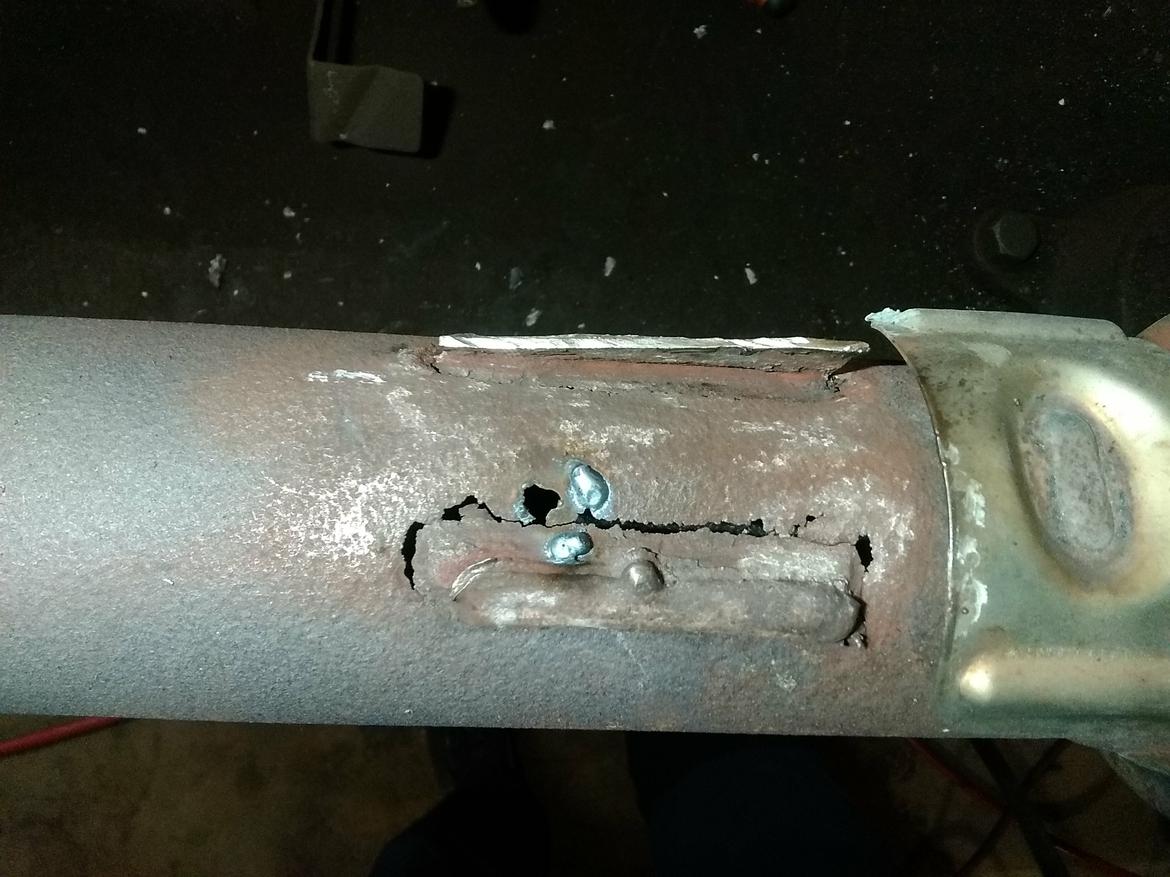
See that big hole that wasn't there before? That was the result of an instant blowthrough. Do not get discouraged, this going to happen a lot. But keep calm and pay attention and your heat management skillz will improve quickly.
Tack, let cool, tack, let cool. Usually by the time the metal is no longer glowing, you can twck again. You can weld at other places while waiting for the tacks to cool, too, but the idea is to bridge the gap between the tacks.
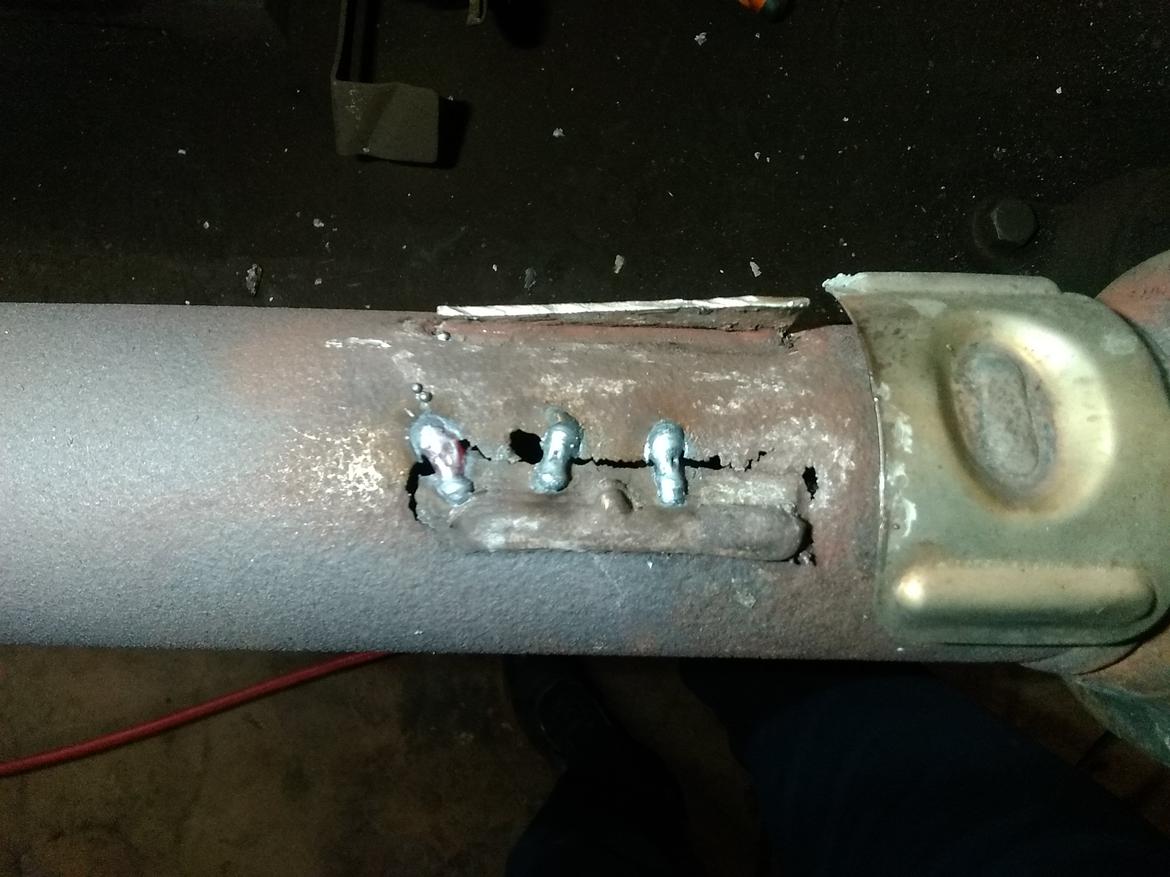
Now you have added mass to absorb heat, so you can weld normal passes across the crack by adding to those bridges. You do need to still move around and wait for the weld to cool off before welding another pass, because you definitely can still have grief from adding too much heat, but it will take longer to get to that point.
One thing that I did not really get to photograph was first welding a line parallel to the crack on both sides, just a little bit as I moved forward, just for added heat sink effect.
The final welded section looks like this:
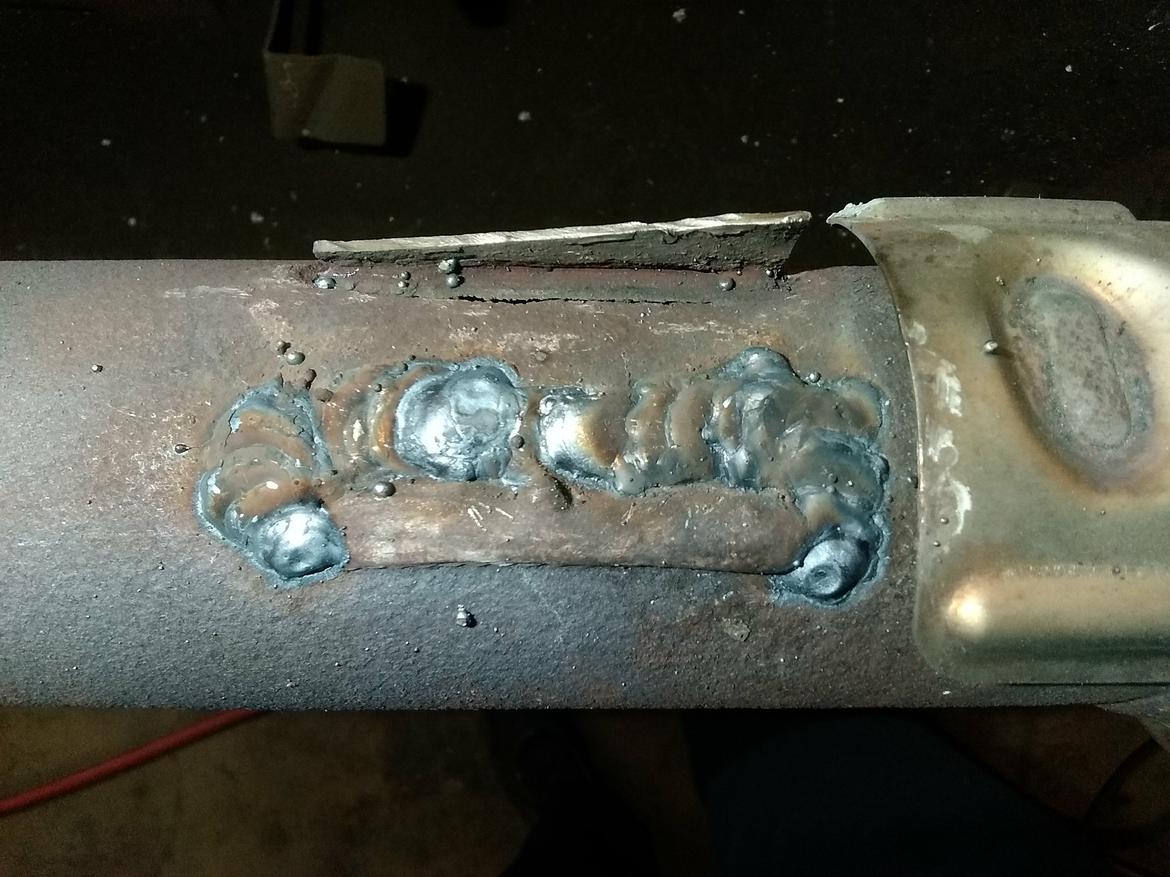
Much patience needed, and it still blew through in a lot of places, which requires welding a ring around the hole (more mass means easier to weld) and then closing the hole.
The other side would be more tricky because of piece of hanger in the way, so I decided to instead weld along the inside, which built up my target to weld a puddle to in addition to ensuring that I would have clean metal to make contact with. Rusty metal is a bear to get an arc started sometimes.

After that it was more of the same, small tacks on the other side, bridge the gap across the crack, watch how much heat you are adding, a little patience pays off big.
Then the hanger got welded back on, and the pipe was done.
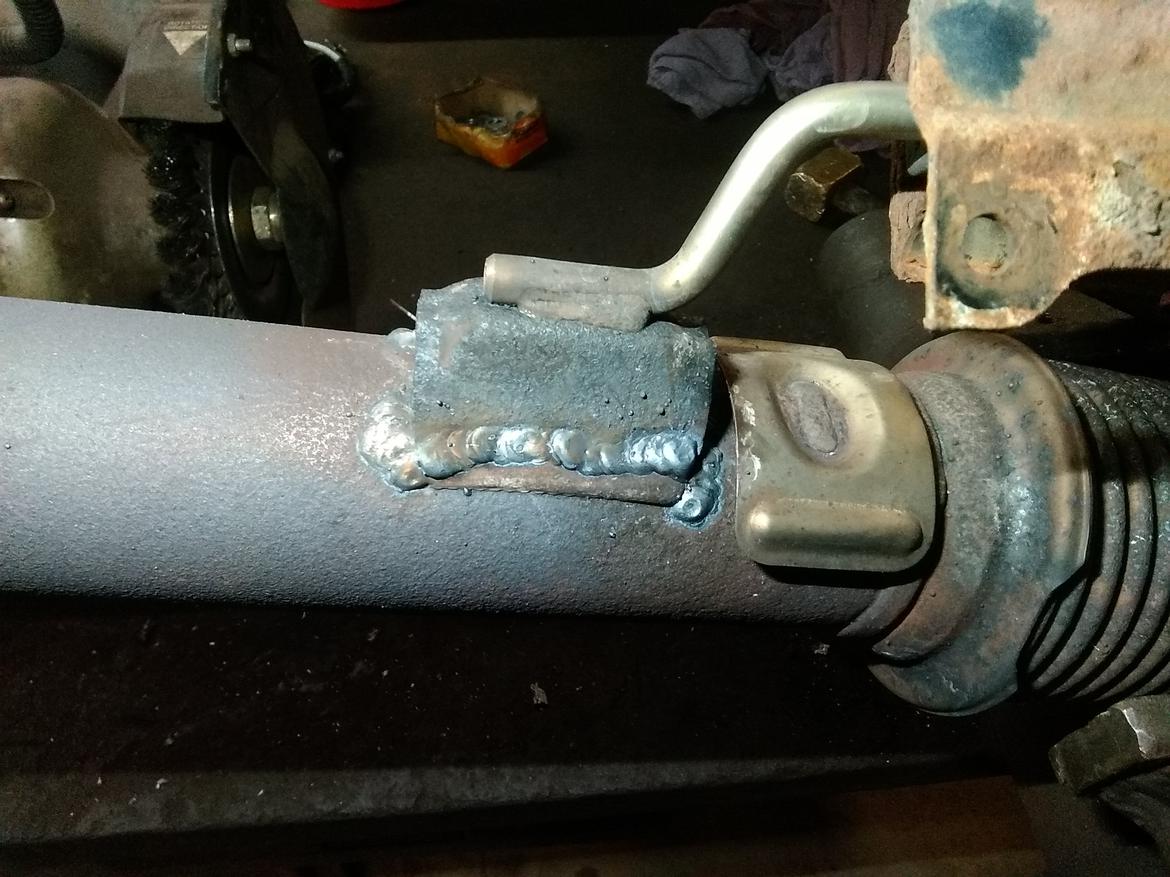
The hanger also wanted to blow through a lot so it was slow going with a lot of small welds.
The welder I was using is an ancient POS with a crummy wire feed that will not function at lower speeds, which dictates how little current you can use. I'd have loved to use my 110v Eastwood but it worked.
Truck is quiet for the first time in years and he is happy. The weld repair will last as least as long as the flex pipe will, so maybe a year tops? But that is a problem for later.


