Restoration Impossible: Beginning Reassembly

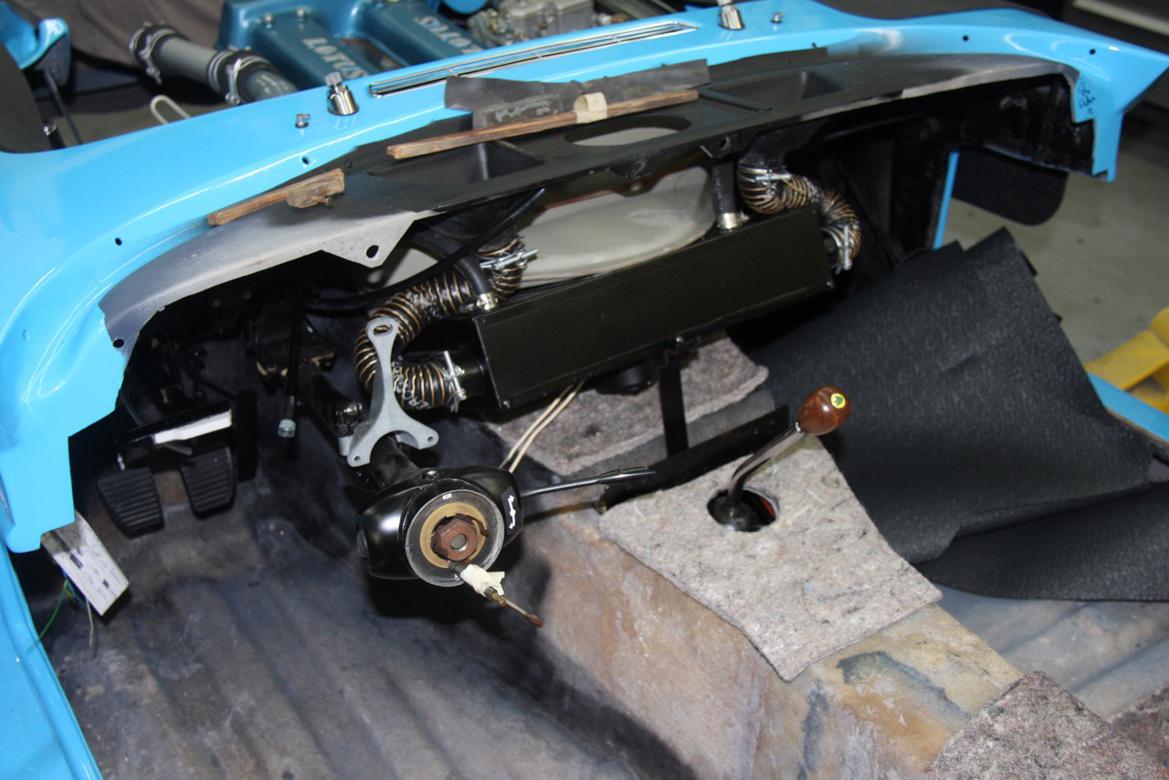
With the wiring harness in we could start assembling our pedals, the heater and then the steering column.

With our rear bumper and taillights installed, our Elan is starting to really look like a car again.

The felt under-padding in the interior is one of the earlier things we were able to install once we had our writing harness in.

With our 1964 Lotus Elan’s body bolted down, we could begin reassembly in earnest.

As with every stage of restoration you need to make a plan and work in a logical fashion. We carefully avoided installing parts like installing the grille or the air cleaner that would block our access to other items .

We also resisted the temptation to install the hood, doors and deck lid until much further down the road, as they would also be in our way.

One of the first things we installed was our beautifully made wiring harness that we obtained from British Wiring.

Since this wiring harness is the lifeblood of the car, it is usually buried beneath or behind everything else you are going to install.

From there we moved through some other basics like installing the pedal cluster, the radiator and the horns. We then connected anything we could to the wiring harness. This included taillights, engine ancillaries and the like.

Join Free Join our community to easily find more project updates.
Comments
wannacruise
wannacruise New Reader
4/19/18 8:12 p.m.

Since I am pretty sure you are building this car to Concours spec I assume that the wiring is all configured as original.  Is that true?  How well then does the new generator cum alternator fit into the picture.  Am I correct in thinking that the original wires for the original generator attach to the new unit the same as if it was an original generator.  Thanks Dave.  


You'll need to log in to post.

Sponsored by

Classic Motorsports House Ad

Our Preferred Partners
yEqFthv8WFGnbBIVeSI3mgMEP5adaBaK9WqKI2073WERz7zZBUwPrg6jiHVvpige