In reply to TurboFource :
Thank you!

In reply to TurboFource :
Thank you!
Was able to do a bit more work this weekend, but first I had to modify my crappy bead roller some more by putting in a larger diameter bolt to wind it down. I had a local machine shop make the lower die for me, but because it was a bit deeper than the factory ones and the die a bit larger diameter, the wind down mechanism would bottom out before I could get full depth on the bead
Once I got it working the way it should again, it did a nice job of forming the bead. After I took the picture below, I laid it on the welding table with the bead up and took a blunt chisel to form the corners a little tighter

Looks pretty close to the original bead in the cowl!

Tacked it in! Its a lot straighter than it looks in the photo. I used a wide angle lense mode

Starting to skip tack it with the MIG. Gaps were too big to Tig weld :(

But, once I dress the welds, I can planish the area a little bit and have it dialed right in!
Seems like its been taking me forever, but I finally finished the hydraulic conversion of my tubing bender. Hopefully I can make some hand held planishing hammer hoops soon!
Amazing, simply amazing!
I love how we get to learn things here all the time, like the "Body sweep" templates. I had no idea but it makes perfect sense.
Thank you for getting this back on the front burner.
In reply to rdcyclist :
Thank you!
In reply to Magna_Machine_Works :
Man, I need to clean my shop haha! The priority has been to try and get ahead on some of these projects
After making the body lines in the cowl I decided to take some time and do some more work on the crappy bead roller.
I added a return spring to the top bearing. This will make it easier to remove the parts.

I TIG welded on a chunk of 1/4 inch flatbar because it was still kind of flopping around on me.

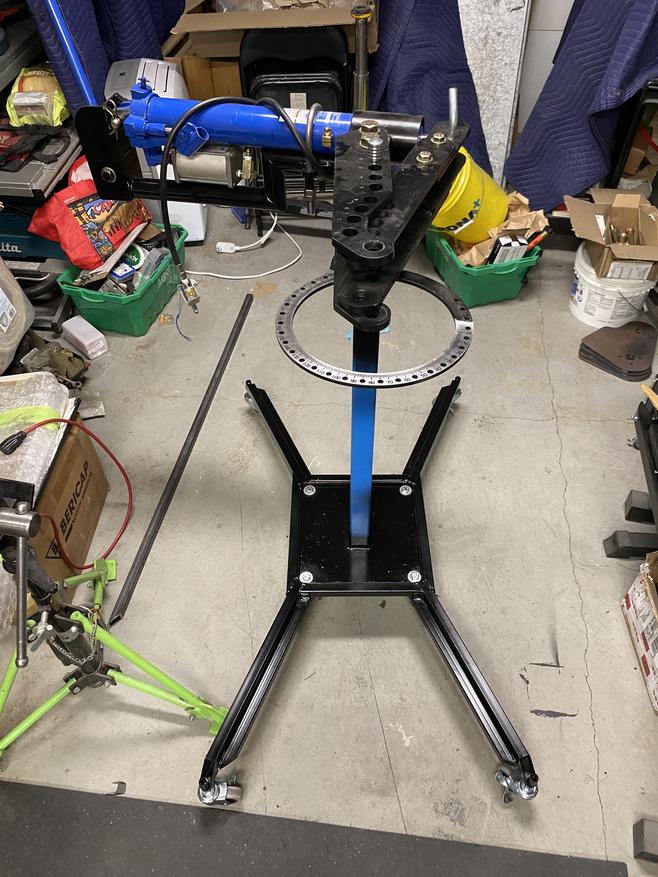
I designed this art deco piece in CAD a while back and had it waterjet. Its so I can tilt the bead roller when I am running a hem on a fender or something similar and not have it hit the floor.

A little spritz of paint on the top so I can reassemble it. The bottom will be getting some more work done to it, so I can deal with that later


Also, now that the tubing bender is up and running, a buddy came over and we bent up a planishing hammer hoop.

Then a few days later I had sometime, so I bent another with a 40 inch throat so I can planish the roof on the old Pontiac, Still some work to do, but we are on our way

Here is a comparison of the 2 hoops

The bigger hoop will actually be an angle from the front to the back and either side will be straight up and down. The reason for this is 2 fold. it saves material, and also has a shorter post. With a shorter tool post its easier to get something in for linear stretching. For example, trying to flip an edge for a headlight bucket, it hits the post, on the shorter ones it will miss and you can get deeper into the panel.

I had some time this week to work on the planishing hammer again. I did some layout on the table to size it to what I think will work to reach the welds on the roof of the Pontiac. I used the edge of the table to mark out where I wanted to cut. Note the large tubing cutters.

I also taped the die holder and one of the dies on. I used a TIG rod as a template on where the height of the air chisel would end up. Kind of crude, but it works. I cut the handle off of the air chisel and tapped it for 1/4 NPT threads, I will be running a hose off of this to a foot valve for the air.

This is the hinge going on the back of the frame. I will later add in an adjuster.

The die holder tacked on

The hoop mocked up on the bench. You can also see the top joint I put on. I am hoping this will make it so I can transfer the airoir chisel to a different hoop easier. If it doesn't work, then I will just weld it together

All the joints TIG welded and a small pipe between the ends to simulate what it looks like assembled
I finished this planishing hammer for my buddy. I only have this picture with tit tacked together, and the one below it of my amateur TIG weld, More practice and I may have it!


I am waiting on some parts for my monster one, so back to some car stuff
I worked on metalfinishing and straightening this inverse bead out. I know, you don't see it from 140 MPH, but to me its the first thing you see when you lift the hood side, so..... lets get it better without pounding half a can of filler on it, maybe 1/4 instead
1
I kept going side to side to use the old eye balls to find the highs and lows. I blunted a chisel on my air hammer to straighten the bead lines and pressed a piece of 3/4 inch round stock into the bead while I hammered it from below

It may not seem like much, but this took me about 3 hours to acheive this. I am happy with how it turned out and will take minumal bondo, mostly just where the weld seam is

To get the cowl consistant from side to side, I used an number 6 sweep and had to pull out BRUTUS the slide hammer to pull up on the edges.

I got it pretty close on the midlle and back, as well as the front

I am pretty happy with how this looks! Now I can start on the bead on this side


In reply to Magna_Machine_Works :
thank you for the detailed posts. i may never do a job like this, but i enjoy learning about it just the same.

Not even halfway through page one in your best Danny DeVito voice: "So I started choppin'"
I think you win for fastest escalation of a build on GRM...
In reply to AngryCorvair (Forum Supporter) :
Thank you!
In reply to Recon1342 :
"So I started choppin'" HA! Love it! Thanks!
In reply to Magna_Machine_Works :
You're welcome.

In reply to Recon1342 :
HA! Awesome!
You'll need to log in to post.