Two more questions.
1. The upright and drum backing plate are separated by this foam gasket thingy. I can find the gaskets for front disks, but not drums. I'd like to clean and paint the upright. Do I leave the gasket as intact as possible, scrape it off and cut a new out out of generic gasket material, or some other option?
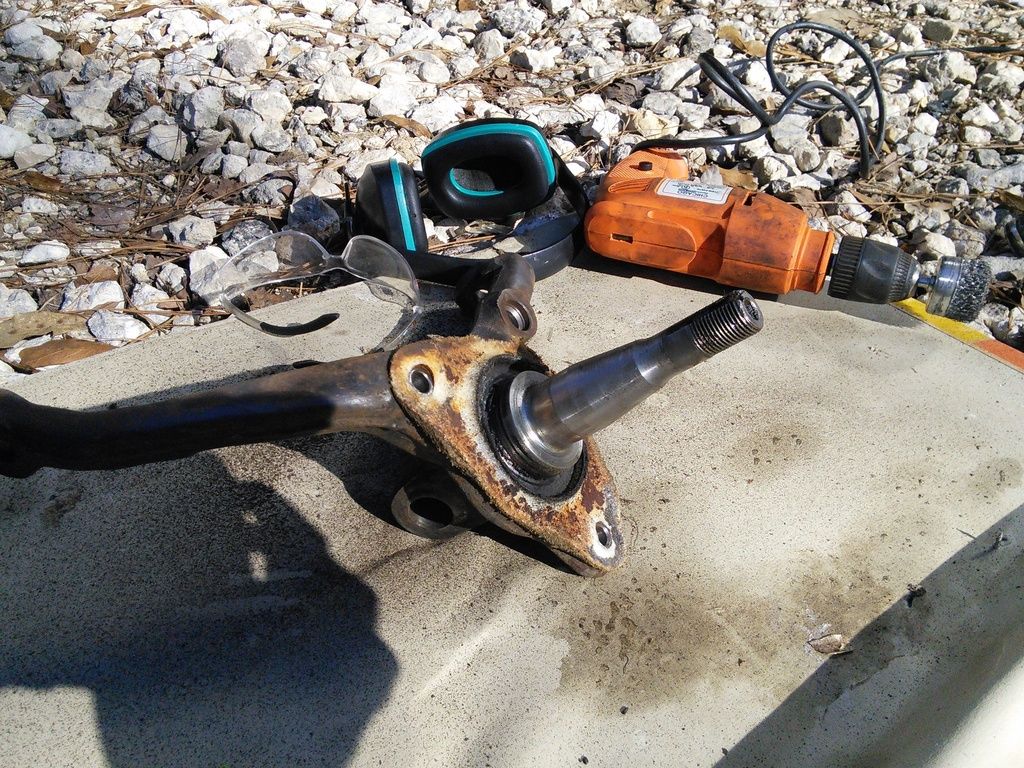 2. I want to clean up and paint the suspension pieces I took off as well as the nearby frame. I'm not looking for a permanent solution, but something to just hold time still for a couple of years until I separate the frame from the body and blast and paint the whole lot. Just clean it up, brush some enamel on and call it good?
Foam you can use poker table top foam to make new gaskets.
Parts: clean, duplicolor cast coat iron for spindles, black for suspension. Engine enamel.
I'd use it as a topcoat over por15. And then never worry about it again.
Foam gasket thingy, I'd guess it's a NVH thing, needs to be there to position the backing plate appropriately though. Suspect asbestos, handle appropriately (keep it wet). Replace with high temp gasket sheet?
On paint, degrease and wire brush scale off, brush on rustoleum rusty metal primer thinned a little (10:1? I eyeball it, just thin it out so it soaks in better) with 100% petroleum mineral spirits/paint thinner, then topcoat with brushed on rustoleum.
The parts are complicated enough that I'm going to need to blast them to get them where I'd want them for POR 15 and that's not in the cards for now. I just want to mostly seal them up with something that will easily blast off in the future.
Thanks for the foam advice.
As owning a battery for every car seems a bit 1%er, I pulled the communal battery from the RX-7 and carried it inside to Fergus. About 30 seconds of cranking, ignition, and a steady idle. Nice.
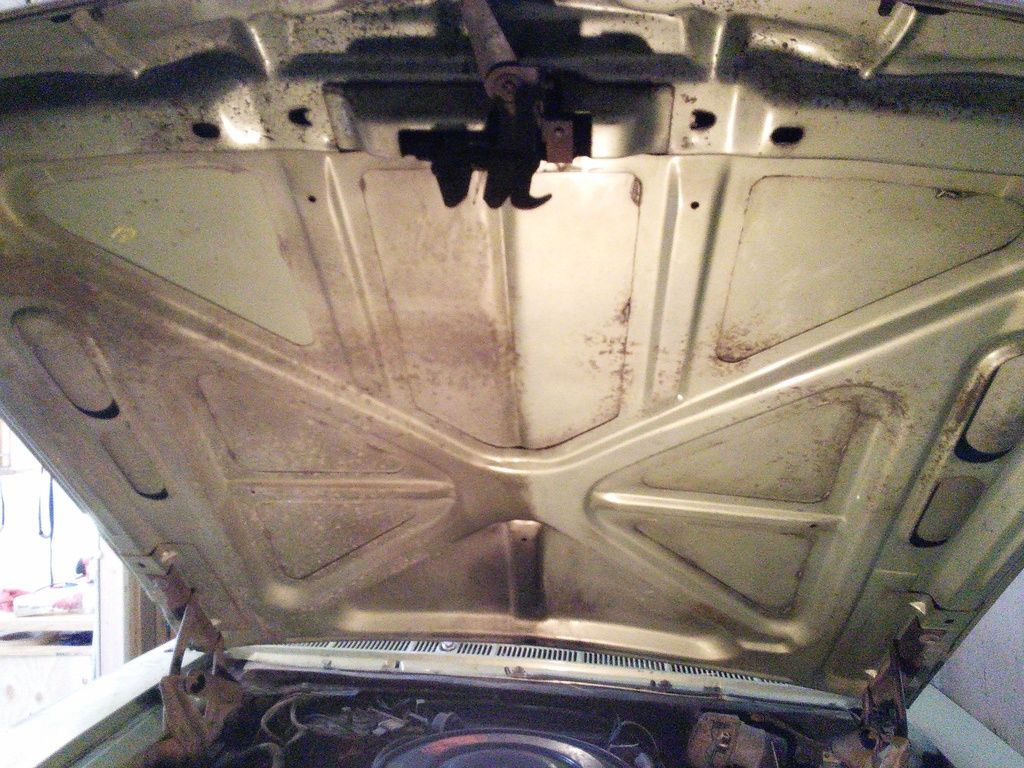
I climbed under the hood and started to clean the underside from a previous owner having some sort of uncontained combustion issue. Got about half way done before sitting in the engine bay lost it's charm.
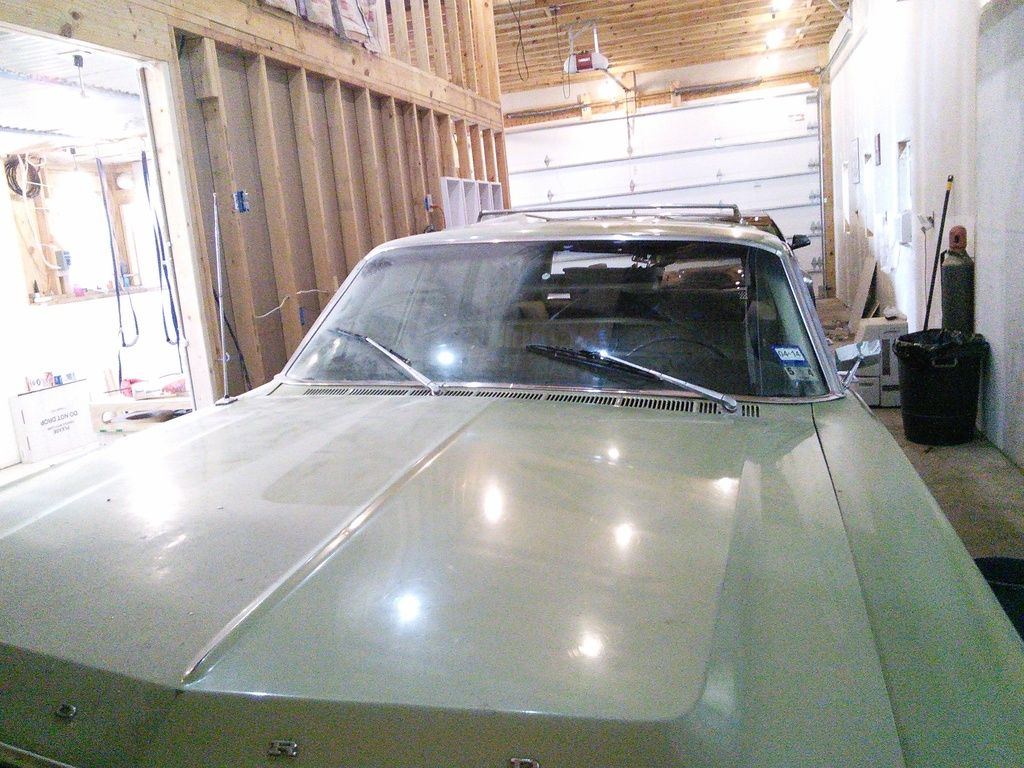
 Then I started to clean the outside. As long as I get my day's drywall done, I'm free to tinker.
 Some parts soaking in PB Blaster, others on the way from Rockauto.
Using Tuna for inspiration by grabbibg a couple of spare minutes for a quick job.
The car sat outside for almost a year and the cowl contains the debris from that. Pulled it off and am cleaning. This car continues to be a weird combination of rusted out death and amazingly solid metal. Luckily the cowl falls into the solid camp. 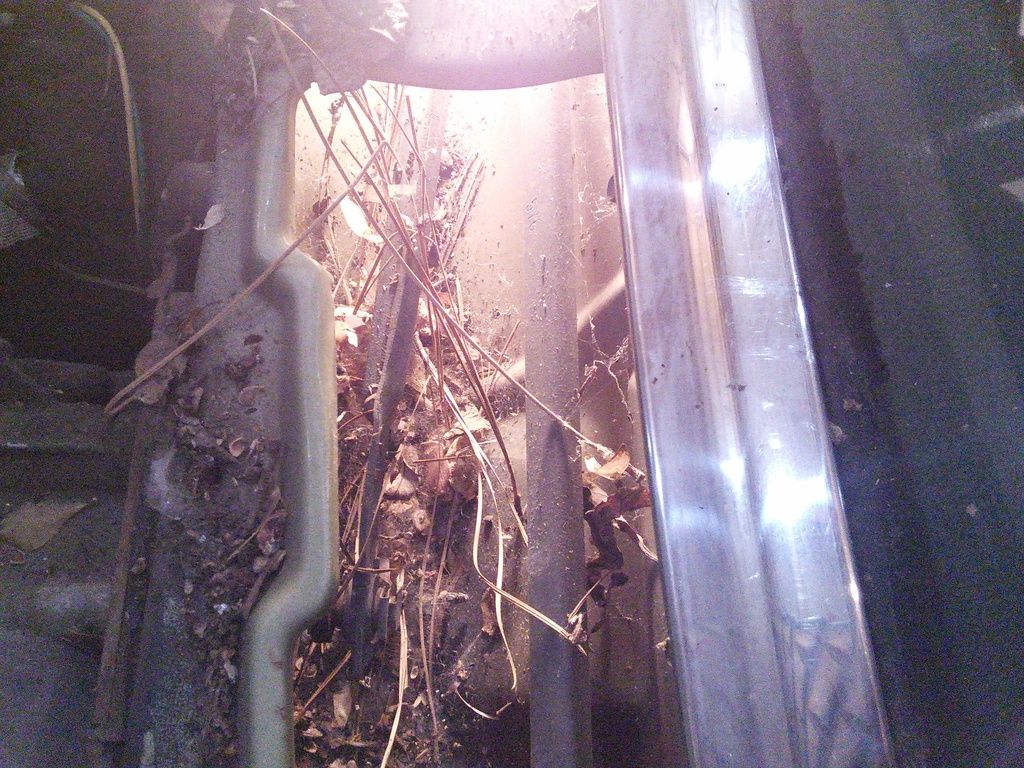

NOHOME
PowerDork
2/17/16 5:46 a.m.
You plan to do a frame off on Fergus? Can't wait till that gets going!
In reply to NOHOME:
Not a frame off restoration, but the body and frame do need to come apart at some point to address some issues. Right now there are a couple of fasteners that are getting shot with PB Blaster a couple of times a day in hope that I don't need to cut things apart. It's not lookinging good. 
Success! Kind of.
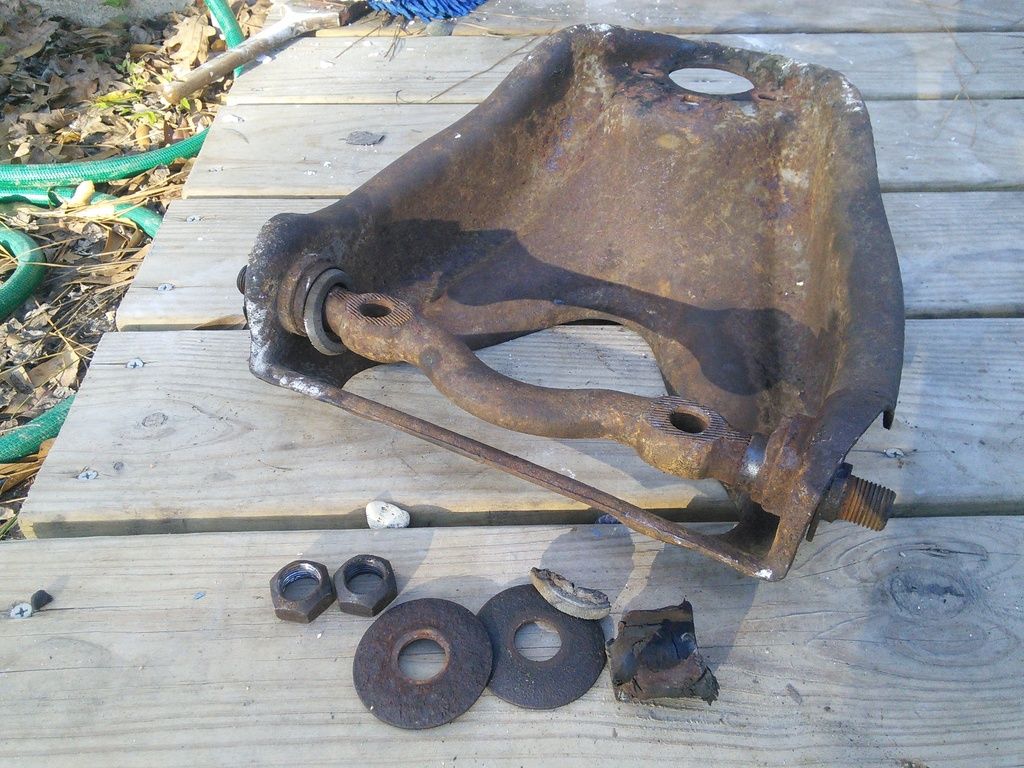 After the last post I went out and was finally able to get the second of the two nuts off the central pivot rod thingy. In theory the rod now comes out and I can work on getting the old frozen bushing sleeves out. In reality the bushing sleeves are just big enough that I can't get the bumps in the rod past them. I think I can get one side out with a bit of work. Hopefully. Glad this is a back burner project.
That was much easier than I thought it would be. Two empty arms. 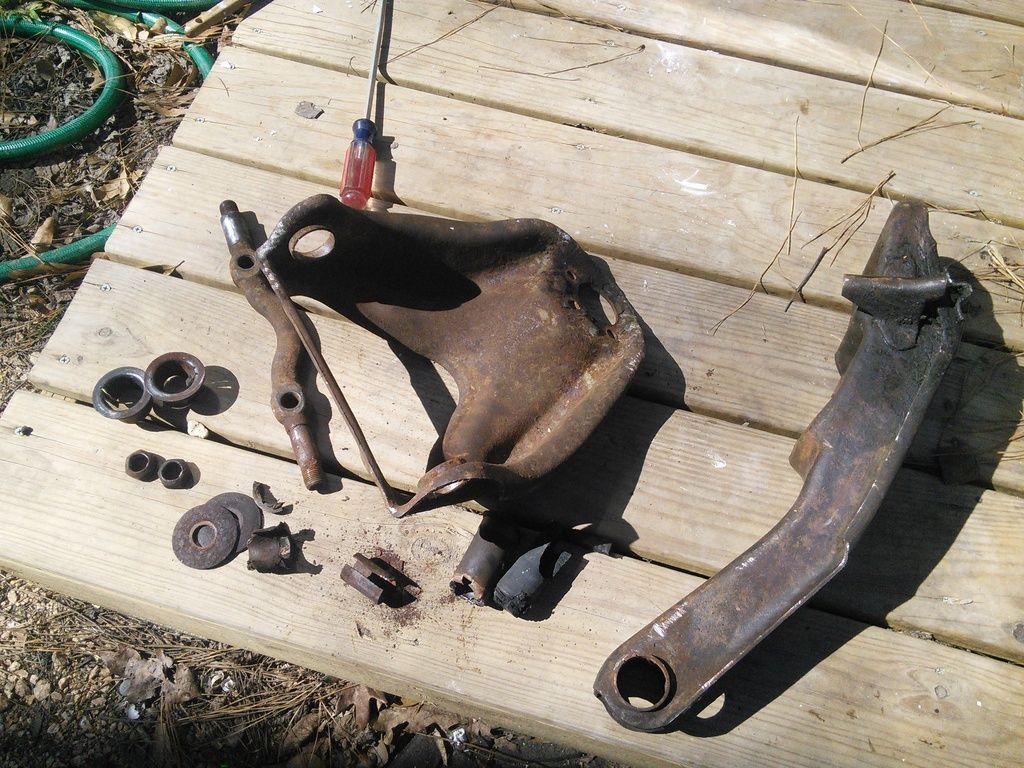 All of this steel is among the softest metals I've ever dealt with.
Nice to see it getting some attention again..

NOHOME
PowerDork
10/1/16 5:25 p.m.
When life hands you lemons, I highly recommend the Lemon Drop Martini.
I really want to see Fergus move under his own power again. Even more so than the Panzer.

The upside to being a borderline insomniac because the van is broken is that I can use those extra hours in the very early morning to get some work done.
All the bushings pressed in (only three, but still) ball joints installed, arms installed, entirely too long spring put back in after experimenting far too much with the spring compressors, upright back on and backing plate in place.
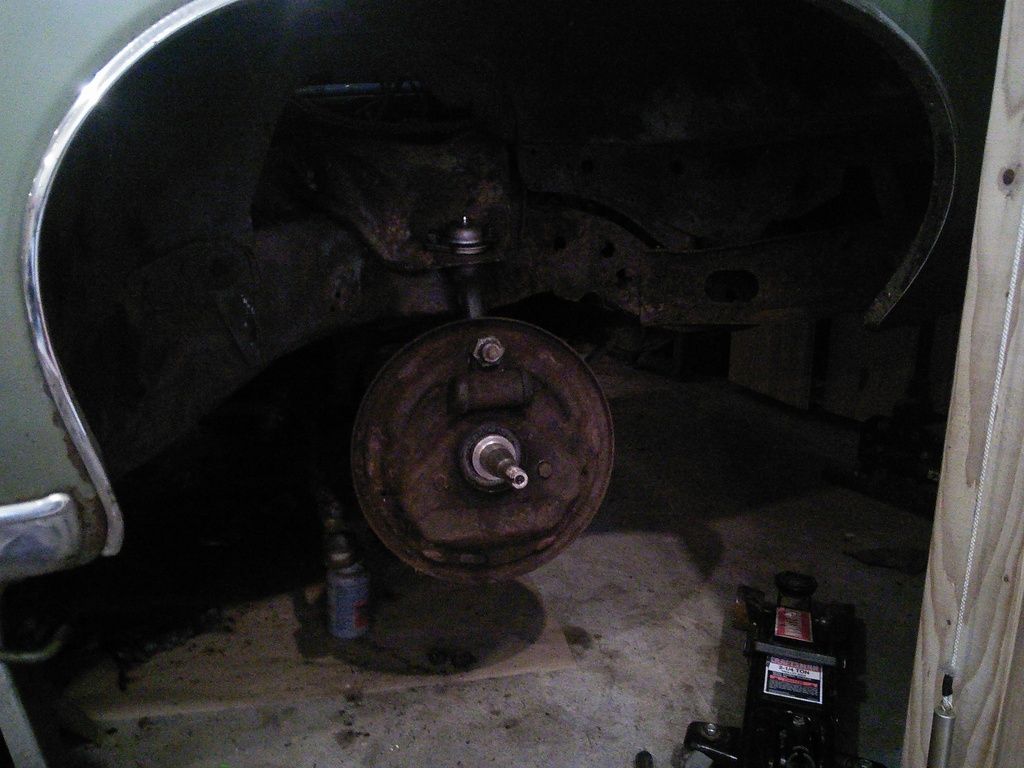 Now who wants to teach me to make brake lines? This is 1968 tech, it can't be hard, can it?
It's pretty simple really. Just get a quality double flare tool. I love my hydraulic one, but that's a problem tool at a pro price.
Also, nicopp for the lines, probably 3/16.
Dusterbd13 wrote:
It's pretty simple really. Just get a quality double flare tool. I love my hydraulic one, but that's a problem tool at a pro price.
Also, nicopp for the lines, probably 3/16.
I assume lines are measured OD? Is there a good source for fittings and line or just head down to the parts counter with a list and bug them?

Ian F
MegaDork
10/2/16 9:22 a.m.
Making your own flares is one way - and generally required if the end fittings are non-standard. The easy-button (assuming the fittings are standard) is to measure out the total length of the original lines, get pre-made straight lengths from your FLAPS, then bend to match.
If you plan to remake the lines with stainless steel, you will likely need a hydraulic flare tool.
The really easy button is to buy pre-made & pre-bent stainless lines from a place like Classic Tube.
Piece of brake line and a cutting/bending/flaring kit.
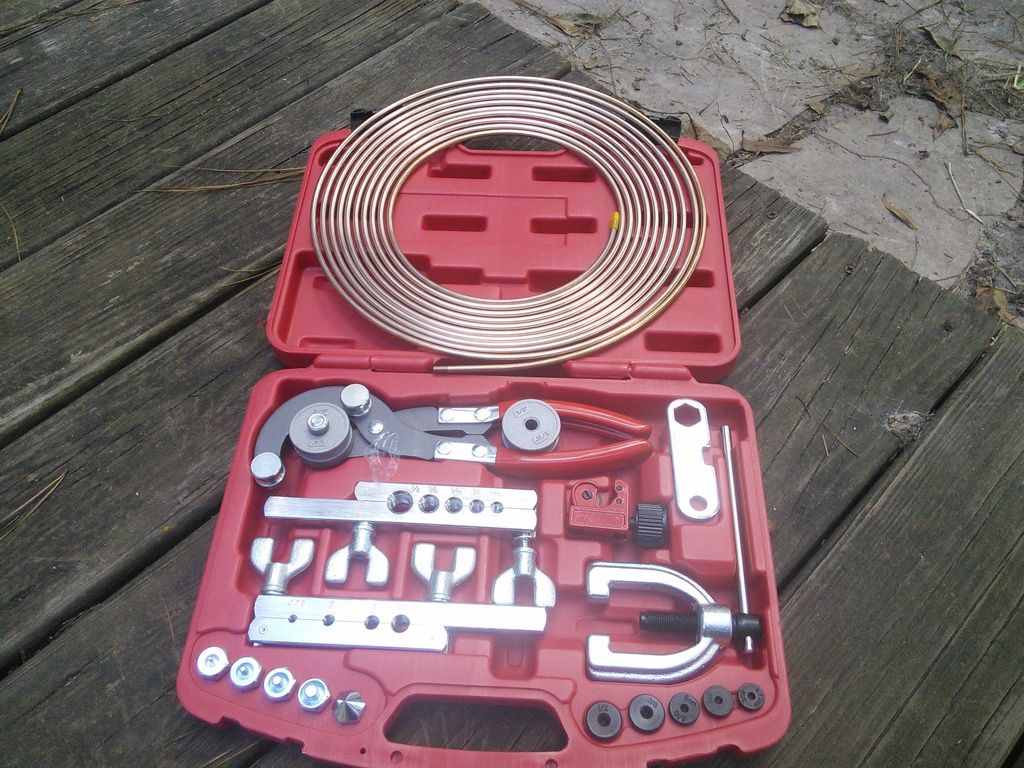 I'm going to make LOTS of practice flares. Lots.
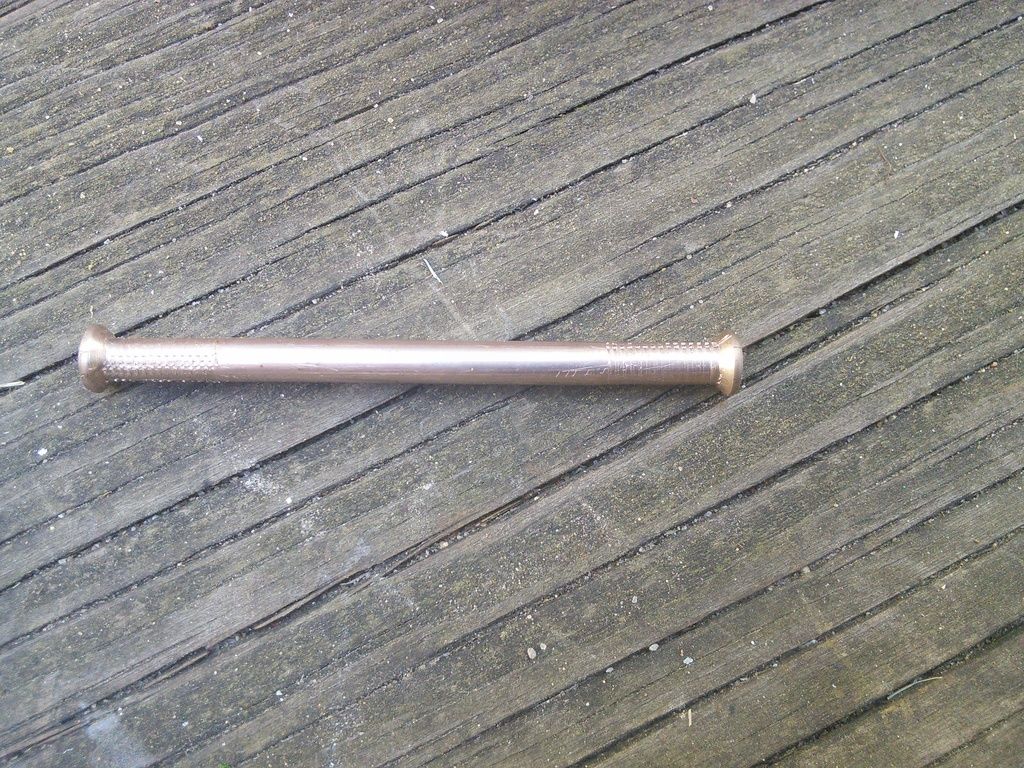
You should probably put flare nuts on your practice pieces just to make a habit of it.
The flare nuts haven't come yet. It was actually cheaper to buy this stuff through Amazon with free prime shipping than locally. Amazon even has some stuff cheaper than Rock Auto. Buying car parts is getting weird.
I'm getting better, though convincing the camera to focus on the tube is about impossible.
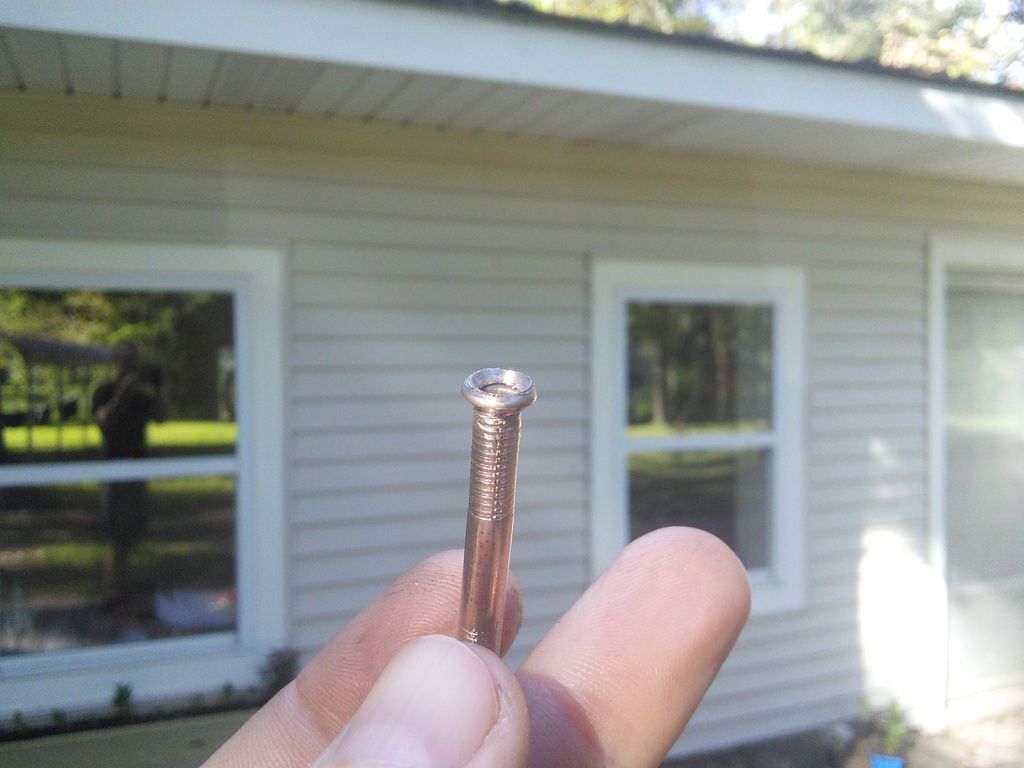 I wonder if I need to mash it a little harder with the flare die?
 2. I want to clean up and paint the suspension pieces I took off as well as the nearby frame. I'm not looking for a permanent solution, but something to just hold time still for a couple of years until I separate the frame from the body and blast and paint the whole lot. Just clean it up, brush some enamel on and call it good?


 Then I started to clean the outside. As long as I get my day's drywall done, I'm free to tinker.
 Some parts soaking in PB Blaster, others on the way from Rockauto.

 After the last post I went out and was finally able to get the second of the two nuts off the central pivot rod thingy. In theory the rod now comes out and I can work on getting the old frozen bushing sleeves out. In reality the bushing sleeves are just big enough that I can't get the bumps in the rod past them. I think I can get one side out with a bit of work. Hopefully. Glad this is a back burner project.
 All of this steel is among the softest metals I've ever dealt with.
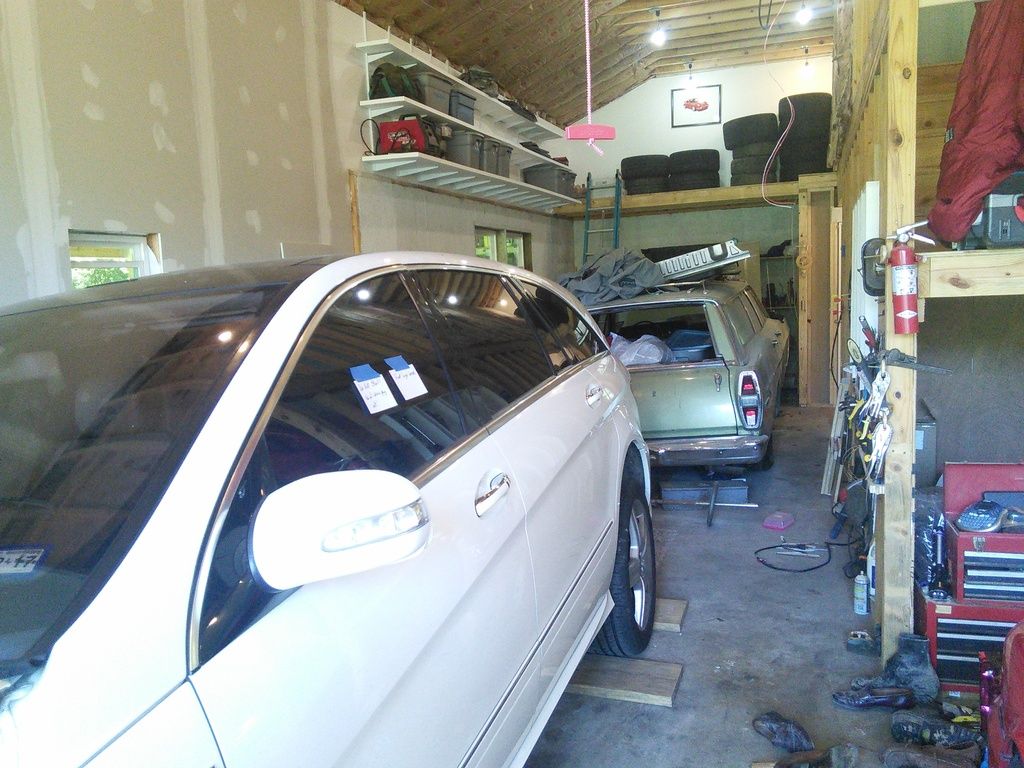 The R63 had a catastrophic head bolt failure. There is a significant chance that I'll need to pull the motor out the bottom in the near future. Except I don't have a lift. I have permission to buy one if I need one. Except Fergus is in the way, and is currently missing half of his front suspension.
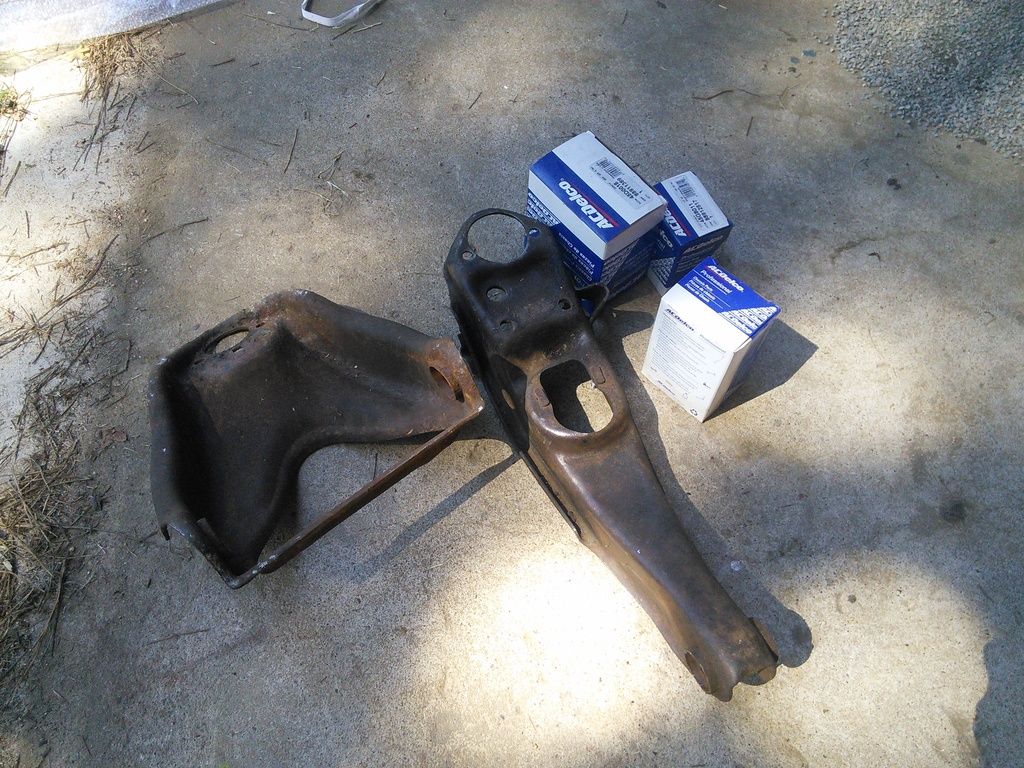
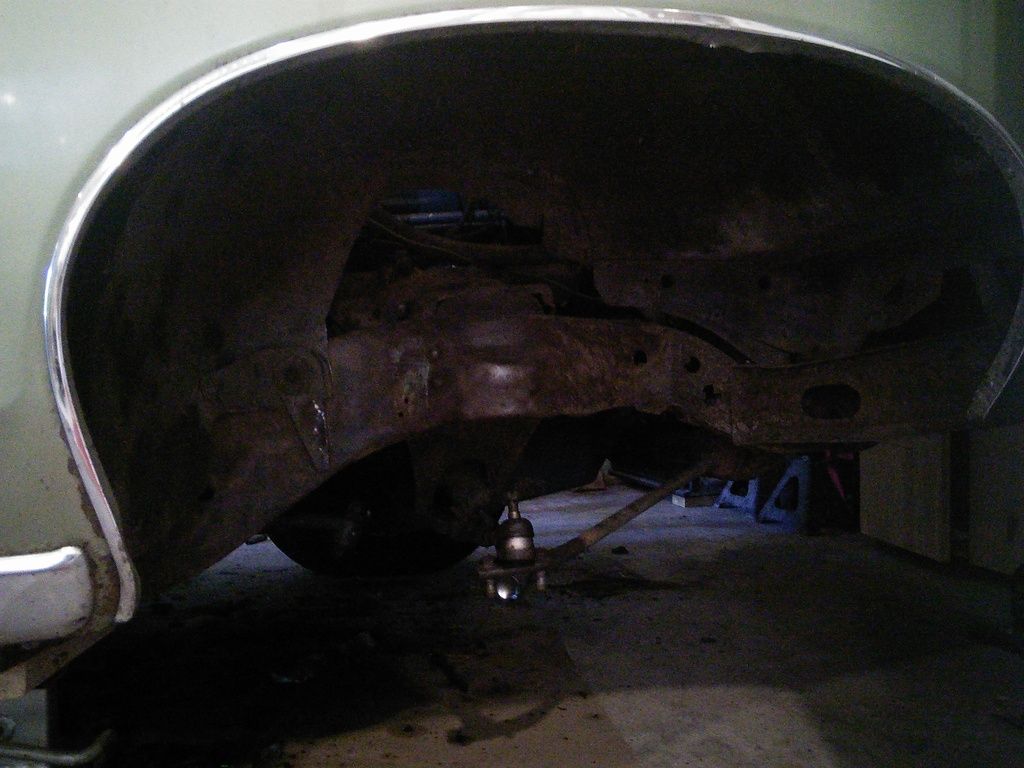 I do have the bare arms and these boxes of bushings that I've had for....a year? A long time anyway.
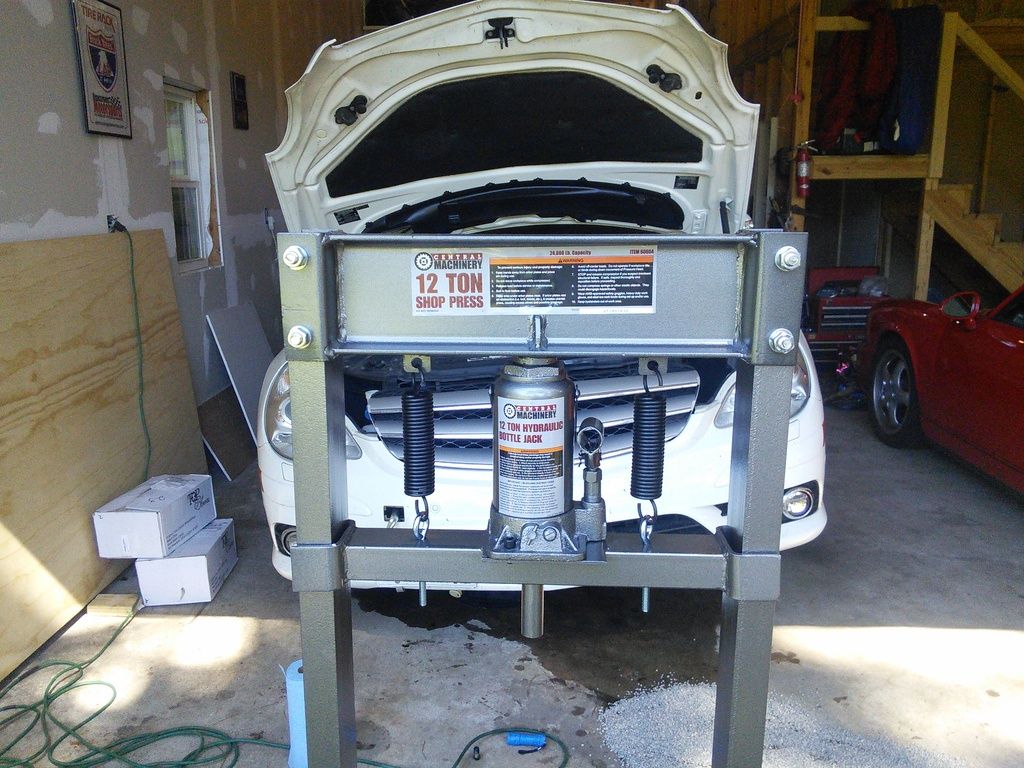
 I decided to take Mrs. Deuce on a date to harbor freight to pick up this.
 And the first bushing pressed right in. Easy peasy.
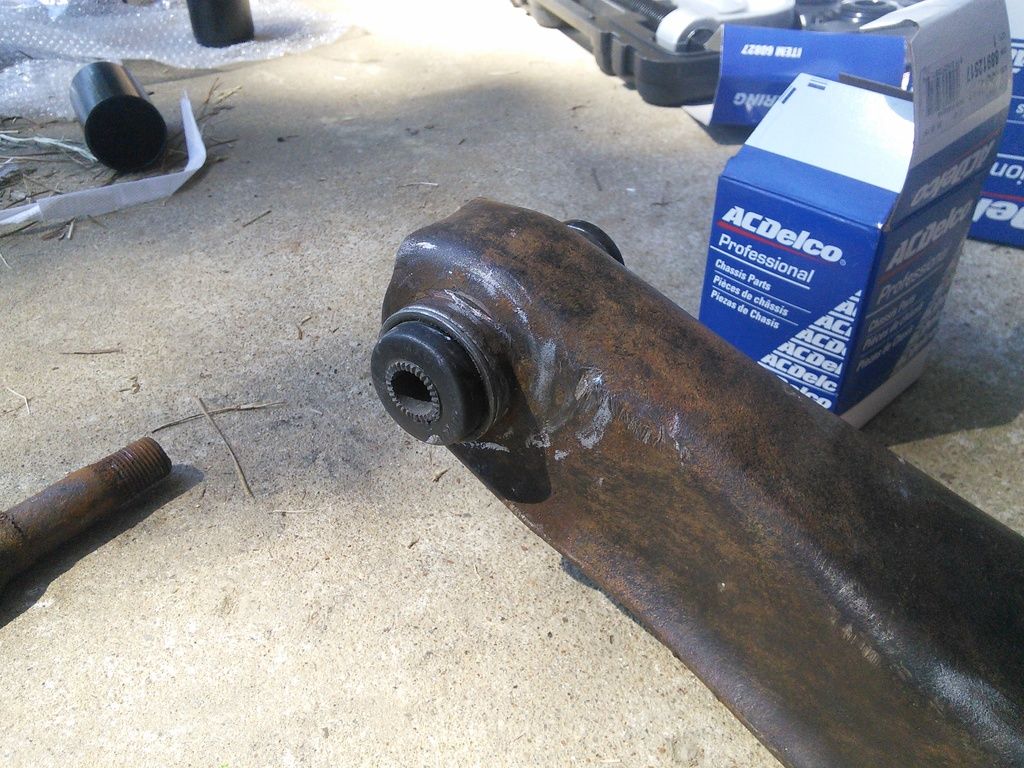 Time to get this together so it can move if need be. Who knows, maybe I'll even get it driving?


 Now who wants to teach me to make brake lines? This is 1968 tech, it can't be hard, can it?
 I'm going to make LOTS of practice flares. Lots.

 I wonder if I need to mash it a little harder with the flare die?


