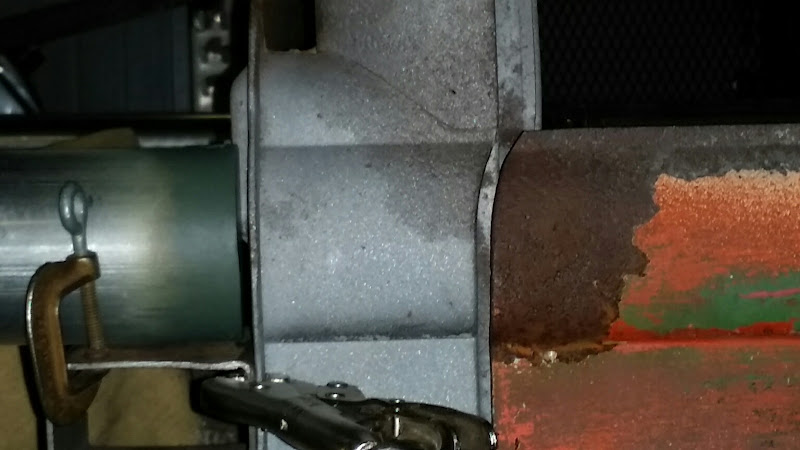
Adapted shocks to the Speedway front suspension. The tubing is only a temporary brace. One more punched brace will be added.


Adapted shocks to the Speedway front suspension. The tubing is only a temporary brace. One more punched brace will be added.


TeamEvil wrote: Ever think of using the stock bus headlamps in the upright position as they are on the Beetles of that year. Fabricate bucket to fit them in and maybe keep a bit of the original look/heritage? More work for sure, but with a nice taper/more rounded cone shape to the bucket, could be sweet. Just askin . . . barely worth mentioning.
The seed that you planted has started to grow. I was thinking about your idea and tried to figure out some way to use the old lights and still meet the min. height requirement. I used the old headlight buckets and tried using them like street rod lights. I positioned them every way I could think of and came up with two that might work. In the first two photos, the lights will turn with the wheels and the last photo they are stationary. They kind of take away from the sinister look, but I still may go that way. Thanks for the suggestion!


They do take away some of the sinister, but more than replace that with charm, heritage, and cool.
Worth a try, anyway. Folks will love you for the follow-through . . .
TeamEvil wrote: They do take away some of the sinister, but more than replace that with charm, heritage, and cool. Worth a try, anyway. Folks will love you for the follow-through . . .
java230 wrote: I like option 2!
bgkast wrote: 2nd vote for option 2
Well I split the difference. Earlier today, I mounted one. It moves with the steering, but I positioned it a bit more inboard. Thanks for the feedback!


I went ahead and mounted the second headlight, though I am not completely sold on them. Still looking at other options. Added the bracing to the shock tower and removed the temporary bracing, but still need to finish welding and smooth. Also, trimmed of the bottom of the door to the desired level and started on a template for a rocker panel.


Since moving the Single Cab steering column forward, the stock steering wheel no longer fits. I have been looking for, but not finding a suitable wheel. I recalled seeing a simple wheel in a Peel or Citroen, so I made one today with a similar look. It is very strong and should hold up well. It is mounted on a quick release coupling. Still need to smooth some of the welds and powder coat. it.


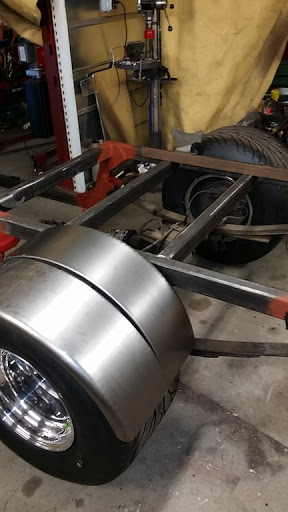
Started framing a bed today. The 3" tubing that is used as the top rail, closely replicates the body line on the cab.


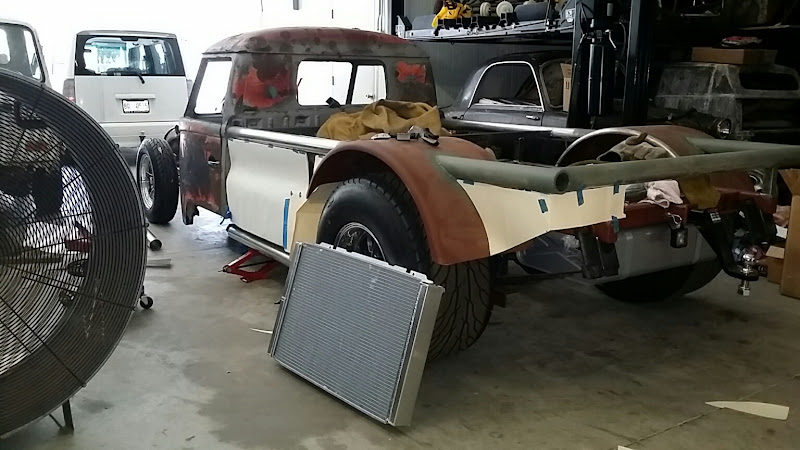
Todays progress. The main structure of the bed is finished and welded in. I mocked up one of the four rear fenders (2 per side to cover the wide tire) to mark the upper bed rail for cutting as the fender fully penetrates the rail.


Made 2 wide fenders from 4 narrow ones. Lined up each pair, back to back, and clamped them together. Tack welded the inner seams and then fully welded the outside. To remove the sharp edge on the inside of the fenders, I used a reciprocating saw with a long blade to then cut out the inner seam, ground smooth and weld inside edges together.


How did you transfer the arc of the fender to the tube? Veeeeerrrrrryyyyyy carefully or do you have a system?
NOHOME wrote: How did you transfer the arc of the fender to the tube? Veeeeerrrrrryyyyyy carefully or do you have a system?
Prior to welding the narrow fenders together, I placed one on top of the tire and used wood blocks between the tire and fender to hold it in place alongside the tube. Wrapped a manilla file folder around the tube and taped it to itself so that I could slide it back and forth along the tube. Then I laid a 12" ruler on the top of the fender and slid it along the manila folder on the tube with a marker held at the point that the ruler was touching the folder. After I traced the line on the folder, I took it off the tube and cut along the line. Then folded it in half and cut the other side out, then put the folder back on the tube, traced the line all the way around and cut the tube with a sazall. If this doesn't make any sense, I can post some photos.
Started making paper templates for the bed sides. Welded in one lower bed rocker which incorporates the lower radiator mount.


The back of the headlight buckets need something. The angle on the front looks a bit weird without something long going off the back. They need to be more like torpedoes than balls if that makes sense.
Other than that, keep on, it's awesome.
Not to intrude again, but it might make for a neat continuation of the theme were you to include the rear engine vents from a split window VW Type II on the side bed sheetmetal.
http://www.thesamba.com/vw/classifieds/detail.php?id=1821963
Help cool the engine just a smidge and certainly reference what the factory did with the rear most flank of the Type II.
Subtle, but a nice tip of the hat . . .
TeamEvil wrote: Not to intrude again, but it might make for a neat continuation of the theme were you to include the rear engine vents from a split window VW Type II on the side bed sheetmetal. http://www.thesamba.com/vw/classifieds/detail.php?id=1821963 Help cool the engine just a smidge and certainly reference what the factory did with the rear most flank of the Type II. Subtle, but a nice tip of the hat . . .
Excellent idea. I was planning to louver (small ones) the side for the radiator, but I like your idea better.
Todays progress.
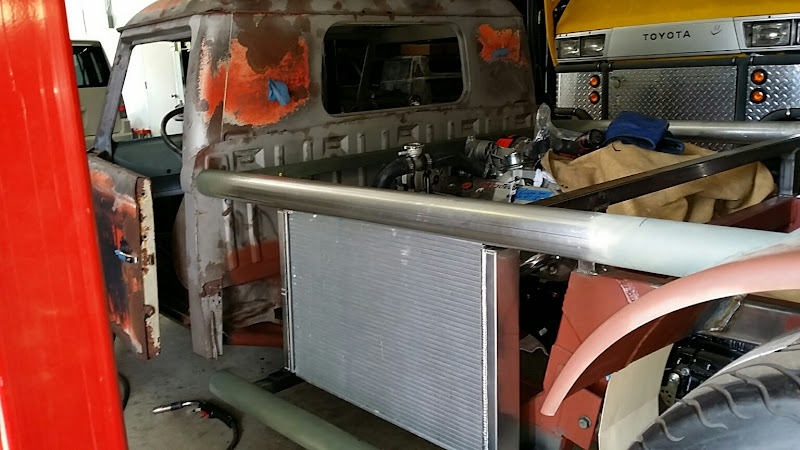
Installed the radiator today with a fabricated upper brace. Went to the parts store and left with a box of radiator hoses that I thought might work. Only had to bend up a piece of 1 3/4" aluminized exhaust tubing to run from the water pump, under the engine and to the lower radiator hose.

These are the isolators that I used. Both came from Summit Racing.


Is the radiator side going to get a scoop?
Had I took time to read I would of known lol
I think it needs something over there.
You'll need to log in to post.