In reply to Mr_Estrotica:
Love the build man. Thanks for taking the time to post up, I am now off to CL looking for yet another project that I probably will never finish ![]()
BBC
In reply to Mr_Estrotica:
Love the build man. Thanks for taking the time to post up, I am now off to CL looking for yet another project that I probably will never finish ![]()
BBC
I'm glad you are enjoying it! I'm having fun, too. Hopefully one day I can have some fun on the road instead of on my back in my squirrel infested garage.
Today I "finished" up my little welding cart. The scrap bin at trabajo was beginning to overflow, so I helped them out a bit. Because of this fact, the design was very limited. I think it will work just dandy, though.
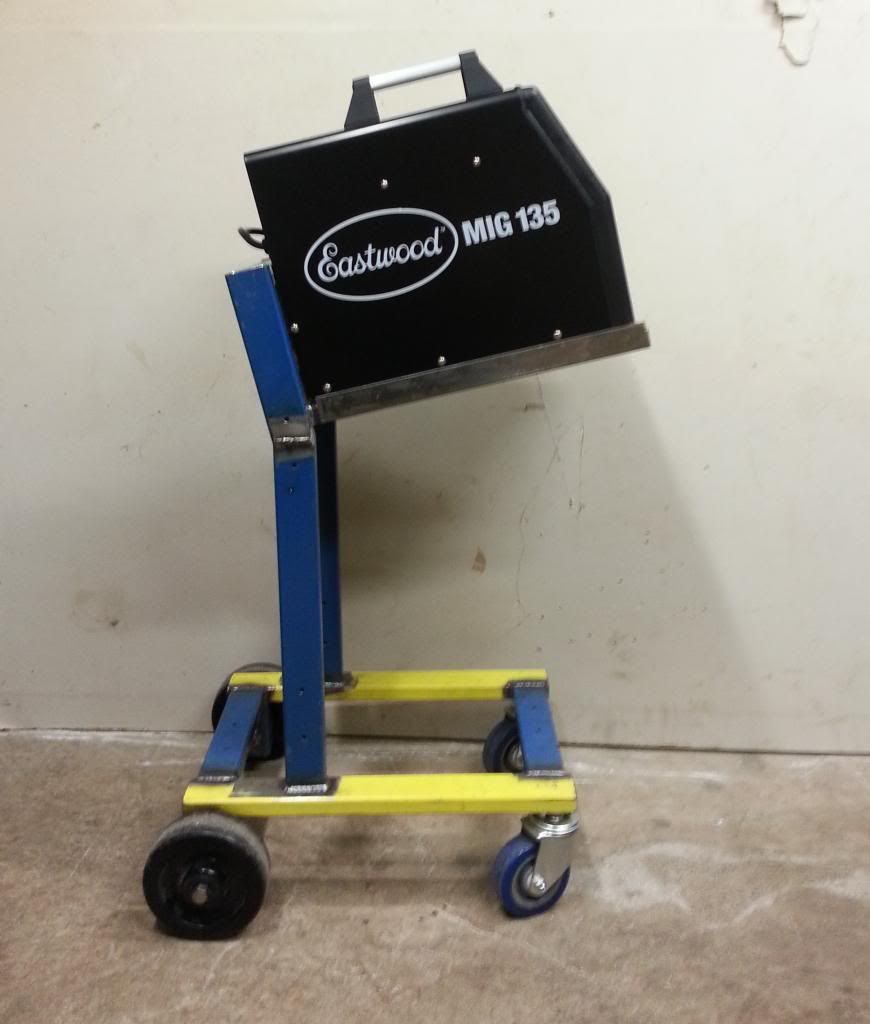
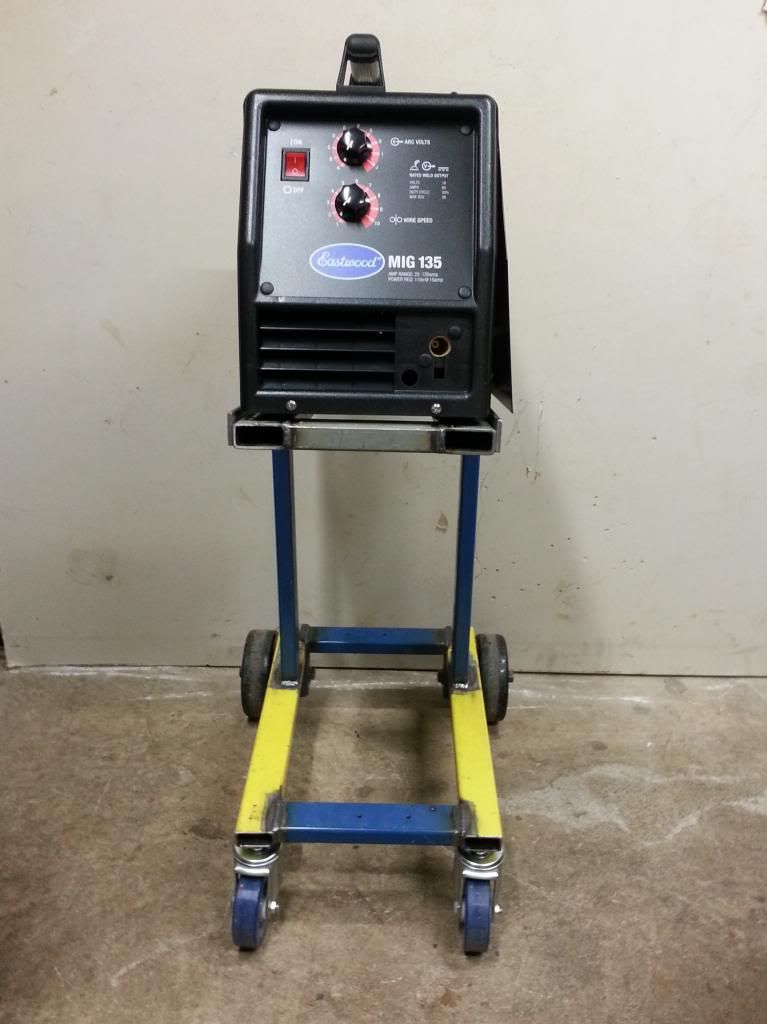
I still need to make provisions for bottle mounting and securing, but I made sure a 40cf cylinder would fit on the backside of it.
Here's a couple of closeups of welds for y'all internet people. Y'all internet people like welds, right?
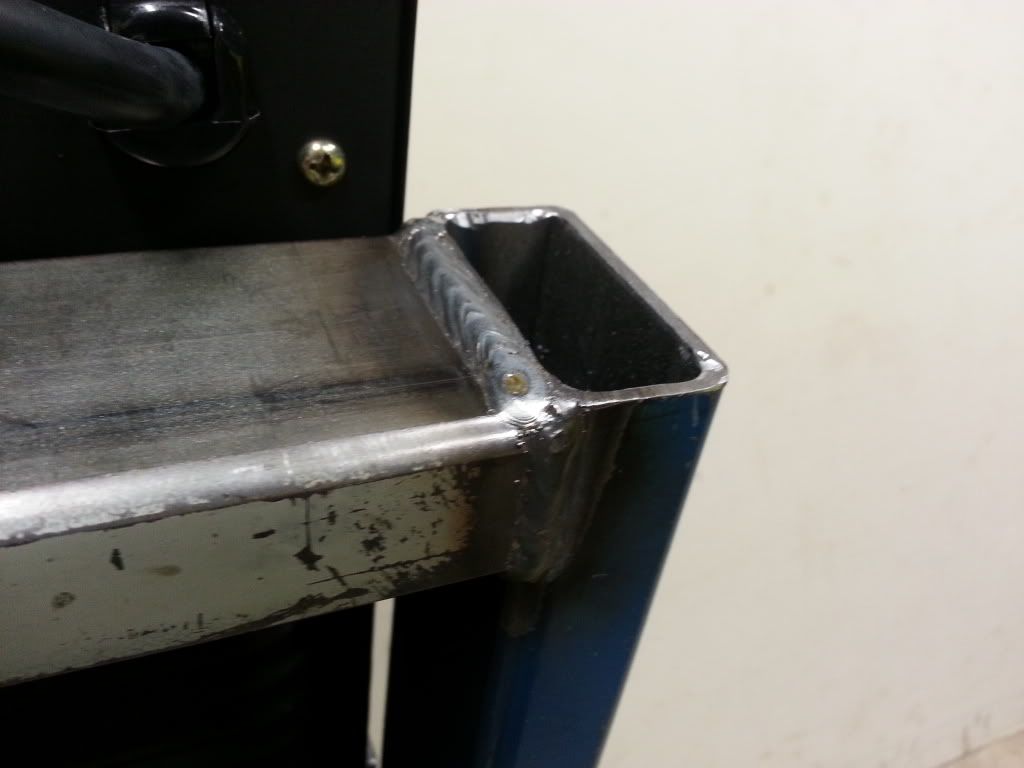
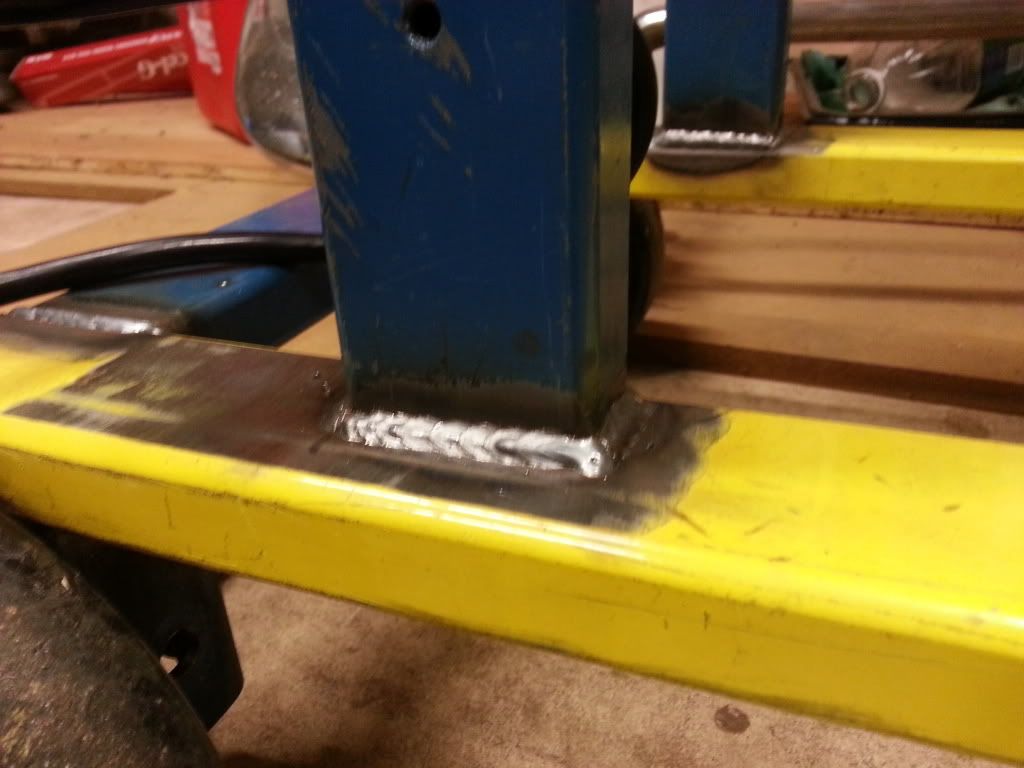
Now I get the fun task of stripping off the powdercoat and paint, deburring/slagging the welds and corners, and tossing some paint at it. I went the extra mile and ordered eight (for a whopping $7.90 shipped) 1x2 end caps to really finish it off.
Also, my new seatbelts from Wesco Performance showed up yesterday. I can finally toss out the disgusting, moldy, half-rotted stockers!
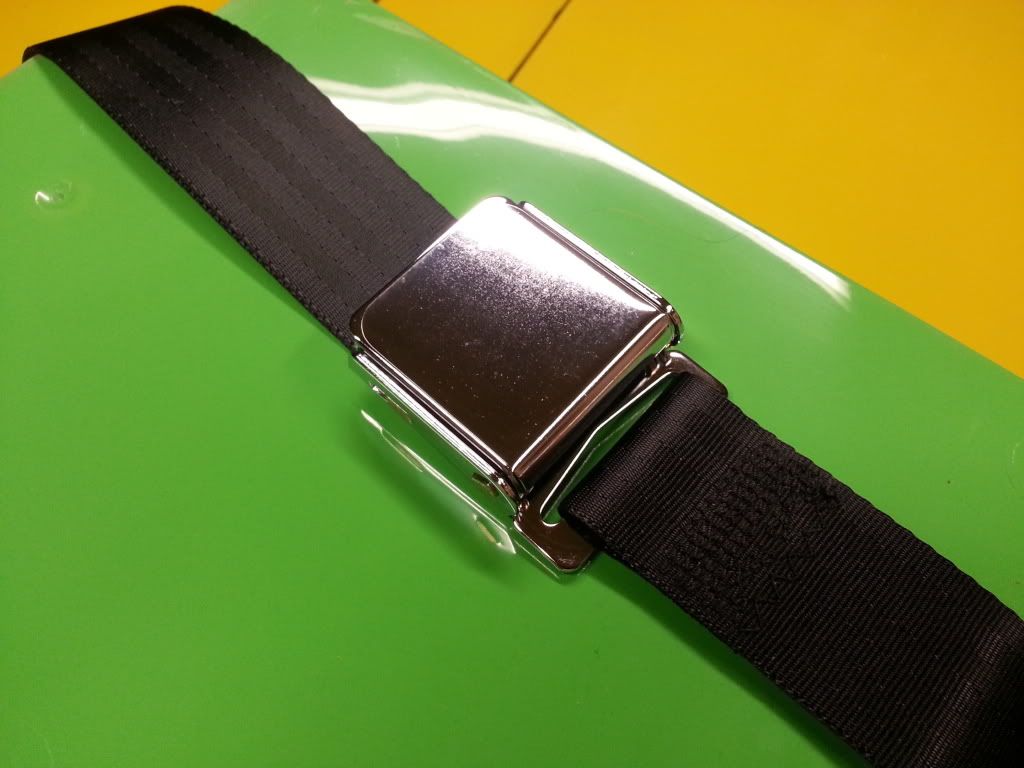
Enjoy.
Life has been getting in the way of progress lately, but I did get to put in some work this weekend.
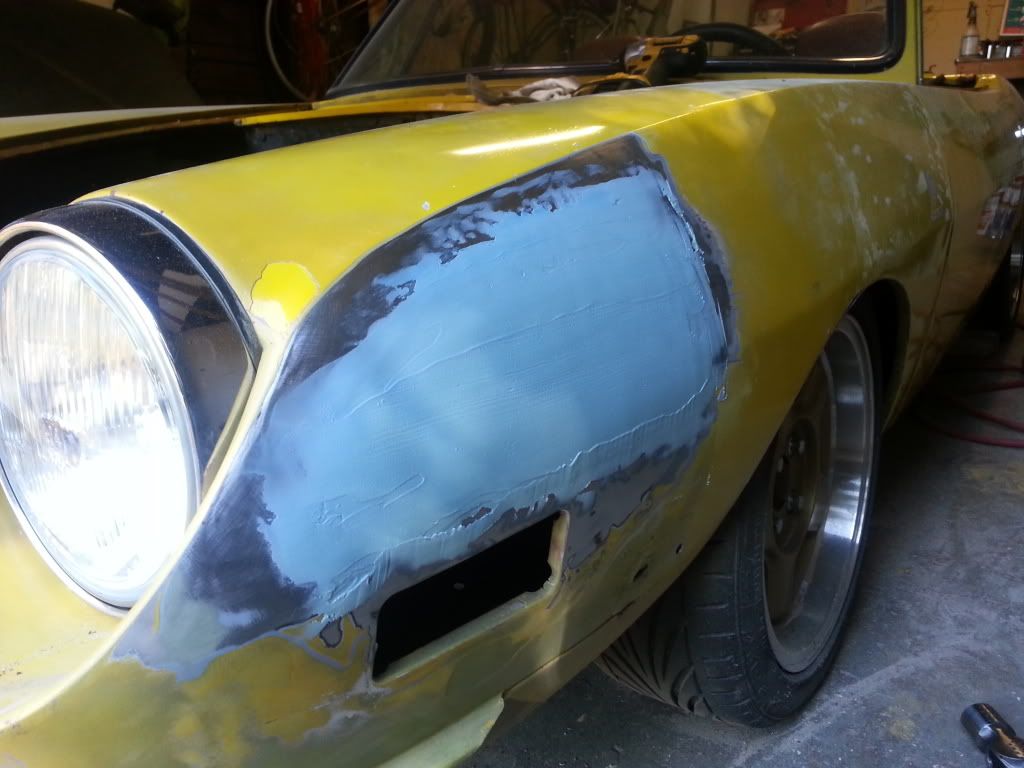
The drivers front fender was pretty mangled; lot's of poorly applied filler (with too little hardener), about 4 distinct layers of paint, and some rust for good measure.
I didn't take any before pictures, but you can get the idea from this:
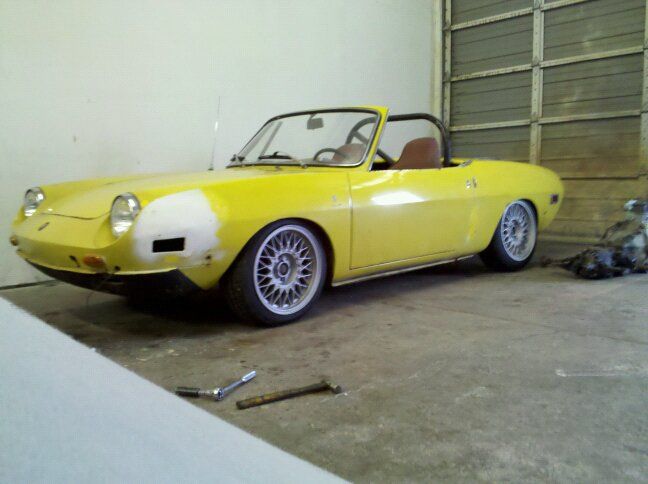
So I set about rectifying this little issue. I figured the car sat out in the weather for over a year with only primer to protect the bondo. Naturally I took it back to bare metal.
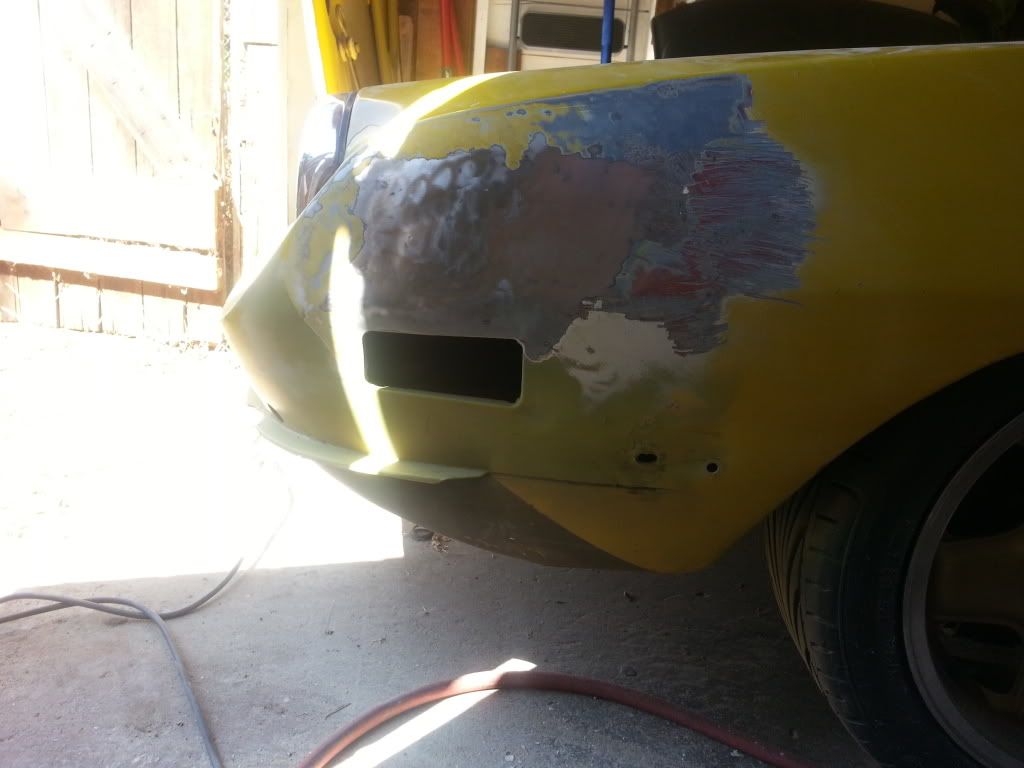
I'm not responsible for any headaches that result from my atomically crappy imagery. I proceeded to go about bashing the fender back into a more reasonable shape with all manner of implements, none of which were originally intended for such a task.
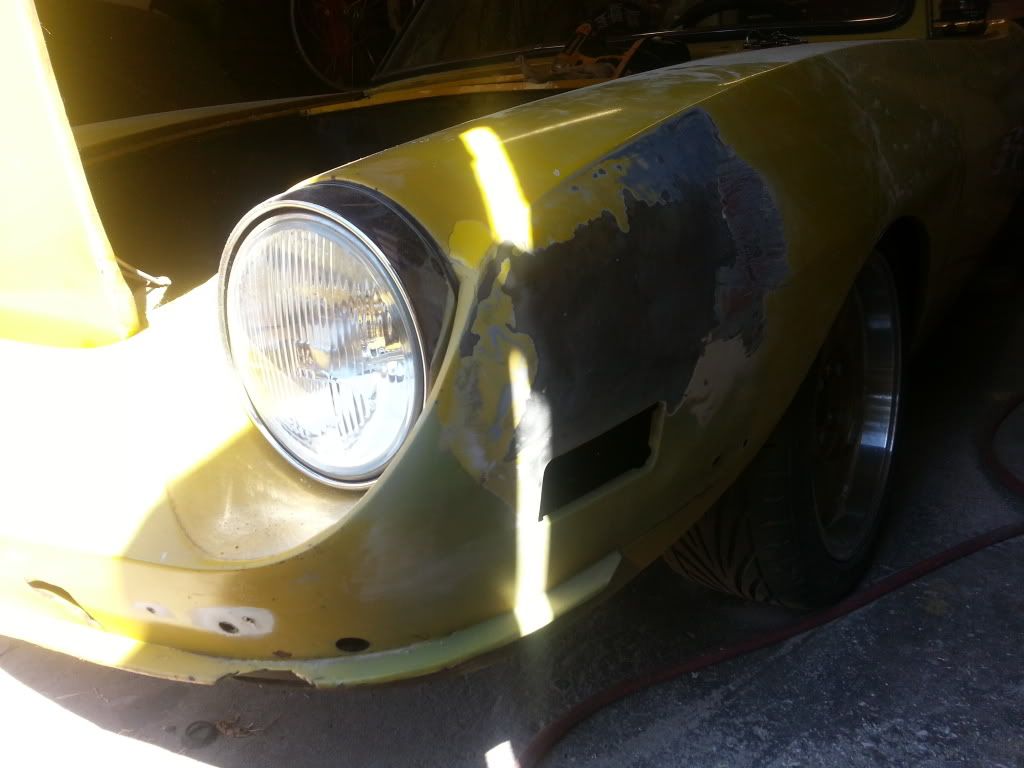
Then, I piled some new Evercoat branded filler on that badboy! Excitement!
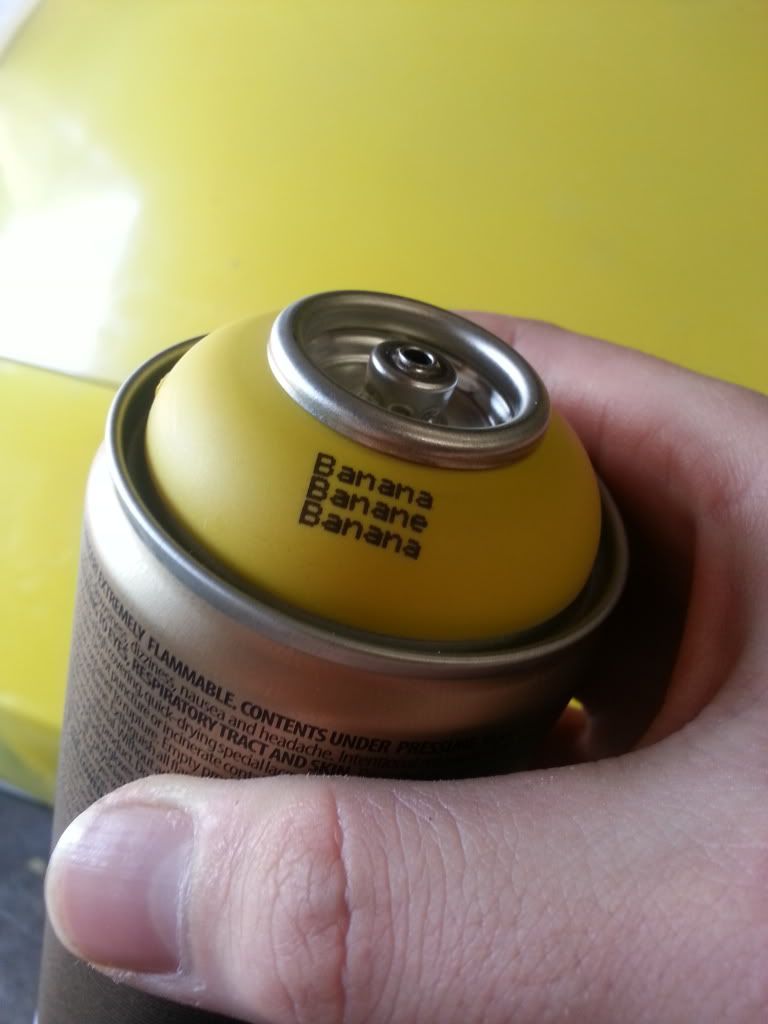
I made a run down to an art supply store in Portland with the cowl in hand, and after being bombarded with strange looks I settled upon "Banana Banane Banana" from the Montana Gold line.
The paint is a matte acrylic, so I had to wetsand it back to a reasonable sheen, then clear over it.
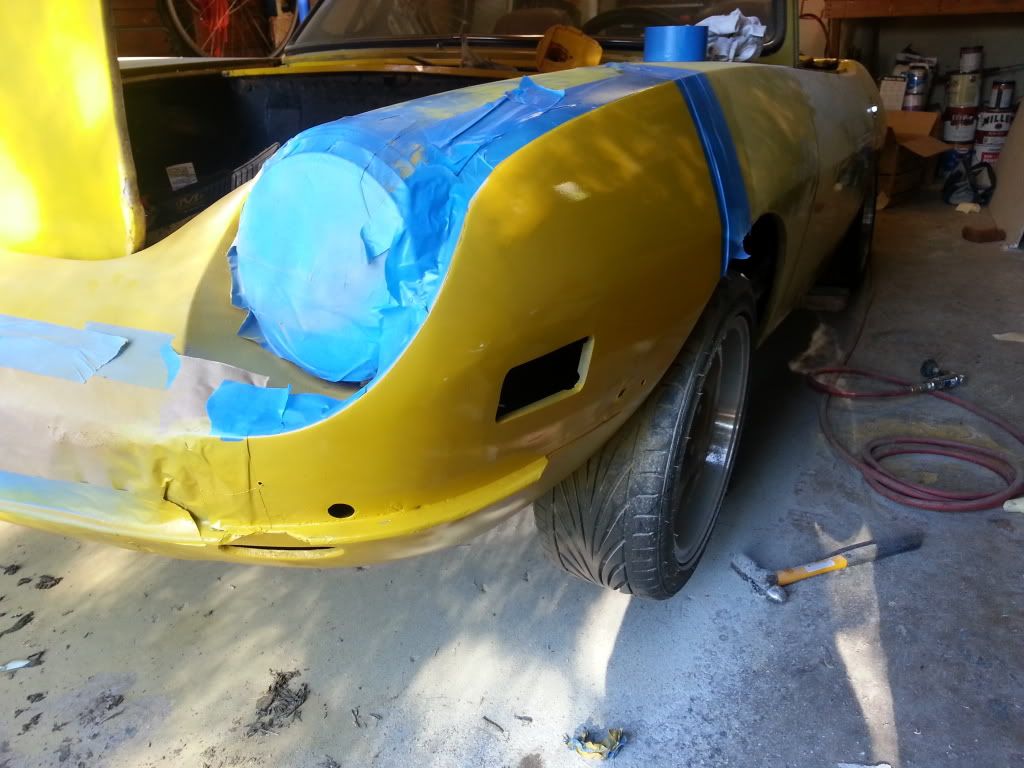
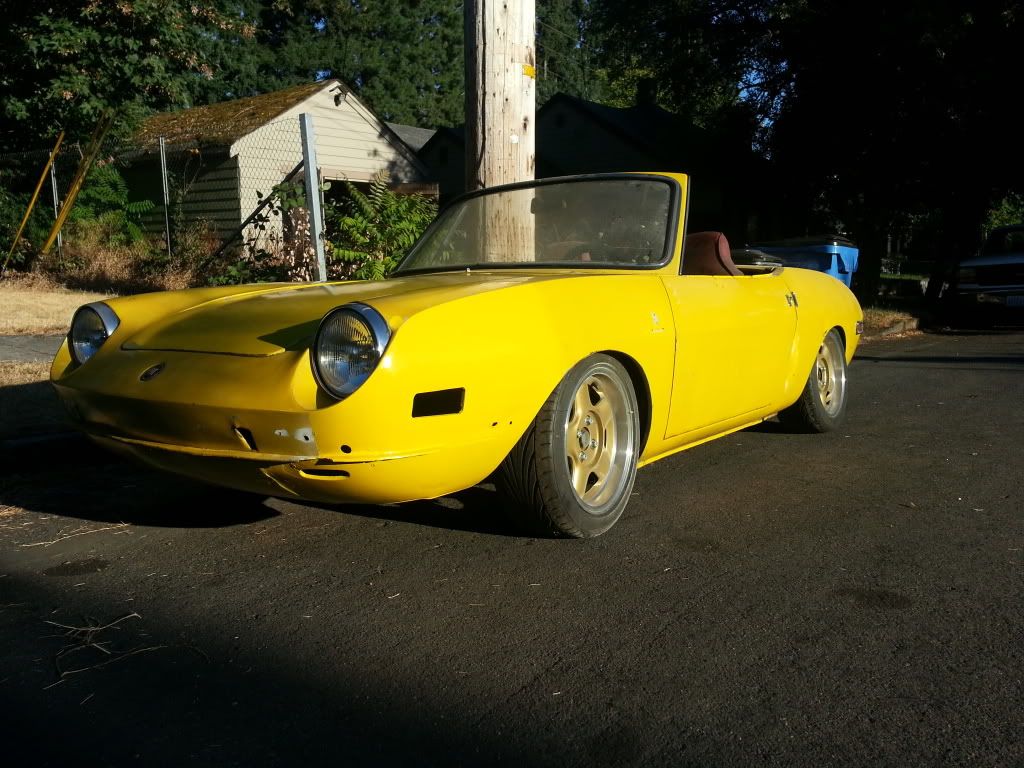
It came ok, I suppose. It's not perfect, but it's a huge improvement.
 I also took the time to strip and spray the front valence. No more "Bearded Supermodel" look for this old gal.
The color doesn't match nearly as well in person as it does in the photos, but it matches better than poorly aged primer!
Enjoy?
Little update.
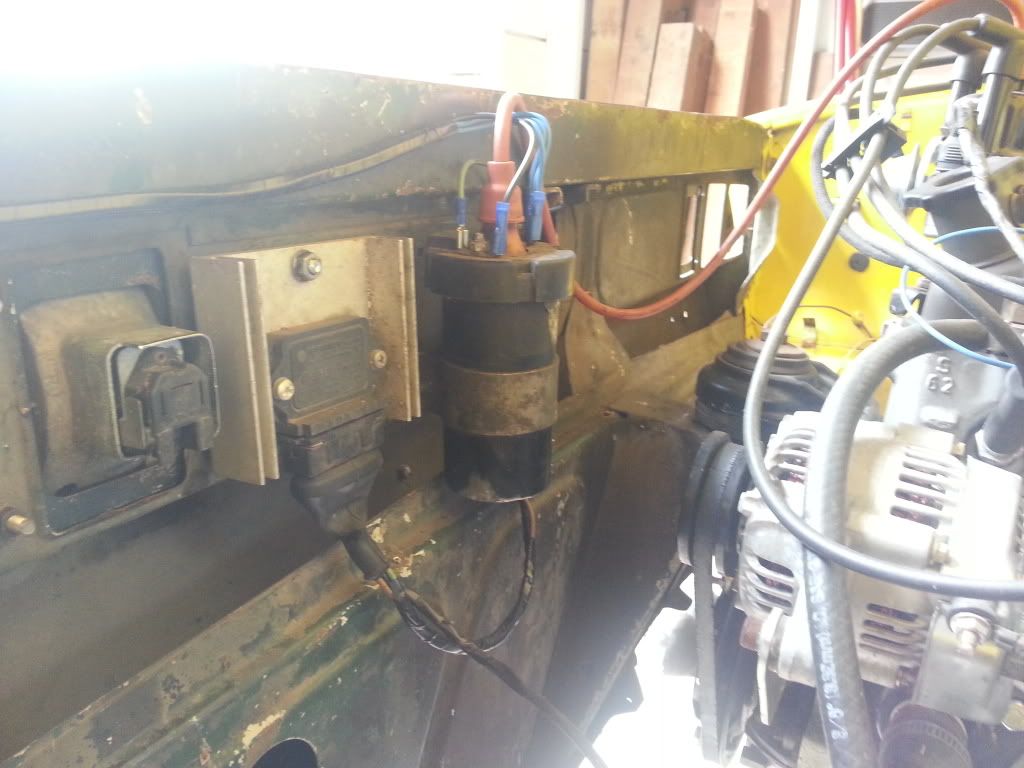
I had the tail lights off for a little wiring cleanup and coil/ignition module relocation project this weekend. While I didn't get any photos of the muy fresco wiring job, I did snap a few shots of the tail light "restoration".
The lights were a little haggard; both halves were held together with Great Stuff. Awesome.
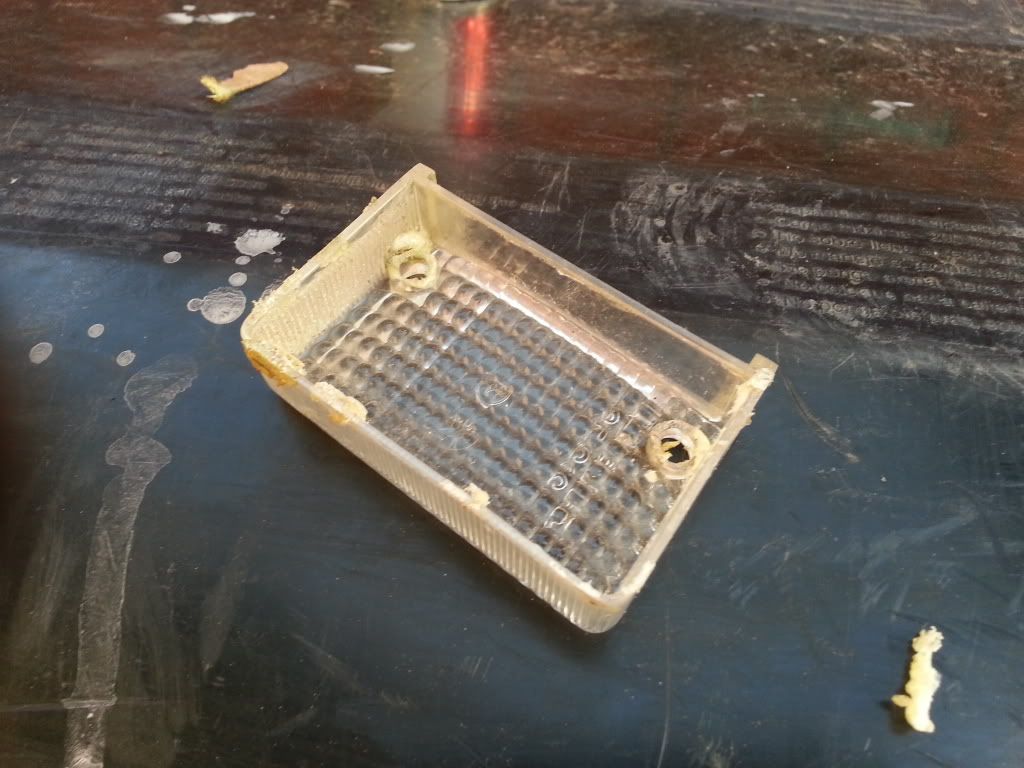 All of the little stanchions were broken off. It's a miracle that none of the pieces had fallen to their doom yet.
No during shots, apparently. The procedure was more or less epoxy stanchions back on, wet sand 800 grit up to 1000 grit, clear coat. The chrome on the bulb holder was peeling and gross to I took the time to clean those up, fill in the pitting with glazing putty, and shoot them in semi-gloss black then clear coat. I know it's kinda taboo to paint vintage brightwork black, but whatever.
Here's a side by side of a before and after:
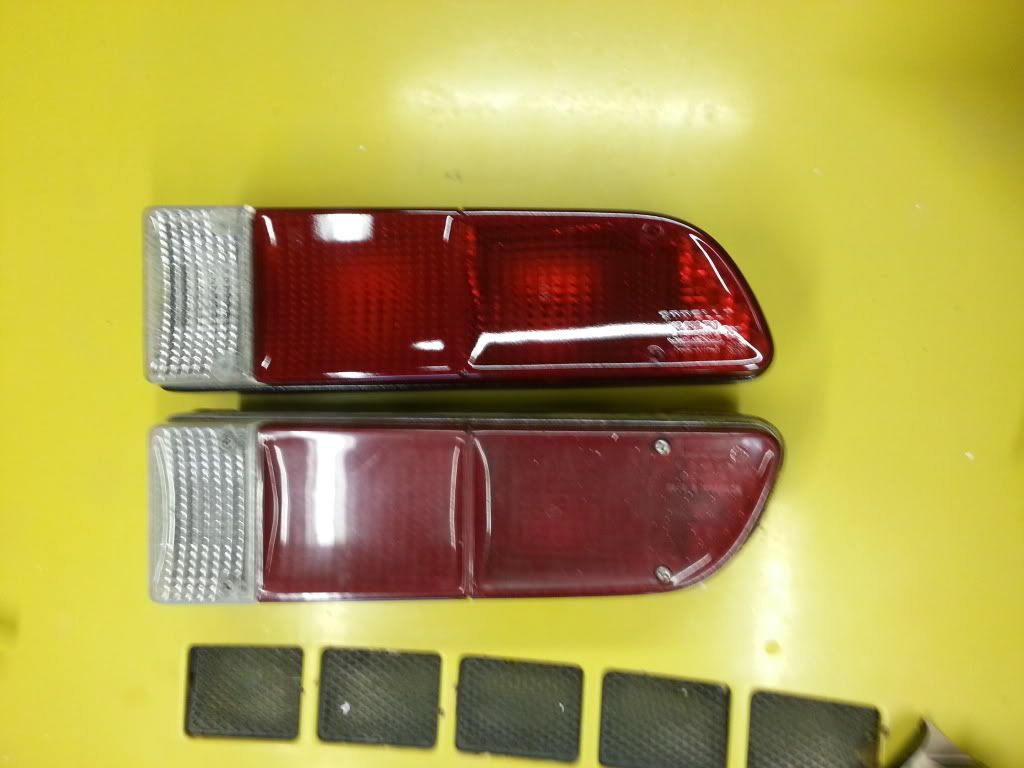
and the finished product out in the "sun".
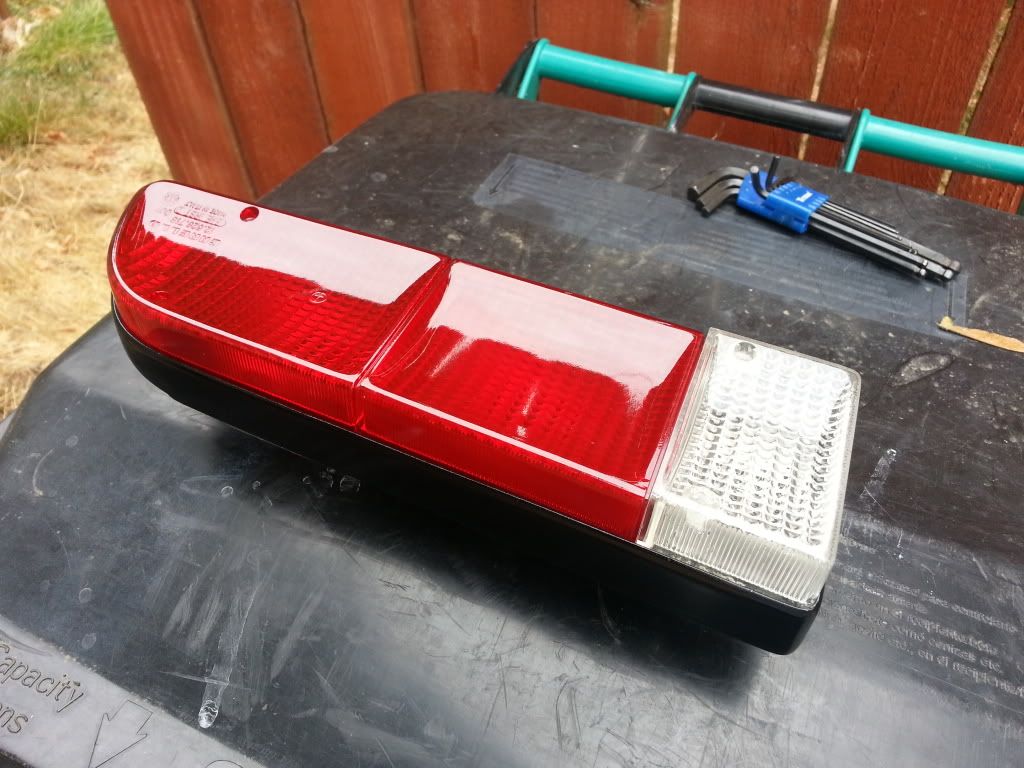
They are by far the nicest part of the car now. Looks like I've got some more work to do.
Hrmmafurgledrmsns. ![]()
There is a gasket or seal that goes between the bulb holder and the lenses that I can't seem to locate at any of the main Fiat parts suppliers (Fiat Plus, Mr. Fiat, Midwest-Bayless, and eBay). Mine are positively rotten. I was really hoping to stray away from a flowable clear RTV sealant.
The gasket itself is maybe 3/16"-1/4" tall and the gully it sits in is probably about 1/8th". Anybody got any wise ideas on a possible solution?
eBay bonus hotlink to show what I'm talking about. The detritus-infused styrofoam looking stuff around the perimeter of the housing.
Probably could have held off from hitting submit for a few more seconds because I've had a stroke of brilliance.

Apparently they make square o-ring cord. Although it appears they don't have rectangular o-ring cord, I'm absolutely positive I can make something like this work.
...and they call me a knuckledragger, HA!
I made it out to the No.Po. Pick N Pull over Labor day weekend to pull some more parts off of the 850 they've got right now. It was a 50% off weekend, so I got a grip of small brackets that I was missing, a front corner marker for the fender I just fixed, a decent 903 head with dual valve springs, and a good passenger side tail light for 50 clams. I think that parts car has lent all of it's useful parts to me now.
I decided that both of the left tail lights I have for the Spider are too far gone, or require more time than I am willing to put into them. I managed to find one with all of it's standoffs intact and relatively crack-free for a reasonable price on the interwebz, ~$25.
The 1/8" O-Ring cord showed up a few days ago; it's going to work out beautifully for an $11 fix. It's a very slight press fit into the recess it's filling. I'm well chuffed about that.
Here's the one tail light that's done, with the freshened up filler plate:
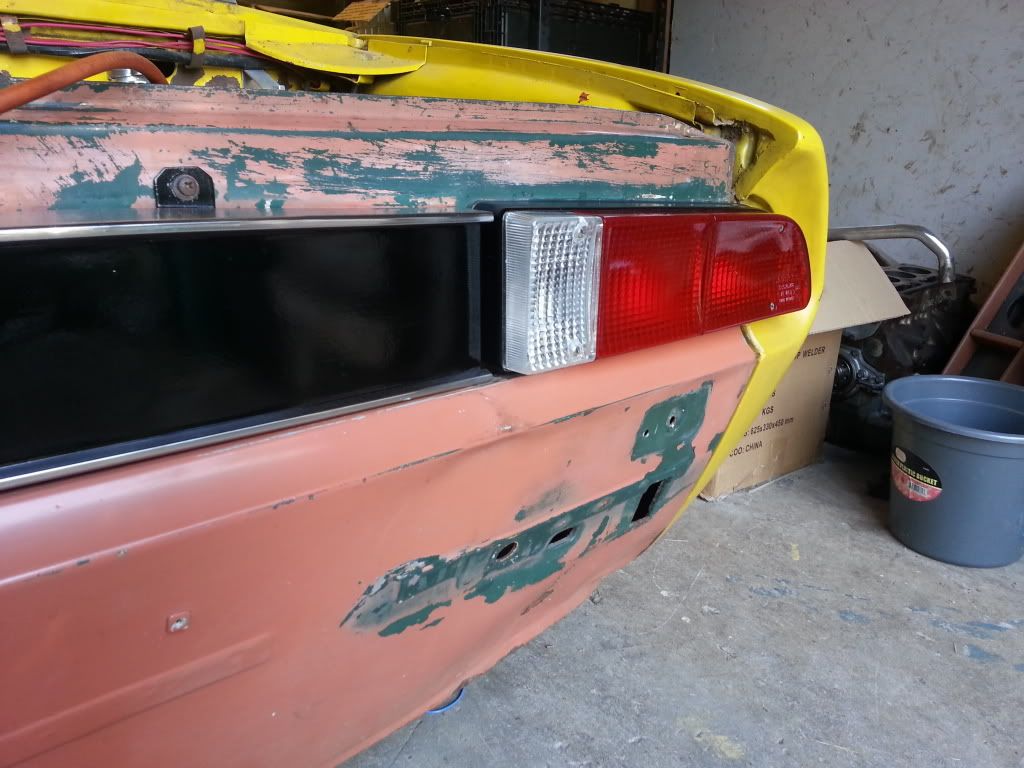
and the relocated coil and Bosch ignition module:
I've been meaning to run down to the Licensing Department for the last couple of weeks, but I have a hell of a time convincing myself to spend any of my free time at Satan's shiny happy person, even if it means I could legally operate my project car for the first time...
Snuck out to the garage for some quality time yesterday. Had a bit of fun with Old Smokey my hand-me-down Dewalt drill.
Let us assess this situation.
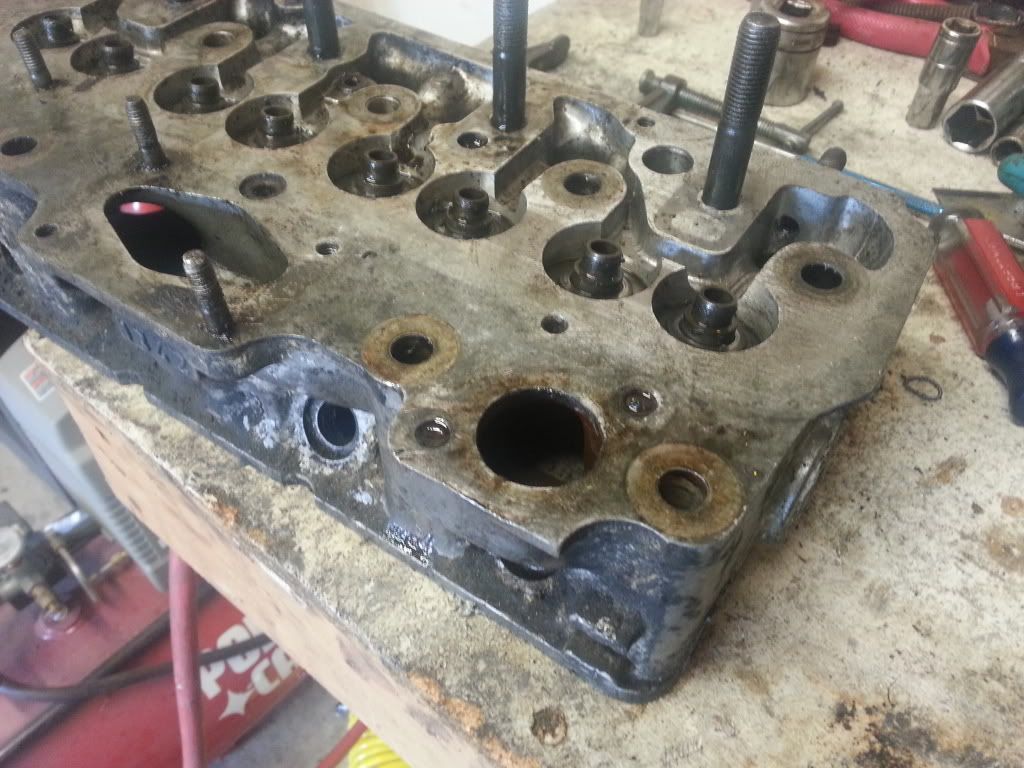 Yes, yes. Victim of an engine fire, check. Looks like it was stored at the bottom of a pond (with my old e30, I assume), check. Broken studs for the waterneck/t-stat housing, check.
I seem to have misplace my propane powered hot-stick, so this will be interesting.
Centered, punched, piloted through and through, then bigificated to 5/32" for a #3 easy-out.
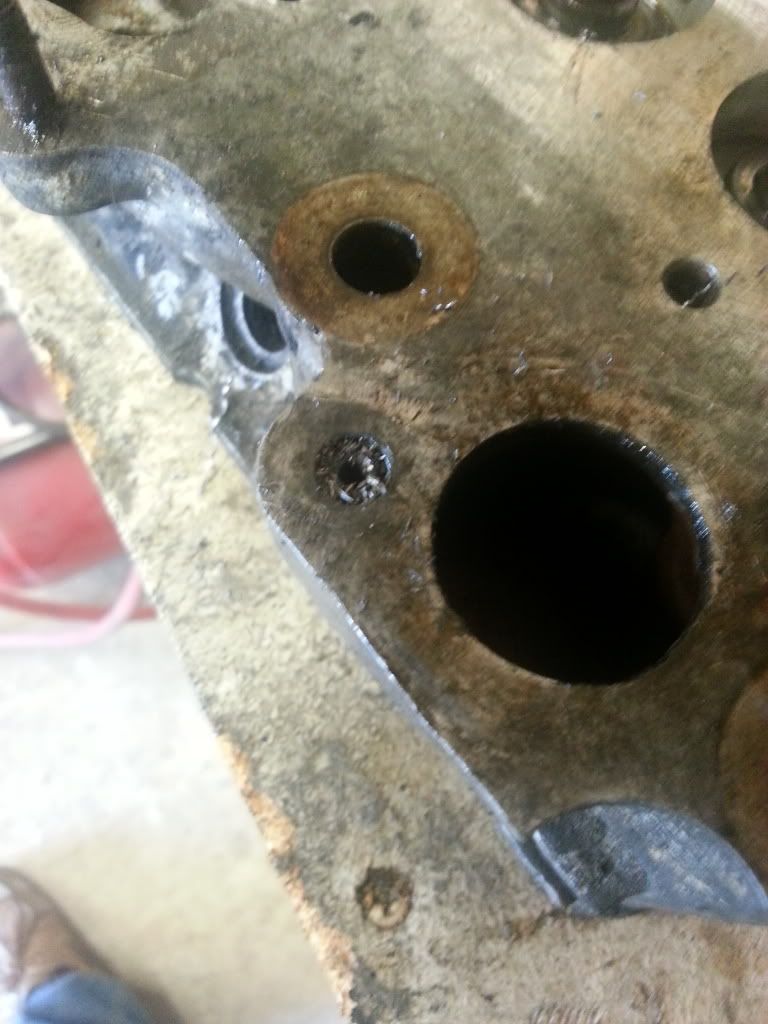
Kroil, smack smack smack. Twist, nope. Kroil, smack smack smack. Twist, nope. Rinse. Repeat.
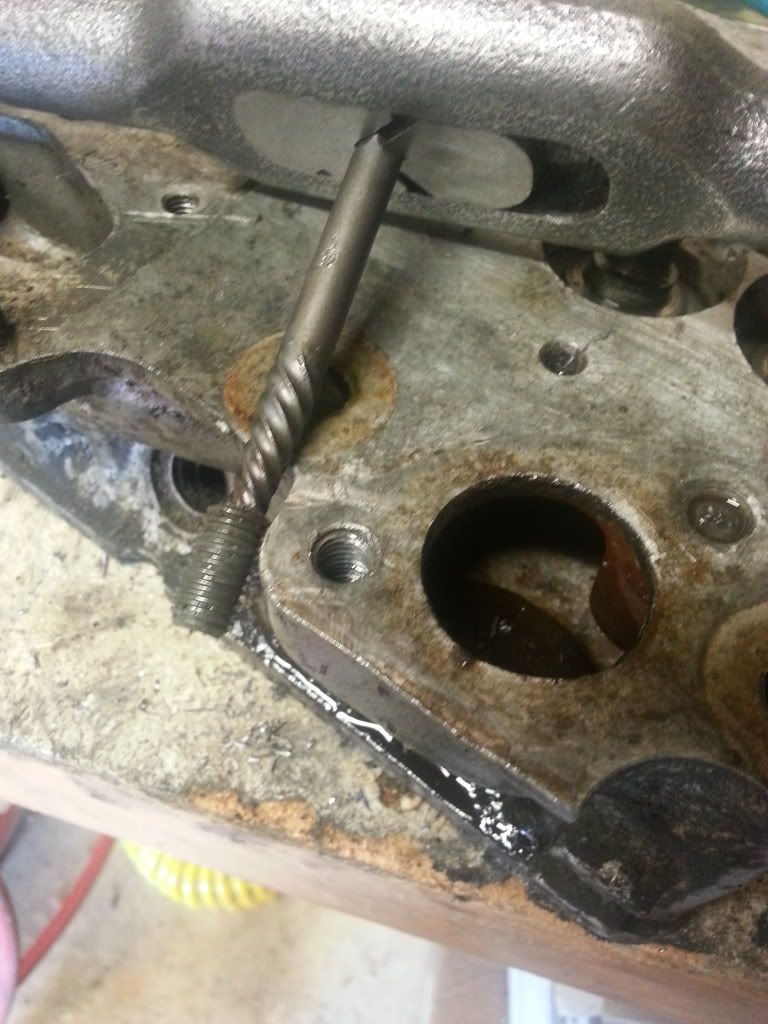 RESULT!
Broken stud #2 was handful. Same steps as before.
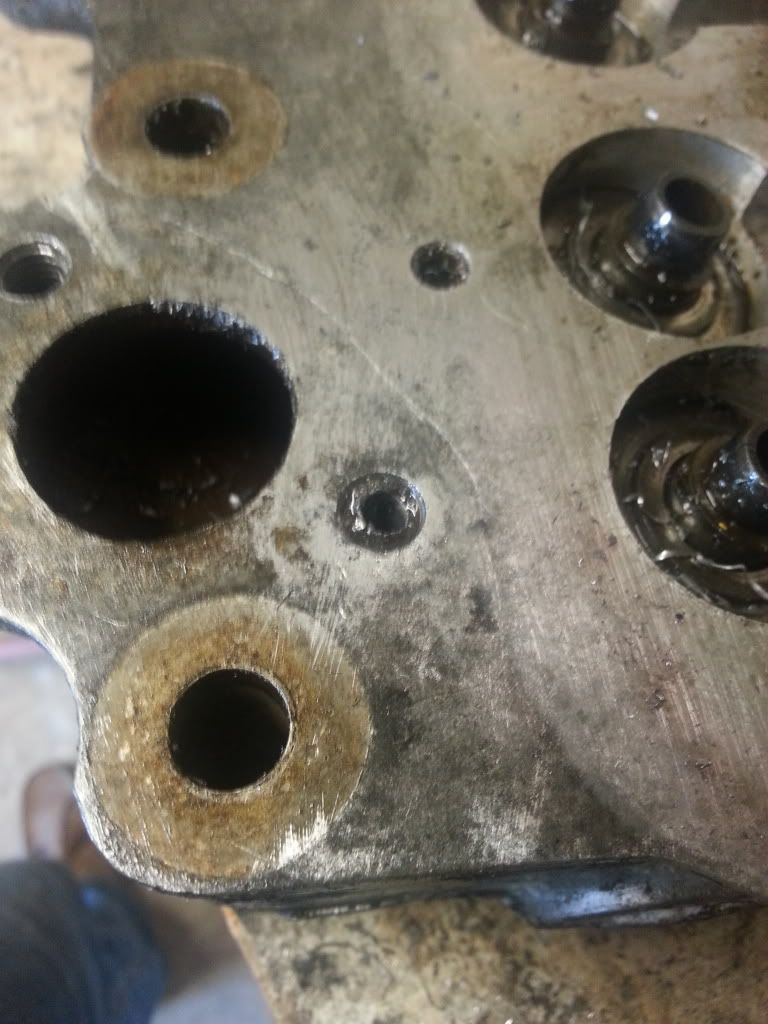 But this time the #3 easy-out did little more than try to bifurcate itself into two equal pieces. So, drill that out to 1/4" for a #4 easy-out. Eeeek, drill size for an M8x1.25 is 6.9mm or .272", that's awful close.
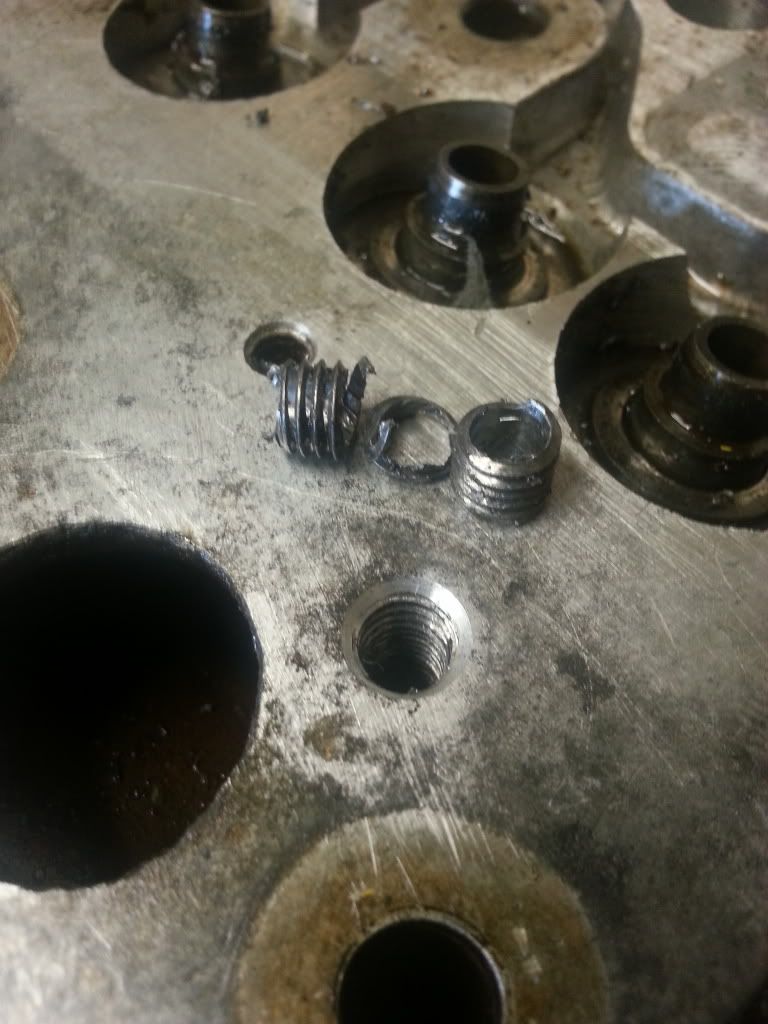 Yep. You can see through the threads. Close one.
Next step is to deshroud the intake valves. Then she'll get sent off for a little love at a machine shop.
Let's talk about that mid mounted ej20 some more. What transmission were you thinking? Mine from center of axle shafts to back of engine is 24". 24" in front of the axle shafts is the backside of the seats
It's convertible season again and it still isn't done, no surprises there...
Today was the first time I actually put some work in on the car in quite some time. I swapped the Revolutions back onto the 850 because I just couldn't stand to see it on the balloon tires on 2002 steelies. Then I fiddled around with some electrical stuff on it and got it fired up.
There's no threads holding the #3 spark plug in, so that's pretty awesome. Looks like the 903 will be going in sooner that than later.
So, there's the non-update-update.
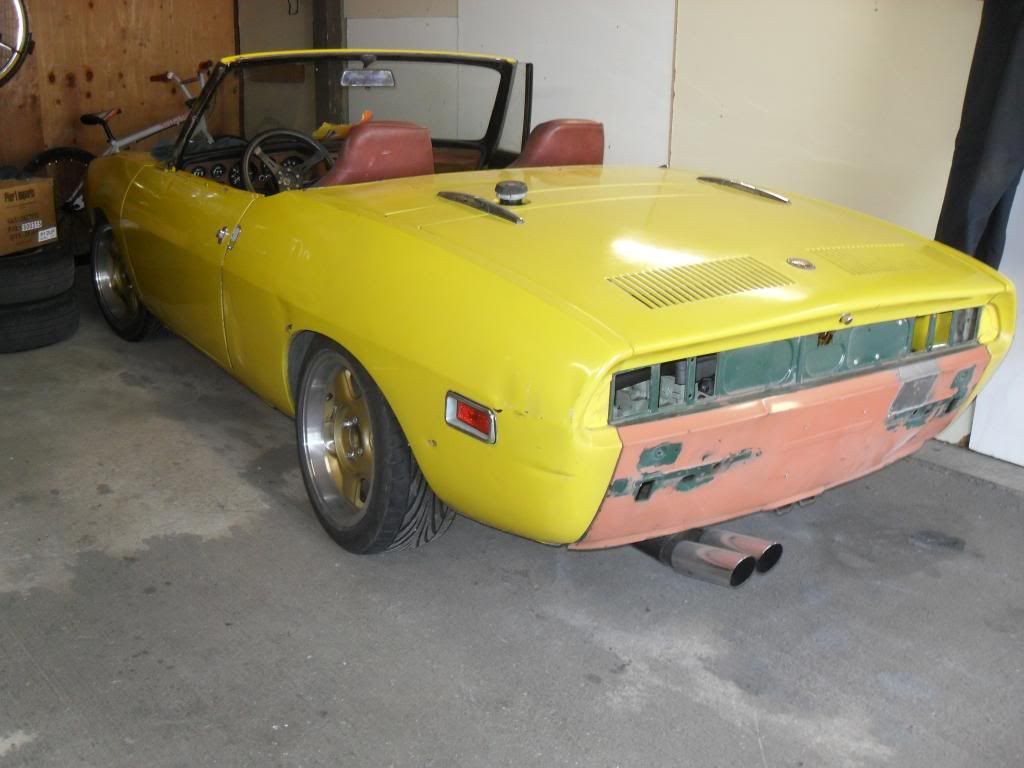
Things should start happening again soon, though. The Scirocco has actual, factual floors and should be carpeted by the end of the weekend. Then it's Fiat time.
Yeah, I'm going to give it a shot before I do anything drastic.
I found a lot of fun parts that I had sorta forgotten about when I moved into the new shop, including, but not limited to a Garrett GT15 and a bunch of EFI conversion parts I made.
You'll need to log in to post.