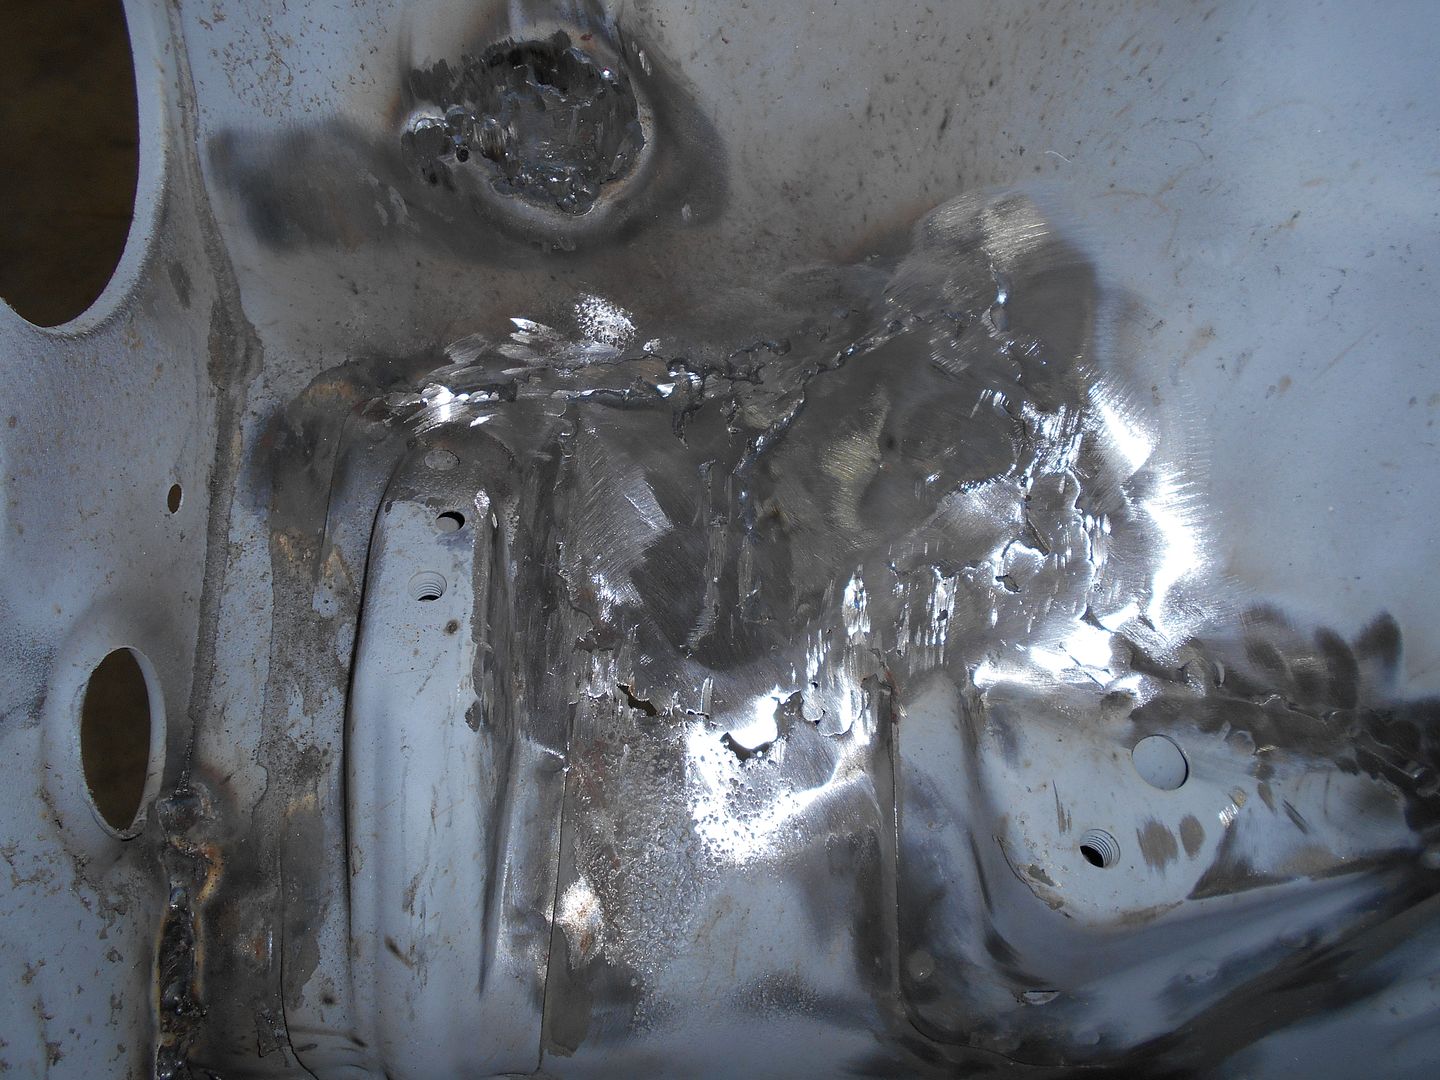
Ok, like I said, the sandblaster guy is cool-Pics of his stuff/home/shop: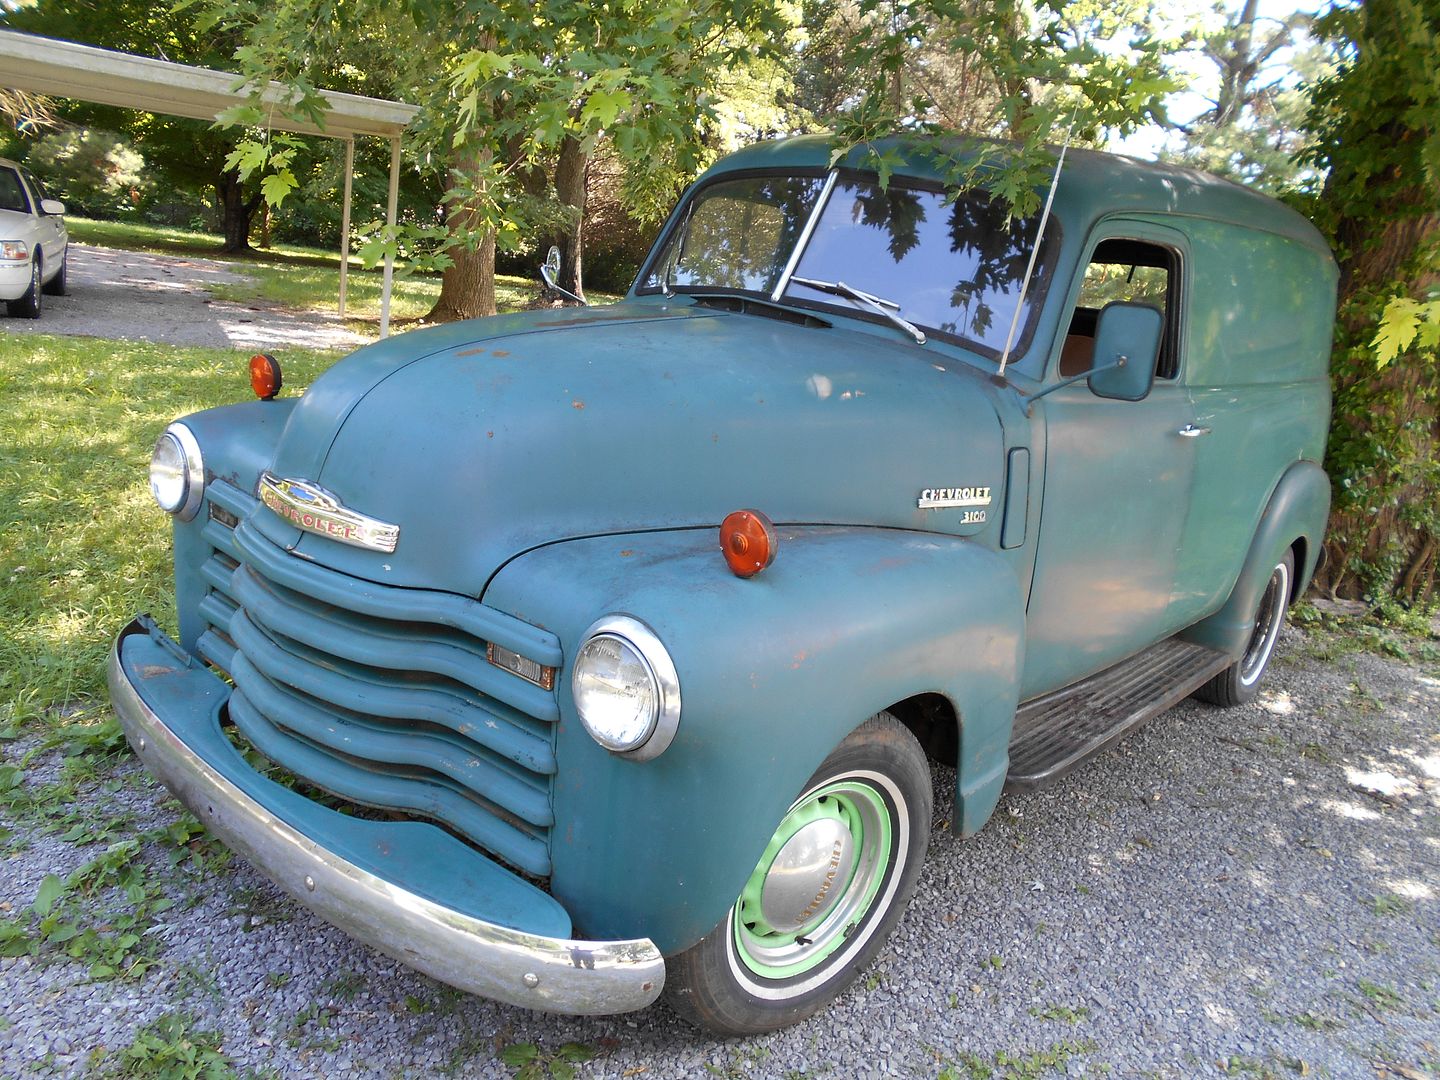
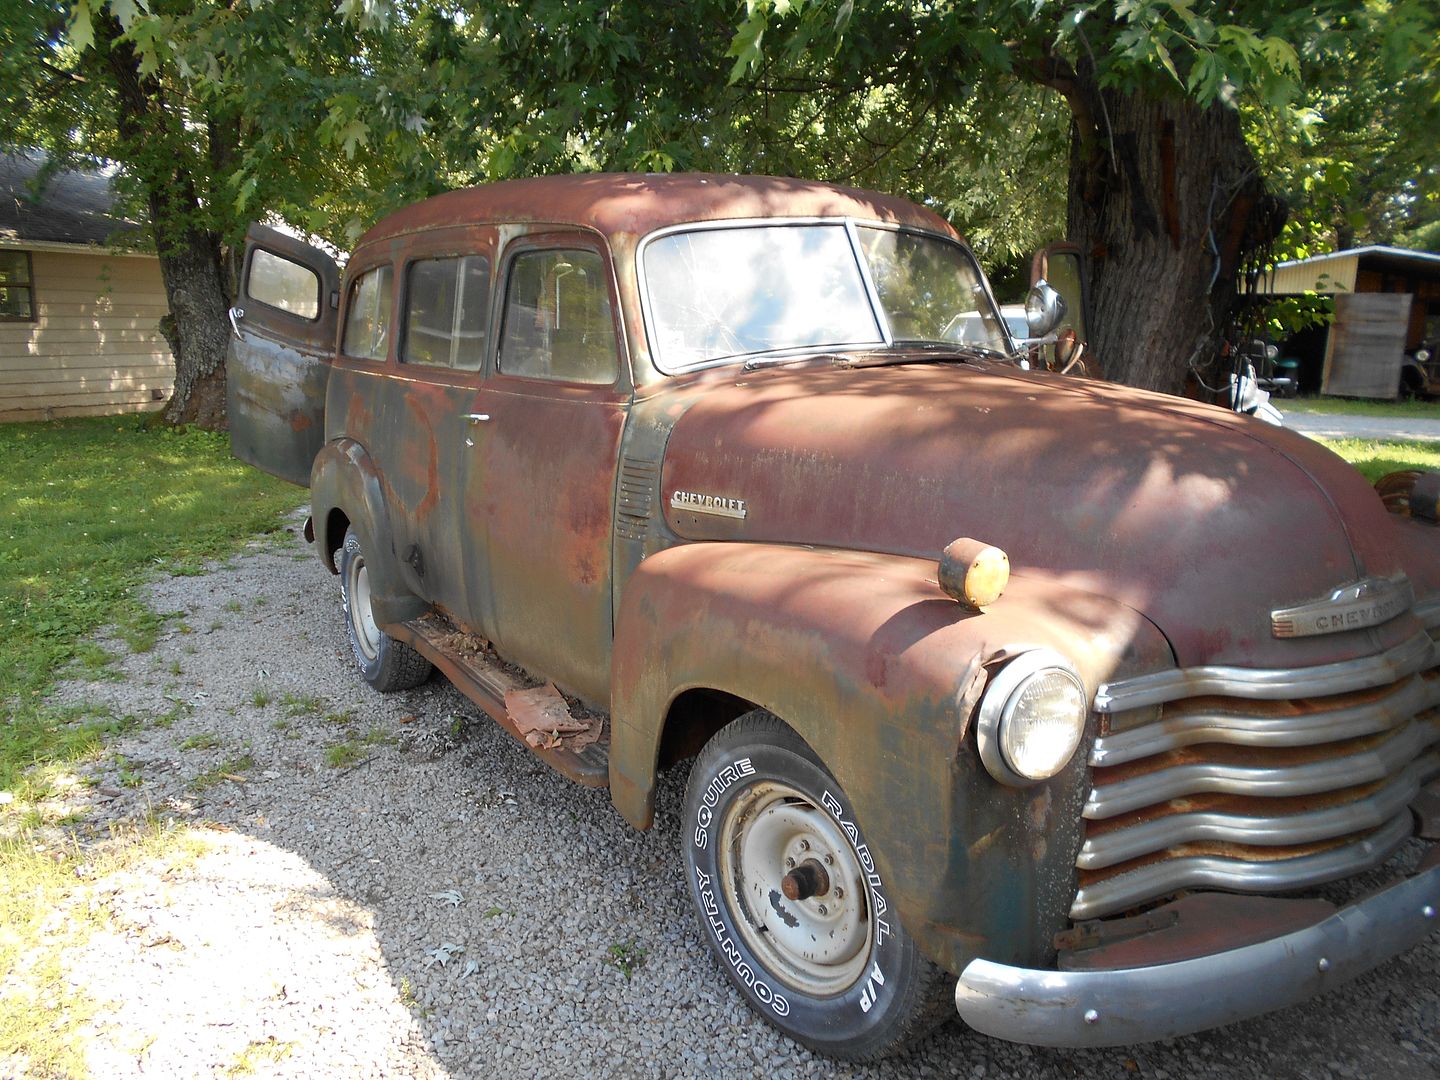
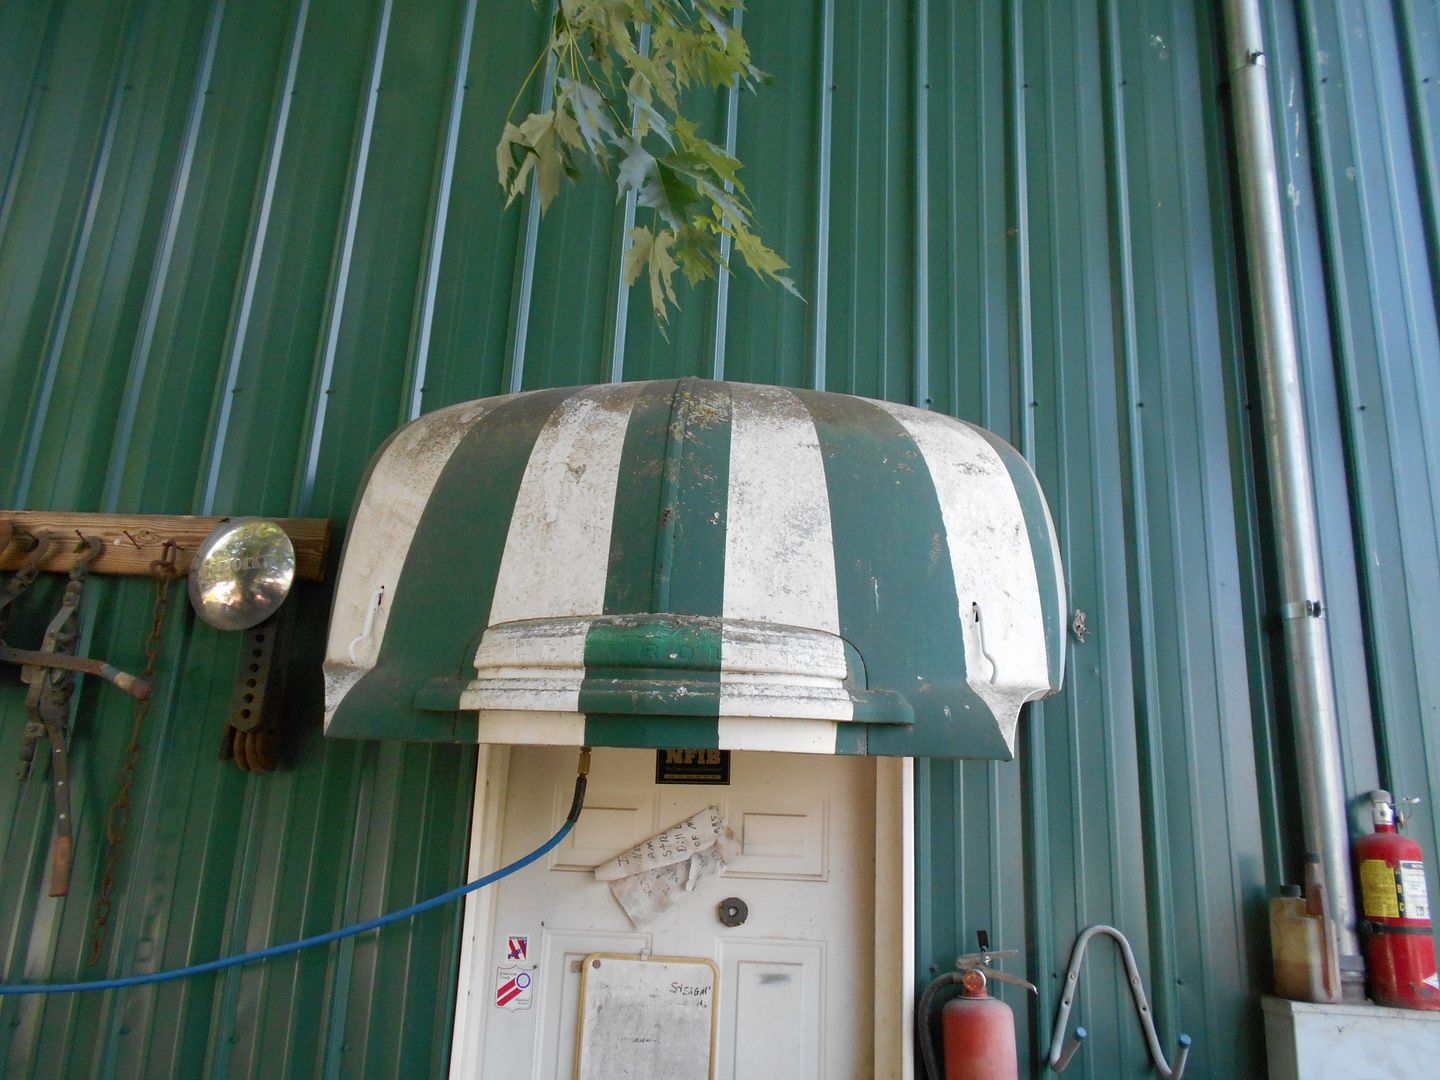
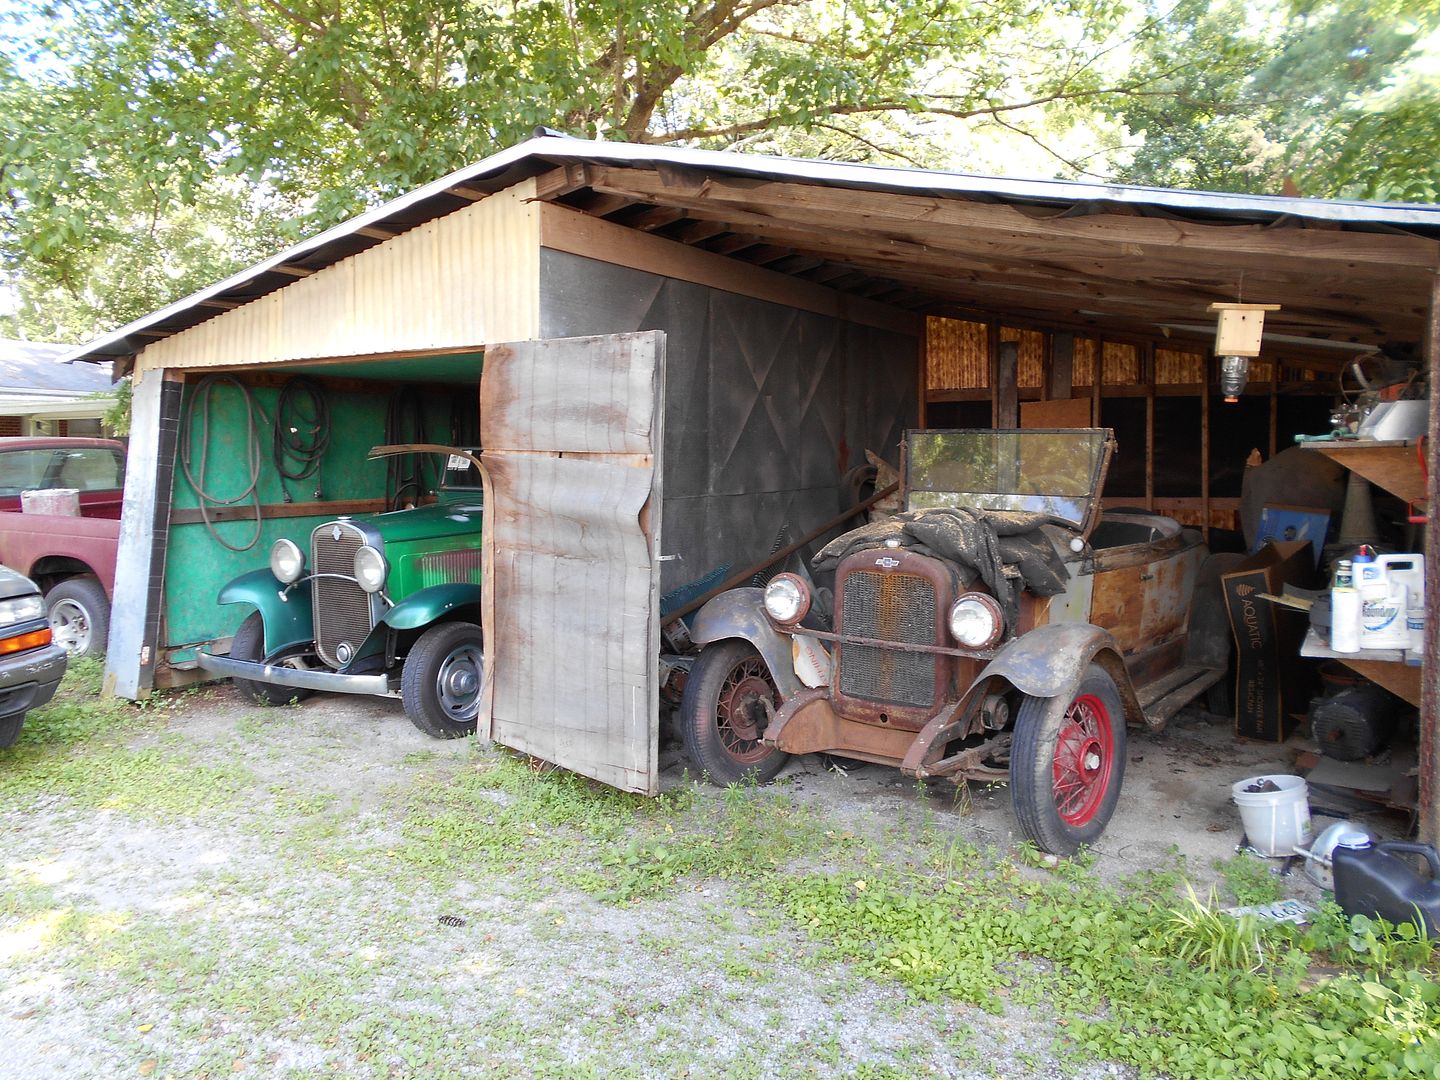 C.O.E. awning.
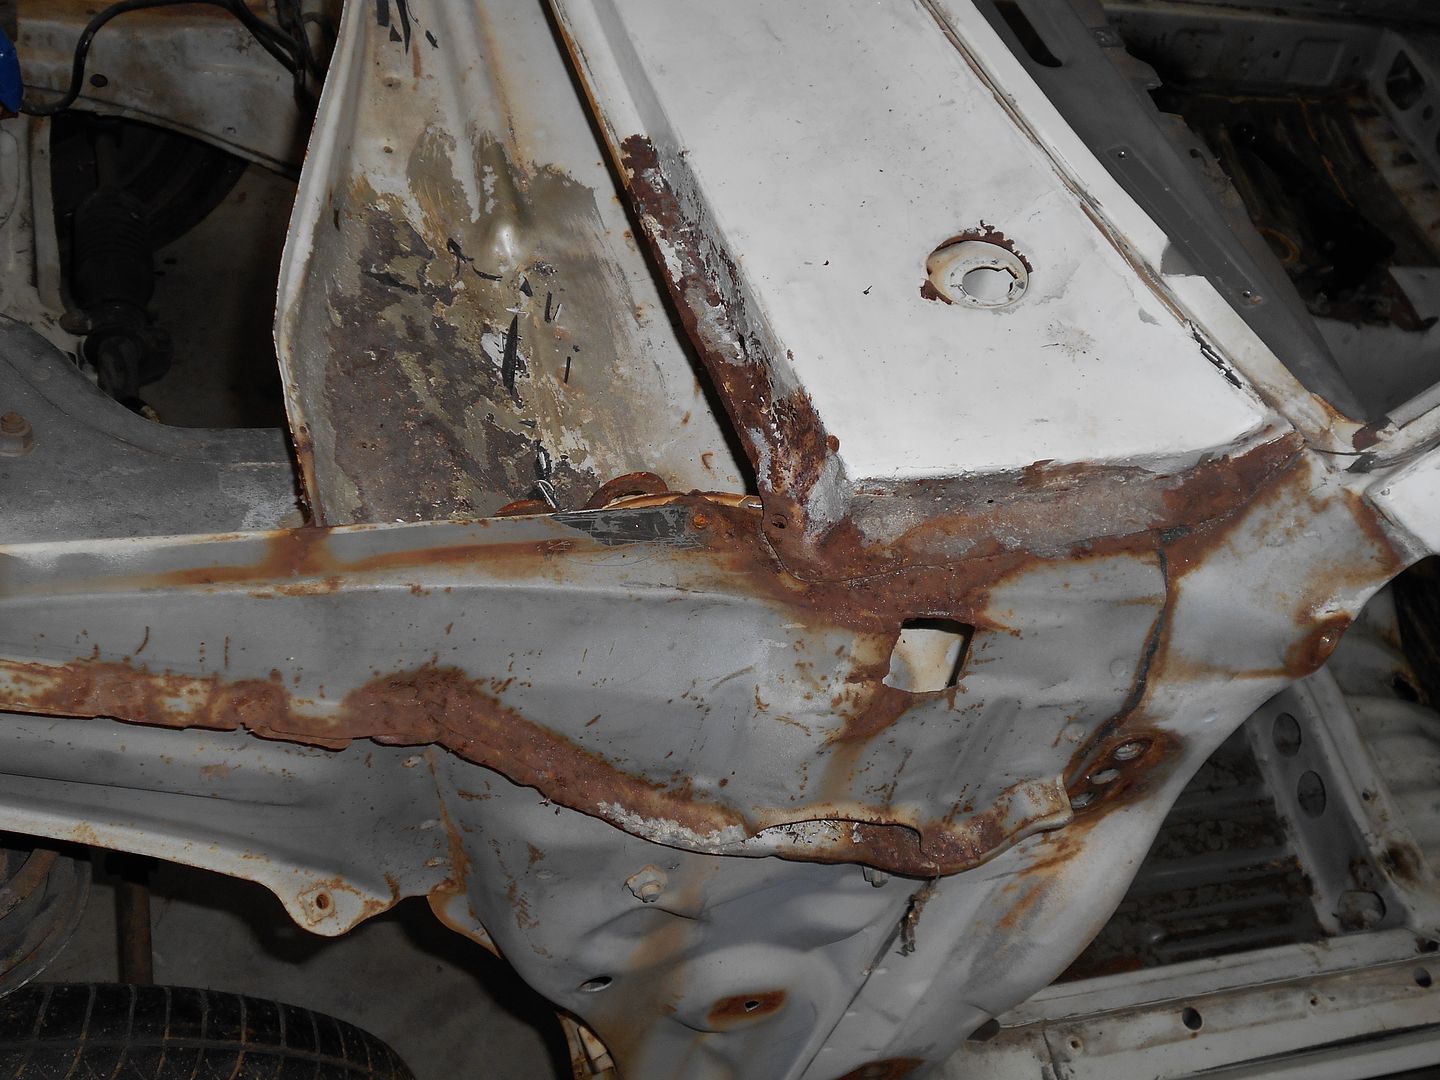
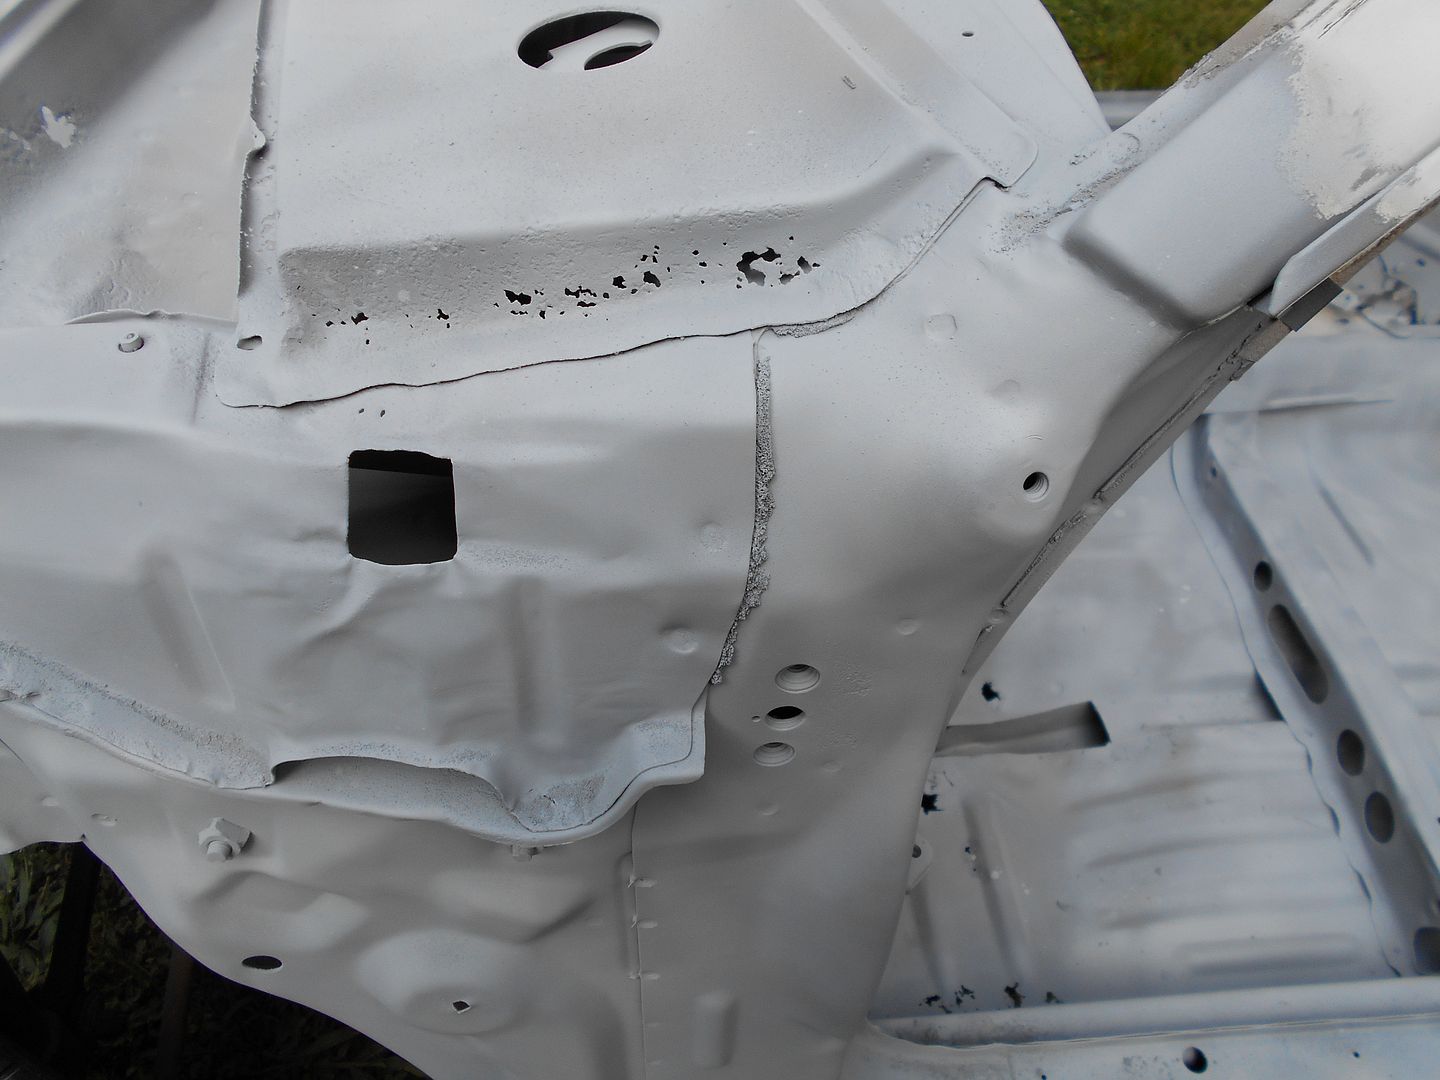
 $260 later, I was on my way with my much cleaner, yet already rusting car (TN humidity is no joke). He used sand for the chassis bits, and bead blasting-"the same stuff as light switch plates" for the more delicate bits. Before and after pics as promised.
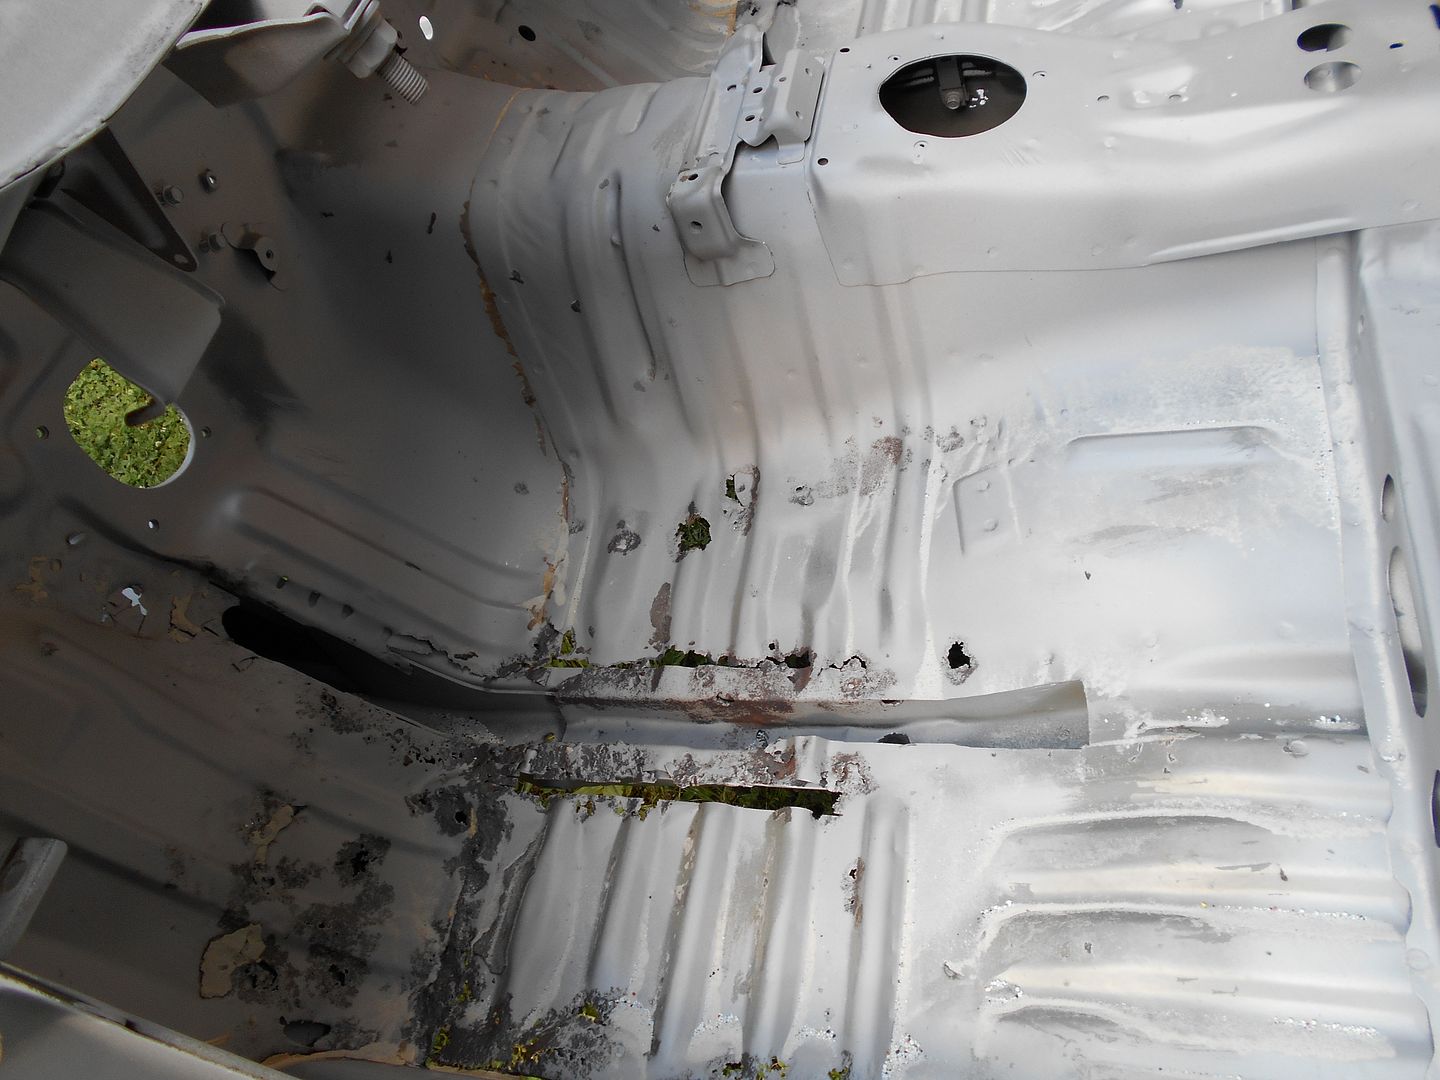
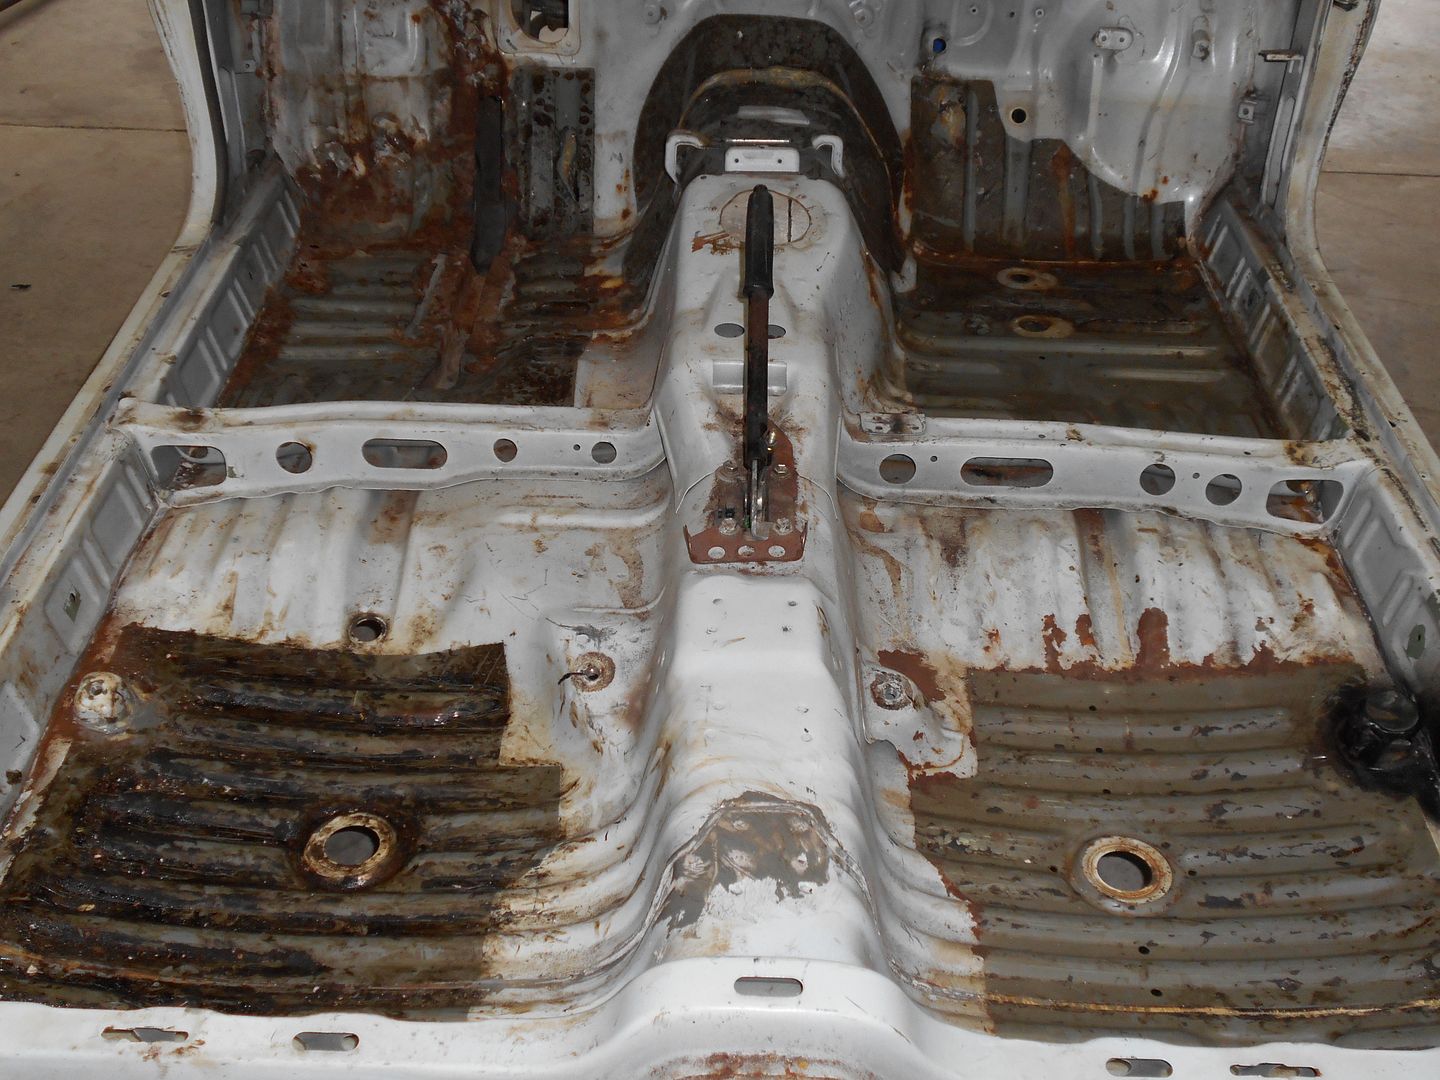
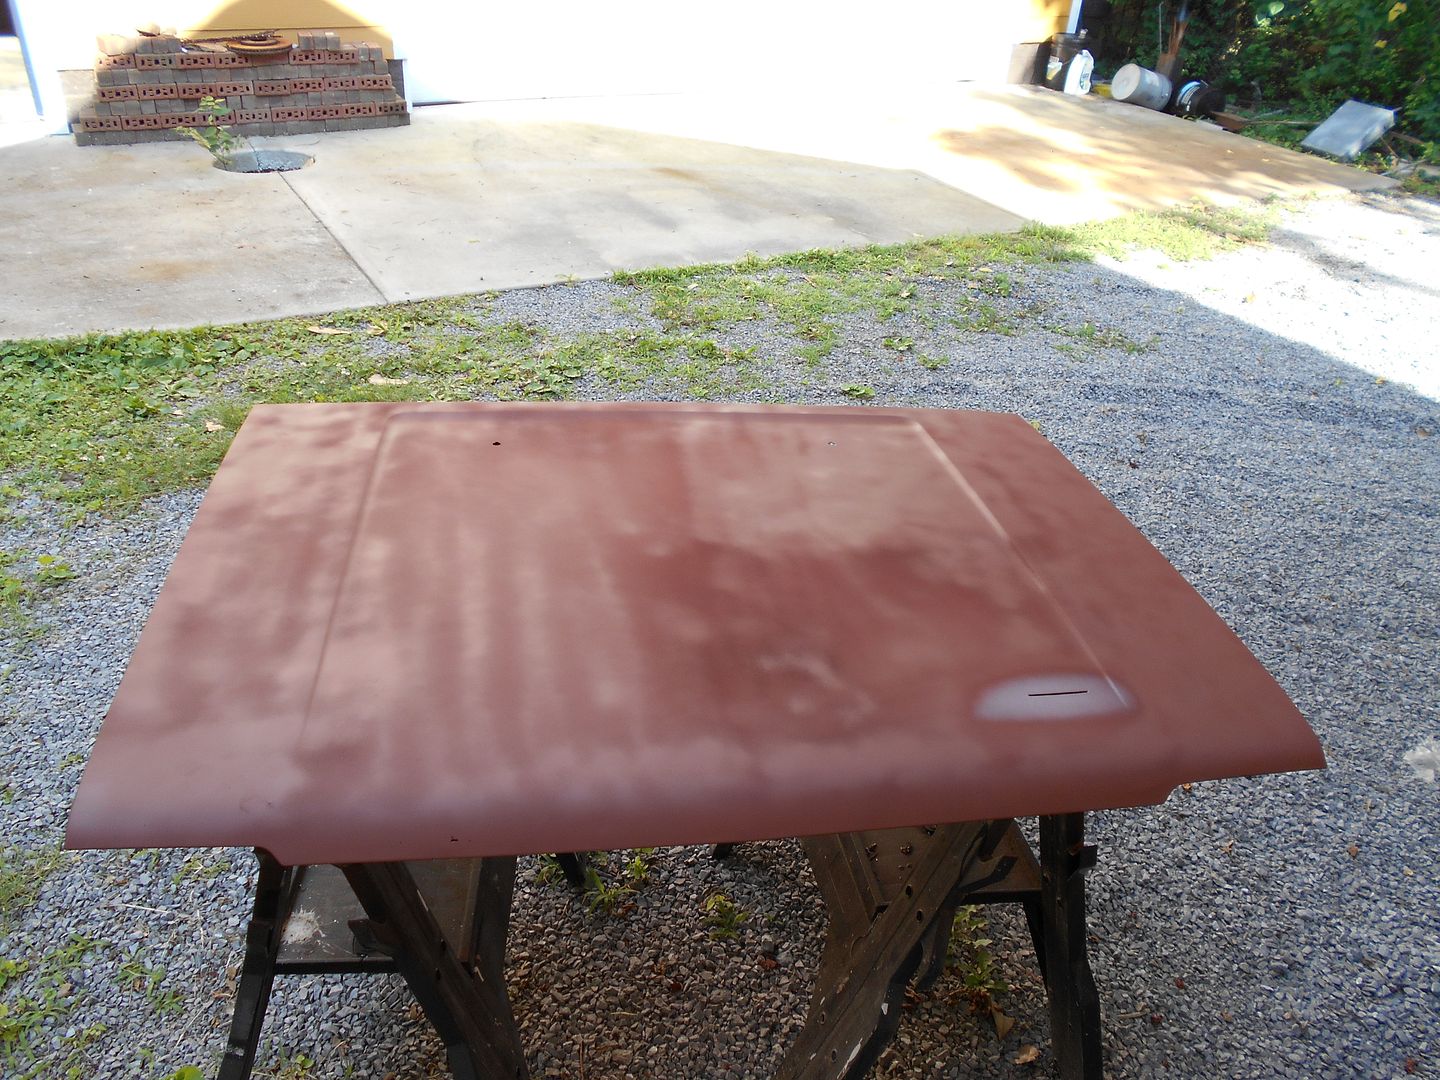
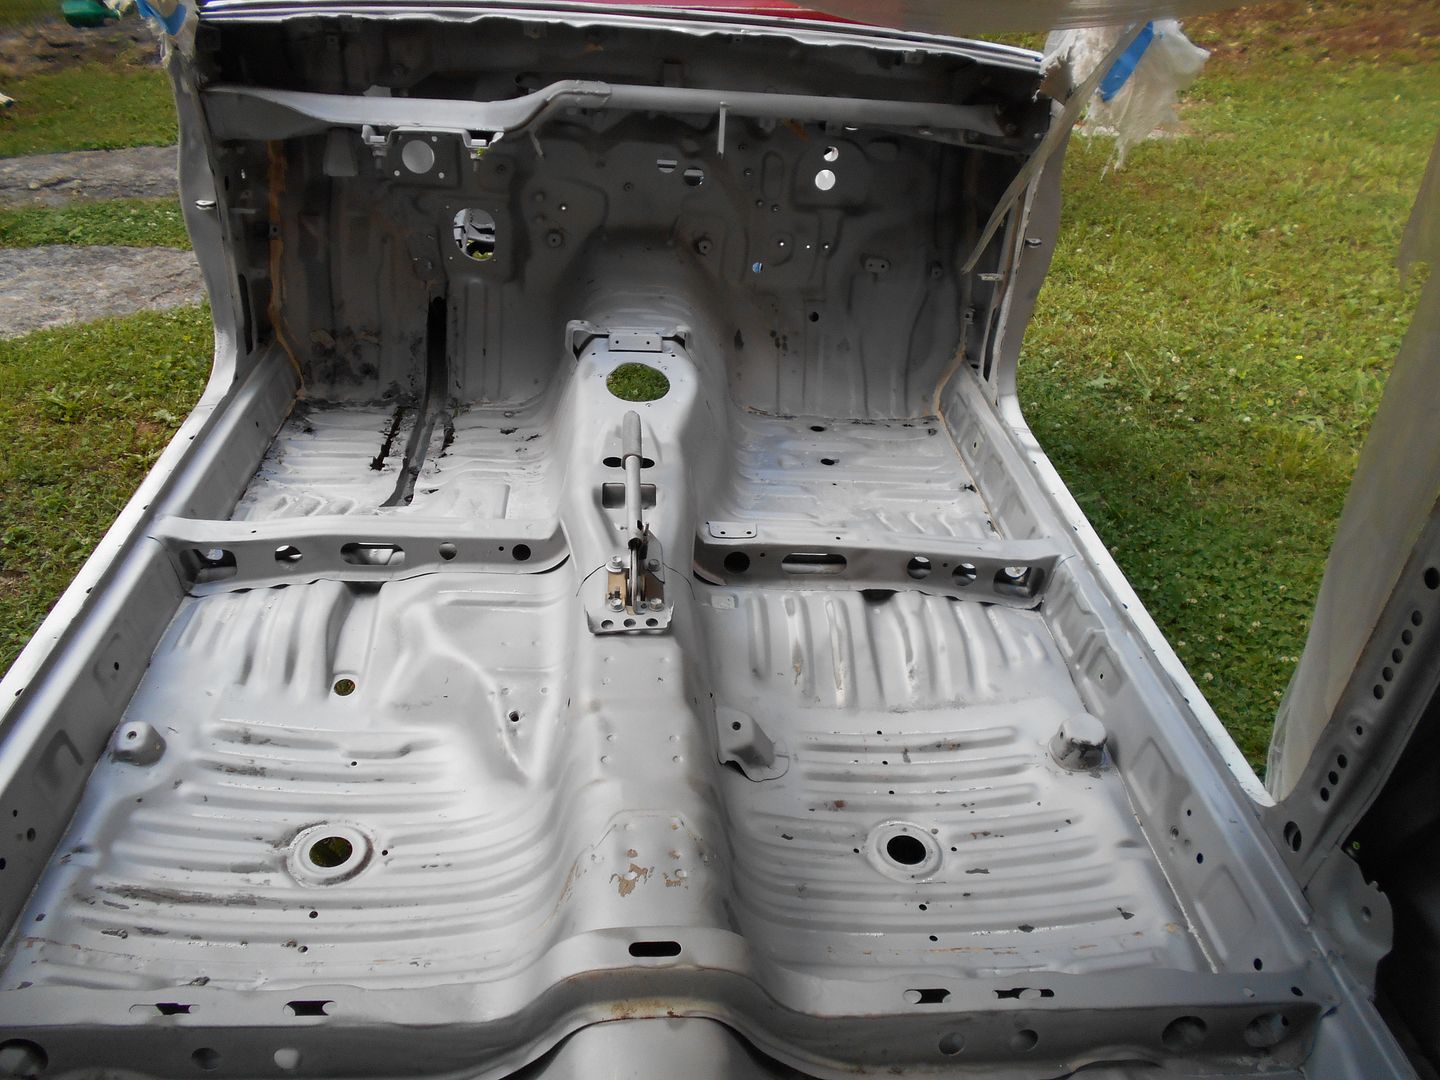 Shot of bead blasted hood-I almost primed it before getting the shot.
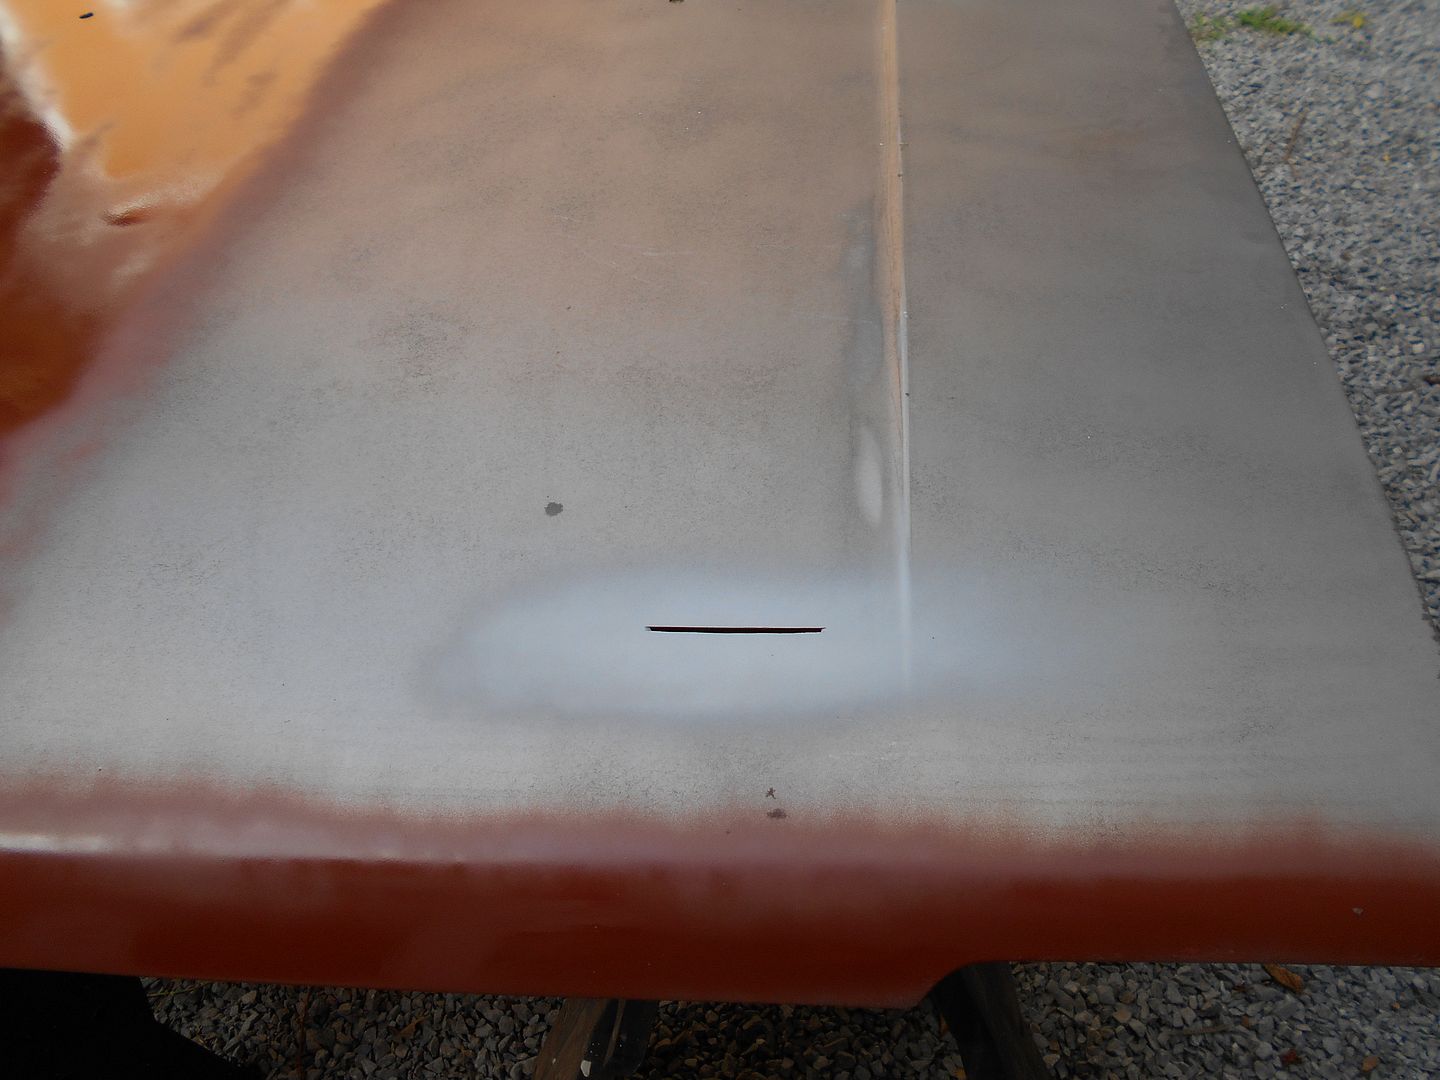 Right, so, as the English say, I was right well chuffed at that, so, I proceeded to use every bit of primer I had to get a bit of protection on all this porous, virgin metal. The Eastwood weld through where I plan to weld, Whatever I had on the rest. Some earlier pictures may have been primer, not bare. I was in a hurry.
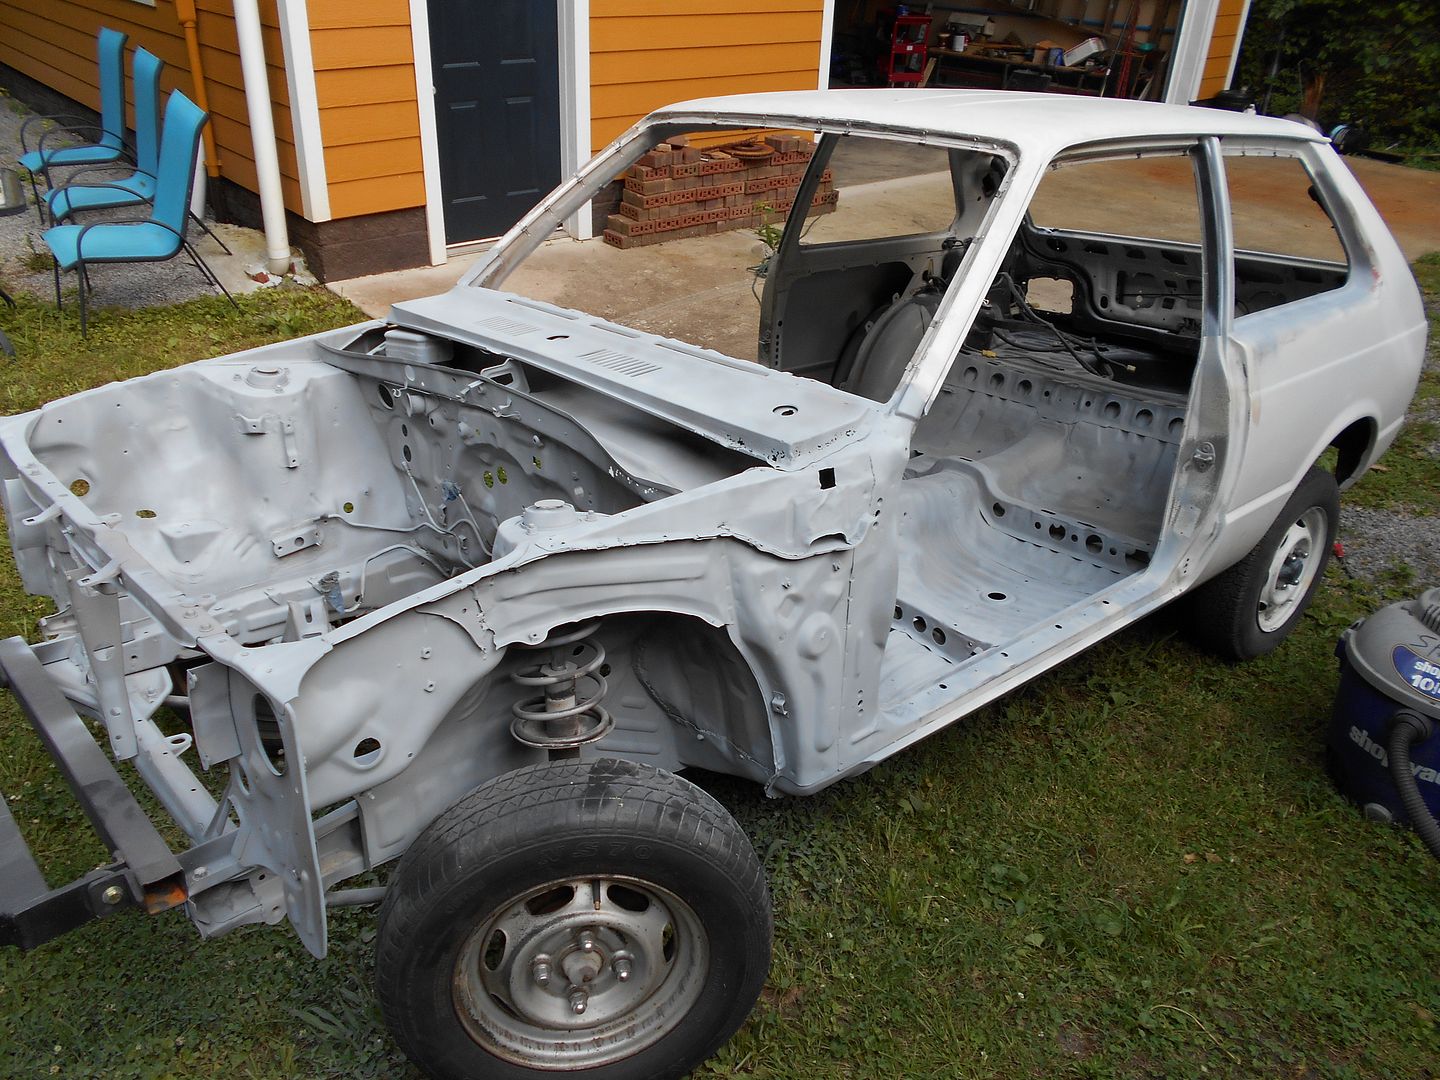
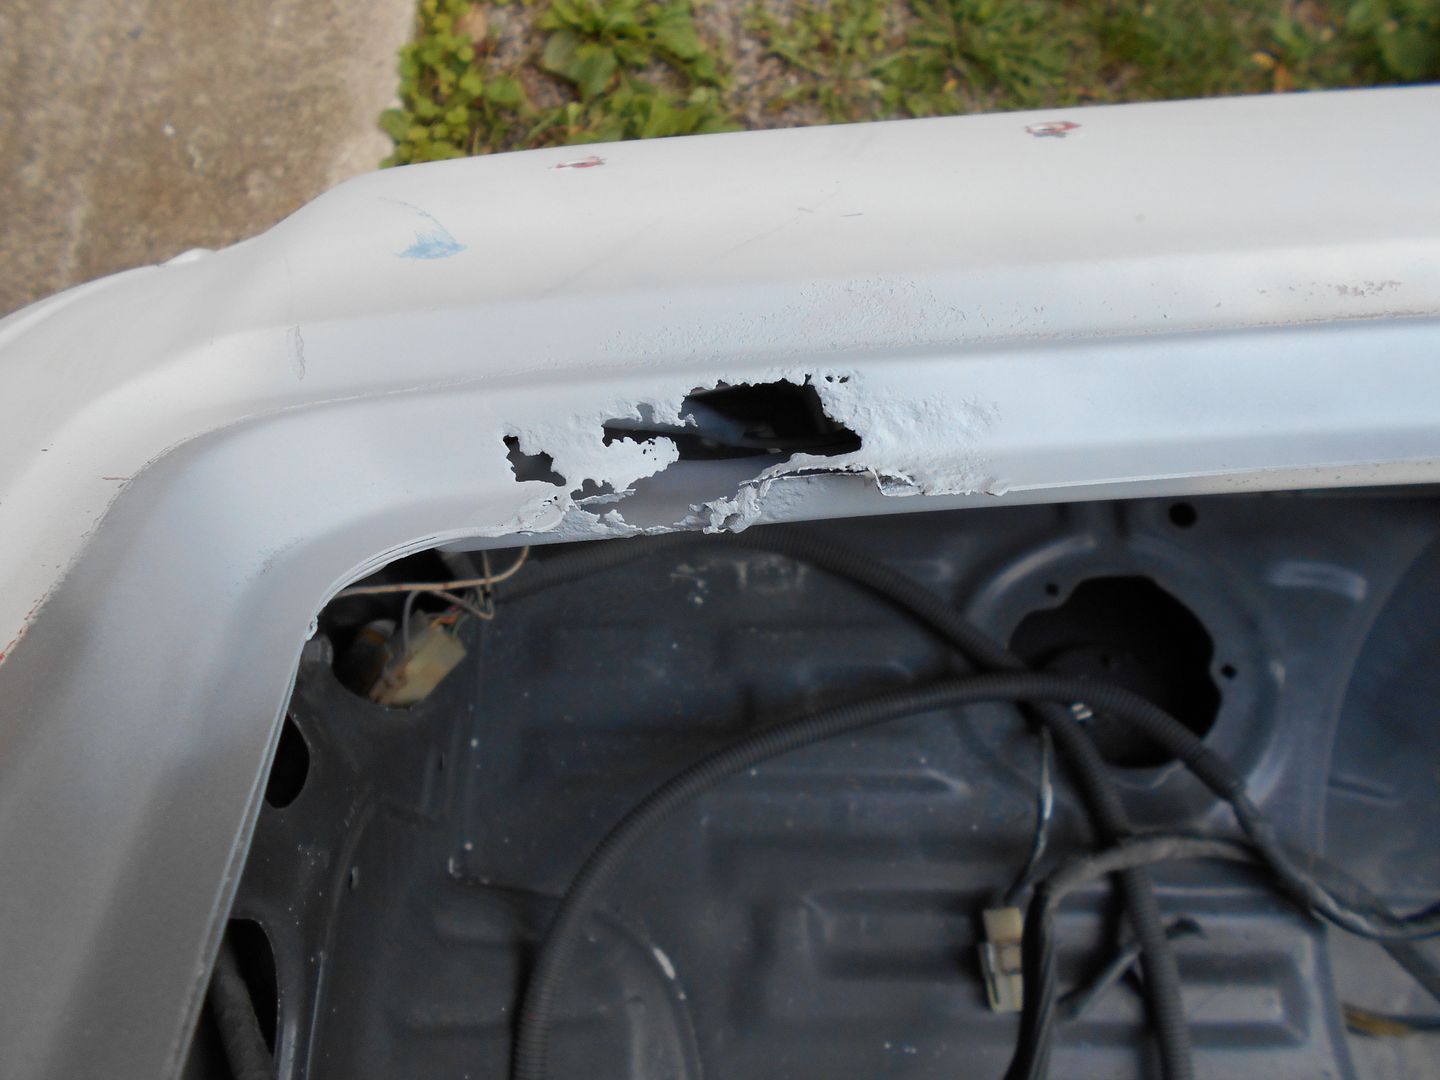
 A buddy stopped by, and asked how much the bare shell weighed.
My answer: Shameless GRM plug accomplished.
I've got ideas, but it never hurts to ask the hive-Advice on seam welding? Lets take tons of alternating spot welds as a given.


 Though, looking back, Eastwood's wax looks like a perfectly viable option. I also ordered more weld through primer, some POR-15, and a spot weld cutter.
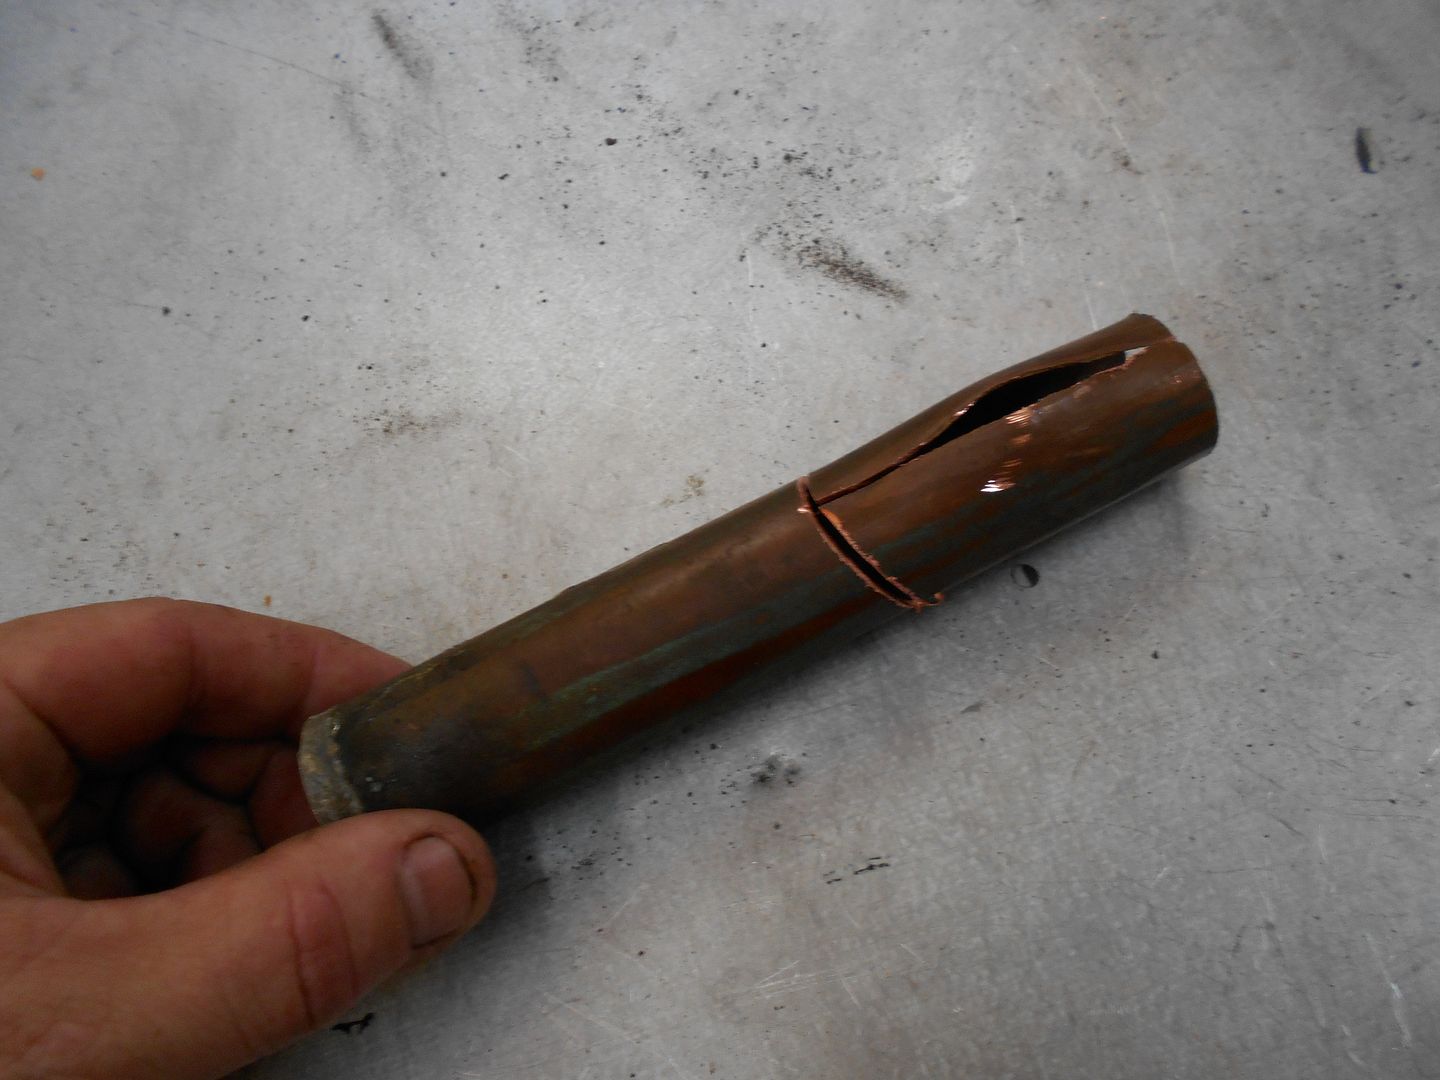 Beat, cut, and beat some more, and you have your basic brass spoon.-Edit, all except its copper! Duh...
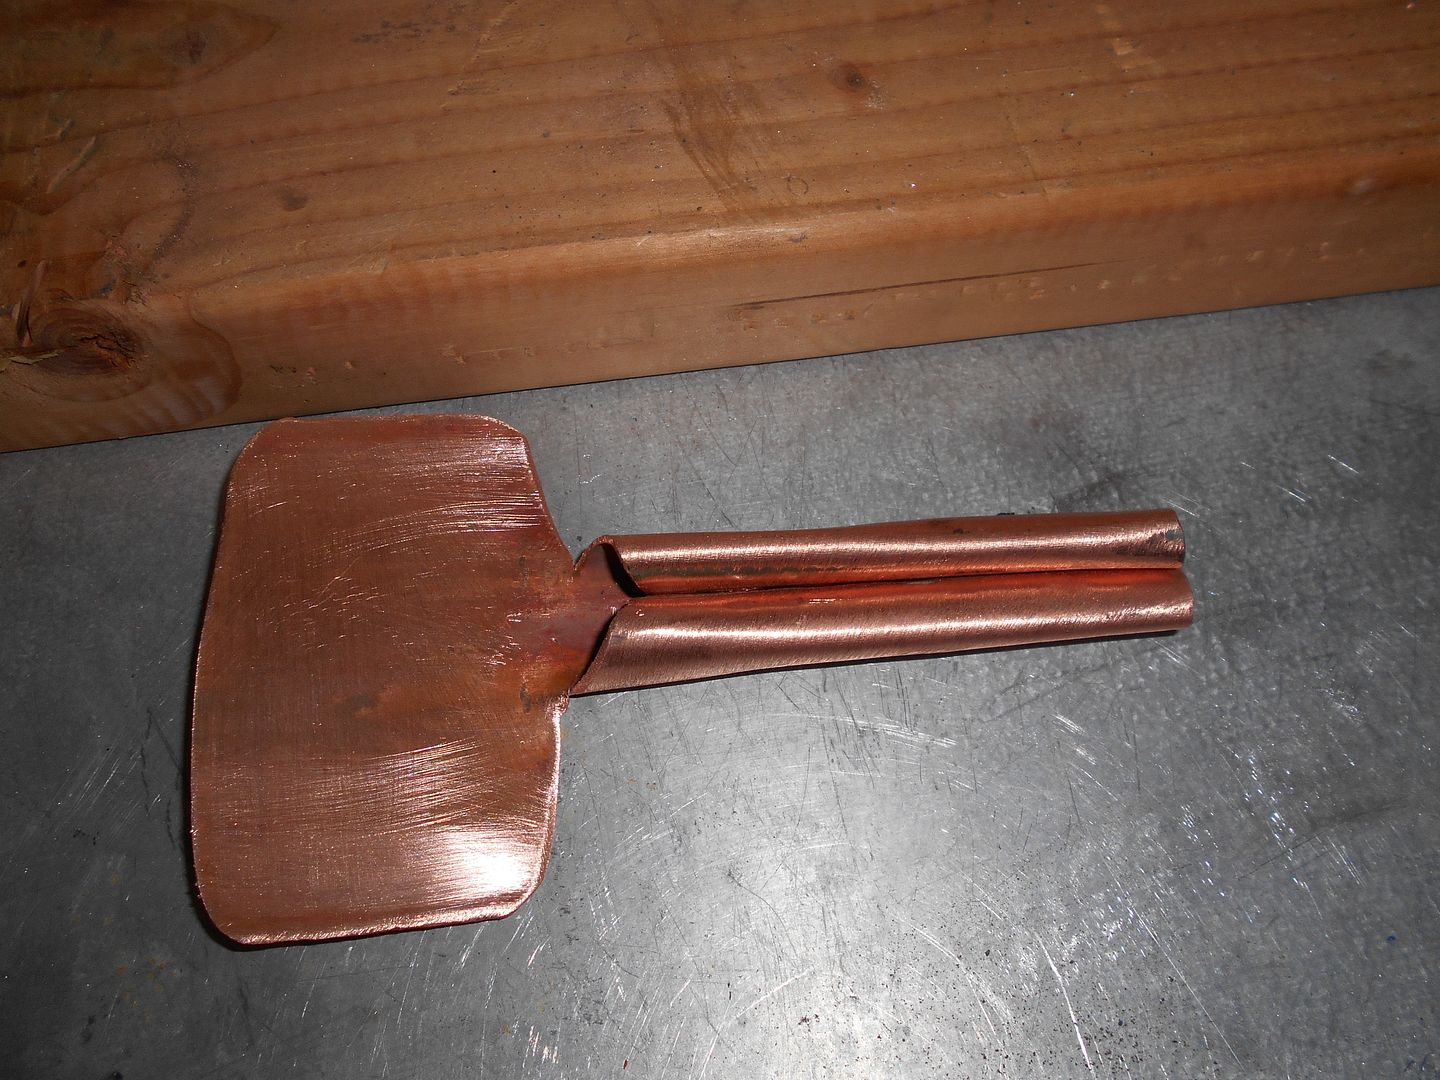 I had to try it out, as well as my weld through primer:
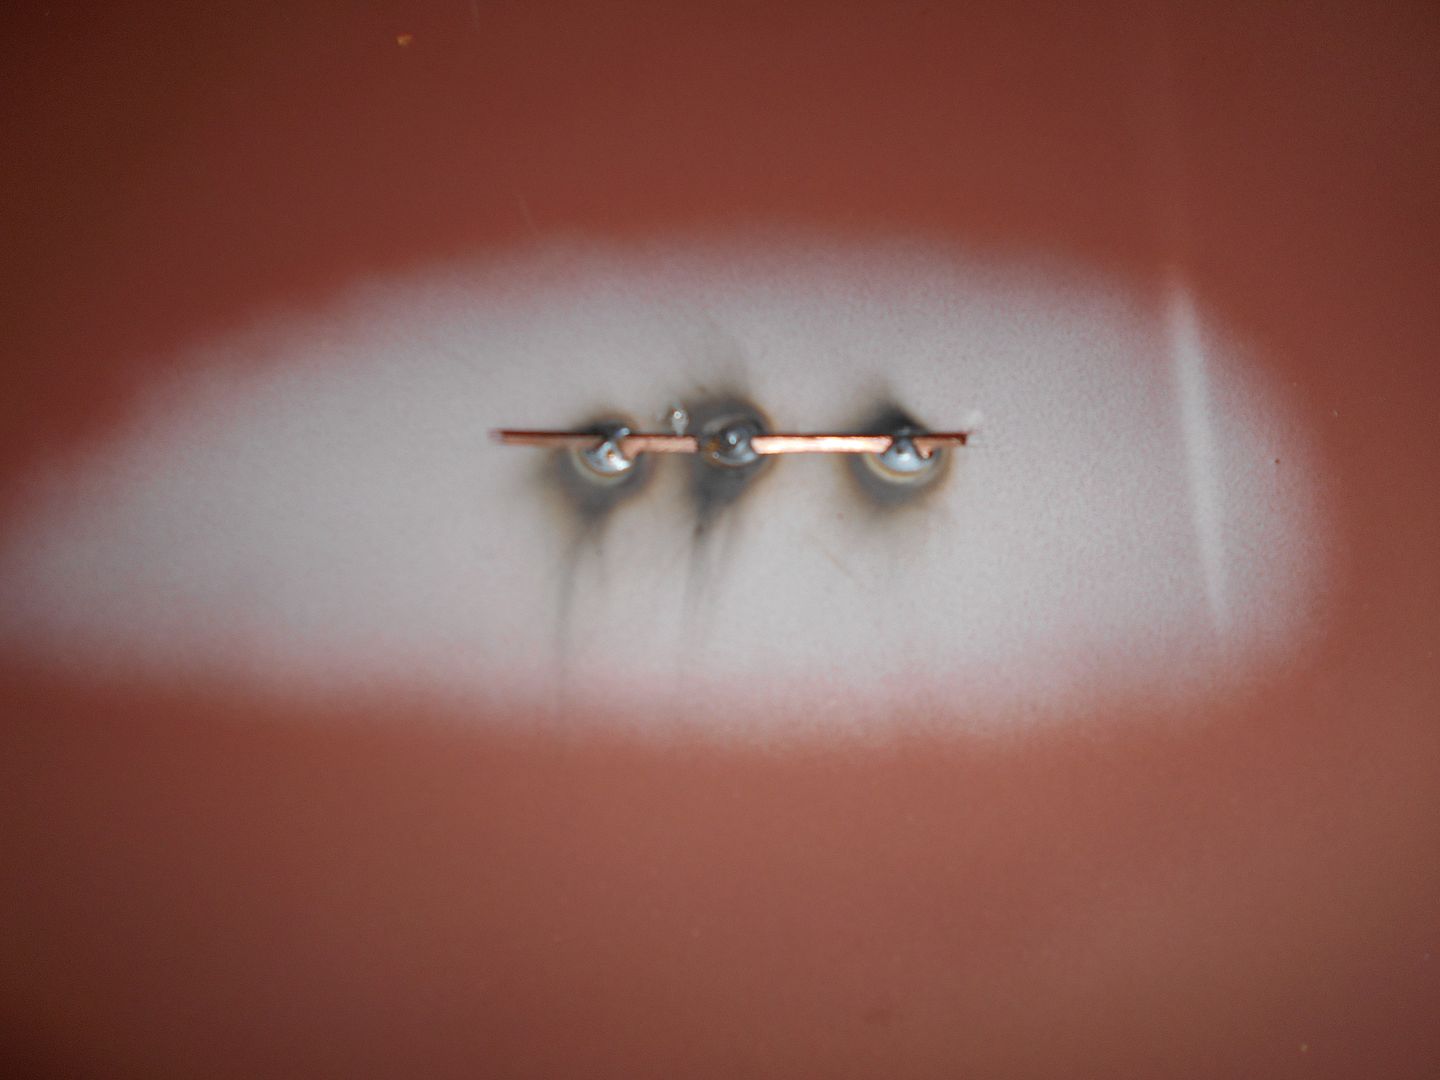 More to follow...

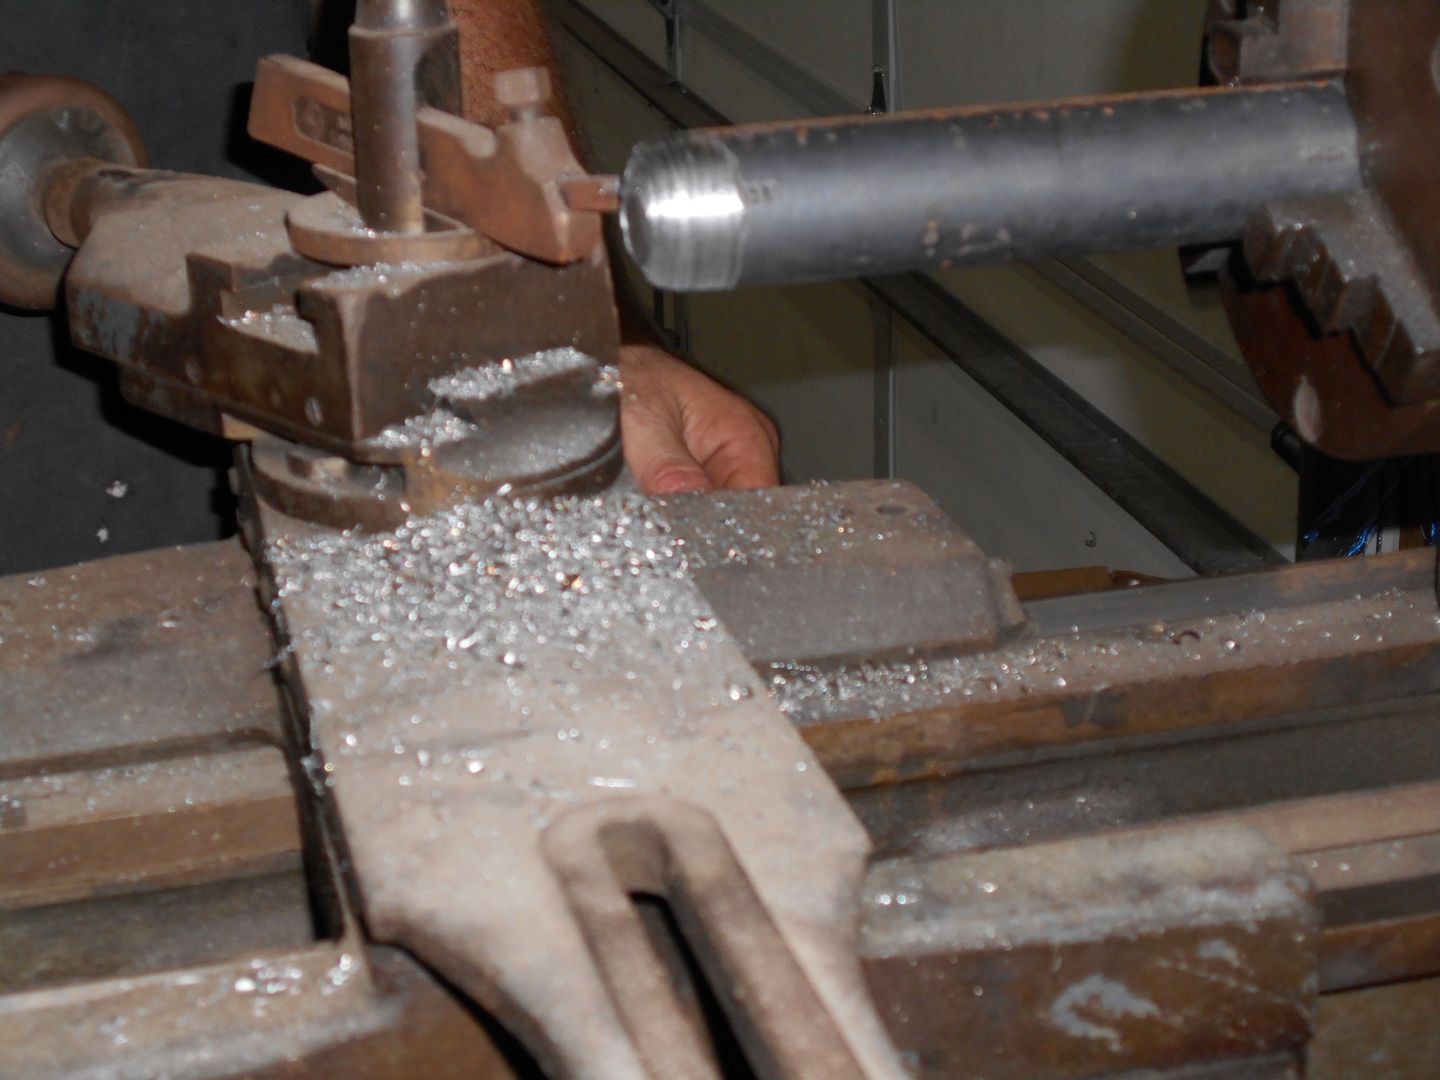 Section finished. Hint, it gets used with my trusty HF press.
 Oh, and I warped my hood like an idiot. Gonna grind and beat on it. Luckily, Burrito and NOHOME are discussing this very thing elsewhere on this forum...
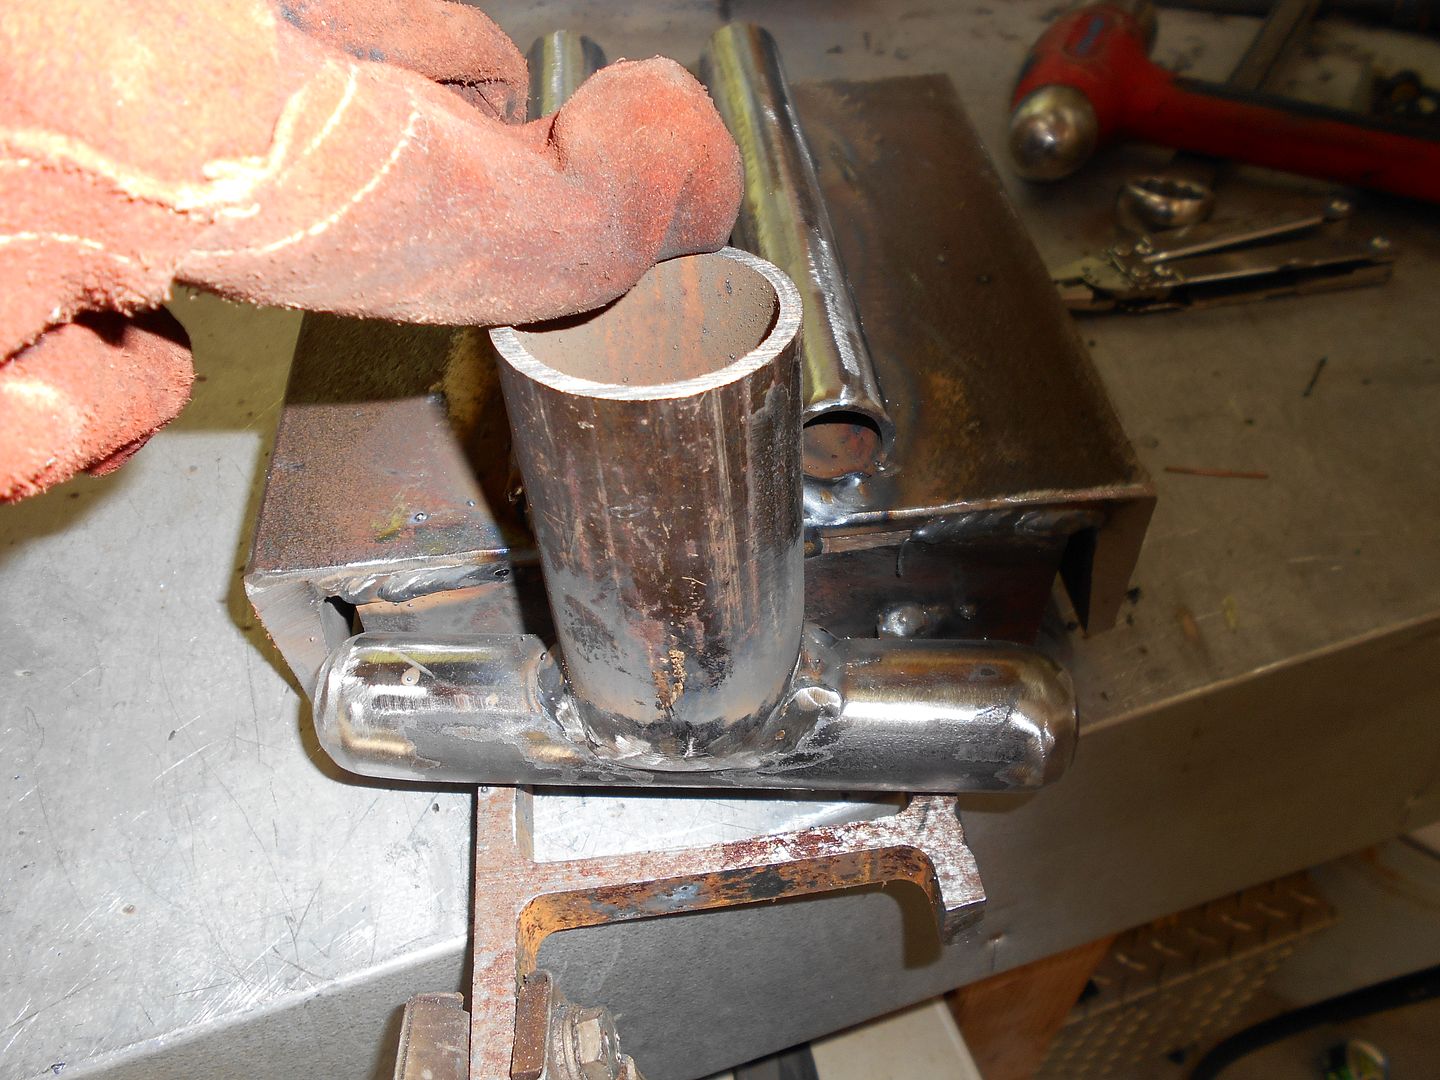 and then, some of this:
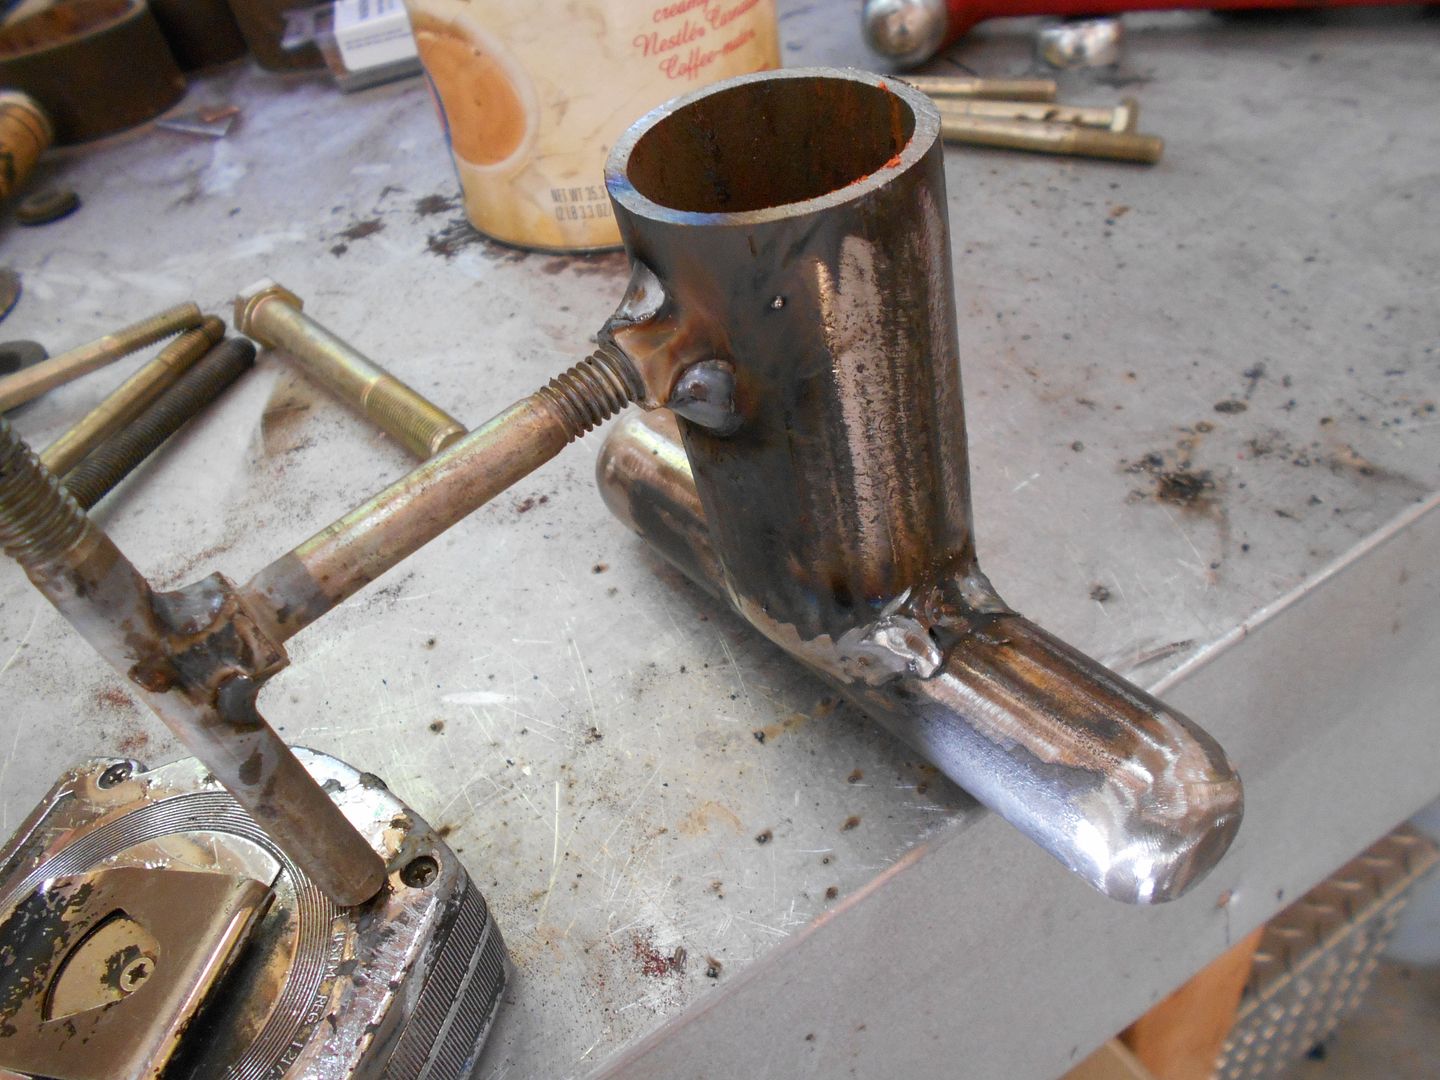 All the while. I was working on this:
 Which turned into this:
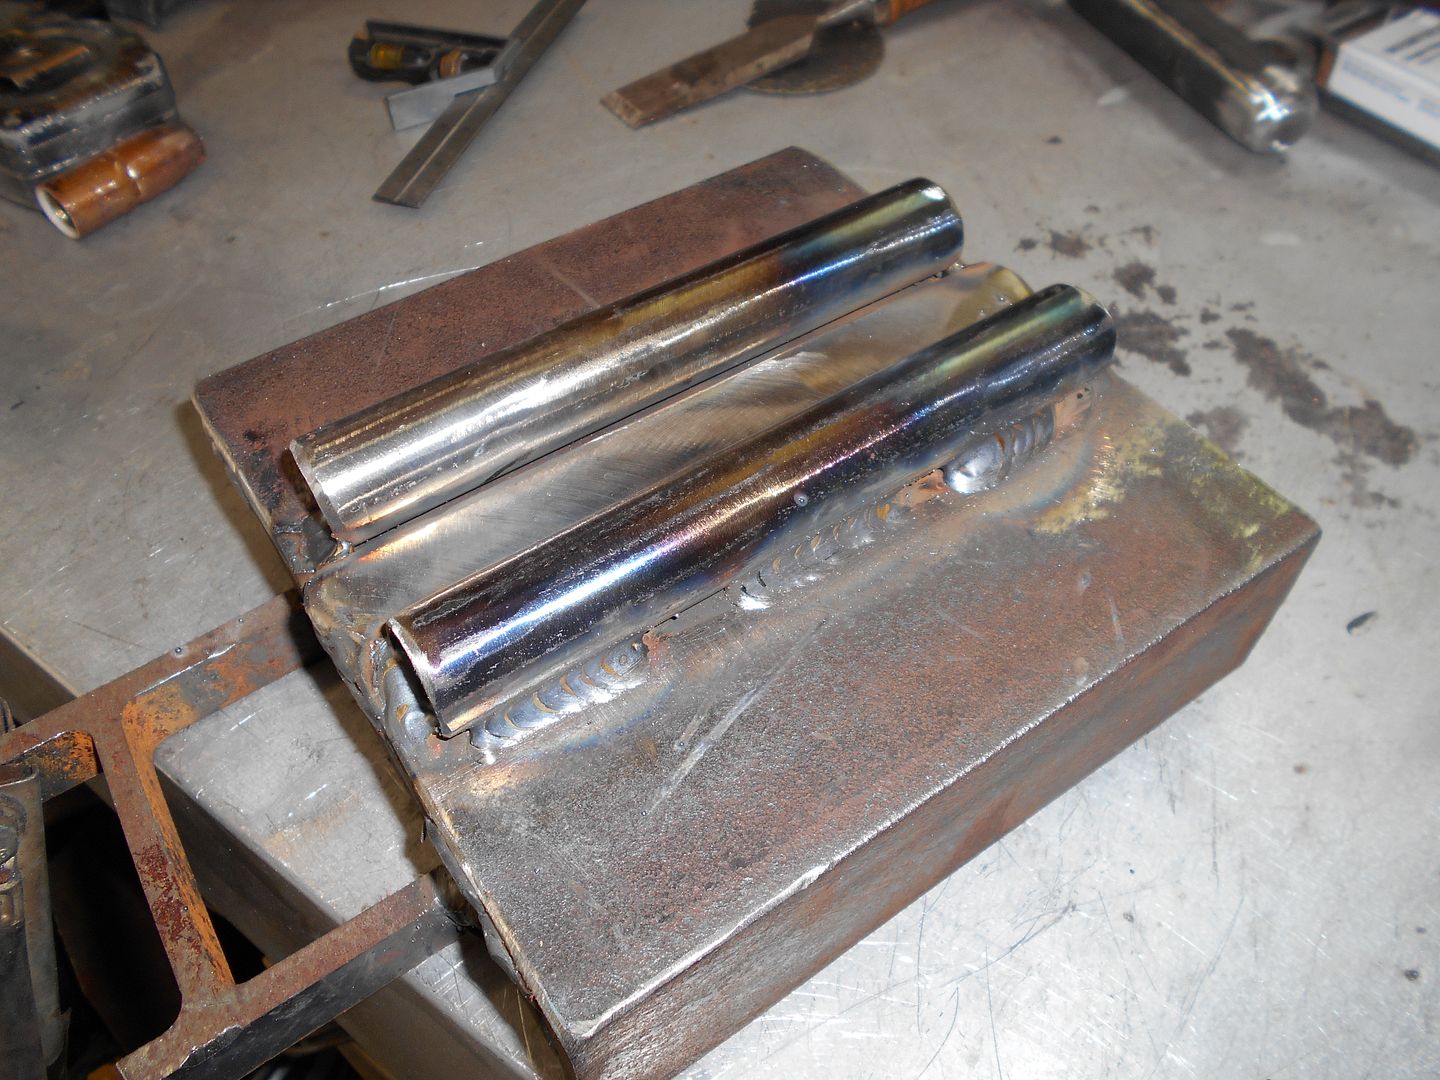
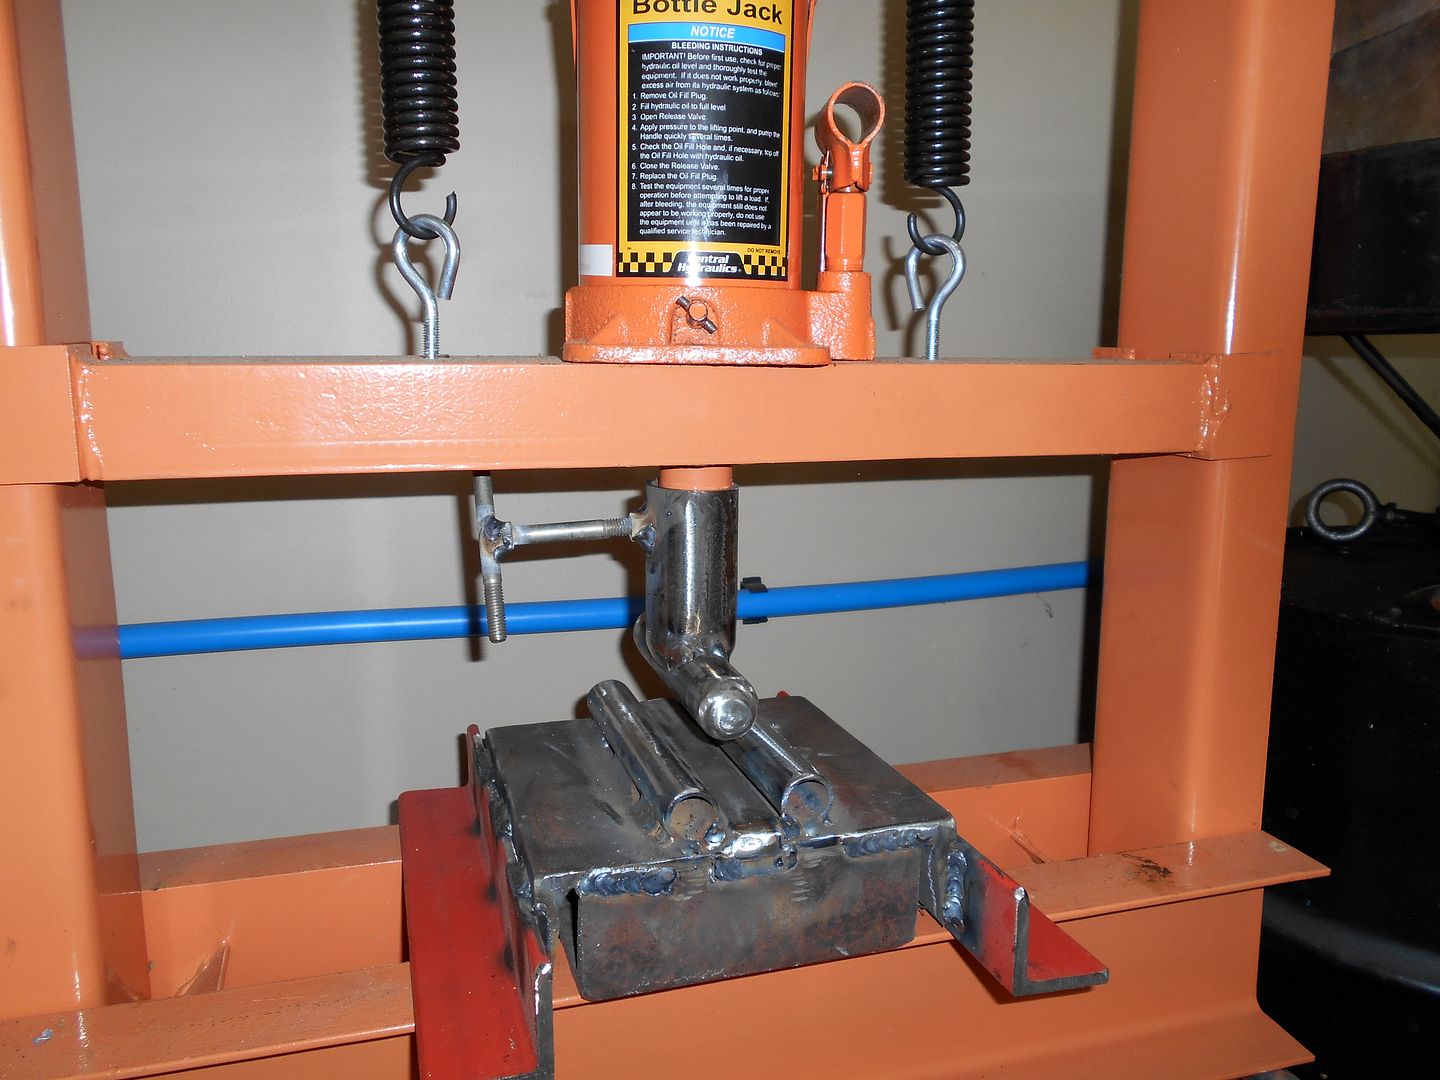 Which, on closer inspection, looks tike this, right here:
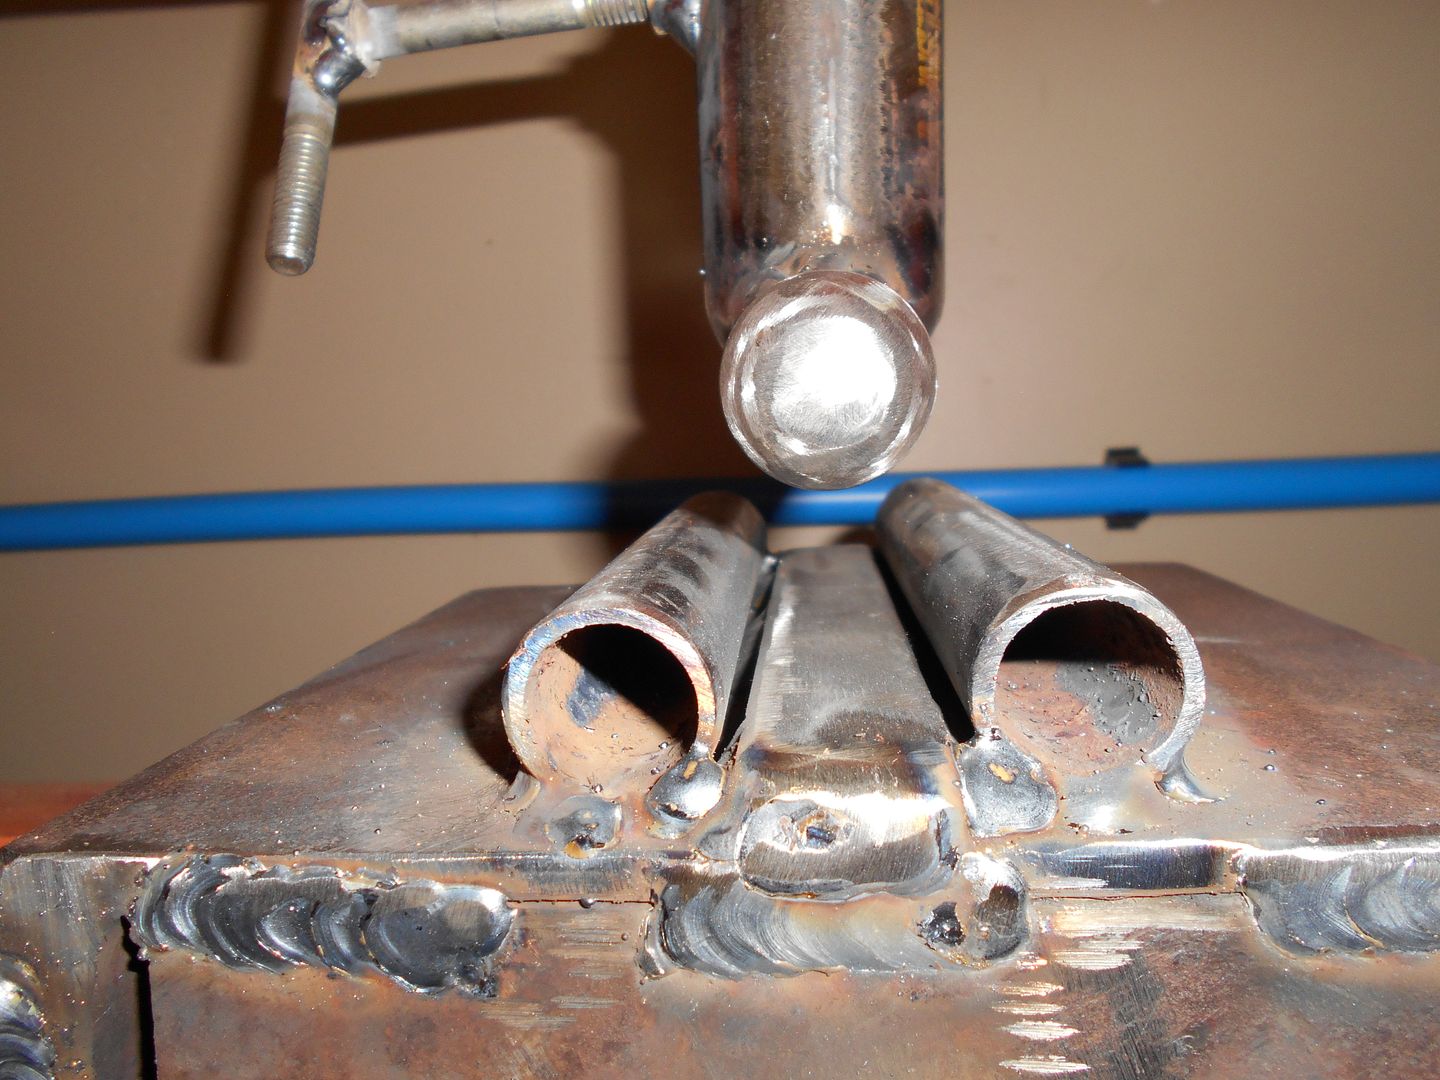 And there, you have your basic "Bead Press". The hope is that I can make corrugation in the floor pan I make. The problem, of course. is in the throat of the press. Not much leeway in movement between those two uprights. Never to fear, I have a back up plan. It is an acronym: First letter, B, second letter F, Last letter H. I have absolute confidence in my back up plan. I will attempt the civilized way first.
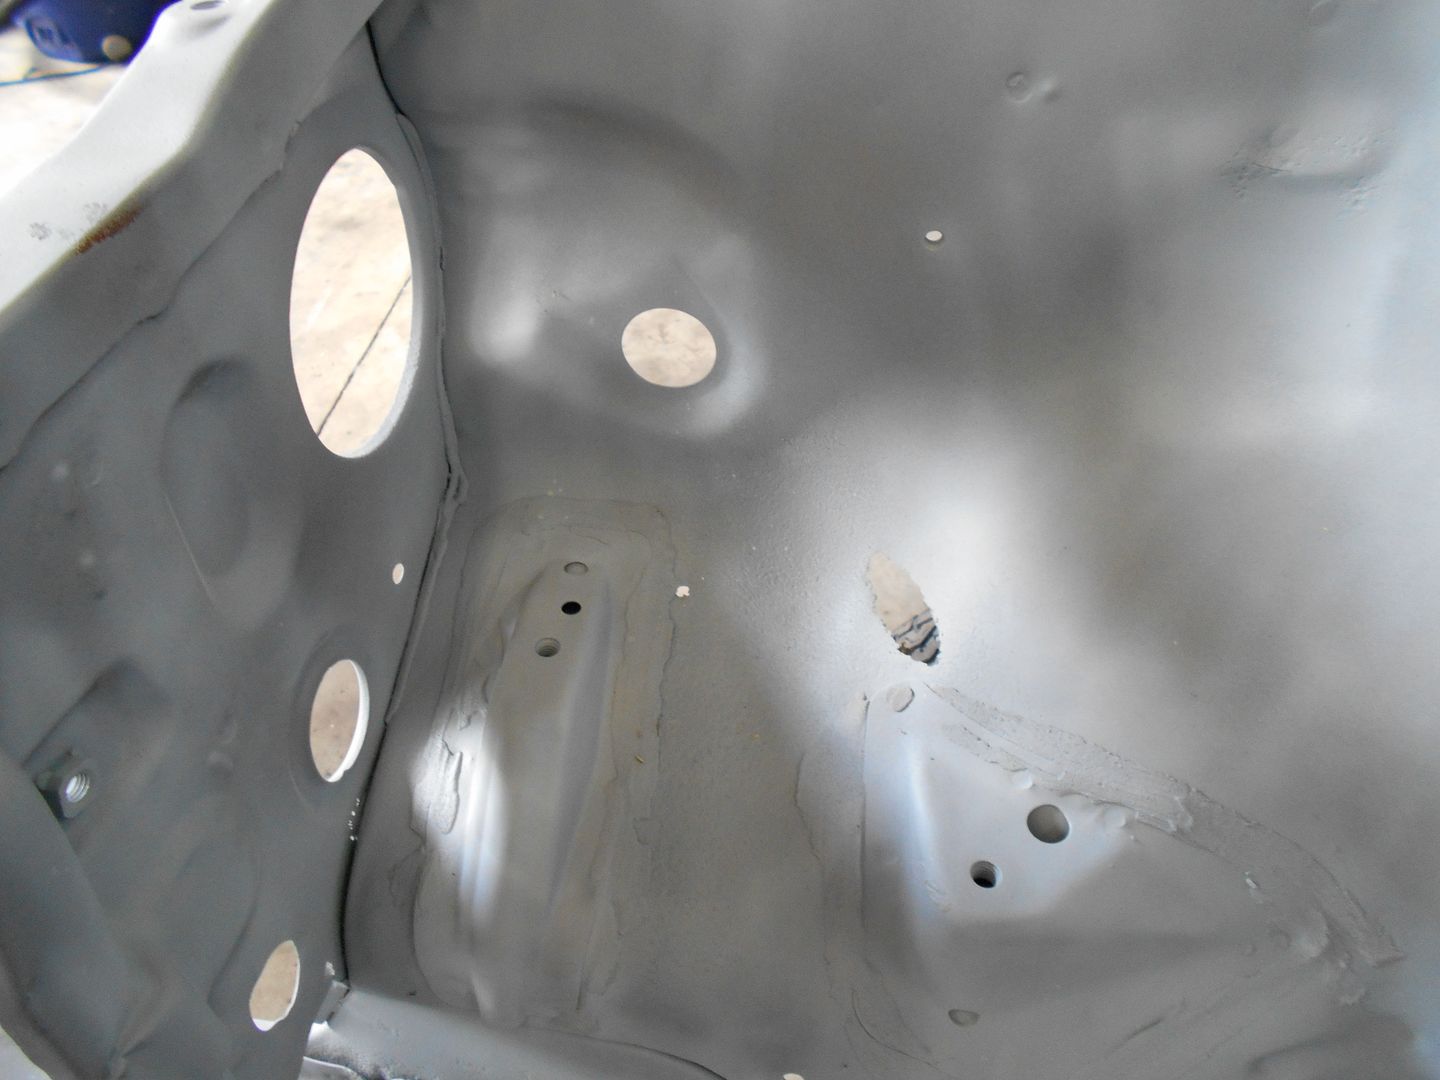 I started out making it too hard on myself, and doing a 1/2" patch for that rust hole near dead center.
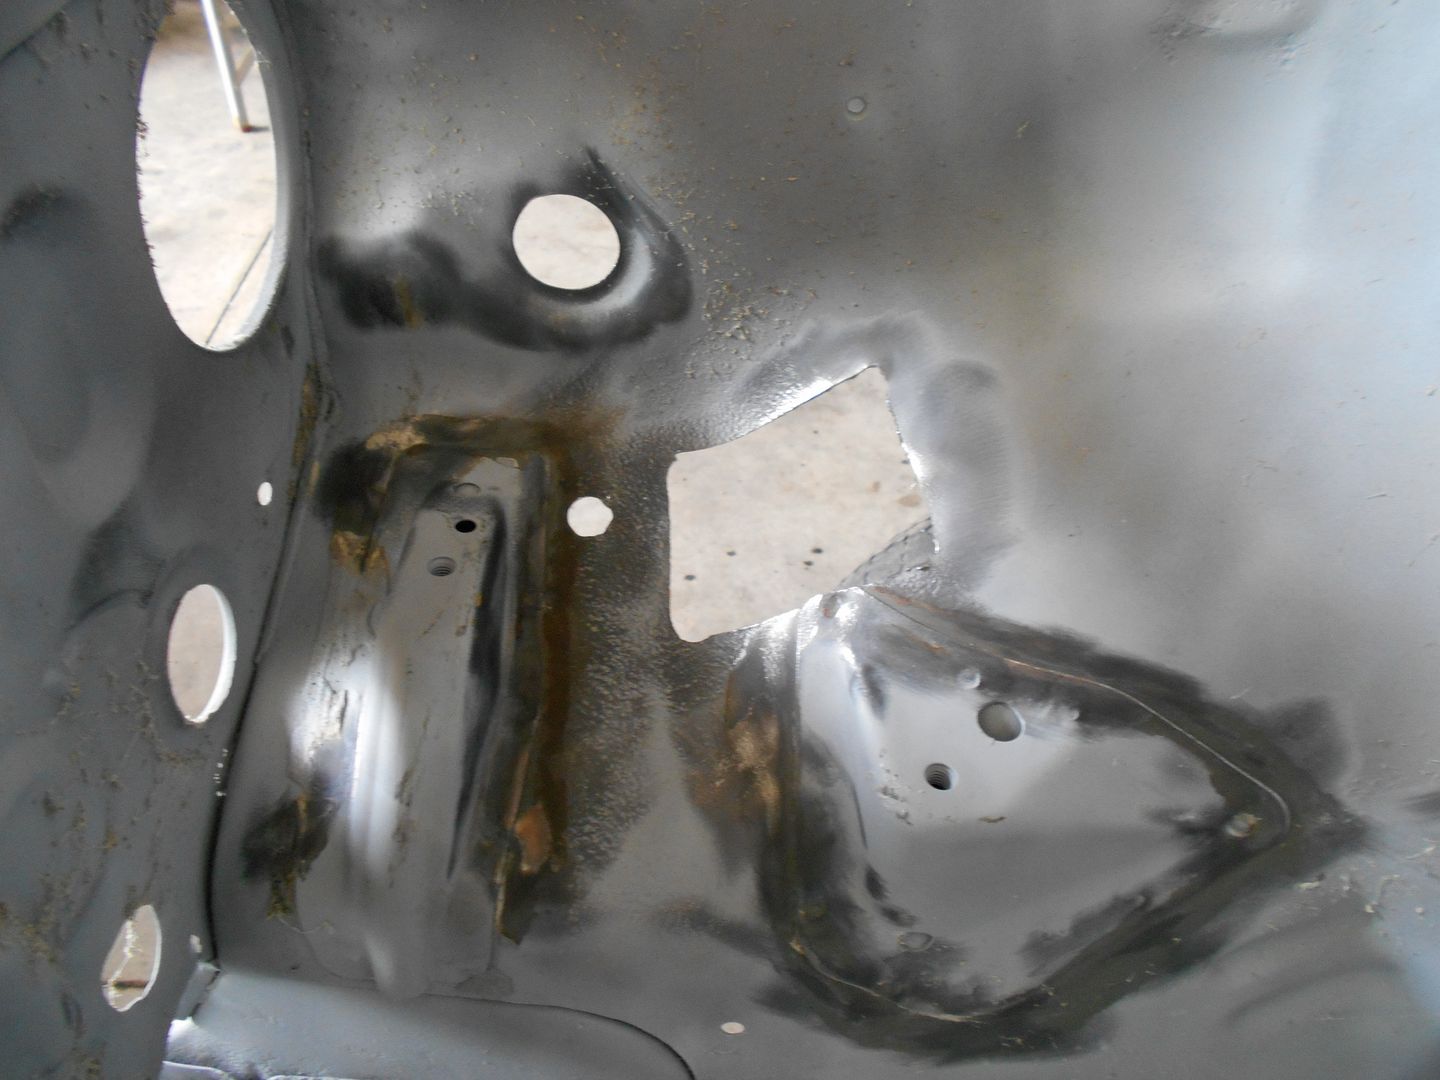 ...and quickly figured out I was burning through all that thin, formerly rusted metal
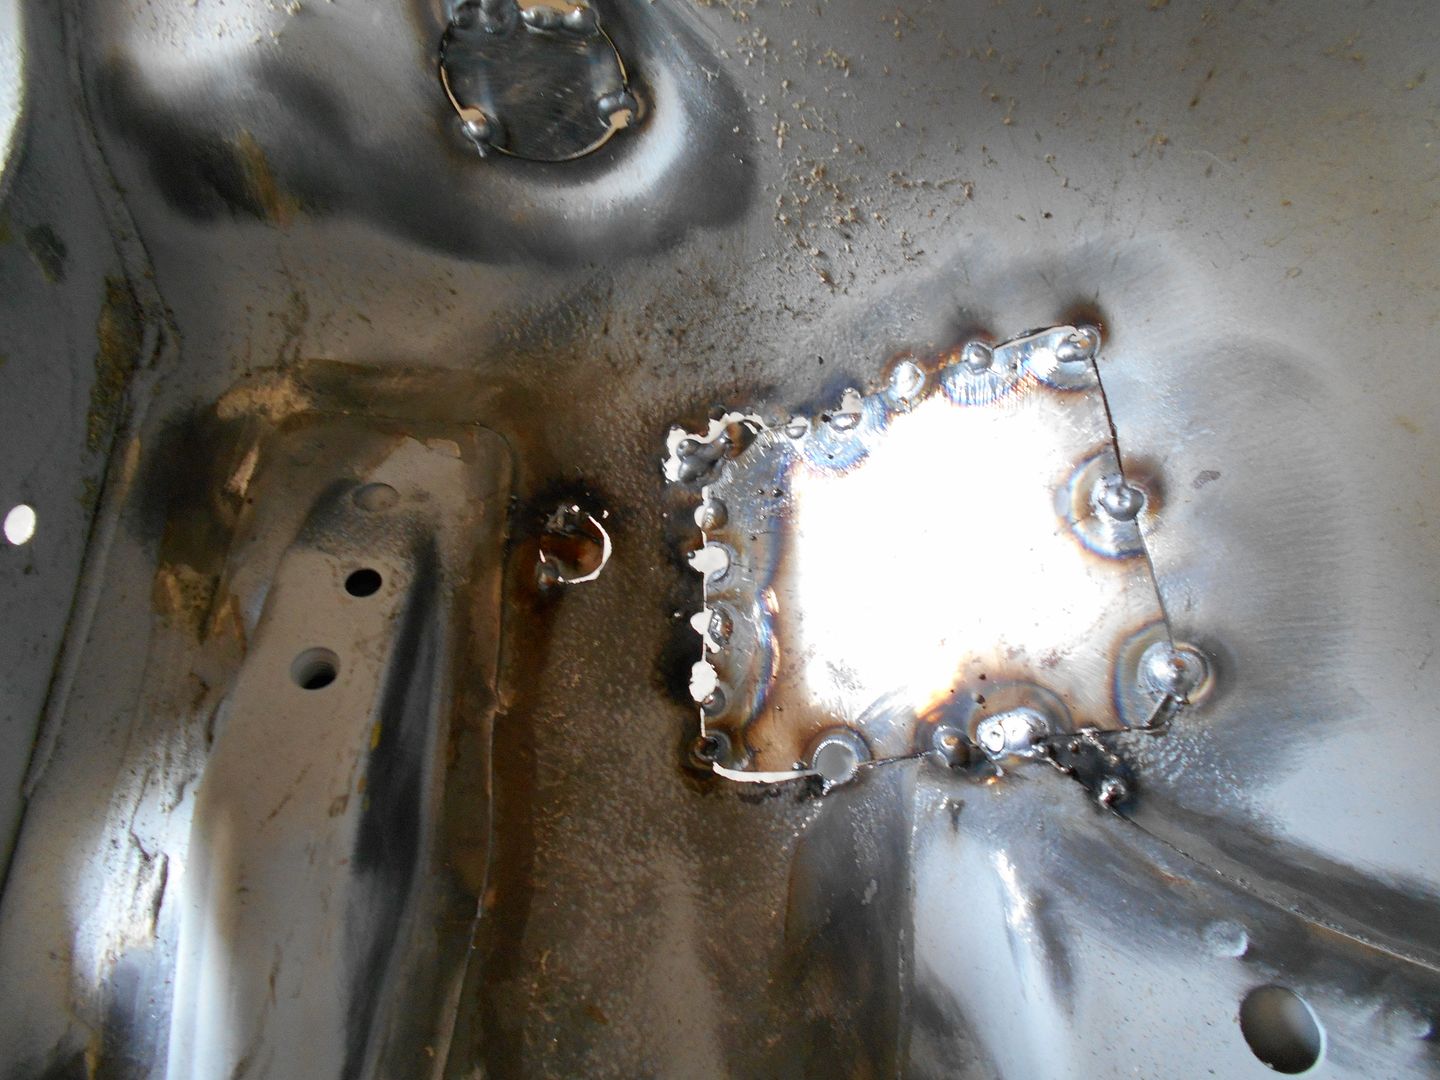 ...so, I cut some more, and made a bigger patch...
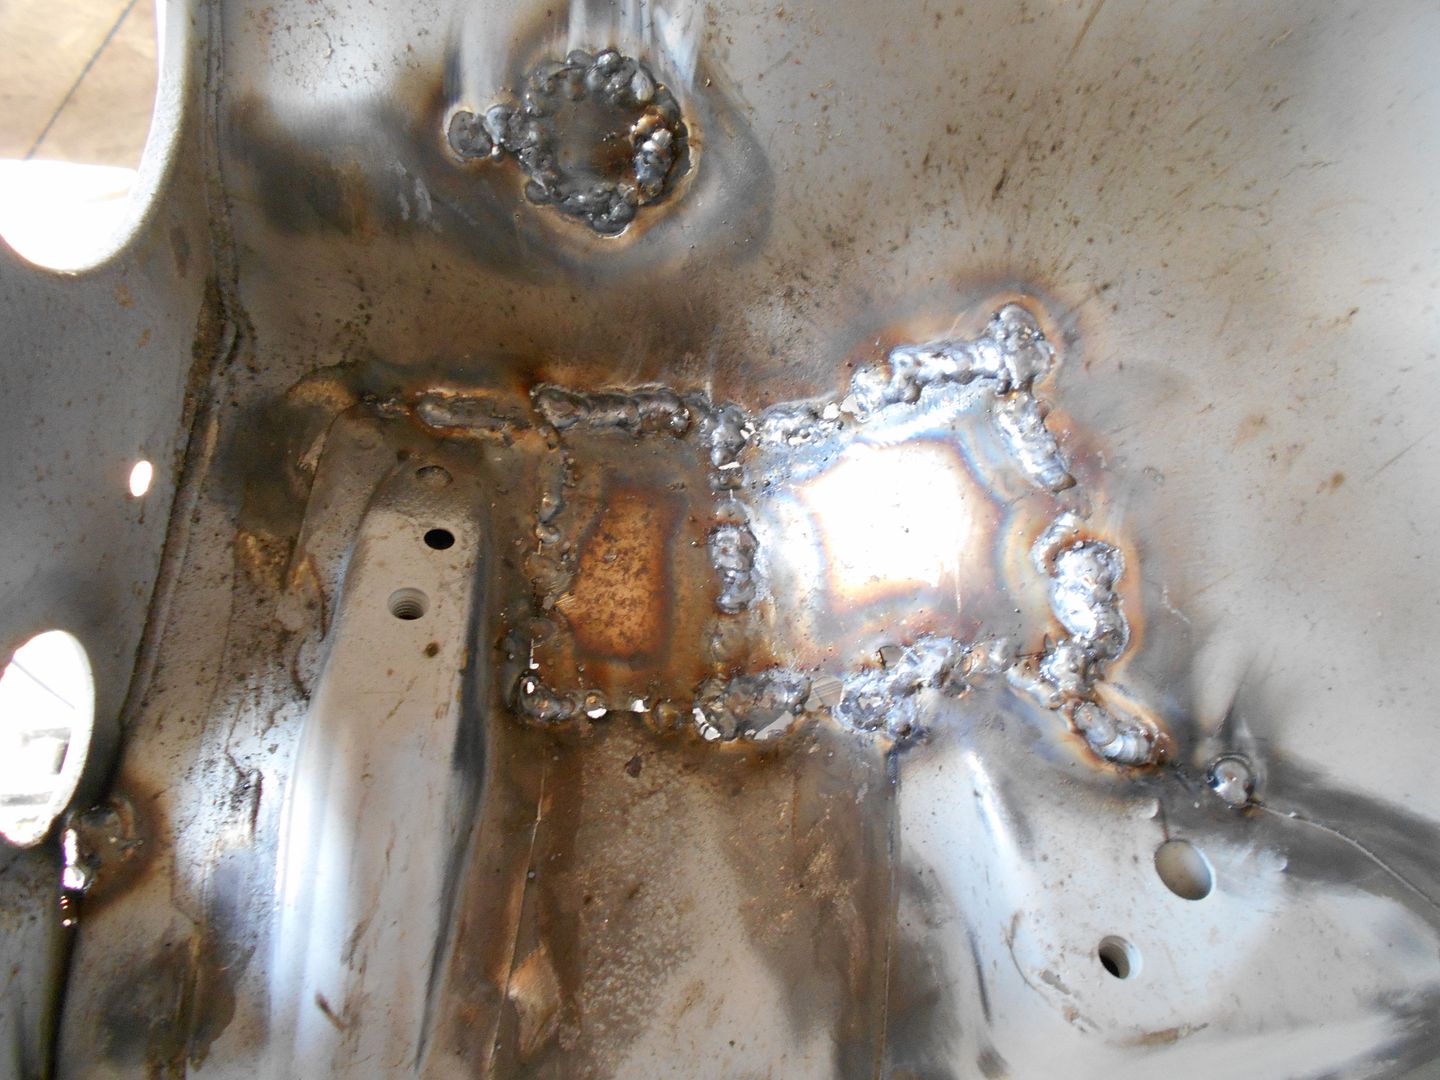 ...which was working much better, and along with a hammer, and dolly, was getting me very acceptable results. I, however, lack patience sometimes, and came in to post while my welds cooled back down.
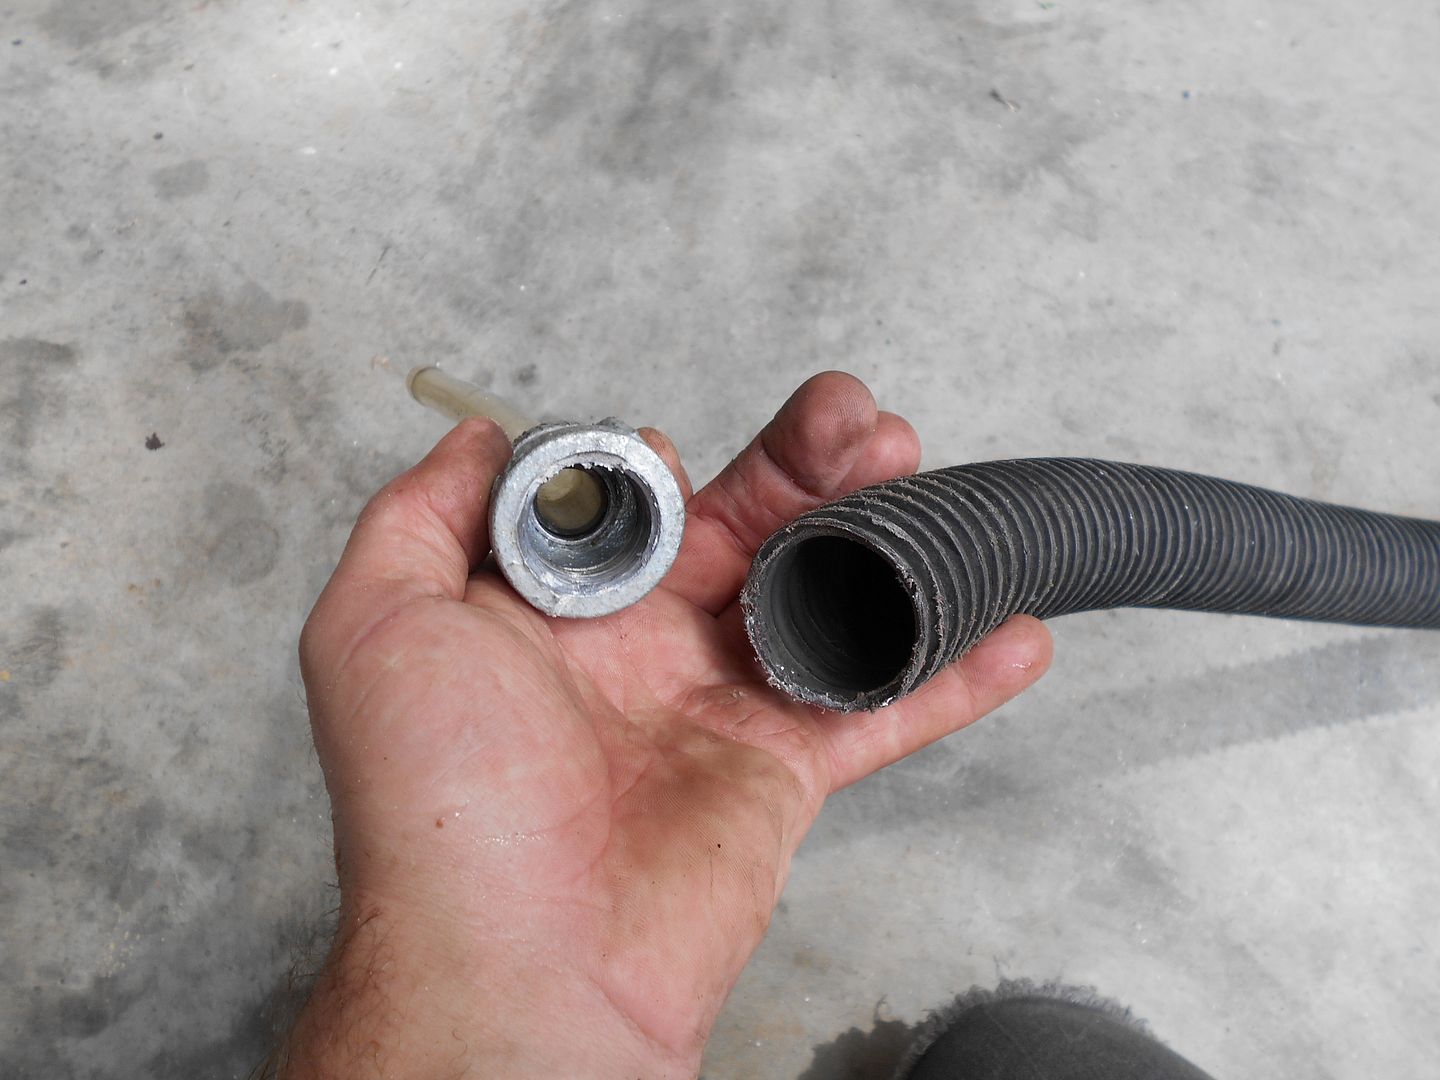 Wrapped in electrical tape, it looked more like this:
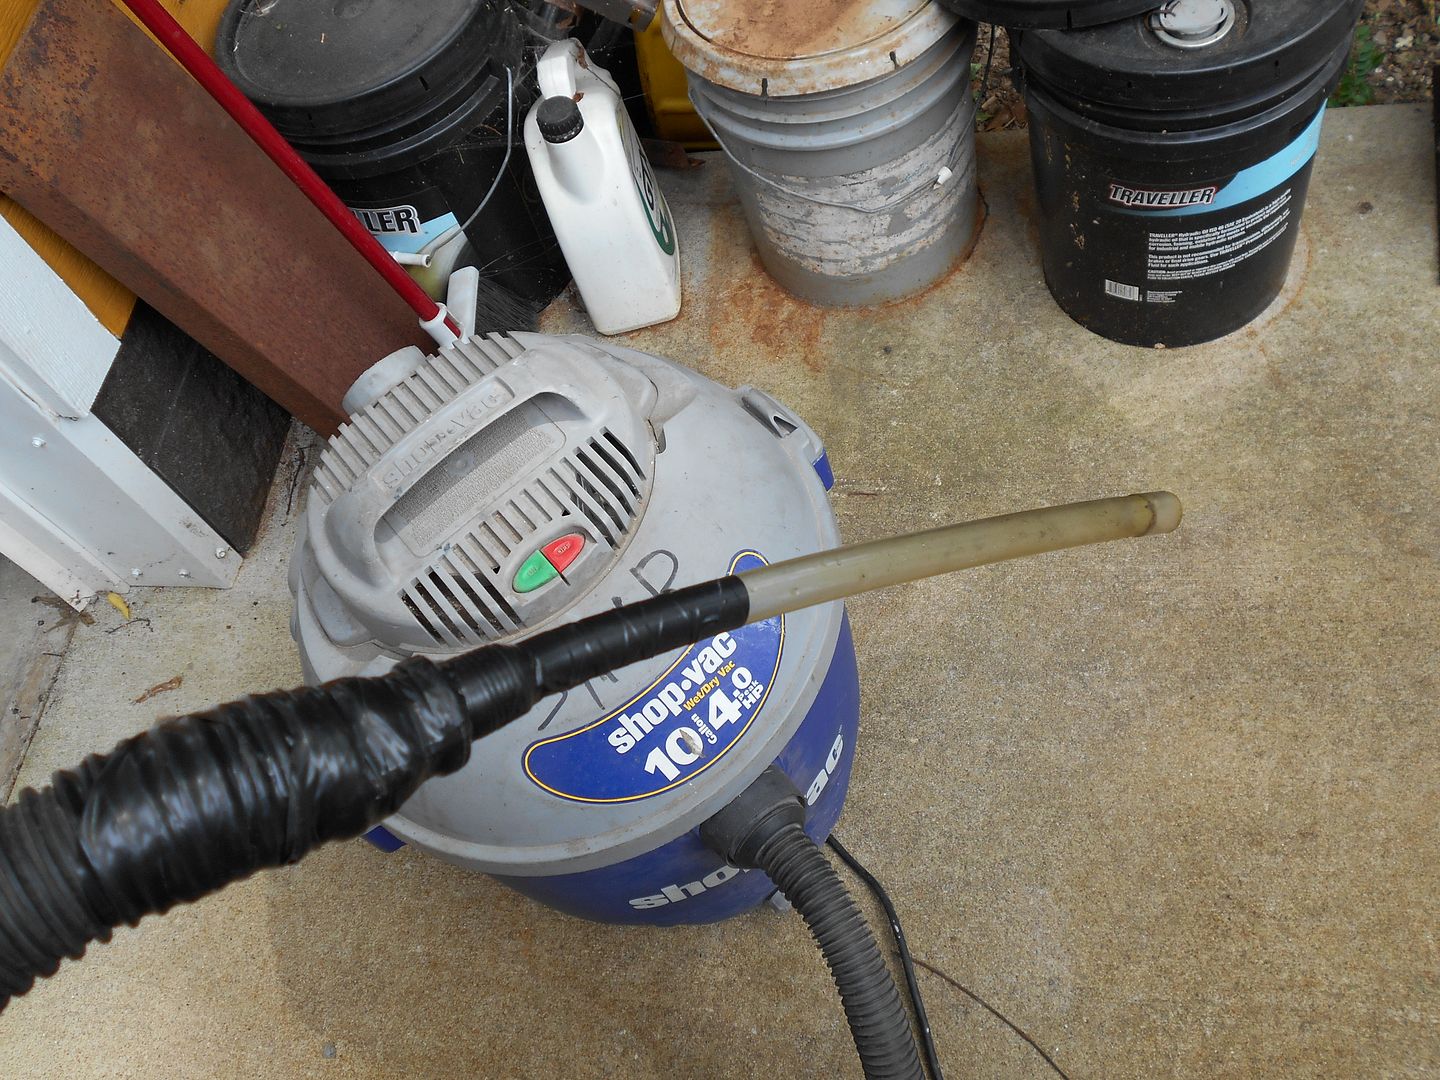 I then proceeded to repeat each of the aforementioned steps several times, each rotation resulting in a virtual corn-A-copia of sand, plastic, and whatever else. I will repeat some more, but, I wanted to update this thread, and show my loyal readers some of the details I'm working with.
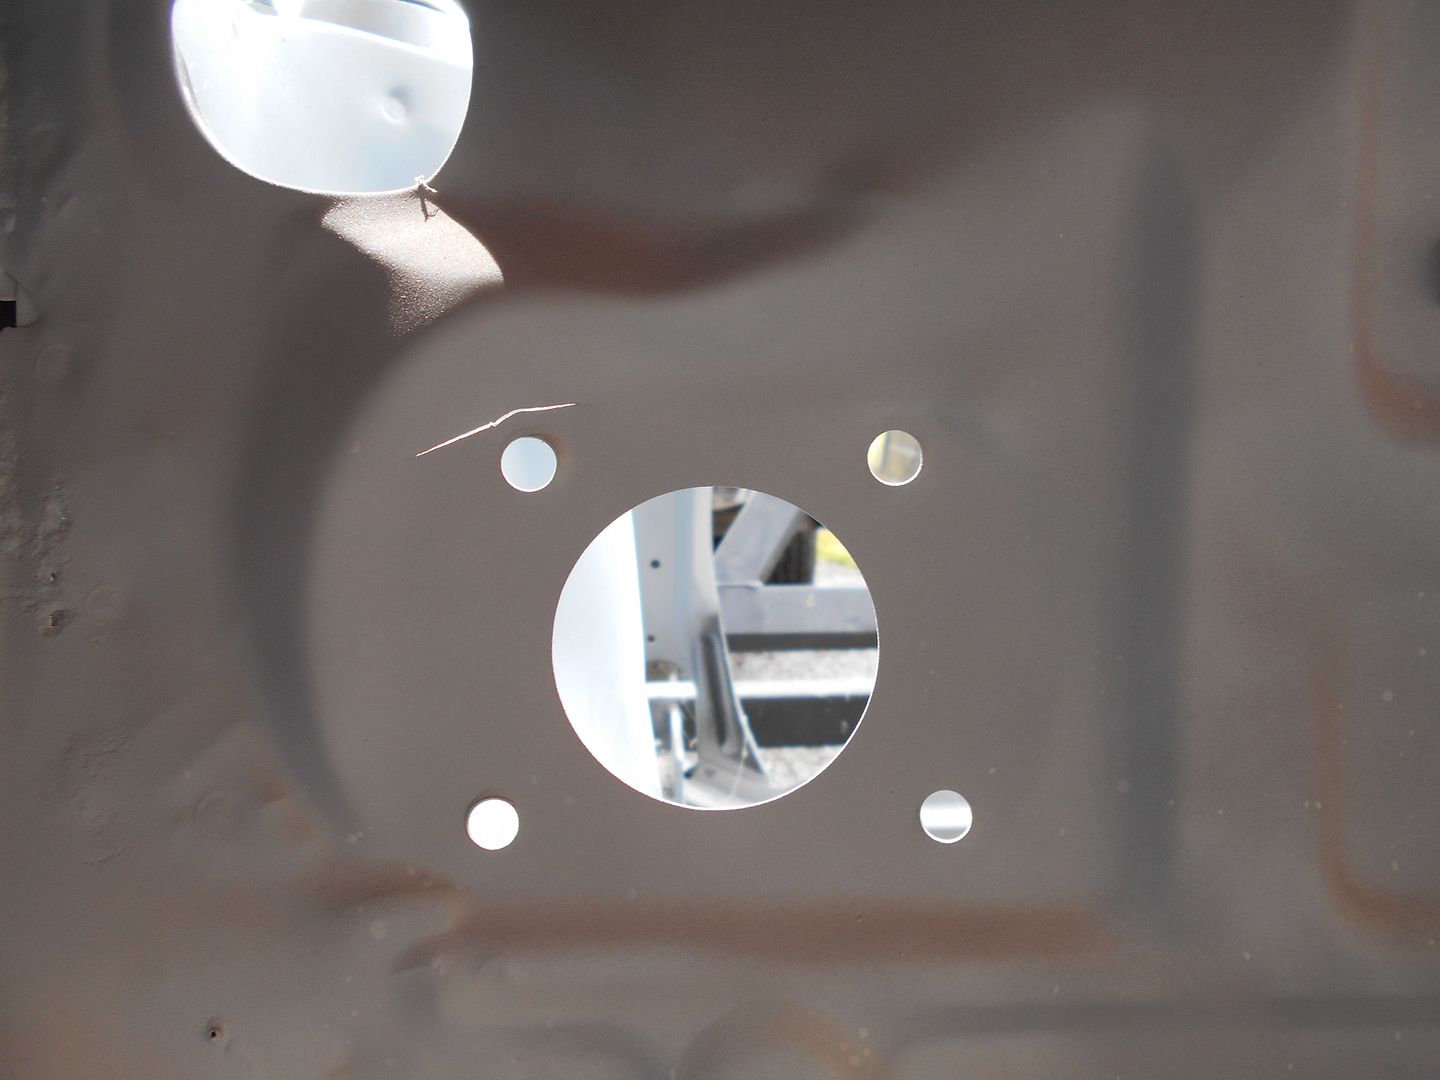 And Here's the torn drivers seat mount. No big deal, but an indicator of just how hard a hit this thing took.
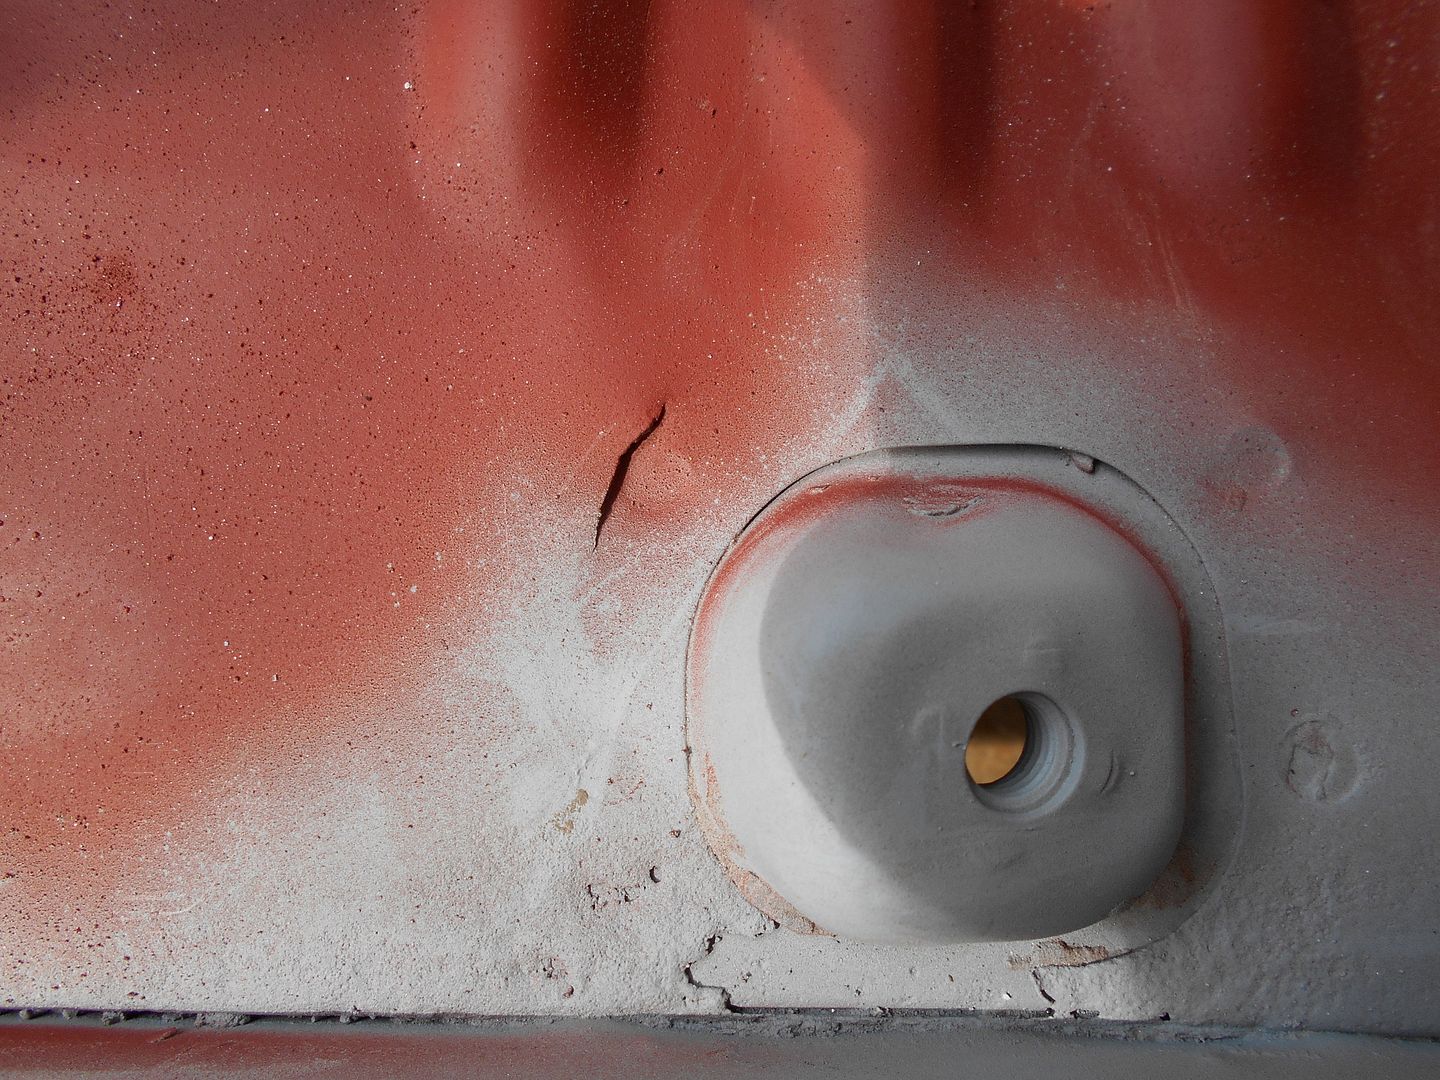 Well, that, and the bent rearend I forgot to mention til now. Gave myself quite a scare on the first tow, as I thought I had forgotten to tighten lug nuts. No worries, the rearend is being replaced anyway.
 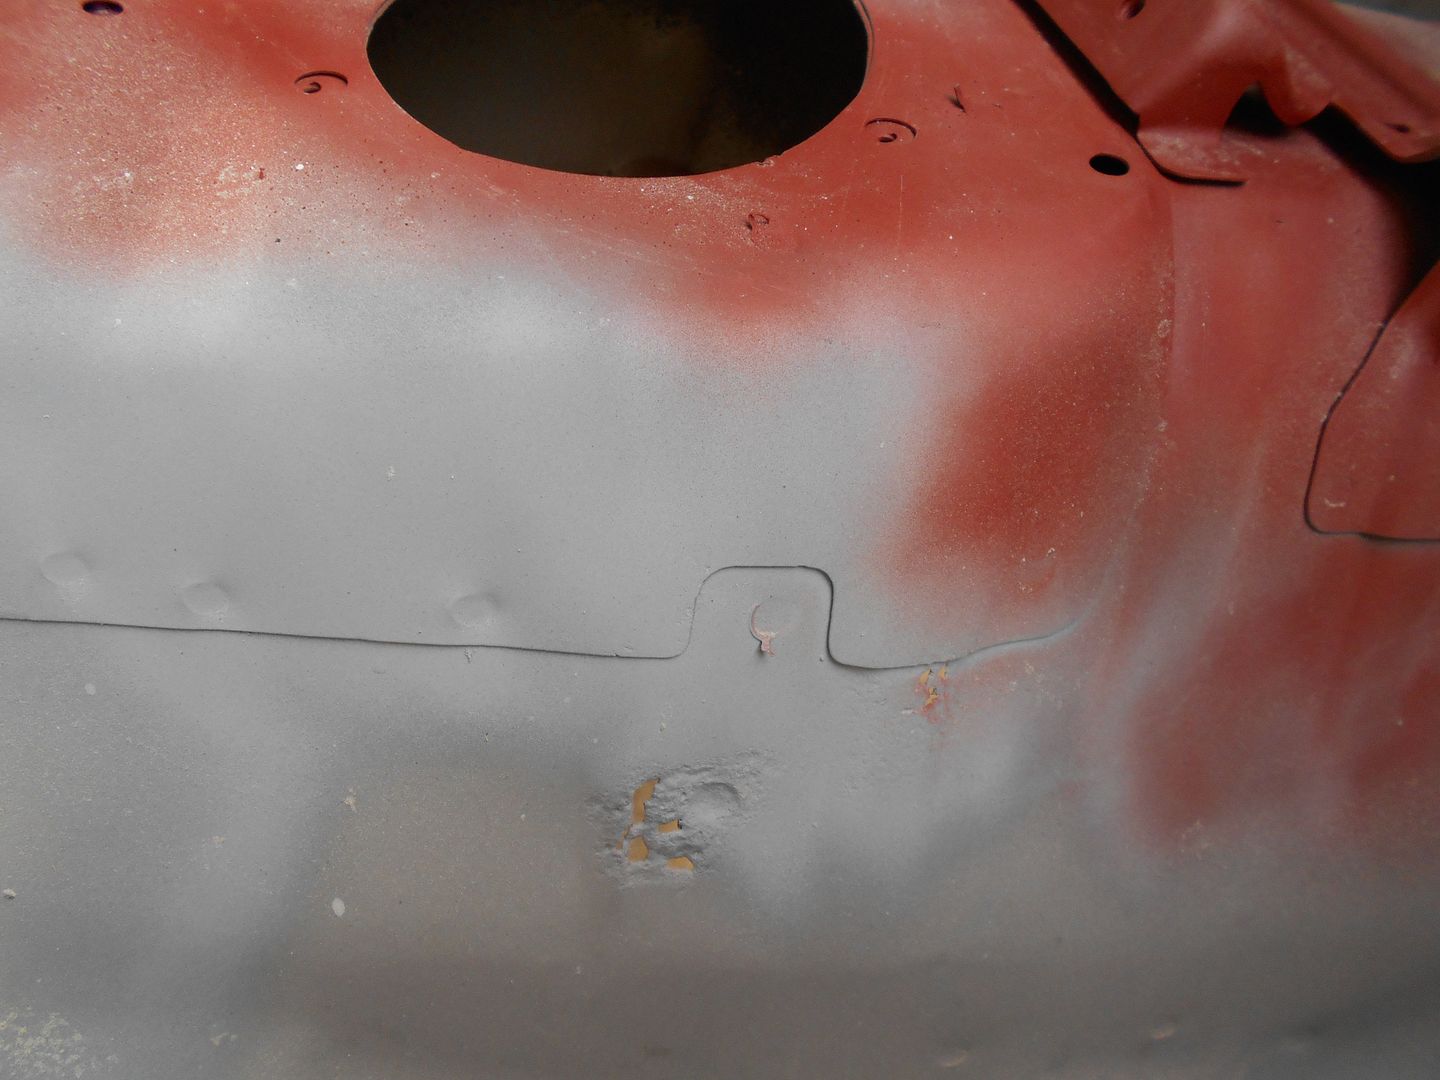 And this is the good (passenger's) floorboard.
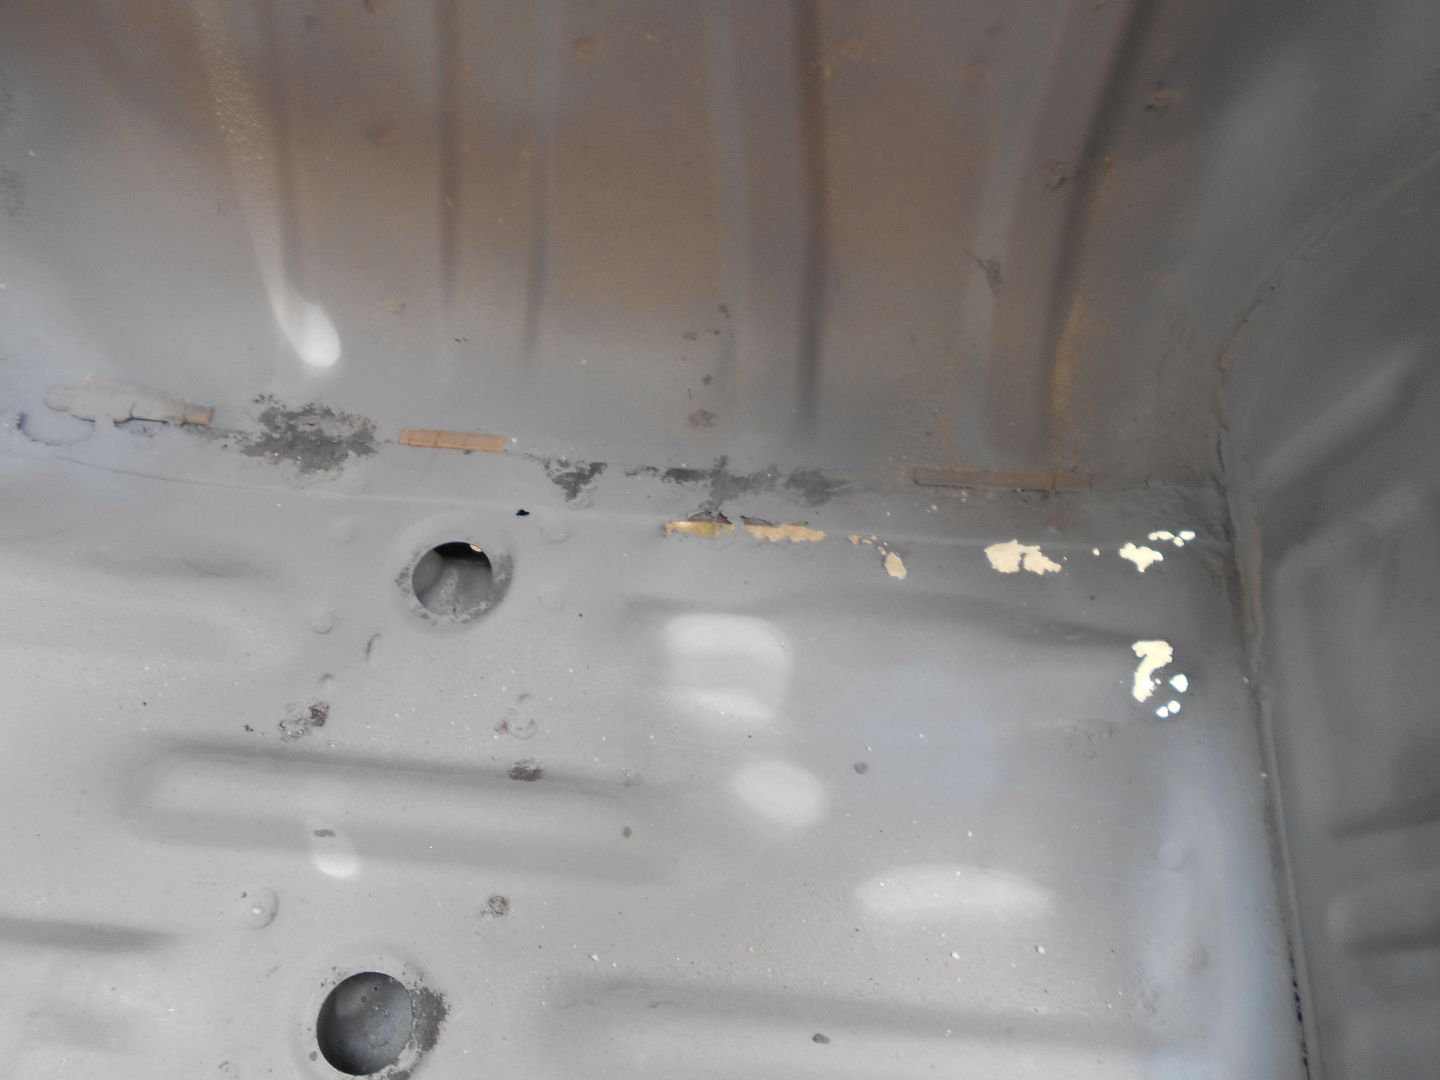
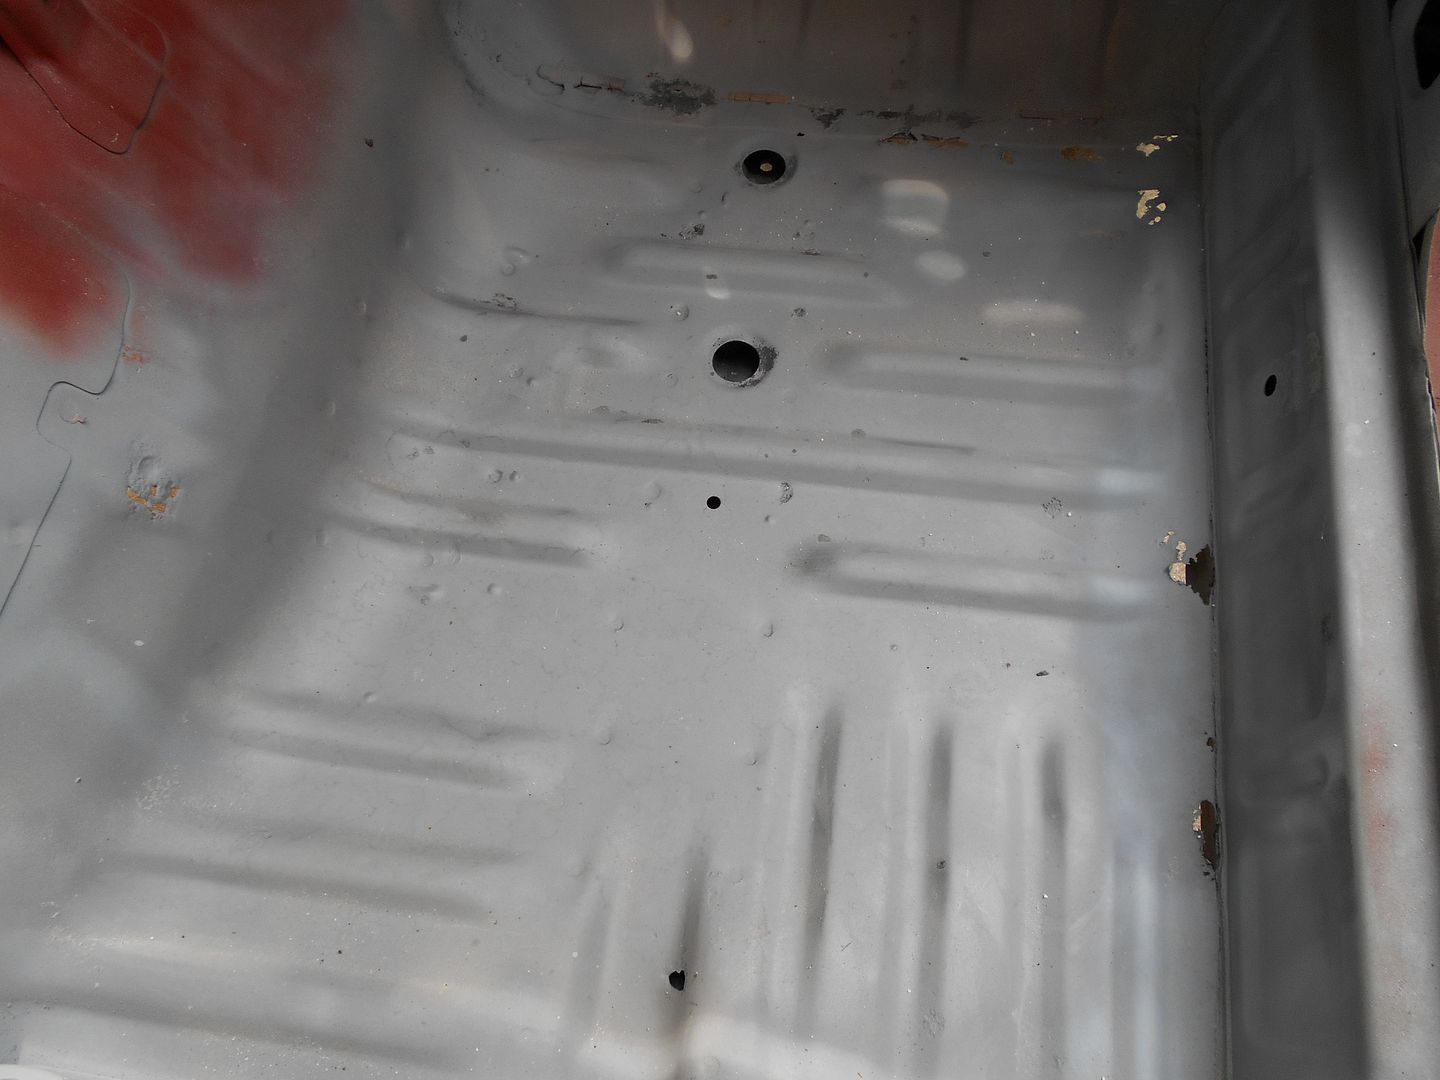 Certainly not the end of the world, but especially in light of my failure at the fireswamp (welding rusty metal, see above post), I'm hoping this thinner wire really makes the difference.
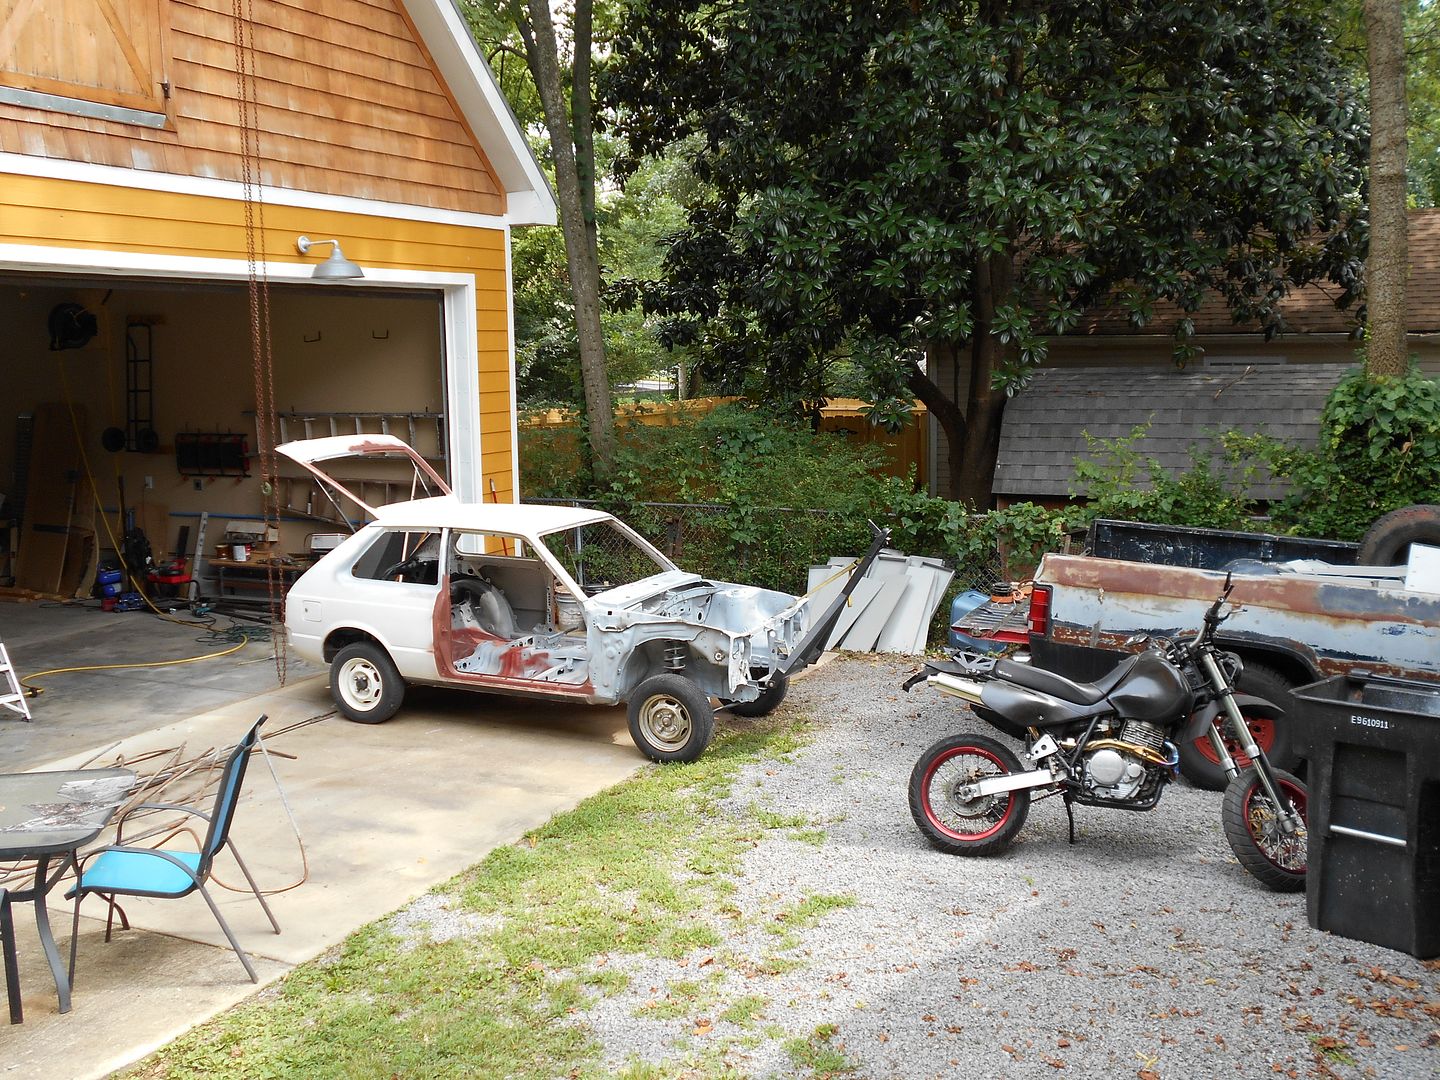




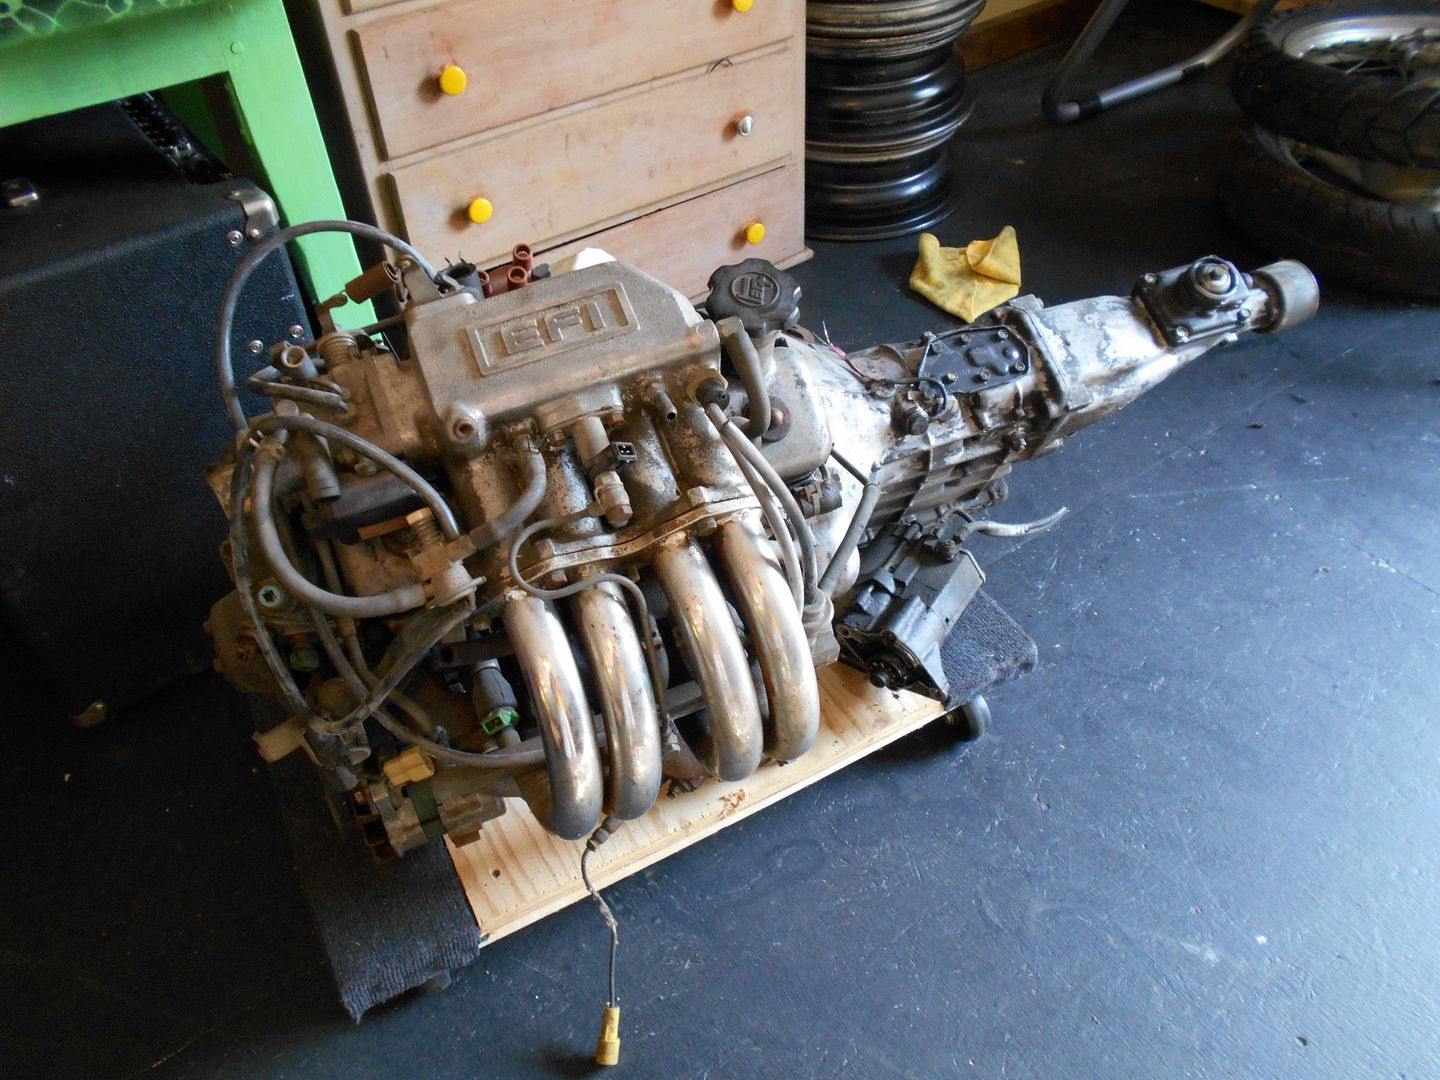 I would gladly part with these for the price of an adult beverage. Chuppy guys, you reading? Free engine and transmission. Ran when pulled. Had a lifter tick, but seemed solid.4 speed also seemed good. Nashville TN area. Gotta hang on to the distributor.
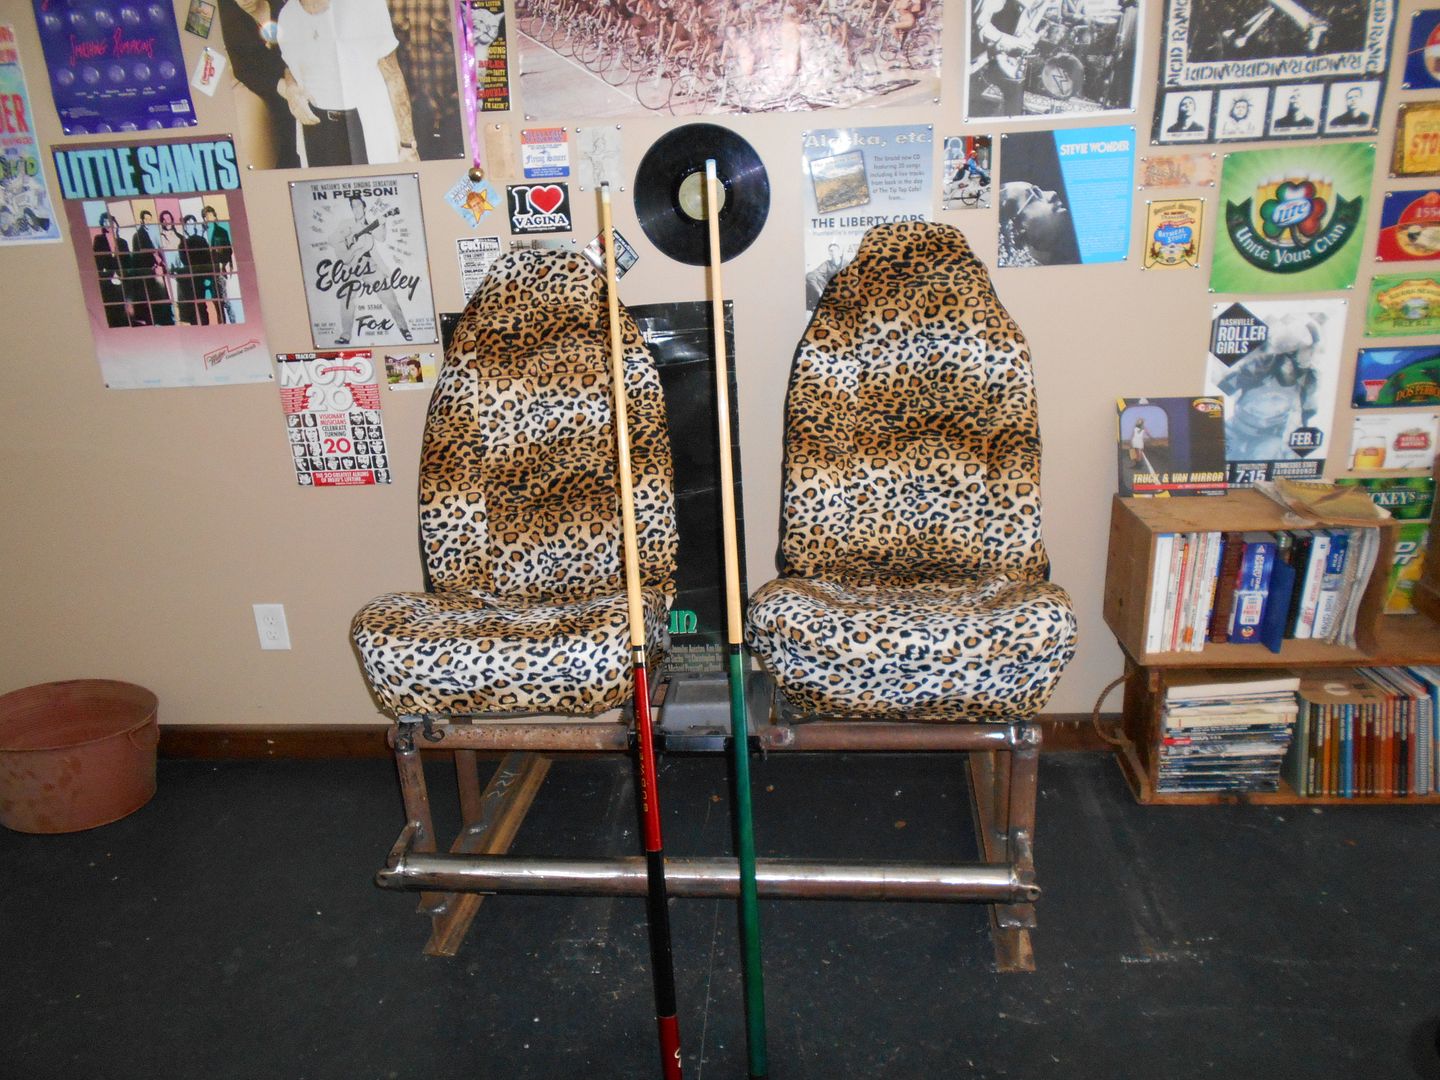 Sweet, eh? that's the old driveshaft serving as foot bar, and a Tracker cupholder.
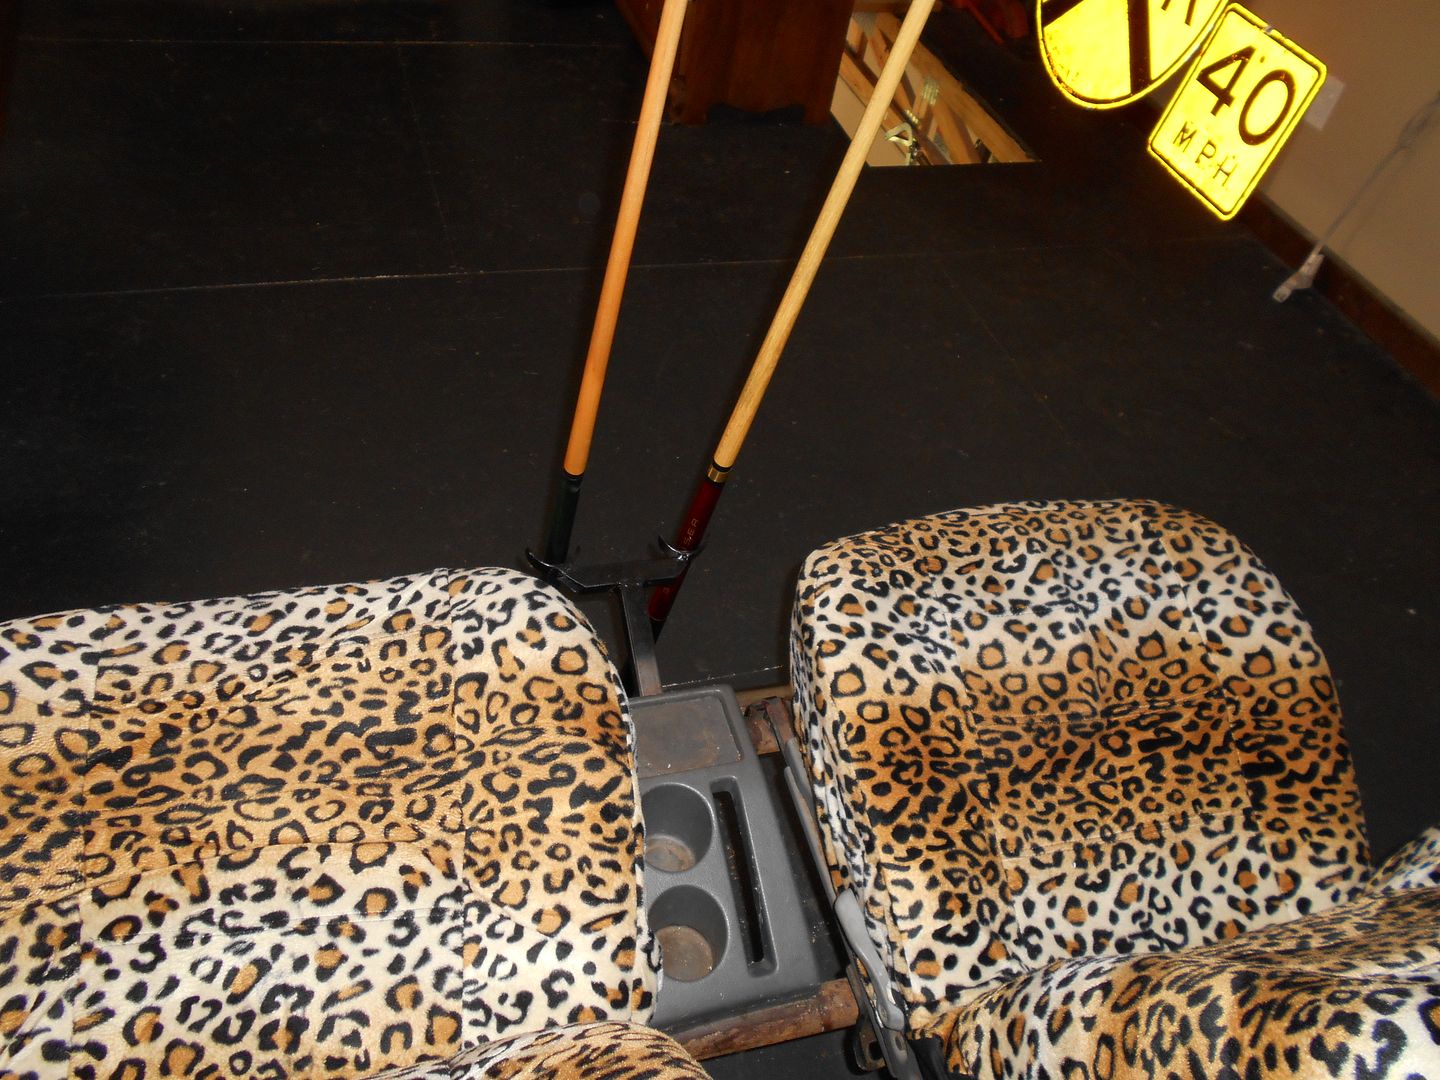 And across the loft.
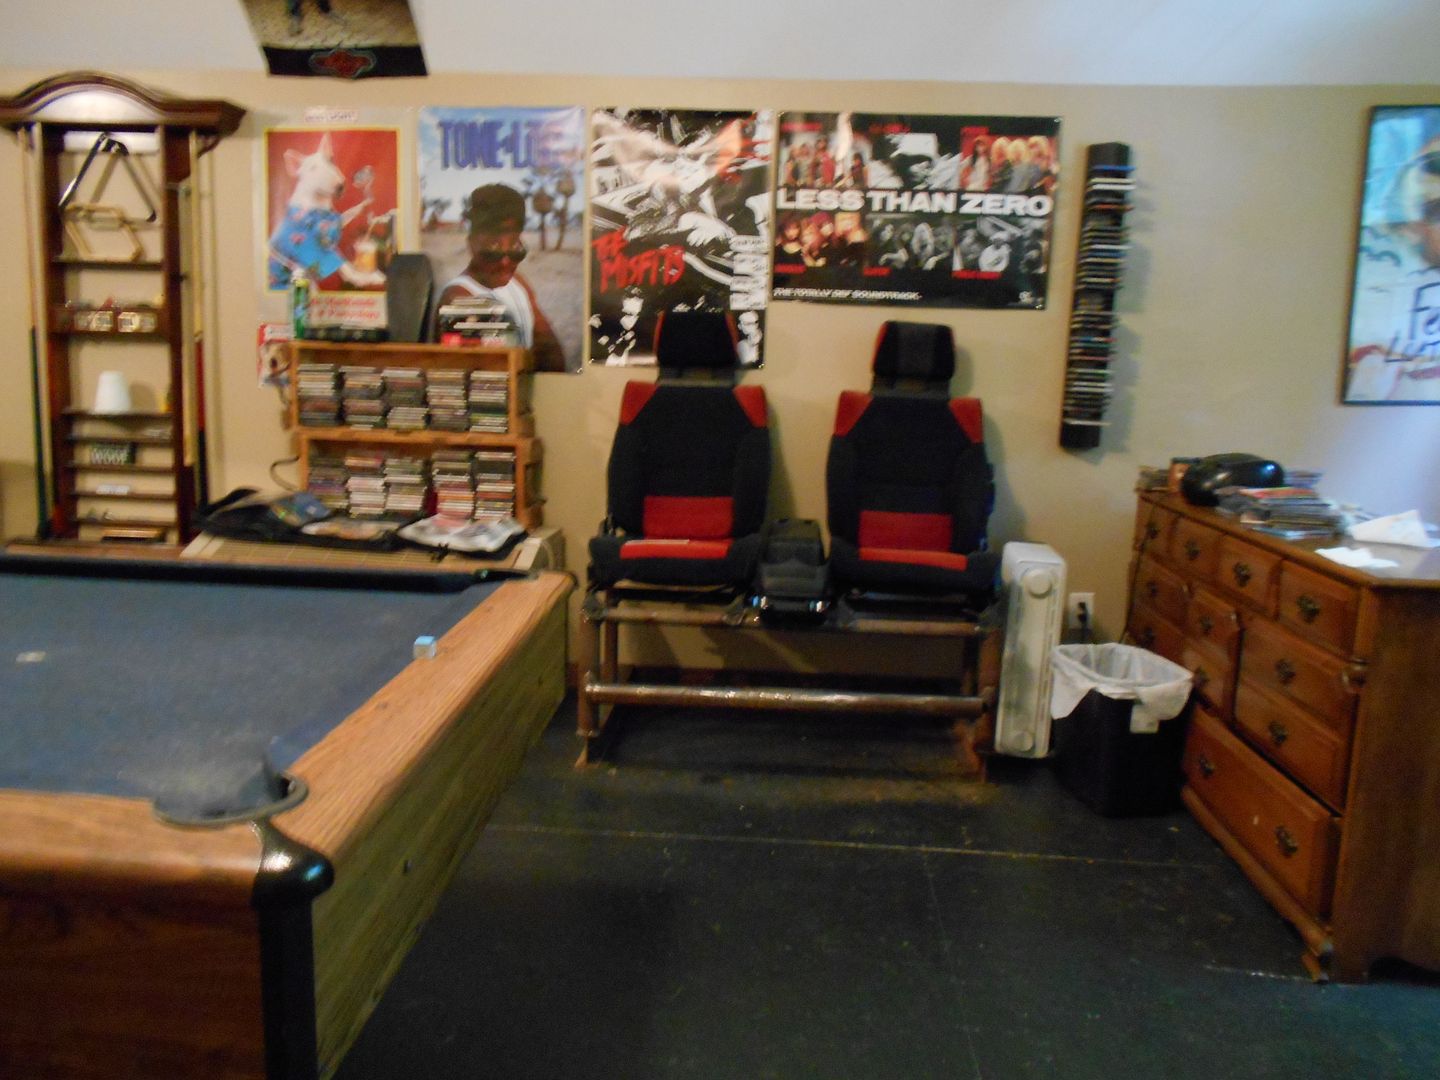
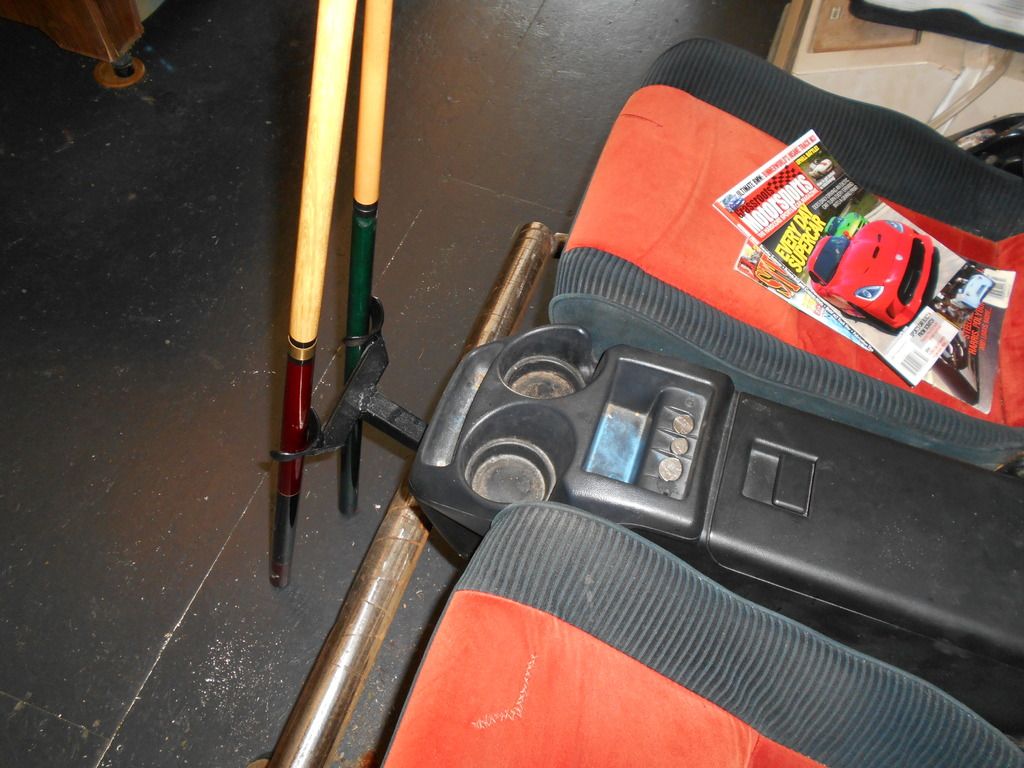 Ending with some more product placement (brown nosing). Well, daylight's burning, and I haven't actually accomplished any kind of real update in some time.
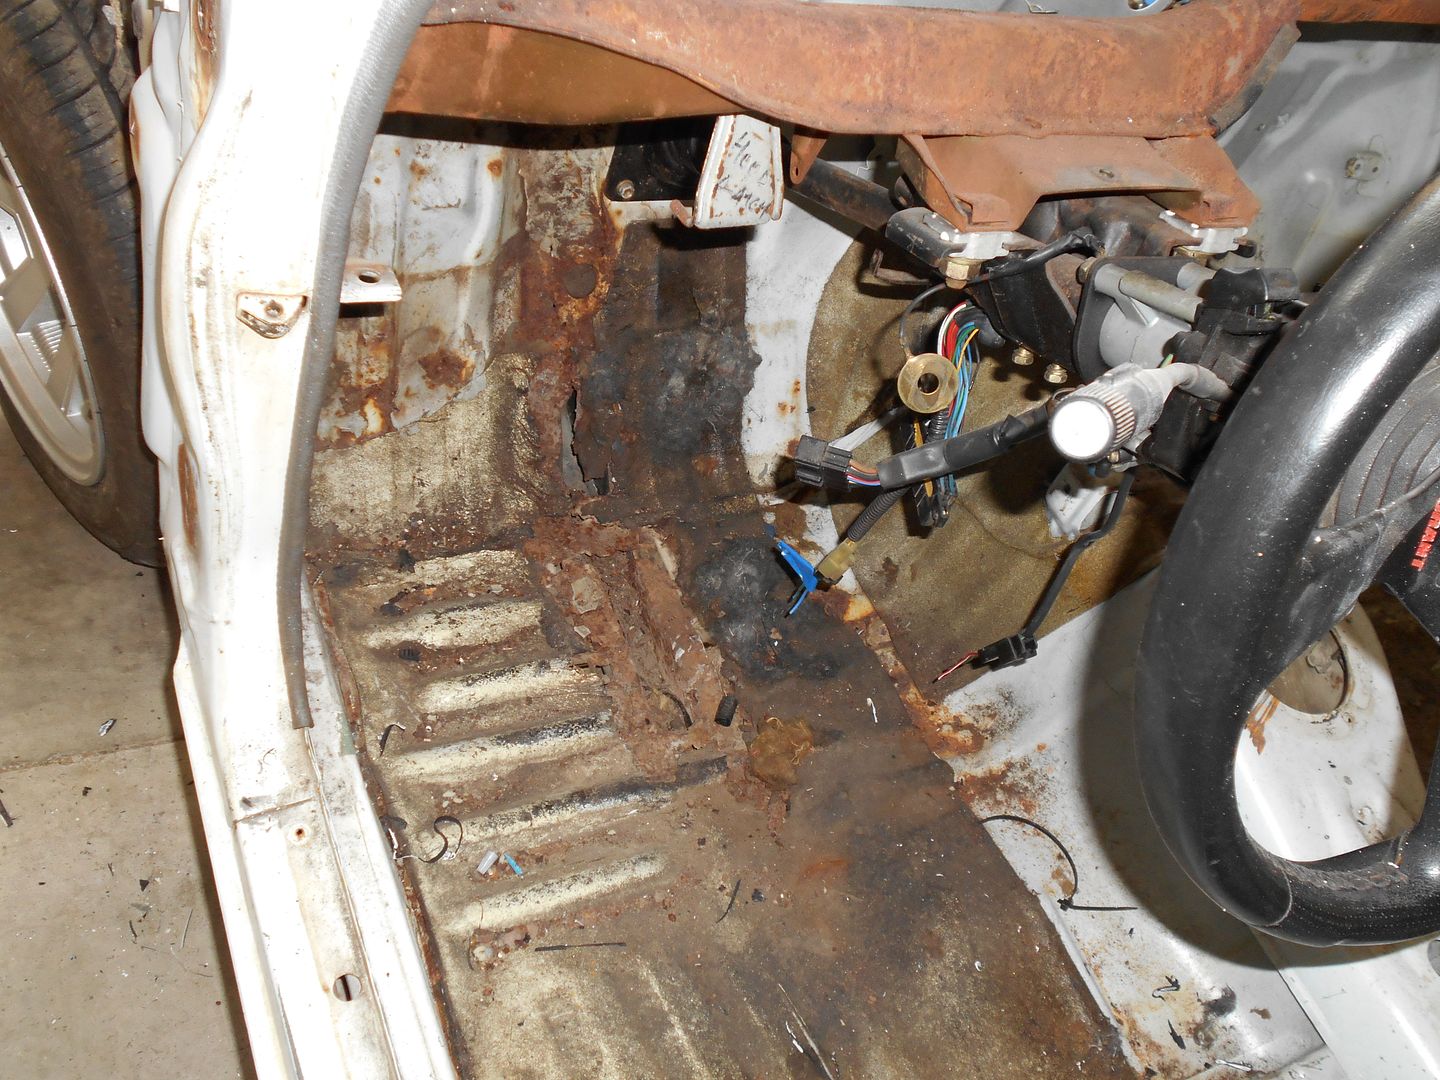
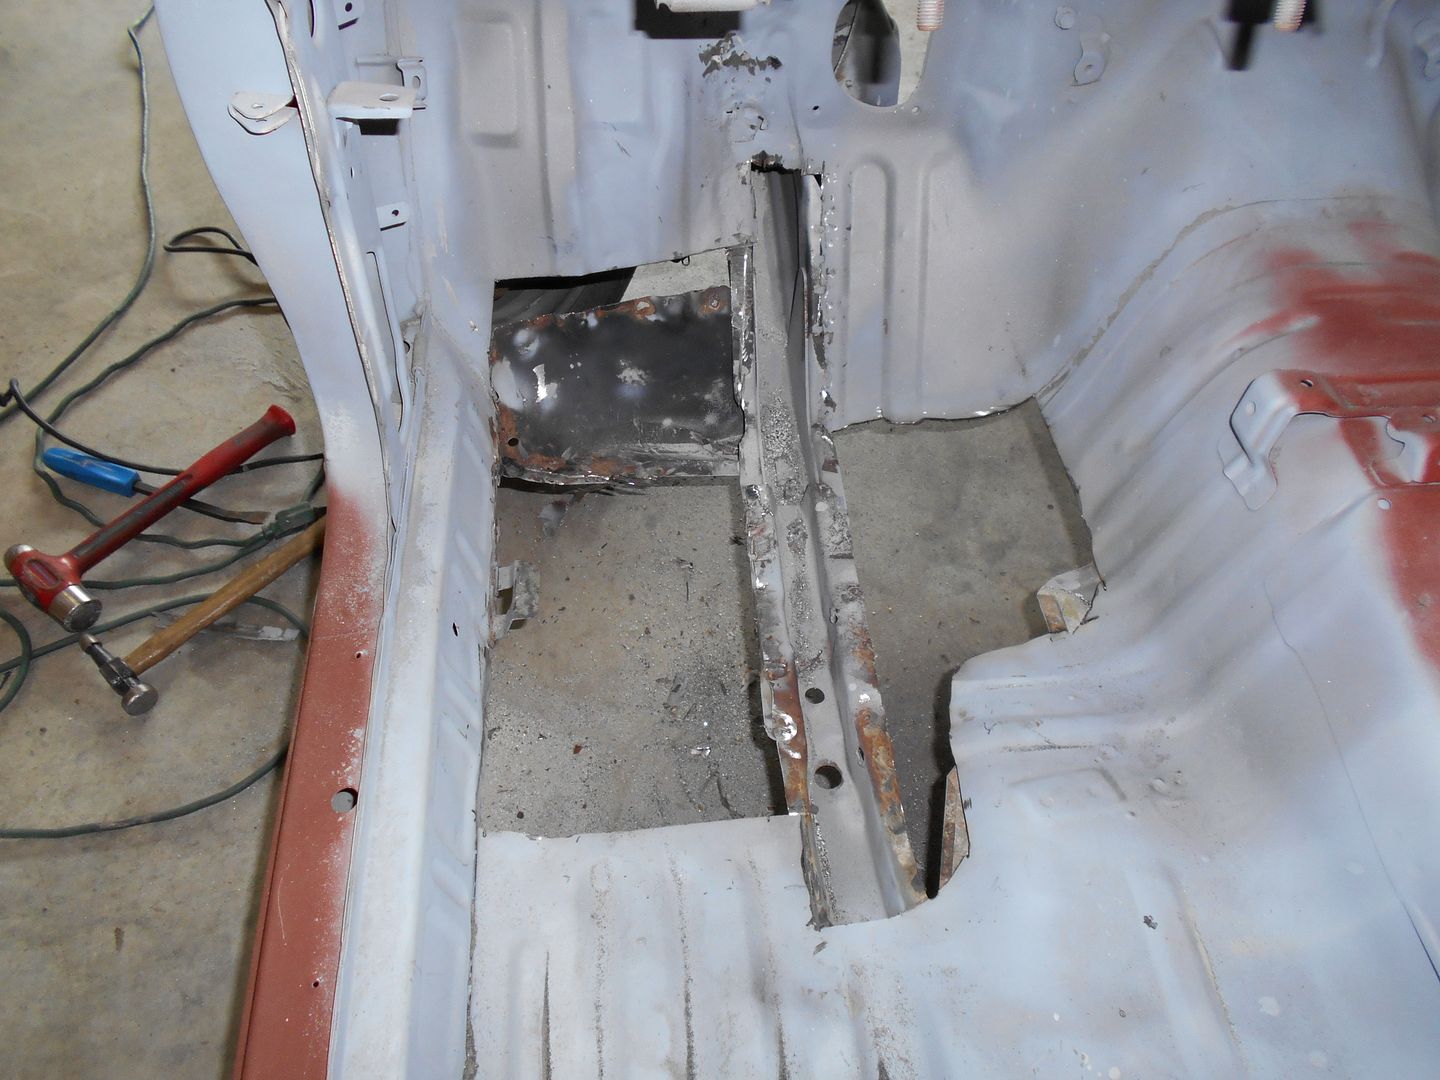 Cut back to good metal in the driver's floorboard. The "frame rail" looks good, and is pretty thick gauge metal. Some touch up welding, and encapsulator, and should be good to go.
 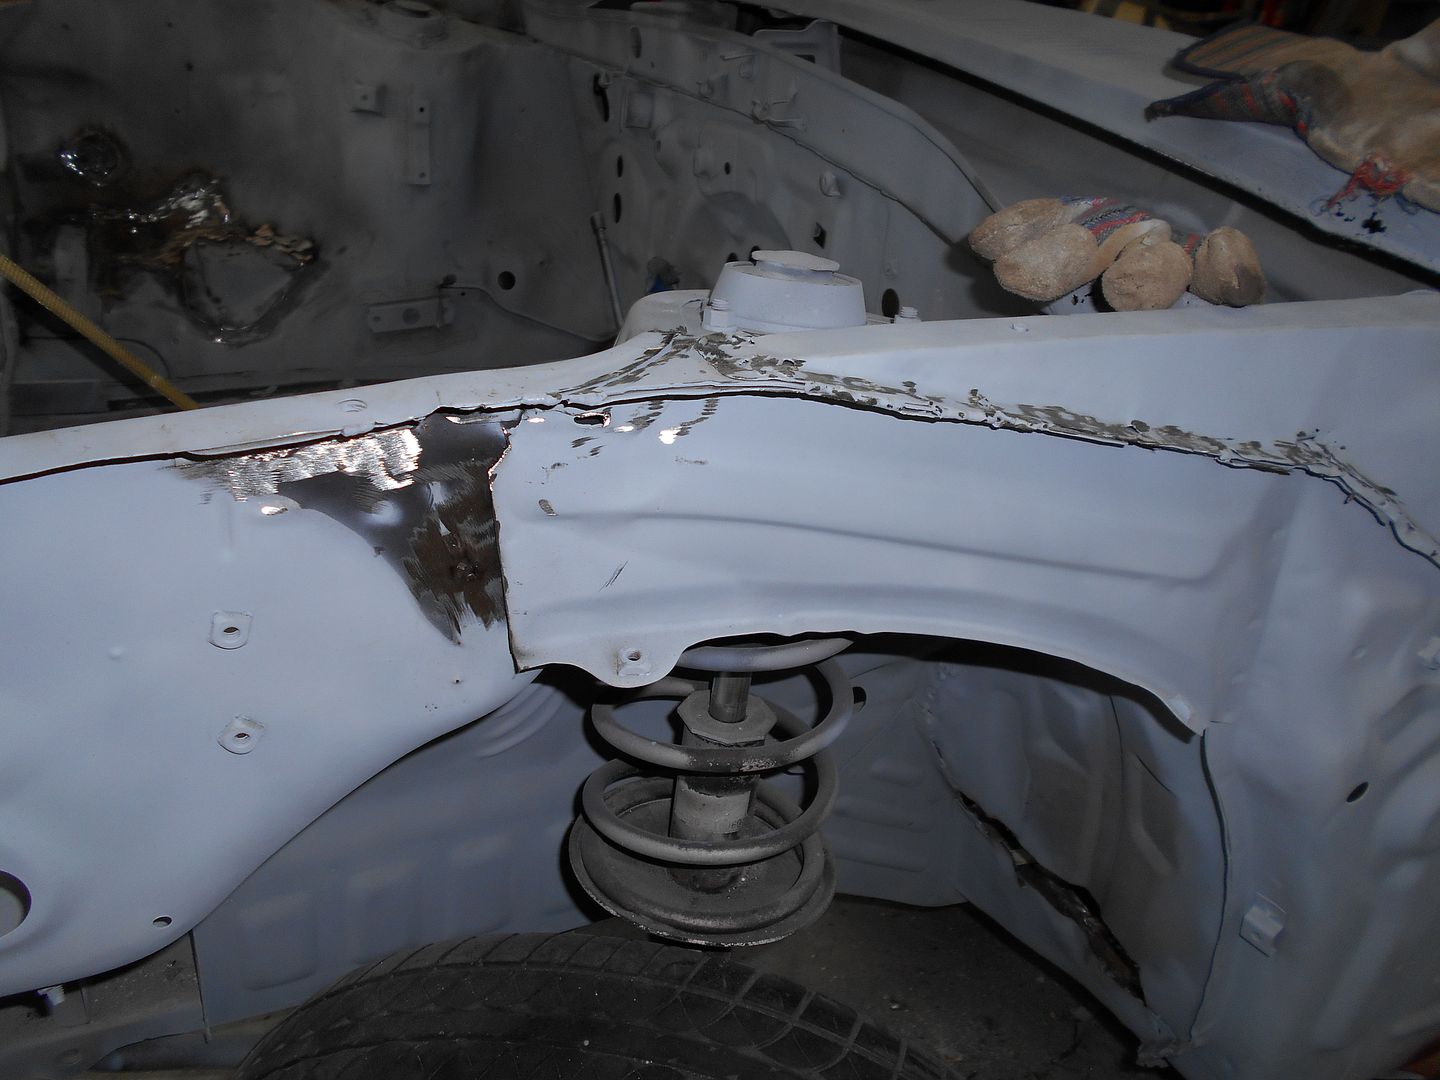 And cleaned up our old buddy the battery tray a bit better: