In reply to RedGT:
I paid full price for the first one a while ago (needed it to build the mounts). The one I just picked up was about $300. This site has a great deal going on if you can wait for overseas shipping though.
In reply to RedGT:
I paid full price for the first one a while ago (needed it to build the mounts). The one I just picked up was about $300. This site has a great deal going on if you can wait for overseas shipping though.
So just looking back at some of your pics as make my seat mounts, and noticed.....is it just me, or is the driver's seat mount crossbar really un-level? Looks like it slopes heavily toward the door.
Pic in question is the "blue interiors" post on page 3, first pic in the post.
In reply to irish44j:
It's actually rotated the the left somewhat, which from that angle makes it look like it slopes down toward the door. I offset the ass end of the seat as far in towards the tunnel as it would go, so to keep my feet pointed at the pedals I had to aim the entire seat to the left a bit- you can see it in the picture below the one you're looking at, they're not parallel to the mounts for the codriver's seat.
Not ideal, but the only way I could come up with to keep my head away from the cage and still reach the pedals.
¯\_(ツ)_/¯ wrote: In reply to tdrrally: When will it be ready? Maybe if I keep swapping out projects some day we can all go to a NASA event where like 1/4 of the field was previously owned by me
at this point i'm aiming for the chasing the dragon hill climb
That's not a Thermostat...
The car never really warmed up when I drove it, so I decided to replace the thermostat, but after snapping off the rusty bolts, this is what I found:
That is decidedly not a thermostat. One of the bolts came out with vice grips, the other had to be drilled. New thermostat installed:
so, is that the remains of a thermostat (and if so, did you find the rest of it??), or did someone just put a big washer in there?
That's a modified thermostat with the middle cut out. Probably wont find the missing piece :)
I'd assume it was done because it ran hot.
jfryjfry has it right- and given that the last event the car saw was a lemons race in California I'm not incredibly surprised by this modification.
Kitchen Counter Wiring Diagram
Here's the plan:
I'm an engineer but not the electrical kind. Wish me luck! ![]()
In reply to ¯_(ツ)_/¯:
Hear you on that. I'm a civil engineer but the whole wiring/electricity thing has just never made sense to me.
Success?
After spending a great deal of time unberkeleying the wiring on this car, I spent the better part of the day to reberkeley it:
Then I ran it. The new thermostat works great, but the (brand new) fan thermoswitch doesn't, although the fans work fine when the override is switched on. Lights and fuel pump work great as well, still need to wire the horn since I couldn't find the button I had set aside for it.
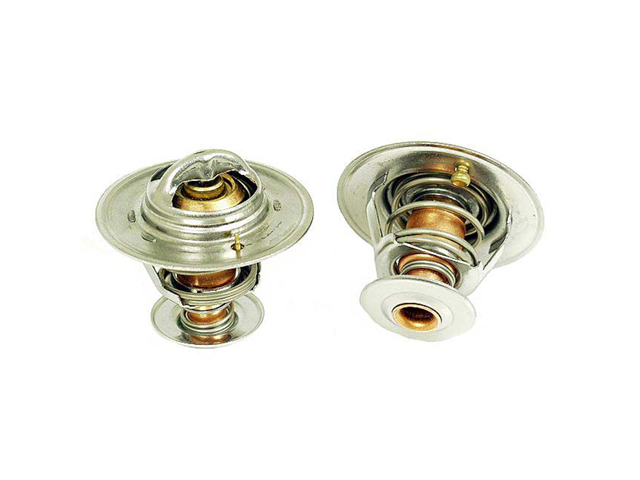
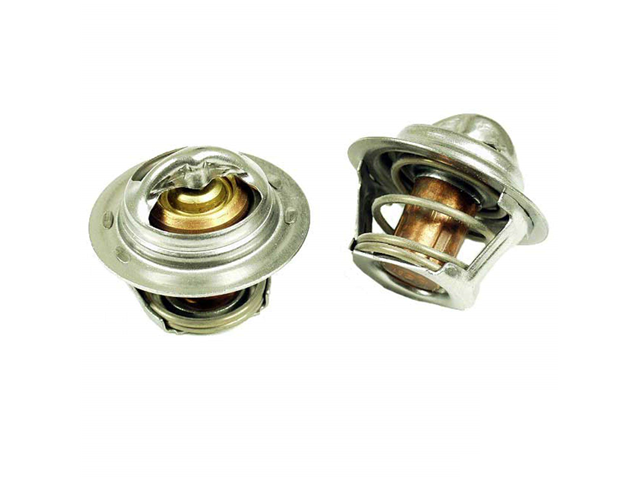
Just a quick note about RX7 thermostats.... I believ the S4 and S5 rx7's have a bypass in the neck. The thermostat needs to be the correct one to allow this bypass feature to work properly.
Do you have a picture of the thermostat you put in?
It should look like this:

Not like this:

I am sure there are other ways to make the system work differently, but as I understand it, that bit on the bottom is necessary.
In reply to wvumtnbkr:
You scared me for a minute there, but yes, mine had the bottom thingy for the bypass.
Problem: FC door handles break. My driver's side one is broken, and attempts to JB weld it were met with further breakage.
Solution: Make a bracket, drill, tap, and screw it to the side of that motherberkeleyer.
OK, so not exactly concours ready or anything (it might not even pass Rally America's berkeleying pretentious "Car must be clean and neat in appearance" rule), but this is the first time it's had all it's body panels and glass since about day 2 of the build:
Feels like a win to me ![]()
Panel alignment, wash with red scrubby pad and dish soap, mask, spraypaint yellow, rock on?
How's the inspector/registration going?
Chris, you need to bring that thing, some rattle-cans, and some masking tape to me for a weekend and let me make it look ghetto-good ![]()
I only say that because I know you don't care one bit about cosmetics, lol ;)
In reply to Dusterbd13:
Inspection should be in a couple weeks. The panels are not really alignable, everything is bent up there, but rattlecans are the plan... Although I'm half tempted to pull a "rusty slammington" and just dump acid on it.
Harnesses!
A battery tie down!
A new alternator and belts!
A switch panel!
E36 M3, I even chanelled my inner Josh and painted the hood!
Productive day, quittng while I'm ahead ![]()
Alignment time!
It had a ton of front toe-in. I set it to 1/8" out up front and 0 in the rear- this is my typical "rallyX" alignment, so I figured it would make a good baseline. I didn't level the car for camber measurement, but using my garage floor to calibrate I get 2.5-3 degrees negative on all 4 wheels, which is probably a bit much but I'm counting myself lucky that they're all about even.
Added roll cage padding:
And did some "bodywork"
Then drove it again- feels much better with the current alignment, although I seem to have an intermittent buzzer going off at idle... it stopped by the end of the test drive, but it would be nice to figure out what it is.
You'll need to log in to post.