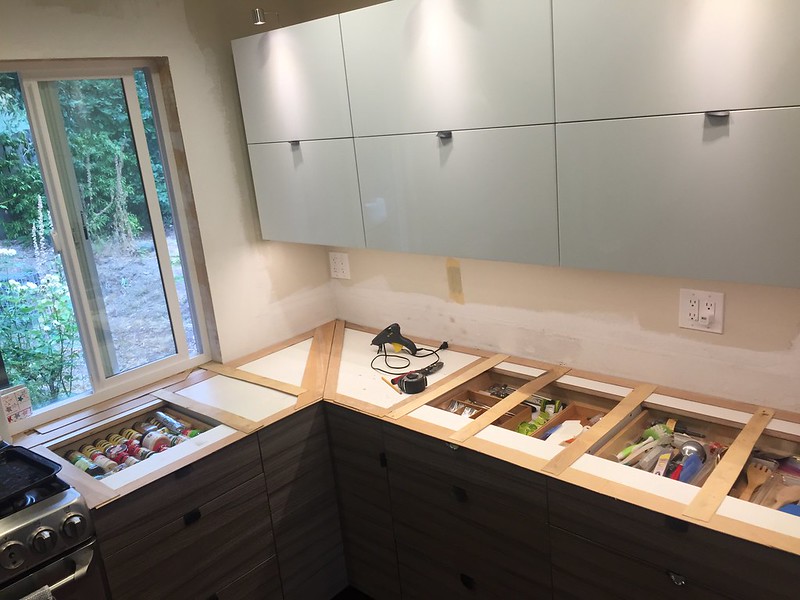
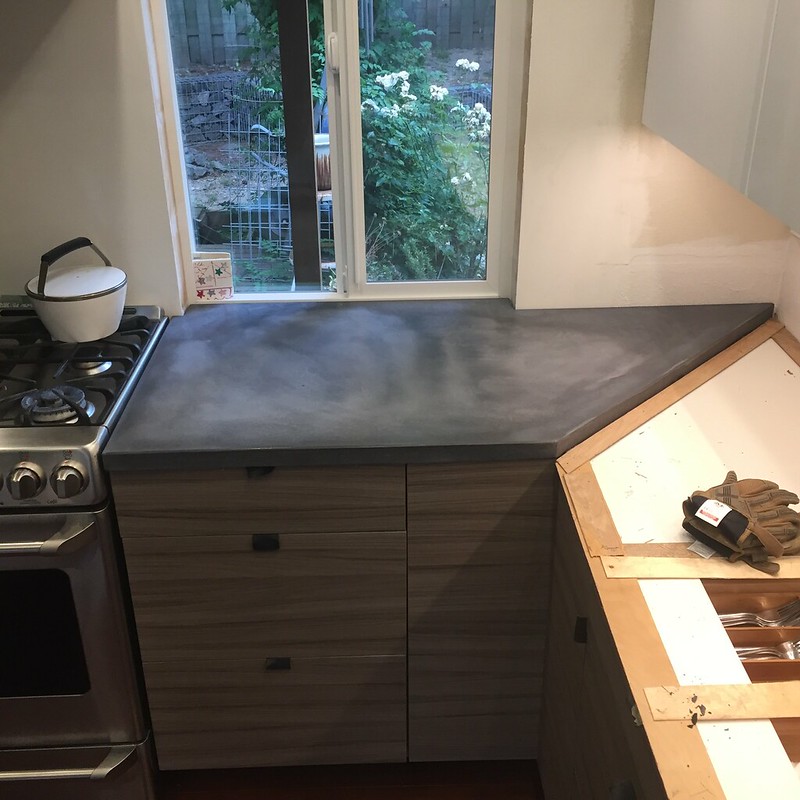
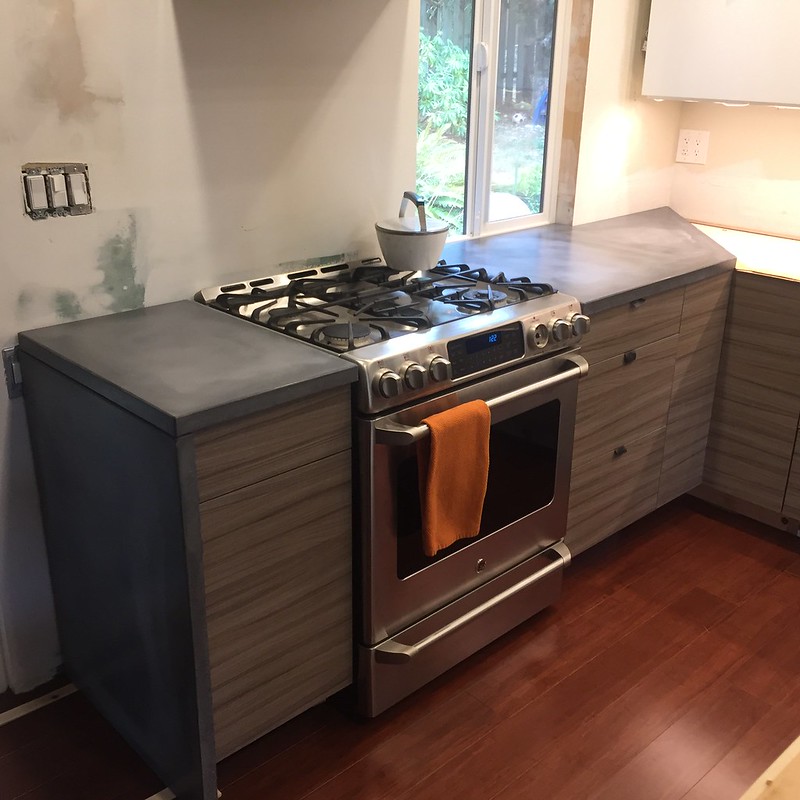
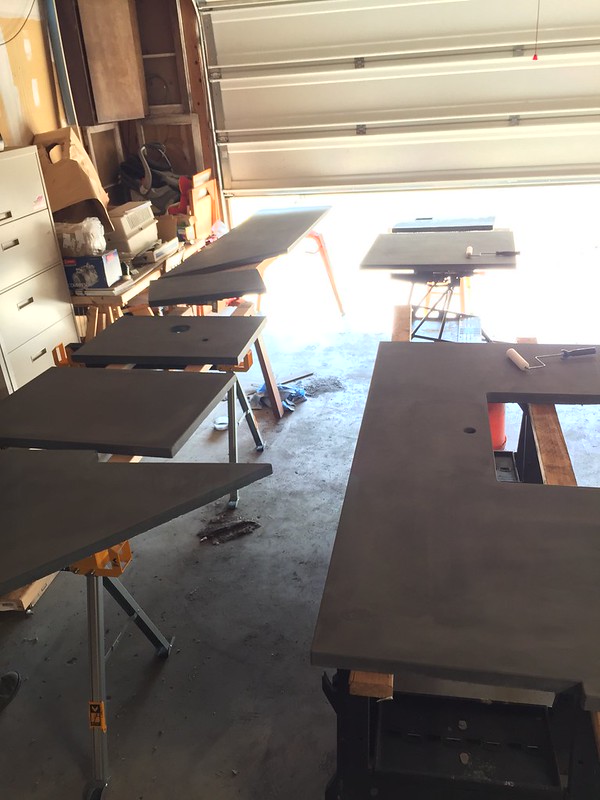
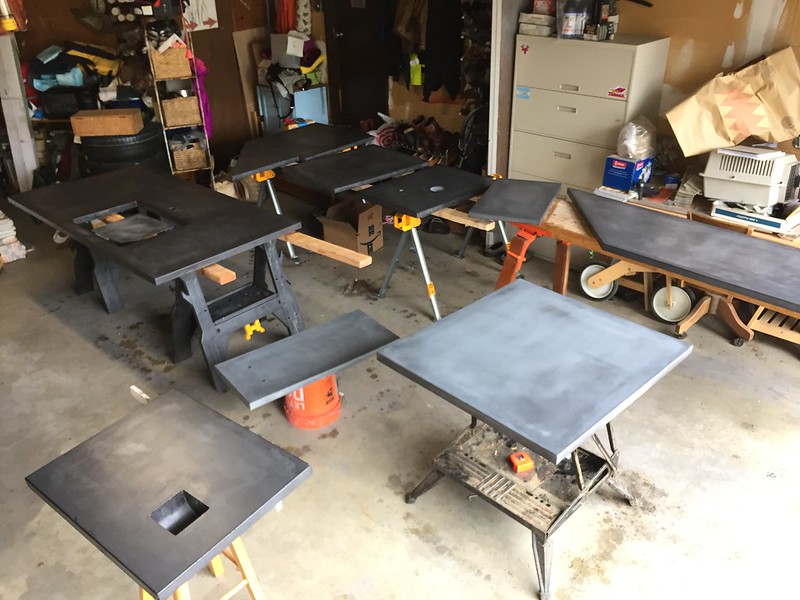
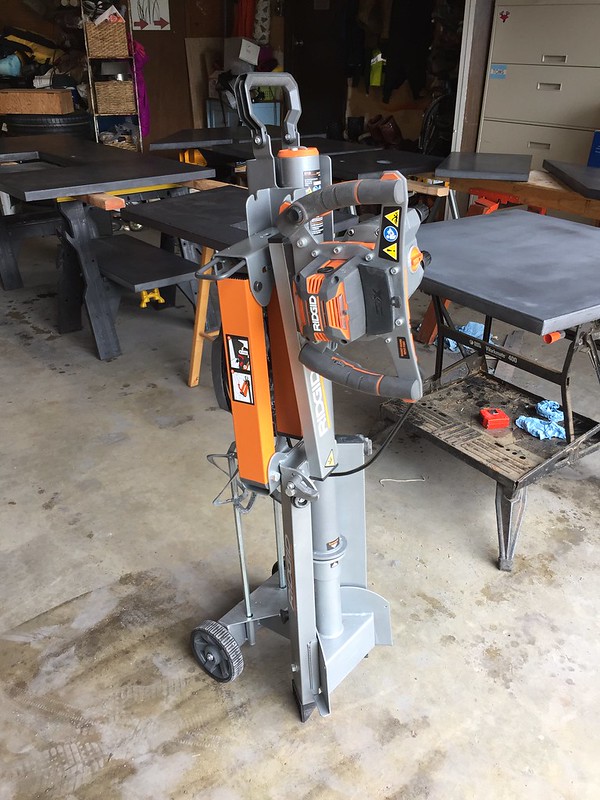
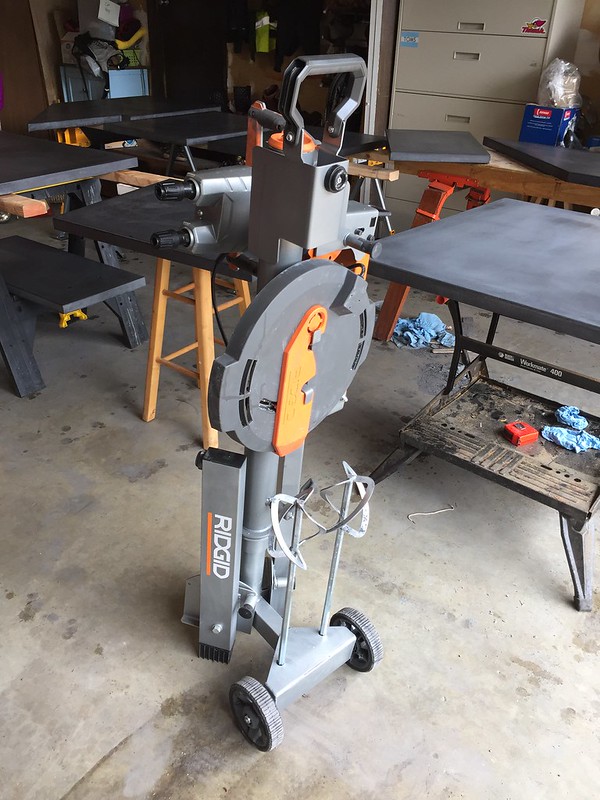
In the two years since I last posted, little has been done on the kitchen. My job shifted and had me on the road almost full time, so we have been living with some plywood scraps for countertops, and bare drywall on the wall.
But in the last two years and one month since I last posted, production has spun back up again! I have a new boss, and he's an actual reasonable human being that wants to maintain a reasonable travel schedule and see his EE's take vacations. So once I got the Fiat running for Hungary Bill's visit two months ago, I knew I had to shift my attention back to the remodel. I went ahead and installed cabinet doors on the island, something I'd put off simply because I didn't want to damage them when I installed the countertops. Since those countertops weren't forthcoming, I put them on anyway.
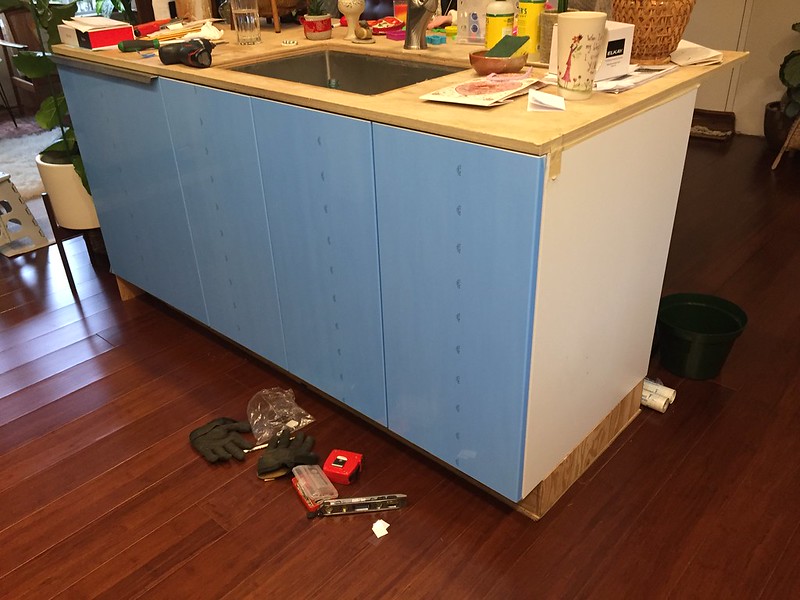
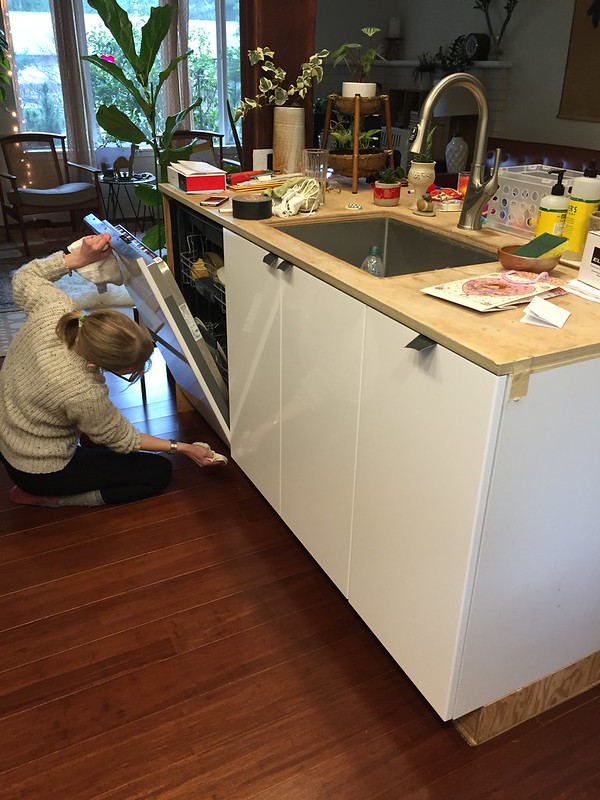
Requisite gaffer tape drawer pulls to match the rest of the kitchen. ![]() I did fabricate an aluminum pull for the dishwasher since it is a panel mount and would need a little more strength than the tape could offer.
I did fabricate an aluminum pull for the dishwasher since it is a panel mount and would need a little more strength than the tape could offer.
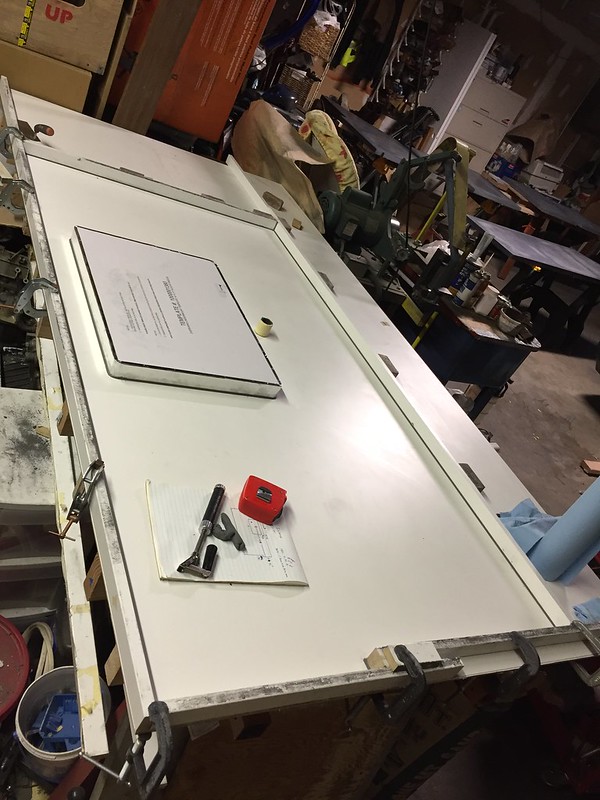
At this point I knew I had stalled long enough. It was time to try my hand at casting up some concrete countertops. First, clean the shop table and make a casting table out of it.
Before:
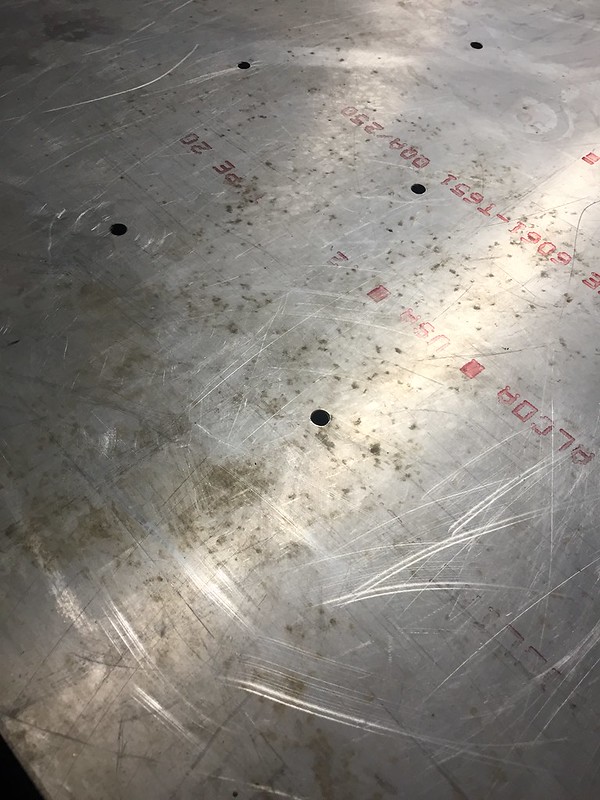
After lots of scotchbrite and elbow grease:
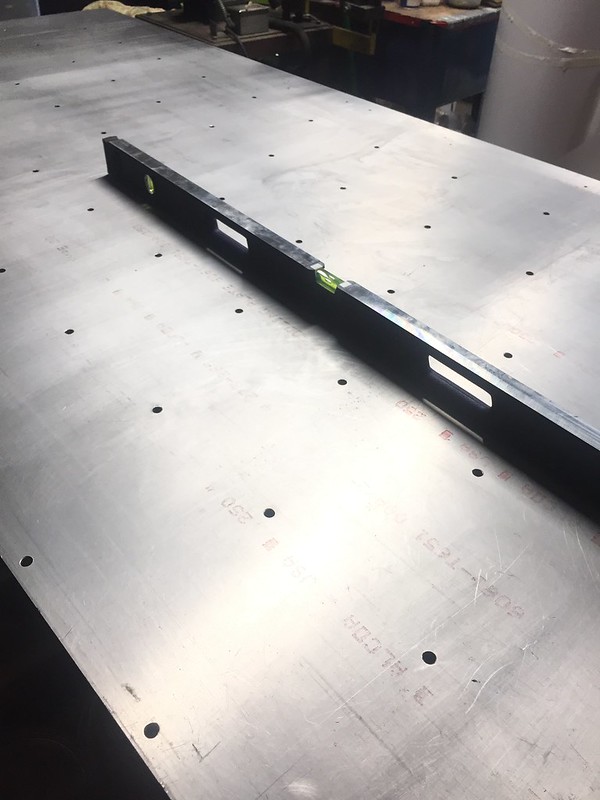
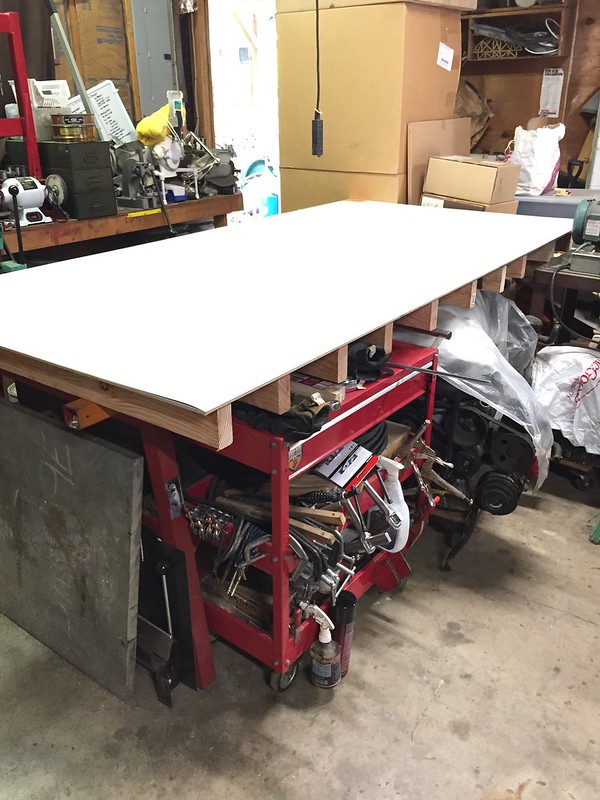
Next I cut down some 2x4s to reinforce the table. the aluminum plate top would bow with weight on the outer edges, and I needed it to stay pretty flat. I then topped it with a sheet of 1/4" melamine/MDF/stuff and then glued a sheet of Formica down on top of that. Voila: casting table.
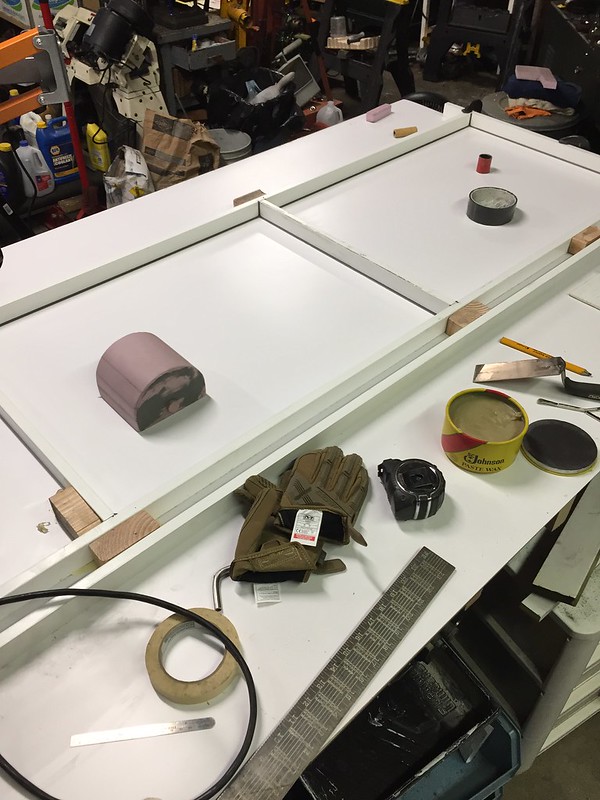
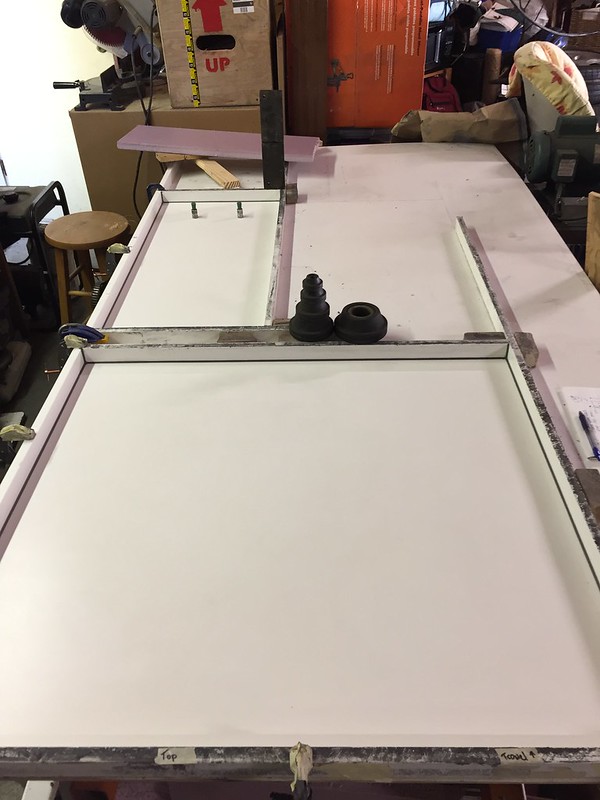
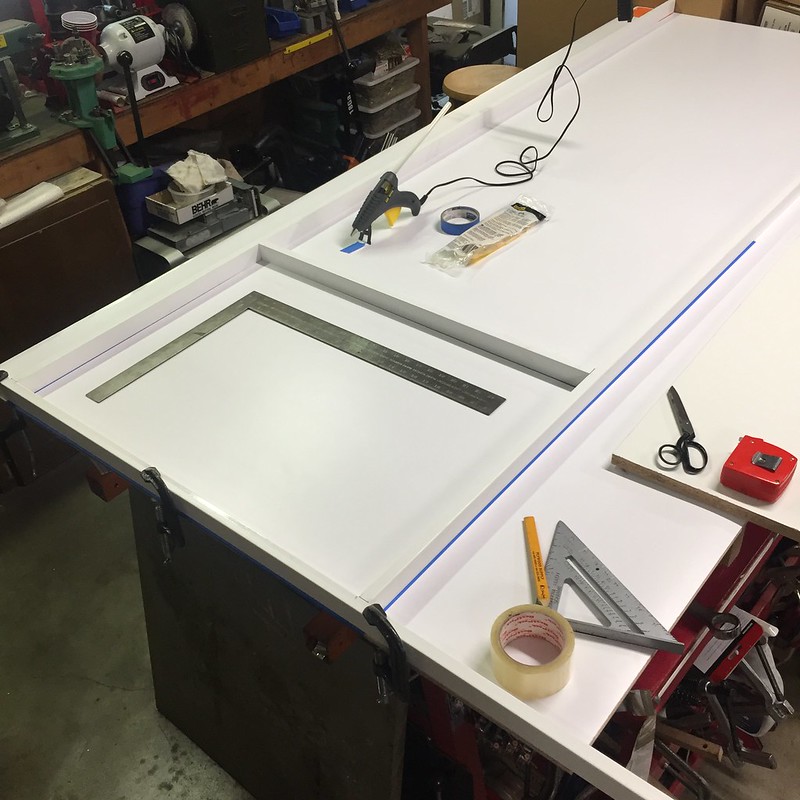
Time to make a test piece. I made forms with some poly coated 1-1/2" trim boards from Home Depot. These were $5 for a 8" length, and were a great choice. They don't absorb water and they have a great casting surface. The first piece would be for the master bathroom vanity. I figured it would be a good place to practice.
Add in the knock-outs for the sink and faucet. The smaller of the two is actually a Fiat rear suspension bushing sleeve (perfect size!), and the larger is not the drain cap you think it is - it's what I use to press a rear main seal into a SAAB B2XX engine.
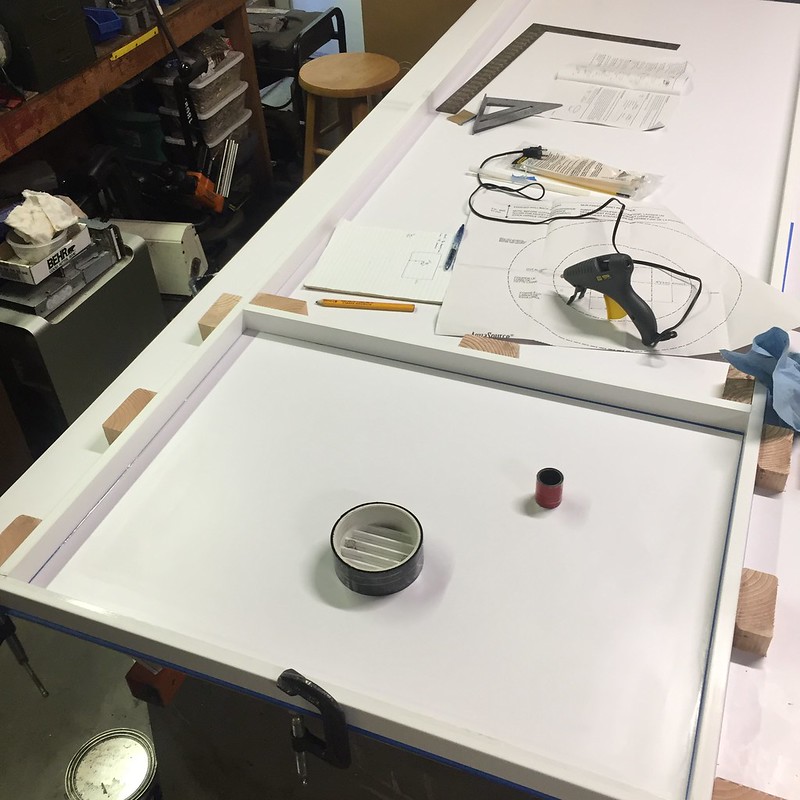
After lots of fiddling with the form, I was ready to mix up. I used my right angle drill because it was the only one with enough poop to mix cement. It sucked.
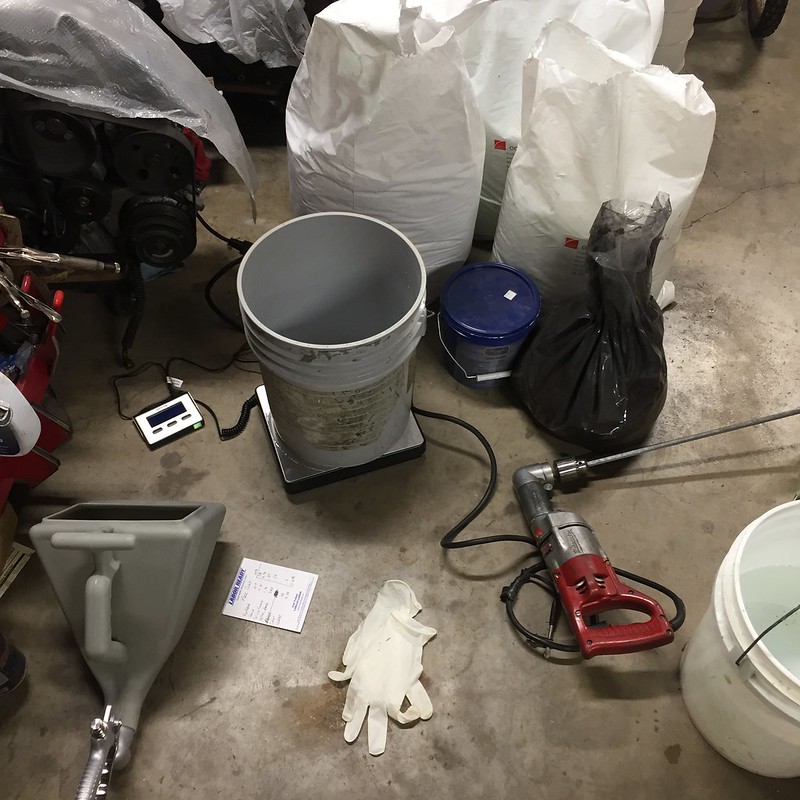
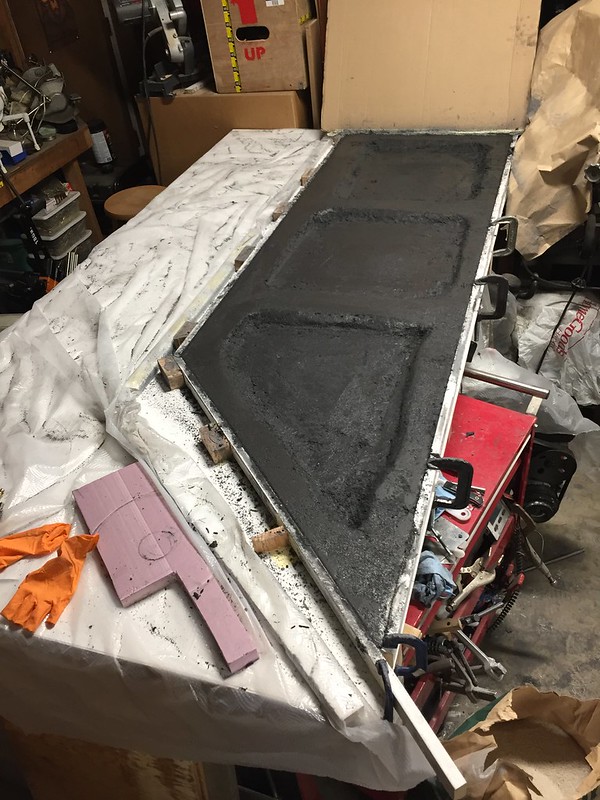
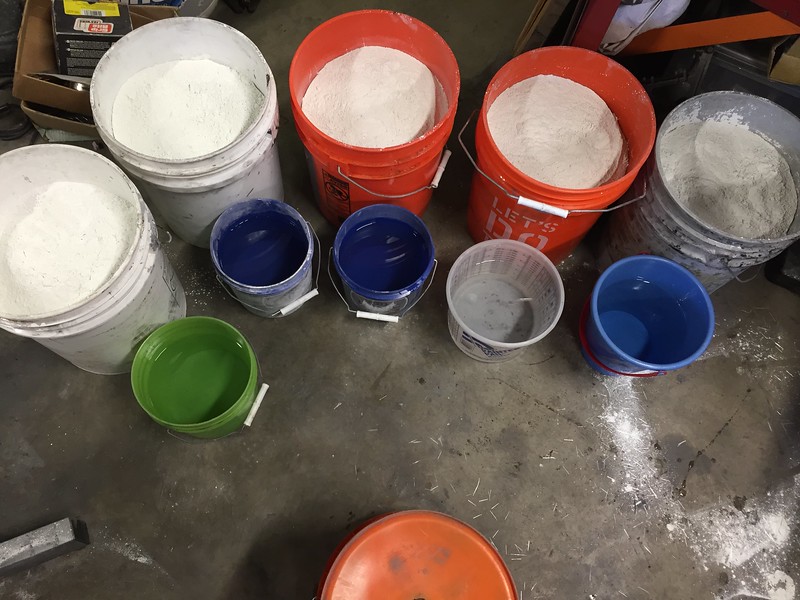
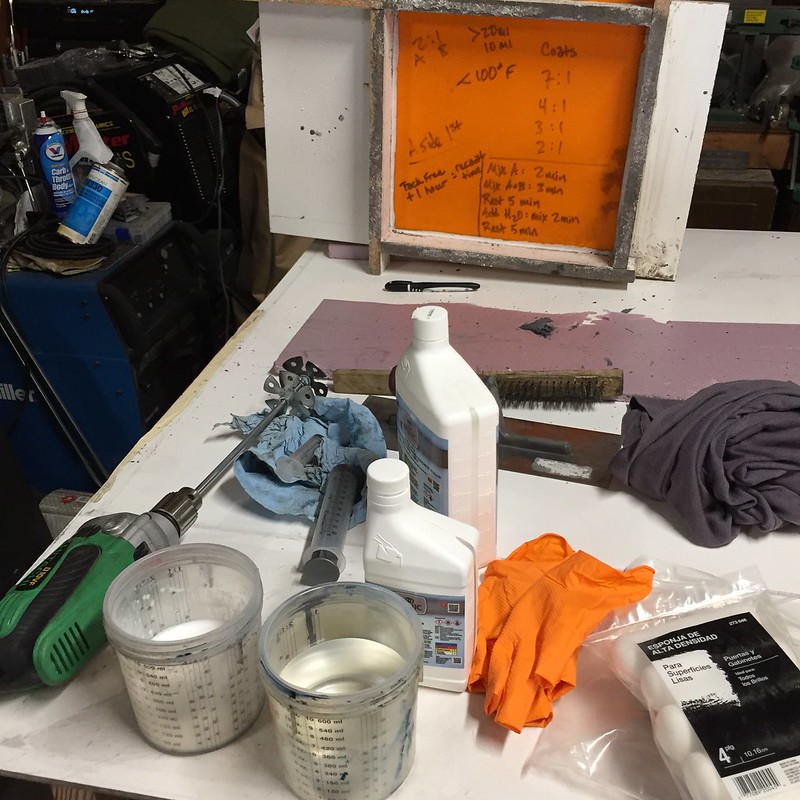
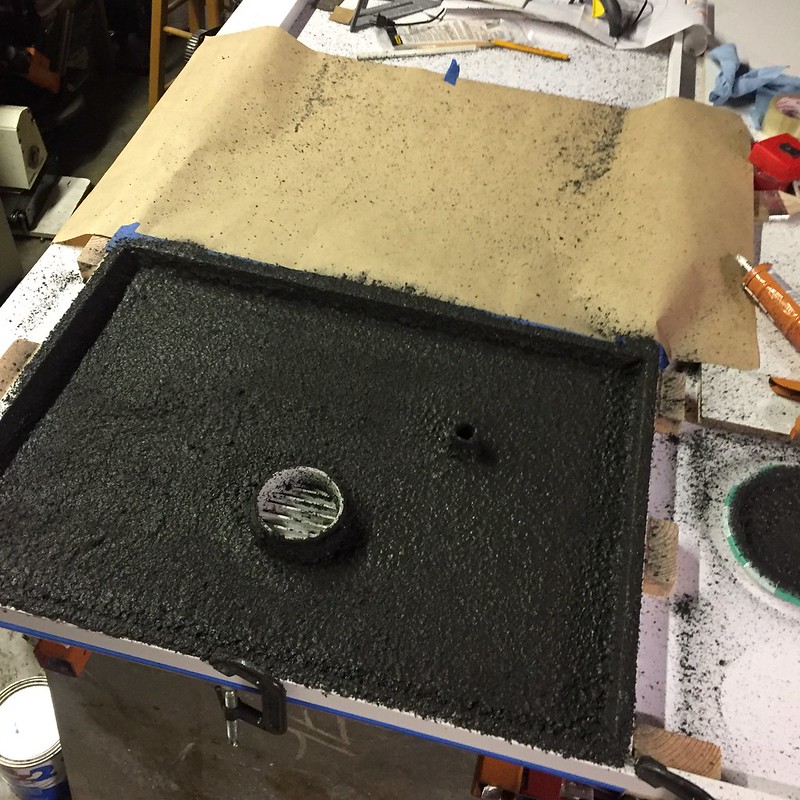
The method I used is complicated glass fiber reinforced concrete (GFRC). I use a texture gun to spray up a face coat, then hand pack in a backer that is filled with fiberglass strands for strength. Both concrete mixes are pretty techy and include a slew of additives to make them flow, increase strength, reduce shrinkage, cracking, and pits or bug holes. Really neat stuff. You measure everything out by weight and have to be pretty accurate.
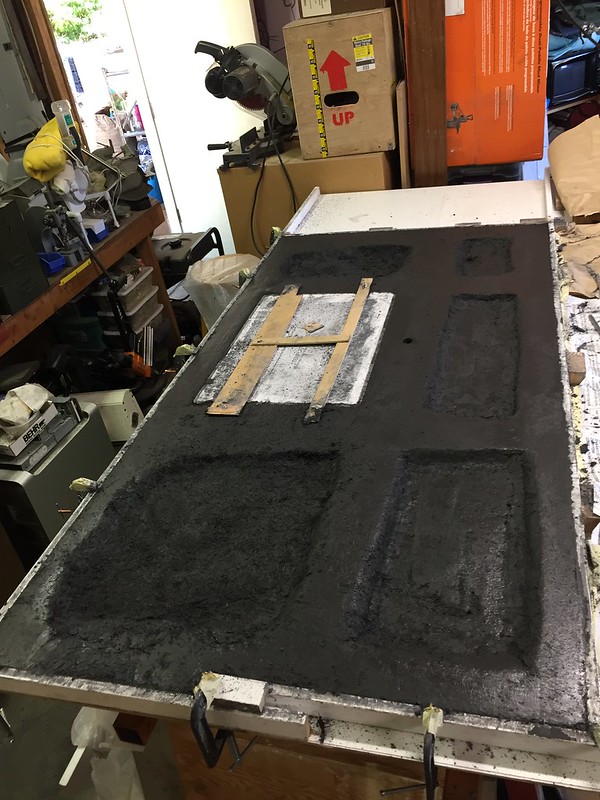
Here it is with the face coat sprayed out:
I then hand-packed the backing:
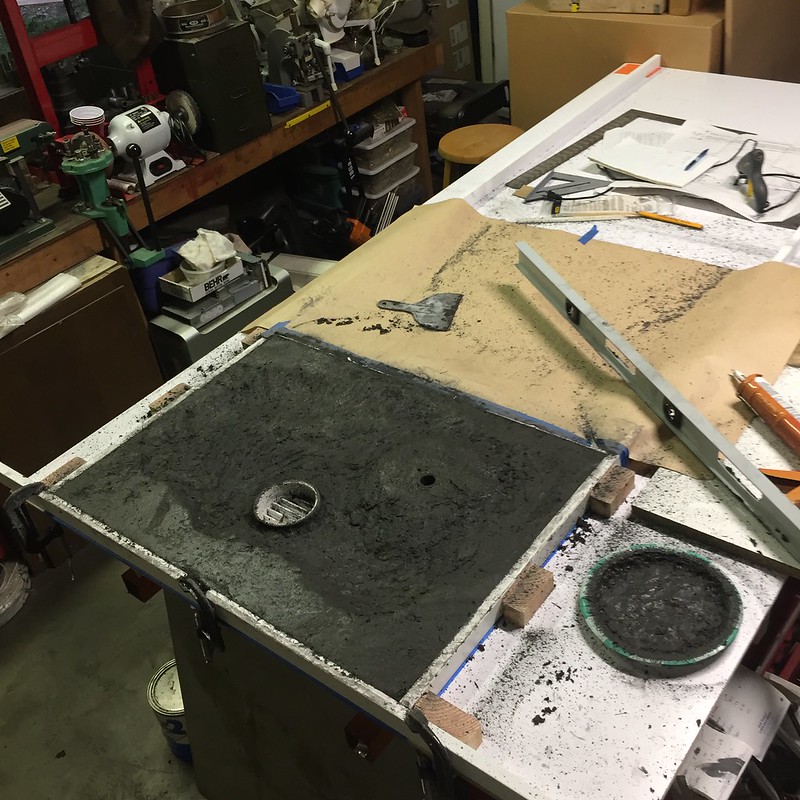
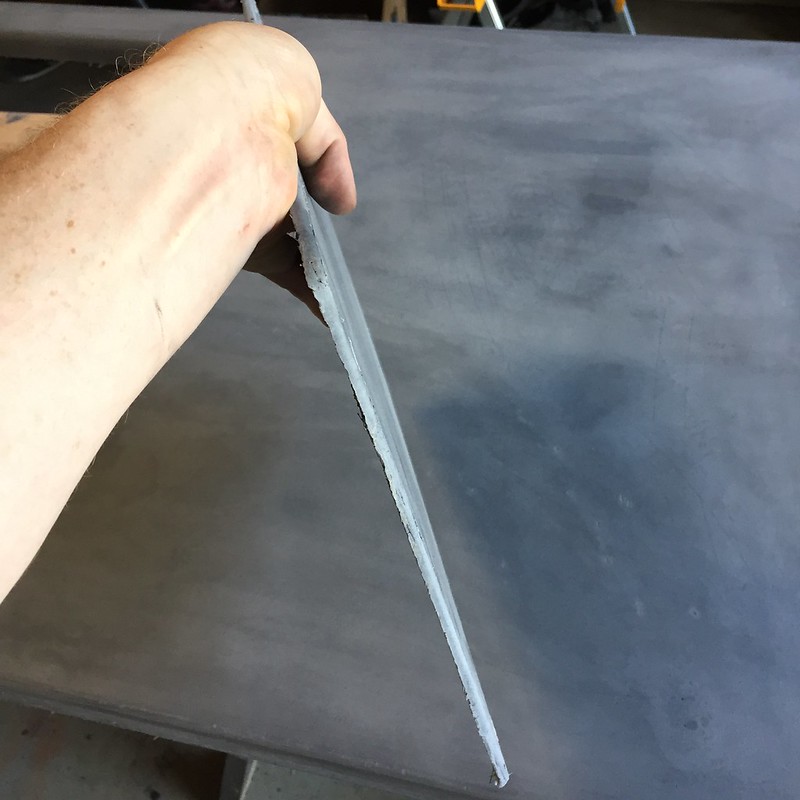
You can see that I left the underside concave in most places - there's no need to fill to the full 1.5". It'll be plenty strong at 1/2", but 1.5" was the thickness I wanted for appearance.
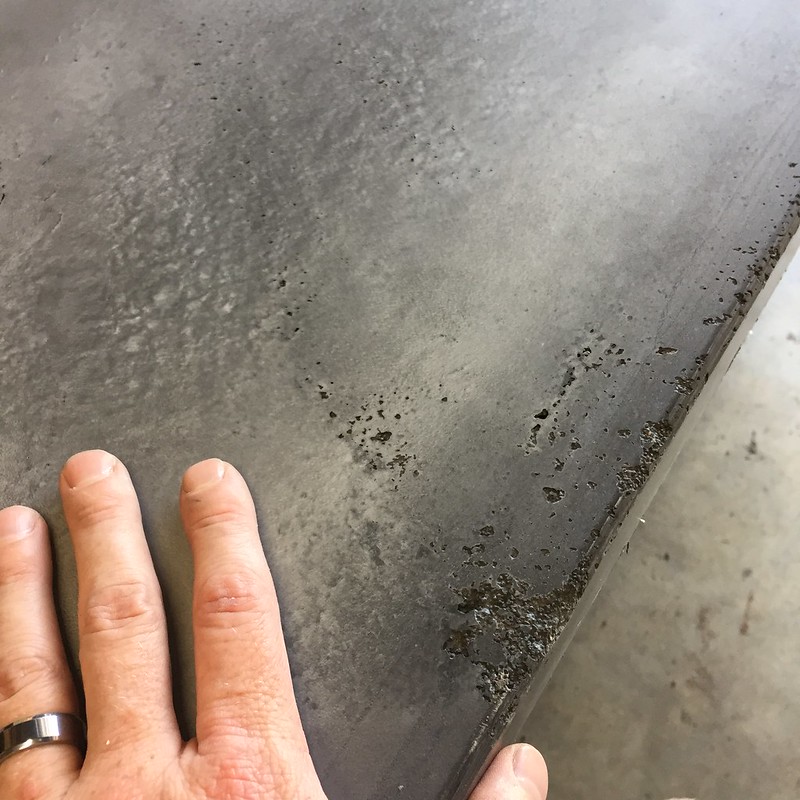
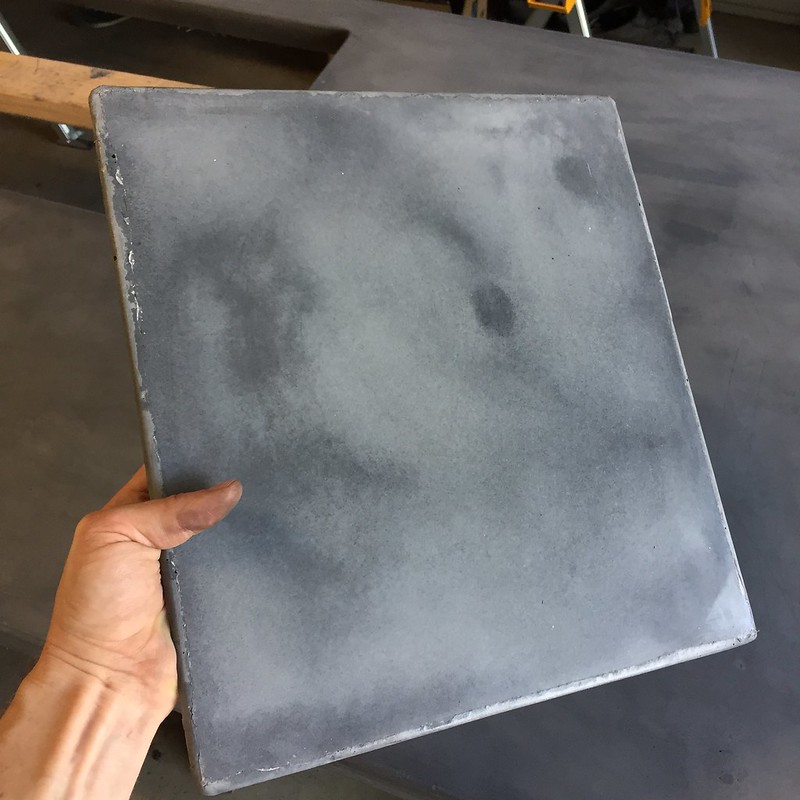
Here's what it looked like fresh out of the mold (not etched or sealed yet):
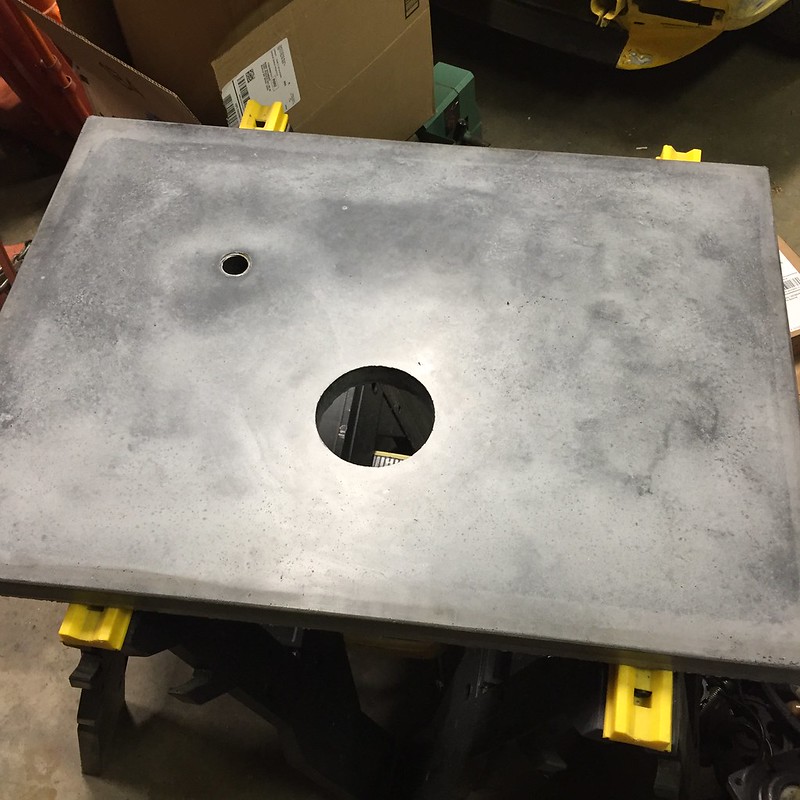
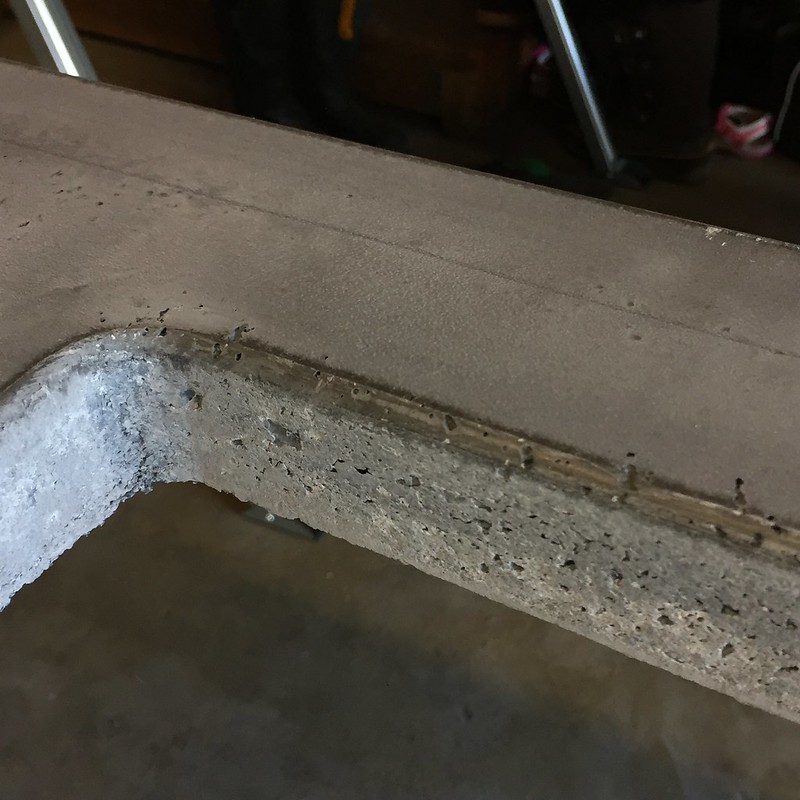
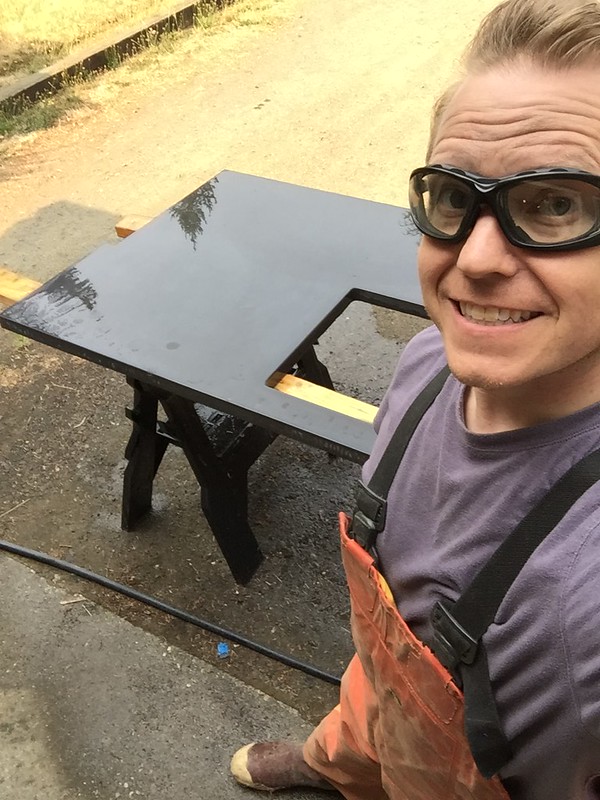
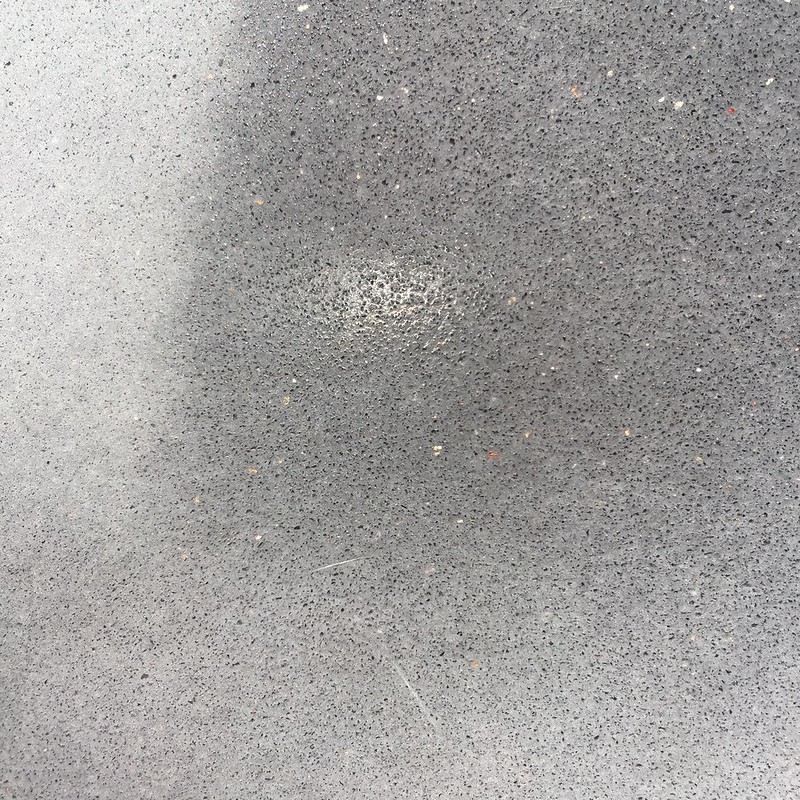
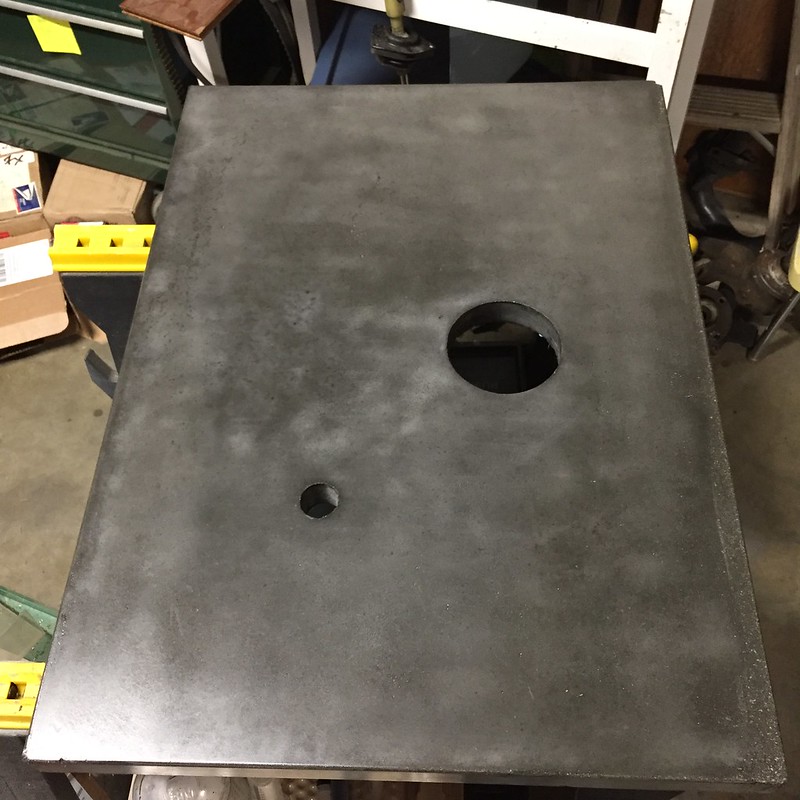
TONS of character and a fair amount of bug holes. I was thrilled about the character, not so much about the bug holes. Since this is going in a vanity, I didn't need to recast, but I definitely don't want those pits in a kitchen countertop. Post-production work on this slab consisted of wet sanding with 200 grit paper and then sealing with some special concrete countertop sealant called H12, made by the same company as all the additives I'm using: Trinic. Here it is sealed, with a matte finish:
I put my daughter to work decommissioning the old vanity. Everyone wears a swim suit to do plumbing work, right?

Then she brought snacks:

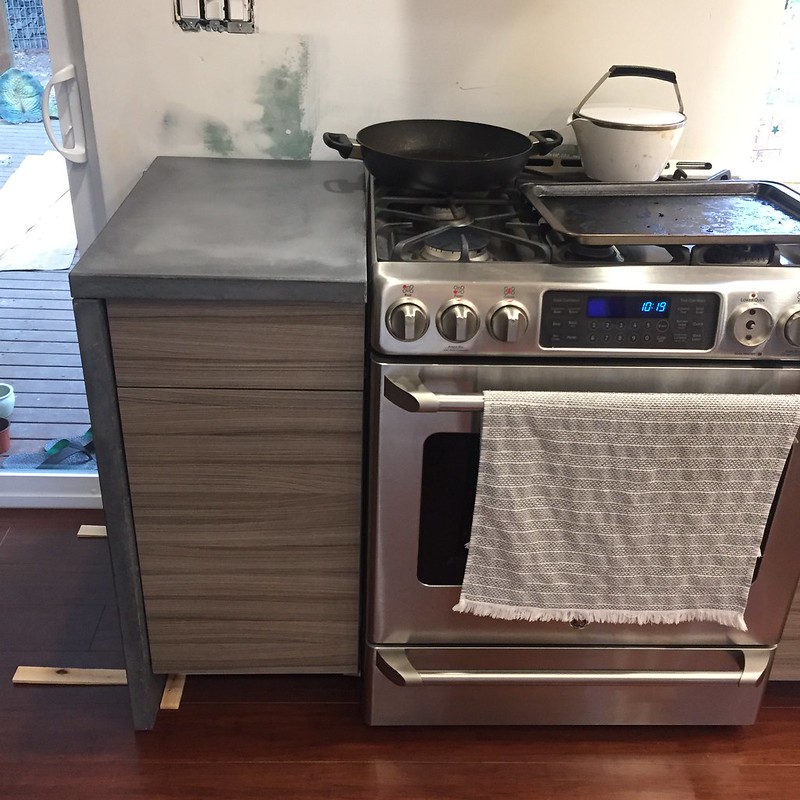
Then this happened. Matching vanity to the kitchen cabinets:
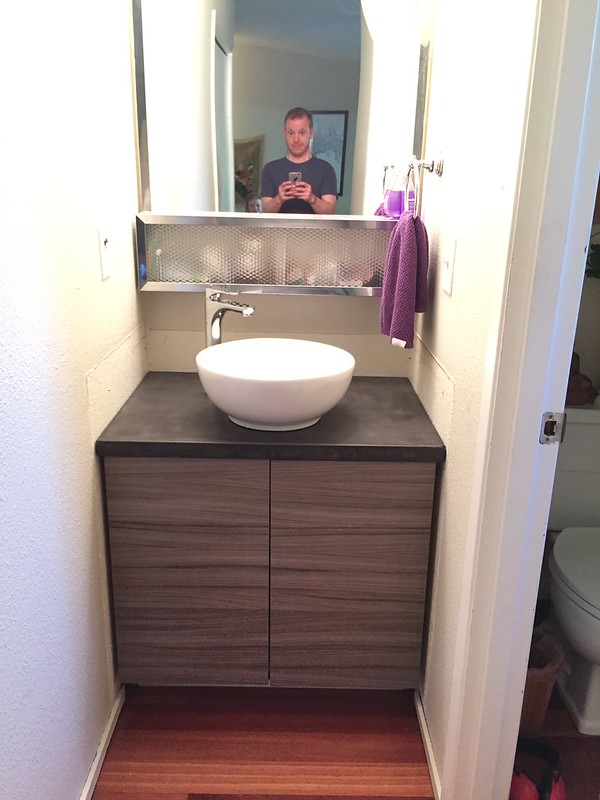
Obviously a lot of trim work to come. The old mirror will be removed too. That's to come after I get the kitchen sorted first.


