Another build thread from one-armed gimpy Keith! Okay, I'd be doing this even if I had two functioning upper extremities, but I currently have the excuse that I can't wrench on cars even if I wanted to.
Our subject is a Tweed Royale from Build Your Own Clone. I've wanted to try building a tube amp for a while, and this one is an interesting collection of circuits that are mashed together. It can emulate a 5F1 Champ, 5F2a Princeton, 5F10 Harvard and the classic 5E3 Deluxe. I love the fact that these circuit diagrams are publicly available.
Like my fuzz pedal build, this is an ongoing build and not a presentation of a finished thing.
Let's start with unpacking. I hear that's a thing now, documenting taking something out of a box. Man, I'm glad we developed a world-wide information network so we can watch people taking stuff out of boxes.
I ordered a head unit because I already have lots of speakers. But this is all that came out of the box. There should be more...

Sneaky! All the yummy bits are inside the cabinet. And not just stuffed in there, they were packed in a box which was packed in more material and then the cabinet was screwed together. BYOC was not taking any chances with shipping damage.
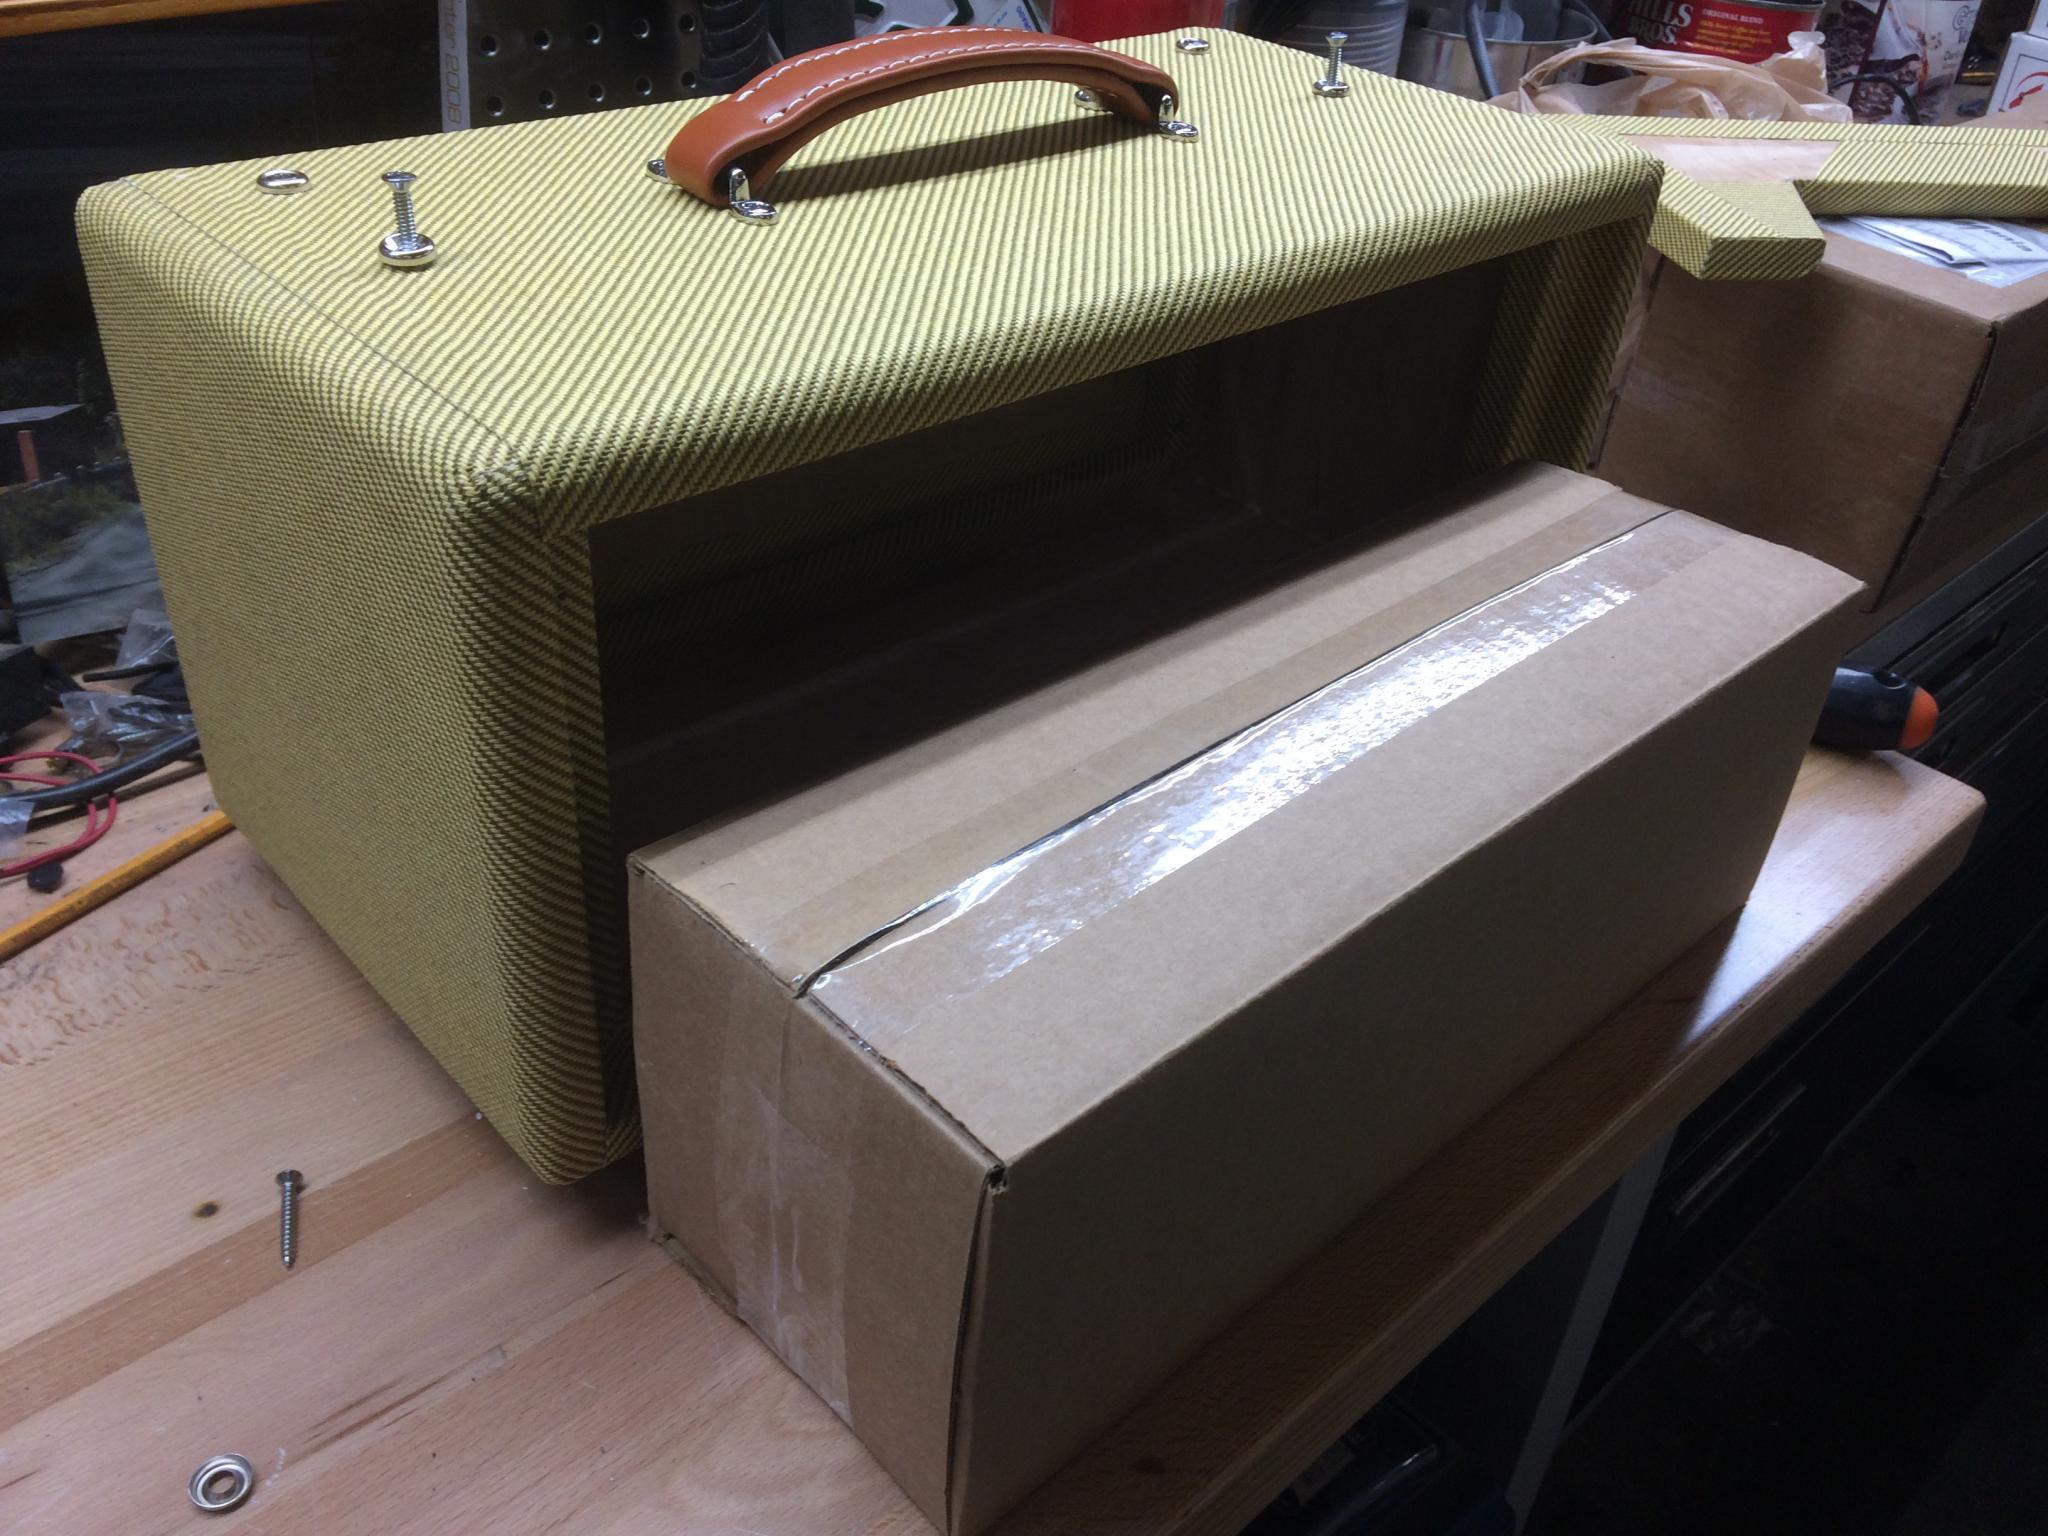
Released from capitivity! The blurry picture is to add the cinéma vérité feel. So artsy.
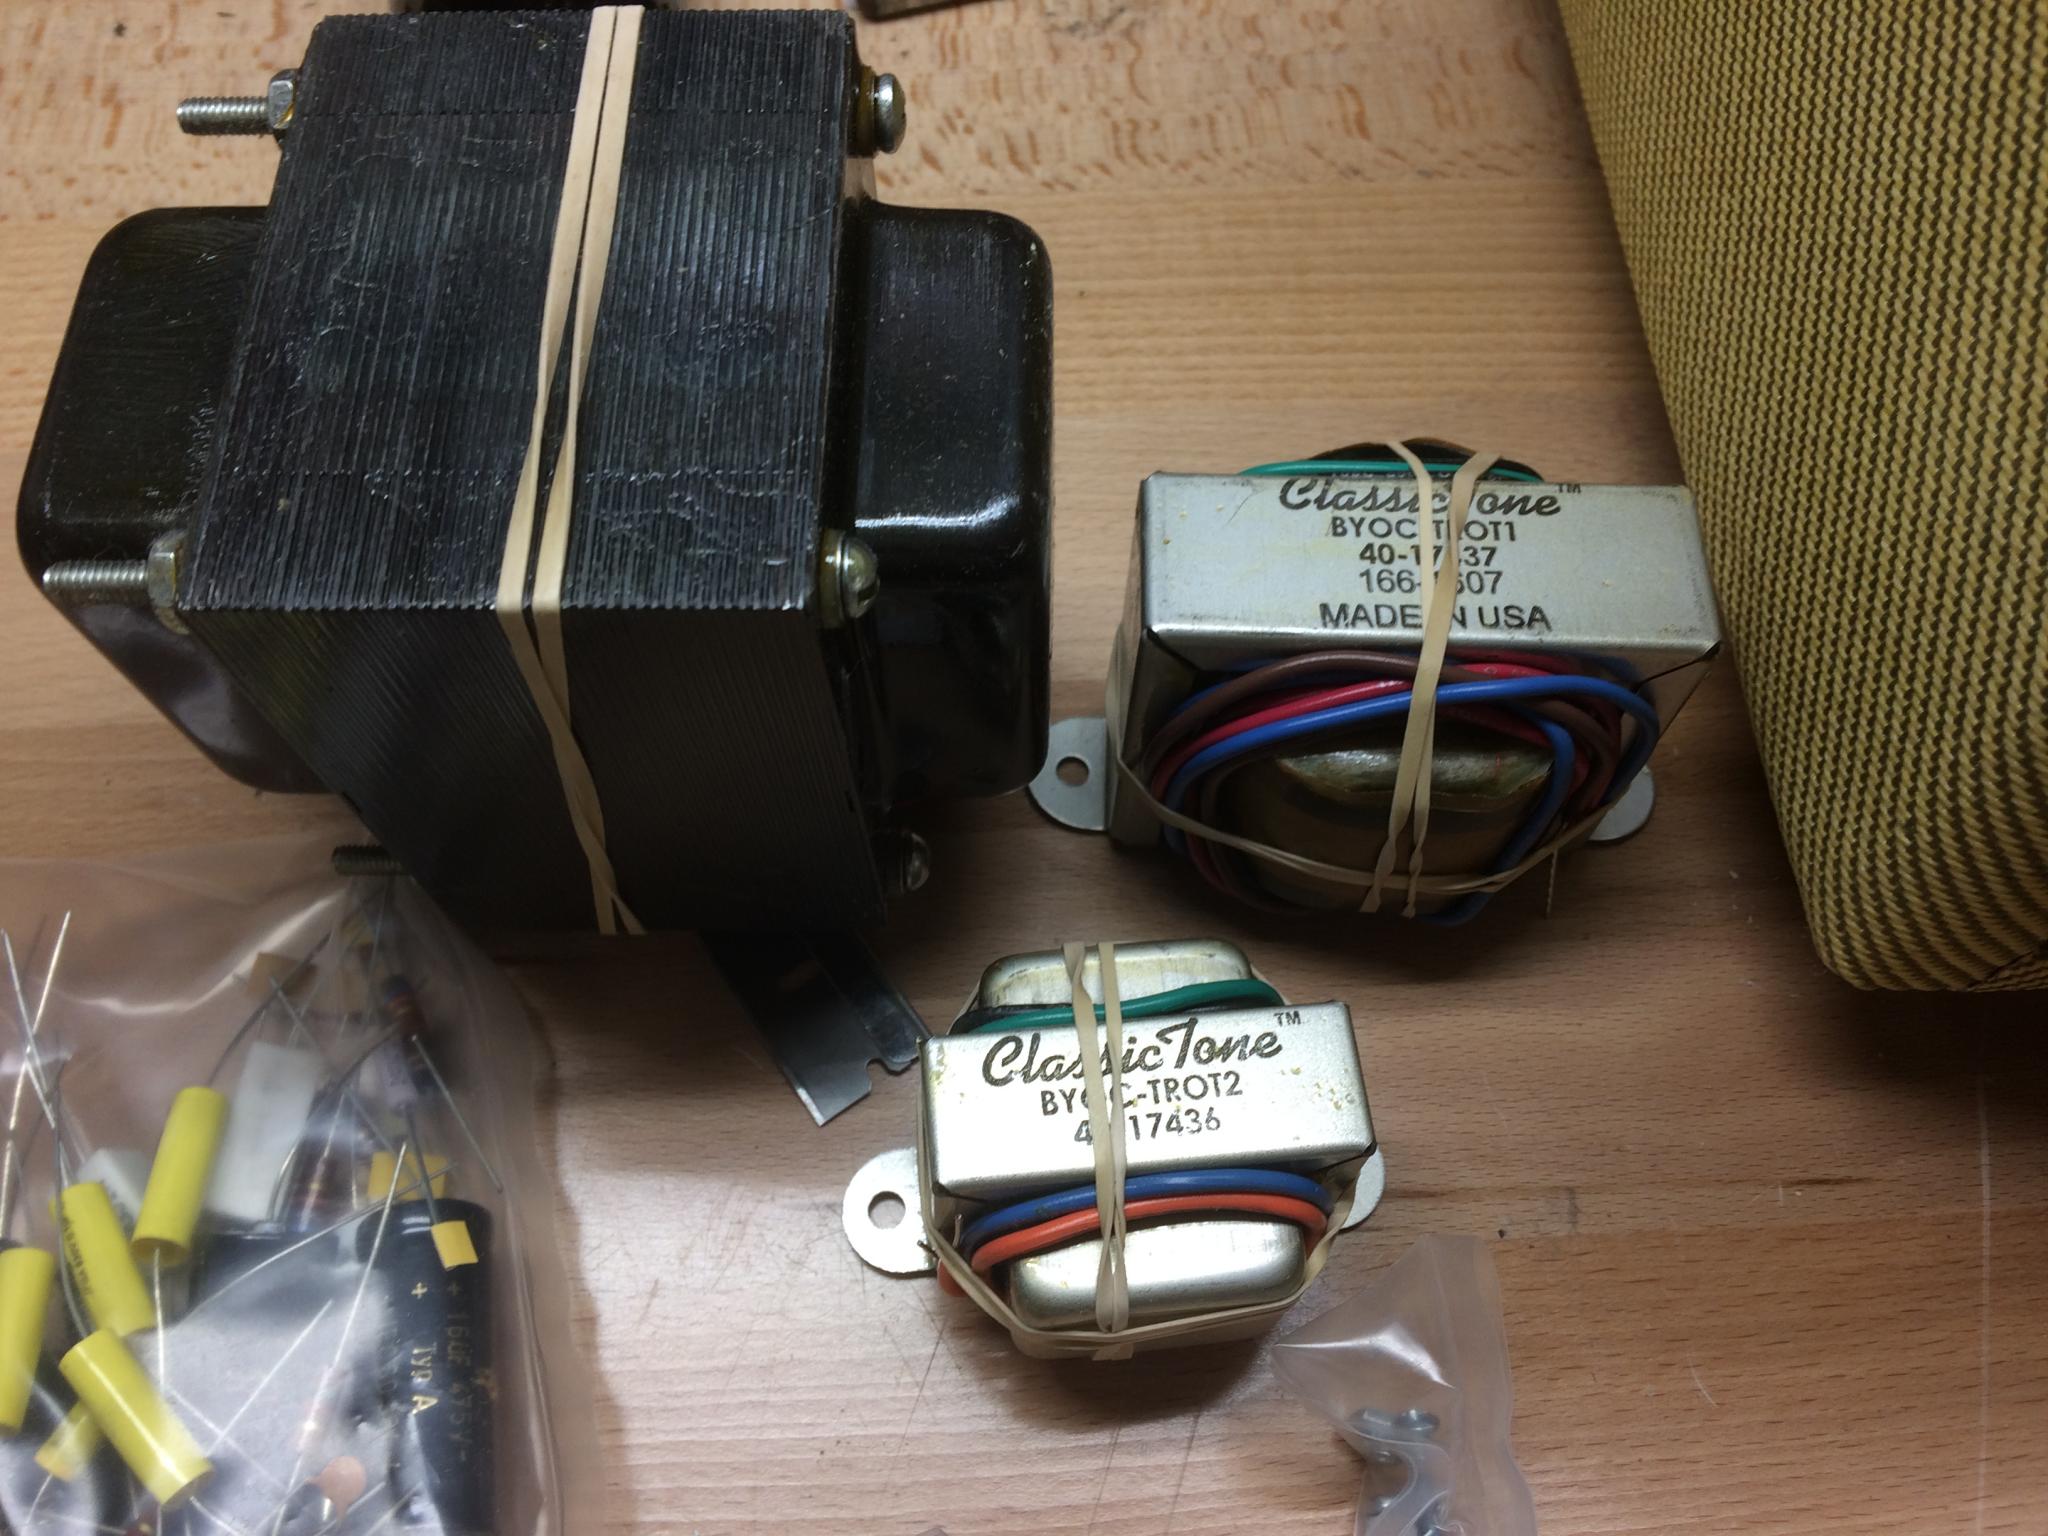
Okay, enough ogling at all the bits and pieces. Let's fire up the soldering iron and put something together.
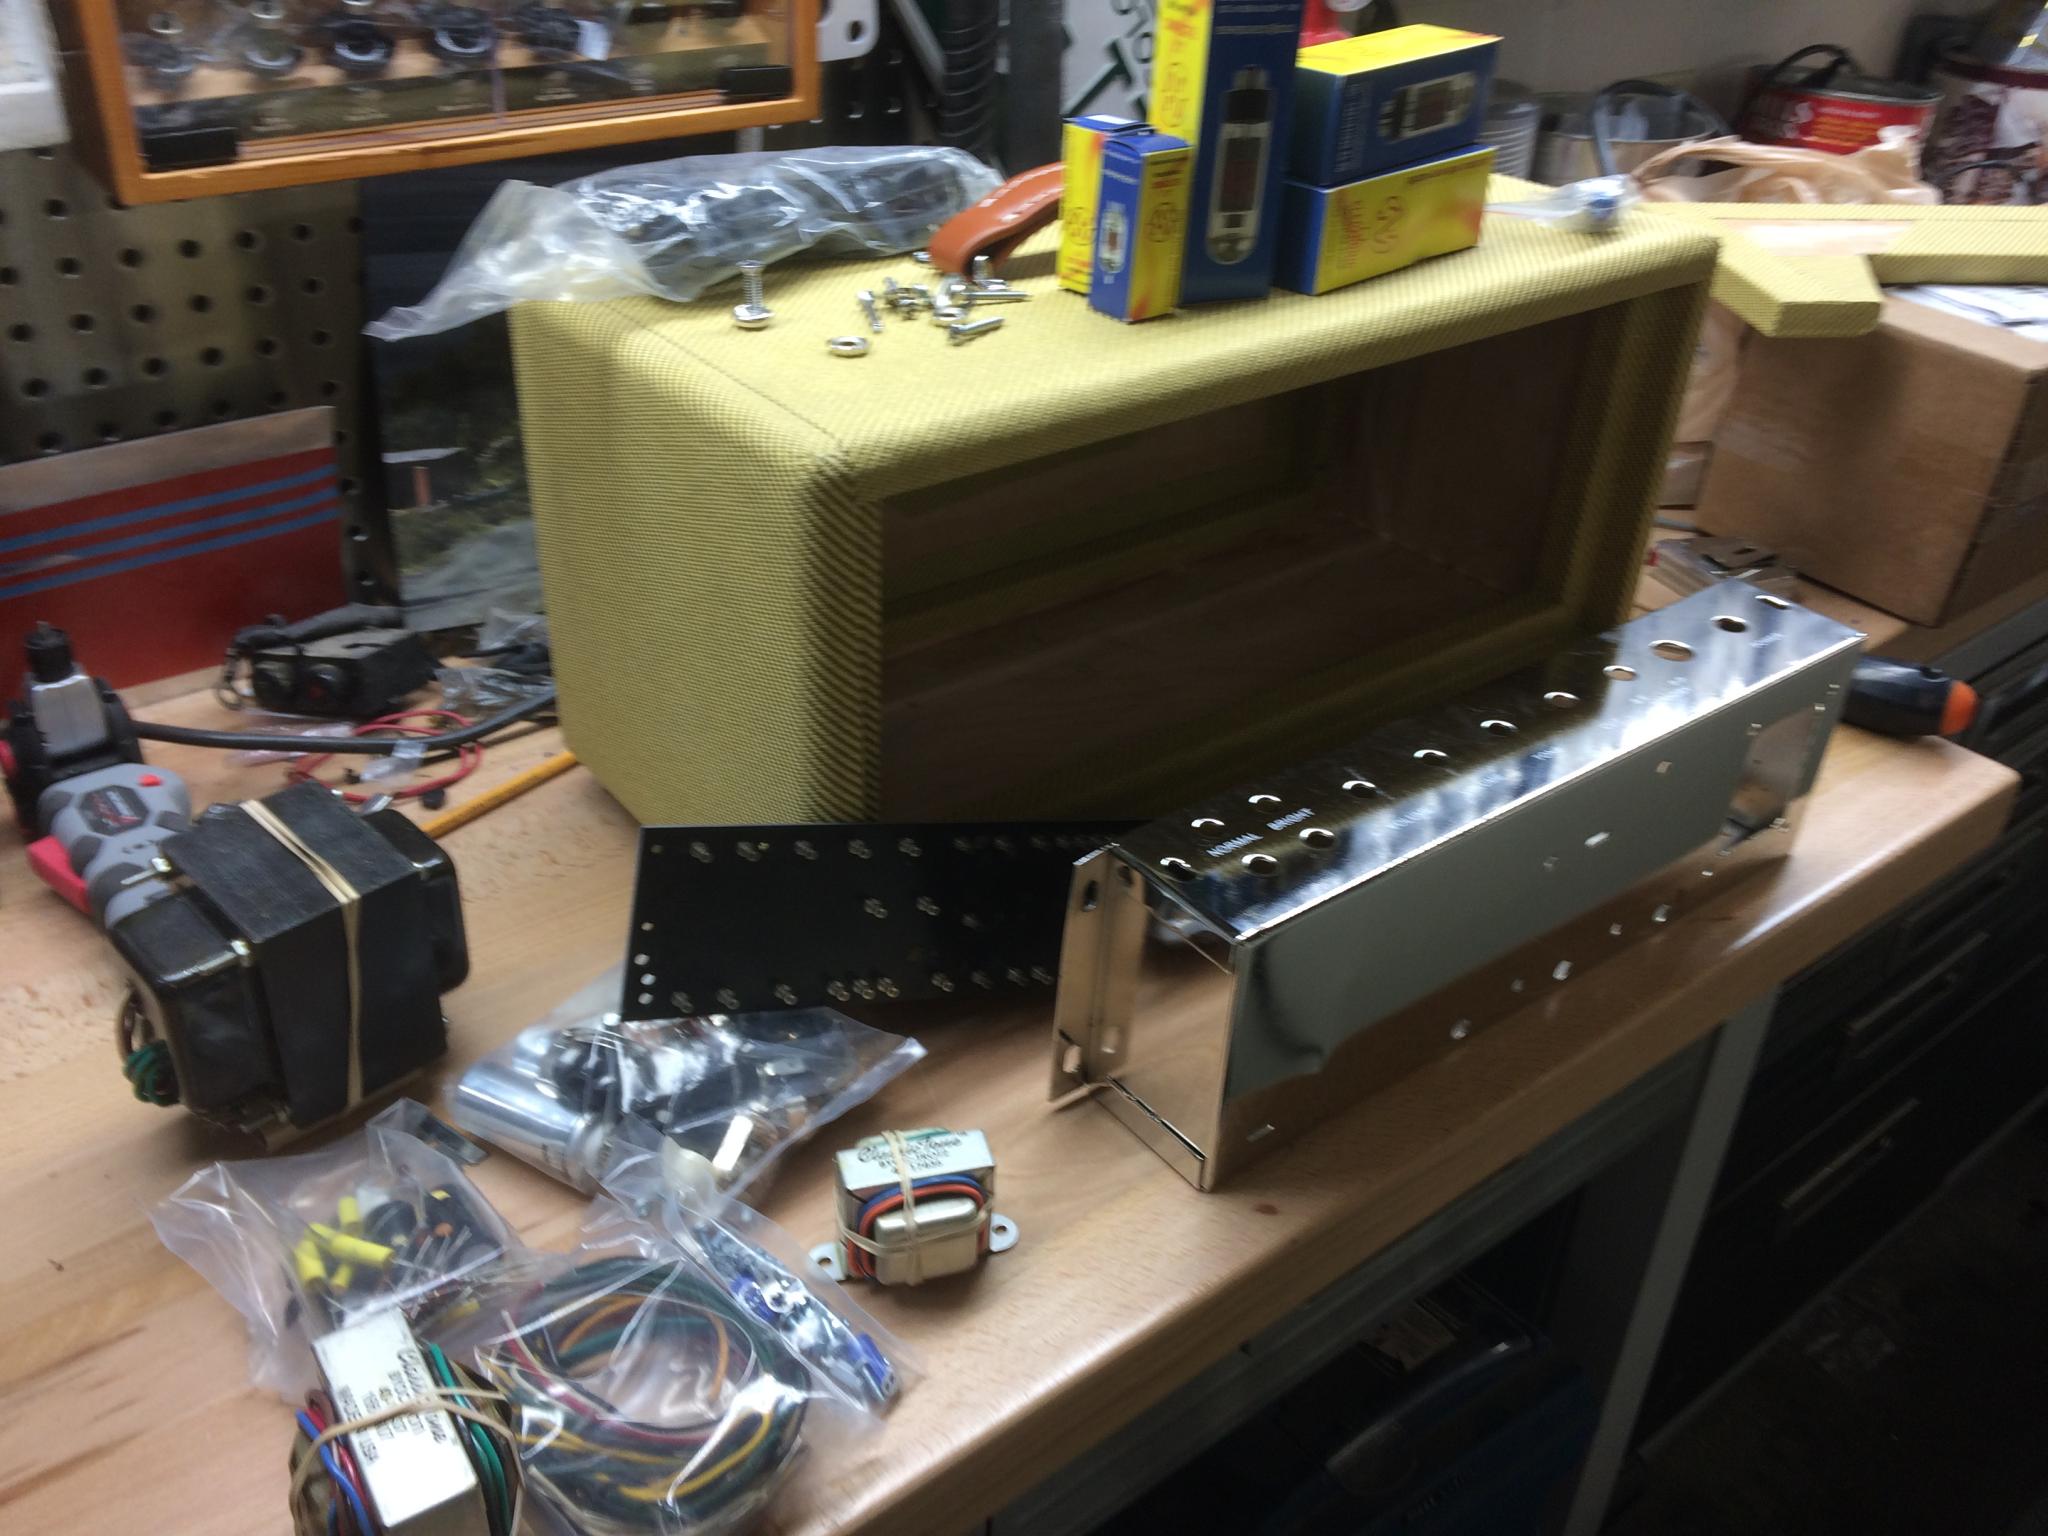
No, not quite yet. First we do an inventory and sort this stuff out. I'm working in a fairly small area, so I can't just do the typical Lego thing and dump all the bags on the table. Pardon the handwriting, remember I'm temporarily a lefty here.
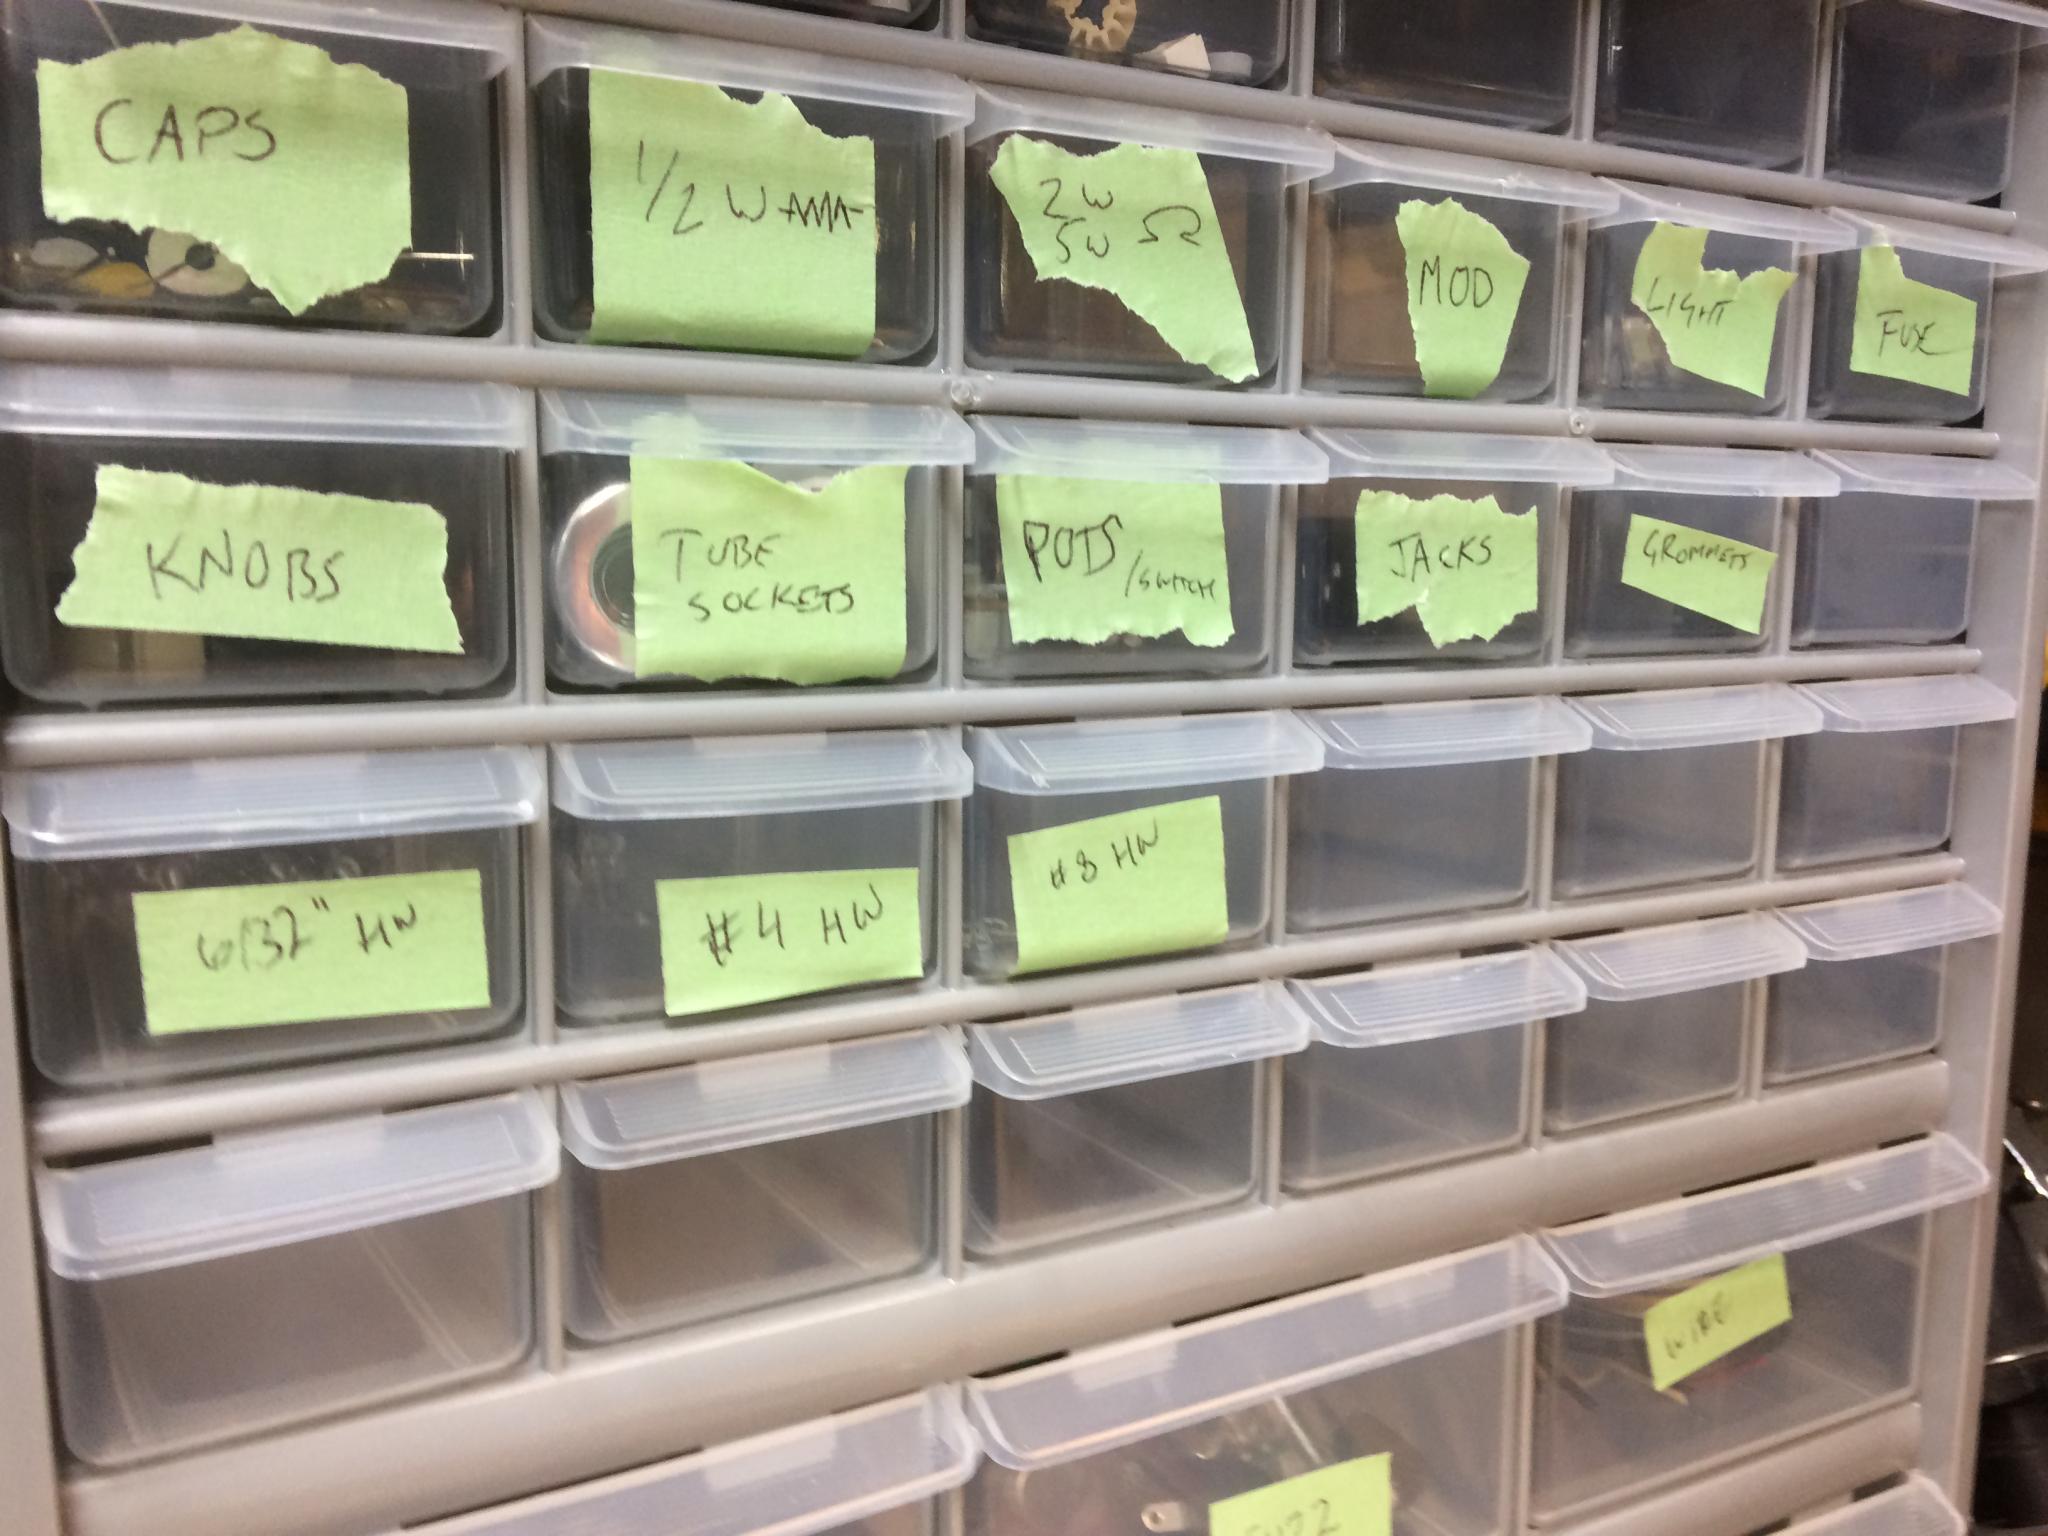
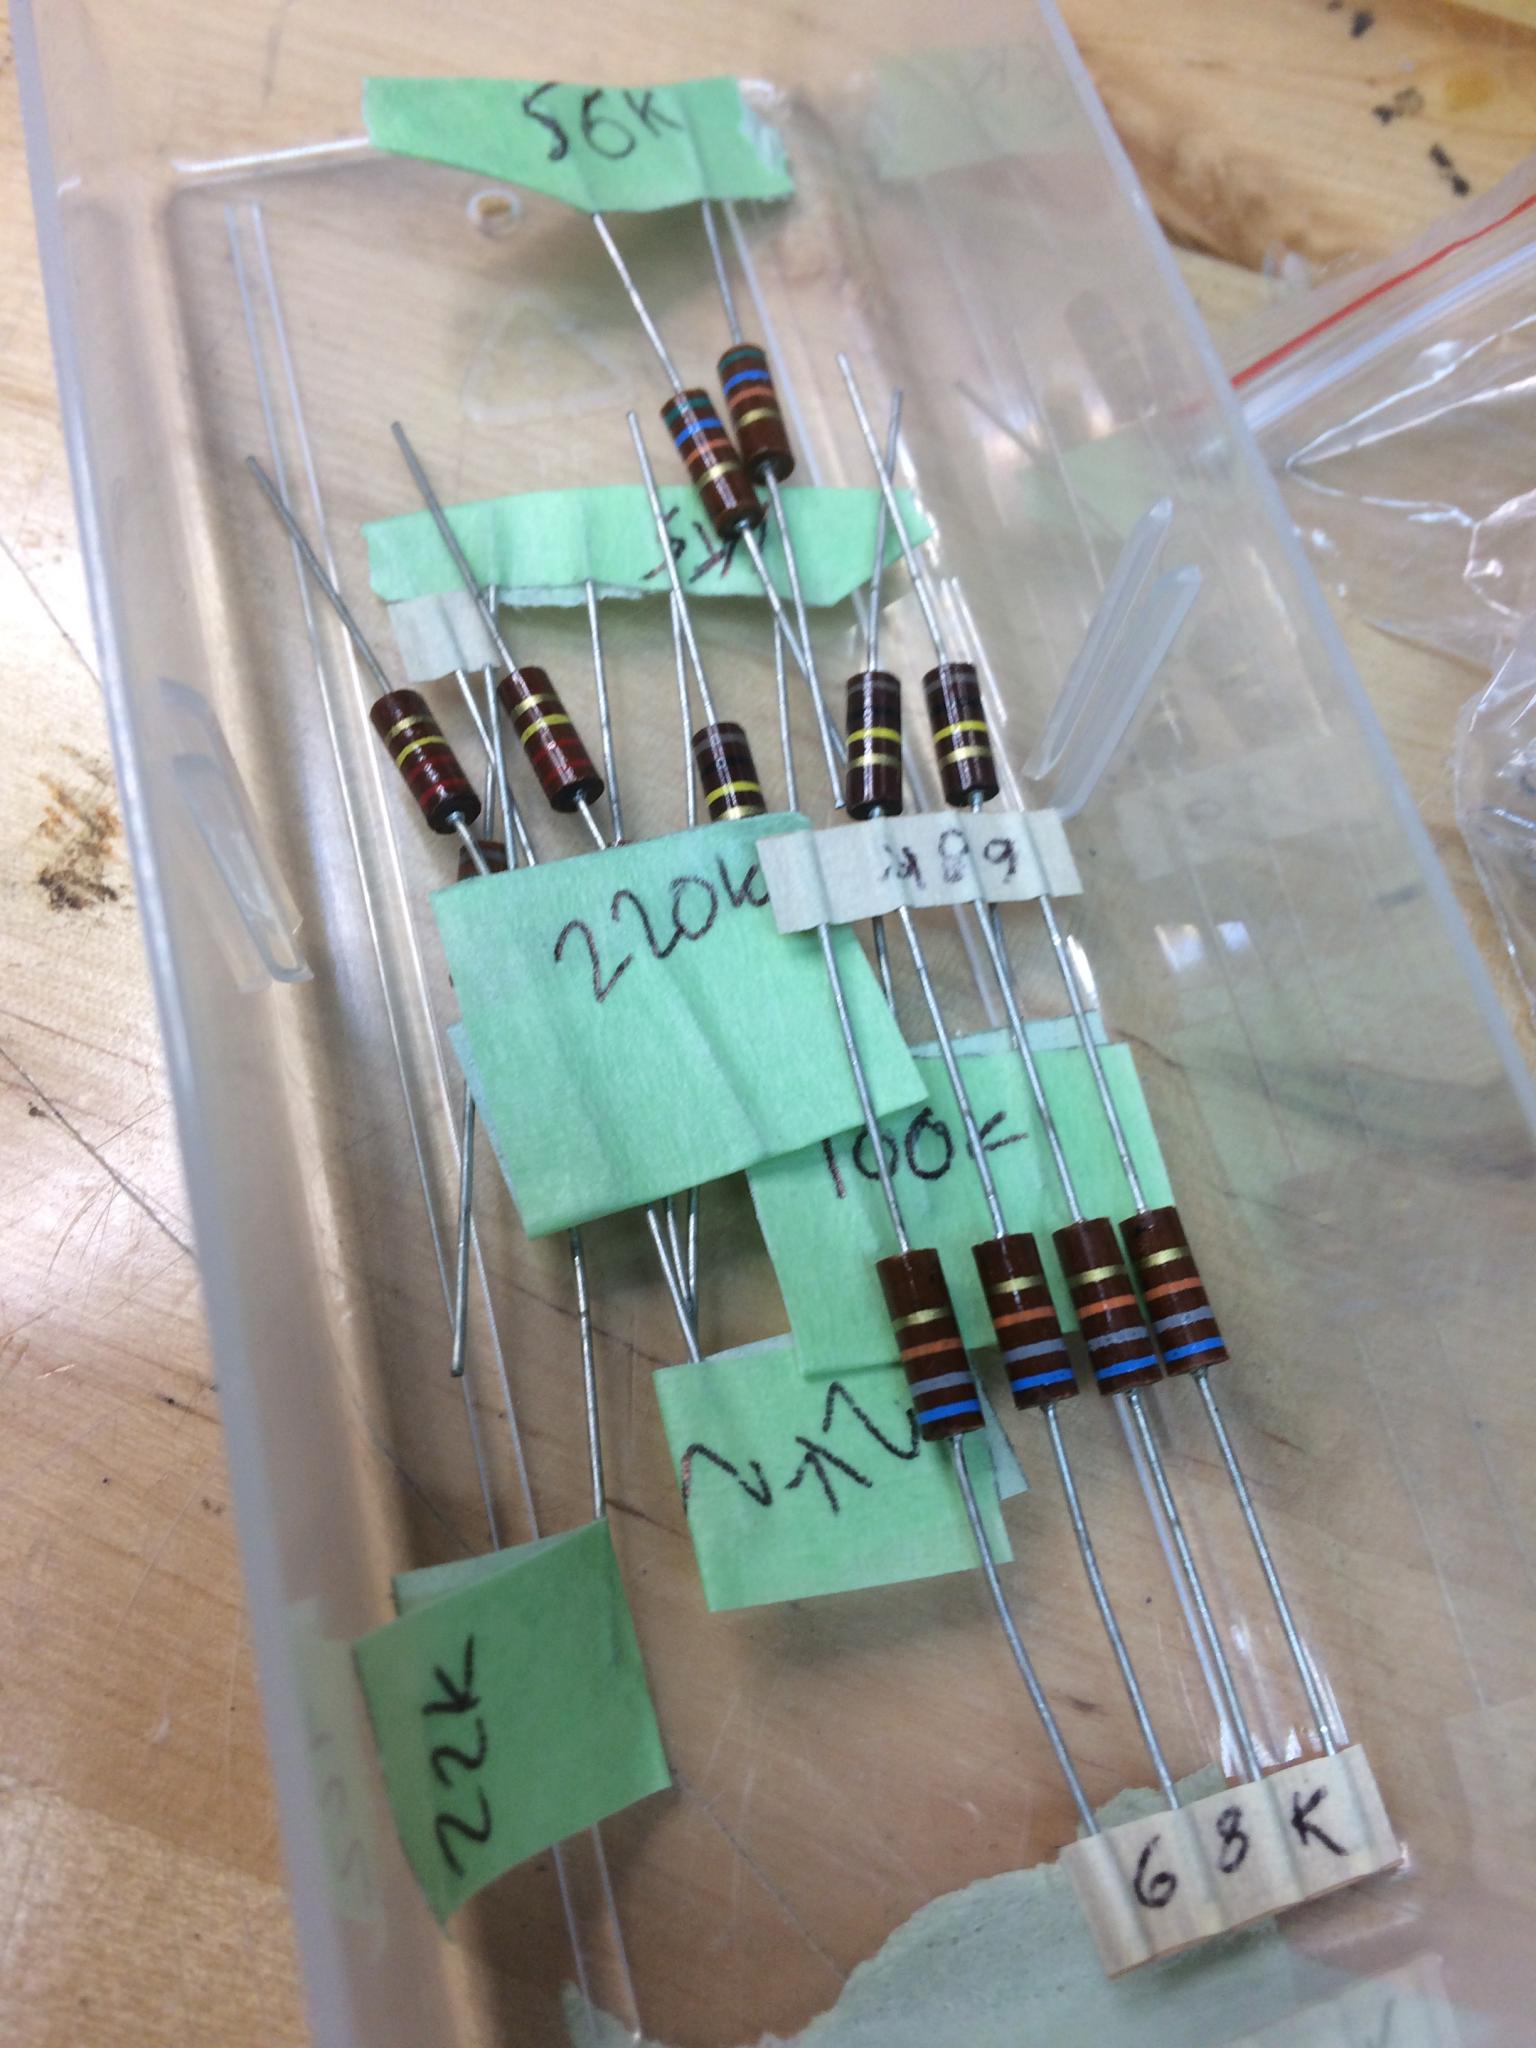
I decided to label the resistors as part of the inventory. Makes life easier later.
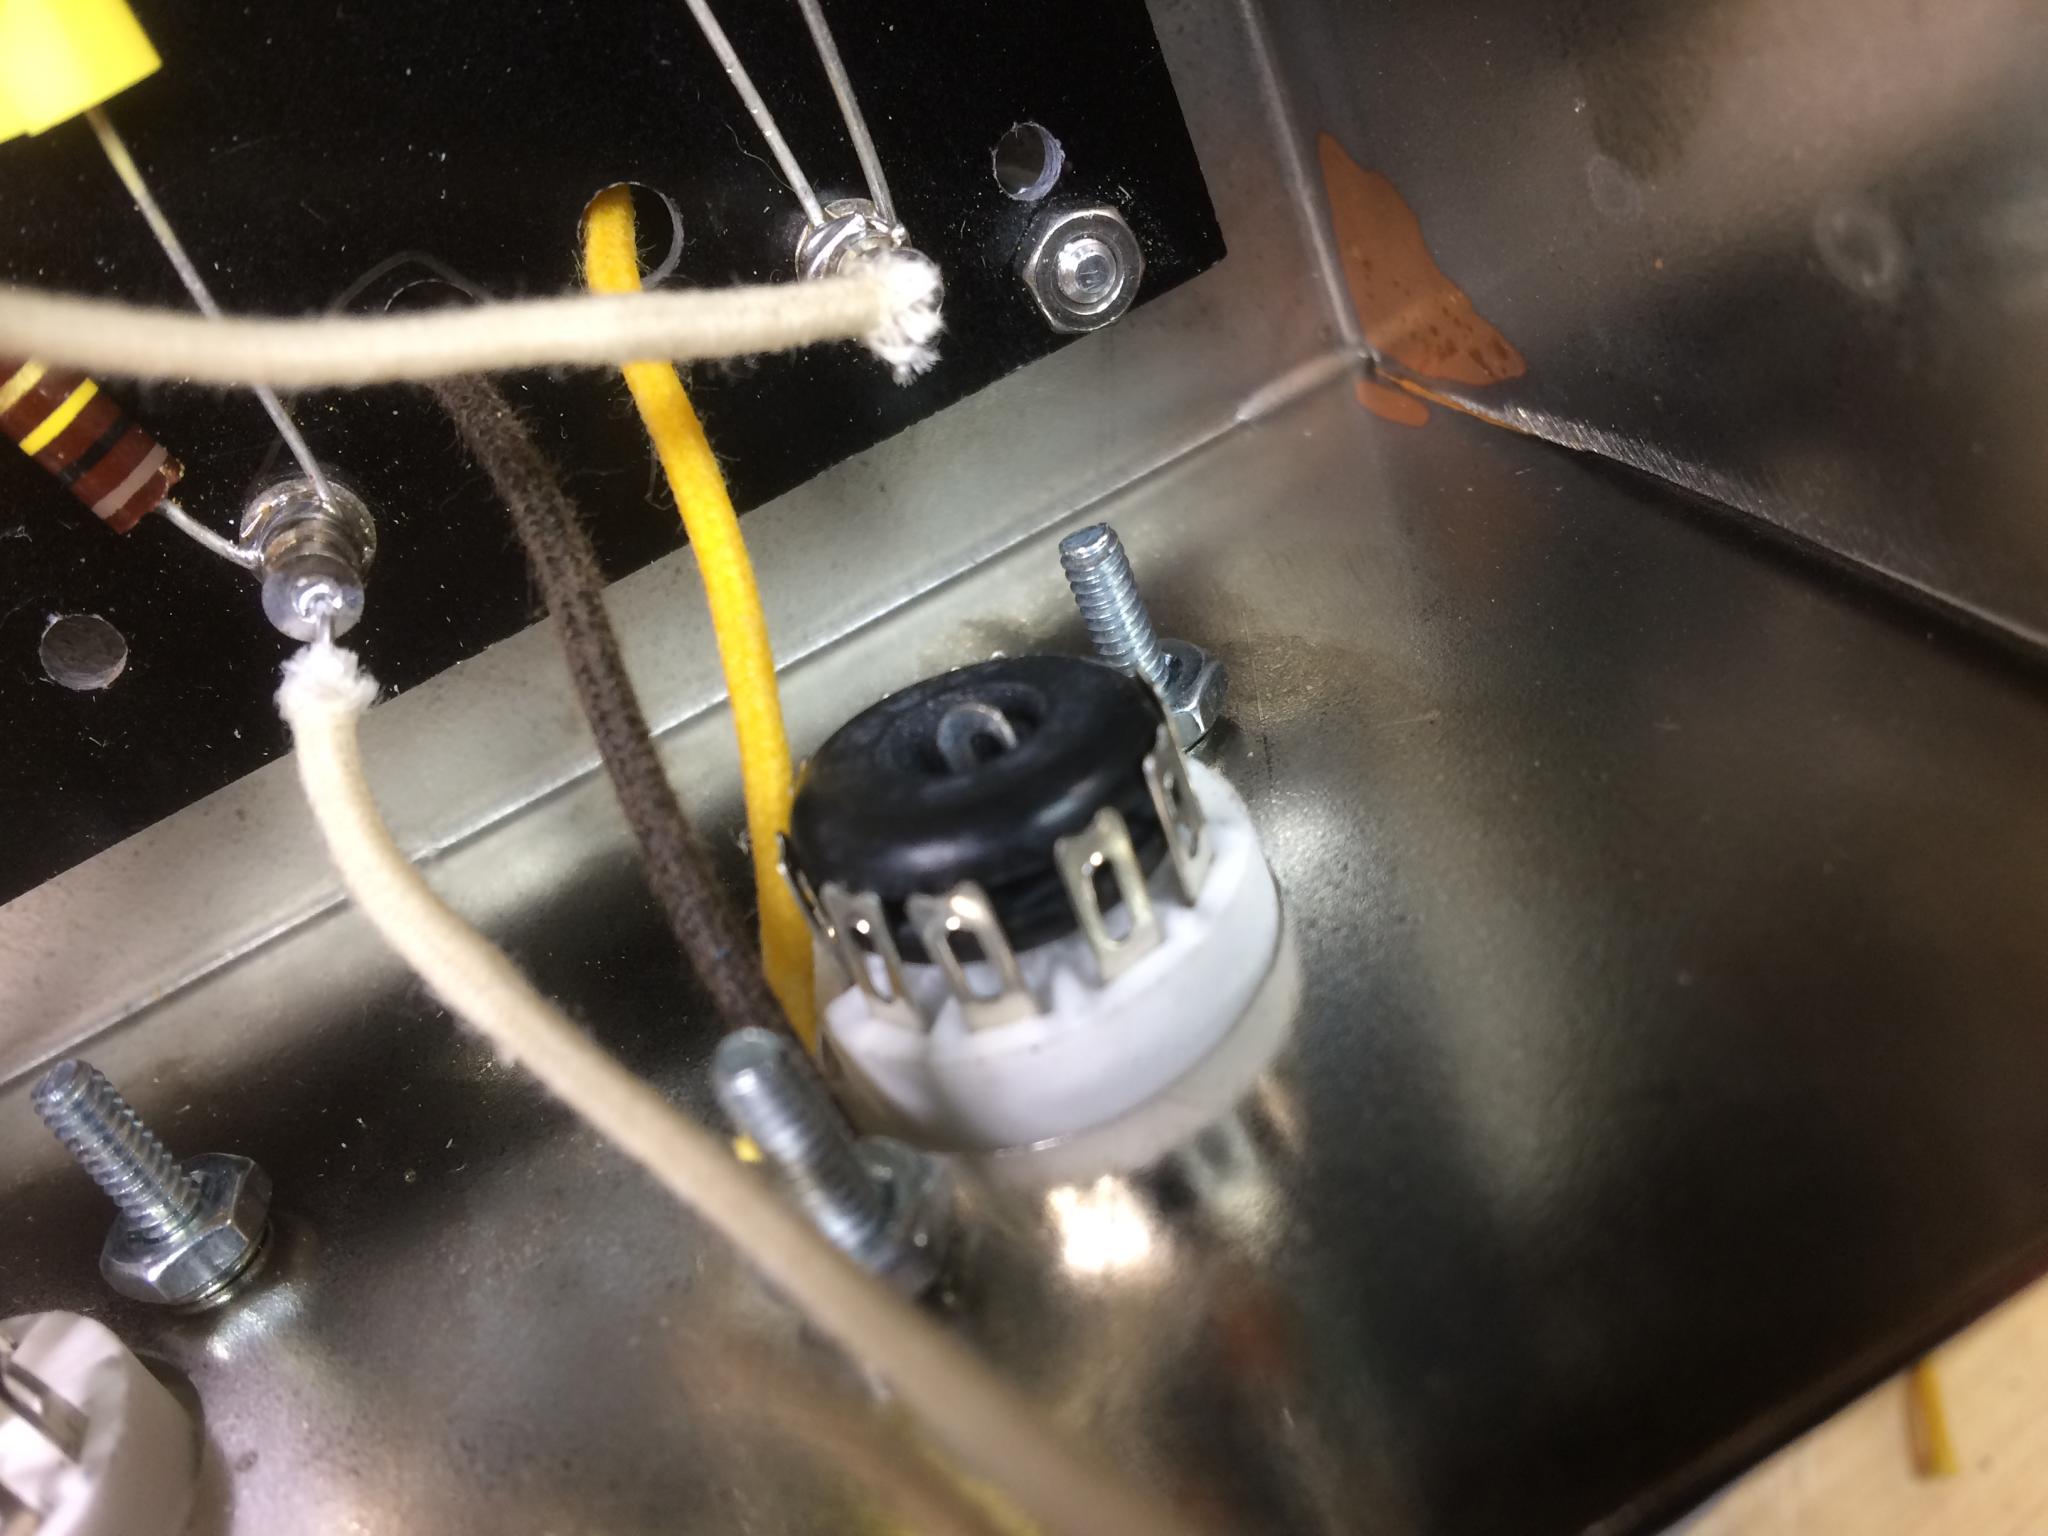
Looks like I'm short one grommet. No big deal, I have grommets.
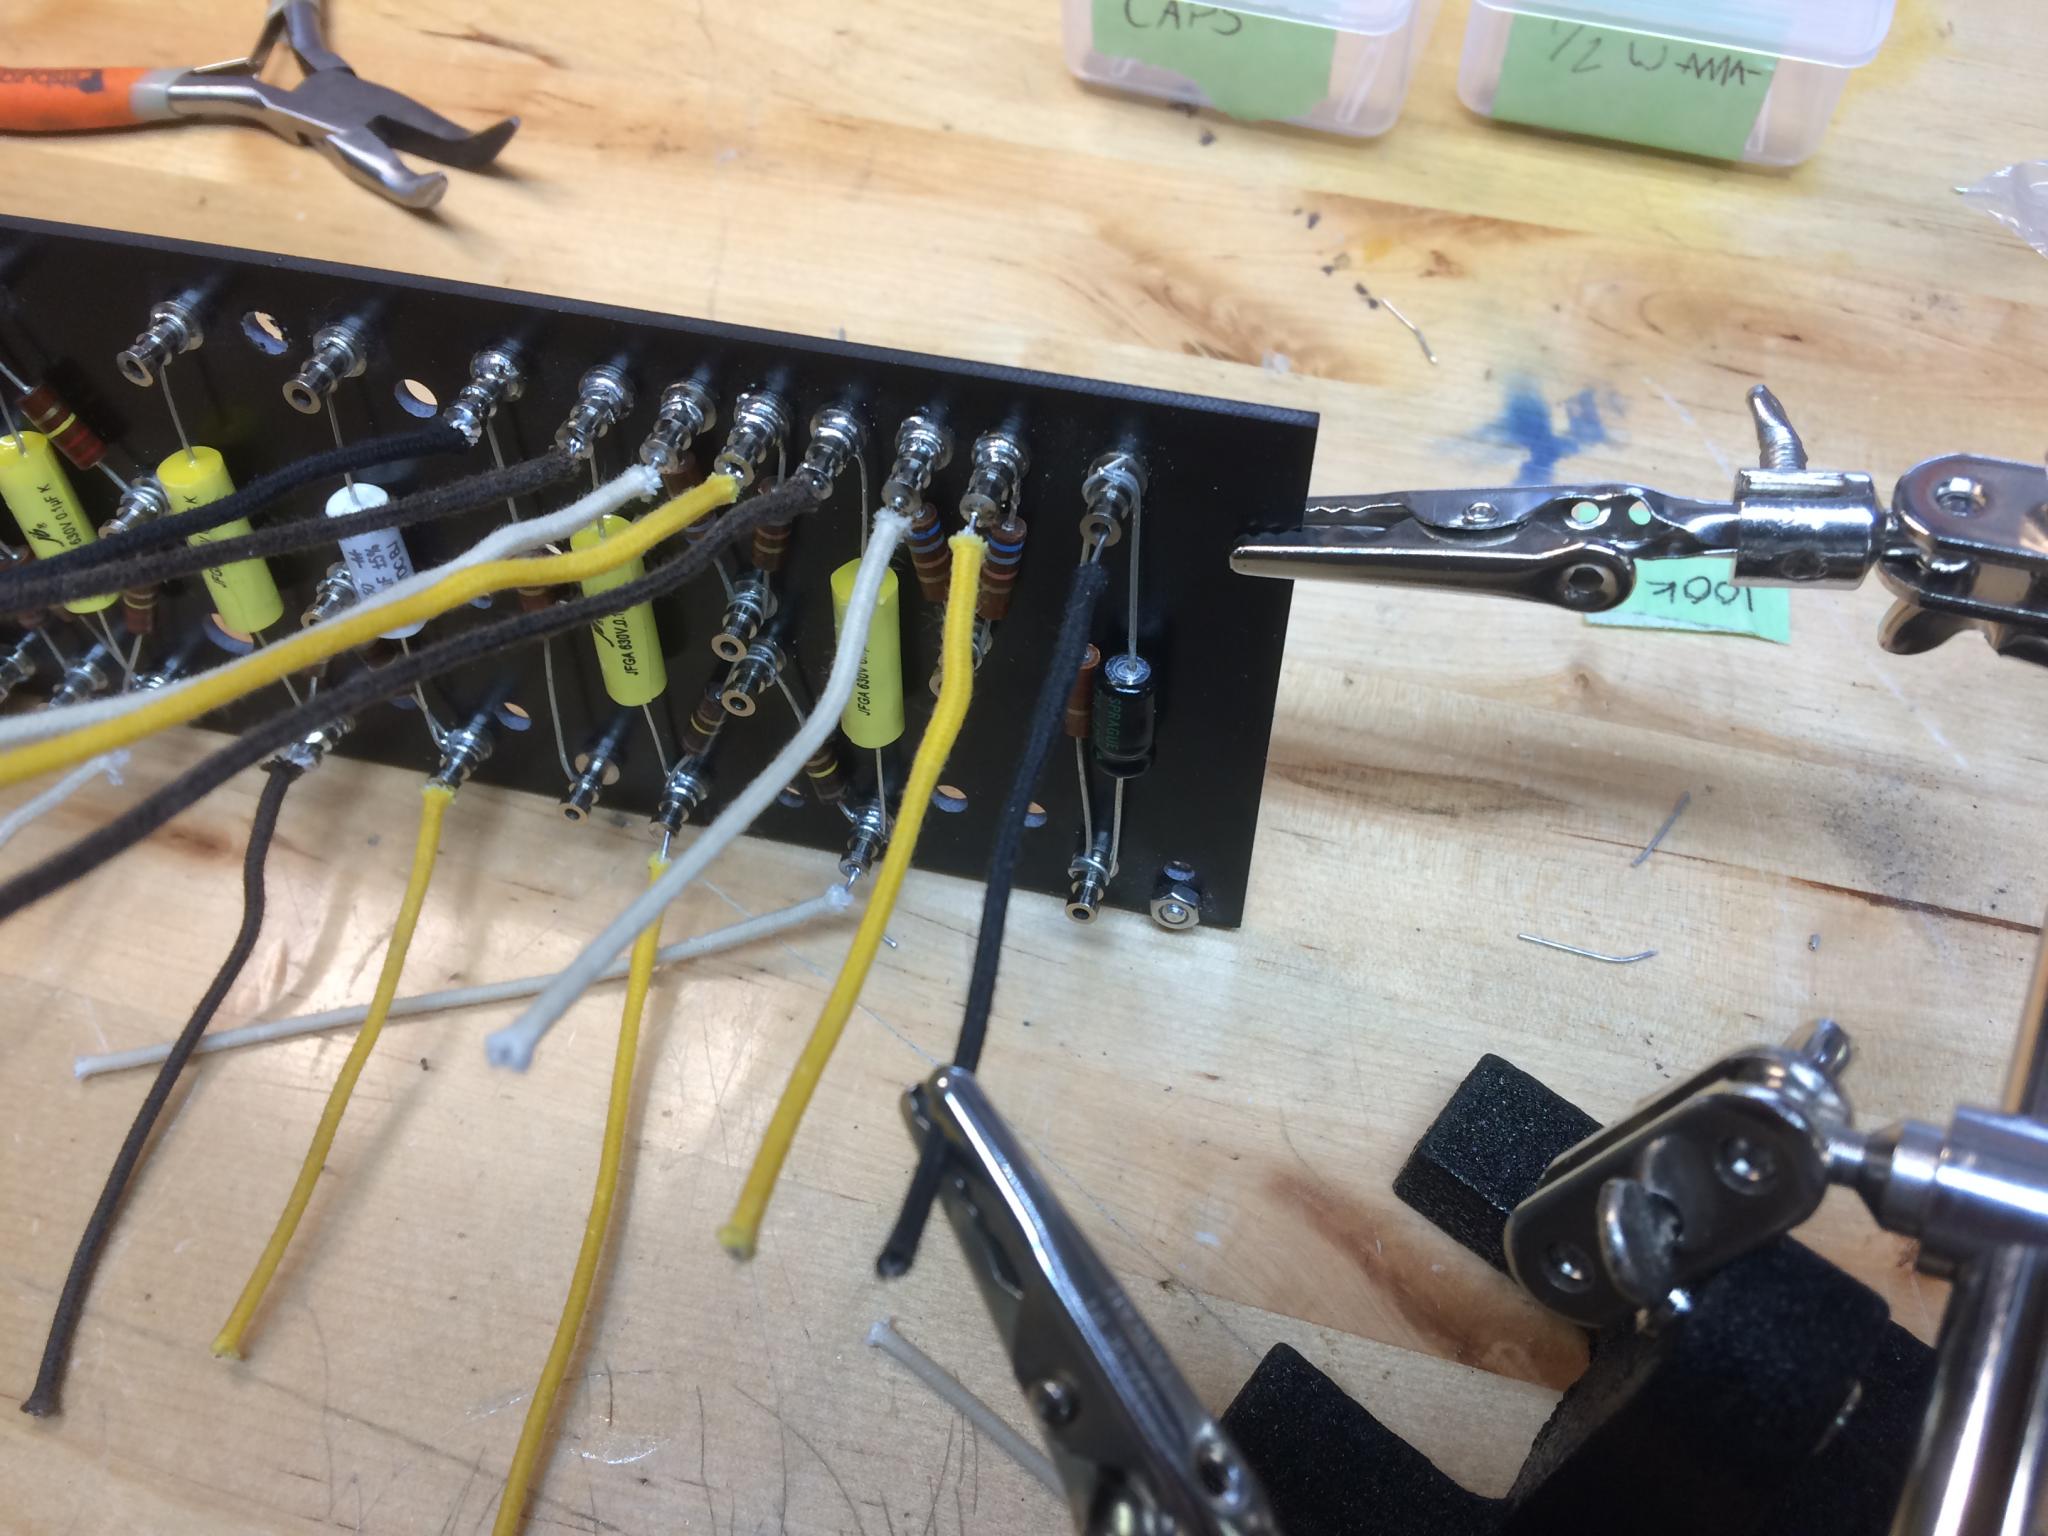
Okay, now we make something. My fuzz pedal build was pretty much paint by numbers. This is going to be a lot more interesting, because we're going point-to-point. This is fun because it really makes it obvious what's hooked to what. It also means a lot more attention to detail.
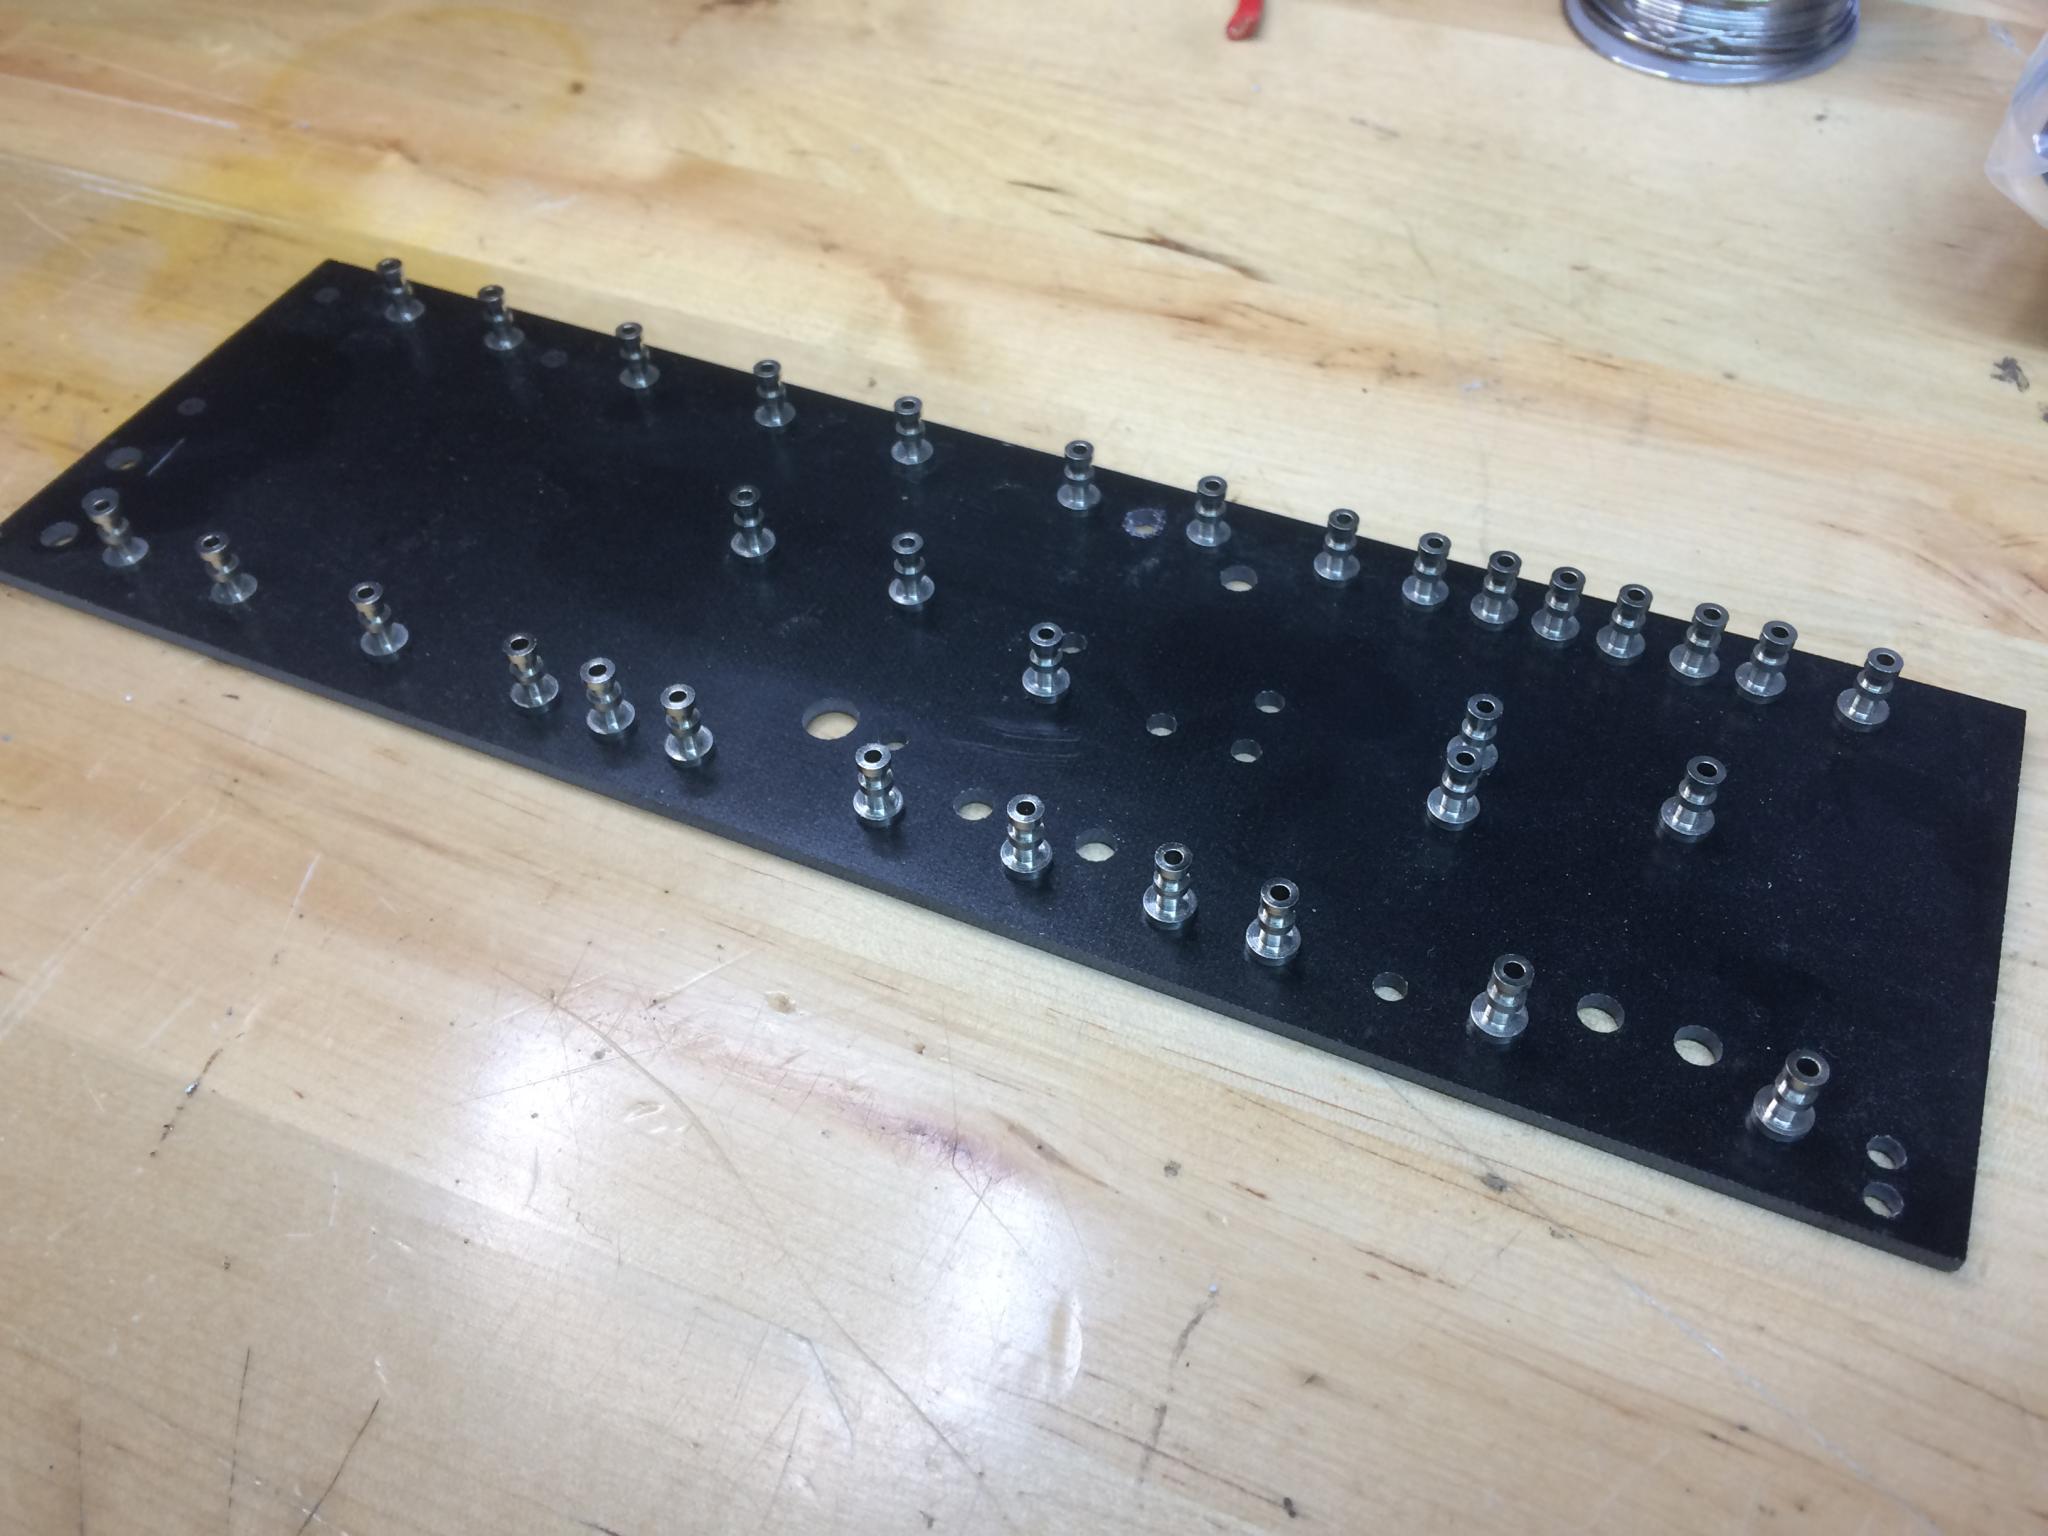
This is not quick. But that's okay, because I'm enjoying every second of it. Savoring. There's an art to doing it well. Well, I assume there is. Maybe I'm just flattering myself. But I'm still having a good time.
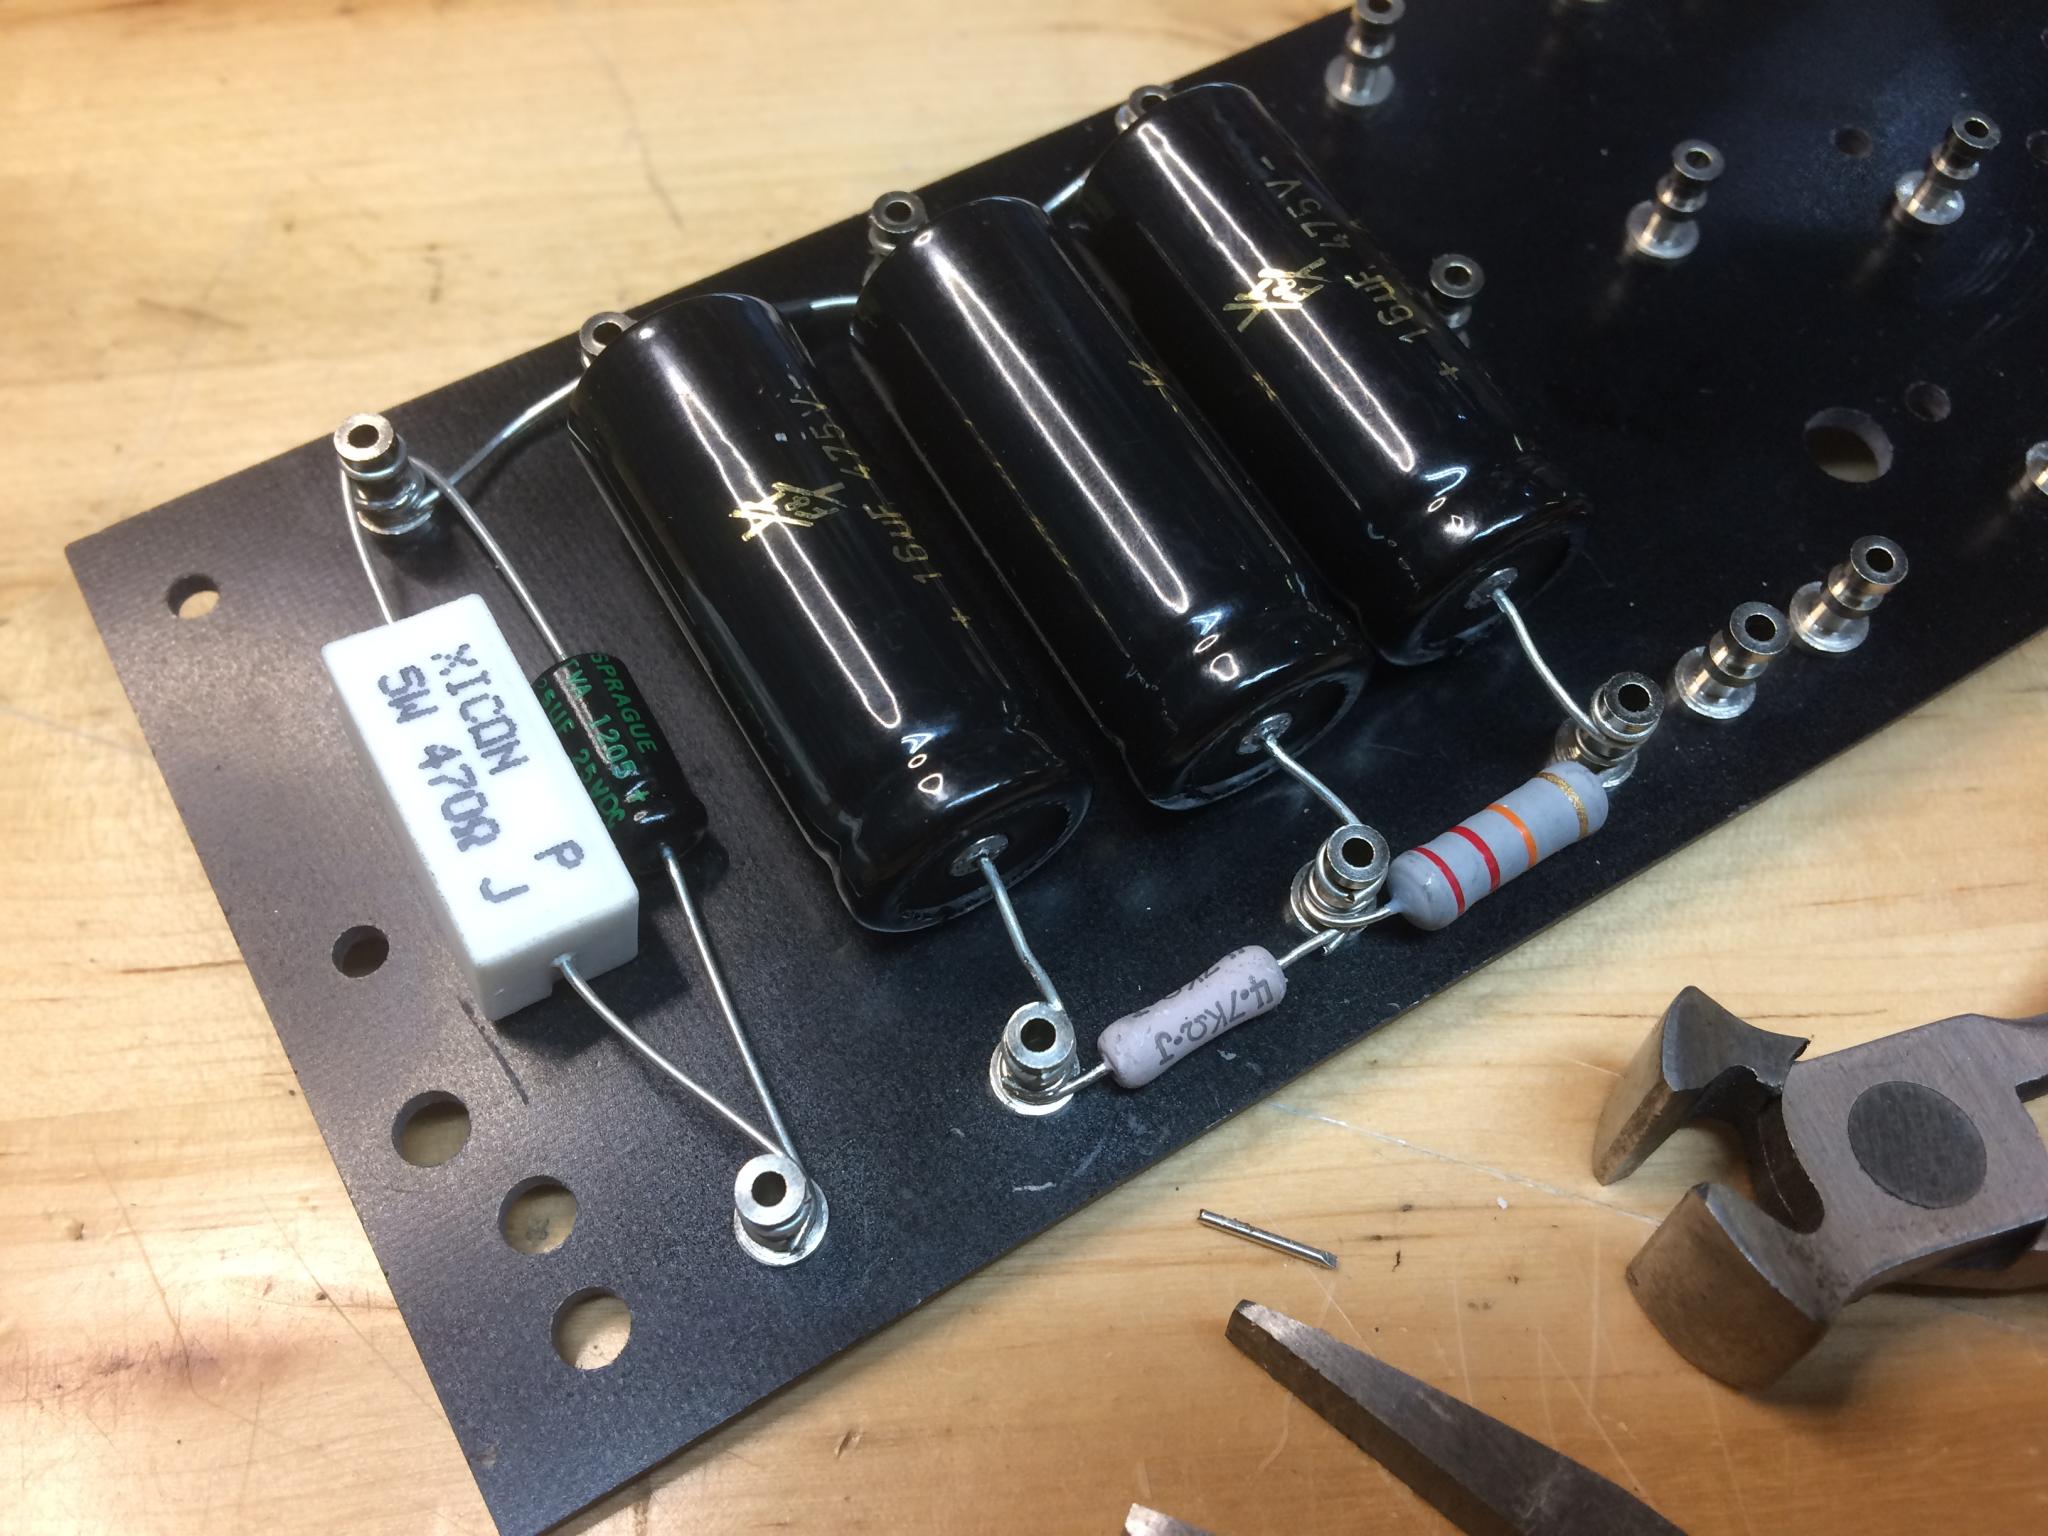
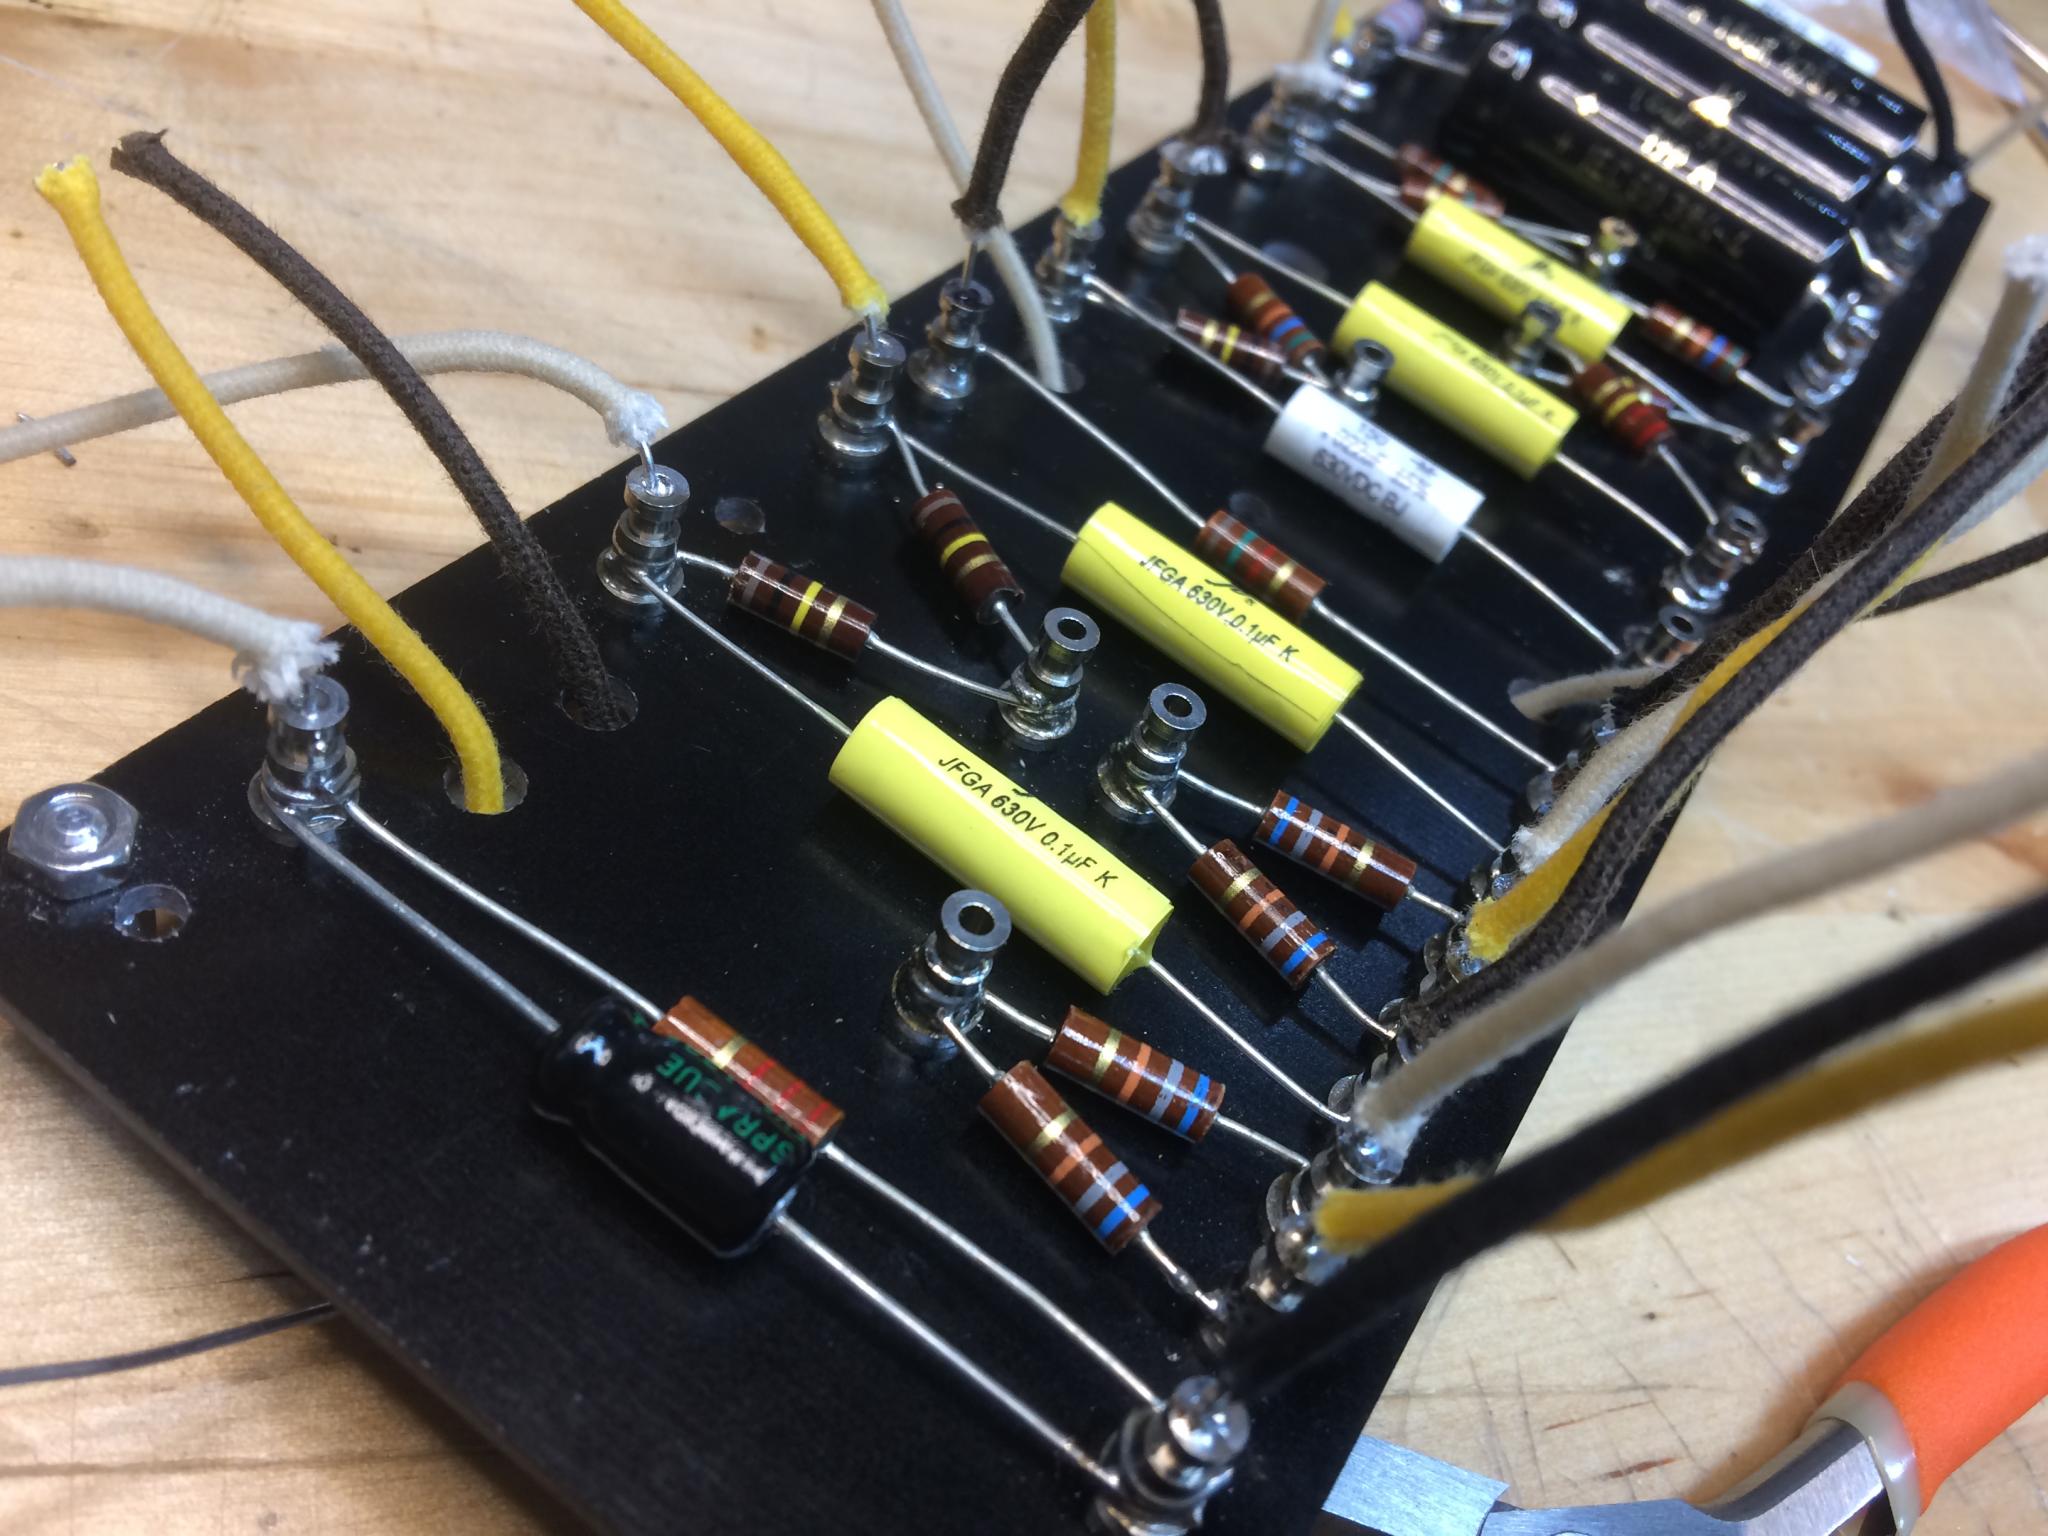
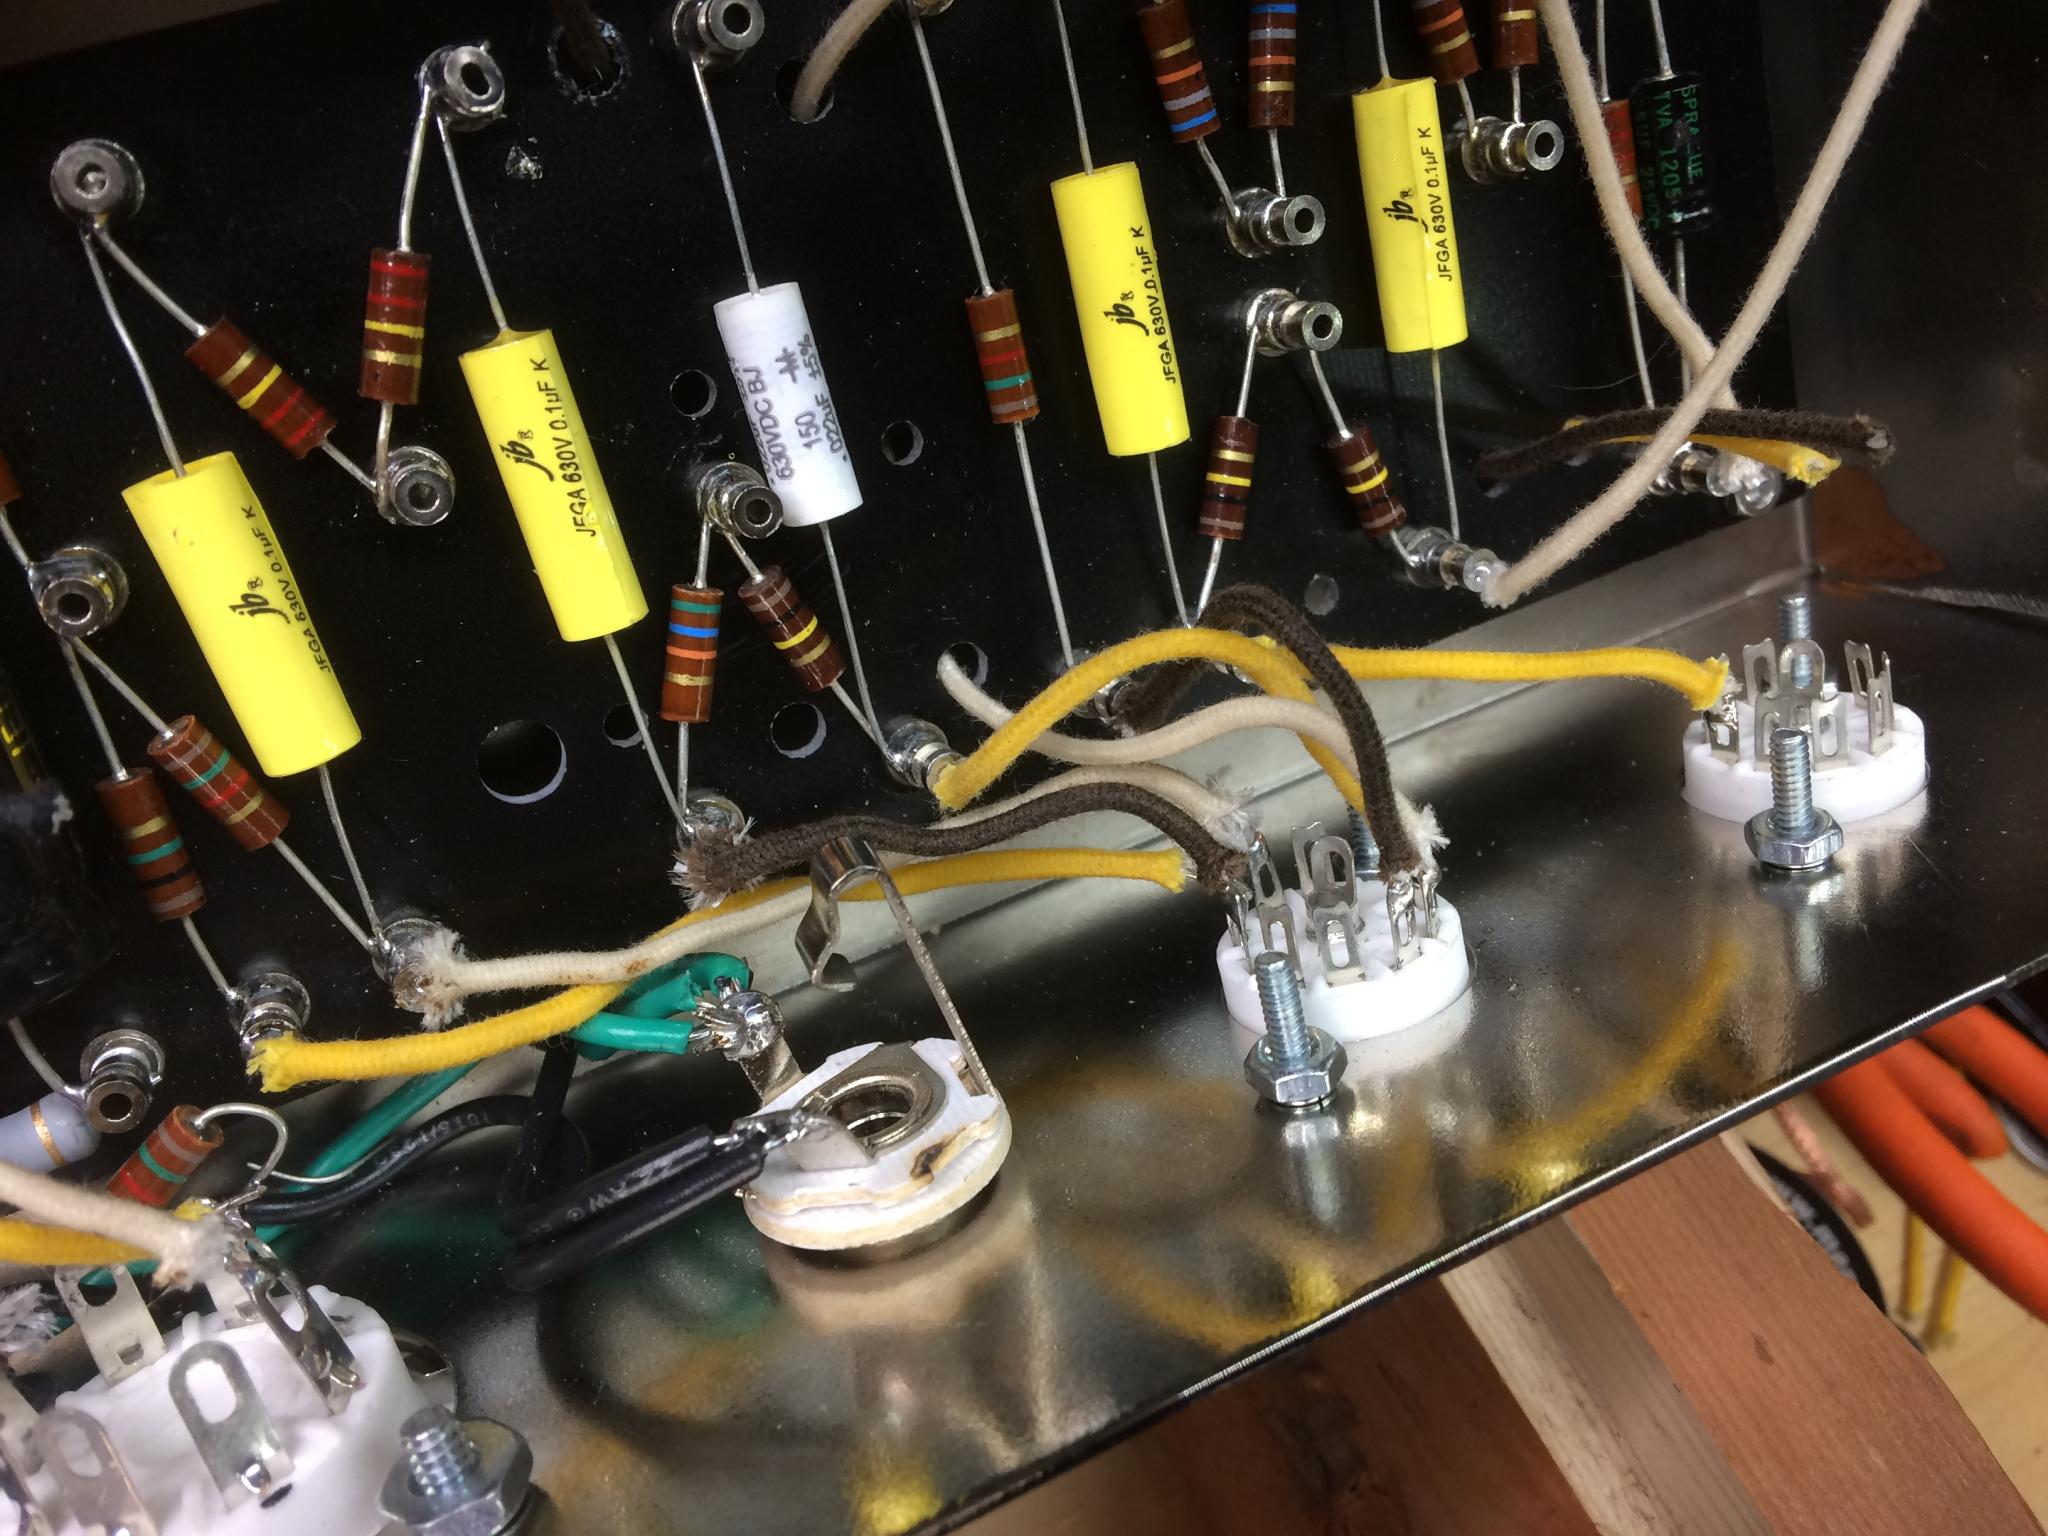
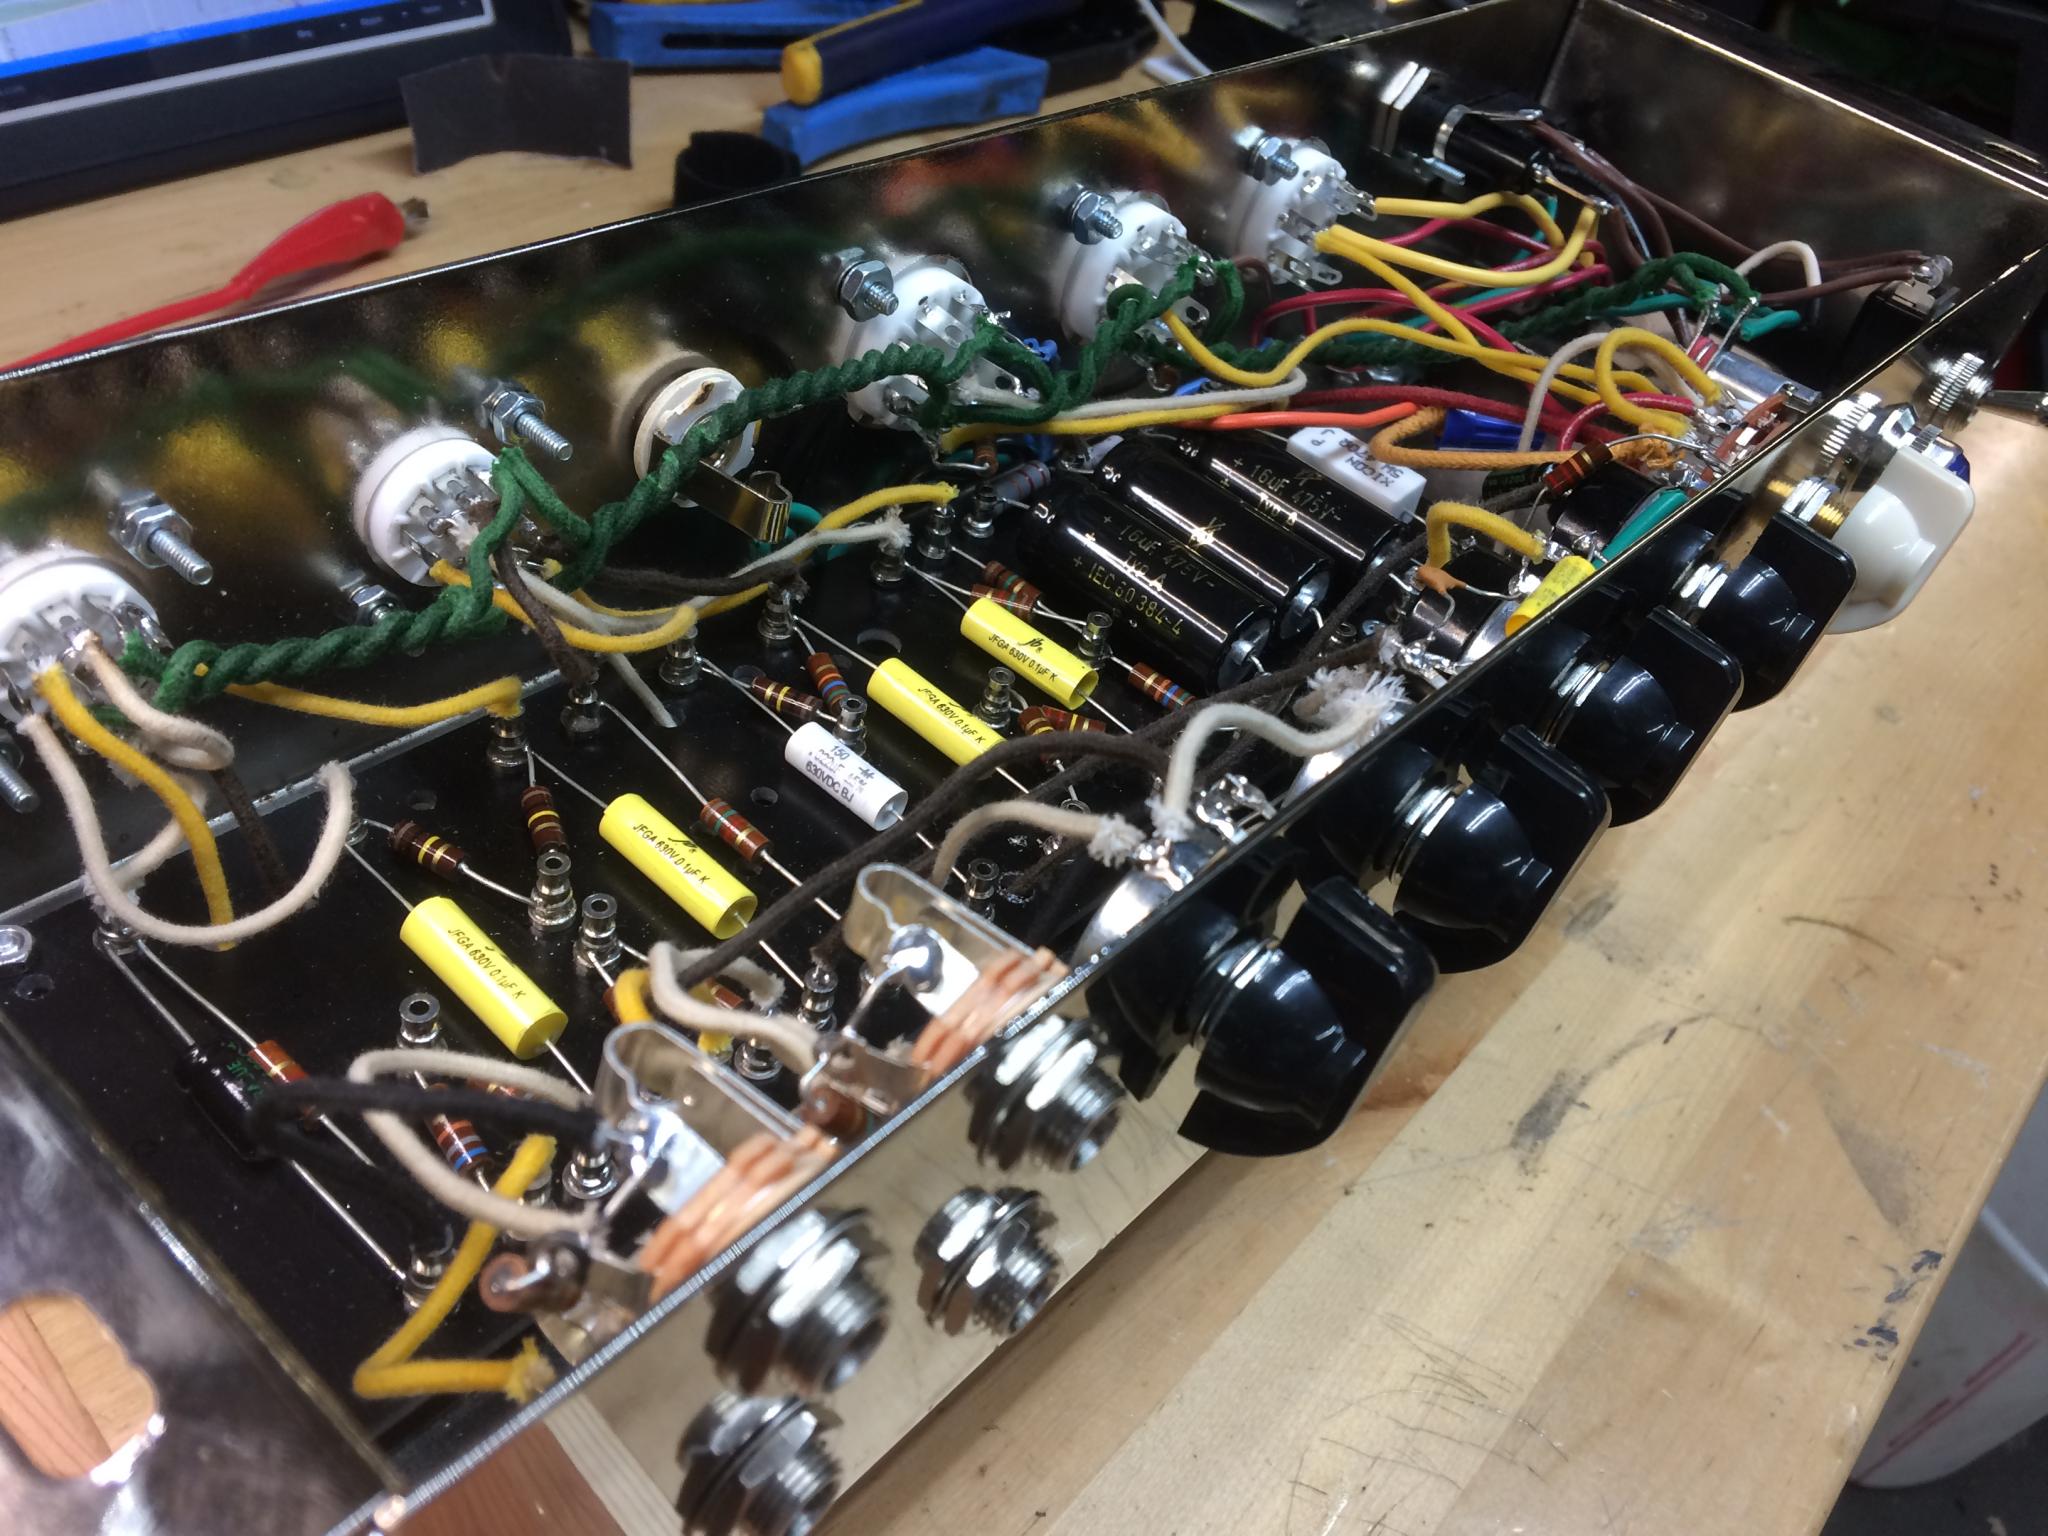
Working my way down the board. It gets trickier at this end because some of the posts are close together. Also, I haven't spotted my mistake by this point.
Near the end, resistor now in the correct place.

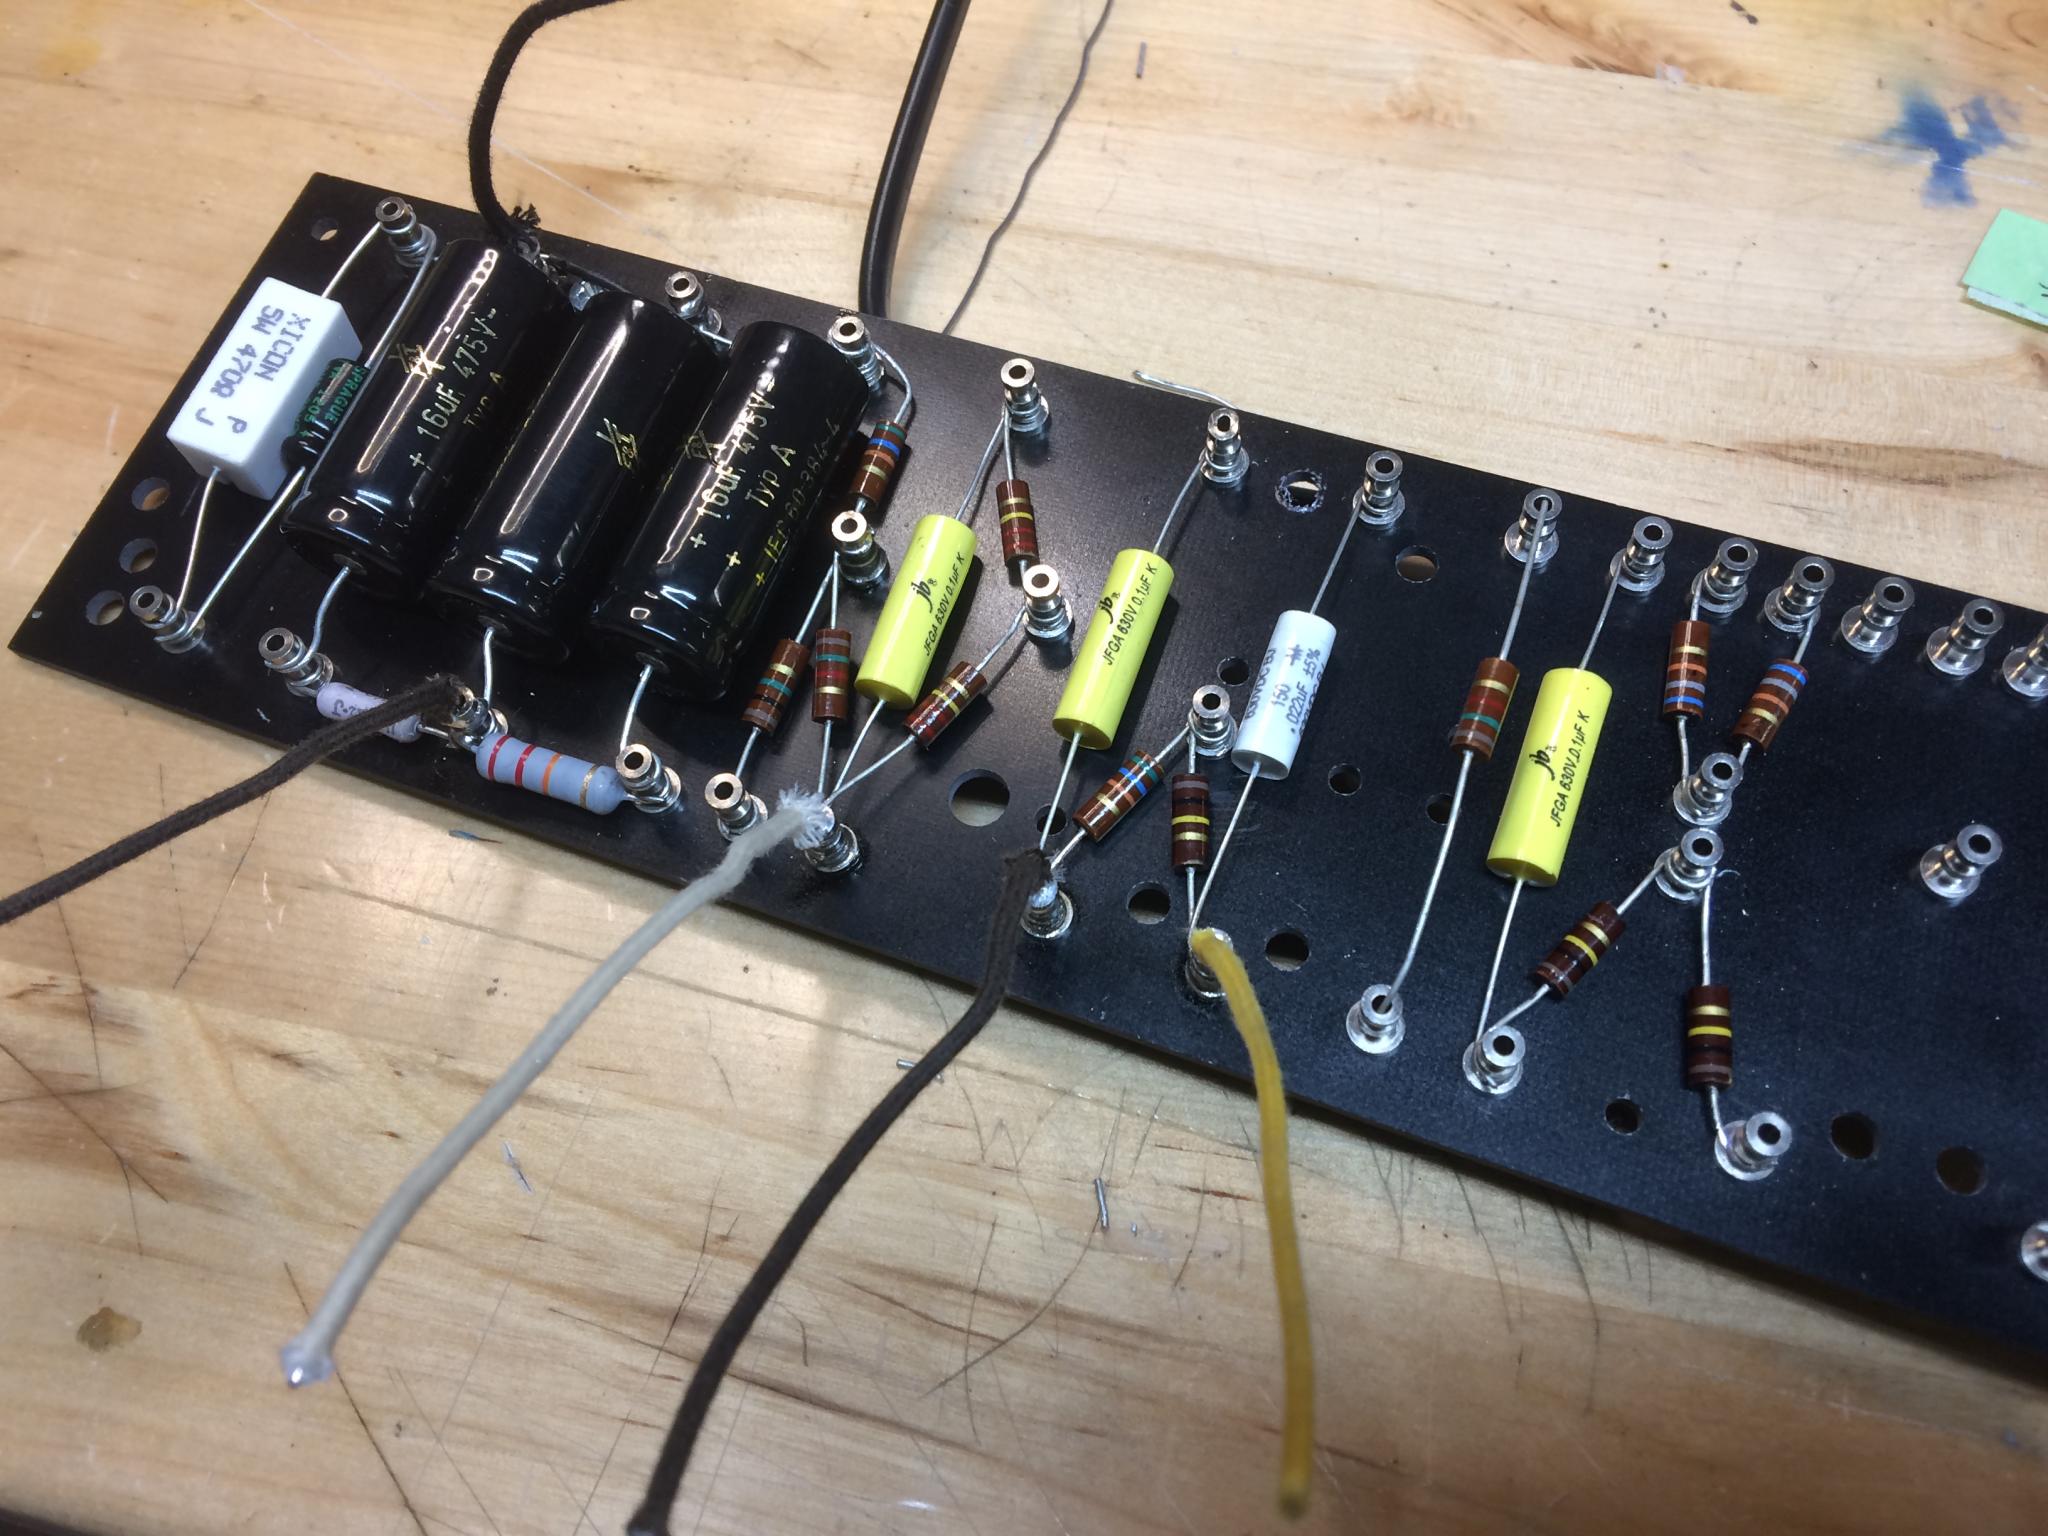
There are some wires on the backside as well. These were a bit tricky to solder, there's not much lip on the terminal post to get the iron on. I ended up having to preheat it somewhat on the other side.
The third hand tool was invaluable for the wires. All of the resistors and caps and other components are firmly attached so they're pretty easy to solder down. But the wires want to get away.
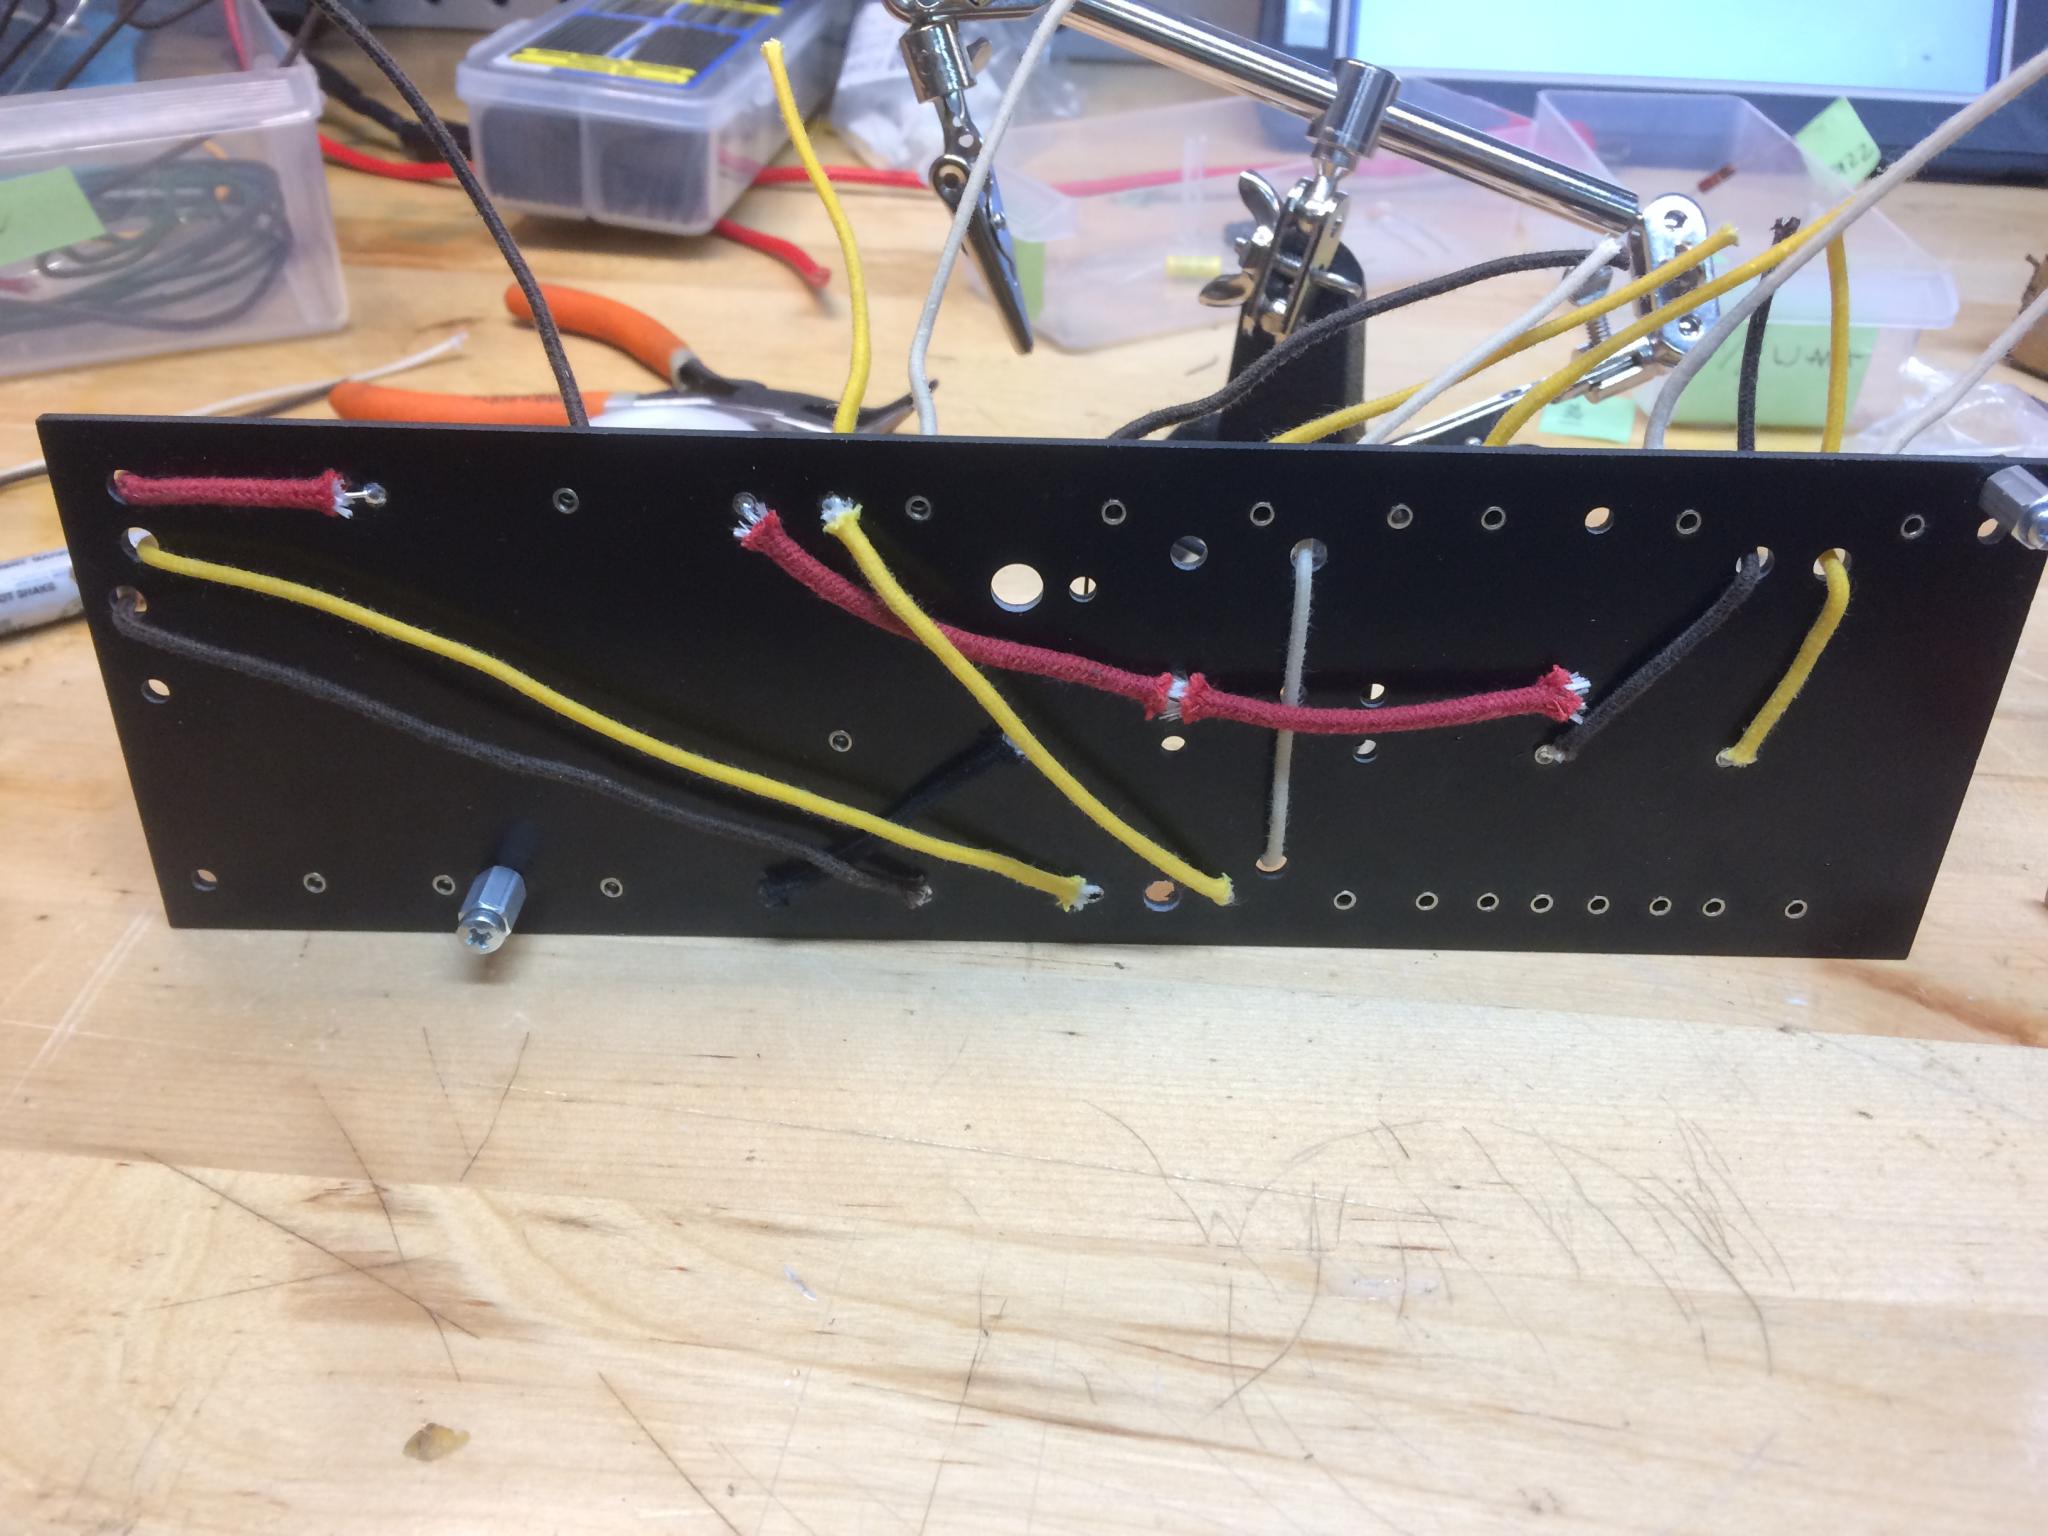
The next step involves the chassis. So I'll stop here for now. I'm going to spend some time looking at the wiring diagrams and see if I can puzzle out just how this thing works. I feel a bit like James May for having enjoyed this as much as I have so far, but I'm comfortable with that.
Cool project! What happened to your arm though?
Mountain bike crash, grade 3 AC separation. Basically, I popped apart some of the struts and cables that hold my shoulder together and I have to wait for my body to do the healing magic trick. I can hold a soldering iron, so that's good.
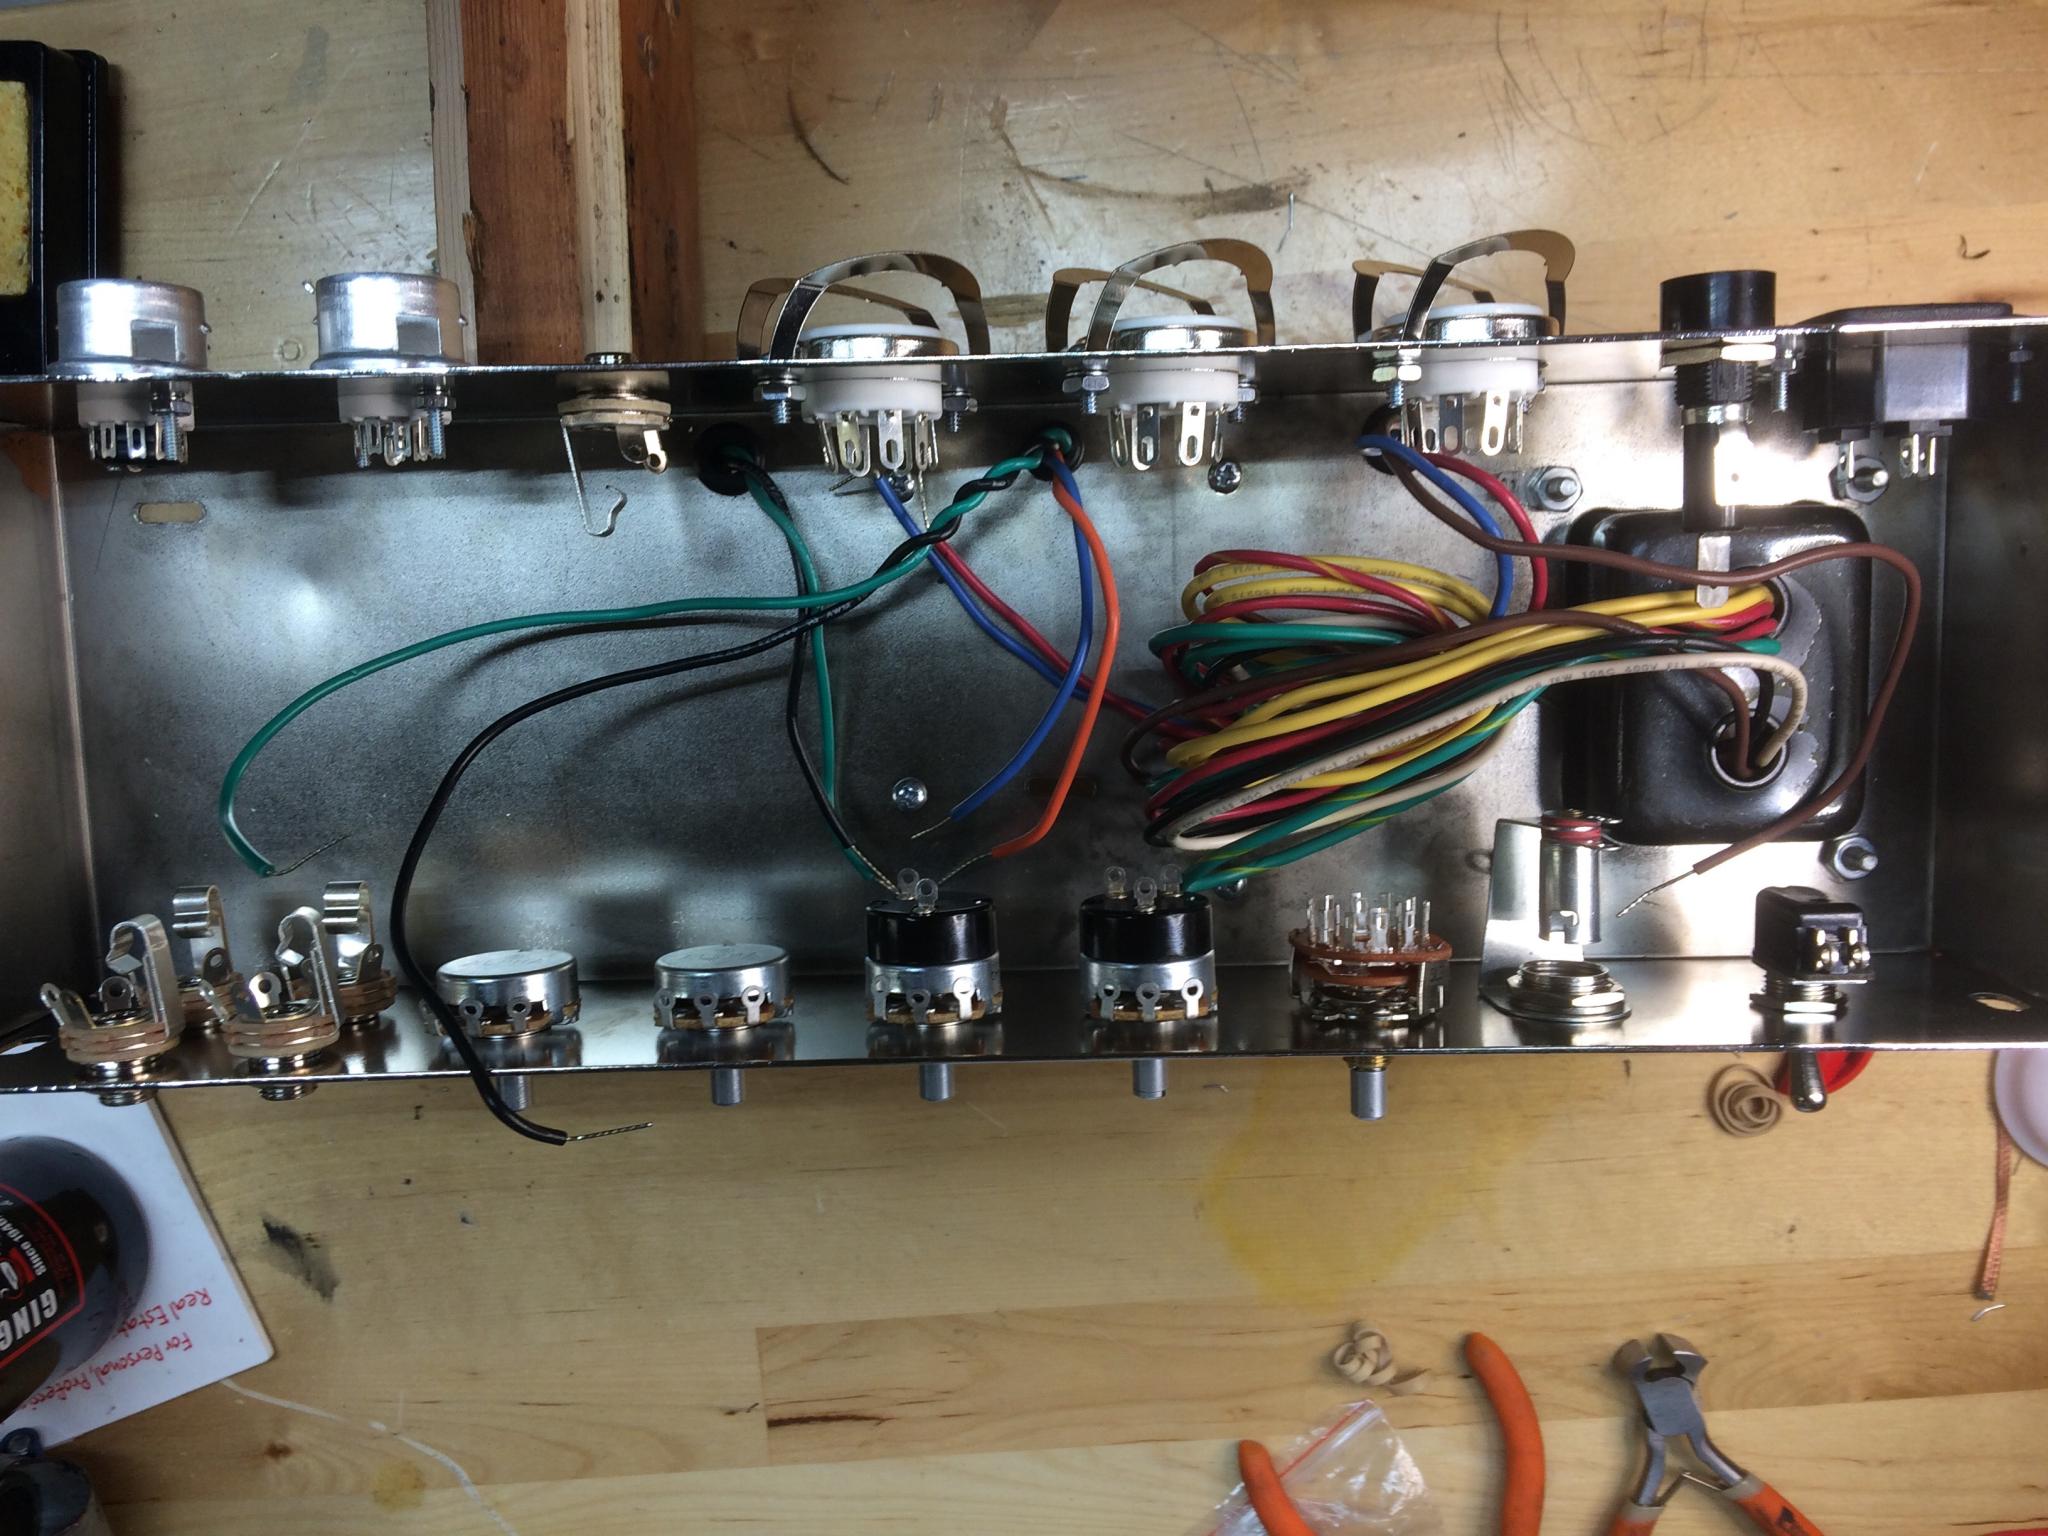
Turns out stuff happens really fast when you start working on the chassis. Bonus: I can say I installed octal tube retainers today.
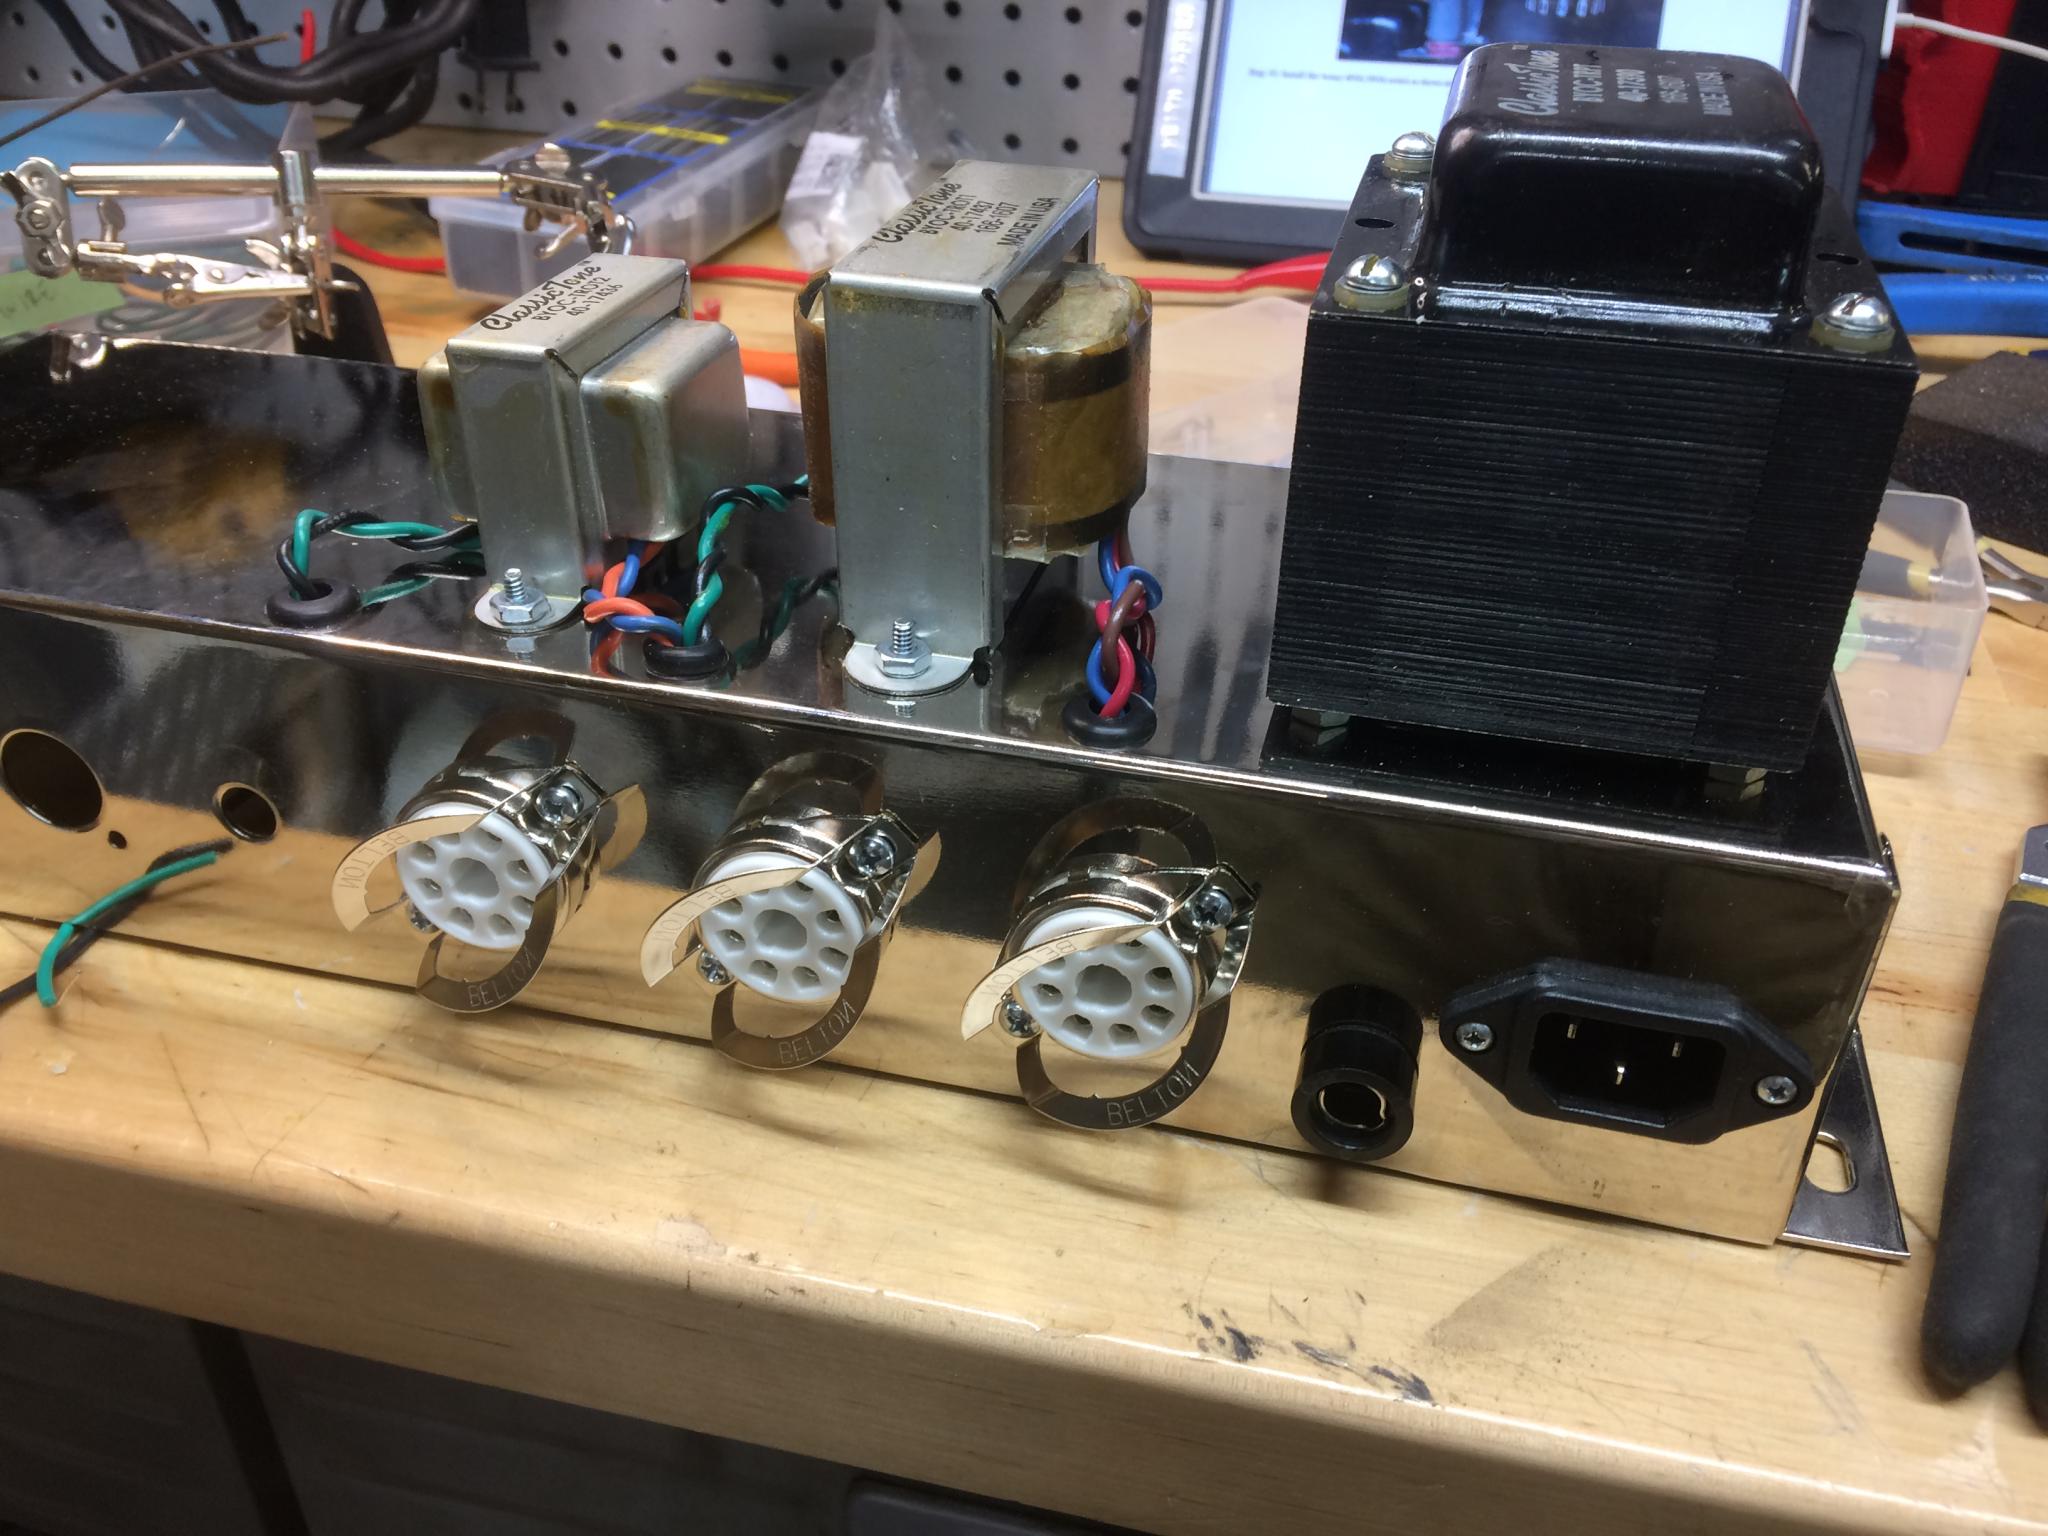
A bike cone wrench tool is really useful for those thin locknuts that hold in switches and sockets.

RossD
UltimaDork
7/19/17 8:01 p.m.
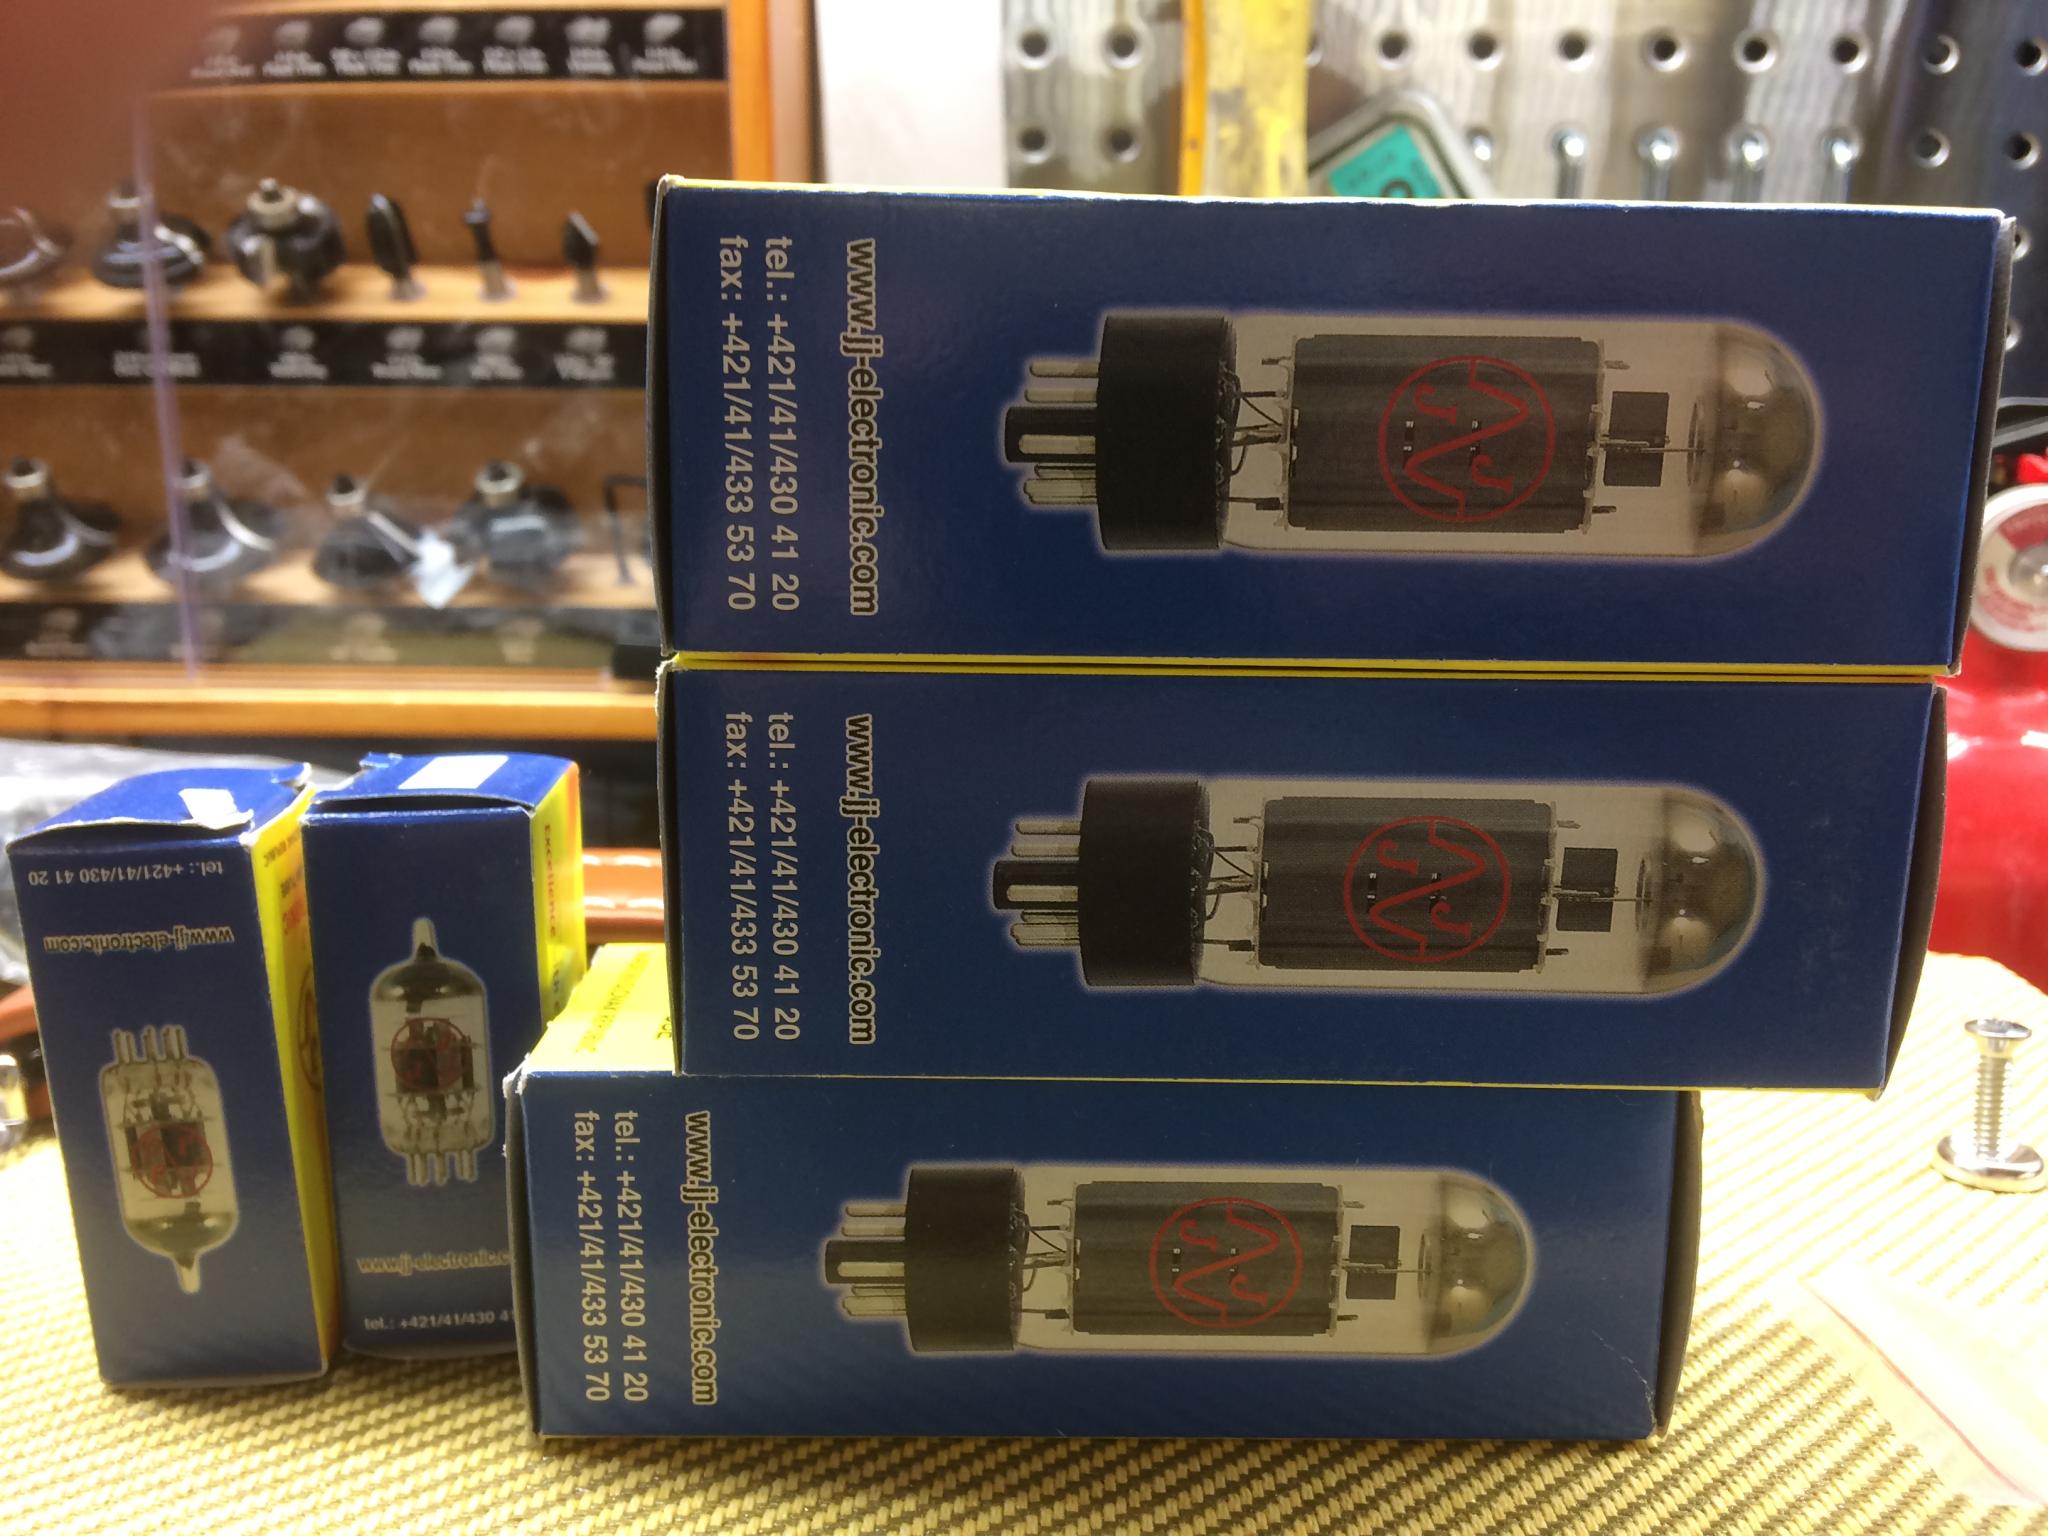
If you would like some old (possibly NOS) 6V6GT, 12AX7, 5Y3GT tubes, just PM and I will look through my stash.
Oh boy, there's a lot of awkward soldering ahead.

Ransom
PowerDork
7/19/17 8:54 p.m.
Awesome! Spectacular use of healing time!
And yeah, too bad you can't solder those sockets up and THEN put them in the panel...

codrus
UltraDork
7/19/17 8:58 p.m.
Ransom wrote:
Awesome! Spectacular use of healing time!
And yeah, too bad you can't solder those sockets up and THEN put them in the panel...
You probably can, at least for some of the wires.
I'm making the assumption that the designers of the kit know better than I. And I have to say that I think they were right. Most of the wires being connected are going through the chassis.

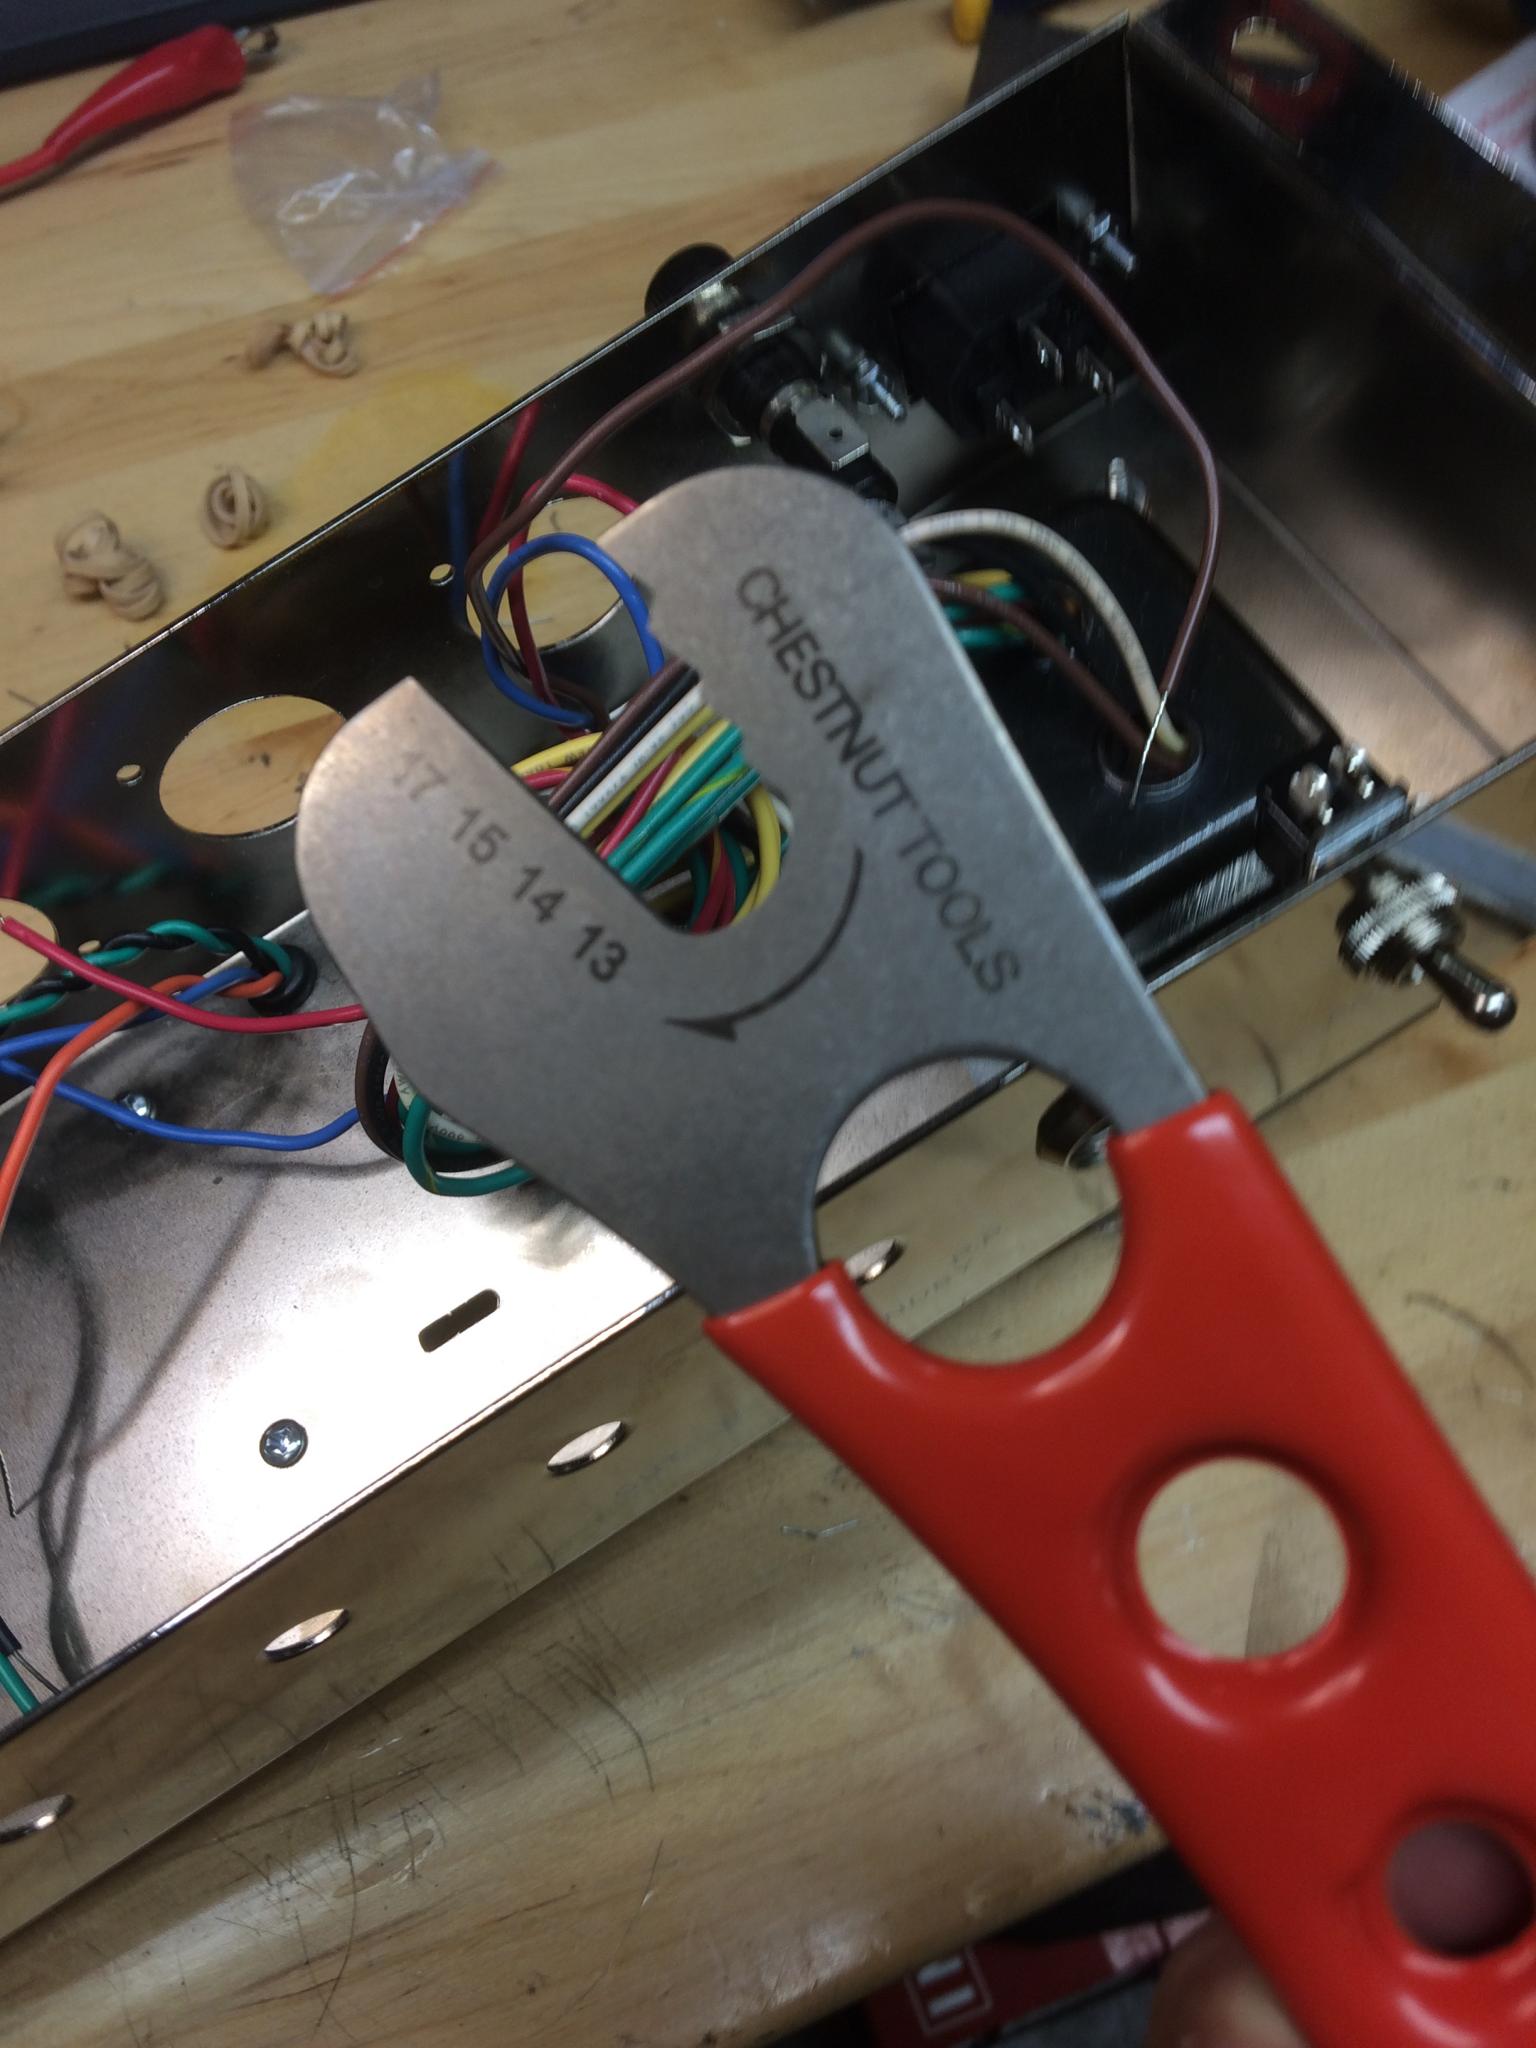
I'm at the "add the circuit board" step and I've been using my right hand probably more than I should, so I'm calling it for the night. It's starting to look like something. The wire nut is in the instructions, BTW.

Okay, back at it.
First, some good news. I said the kit was short a grommet. Well, no. I found it 
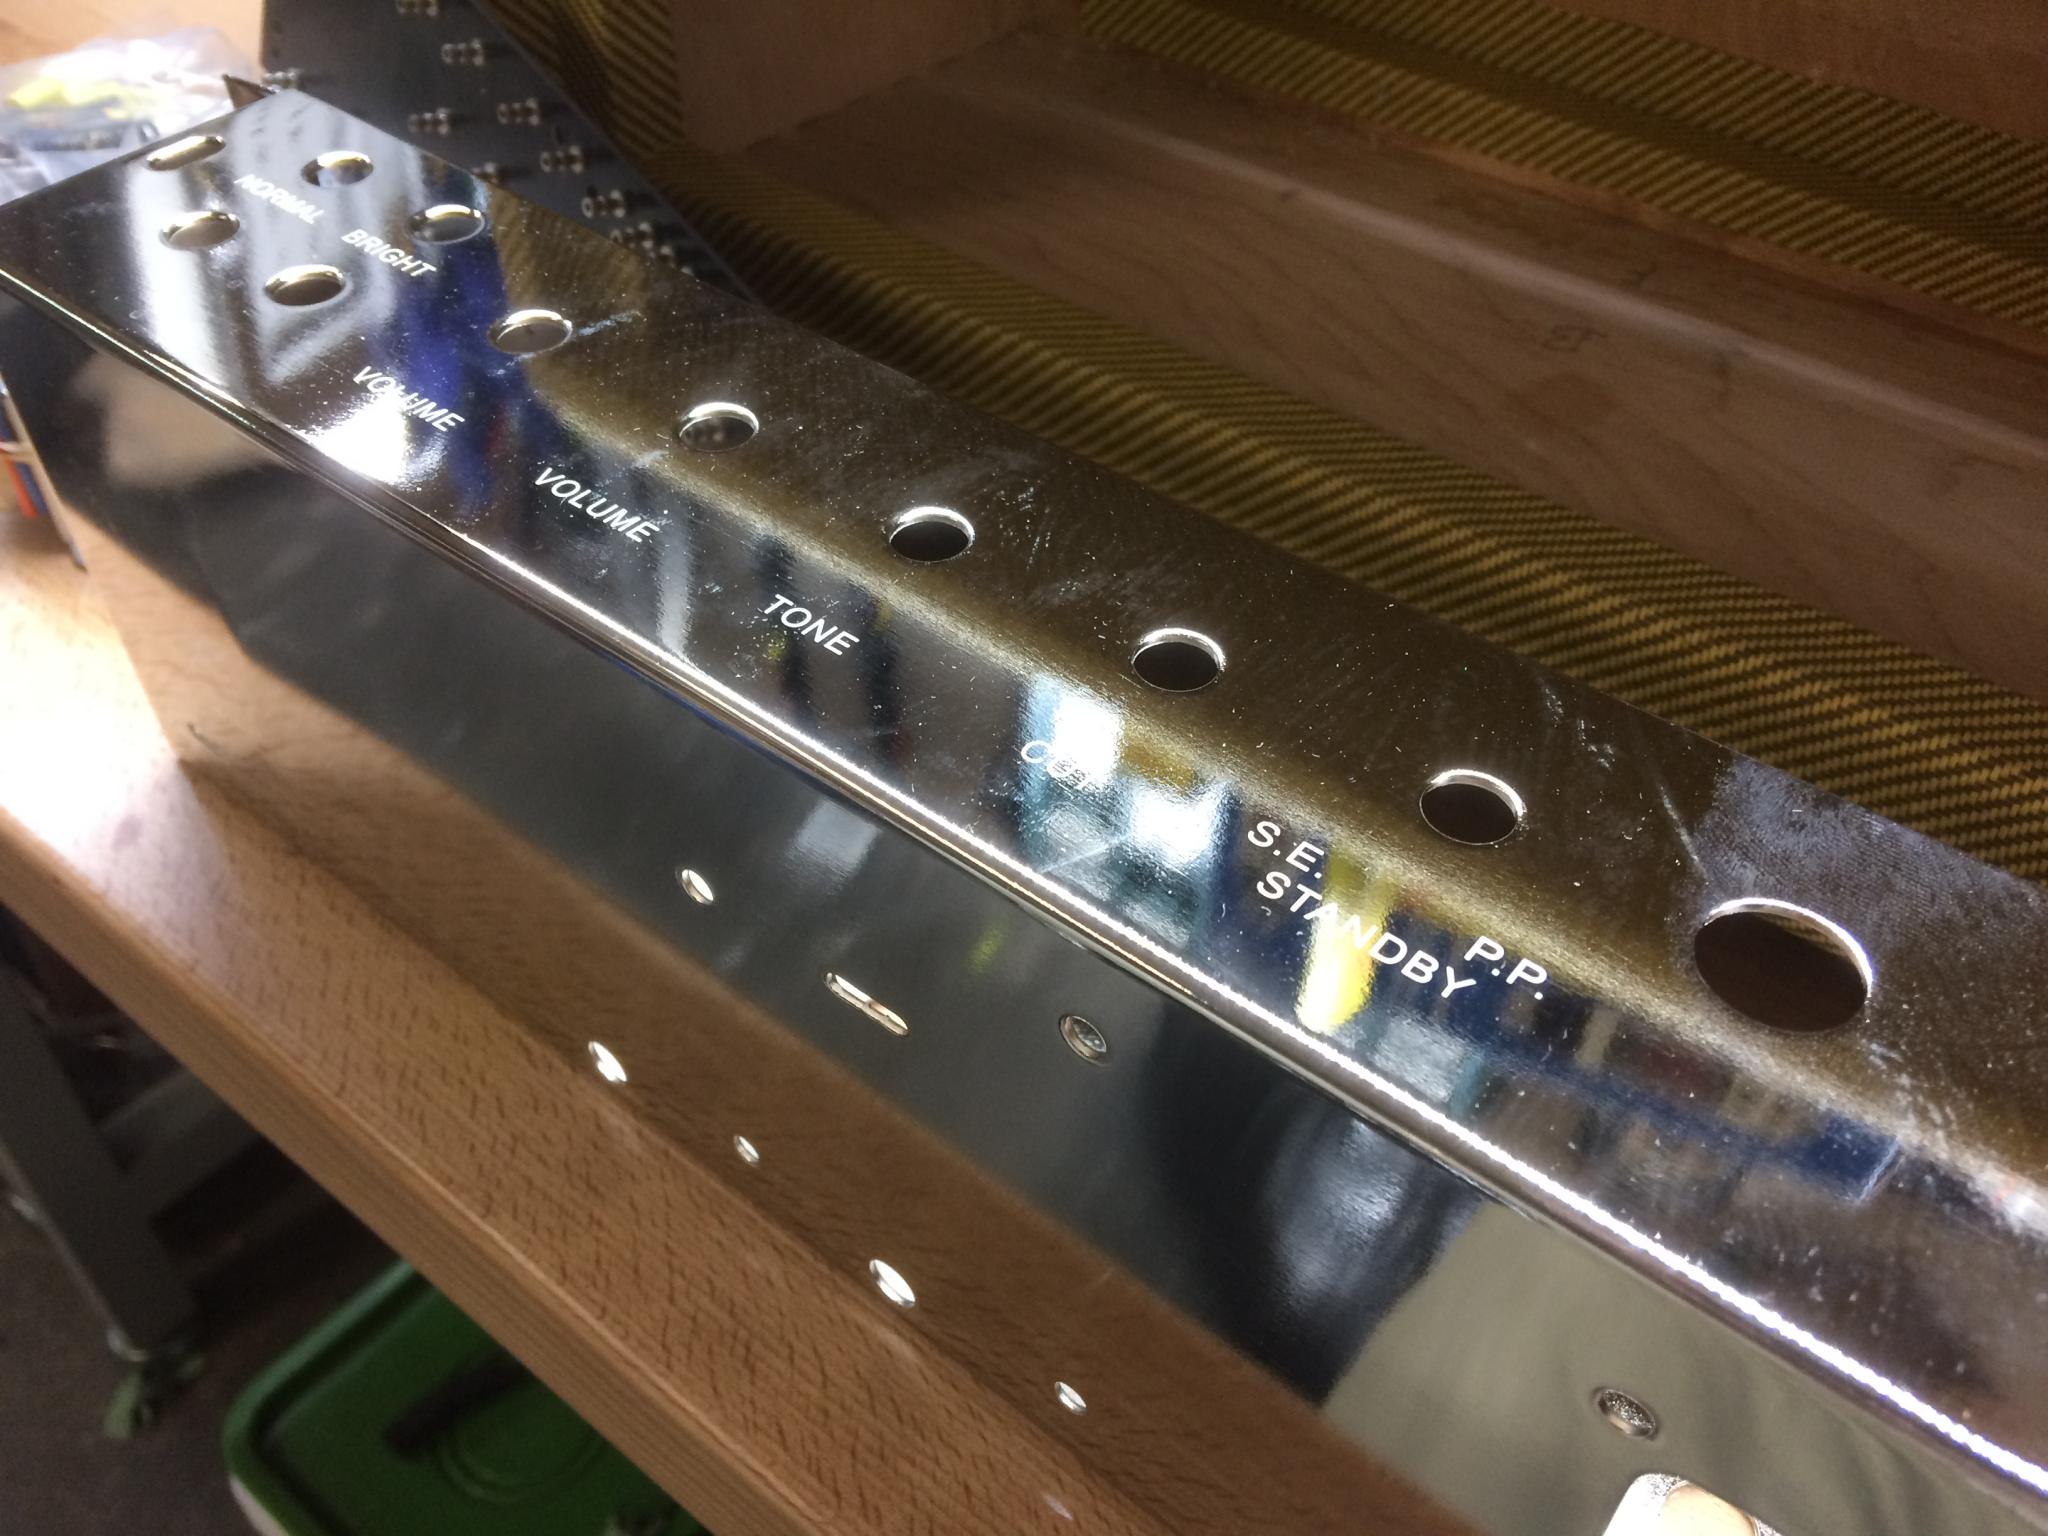
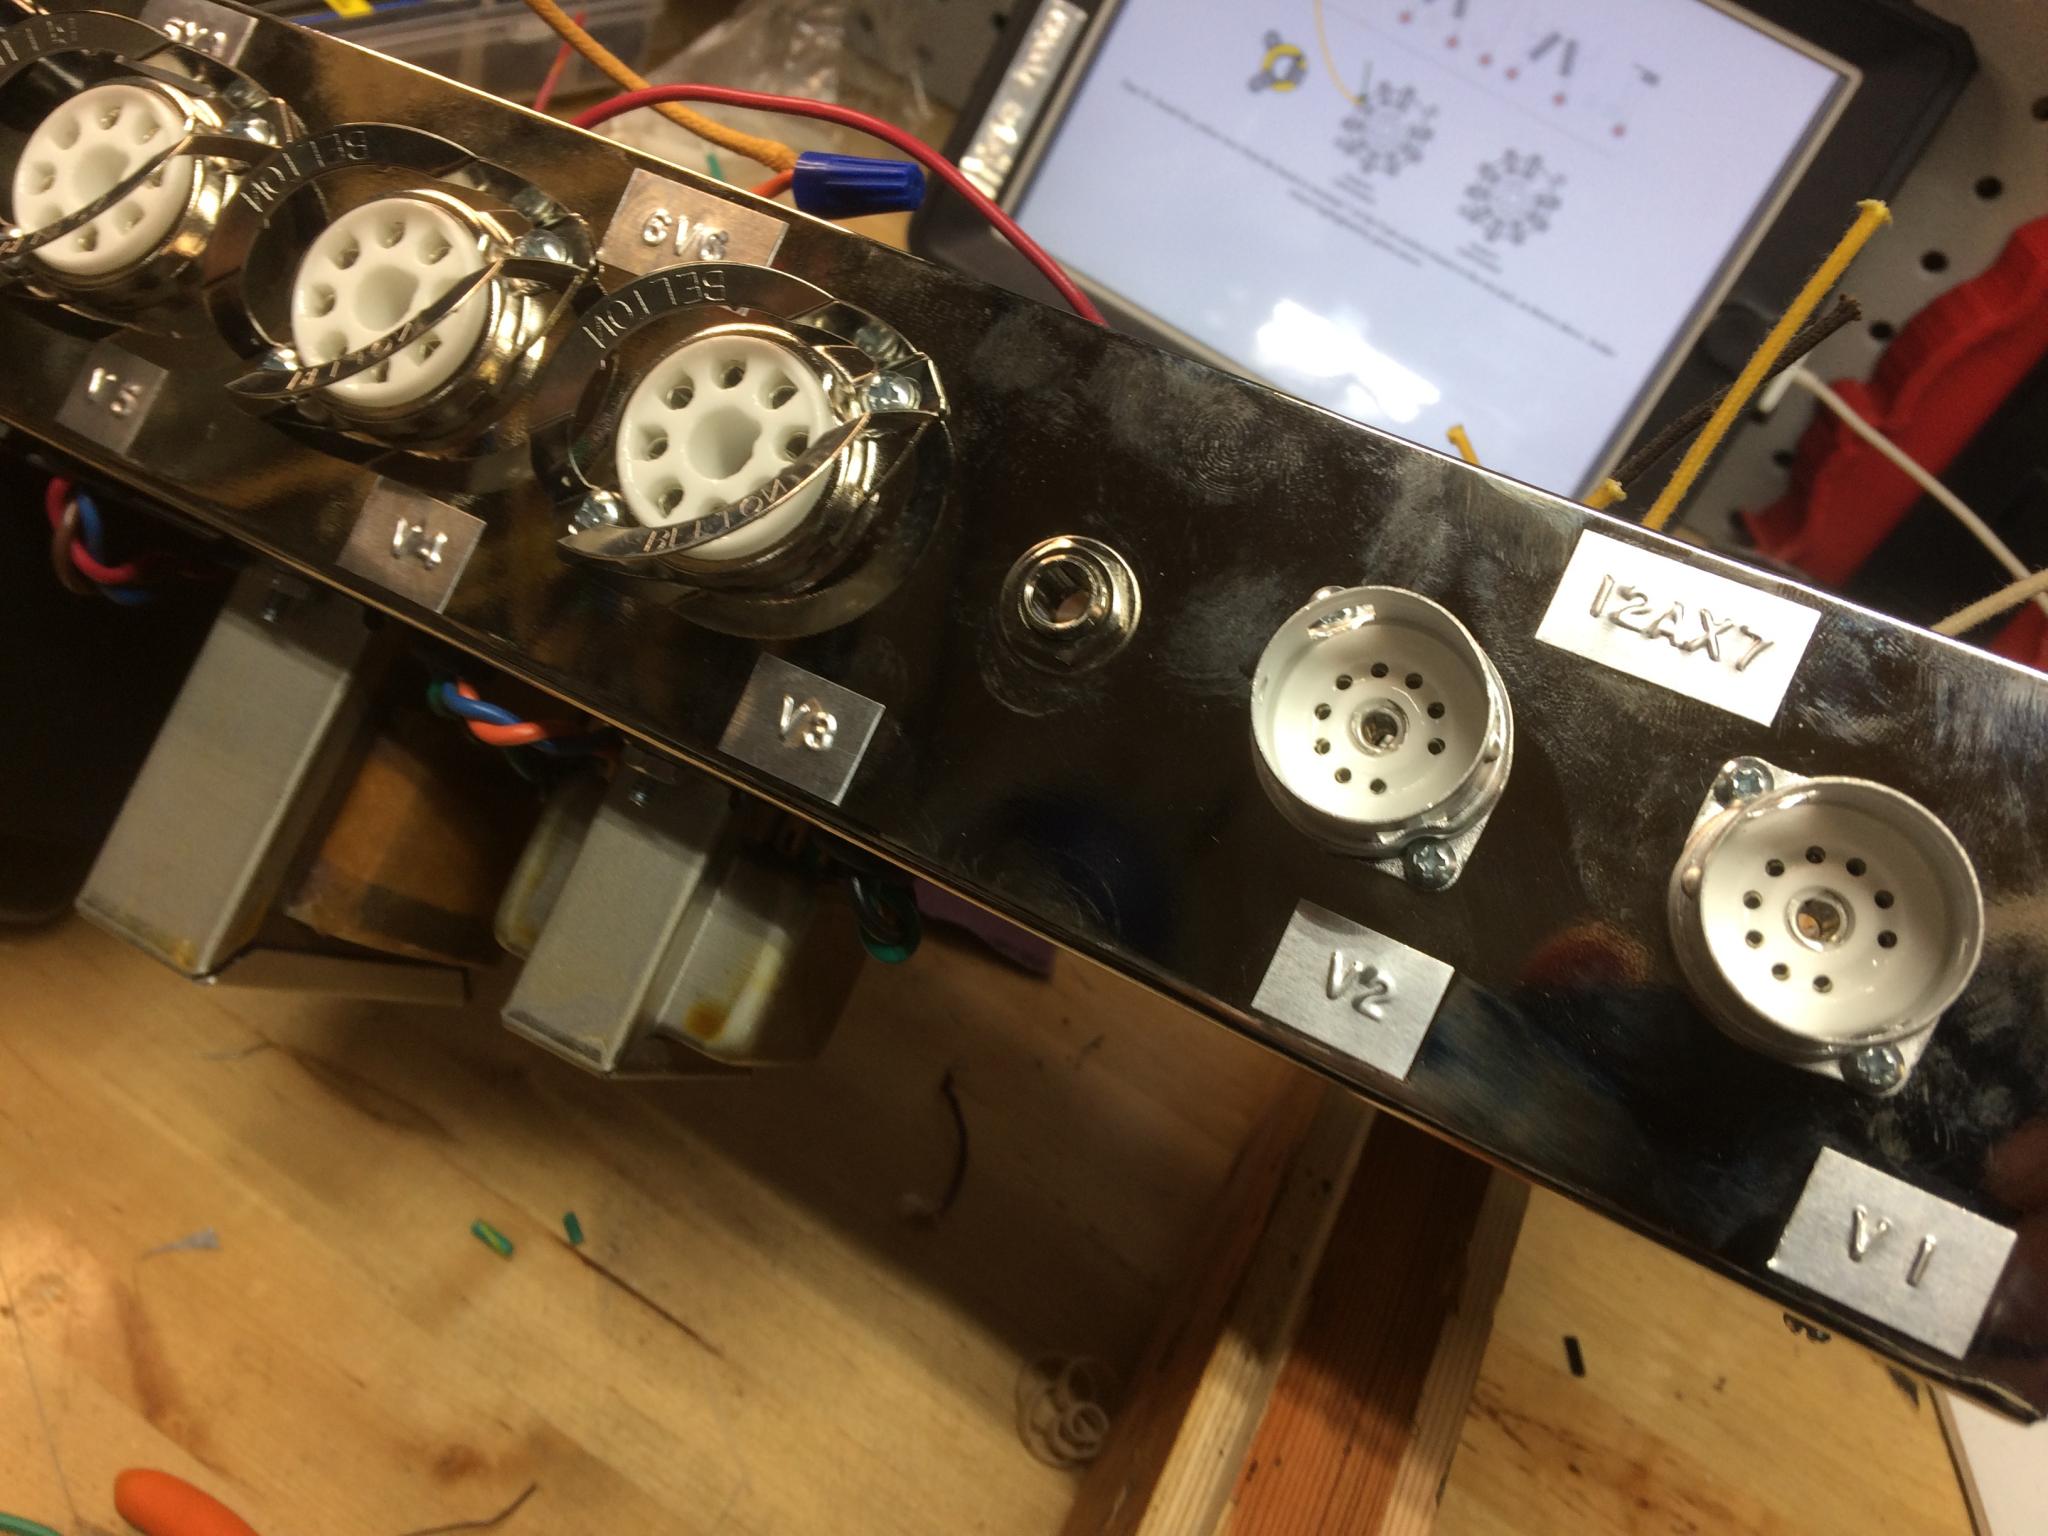
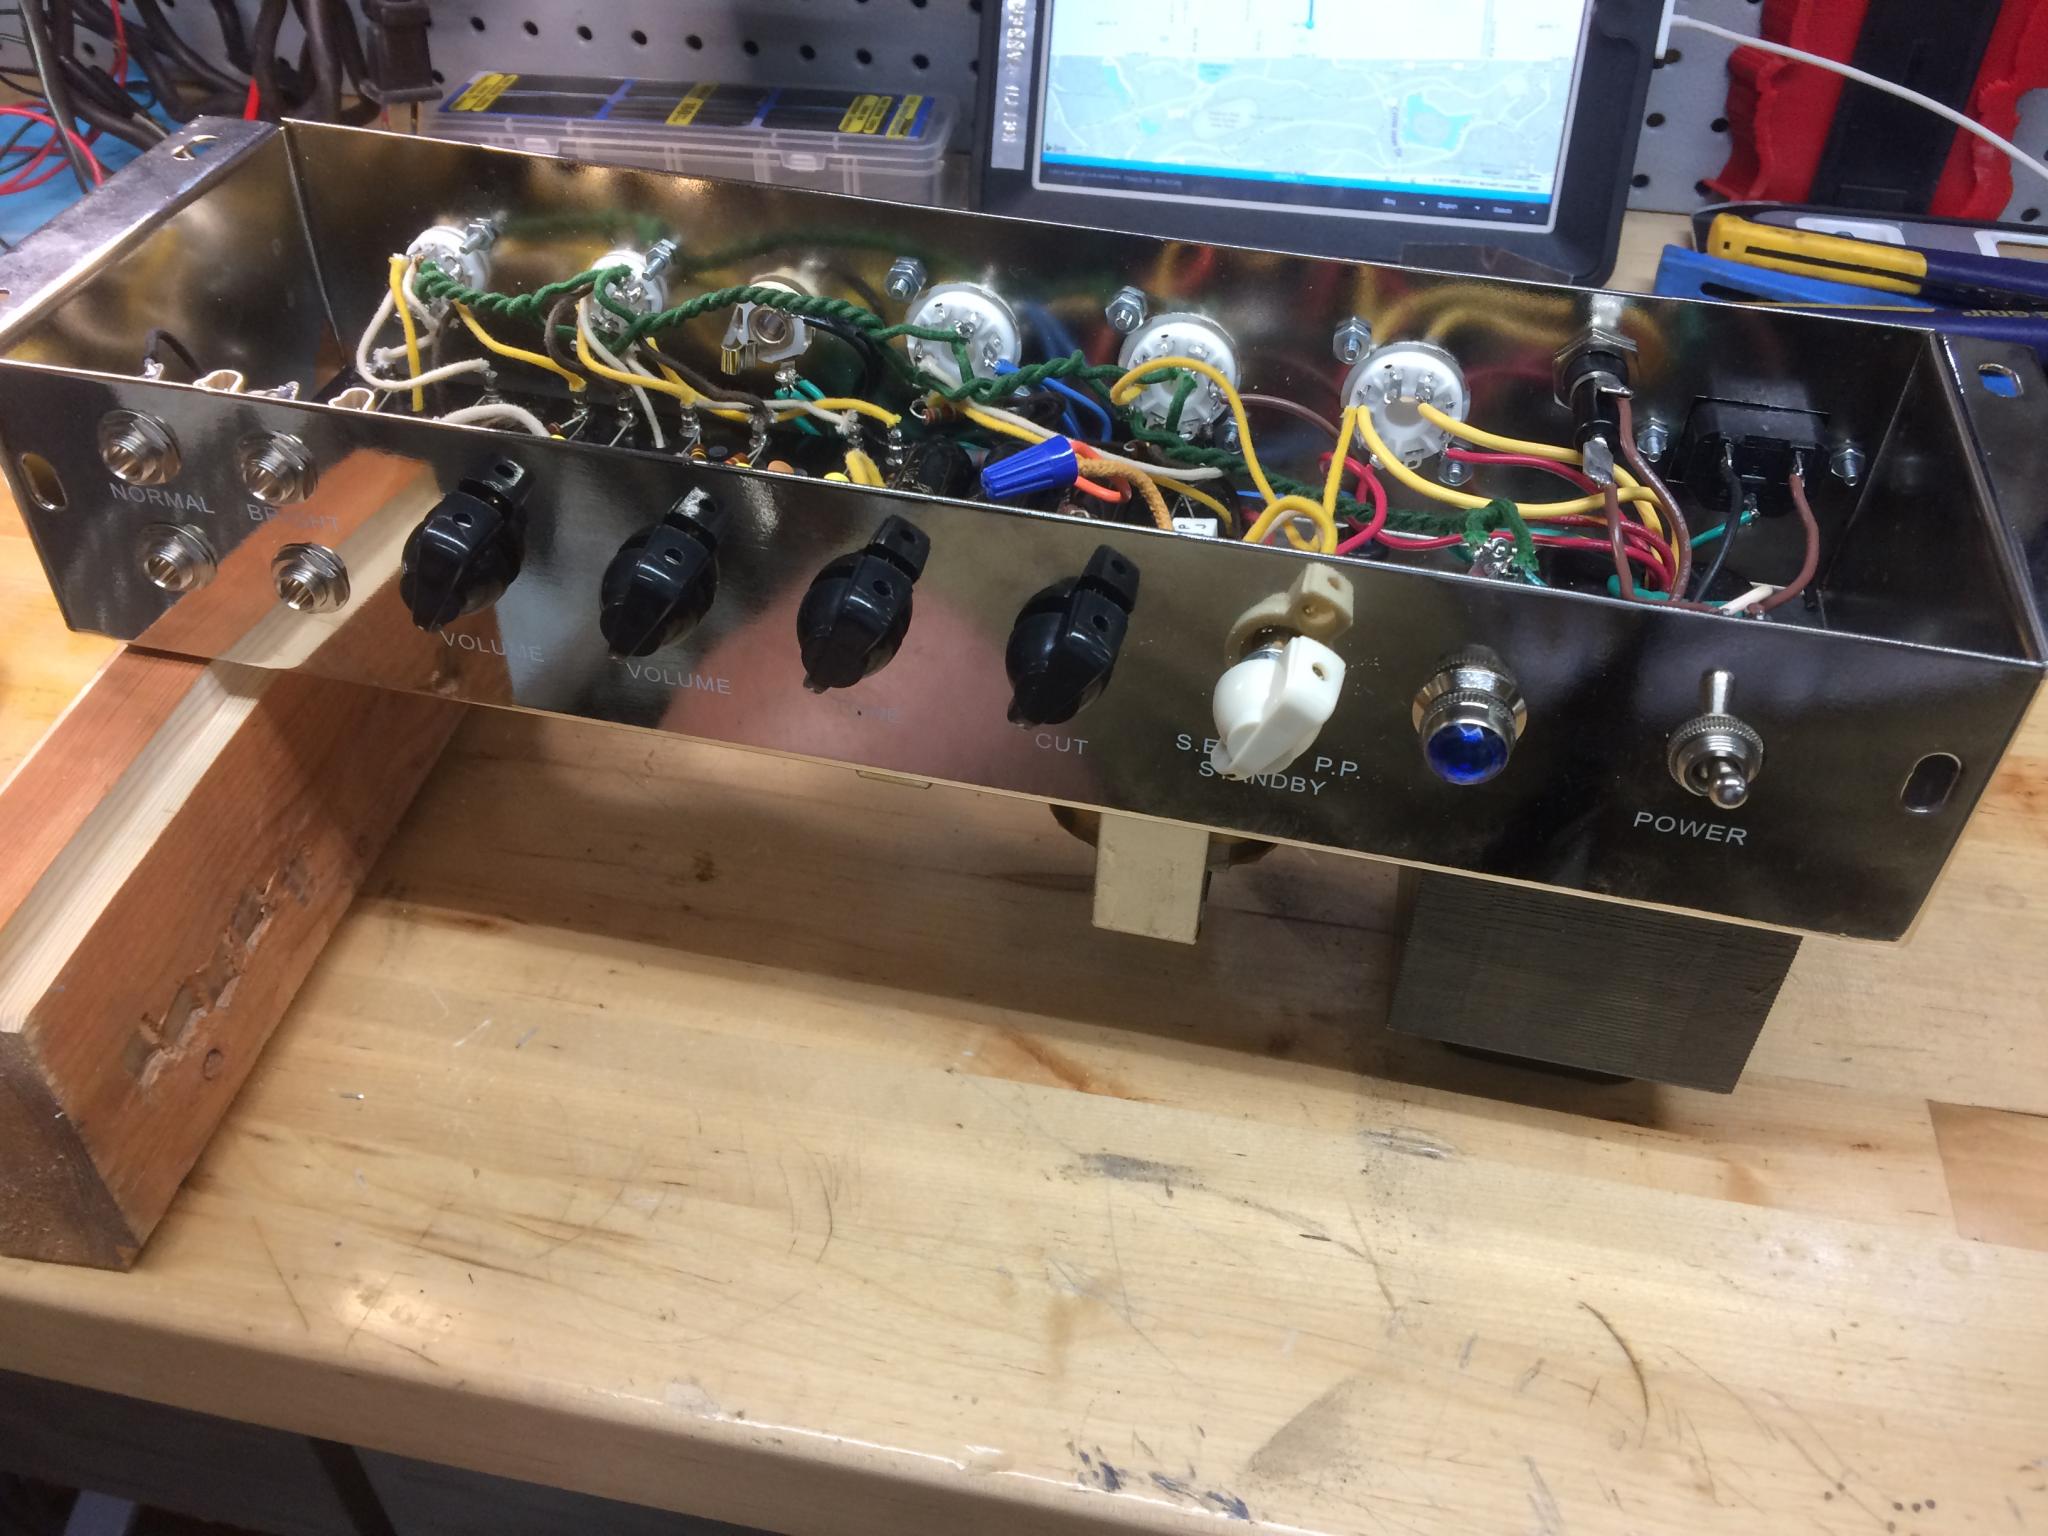
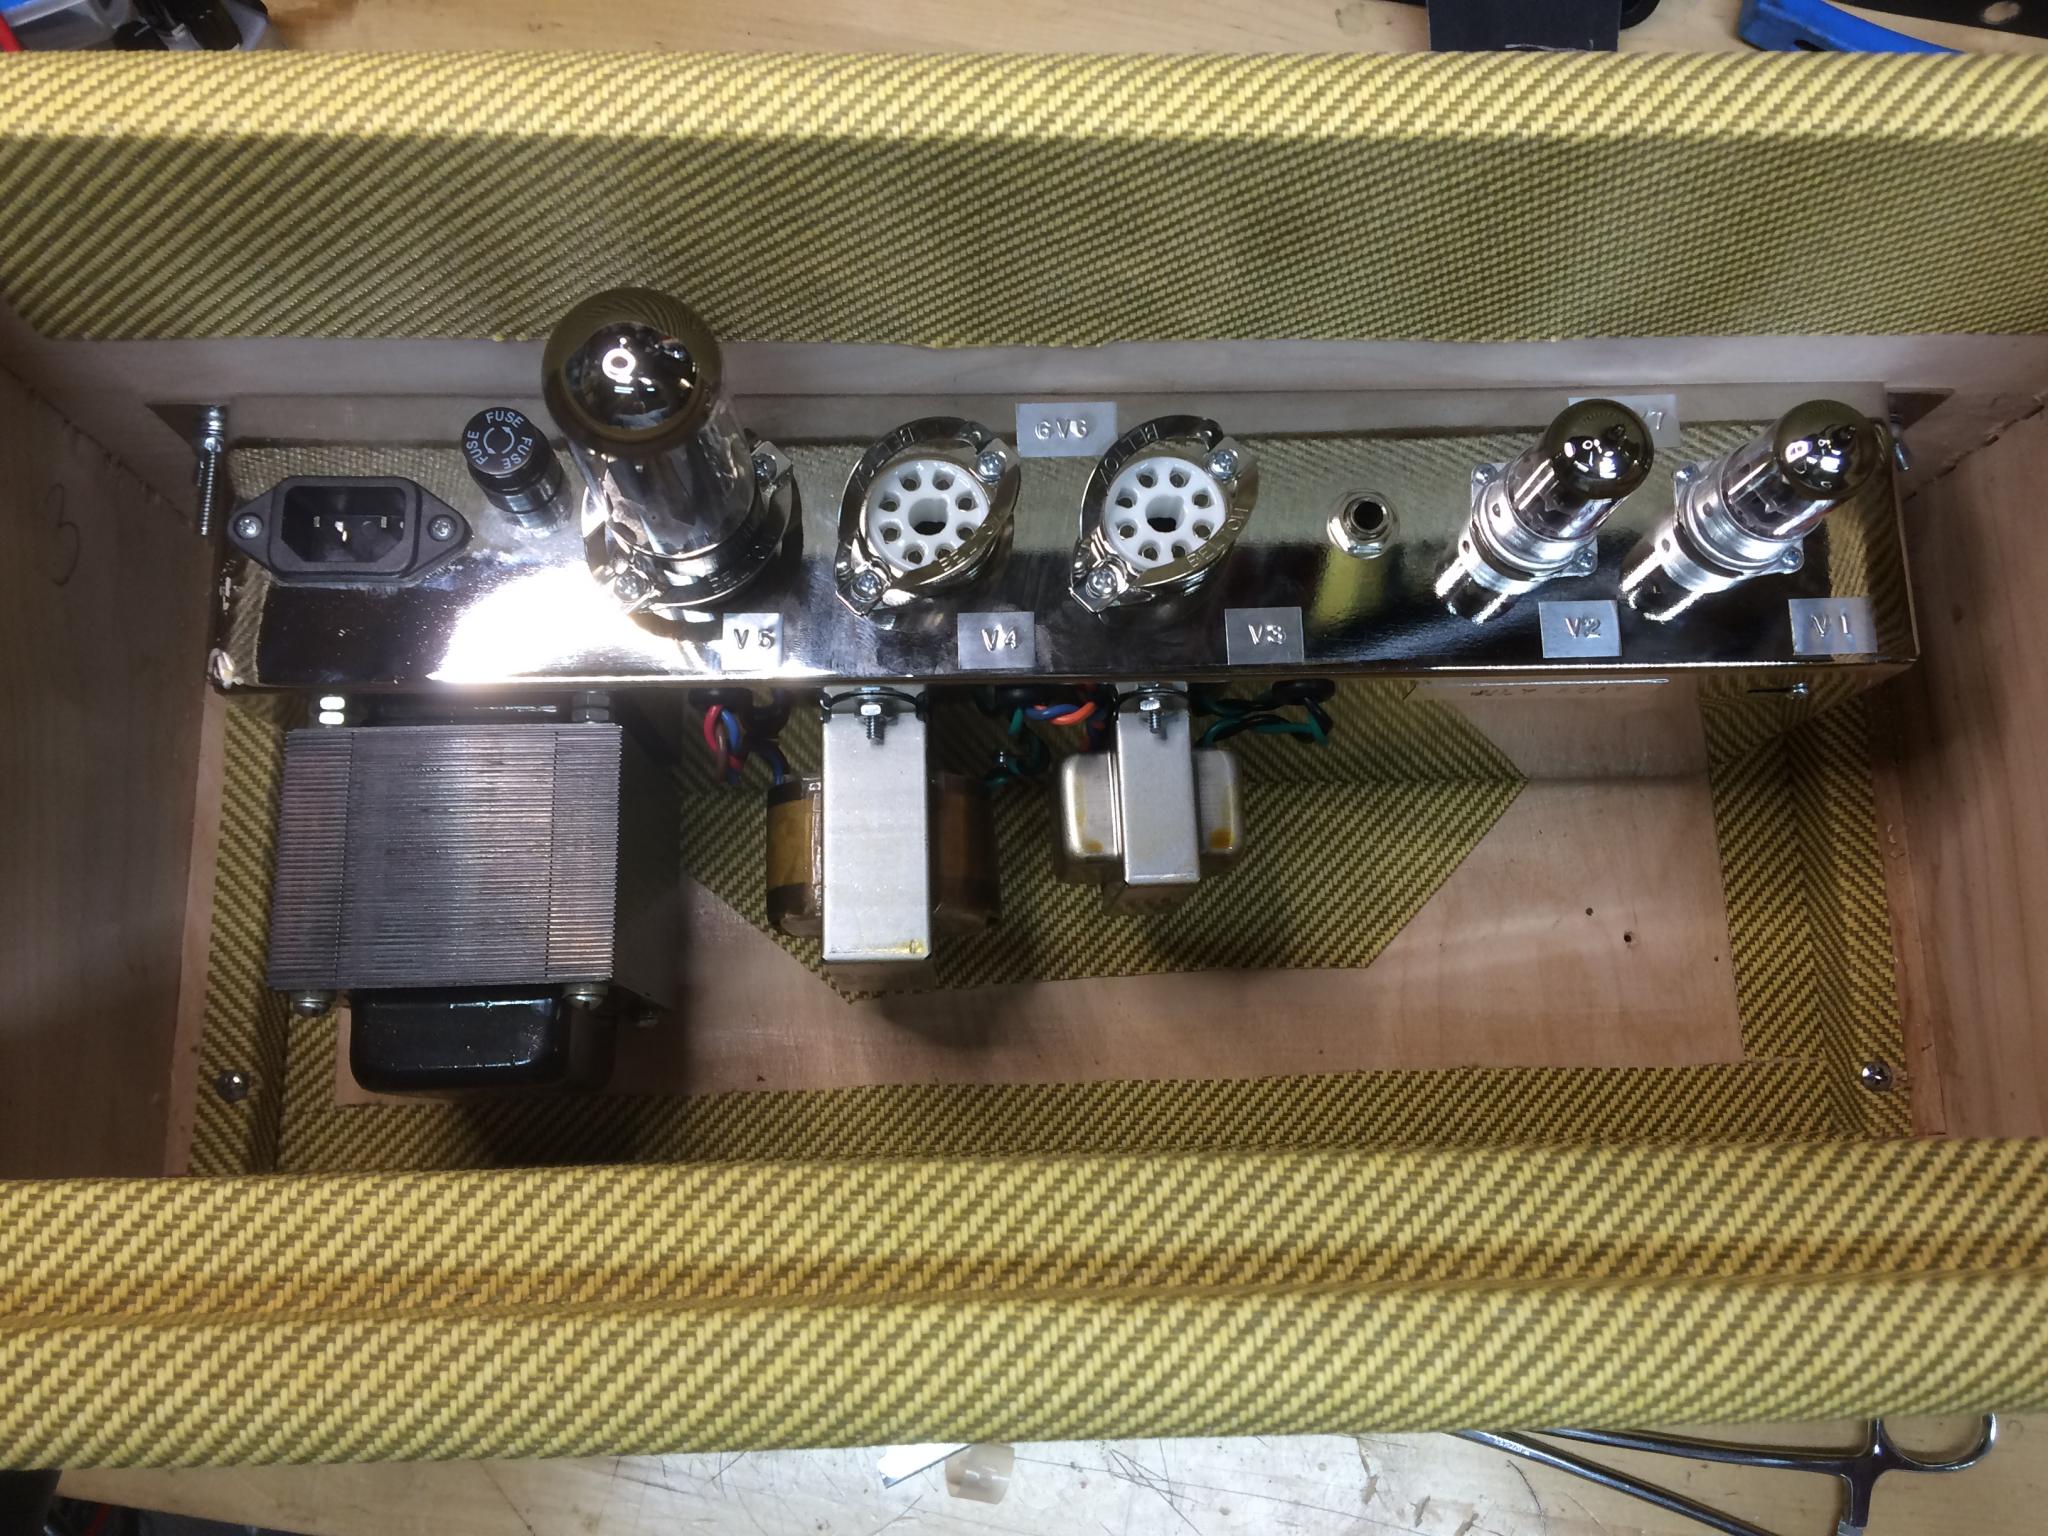
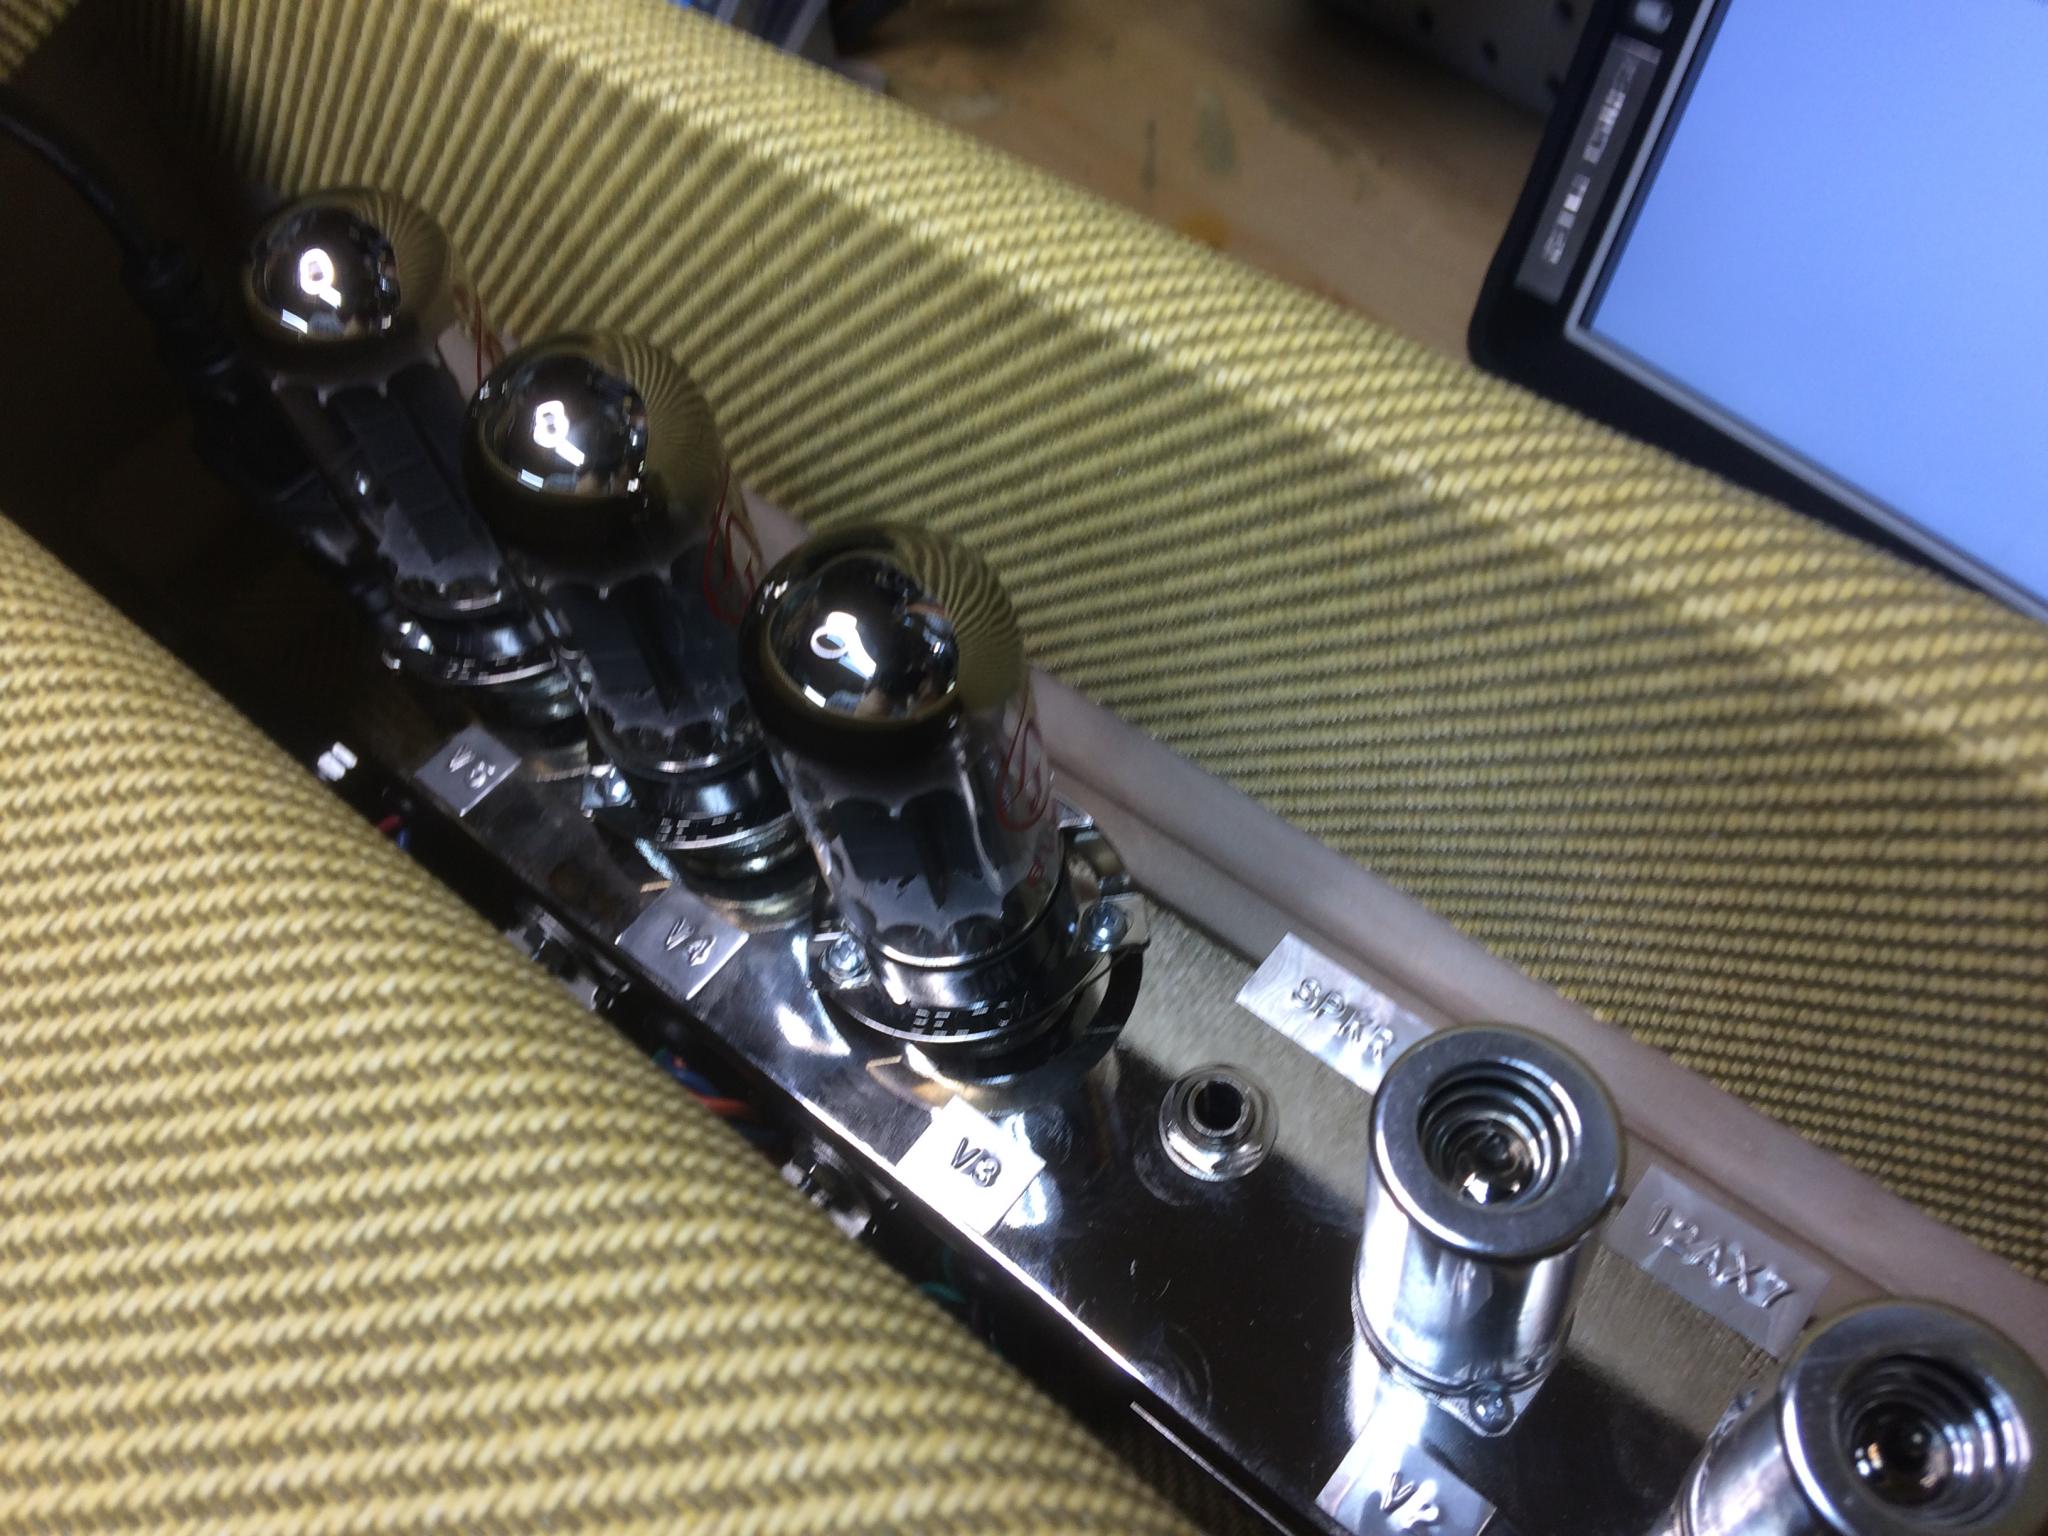
I decided to label the various tube sockets so that references to V1/V2 etc were as clear as possible. Also added the tube types for giggles.
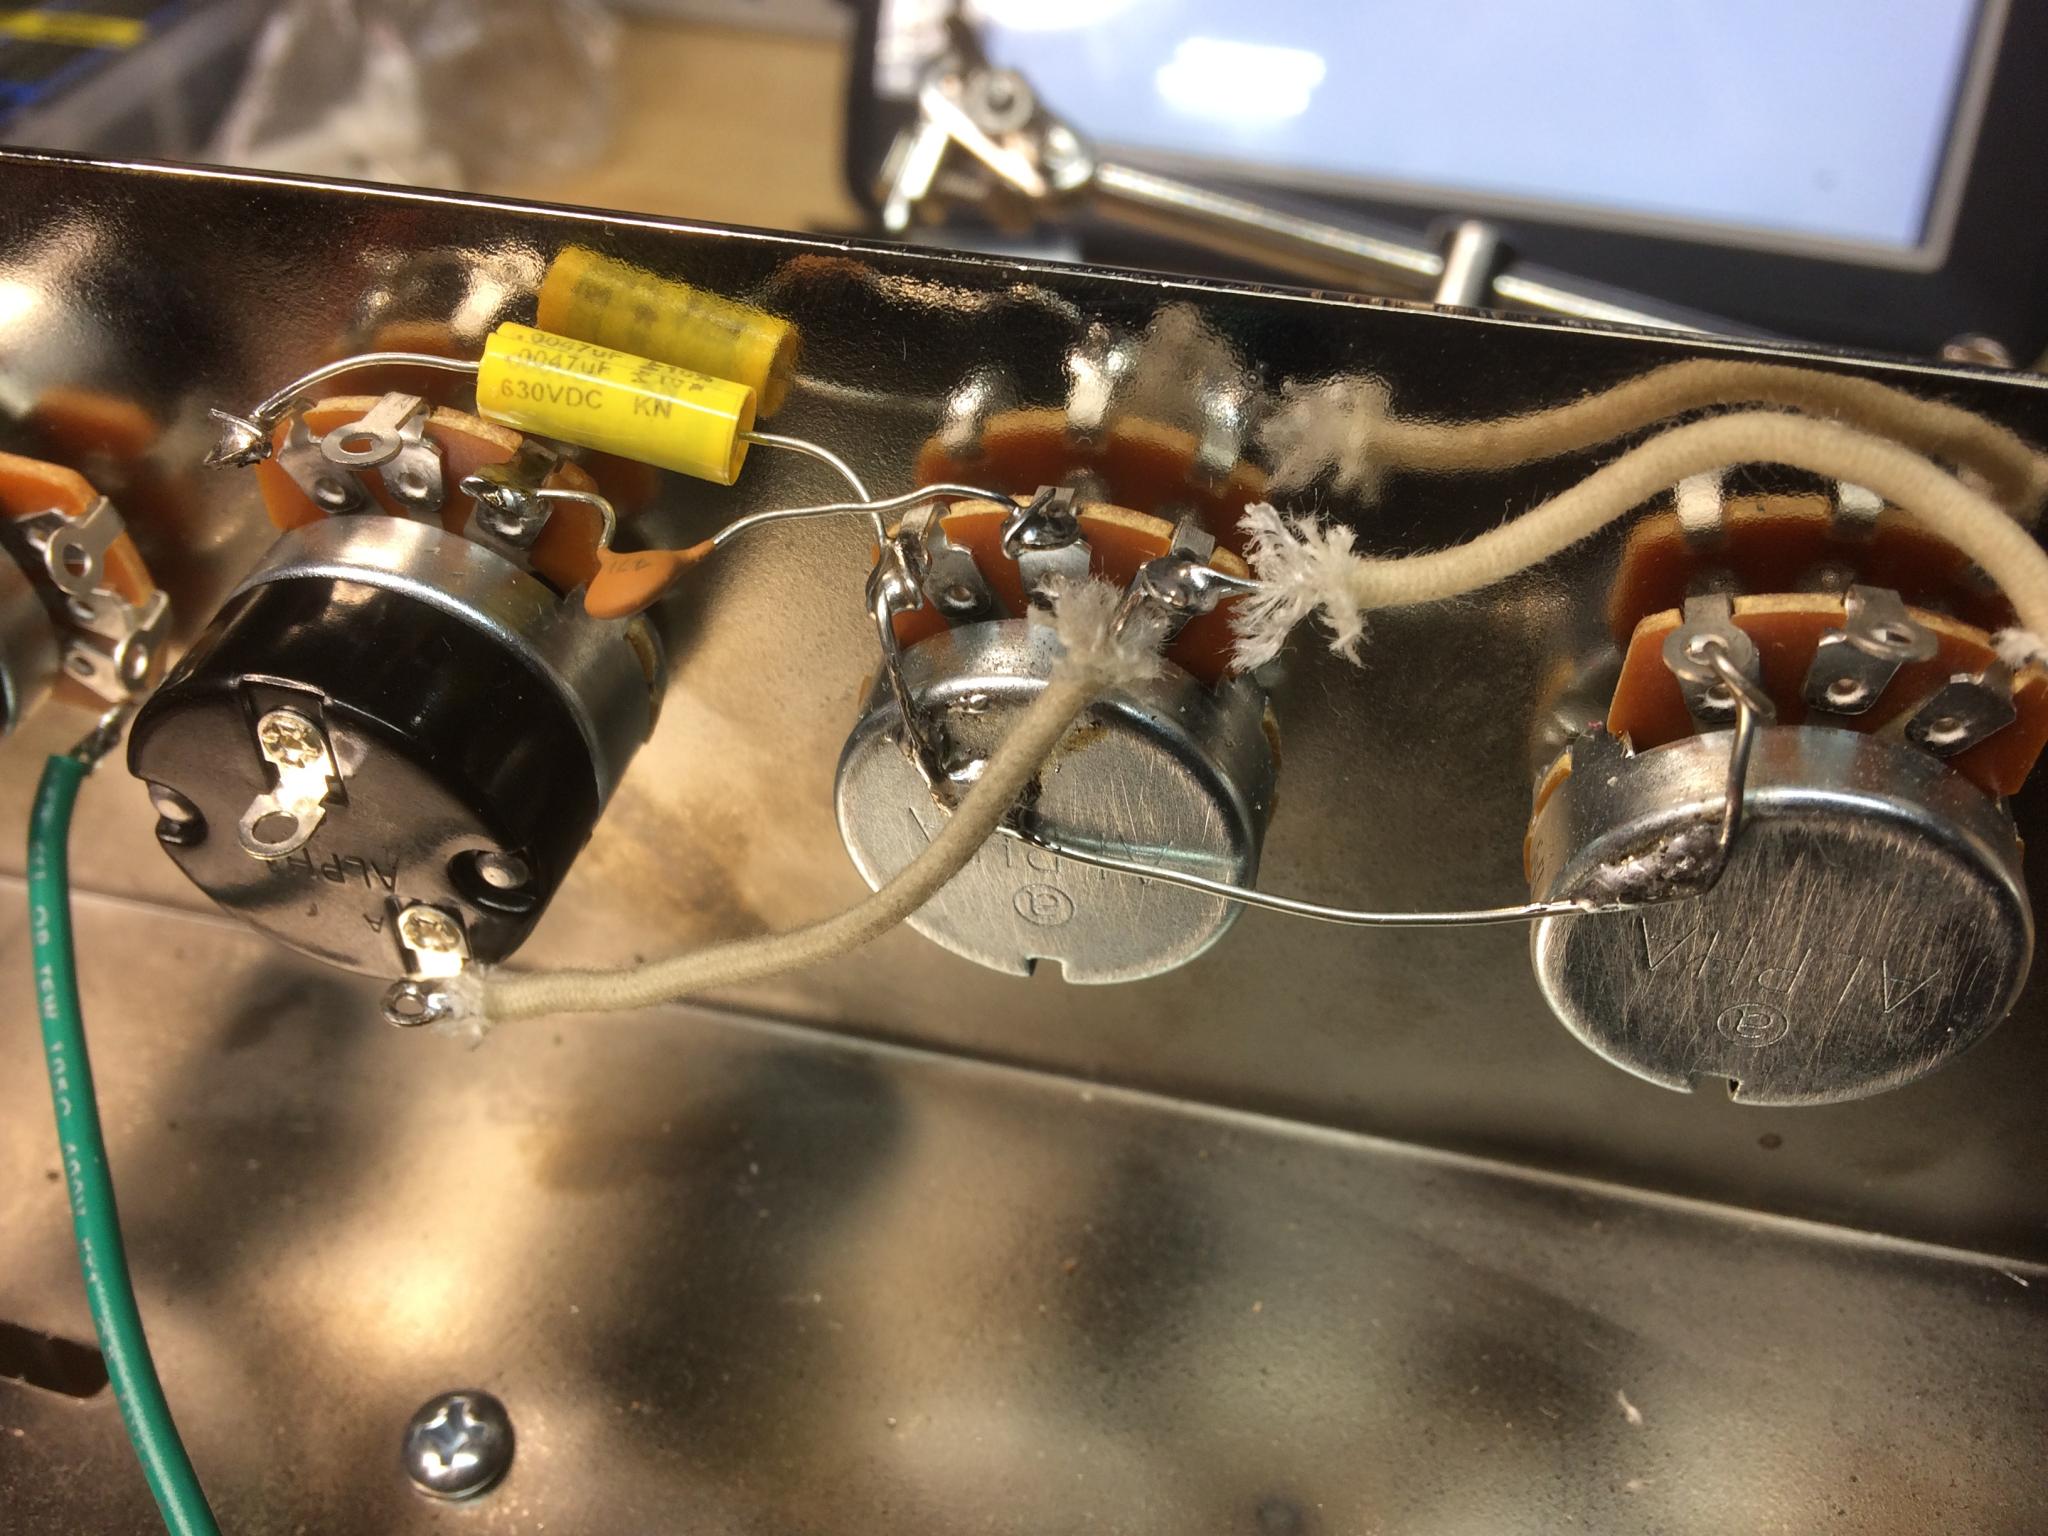
Wiring, wiring, wiring. Most of the very specific wire lengths called out in the instructions (2.25", for example) were good, but a trimmed a few down for neatness. And a couple, aggravatingly enough, had to be desoldered and replaced with longer ones. One that goes on to the back of the circuit board is baaaaaarely long enough and I'd prefer just a bit of slack, but that's not really possible at this point.
This thing looks cool. Very old school for sure. Next step is to wire up the heaters, but I'll save that for later.
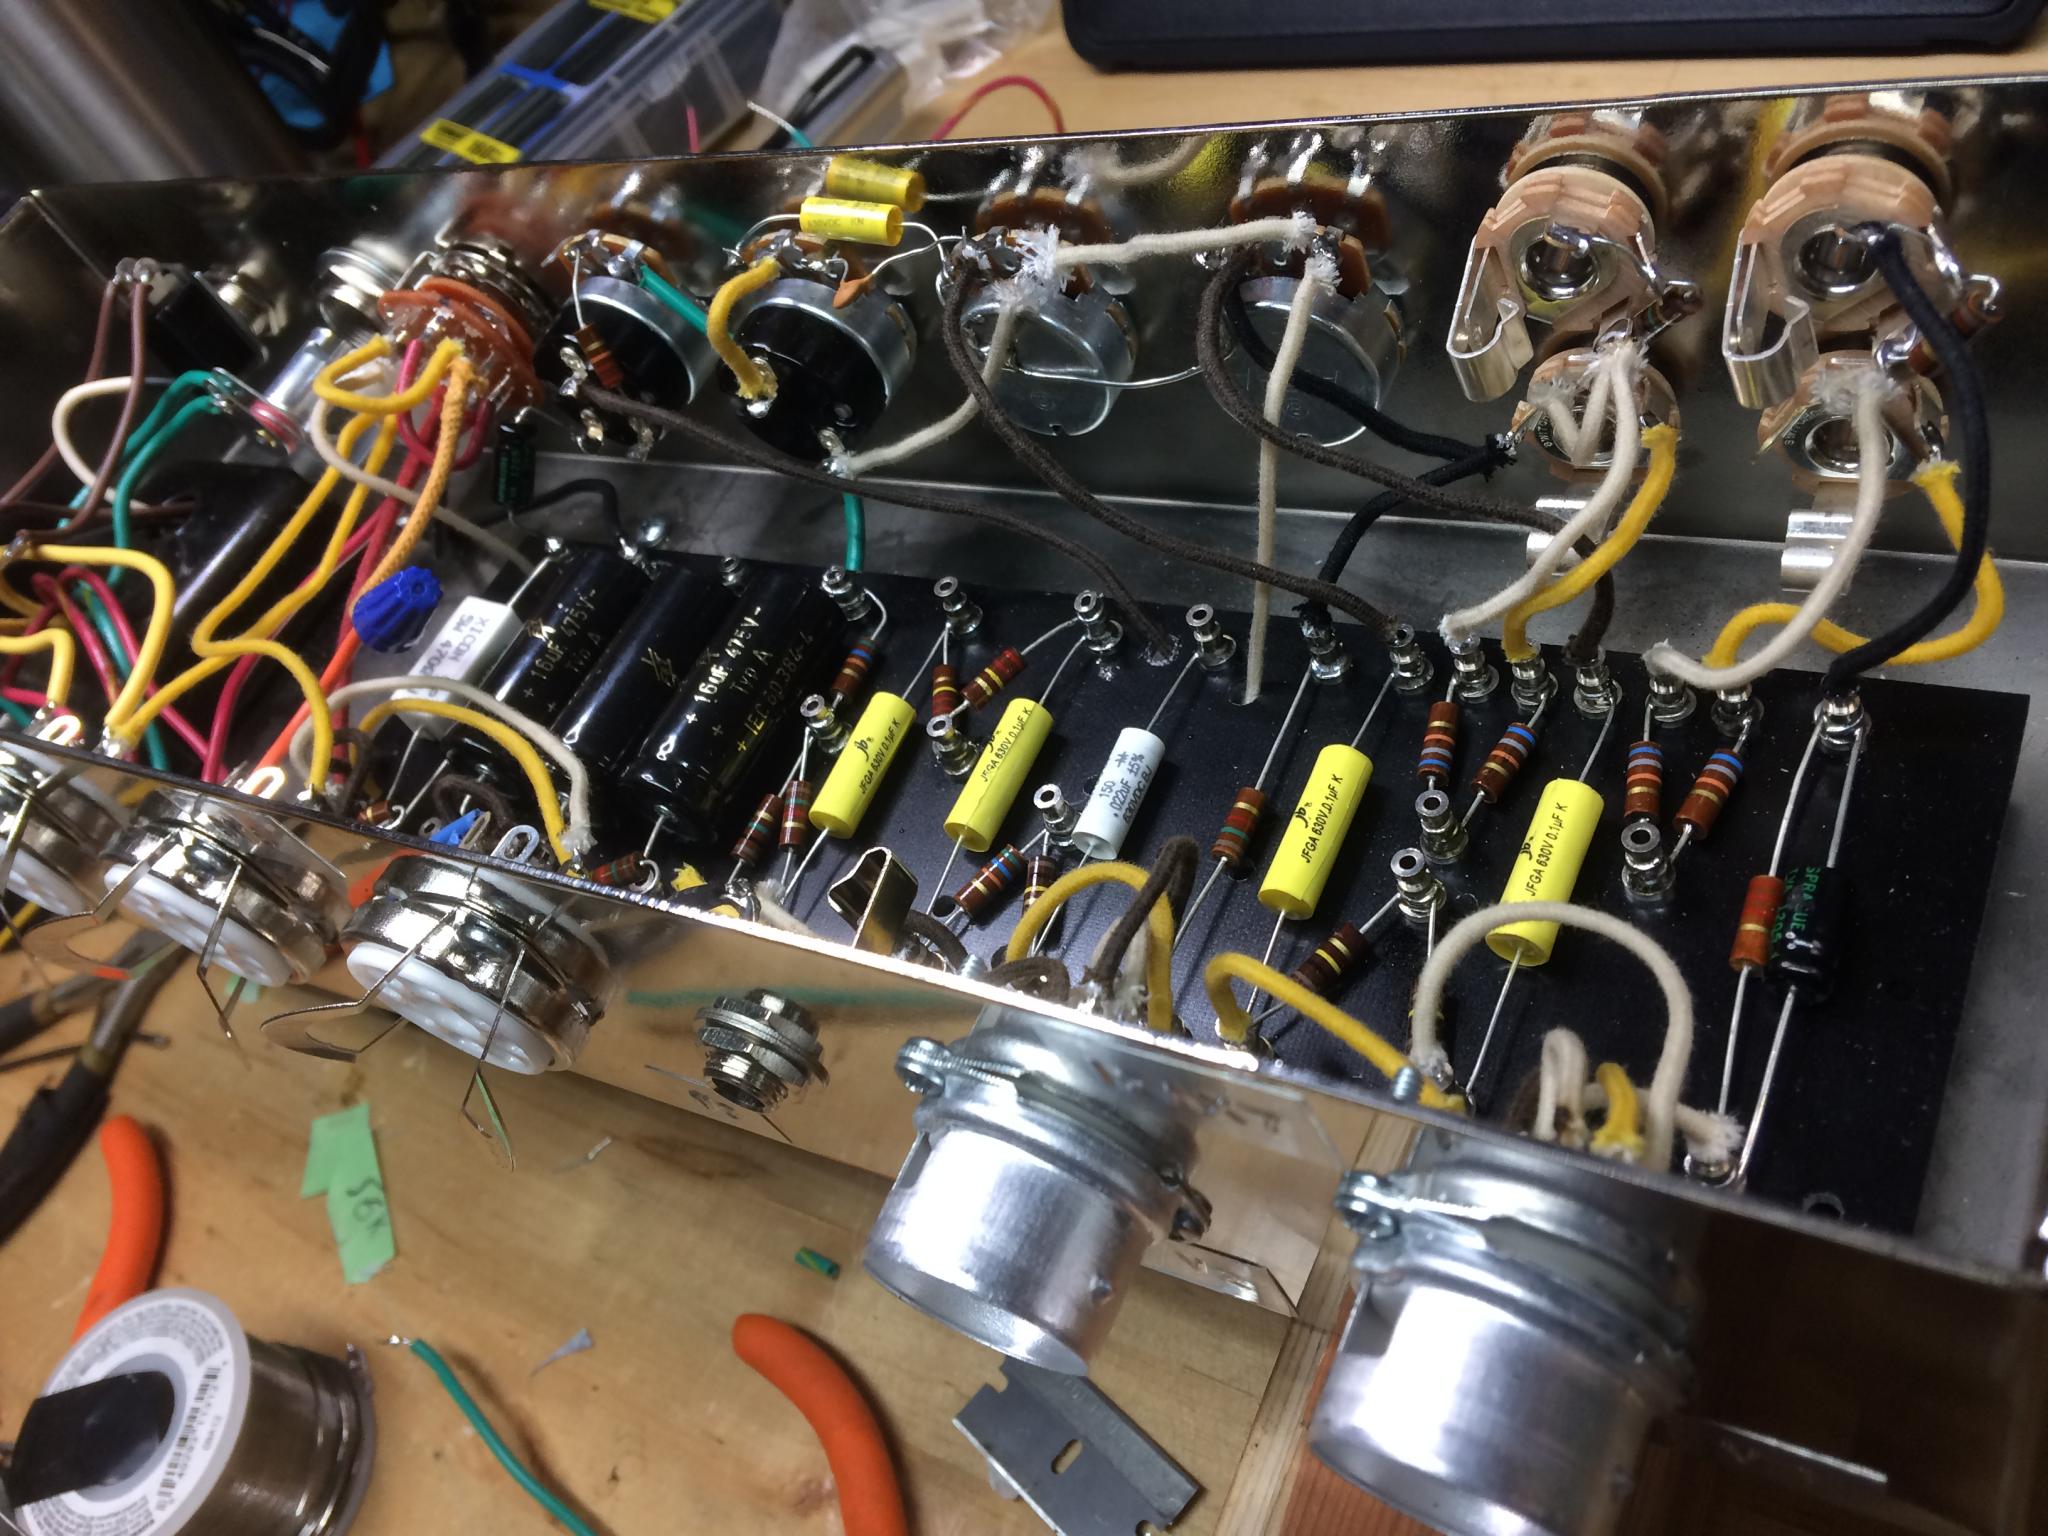
Heater wiring. Things are getting pretty congested inside some of these tube sockets, so much care is needed. Twisting the power wire so it doesn't cause inference makes good sense - but it also looks cool. This is all solid core wire, so it takes some work to get it to cooperate.
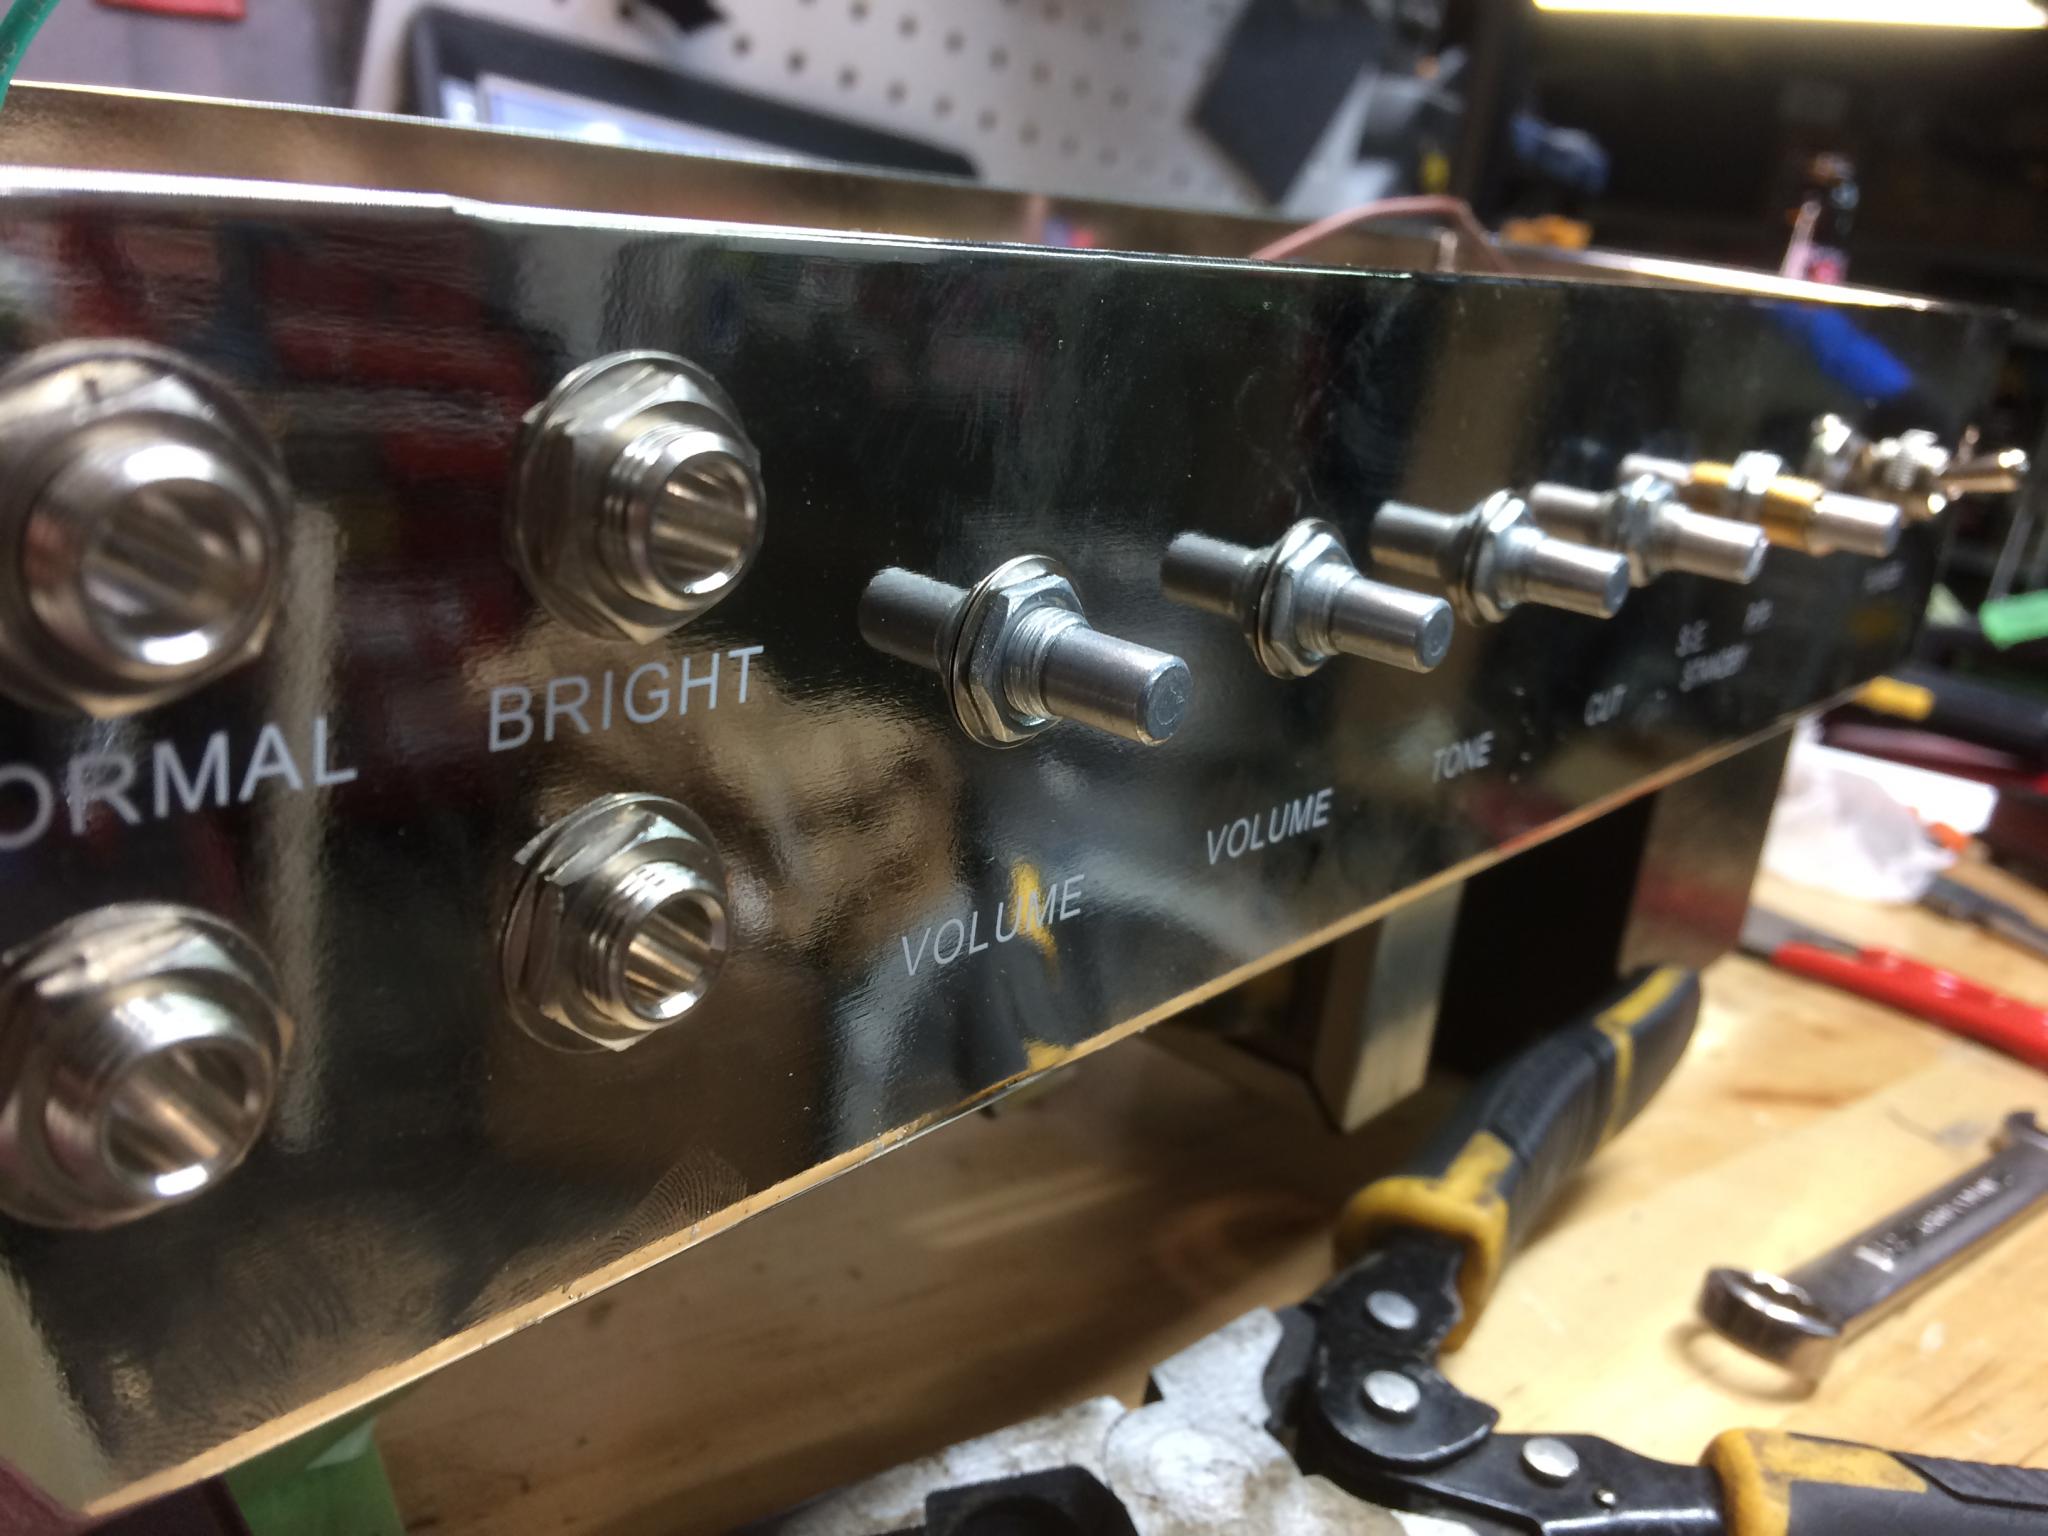
Knobs knobs knobs.
And apparently that's it.
RossD
UltimaDork
7/23/17 1:09 p.m.
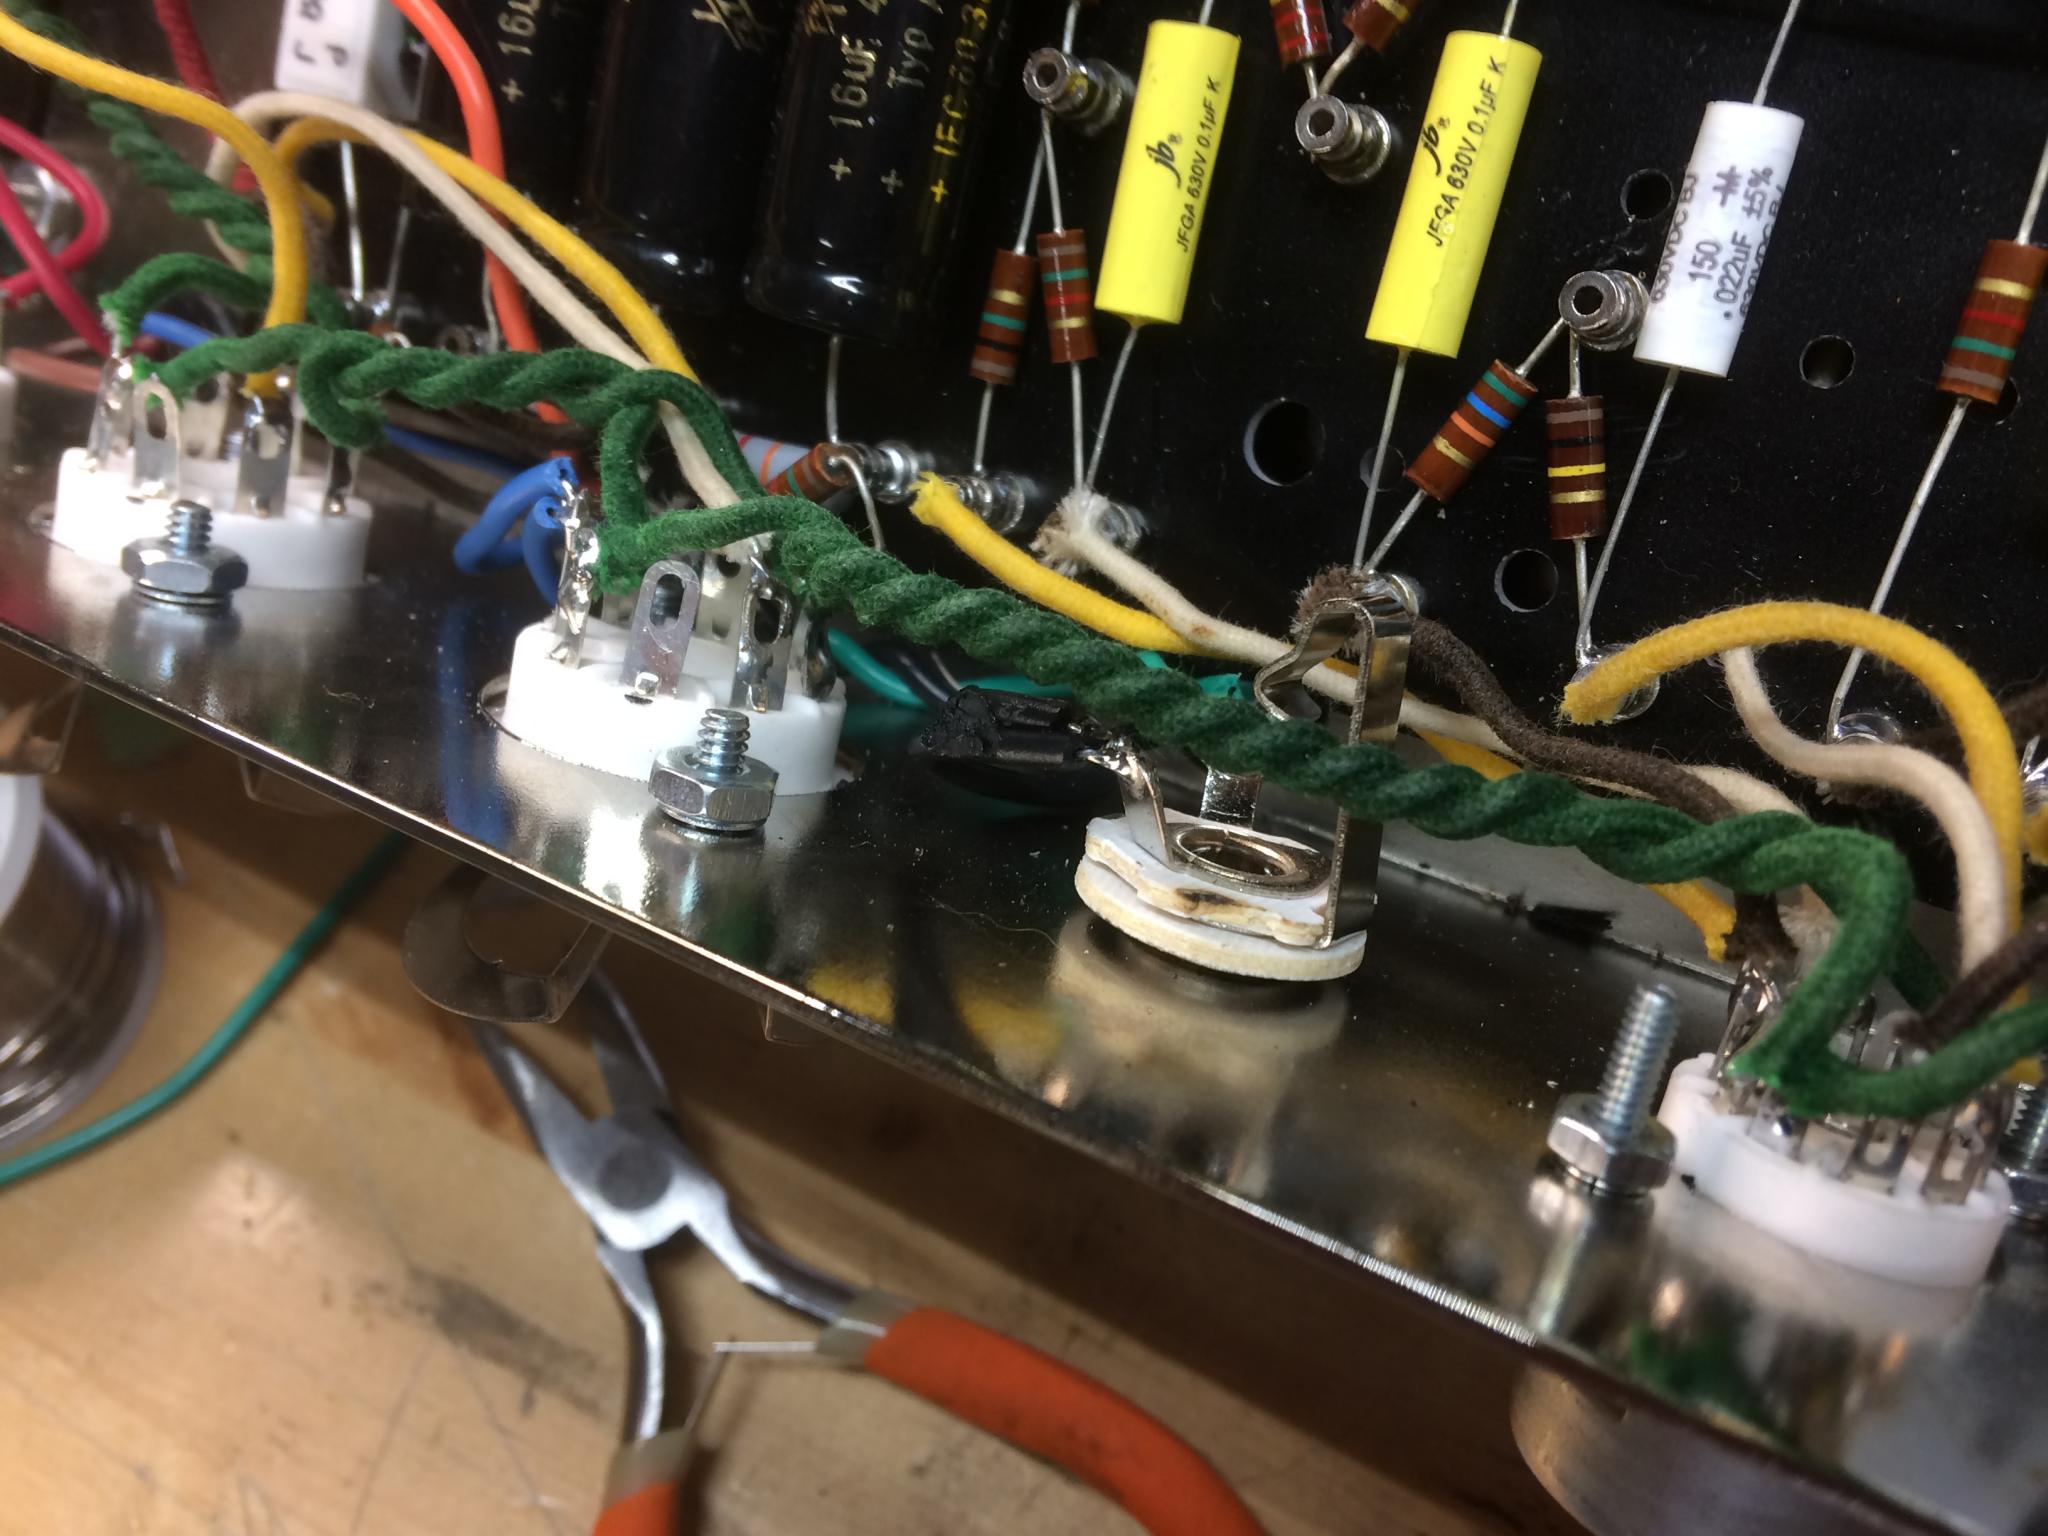
You can bend the wiring lugs on the back of the tube sockets if it gives you some extra room with the wires.
This is cool. Looks like it would be a great wintertime project. Between this and your pedal build I've been inspired to practice my soldering.
I can either test with the chassis in the cabinet, or I can do it on the bench. On the non-conductive bench it is.
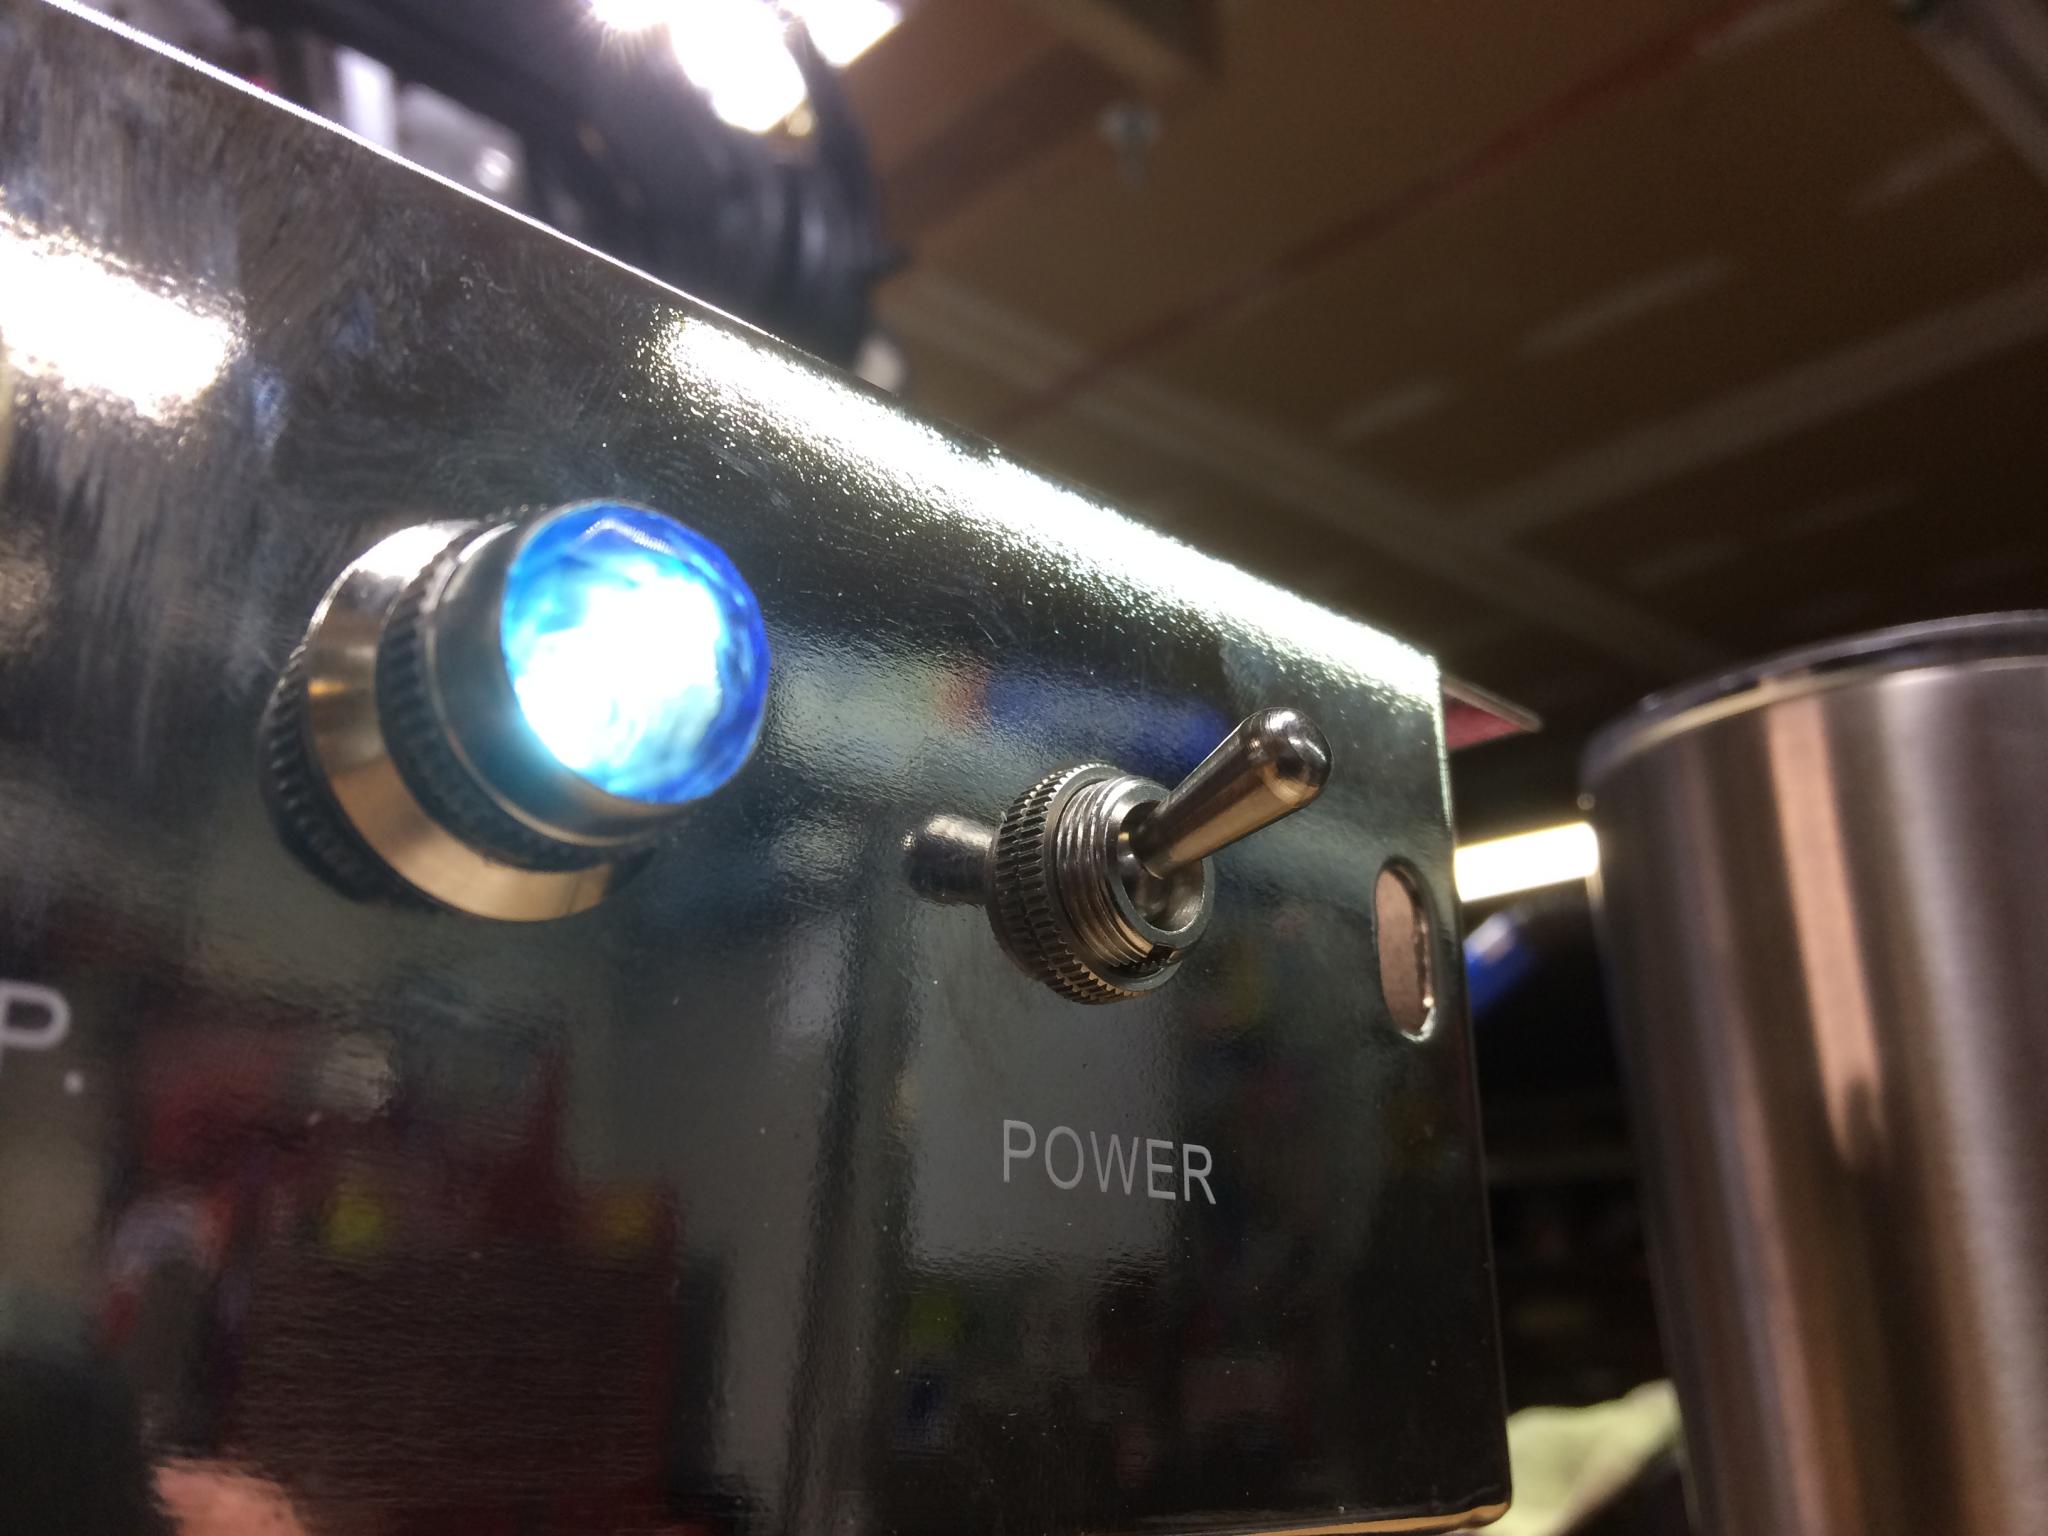
First power up and a light comes on. Woo, I've made a lamp.
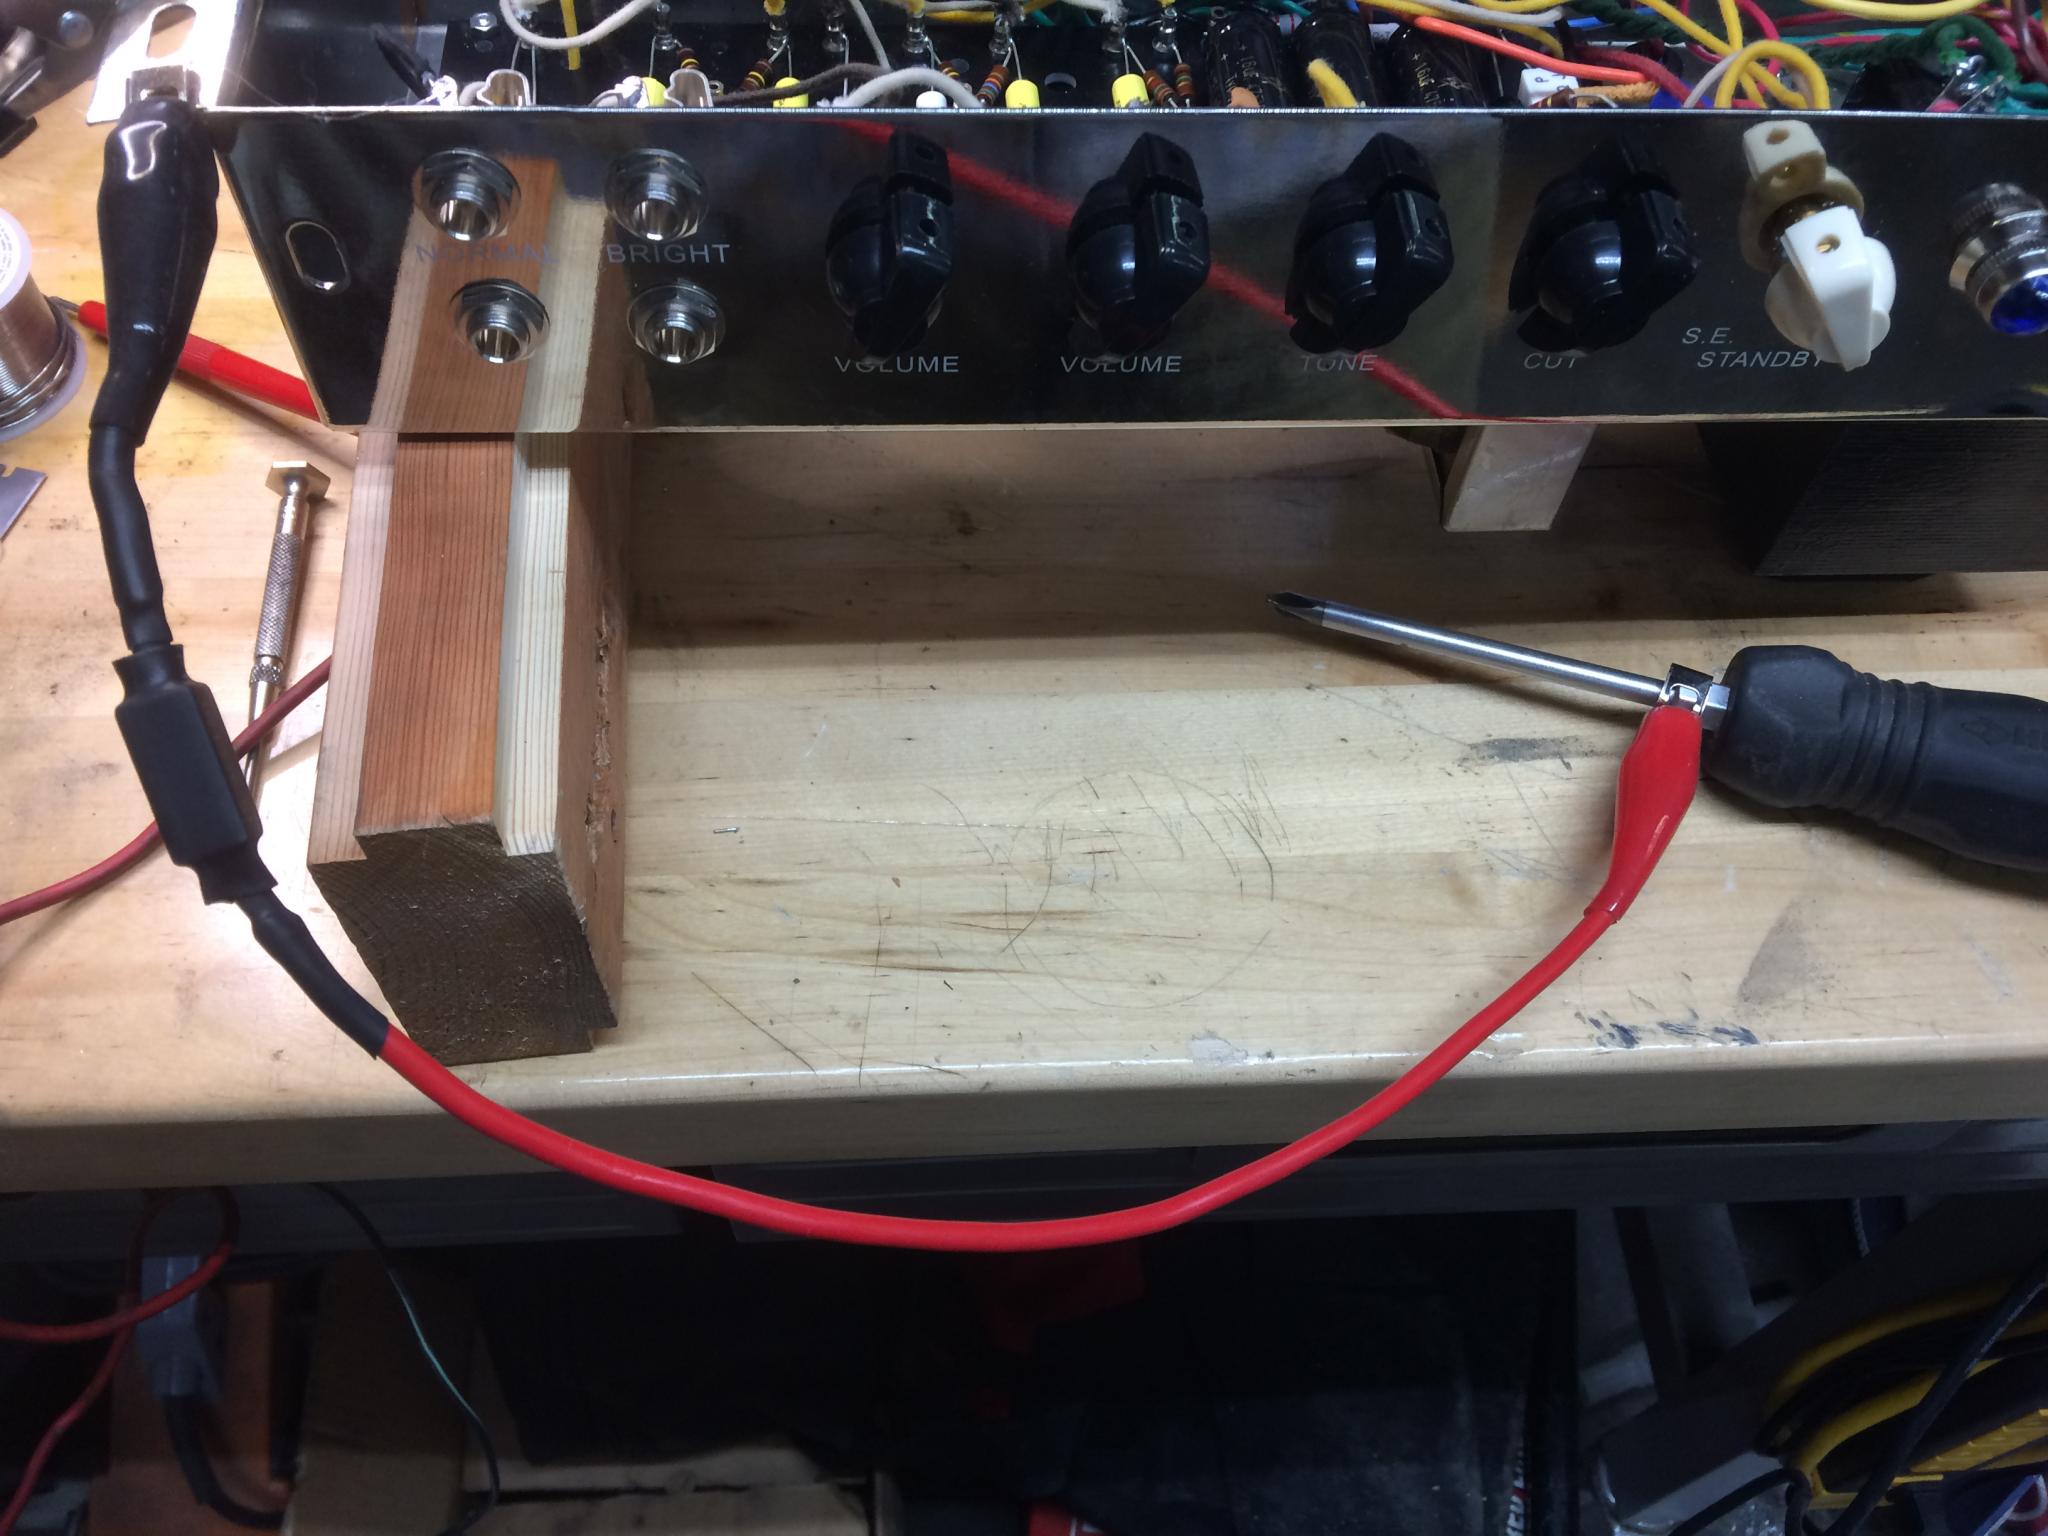
Now we start adding tubes and checking out the odd voltage as we go. But first, discharge those big fat caps on the circuit board. Here's why - over 400v unplugged.
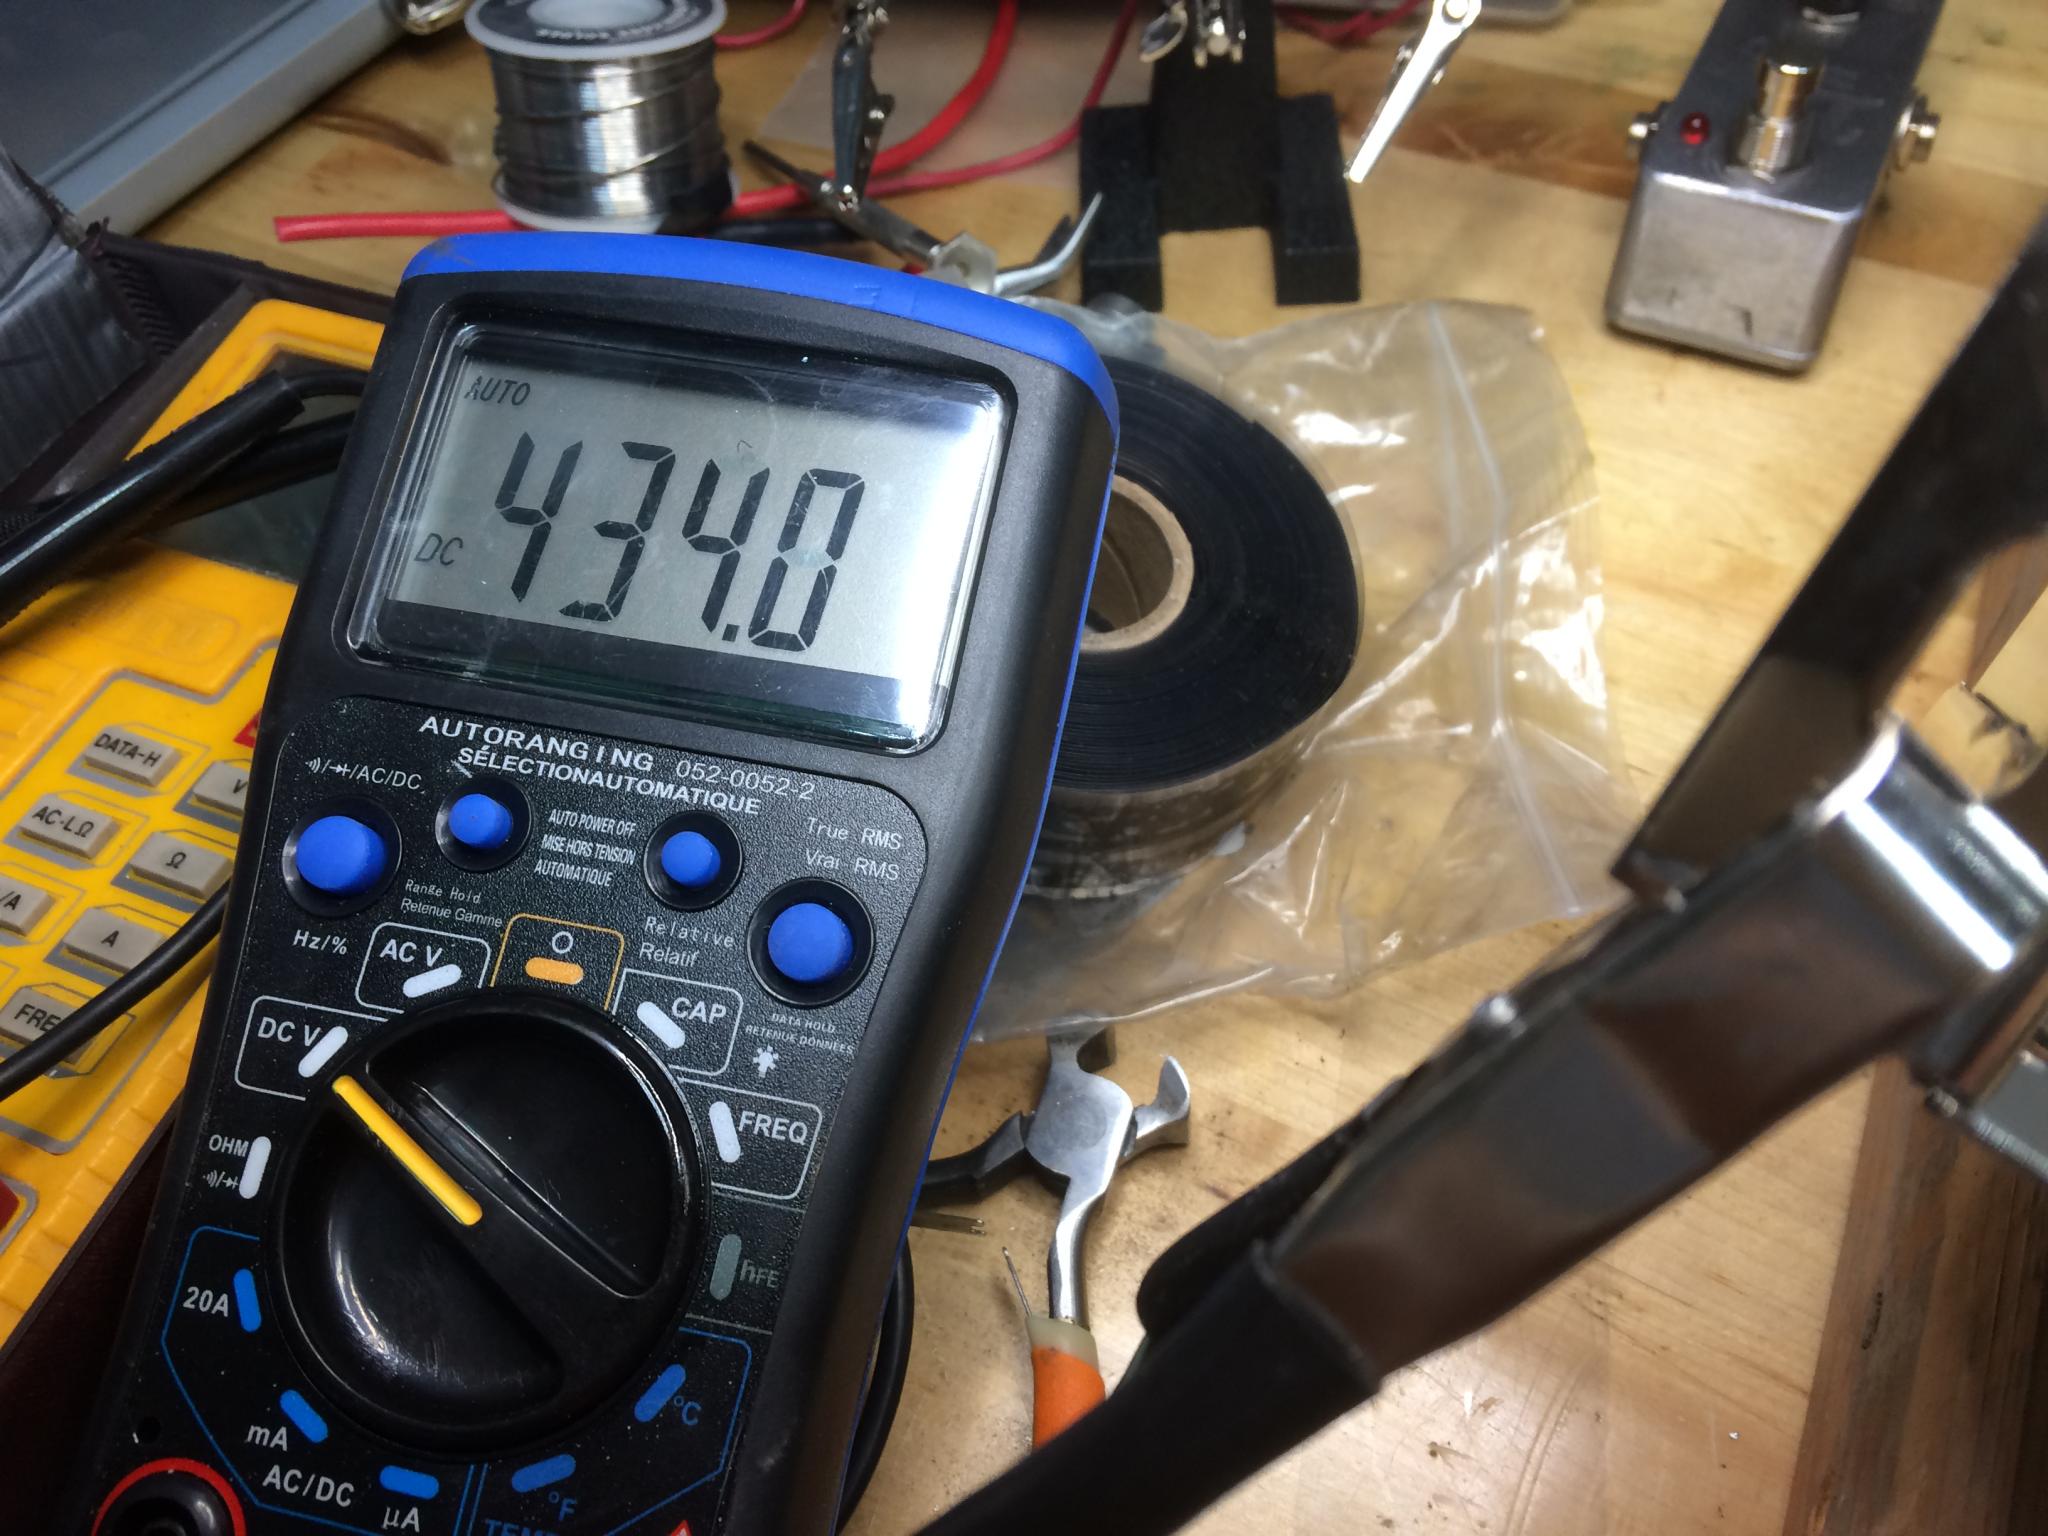
The solution is this magic wire. I've soldered a big fat resistor in the middle, and I use this to short the positive end of the cap to ground. No drama and the caps are rendered harmless. The screwdriver is my probe.
A few more tubes and everything checks out. First time!
RossD wrote:
You can bend the wiring lugs on the back of the tube sockets if it gives you some extra room with the wires.
I did do that to some extent, but I was loathe to flex them too far. Last thing I wanted to do is snap one off 
With a satisfying lack of drama on the initial power-up test, I then added the rectifier tube (no excitement) and the pre-amp tubes (ditto). To test with the power tubes I needed to plug in to a speaker, and since my speaker is a 4x12 cab in another room I figured it was time to mount the chassis in the case.
This just looks cool.
And all closed up.
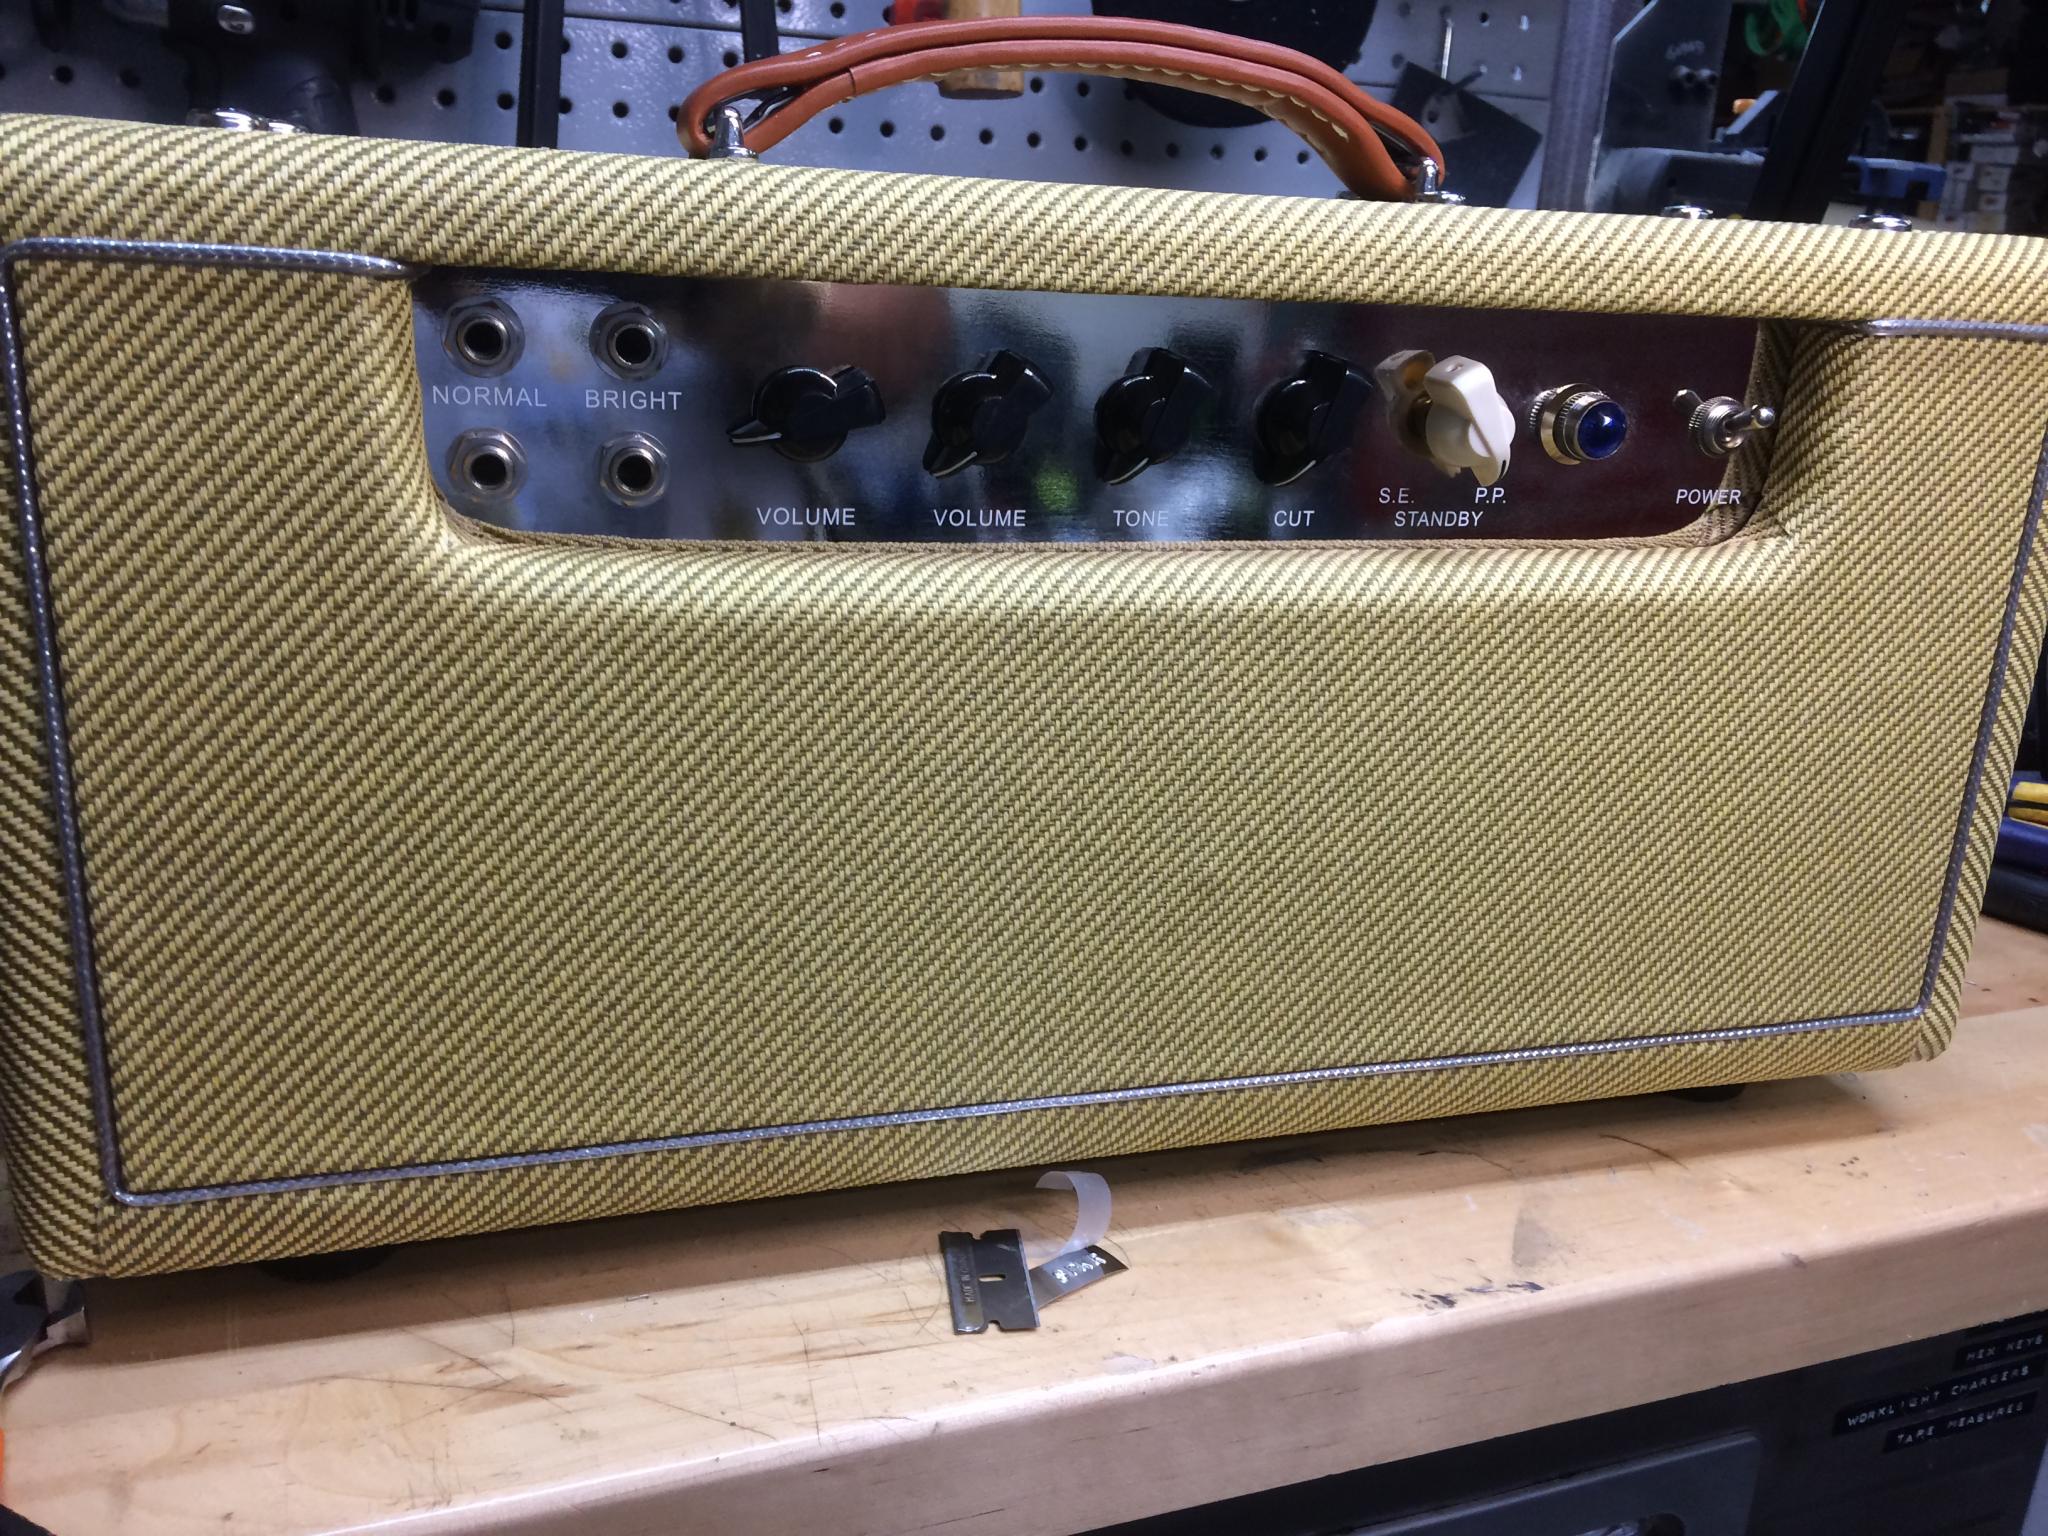
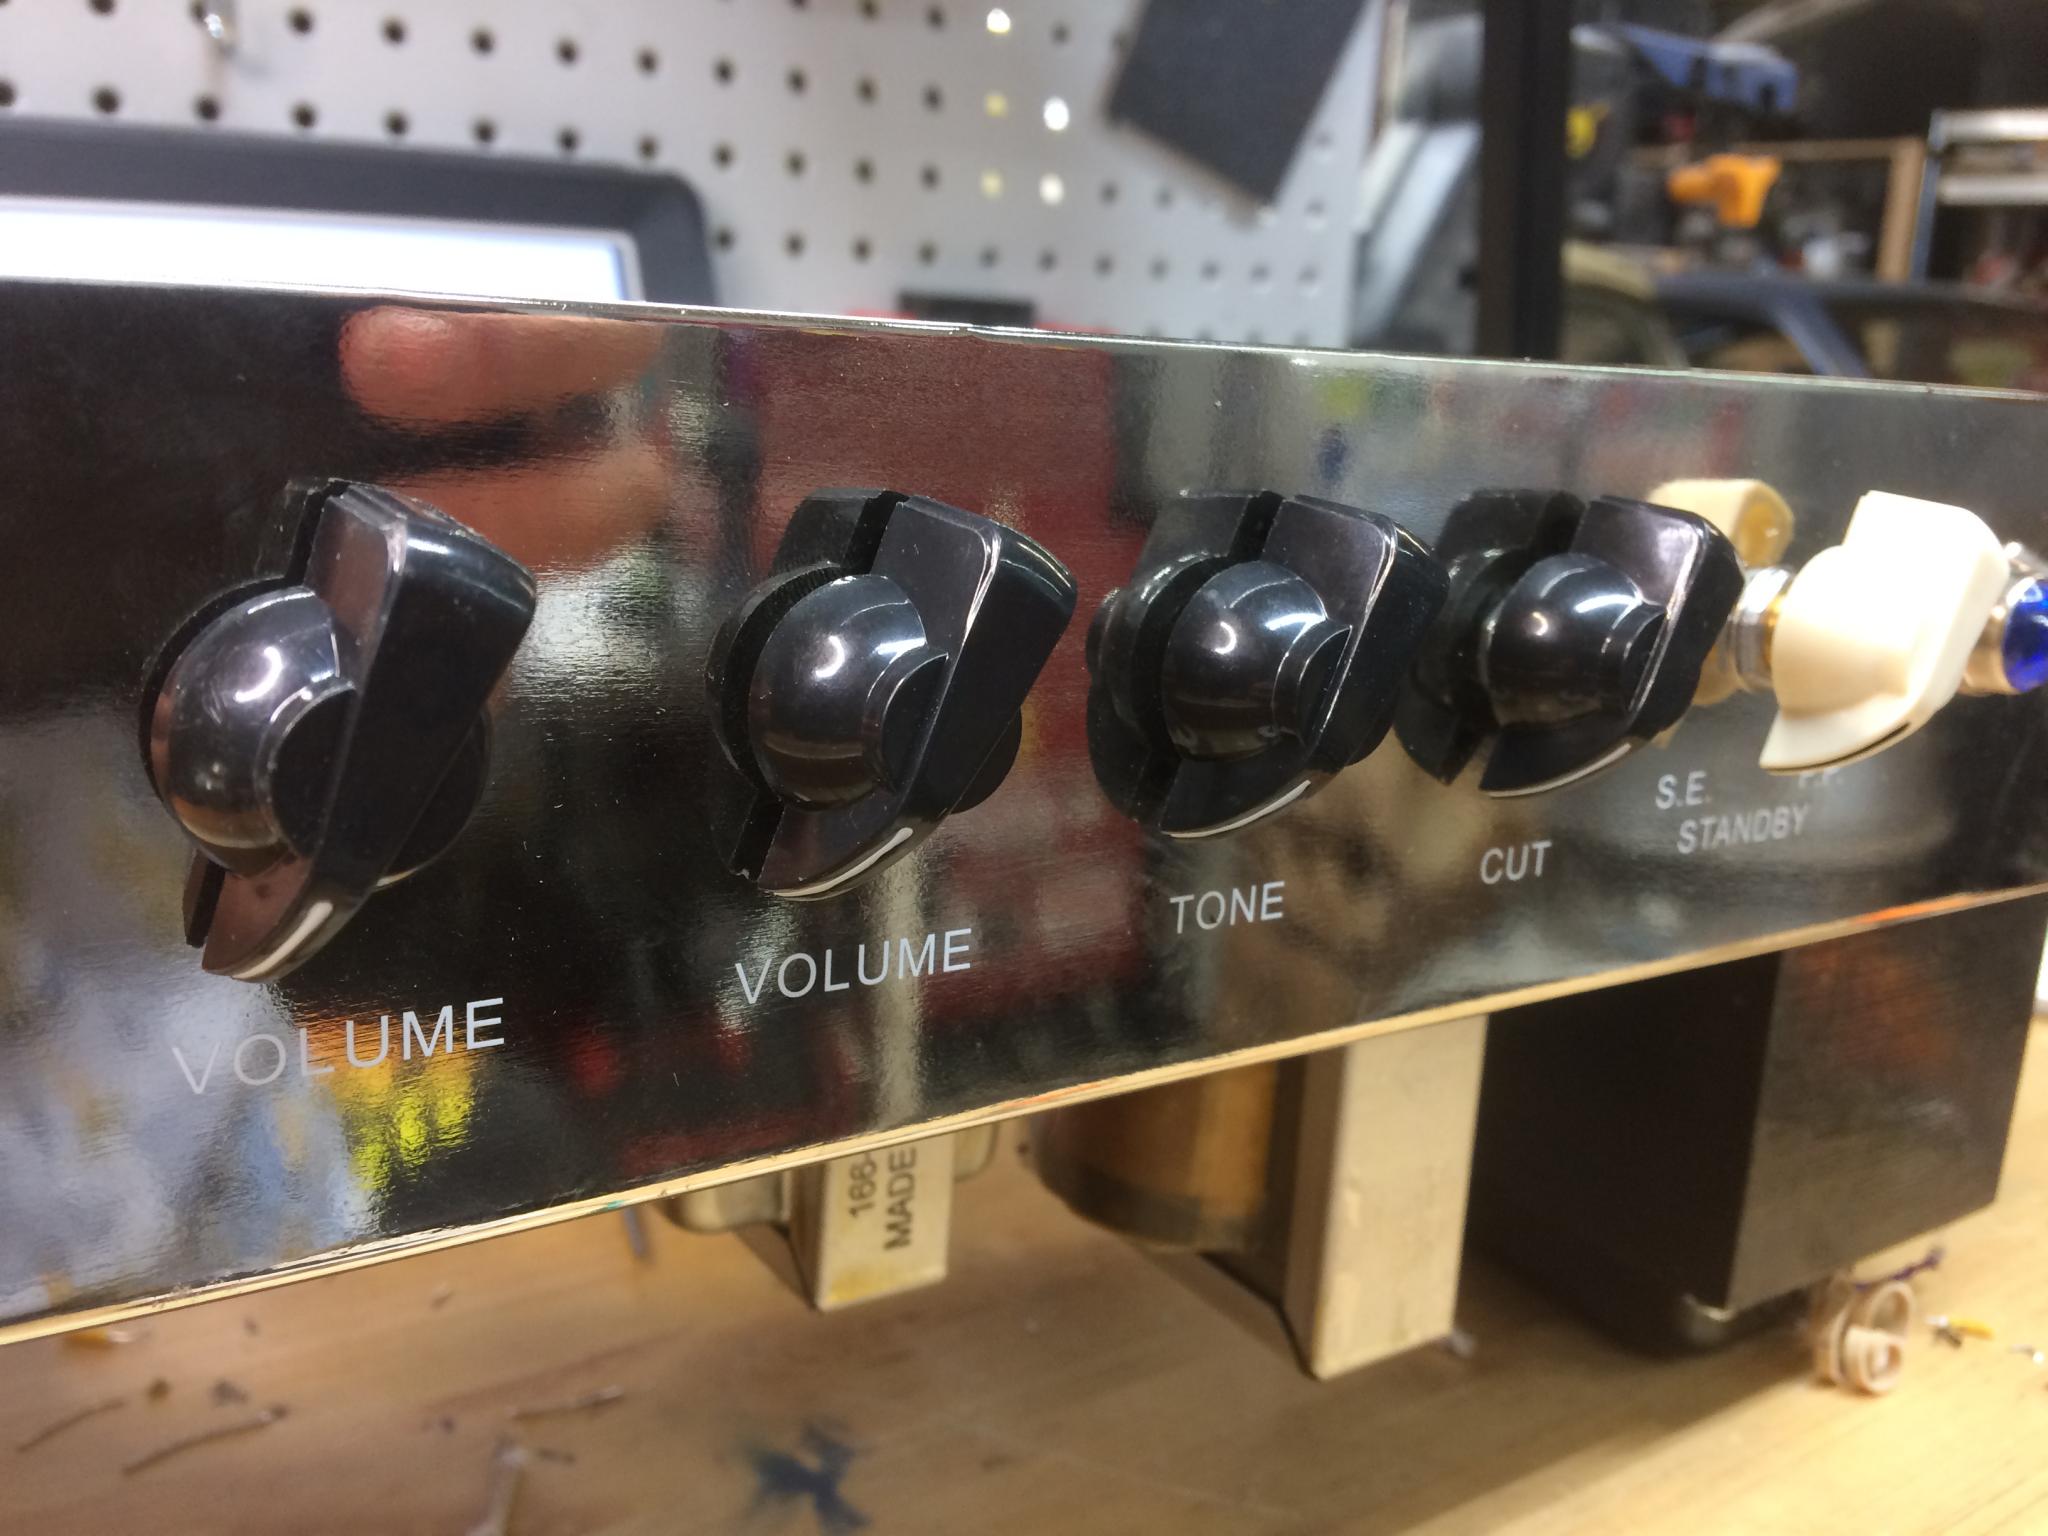
Success! This is a very configurable amp, able to emulate four of the classic tweed-era designs depending on how you set up the dials. Both the TONE and CUT knobs have an off setting that takes them out of the circuit and you can switch from using a single pre-amp 6V6 to two of them. It's going to take me a while to learn what it can do, but it's a nice sounding piece of kit already. I have discovered an really good rockabilly sound by this point
I'm not quite done. I need to come up with a good nameplate for the front. I may try to electro-etch this just for fun. More to come there once my new printer paper arrives.
I've spent far too long looking at vintage Fender logos.


All fairly easy to electro etch, which means it's time to bring out the battery again  But this thing is called a "Tweed Deluxe", and there is no such thing. But there soon will be! I've spent some time in Illustrator and here's the plan. All I need to do is get to my vinyl cutter...
Note: I realize now that I've somehow forgotten that the amp is a Tweed Royal and not a Tweed Deluxe. But let's just play along until I figure that out.

Cool project. I think you should replace Fender with Tanner on the badge but keep the Fender font.
Nah, I only assembled it. Leo Fender did the hard part.
Keith Tanner wrote:
Nah, I only assembled it. Leo Fender did the hard part.
I guess I was thinking that since Fender Musical Instruments Corporation didn't actually manufacture it that it would be neat to have something other than their name on it but I get where you're coming from.
In any case it's a cool build and will be a neat addition to your gear collection.
What timing! I've been working on a similar project, but mine is a straight up 5E3 clone.
Great idea on the tool for the locknuts too.
APEowner wrote:
Keith Tanner wrote:
Nah, I only assembled it. Leo Fender did the hard part.
I guess I was thinking that since Fender Musical Instruments Corporation didn't actually manufacture it that it would be neat to have something other than their name on it but I get where you're coming from.
In any case it's a cool build and will be a neat addition to your gear collection.
I figure I'm doing a badge that doesn't actually exist in nature, so it's a subtle and fun double-take for anyone who knows. Kind of like the vintage Cadillac badge on the back of my Mini.
I knew that eventually I'd build a 5E3 The need has been building up like static electricity. I even tried to contact Mission Amps in Denver but he declined to respond. When I came across the Tweed Royal, the tweakability of it piqued my interest so I decided to do that instead. I've actually been jumping back and forth between 5E3 and 5F1 a fair bit so far.