1 2
Racebrick
Racebrick New Reader
8/21/20 9:53 p.m.

Ok, to be fair I am kind of cheating. I took a bunch of parts off of a running ls swapped 240, and the work was already done to get the donor ready to accept the new motor. So here she is, a very clean 1992 245. I flew to Atlanta and drove this car home to IL with no issues. It had an auto so I did an m47 5spd swap almost immediately, and then shortly after that I boosted it with oem stuff, but it always seemed to have something stupid going on, and I have diven it about 500 miles in 5 years.


But, I also had this car for the last few years with an aluminum 5.3 with a t56, and 7875 turbo. It was rock solid, but the chassis was a joke, and there were so many things I wanted to change it seemed like the right idea would be to scrap the one, and swap the good stuff into the clean chassis.

So this stuff is going to go into the red car.


Along with these dudes. I had this weird idea a while back, and I want to try it, so twins it is.

Got the heater hose stuff figured out.

Going to cut holes here in both sides for the IC inlets.
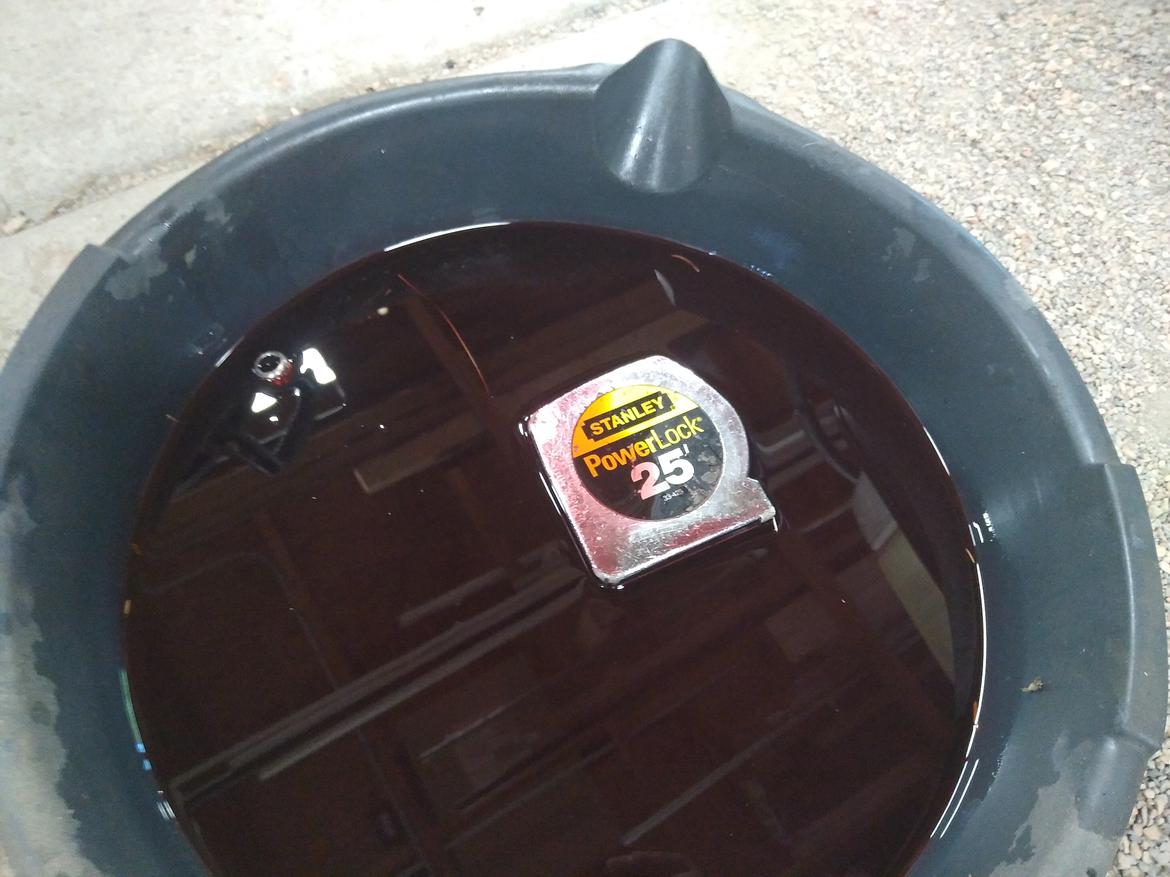
berkeley. Anybody know how to clean out a tape?

Took a little wrastlin' but the intercooler does fit.
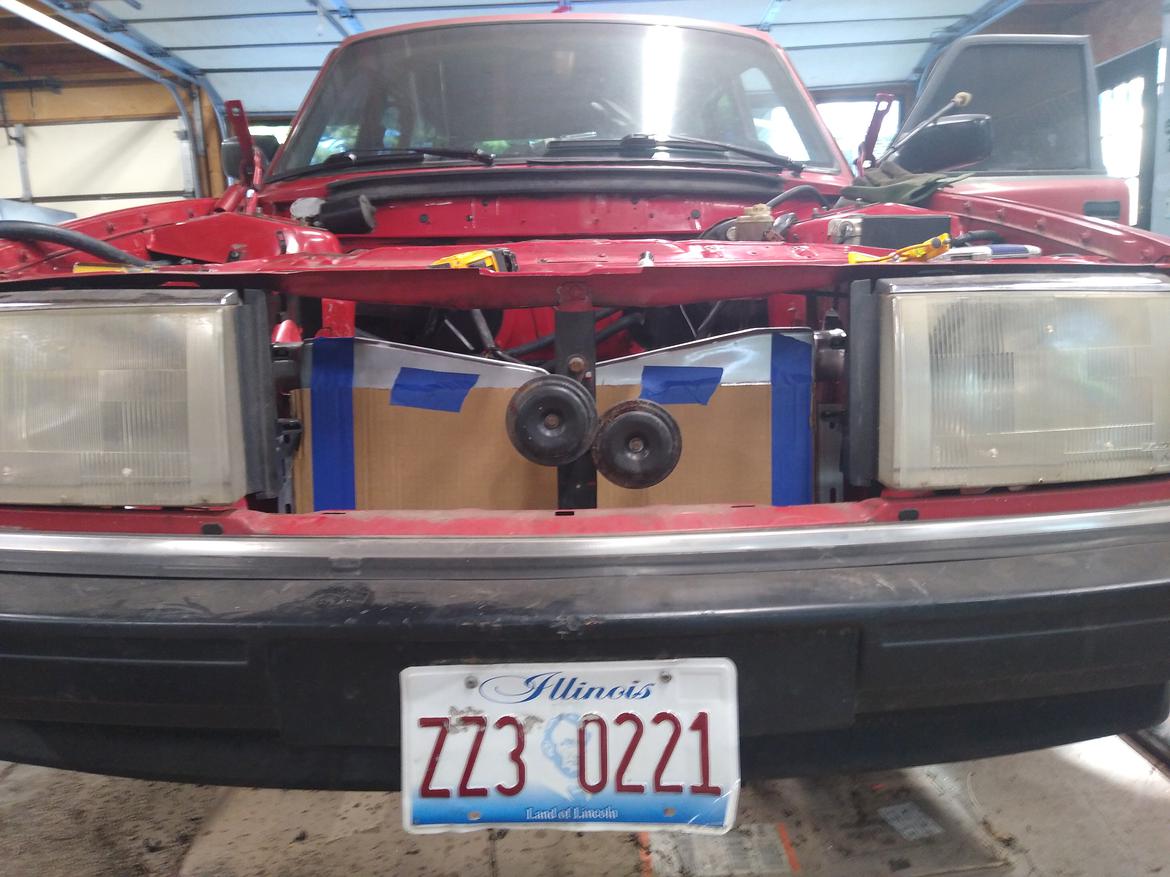
Front shot

The radiator fits perfectly. It is the biggest one that will fit without cutting.

Drew, and cut some brackets.

Cut out the motor mounts, and cheesy fixtures.

Cut out this stuff, and will start sticking metal together tomorrow.

solfly
solfly HalfDork
8/22/20 7:04 a.m.

Awesome!

Dusterbd13-michael (Forum Supporter)
Dusterbd13-michael (Forum Supporter) MegaDork
8/22/20 8:24 a.m.

This is going to be fun to watch!

yupididit
yupididit PowerDork
8/22/20 8:25 a.m.

I would love to see your exhaust manifold setup! 

Racebrick
Racebrick New Reader
8/22/20 9:38 a.m.

In reply to yupididit :

As of now the plan is to use hooker block hugger manifolds facing forward, I will make an up pipe from there. Many people that do twins on an ls cut the truck manifolds, and weld to them. I will be using a flange for a few reasons. Today I am hoping to get the ic, rad, and motor/trans mounts built and installed. If I make it that far I will get going on the clutch master, and beating the trans tunnel to accommodate the reverse lockout solenoid.

OjaiM5
OjaiM5 Reader
8/22/20 10:26 a.m.

I's stoked it is Saturday and there will probably be some really good progress pictures from this weekend. 

Great project! Will follow.

As for the tape, stretch it out to full length and leave it in the sun. It'll be fine.

docwyte
docwyte UberDork
8/22/20 11:14 a.m.

Keep it up!

Racebrick
Racebrick New Reader
8/22/20 3:01 p.m.

Motor mount plates looking pretty.

Clutch pedal built and motor mounts


My last heater hose showed up, so these are good to go. For those that don't know, AutoZone is doing free next day air if you spend like $35. Pretty good deal.


 Parts powder coated. If anyone has advice for why my parts often have orange peel, I'm all ears. I used a thread sert for the ic brackets.


Just popped thread serts in the factory holes.


The two brackets in their spots. Have to stop here for the morning. Got some family stuff then will be back at it tonight.


GaryC83
GaryC83 New Reader
8/22/20 3:42 p.m.

First of all, awesome project. Best of luck with it. Second on your powder it could be a number of things.


Material prep. I always hit my stuff to be powdered with a 50 grit roloc, then a scotchbrite roloc, then hit it with 80 on a DA and finally a final pass with scotchbrite on a roloc. From there it goes off and gets a phosphate immersion before being powdered. 


You could very easily be having issues due to the prep itself. Or the amount of powder applied. Too much is just as bad, if not sometimes worse than too little... or an issue with the curing cycle in not getting everything up to temp for long enough for it to cross link and flow out. Unfortunately there is no "easy" answer...


Does it happen on all your parts or just some? Are you doing it DIY or having it done somewhere? 


If its DIY, invest in a good IR thermometer, start to go hog wild on the prep...and try to be as consistent as possible with application and make sure you are getting things fully up to temp and for long enough. And then start by changing one step at a time, and keeping track of what you do and the results. 


Even with the stuff we do, there will always be some peel, but what you have is admittedly beyond excessive. 


Anyway, like I said...awesome project. I love it, and best of luck with it. 

rustomatic
rustomatic New Reader
8/23/20 8:01 a.m.

Cool!  The answer is always yes to a turbo LS.

Racebrick
Racebrick New Reader
8/23/20 4:05 p.m.
GaryC83 said:

First of all, awesome project. Best of luck with it. Second on your powder it could be a number of things.


Material prep. I always hit my stuff to be powdered with a 50 grit roloc, then a scotchbrite roloc, then hit it with 80 on a DA and finally a final pass with scotchbrite on a roloc. From there it goes off and gets a phosphate immersion before being powdered. 


You could very easily be having issues due to the prep itself. Or the amount of powder applied. Too much is just as bad, if not sometimes worse than too little... or an issue with the curing cycle in not getting everything up to temp for long enough for it to cross link and flow out. Unfortunately there is no "easy" answer...


Does it happen on all your parts or just some? Are you doing it DIY or having it done somewhere? 


If its DIY, invest in a good IR thermometer, start to go hog wild on the prep...and try to be as consistent as possible with application and make sure you are getting things fully up to temp and for long enough. And then start by changing one step at a time, and keeping track of what you do and the results. 


Even with the stuff we do, there will always be some peel, but what you have is admittedly beyond excessive. 


Anyway, like I said...awesome project. I love it, and best of luck with it. 

Thanks for the advice. I hit the parts with a knotted wire wheel to knock off dross, then an orbital sander then wipe with acetone.  Some parts look perfect, and others looks terrible.

Racebrick
Racebrick New Reader
8/23/20 4:25 p.m.

A friend came by last night, and we ended up watching his in car from road America, and bsing about race car stuff, and I didnt get anything picture worthy done.

Got the pedal box out, and holes drilled for clutch master. I believe I have a good way to do the clutch pedal, which I will detail when the parts arrive hopefully tomorrow.


Lokar universal throttle cable. Their parts are usually not cheap but they do make things easier.


When doing a t56 one needs to make room for the reverse lockout solenoid. I prefer to cut through a wire harness when I do it, so as not to make the process too easy.


The 5.3 in its new home. Obviously there is still a lot to do, but everyone loves this moment, as it is a visual milestone. It is also nice to free up the floor space.


The trans is sitting lower than its as driven position, since I need to make a trans mount still. I will make a dished piece and weld it in place.


I will need to do something with the bracketry here, since the alternator is touching the abs pump/line.


I will probably get out and pick at this tonight, but my garage really sucks in the middle of the day here due to the heat, and the next few days are going to be worse.

Racebrick
Racebrick New Reader
9/5/20 12:14 a.m.

Ok, so my original timeline may have been a little "aggressive." Between waiting on parts, and designing, and re-designing things I am taking longer than I wanted, but not longer than I thought. Here is what I have been up to.


Some of the cars attending a local Volvo meetup. We are few in number, but we are fierce.


After much trial and error I located all the parts to keep the pedal assembly working like oem.


So I guess this is really ALL the parts.


Here is the new pedal in the oem pedal assembly. Fits well, feels good.


I ended up using a different power steering pump, and bracket.  This is an ICT billet piece, with an LS1 pump.


So here is the new location for the alternator. It utilizes a manual tensioner, and leaves me with enough room for the fun stuff.


Here was my first idea for doing the exhaust manifolds. Truck manifolds that would be slap chopped into turbo manifolds. I also bought some ebay up and forward turbo manifolds, but they wouldn't even come close to fitting. My current plan is either genius, or very, very dumb. I haven't decided yet.


Racebrick
Racebrick New Reader
9/5/20 1:04 a.m.


I cut out some spacers for the clutch master cylinder. When doing a hydro clutch on a 240 you need to drill holes, but there are accomodations for a master cylinder in the oem pedal box, so one only needs to drill out the holes.


Getting this MC mounted through the pedal assembly, firewall, and spacers by myself sucked. It is in, and the spacers made it fit how I was hoping.


Tight is right.


The 240 has an expansion tank from the factory, and I wanted a radiator without a fill/cap since I wanted to use the stock expansion tank. I found some diy radiatprs from northern that come with all of the fittings, and you drill and weld them on. For some reason I cant find the pictures of the in progress, but here are the mounts, and throttle cable bracket.


Powder coated and test fit. Great success.


Here is the adapter from m16 to -6. The line is a ready made -6 hose made by goodridge. It fit, but barely. The fitting clears the pulley by a good amount.


Feed and return at the rack. It should be good to go, and leave enough space for turbo stuff.


Plenty of room for exhaust.


This engine has the return style, which is much like the oem 240. -6, and -8 to quick connect.


I bought some epdm 1/8" sheets, which I stuck to these brackets with GOOP which according to the internet will work.  I also did this with the upper brackets.


I spent so much time on summitracing looking for hoses it thought I was a bot, and I had to keep clicking bot checks. BUT I am pretty happy with how this hose ended up fitting.


Completed bracket, and upper rad hose.


Hoping to have some turbos hanging of these heads soon. It should be interesting at the very least.

Racebrick
Racebrick New Reader
9/6/20 12:40 p.m.

Throttle cable bracket.


I cut out the battery tray, and may still cut some of this sheet metal.

One of the turbo layouts I am thinking about.

Racebrick
Racebrick New Reader
9/6/20 9:27 p.m.

I changed my mind again. This is the driver's side location I have settled on. I will get started tomorrow on a mock up.


solfly
solfly HalfDork
9/7/20 6:07 a.m.

Great progress.

Recon1342
Recon1342 Dork
9/7/20 6:21 a.m.

Following...

GoLucky
GoLucky Reader
9/7/20 10:08 a.m.

First, nice brick! Where is the intercooler outlet? Just curious, I couldn’t tell from the pictures. 

Racebrick
Racebrick New Reader
9/7/20 11:53 a.m.

Ok, so here it is. This is going to be the location of the flange


Not bad for eyeballing.

Too bad the car is not level to the ground. wink


Some of you have noticed the rectangular inlet leading to the turbo flange.  This is part of a larger idea to make a "sheet metal" exhaust manifold. I would love to hear people's thoughts and opinions on doing something like this.  I was able to find almost nothing about anybody doing this, but I know there are people on here that will have something to add.  I have considered starting another thread on the topic, so as not to muddy the waters here. For this project however, I am going to transition from the truck manifold to a rectangular tube to the turbo.


Here is another issue I could use input on.  The ls engine has a steam port on the front of the head, which is the hose I am holding above. Also the Volvo radiator has a 1/4 port in the radiator from the factory which I have added to this aluminum radiator as a 1/2" npt. Obviously I could have improved the design but here we are.  So the "in" on the expansion tank is 1/4" barb, the "out" on the heads is a single 1/4" barb, and the "out" on the rad is 1/2" npt. I was thinking about using hose to fill in the blanks as pictured, but it doesn't look very nice. I would love to find a npt-barb-barb tee in the right, or even close to the right size, but no luck.

Racebrick
Racebrick New Reader
9/7/20 11:55 a.m.
GoLucky said:

First, nice brick! Where is the intercooler outlet? Just curious, I couldn’t tell from the pictures. 

It is in the center pointed down. I felt this gave me more flexibility, and I still feel like it will work well.

rustomatic
rustomatic New Reader
9/7/20 6:38 p.m.

The steamport into the barbed fitting tapped into the top of the water pump has done the trick for me a couple of times.  The engine doesn't seem to care.  You may be suffering from too many choices, which can be a good thing . . .

Racebrick
Racebrick New Reader
9/17/20 2:59 p.m.


Been very busy, with less fun stuff, but should get a good deal done tomorrow. For now though I did get fixtures put together, since I believe the position to be correct in the car. This way I can easily build more.


Racebrick
Racebrick New Reader
9/23/20 5:59 p.m.

Ok so this experiment has ended up like most of the ones I do. I change mind mind a bunch of times, spend more time, and money than I should have, and I end up going with something worse than if it had done it the standard way. That being said I am still glad I did it this way for the learning experience.

Here is the rectangle manifold in progress.


Flow looks decent.


Ok, it's ugly. It will be covered in wrap anyway.


This is passenger side v2. It is a passenger side manifold flipped up. Doing a log manifold would be the go to, but this cost me nothing as I had all this stuff. 


I also got this nice little organizer power strip stuff done on my fab table.


So most of the fab type stuff is done, and I need to start installing parts.


1 2

You'll need to log in to post.

Our Preferred Partners
Ncm6m5x5WPr0enva8JguJWpVQM38ZpJVuEnNQ9y5Vl3LtUfZFihU2QbcDDhk9l5h