Steve is AWESOME. All ready for paint and install when i get the shop back together.


It may not look it yet, but way, way better. Not a fire hazard, and actually diagnosable now.
Still a long way to go for street car though.....
Dash and such first. Then cooling (hvac/engine/oil) and reinforced rear. Then oiling system repair and upgrades.
Note to self: headrest speakers need wiring, and windshield surround needs wired.
Still need to figure out how to get the ac button to fire the compressor.
Afd warning lights for oil and water
Sleeve firewall holes
Ac should just be a normal off switch that runs a ground to a relay and the relay operates the compressor.
In reply to mazdeuce - Seth :
I hope it turns out that easy. But, wiring diagrams and hackery show it will be interesting.
It all depends on how much factory wiring/actual safety features you want to incorporate. There should be a high side over pressure and a low side under pressure switch in there too wired appropriately depending on whether they're normally open or normally closed. And a fuse probably. The point is that the circuit itself is fairly simple. You're just giving the compressor clutch 12V and that engages the compressor. Jump it with a battery and you can confirm. From there you're just making the circuit a bit more complex with each step.

Little further to go, and a real update that highlights what you arr sering here. But seth knows....
Unfortunately no. Closer, but not quite.
Life on lifes terms. Family needed me more, and this sleeping thing is putting a damper on it. Hopefully the docs will fihure out the sleeping....
The good news is that cars are patient. Take care of you and yours and the car will be ready to be worked on when you're ready to work on it.
Dusterbd13-michael said:
systems slowly coming online. Almost ready for the big one.....
Dope. Love that song.
In reply to 10001110101 :
Had to test out the new stereo properly. That song sounds really good through the free speakers.
Old money: 1993.83
new money:
temp and oil pressure warning light senders: 15
90 degree heater hose 11
oil cooler: 29
carpet: 60
stereo and speakers, free.
Autometers: had them from the elky
sanden 508 compressor: 41
dash and ac parts: 200
antenna: 5.25
shift light (from way back) 10
thermostat housing parts: 11
sound deadening-freeish
rear diff housing with delrin bushings: 150
new total: 2526.08
so, when I last did a real update, it was the challenge and the car was broken.
It still is!
However, I have been working on it. A lot.
Over the build thread, we've talked about life after the challenge. What I want to own long term. How I see this car developing into a forever build.
Before I embark on a new pair of MASSIVE projects, I want to get this car most of the way to the end goal. There's still a lot of tweaking and development to go long term, but the last 10% of the basic build will be done before I start on the next.
The list for that 10% is as follows
heat. ac. Gauges. Warning lights. Stereo. fix shifter location. Thermostat. Oil system upgrades. Functional lights that don't suck. Electrical system not a total hack job. Insulation and sound deadening.
Pretty basic, all things considered. Right? Just, you know, redo most all the car that's not the drive-train or sheet metal. Shouldn't take but a minute...
started by mounting up the compressor and figuring out belt routing. Easy enough. I used some modified GM pieces, and an idler. Really quite simple. Not a fan of the polished finish on the sanden 508, but it was cheaper polished than not. Dunno why, but....
 20191105_114928 by Michael Crawford, on Flickr
with that done, decided it was time to get serious. Wiring and heater core and all that kinda falls into one series of interconnected projects. Its almost like a pre-made snowball project. Example: do do sound deadening, you need to pull carpet. To pull carpet, you need to pull dash. To fix wiring, you need to pull dash. So while dash is pulled....
you get the idea. Lotta work interconnected with a lotta work.
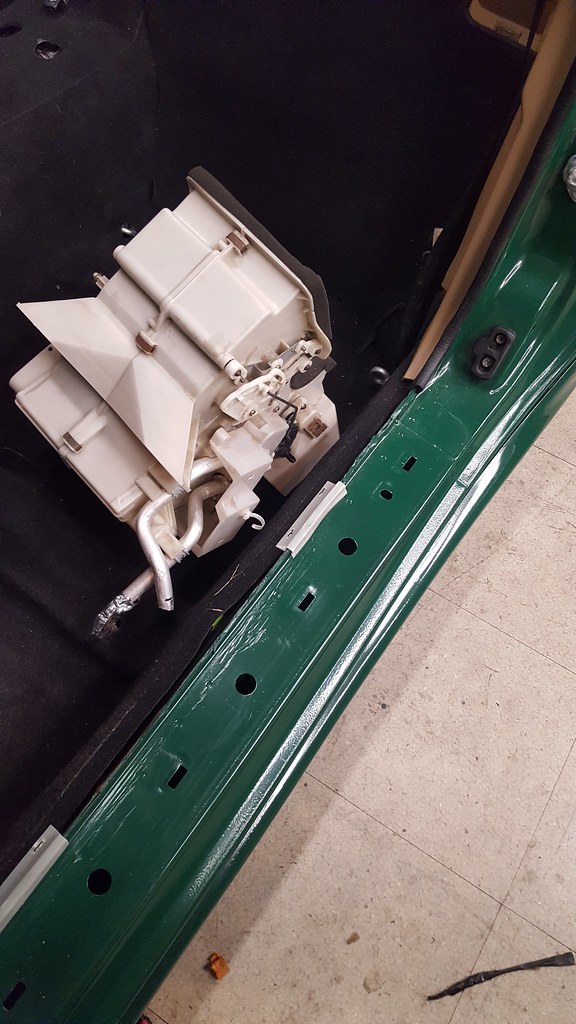
Step one was to have my friend Steve tig some boxing plates on my new diff housing. I don't want this to happen again. Also, I fully plan to add more power, so I expect more possibility of breakage as time goes on. Steve did a BEAUTIFUL job. I need to learn to TIG. Especially now that dad bought one.
 20191113_074305 by Michael Crawford, on Flickr
 20191113_074313 by Michael Crawford, on Flickr
then, I moved onto finishing the new cluster. Complete with indicator lights (leds that are WAY too bright. Ideas?) and s quick connect for removal. These gauges were originally purchased for my 64 elcamino. Which was totaled way earlier in this thread. They stayed when most other parts related left. It seemed fitting that they should go in here. So they did.
 20191120_180625 by Michael Crawford, on Flickr
 20191124_100107 by Michael Crawford, on Flickr
done with that, I went ahead and put the new free component speakers in the doors. Used some left over cloroplast as mounting plates, wrapped the crossovers in ziplock bags to waterproof the, and installed. It honestly seemed like a good idea just to get them out of my way.
 20191105_114954 by Michael Crawford, on Flickr
 20191122_163912 by Michael Crawford, on Flickr
 20191122_164455 by Michael Crawford, on Flickr
 20191122_163903 by Michael Crawford, on Flickr
I figured since one of the next jobs would be pulligh the dash, and adding the AC system parts and heater core lines, id probably be best served by draining the cooling system. It was mud. Again. I hate dexcool....
anyway, much draining, flushing, and repeating later, I test fit my AC condenser and oil cooler.
 20191126_122721 by Michael Crawford, on Flickr
 20191126_122706 by Michael Crawford, on Flickr
mint!!!
somewhere in here, I cleaned and painted the new diff housing. In addition, I spent some significant time with a flap wheel removing protrusions and lumps. Especially the ones that hit my exhaust. May make it quieter inside (shea, right! And monkeys might fly outta my butt!!!)
 20191123_160417 by Michael Crawford, on Flickr
 20191123_160413 by Michael Crawford, on Flickr
next, I spent money. I decided that the taped in carpets really sucked, and I hated them. So I bought a full set of black carpet, with floormats, that I pulled. 60 bucks well spent. Cleaned them and let them dry in the sun.
 20191126_122713 by Michael Crawford, on Flickr
the, rip the bandaid off. I was NOT looking foreard to this for good reason. I know whay I did what I did under here, and can still justify it, but it bothered me more than hemmoroids. Way more.
 20191126_065910 by Michael Crawford, on Flickr
 20191126_122732 by Michael Crawford, on Flickr
nowhere to go but up!
 20191127_205825 by Michael Crawford, on Flickr
pretty much gutted the works back down to miata and started over. Step one was adding way more sound deadening and insulation. No lie, this car melted brother Dustin sandal on a 45 minute street drive in July. I had wound up with some form of adhesive lined foam insulation, as well as a bit more f my favored reflectix. So, another full layer of the reflectix, followed by a layer of the foam stuff from cowl to gas tank cover. Seems to have made a significant difference in noise already, but cant comment on heat management as the thing hasn't run again yet.
 20191129_134204 by Michael Crawford, on Flickr
 20191129_122435 by Michael Crawford, on Flickr
 20191129_134151 by Michael Crawford, on Flickr
I then spent 4 hours to hook up the heater core. Ultimately I cut the aluminum tubes to the core down, ran the rubber hose through grommets in the firewall, and hooked them up that way. There was just NOT enough room to do it otherwise. I almost gave up a couple of times thinking it was impossible. But, a couple of LS1 threads gave me different ideas, and here we are!
 20191130_083837 by Michael Crawford, on Flickr
 20191130_094131 by Michael Crawford, on Flickr
 20191130_083827 by Michael Crawford, on Flickr
the rest of the HVAC firewall boxes went in like stock. And speaking of stock, the shifter I had made a dogleg in was always a little too far back and angled slightly funny. I know I fixed the too far back, and it seems the angled funny as well, but time will tell. Just a few minutes with a welder, and bobs your uncle!
 20191129_134208 by Michael Crawford, on Flickr
I then went after the wiring. All of it. Every stitch. That's a whole lotta boring there. So I will spare you the hours of tedium and mild insanity. At the end of the day, we added a stereo, created circuits to fire the aftermarket ac setup with the miata switches, relocated fan override switches, added warning lights for water temp and oil pressure, installed a hidden antenna, added a shift light, etc. lots of stuff, and its all done properly with crimps, adhesive heat shrink, relays, fuses, etc. put the replacement, undamaged dash in while I was at it as well.
 20191130_202352 by Michael Crawford, on Flickr
 20191130_110129 by Michael Crawford, on Flickr
 20191202_082758 by Michael Crawford, on Flickr
 20191203_171448 by Michael Crawford, on Flickr
 20191205_170839 by Michael Crawford, on Flickr
 20191206_105359 by Michael Crawford, on Flickr
 20191205_181058 by Michael Crawford, on Flickr
 20191206_190625 by Michael Crawford, on Flickr
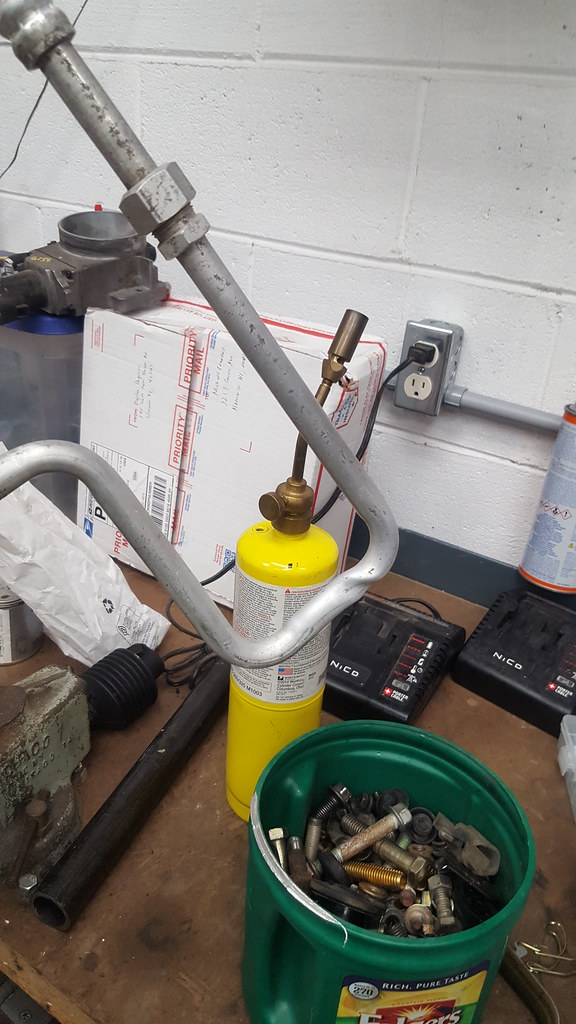
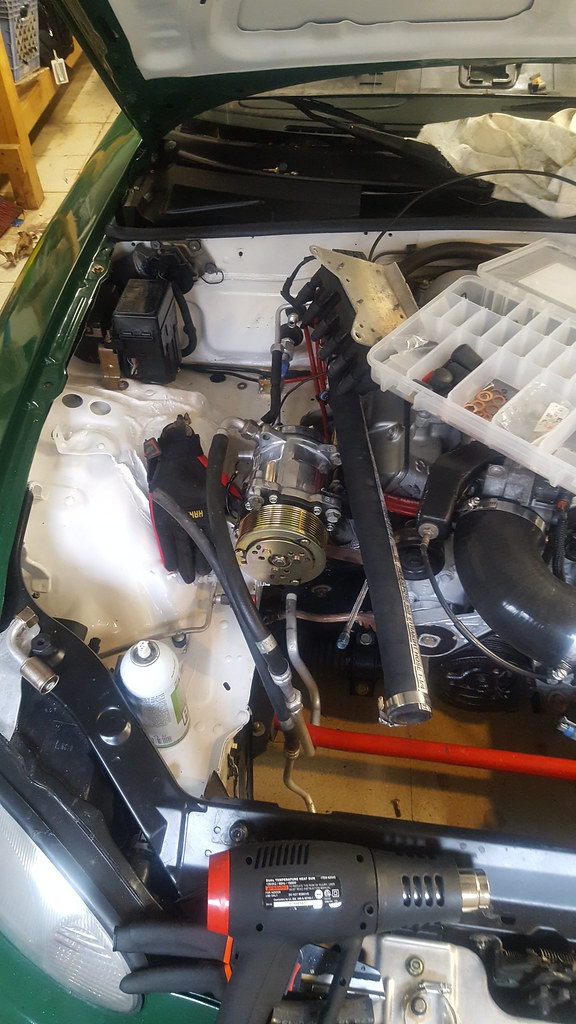
underhood, I took the factory miata aluminum ac lines, a propane torch, and patience. Re-bent them to fit the new layout of things and added the proper fittings for the 508. still need to clamp the fittings and charge the system.
 20191204_160757 by Michael Crawford, on Flickr
 20191206_105416 by Michael Crawford, on Flickr
painting the ac compressor mount parts
 20191206_175359 by Michael Crawford, on Flickr
mounted the warning for water temp in the factory bleed hole at water pump outlet
 20191206_182558 by Michael Crawford, on Flickr
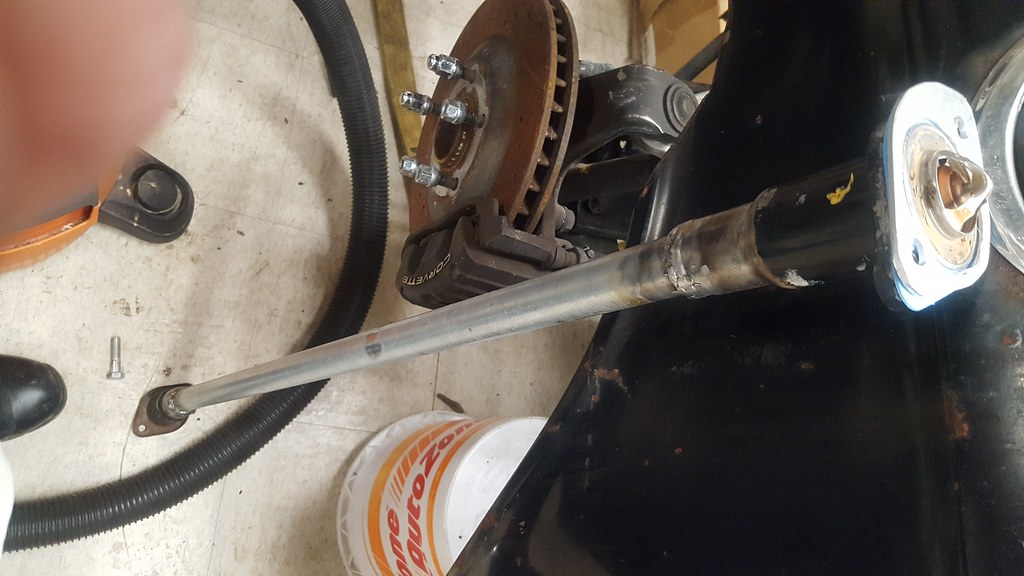
and lastly, started on the remote thermostat housing. Its a pair of mopar magnum 5.2 housings welded to 1 inch electrical conduit. At the mating point, the 185 thermostat is placed in between a sandwich of housing-gasket-spacer/thermostat-gasket-housing. I think this will work. Hopefully. Spacer is essentially a gasket traced onto 1/8 aluminum and cut out.
 20191206_184245 by Michael Crawford, on Flickr
 20191206_184942 by Michael Crawford, on Flickr
This car checks a lot of boxes as cool street car. That's quite the accomplishment. You've got more motor than tire, enough chassis to handle it all, heat, AC, stereo and good looks. To top it off, the car really suits the roads where you live. I'm looking forward to weaseling my way into a back road drive sometime in the future.
Great work! About those LEDs, I have in the past, "ghosted" black spray paint over stuff like that.
Usually, my ghosting gets out of hand, and is followed by some wiping, and more ghosting. YRMV
It may help to only shake the can minimally.
In reply to wheelsmithy :
I knocked them down SLIGHTLY with sharpie tint. Problem is that the bolbs are so recessed in the sockets i cant really get to them.
Wonder if some really diluted black ristoleum is the answe with a model brush?
mazdeuce - Seth said:This car checks a lot of boxes as cool street car. That's quite the accomplishment. You've got more motor than tire, enough chassis to handle it all, heat, AC, stereo and good looks. To top it off, the car really suits the roads where you live. I'm looking forward to weaseling my way into a back road drive sometime in the future.
And hopefully enough headroom to teach me to be a good driver, with enough life to enjoy it all over for years to come.
As far as weaseling a drive: no weasel necessary. Ill mail you the keys! Weve got a couch.....
You'll need to log in to post.