So, its been a long time since a real update.
I think its time to correct that.
After stampie brought it back from the challenge last year, I hit a deer carcass. Ripped the splitter off, wrecked the ac condenser, bent a tie rod, broke the bumper, and mangled a headlight. Not cool.
So, we had to fix it. Especially since the season starts saturday.
The parts list: led driving lights, mini H1 projectors, two newer headlight housings, 55 watt h1 hids, condenser, lines, o rings, thermostat housing, thermostat, hvac panel, plywood, bumper lip, ducktail spoiler, stickers, aluminum lug nuts, new tie rod ends, extended ball joints. Door edge guard, expanded aluminum, black rivets, new wheel well liners, and probably some other stuff im forgetting.
So, lets get to it.
First up, parts. Inline thermostat housing from amazon. Nice piece of equipment.
 20210106_133857 by Michael Crawford, on Flickr
then, painted my black knockoff rfp-1s silver. I like them way better.
 20210107_083010 by Michael Crawford, on Flickr
and the $20 ducktail I bought from a CSP autocrosser
 20210107_142305 by Michael Crawford, on Flickr
step one, which has absolutely nothing to do with fixing the car, was installing the ducktail. I have always wanted one, and Im stupid happy to have it! Used stainless button head bolts and nutserts and double sided tape. Seemed like a good use of overkill.
 20210113_105527 by Michael Crawford, on Flickr
then, tore the front of the car down. Took my new to me headlights upstairs and baked them at 250f for 20 minutes to separate the lens from the housings. Took them back down to the shop, pulled the shields and retainers.
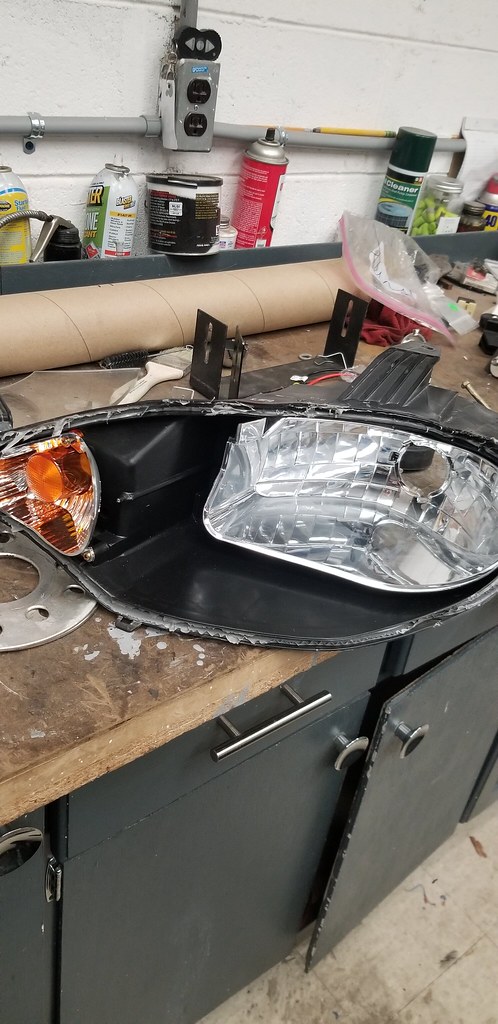 20210115_191404 by Michael Crawford, on Flickr
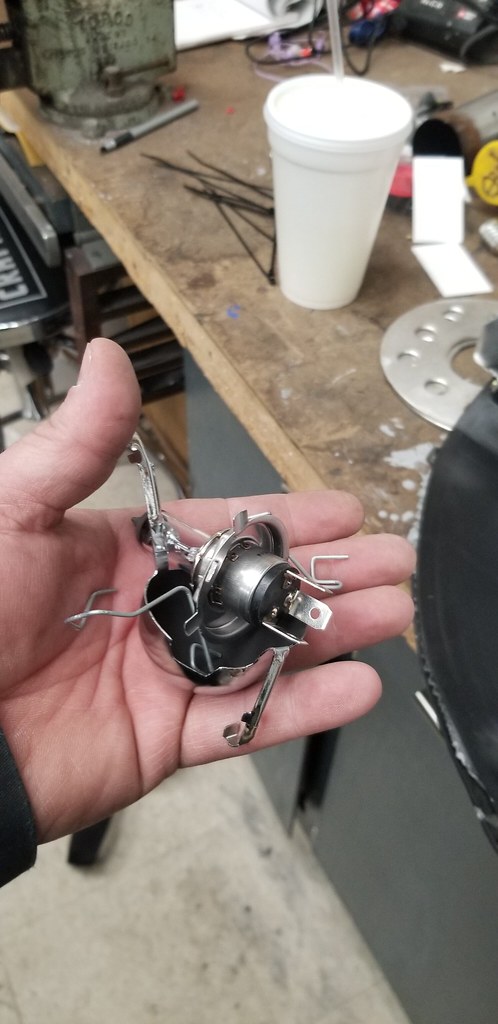 20210115_191452 by Michael Crawford, on Flickr
prep the mini projectors by attaching the shrouds to the projectors with four screws. These projectors came with them, but most dont. #6 by ½ screw usuallt does the trick.
 20210115_191956 by Michael Crawford, on Flickr
then, install. Use the large washer between the projector and housing, then the projector through the factory lightbulb hole, smaller washer, metal washers, nuts, and bulb retainer.
 20210115_192146 by Michael Crawford, on Flickr
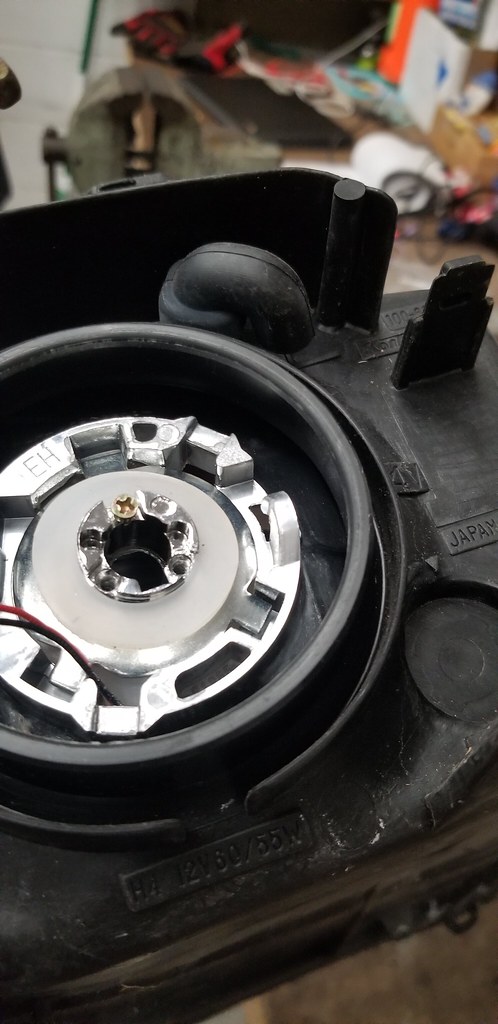 20210115_192038 by Michael Crawford, on Flickr
 20210115_192134 by Michael Crawford, on Flickr
 20210115_192415 by Michael Crawford, on Flickr
seal it off with the factory rubber bootie, and adjust the horizontal line prior to gluing them back together.
 20210115_192757 by Michael Crawford, on Flickr
 20210115_192849 by Michael Crawford, on Flickr
 20210117_175902 by Michael Crawford, on Flickr
that out of the way, I went ahead and redid the AC system. Rebent the aluminum lines, crimped fitting for the sanden compressor, etc. swapped the factory switch on the high pressure side for a standard binary switch I could work with. Vacuumed the system, and added some freon. I also had to replace the AC switch, as it had failed.
 20210121_191227 by Michael Crawford, on Flickr
 20210122_122647 by Michael Crawford, on Flickr
to fix a belt interference problem, had to modify the throttle body.
 20210122_192727 by Michael Crawford, on Flickr
while I was doing all this, I had the body apart and at the painters.
 20210117_110153 by Michael Crawford, on Flickr
 received_728814067818834 by Michael Crawford, on Flickr
when it came back, I got to reassembling. First was the hood. Using black expanded aluminum, door edge molding, and rivets, came out pretty good!
 20210122_174948 by Michael Crawford, on Flickr
 20210125_123615 by Michael Crawford, on Flickr
I also added some more light. I got a pair of LED driving lights and mounted them in the bumper opening, and wired to the headlight circuit.
 20210122_200324 by Michael Crawford, on Flickr
 20210125_192452 by Michael Crawford, on Flickr
finished engine bay off with an inline thermostat housing, 180 thermostat, factory overflow bottle, new, functional radiator cap, aluminum turnbuckle adjuster for the AC compressor, and a good cleaning.
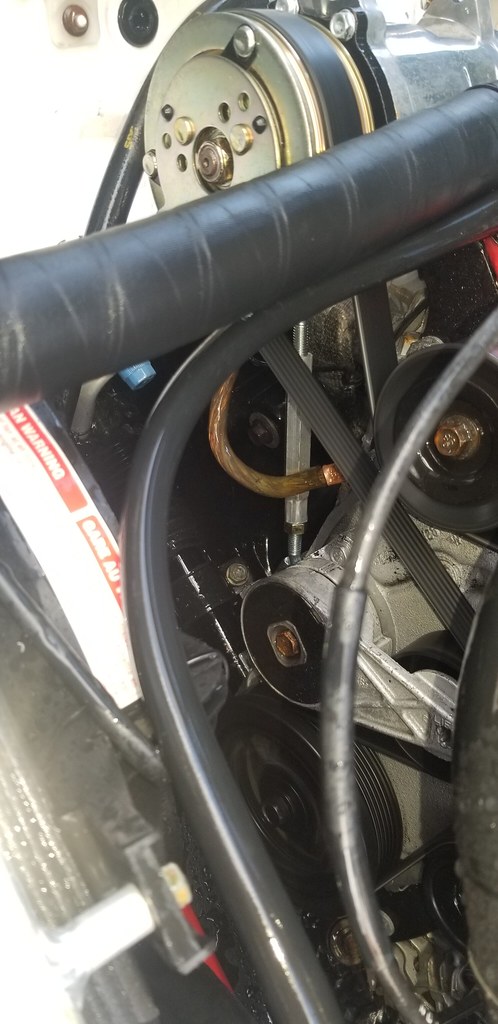 20210223_132135 by Michael Crawford, on Flickr
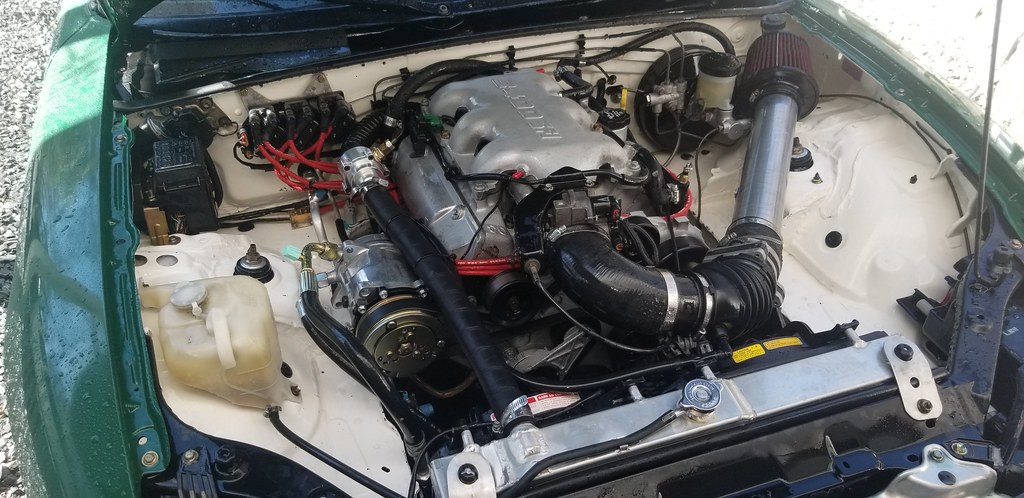 20210223_132139 by Michael Crawford, on Flickr
went ahead and reassembled the car, adding the new lip and ducktail as I went. Remade the broken lexan on the ducktail too.
 20210125_192426 by Michael Crawford, on Flickr
 20210204_165808 by Michael Crawford, on Flickr
while I was at it, I had the challenge spoiler remade into a sticker on the new ducktail.
 20210130_145303 by Michael Crawford, on Flickr
 20210208_181919 by Michael Crawford, on Flickr
I then remade the splitter and got it mounted up
 20210205_084814 by Michael Crawford, on Flickr
 20210208_181727 by Michael Crawford, on Flickr
then, went ahead and built a floor for the trunk. Seemed like a good idea to cover everything over, and I had some leftovers from the splitter. Packing for this weekends autocross proved way easier now, despite actually having less accessible space. The flat floor makes more usable space for things like tool bag, helmet, etc. just simpler all the way around, and way less worrying since there's no battery just hanging out there waiting to be shorted by a ratchet knocked loose over a pothole. It required a double carpet hunge cover on that side though, which took a little head scratching. But not bad overall!
 20210209_083033 by Michael Crawford, on Flickr
 20210221_121230 by Michael Crawford, on Flickr
 20210221_121243 by Michael Crawford, on Flickr
no idea why, but I dont have pictures of the new rotors and stoptech pads, bouer ball joints, r package tie rod ends. However, visually, they just look less scruffy than the old stuff. However, I was able to get 3.2 degrees negative camber, 5.5 positive caster, and zero toe up front. Rear is negative 2 camber, and 1/8 toe in. most aggressive alignment ive ever been able to put in, and on the street it feels MUCH more stable, planted, and smooth in both aggressive transitions and steady state cornering. Wont know for certain until closed course, but I think I just narrowed my gap between being DFL and next to DFL which last season was 10 seconds.
any which way, we took a test drive. mid February and my daughter and I went with the top down. With heat! Its actually turning into a real car....
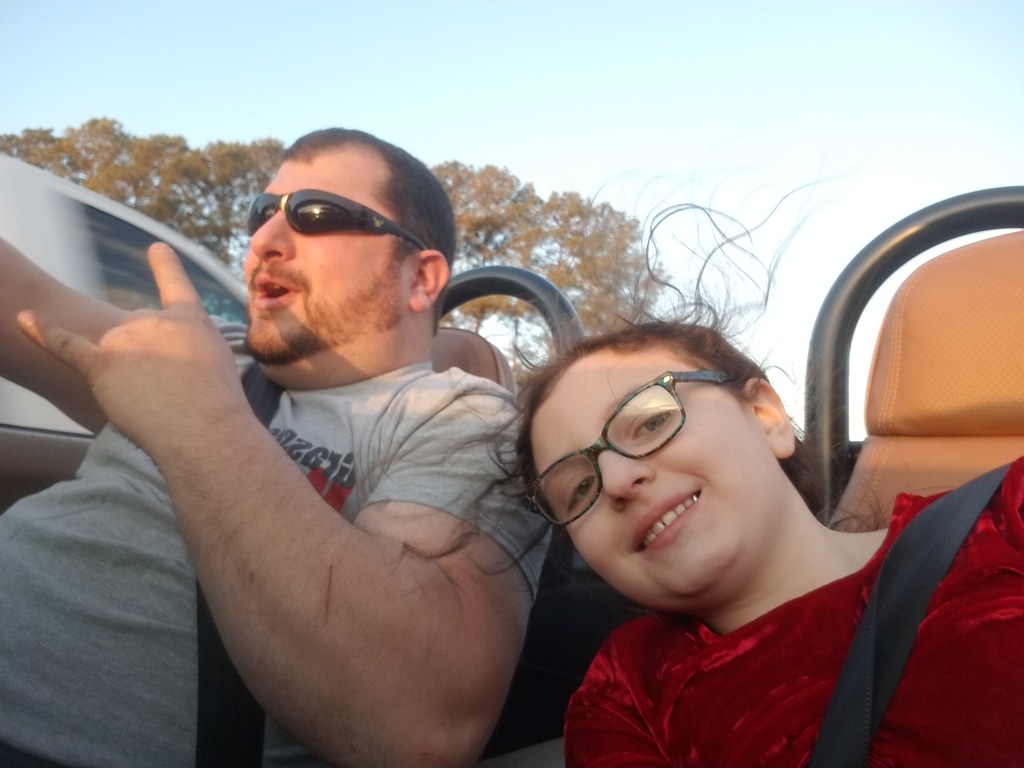 20210209_173539(0) by Michael Crawford, on Flickr
so, to finish out the updates, and season prep for the car, I washed and waxed and cleaned it all up for the upcoming season. Turned out fairly OK for a rustoleum painted, stickered up hackjob racecar!
 20210221_171307 by Michael Crawford, on Flickr
 20210221_171017 by Michael Crawford, on Flickr
 20210221_171316 by Michael Crawford, on Flickr


