1 2 3 4 5
Woody
Woody MegaDork
11/14/16 4:55 p.m.

More cleaning...

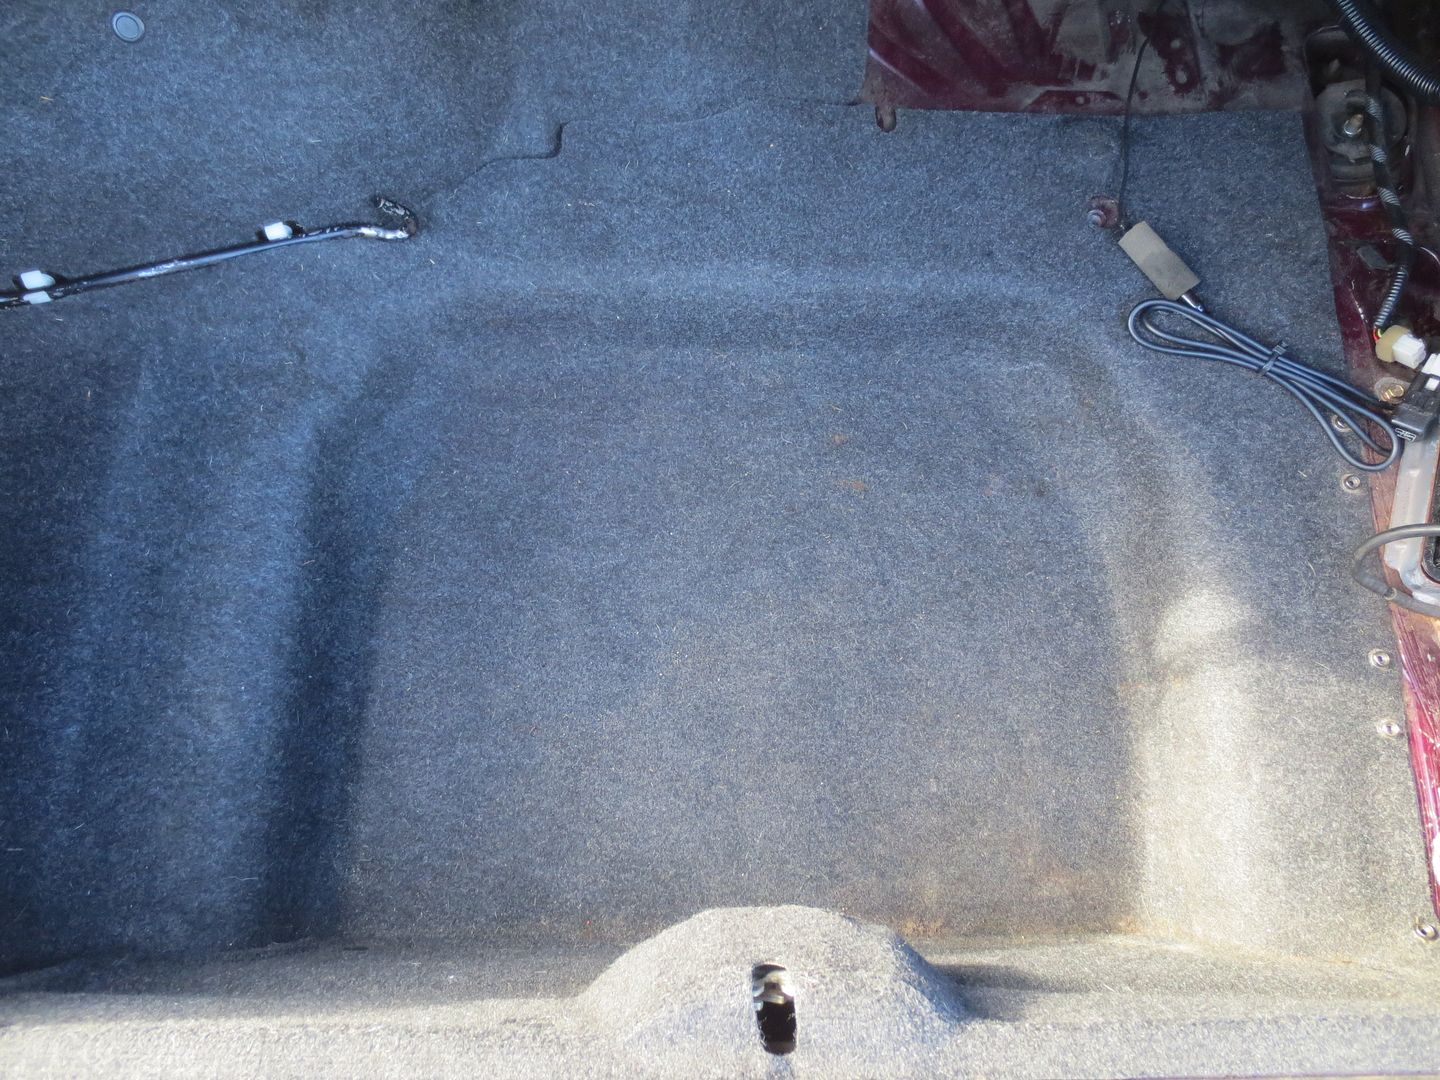
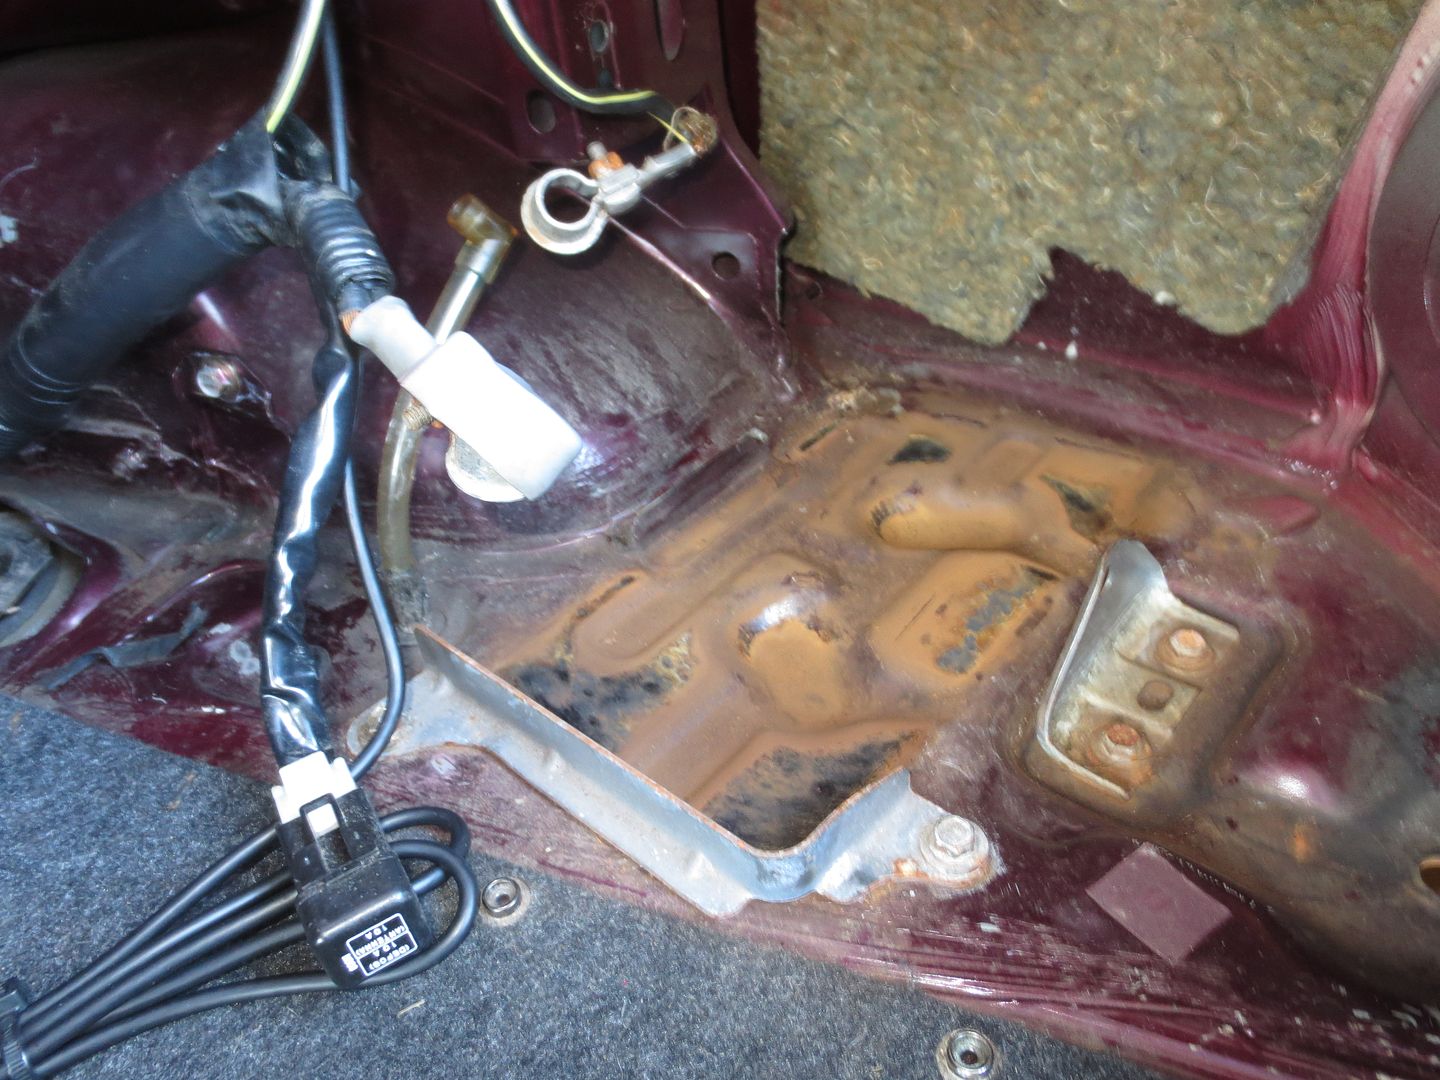
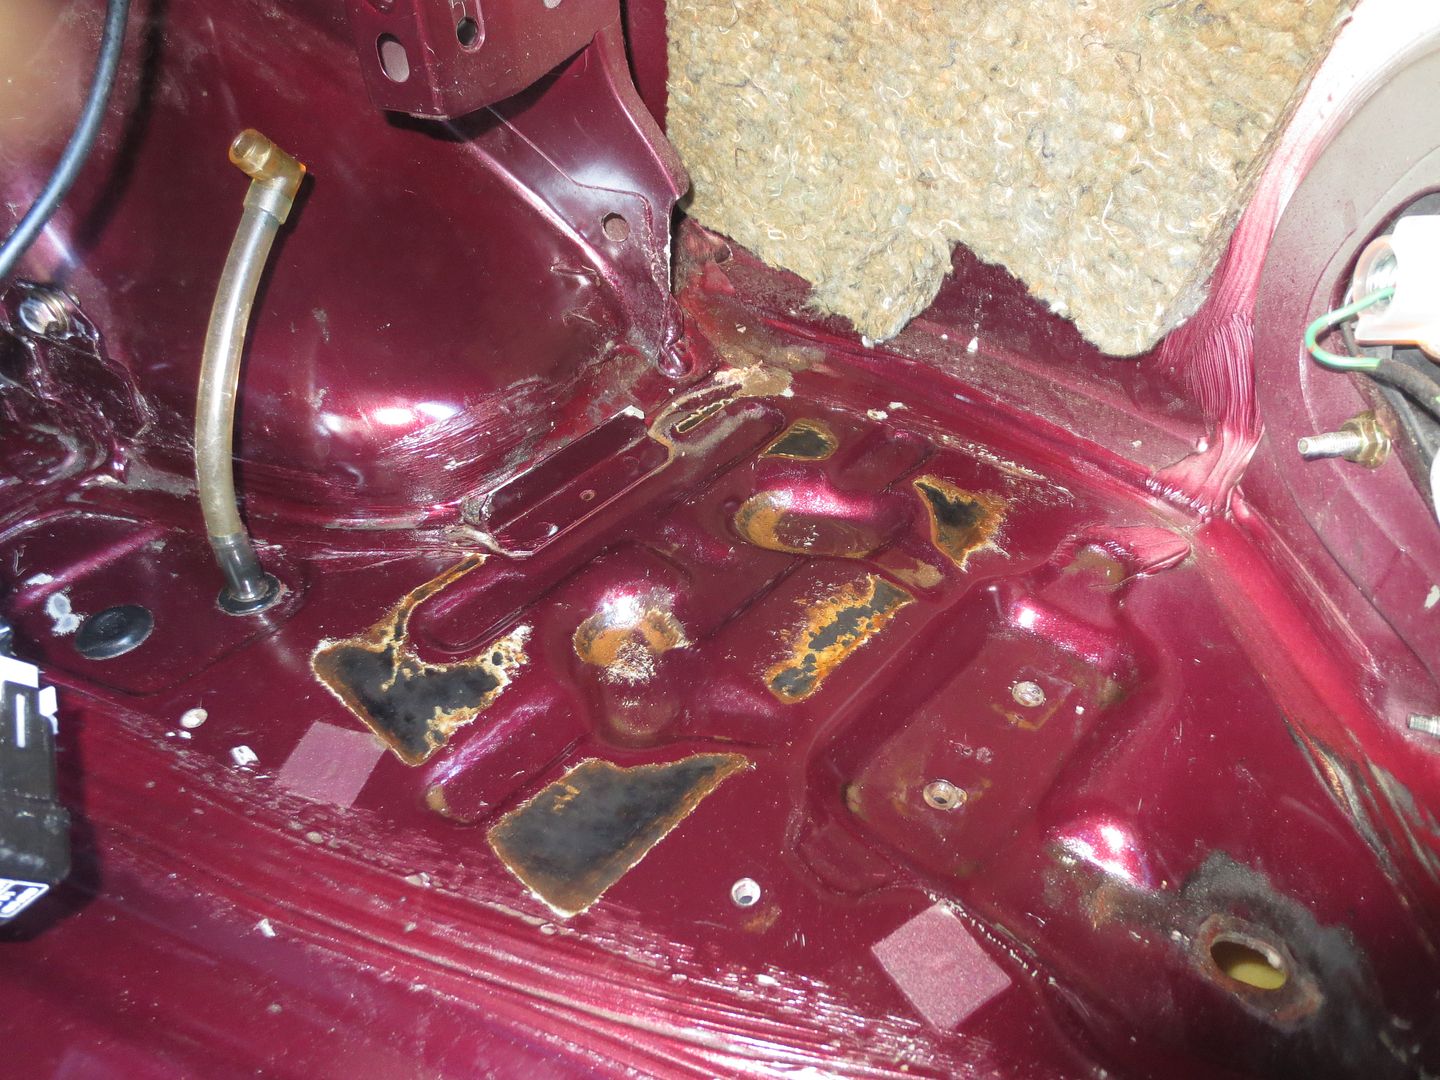
The previously disgusting trunk cleaned up nicely. After power washing the jack handle and lug wrench, I cleaned off the rust with a Scotch-Brite pad and hit them with some oil. I didn't power wash the trunk carpet, I just soaked it down with Tuff Stuff, hit it with a scrub brush and then went at it with the shop vac.

I still need find a battery hold down clamp, a spare tire and its mounting hardware. I'm also missing the little piece of carpet that snaps in place to cover the battery. Unfortunately, there aren't any Miatas in the only junkyard around here that will let me walk around and find what I need.

 photo IMG_8006_zpstbhyz1ha.jpg

Woody
Woody MegaDork
11/14/16 5:06 p.m.

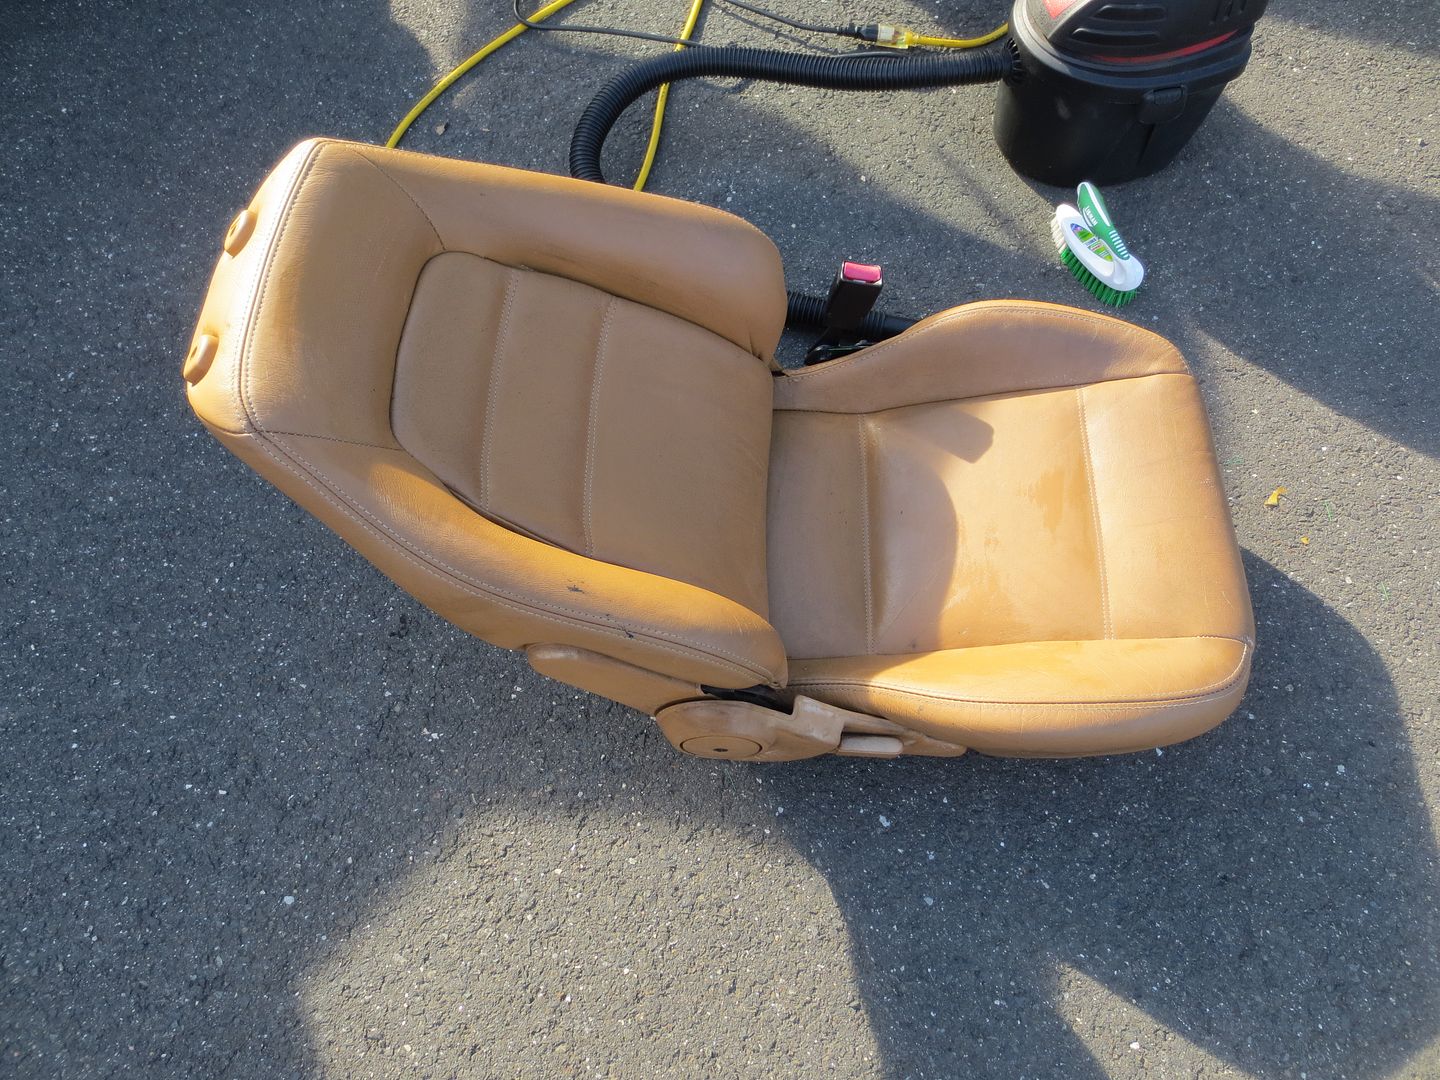
I knew that the only way to properly clean this interior was to pull the seats out. They're better than they were, but they still have some stains on them. Good enough for now, but they will get some more attention later.

 photo IMG_8005_zpsavgado6w.jpg

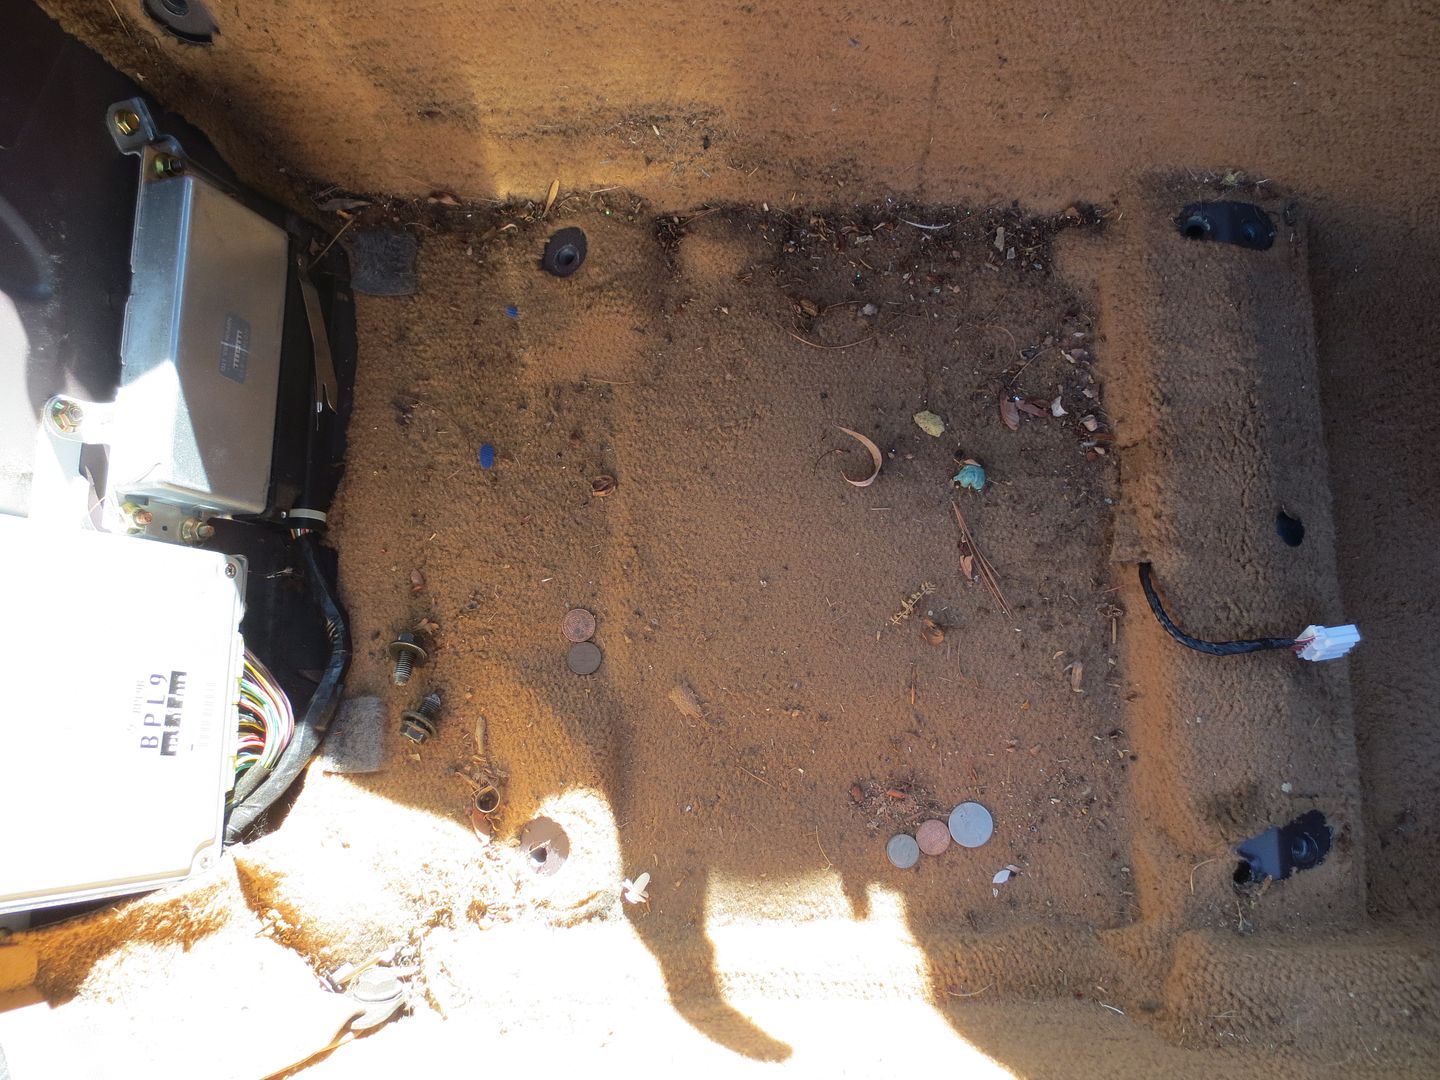
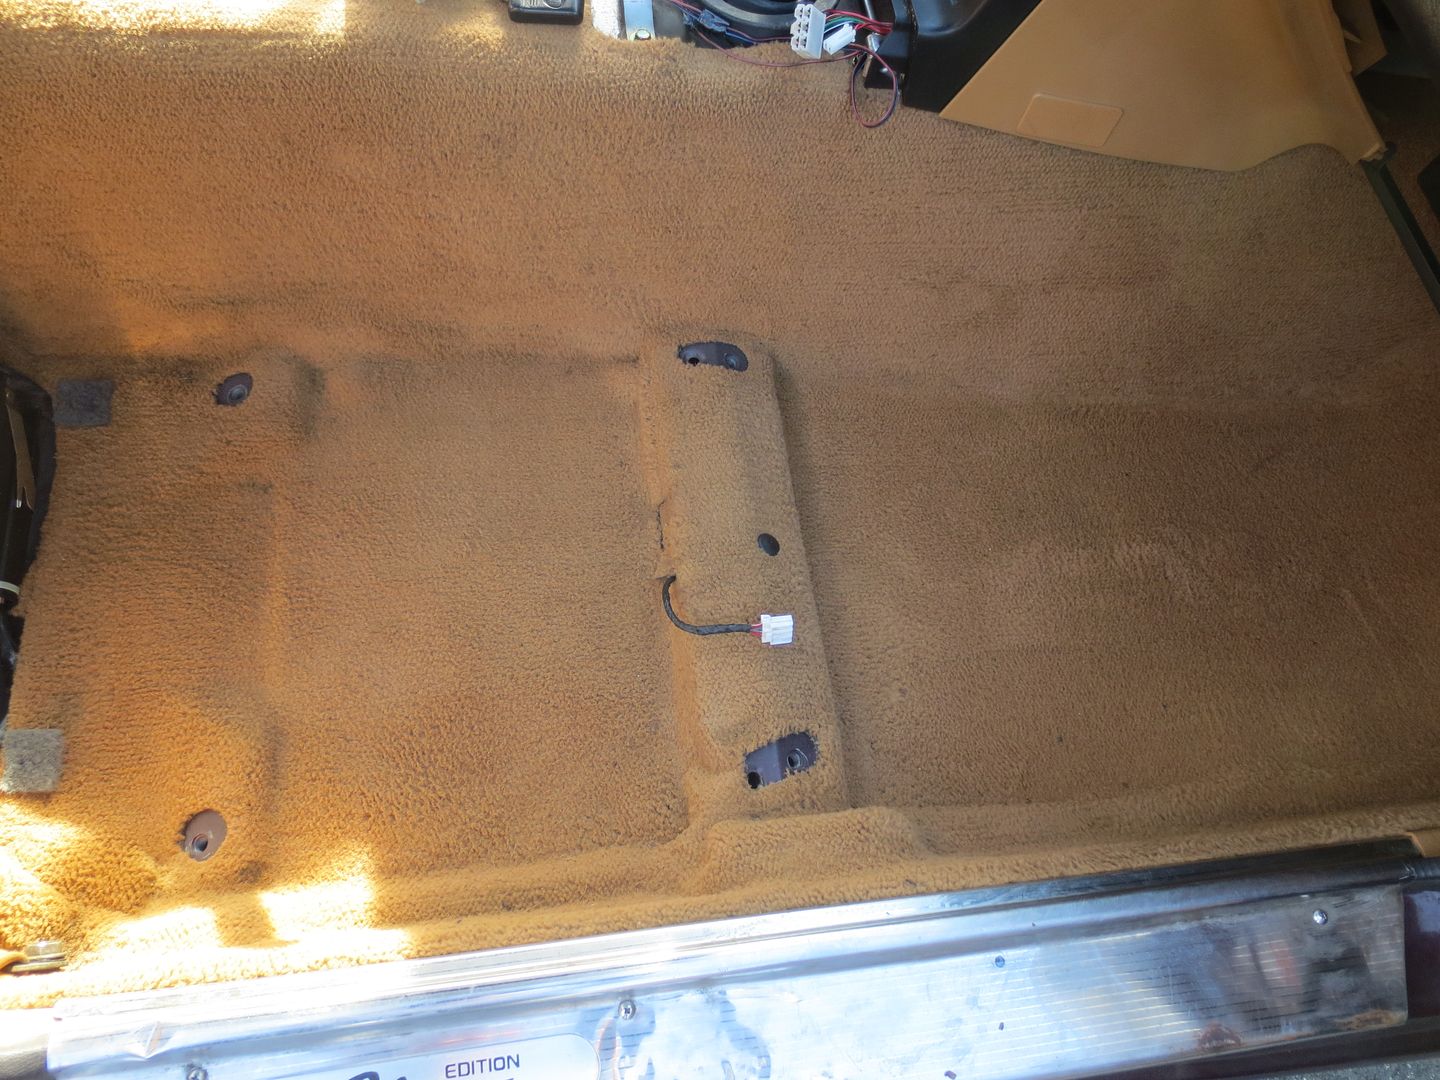
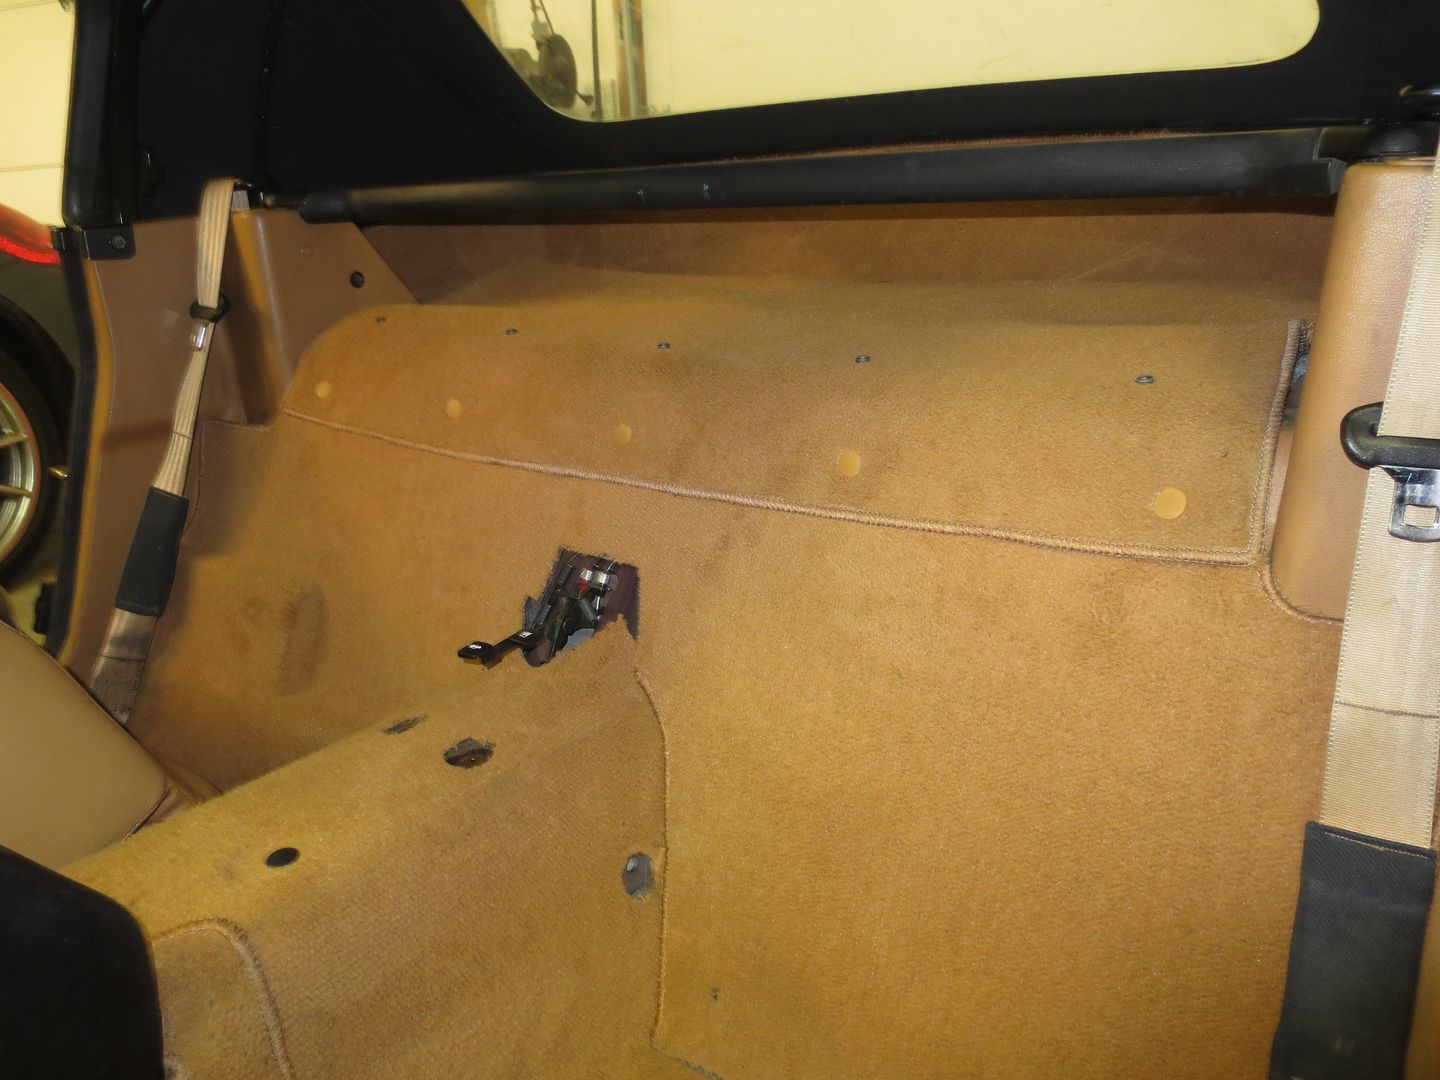
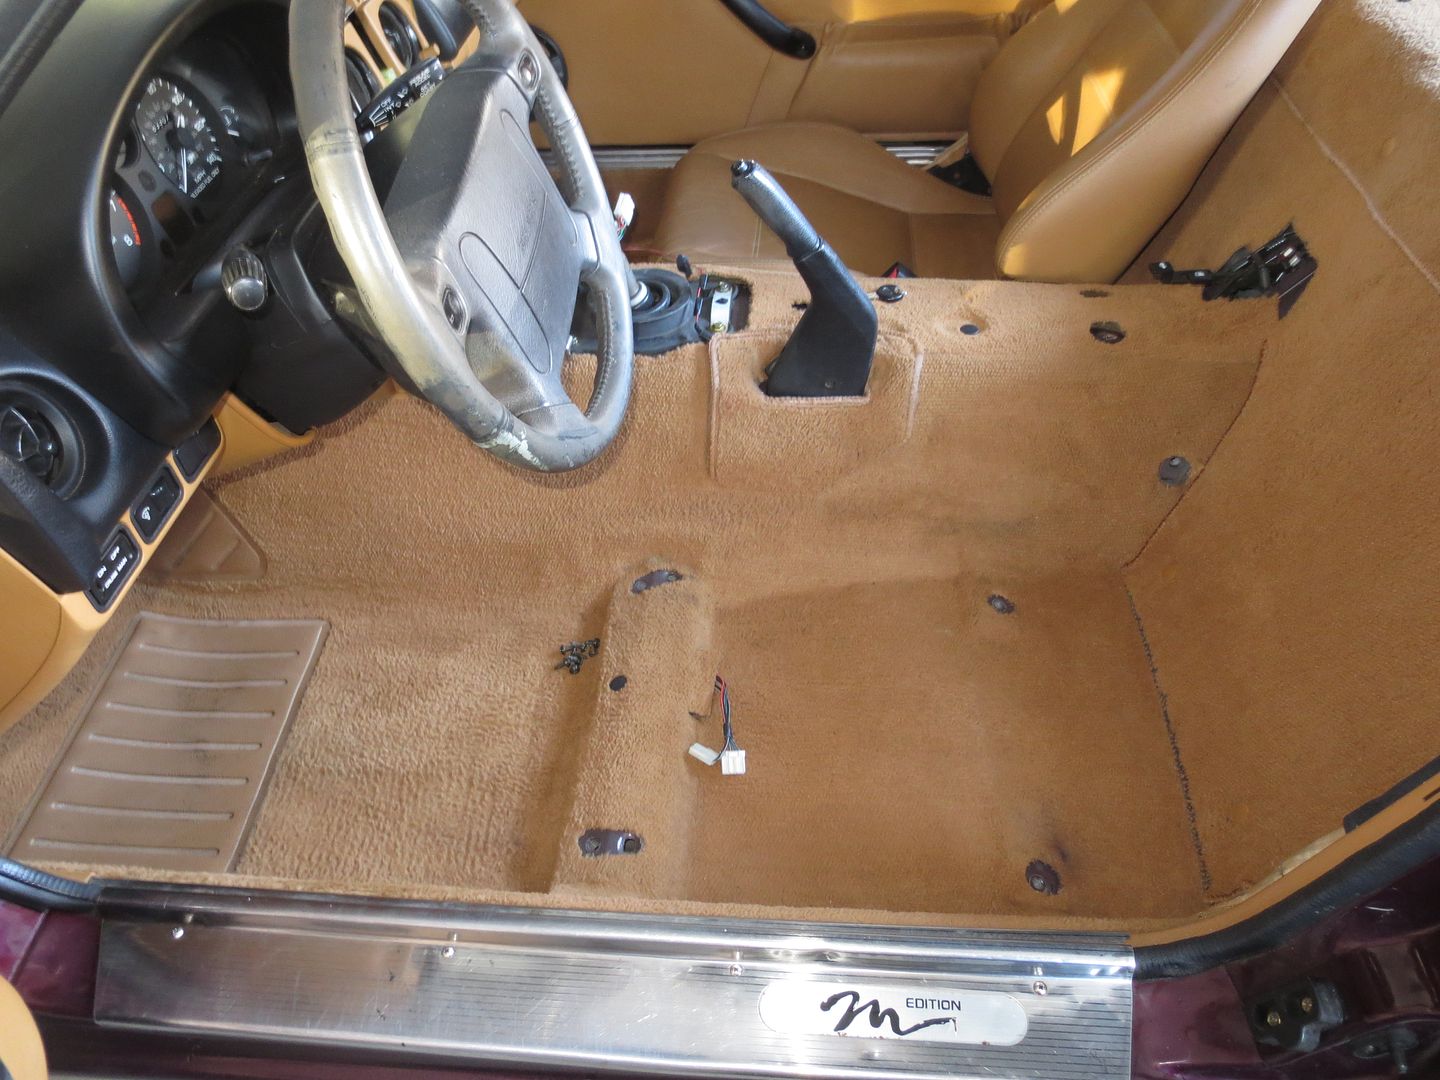
The carpet was a mess, but it cleaned up nicely and I even made 38 cents in the process. I was also happy to find that the floor pan under the carpet was clean and dry.

 photo IMG_8003_zpsiic9ewj9.jpg

 photo IMG_8004_zpsdyqsdckt.jpg

Woody
Woody MegaDork
11/14/16 5:13 p.m.

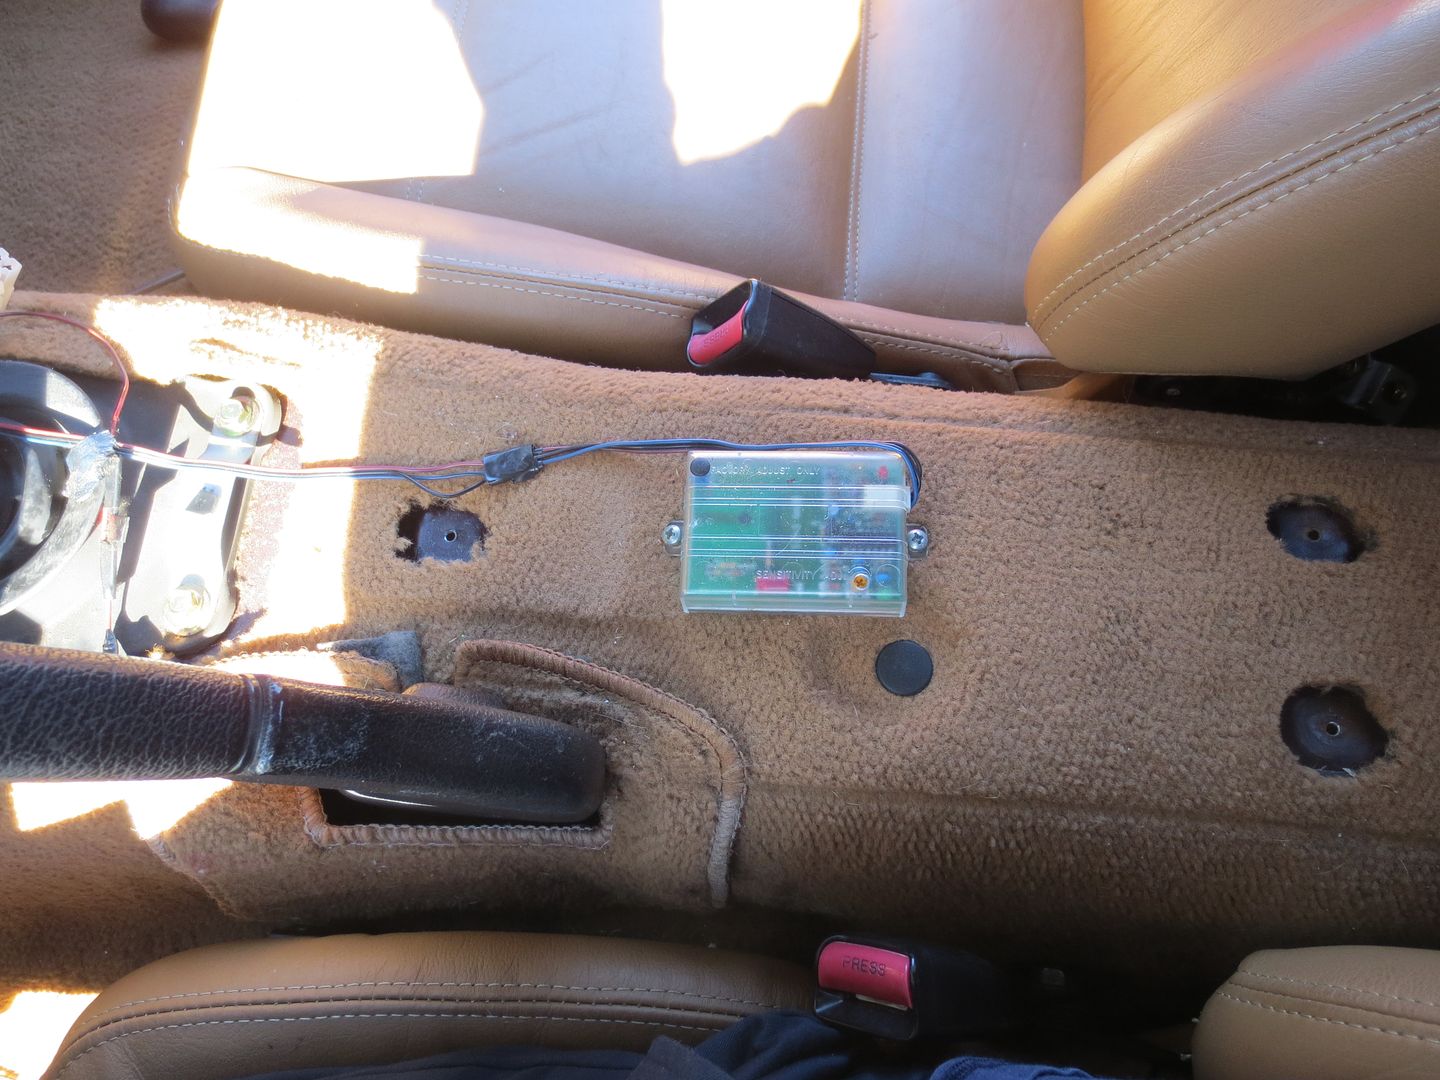
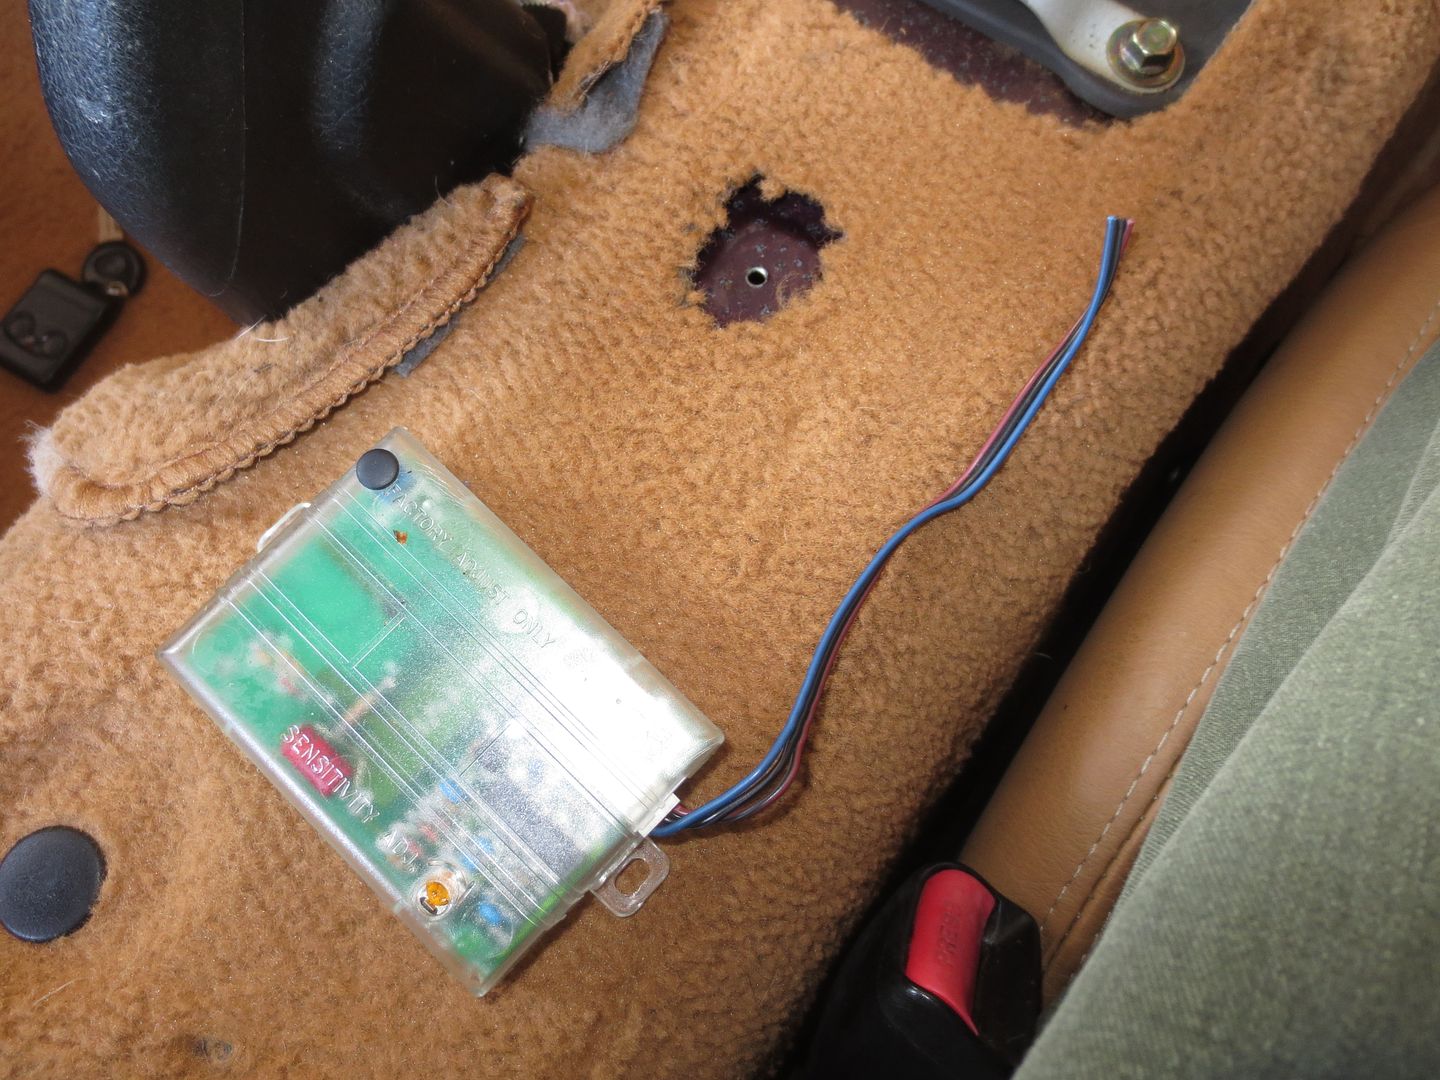
The console was a battle to remove. I had to drill out one of the screws in the cubby, but once I got it off, I found the motion sensor for the alarm. That's one less thing that I need to search for when I start ripping the system out. I want to know where everything is before I start so I can get it all out at once and still be able to get the car to start.

 photo IMG_8002_zpsahkthsk2.jpg

The console will stay off for a few days since I ordered a shifter rebuild kit this morning. All three of my previous Miatas needed new shifter boots (even my 50k mile '96), so I didn't even bother to check them before ordering new ones. Sure enough, the old ones are torn.

crankwalk
crankwalk Dork
11/14/16 5:40 p.m.

This car is a great platform. It has all the things I like about the miata and nothing I don't. Great buy.

MrChaos
MrChaos HalfDork
11/14/16 6:14 p.m.

In reply to Woody:

mine needs the shifter rebuilt as well.

Woody
Woody MegaDork
11/14/16 7:41 p.m.

In reply to MrChaos:

They all do, but at least it's an easy job.

Woody
Woody MegaDork
11/15/16 5:00 p.m.

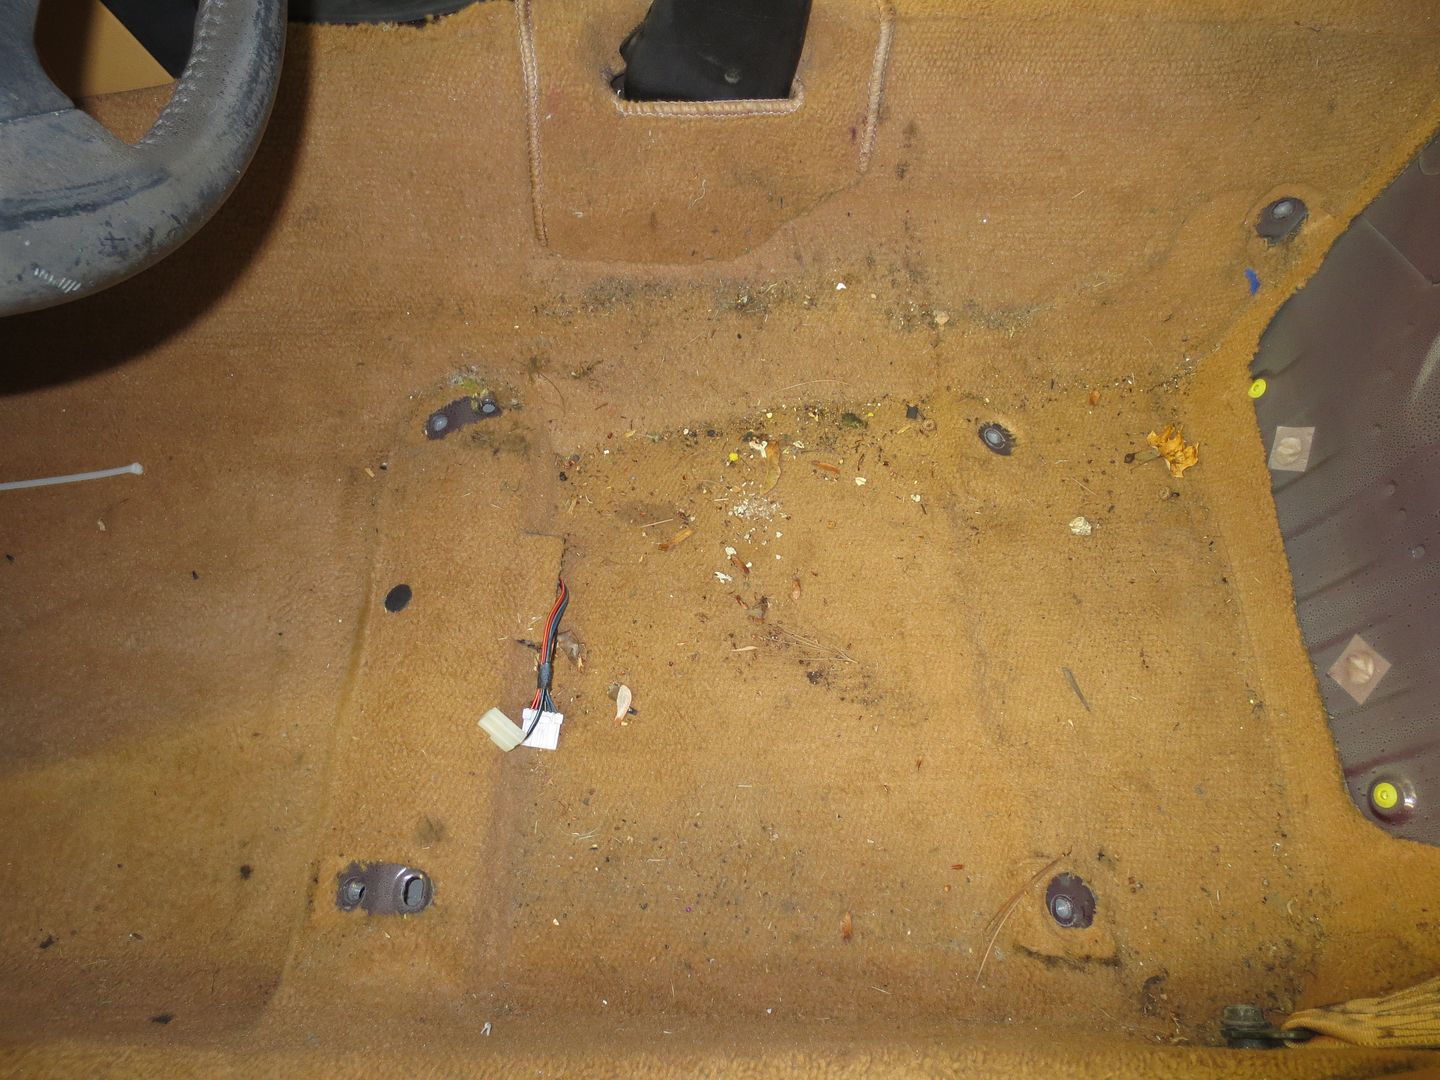
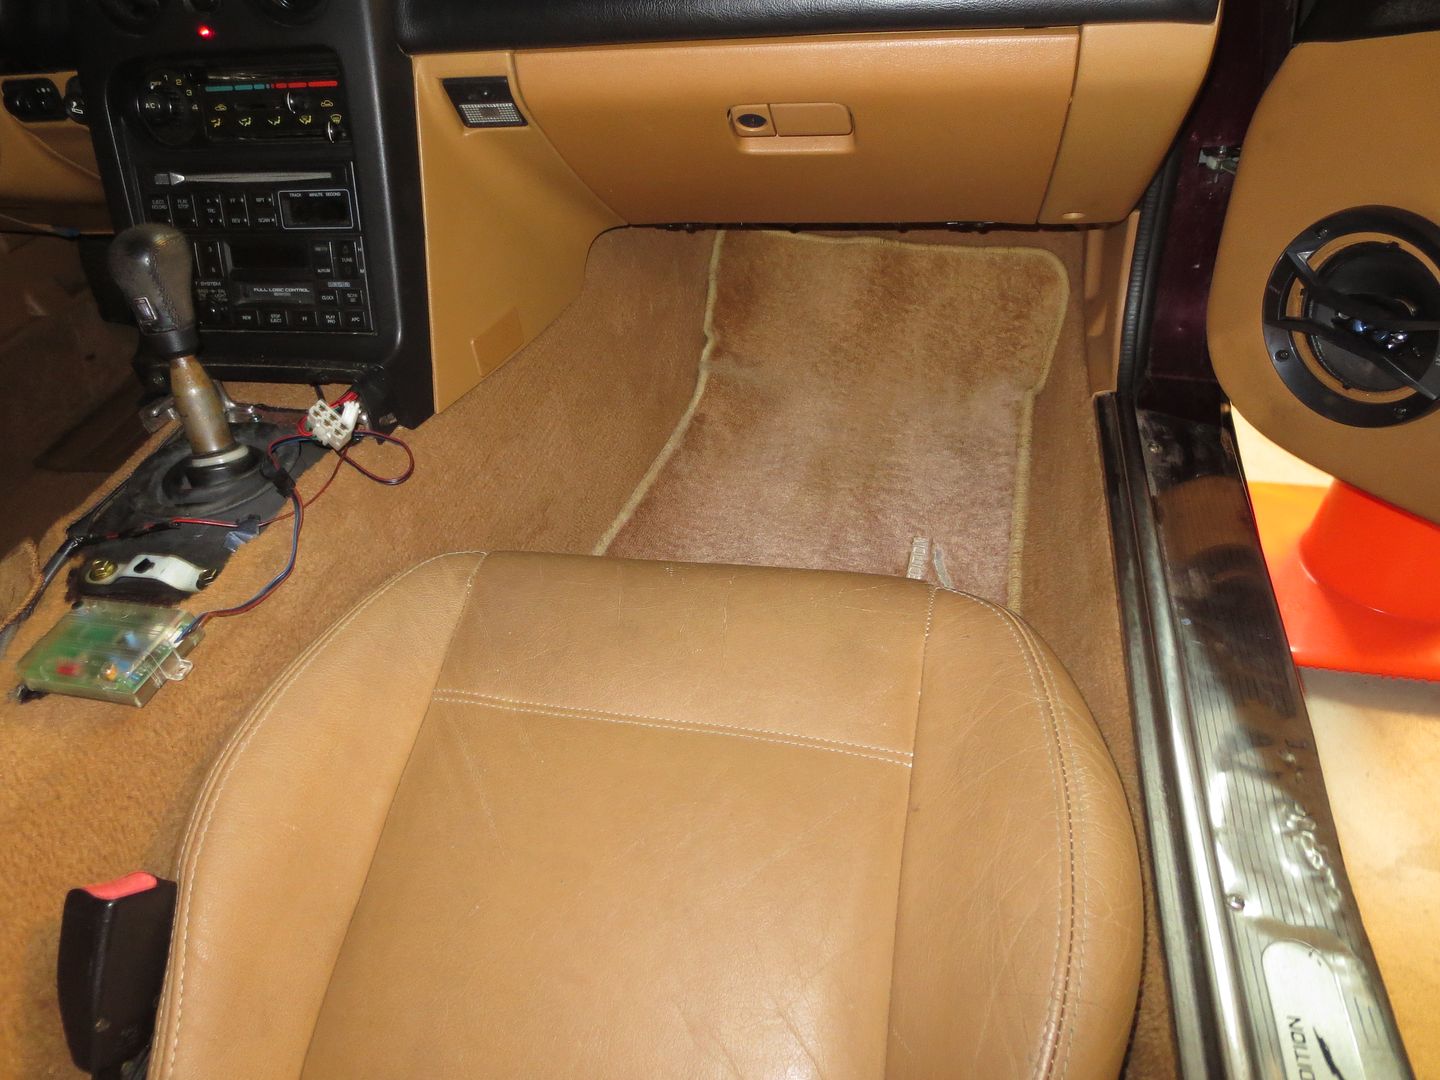
The driver's side was slightly less disgusting than the passenger's. It got the same vacuum->Tuff Stuff->scrub->vacuum routine.

 photo IMG_8038_zpstx18stac.jpg

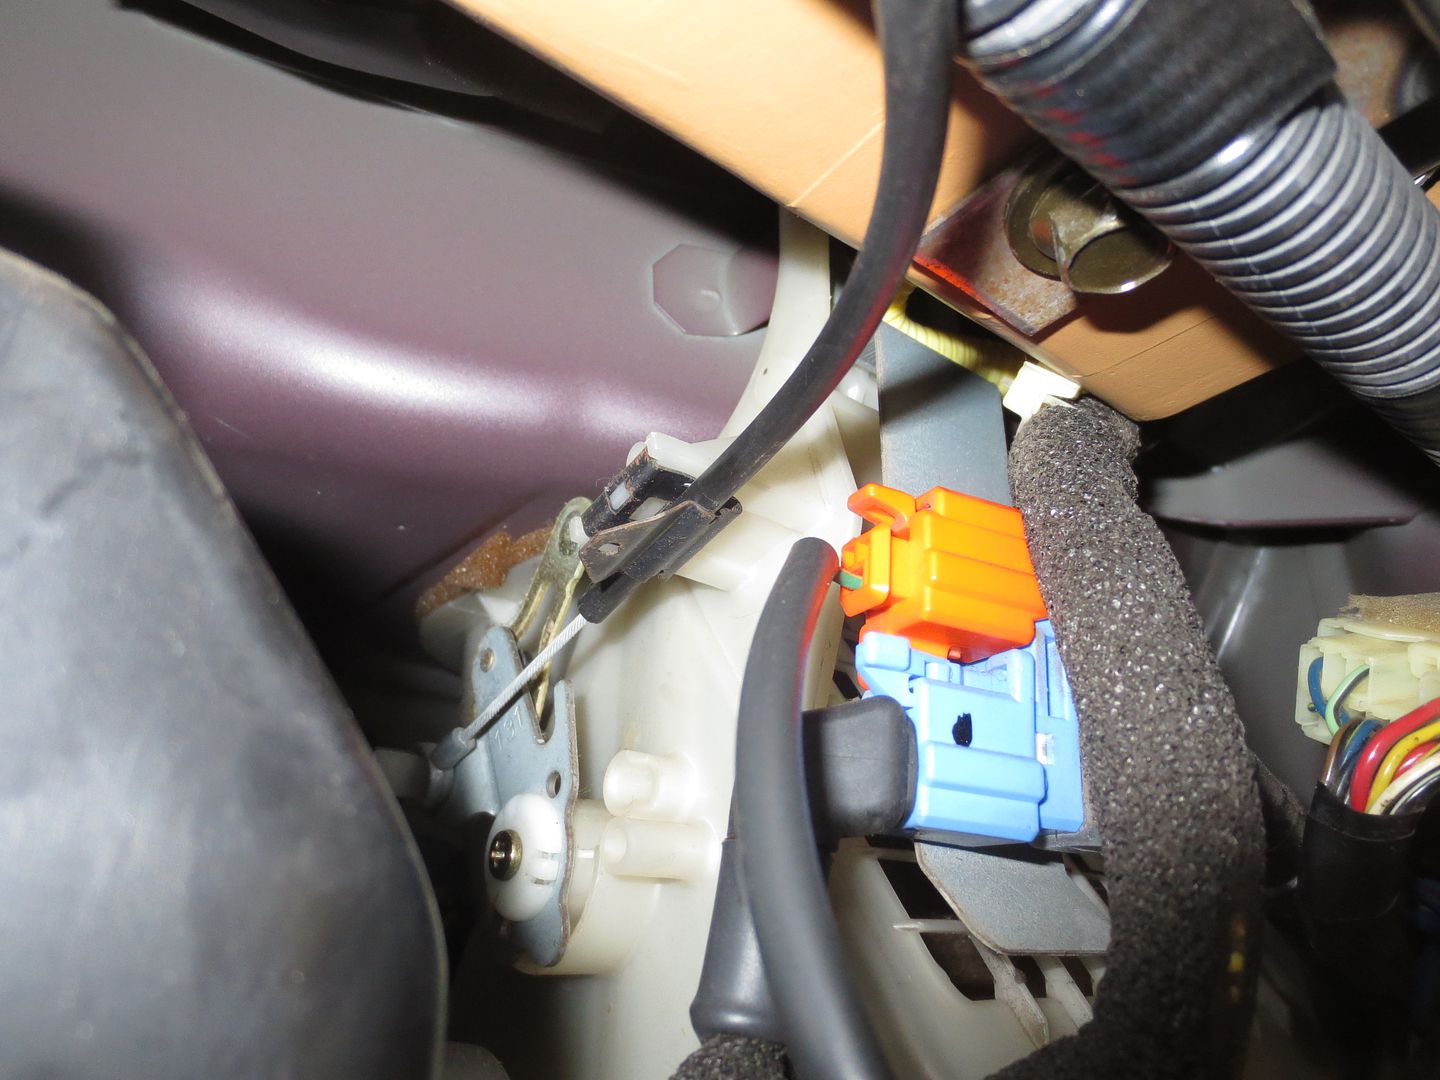
I decided to just push the fresh air cable into the clip and not worry about the mystery bolt hole. It seems to be staying in place, so I reinstalled the glove box.

 photo IMG_8035_zpsfnr8hhgj.jpg

Everything is clean except for the driver's seat itself, which is going to stay out for a few days, so I was able to start putting stuff back in.

Woody
Woody MegaDork
11/15/16 5:17 p.m.

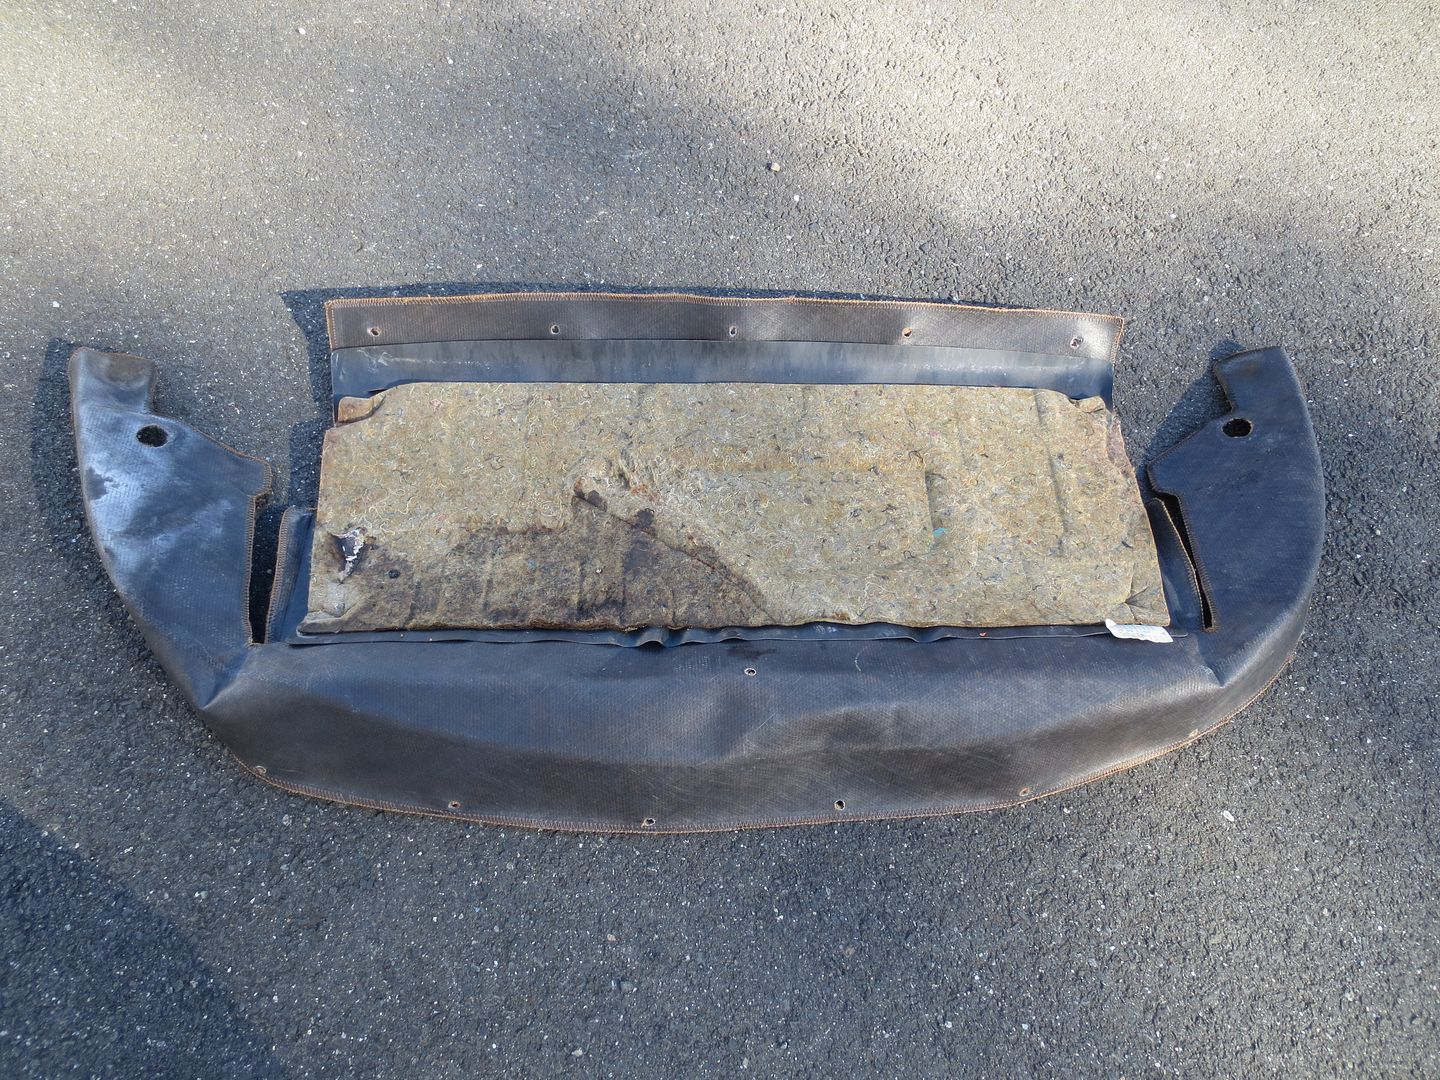
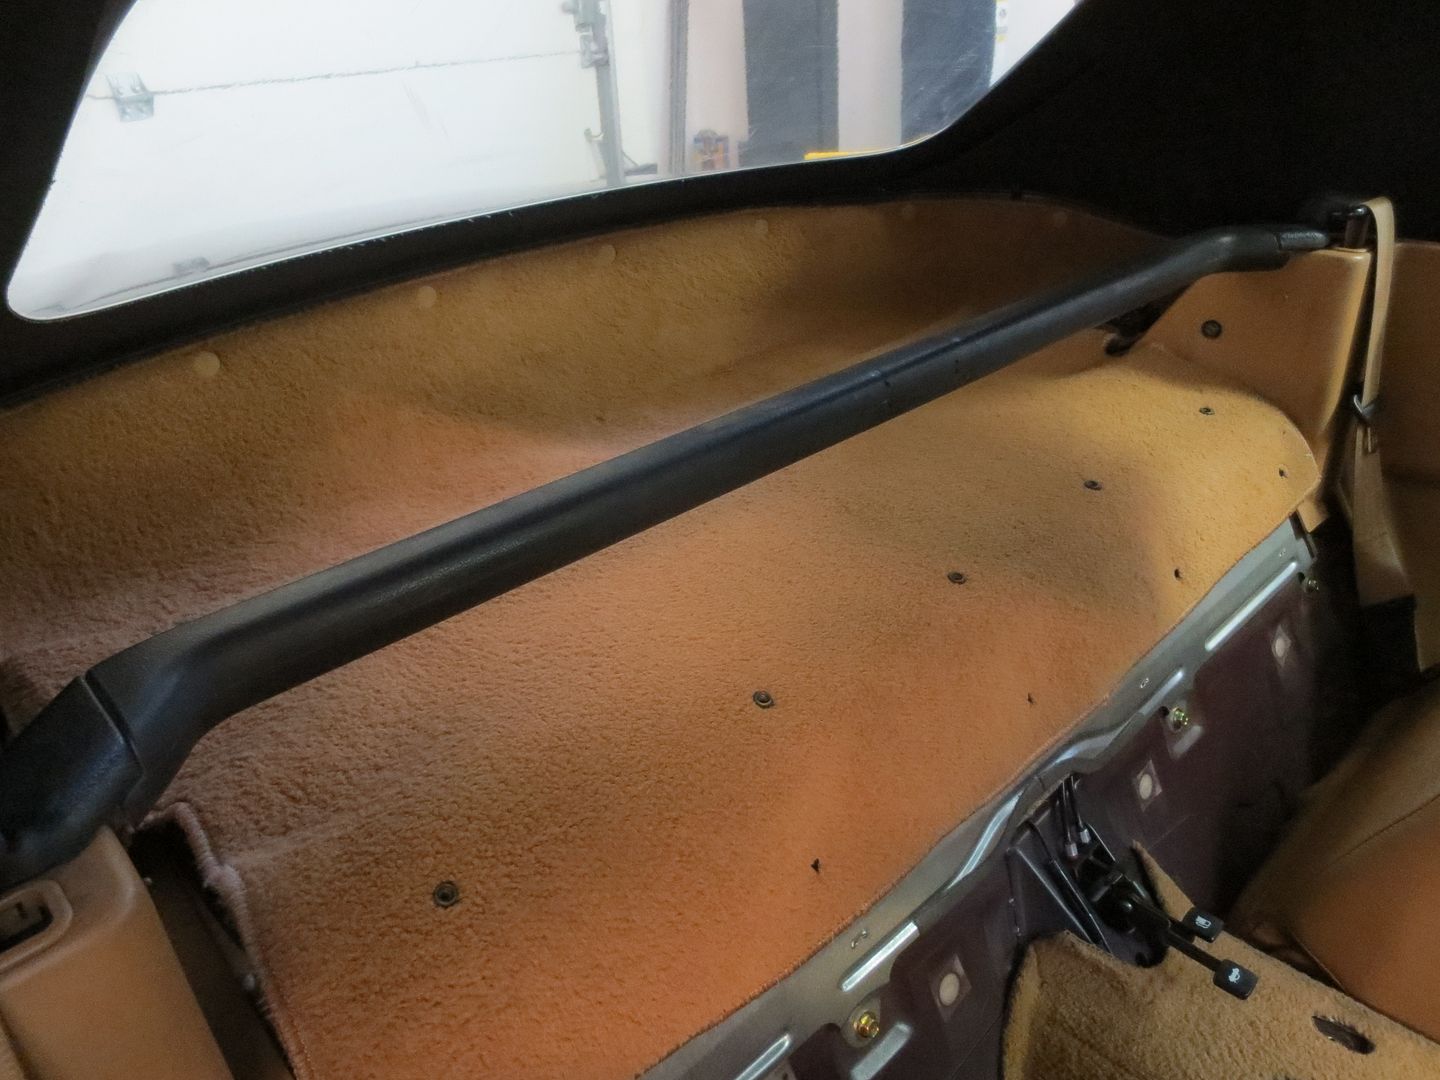
When I first started cleaning up the interior over the weekend, I discovered that the insulation under the rear shelf carpet had gotten wet and was a little moldy. I pulled it off and threw it away. I also pulled out the rusty staples that were holding the insulation and the rubber pad to the back of the carpet. I kept the pad.

 photo IMG_7982_zpsth9gw2gm.jpg

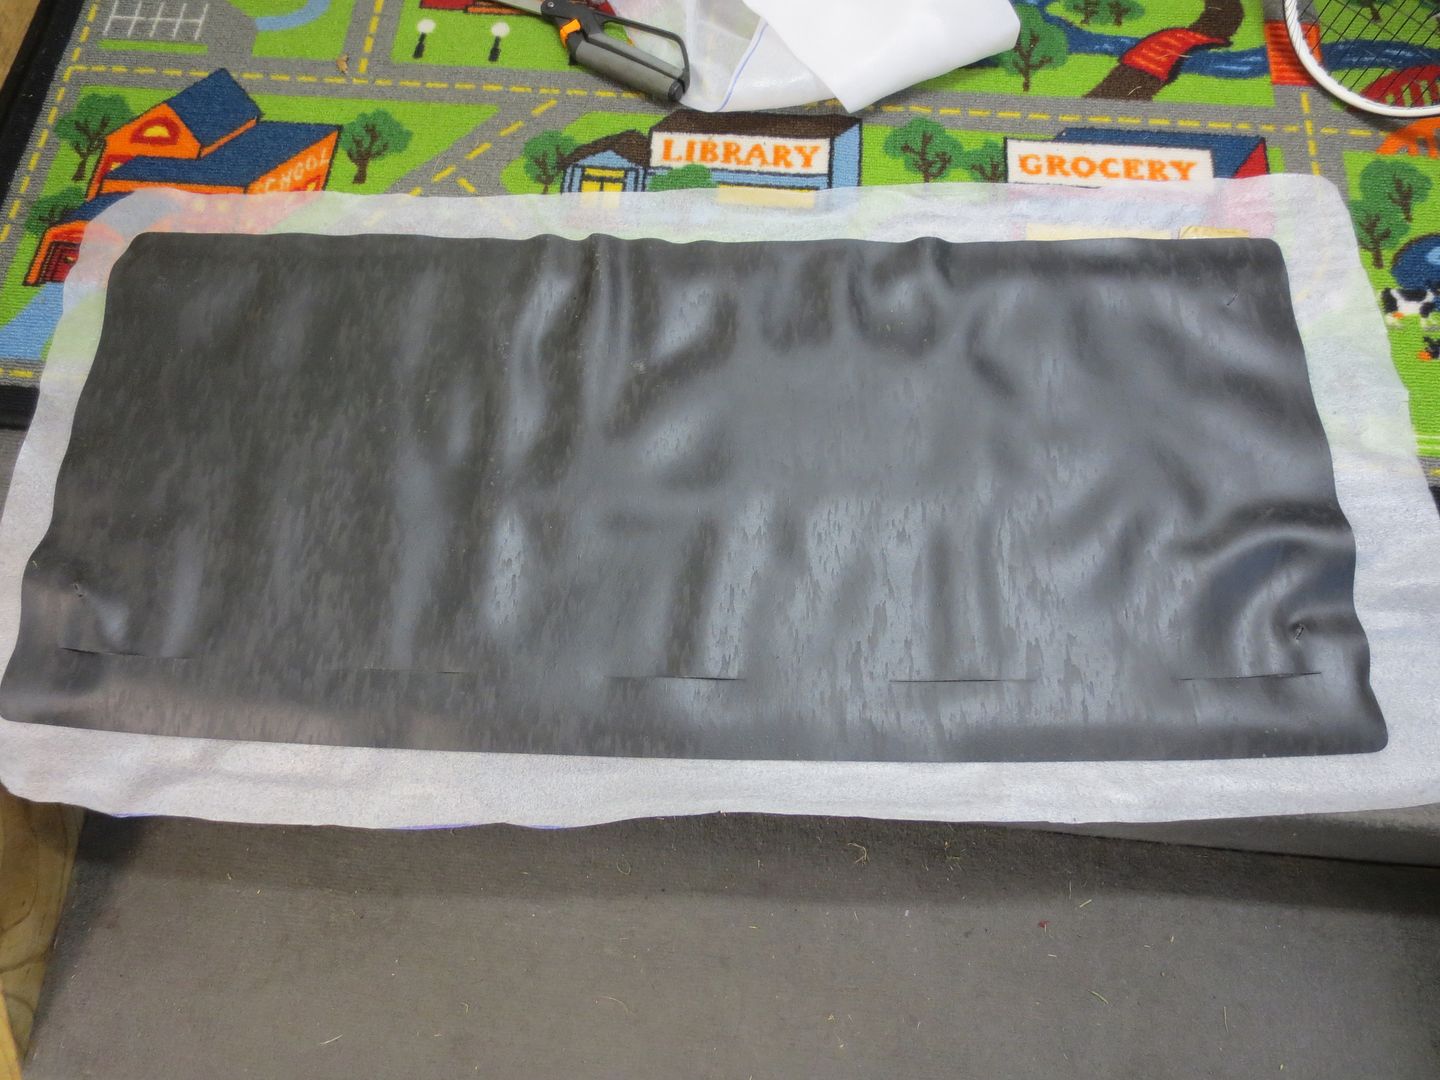
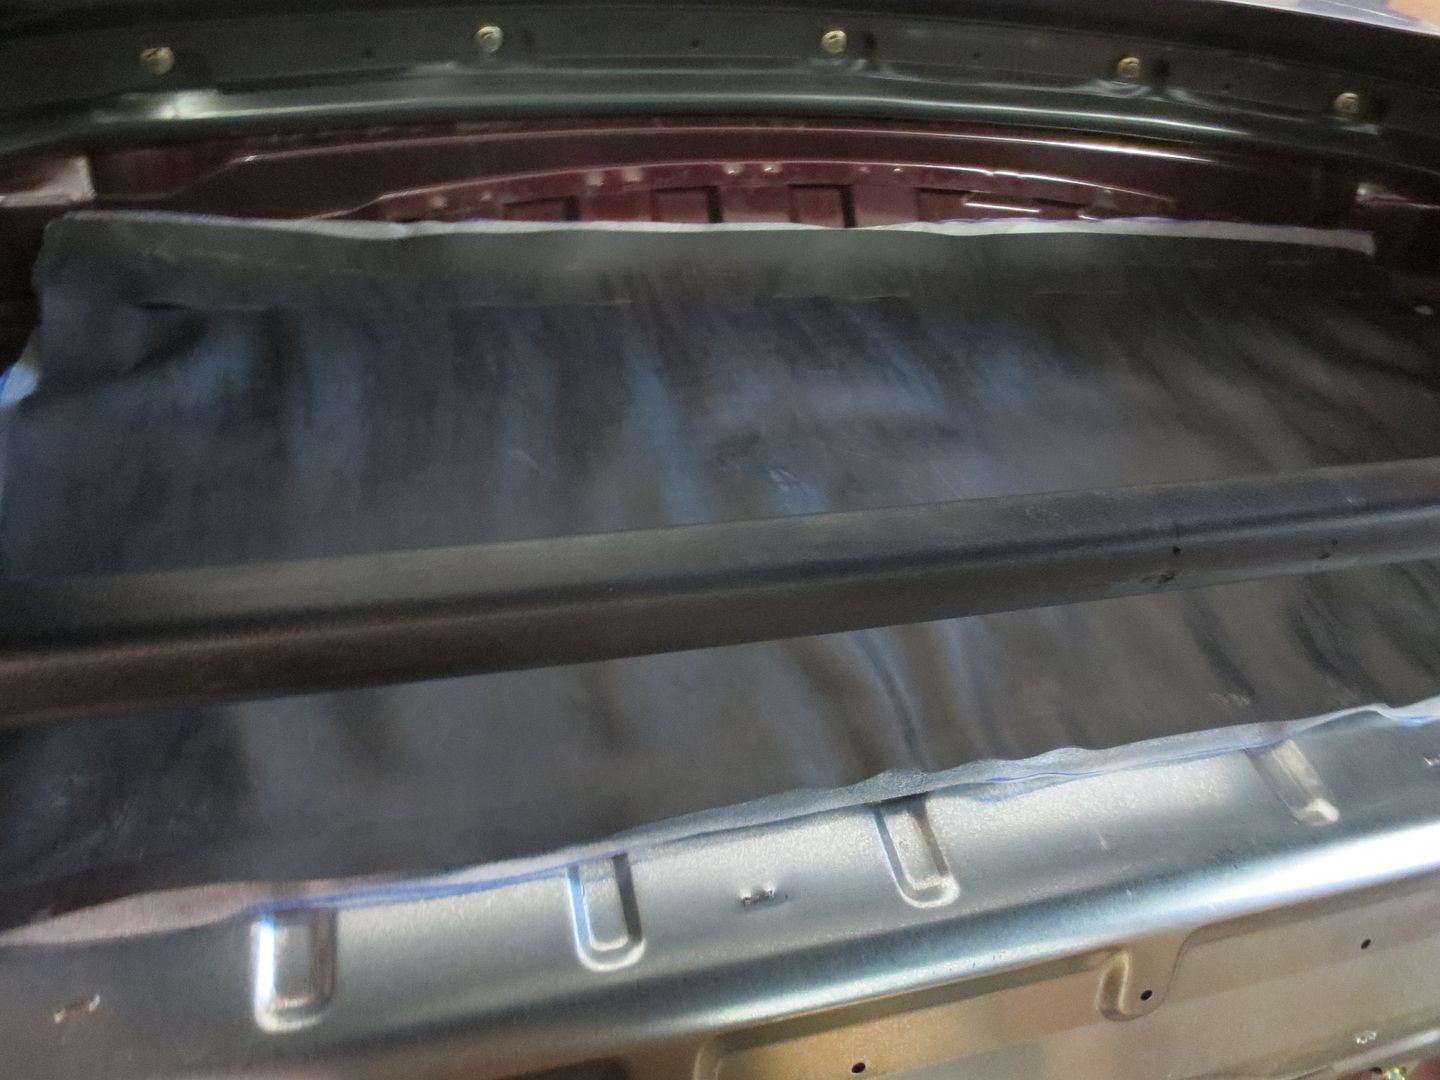
I didn't want to install the rubber pad directly over the metal where it could trap moisture, so I cut a piece of packing material to approximately the same size. I've done the same thing in the past and it has worked out well.

 photo IMG_8018_zps85unugcn.jpg

 photo IMG_8020_zps3ubsiexu.jpg

The carpet is a little looser now, but I'm glad to be rid of the old insulation.

 photo IMG_8027_zpslyedf6lu.jpg

I pulled the insulation off the bulkhead carpet as well. That should allow me to get the seat to recline an extra inch. I need to find three or four more of the tan plastic fastener buttons that broke when I was removing them. I have a few missing up around the sides of the top.

 photo IMG_8039_zpsrhvntswz.jpg

 photo IMG_8041_zpsr2dhooje.jpg

Woody
Woody MegaDork
11/15/16 5:26 p.m.

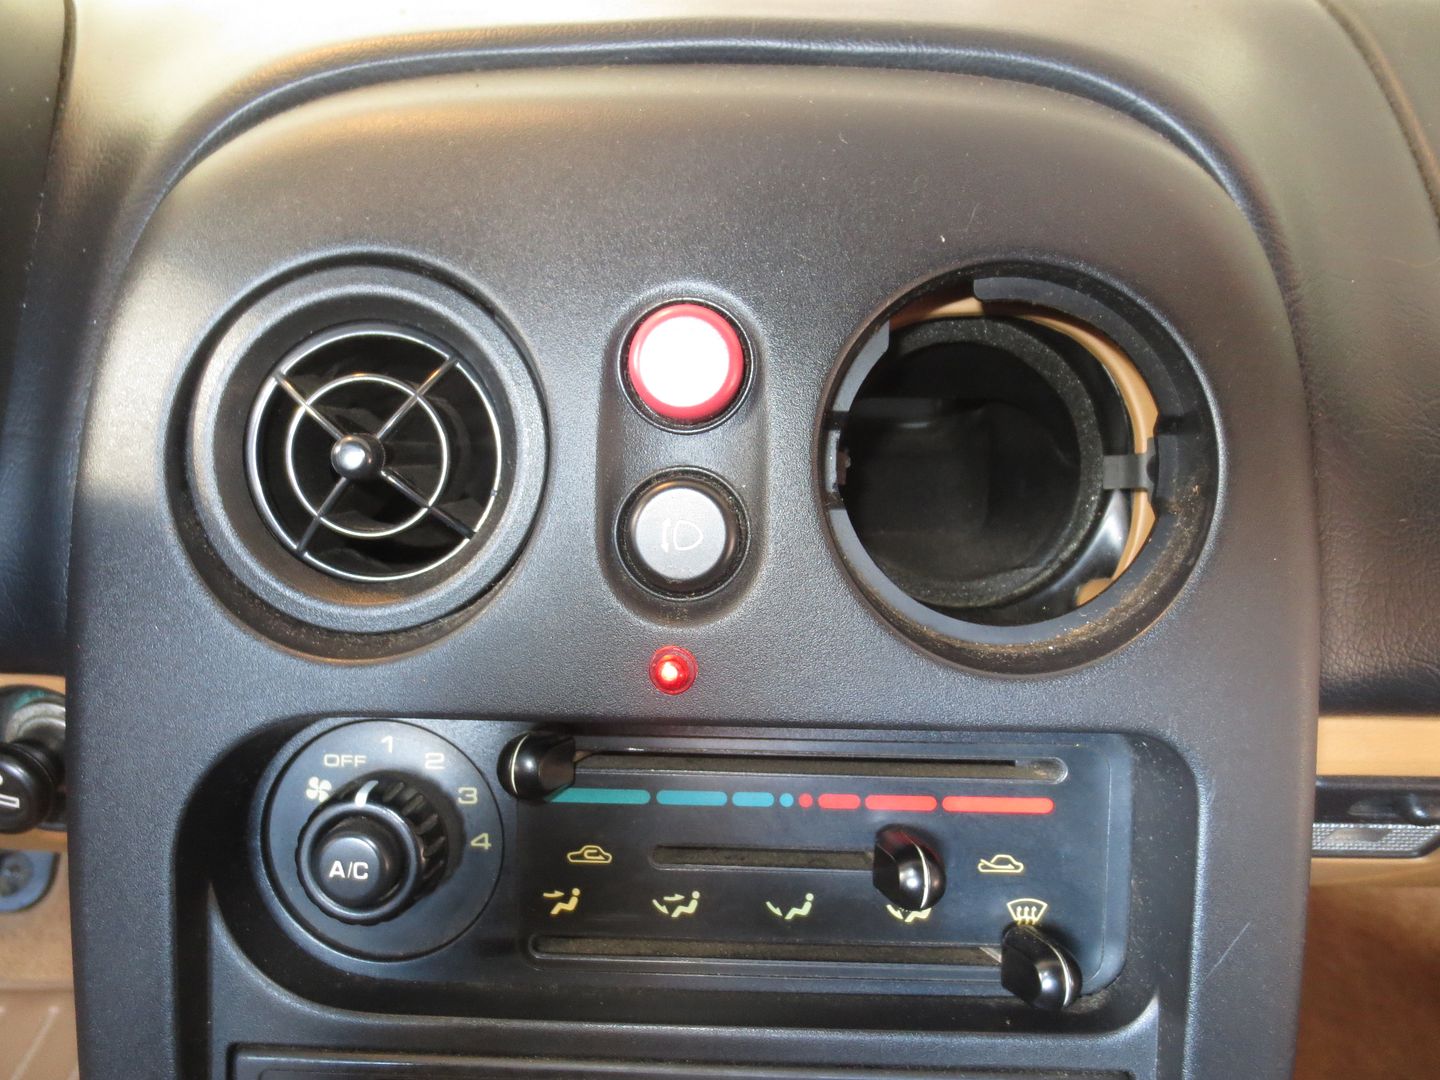
^I just noticed that you can see the battery-killing alarm system LED in the otherwise perfectly good tombstone in that photo. Getting rid of that alarm is tomorrow's project.

KMiata
KMiata New Reader
11/16/16 1:49 p.m.

Nice pickup, always good to see a clean M-edition end up in the right hands.

Woody
Woody MegaDork
11/16/16 3:58 p.m.

In reply to KMiata:

Thanks, though I'm not sure what you mean by "the right hands". Once this car is sorted, I plan to thrash the snot out of it.

Woody
Woody MegaDork
11/16/16 4:33 p.m.

So, enough with all this cleaning nonsense. Time for some actual work.

The next thing on the list is to get the Viper 300 alarm system out of there. I've never messed with an alarm before. In fact, I've never even owned a car that had one in it. Besides, I'm pretty sure that no one has actually paid attention to a car alarm since about 1982 anyway.

Getting the siren out was the easy part. I just cut the two wires and pulled them through the firewall.

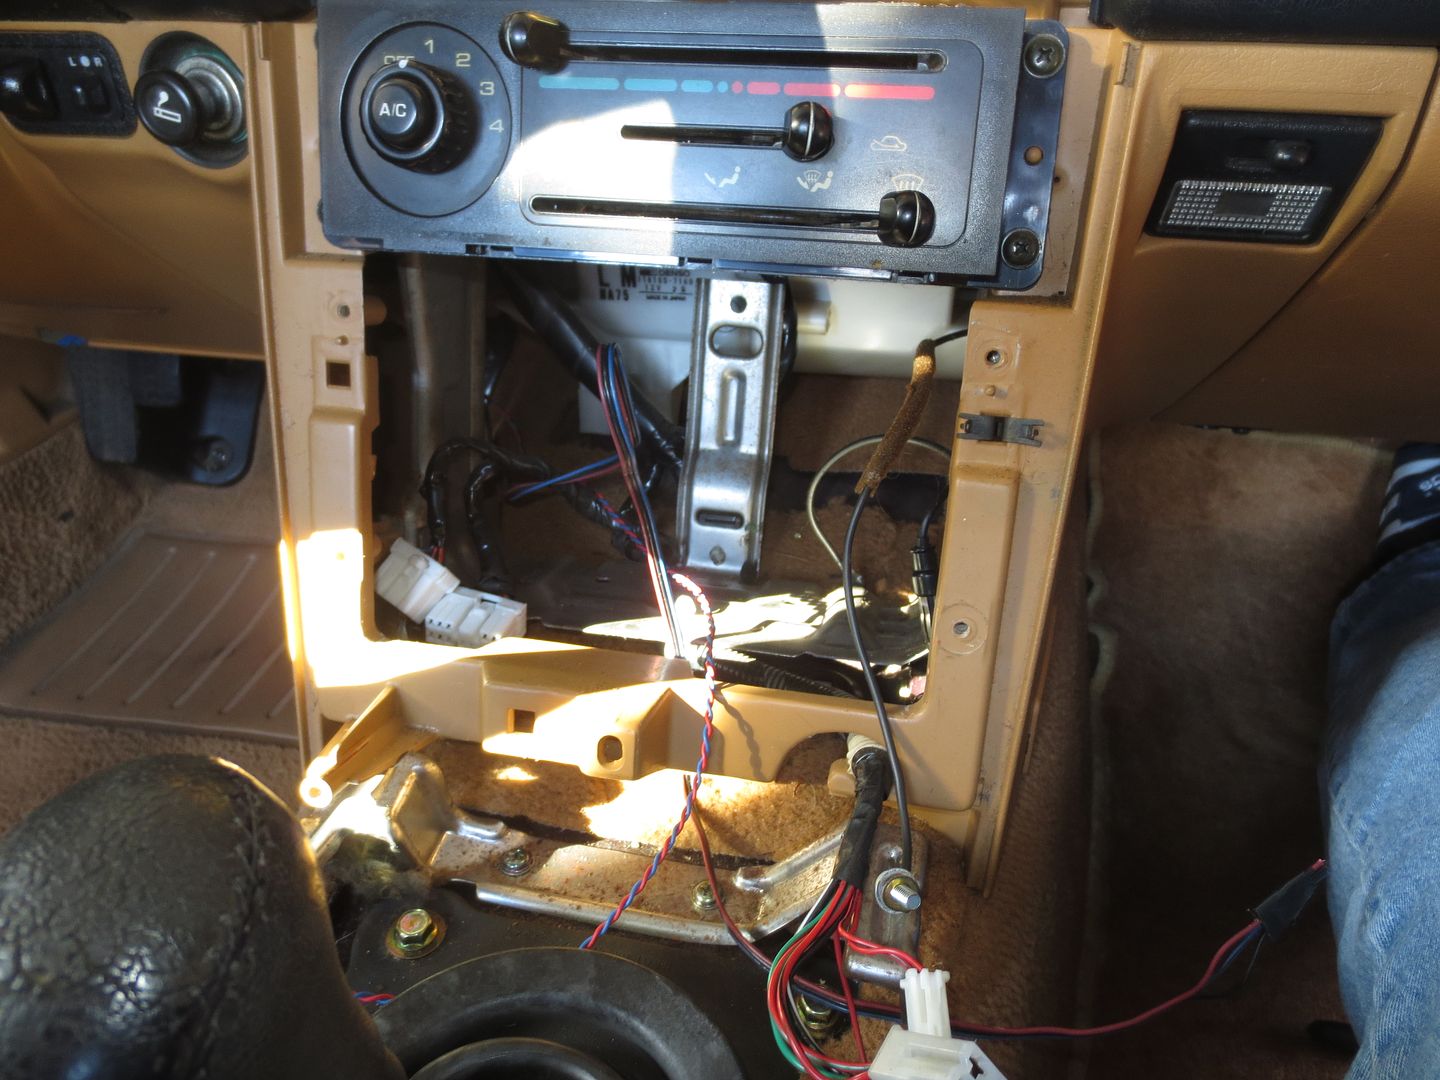
I had found what I'm guessing is the motion detector when I removed the center console. The wires for that and the always-on LED went under the tombstone. Wanting to do this right, I removed the tombstone and 100 pound factory radio CD player. I really wish this car had a base radio and the little storage bin instead.

 photo IMG_8043_zpsjtyhtawy.jpg

 photo IMG_8042_zpsqkeaewcc.jpg

 photo IMG_8044_zpsnorn6lye.jpg

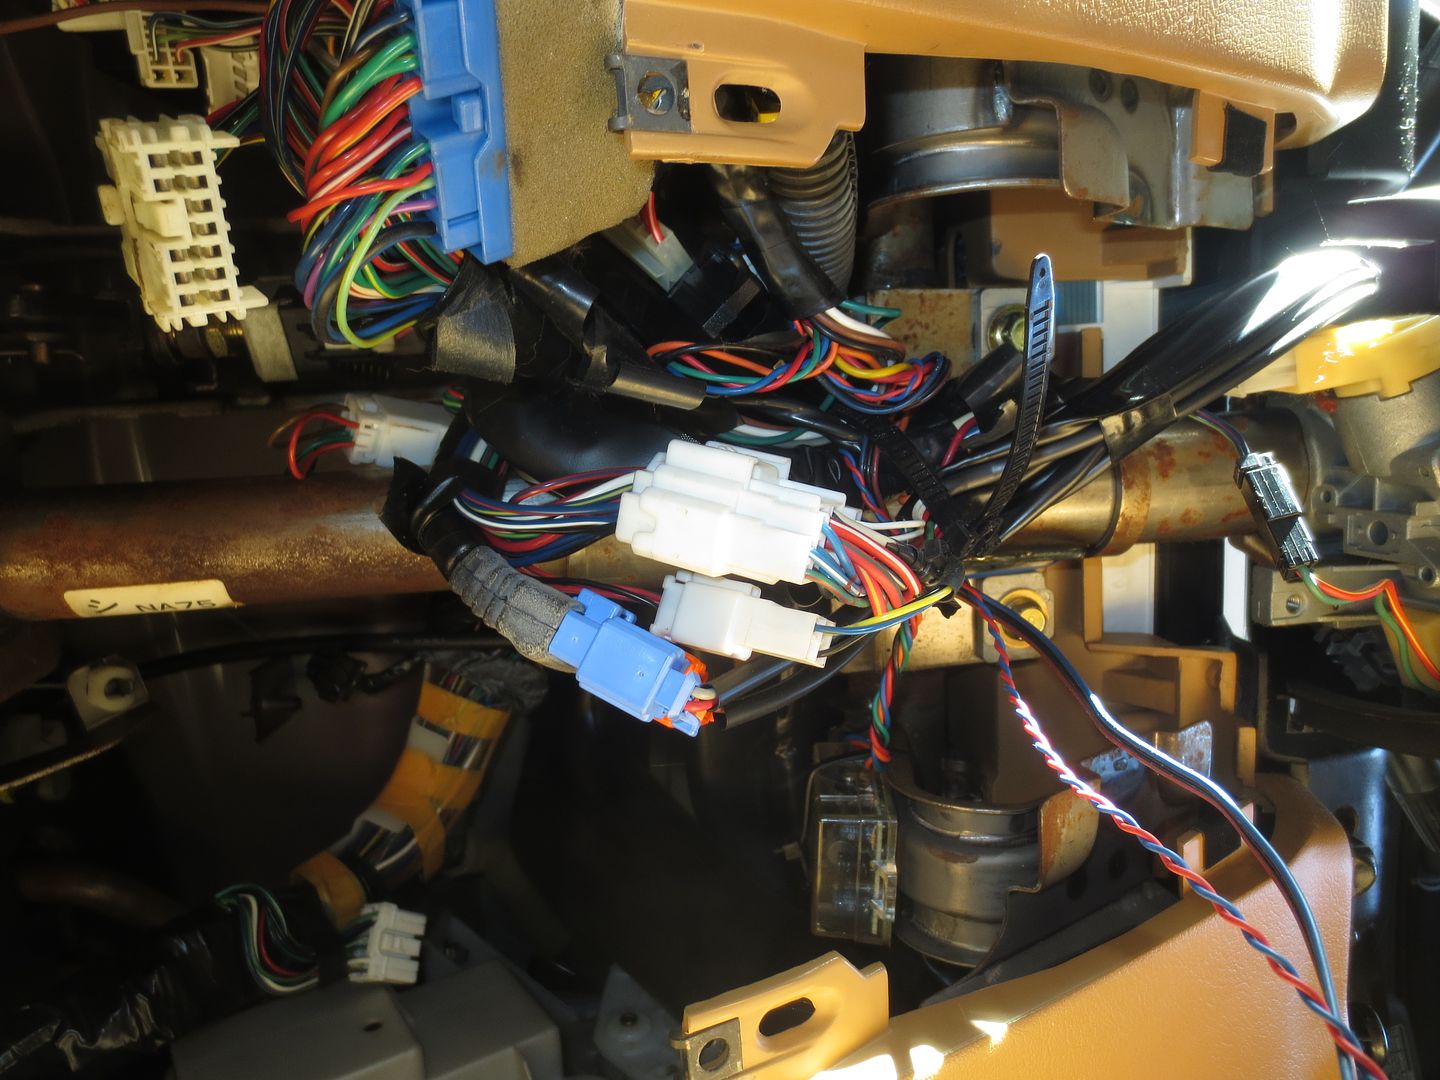
I removed the metal dash panel that goes under the steering column and pulled the wires from the motion detector and the LED through to the main wiring harness. This is the view looking straight up from the floor.

 photo IMG_8046_zpsyxasanhh.jpg

I cut that big cable tie and carefully separated as much as I could while keeping a lookout for poorly wrapped electrical tape. There was plenty.

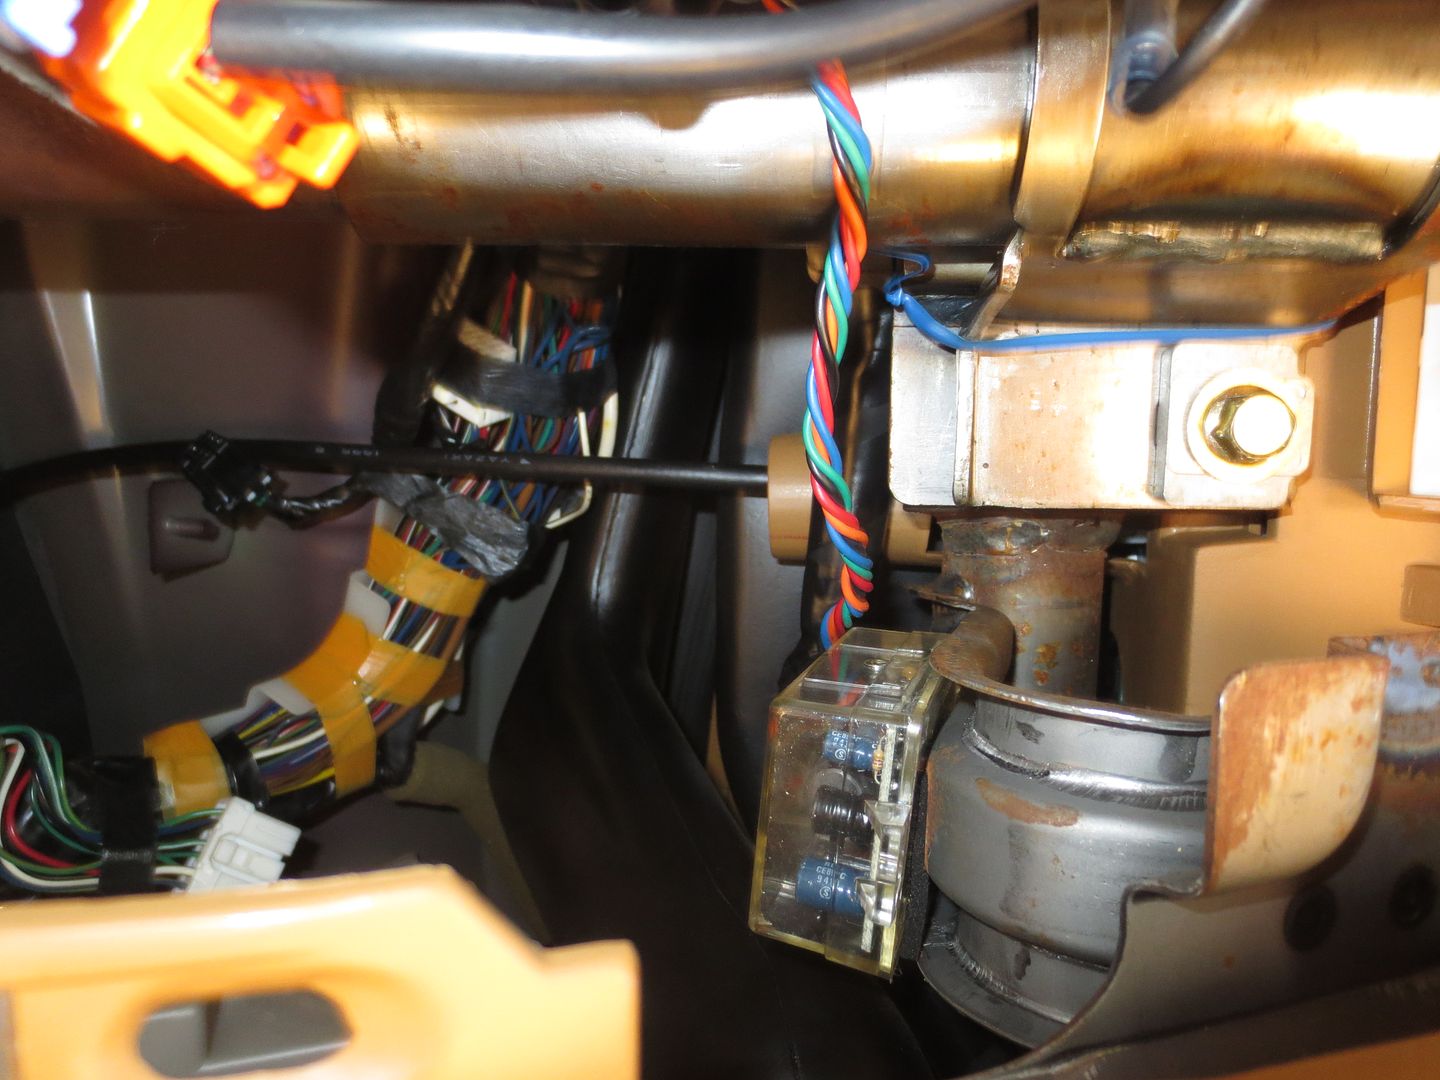
I also found another little clear plastic box that was taped and cable tied to one of the dash supports. I followed the wires to another box marked Viper so I cut the cable tie and pulled it down.

 photo IMG_8049_zpsxuy1qmwx.jpg

 photo IMG_8053_zpskhlfee7u.jpg

In the course of all this, I stumbled upon this little sonofabitch, which I'm sure would have caused me all kinds of grief at some inconvenient point in future had I chosen to leave the alarm system in place.

 photo IMG_8052_zpsgjdkmfzg.jpg

I needed to call it quits for the day. I'm pretty sure that I've rendered the car inoperable at this point, so I'm going to get right back on task in the morning. In spite of the mess, I've narrowed things down to just a few wires. I think I've found the main wire that they cut to interrupt the starter, a couple to the door light switch, that little kill switch and a few ground wires. I'm looking forward to being done with this part of the project.

 photo IMG_8055_zpsgcgy2r5d.jpg

fornetti14
fornetti14 Dork
11/16/16 4:39 p.m.

That alarm looks like a mini disaster.
I like your before and after pics. I'd post mine, but they don't look nearly as good as yours!

Woody
Woody MegaDork
11/16/16 4:45 p.m.

I downloaded a set of installation instructions for a newer version of this alarm system, so tonight would probably be a good time to take a first look at those.

mazdeuce
mazdeuce UltimaDork
11/16/16 5:41 p.m.

But how awesome will it feel to accomplish this task with no instructions at all?

Woody
Woody MegaDork
11/16/16 6:15 p.m.
mazdeuce wrote: But how awesome will it feel to accomplish this task with no instructions at all?

Challenge--> Accepted.

MrChaos
MrChaos HalfDork
11/16/16 7:29 p.m.

You might as well just pull the dash and pull the air bag system while you are chasing wires to get it out of the way.

Woody
Woody MegaDork
11/16/16 8:11 p.m.

In reply to MrChaos:

Nope. Not gonna do that.

java230
java230 Dork
11/17/16 9:43 a.m.

Wow thats an amazing difference that a deep cleaning makes.

Woody
Woody MegaDork
11/17/16 6:42 p.m.

As you may remember, I decided to accept The Mazduece Challenge and continued removing the alarm system without ever looking at the installation instructions.

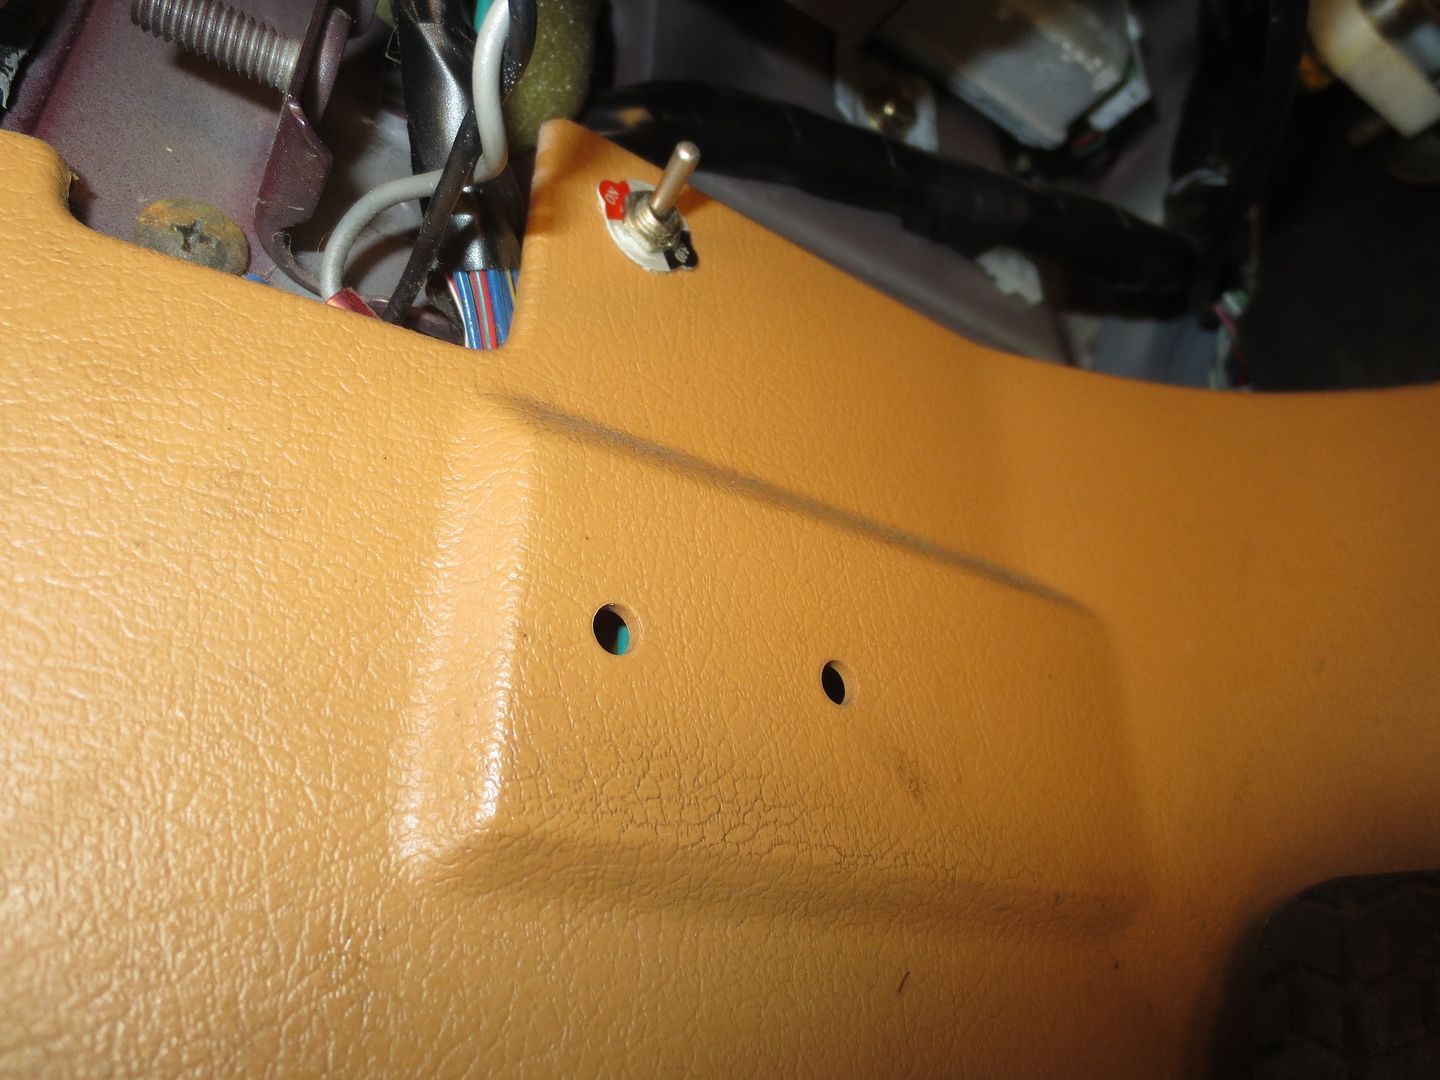
I pulled off the kick panel and removed the secret kill switch.
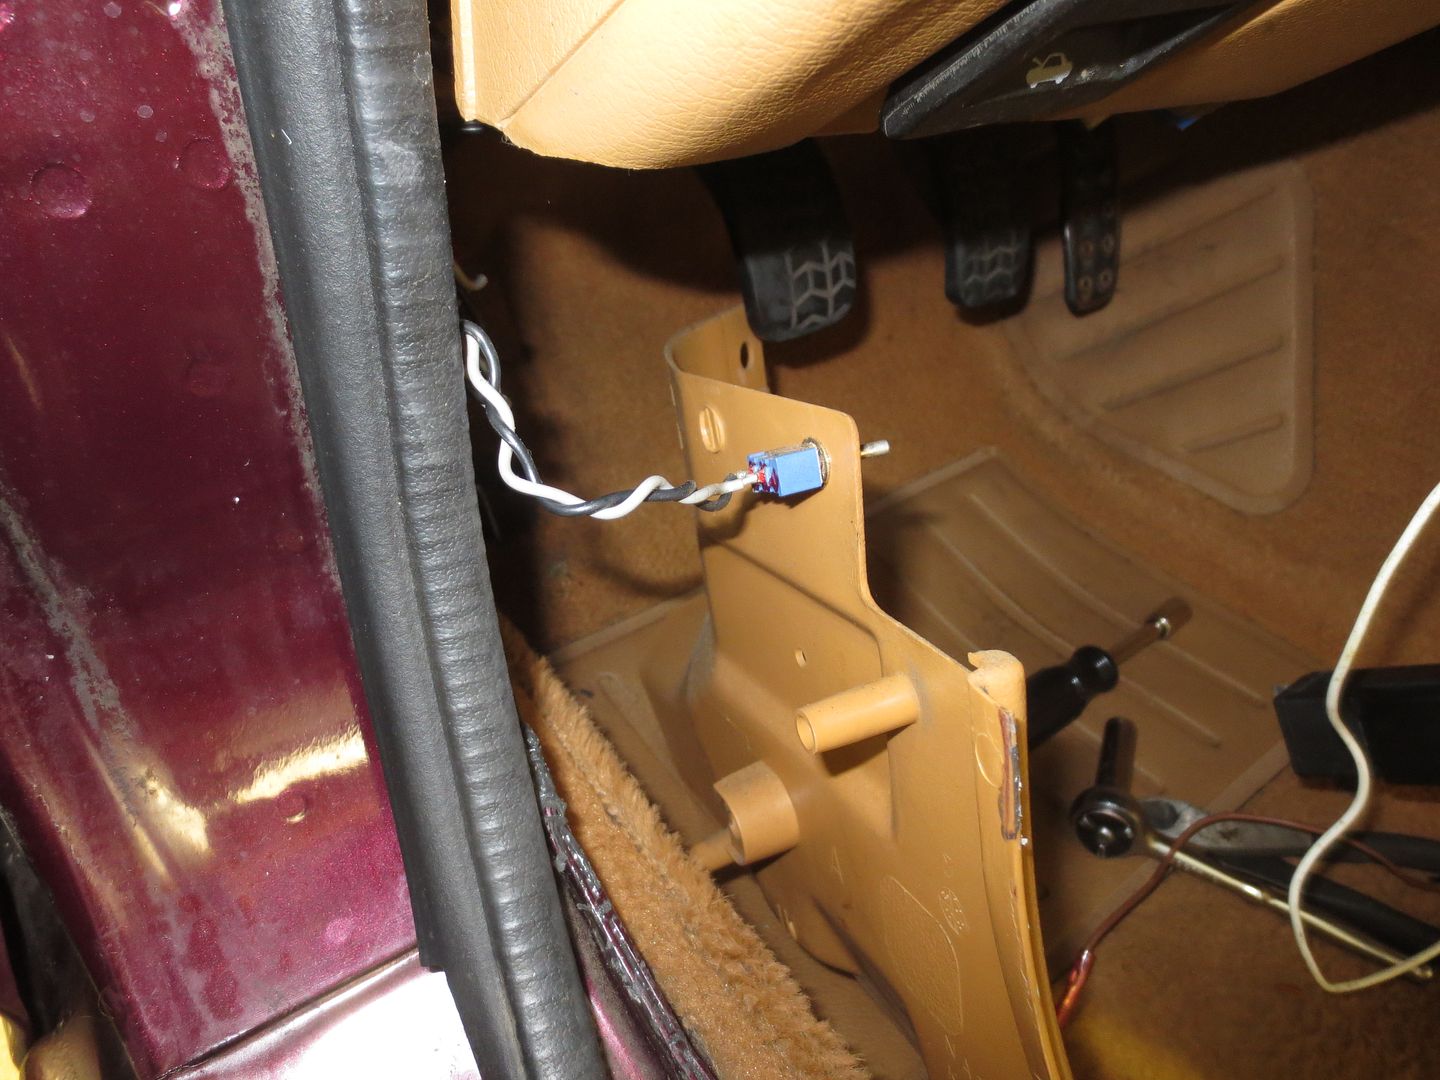
 photo IMG_8063_zps4qzvj4ga.jpg

Popping out some of the factory switches gave me a little better visibility and also revealed another tapped wire.
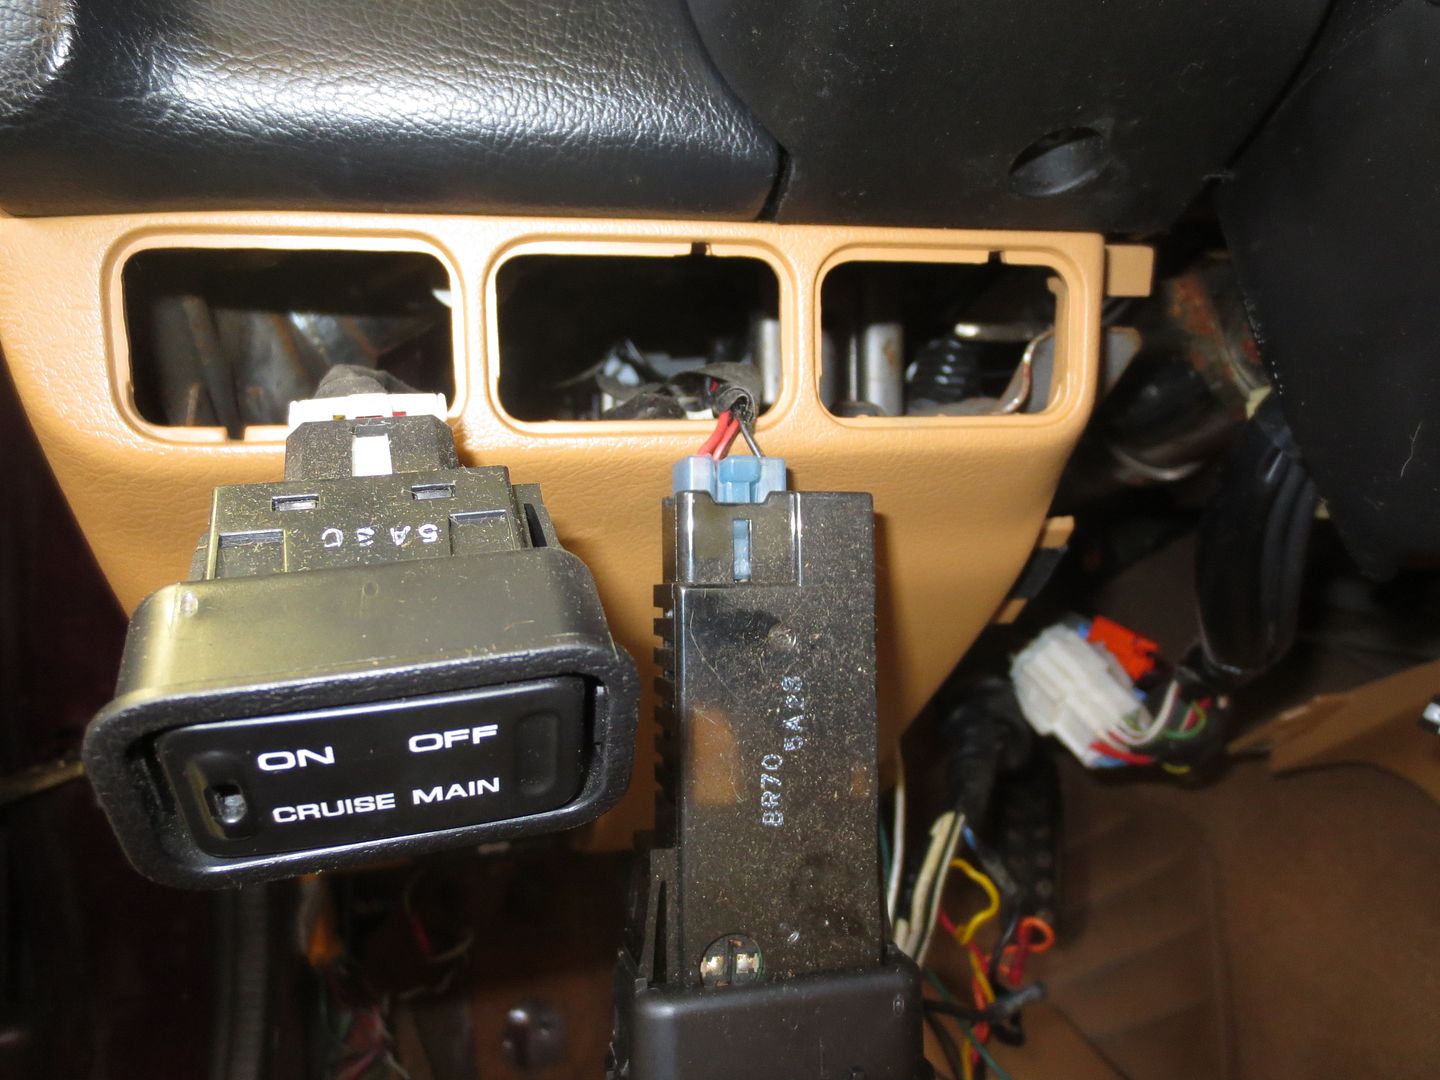
 photo IMG_8065_zpsvd4u9nbz.jpg

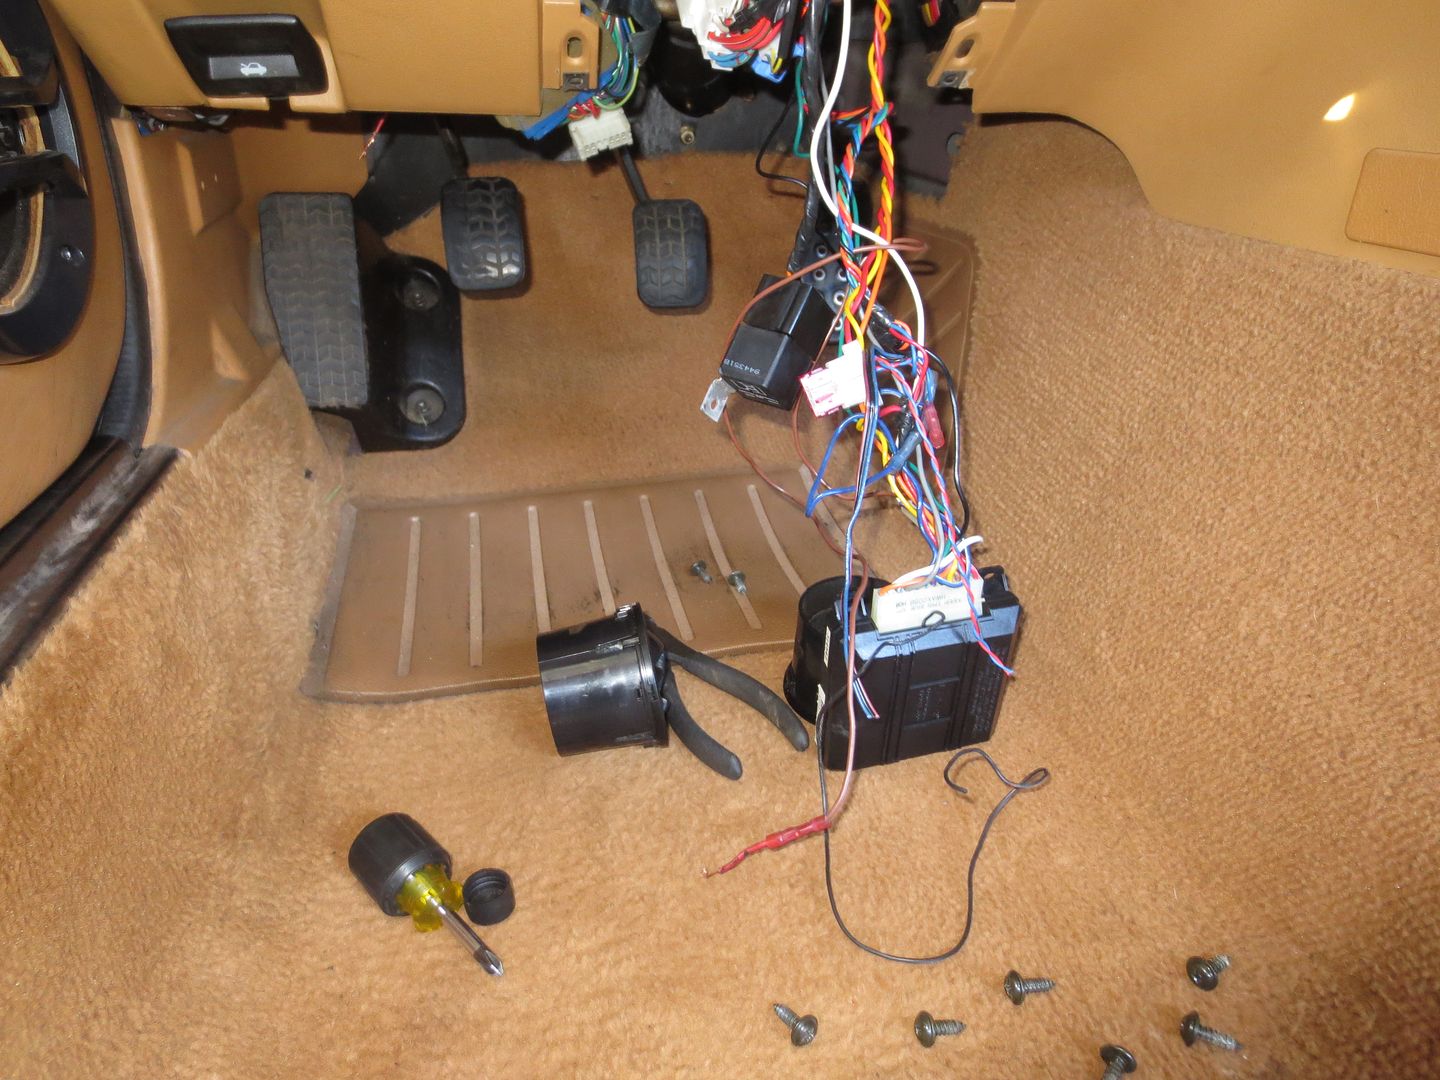
Fortunately, the guys who installed this system were cheap and lazy. All of the wires in the system were long and loose. They didn't even spring for quick splice connectors. They just stripped away some insulation from the factory harness, twisted their wires around the bare spots, and then wrapped them up with lots of sloppy electrical tape. Everything was pretty easy to find. I just traced the wires back from the alarm boxes, the switch and the relay, to where they tapped into the car's main harness. A dozen or so wires soon became half a dozen, then four then three and finally I got down to the only wire that they cut in order to interrupt the starter.

Sloppy installation...
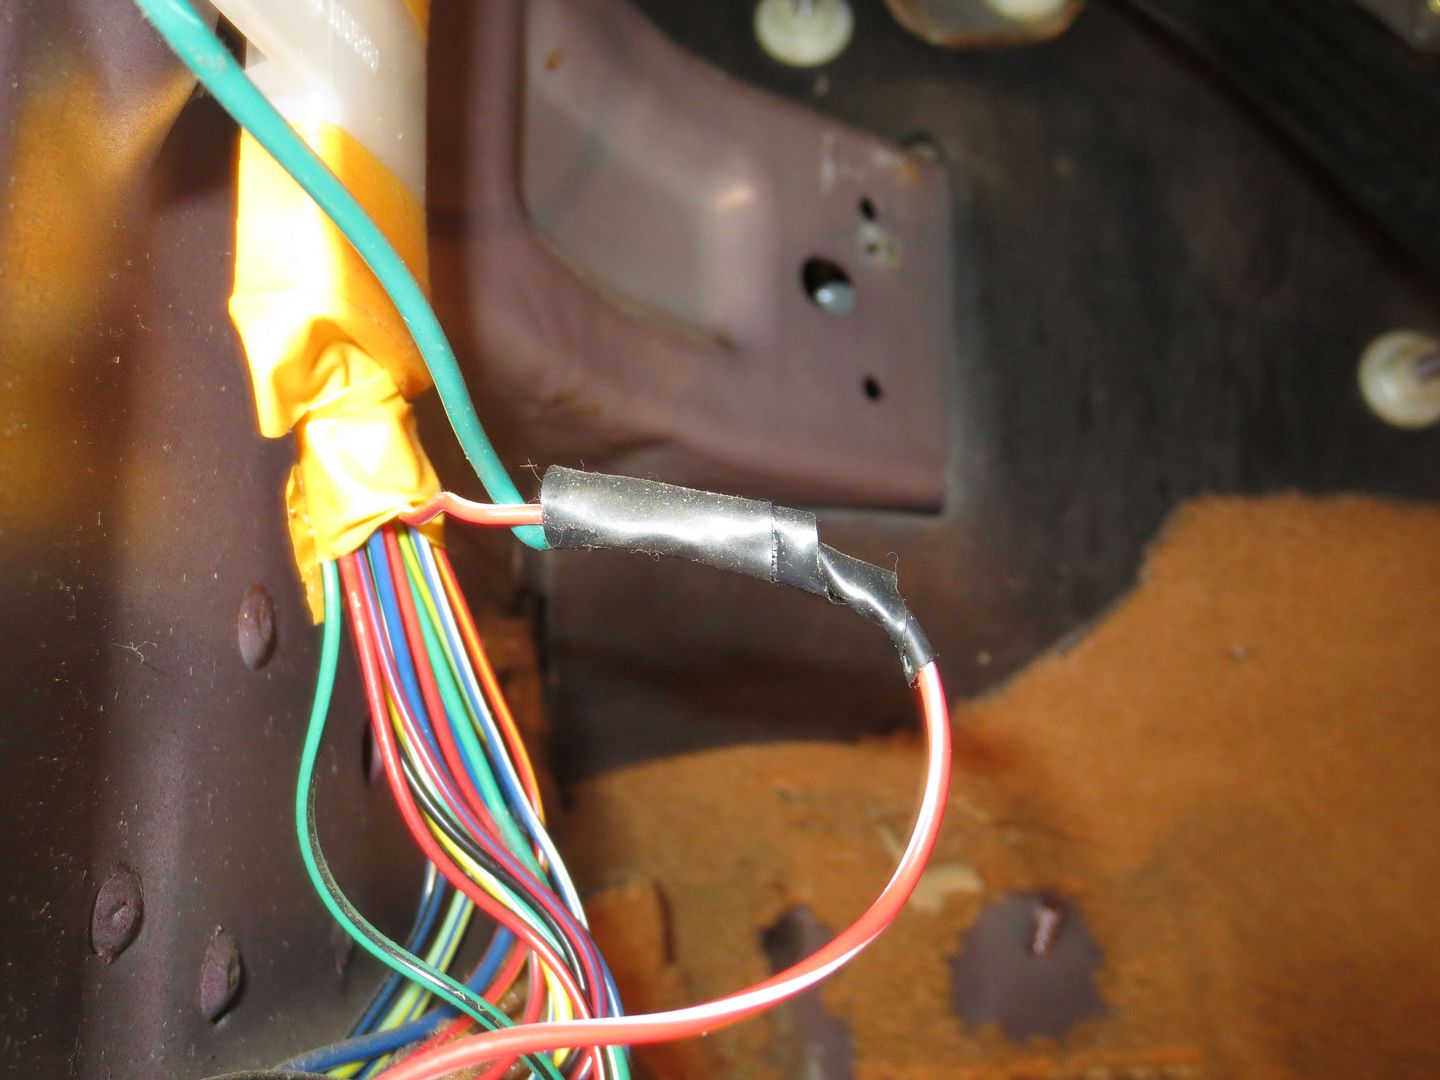
 photo IMG_8066_zps8m75vj2u.jpg

 photo IMG_8068_zpsrq2rjimw.jpg

 photo IMG_8072_zpszw9tpcwr.jpg

 photo IMG_8073_zpsmdyvwfw6.jpg

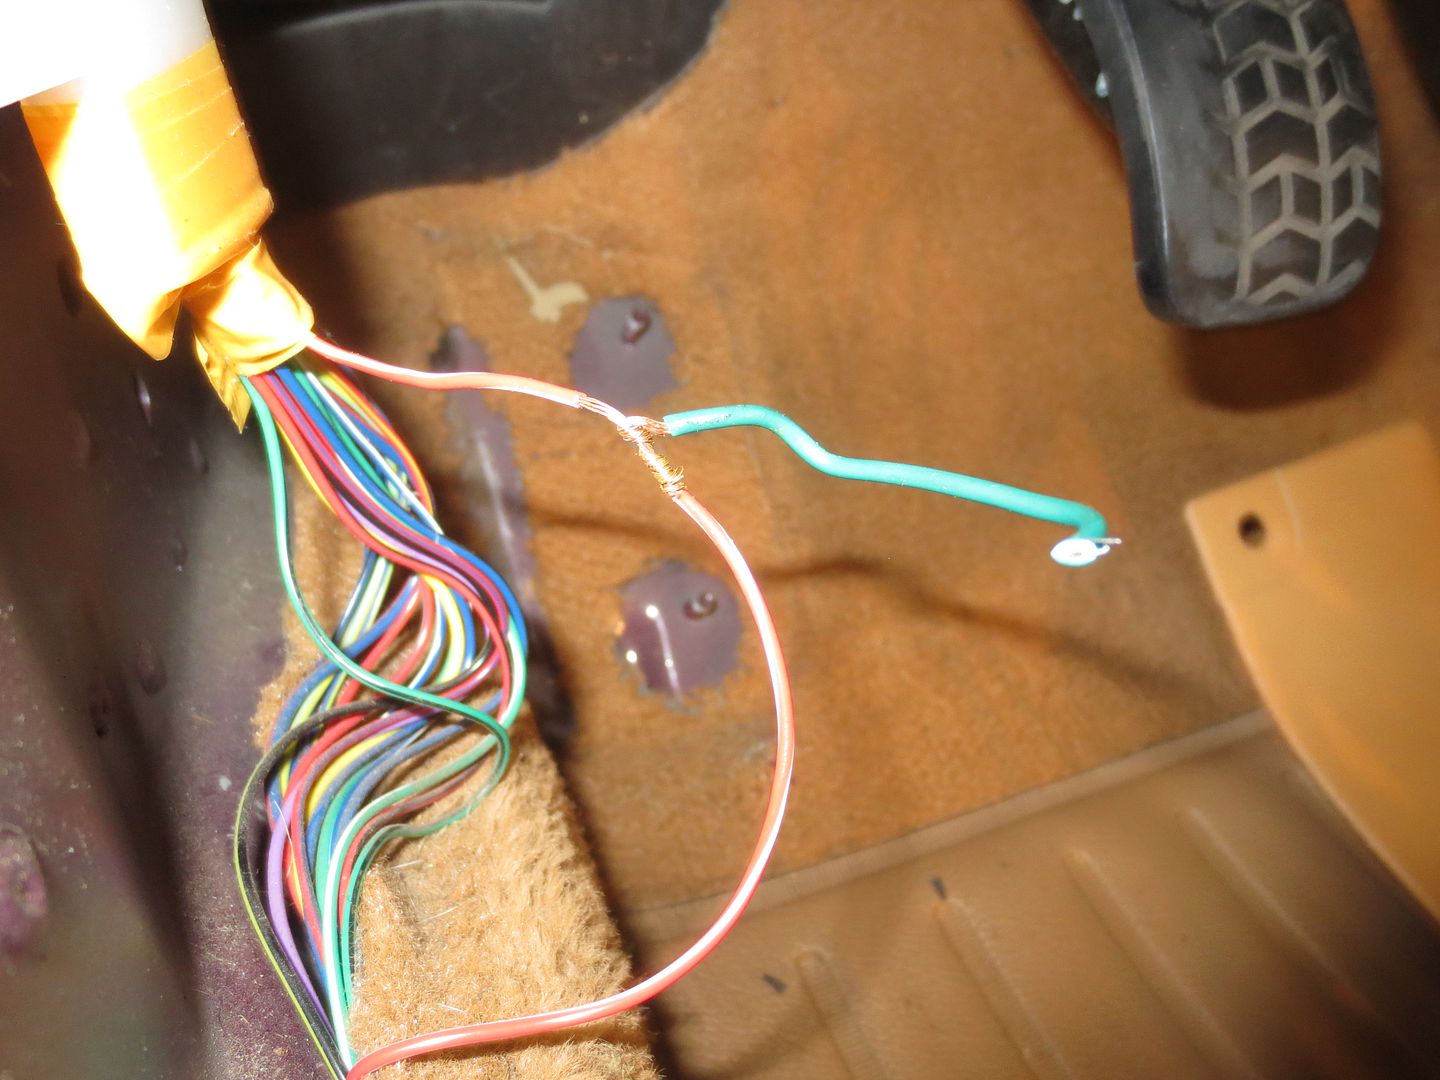
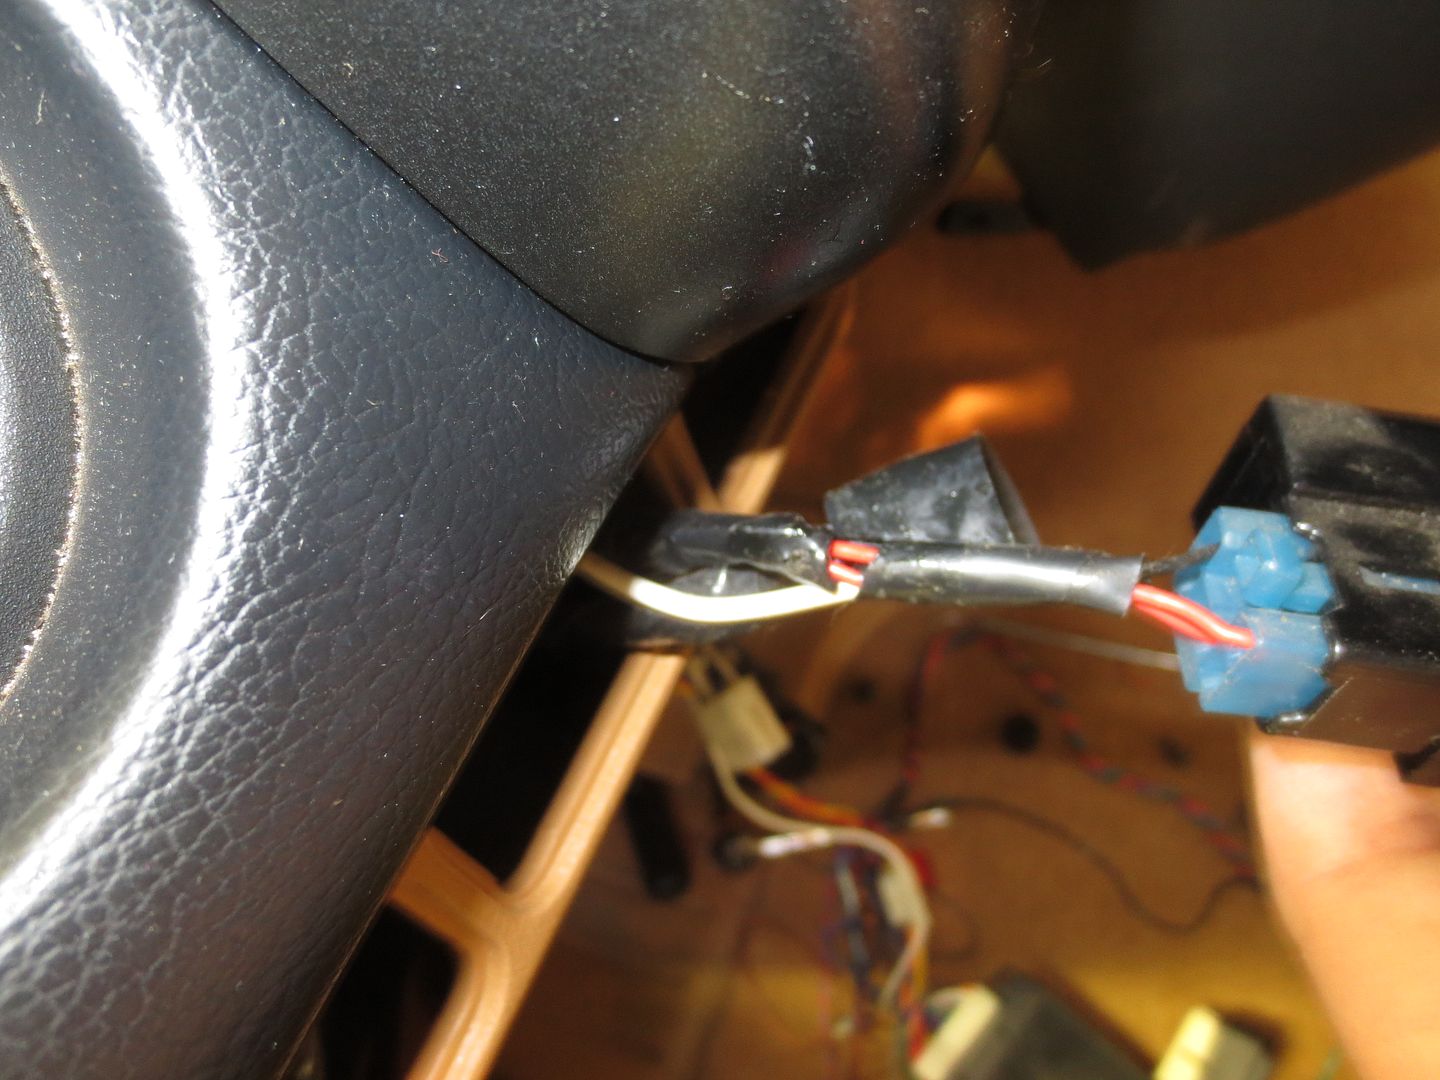
The final three. The red and yellow alarm wires are tapped into the factory blue and white. The Black with Blue wire, which I assume goes to the starter relay, was the only one that they actually cut. They used crimp connectors and fed the immobilizer through that circuit.
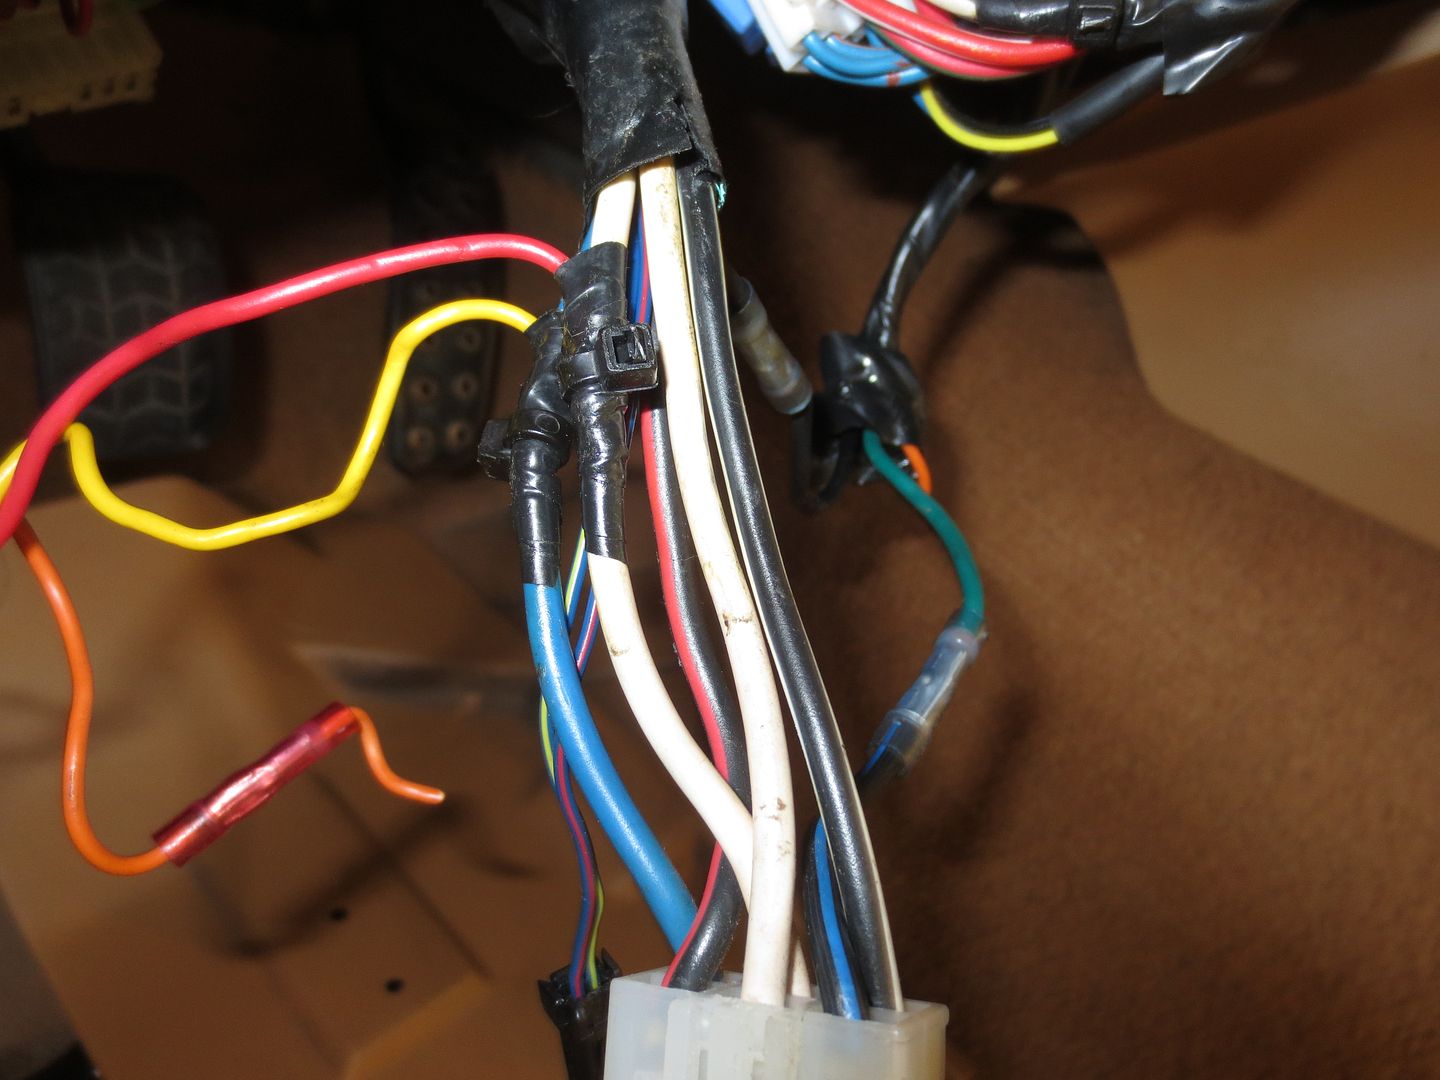
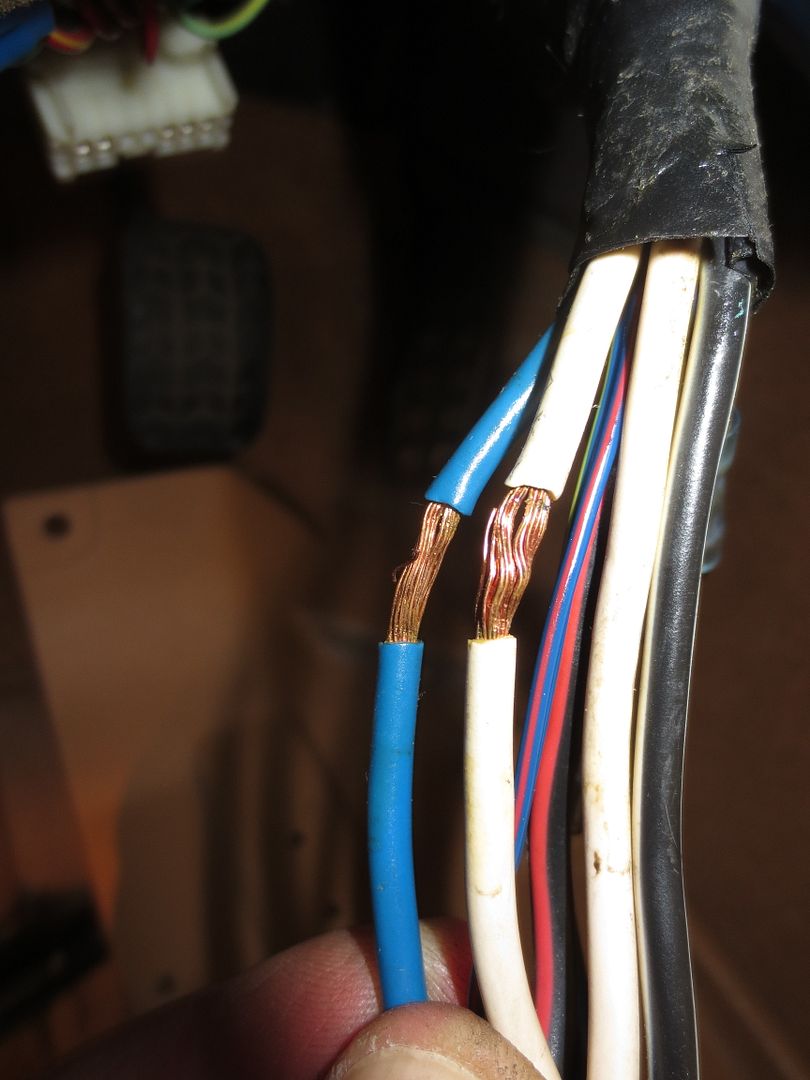
 photo IMG_8074_zpsbr8iuudx.jpg

 photo IMG_8079_zpsju2nslp0.jpg

At this point, I chopped out the remains of the alarm system harness.
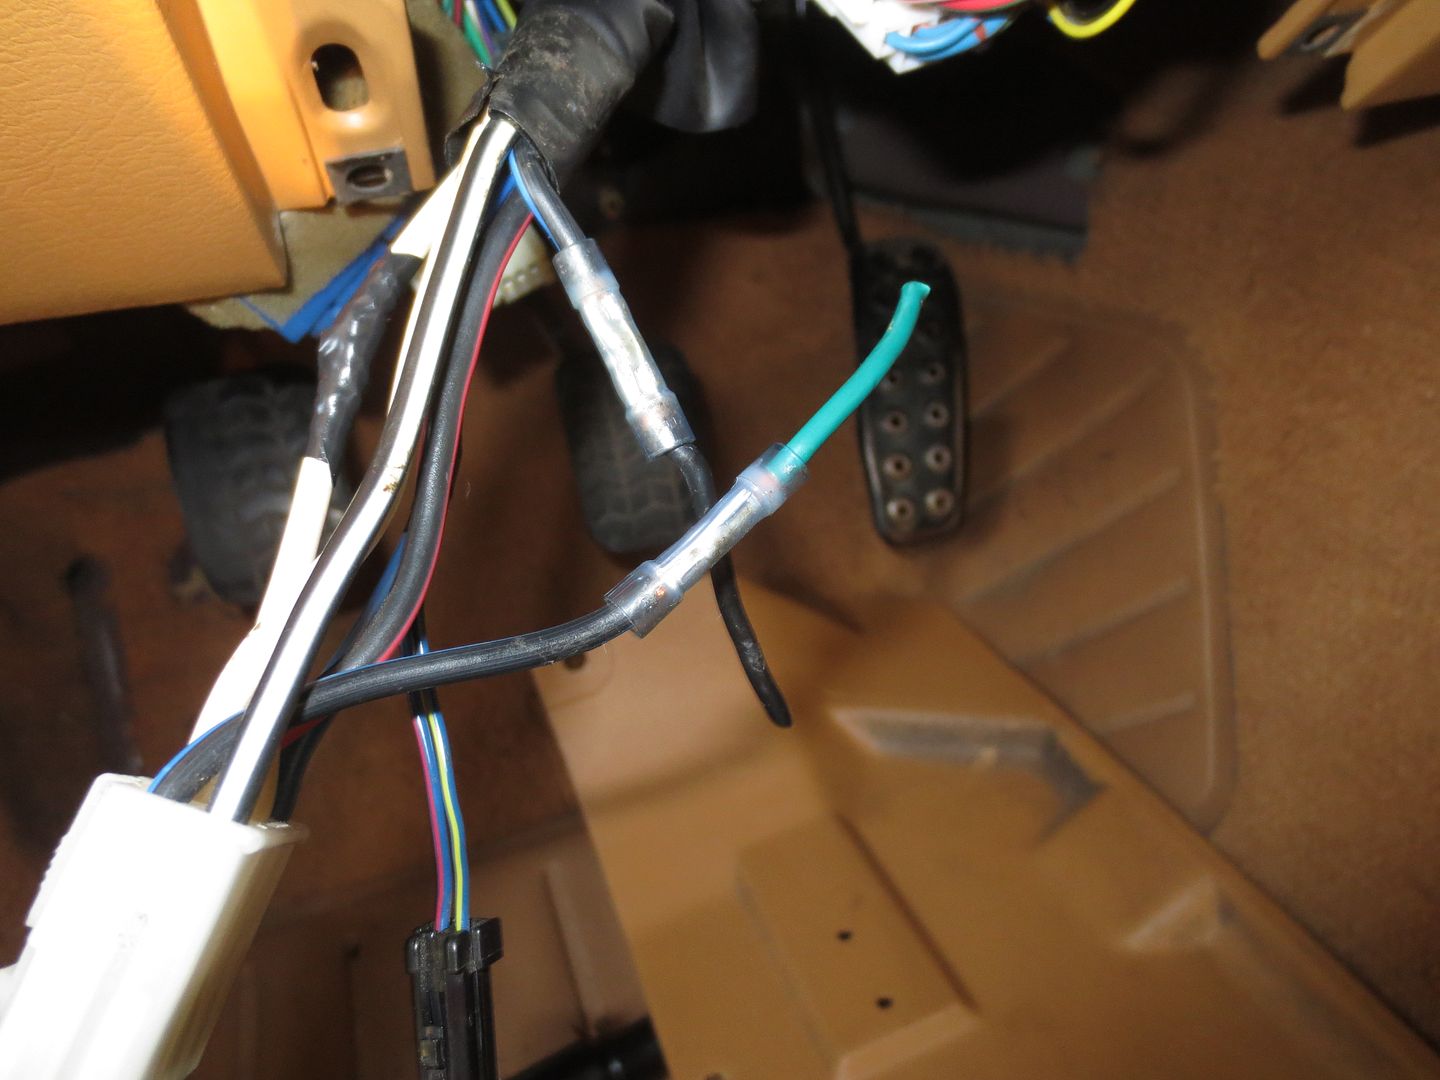
 photo IMG_8081_zpsveyyswh2.jpg

 photo IMG_8075_zpshb2p63gf.jpg

They didn't leave me much wire to work with and I didn't trust their crimp connectors. I took a pair of pliers and gently pressed them down 90 degrees from the original crimp. Then I was able to pull them off without having to shorten the wire any more.
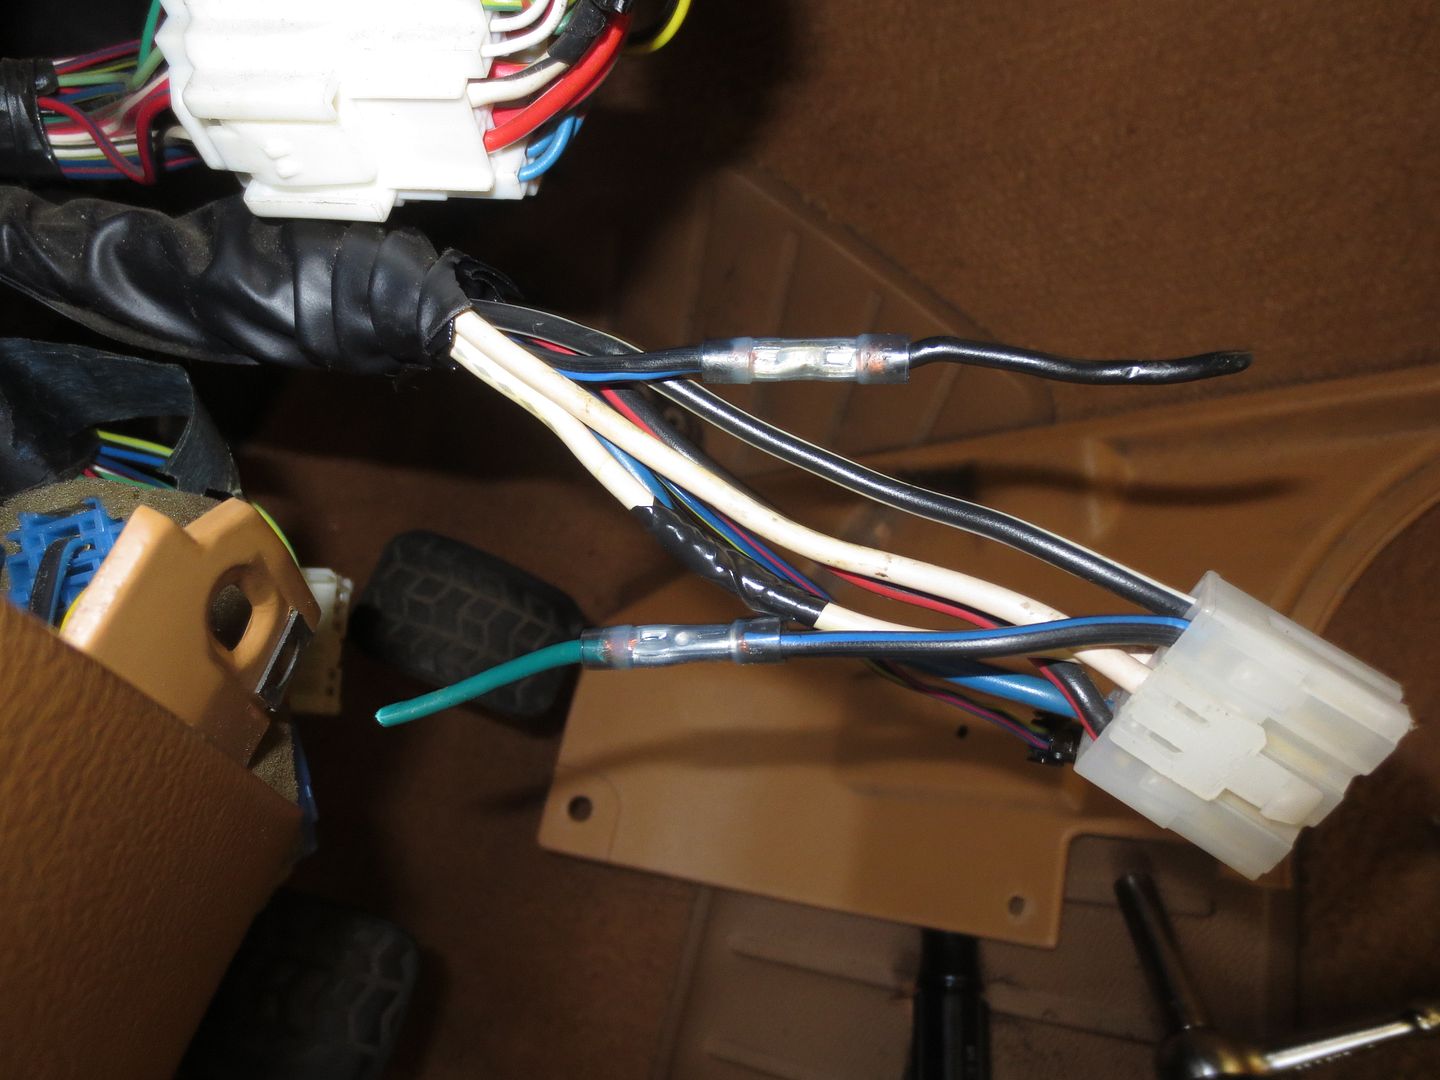
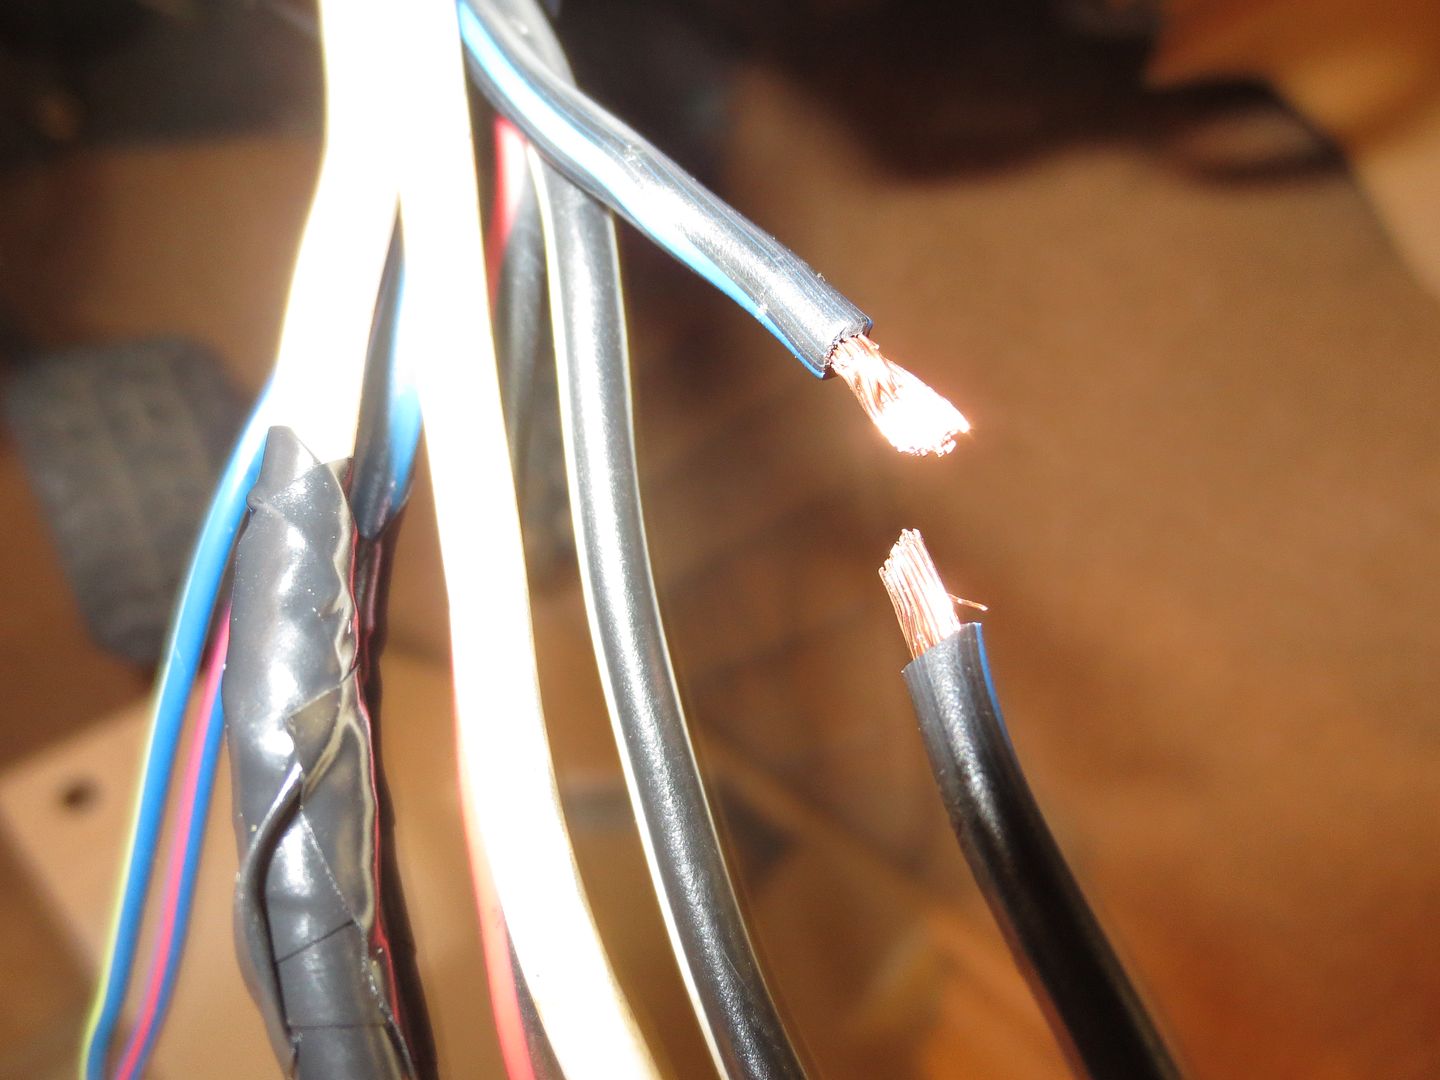
 photo IMG_8082_zpskvevnhvf.jpg

 photo IMG_8083_zpsmaepkisv.jpg

Then I twisted the ends together and wrapped them up with lots and lots of electrical tape.
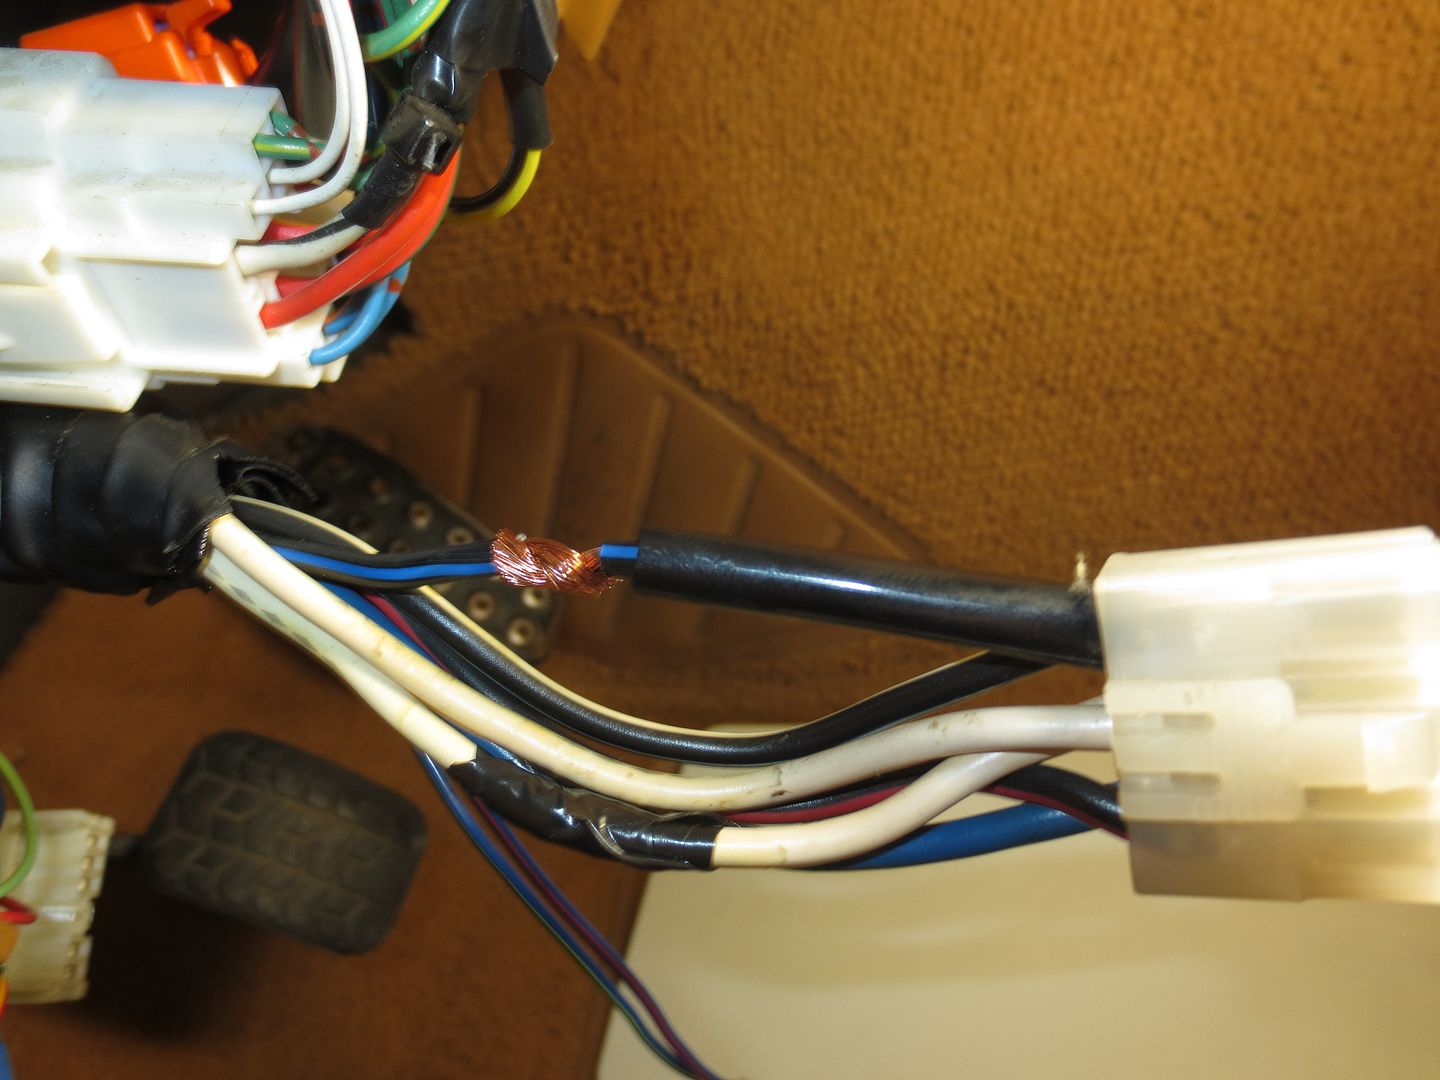
 photo IMG_8084_zps93hap1tb.jpg

Just kidding.

I got out my soldering iron and some rosin core solder and made the reconnection permanent.
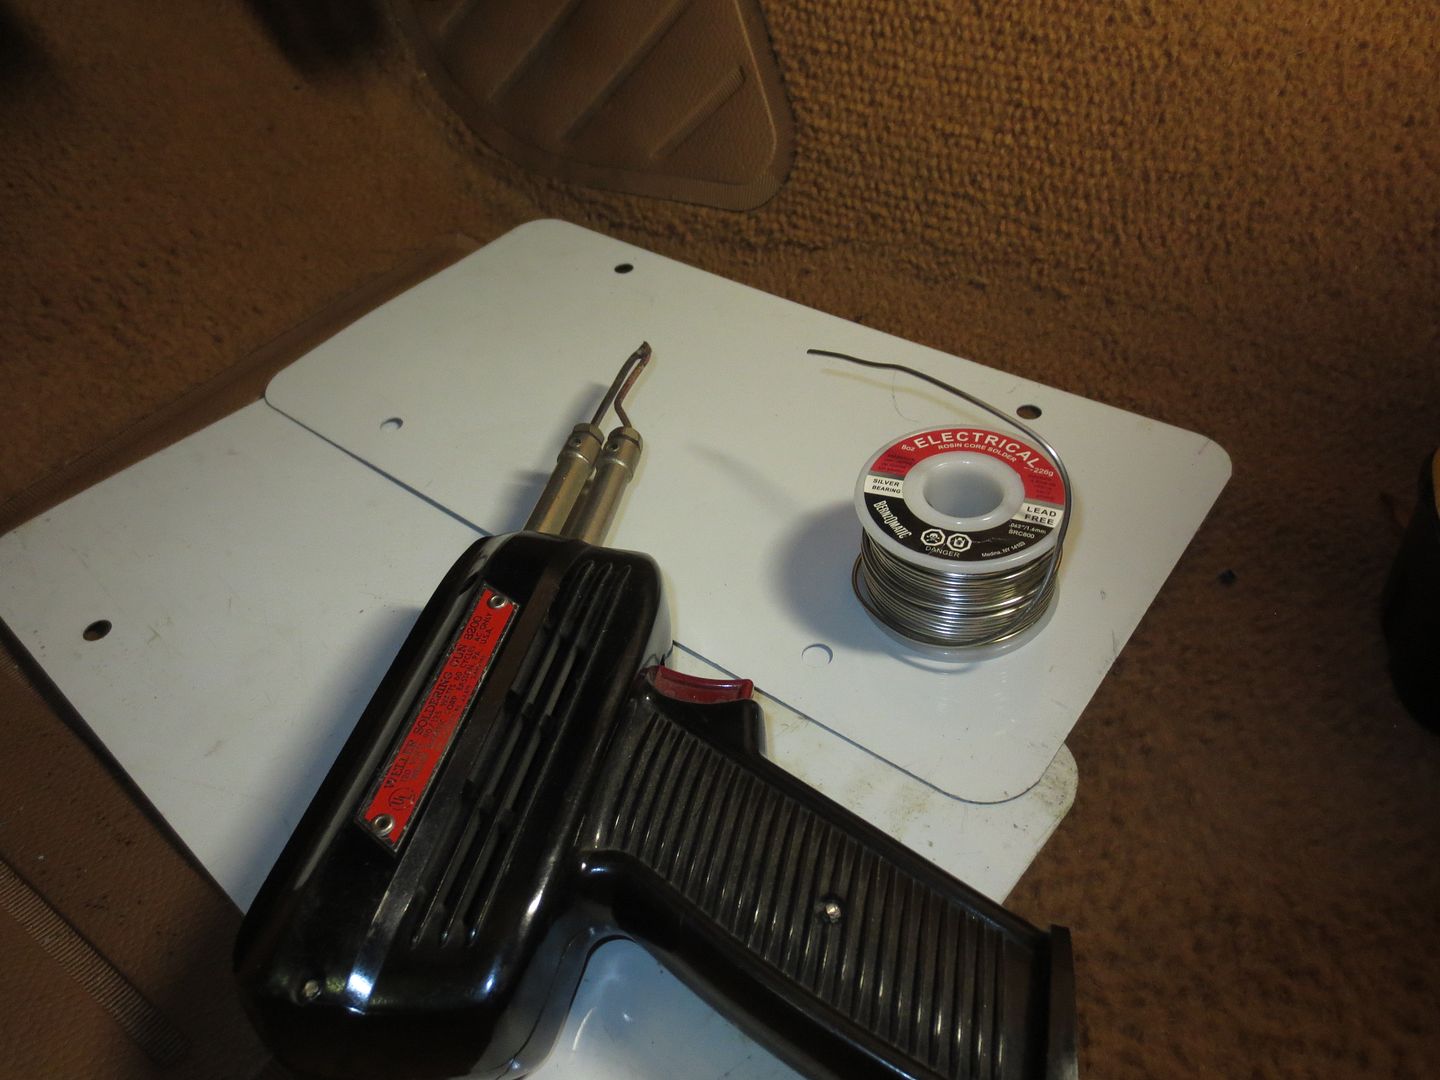
 photo IMG_8085_zpsi13aynql.jpg

Admittedly, it was not my best work. I was working upside down on my back. Don't judge me.
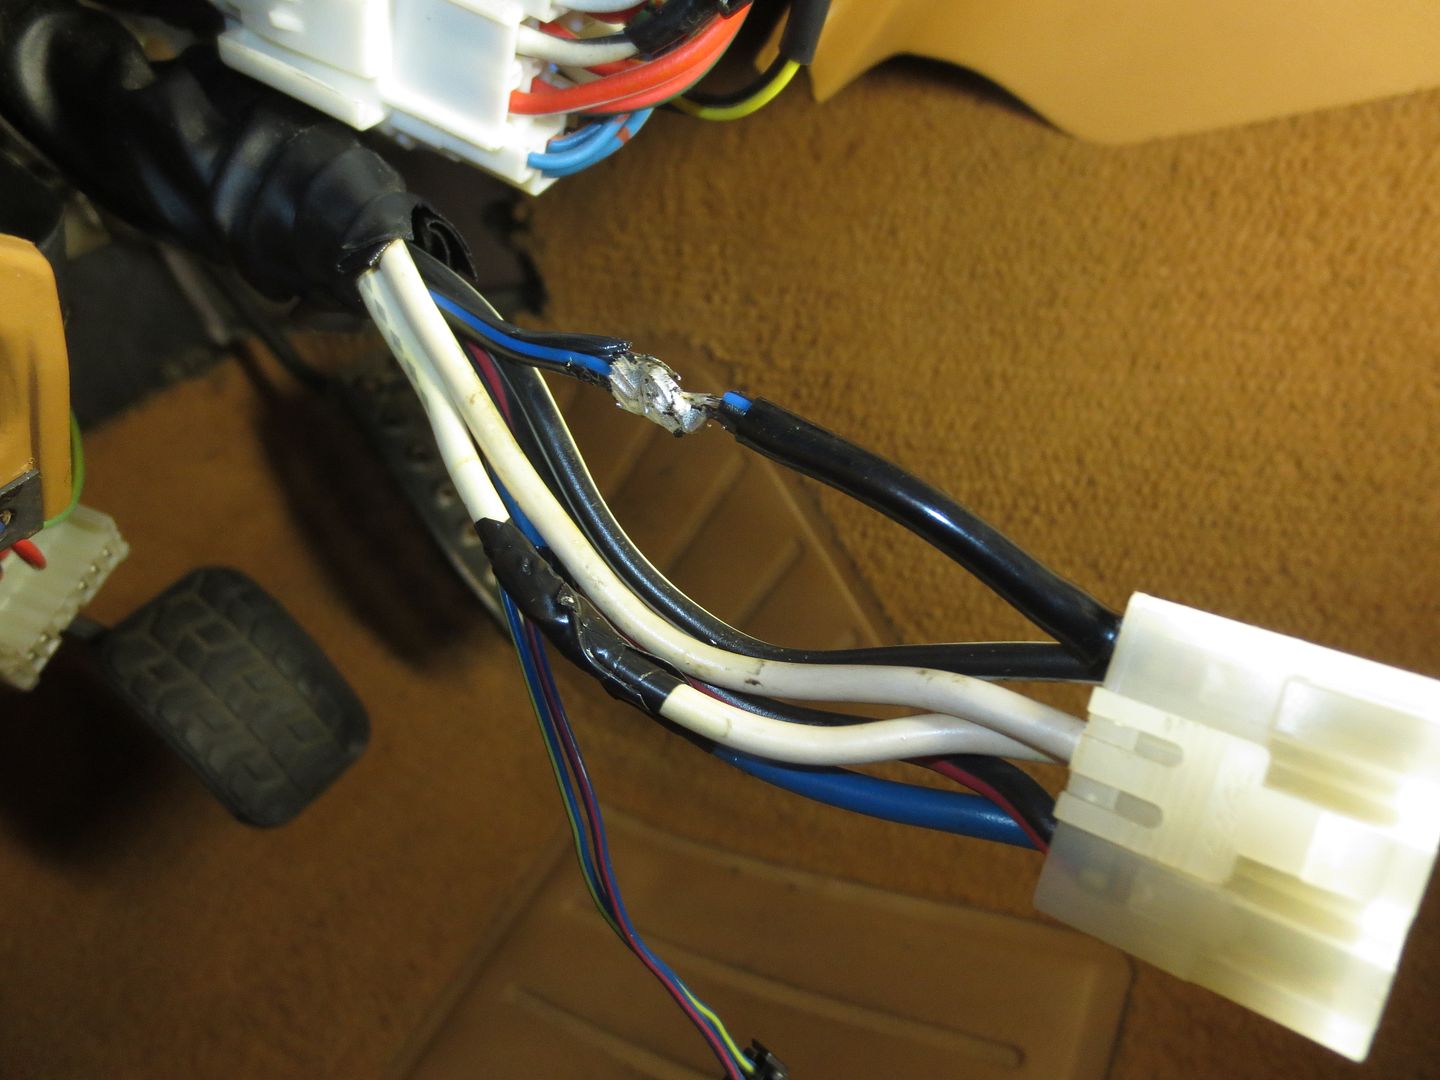
 photo IMG_8086_zpsfatwfvec.jpg

So at this point, the car's wiring harness has been restored back to (almost) the way that it was when it left the factory.
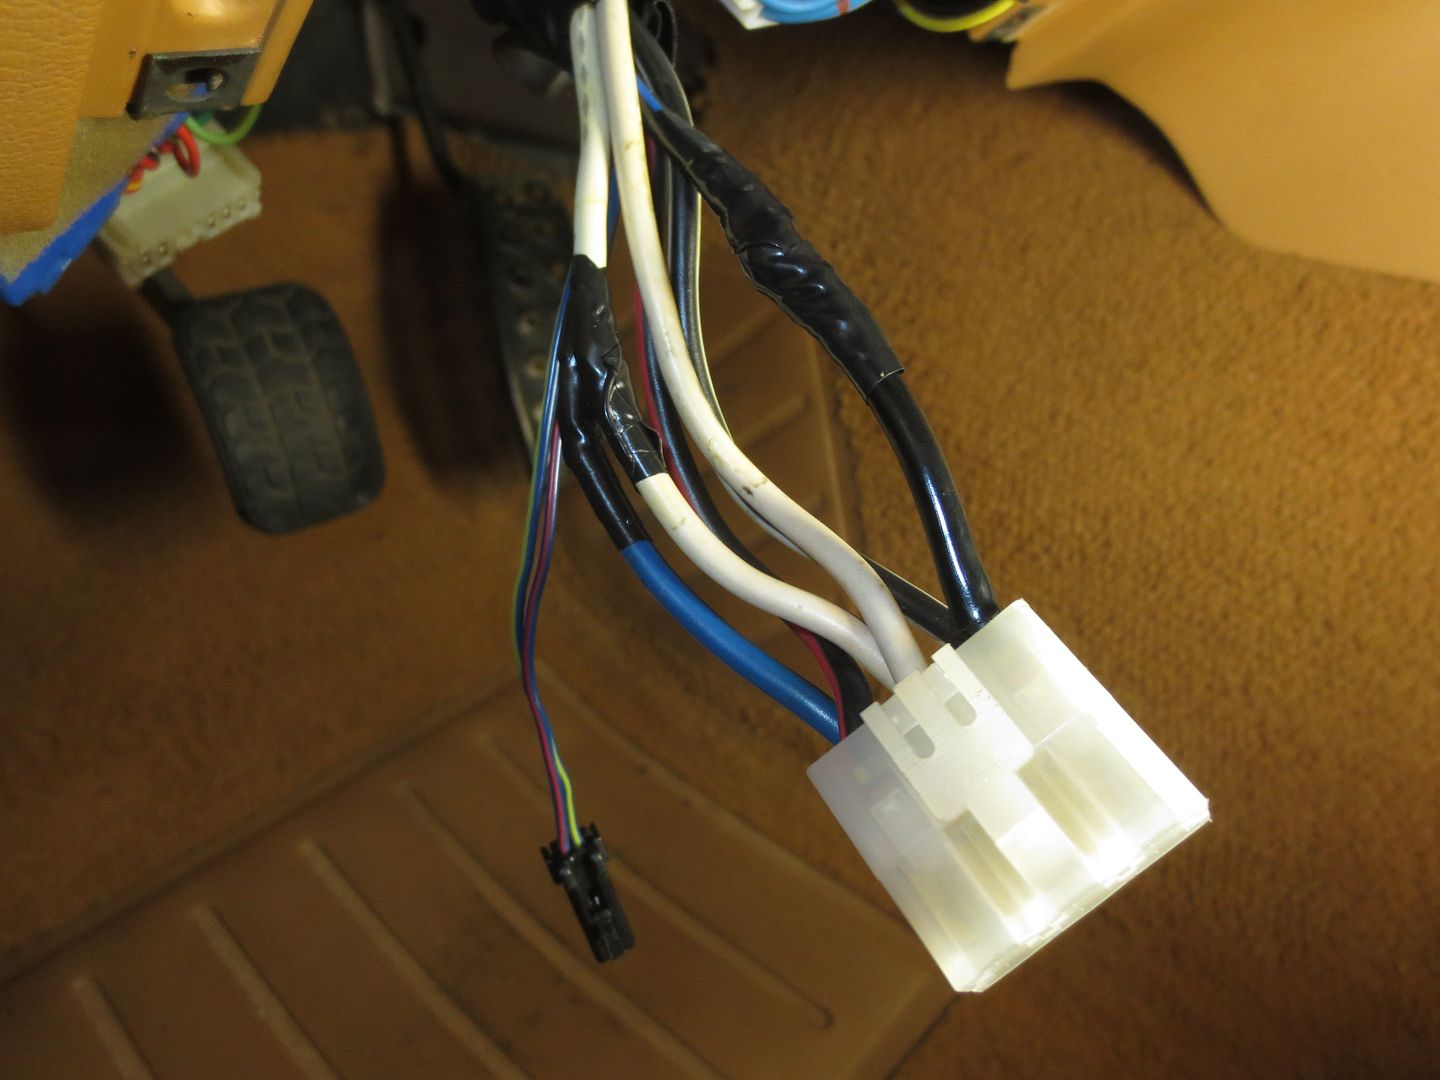
 photo IMG_8087_zpsckygfbip.jpg

All buttoned up.

 photo IMG_8096_zpsp8uyj2qo.jpg

Poking around under the dash, I found two factory connectors that weren't hooked up to anything. I think that the one at the bottom left of this photo would go to a rear defroster switch if my car had one (it doesn't)...
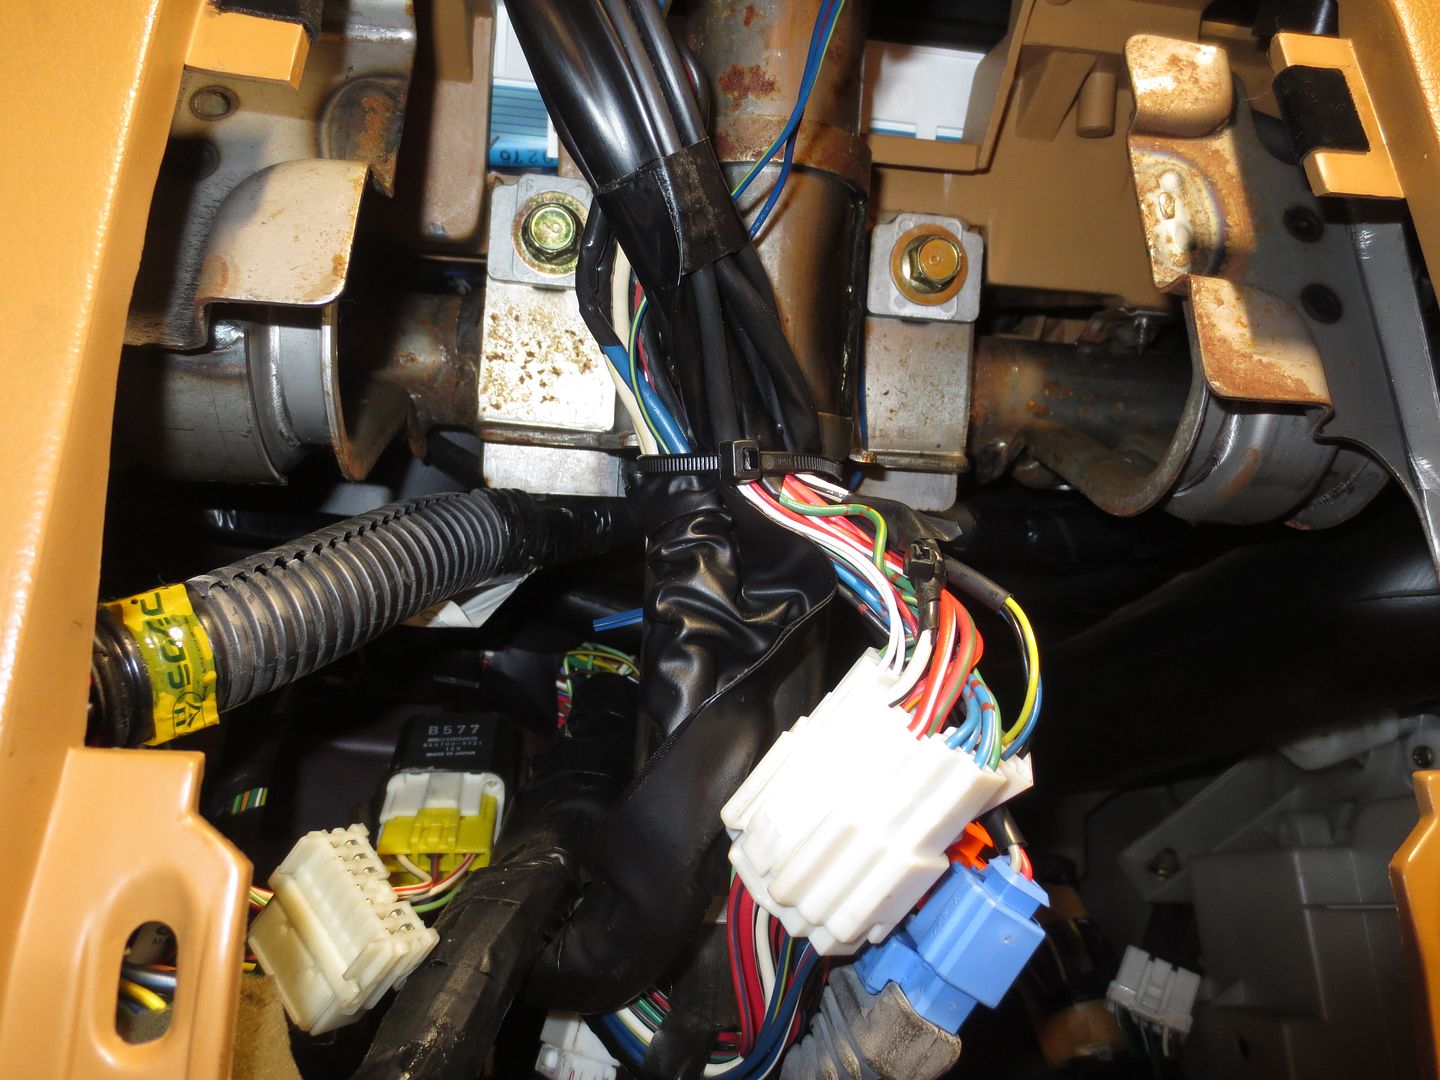
 photo IMG_8096_zpsp8uyj2qo.jpg

...and the one that's taped up to the big harness near the driveshaft hump by the firewall. My guess is that this may be some kind of OBD I diagnostic connector.
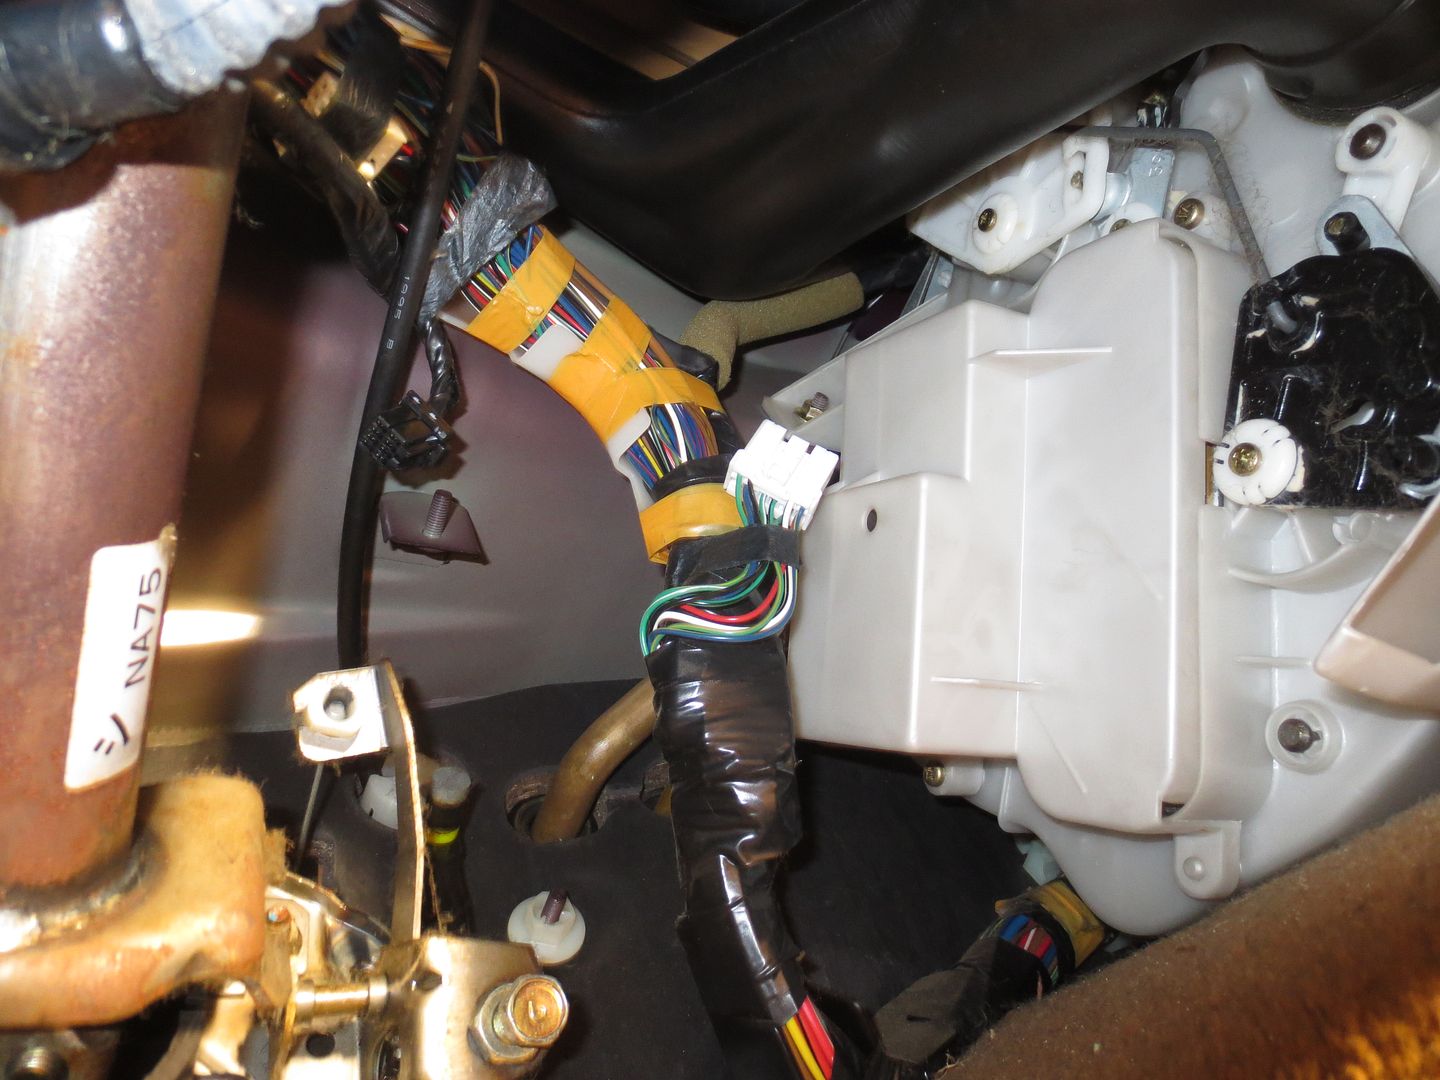
 photo IMG_8097_zpsqmklxu4h.jpg

There's one other non-mystery plug hanging loose under there. You can see it near the bottom left of this photo. That's the annoying buzzer that used to sound when the door was opened with the key in the ignition. I pulled that one out before I even drove the car home and it's going to stay disconnected.
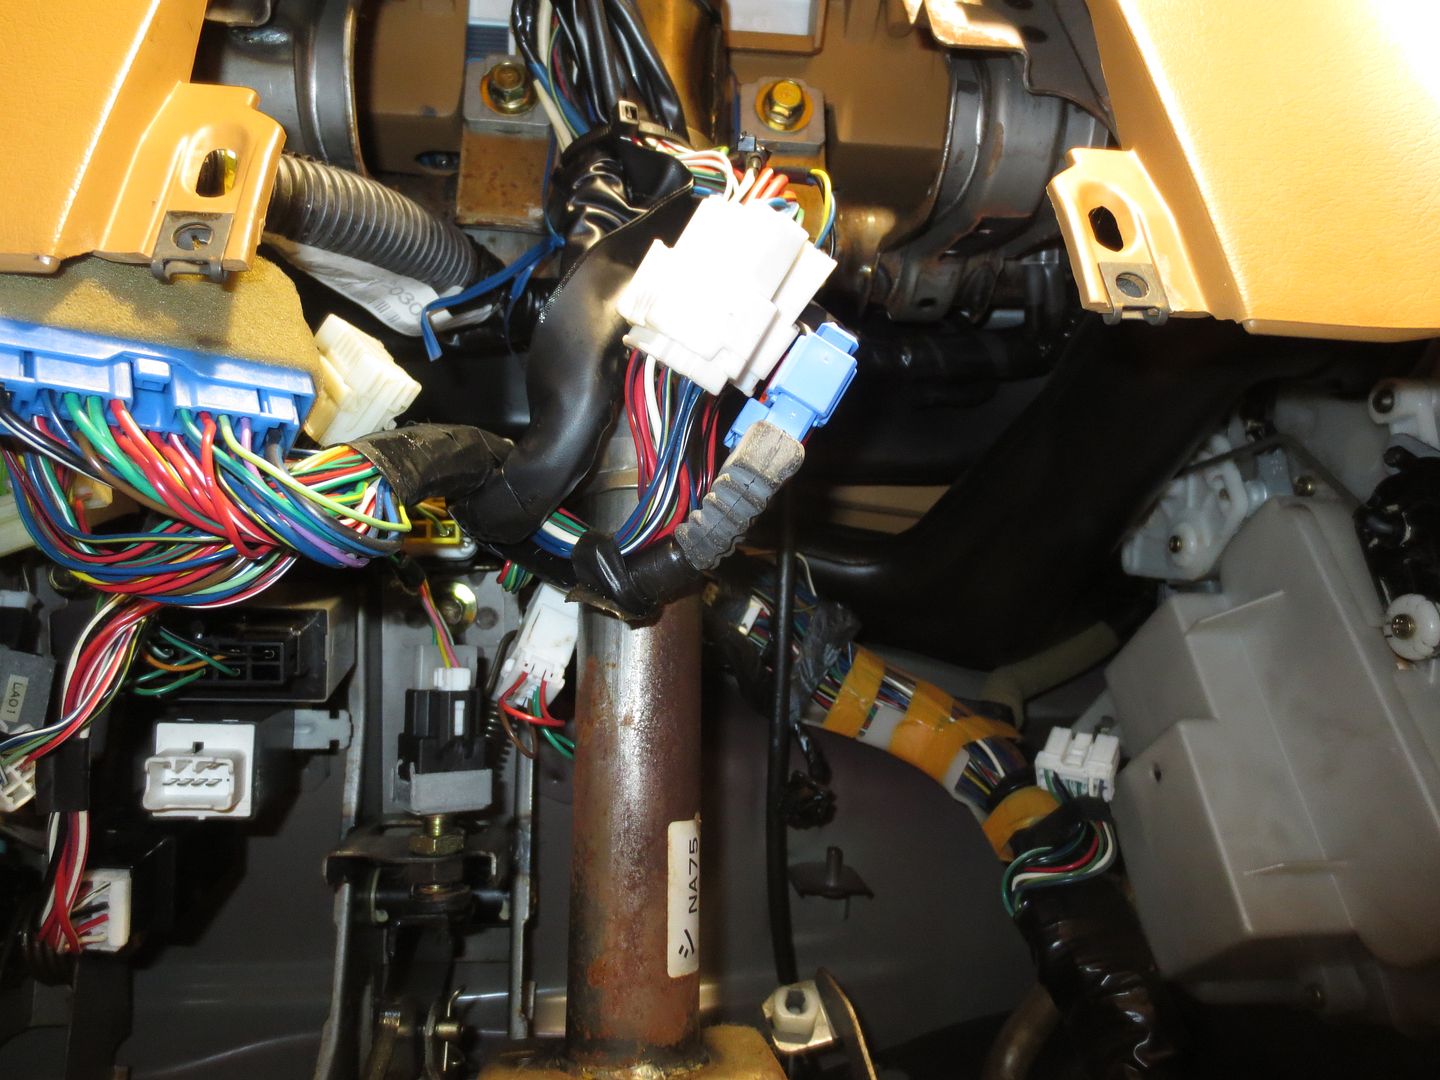
 photo IMG_8091_zpsb4ccukax.jpg

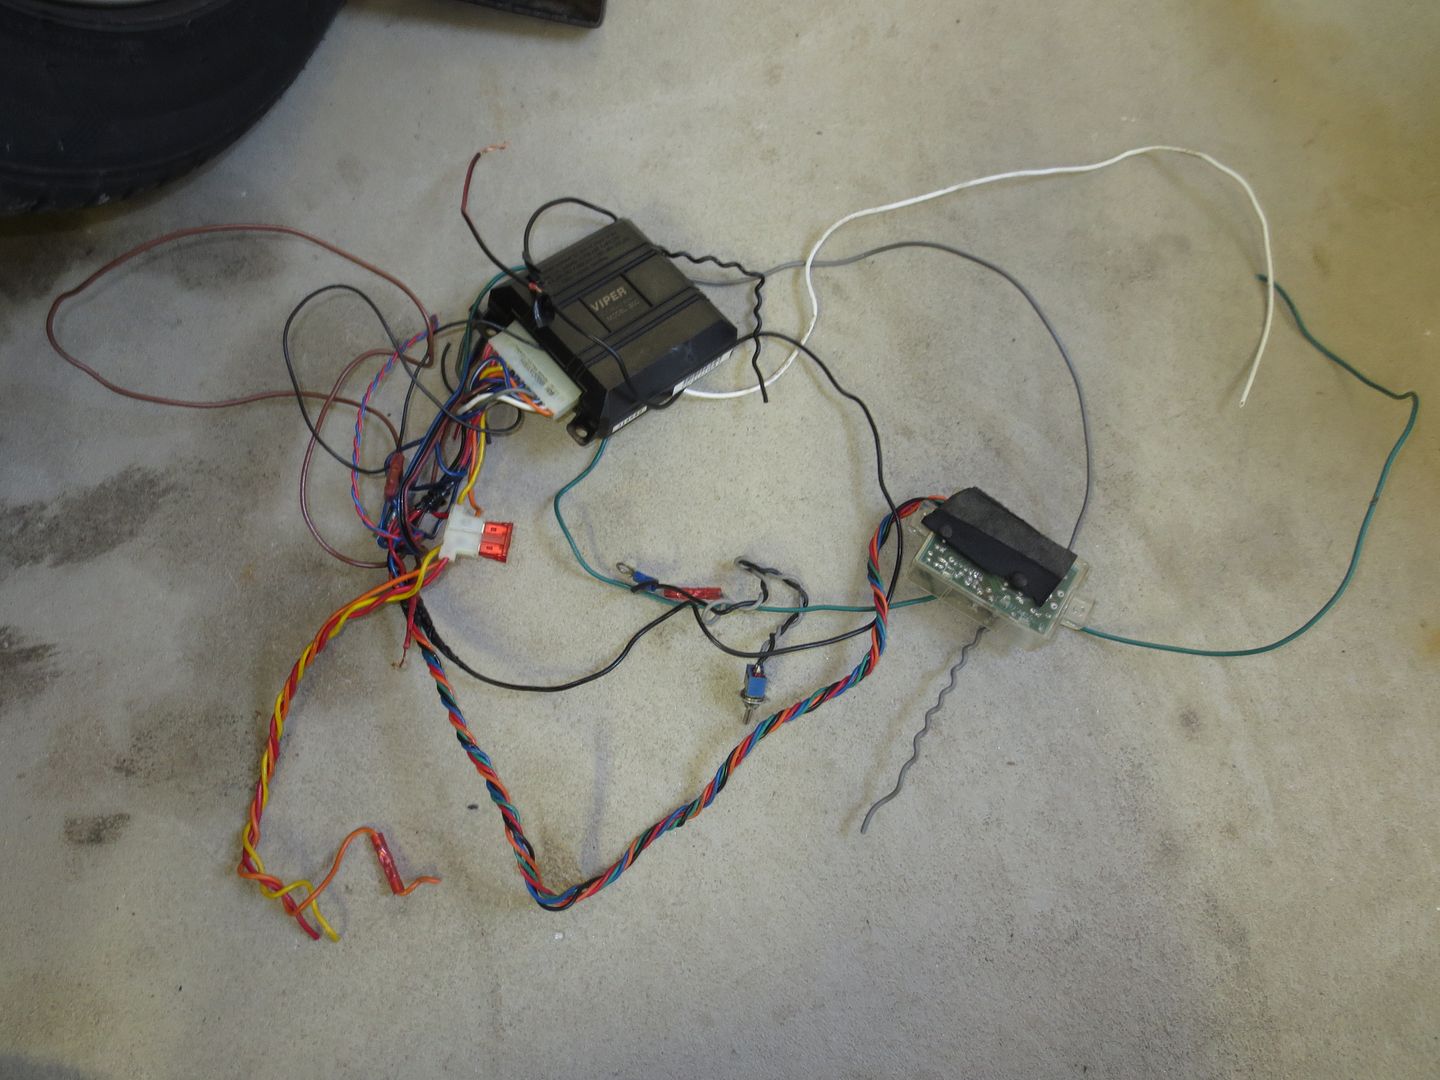
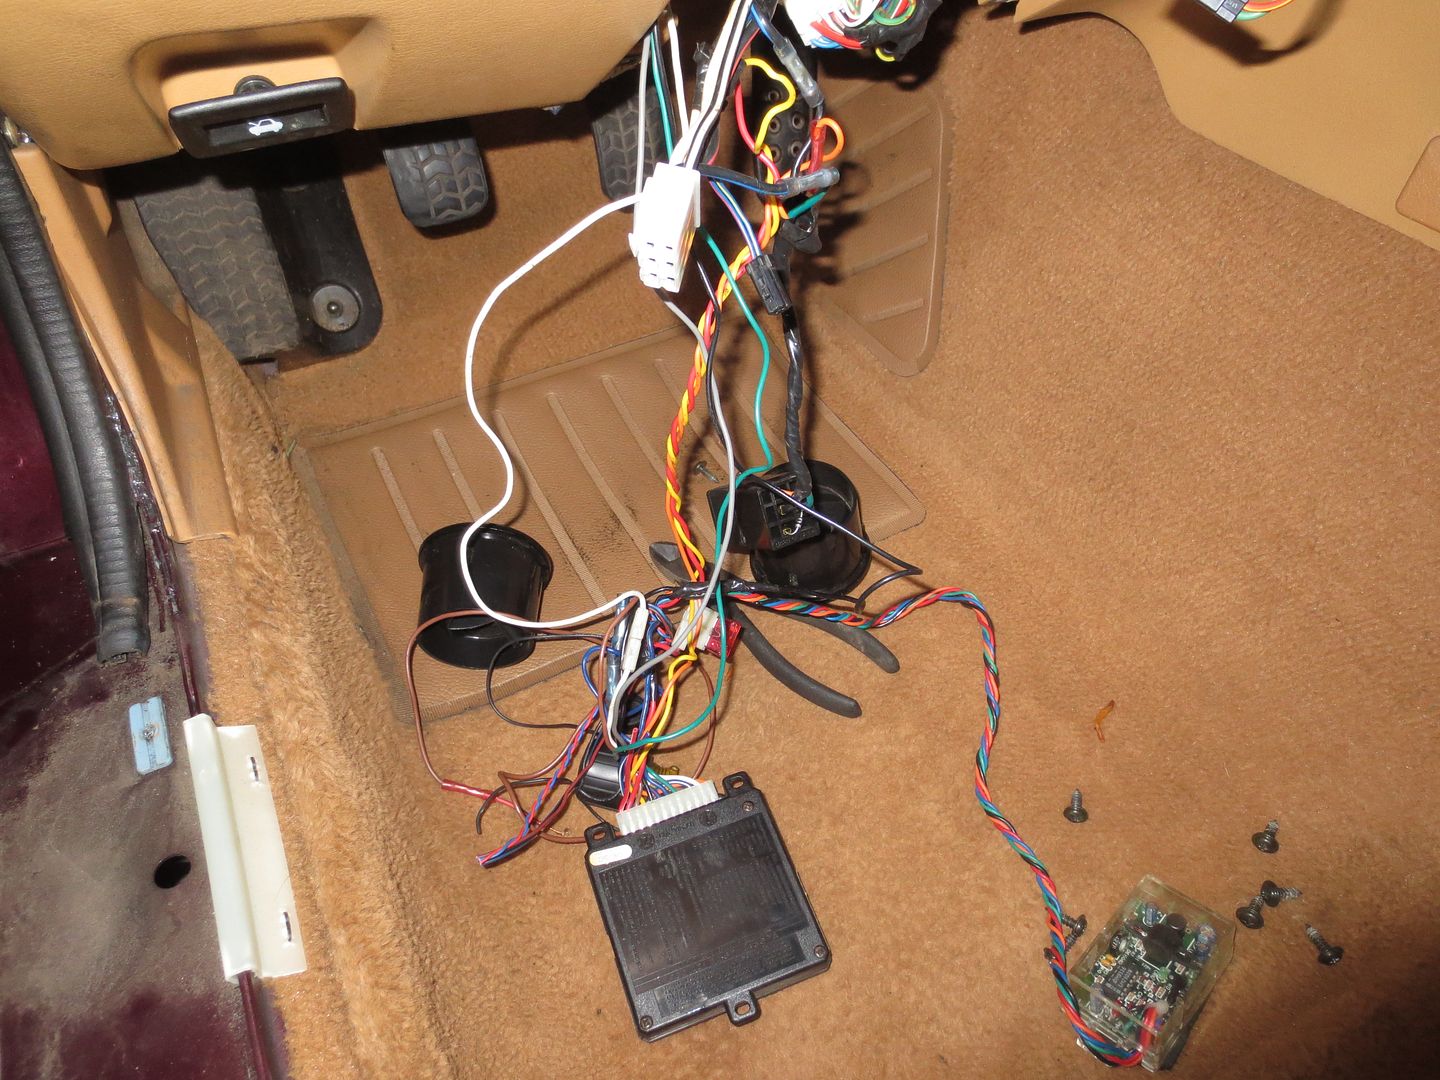
So after about three hours of work spread out over two days, I have a small pile of alarm crap on the garage floor and I don't have to worry about the immobilizer leaving me stranded or the rest of the system killing my battery.
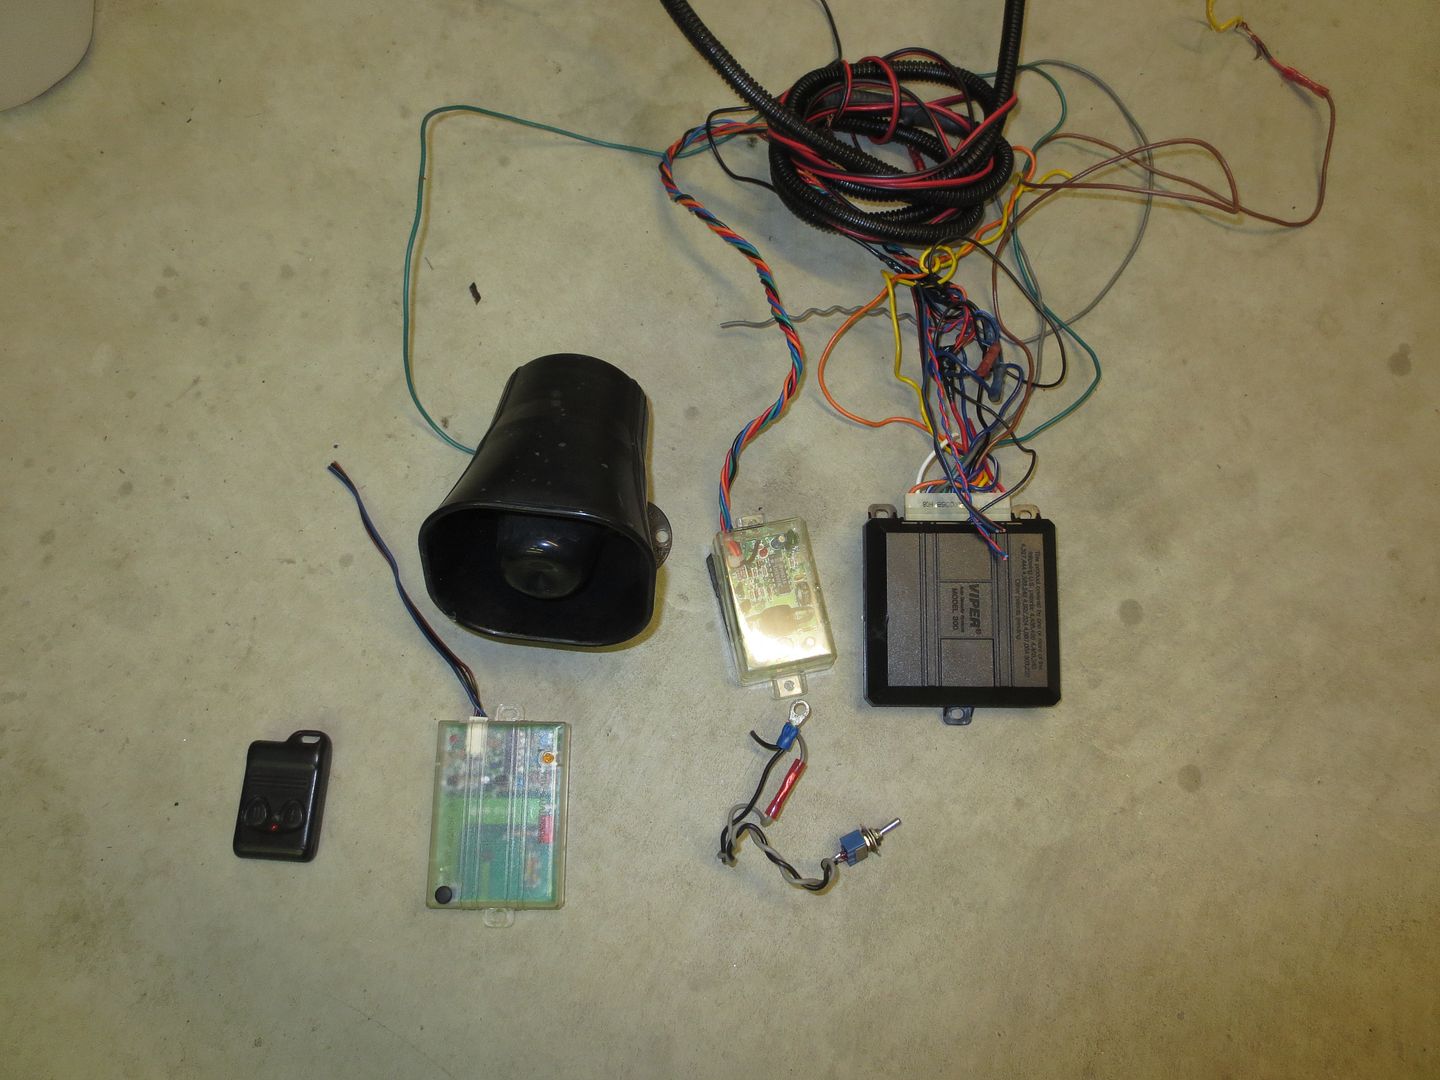
 photo IMG_8099_zpstbiljxvd.jpg

I salvaged a couple of fuse connectors and fuses, as well as a relay and its matching connector. I'm sure I can use that somewhere.
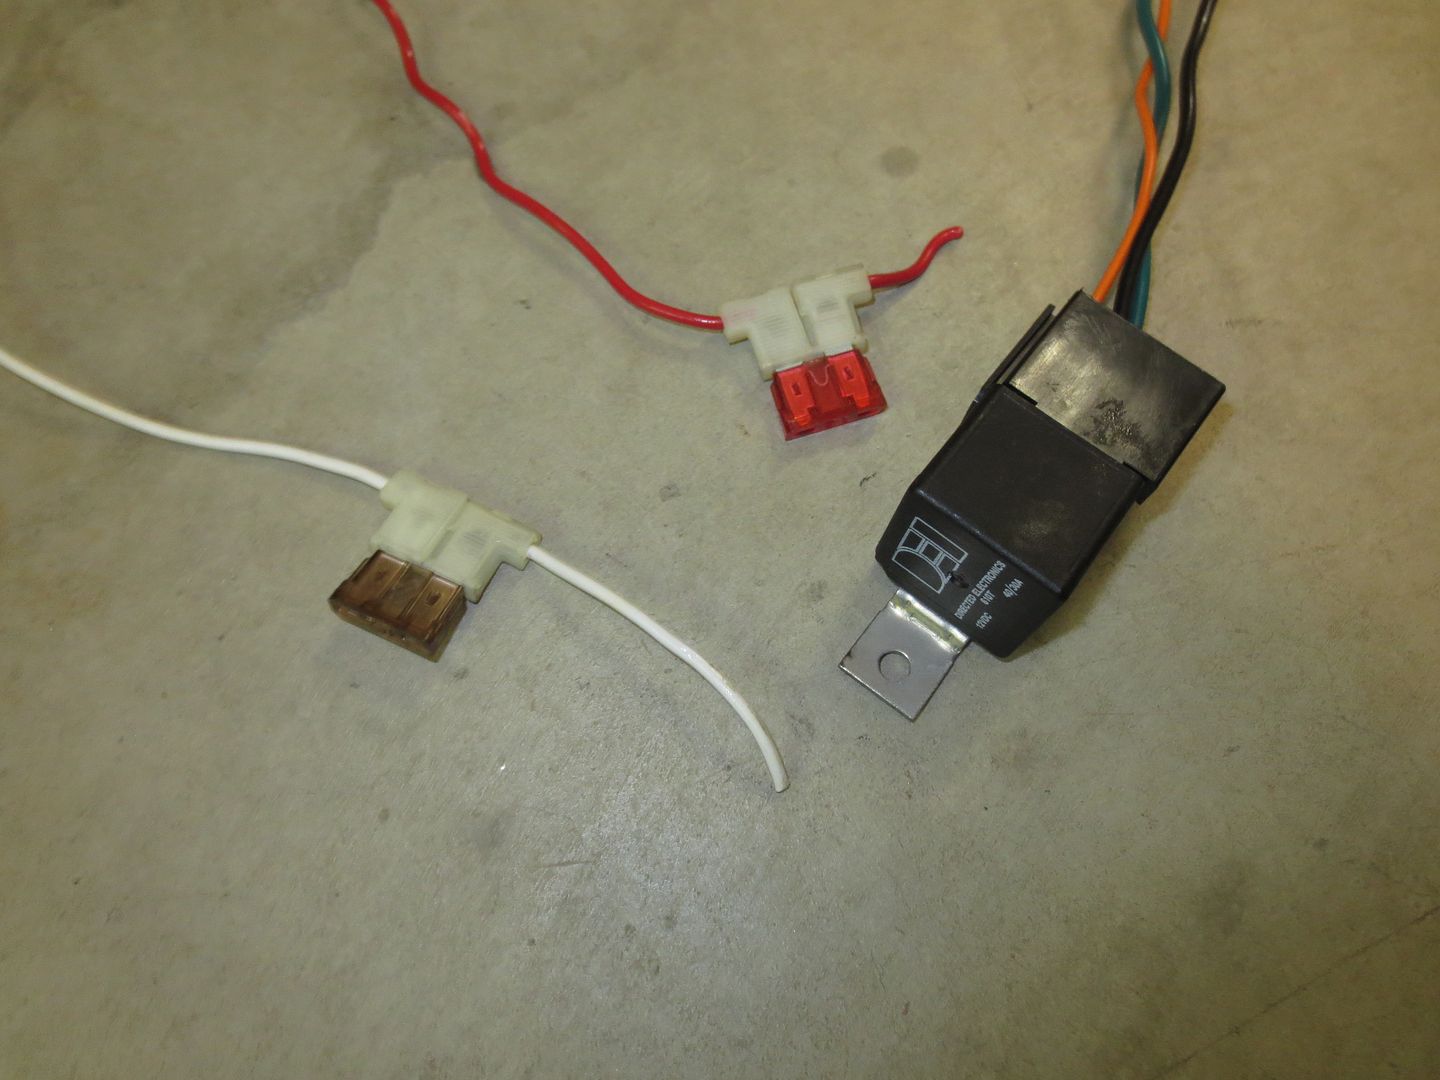
 photo IMG_8098_zpslf6plhga.jpg

And I have a pair of alarm remote fobs that I'll probably put on eBay for a while before tossing them in the trash. Who knows, maybe someone who loves their Viper 300 alarm needs a couple of spares.

docwyte
docwyte Dork
11/18/16 10:25 a.m.

I'm very jealous! That's a really nice car.

Good work on the alarms, what you've found is why I don't let anyone install alarms/stereos etc in my cars. They hack up the wiring harnesses and after some time has gone by the car just has all sorts of kooky issues.
Woody
Woody MegaDork
11/18/16 4:11 p.m.

I had a few more odds and ends to take care of today after removing the alarm system.

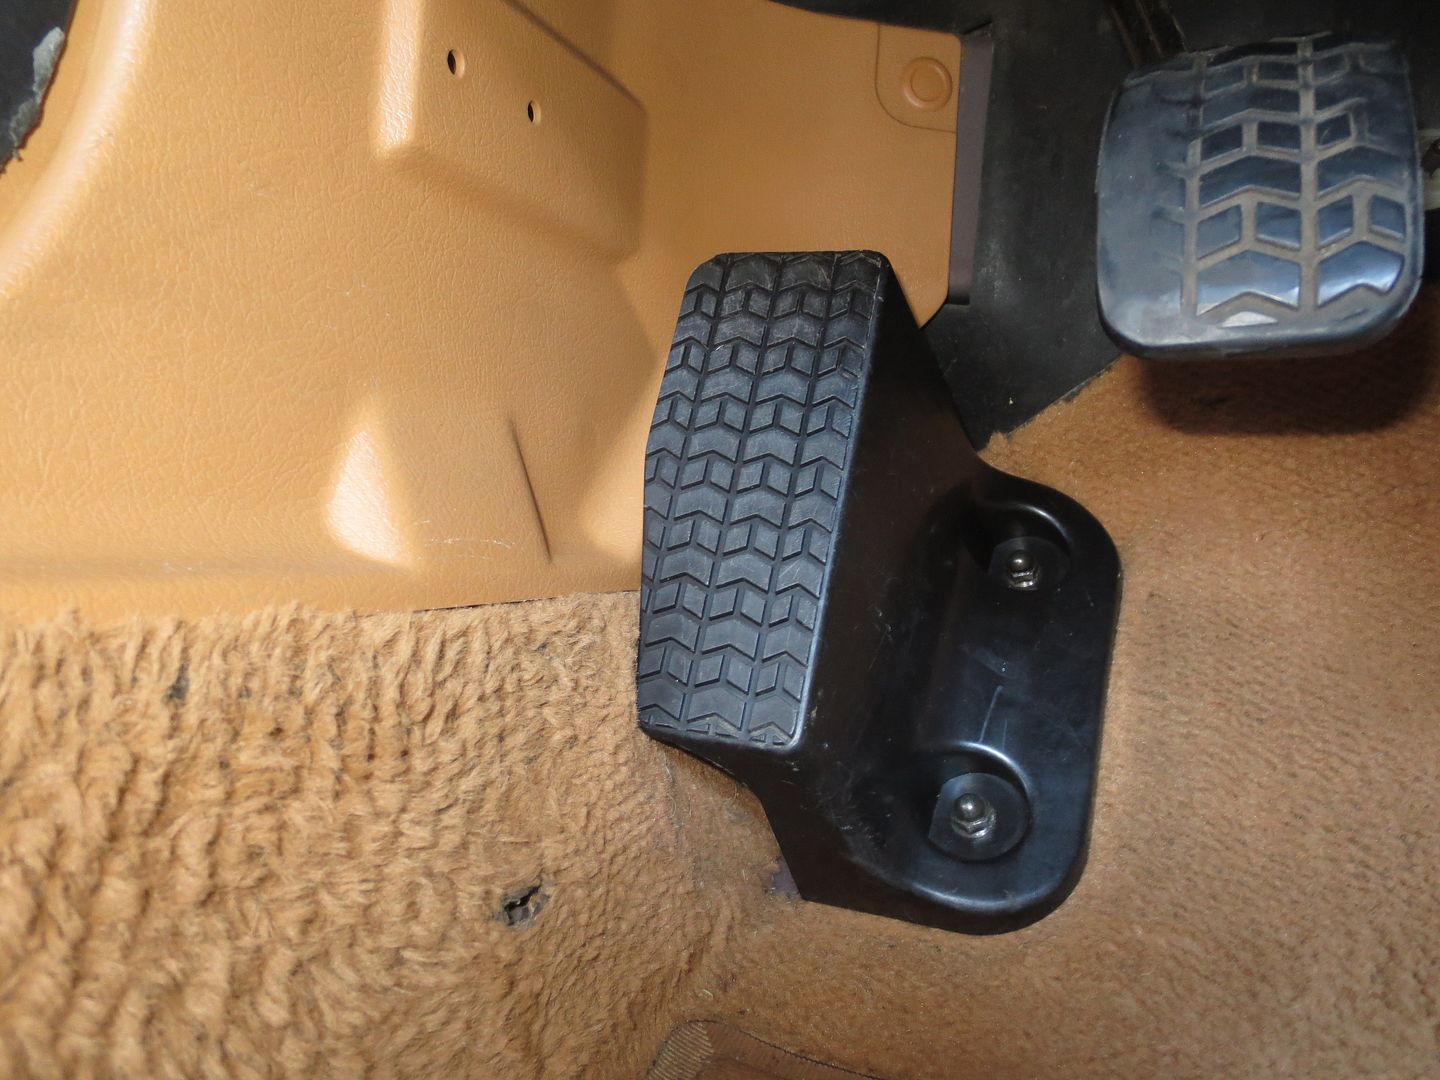
I reinstalled the kick panel, dead pedal and rocker panel trim after cleaning them up. That small black spot on the carpet is actually a hole. When they removed the kick to install the alarm back in 1995, the sharp metal spring clip that holds the kick panel in place fell off and dropped behind the carpet. It spent the next 21 years poking out through the carpet and into the side of the driver's left foot. That hole is probably old enough to drink. Needless to say, the clip is now back where it belongs and the kick panel is properly secured.

 photo IMG_8104_zpsr1mnoqdp.jpg

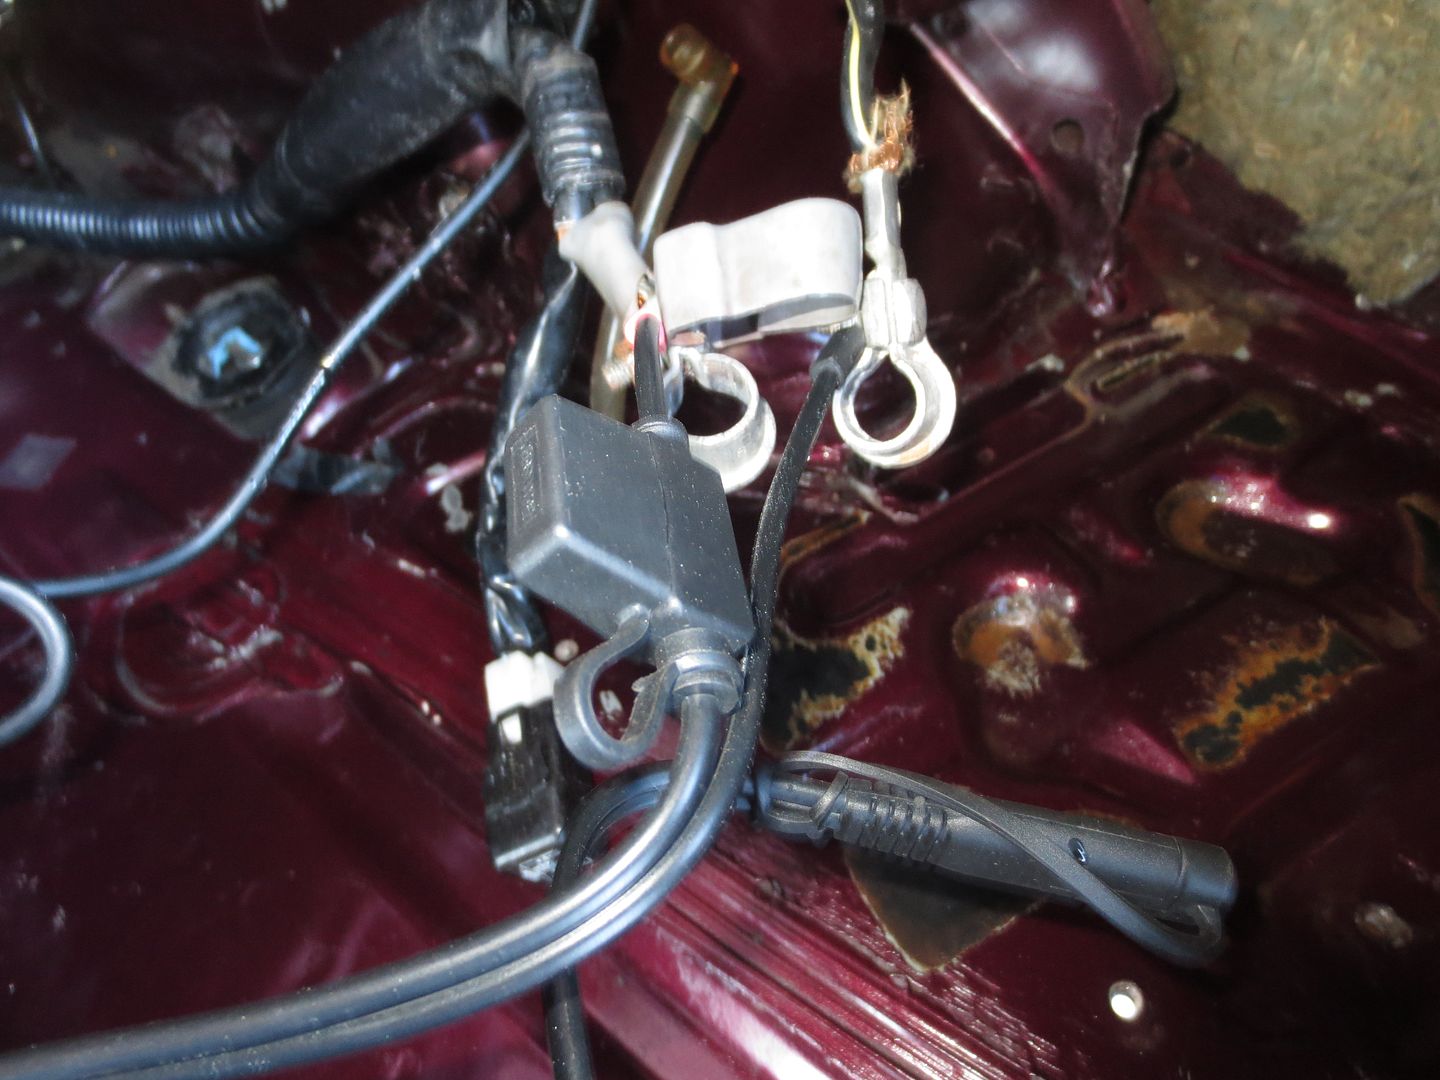
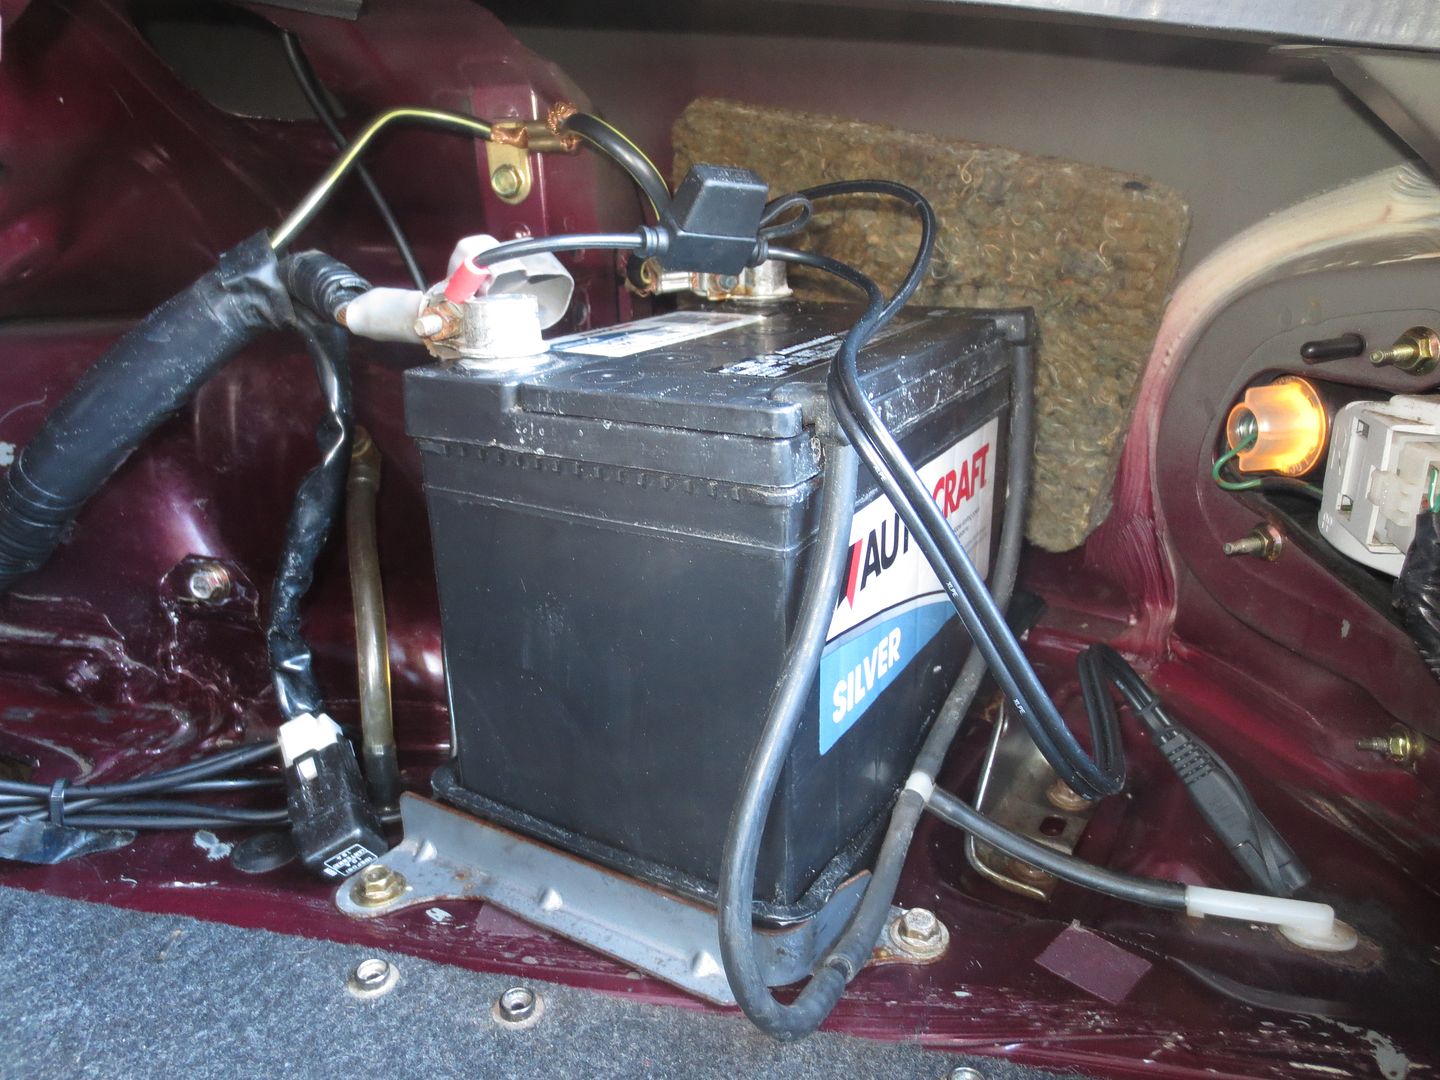
I had disconnected the battery before starting the removal and the whole battery area was kind of a mess. I took the battery right out and put it on a charger overnight.
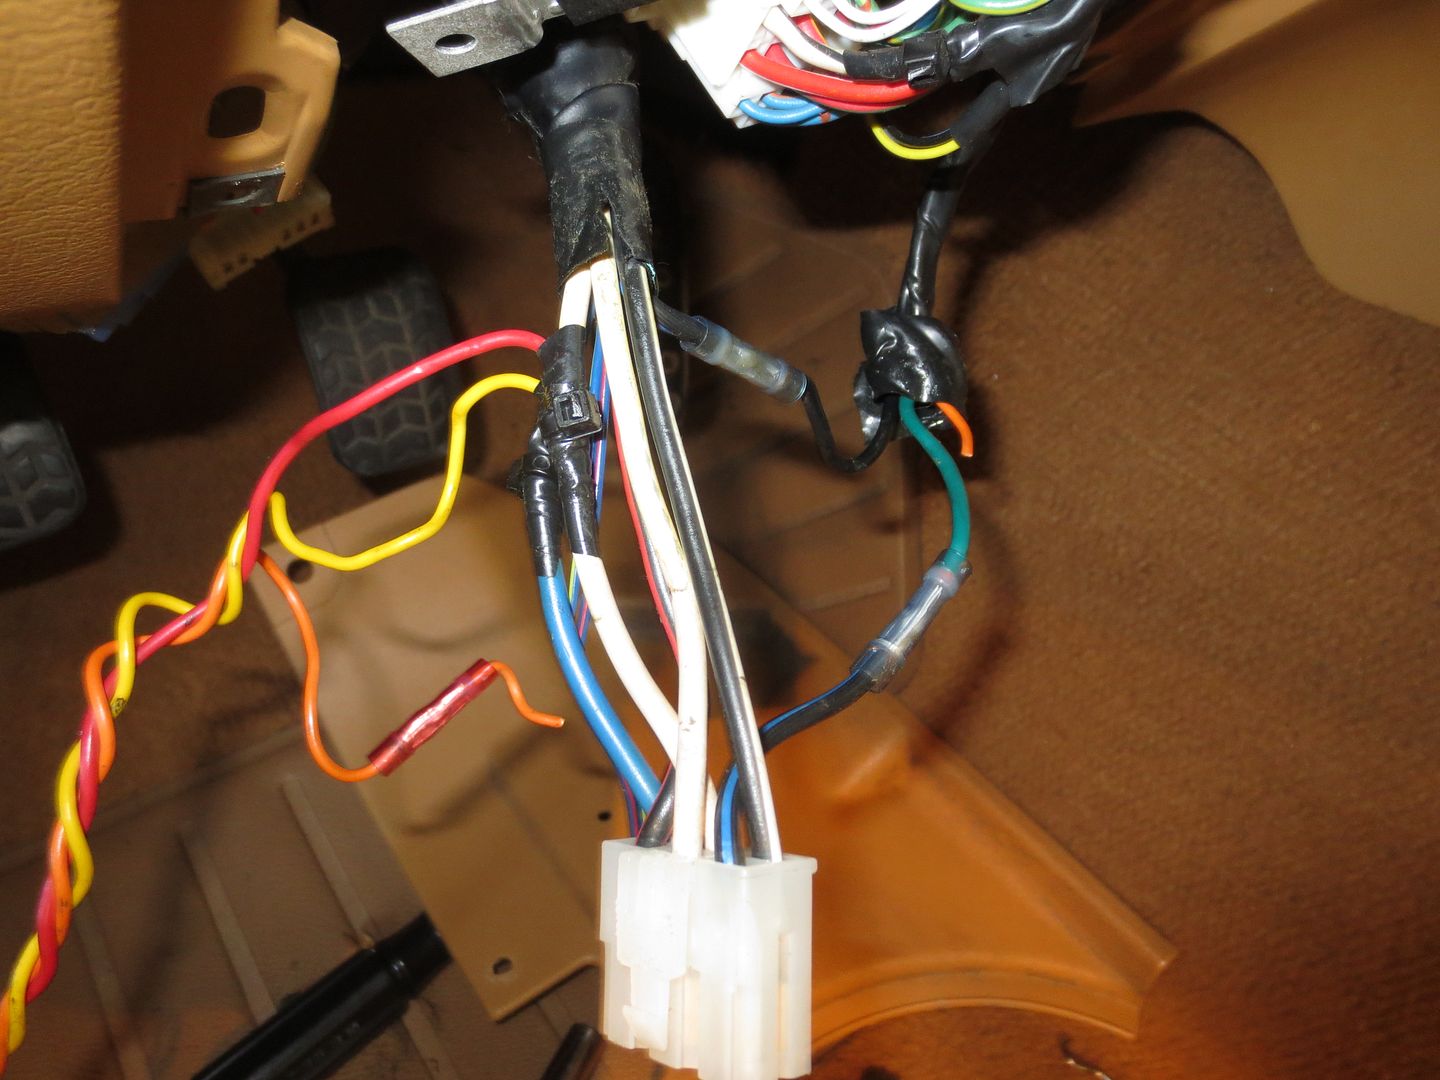
 photo IMG_8101_zps4fer0izq.jpg

I cleaned everything with baking soda and water just in case there had been any battery acid in there (there wasn't) and then followed up with some Simple Green and then wiped down the bare spots with a little WD-40. It's not exactly factory fresh, but it's much better than it was.

 photo IMG_8102_zpsfvuihttm.jpg

I also added a quick connector pigtail to the battery clamps for a Battery Tender.

 photo IMG_8103_zpspjszepgu.jpg

I still have to find a battery hold down bracket. I could fabricate something, but it's probably just easier to find an original one somewhere. Maybe I'll get lucky and find one of the little pieces of carpet that snaps in and covers the battery too.

 photo IMG_8109_zpsues3pneb.jpg

The driver's seat was still on the other side of the garage but I sat on the floor and the car started right up. Alarm Removal --> Successful.

It was also fun to imagine what the car would be like with some actual helmet clearance.

 photo IMG_8107_zpsbeo3elg9.jpg

 photo IMG_8106_zpsucnr1oby.jpg

The seat is back in now but the console and tombstone will stay out for a while while I rebuild the shifter and adjust the parking brake.

cmcgregor
cmcgregor HalfDork
11/18/16 4:19 p.m.

Treasure Coast sells the hold down for a reasonable price - HERE

It's about the same as from Priority Mazda, not sure if you can buy it through Mazda Motorsports. I've been looking around as my yellow car is also missing the battery hardware - odd how that goes missing, seeing as a battery is pretty necessary for the car to work.....

Nice job on the alarm removal and interior cleanup. It's looking like a whole new car.

Woody
Woody MegaDork
11/19/16 6:33 p.m.

There were two more minor tasks that I forgot to address before putting the driver's seat back in yesterday. Fortunately, the seat takes less than a minute to remove.

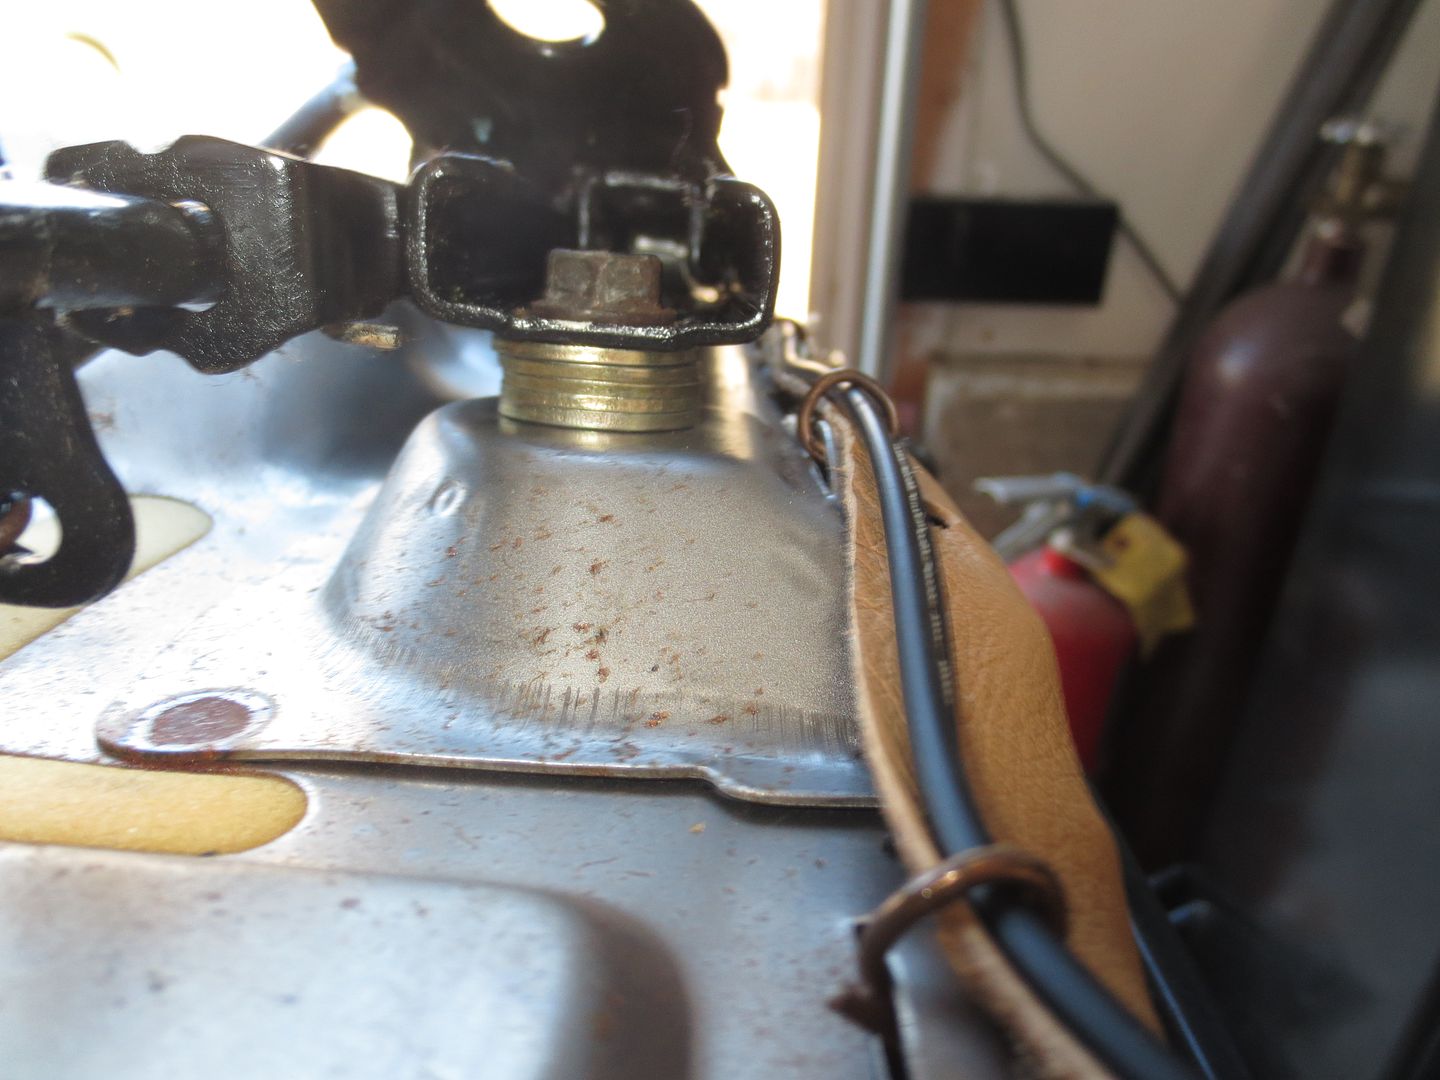
Once I had it back out, I flipped it over, removed the front seat-to-slider bolts and loosened the rears. I added five 5/16" washers to each side between the front of the rail and the seat frame, and then fastened them up with a pair of longer bolts. This tilts the front of the seat up a bit, giving me more thigh support and a slight increase in leg room because my knees are now higher. After owning four Miatas, I have exhausted my supply of appropriately long bolts, though I now have eight extra stockers available in the Big Bucket of Metric Hardware.

 photo IMG_8110_zpscazczhtv.jpg

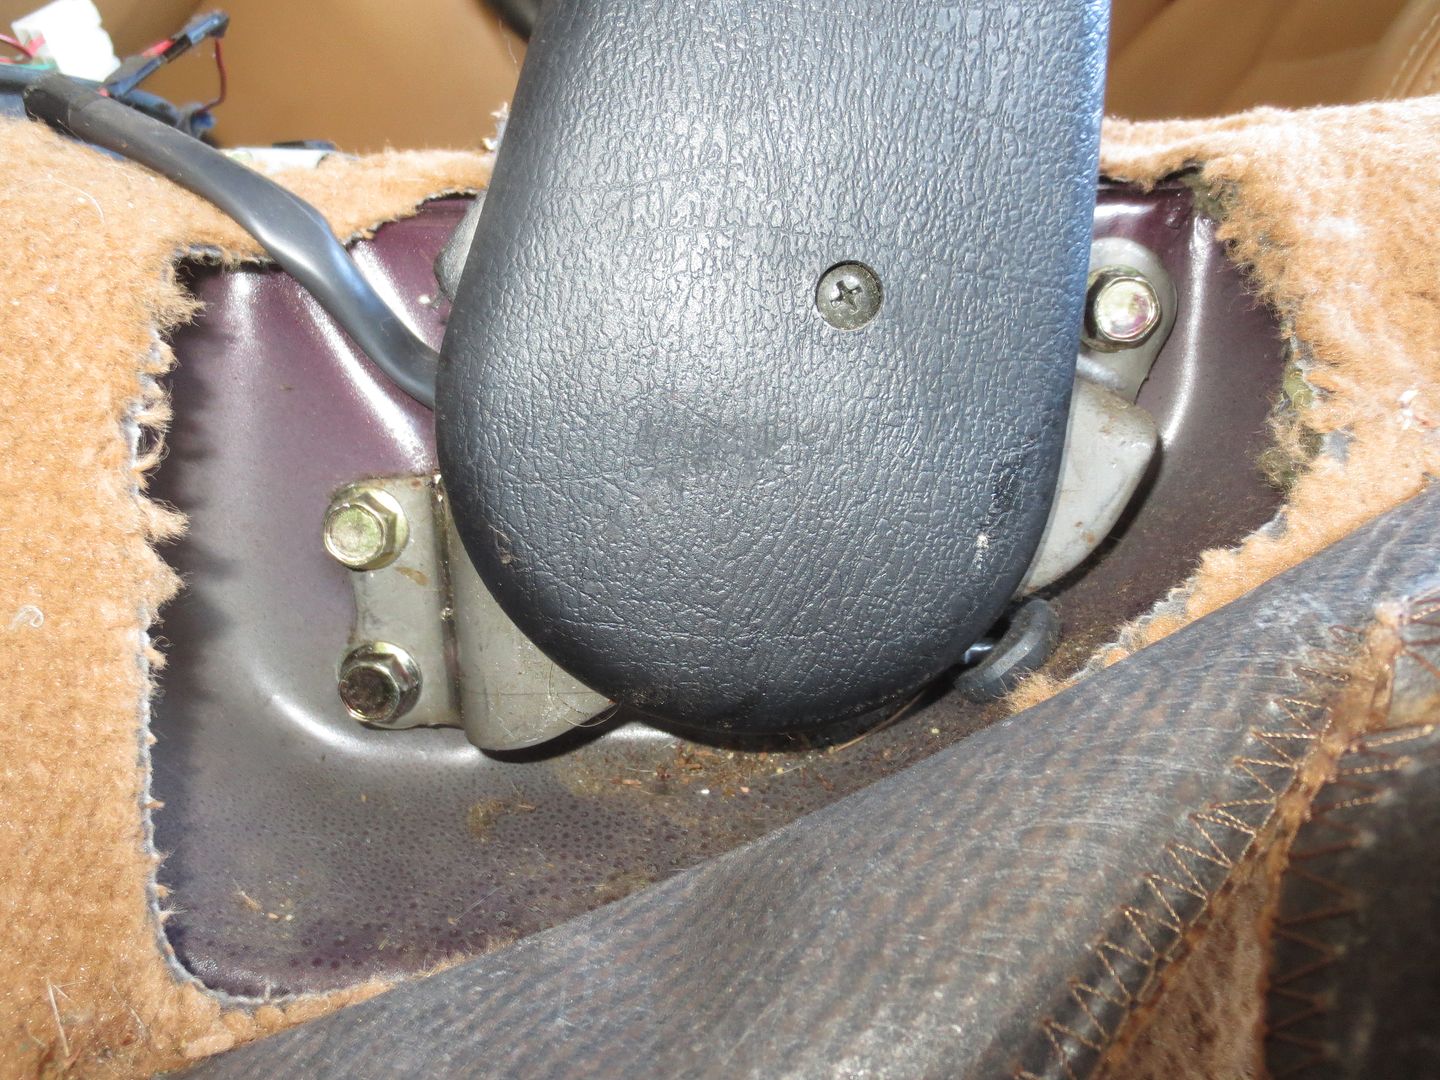
And while the seat was out, I did the Handbrake Mod. I loosened the top two bolts, removed the lower bolt and added two washers between the bottom of the handbrake frame and the driveshaft hump. This moves the front of the handbrake closer to the center of the car, and out of my right knee.

 photo IMG_8111_zps5j0icti3.jpg

These two easy, and almost free, modifications make this car way more comfortable inside.

Woody
Woody MegaDork
11/20/16 11:56 a.m.

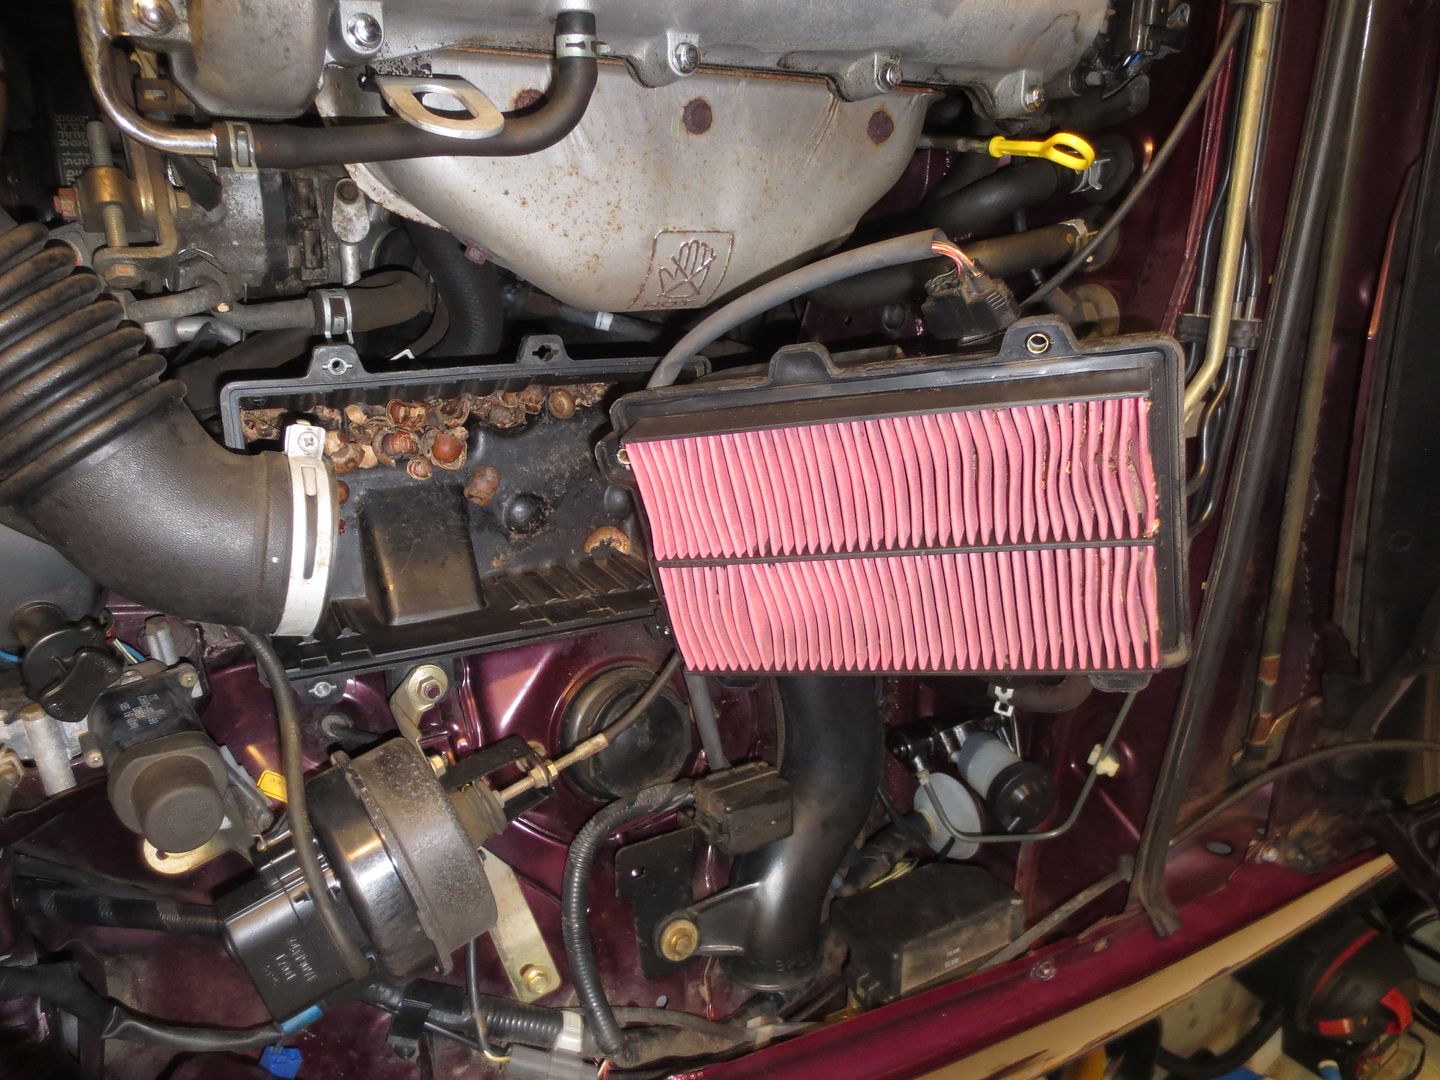
Air filters were out of stock when I picked up the stuff for an oil change, and since the previous owner had mentioned that it was recently tuned up, I kind of forgot about it for a while. I decided to take a peek and see just how new the old filter was.

 photo IMG_8112_zps6kgnwswe.jpg

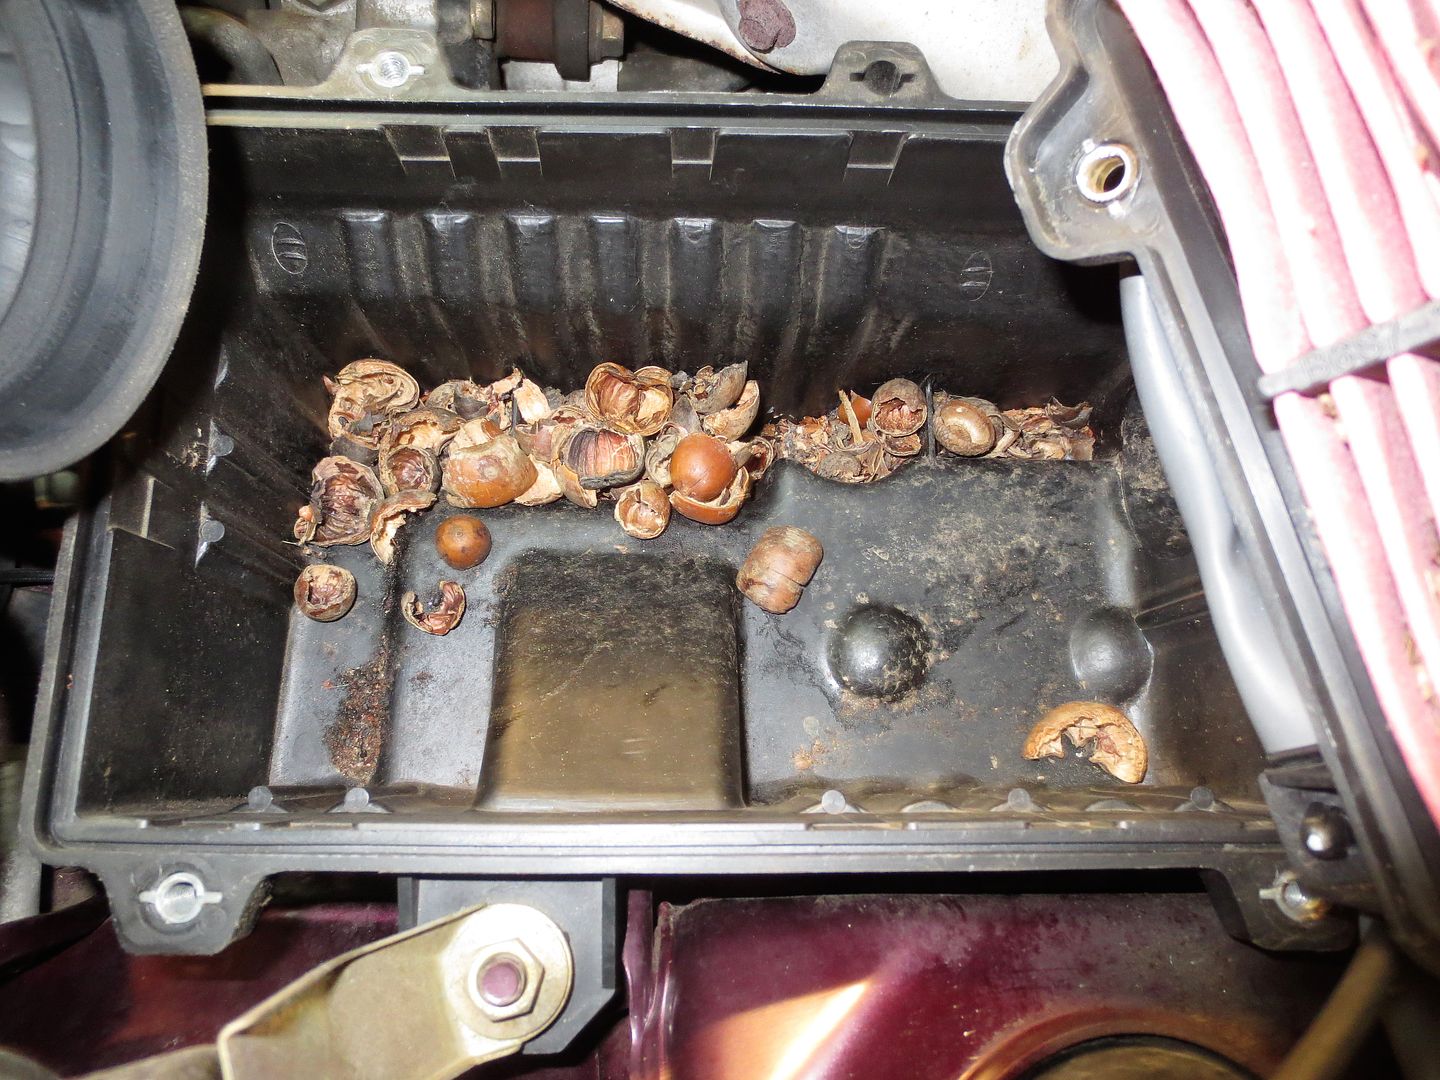
In the Emergency Medical business, we would refer to this as a Partial Airway Obstruction.

 photo IMG_8113 2_zps9ixttx9v.jpg

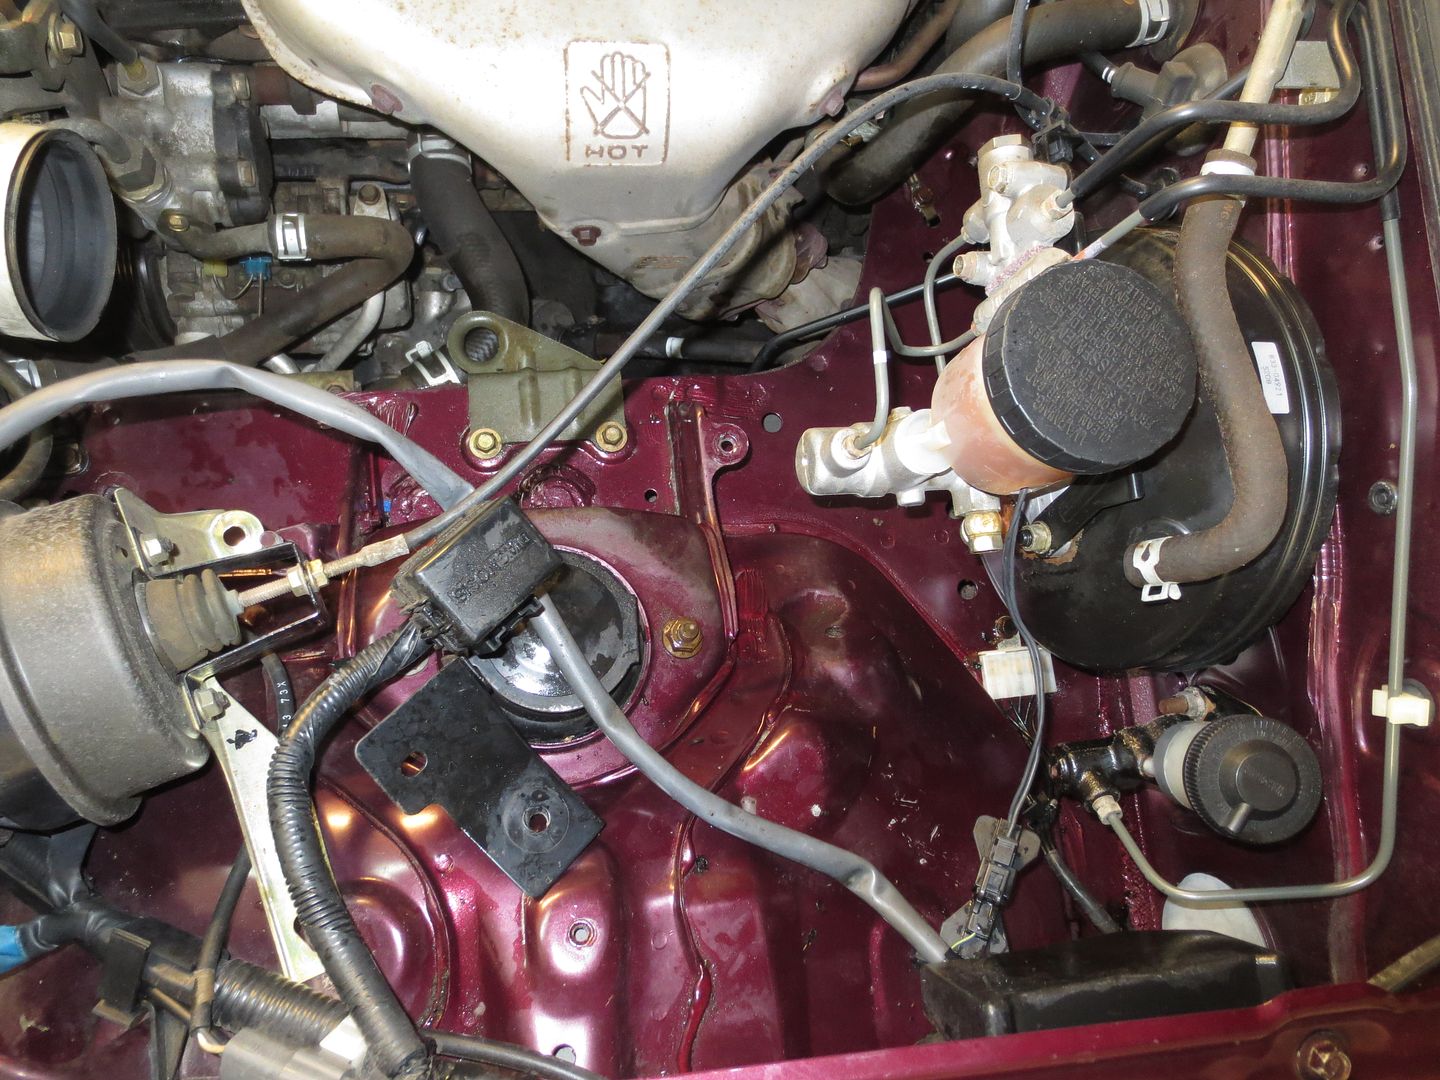
Fortunately, the air filter / mouse wall was intact and the clean side was still clean. I pulled the airbox assembly out and scrubbed it down, along with the area underneath it. I guess I'll order a new air filter too...

 photo IMG_8114_zpsibdlhq0t.jpg

1 2 3 4 5

You'll need to log in to post.

Our Preferred Partners
92FTQif2kxu68MfrQzgwIyyEsELoFLUP6joMSa0D21TOZ2uKEy2sALiksZFpop3I