1 2
Rufledt
Rufledt UltraDork
9/2/16 7:47 p.m.

I'm a noob. When it comes to metal work, i haven't done it. Ever. I want to learn, so i got some books, got some tools, started making some others, and now it's time to start learning by doing. Hopefully this will start small and grow as i get more tools/skills/bravery, and any feedback will be greatly appreciated from greater and lesser dorks alike.

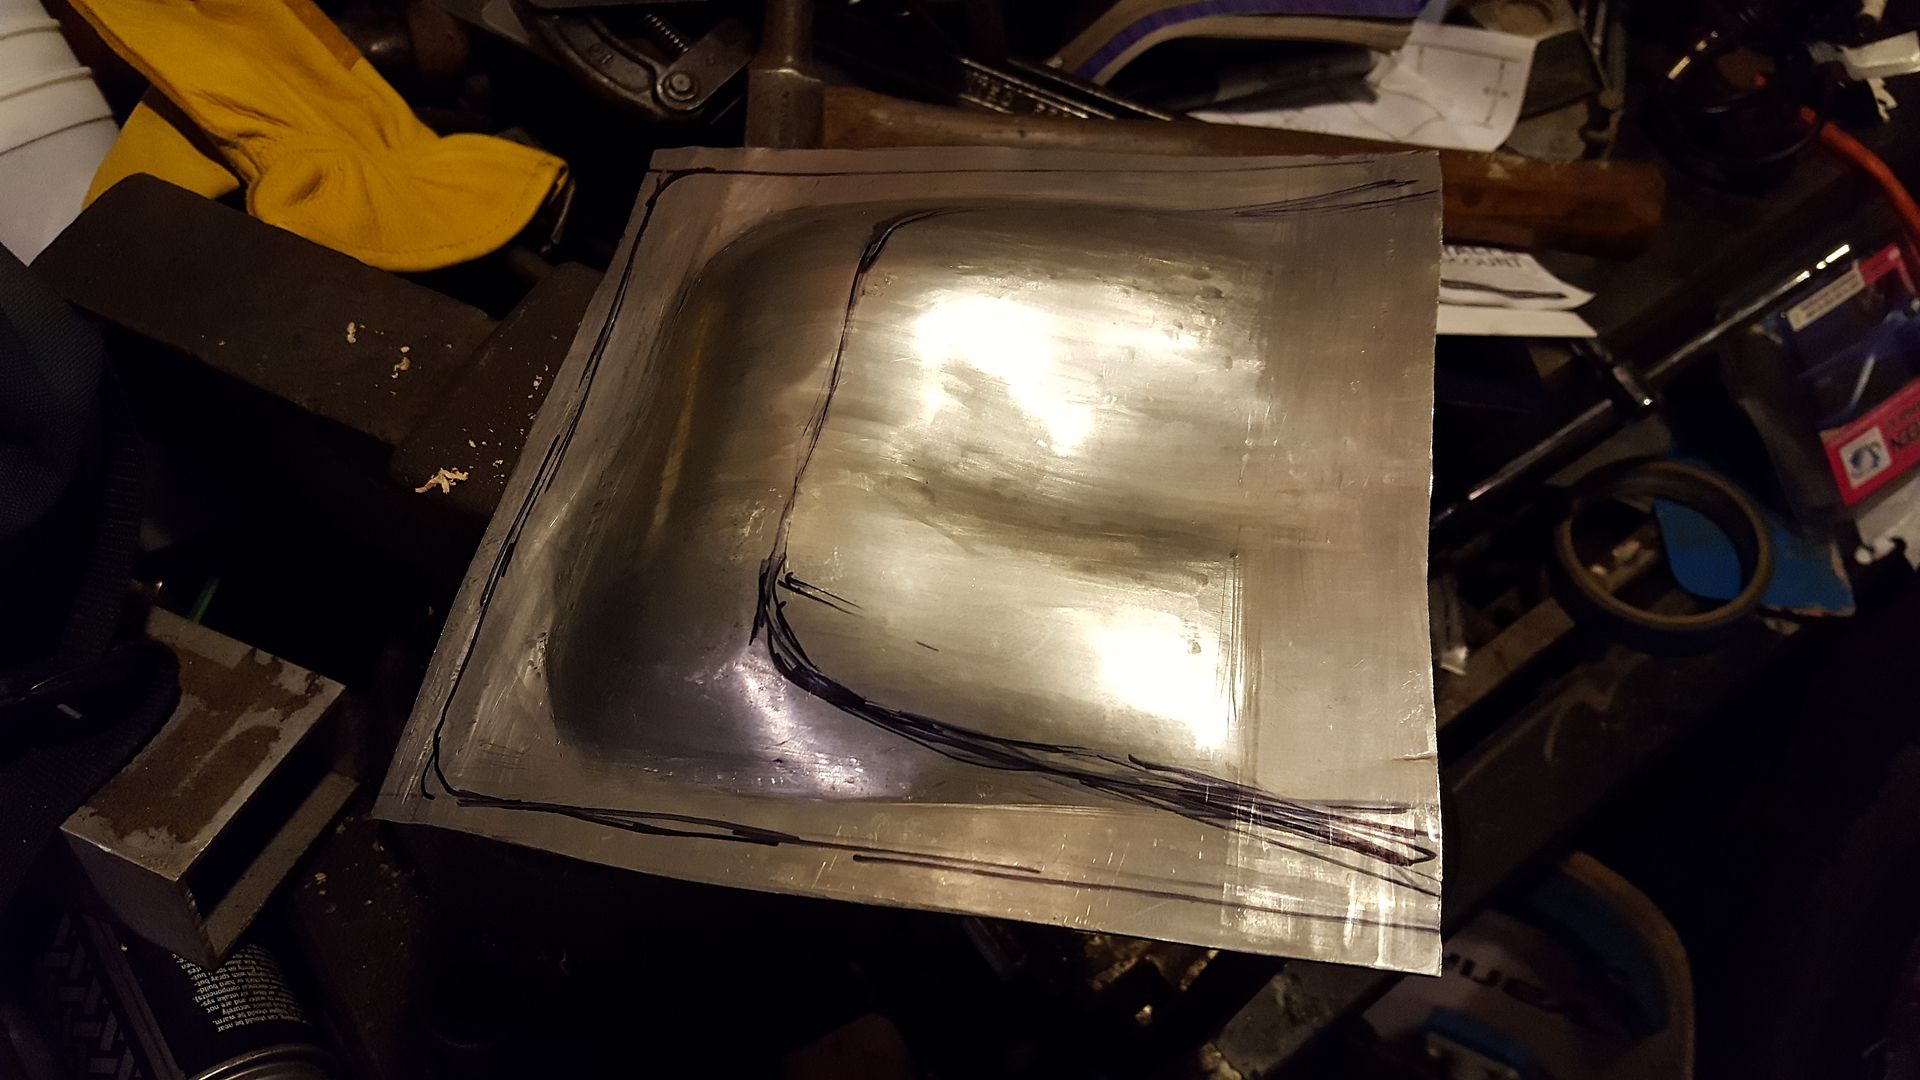
Of all the videos i watched, one common 'project' seemed to be turning a flat circle into a domed circle, so that's where i'm starting. First, I need a metal circle. I got some aluminum sheet (0.025 i think), drew a 6" circle on it with a compass, and cut it out with some snips:

From what i understand, 'doming' the metal is done by stretching the center, and shrinking the corners. I will start the way a few videos start, and use this:

It's a leather bag full of sand, and the wooden mallet i made in the wood working thread. First, a test hit:

Yep, that looks like a dent. Mission accomplished! The soft aluminum doesn't seem to have affected the hard hickory hammer in any negative way:

More hammer time later and i have a lumpy, wrinkly piece of metal:

i wasn't hitting it as hard as most of the videos seemed to show, but i'm a bit tentative in my noob-ness. Next, i want to smooth the lumpiness. I've seen this done with hammers and some kind of shaping anvil or dolly. Cue another tool i purchased, and another one i made out of wood:

I think the key technique here is to put the bent up piece over the wood, and tap the high points down using the hammer. The wood will push the low points up as the hammer pushes the high points down, thus evening out the lumpy surface. I think this is called 'hammer off dolly', right? (serious question, i need someone experienced to confirm what i'm saying here)

After some hitting;

Not as lumpy! Success! Now more mallet time:

And smoothing (planishing?):

The edges are getting wrinkly, so i see an opportunity to try tuck shrinking:

I added some more shape using pliers:

and tried hammering it flat in a manner shown in one of the books:

The pliers i used left some marks in the surface, and the folds in the metal are still visible. I don't know if i did any shrinking or if it simply flattened out the shape, but it did end up less wavy at least here:

I used no heat in this since i don't yet have a torch, but i read that aluminum is more easily cold shrunk than steel. Also i read it works more easily, hence my choice to start with an aluminum dish.

I tried another tuck, but this time bending inward:

Again, not sure how much it shrunk, but it seems to have done something perhaps...

Another round of mallet:

more smoothing and tucks:

and it seems to be laying somewhat flat now after some (guess)work:

At this point it was shower/bed time, so i stopped. I usually have such small chunks of time, i'm surprised i got this much done in one go!

My wooden tools also stood up without a problem. They got some black stuff on them (maybe oil from the metal surface?) and the anvil got some light scratches from the edges of the metal, but there are NO dents in the hickory at all. As for the grease and scratches, i can think of no better wood finish than the patina of actual use.

I learned some things:
1: This is really fun. Hammering stuff is great.
2: This is really loud. Hammering stuff requires hearing protection (which i used after about the 2nd hammer hit)
3: I could feel the effects of work hardening. attempting to tuck a section i already tucked required noticeably more force.
4: Cold shrinking is hard. One book i read showed the use of clamps or other means to hold the aluminum in place. That would help, i think.
5: I tried a hammer-on-dolly technique i saw for stretching metal, but hickory isn't hard enough. The examples i saw used a metal hammer like mine hitting metal on a metal surface. Wood is to soft for effective stretching, but i guess i'll never accidentally stretch the metal using wood in this way, so i have that going for me.
6: For hammering inside, i need a hammer with a little more crown.
7: The irregular curve in the wood anvil is actually helpful.
8: The pointier end of the wood mallet is too pointy. It just puts in little dings.
9: My shallow bowl is still lumpy as e36m3

I also have some questions for the experienced:
1: Would a slapping spoon help smooth out the bumps more? I've heard they smooth high spots more effectively but i didn't try. I do have one, though.
2: How much crown could i get out of this without annealing?
3: Is tuck shrinking worth doing a lot, or should i just save up for a stretcher/shrinker? I still want to learn to actually do it the old school way, though. Keep in mind my end-goal here is work with steel.
4: what is a good progression of simple tasks to learn the basics? The books seem to progress right into english wheel/power hammer stuff, but i have neither of those tools at the moment. Maybe i'll look into an english wheel at some point, but not in the near future (or even medium-term future).

Since i mentioned tools, i'm working on a couple more wood ones, but i'm also looking at the stretcher/shrinker, and maybe a bead roller because of the versatility with all the dies available. There are also some tools you guys suggested in this thread that are on my list, but i'm just trying to put them in the order i'll need them. Of course that depends on what i plan to do next. Any suggestions?

wheelsmithy
wheelsmithy Dork
9/2/16 8:04 p.m.

Actually, you are doing hammer on dolly. Hammer off means you support one area, and hit another. Sort of a scale difference. You are probably ready for annealing on that Al . Scribble on it with a sharpie, and burn off the sharpie residue, and you're good to go. A MAPP torch will do fine.

BTW, the bowl looks great! You are doing a good job getting all the small dents smoothed out. Carry on.

Rufledt
Rufledt UltraDork
9/2/16 11:06 p.m.

In reply to wheelsmithy:

Thanks! i was kinda confused about what constitutes on or off dolly, because it seemed like i was hammering directly over the dolly, but on a high spot with a gap between the metal and the wood. The less useful part about books is that i can't ask the author a question when it's unclear!

I'll have to pick up a torch. i don't have one and from what i read, cold shrinking steel isn't particularly easy. I'll need to find another surface to use during heat shrinking, though, i think wood wouldn't react too well to red hot steel. Even relatively low heat can brown wood and alter it's properties, so i bet a torch would be well above the safety threshold.

Thanks for the feedback on the bowl! Now that i've let it sit a few days, i see more high spots i should've been able to get out at the time. The lighting in my garage isn't ideal for seeing unevenness, but i'm addressing that fairly soon. I tried to read the reflections of a single florescent tube (my only close light source at the time) off the metal to see where high spots were, but i'm not experienced enough to really spot them easily once the big ones are hammered out.

NOHOME
NOHOME PowerDork
9/3/16 6:20 a.m.
also have some questions for the experienced: 1: Would a slapping spoon help smooth out the bumps more? I've heard they smooth high spots more effectively but i didn't try. I do have one, though. 2: How much crown could i get out of this without annealing? 3: Is tuck shrinking worth doing a lot, or should i just save up for a stretcher/shrinker? I still want to learn to actually do it the old school way, though. Keep in mind my end-goal here is work with steel. 4: what is a good progression of simple tasks to learn the basics? The books seem to progress right into english wheel/power hammer stuff, but i have neither of those tools at the moment. Maybe i'll look into an english wheel at some point, but not in the near future (or even medium-term future).

1-A slapping spoon would be good for planishing over your curved wooden anvil. Old bowling balls are good for this, so keep an eye out as they are very cheap at garage sales.

2- "Every third round" is not a bad rule for annealing, although I dont do a lot of alloy, so just quoting book-lore. You should be able to feel/see if it is not working as easy.

3-After cutting tools and the sheetmetal break, the shrinker stretcher tools are the ones I use the most when doing bodywork.

4-You need a real project in order to focus your learning. While all the tools are cool and can make life easy in a production environment, metalshapping for me is fun because it is a series of "How the berkeley am I going to make this piece with the tools that I have in the shop right now" challenges.

Unless you get into very rare cars, automotive restoration does not get into a lot of metal shapping. Most of the time repair panels are available. You end up in a situation where you can spend a few hours making a repair panel, or buy it for $50. Its fun to make it once.

Buy the shrinker/stretcher combo. Tuck shrinking looks painful to me.

Look up stump forming, very useful. Shrink, stretch and form on one very cheap tool.

I love my E-wheel. All three times a year that I use it. It is the most bored tool in my shop, almost feel sorry for it. I actually use it more for non-traditional jobs using soft upper or lower wheels or flat lowers to fold curves. Never have got around to making the traditional bowl like you just did. So, already, I can say "I wish I had your skills" because you have done something I have not done.

Your next challenge could be joining metal. The most cost effective and versatile way to do this is oxy-acetylene.

Rufledt
Rufledt UltraDork
9/3/16 6:06 p.m.

Thanks for the tips! It looks like a torch isn't too expensive, so I'll pick one up. I have been avoiding metal joining until I get a welder later this year, but I'll probably need a torch anyway.

For cutting I just used the snips in that first picture. It wasn't super easy cutting this thin aluminum, I imagine thicker steel would be considerably more hand-pain inducing. That's my only method of cutting at the moment (except for the other handed snips) but I'm seriously looking at other options. So many out there, though.

Just today i thought of a way to make a brake out of wood so I'll probably add that to my wood working list. the design I'm thinking of should be good up to 4 feet for up to 90 degree bends, though what I'm picturing wouldn't allow for super precise bends. It probably couldn't do thick metal either, but automotive sheet metal it probably could. I have an idea for stiffness too that wouldn't require a million pounds of wood. The only thing left to do is try it I guess, though my stash of hickory (that isn't earmarked for longbows) is getting low.

Funny you mention the stump, that's actually next on my woodworking list. By "next" I mean "almost finished", I got a couple stumps (one oak and one sugar maple) and I have one debarked, cleaned up, ends planes down and a circle drawn on one of the faces. I just need a gouge to remove the wood from the bowl. I probably don't need a gouge if I'm honest, but it's a great excuse to buy more carving tools.

I get what you mean about needing a project to guide the efforts and I do have a possible one in mind. When I was young, I had a power wheels jeep. Now, I have a 2 year old and another baby on the way. It's nearly powerwheels time. My parents kept my old jeep, and also got another one at a yard sale. Both are plastic jeep bodies. im thinking of taking one of them and making a new body out of sheet metal in the style of a Willys CJ2. I have a friend with one so body details will be easy to research, and it looks like it's mostly simple shapes. To top it off, I could simply attach the panels to the existing body, so it's not like I would be welding a new frame together. I'm thinking that kind of a project would force me to make panels (and mirrors of those panels) to attach to the jeep, while not forcing me to match complex curves or stuff that is too far ahead of my skill level. The basic structural part of the powerwheels jeep will remain as is and functioning.

Sound like a good idea? I kinda want to test the brake idea and get some kind of bending set up first. I saw a video with Gene Winfield explaining how to make a simple and versatile one out of pipes, so I'll probably just do that. He's the man from what I can tell.

Rufledt
Rufledt UltraDork
9/3/16 10:52 p.m.

So the idea i had about a wooden brake, i couldn't just NOT test that out today. I assembled the remaining pieces of hickory in my garage, 2 clamps, the aluminum sheet, and a can of mountain dew, live wire:

Drew a line to shoot for when bending:

Assembled the chunks and clamps as per my idea:

Here's where it starts not working as good as a metal one:

The 1x2 isn't ideal for much of anything. it's kinda warped, and not much of a surface to grab. The idea is to push down on the metal using this small piece free hand, and guesstimate the angle:

Eased it down to about 45 degrees.

Seems to work, though the angle of the bent at the edges isn't very crisp. This might be the board flexing (or just being warped to begin with), or my not using enough force. THe far end of the sheet is cut in a curve, so the picture looks kinda screwy from this angle. I continued about as far as i could:

It didn't quite make it to 90 degrees. I can push it to 90 degrees, but it springs back a little. I hadn't anticipated that, though it's obvious in hindsight. D'oh. It does seem to work somewhat well for just being scrap wood and clamps, with all bending freehand:

I had another idea:

That's a 7/8" oak dowel. Oak is no hickory, but it's no wimpy pine, either. Freehand bending:

This time i was able to bend it past 180 degrees so it sprung back to 180 or so. I did notice the 'spring back' results in a radius that isn't as tight as the dowel:

Still, though, quite impressed with how well it worked:

Now it looks like i have more wood working to do after i finish that stump! The possibilities are endless! The weird thing is i'll be able to say "Hey, look at my awesome sheet metal brake!" and point to a pile of lumber. People will think i'm crazy. I like that.

NOHOME
NOHOME PowerDork
9/4/16 8:02 a.m.

I see you are right into the spirit of "Doing it with what you have". The power-wheels Jeep is a great idea. Looking forward to the build thread.

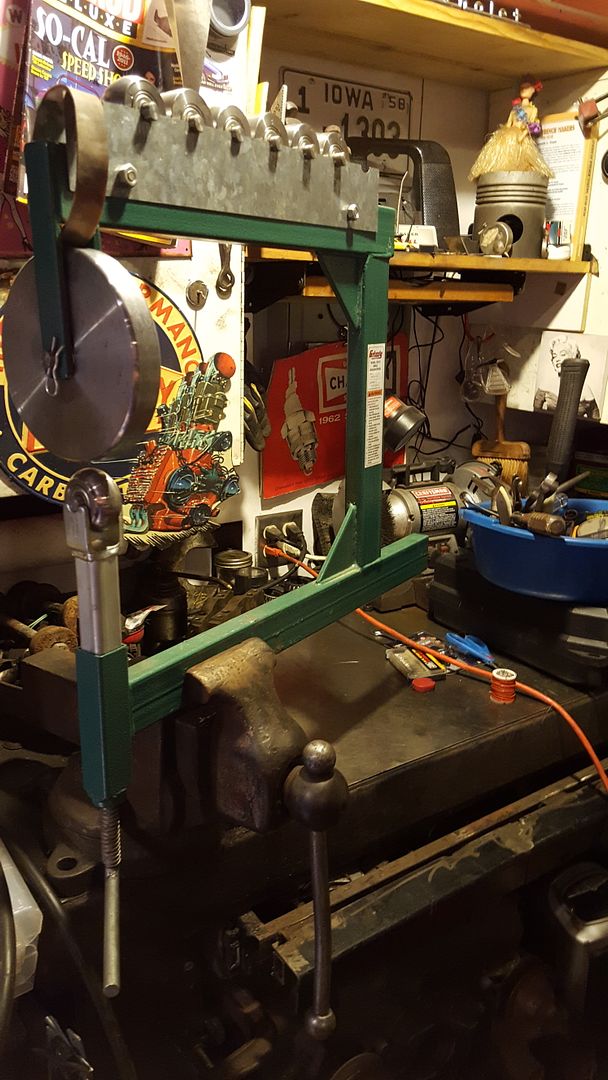
I have one of these and find it quite useful for a lot of things.

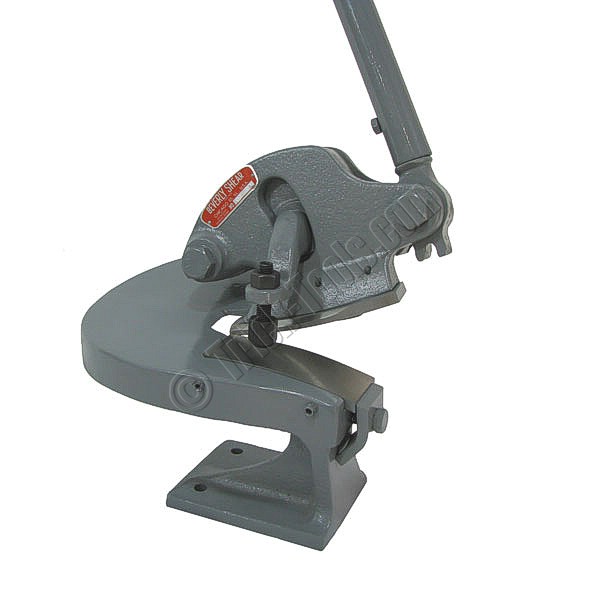
For cutting out your sheet-metal, it is hard to beat the Beverly shear

And if you are going to insist on working with that wood stuff, amybe you want to see if you can obtain one of these.

http://hackaday.com/2016/08/25/hands-on-the-shaper-origin-a-tool-that-changes-how-we-build/

wvumtnbkr
wvumtnbkr SuperDork
9/4/16 8:38 a.m.

If you hinge the end board with a piano hinge, it will probably work better and be easier to use. You can also attach a handle to it at that point for more leverage.

Rufledt
Rufledt UltraDork
9/4/16 11:39 a.m.

In reply to NOHOME:

Those look pretty awesome, especially that robot router thingy! I definitely need a better way to shear large things, and a real brake would be nice. I'm mainly just experimenting to see what I can do with wood so I can put off purchasing a brake. I can't make wooden shears, though. At least I don't think so. . Fun fact, hickory is indeed hard enough to take a very sharp edge. Maybe not enough for shearing metal, but it'll clean slice right through fingers!

In reply to wvumtnbkr: I had considered that but I would need some pretty tight fitting hinges. The bench there is a folding one attached to the wall with a long piano hinge, and I am somewhat disappointed by how much flex it has. The attachment points flex, but also the hinge itself has some flex. I have a few ideas for improving it, first of which is to actually design something and not clamp scrap wood together, but I can't think of a really solid hinge system that doesn't advance the cost and complexity to "just buy a real one" type levels.

Crackers
Crackers New Reader
9/4/16 8:07 p.m.

When cold shrinking a tuck it works best to do it from the inside on a concave surface. Absent that, having your anvil/dolly just outside your tuck and striking the opposite side of the tuck just past the crown with a sweeping motion towards the anvil/dolly. It's the sweeping action that does most of the work.

Piano hinges don't work for metal brakes. The working corner of a brake has to align with the center of rotation of the hinges. If you have a piano-type hinge with a 1/8" pin and 1/16" flange, you'll have a minimum of 1/8" misalignment assuming zero play in the hinge, which makes for a sloppy and unpredictable bend.

It may work for very light aluminum like you're using now, but would be nearly impossible for steel assuming you could even find a hinge capable of the load.

Crackers
Crackers New Reader
9/4/16 8:25 p.m.

A couple other things. Work a tuck from the inside/point of the tuck to the edge alternating working both sides of the tuck.

Also, you mentioned holding back while hammering over the bag with the mallet. Don't. The harder you hit the more it will stretch. Lighter blows are more likely to bend and just make tucks. With thin aluminum there is a chance of tearing it, but effective stretching is going to be close to that point in that medium.

Also, also, you can anneal/normalize aluminum in an oven or over a stovetop. With what you're working with you could probably use a Zippo. AL has a super low working temp.

Madhatr
Madhatr Reader
9/5/16 3:36 p.m.

Looks like you are headed down the right path... you are atleast trying it!

I too am somewhat of a noob but I can offer what I know:

Yes, as stated before a slapping spoon works pretty well for plannishing. Also they make shrinking hammers.

Anytime you stike the metal between the hammer and anvil (on dolly) you are stretching it. Anytime you stretch it that metal has it go somewhere. That realization has helped me.

Also, there is some videos on YouTube called "metal shaping by Lazzie" he does some amazing stuff... alot of the stuff is beadrolling and english wheel, but one of the things that helped me was to leave a 3/4" 'frame' around what what you are trying to raise. It forces the stretched metal to go up instead of out.

Here is the piece I made last week for a gauge cover. This was done on my cheap bench top English wheel, but could be done with a bag-n-hammer.

 photo 20160826_232158.jpg

Unfortunately I raised it too tall... so I get to make it again

That pretty much what I know... like you, I am making it up as I go along!

Rufledt
Rufledt UltraDork
9/7/16 2:07 p.m.

In reply to Crackers:

Thanks for the tips! I will have a concave surface pretty soon, my stump is waiting for that step. The problem is that I don't have a gouge to hollow it out and there is a wood carving show here in about a week. Methinks I'm going to wait until then to pick one up. Again I don't need a gouge to do it, but I have a serious want for the carving tools and if I don't stick to this excuse it's not gonna happen

I got a map gas torch for annealing. So far I have learned it will melt aluminum but not steel. I tried to use it for tuck shrinking on steel but I'm not sure it worked. Still could be lack of skill on my part or wrong torch, I don't know. I didn't get it for shrinking anyway. I am, however, getting a shrinker/stretcher at some point, but I don't want to give up yet!

I tried making a steel bowl and it's quite a bit tougher . The hickory held up well to the abuse, but it took quite a bit of pounding. I think it's 20 gauge I was working with.

In reply to Madhatr: thanks! That looks pretty awesome, I wish I saw your post before soon the steel bowl, I didn't leave any flat frame around it. I'll look up that YouTube guy, too. Is your bench top wheel by chance an Eastwood product?

I got pictures of the steel shaping but haven't had time to post yet. It will include a couple questions probably.

vwcorvette
vwcorvette SuperDork
9/7/16 8:52 p.m.

You need to watch Project Binky. Those English dudes are talented metal workers.

NOHOME
NOHOME PowerDork
9/7/16 9:39 p.m.
vwcorvette wrote: You need to watch Project Binky. Those English dudes are talented metal workers.

I Jones for each and every Project Binky update, but they are metal fabricators, not shappers. big difference.

When it comes to making a metal shape, if you cant visualize where to shrink or stretch, roll our a piece of clay and start to shrink or stretch the thickness so that you get an idea of what the metal need to achieve the shape.

Rufledt
Rufledt UltraDork
9/8/16 3:45 p.m.

I've been subscribed to the project binky channel for a long time but never watched the videos, finally watched one last night in your recommendation. All I can say is ... They are trying to build the exact kind of car I want. Very small, very light, and with a rally car drivetrain.

I looked up Beverley shears and they seem really great, but pricy. I noticed Eastwood sells one for cheap with less than stellar reviews, but even cheaper they have an electric and pneumatic nibbler for even less. They don't claim to be able to handle metal as thick as the Beverly shear, but do you think they would work well enough for a while? The site and reviews claim they only work for up to 18 gauge mild steel, but I can't see myself using anything thicker than that (or even as thick as 18 until my van project). If it fails they have a decent warranty and return policy.

RE: oxy-acetylene torches, is the equipment for that (assuming I have nothing now) more than a mig welder and accompanying equipment (again assuming I have nothing)? I read up on torch welding and it seems very useful and versatile, but I know for sure I'm going to go with mig welding at some point soon and again I don't want to blow lots of money right off the bat.

Also I got confirmation that I can take the powerwheels jeep and hack it up for a rebody experiment. Well, more accurately I was told "yeah, fine, just get it the hell out of my back yard and don't bring it back. I'm sick of looking at it." Coincidentally that's exactly how I got my '87 E-150.

Madhatr
Madhatr Reader
9/8/16 8:42 p.m.

In reply to Rufledt:

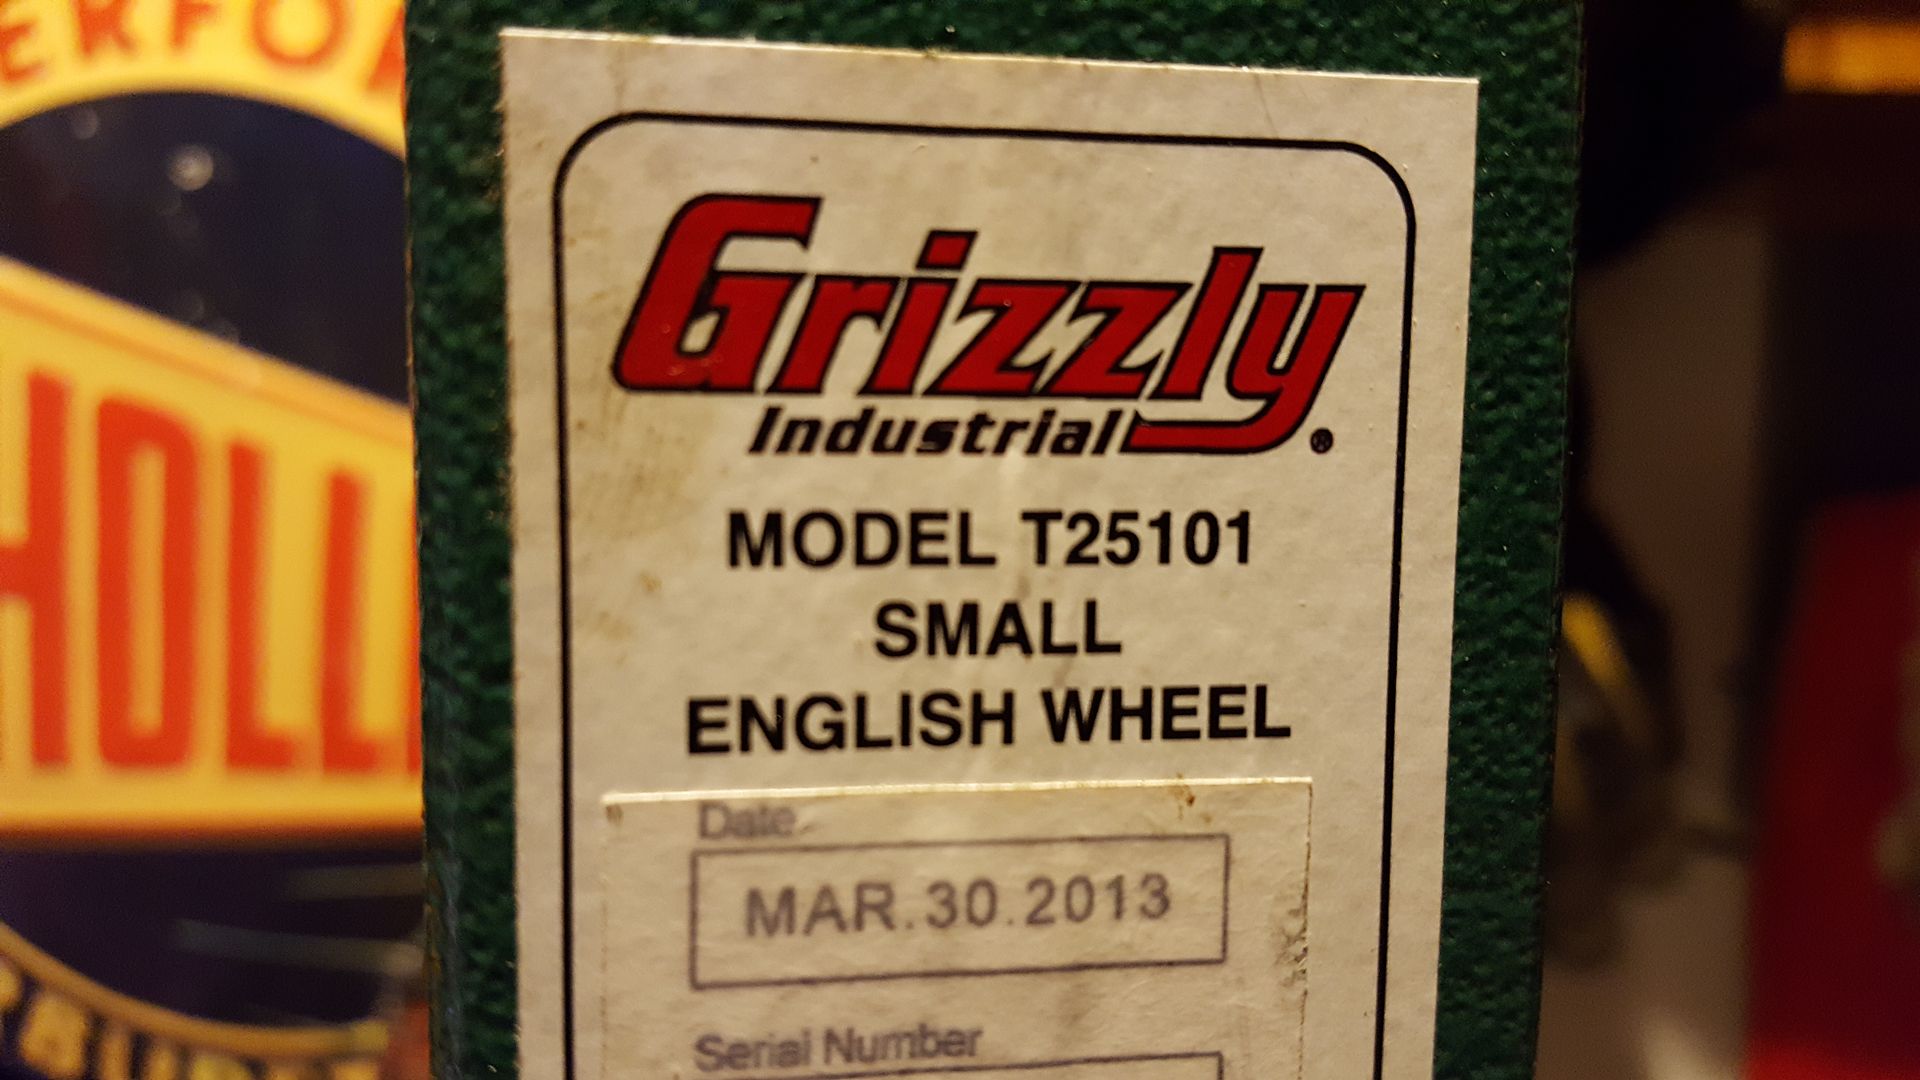
No, my wheel is from Grizzly

 photo 20160908_190940.jpg

 photo 20160908_191027.jpg

Is it good?... probably not. Some day I will have one of the big boys, but I think I payed $80 for it on sale. So it was cheap enough to play around with.

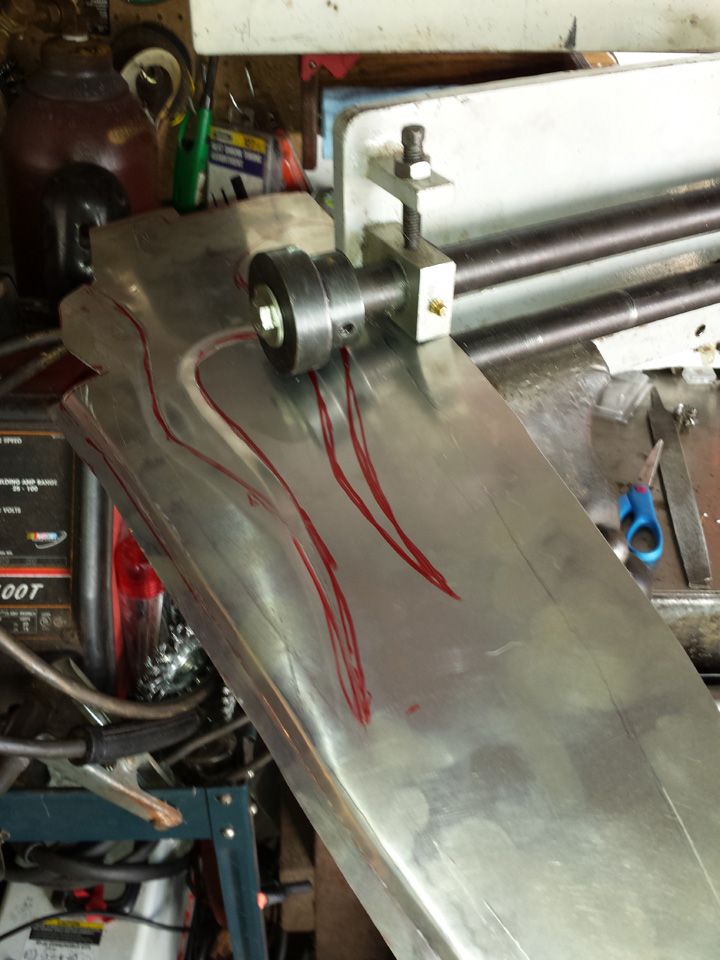
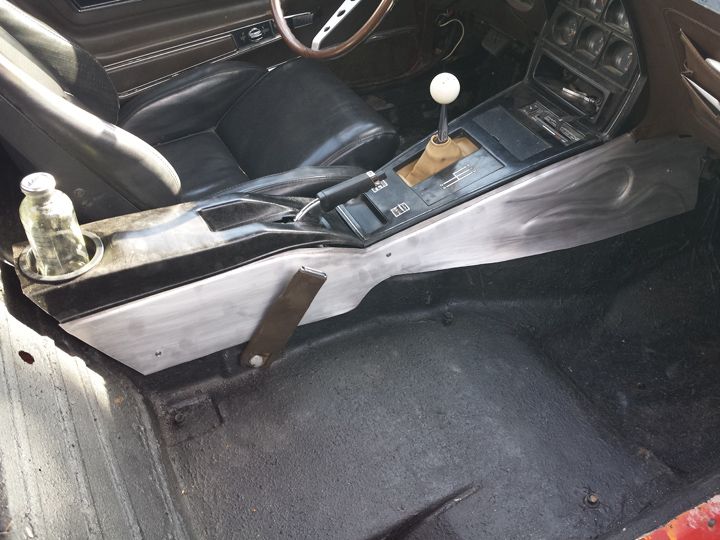
I have a Woodward fab bead roller that I used to make console side panels for the vette

 photo con-3.jpg

 photo con-6.jpg

I also have their shrinker/stretcher set, but I haven't set it up yet.

Keep working and show us what you come up with!

Rufledt
Rufledt UltraDork
9/8/16 10:44 p.m.

For $80 it looks pretty awesome to me! I was looking at bead rollers, too. I'm thinking a bead roller could have many uses compared to other tools, and the results would be difficult to replicate without one. It's definitely higher up on my list than an english wheel. I think a stretcher/shrinker is probably next for serious purchases, but i'm going to see how much of the jeep project i can do without it before spending the cash.

Speaking of doing stuff, here's how the steel practice worked out:

I started with some 22ga mild steel, and drew a larger circle on it:

I then gave myself severe hand cramps by cutting this out:

I did that before i read the tip to leave a 'frame' around it.

Another test hit to see if the hickory works, this time no holding back!:

no different from the thinner aluminum, except a much harder hit is required it would seem. The mallet held up fine.

And now mallet time!

Planishing with the metal hammer on the hickory forming anvil:

THen a tuck:

For this one i tried a technique i read in a book, it said to shrink the end first, which traps the metal inside the tuck and prevents it from folding down, then work from the inside out as per usual. Don't know if it worked because i'm not exactly experienced, but it was fun to torch metal up to red hot and hit it with a hammer anyway.

Then it continued in much the same fashion as before:

This is where i encountered a problem. I think the tuck is too deep, and the top should be less flat. Like, they are supposed to look like mountains, not mesas, right?

Anyway, this happened:

I don't know how much of the arch is from the tucks, or from the fold that i mistakenly made in the metal.

Anyway, i moved on to try a little filing:

I hit it first to see the high spots:

Then i tried some slapper action and hit it again:

after a while i tried raising a specific spot, the low spot indicated here:

I then tapped it underneath using the pick end of the hammer:

and hit it with the file again:

low spot gone, huzzah!

At this point my wife walked in to the garage and said "Weren't you going to mow the lawn?" At this point, i was reminded of what one of my customers said about marriage, that in any moment like this, or even any argument in marriage, it's important that the husband ALWAYS gets the last word: "Yes, Dear."

NOT A TA
NOT A TA Dork
9/8/16 11:10 p.m.

You have a jigsaw or band saw for woodworking? If so, get some metal cutting blades so you can cut curves without using hand snips. If not, go buy a cheap jigsaw and you'll have more time to play with metal before mowing the lawn.

I have a cheap HF bead roller someone gave me. Looks like a copy of the Woodward one Madhatr has. Not the most precision piece of equipment but works fine for up to 18 gauge steel if it's got additional support when making tight curves.

[URL=http://s240.photobucket.com/user/NOTATA/media/mods%20and%20fab%20stuff/002_zpsd5oi3hih.jpg.html][/URL]

Crackers
Crackers New Reader
9/9/16 1:32 p.m.

You don't need to make such a pronounced tuck, in fact it works against you working hot. Anything under ~16-14ga works better cold IMO. Thinner sheet like this turns into paper when it's hot. You can work it down hot but you have to do it very gently and slowly making sure you don't dent it or it makes creases like that.

I'm doing some sheet metal work today patching some rust spots on my riding mower. (I ran over a root and tore the deck off it.) I'll try to take some pictures and figure out how to post them.

Rufledt
Rufledt UltraDork
9/9/16 3:49 p.m.

I bet that wasn't fun! It makes me glad my push mower is mostly plastic. Please do post pics of the repair!

I'll try cold shrinking some steel at some point soon. That wood carving show is tomorrow so I'm going to try picking up the tools to hollow out the stump depression in a beauteous fashion, then I'll have a concave pounding surface to try cold shrinking. There is also a nice local car show next Sunday, I'm hoping there's a chance one of the local jeep guys beings a cj2a for me to take a bunch of pictures of. I have a friend with one who is excited I want to replicate it, but since I moved cross country early this year, I can't easily go see it!

Crackers
Crackers New Reader
9/9/16 5:20 p.m.

Just fitted the hard part with all the compound curves etc.. Gonna go have some dinner and hopefully finish up before dark. If my lawn gets much longer I'm just going to have it baled. lol

Rufledt
Rufledt UltraDork
12/25/16 3:29 p.m.

E36m3 just got real:

Time to get welding

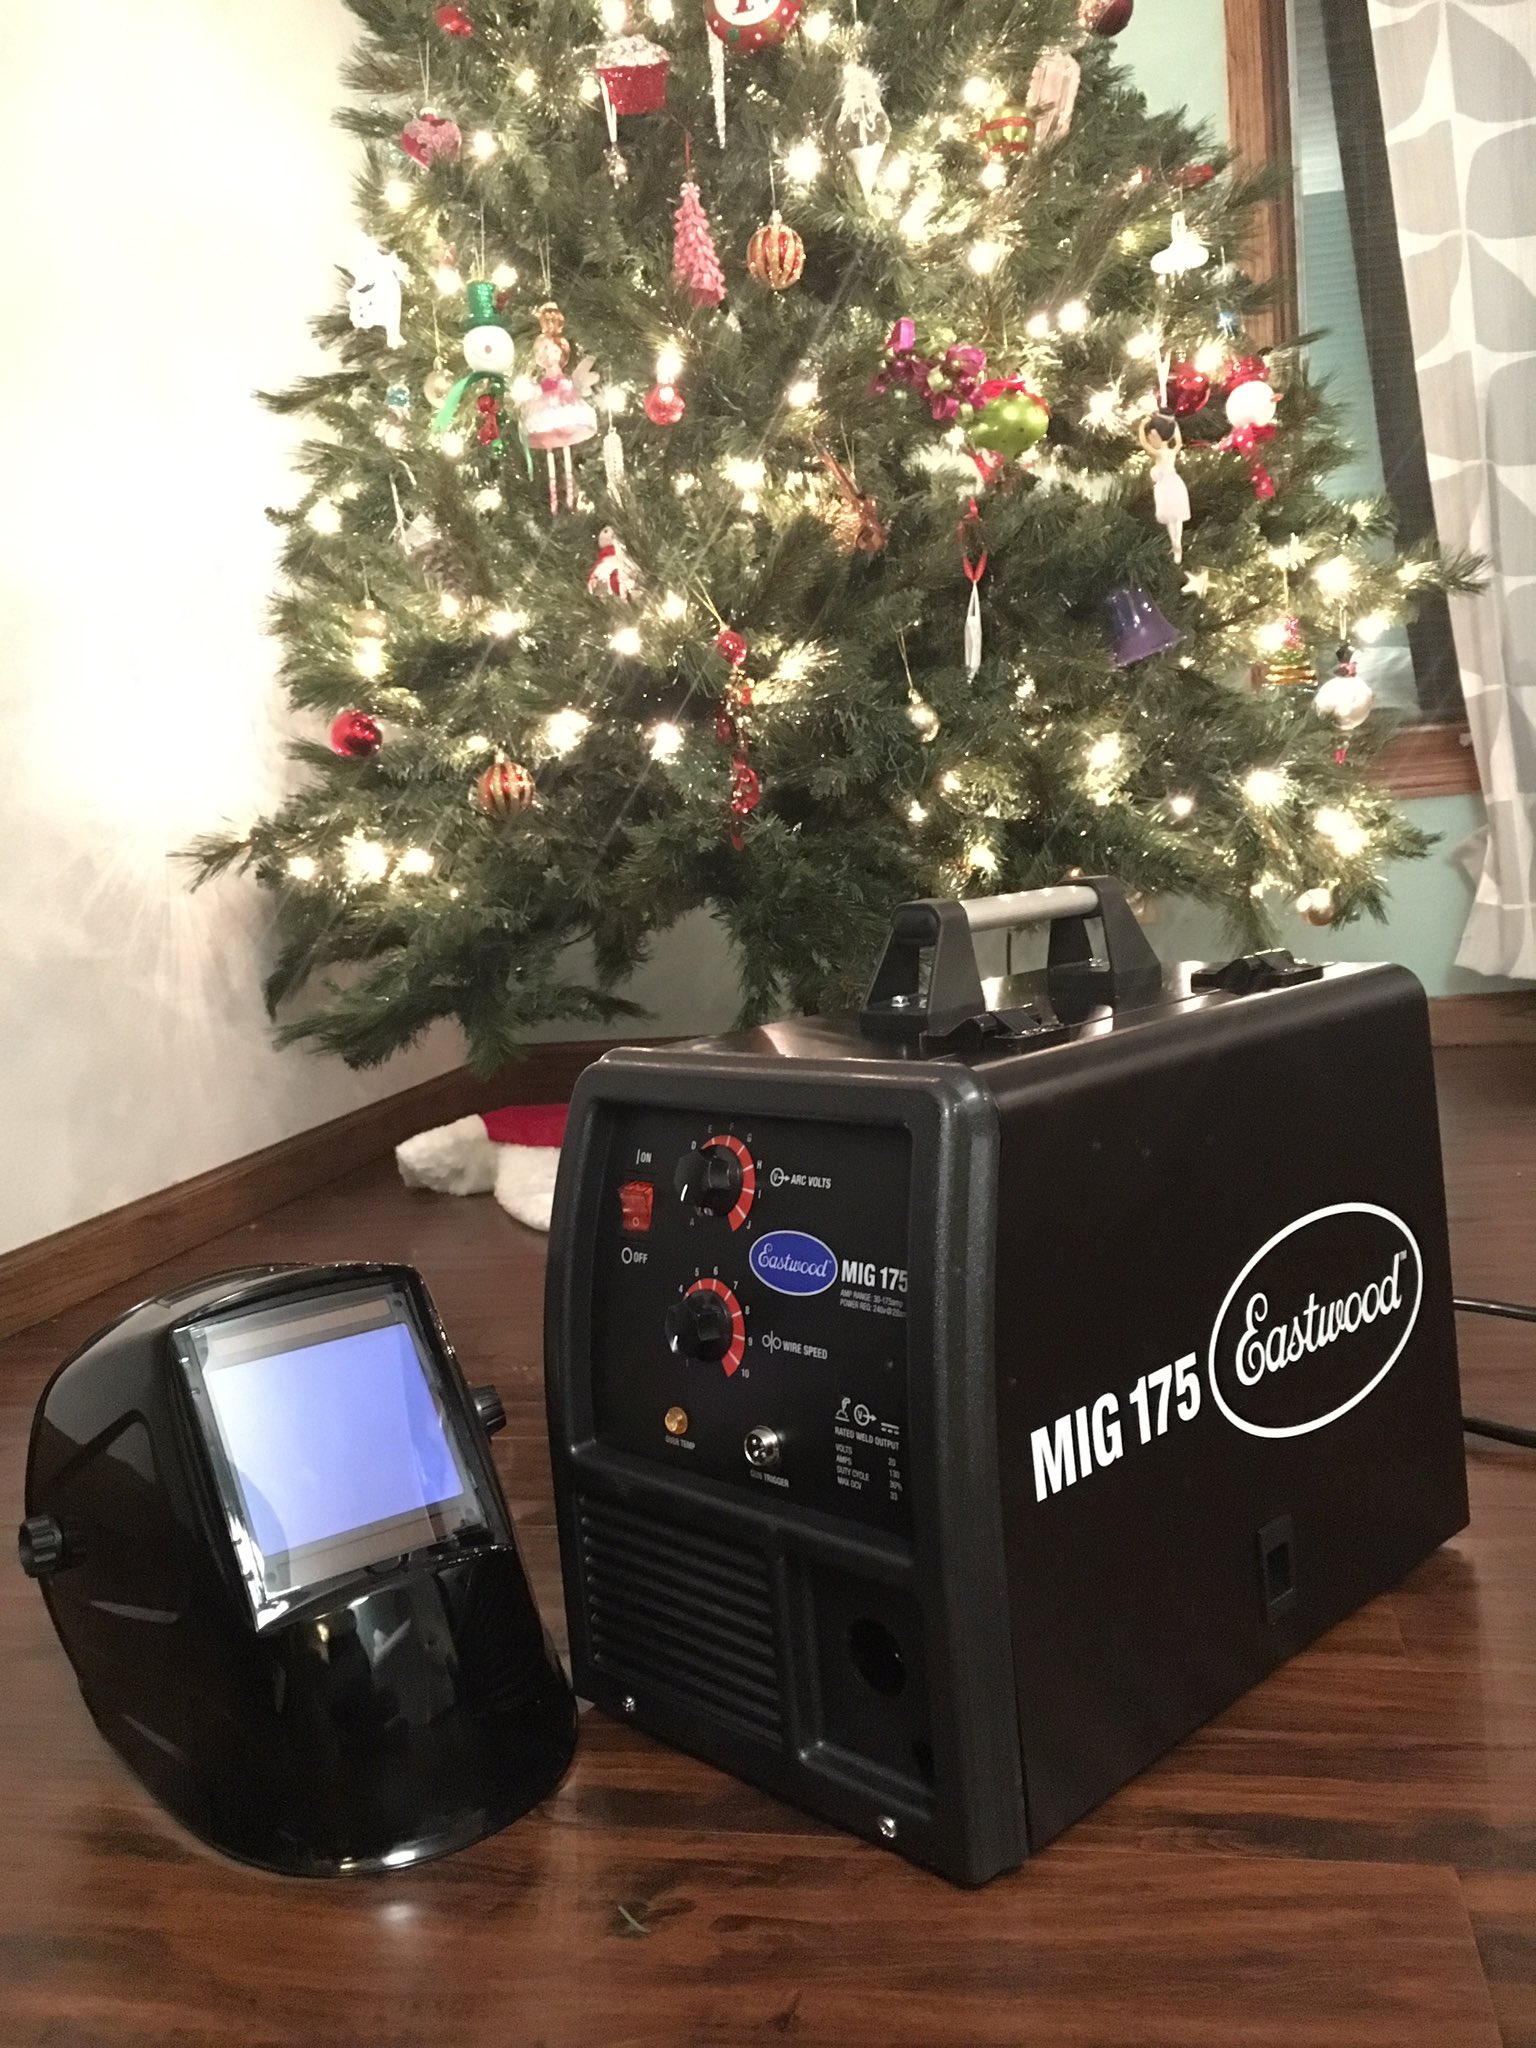
Here is what I have:
-welder, mig wire, regulator, hoses, etc...
-Spool gun and wire for welding aluminum
-Mask, auto darkening.
-Welding gloves
-Pack of some mig expendables
-Mig pliers
-a bunch of welding books, some welding videos (welding tips and tricks, eastwood, some other ones) that might be helpful, a professional welder friend who is on the hook to teach me because i gave him a BUNCH of high end beer a while ago, and hopefully some help from you guys.

What I think I need:
-Gas. There is an Airgas place a quarter mile from my house with a small store front and a sign saying "Public walk ins welcome!". I'll probably stop in there. -grinder and wheels for wire cutting/cleaning/grinding surfaces to be welded, also cleaning up welds later
-30amp 240v service to the garage. I need this for my compressor so It's been planned for a while, this just pushes me that last bit to get it done
-wire brush and acetone for cleaning steel prior to welding

What i'm curious about:
-how vital is a dedicated welding table? i could put a steel top on one of my folding work benches if needed. I certainly don't want to weld over an oiled wooden surface. Maybe an easily disassembled table would be nice for storing out of the way when i don't need it. I like that my wooden work benches are fold-ups, it maximizes space (though they lack the beefiness of a good hand tool wood working bench).
-Welding cart. I plan to weld up my own as an early practice project, anything specific i should keep in mind?

What am I missing/wrong about here?

EastCoastMojo
EastCoastMojo Mod Squad
12/25/16 3:43 p.m.

The shorty shopping carts make for a great base for a welding cart. Congrats on the new rig.

brad131a4
brad131a4 Reader
12/25/16 6:19 p.m.

Have the same welder and it works great for me. Yes I would go with a dedicated welding cart so much easier to tuck it out of the way and hold all the accessories. There is one at HF for $120 or something with drawers that actual looks good.

Yes go with gas it is way better to learn with. Not sure how much a bottle is but I started out with a small 50 bottle. After about 2 months I bumped up to a 100 and now have a 125. You will find out once you have the welder you will be fixing all sorts of things you didn't think of before other than body work.

On the electrical hopefully the panel is in the garage if not since you need the 30 amp circuit out there then you'd be better to just run a 100amp sub panel for the compressor and welder.

When welding on my car projects I've found it helps for warpage to blow compressed air on the spot weld.

Great job on the metal shaping I haven't gotten that far yet. Have a few mallets and benders I just need a bag or to make the stump bowl. Still to many home projects going to get to that. Keep it up and post those future pics.

1 2

You'll need to log in to post.

Our Preferred Partners
HUmvvBUecEbkOzmF6CFUFaBC5TkaGJyRQxTKMagh5UXuBFfxGv8KHtG0vWCPKlcl