
Urethanes make excellent adhesives. Try a razor scraper to help separate it from from the glass.
As to the muffin top, almost all urethane reactions are exothermic and increase in volume as you now know. I would do as Pat suggested and slice off the top...or depending on orientation, point the pooch out of sight and then let that decision and the poochy part slowly gnaw on your perfectionist bad-ass self like Poe's Tell Tale Heart until you just can't stand it anymore. 
In reply to wawazat :
They released from the glass easy peasy. Next time I'll pour about 3/4 the volume I poured today. Now I need to make the crossmember-to-frame attachments and check that off the list, then get back to gas tank.
Urethane notes: Do not use food coloring, it contains moisture, which interferes with the cure, and is partly responsible for the bubbles that appear in your muffin top. This has also made them softer than intended. Note 2: When you re-cap the containers, replace the air above the product with some of your welding gas. This drives out the moisture, and increases the shelf live from minutes to days. If you must have color (I would) use the "Sostrong" colorants in the Smooth-On catalog. Pricey, but intense. Serious about "minutes" in the shelf life, I lost most of a trial unit in one day due to our high humidity. Argon to the rescue.
I can vouch for the Smooth-On colors. I bought a sample kit of colors for about $20 - like 10 different colors in little jars. You need almost no color in each pour - like a few drops worth. Vivid colors.
In reply to TVR Scott and TurnerX19 :
If I mold more bushings, I will look into the correct colorants.
question: I don't have a second outlet on my regulator. How do I get argon out of my tank and into my urethane containers?
and comment: instructions say shake or stir Part A and Part B before dispensing. I shook. There's nothing in the instructions about settling time to get rid of the resultant bubbles, so I went straight from shaking to dispensing. Another live and learn moment.
I'd disengage the wire drive and hold the trigger with the welder tip inside the container for a few seconds.
In reply to Robbie (Forum Supporter) :
What are the TIG equivalents?
oh, I thought you also had a mig. Tig no idea!
In reply to AngryCorvair (Forum Supporter) :
Just point the torch in there and step on the pedal briefly. It should run the gas soleniod for a few seconds.
AngryCorvair (Forum Supporter) said:
In reply to Robbie (Forum Supporter) :
What are the TIG equivalents?
Press the TIG pedal while making sure you're nowhere near the ground clamp or anything it might be clamped to.
On mixing - depending on which flavor of urethane you used, they might want you to do a vacuum degassing on it before pouring.
I just poured some parts with a silicone that specifically didn't require degas, and it still ended up with quite a bit of entrapped air bubbles. That was with gentle stirring.
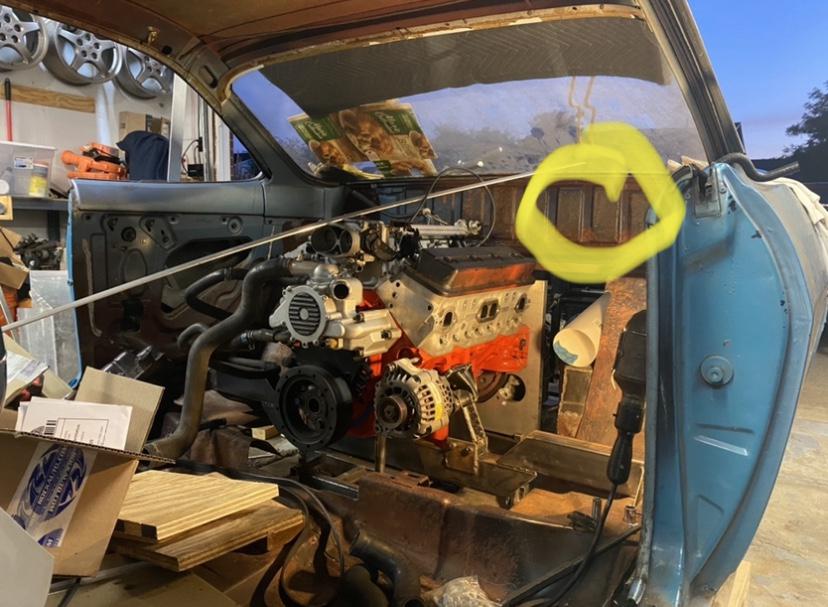
So I cut everything to length, drilled a few holes, and tacked it all together:
also found a set of headers that I think will work a lot better than what I currently have, once I shorten them a little. Waiting on a couple measurements from seller:
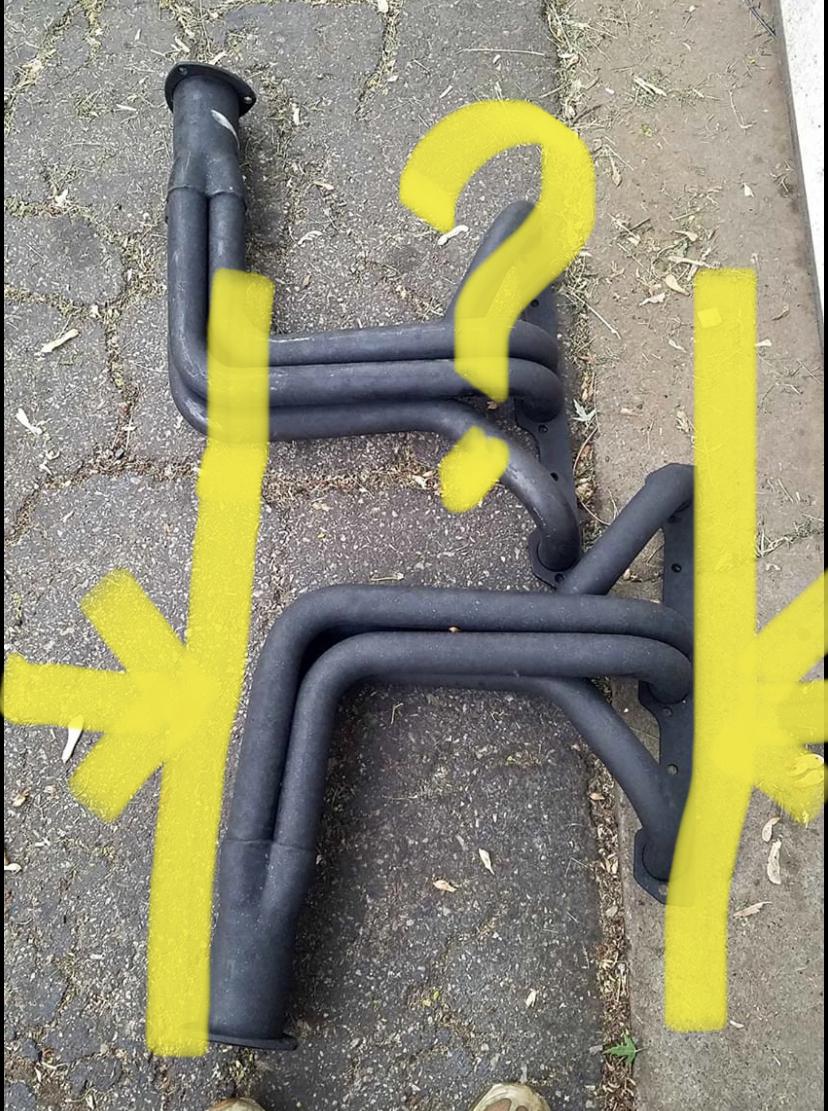
if I get them, I'll need a big-ass hole saw, not a big shiny happy person saw, to have them exit as shown below:
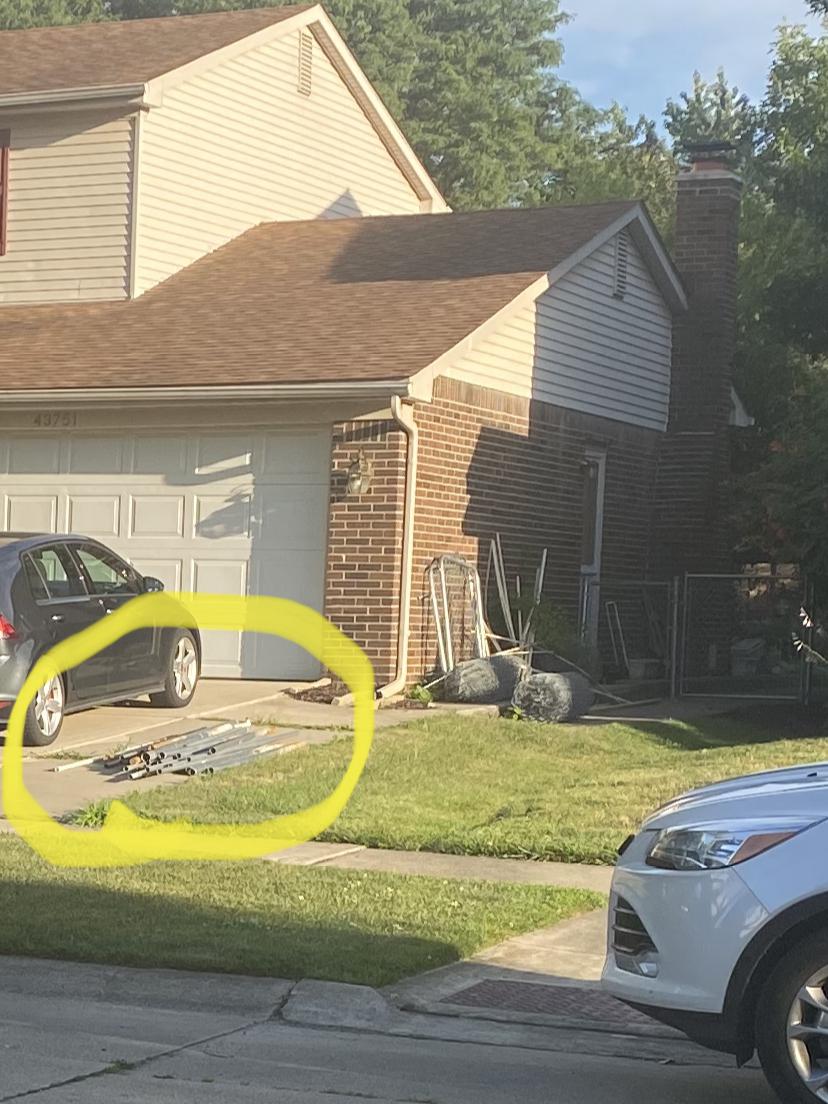
and while walking the dogs last night I found some "temporary" coolant tubes. Homeowner said take as much as I want.
ah, progress!
In reply to AngryCorvair (Forum Supporter) :
Stir with metal or plastic tools, do not shake. Do not stir with wood.There is enough moisture in any wood to upset the urethane. I took the bottle, hose, and regulator off of my MIG unit and carried it to the plastics work area. I then turned the regulator all the way off, opened the valve and experimented with pressure. You want very low pressure, you are likely set high enough to weld that you can splash resin out of the container. When low enough pressure was found I shut the bottle valve off. I just stick the hose in the resin container and use the bottle valve. Nitrogen would work as well too if you have it. I have a Smooth-on store nearby, so I enquired, and they said any dry gas is OK. For many decades their main office was 1/2 mile from my house. Now that I am using product they moved 15 miles away....
I worked in the Urethanes Group at Bayer, now Covestro, in Pittsburgh back in the day. We topped off 55 gallon drums of isocyante with nitrogen before we closed them.

NOHOME
MegaDork
7/21/20 9:21 p.m.
In reply to Robbie (Forum Supporter) :
This is what I do for storing POR in the can. I never open the lid, just punch a couple of small holes and seal with aluminum tape. Then store in the beer fridge for up to a year.
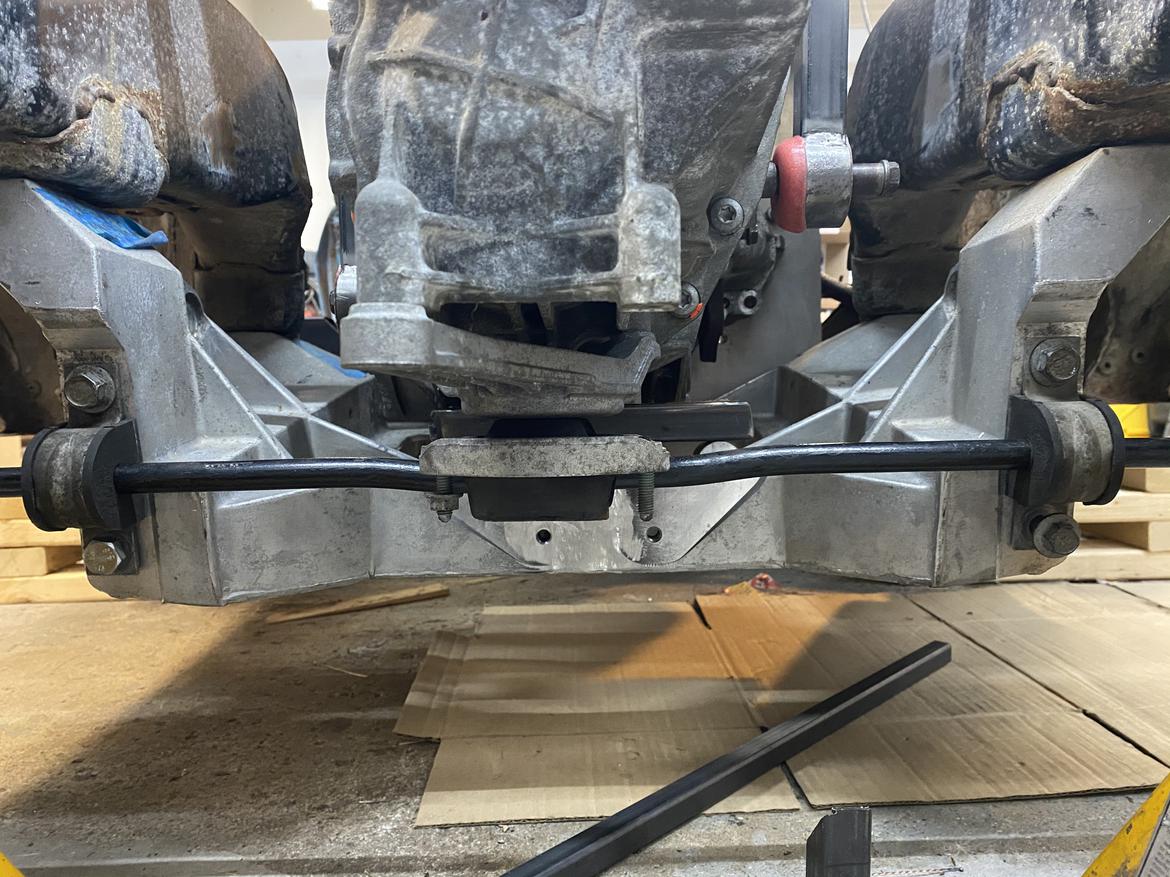
Finished the transaxle mount, bolted it in place, and jacked up the car to remove the powertrain cart. At this point, the mounts I made are supporting the powertrain, which is cool.
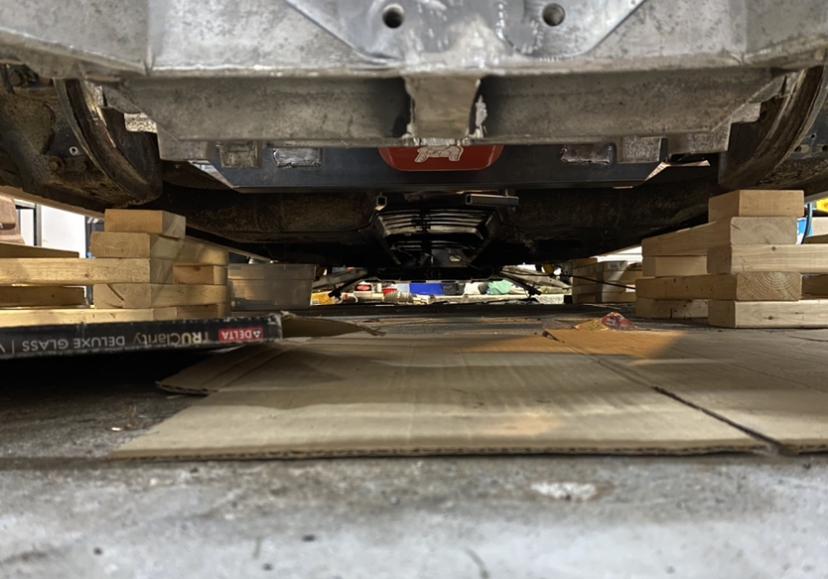
And as soon as the trans mounts were carrying the load, I could hear the urethane tearing. Cue game show loser sound effect.
So I spent some extra time in the garage tonight and designed (in my head) a better method, which will use the OE Audi mount. Better because lighter. Better because no home-brewed bushings. Better because it supports the weight where Das Churmans designed the case to support the weight.
pix tomorrow after I've got it hacked and tacked.
for the record, I think the failed mount was a decent design that I executed poorly.
Womp-wommmmmmmp
engineer, no wonder the front brakes on my truck that you designed squeak after the truck sat for 3 months
bummer, but you shall overcome.
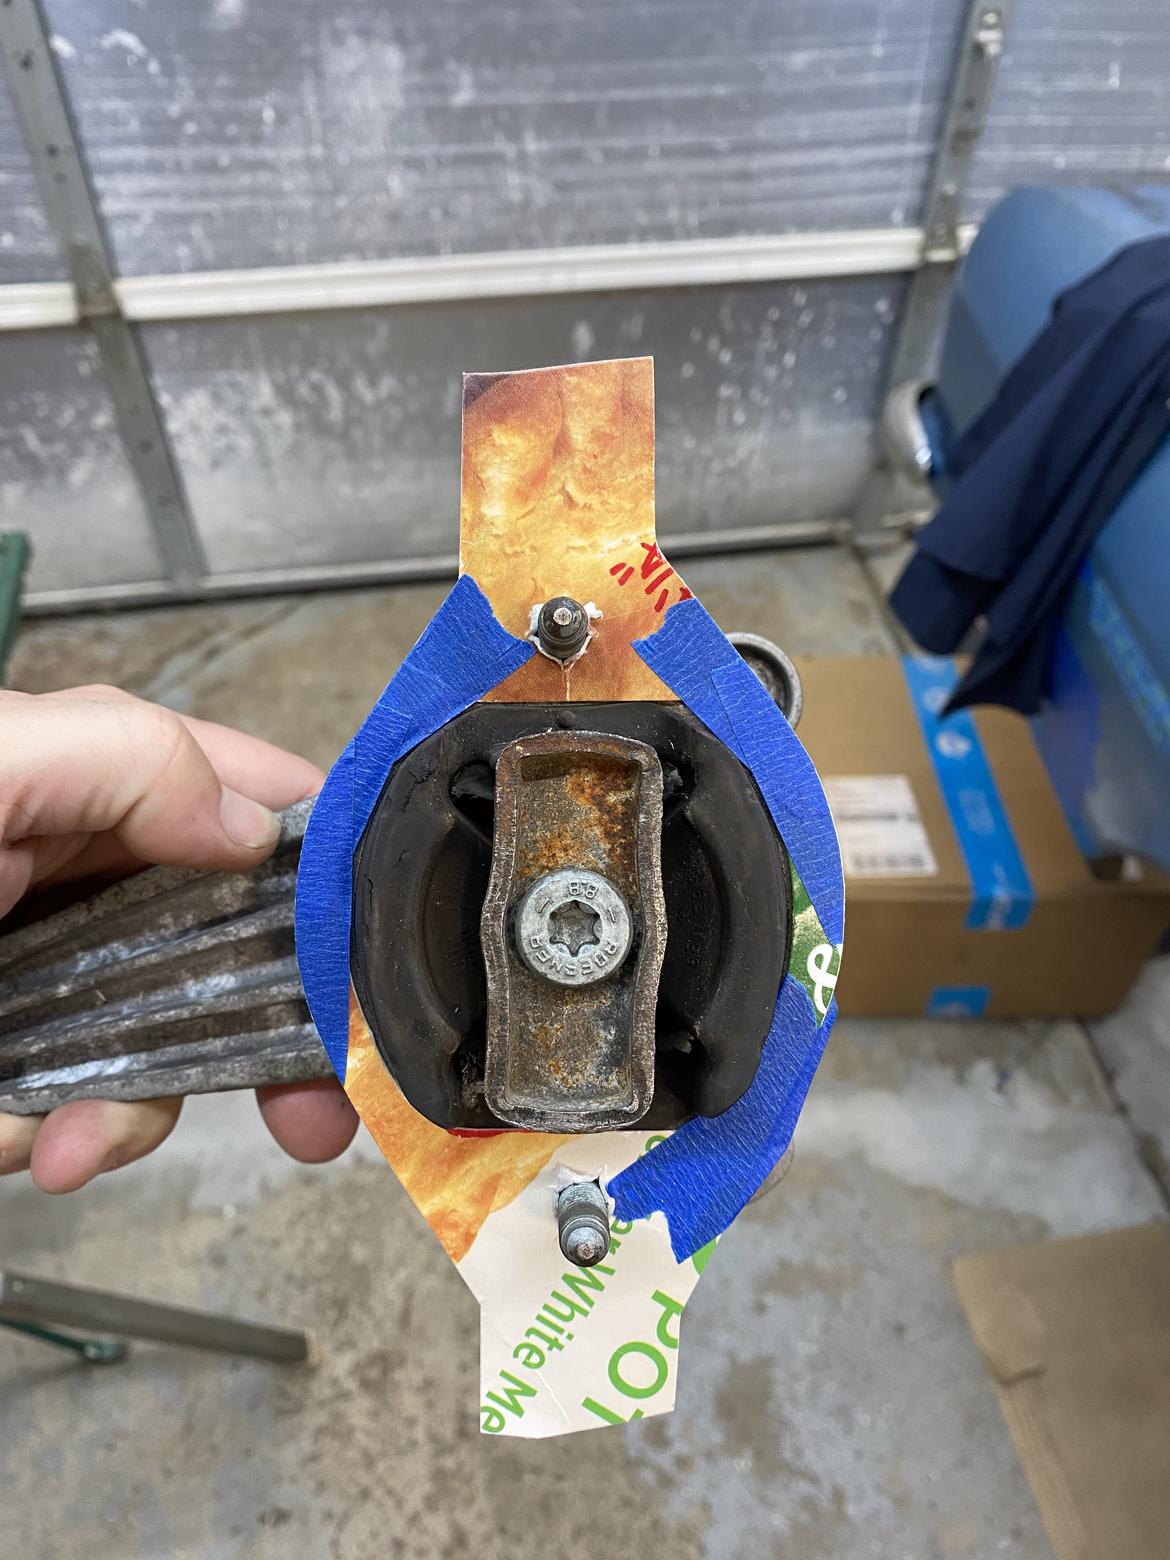
If you want to try again, you could make a bushing on your lathe with some deep grooves in it. Give the urethane something to key on.
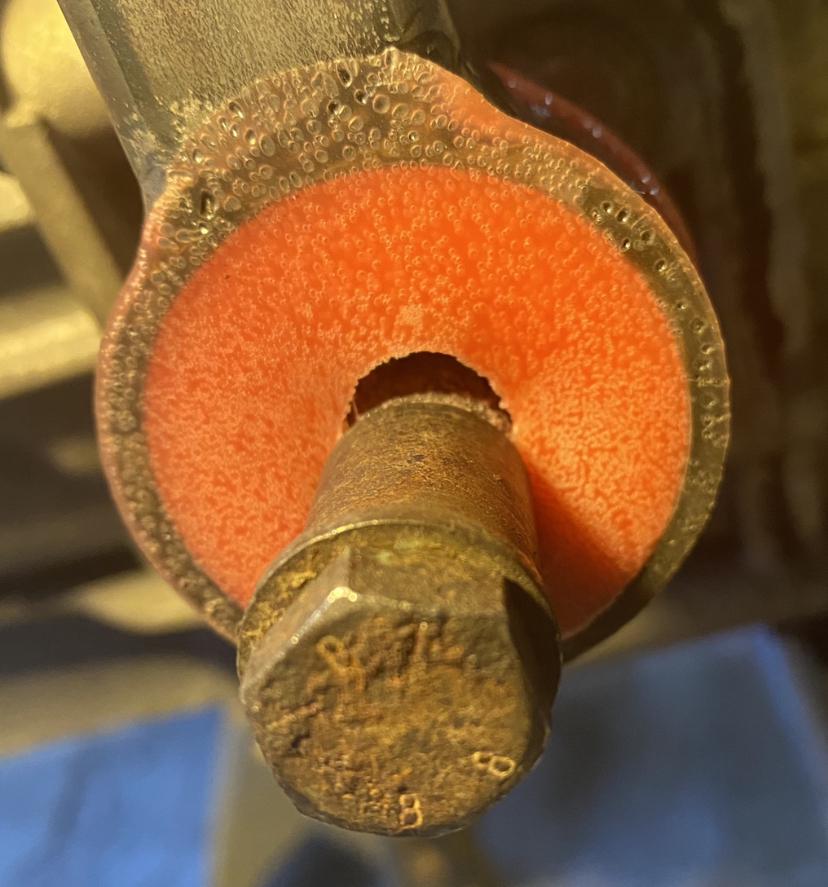
Getting the urethane out of the outer shell might give you an idea of how hard it's stuck there.
I just thought about material compatibility too. Is that a brass bushing? Sometimes brass and copper can be picky about what they'll stick to.
In reply to TVR Scott (Forum Supporter) :
Outer shell and inner sleeve are steel. I think the big problem was all the entrained air bubbles from shaking instead of stirring. Either way, I've got a new plan that I like better, so I'm going to give that a go.
Oh no! bummer - but I agree a factory bushing seems like a major upgrade. Also think of the future maintenance and how annoying repouring bushing would be.
In reply to Robbie (Forum Supporter) :
Indeed. Serviceability is very important to me, even with one-off parts.
Dude sold the headers to someone less needy.
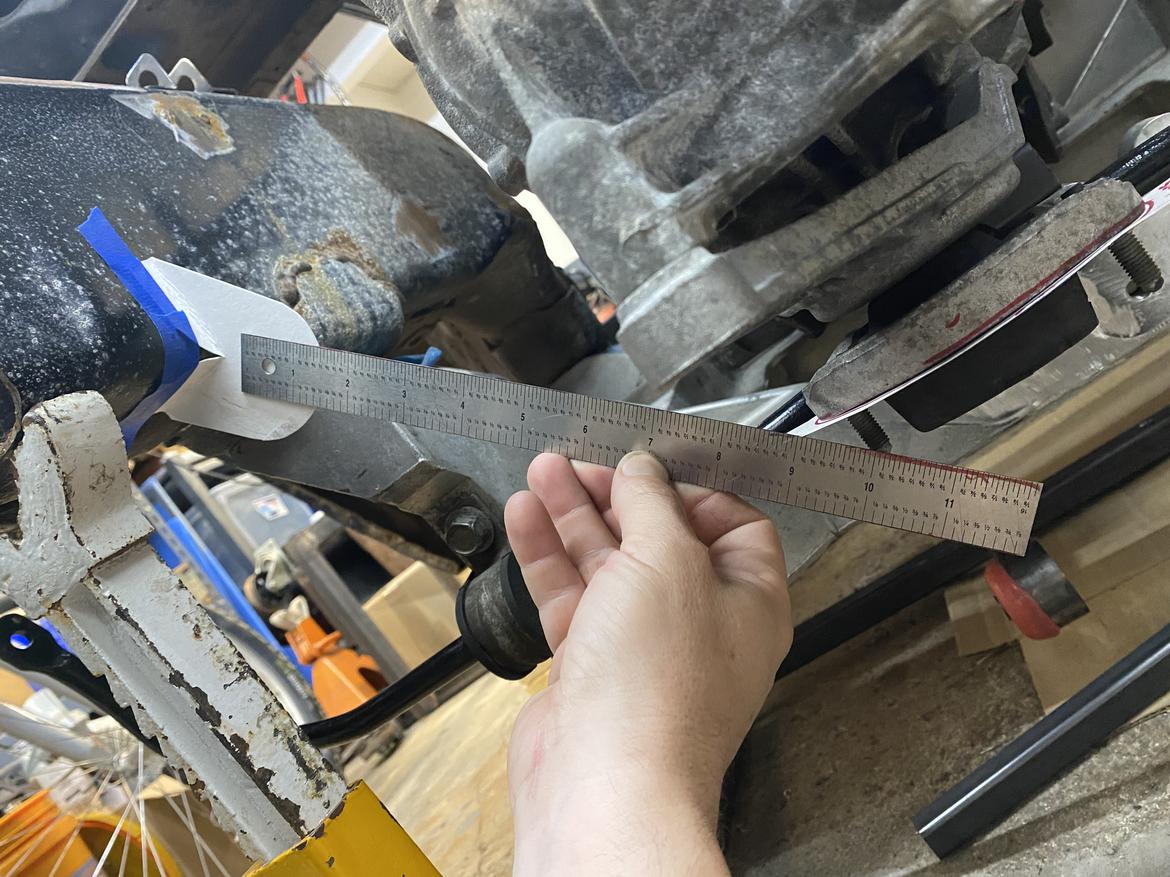
How dare you ask the seller to use a tape measure.
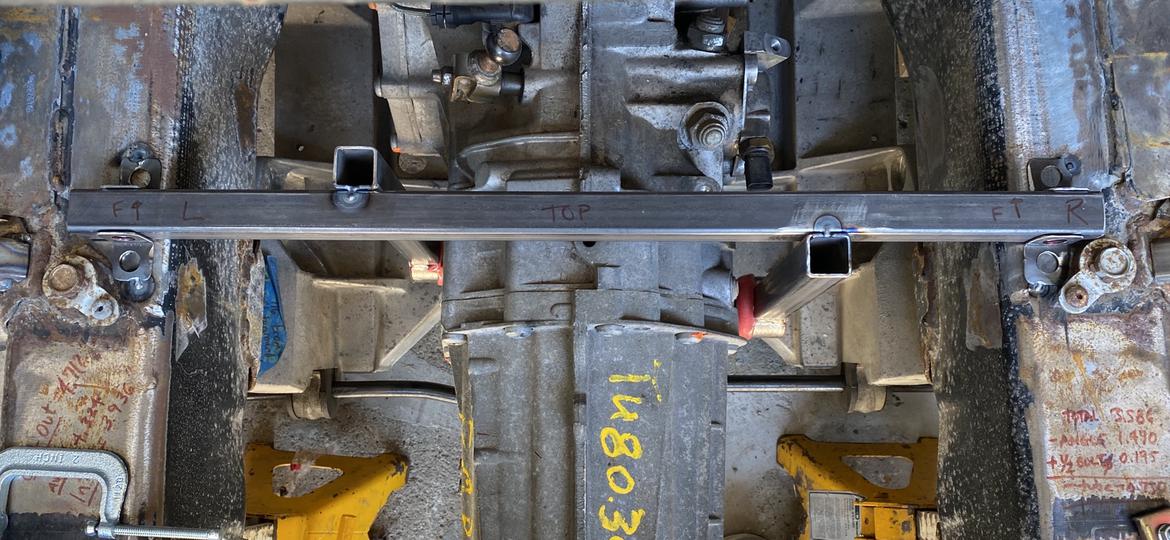
Here's the idea for trans support using OE Audi mount. First, where the mount lives on the trans:
The front of the mount is pretty close to the rear bar but I think it won't interfere in normal range of motion. I fired up the CAD to make a template of the mating part. Will probably cut this from 1/8" steel plate.
and I'll bend up 4 tabs pretty much like this one, and will weld 2 to the frame on each side.
Each tab will have 3/8" diameter hole for thru-bolting a 1" square tube. The other end of the tube will be welded to the mounting plate. The result will be simpler, lighter, and more robust than my previous effort. I have all material in house, so will spend lunch time tomorrow in the machine shop at work cutting out the mounting plate. I can do the tabs and tubes at home.
Sometimes the first plan isn't the best anyway. A stronger, lighter, simpler plan b is always the way to go.
There's a joke somewhere in there about a questionable pairing and "not thinking it through" and "unplanned consequences", but I'm not gonna make it.


