The suspense is killing me!
It's important that when you're doing a job like this you make sure you have good supervision.
Everyone, meet Luke!
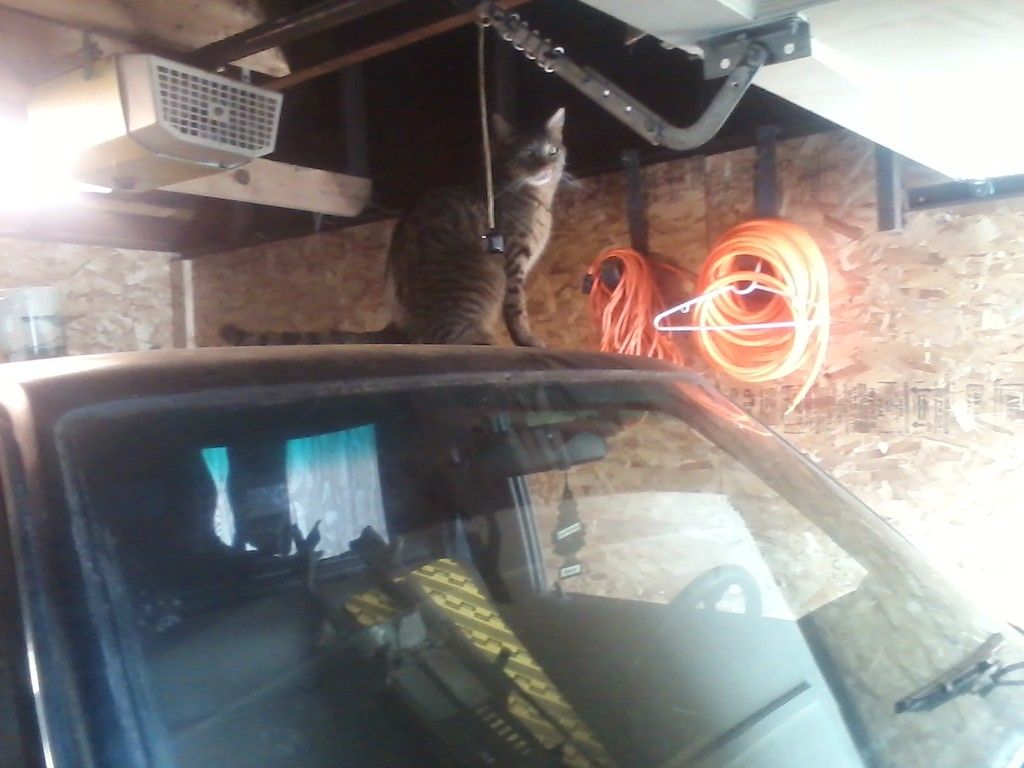
Good supervision ensures you stay on track, focused, and productive.
That reminds me: The last time I had this truck apart (to install bucket seats) a cat showed up in my garage.
I think it was about 2008, roughly November as I had some deer meat in the fridge. I traded M4ff3w (a fellow GRmer) the back-strap and some miscellaneous cuts of Bambi I had in my chest freezer for a set of bucket seats that were too tall for his Fiat X19. I felt like I had just made the deal of the century!
So out came the old blue Toyota bench seat and in went the buckets. I also removed the carpet, herculined the interior of the cab, and installed a portable fire extinguisher. After working in the hot Texas sun all afternoon, I called it quits for the day and closed up shop. When I went out the next morning there was a white cat on the bench seat!
She was super friendly, super hungry, and still pretty young. I have no idea how she got in the garage...
"Hey!" says I to the friendly, hungry, young, white cat. "If your stinky butt's in here on Monday you're going to the vet and you're getting shots."
(That was Saturday morning)
Well, she was, so I did and 6 years later "Little Orphan Annie" is still a part of our family.

Her timing couldn't have been better. Not much prior we adopted a 5-year old tabby cat named "Skitten" (we just called him "Skitty"). Skitty was a must because we had a 3-year old Husky, and just got a new puppy. Skitty's job was to set the dogs straight when they got too "interested" in him. Once he had the dogs worked in to shape we had planned on adopting a second cat to keep him company. Annie came in to our lives just as we were getting comfortable with leaving the dogs and cats alone ![]()
(Below: Picture of seats and Herculiner. Bonus points for keeping it away from my hootus?)

Back to the feeler gauges:
So I mentioned earlier that the new head was about 1/4" taller than the old head. The differences in castings only show where the head meets the block. I compared the two and it looks like the old head may have been planed quite a bit. Higher compression then? ![]()
All the same I bolted up the old head and adjusted the valves. It really didn't take that much. I should really call it quits here, but I think I can steal just a few more minutes in the garage if I toss dinner in the microwave to defrost and RUN back out for a compression check.
In to the kitchen I go, in to the microwave the dinner goes, I grab the truck's battery from downstairs (where it had been charging) and in to the truck it goes!
I'm flying as fast as I can, my heart is racing, I'm losing tools I JUST SET DOWN!!!
Don't worry boss, I'll clean this up later:
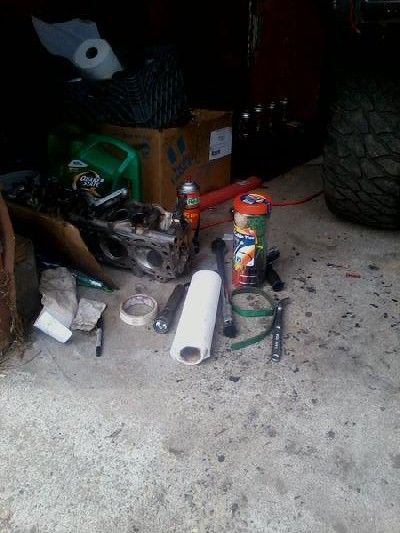
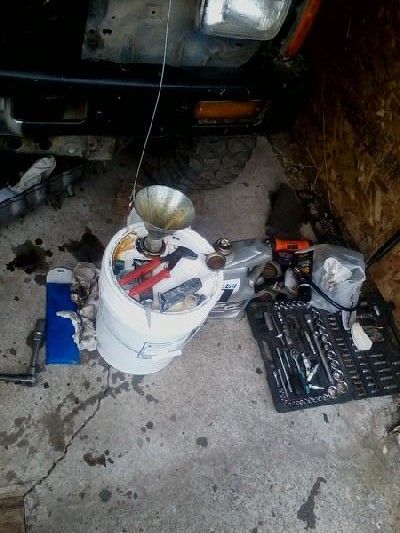
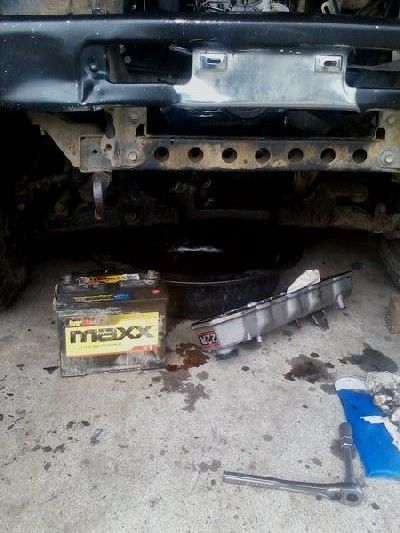
The oil pan is dry, but I have some 0-40 from my wife's last oil change in her Saab (hear me out on this one) I dump 5 quarts of the black liquid down the valve cover I just set on the head. I figure this will do two things:
1) this will flush out the watery crap that was in there from the last time the timing cover is off, but do so without the cost of 5-quarts of the new stuff.
2) The black color will let me know without any doubt whether or not the oil is getting where it needs to go (I once mistook the color of the watery oil for "new" oil and don't intend to make the same mistake twice)
I can't fill the coolant as I don't have the LCEngineering plates yet, but that shouldn't matter for this test. Besides, the gaskets are still sealing...
Intake's still off, exhaust is still off, I rotate the engine a couple of times by hand and it already sounds (and feels!) more promising!
I know the microwave in the house is trying to tell me that the meat's long done defrosting, but this is serious business here!
No time for farting around. I only need to know:
Does #4 have compression?
Nope
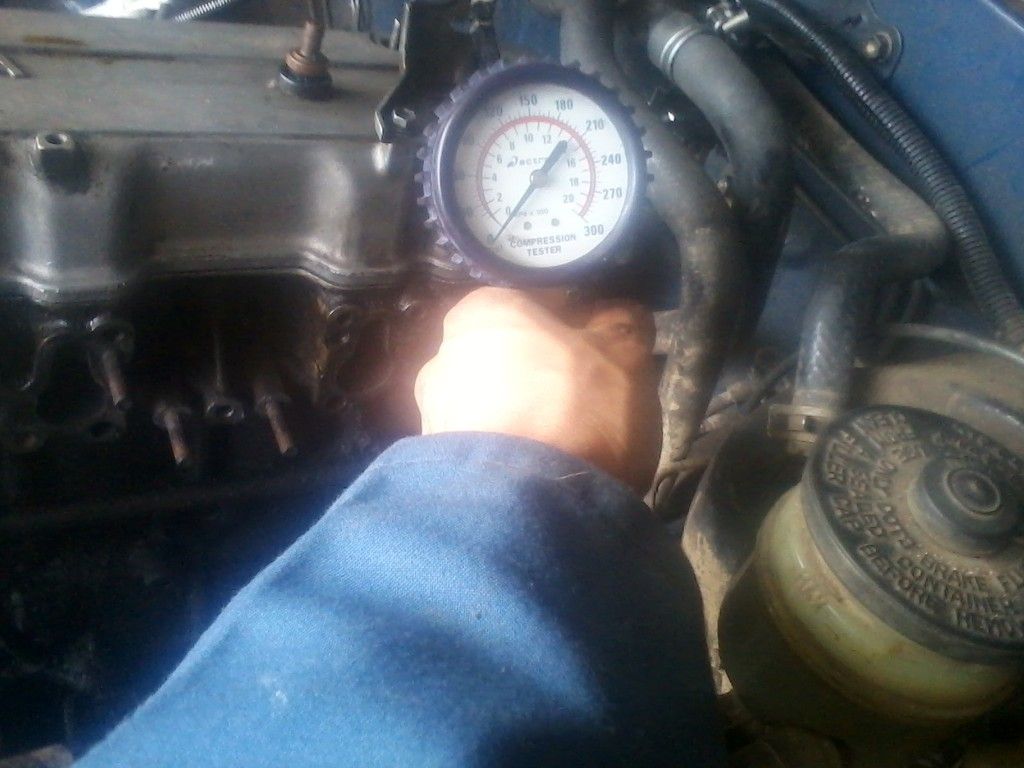
But that battery is pretty dead so there is still hope right? Still high on the adrenaline rush I grab my channel locks from off my cherry picker and run to my Impala parked out front. I have the fresh Optima out of the car and in to the truck in no time flat.
wir, wir, wir, goes the starter
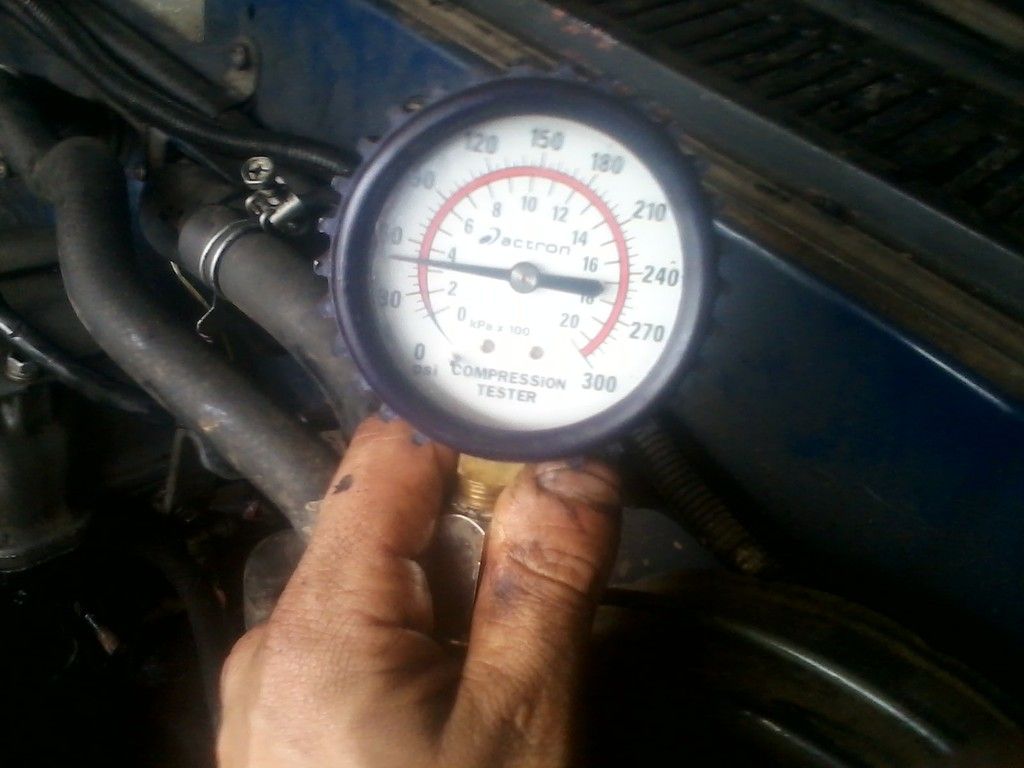
Crap ![]()
Compression!?!
150-120-90-50 ![]()
But adrenaline doesn't give up that easily... I immediately think "PISTON RINGS!!!" (now why didn't I put oil down #4 BEFORE I pulled the head and did all this work!?!?!?!)
So I spill oil on, around, and maybe a little down the spark plug holes of #3, and #4.
4 bumps up to about 70psi, but I cant really call that a result. 3 doesn't change much.
That's it, I'm done. I have to get dinner on the stove and take a shower or I'm going to be stinky AND pissed off at work.
Mother berkeleying E36 M3. berkeley berkeley berkeleying berkeley!!!!!!
I ran today on a lot of borrowed time. Tomorrow I'm going to have to focus on cleaning up the mess I created, getting organized again, and getting caught up on the "around the house" items I've been ignoring this week. Besides, I could use the day to lick my wounds, and weigh options.
End round 1
On the front porch on my way to work, I noticed the mailman came: LCEngineering plates came (yay!)
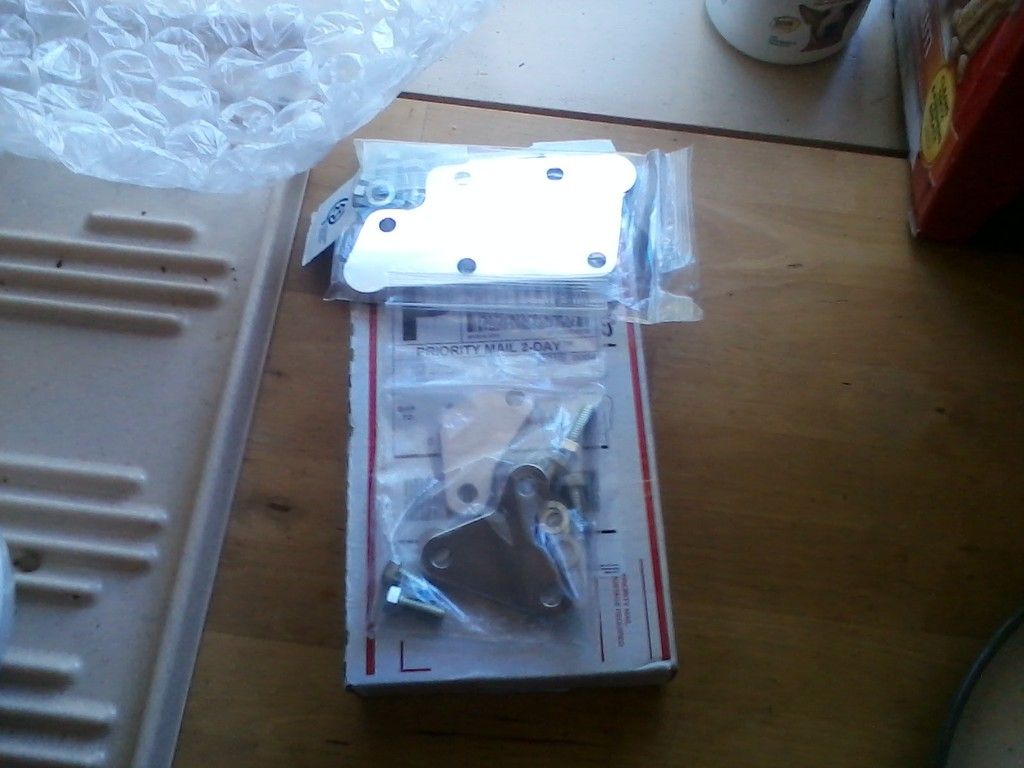
I called a few places after my dinner/shower and inquired about 22r pistons etc. I can get a core engine for $250. I figure I can rob what I need from that, OR I can get a complete 22r for $200, but it's an hour north in my Impala (gas guzzler!). Both options eat a lot of budget.
I had more time to think on the drive to work and here are a few things I started thinking about.
The compression starts perfect at #1 and then drops off until 50 at #4. I know the valves sealed up, I know the truck ran with this head before it was taken apart, and I know the valve lash is adjusted correctly. I think a few things:
I figure I can check each using logical steps:
1) see if I have the old bolts, compare measurements. Failing that put a small ball of gasket sealer on the tip of my head bolts and reinstall, torque, and check. If they hit bottom it should squish the sealant. If they don't the ball should be intact.
2) I can check this with a straight edge, but the old head was experiencing the same problem. Two heads warped exactly the same, causing the same loss of compression, on the same cylinder seems unlikely. But I can check with a straight edge if it comes down to that.
3) the deck and this head were once mated together and the truck ran. I can check this too with a straight edge, but it too seems unlikely.
4) I have no experience with a metal gasket like this one. I'm thinking I should just go and buy another head gasket. Google will tell me more I think...
5) I can rotate the engine the next time I'm out there and watch the cam tower. I could even try to stick a feeler gauge in there. I doubt the tower cap is lifting, the cam should push down, not up.
6) I can check the cam lobes with a set of calipers. Seems unlikely, but I don't know who the machinist was, and the valves in his head don't seal, so is it really that unlikely that he muffed the cam grind? (assuming he did the grind on the cam)
7) the oil down the plugs has me bothered. I shouldn't have done that, but I had to know about the rings. Unfortunately now that the oil's down the holes I cant get it back out. I'd really like to go back to the "no oil" baseline. The fact that the compression came up "a bit" (30psi-ish for #4) but did not completely correct itself has me thinking it's probably not the rings' fault. Maybe I'll do another compression check tomorrow. The only thing I can think of that would hurt the rings was the spark plug core drop. But the truck ran for years after that, and the PO said the truck ran fine when he got it (oil just leaked out of every gasket)
8) I can get a mirror and a flashlight and do what I can with that. I also have a scribe I can dig with, and a goop-spoon that might fit. I plan on sticking all of them down there and seeing what I pull up.
9) if the truck was overheated, could it cook only the back rings? Why is #1 so good, #2 slightly less, #3even less, and #4 so bad? maybe it's hotter in the back vs the front?
Pending the answers to all these, I'll need to start weighing options...
4 had the plug bits bouncing. The part that hangs me up on placing the blame there is:
I ran it for two years (and across the country) like that.
why does the compression "blend" from 1 to 4?
Although the possibility exists that I was running on a dead cylinder...
If you don't absolutely need the truck asap, I say save your pennies for a few months and find a good used motor. Although at this point I'm curious what the actual issue is.
My timeline is set at "one month". It's what I told my wife I could get it running in, and honestly driving the Impala every day gets expensive.
Right now my remaining budget is about $540, but that needs to license the vehicle as well.
It's worth noting that this is not the first time this particular head gasket has been on this engine. It was installed, compression checked, and replaced to no avail by the previous owner when he was having compression issues.
After I get caught up on my chores tomorrow I may print the "list of ideas" out and take it with me to the garage. Lots of variables that need to be eliminated.
I'm really fighting the urge to order parts right now, but waiting for shipping eats precious time ![]()
I also think it might be time to order a leak-down tester. Maybe Harbor Freight?
HF leakdown tester works fine, unless you lend it to your cousin who is cooking meth in his dad's barn, and he blows it up along with the truck he was working on, oddly enough the same kind you're working on right now.
So, you are getting similar results with two different heads?
What stayed the same? That cam right? I'd take a good hard look at that cam.
Are there and 22r motors with a different firing order? Maybe the cam is out of phase. Esp with those 0 results you were getting. Also you can check the height of each lobe like you said. But it seems like the cam lobe would need to be damn well worn off before the dynamic compression gets that low at the low speeds of a compression test.
Is it even possible to switch up a rocker? Meaning the intake cam lobe is somehow operating the exhaust valve?
Also, don't read too much into the gradual loss in comp. That could be a thing or it could be a coincidence. There's also a strong chance the truck would still run with poor compression, so don't assume it's not the rings before you check.
rcutclif wrote: So, you are getting similar results with two different heads? What stayed the same? That cam right? I'd take a good hard look at that cam.
Exactly. After some much needed rest, I made of list of things to check, variables to eliminate, and some notes I wanted. I had a few seconds today (between chores and a much needed nap) to grab a moment in the garage. For "Round 2" I hope to approach from a much more organized angle (well, that's the plan anyways).
My list (below) has spaces for writing down compression, a spot for notes for my planned "leakdown test", and just an overall "plan of attack".
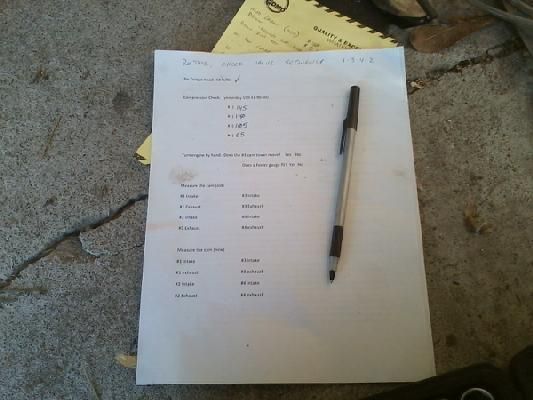
Begin day 5:
Man, you don't realize how exhausted you are (were) until you get some rest. After yesterday's low compression issue all I could think of was the worst possible case scenarios. Today I realized I shouldn't be so hard on the truck for putting up a fight, I did abandon her for what...2...3...years? Actually, by now I should expect it.
When I bought her in 2003 I blew the engine on the way home (and I was just driving the thing!). $3300 later (thanks Grandpa!) she had a new long block. A month later I cooked the transmission doing 90+mph chasing a F-150 with two girls who were flirting with me on the highway. $1200 later she had a new transmission (thanks again Grandpa!). For a while there, I had the newest 1987 Toyota 4X4 anyone had ever seen! It seems fitting I get her back with the engine in this condition ![]()
(for the record, I did pay my grandparents back ![]() )
)
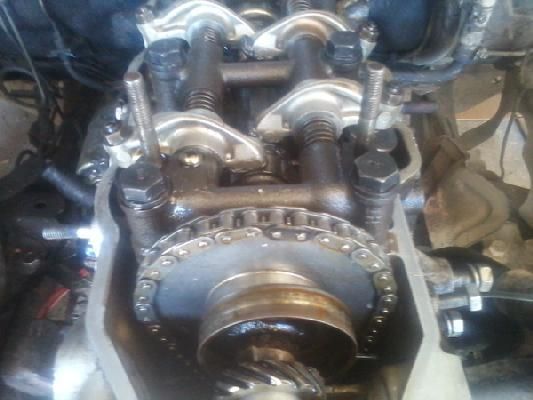
To answer rcutclif's question: I know of no other firing order for the 22r, or any of its variants. I started today by taking a dang good look at that cam like you suggested:
timing was spot on from cam to crank. I figured we knew this already as any cam timing problem should show itself across all cylinders, and #1 is doing pretty good.
I watched the intakes and exhausts open in the correct firing order. I don't have a degree wheel, but I can see no obvious difference between the two cams (and actually the old cam cleaned up quite nicely. Turns out it was just thick grease giving it that orange color.
I double checked my torque values, but did not remove the head bolts to check the holes. This is still on the "to do" list.
random picture for proof ![]()
After the "re-verification" I had a few minutes to ponder the pending leakdown. This will be my first, and I don't have a proper "test kit". They say "an engineer can do for $10 what any idiot can do for $100".
Well, a harbor freight leak-down tester is $40. By ratio that gives me $4 to play with.
I have a pancake air compressor (harbor freight special), and 100ft of orange hose, and wouldn't you know? That there orange hose fits right in to my spark plug hole adapter for my compression Tester (1/4 NPT for the win!)
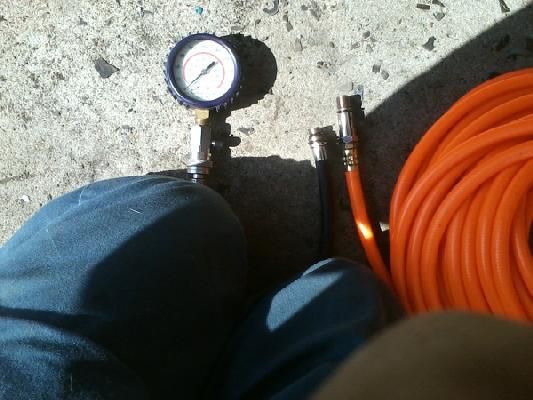
Huzzah!
I can then screw the spark plug tester in to the desired cylinder's spark plug hole and, using the pressure regulator on the HF pancake compressor, regulate the air down to any desired PSI. The HF Leak-down kit has a maximum line pressure of 15psi, so I shot for 20psi out of the compressor regulator.
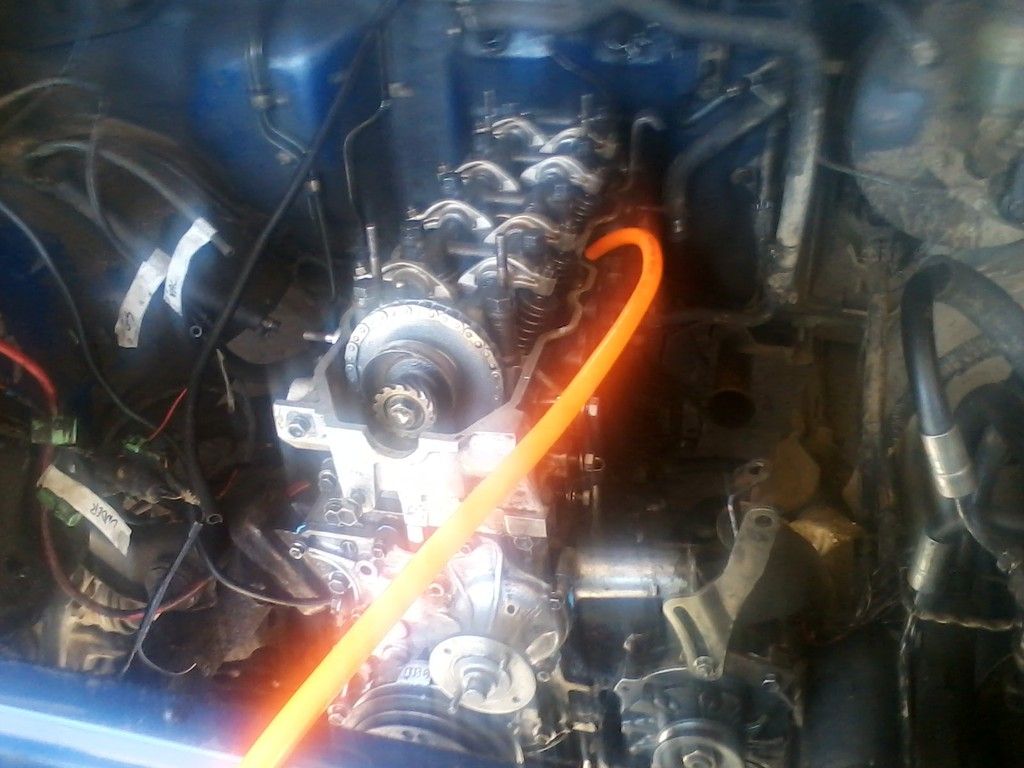
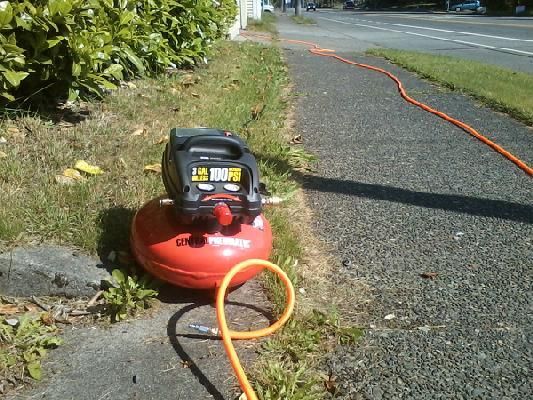
The air compressor makes a pretty good racket for such a little thing, so I stationed it as far away from the garage as my 50ft extension cord would allow. Along the way I learned a few things:
I still have $4 to spare on my "home brew leak down tester" so, ladies and gentlemen, I used it to come up with a solution to problem #1!!!
$3.97 at Oreilley's

That little badboy will allow me to remove the schrader valve core on my compression tester's "quick disconnect" hose and connect it to my air compressor line. No more twisting 100ft of orange air line for me! ![]()
Anyhoo, on to the important stuff:
My preliminary leak-down test revealed to me a few things:
1) Make sure the piston is at top dead center. Otherwise you're going to get very excited for nothing.
2) If you have a leak, saaaaaay out of your exhaust port. Plug it with your hand, you may find you have another leak that shows itself.
3) I need to do a better job of hydro-testing my heads.
My notes from the preliminary tests show #1 leaks slightly at the exhaust, #2 has a nasty exhaust leak, #3 has a nasty exhaust leak and a slight intake leak, #4 has a nasty intake leak.
(Ref Compression: 150-120-100-60)
Slight leak is defined as "I can hear/feel cold air escaping"
Nasty leak is defined as "If I cover the port with the palm of my hand it makes long armpit fart noises".
I also think I hear venting to the case, but these leaks were pretty substantial. Please also keep in mind that I'm not calling these "results" yet, as I was learning along the way. I want a thorough, neat, test accomplished where I check everything at once. Either way, it's pointing to the head (which, oddly enough, passed a hydro test).
I plan to do a "real deal" leak-down test tomorrow, followed by very thorough note taking, and possibly a head removal. I'm still partial to using this head as I really no longer trust the machine work on the "new" one.
Today was a good day ![]()
(Late Day 5)
I had a few free minutes late today and I thought since I was turning over this new and more organized leaf, I'd start by checking a few things on the new head (the one not currently installed in the engine).
I already know the valves leaked, so I'm not going to bother hydro or bubble testing the valves (I just learned about bubble testing, and plan to use it from now on). I did, however, check to see if it was warped. I also put a set of dial calipers on the lobes of the old cam, and measured the size of the intake/exh valve diameter:
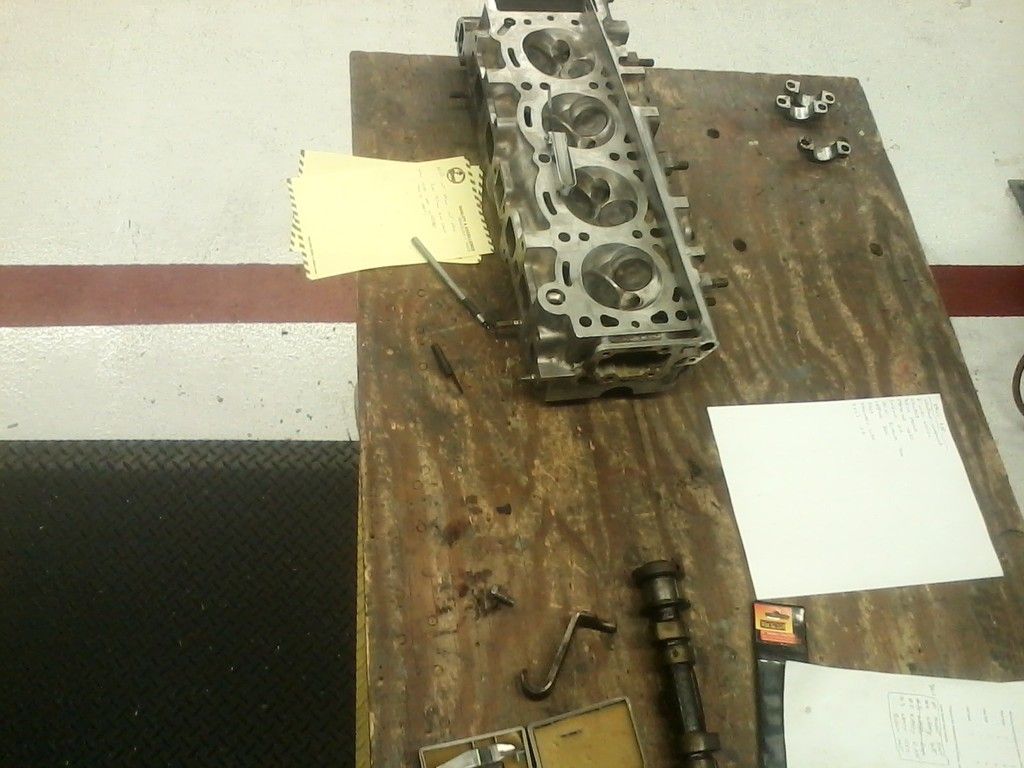
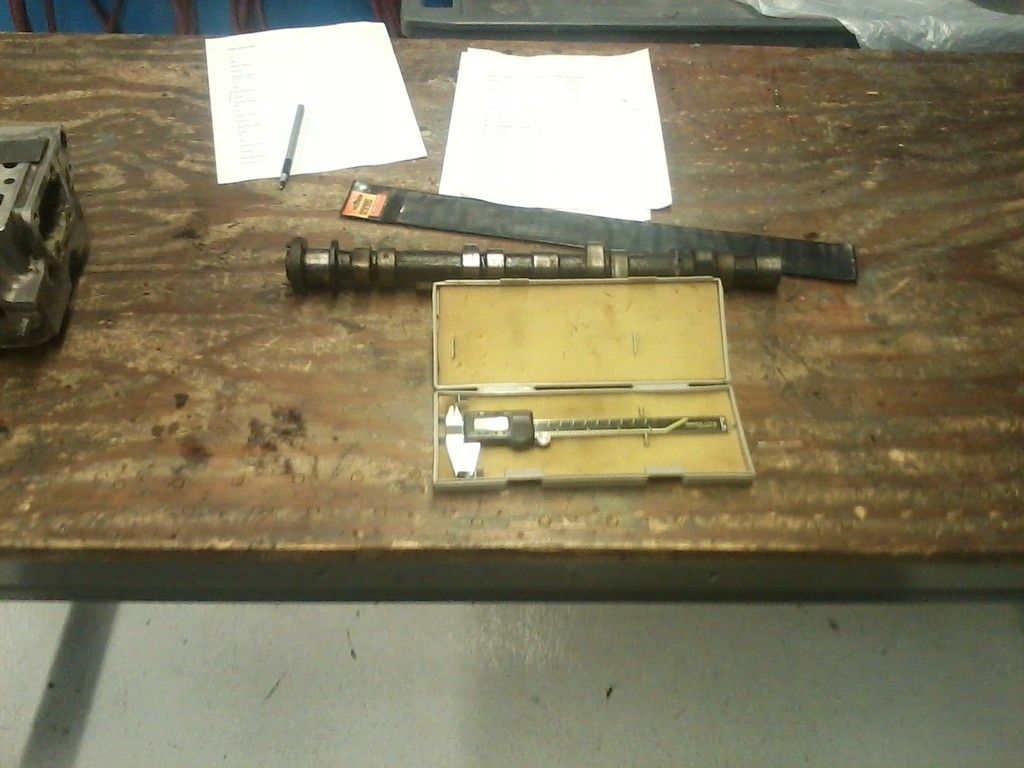
The head checks "true" to .004" pretty easy (I didn't go less than that). I guess that while the valves may not have sealed, the mating surface is good to go.
The cam and valve measurements were more for giggles than anything else. I thought I'd compare between new and old but really don't know what I expect to get from it.
Good times ![]()
could they have been off plane when they milled the head? is that possible?
i.e. they took of .004" on one side, .001" on the other?...
Are the valve seals any good?
Could there be trash or something hanging the valves open? Seems odd that liquid didn't escape, but air did.
did you do your air test with the rockers off? you could still be pointing at a cam/rocker issue if they were still installed, as it could have been holding the valves open a touch even though you assume they should be closed at tdc.
Or maybe the cam is sitting lower in the head at the back. Andled along the length of it somehow relative to the deck surface.
yeah, but if the valves are adjusted and there is a gap between the rocker and the valve when the valve is closed, I dont see how you could have the angle of the cam or rocker problems holding the valves open. But I'm also not looking at the motor and am not familiar with 22r. Now, junk in the head, on the other hand, absolutely could do that.
What about trying a quick valve 'grind' with one of those hand suction cup things? Maybe the valves got worn in a specific way, and then somehow 'spun' during install so they don't seal well anymore?
mad: I'll check the plane of the new head and the old head next time I have them both off, but it seems unlikely that both heads would suffer the same planing problem (Funny you bring it up, I was thinking a lot about it yesterday). Also the new head's compression didn't exactly taper. IIRC it was 100-90-100-0.
Duster: There could be. I'm seeing some orange around the new head's valves. The old head's valve seats seemed "trash free" but were by no means "new". Sloppy work on my part because I was in a rush. I really should have lapped the valves. At the time though, I took my hydro test as gospel. I did learn I made a couple mistakes though (hey, first time!). I only let the gas sit for about 15 or so minutes. An hour minimum, or overnight is the preferred duration for that one. Also, blowing compressed air in the ports with liquid in the combustion chamber will show "bubble leaks" which I didn't do. Ah well, you live you learn ![]()
Rcutclif: The hydro tests were done with the rockers off. Thanks for that scare! I read your post pre-coffee and honestly couldn't remember. The 22r's head bolt design goes through the entire rocker assembly and through the head. So if you have the head off, the rockers are separated. shwew!
I hope to get the "real" leak-down done this morning and I'll decide where to go from there.
Good times ![]()
Day 6. Bad news...
Day 6 starts with the leak-down test. I have my notes, I wrote down the procedure,the engine and equipment are prepped (I'm kind of liking this organization thing!) so it goes pretty quick.
I use cylinder #1 to set my regulator at 20psi. I won't change the regulator for the duration of the test. In hindsight I'm kind of thinking I should have pumped that up a bit, but more on that later.
The test begins:
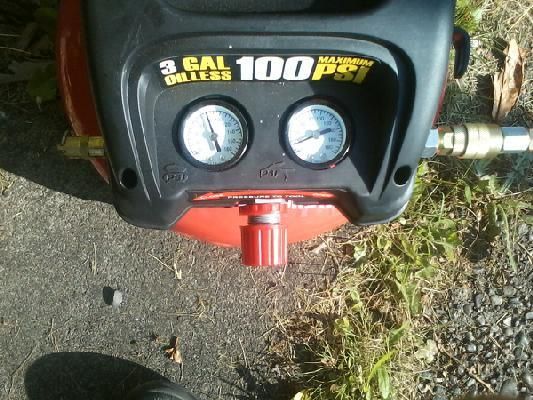
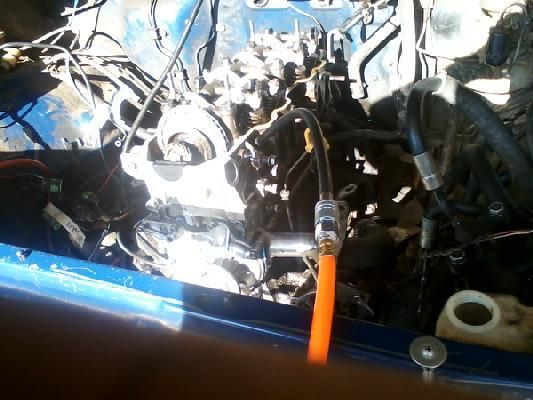
Thanks to my $4 schrader valve core remover I have a much easier time transitioning between cylinders. I move each piston to TDC, check for slack in the rockers (.012 exh / .008 int) and go to town. I cover each port with my hand, and during the first run I don't really have a way to check case venting. The valve cover is off (to verify TDC) and there are just too many holes in the case to get a good reading.
1) slight exhaust leak.
2) Decent exhaust leak, slight intake leak
3) bad exhaust leak, slight intake leak
4) mild intake leak...
Now #4 doesn't seem right with what I found yesterday so there must be something I'm missing. I decide that since the rings are suspect, I need to find a way to plug some holes. I decide that installing the valve cover, putting the dip stick back in, using both hands to cover the fuel pump and distributor port, while using my face to check the PCV vent is the way to go.
Funny thing happens: I removed all the screws from my valve cover when I took it off. This includes one I had no idea what it did, but it looked like someone JB welded the hole, tapped it, and installed a screw that attached to nothing else... "Odd", says I.
Even odder still, when I perform the above task a blast of air hits my face, not from the PCV vent, but from this weird hole! Some online picture searching shows me that this hole is some sort of second PCV vent!
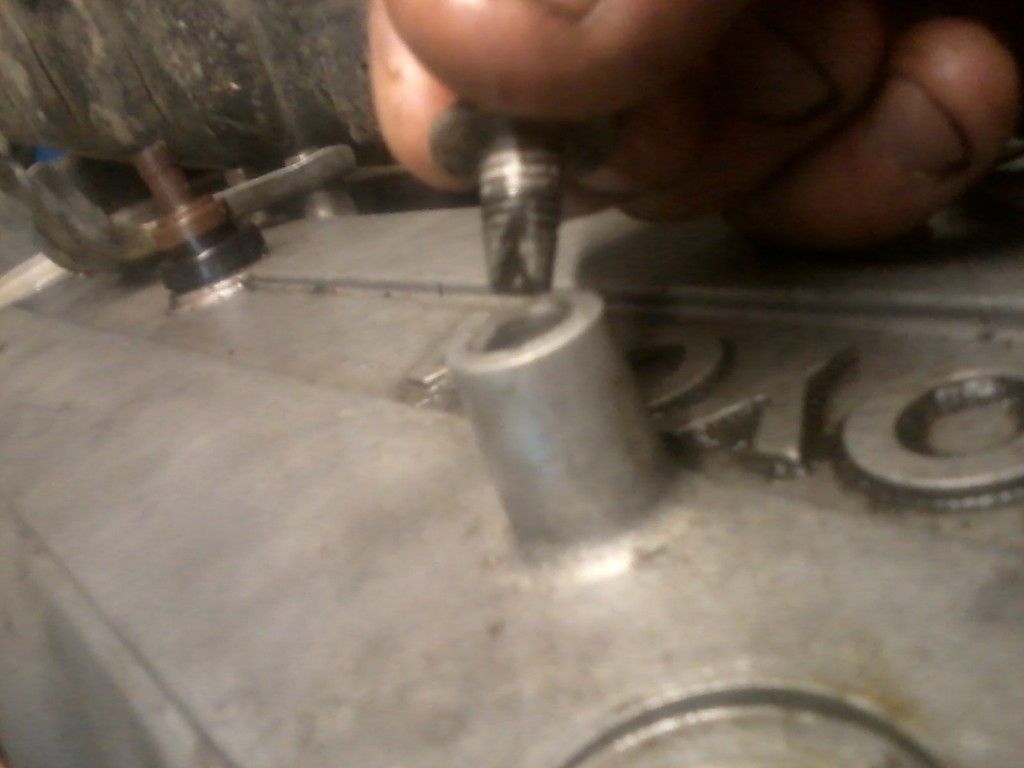
I think I now know why the previous owner reported seeing "oil everywhere". It wasn't a head gasket, but a PCV vent that was plugged. Wow.
Anyhoo, with the above steps, I return to the other cylinders, and find:
#1-#3 all have a very mild case vent. #4 has a substantial case vent.
I read this as "bad rings, cylinder #4. But when I remove the head something else catches my eye
If you remember correctly, I did a "wet test" on cylinder #4's compression (read: I poured an unknown quantity of oil down the hole). This caused compression to raise "a bit". When I removed the head gasket I saw oil on the mating surface between head and gasket (see below)
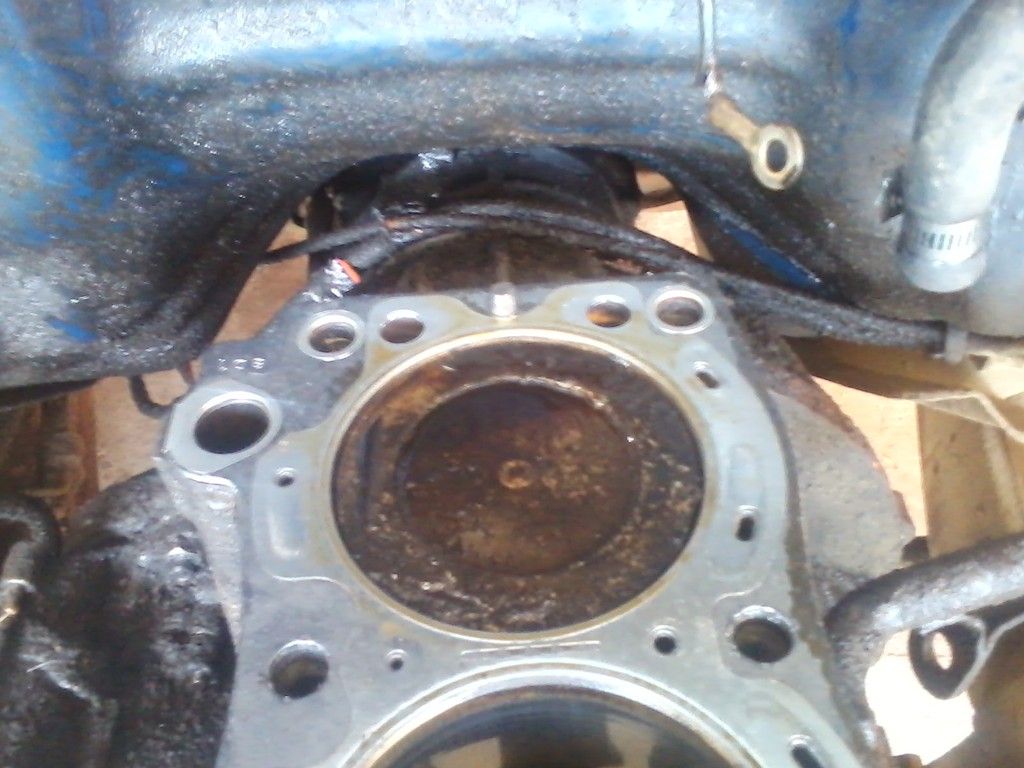
I'm now wondering if I have bad rings, or a bad seal on the gasket. The oil could have got there during my head removal and be in no way shape or form indicative of a bad gasket seal. But then again it could.... I honestly don't know how to troubleshoot down to one of the two.
While I'm here though, and for the sake of being thorough, I check the depth of the head bolts versus the head bolt lengths. To do this I simply dropped a scribe down the hole and noted the top-most location. I then compared it to a bolt.
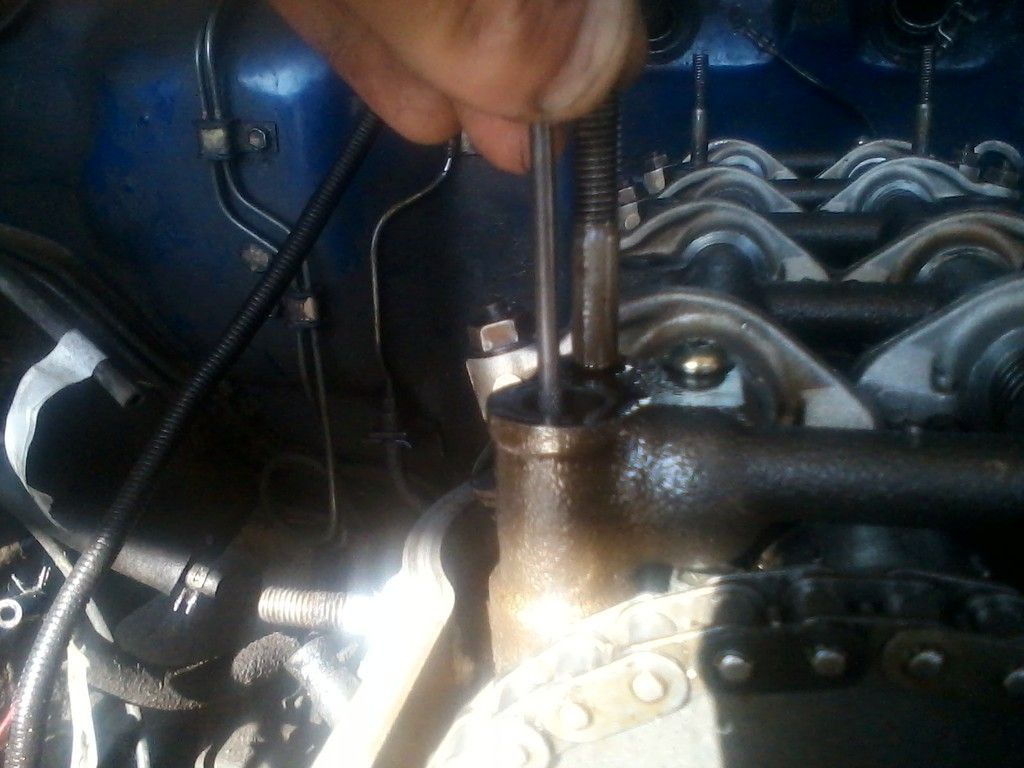
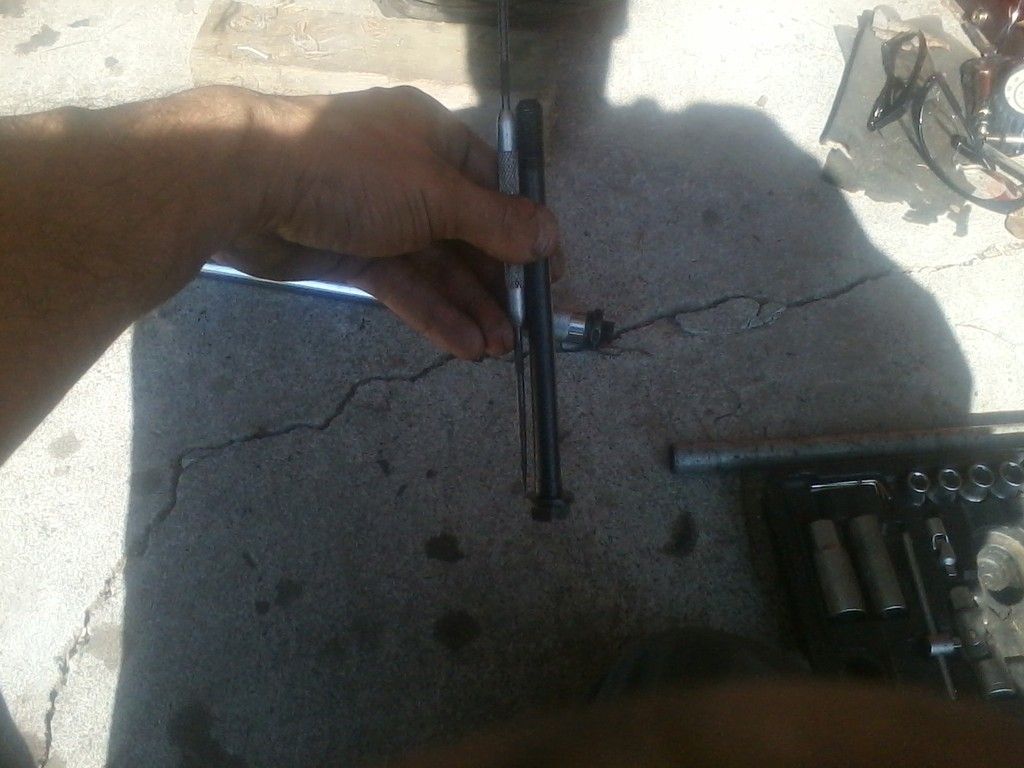
As you can see the holes almost go the entire length of the knurling on the scribe handle. The bolts just barely touch the knurling. This tells me that I should have plenty of room to play with, the bolts are not hitting bottom, and that neither the bolts nor the plane job are suspect in the lack of compression issue.
Man, I really like this "eliminate variables" stuff. It's a lot more effective than guessing!
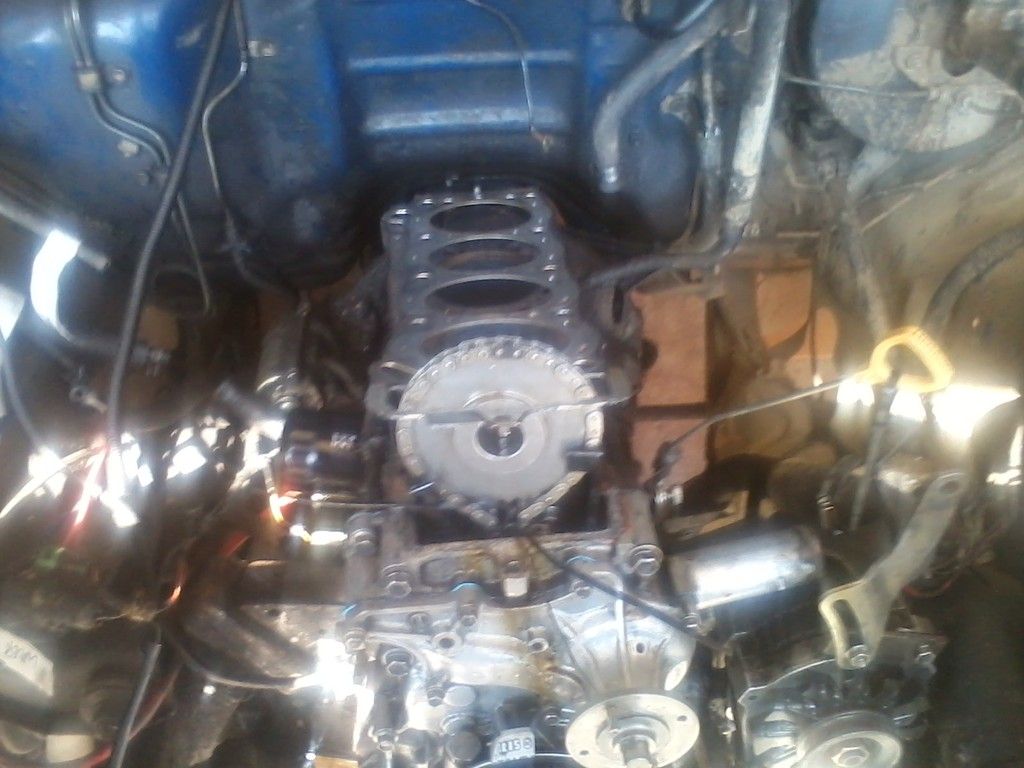
This is where I leave my truck for now:
So, on to the heads:
Well, goodbye reloading bench, hello cylinder head workshop!
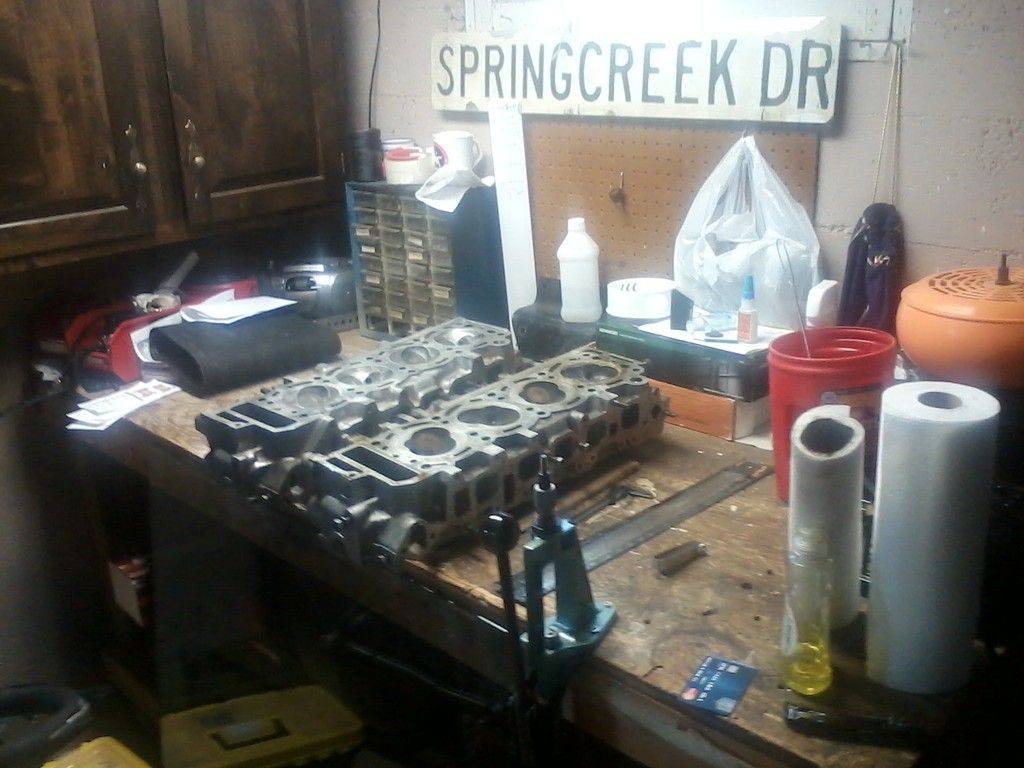
I checked the decks of both heads. The old head has been planed, but the job is even across the board.
Both cyl heads check true to .004"
Both cyl heads sport the same cam (as far as I can tell) and the same sized valves
Both cyl heads leak in various places, but the old head's valves are very pronounced, where as the new head's valves seem very recessed.
from top to bottom, the new head measures 10cm, where the old head measures 9.5cm.
Okie dokie. That's the heads then
So where does this leave us? well I need a vote:
Consider the following:
both heads are true. old head has been planed, old head has pronounced valves, old head has some damage at cyl #4 from a dropped spark plug core. New head has recessed valves, and no damage
cyl 4 may have a compression leak at the rings or at the head gasket (I plan on replacing the head gasket as soon as I can say "this is the final buildup"). As of right now I'm leaning rings, but see the pictures in day 6 above.
New head means I have to replace the timing chain again. Which means another gasket set. Old head means I can save the money because the timing chain is good.
What do I do?
I figure I have a couple options:
After lapping the valves and getting a good hydro test again, do I want the new head or the old head to be the one to go back on the engine? I prefer the old head, but there is that damage. But the truck did run with it for a long time.
Do I just fix the heads, or do rings as well? I really don't have the means to pull the block easily, so any piston re-ringing would preferably be done in the engine bay.
If I'm doing a re-ring, do I do just cyl 4 or 1-3 as well? Test show that 1-3 have good sealing rings.
If I'm re-ringing, do I need to hone the small lip at the top of the cylinder wall? It's there, but very smooth and not very big. this would be my first hone job, and I'm not sure I have the necessary equipment.
Current budget sits at about $400. Re-ringing would cost almost $150 with a #4 piston change.
I'm currently planning to work both heads over the weekend. I'll check this thread and any votes either Sunday or Monday.
Thanks! ![]() -Bill
-Bill
You'll need to log in to post.