previously
budget spent: 1881.34
recoup: 1000
new money
traded leather seats for window tint and valve cover powdercoat
100 10-32 screws $10.99, used 10 $1.10
100 10-32 nuts $8.19 used 10 $.82
100 flat washers $7.99 used 10 $.80
100 lock washers $8.49 used $.85
TPS sensor 14.99
crank position sensor 11.25
gates black timing belt leftover from another neon: 12.01 per rockauto FMV
2 axle seals from oriellys: 5.38
two cans of white wheel paint 15.98
wheel bearing from oriellys 32.99
New total: 1972.51
recoup: 1000
so, lots has happened. Lots. Previously when I updated, the engine and trans were in on the mounts, and that's about it.
 20200715_153617 by Michael Crawford, on Flickr
I really wasn't digging the silver valve cover. I thought about stripping it again and actually polishing it this time, but just couldn't bring myself to do it. Seemed too much like work. So I cleaned and painted the eclipse valve cover.
 20200716_152134 by Michael Crawford, on Flickr
I went ahead and hung everything loosely in the engine bay, put fuses and relays in place, etc. just enough to have it fire up and run. Which it did!!! no muss, no fuss, no problems.
https://youtu.be/RhERQLzo0TY
so we then went ahead and put everything in place in the engine bay for good.
 20200718_160809 by Michael Crawford, on Flickr
 20200718_160814 by Michael Crawford, on Flickr
I also took a look at the air filter on the iceman. I had a much larger filter with similar critical dimensions I thought would fit, also a K&N. So, I put it in. its freakishly large.
 20200718_154826 by Michael Crawford, on Flickr
we burped the cooling system, checked fluids, did nut any bolt checks, made sure the fan worked, etc.
then we did this:
https://youtu.be/myOAWbNokl4
munchkin did all the video work. Shes 11, and just learning how to do it. Even doing a merit badge in scouts.
But, successful test drive! Except for the suspension noise.
 20200719_084237 by Michael Crawford, on Flickr
we figured out that the noise was a seriously bent hub. I unfortunately didn't have a spare, so had to source a bearing and hub assembly from the friendly local parts store. First FWD wheel bearing I ever did, and there's definitely a learning curve. Way different than RWD stuff. I also fixed a few little leaks from seals that had already been replaced once, re-bled brakes, etc. general tidy up stuff.
Then, fixed my depot euro headlights. These are the same lights I bought back in 2012, just trashed. One side had the bulb shield screw strip out of the plastic backing and drop the shield.
 20200722_090807 by Michael Crawford, on Flickr
So I baked it, jb welded the screw and shield back into place, and baked it back together. Cant tell anything was ever wrong!
I also grabbed my powerball and mag and aluminum polish and cleaned up the lenses. Used the NOS TYC gaskets that came with E36 M3box, mounted stuff up, and found the headlight bulbs are still good!
 20200724_083317 by Michael Crawford, on Flickr
 20200805_081844 by Michael Crawford, on Flickr
walked away for a minute at this point to play with my wood lathe and duster. I needed a break for a couple weeks.
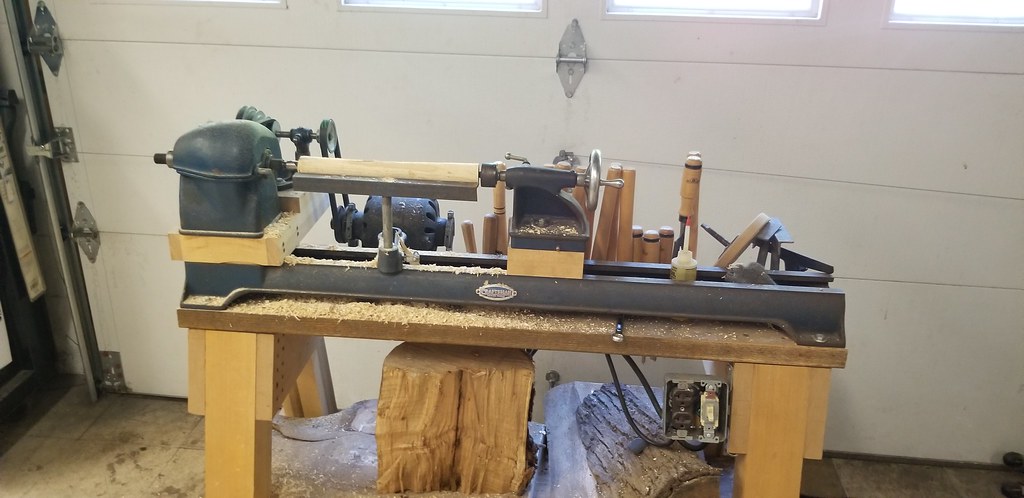 20200728_121453 by Michael Crawford, on Flickr
 20200808_155421 by Michael Crawford, on Flickr
art called me Wednesday morning, and told me to come by. I was slammed at work, so he sent me these pictures. I picked them up Wednesday after work.
 received_317209642709392 by Michael Crawford, on Flickr
 received_729735044548420 by Michael Crawford, on Flickr
thursday in between calls and dumpster fires, I taped off and painted that backs of the fenders. Figured it was a good idea.
 20200813_141618 by Michael Crawford, on Flickr
I also reattached the rubber to the cowl panel I had extra. Hopefully I can make this one fit a heck of a lot better than the one screwed down at the moment.
 20200813_132147 by Michael Crawford, on Flickr
last night, brother Dustin and I got the sheet metal hung. And adjusted. And then went for a drive. This thing RIPS. Unfortunately we kicked a code for timing belt jump. So, ill need to figure that out. But, not that bad. Also, need to finish wet sanding and buffing, put inner fenders in, etc. just sorting and detail work at this point really.
 20200814_195934 by Michael Crawford, on Flickr
 20200814_195946 by Michael Crawford, on Flickr
 20200814_200001 by Michael Crawford, on Flickr
 20200814_200406 by Michael Crawford, on Flickr
also need to get the white wheels on.
Then, start doing my comparison testing for the adjustable damping maxpeedingrods srt4 coilovers. It'll be interesting to see how these compare to the tried and true koni yellows and mopar xxhigh springs.
 20200813_131927 by Michael Crawford, on Flickr
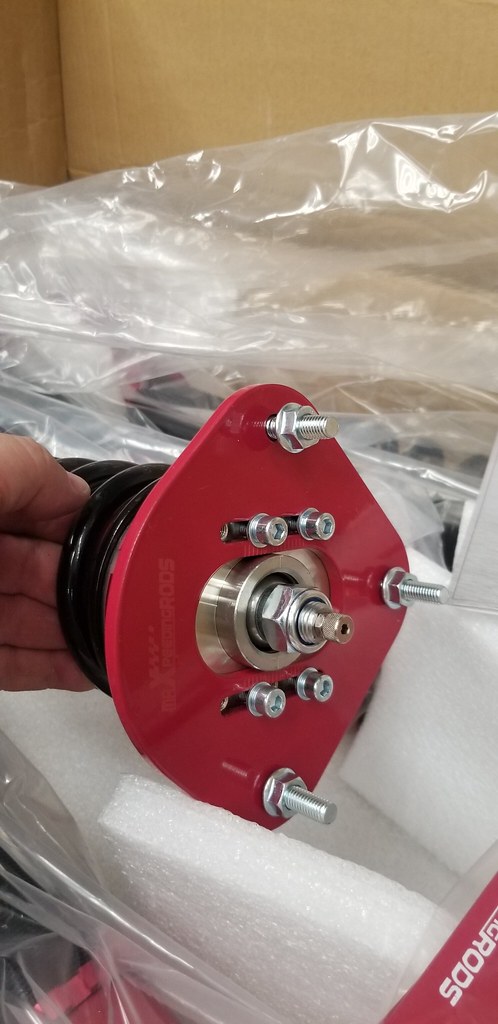 20200813_132139 by Michael Crawford, on Flickr
until next time friends!


 looking like its time to finish the car.....


 painting the backside of the fenders. Seems like the thing to do.


 WINNING. holy hell is it just right!!!


