In reply to pres589:
Thanks!
Hi, fella. Beautiful build. Commenting so I can read your novel in a more leisurely manner over morning coffee. Rock on.
so, budget first:
previous total: 11,312.07
money spent:
110 for alignment and AC charge, Mabry's automotive
65 for fan shroud (NPD)
-75 for removal of C4 wheels
76.56 for buckets and console (pull-a-part Winston Salem)
17.50 for kick panels (used and crusty, city salvage)
89 for rear sway bar (1 inch, eBay)
new total:
11,595.13
long time no update. the big reason for that is that I have been busier than a one armed wallpaper hanger. I undertook some serious home renovations that have been taking most of my free time. I know that isn't much of an excuse, so I will attempt to make amends with this update.
so I guess ill do my best to do this in chronological order.
first, I finally got my tailgate back, thereby almost finishing my debacle in body work. turned out absolutely perfect.
[URL=http://s54.photobucket.com/user/dusterbd13/media/1964%20elcamino/20150605_083916_zpsrzcqjwl7.jpg.html]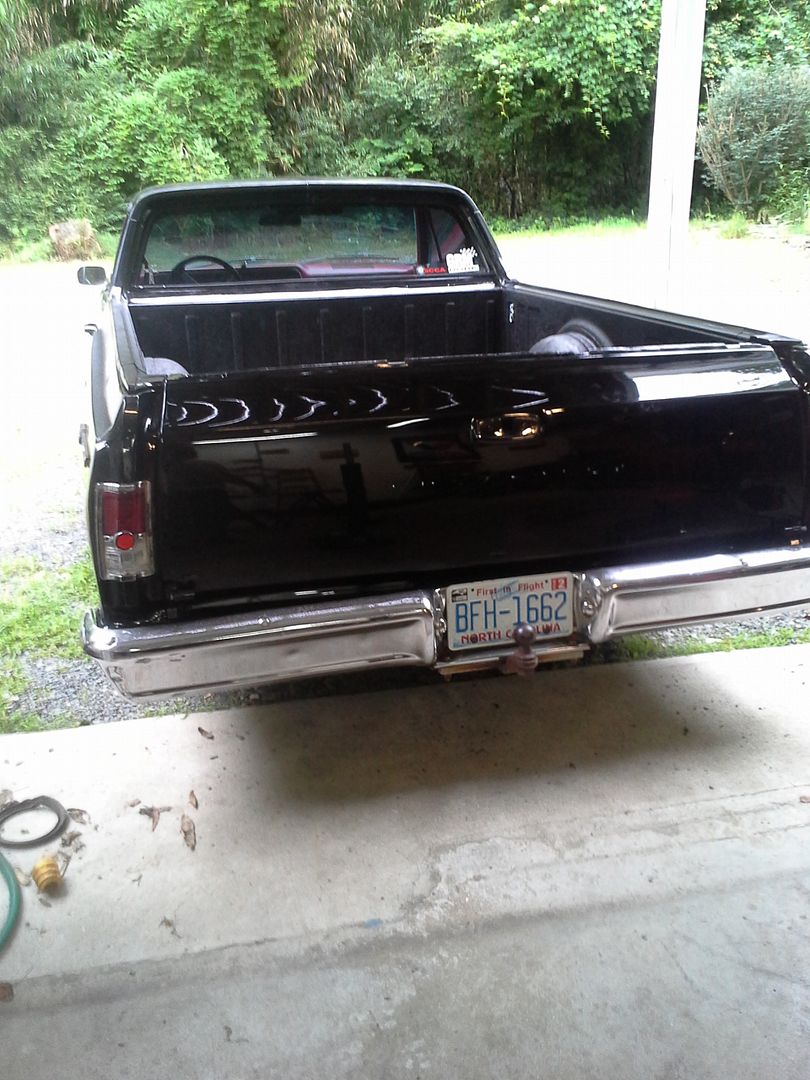 [/URL]
[URL=http://s54.photobucket.com/user/dusterbd13/media/1964%20elcamino/20150605_193448_zps9ztgacqm.jpg.html]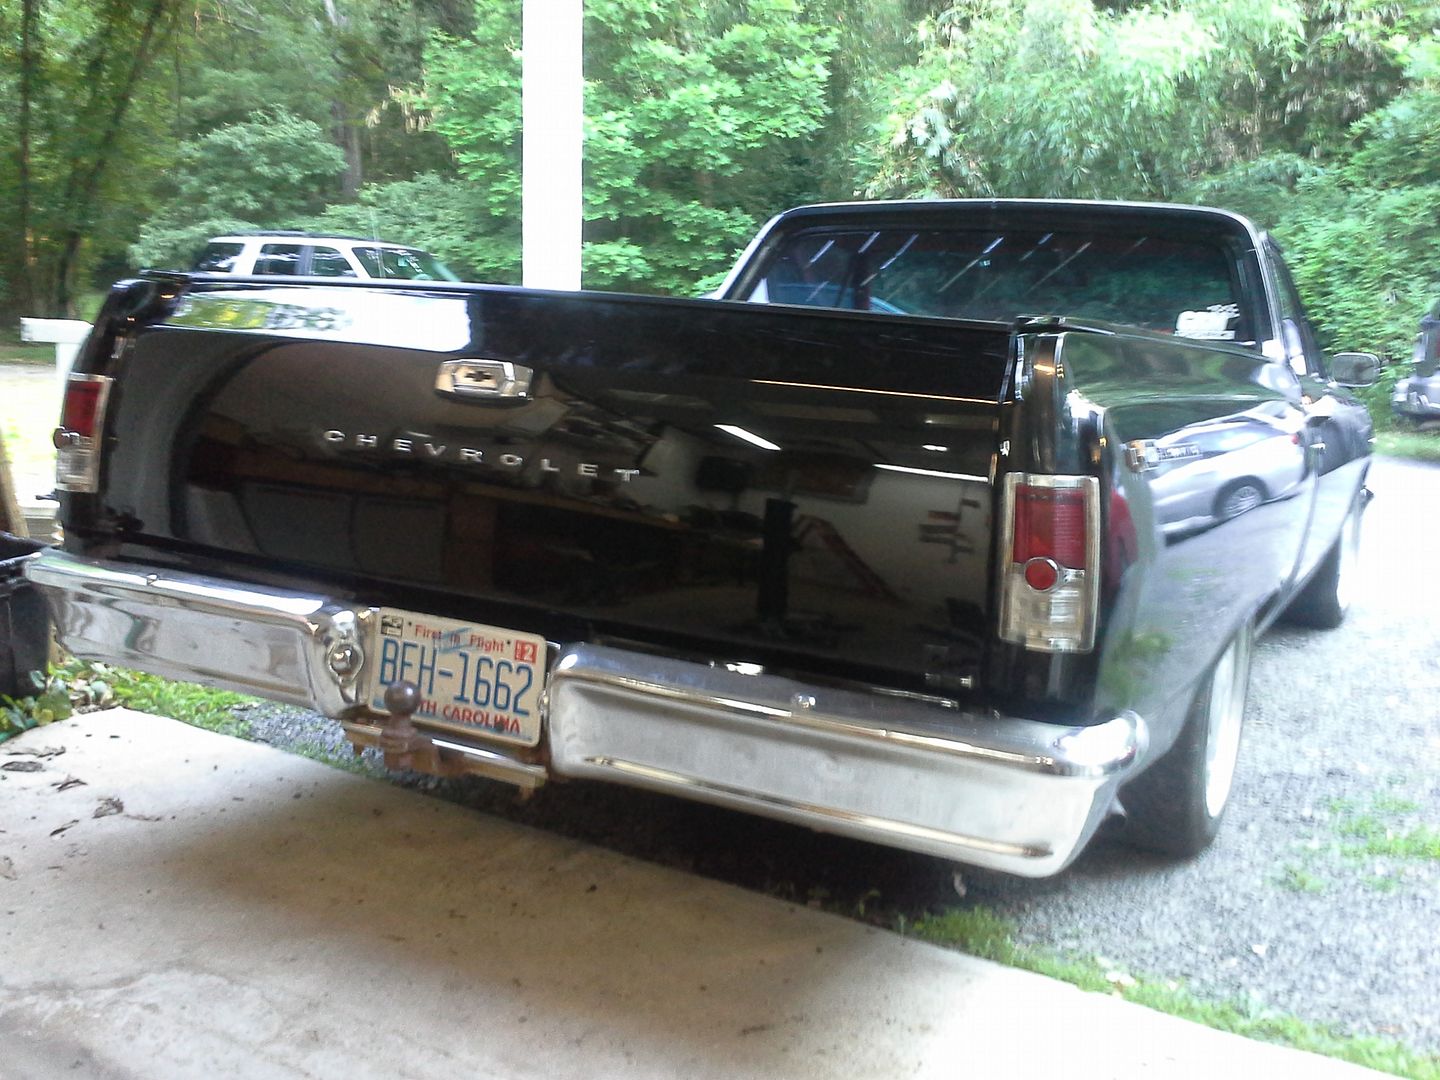 [/URL]
shortly after this, my daughter begged me to use this in the fourth of July parade. last time I tried, I started a domino effect of trans/cooling system overhaul and engine freshening. this time it went a whole lot better. no problems whatsoever. had a hoot.
[URL=http://s54.photobucket.com/user/dusterbd13/media/1964%20elcamino/20150704_085341_zpsut5jgbbb.jpg.html]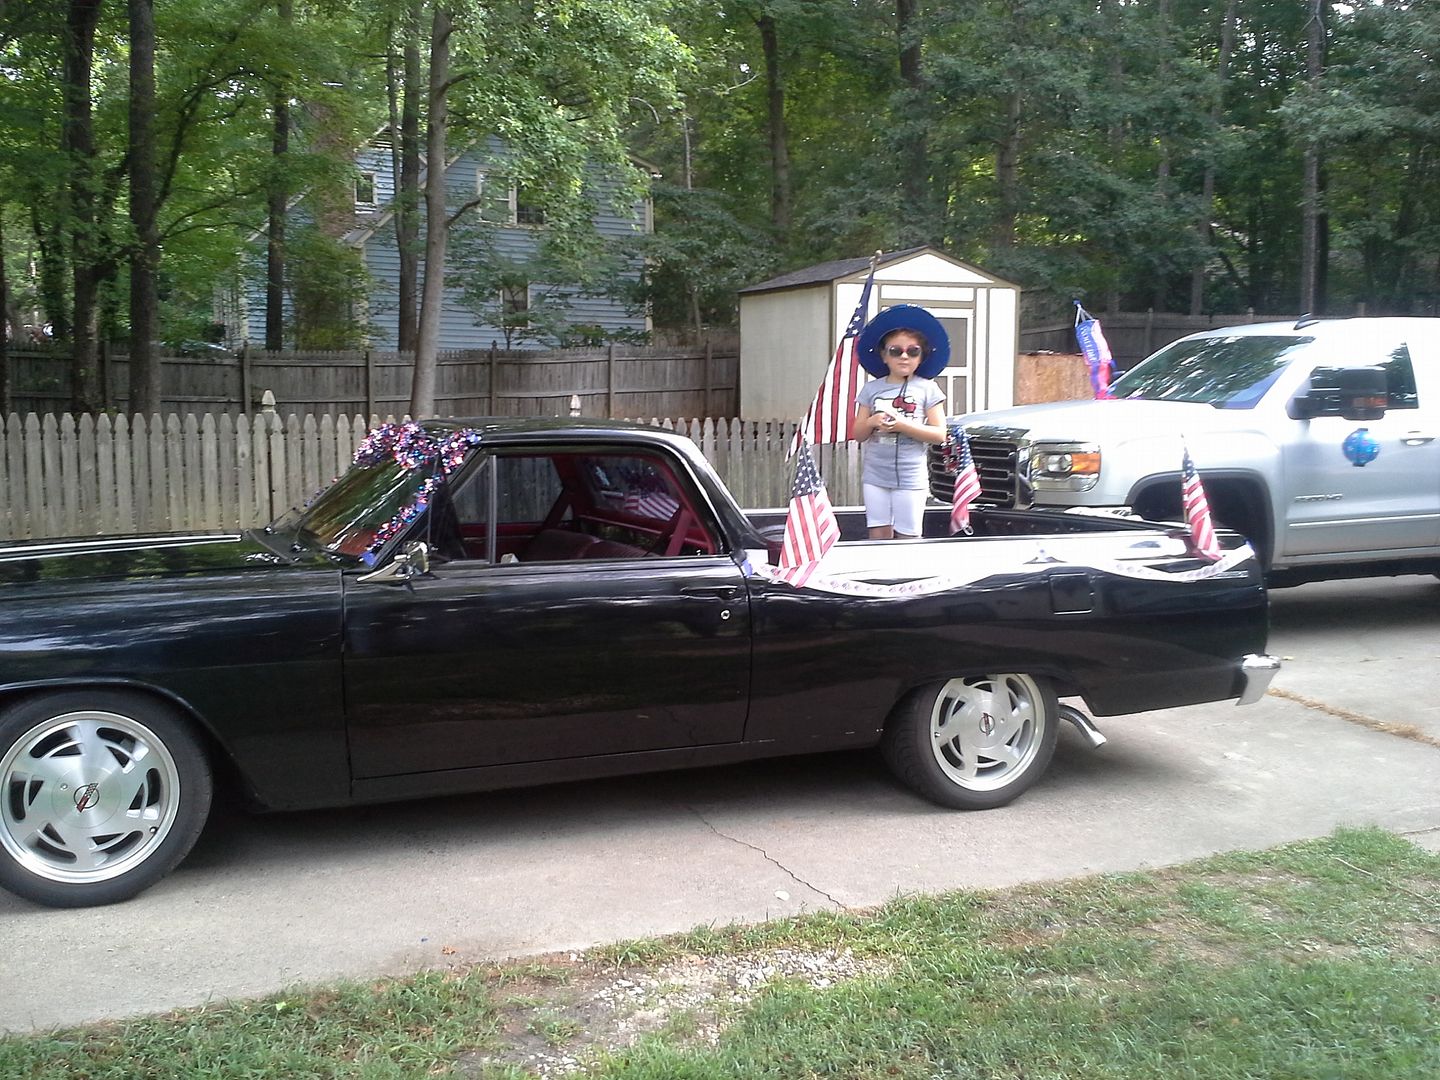 [/URL]
around this time, I fell through the back steps on my deck. whoever had built this place didn't use all pressure treated on the decking, so a lot was rotten. which was fantastic timing, as I had just gutted and started renovating my shop in the process. build thread for the shop is here: https://grassrootsmotorsports.com/forum/build-projects-and-project-cars/dusterbd-does-a-low-budget-shop-rebuild-not-the-grosh-caliber-but-still/103346/page1/
so that was great. but what you gonna do? call a contractor? they want some form of payment for their labor, and im cheap. so....
[URL=http://s54.photobucket.com/user/dusterbd13/media/1964%20elcamino/20150708_202307_zpsgvhwogvz.jpg.html]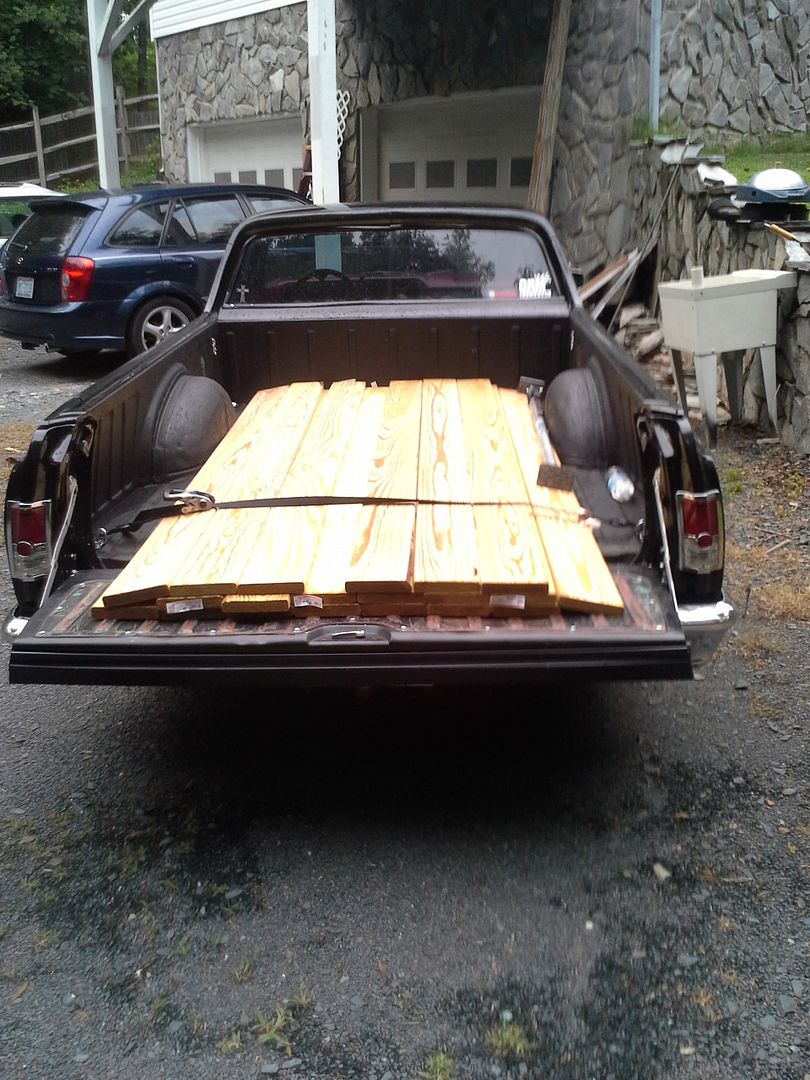 [/URL]
[URL=http://s54.photobucket.com/user/dusterbd13/media/1964%20elcamino/20150711_121552_zpso75aw6hu.jpg.html]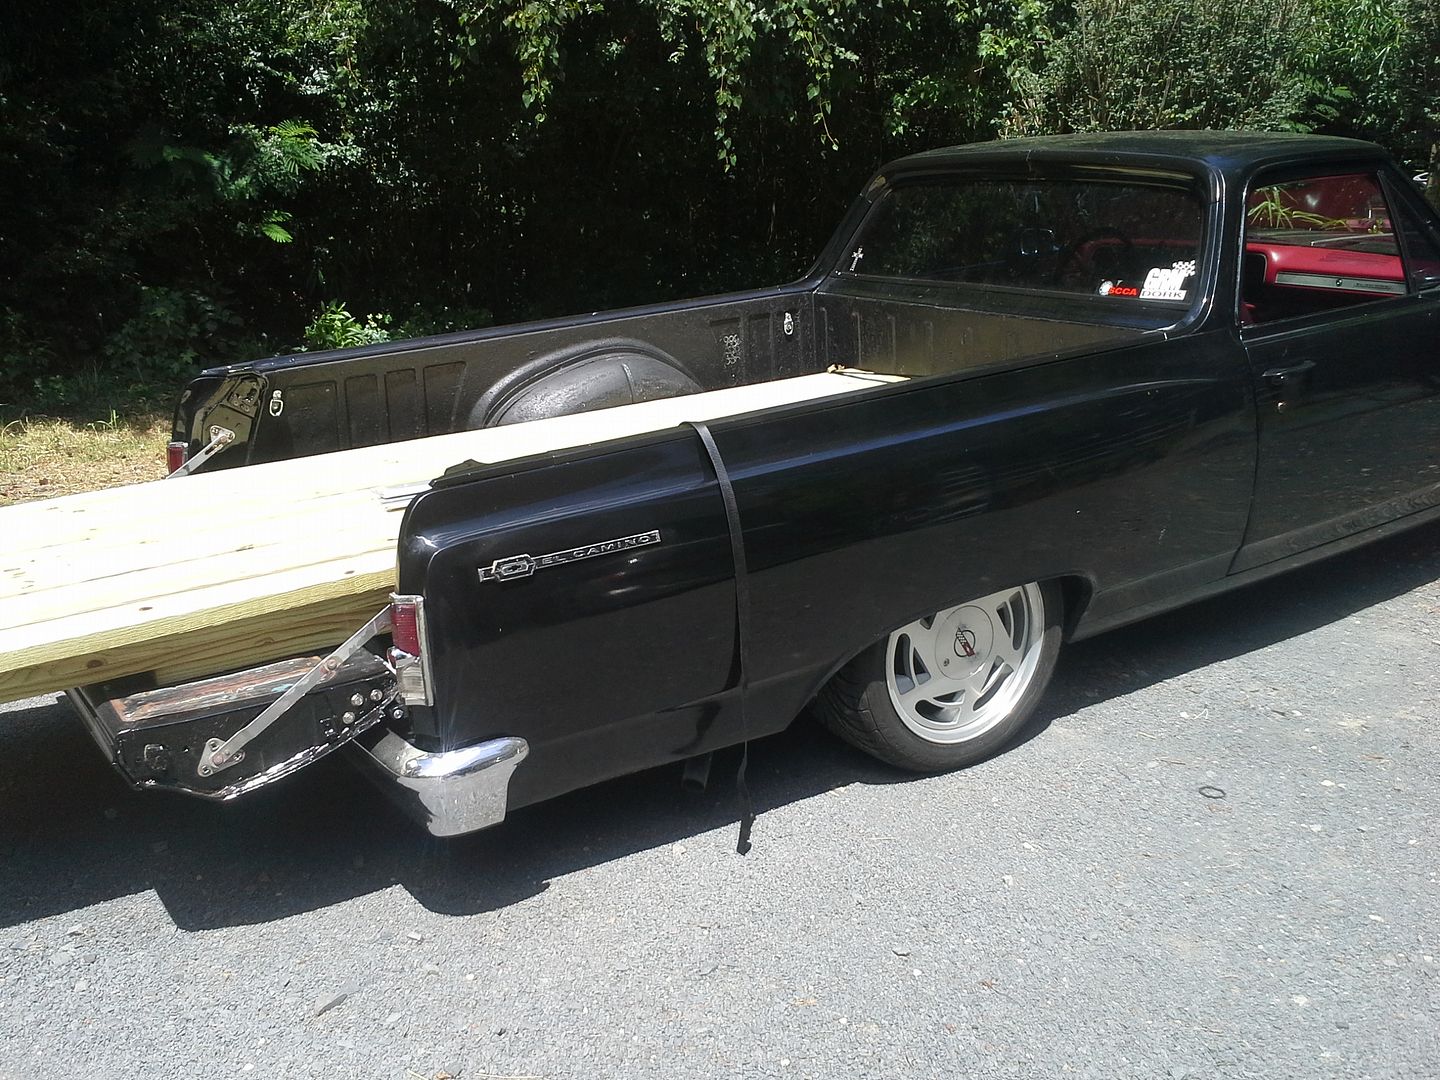 [/URL]
[URL=http://s54.photobucket.com/user/dusterbd13/media/1964%20elcamino/20150711_121545_zpsxijufl3k.jpg.html]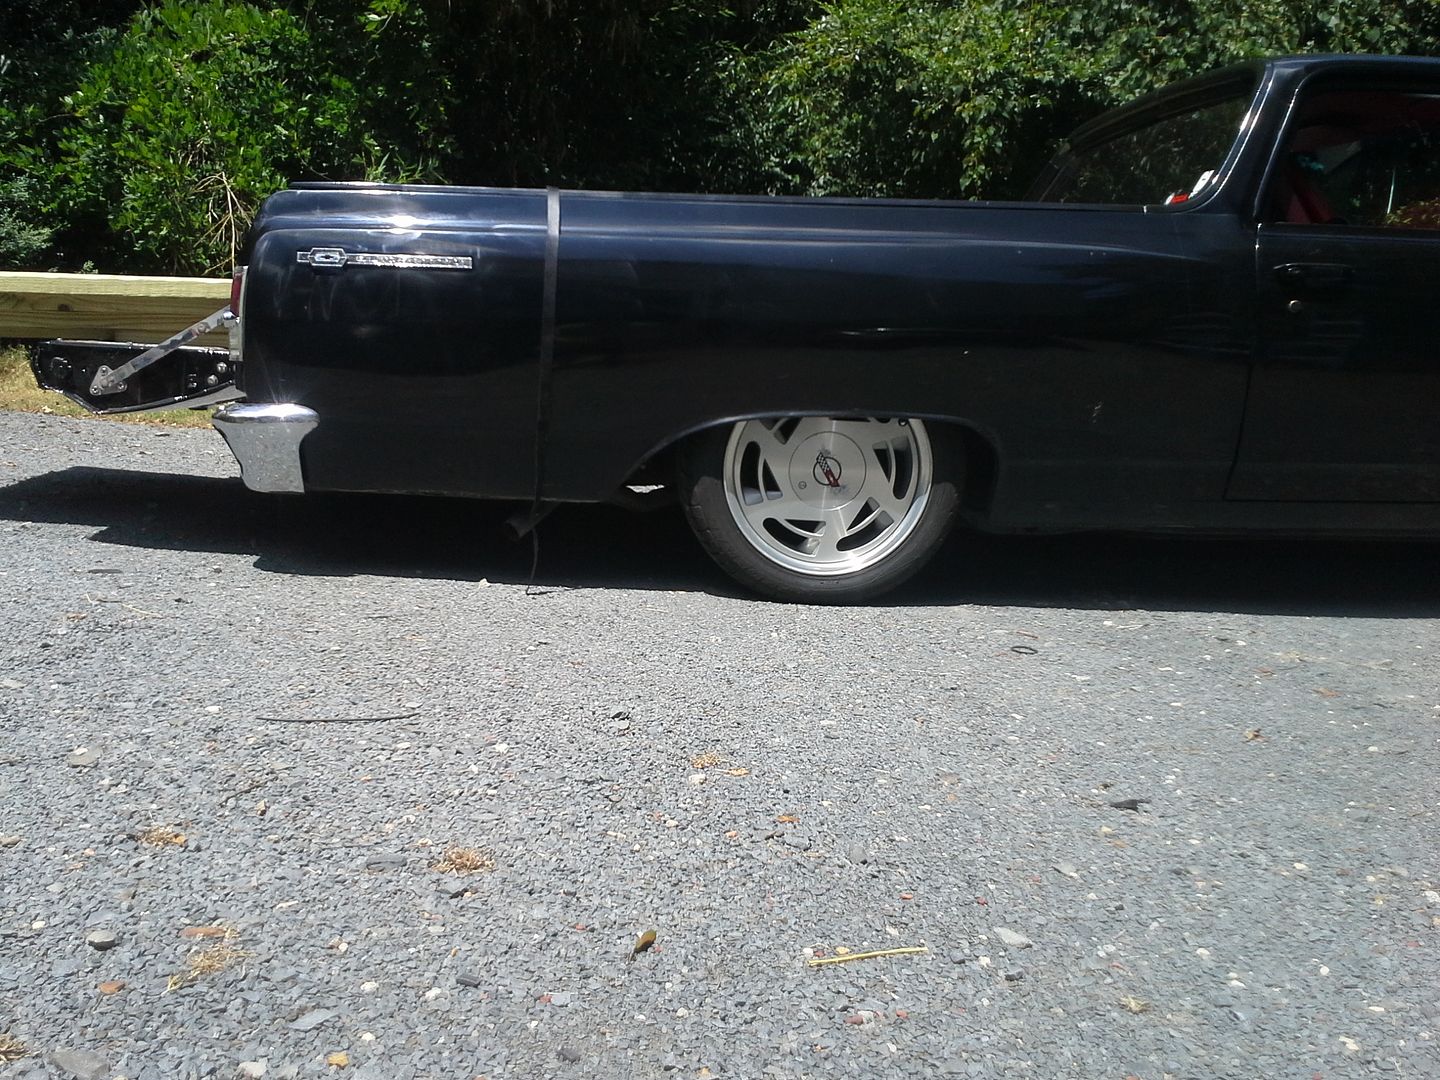 [/URL]
[URL=http://s54.photobucket.com/user/dusterbd13/media/1964%20elcamino/20150711_072056_zpsurwmmapa.jpg.html]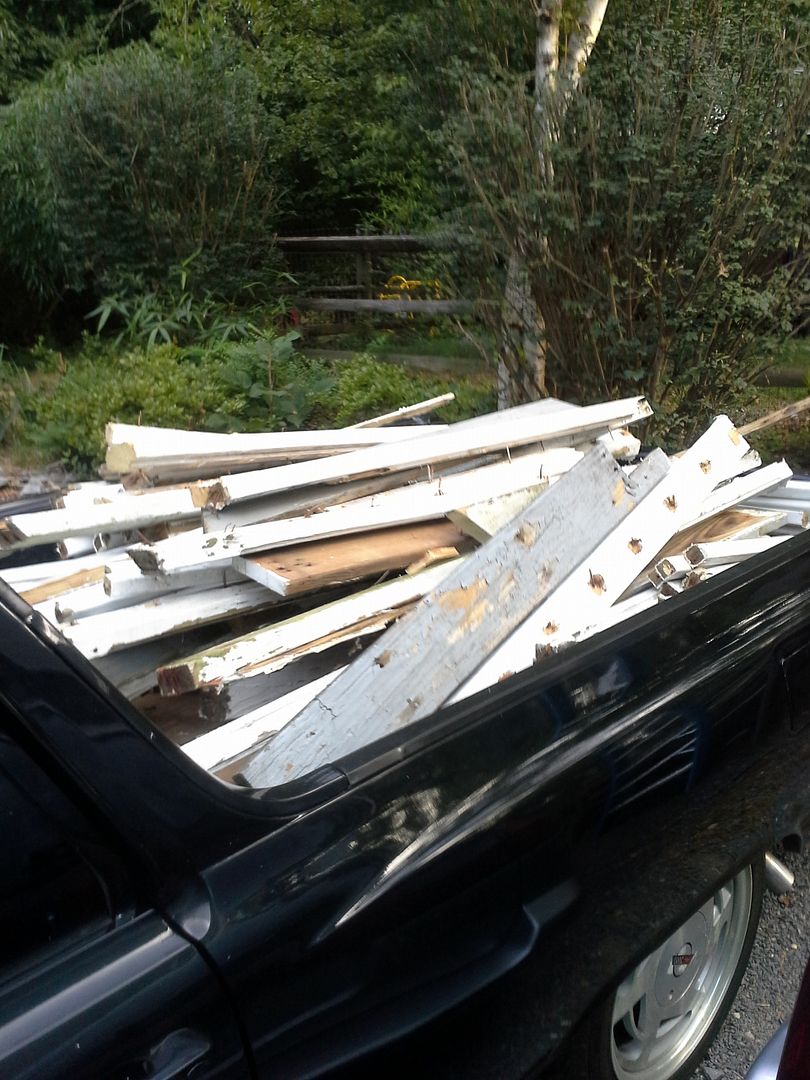 [/URL]
over 8 trips of debris and materials loaded like that for the deck alone. the truck is definitely earning its keep. really needs load leveling air bags in the rear springs, but I just can't afford them right now. I will say when hauling 800 lbs of debris to the landfill in a 64 el camino, you get a lot of shocked looks from people. guess they just don’t expect you to do that with a classic car.
anyway, the guy that was doing the wet sanding and buffing finally got around to finishing. feels sooooo good to have all that behind me now. here's a few pictures of the day we finished.
[URL=http://s54.photobucket.com/user/dusterbd13/media/1964%20elcamino/20150802_140153_zpsesjsjddt.jpg.html]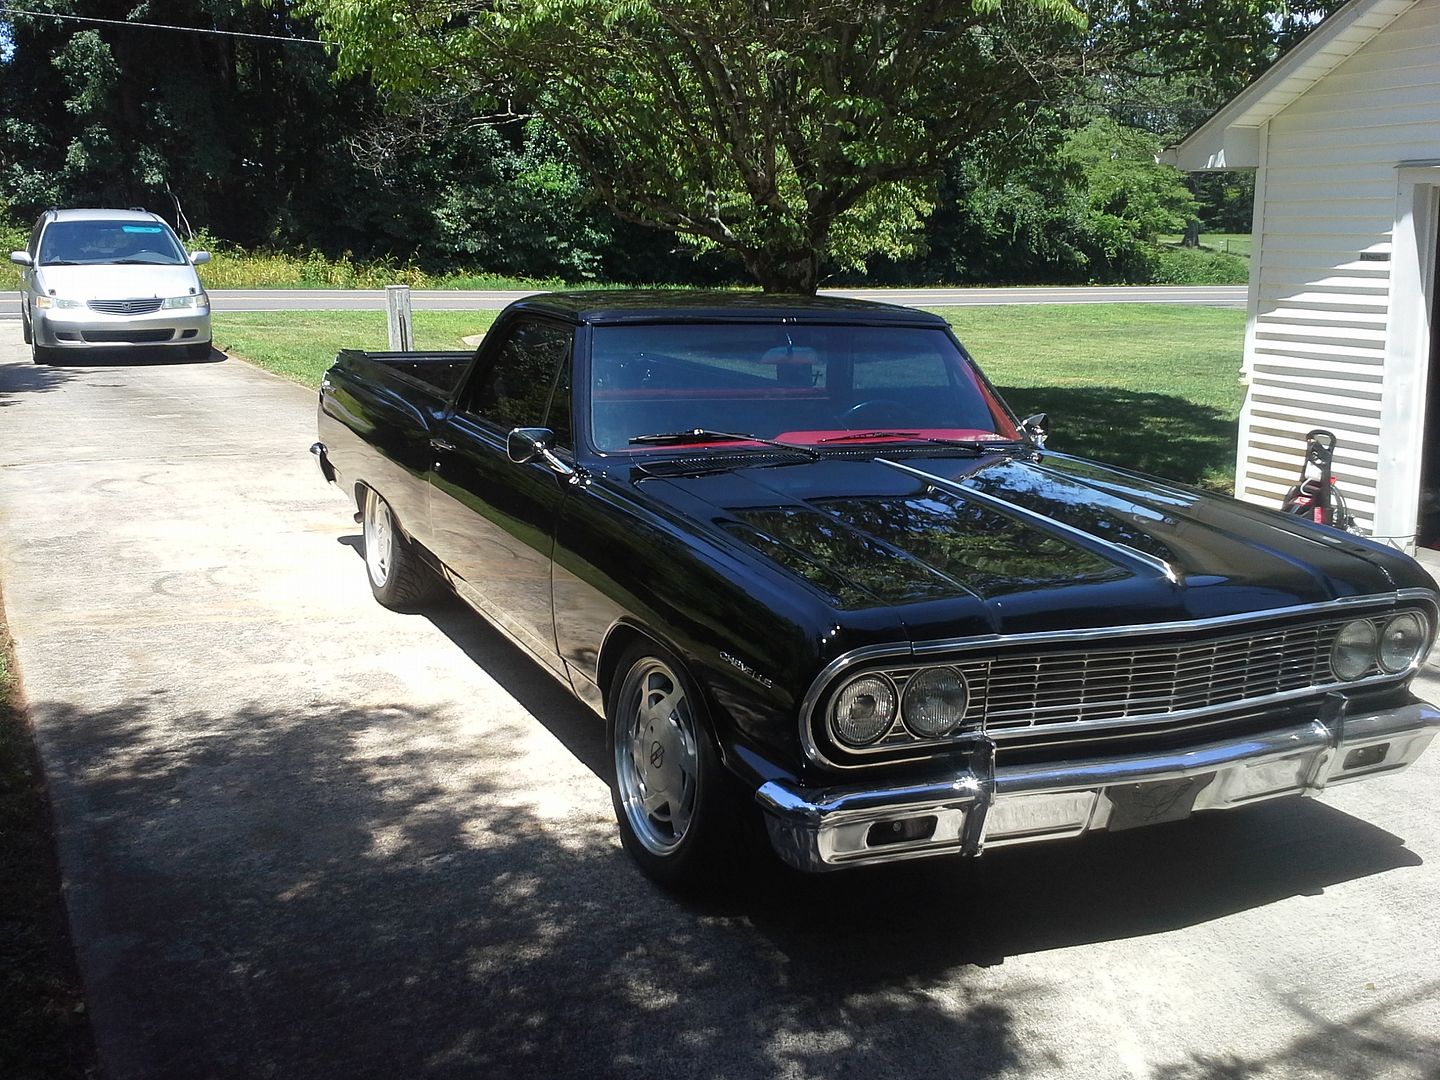 [/URL]
[URL=http://s54.photobucket.com/user/dusterbd13/media/1964%20elcamino/20150802_140202_zpsbqqi9mgx.jpg.html]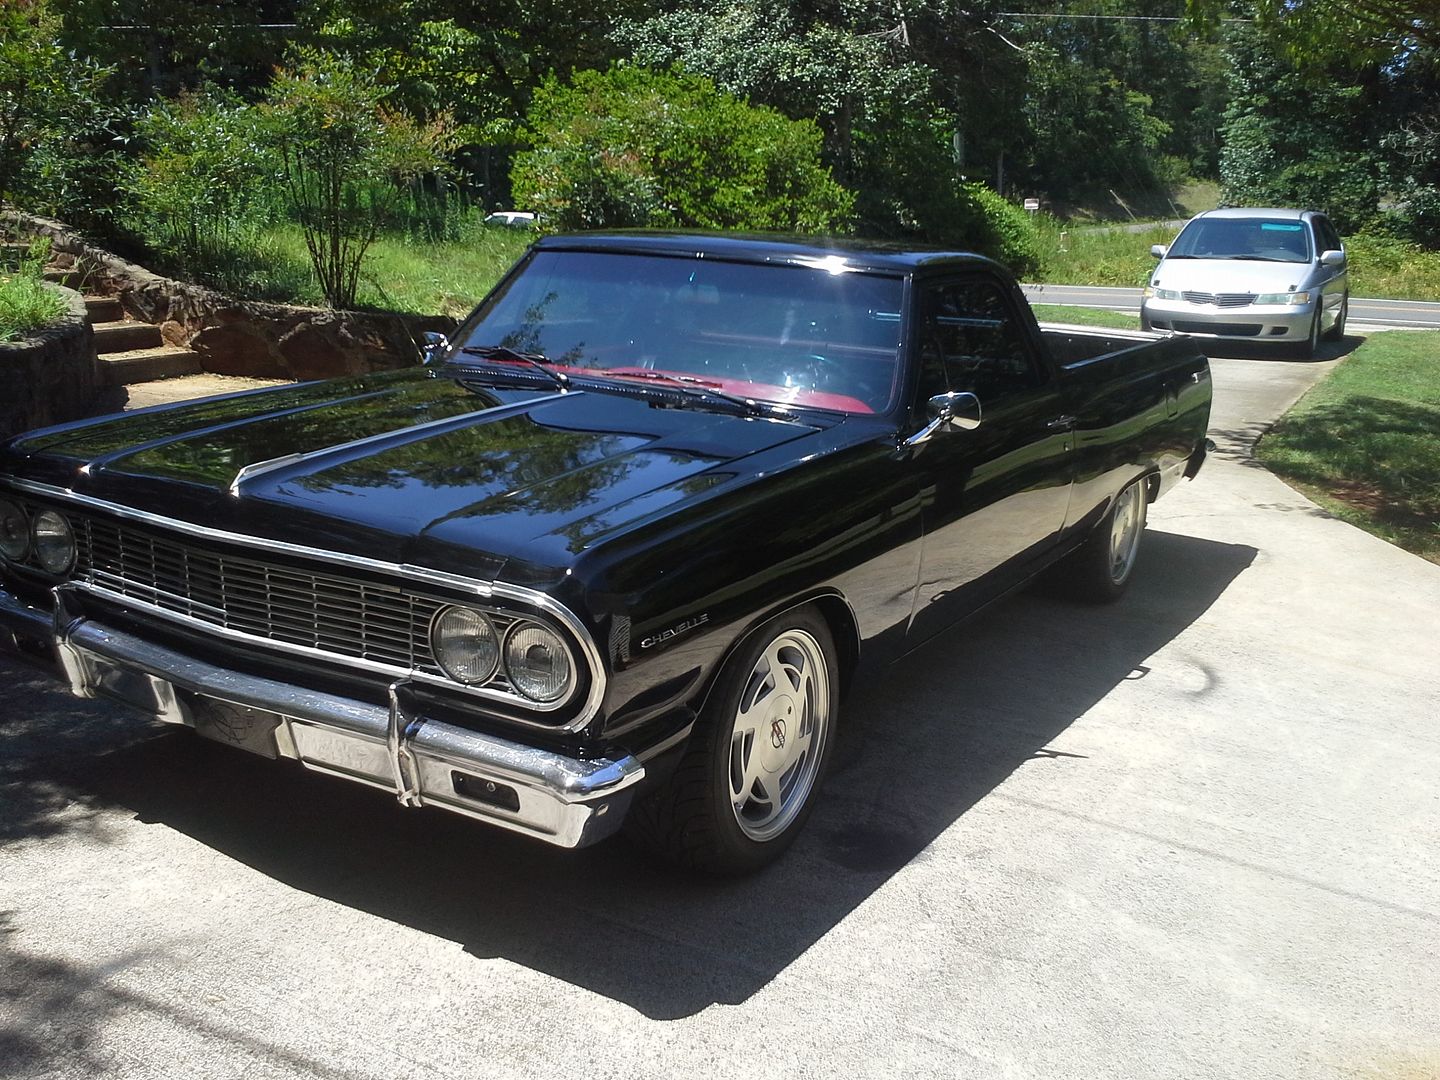 [/URL]
[URL=http://s54.photobucket.com/user/dusterbd13/media/1964%20elcamino/post_image10_zps1we93ufp.jpg.html]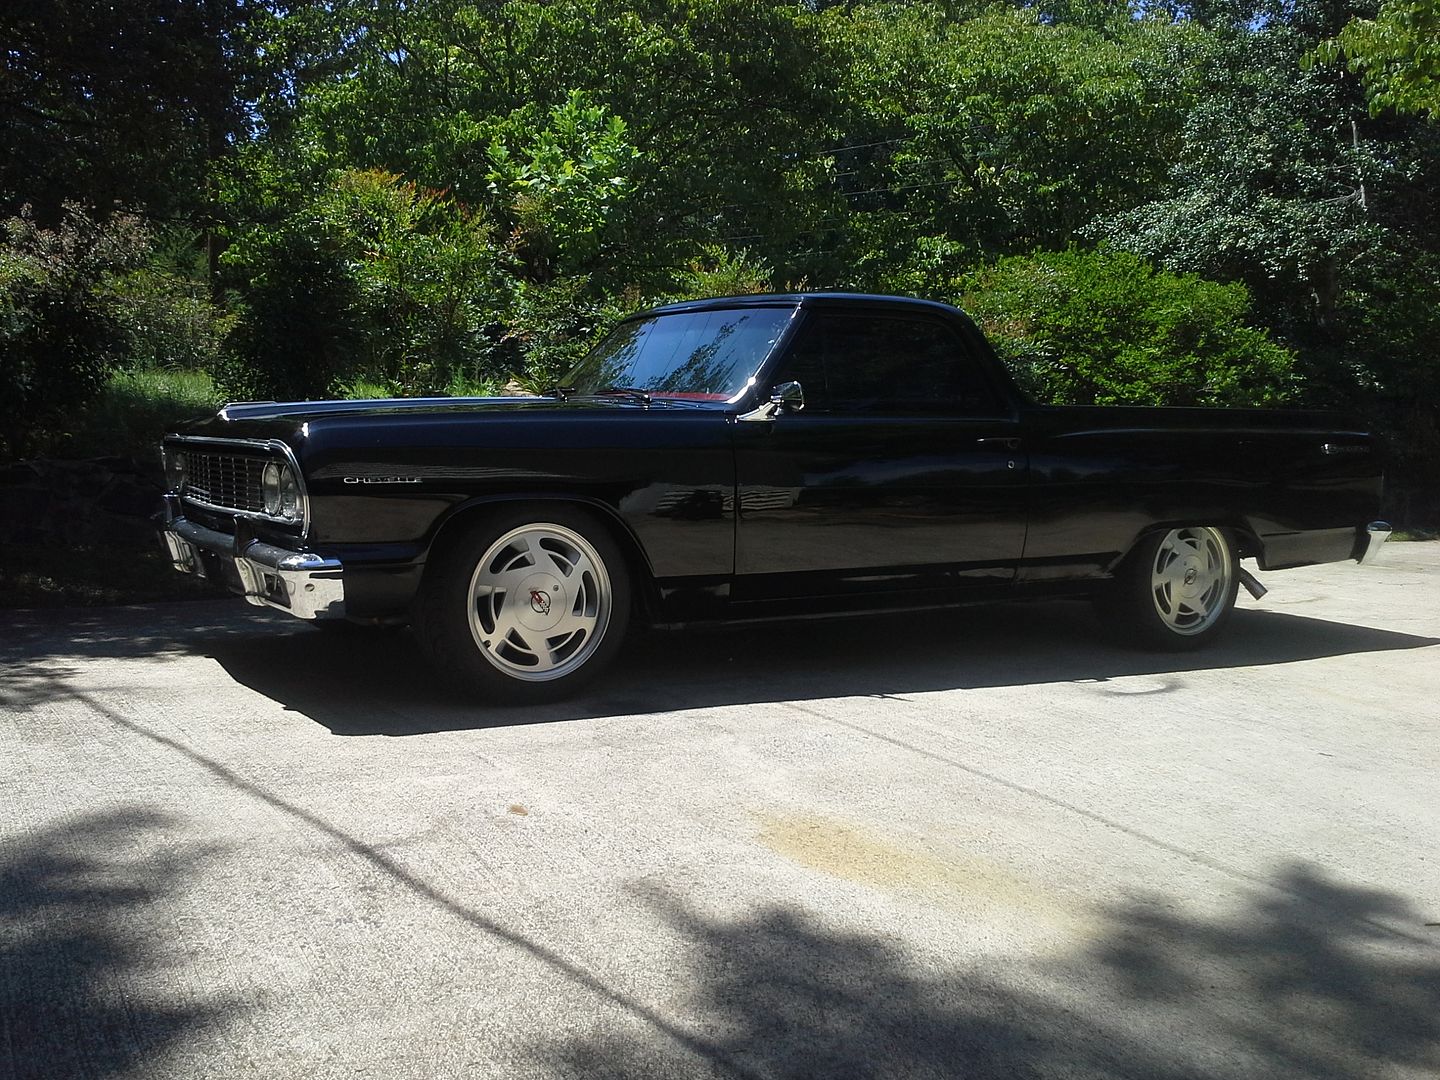 [/URL]
[URL=http://s54.photobucket.com/user/dusterbd13/media/1964%20elcamino/20150802_140241_zpsi8c1zhj1.jpg.html]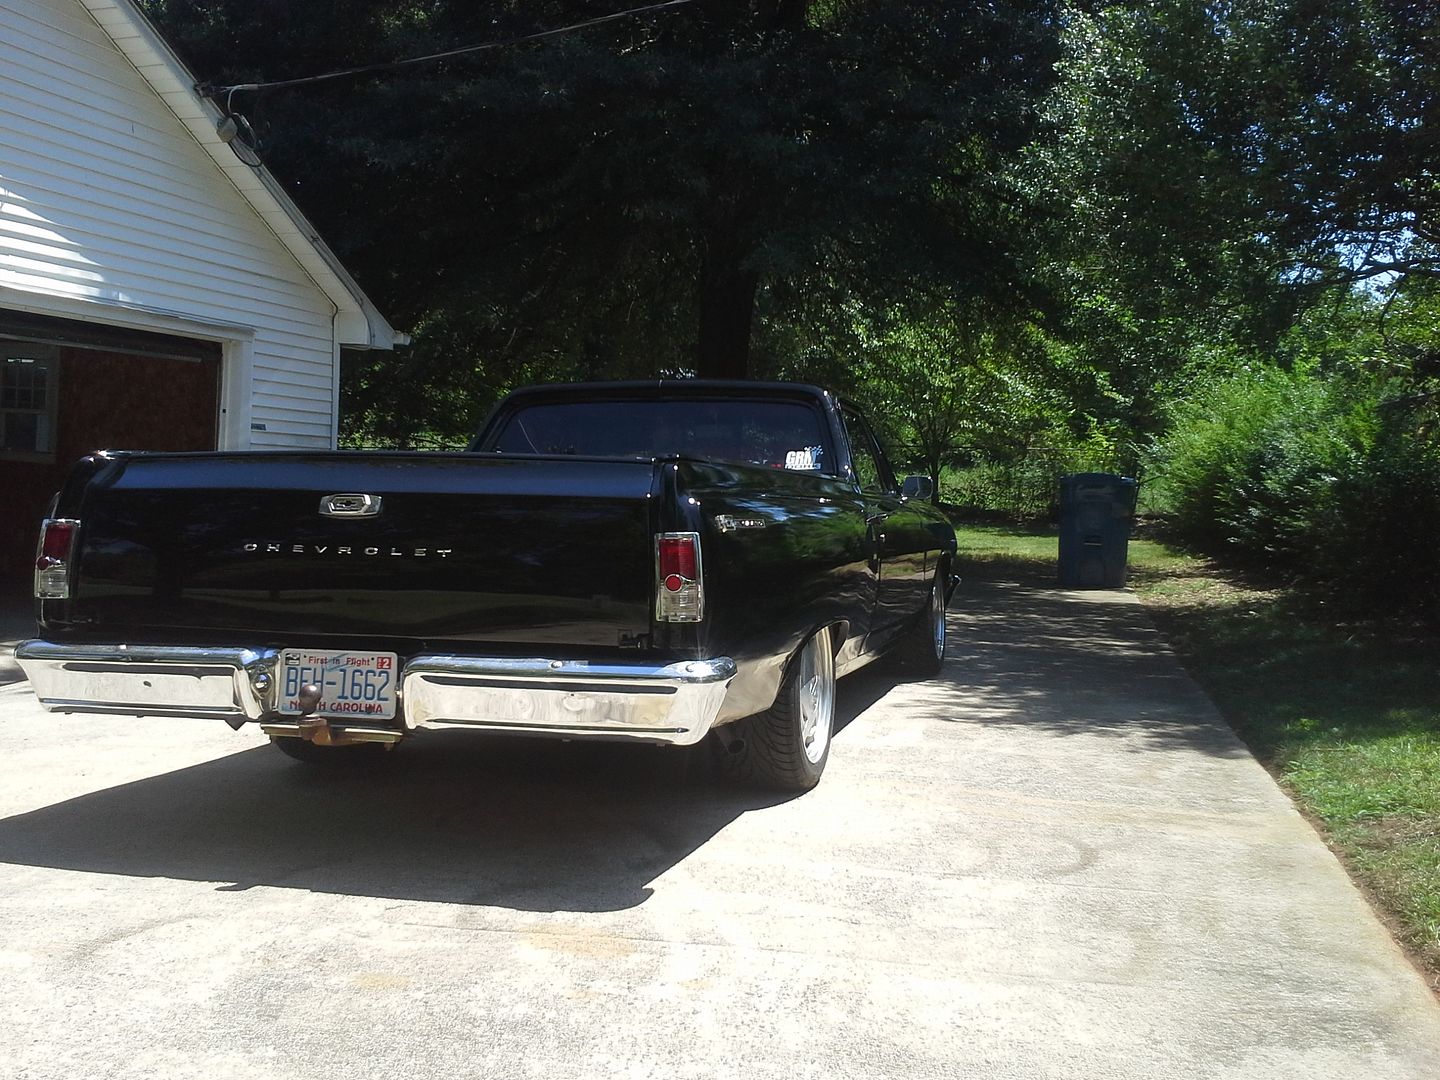 [/URL]
after this, I grenaded my jeep steering box. swapped it out for a fresh one, deleted the oversize power steering cooler, added a fan shroud, got a professional alignment and the AC charged. AC still didn’t work worth a damn, and the shop claims high head pressures due to trans cooler. I don’t know, and aint messed with it much due to time.
[URL=http://s54.photobucket.com/user/dusterbd13/media/1964%20elcamino/20150908_130651_zpsw55zmxas.jpg.html]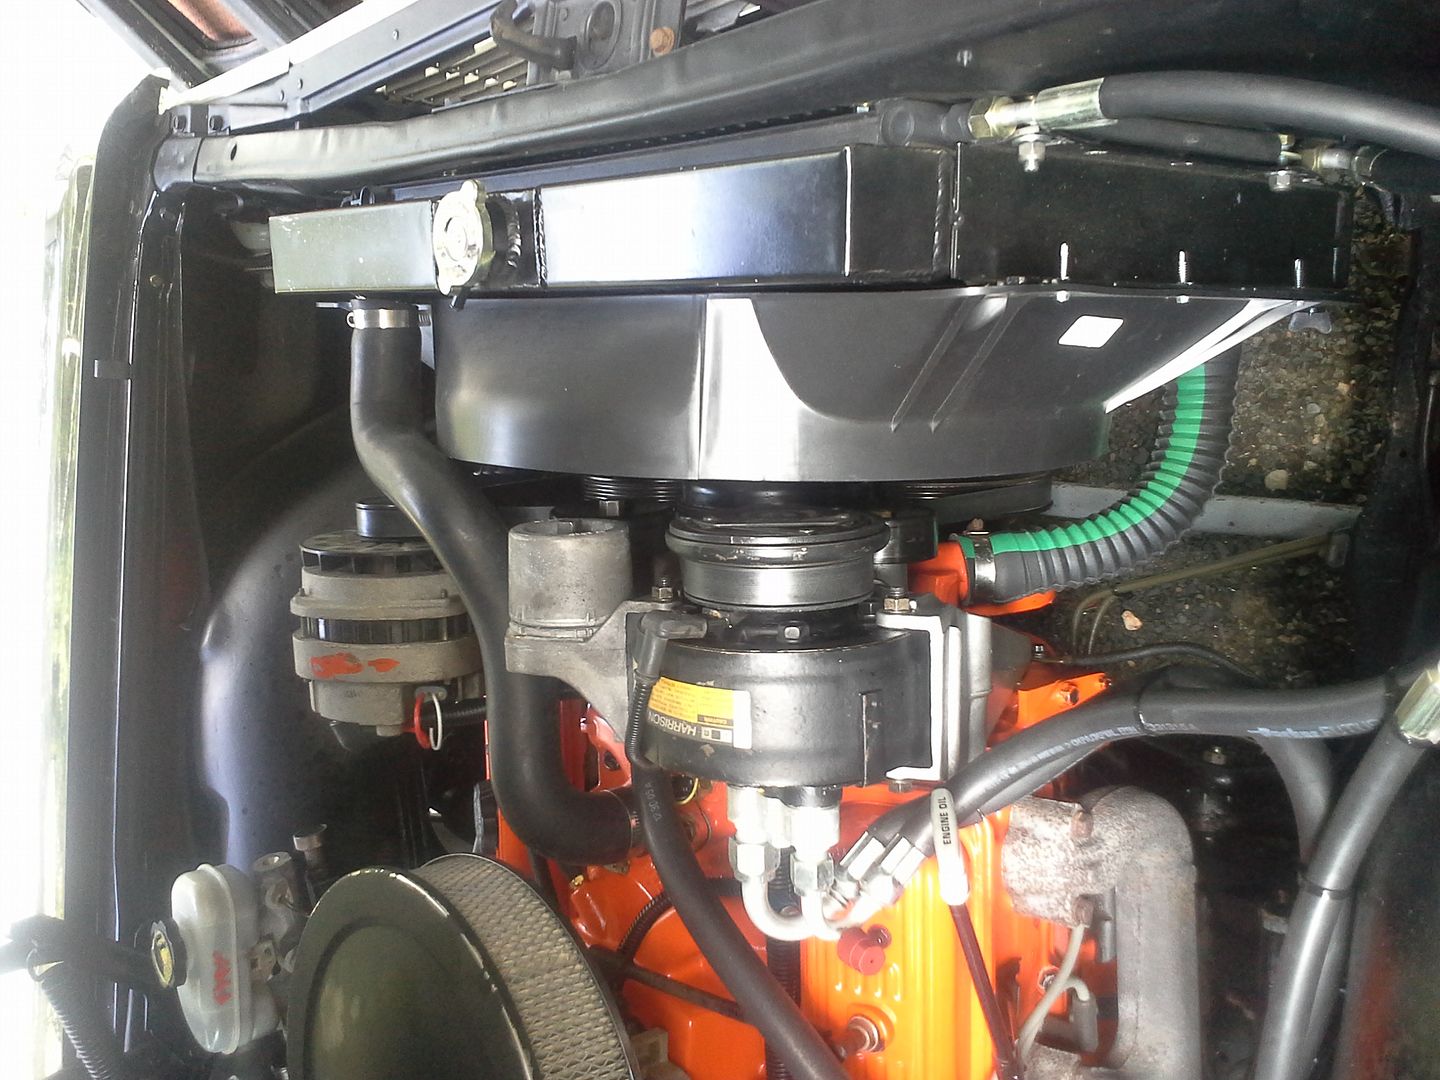 [/URL]
it was then time to get the interior buttoned up. the kick panels I had were junk, and the bench, though not broken, killed my back after about 45 minutes. I had gone to pull-a-part for some pieces for the nieces truck, and decided that I was going to sit in every single pair of good condition seats until I found a comfortable set. wow, that was a lot of sets of seats. came down to a Chrysler 300m, or a 2003 sebring sedan. the sebring seats were in better shape. a few rows over there was a 98 Dakota with a great condition buddy seat. got that too. drivers side seat has lumbar and power adjustments, passengers is all manual.
[URL=http://s54.photobucket.com/user/dusterbd13/media/1964%20elcamino/20150822_100203_zpswhg2phlo.jpg.html]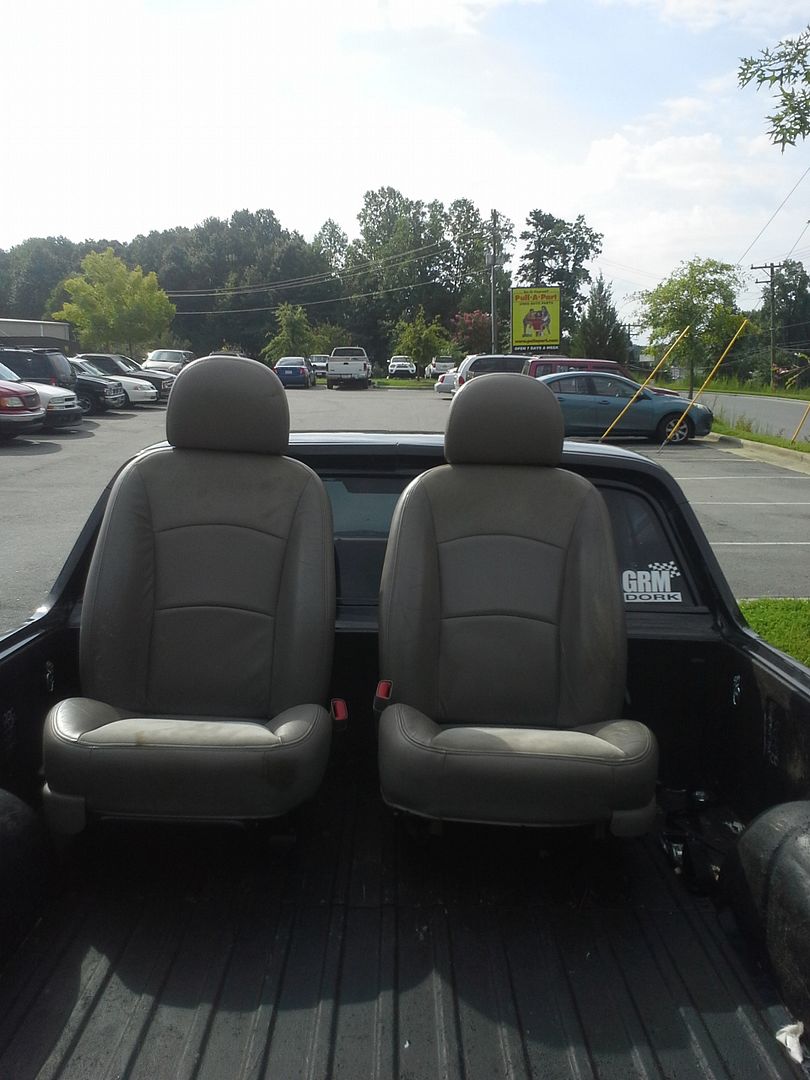 [/URL]
[URL=http://s54.photobucket.com/user/dusterbd13/media/1964%20elcamino/20150824_180835_zps7kvso0gd.jpg.html]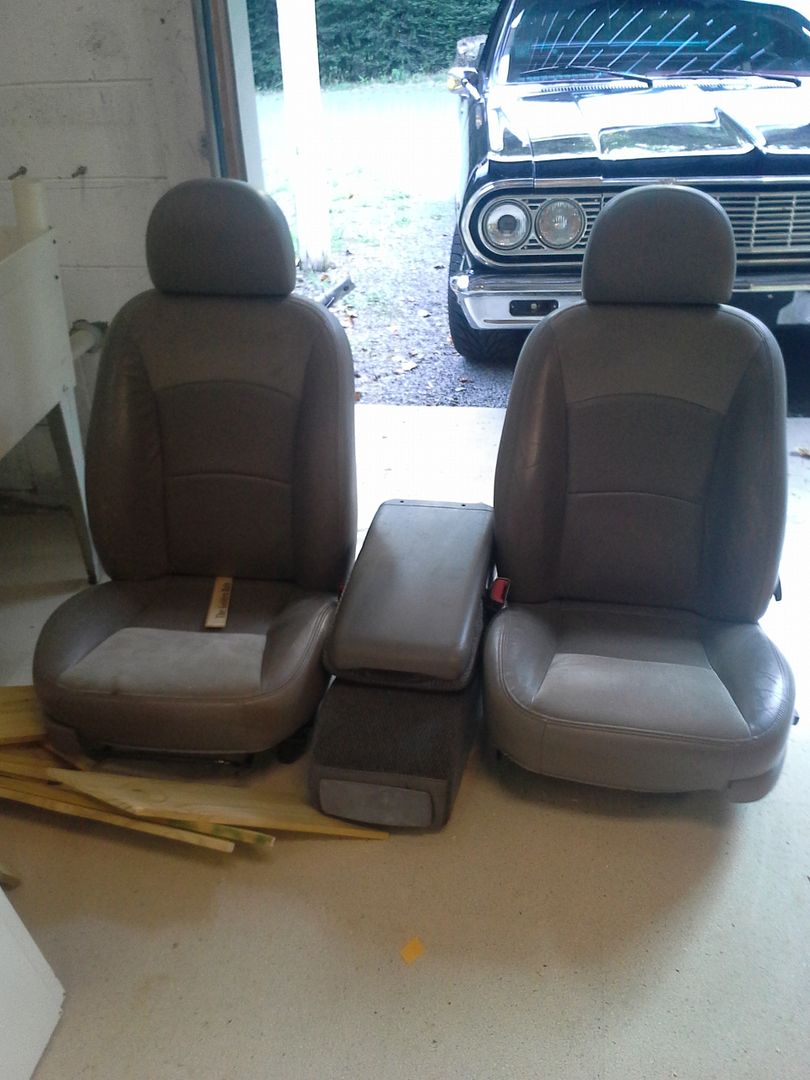 [/URL]
it was now time to get them in. wiring was a breeze, simple power and a ground. moved the seats as far outboard as the floor pan would allow me, which puts me a little inboard of the center of the steering wheel. im ok with that. I also used 2x2 angle iron for the front mounts so I didn’t have to modify the seat rails. they sit just about the same height as the bench, maybe an inch higher. but my god, they're comfy.
[URL=http://s54.photobucket.com/user/dusterbd13/media/1964%20elcamino/20150830_150006_zpscxhufrfx.jpg.html]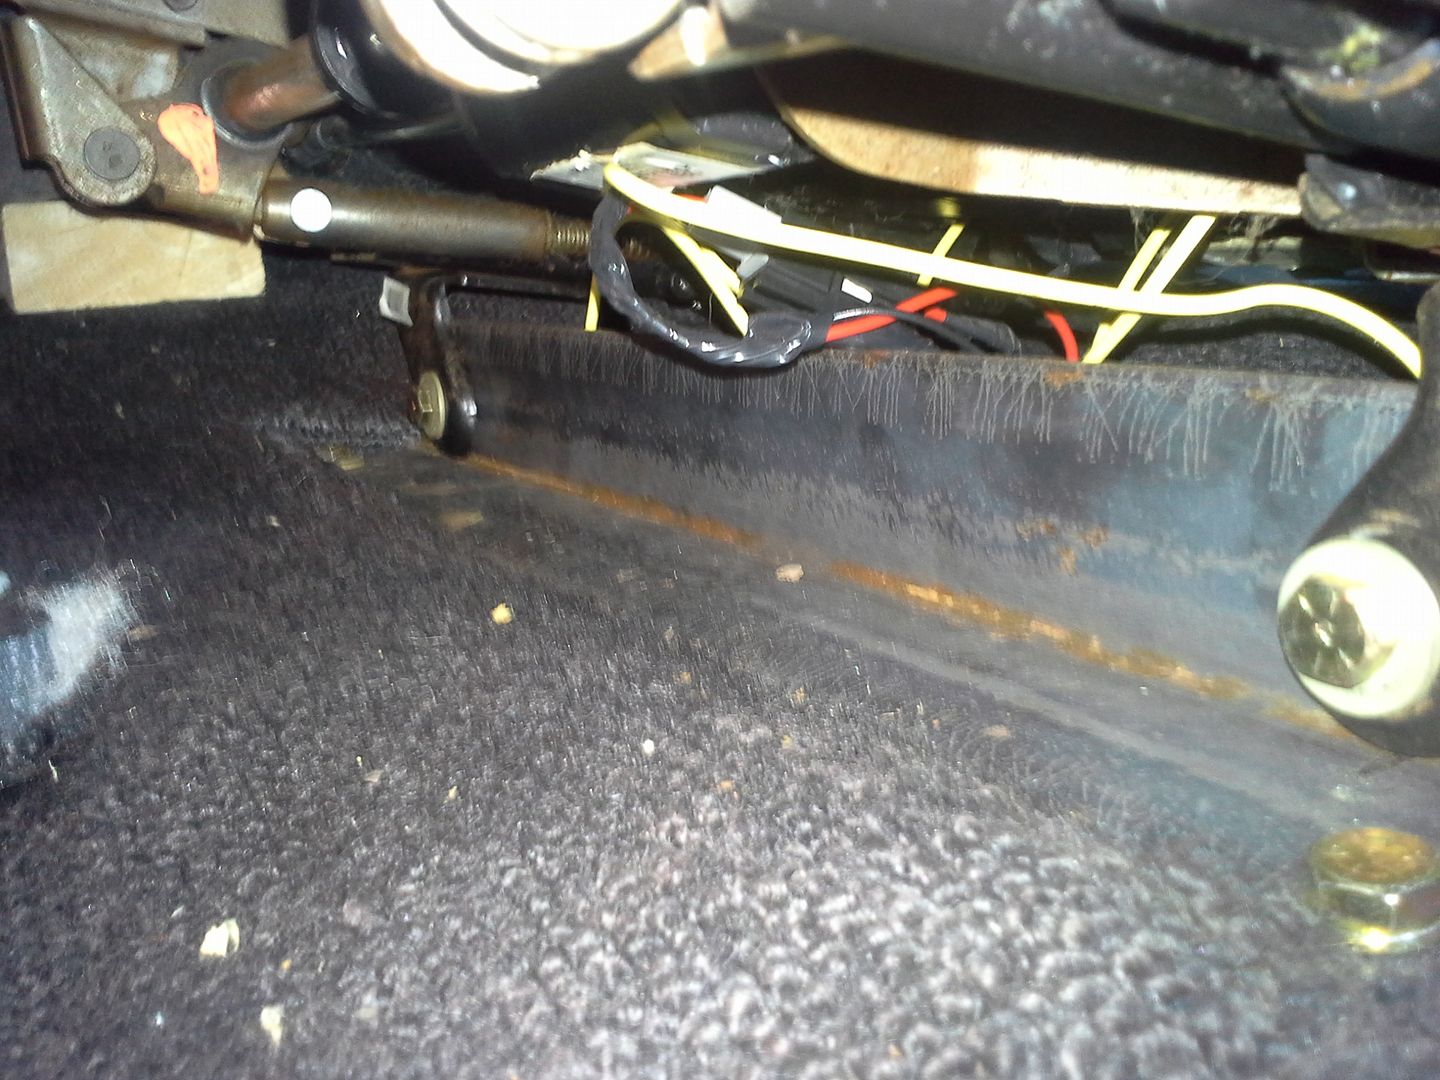 [/URL]
[URL=http://s54.photobucket.com/user/dusterbd13/media/1964%20elcamino/20150830_145937_zpsesngpiqd.jpg.html]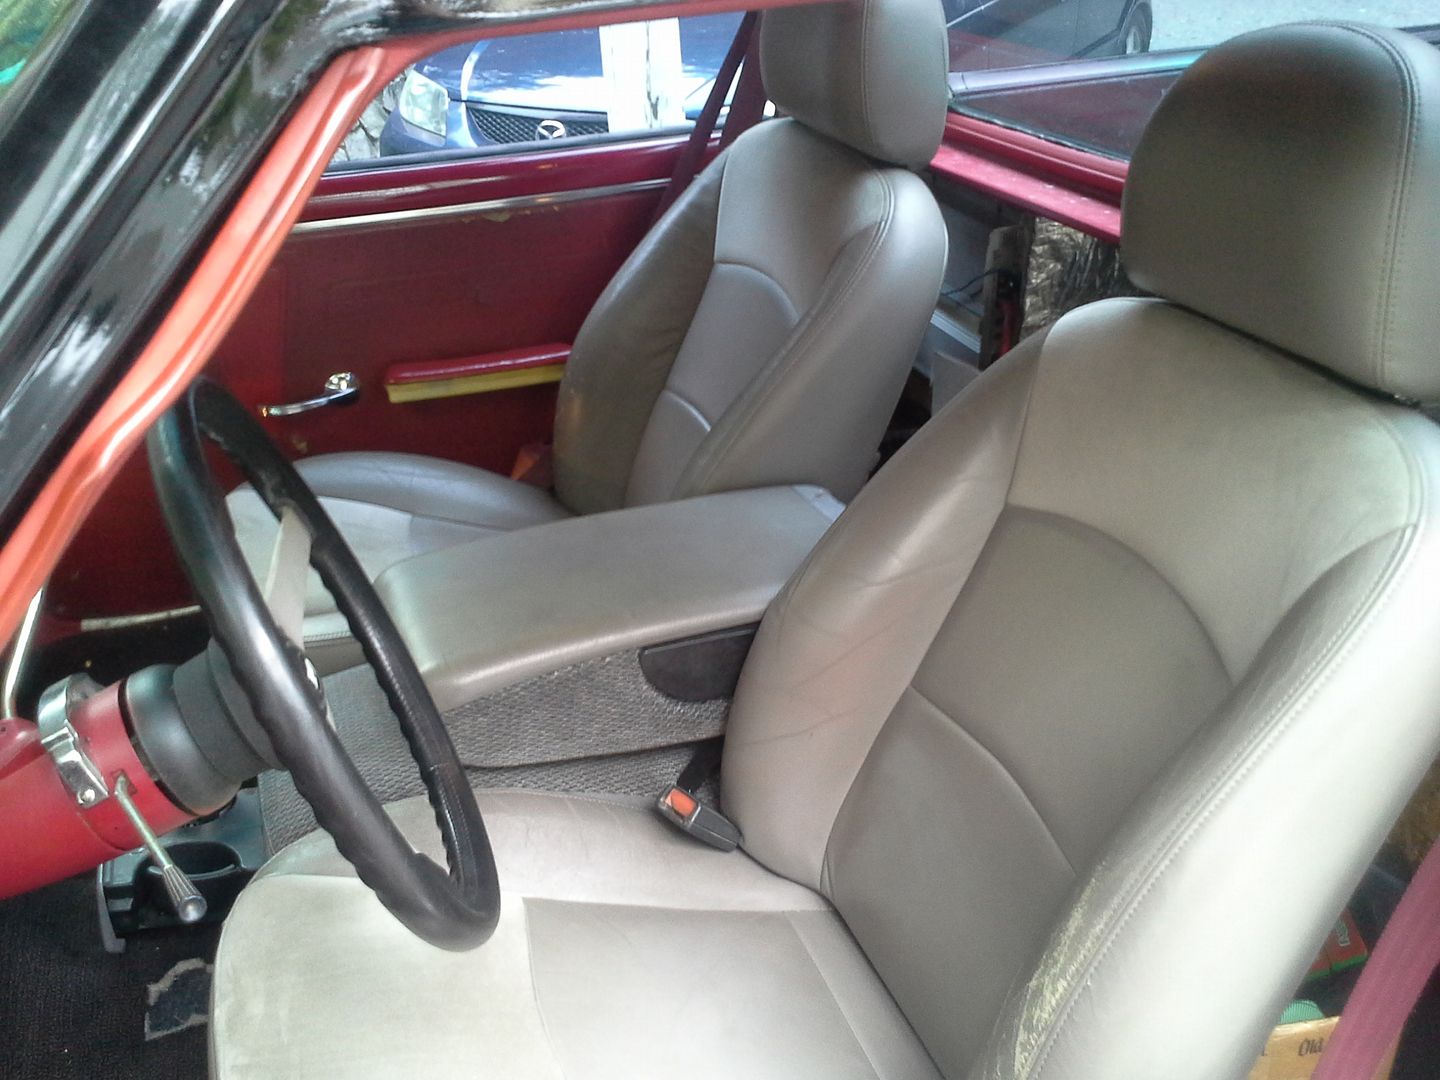 [/URL]
[URL=http://s54.photobucket.com/user/dusterbd13/media/1964%20elcamino/20150830_145957_zpsjjhmi6yb.jpg.html]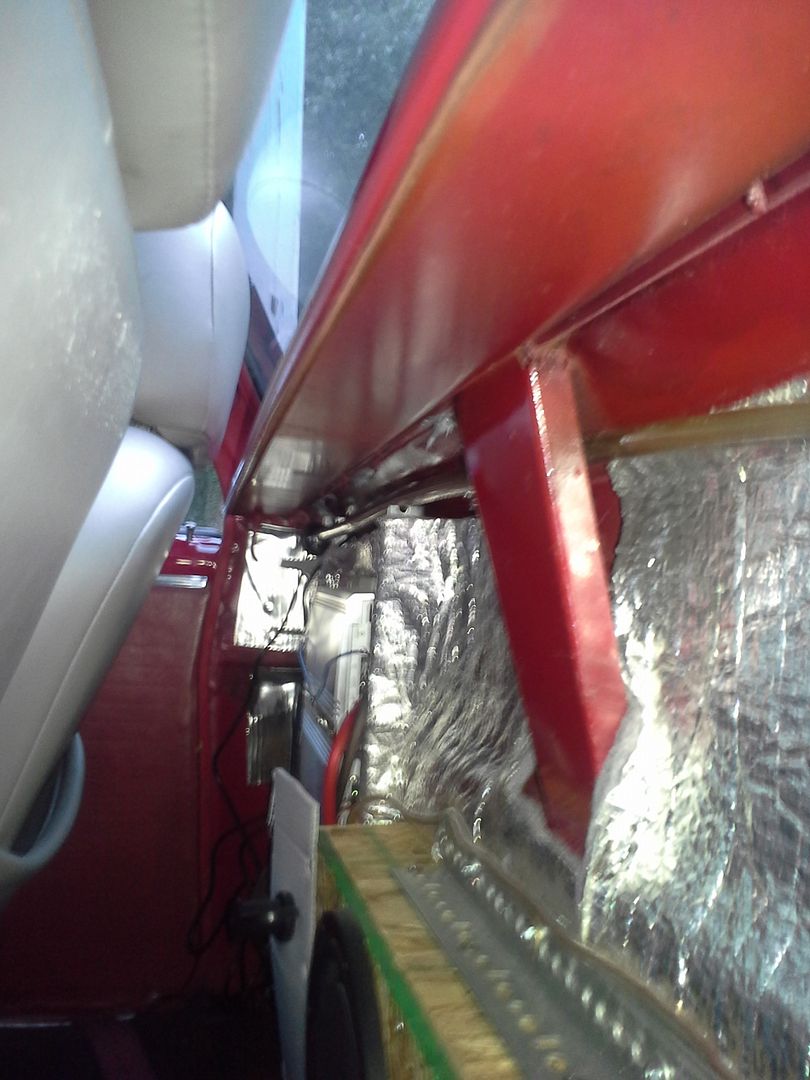 [/URL]
[URL=http://s54.photobucket.com/user/dusterbd13/media/1964%20elcamino/20150908_130711_zpsylm2zvxr.jpg.html]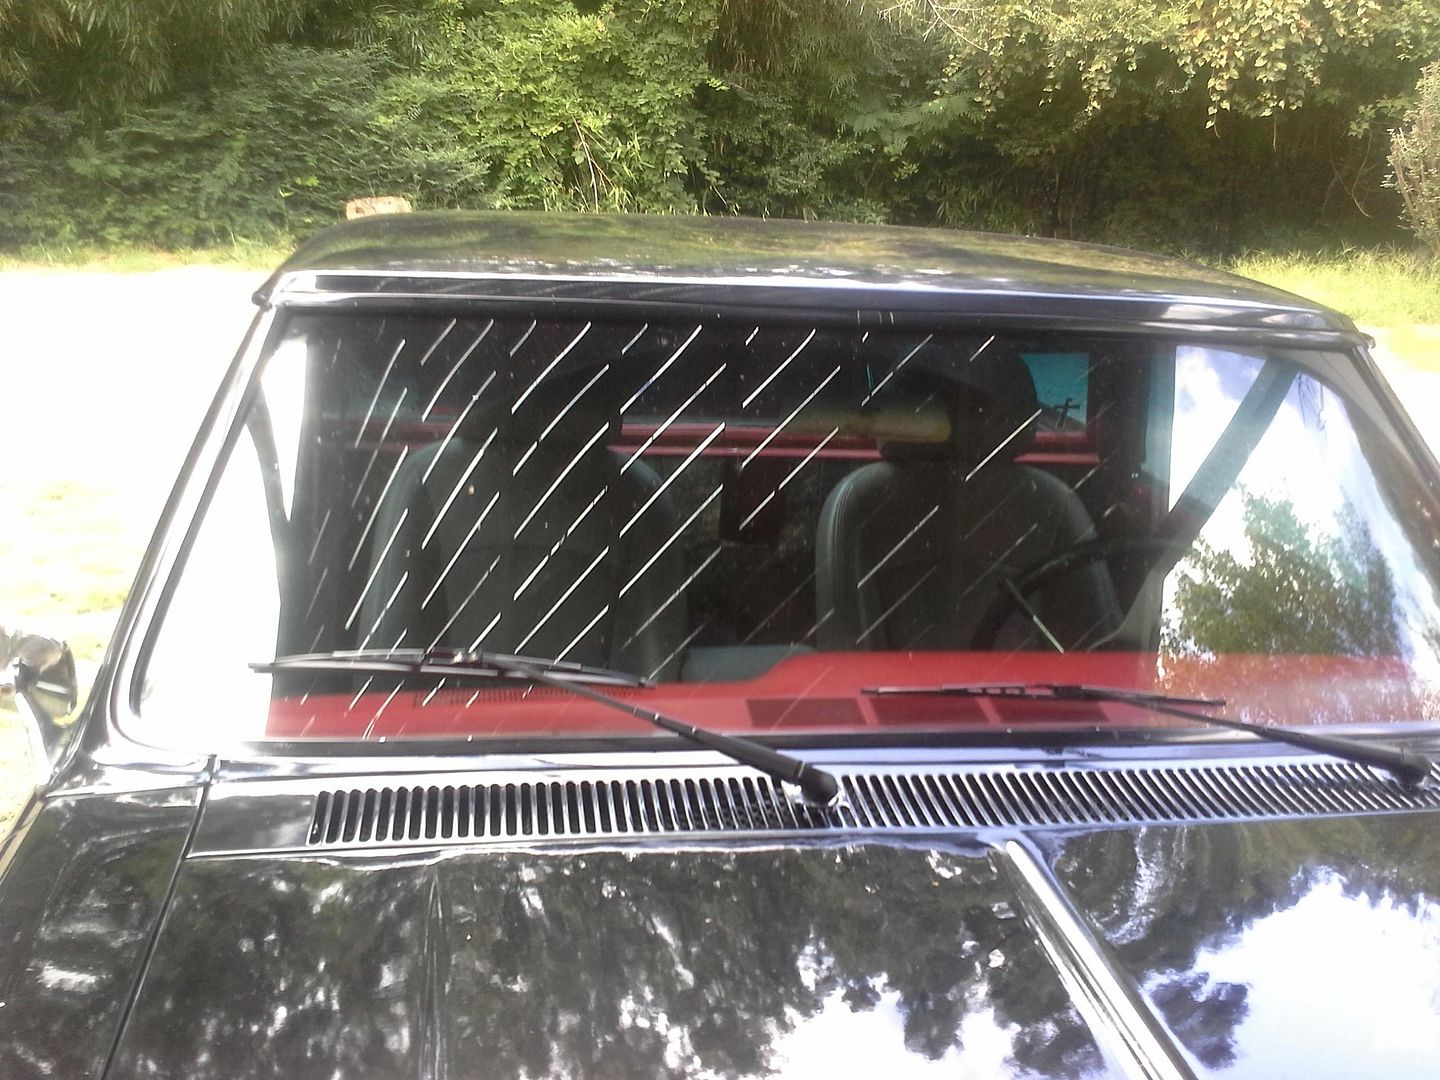 [/URL]
they will get dyed red at some point to match the interior. the buddy seat has storage/armrest when the back is folded down and cupholders. it is so nice to have cupholders. I also scrounged a really scruffy set of kick panels from a pair of 64-67 gto's down at city salvage, along with an antenna and base. the kicks were cleaned and shot with SEM Portola red and put in, along with my sill plates. the antenna was bolted to my amp rack on the back cab wall where it is nice and hidden. you can kind of see it under the shelf in the previous picture.
[URL=http://s54.photobucket.com/user/dusterbd13/media/1964%20elcamino/20150908_130612_zpslltkvfa1.jpg.html]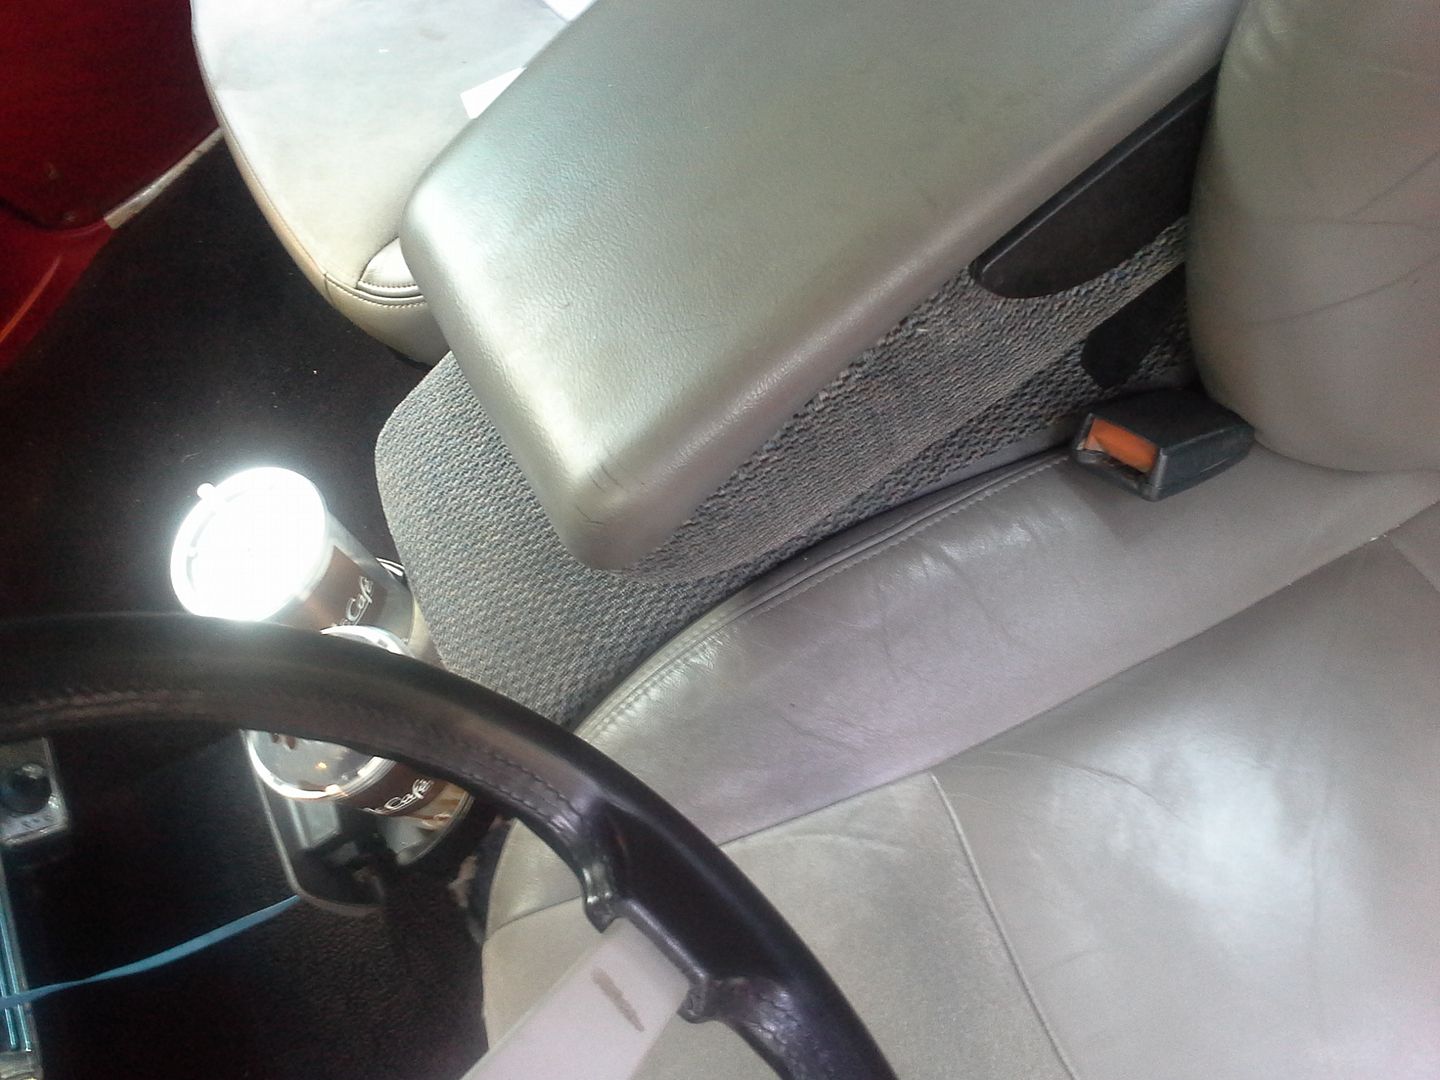 [/URL]
[URL=http://s54.photobucket.com/user/dusterbd13/media/1964%20elcamino/20150908_130616_zps3dc1o4gk.jpg.html]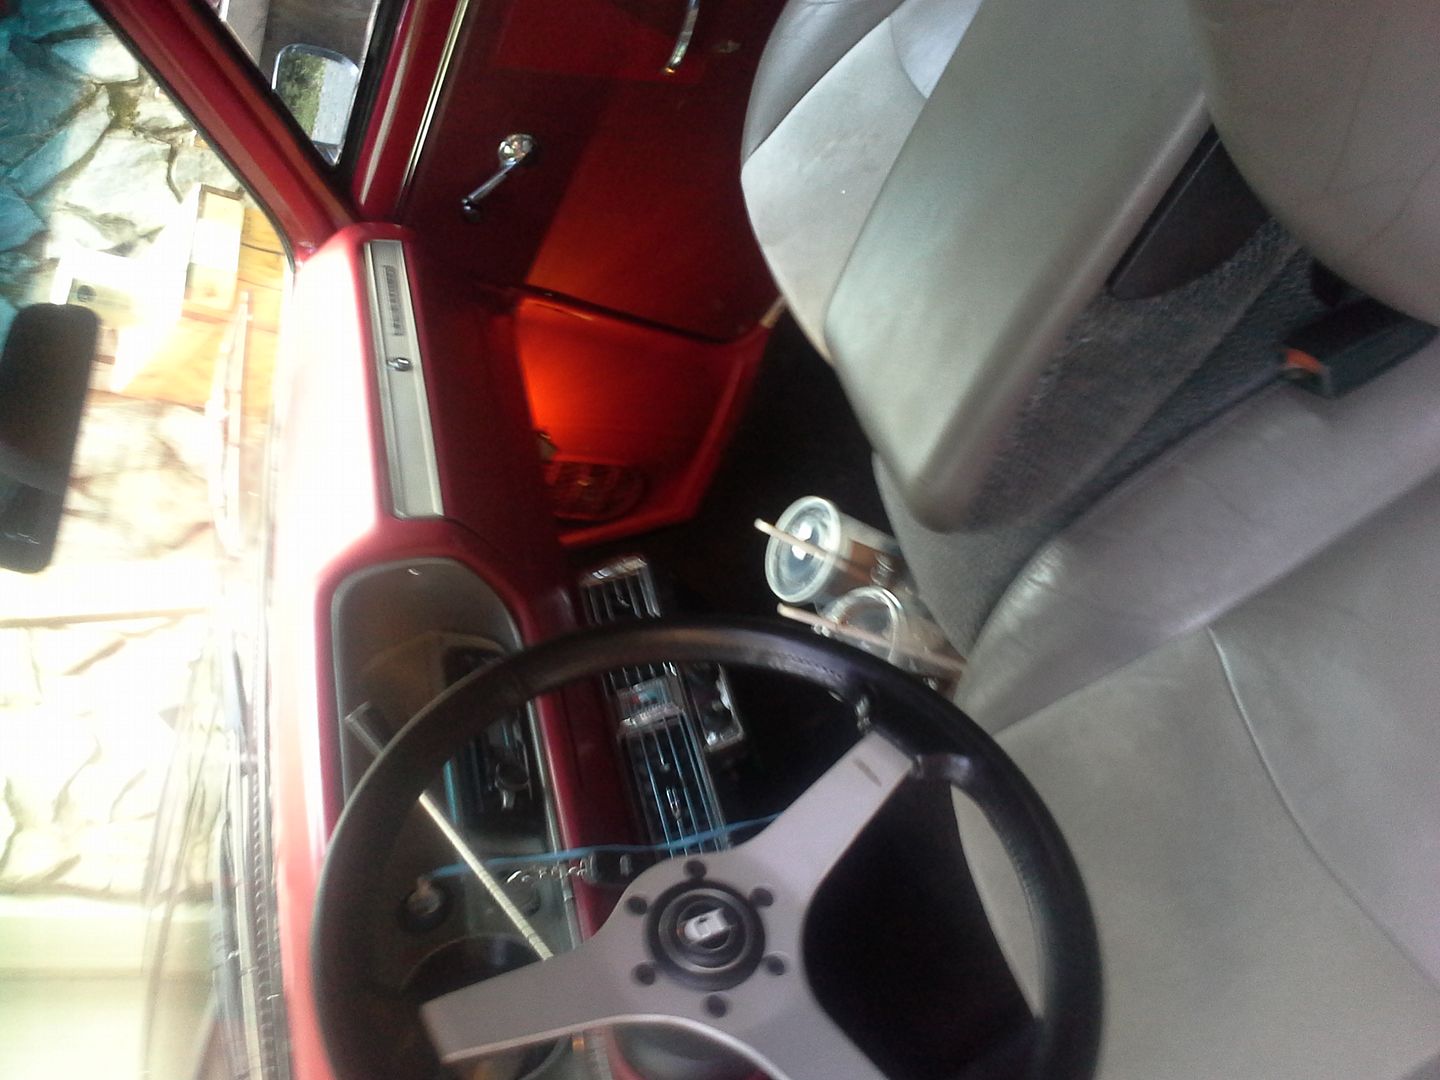 [/URL]
about here is where ill do the last couple of updates about the truck itself. first, on my way back from Winston Salem one day, I hot a major piece of road debris, bending the two passengers side wheels. it honestly looked like a loose manhole cover, and I had no way to avoid it. so the z06 wheels are back on, and they need refinished. also, the duplicolor bedliner is holding up beyond expectations. I never finished getting it good and thick, or the tailgate for that matter, but it has seen some hellacious abuse over the summer. took this picture this morning. its got a few places where its skinned up and stained, but nothing compared to what its withstood. itll get another couple of coats in the near futuire.
[URL=http://s54.photobucket.com/user/dusterbd13/media/1964%20elcamino/20150908_130557_zpshr8xcnda.jpg.html]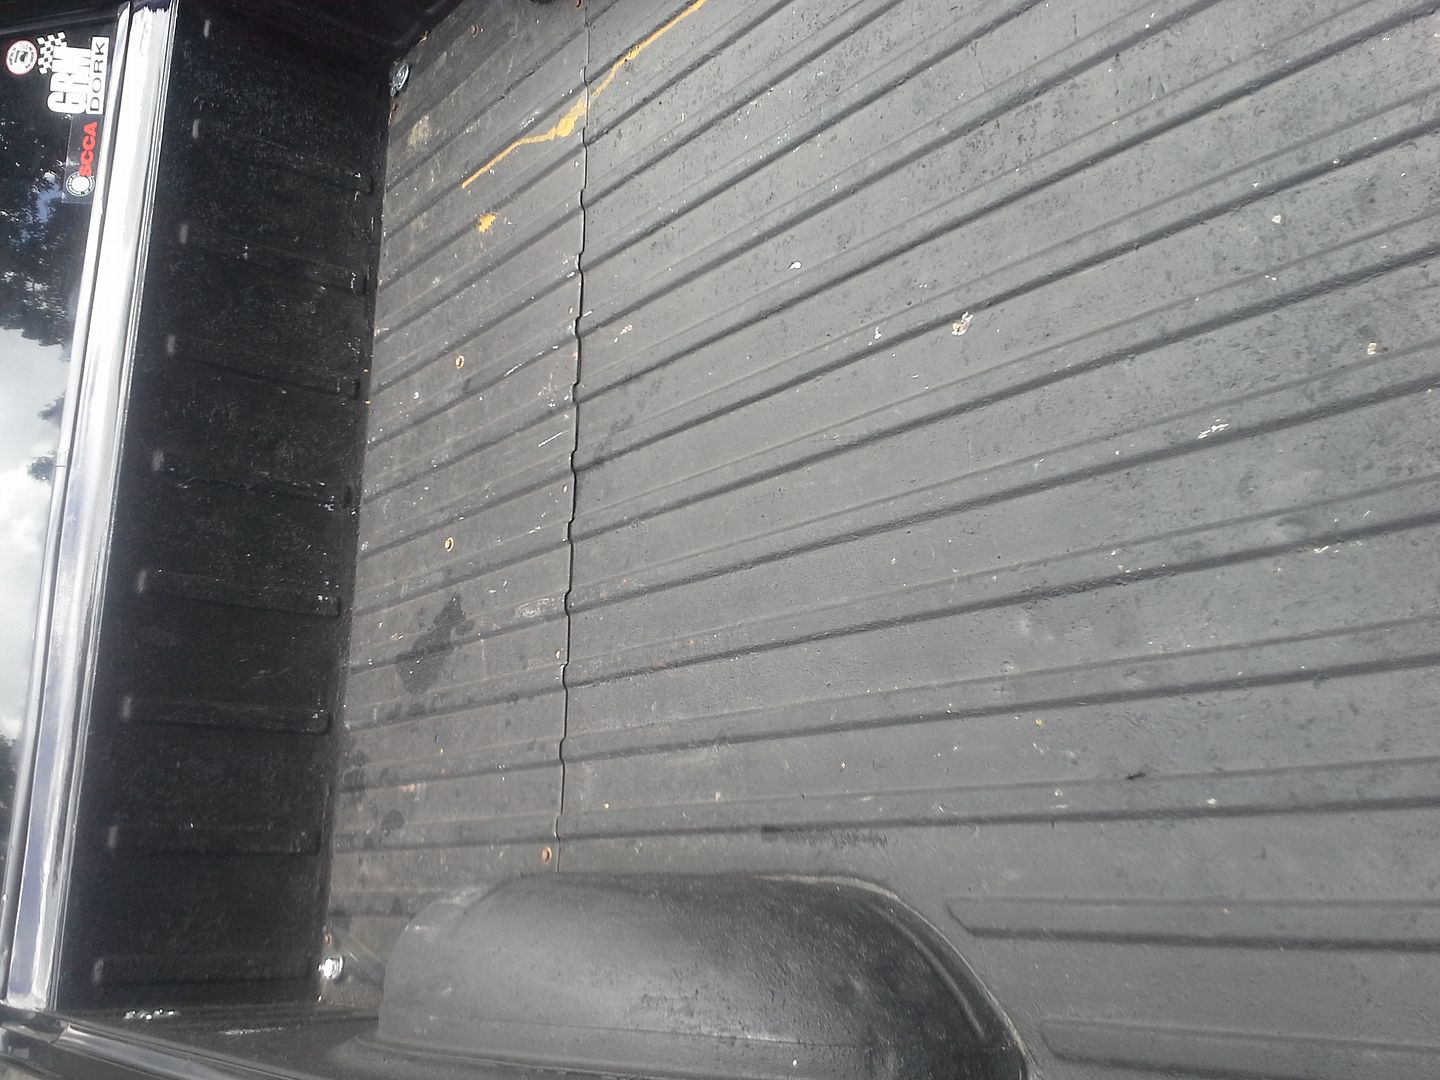 [/URL]
so this brings us up to last week, more or less. Friday morning to be exact.
my wife and I planned a weekend getaway, and she gave me free reign to make the plans. I love the mountains and the back roads, as well as history. I also love music. I have wondered for years after hearing a song, about the Harlan county Kentucky coal miner riots. this is the song: https://www.youtube.com/watch?v=vtSTa3F1b84 a little googling, and I found this museum in Benham Kentucky: http://kycoalmuseum-portal31.southeast.kctcs.edu/ . my wife and I got engaged in Abingdon Virginia at this Playhouse: http://www.bartertheatre.com/ so my plan was to get a hotel in Abingdon, go to the museum Saturday morning, be back Saturday night for a play at the barter, and head up the Shenandoah Valley Sunday for lunch at the pink Cadillac diner before heading home in time for dinner with my in laws.
it was a great plan.
and no plan survives in reality.
we started out Friday evening from my in-laws after dropping off the munchkin for the weekend. about 40 miles in, the AC, which was never that great, starts blowing warm and when the compressor is on, dragging the truck down. like requires at least 1/4 more throttle to maintain speed when the compressor is on, and new vibrations. dammit....
we turn off the ac, and crack open the wing windows. passengers side wing window blows itself shut at speeds over 50 mph, but Jenny is a good sport about it. right up until 85 becomes a parking lot in Gastonia. once we get moving again, she's good and I'm already feeling better. stop for dinner in lenoir instead of Boone like we had planned, and head on to Abingdon. just past mountain city Tennessee, we run into a frog drowning rainstorm that follows us almost the whole way to the hotel. the intermittent wipers I put in work fantastically, and the HID's are wonderful in that kind of weather. also, the 80 watt fog light/turn signal combo really help with side of the road visibility in that weather. got to Abingdon with no real issues other than the AC, and these federals on this truck hate heavy rain.
in the morning, we slept in a little bit. once we finally get moving, it’s a beautiful cool mountain day. only a 2 hour ride to the museum, so not bad. well, only two hours according to Martha, our GPS. she is a lying bitch. 4.5 hours each way real time. she took us up 160 into Kentucky, through some road that makes deals gap look like a drag strip in texas: dead flat and straight. my god, it was a narrow, poorly marked, poorly maintained, incredible drive. soooo beautiful and wild. almost hit a black bear. and no real way to get any pictures until the first turn off, which was the top of the mountain.
[URL=http://s54.photobucket.com/user/dusterbd13/media/1964%20elcamino/20150905_112947_zpslg8mimn6.jpg.html]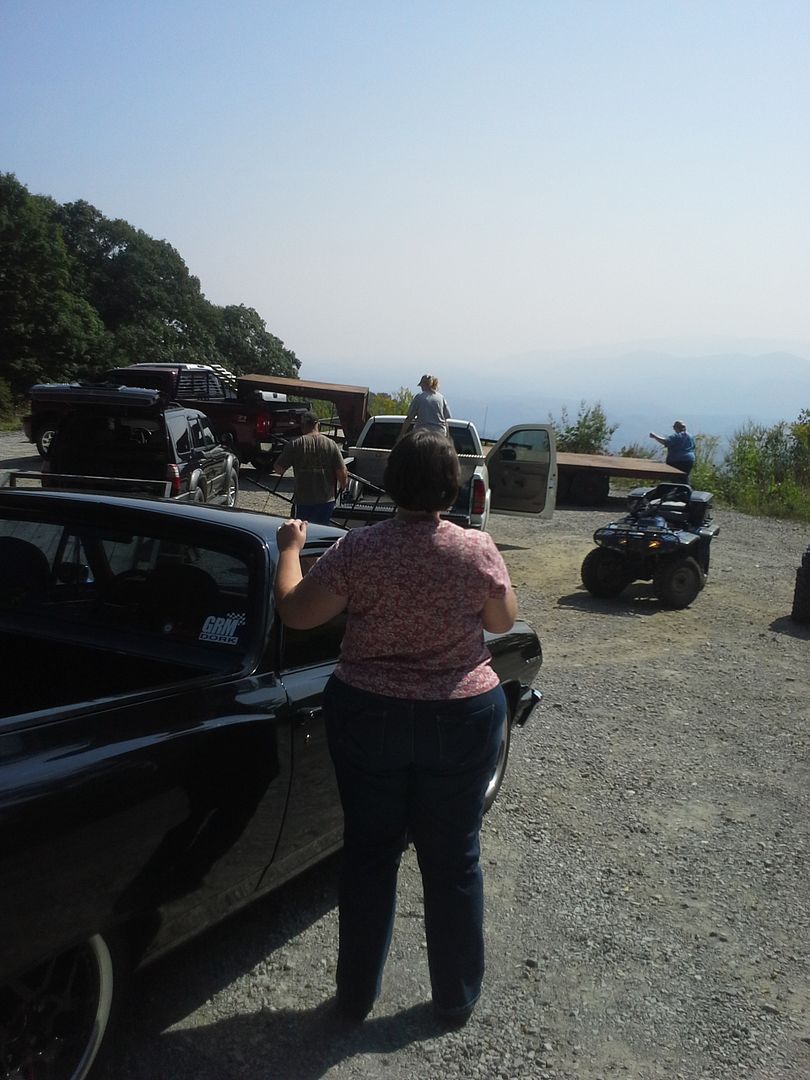 [/URL]
[URL=http://s54.photobucket.com/user/dusterbd13/media/1964%20elcamino/20150905_112905_zps4skaf1et.jpg.html]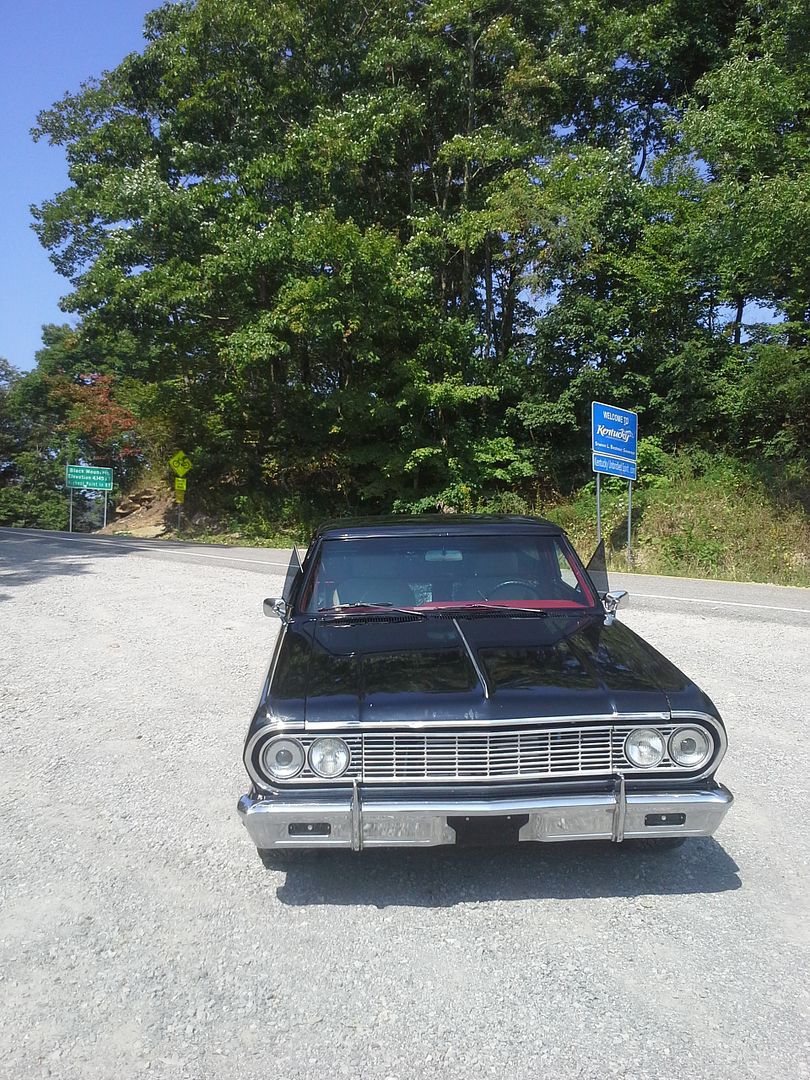 [/URL]
[URL=http://s54.photobucket.com/user/dusterbd13/media/1964%20elcamino/20150905_113454_zpsvwqpehui.jpg.html]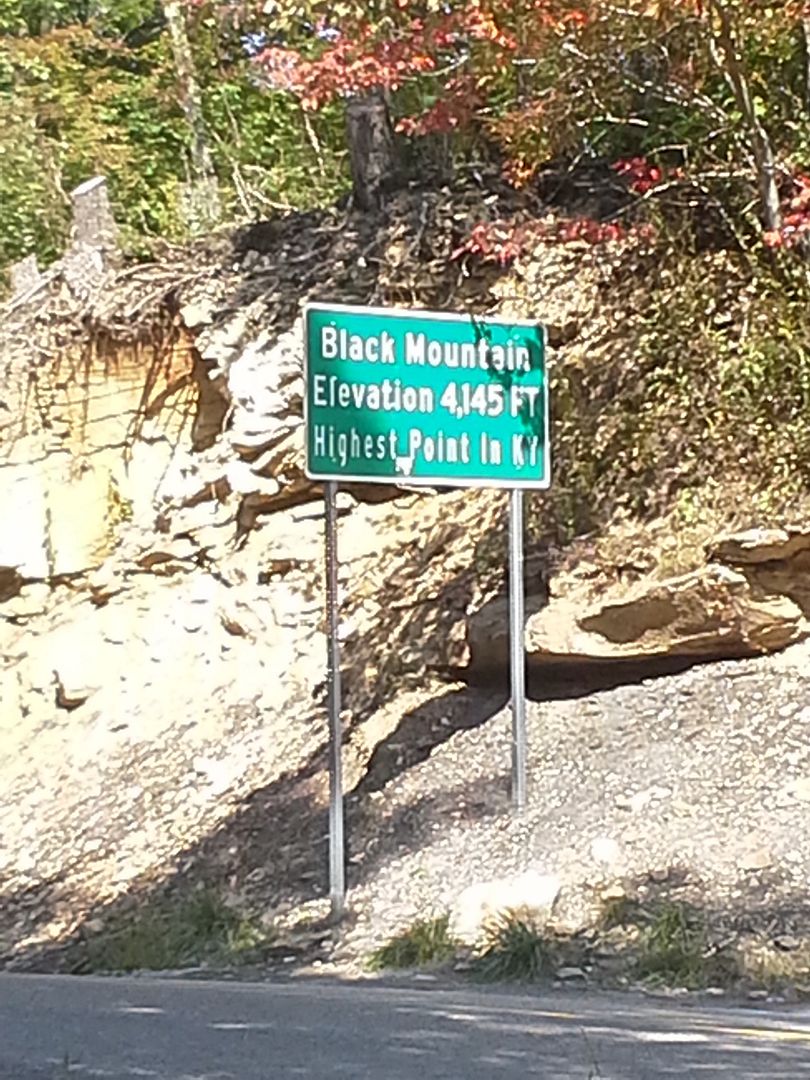 [/URL]
by the time we got to the top, I knew I was in trouble. had a rattle from the right front corner, the [power steering pump was howling, and the steering was stiff and self steering. no return, no modulation, no feel. and still 30 miles from the nearest anything. guys in the pictures were coal miners going hunting, who offered me to borrow a four wheeler to go to town. awfully nice guys. we decided to limp on, though, and did finally get to Benham. the museum was incredible. really gave me a new appreciation for the miners and industries that made this country what it is today. did not, however, find much of anything on the coal miner riots. kinda disappointed there.
[URL=http://s54.photobucket.com/user/dusterbd13/media/1964%20elcamino/44b81316-1a45-4a44-a757-43ad6eb8a2d4_zpsuzfi8lxf.jpg.html]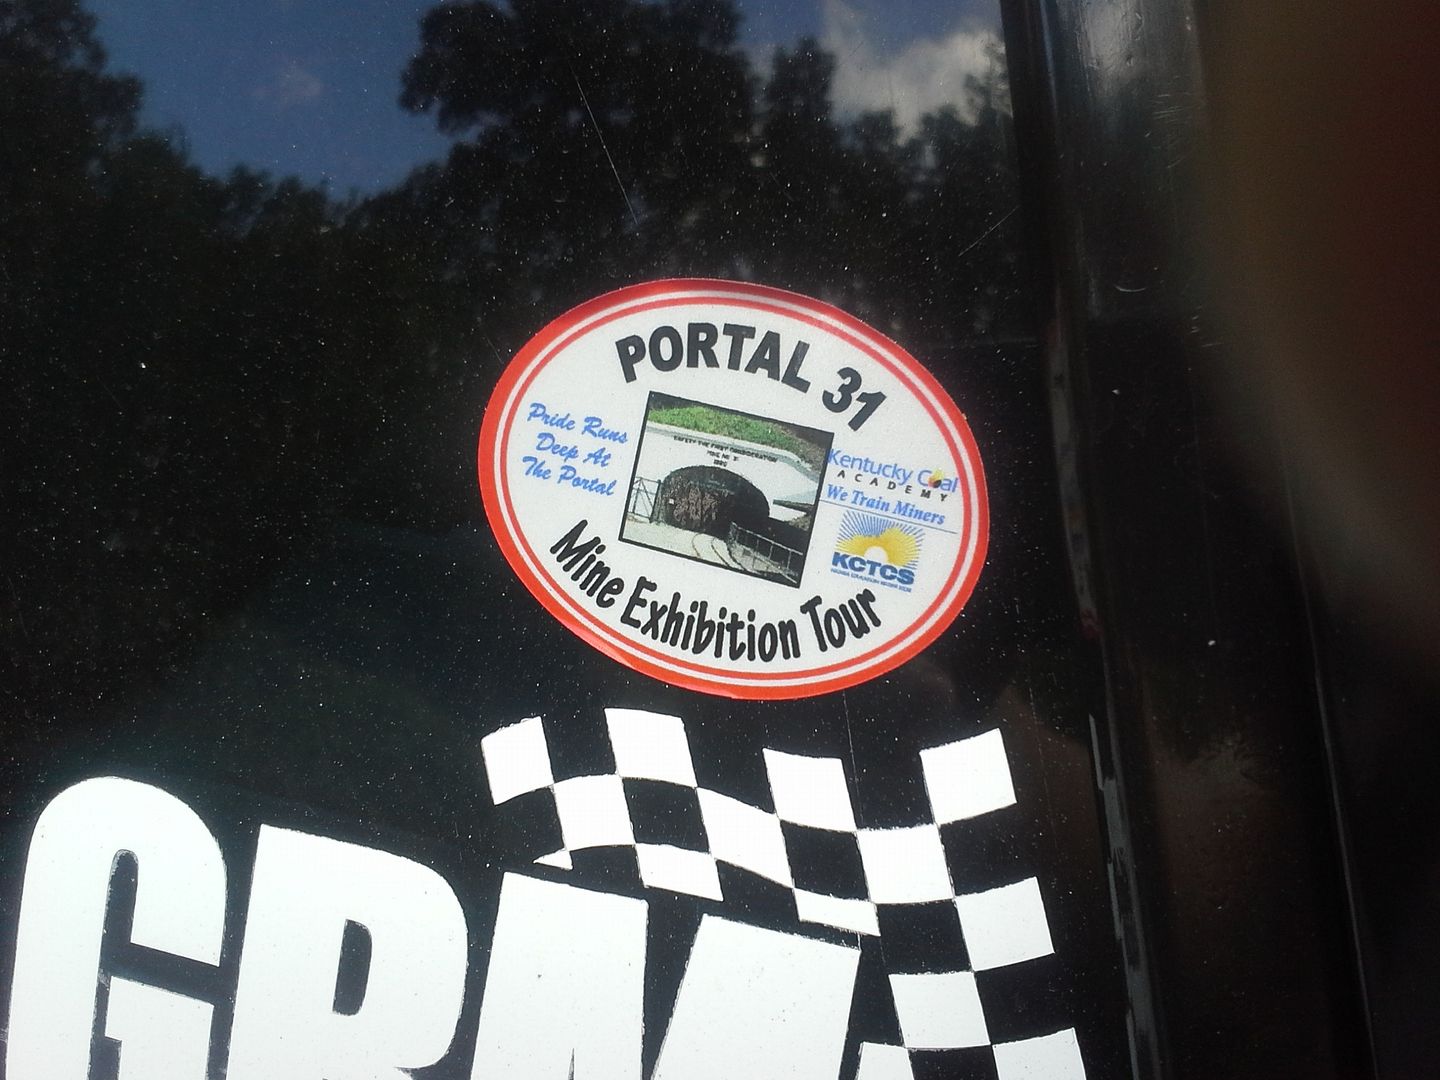 [/URL]
anyway, at the recommendation of the ladies running the museum, we stopped next town over and ate at Charlotte's. she had local caught catfish on the menu, and I got her fish and chips. awesome food, great service, and CHEAP. we also found a parts store a little ways past this, as well as a food city. wife went into food city for a turkey baster, and I went to advance. we decided to start flushing the debris and burnt fluid from the power steering system in the hopes it would get up shome. so two quarts of fluid and a turkey baster, dumping the used fluid in an empty two liter bottle for later disposal. it would quiet things down and improve steering behavior for another 50-75 miles, so we kept doing it the rest of the trip. we also found the source of the rattle: I snapped a front shock shaft. right at the base of the threads. found a nut to cross thread on to keep the shock from falling out and getting bound up, as removal/replacement requires dropping the lower control arm. I think I actually broke it when I hit the debris that bent my wheels, but never noticed till then.
anyway, we decided to head on back to Abingdon. we were unfortunately late enough by this point that we would miss our play, which was ok with both of us. we were beat. had dinner at the huddle house next to the hotel, and watched the twilight zone till we fell asleep.
Sunday morning, we slept in again. not having a six year old is great sometimes. I swear she has the pointiest elbows and knees, and finds you with all four every morning at 6:30 am. best alarm clock ever.
anyway, due to sleeping in, and truck trouble, we decided to just head home and miss the pink Cadillac. that made me sad. but the Shenandoah is still a beautiful drive.
[URL=http://s54.photobucket.com/user/dusterbd13/media/1964%20elcamino/20150905_164506_zps5gf42z7l.jpg.html]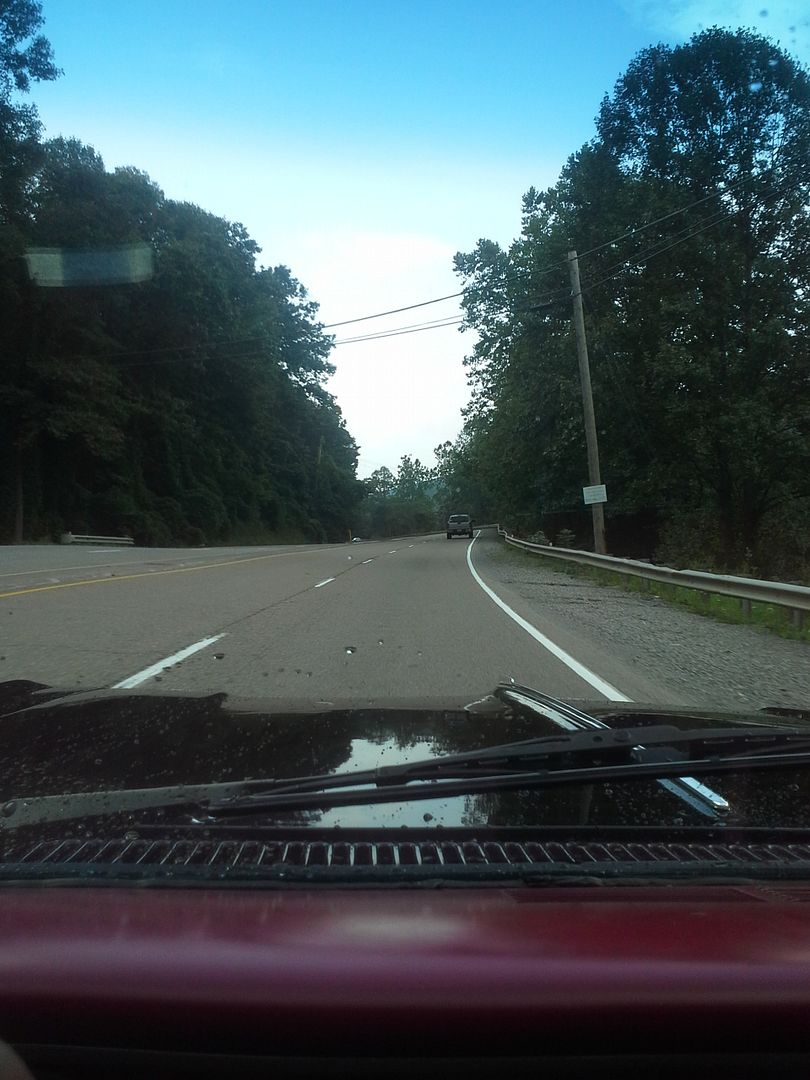 [/URL]
[URL=http://s54.photobucket.com/user/dusterbd13/media/1964%20elcamino/20150905_164515_zpshj7wqfpb.jpg.html] [/URL]
[URL=http://s54.photobucket.com/user/dusterbd13/media/1964%20elcamino/20150905_164612_zpst5barxfu.jpg.html]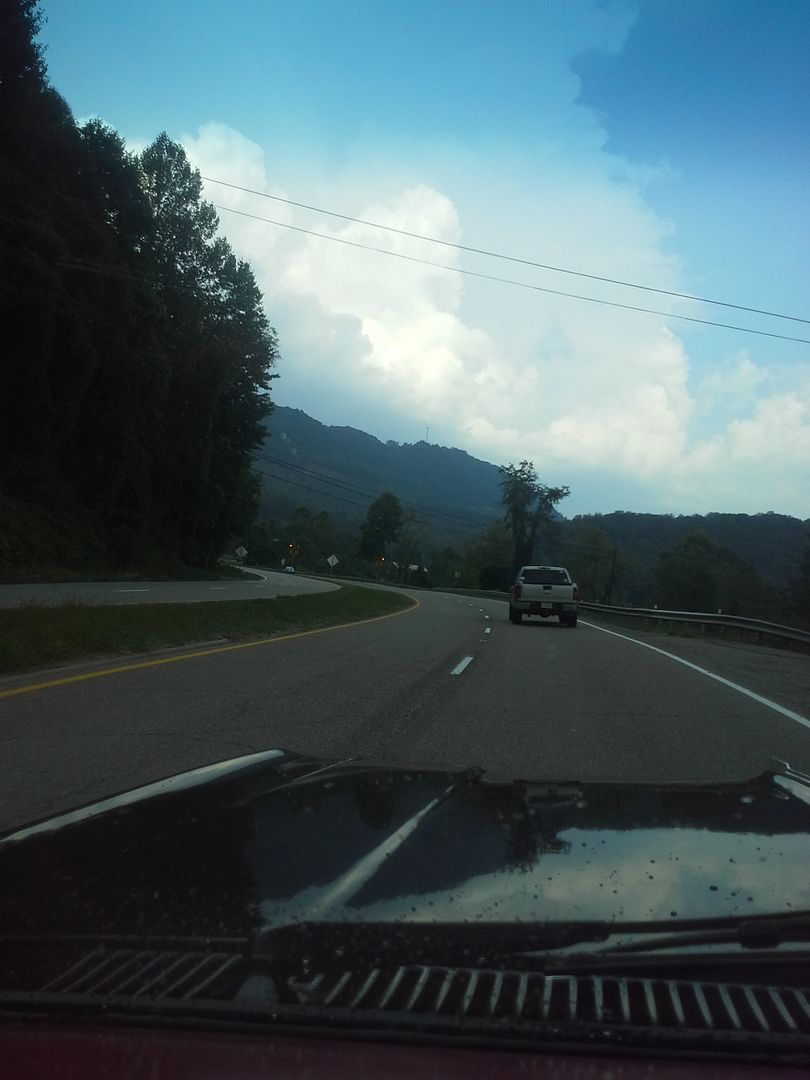 [/URL]
all told, we traveled 656 miles between Friday and Sunday night in a car that hasn’t been out of the state in at least 15 years. used 37.5 gallons of gas on the trip, and got a trip average of 17.5 mpg. and had a blast. new seats are wonderful, and I have a small list of things to look at and fix, but it was a glorious weekend adventure by anyone's estimation.
[URL=http://s54.photobucket.com/user/dusterbd13/media/1964%20elcamino/20150906_162926_zpsumihbmmv.jpg.html]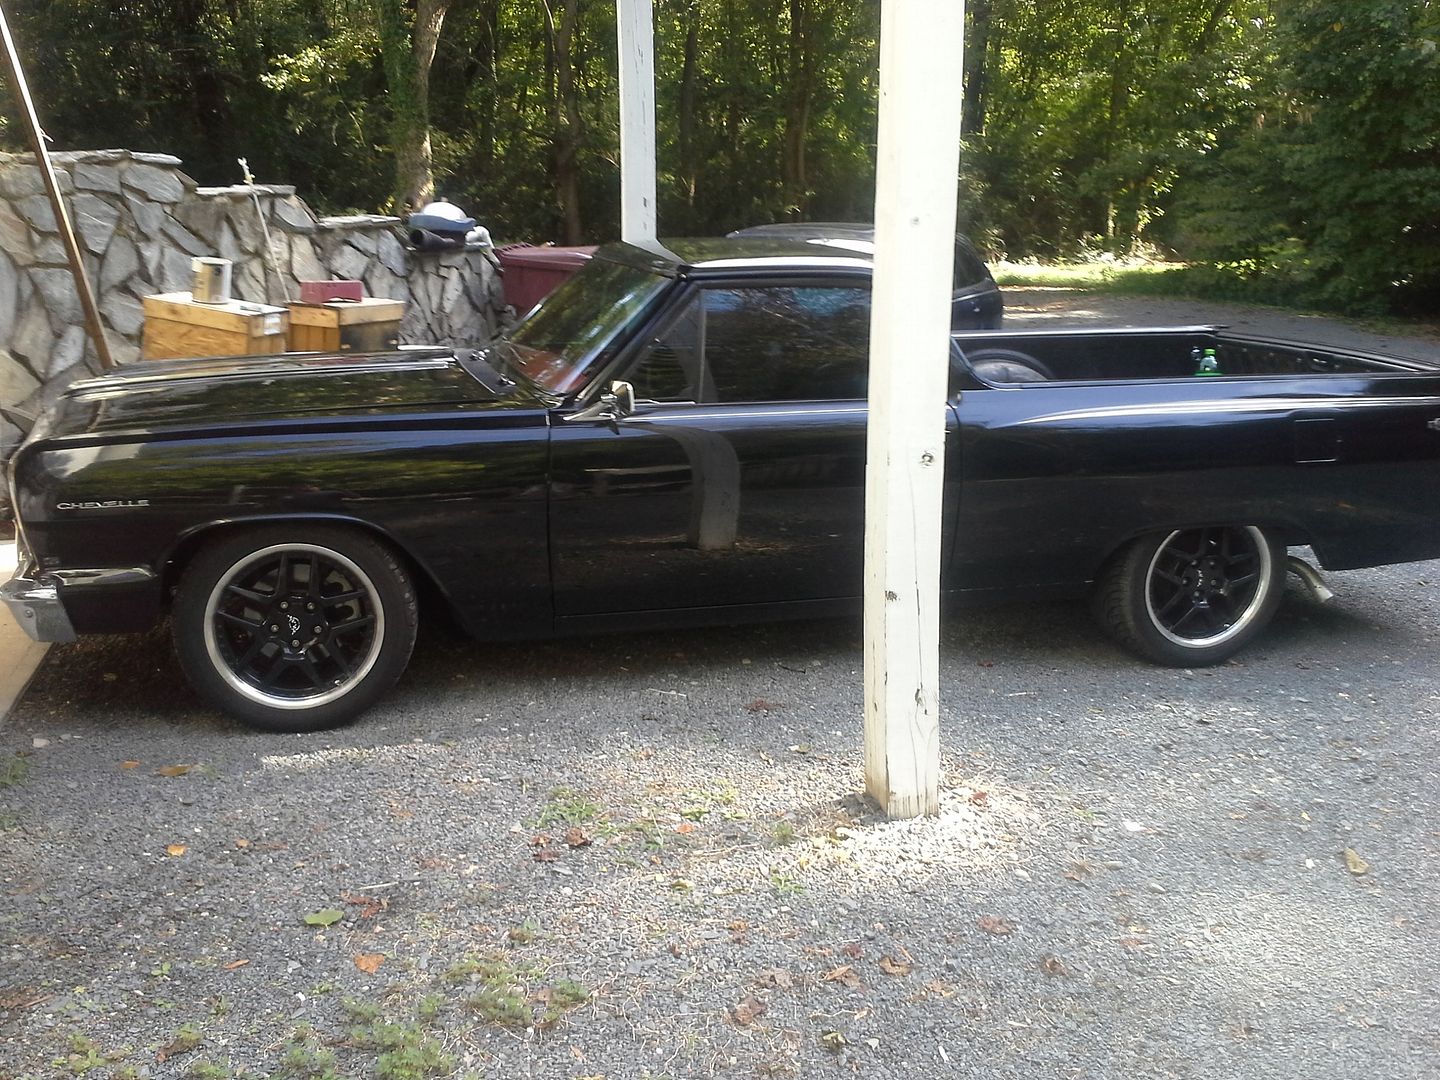 [/URL]
Thanks pres. I really enjoy writing sometimes.
And my wife is way more awsome than the truck. She never really complained the whole trip. She could have done a lot better than me.
That little annoying stuff is important. It's the difference between "Well, yeah, it's done, but all the same let's just take the Cobalt, some stuff isn't really ironed out yet" and "Absolutely, let's take the drivabeater to dinner!"
So don't get frustrated just because it looks like it ought to be done. Sorting is restoration, too!
And my wife won't even sit in Catywampus. You win.
Thanks Brian. Already got the new steering box under warranty, pump is covered as well. Have to source shocks yet, and thourouly check everything in the front end again. Something bugging the back of my mind about it.
After repair is done, ill worry about the other stuff. Unless it costs money to fix, which i don't have right now. If that's the case, ill work on other stuff that I already have parts for while I save.
But first I have to get the dhop put back together enough to work in. Tomorrow will see my workbench and base cabinets at 75%.
thought of you when i saw this. http://greenville.craigslist.org/cto/5177402716.html

every since seeing the Bank Robber on //Drive - Big Muscle I've liked that body.

That is almost exactly what plan b was if I couldn't find a 64-65.
Its probably a lot nicer than mine.
Budget: Previous total: 11,595.13 Money spent: Tall lower ball joints: 100 from summit Can black paint: 3.67 Upper ball joints: 17.62 New total: 11,716.42
When we left off last time, the truck was limping along from our trip to Kentucky. To recap that damage: dead power steering pump and junk box, broken shock, odd noises from the front end, dead AC.
I finally got around to fixing it. And more.
On the box/pump, those were replaced under warranty. Same with the tie rod ends. After much thought, debate, and waffling, I decided that I would snatch the whole front end out from under the truck. I’m glad I did. All 4 ball joints had play and were notchy. Two of the tie rod ends had seized, and the driver’s side shock was leaking in addition to the broken passengers side. I replaced the upper ball joints with stockers for the moment, as money is tight. Tie rod ends were warranty. On the lower ball joints, I decided that if I didn’t try the tall ball joints, I would always be wondering. I hadn’t noticed any bumpsteer issues, so I was not expecting much there. When I got everything back together, I found that it drove significantly better than ever before with the tall lowers. Much more stable over broken pavement. So they were worth it. To maintain ride height, I used the spacers that came with the tube lowers which were ¼ thick. Those, combined with the drop of the tall lower ball joints, made my ride height very similar to what it was before.
While I was in there, I also cleaned out and inspected my drag link and idler, LCA bushings, UCA bushings, etc. everything else was still in good shape, so I reassembled it all.
[URL=http://s54.photobucket.com/user/dusterbd13/media/1964%20elcamino/20151016_210011_zpsndbfhudr.jpg.html]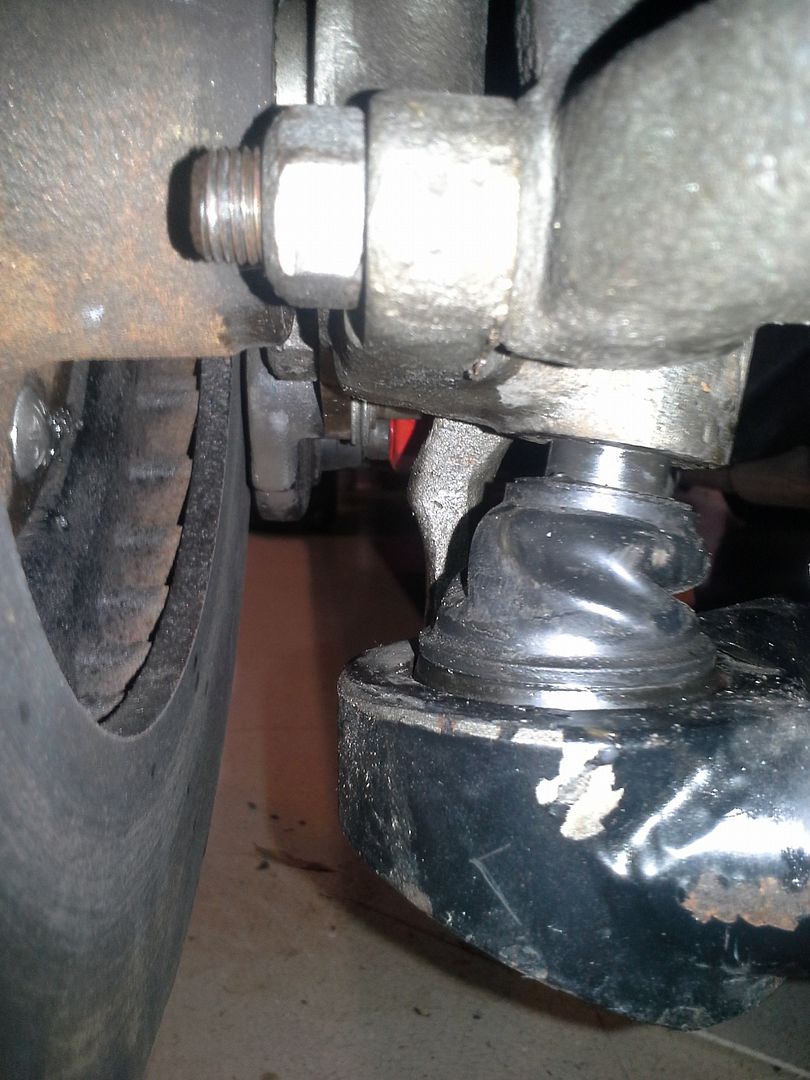 [/URL]
I also discovered that my front brake pads were shot, and the rotors needed turned. Perfect excuse to use some used z06 corvette brake pads, turn my calipers red, and refinish the wheels. So that’s what I tackled next. I also shot the wheel spacers in black, as the machined aluminum stuck out like a sore thumb behind the wheels.
[URL=http://s54.photobucket.com/user/dusterbd13/media/1964%20elcamino/20151016_205958_zps3iij4e4w.jpg.html]
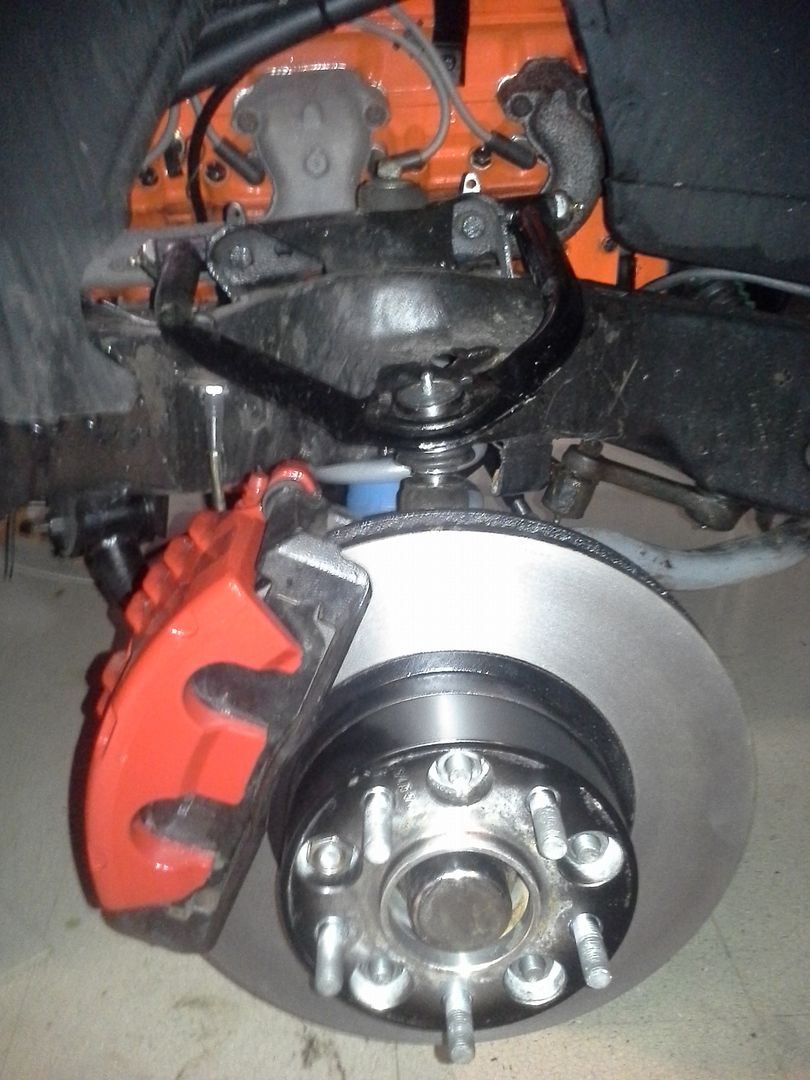 [/URL]
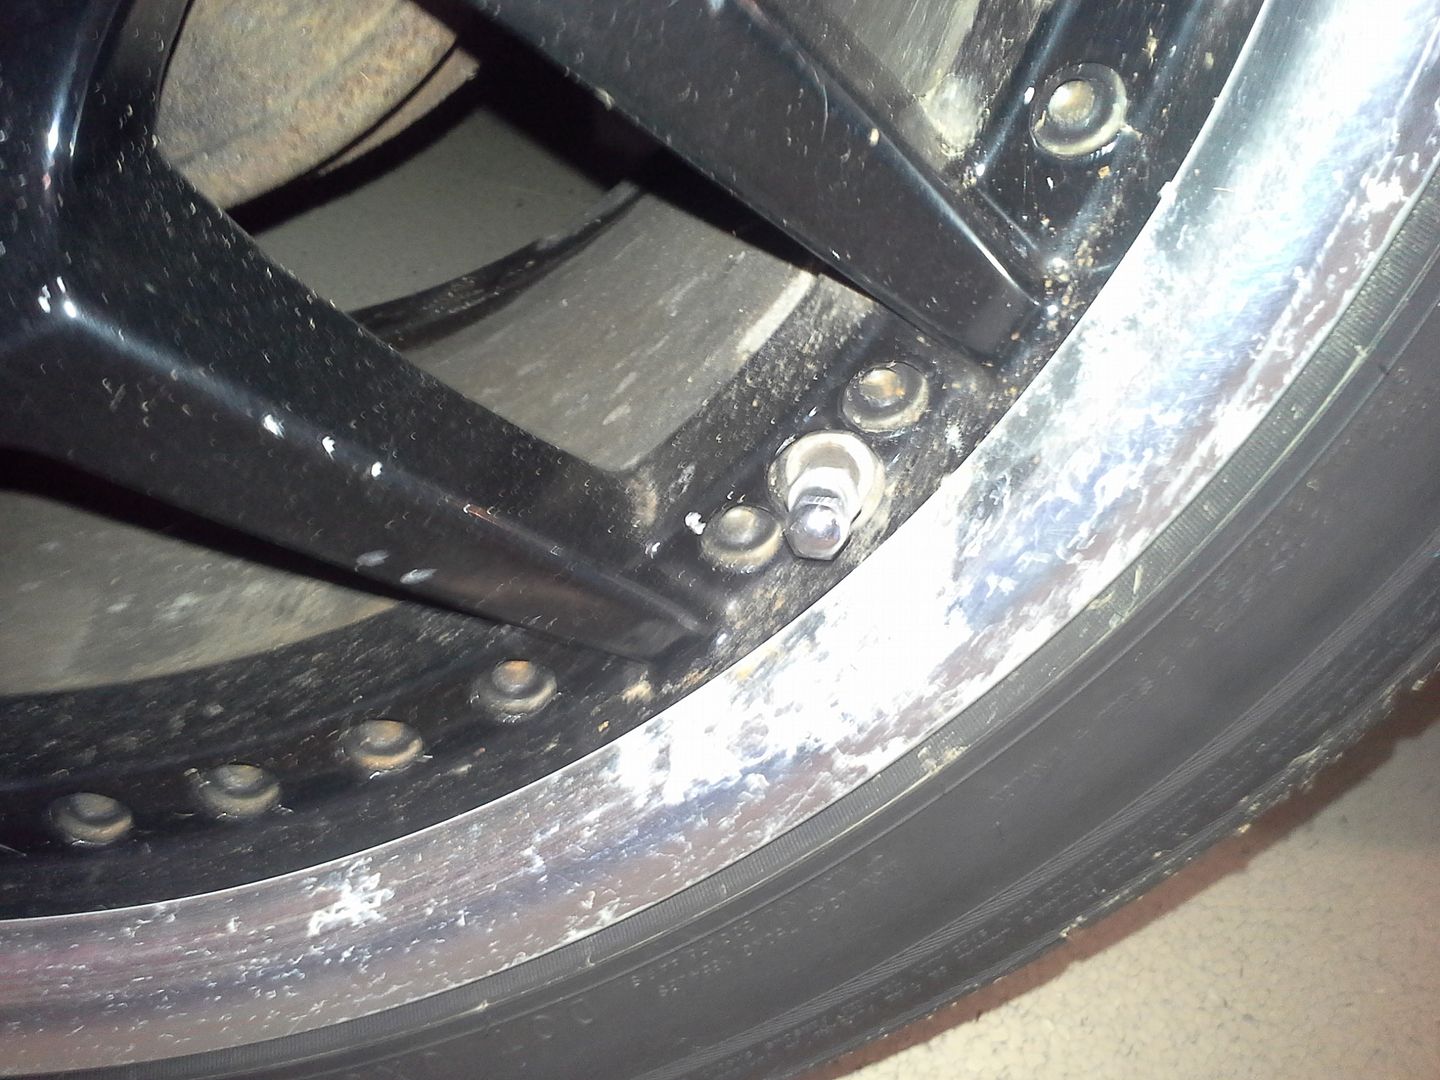
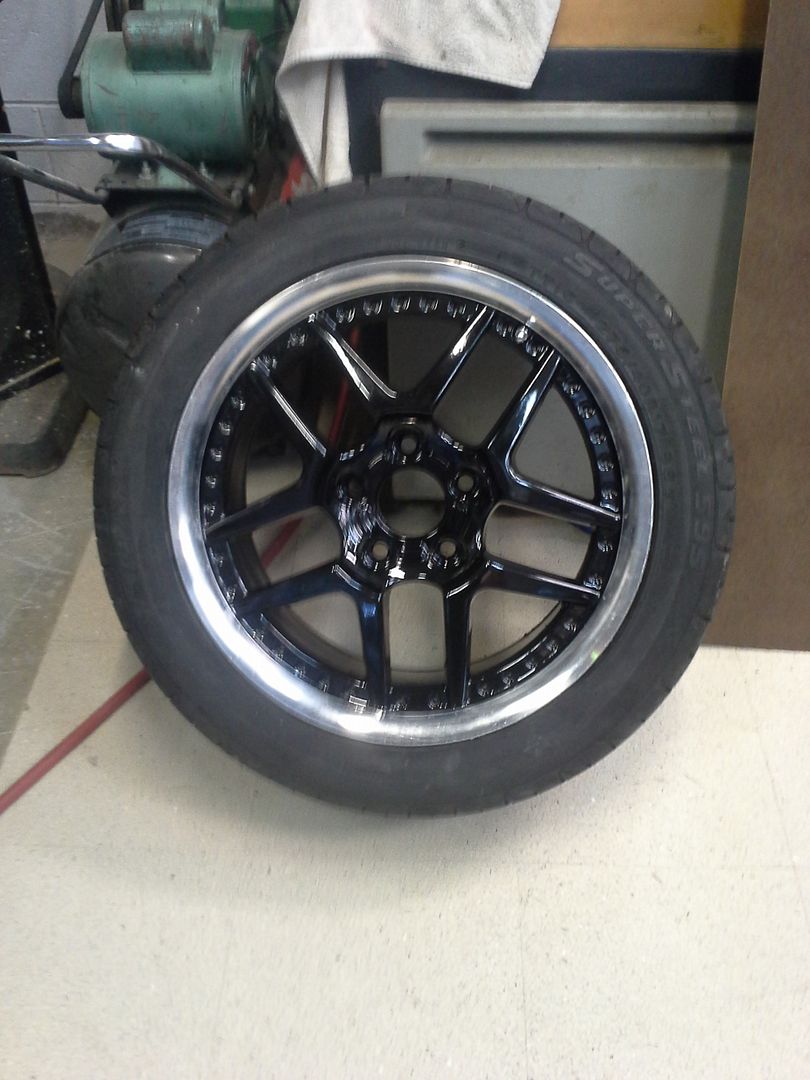
On the wheels, it was actually fairly simple. The painted section had suffered many nicks and scratches, and the polished section had the clearcoat fail. I scuffed the entire wheel with brown 3m pads, stripped the clear off the polished section with aircraft stripper and a pressure washer, taped them, and shot them with gloss black engine enamel.
Before (the best wheel of the 4!)
[URL=http://s54.photobucket.com/user/dusterbd13/media/1964%20elcamino/20151017_164238_zps6g9qyjgz.jpg.html]
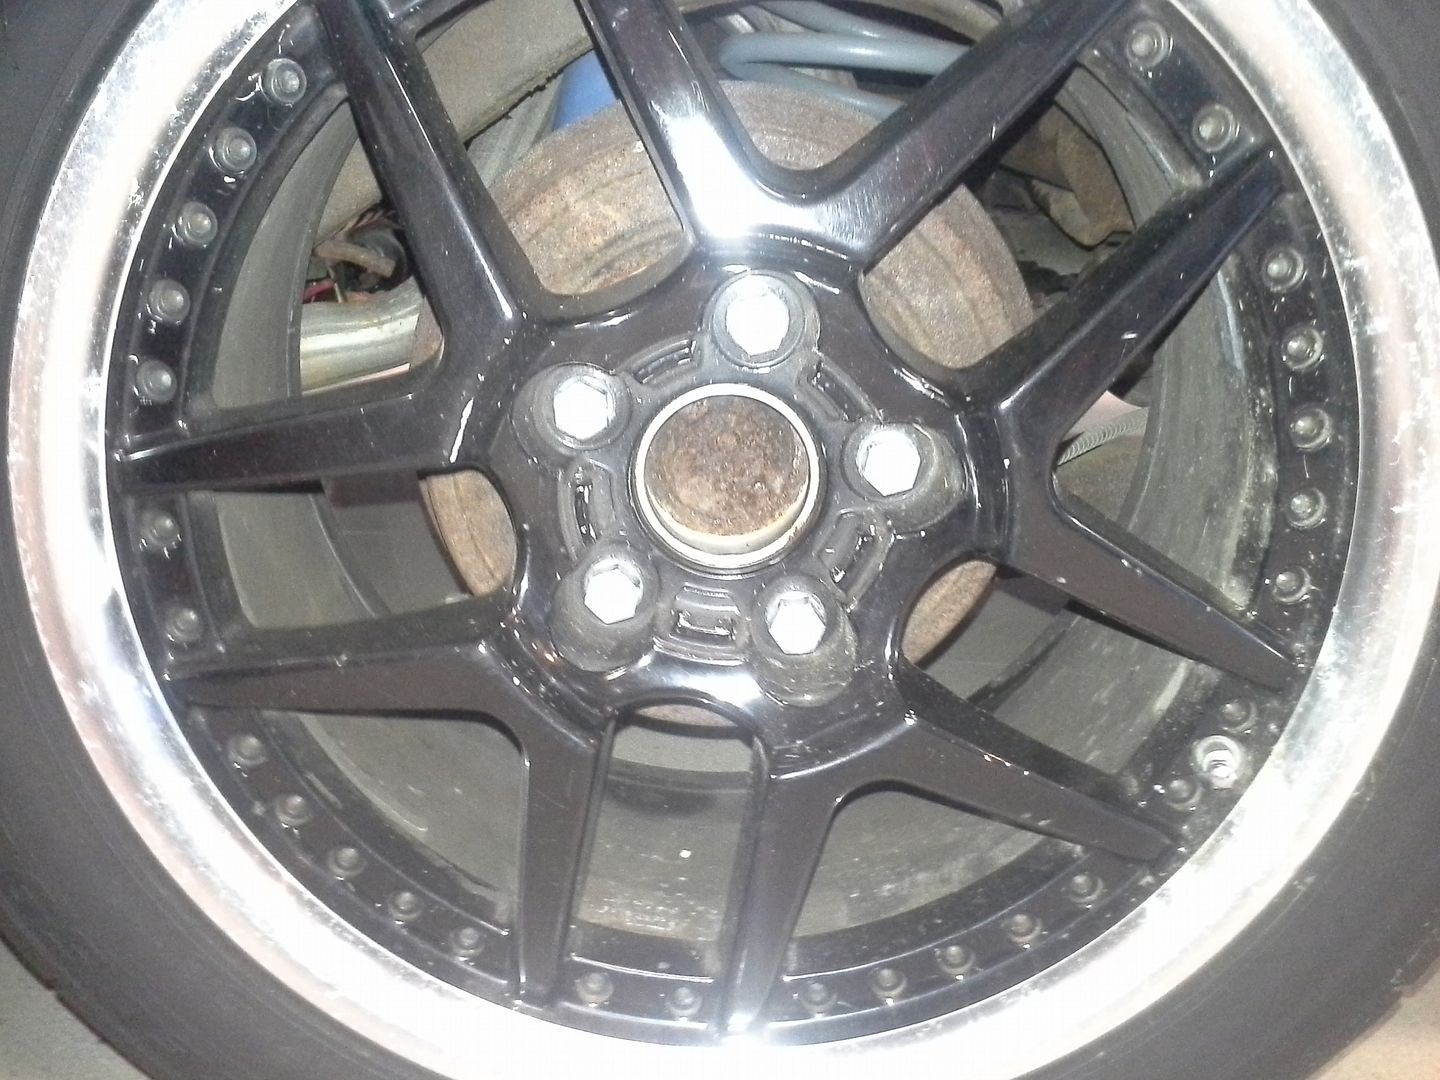 [/URL]
[URL=http://s54.photobucket.com/user/dusterbd13/media/1964%20elcamino/20151017_164244_zpsmqhebidw.jpg.html]
 [/URL]
After (lips still need polished, but I haven’t found the time or energy yet)
[URL=http://s54.photobucket.com/user/dusterbd13/media/1964%20elcamino/20151018_175010_zps9cmcb1cv.jpg.html]
 [/URL]
Came out really good. I’m happy.
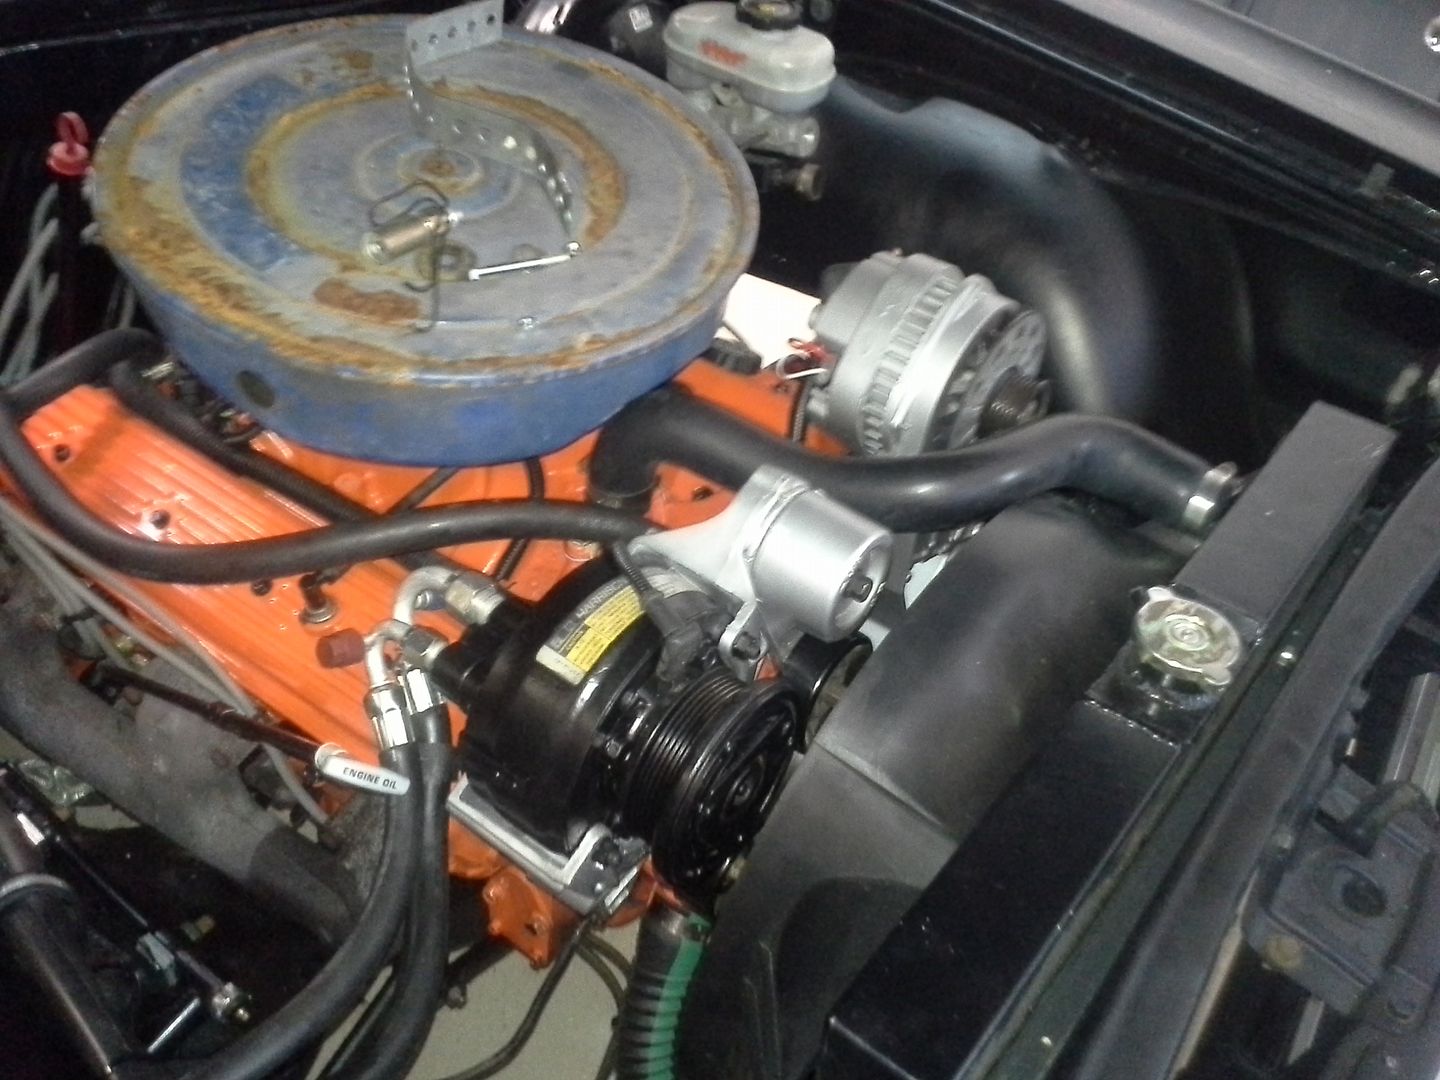
I then finished the front accessory drives. Repainted the aluminum serpentine parts and alternator, swapped out the AC compressor for a spare I had on the shelf, flipped the ac condenser for proper orientation (it was upside down!), installed the new power steering pump, etc.
[URL=http://s54.photobucket.com/user/dusterbd13/media/1964%20elcamino/20151017_164300_zpsii4gp7ld.jpg.html]
 [/URL]
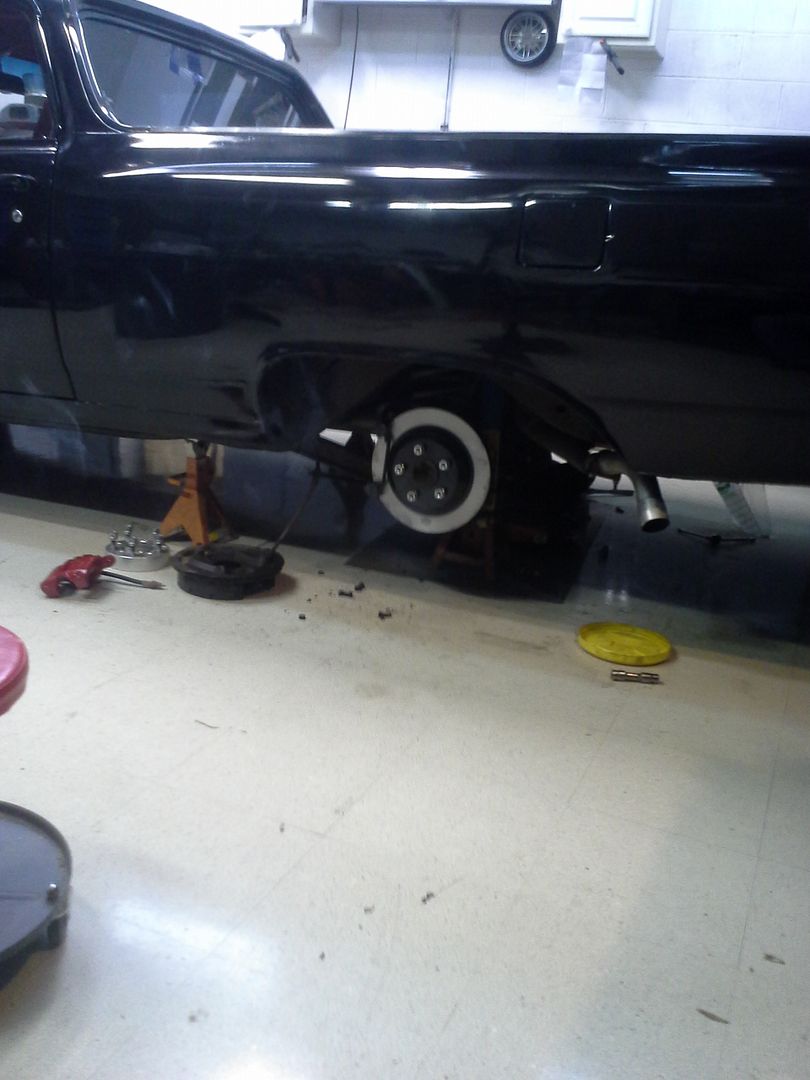
Then, while bleeding the brakes, I decided that it was time to figure out why the rears were so hard to bleed. This was shortly followed by the thought of “screw it, let’s finally install the rear discs that are taking up space. And refinish the wheels. And finally change the rear axle fluid. And…”
That was another week.
But, fresh diff fluid (had open containers taking up space), rear discs (taking up space), correct length wheel studs (safety concern, and had them for a year now, taking up space) new rear axle hard lines (both original had damage, cutting flow to the wheel cylinders), etc. bigger job than I expected going in, but not that hard. Still need to figure out a parking brake cable solution, but with it being an automatic its not as important.
[URL=http://s54.photobucket.com/user/dusterbd13/media/1964%20elcamino/20151024_190623_zpsikblit7n.jpg.html]
 [/URL]
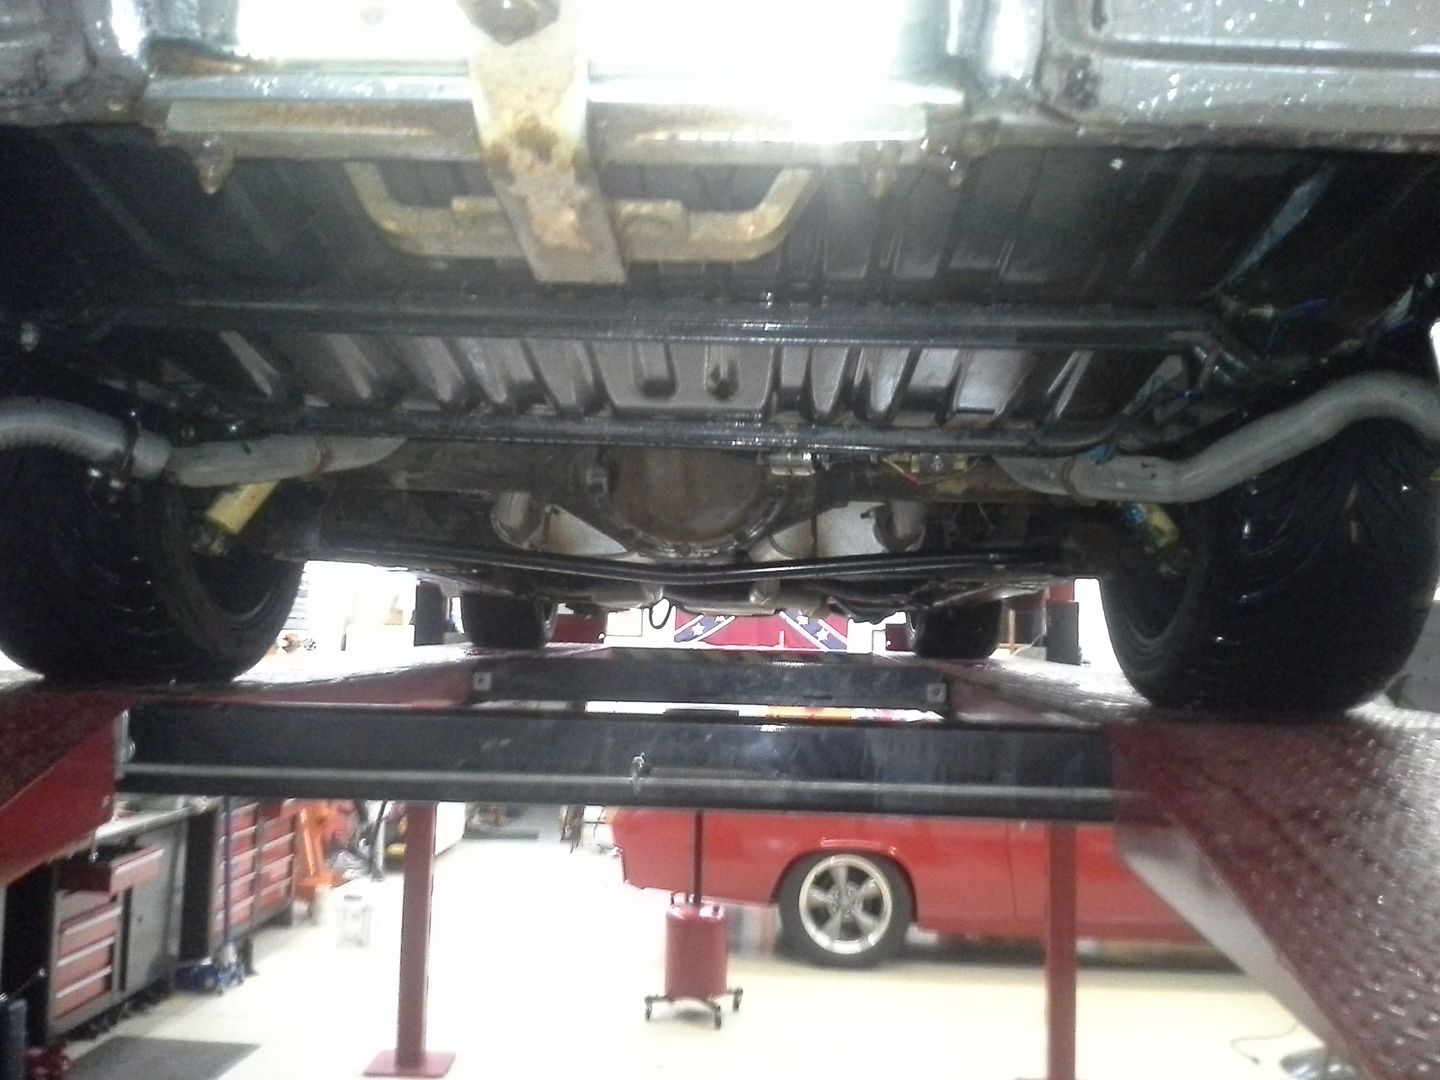
I also went ahead and installed rear axle limiting straps (old ratchet tie downs, they keep the axle from dropping so much the springs fall out) and my 1 inch rear sway bar.
[URL=http://s54.photobucket.com/user/dusterbd13/media/1964%20elcamino/20151101_104440_zpskykjj4uy.jpg.html]
 [/URL]
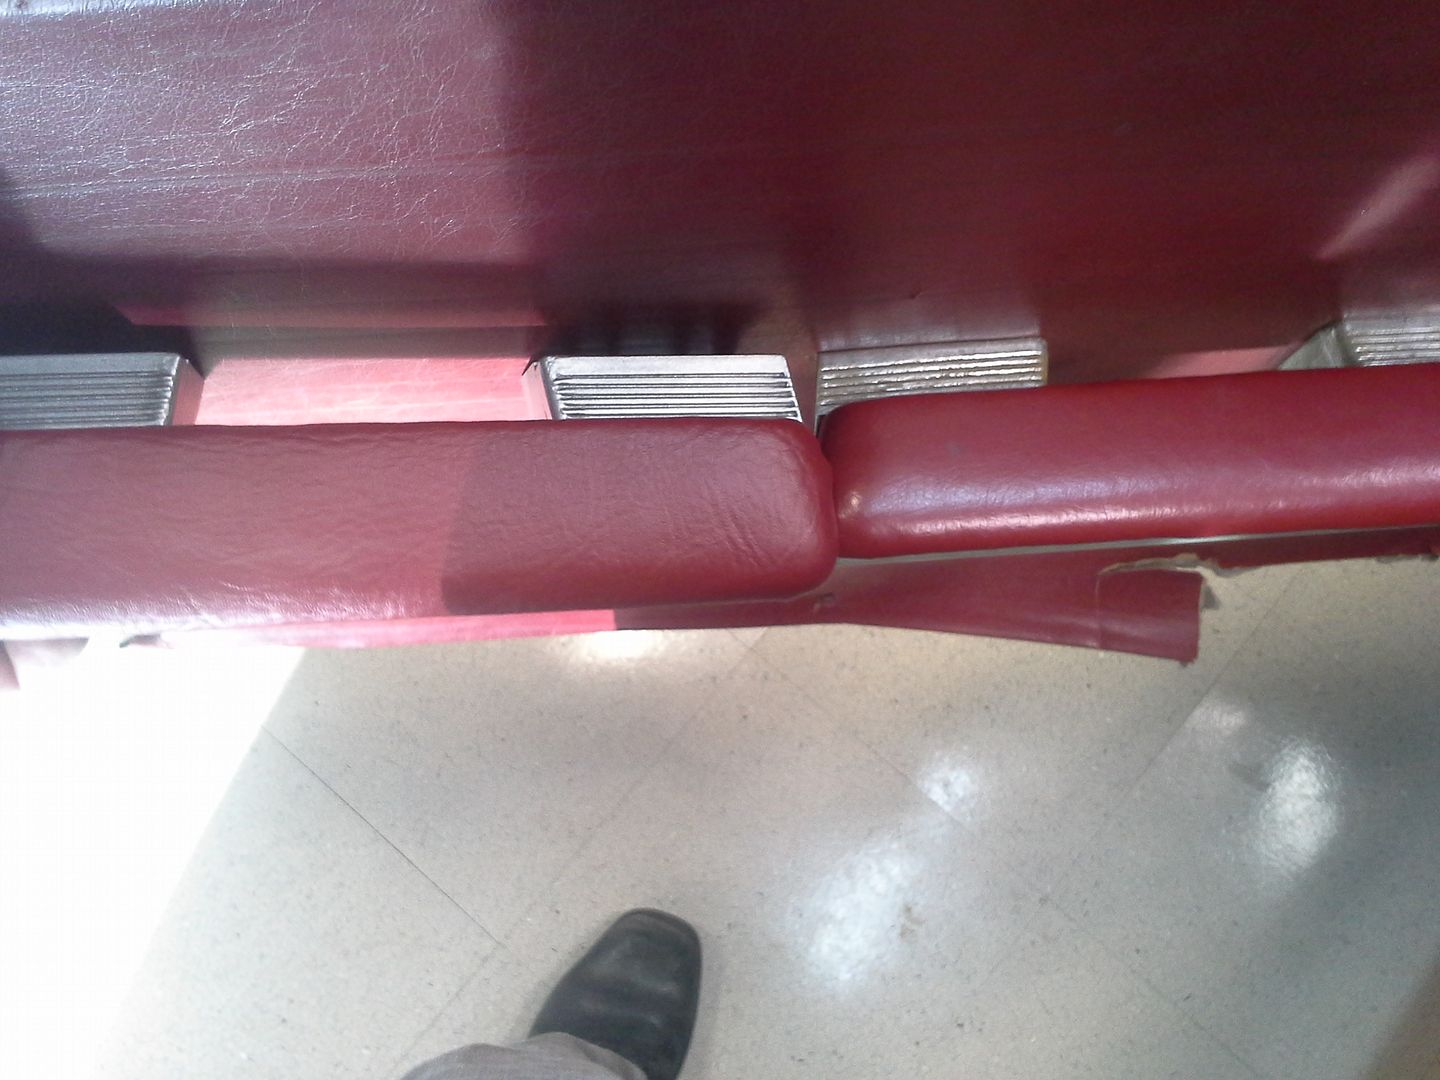
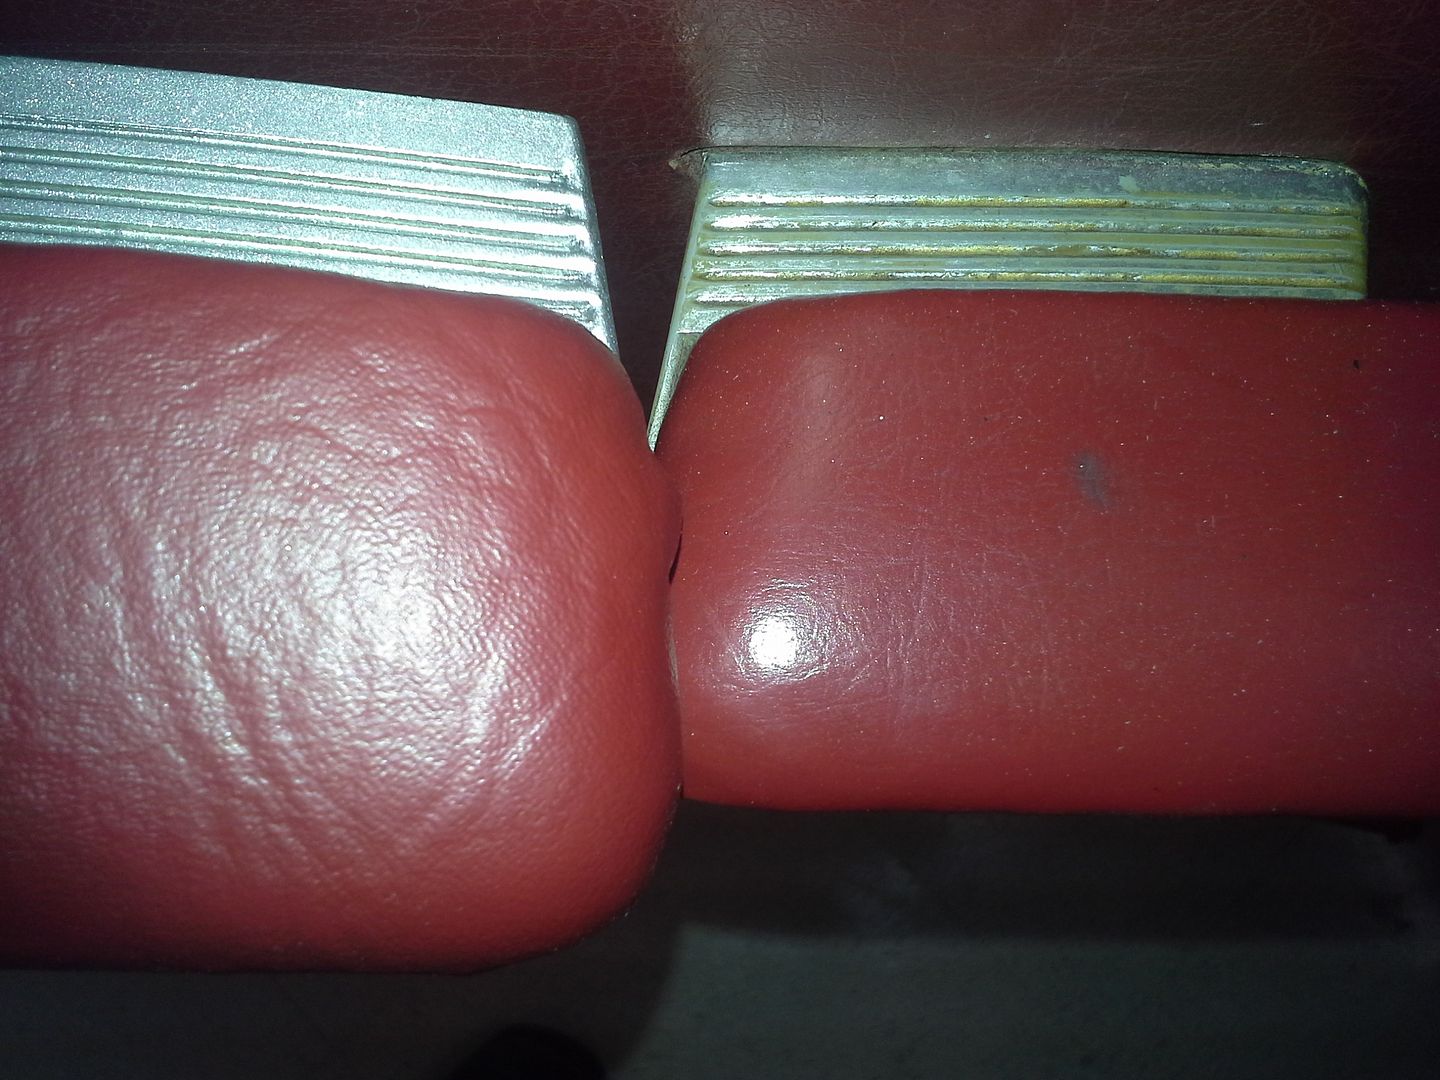
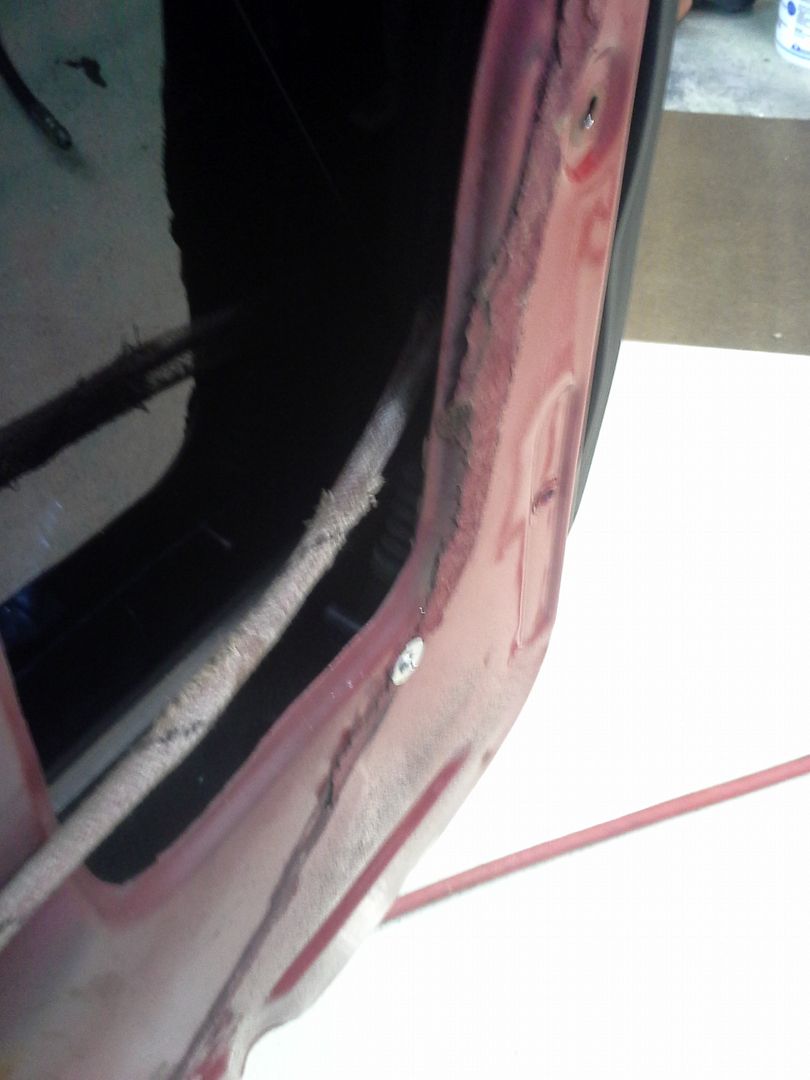
Lastly, I went to fix the wing window. Instead, I installed the remote door lock on that side, and recovered the arm rest, and made the new backer panels for the new door panels. Ill fix the wing window when I put the new door panel in. I did, however, re-powdercoat the passengers side door lock, and install the chrome door handle on that side.
Armrest before/after comparison:
[URL=http://s54.photobucket.com/user/dusterbd13/media/1964%20elcamino/20151021_165111_zpsnnfpirlq.jpg.html]
 [/URL]
[URL=http://s54.photobucket.com/user/dusterbd13/media/1964%20elcamino/20151021_165128_zpsdrxx8xfb.jpg.html]
 [/URL]
Door lock solenoid:
[URL=http://s54.photobucket.com/user/dusterbd13/media/1964%20elcamino/20151015_143245_zpstxb17rpw.jpg.html]
 [/URL]
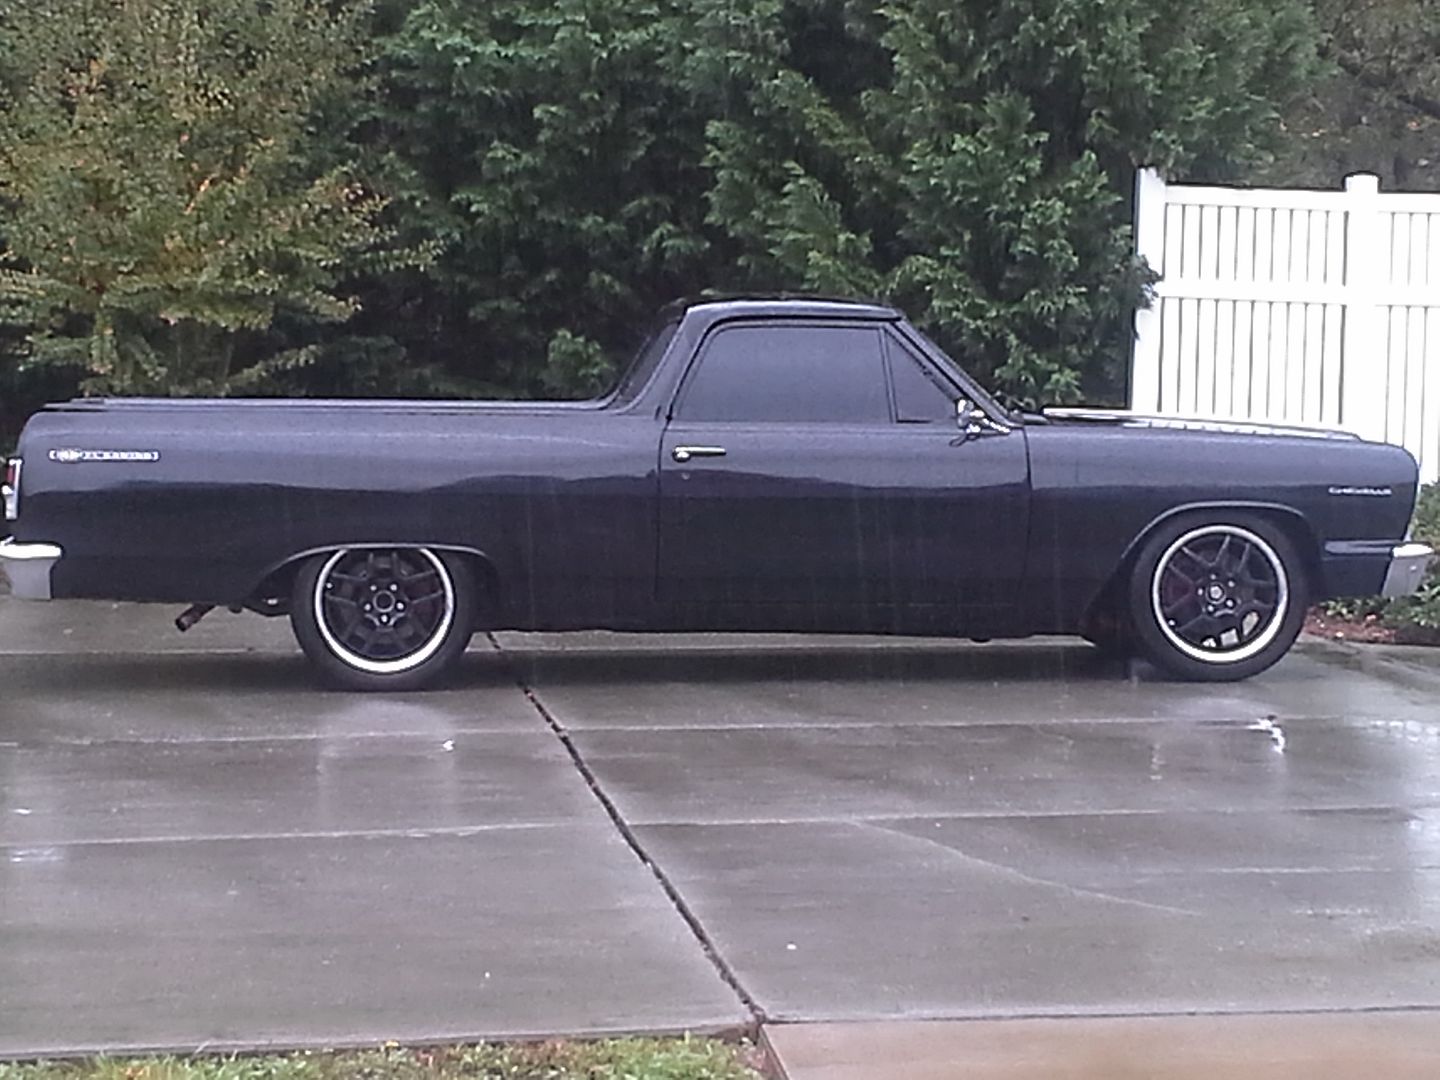
As of now, ive driven it daily for a week and a half. No problems. Alignment is -2 camber, +5 caster, 3/32 toe out. Drives fantastic. I love this truck.
[URL=http://s54.photobucket.com/user/dusterbd13/media/1964%20elcamino/20151102_105538_zpsm9rfrdpq.jpg.html]
 [/URL]
Which means its for sale. I have debt. I hate debt. I also love all sorts of cars, and building the next thing in my head. Which at this time is a Porsche 914, or British convertible. Or a grm challenge car. Or…
I aint got to sell it. Part of me really doesn’t want to. But if it sells, I’m ok with it. If it doesn’t, I’m ok with that too. Heres the craigslist ad: https://charlotte.craigslist.org/cto/5298281325.html
It was a great project and hopefully you get what you want out of it. Looking forward to the next one.
If it doesn't sell, I'll keep developing it. Either way I'm happy.
But the third version of the drivabeater series is being built in my head.
Old budget 11,716.42 Money spent: 23.49 for plastic and screws New budget: 11,739.91
Told y’all that if it didn’t sell, id keep going. Well, I still have it. Haven’t even gotten a call or text on it. So I guess I’m meant to keep it for now.
Anyway, I got tired of tripping over the materials I bought to make door panels. So I made door panels.
First traced the factory door panels onto some hardboard. Cut those out, and sanded the whole thing with 80 grit. Give the adhesive something to bite to.
Then, grab a 2 inch brush, and the vinyl top adhesive and your volara foam. Scuff the foam with the 80 grit for good measure, and brush the adhesive liberally onto both surfaces.
[URL=http://s54.photobucket.com/user/dusterbd13/media/1964%20elcamino/20151125_160128_zpstwyrmlmv.jpg.html]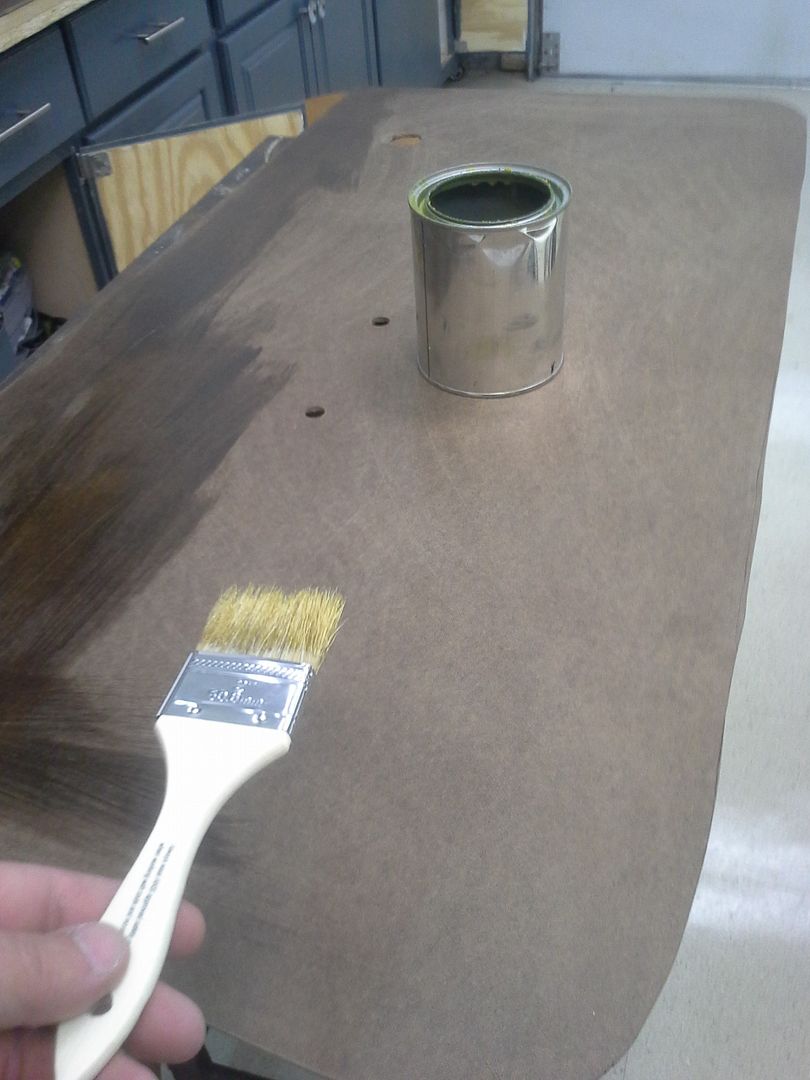 [/URL]
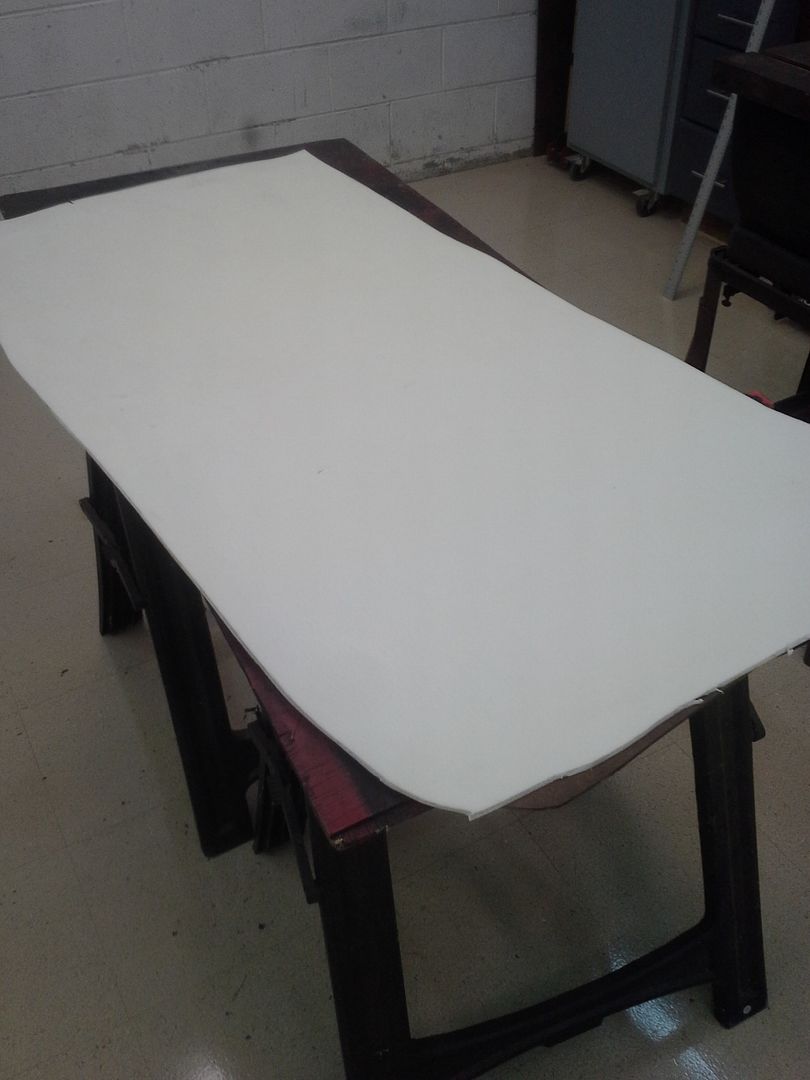
Lay the foam down. You only get one shot. If you miss or wrinkle it, your gonna have some extra work ahead of you. Press the foam down firmly to set the adhesive fully.
[URL=http://s54.photobucket.com/user/dusterbd13/media/1964%20elcamino/20151126_083030_zpshfbd5zw2.jpg.html]
 [/URL]
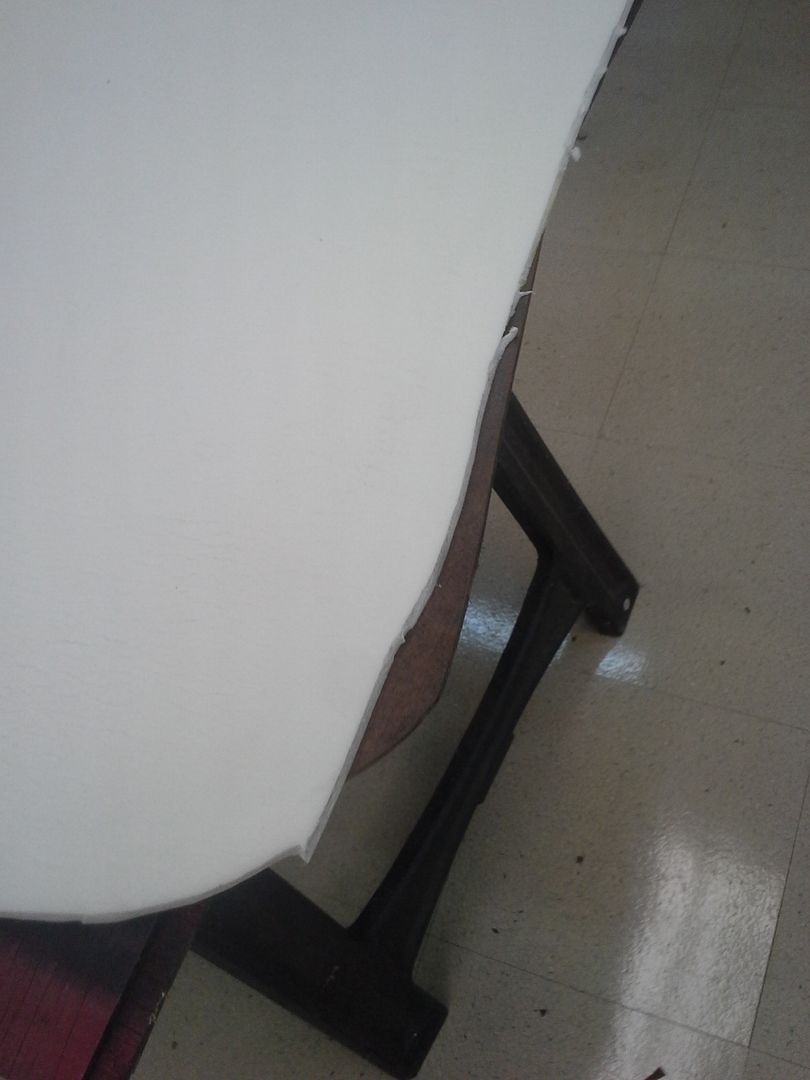
Trim the edges with a fresh razor blade. Mutter obscenities under your breath when you find you didn’t lay the foam right and missed a spot.
[URL=http://s54.photobucket.com/user/dusterbd13/media/1964%20elcamino/20151126_083035_zpsqrhozmck.jpg.html]
 [/URL]
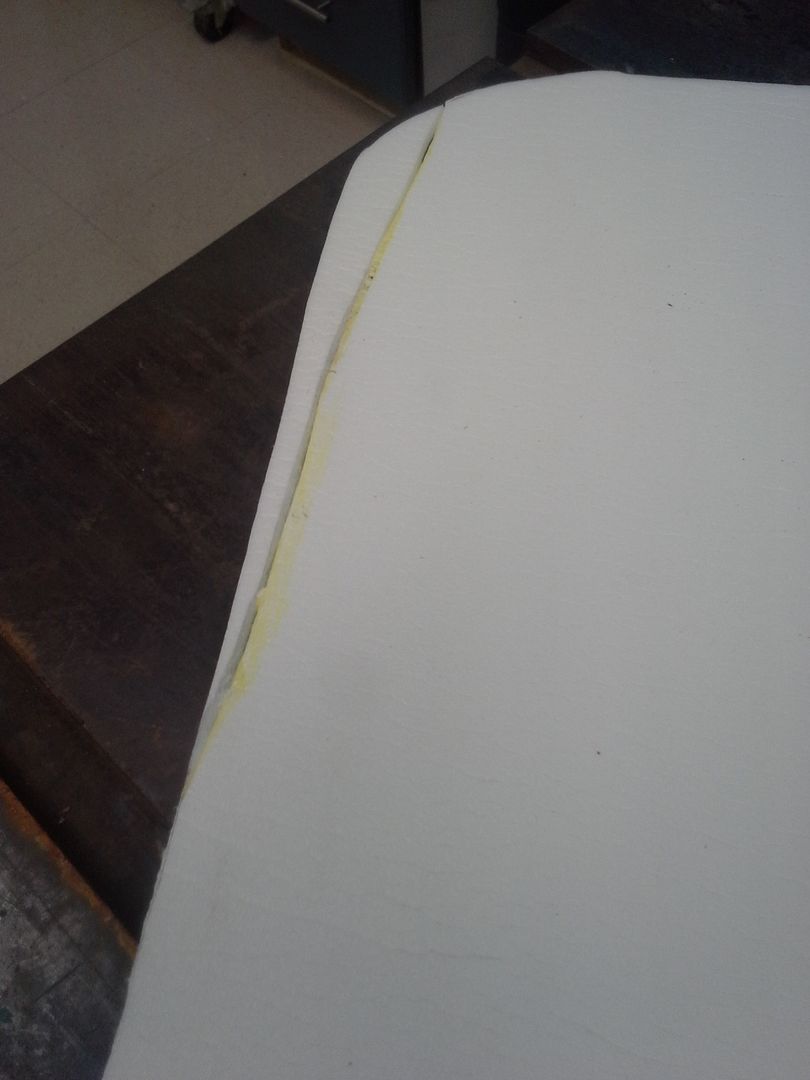
So then we patch the missed spot. Use some scrap and some more adhesive. As long as the seam is good and tight, it won’t show through.
[URL=http://s54.photobucket.com/user/dusterbd13/media/1964%20elcamino/20151126_084107_zpsybywcu1o.jpg.html]
 [/URL]
I then scuffed the foam with 80 grit again, and rough cut the vinyl to size plus a couple of inches. Apply adhesive to both the vinyl and the foam. For some reason, there’s more working time with this step. Though I didn’t take any pictures. I also made sure to cut a relief in the foam for the chrome retention strip. Just a ½ inch strip of bare hardboard covered with vinyl will suffice.
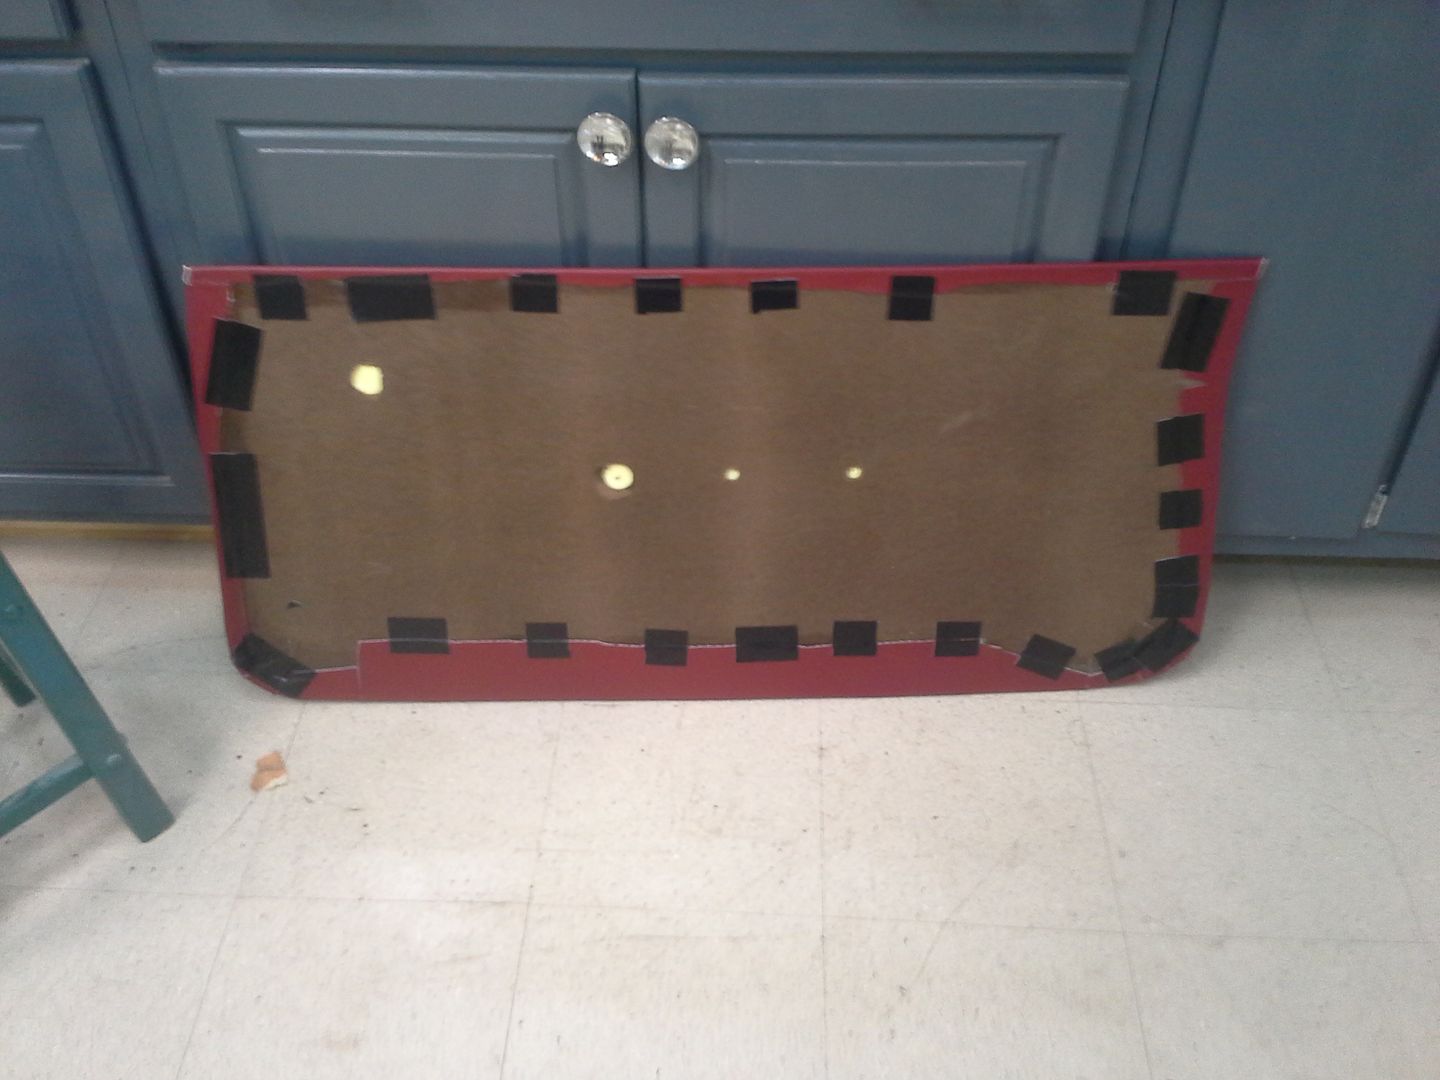
When you get the vinyl down nice on the front, flip it over and start wrapping the edge. I cut triangles out of the curves to make them lay flat, soaked them with adhesive, laid them down, and then used pieces of duct tape for good measure.
[URL=http://s54.photobucket.com/user/dusterbd13/media/1964%20elcamino/20151126_094014_zpstkfl7lki.jpg.html]
 [/URL]
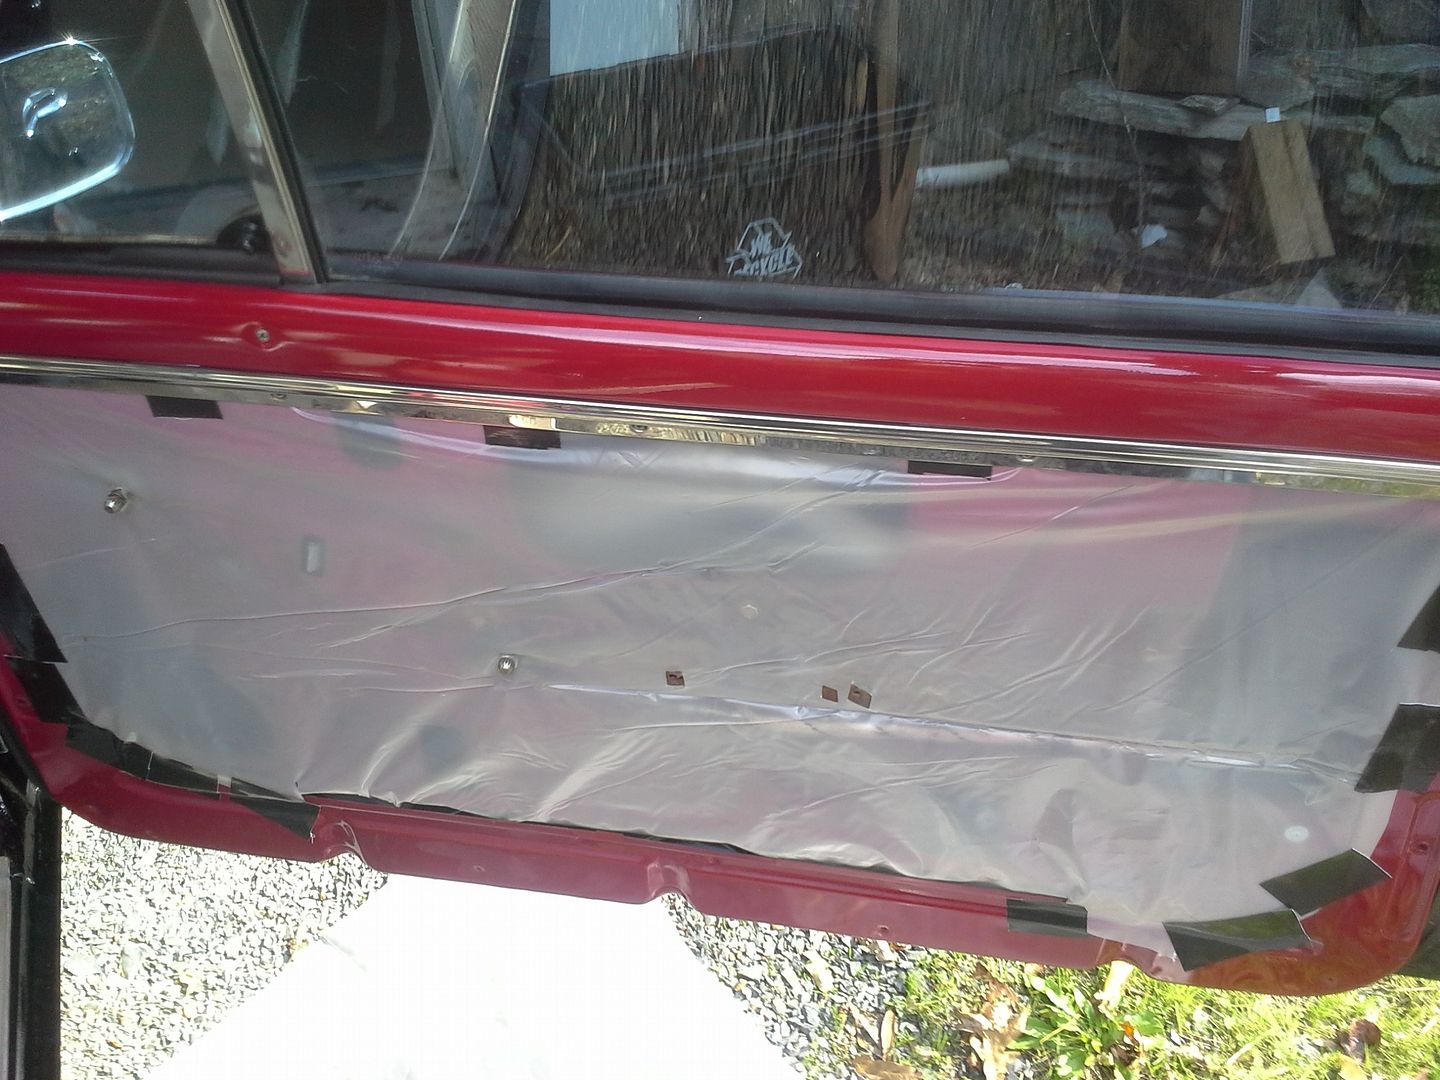
Now, go to the truck. I had to spread the chrome strips a little more to clear the new door panels. Just used a wood wedge pounded along with a hammer. I also had to create vapor barriers. Used some 4mil plastic I got at Lowes. And duct tape. Folded the bottom inside the door like the factory did with the paper vapor barriers.
[URL=http://s54.photobucket.com/user/dusterbd13/media/1964%20elcamino/20151125_114149_zpsmtuois7g.jpg.html]
 [/URL]
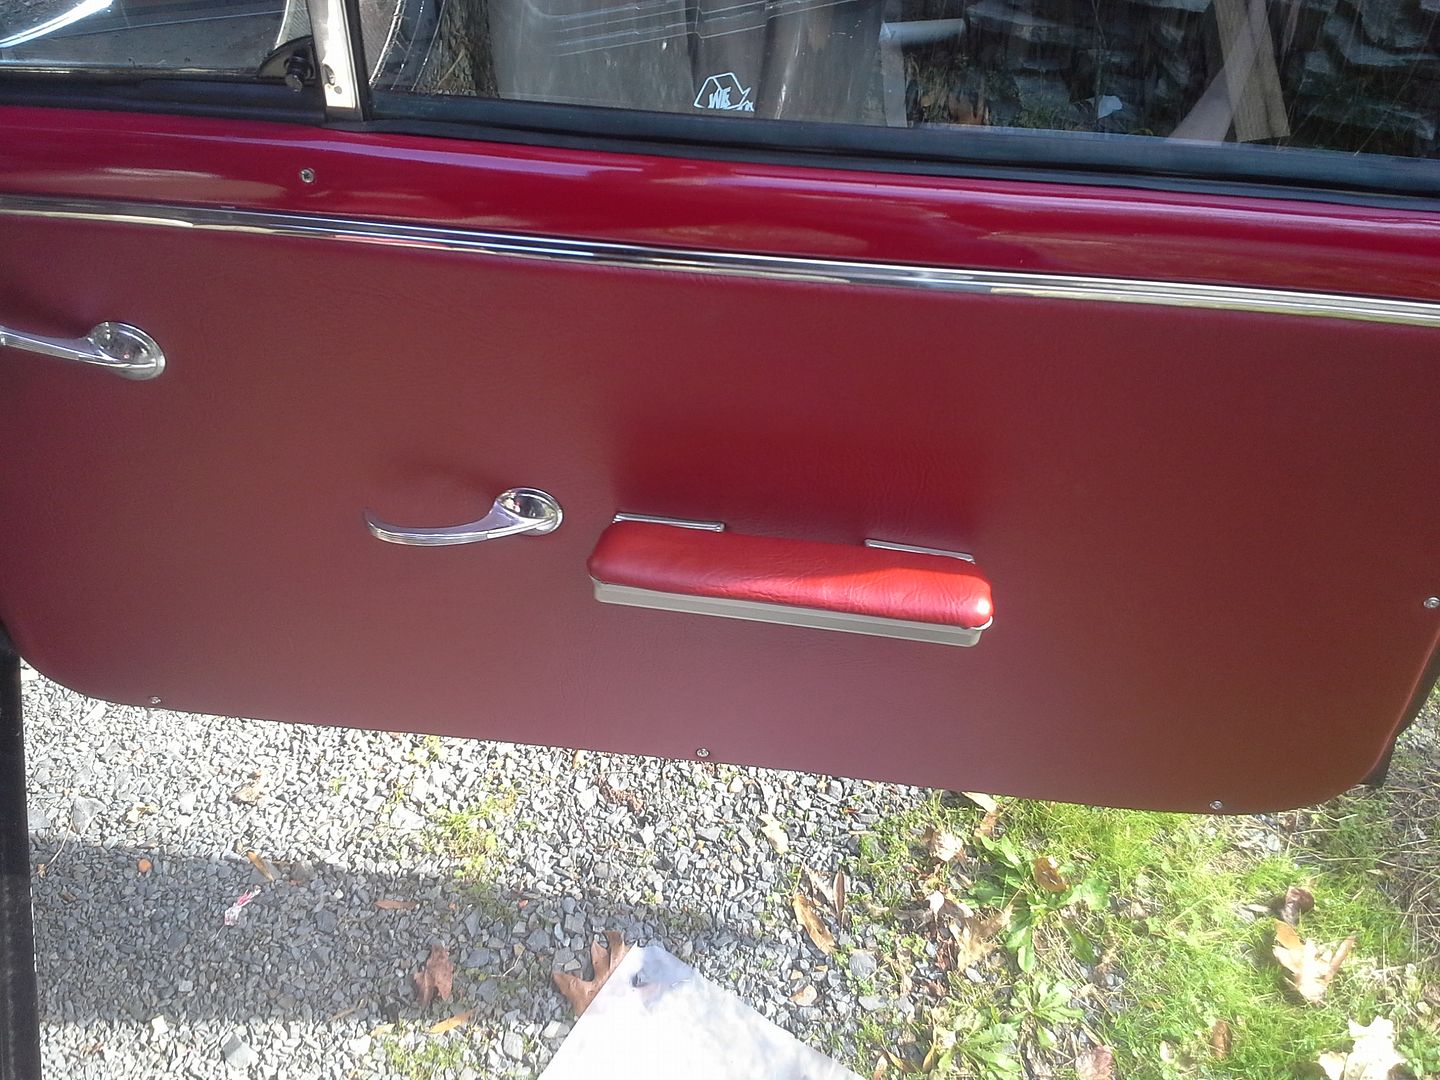
Then, install the door panel. I used 5 stainless #6 screws and stainless trim bezels per door. I like how they look.
[URL=http://s54.photobucket.com/user/dusterbd13/media/1964%20elcamino/20151125_123732_zpsiffmjsqd.jpg.html]
 [/URL]
thanks!!
my wife got pissed when she saw them, thinking I spent money on door panels. she thought they were reproductions. so I guess that's also a good sign!
Thanks!
I'm pretty happy with it. Still want wide open throttle and a finished interior, but that will come.
Previous budget: 11,739.91
Money spent:
EGR/throttle cable bracket/chunks of throttle cable:17.50
TBI rebuild kit: 18.99
New total: 11,776.40
Well, we got wide open throttle now.
What started as a wide open throttle job snowballed. Like always. For some reason, i cant just do one thing without it turning into four things.
All i wanted was wide open throttle. Thats it.
Coudnt make the geometry work out with the heim joint rod, factory chevelle gas pedal linkage, and tbi. No matter what sort of funky ass spacer/lever/etc i made, the geometry just wasnt right.
So no problem i think, ill just convert to a cable like the tbi trucks had!
Yeah, right. Cant get there from here. Just wont work. Pretty much have to keep the chevelle firewall/ gas pedal assembly.
Damn the bad luck.
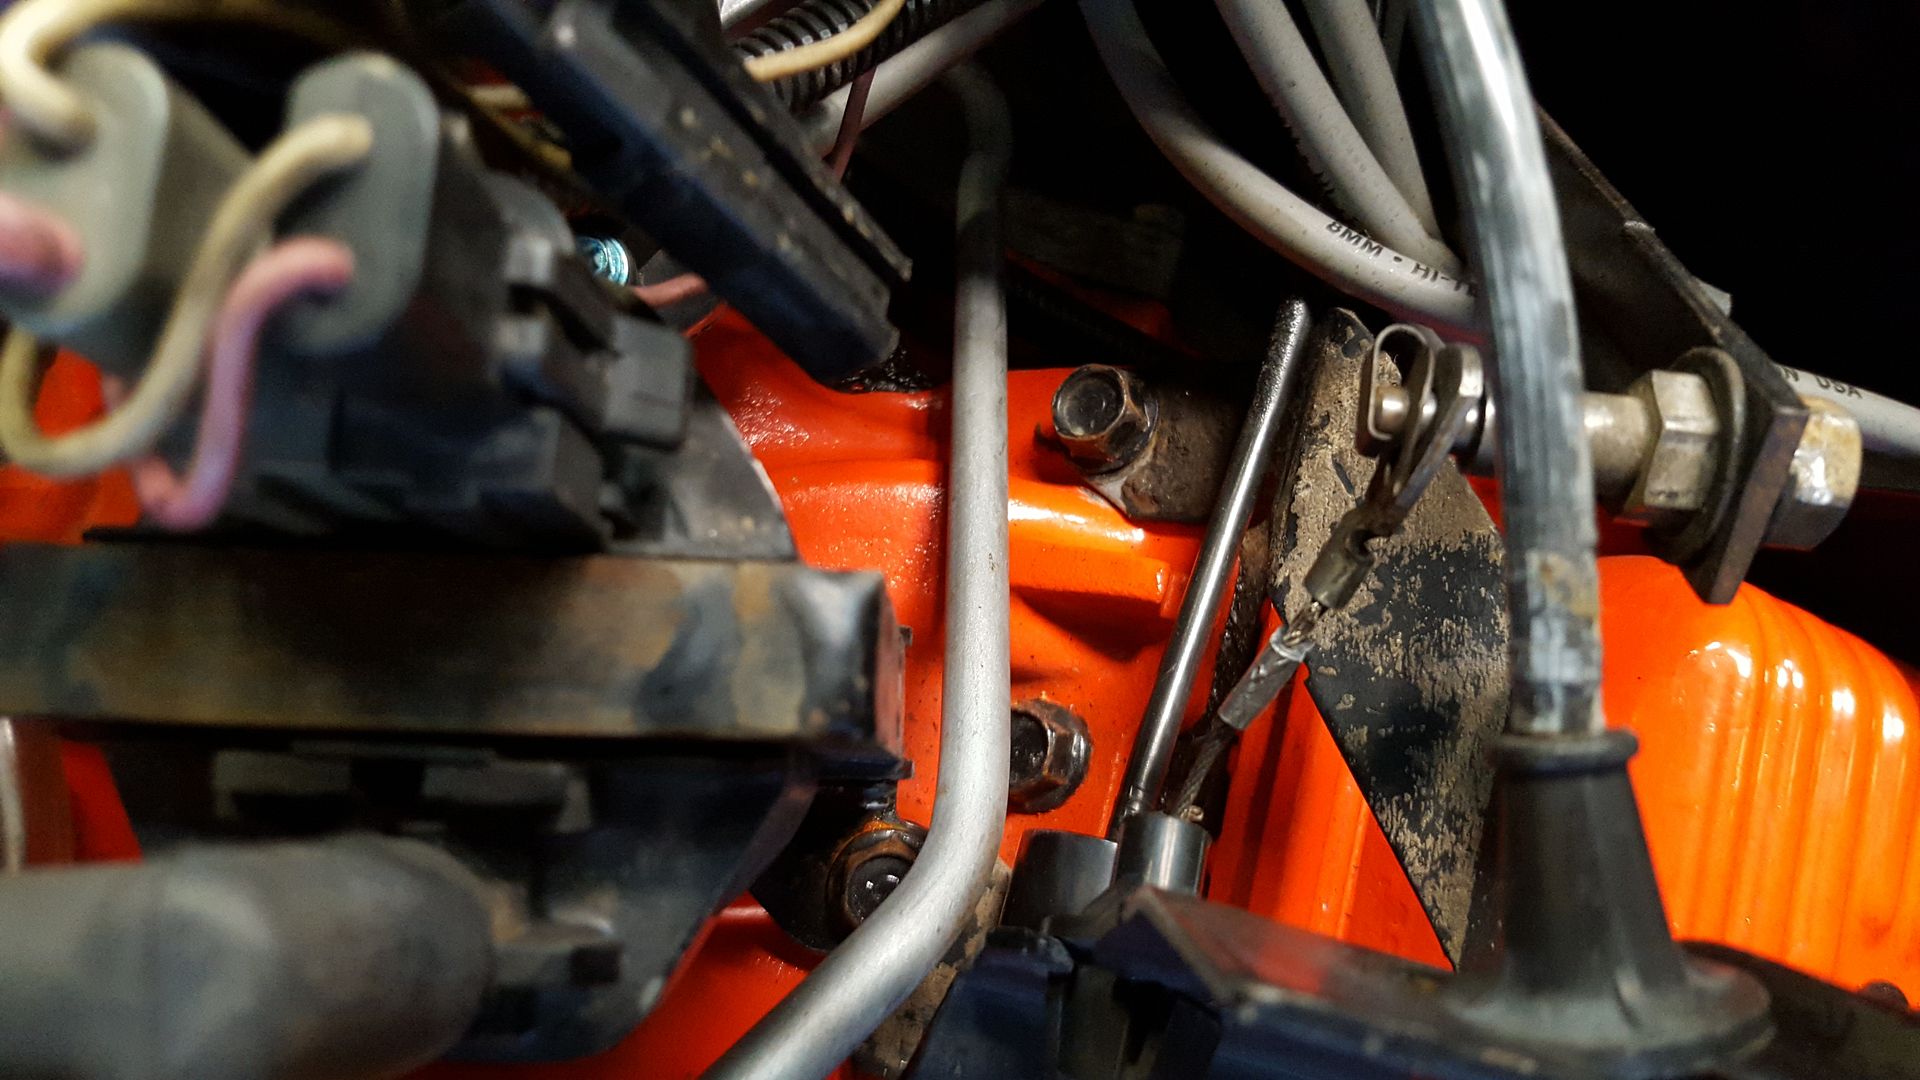
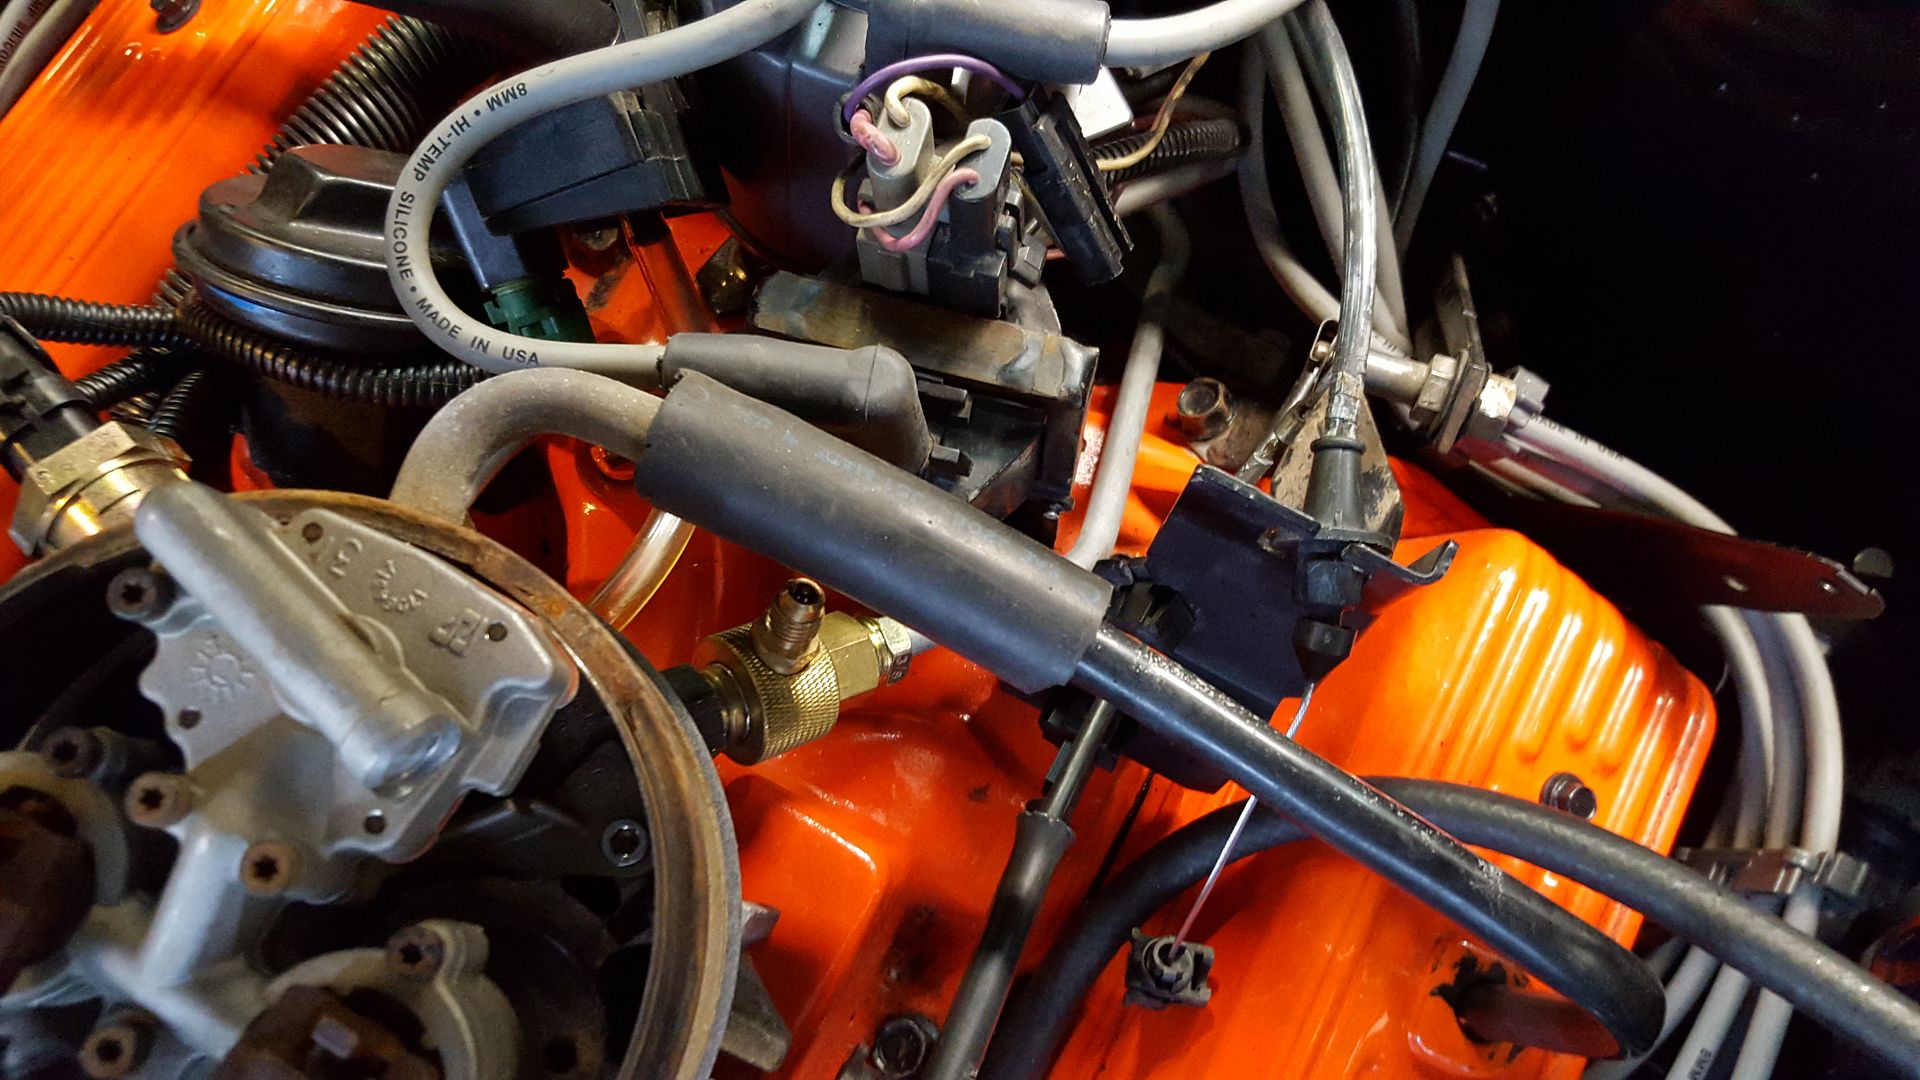
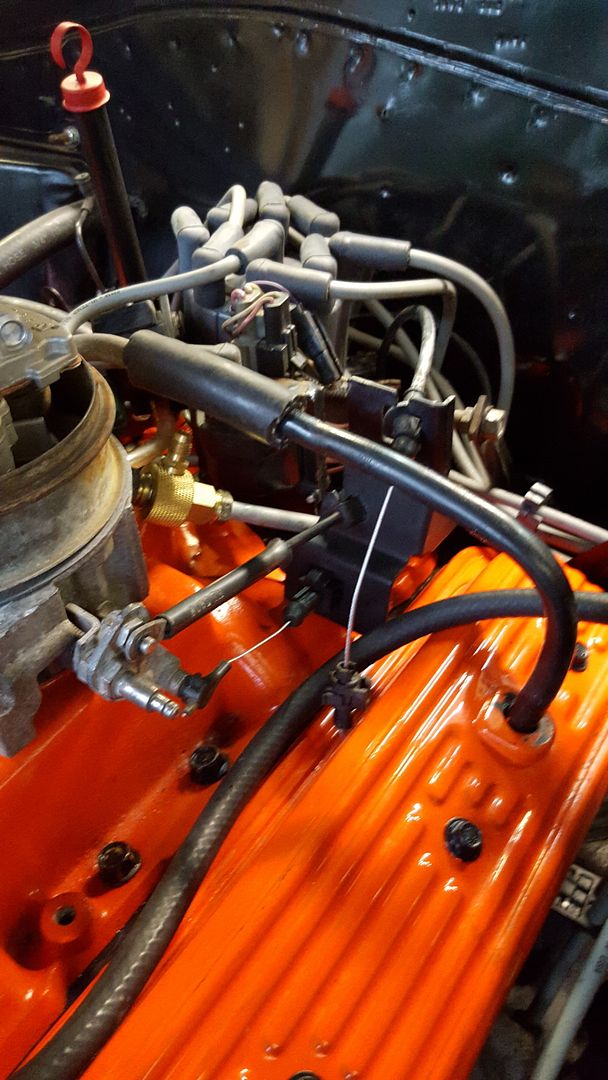
Ok, plan b came in after a bit of head scratching and am AHA! Moment. See, the factory throttle cable bracket and cable pull at a somewhat downward angle (towards the manifold) cs the factory chevelle linkage which pulls straight back. So, if i used a factory cable, and bracket, and somehow mounted the other end to the factory chevelle stuff in the same place as the linkage bolted, i could get full travel, with proper geometry.
So, off to pull-a-part i go. Picked up enough pieces to try, and found a brand new egr valve. Ill hook it up soon to see if i gain any gas mileage.
Anyway, i used some crush on aluminum ferrules to attach two sections of throttle cable together, a spare cruise control stud to attach to the chevelle gas pedal, and presto, have full throttle. After trimming the carpets a hair.
[URL=http://s54.photobucket.com/user/dusterbd13/media/1964%20elcamino/20160115_163455_zpsoihx9cr6.jpg.html] [/URL]
[URL=http://s54.photobucket.com/user/dusterbd13/media/1964%20elcamino/20160115_163453_zpsvchpvzvo.jpg.html]
 [/URL]
[URL=http://s54.photobucket.com/user/dusterbd13/media/1964%20elcamino/20160115_163500_zpsuarez7ba.jpg.html]
 [/URL]
[URL=http://s54.photobucket.com/user/dusterbd13/media/1964%20elcamino/20160115_163445_zpsxc85fbcz.jpg.html]
 [/URL]
To change the throttle cable bracket required me to remove the throttle body. So, i figured while it was off it would be a good time to rebuild it and do the ultimate tbi mods.
[URL=http://s54.photobucket.com/user/dusterbd13/media/1964%20elcamino/20160115_144921_zpstjobjlku.jpg.html]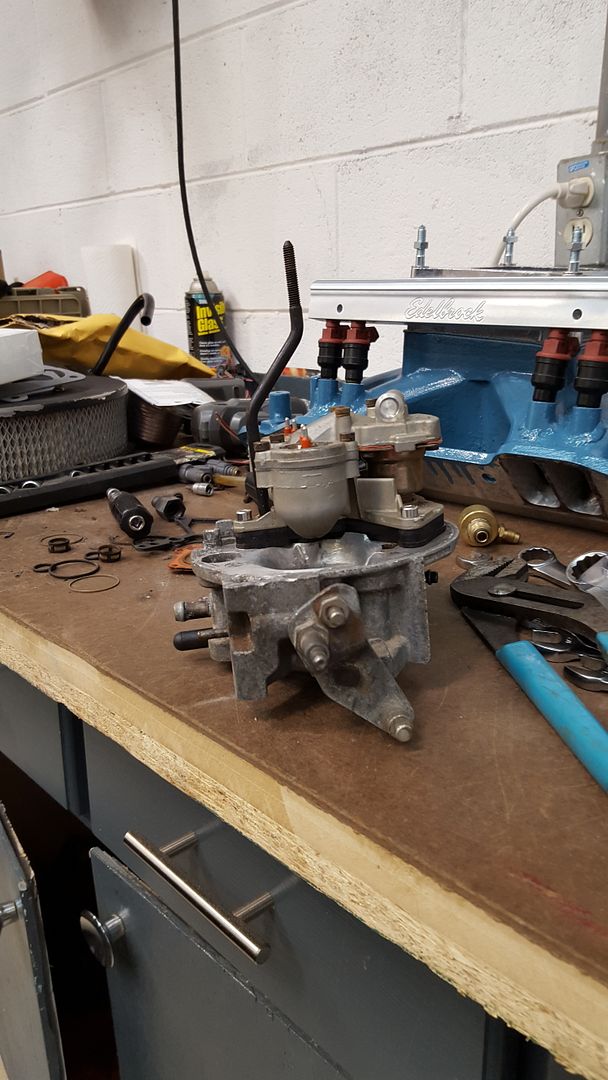 [/URL]
And i also went ahead and installed the egr, just not hooked up yet.
[URL=http://s54.photobucket.com/user/dusterbd13/media/1964%20elcamino/20160115_163513_zpsemnhek5b.jpg.html]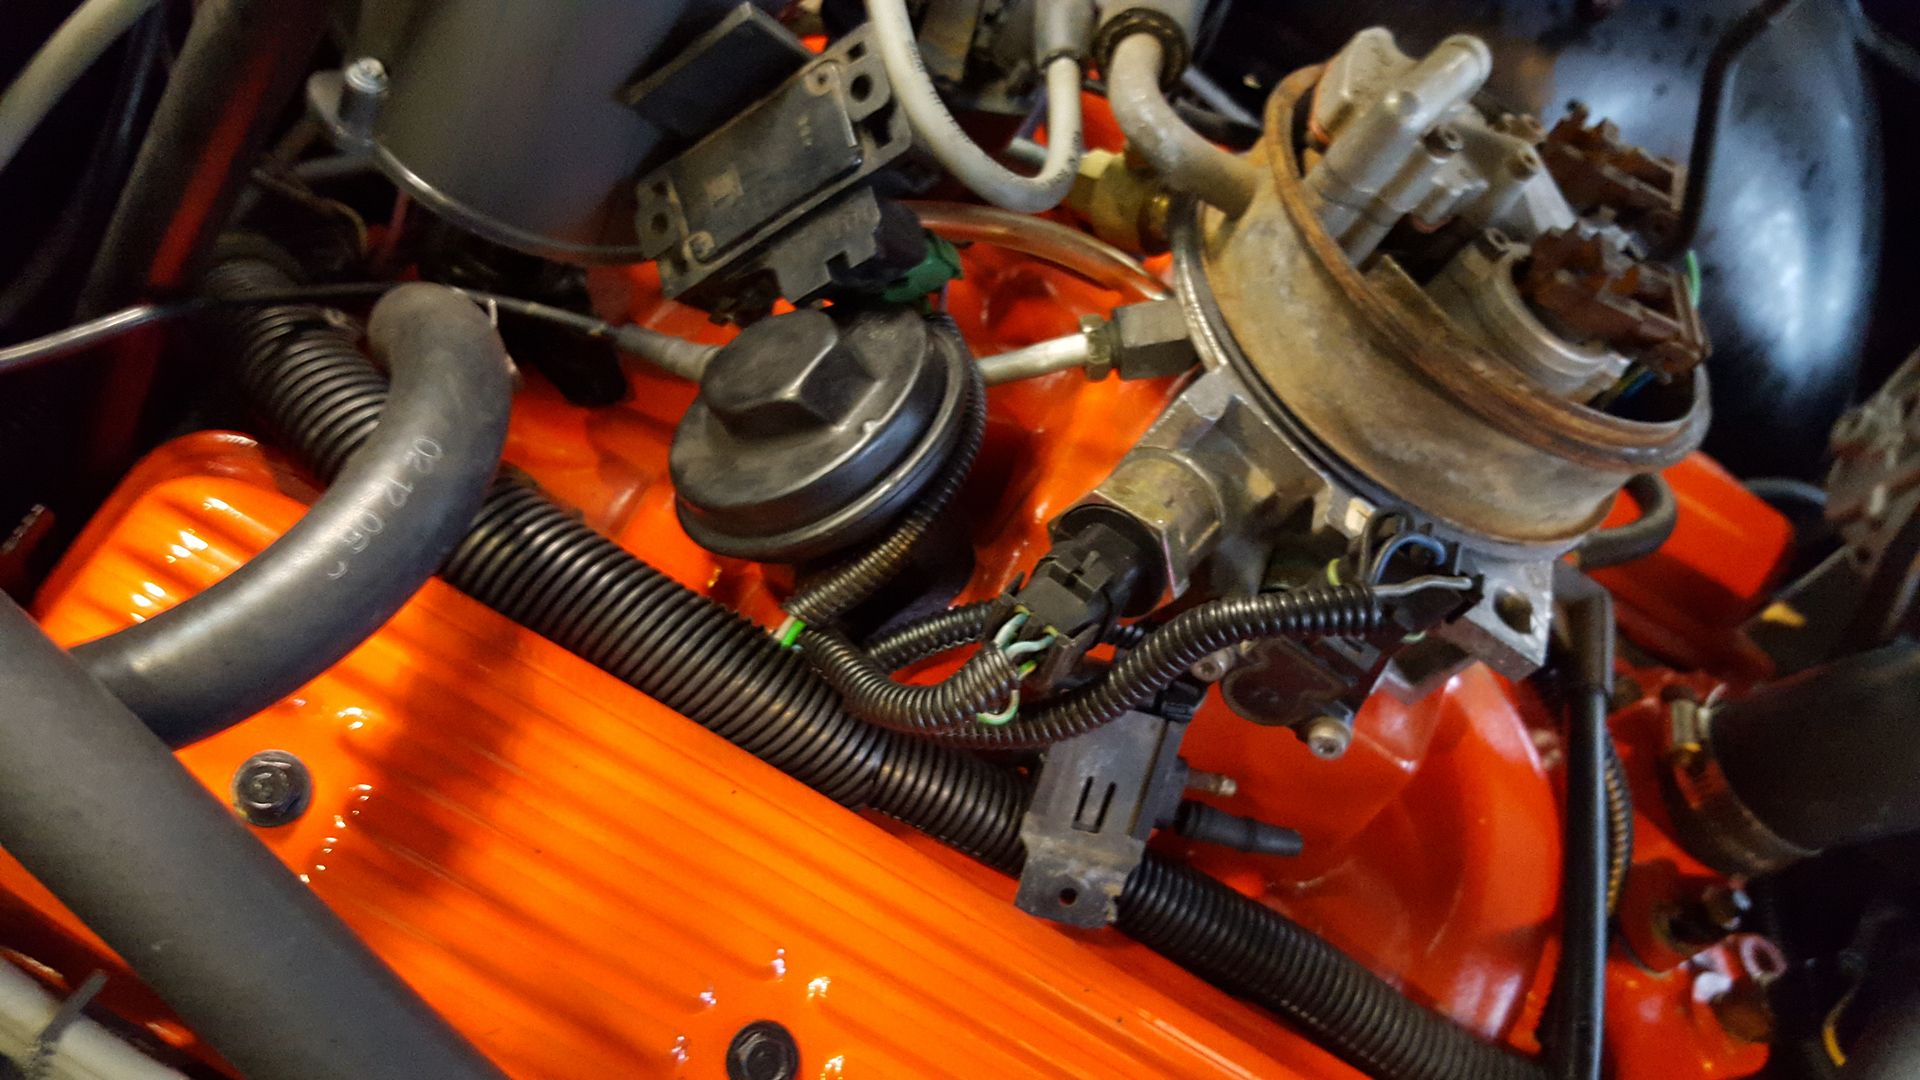 [/URL]
Test drive showed its faster and more responsive. Also, sprung an oil leak. Its apparently coming from the timing chain cover to crank, and chain cover to oil pan seals. So i guess i get to yank the motor to change that.
You'll need to log in to post.